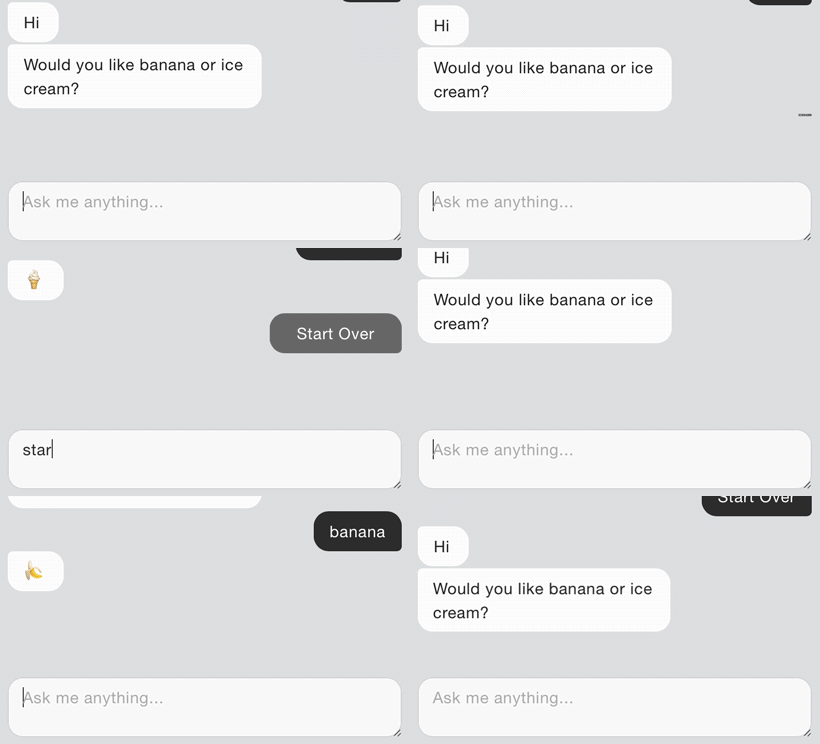
chat-bubble ??Einfache Chatbot-Benutzeroberfläche für das Web mit JSON-Skripting?

Demo | Tutorial-Video
yarn add chat-bubble oder npm install chat-bubble
Holen Sie sich die .ZIP-Datei hier.
Bei dieser Methode wird davon ausgegangen, dass eine Entwicklungsumgebung ausgeführt wird, die ES6-JavaScript transpilieren kann. Hier finden Sie eine kurze Anleitung, wie Sie einen zum Laufen bringen. Ansonsten siehe „Ich habe keine ES6-Entwicklungsumgebung.“ Diese Anleitung zeigt Ihnen, wie Sie dies erstellen.
 /************************************************************************/
/******* CONVENIENCE METHODS AVAILABLE FOR ES6 BUILD ENVIRONMENTS *******/
/************************************************************************/

// the URL of where you've installed the component; you may need to change this:
import {
  Bubbles ,
  prepHTML
} from "../node_modules/chat-bubble/component/Bubbles.js" ;

// this is a convenience script that builds all necessary HTML,
// imports all scripts and stylesheets; your container DIV will
// have a default `id="chat"`;
// you can specify a different ID with:
// `container: "my_chatbox_id"` option
prepHTML ( { relative_path : "../node_modules/chat-bubble/" } ) ;

/************************************************************************/
/************************ SAMPLE IMPLEMENTATION *************************/
/************************************************************************/

// initialize by constructing a named function...
const chatWindow = new Bubbles (
  document . getElementById ( "chat" ) , // ...passing HTML container element...
  "chatWindow" // ...and name of the function as a parameter
) ;

// `.talk()` will get your bot to begin the conversation
chatWindow . talk (
  // pass your JSON/JavaScript object to `.talk()` function where
  // you define how the conversation between the bot and user will go
  {
    // "ice" (as in "breaking the ice") is a required conversation object
    // that maps the first thing the bot will say to the user
    ice : {
      // "says" defines an array of sequential bubbles
      // that the bot will produce
      says : [ "Hey!" , "Can I have a banana?" ] ,

      // "reply" is an array of possible options the user can pick from
      // as a reply
      reply : [
        {
          question : "?" , // label for the reply option
          answer : "banana" // key for the next conversation object
        }
      ]
    } , // end required "ice" conversation object

    // another conversation object that can be queued from within
    // any other conversation object, including itself
    banana : {
      says : [ "Thank you!" , "Can I have another banana?" ] ,
      reply : [
        {
          question : "??" ,
          answer : "banana"
        }
      ]
    } // end conversation object
  } // end conversation object
) ; Wenn Sie sich nicht mit der Einrichtung eines Entwicklungsservers und Transpilers für ES6-Code beschäftigen möchten, verstehe ich das. Entpacken Sie einfach das Paket und erstellen Sie index.html in diesem Verzeichnis. Fügen Sie dann das gesamte JavaScript hinzu, das Sie im obigen Codebeispiel unter dem Kommentar /*SAMPLE IMPLEMENTATION*/ sehen. Ersetzen Sie const durch var .
 <!DOCTYPE html >
< html lang =" en " >
  < head >
    < meta charset =" UTF-8 " />
    < title > My chat-bubble Project </ title >

    <!-- stylesheets are conveniently separated into components -->
    < link rel =" stylesheet " media =" all " href =" ../styles/setup.css " />
    < link rel =" stylesheet " media =" all " href =" ../styles/says.css " />
    < link rel =" stylesheet " media =" all " href =" ../styles/reply.css " />
    < link rel =" stylesheet " media =" all " href =" ../styles/typing.css " />
    < link rel =" stylesheet " media =" all " href =" ../styles/input.css " />
  </ head >
  < body >
    <!-- container element for chat window -->
    < div id =" chat " > </ div >

    <!-- import the JavaScript file -->
    < script src =" ./component/Bubbles.js " > </ script >
    < script >
      /************************************************************************/
      /**************** add "SAMPLE IMPLEMENTATION" code here *****************/
      /************************************************************************/
    </ script >
  </ body >
</ html >
Öffnen Sie nun diese Datei in Ihrem Browser. Erledigt!
ice:{} -Startpunkt fortsetzen möchten? So würden Sie es machen. Den Quellcode und weitere Ideen finden Sie im Ordner /examples .
Object.assign() und String.includes() hinzufügen.