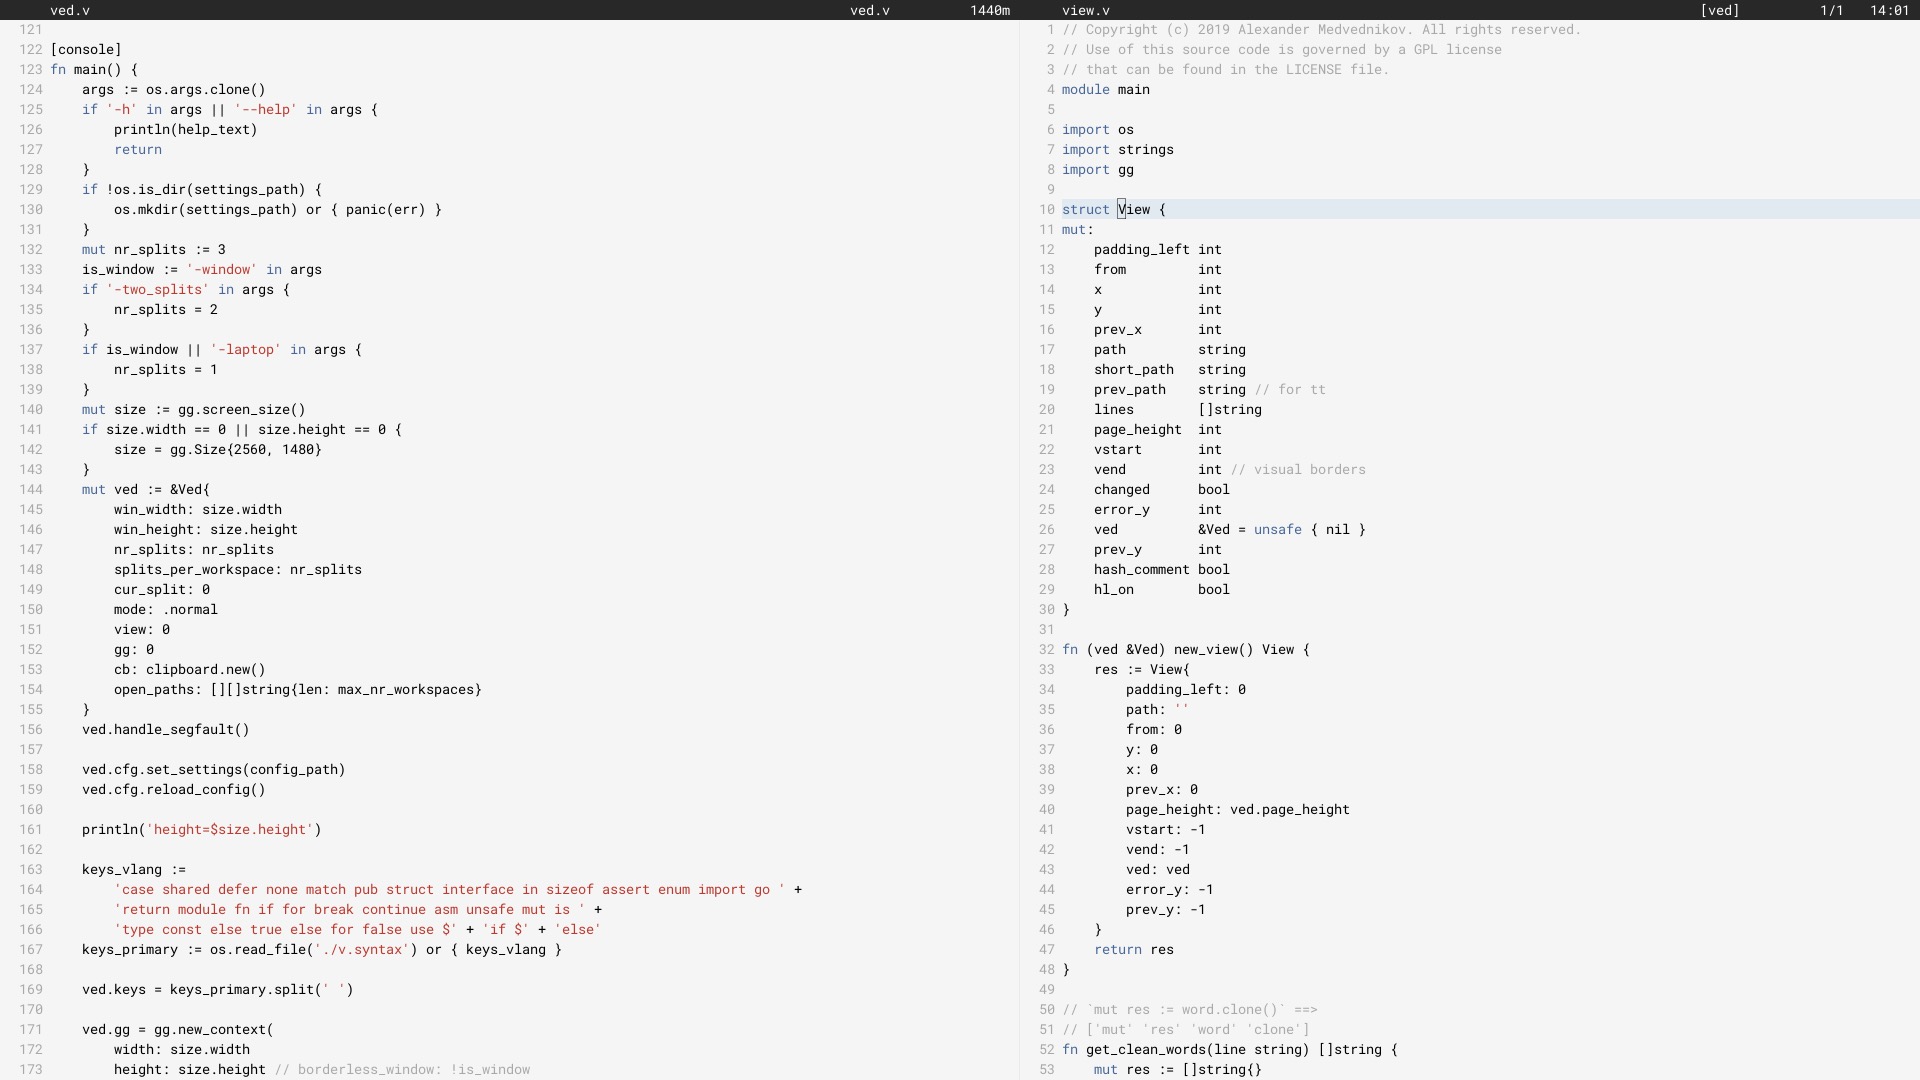
Ich verwende Ved seit Juni 2017 als meinen Haupteditor (es wurde im Juni 2018 in V neu geschrieben).
Es funktioniert möglicherweise nicht bei jedem. Derzeit gibt es Einschränkungen, die umgangen werden müssen. Wir arbeiten daran, die Ved-Stabilität und das Benutzererlebnis langsam zu verbessern.
Informationen zur Konfiguration des Editors finden Sie im Abschnitt „Konfiguration“.
Unter Linux müssen Sie einige Pakete installieren, die für die Verwendung der X11-Bibliotheken erforderlich sind, da Ved eine grafische Anwendung ist. Auf macOS und Windows kann das übersprungen werden. Dann installieren Sie V und kompilieren Sie ved. Dies wird einige Sekunden dauern.
 git clone https://github.com/vlang/ved
cd ved
v .
./ved
Ved sollte in weniger als einer Sekunde aufgebaut sein.
Standardmäßig wird die integrierte Schriftwiedergabe von V verwendet, es gibt jedoch eine Option zur Verwendung von Freetype, die für einige Benutzer möglicherweise eine bessere Darstellung bietet:
v -d use_freetype .
Um Freetype nutzen zu können, muss es zunächst auf Ihrem System installiert werden. Befolgen Sie die unten aufgeführten Schritte für Ihre Plattform.
Ubuntu:
sudo apt install libfreetype6-dev libx11-dev libxrandr-dev mesa-common-dev libxi-dev libxcursor-dev
Fedora:
sudo dnf install freetype-devel libXcursor-devel libXi-devel
Bogen:
pacman -S freetype2
macOS:
brew install freetype
Windows:
v setup-freetype
Discord (primäre Community): https://discord.gg/vlang. Treten Sie dem #ved -Kanal bei.
Ved erstellt ein Einstellungsverzeichnis in $HOME/.ved , in dem es Arbeitsbereiche, Sitzungen, Aufgaben und die Konfigurationsdatei speichert. Die Konfigurationsdatei ist einfach eine TOML-Datei mit dem Namen conf.toml . Es bietet die Möglichkeit, einige Grundeinstellungen und die Editorfarben zu ändern.
Wenn Sie die Konfigurationsdatei nicht berühren möchten, müssen Sie das nie tun! Ved erstellt es nicht selbst und bietet sinnvolle Standardeinstellungen, um Ihnen den Einstieg zu erleichtern. Wenn Sie abenteuerlustiger sind, finden Sie hier eine Beispielkonfigurationsdatei, die alle möglichen Einstellungen enthält:
 # To get started, create a file called "conf.toml" in $HOME/.ved
# Most of the settings are contained inside this "editor" table.
[ editor ]
dark_mode = false       # Ved comes with a light and dark mode built-in.
cursor = ' variable '     # Ved has three variants: Variable, block, and beam. You are probably used to "variable" or "beam".
text_size = 18          # ┌───────────────────────────────────────────────────┐
line_height = 20        # │ These *can* be edited, but you probably shouldn't │
char_width = 8          # └───────────────────────────────────────────────────┘
tab_size = 4            # Ved uses tab characters (t). This settings changes how many spaces a tab should be displayed as
backspace_go_up = true  # If set to true, hitting the backspace doesn't do anything when you reach the beginning of the line

# If you do not like ved's default colorscheme, or you just want
# something new, edit the "colors" table. Ved uses a form of base16
# to control syntax and editor highlighting. Please note that due
# to ved's very minimal highlighting, base16 themes copied off of
# the internet are not going to look like very much like their
# screenshots.
[ colors ]
base00 = " efecf4 "
base01 = " e2dfe7 "
base02 = " 8b8792 "
base03 = " 7e7887 "
base04 = " 655f6d "
base05 = " 585260 "
base06 = " 26232a "
base07 = " 19171c "
base08 = " be4678 "
base09 = " aa573c "
base0A = " a06e3b "
base0B = " 2a9292 "
base0C = " 398bc6 "
base0D = " 576ddb "
base0E = " 955ae7 "
base0F = " bf40bf " Ved funktioniert am besten mit Arbeitsbereichen (Verzeichnissen mit Code). Sie können mehrere Arbeitsbereiche haben und mit C [ und C ] schnell zwischen ihnen wechseln.
Um mehrere Arbeitsbereiche zu öffnen, führen Sie Folgendes aus:
ved path/to/project1 path/to/project2
Tastenkombinationen:
C ist ⌘ auf macOS, Ctrl auf allen anderen Systemen.
 C q q  exit the editor
C o    open a file
C s    save
C r    reload current file
C p    open ctrlp (fuzzy search)
/      search in current file
C g    copy current file's path to clipboard
t      go to the previous file
gd     go to definition

C c    git commit -am
C -    git diff
?      git grep (search across all files in current workspace)

C u    build current project (build instructions must be located in "build")
C y    alternative build of the current project (build instructions must be located in "build2")
C 1    switch to Ved from any other application (only on macOS for now)

C d    go to the previous split
C e    go to the next split
C [    go to the previous workspace
C ]    go to the next workspace

C a    start a new task
C t    show the Timer/Pomodoro window
Unterstützte VIM-Bindungen:
 j k h l         down, up, left, right (moves cursor)
C-F C-B         page down, page up
L H             go to top/bottom of the page
w b             next/previous word
dw de cw ce     delete word
di ci           smart delete
A I             go to start/end of line, insert mode
o O             new line below/above, insert mode
v               selection mode
zz              center current line
y d p J         yank, delete, paste, join lines
.               repeat last action
< >             indent right/left
/ * n           search, search for word under cursor, next occurence
gg G            go to the beginning/end of the file
x r             delete/replace character under cursor
C-n             autocomplete
+y              yank and copy to system clipboard