PureCloud Embeddable Framework Mystery CRM
This repository contains an example application that mimics a custom CRM environment. The application can integrate with different PureCloud Embeddable Framework deployment environments: local, private, and production.

Table of Contents
- Getting Started
- TL;DR
- Prerequisites
- Installation
- Configuration
- Usage
- Additional Information
Getting Started
TL;DR
- Clone the repository.
- Run
npm install.
- Run a local server.
- Open the application in your browser.
- Configure settings in the application and refresh your browser.
You can now interact with the PureCloud Embeddable Framework application.
Prerequisites
- Git installed on your computer.
- Node.js (with npm) installed on your computer.
- Ember CLI installed on your computer.
- PureCloud credentials.
- A PureCloud OAuth client with the Token Implicit Grant (Browser) grant type selected.
For more information, see Create an OAuth client (Resource Center).
Installation
- Clone the repository.
- Run
npm install in a command-line application.
- Run
npm install -g ember-cli in a command-line application.
Configuration
- Run a local server.
- Windows
a. Run Command Prompt as an administrator.
b. Type cd {name of your PureCloud Embeddable Framework project}.
c. Type ember serve --port 443.
- macOS
a. Open a Terminal window.
b. Type cd {name of your PureCloud Embeddable Framework project}.
c. Type sudo ember serve --port 443.
- Wait until you see "Build successful...Serving on https://localhost:443/" in the Command Prompt/Terminal window.
- In your browser, go to https://localhost:443.
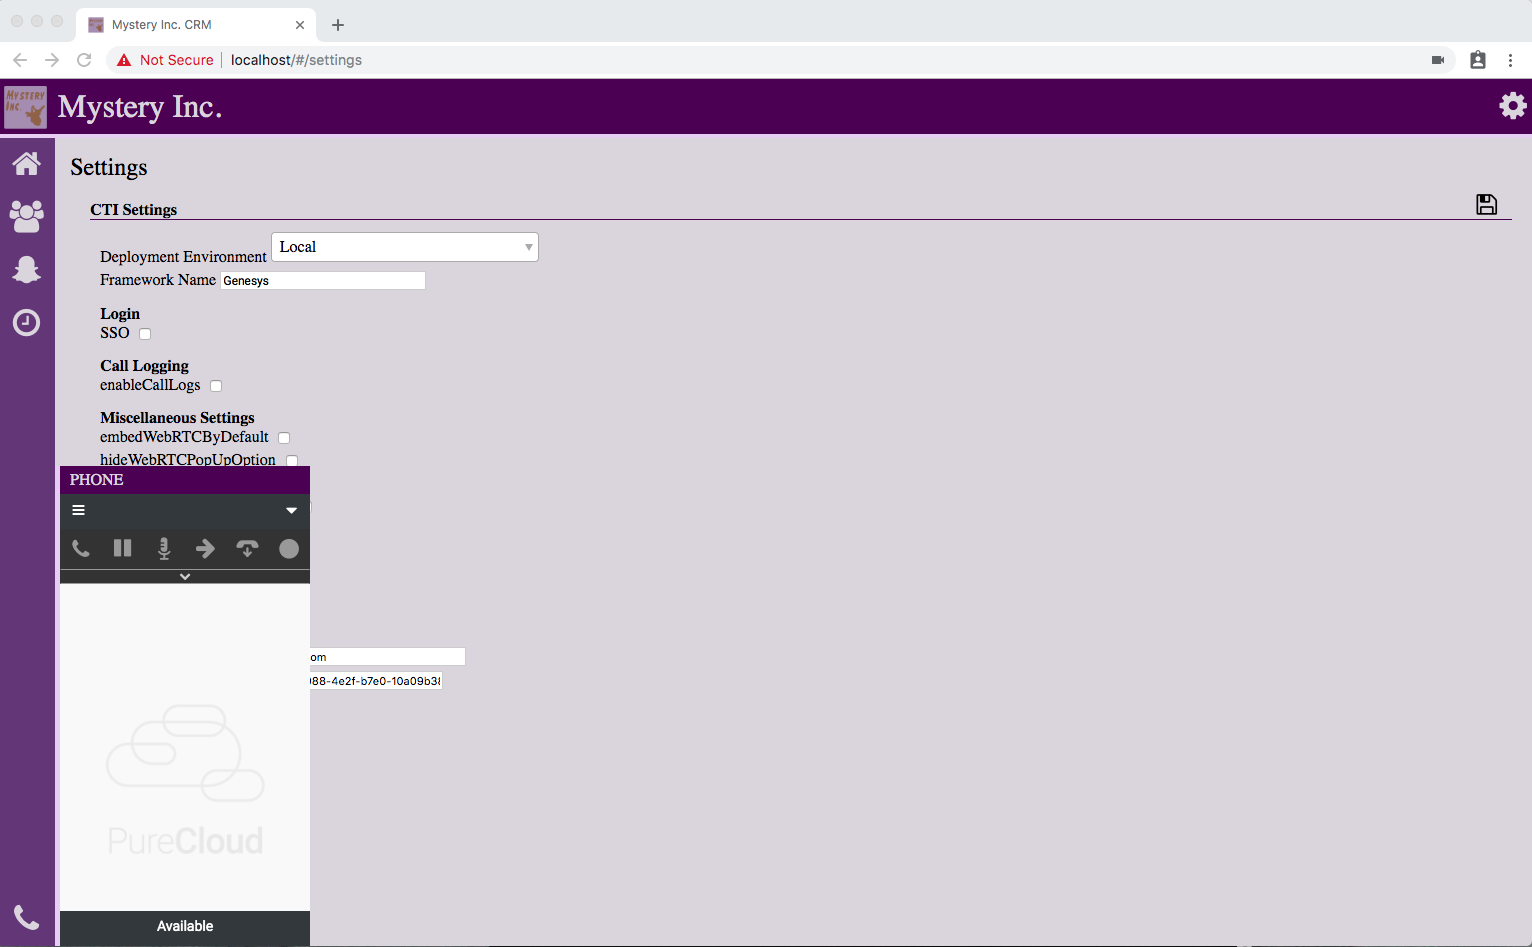
- Configure the application.
a. Click the gear icon.
b. Edit the following required fields:
- Deployment Environment: Select the correct PureCloud Embeddable Framework deployment environment for your integration.
- Framework Name: Add a unique name for your integration.
- PureCloud Environment: Indicate the region where your PureCloud organization is located.
For a list of values, see property names under clientIds (Developer Center).
- PureCloud Client ID: Add the Client ID from the OAuth client that you created in PureCloud.
For more information about the OAuth client, see Prerequisites.
c. (Optional) Edit the other fields. For more information about these fields, see the PureCloud Embeddable Framework documentation in the Developer Center.
d. To save your changes, click the disk icon.
- Refresh your browser. The configuration changes now take effect.
Usage
After you complete the steps under Configuration, click the phone icon and log in to the client with your PureCloud credentials.
You can now interact with the application and explore functionality in a PureCloud Embeddable Framework deployment environment.
Additional Information
This content is licensed under the MIT license.
For more information about PureCloud Embeddable Framework, see PureCloud Embeddable Framework overview (Developer Center) and About PureCloud Embeddable Framework (Resource Center).
