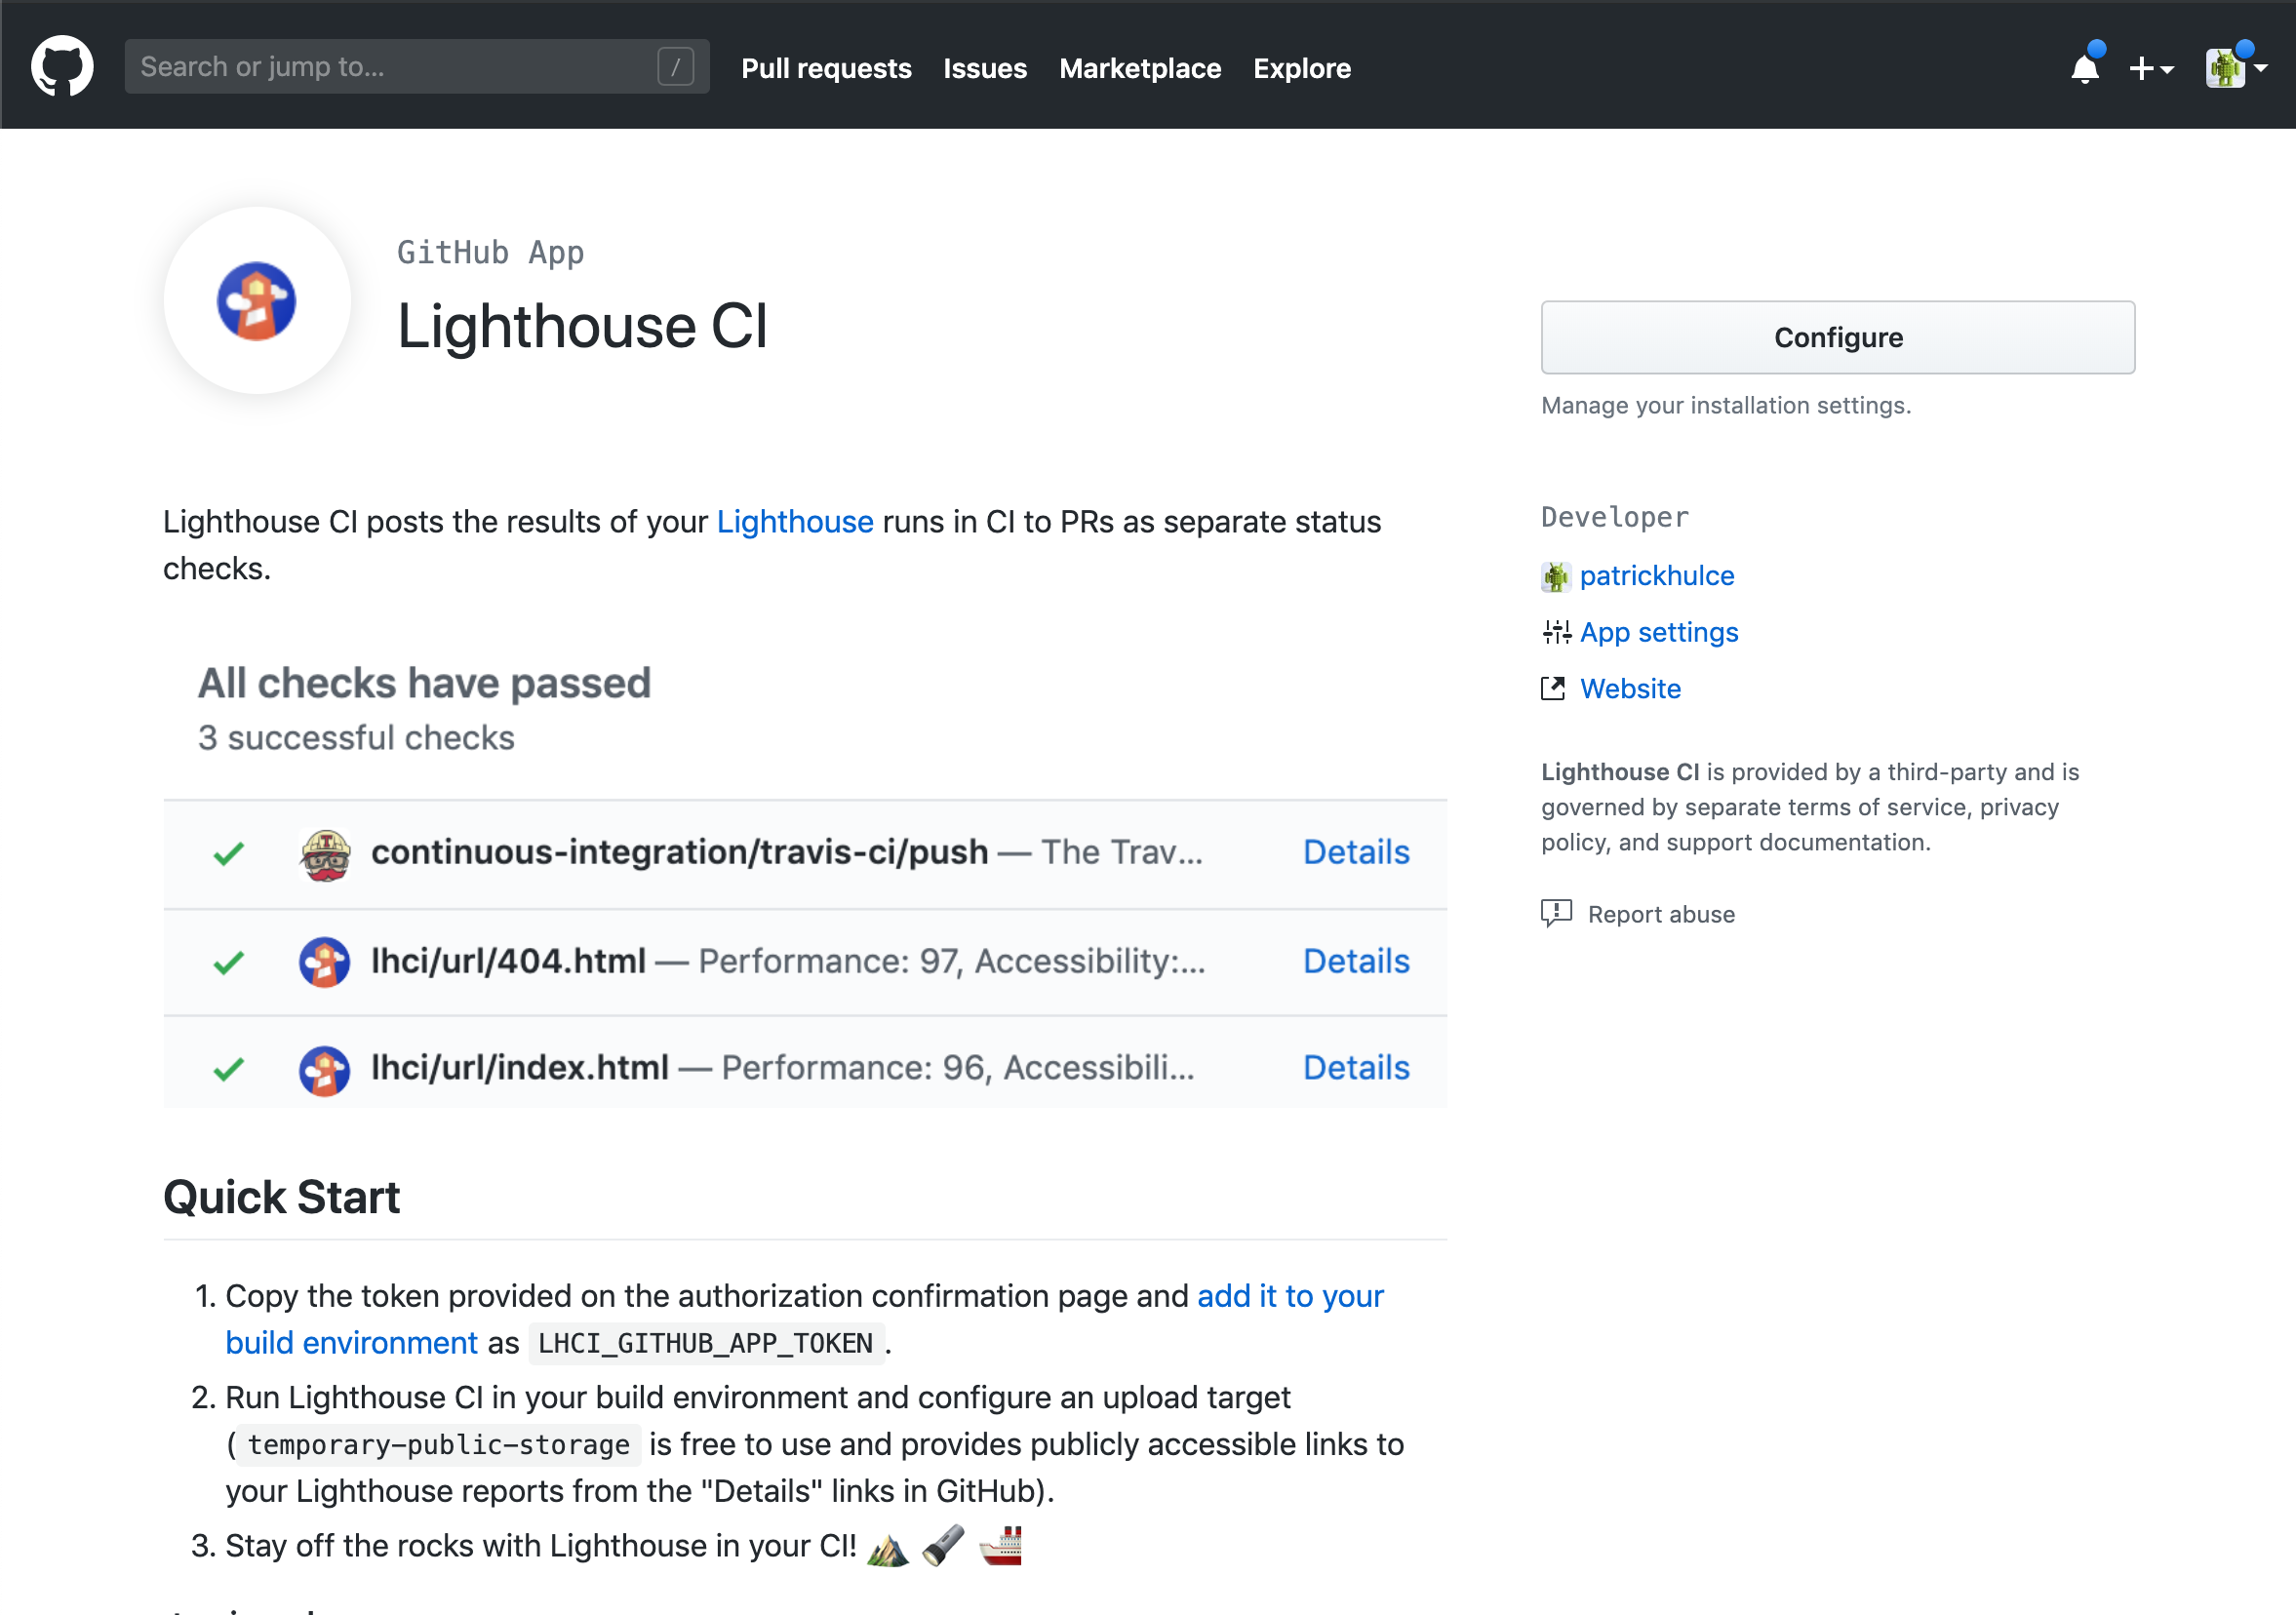
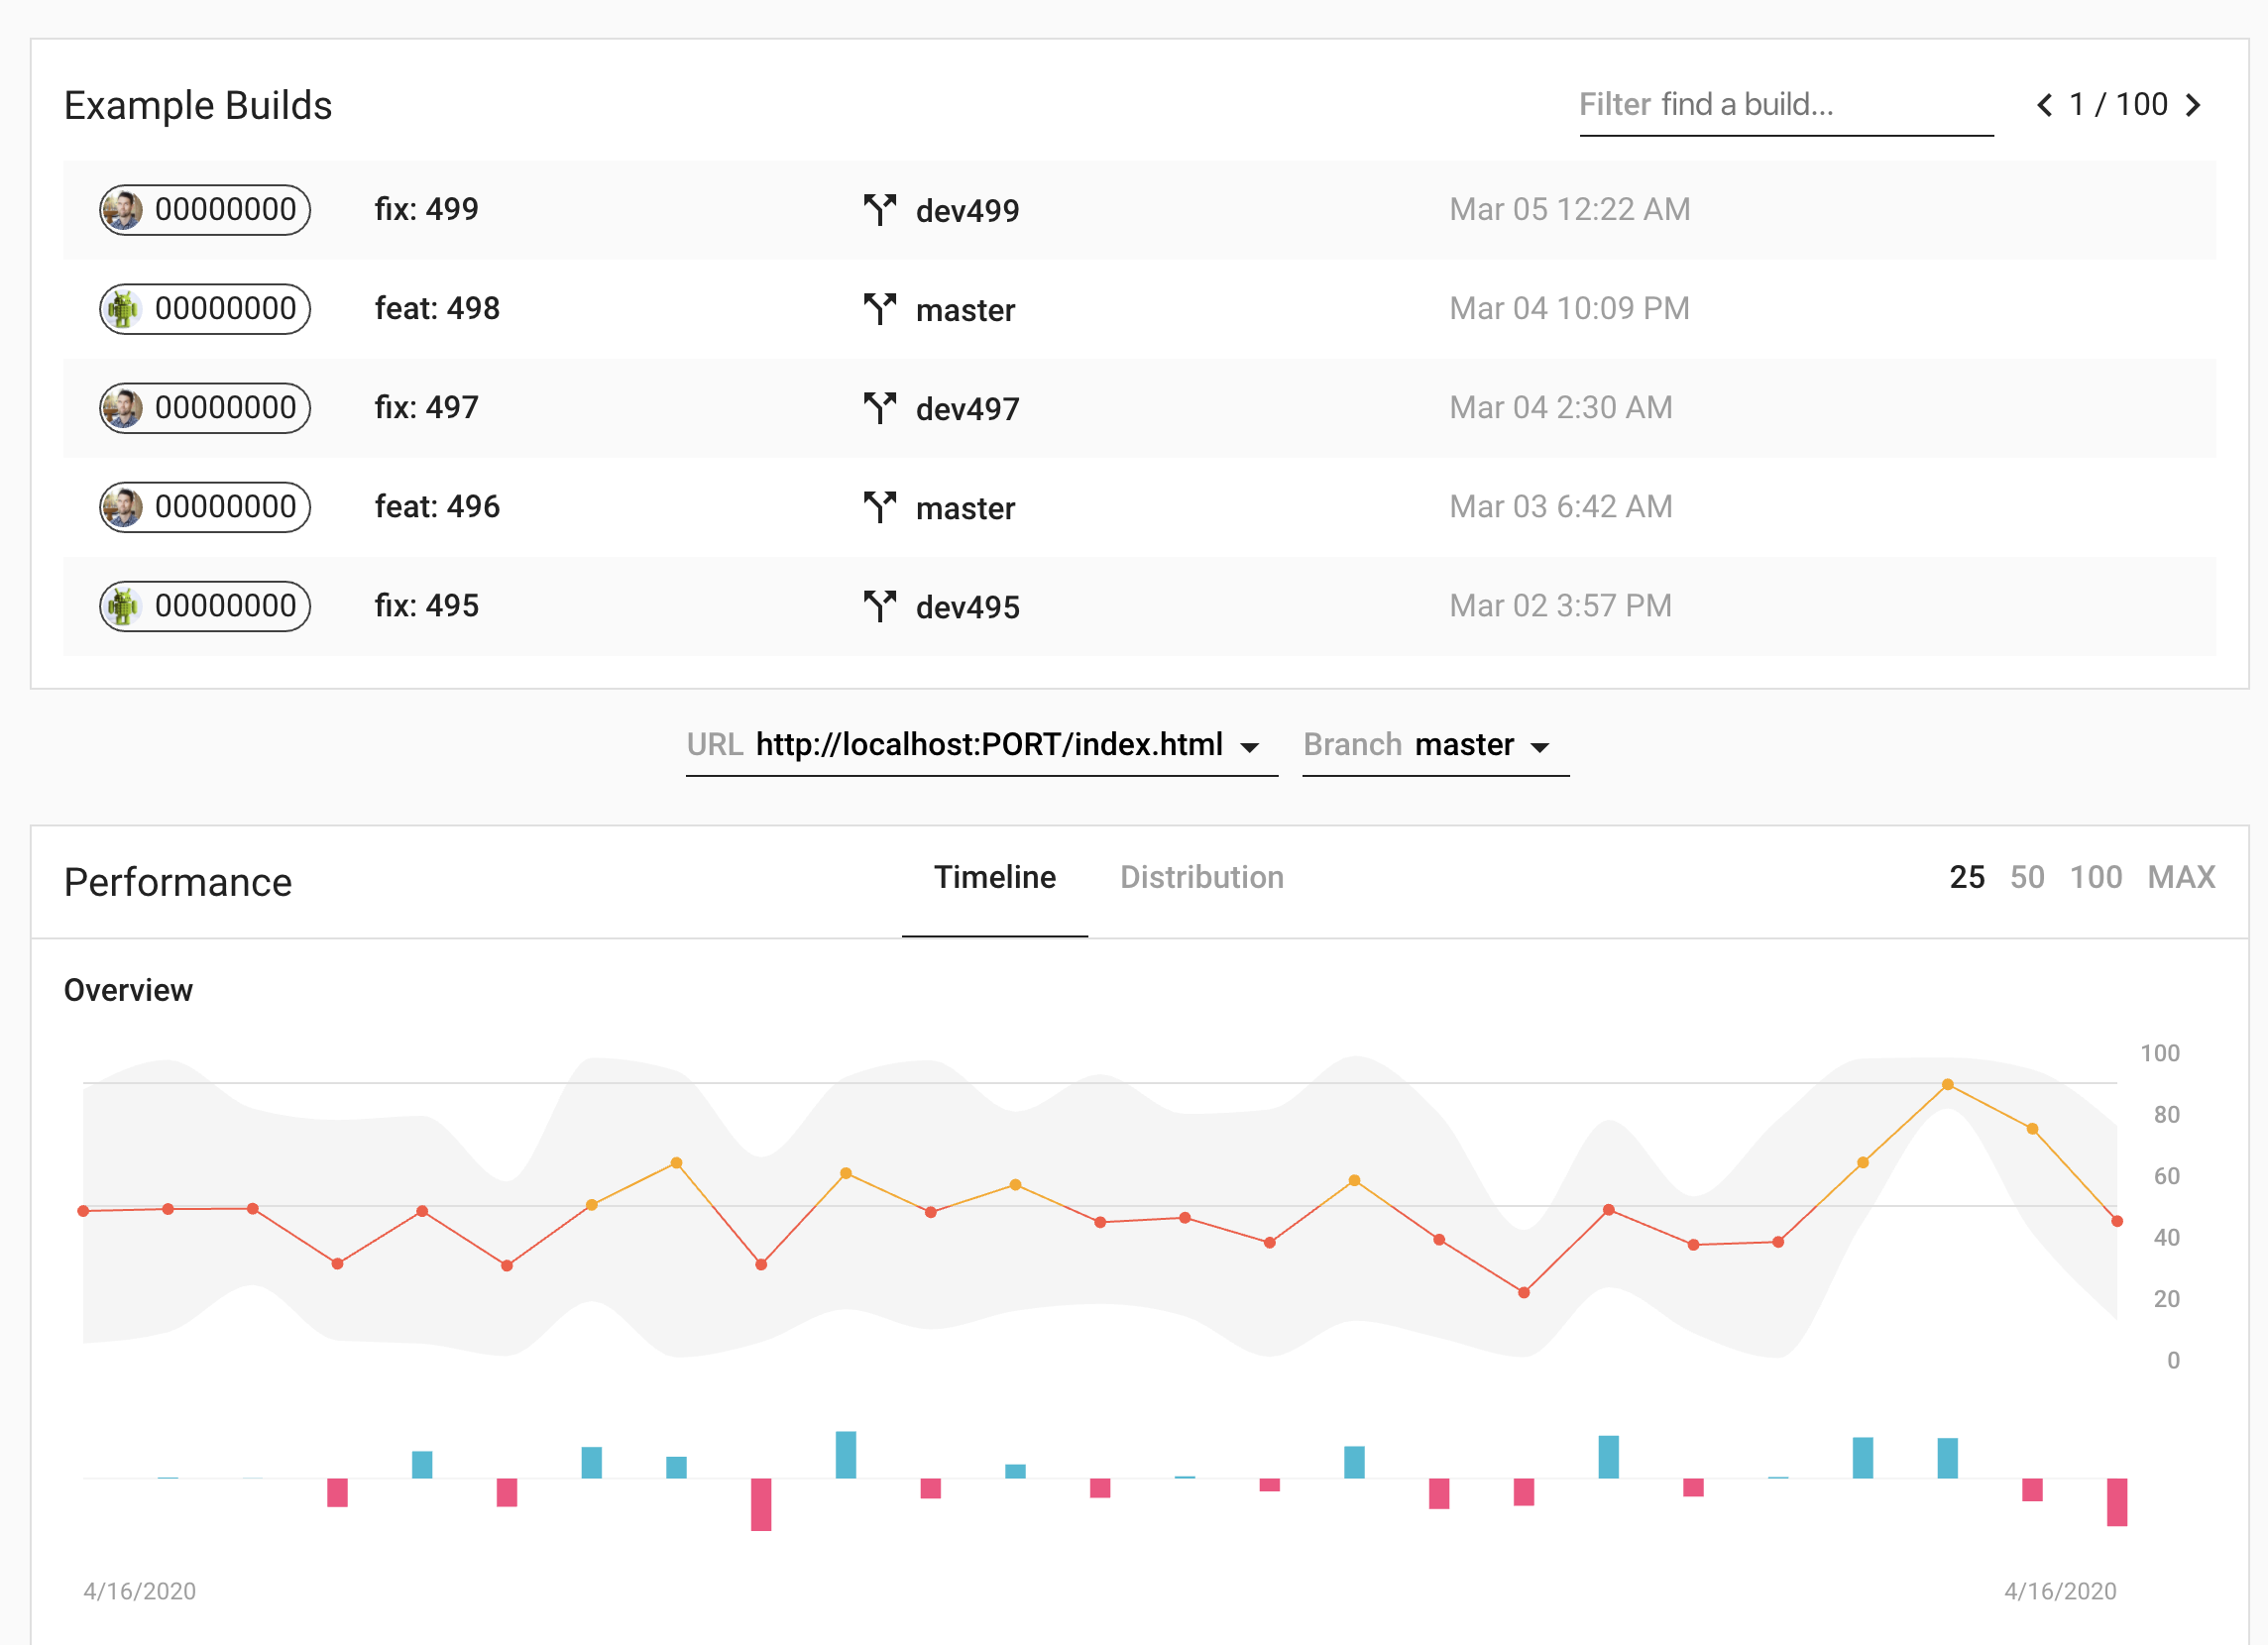
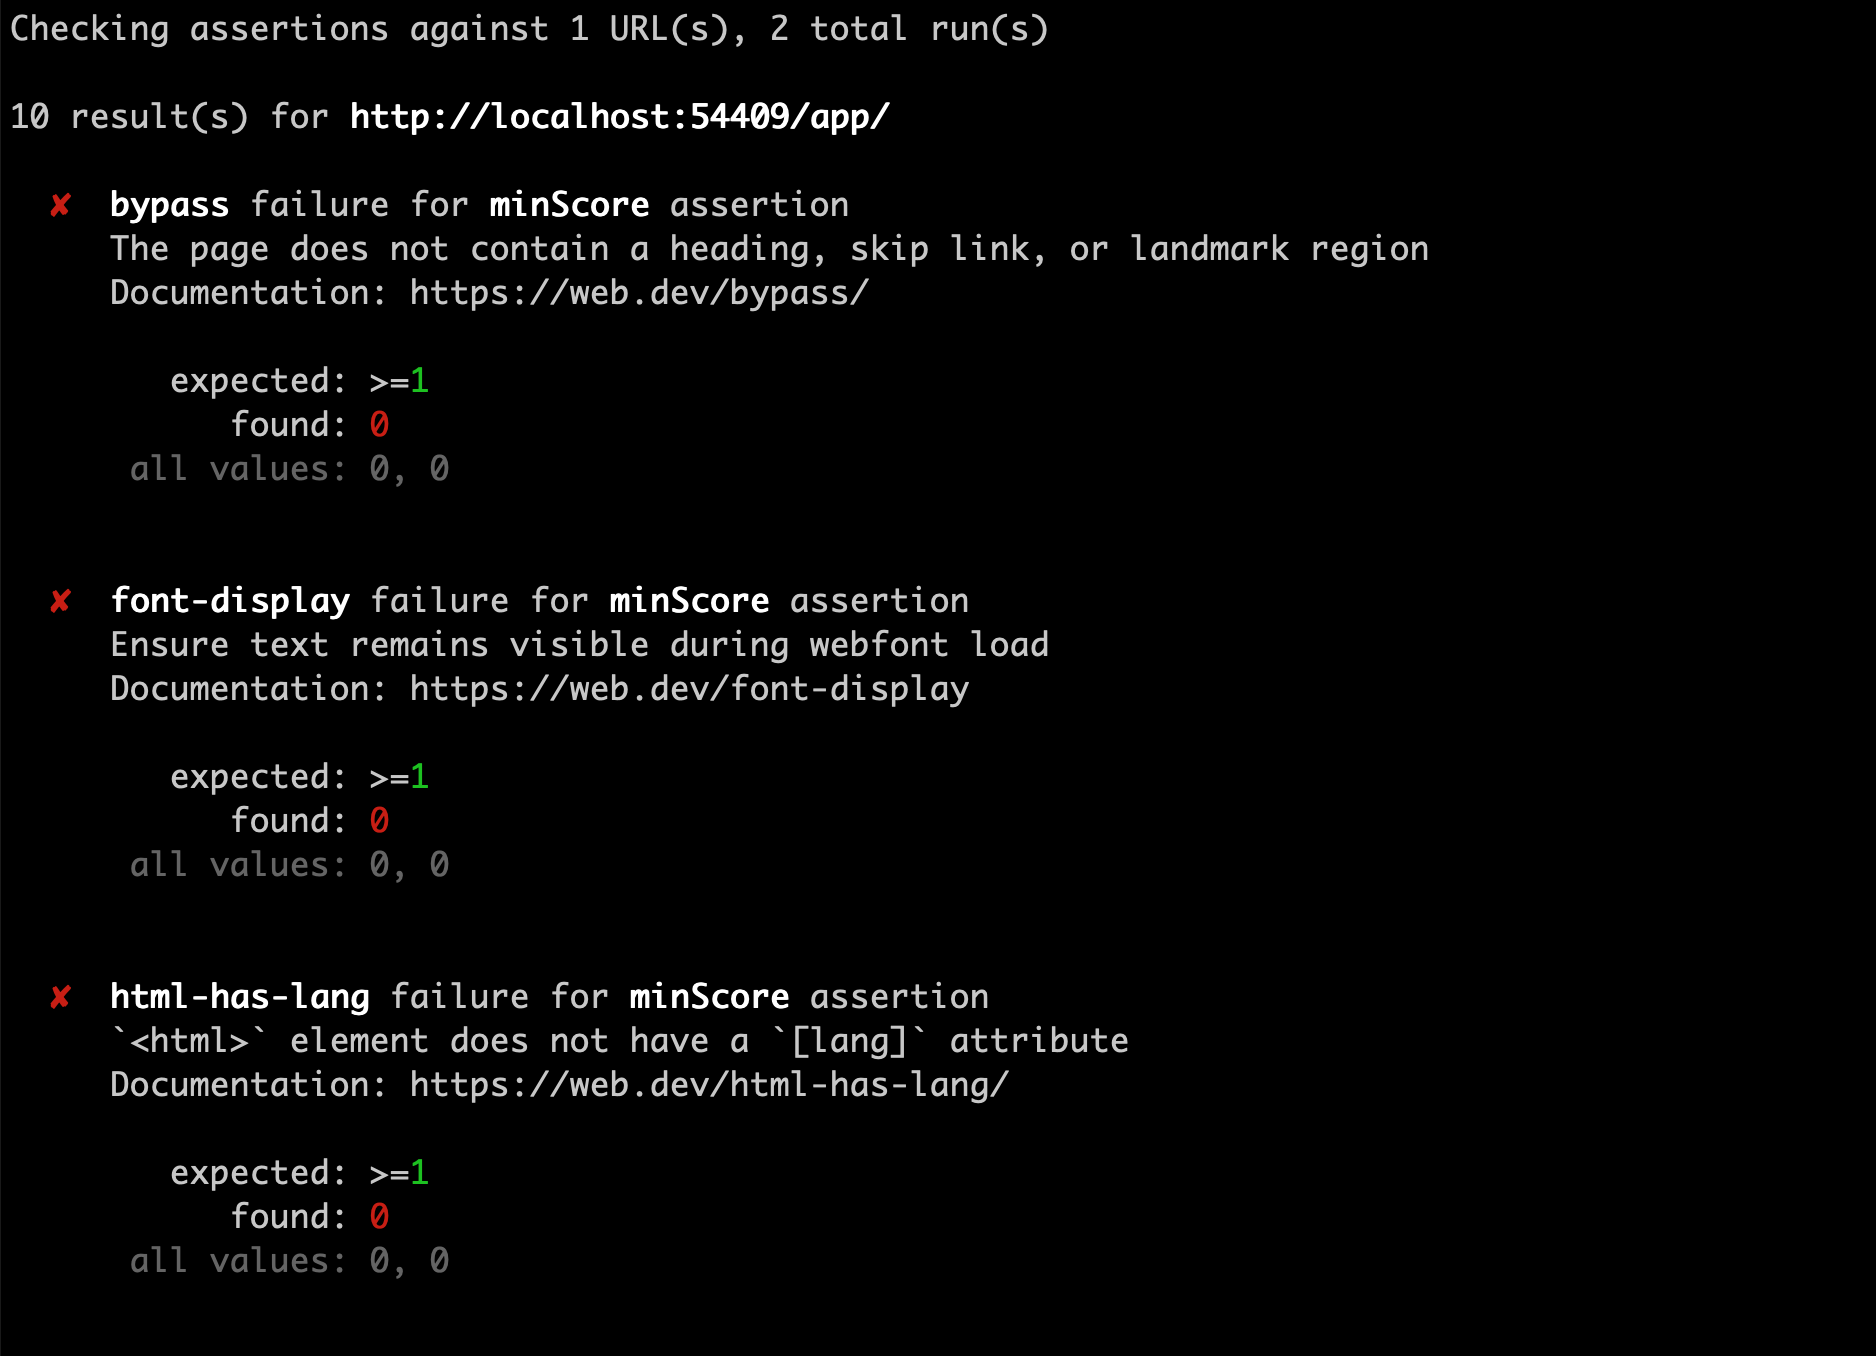
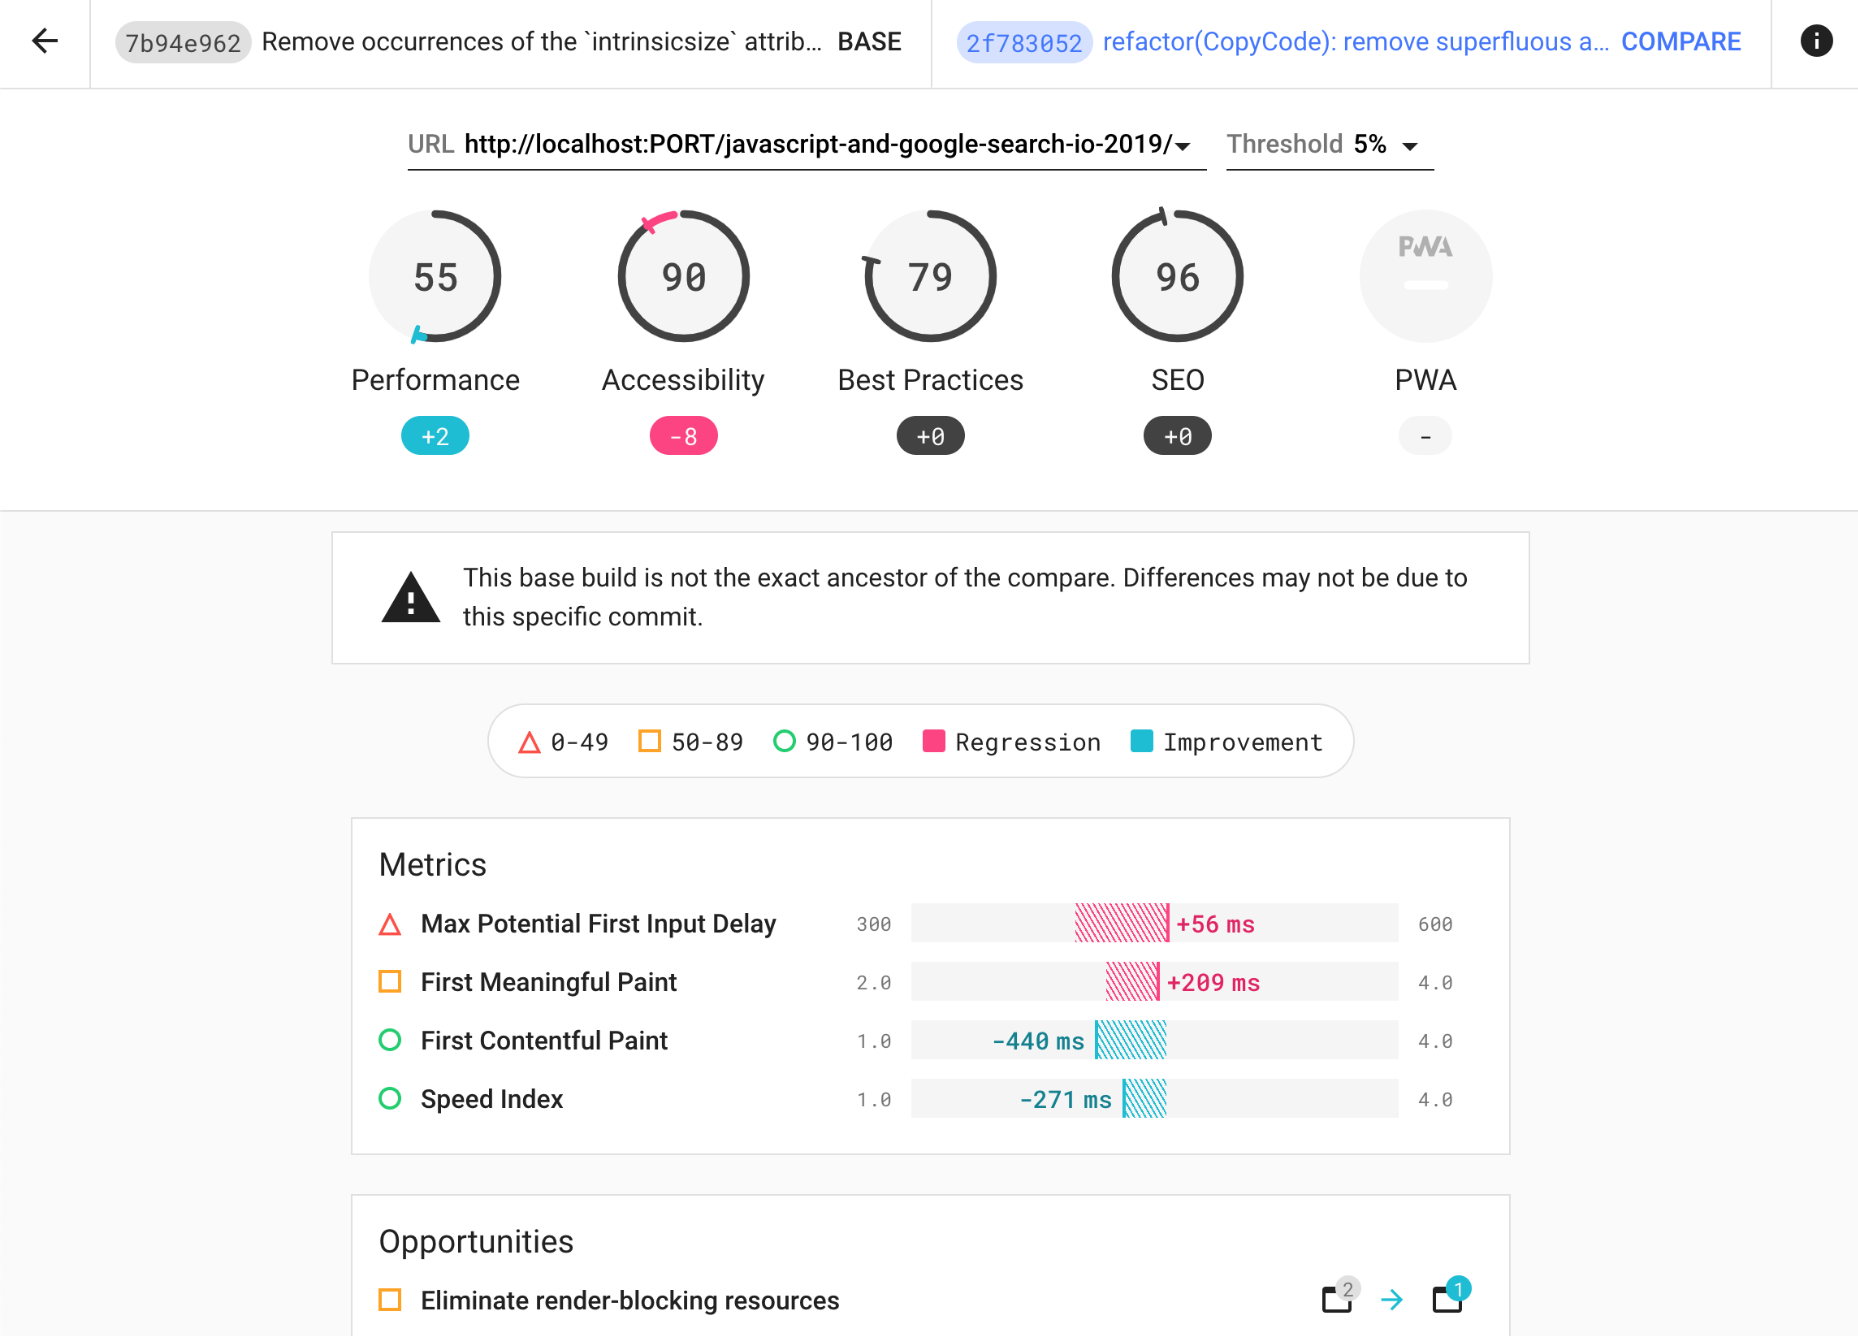
Lighthouse CI is a suite of tools that make continuously running, saving, retrieving, and asserting against Lighthouse results as easy as possible.
To get started with GitHub actions for common project configurations, add the following file to your GitHub repository. Follow the Getting Started guide for a more complete walkthrough and instructions on other providers and setups.
.github/workflows/ci.yml
name: CI
on: [push]
jobs:
  lighthouseci:
    runs-on: ubuntu-latest
    steps:
      - uses: actions/checkout@v3
      - uses: actions/setup-node@v3
        with:
          node-version: 18
      - run: npm install && npm install -g @lhci/[email protected]
      - run: npm run build
      - run: lhci autorun


If you're already familiar with continuous integration and have an existing process, start with Getting Started.
If you're not familiar with continuous integration, start with Introduction to CI.
A collection of projects using Lighthouse CI written by the community. If you're using Lighthouse CI in your open source project, open a PR to add it here!
Lighthouse CI GitHub Action - Automatically run Lighthouse CI on every PR with GitHub Actions, no infrastructure required.
Lighthouse CI Starter Example - A minimal example repo that you can use as a template when starting from scratch, offers a beginner-friendly quickstart guide using create-react-app.
Lighthouse CI Compare Action - A Lighthouse CI Github Action that compares the current commit run against the ancestor commit and creates an object with the differences and a Markdown table that you can use for different purposes.
A collection of unofficial blog posts, tutorials, and guides written by the community on using Lighthouse CI. If you've written up a guide to using Lighthouse CI in your project, open a PR to add it here!
NOTE: This is not official documentation. You're encouraged to familiarize yourself with Lighthouse CI and read through Getting Started before continuing.
We welcome contributions to lighthouse-ci! Read our contributing guide to get started.