First, install Node.js. You can download the Node.js installer from the official Node.js website and choose the version that suits the operating system you are using. Once the download is complete, run the installer and follow the instructions provided.
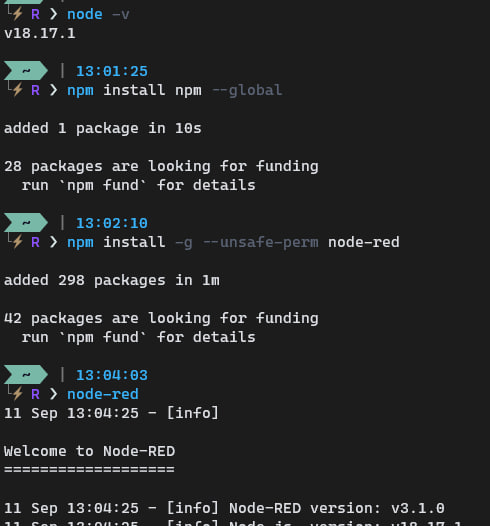
After Node.js is installed, install Node-RED using npm (Node Package Manager). Open a command prompt or terminal, then run the following command to install Node-RED globally:
npm install -g --unsafe-perm node-red
node-red
Once Node-RED is running, open a browser and access the address http://localhost:1880 to enter the Node-RED interface.
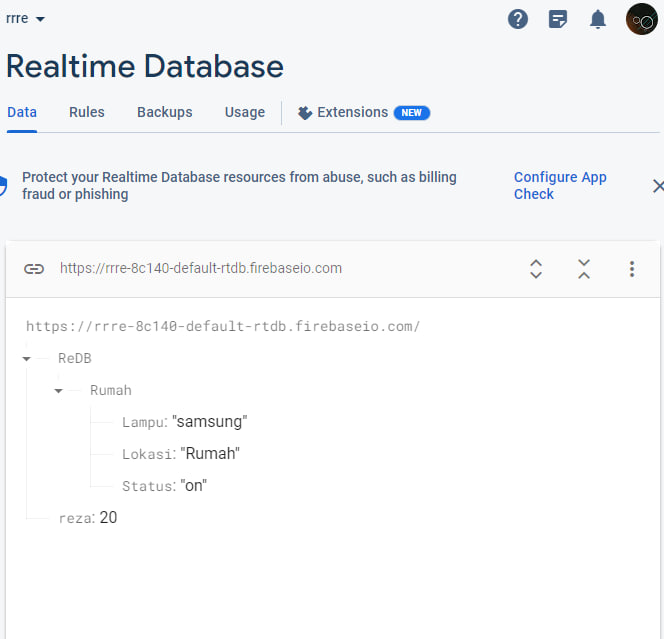
Next, open Firebase and log in using your Google account. After signing in to the Firebase Console, create a new project or use an existing project.
After creating the project, click the "Add Firebase to your web app" button to get the Firebase configuration. Copy the configuration and save it, because it will be used later.
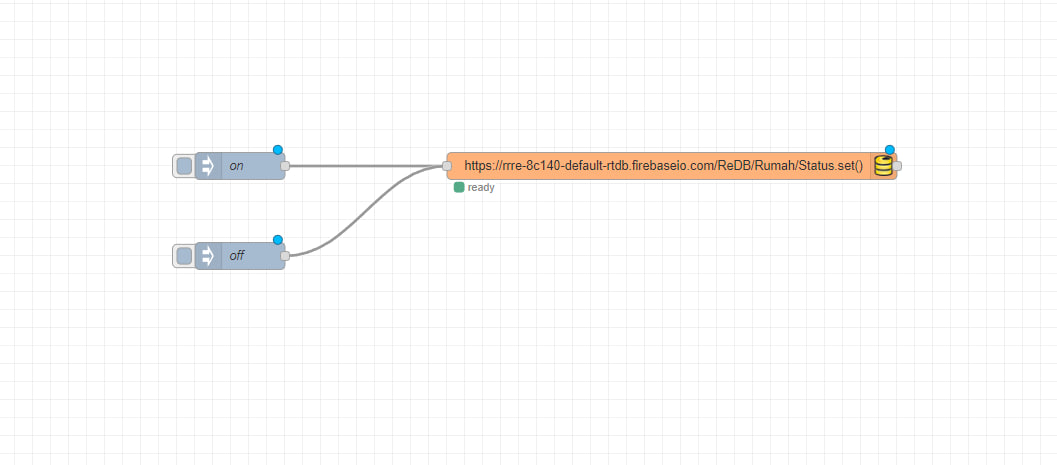
Back in the Node-RED interface, create a new flow by pressing the "+" button. In the new flow, drag the "firebase" node to the flow page.
Configure the firebase node by double clicking on it. Fill in the required information, such as Name (connector name), Firebase URL (Firebase URL), and Secret (API Key from Firebase).
Once the configuration is complete, click the "Deploy" button to run the Node-RED flow.
Congratulations, the Program Link is ready to use! You can integrate with other services or make modifications according to your needs.
That's how to install the Link Program using Node-RED and Firebase. Good luck!
install screenshot

red structure nodes
firebase structure