tweet search
1.0.0
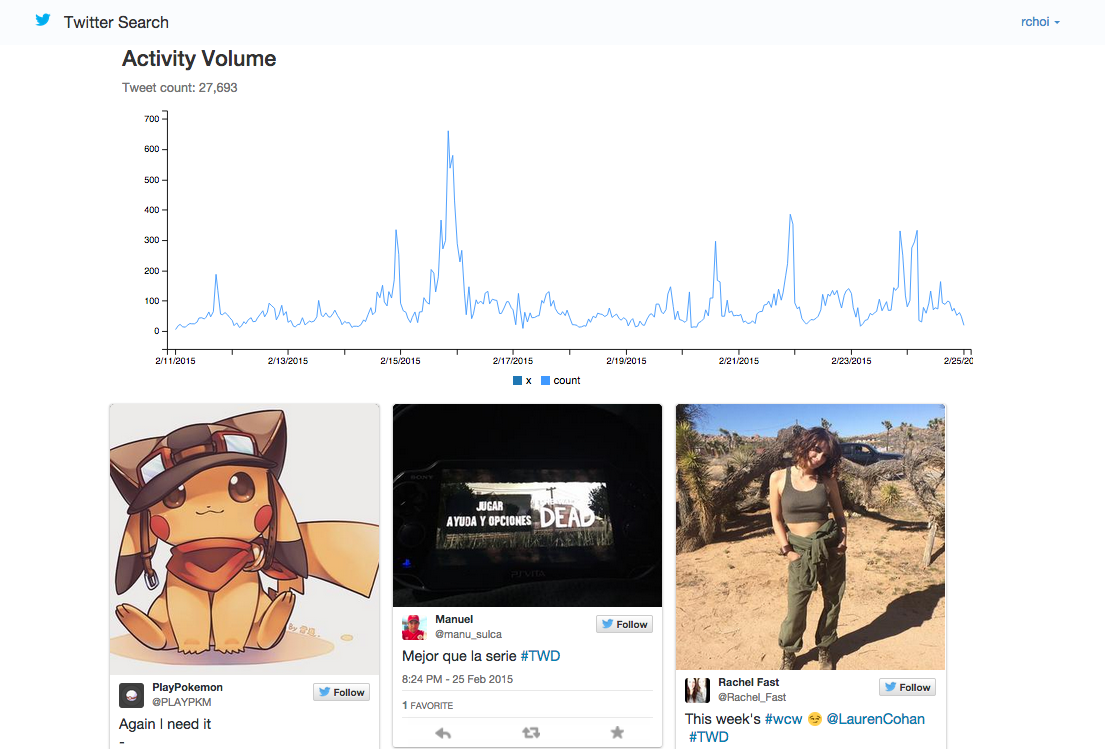
This sample uses GNIP full archive search to show the activity volume and latest tweets on any given topic. It also renders tweets using Twitter's widgets.js.
As always, when developing on top of the Twitter platform, you must abide by the Developer Agreement & Policy.
To run this sample code, you can install the required libraries with:
`pip install -r requirements.txt`
Create a Twitter App (https://apps.twitter.com/). Also, ensure that the Callback URL is populated. This can point to http://localhost:9000 to start. If it is not included, you will get Client Authorization errors upon login.
Specify your API and GNIP credentials in app/settings_my.py under the following section:
GNIP_USERNAME = 'YOUR_GNIP_USERNAME'
GNIP_PASSWORD = 'YOUR_GNIP_PASSWORD'
GNIP_SEARCH_ENDPOINT = 'YOUR_GNIP_FULL_ARCHIVE_SEARCH_ENDPOINT'
To initialize your database, run the from the tweet-search directory:
python manage.py syncdb --settings=app.settings_my
Then run:
python manage.py migrate --settings=app.settings_my
To start the server, run the following from the tweet-search directory:
fab start
Open a browser and go to http://localhost:9000
Note that the GNIP_SEARCH_ENDPOINT is a URL to the full archive search URL, and is in the format https://data-api.twitter.com/search/fullarchive/....
If you want to use the 30-day search, open the gnip_search_api.py file, search for the term "30 DAY" and follow the instructions. (You also need to
use the 30-day search URL, and not the full arhive search URL.)
For security, this code sample has a batch process to clear out Twitter auth tokens for users that either:
To run the process, simply execute:
`fab invalidate'
Deploying to Heroku is even easier.
Create a Twitter App (https://apps.twitter.com/)
Click on the Heroku button below
When prompted during the Heroku install, specify your:
After deploying, in the Twitter App config, ensure the Callback URL is http://your-app-name.herokuapp.com/complete/twitter
To sync the database, use the Heroku CLI and run the following:
heroku run python manage.py migrate --app your-app-name
Open a browser and go to the URL specified by your deploy (http://your-app-name.herokuapp.com)
To create an admin user, use the following Heroku CLI command:
heroku run python manage.py createsuperuser --username=USERNAME --email=EMAIL --app your-app-name
Then log in via the Admin console and update your initial Twitter login user accordingly.
To ensure the token invalidation script works properly on Heroku, run the following from your machine:
`heroku run fab invalidate --app=MY_APP_NAME'
If this runs properly, follow the below steps to run it as a scheduled job on Heroku:
heroku addons:add scheduler:standard --app=MY_APP_NAME
fab invalidate
Confirm successful execution by viewing the output in the Heroku app logs.
Some sample queries to run:
#MLB #SFGiants
@TwitterDev -(is:retweet)
walking dead (has:media)
In the UI, there is a link to show advanced options. Specifically:
(has:media) to your query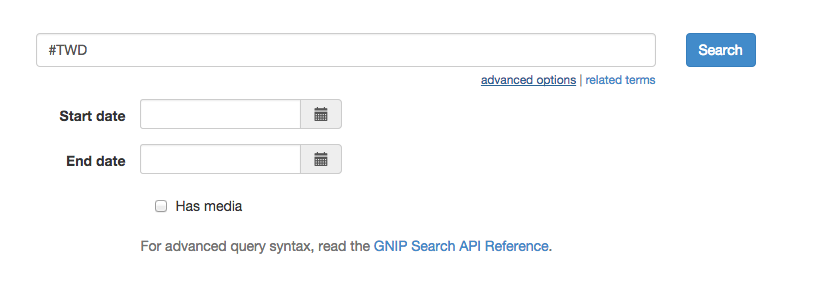
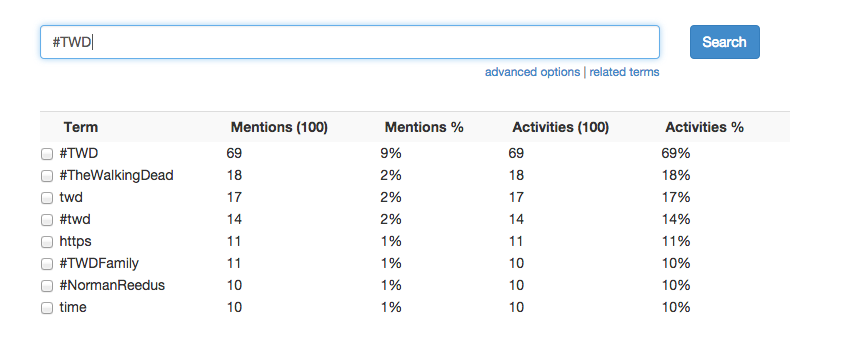
The GNIP search can also suggest additional related terms to add to your query. Click on the 'related terms' link and a drop-down will appear to suggest (and add) additional terms to your query: