As you probably noticed, Scotty.js is not active anymore. Working on Scotty.js was fun, but AWS released AWS Amplify in the meantime, and tools such as Scotty.js are no longer needed. Please take a look at the AWS Amplify Console. It's an excellent tool for hosting static websites and single-page applications.
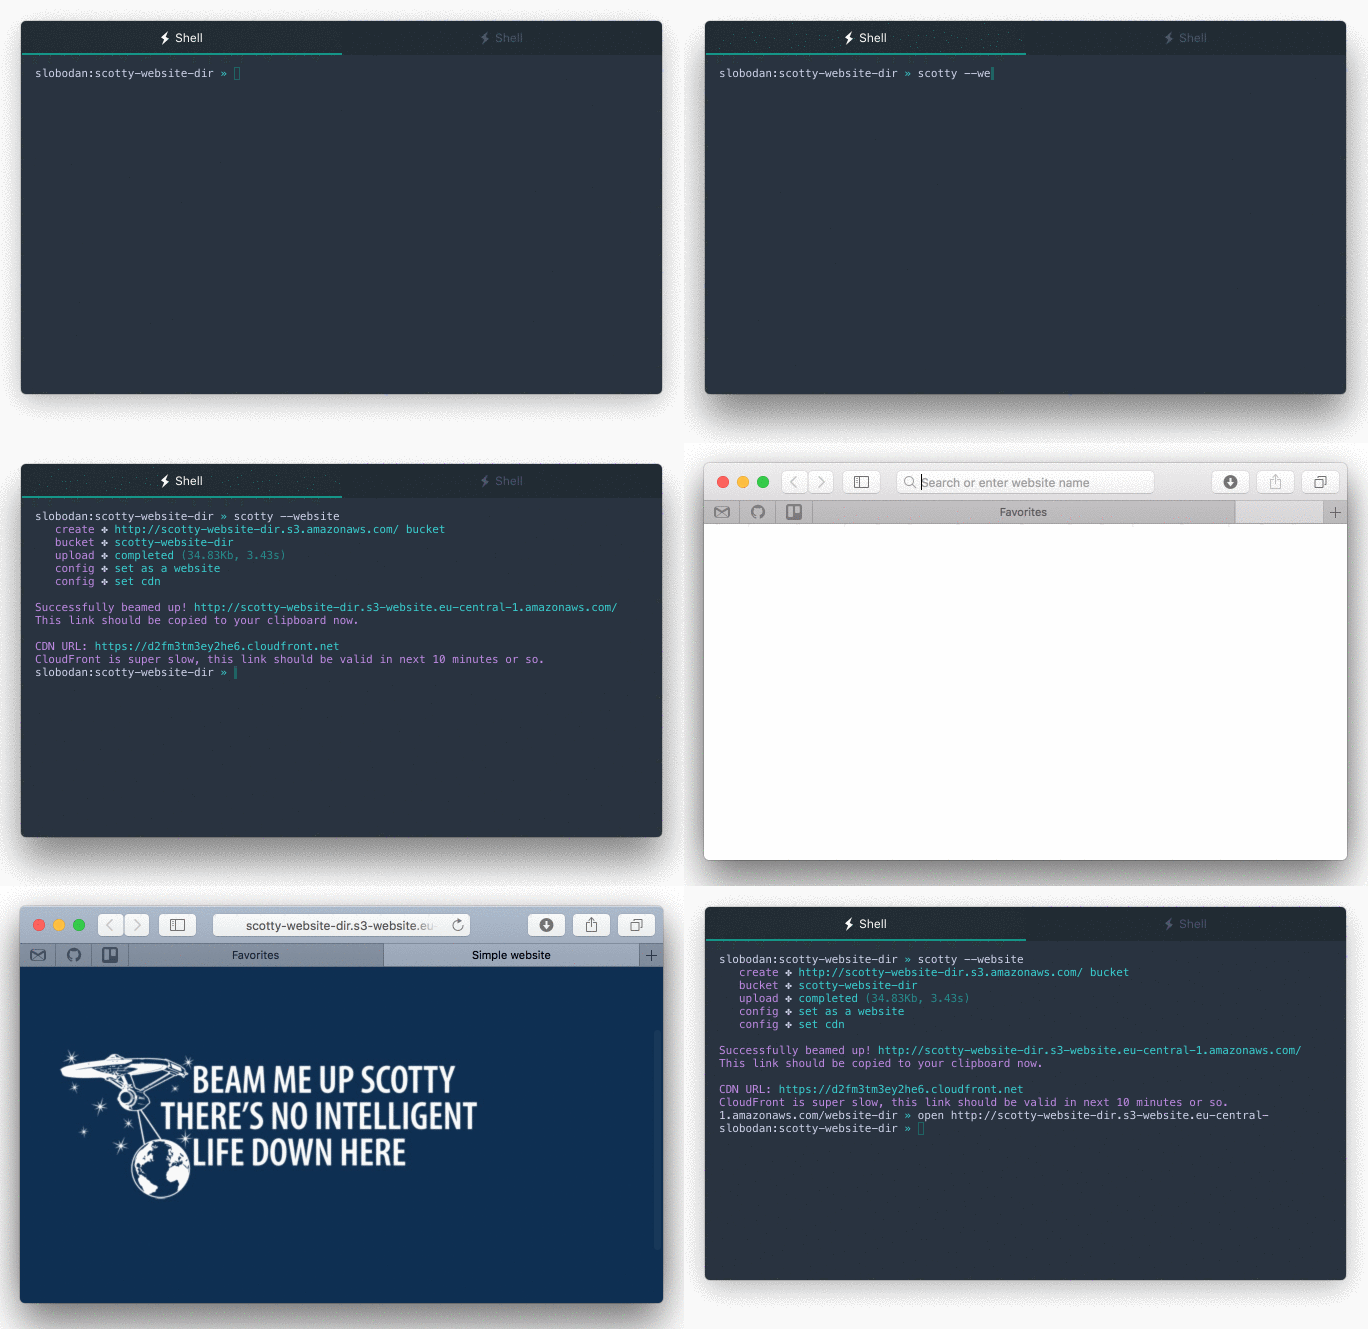
Deploy static websites or folders to AWS S3 with a single command
Scotty.js is available on NPM. Install it as a global dependency to be able to use scotty command anywhere:
npm install scottyjs --global
Beam me up, Scotty

To deploy a static folder to AWS S3 run:
scotty {options}or
beam-me-up {options}--help or -h - Print this help
--version or -v - Print the current version
--noclipboard or -n - Do not copy the URL to clipboard (default: false)
--quiet or -q - Suppress output when executing commands (default: false)
--website or -w - Set uploaded folder as a static website (default: false)
--spa - Set uploaded folder as a single page app (default: false)
--source or -s - Source of the folder that will be uploaded (default: current folder)
--bucket or -b - Name of the S3 bucket (default: name of the current folder)
--prefix or -p - Prefix on the S3 bucket (default: the root of the bucket)
--region or -r - AWS region where the files will be uploaded, default: saved region if exists or a list to choose one if it is not saved yet
--force or -f - Update the bucket without asking (default: false, forced region can be overridden with -r)
--update or -u - Update existing bucket (default: false)
--delete or -d - Delete existing bucket (default: false)
--nocdn or -c - Disable Cloudfront handling (default: false)
--urlonly or -o - Only output the resulting URL, CDN or S3 according to options (default: false)
--expire or -e - delete objects on bucket older than n days (default: no expiration)
--profile or -a - AWS profile to be used (default: 'default')
--empty or -y - Empty the bucket (Delete all objects before upload files) (default: false)
Full tutorial: http://medium.com/@slobodan/single-command-deployment-for-single-page-apps-29941d62ef97
To deploy CRA apps simply run npm run build in your project root folder to create build version.
Then deploy build version using following command:
scotty --spa --source ./build
Or, if you want to specify bucket name run:
scotty --spa --source ./build --bucket some-bucket-name
With --spa flag, Scotty will set required redirects for your single page app, so your app can use pushState out of the box.
To deploy multiple apps to a single bucket you can make use of the --prefixoption. This comes in handy when your CI system deploys to a staging system
with each branch as a pathname. Eg. the master branch should go to bucket
root (/), so you do not set the prefix. The feature/fancy-stuff branch
should go to the bucket path feature/fancy-stuff so just add this as the
prefix. Here comes a command line example:
# deploy your master branch build to bucket rootscotty --source ./build --bucket some-bucket-name# deploy your branch build to the branch name on the bucketscotty --source_ ./build --bucket some-bucket-name --prefix your/branch
We use Jasmine for unit and integration tests. Unless there is a very compelling reason to use something different, please continue using Jasmine for tests. The existing tests are in the spec folder. Here are some useful command shortcuts:
Run all the tests:
npm test
Run only some tests:
npm test -- filter=prefix
Get detailed hierarchical test name reporting:
npm test -- full
MIT -- see LICENSE