wechat admin
1.0.0
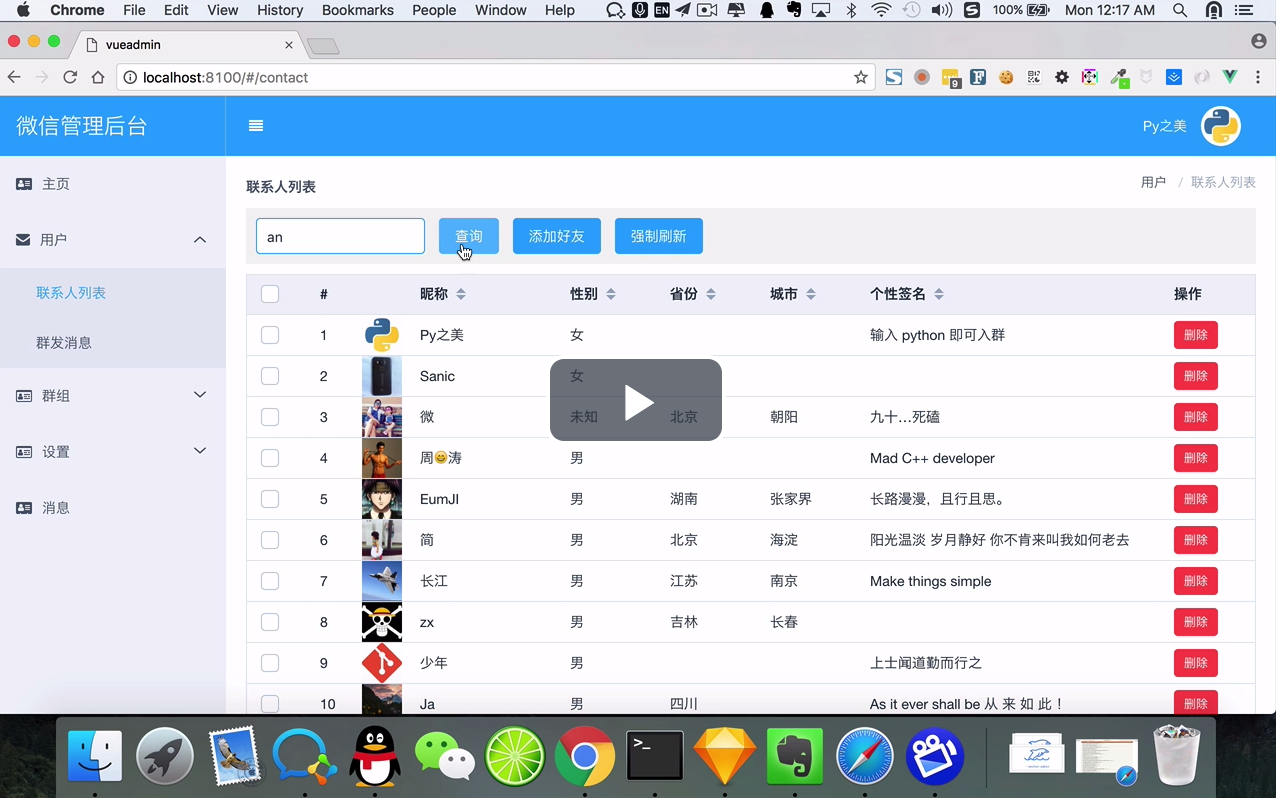
WeChat management system

...
Install MySQL, Redis, and then create a library (default is test):
❯ mysql -u root -p
mysql > drop database test ;
Query OK, 9 rows affected (0.32 sec)

mysql > create database test ;
Query OK, 1 row affected (0.01 sec)

mysql > ^DBye
Download the source code and install dependencies:
❯ git clone https://github.com/dongweiming/wechat-admin
❯ cd wechat-admin
❯ virtualenv venv  # 只支持Python 3
❯ source venv/bin/activate  # 推荐使用autoenv
❯ venv/bin/pip install -r requirements.txt  # 如果已经激活虚拟环境,`venv/bin/`这样的前缀可不加,下同
Setting instructions: Custom configuration should be stored in local_settings.py (needs to be created), and the settings in config.py can be overridden.
Install plugin (optional):
❯ git clone --recursive https://github.com/dongweiming/wechat-plugins
# 如果有额外插件配置,需要修改PLUGIN_PATHS和PLUGINS
For plug-in development, please go to: Plugins Page
Initialize the database:
❯ export FLASK_APP = manager . py
❯ venv / bin / flask initdb
Start the service:
❯ venv/bin/gunicorn app:app --bind 0.0.0.0:8100 -w 6 -t 0PS: If you are running it locally, you can use Flask's multi-thread debugging mode directly without using gunicorn:
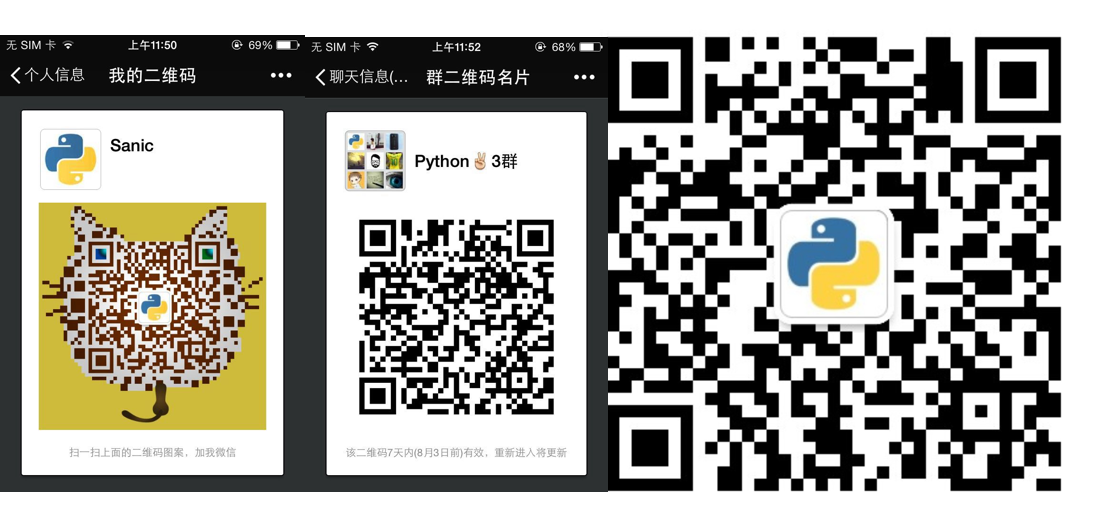
❯ python app.pyVisit the WEB page http://localhost:8100 and use WeChat to scan the QR code to log in.
After successful login, start Celery Beat and Worker:
❯ venv/bin/celery -A wechat worker -l info -BNote: For the first time, all contacts and group chat member lists will be pulled, which will take some time. Observe the terminal output to understand the completion of the initialization task.
Assuming Docker has been installed, just execute the following command.
❯ pip install docker-compose
❯ git clone --recursive https://github.com/dongweiming/wechat-plugins
❯ venv/bin/docker-compose build
❯ venv/bin/docker-compose run init  # 只有在第一次才需要执行这步
❯ venv/bin/docker-compose run --service-ports -d web  # 启动Web,地址也是 http://localhost:8100
❯ venv/bin/docker-compose run -d celery # 同样是在扫码登录之后再启动Install cnpm to increase package download speed:
❯ npm install -g cnpm --registry=https://registry.npm.taobao.orgInstall the required packages:
❯ cnpm i Start the debugging environment:
❯ npm run devIf the startup is successful, http://localhost:8080 will be opened by default, and the back-end API still uses http://localhost:8100/j
After local development, it is built as follows:
❯ npm run buildRefresh http://localhost:8100 to see the latest effect.
Pay attention to modifying the table structure, every time:
❯ venv/bin/flask db migrate
❯ venv/bin/flask db upgradepuid not found errors occasionally appear after using it for a period of time?Due to the design of WeChat, it does not provide a unique and stable data such as uid, so wxpy designed a set of mapping relationships between logged-in users and their related contacts, group chats, and official accounts. In addition, I modified the implementation of wxpy, You can get more caption (nickname, gender, province, city) related content, making the puid in the object more stable.
Due to changes in the settings of some people/groups, their puid may change. After each scan of the QR code to log in, a task to update the mapping relationship will be triggered to update the mapping relationship to the latest one. If you encounter this error, it means you need to log in again, or manually trigger this task:
 from wechat . tasks import retrieve_data
retrieve_data . delay ()Issue: #9
Thanks to @zgjhust for the comment
This is a small project, I didn't add Nginx support and used Gunicorn directly. When using Gunicorn, use -t 0 which means no timeout.
The reason for this is that the SSE in the project requires a long connection, and the time from the user opening the login page to completing the scan is difficult to control, so it simply does not time out, but it also causes unresponsive requests not to be released in time. In fact, /stream should be taken out for special processing, and other routes need to have timeouts set (I will reconstruct this when the opportunity arises).
The current solution is to specify more workers and restart gunicorn frequently (using supervisor management will be more convenient):
gunicorn app:app --bind 0.0.0.0:8100 -w 10 -t 0Or instead of gunicorn, start directly using Flask’s threaded parameter:
❯ cat app.py
...
if __name__ == ' __main__ ' :
     app.run(host= ' 0.0.0.0 ' , port=8100, debug=app.debug, threaded=True)

❯ python app.pyThere are usually 2 reasons for not working:
Although I designed the function of restarting tasks on celery, because I scanned the QR code to log in again after going offline, this step could not be automated, causing the system to stop working.
If you want this system to work as long as possible, my suggestion is:
 from celery . task import periodic_task
from celery . task . control import revoke

def restart_listener ( sender , ** kw ):
    task_id = r . get ( LISTENER_TASK_KEY )
    if task_id :
        revoke ( str ( task_id , 'utf-8' ))
    task_id = app . send_task ( 'wechat.tasks.listener' )
    r . set ( LISTENER_TASK_KEY , task_id )

stopped . connect ( restart_listener )
Note that the subscription operation should occur before import wxpy/itchat.
Yes, this is a project that encapsulates wxpy/itchat. In the final analysis, it still uses the web WeChat (wx.qq.com), so the function of its API determines the capabilities of this system.
Decrypting the mobile WeChat API and integrating these unopened APIs is not very good, and may also cause legal problems.
You can refer to this issue for the problem. Many people have encountered it and there is no way to solve it after being blocked. But you can make sure it's not blocked as much as possible. After several days of research, I found three lessons:


