Studio Vue
1.0.0
Last year in the studio, I accidentally heard that other studios were planning to build an official website. Then I took advantage of a whim and found a template to make my own official website and a backend management system. At that time, the backend system only had login, registration and A page for submitting personal information, mainly for the convenience of displaying dynamic summary team members.
I have summarized several reasons for wanting to continue developing this studio management system: ① Before that, I also searched for relevant school studio and laboratory management systems on gitee and github, but did not find any that were more complete or better. of. ②In order to have some highlights on your resume. ③ Use the technology you have learned in an application scenario to boost your technological learning and progress.
This year, we just took advantage of the theme of graduation project to continue development, and it took nearly a month to initially improve the backend management system.
This studio system is mainly for campus studios and can be used by individuals and studio teams.
Acknowledgments :
Studio-Vue demo address : https://www.codercl.cn/
Complete tutorial for project deployment and launch: Studio-Vue campus laboratory system (SpringBoot+Vue) deployment and launch nanny-level tutorial
Corresponding open source address of the mini program: studio-wx (Gitee), studio-wx (Github)
 |  |
 |  |
 |  |
 |
 |  |
 |  |
 |  |
 |  |
 |  |
 |  |
 |  |
 |
| technology | illustrate | Official website |
|---|---|---|
| SpringBoot | Quick integration framework using web launcher | https://spring.io/projects/spring-boot |
| MybatisPlus | ORM framework | https://baomidou.com/ |
| SpringSecurity | log4j2 | https://spring.io/projects/spring-security#learn |
| JWT | Login authentication | https://github.com/jwtk/jjwt |
| log4j2 | Logging framework | https://logging.apache.org/log4j/2.x/manual/index.html |
| PageHelper | Pagination plugin | https://pagehelper.github.io/ |
| OSS | Third-party object storage | https://github.com/aliyun/aliyun-oss-java-sdk |
| Lombok | Simplified object encapsulation tools | https://projectlombok.org/ |
| poi | Excel tools | https://poi.apache.org/ |
| easy-captcha | Verification code generation tool | https://gitee.com/ele-admin/EasyCaptcha |
| redis | Caching middleware | https://redis.io/ |
| technology | illustrate | Official website |
|---|---|---|
| Vue2 | Front-end mainstream framework | https://vuejs.org/ |
| Element-UI | Are you hungry UI framework? | https://element.eleme.io/ |
| Echarts | Echarts chart framework | https://echarts.apache.org/zh/index.html |
| Axios | Front-end HTTP framework | http://www.axios-js.com/ |
| js-cookie | cookie management tools | https://github.com/js-cookie/js-cookie |
| jsencrypt | Encryption and decryption tool, asymmetric encryption RSA | https://github.com/travist/jsencrypt |
| progress | progress bar control | https://github.com/rstacruz/nprogress |
| live2d | poster girl | Integrated vue tutorial: https://blog.csdn.net/hk1052606583/article/details/122718918 |
| technology | illustrate | Official website |
|---|---|---|
| Nginx | Static resource server | https://github.com/nginx/nginx |
| Docker | Application container engine (rapid isolation deployment) | https://www.docker.com/ |
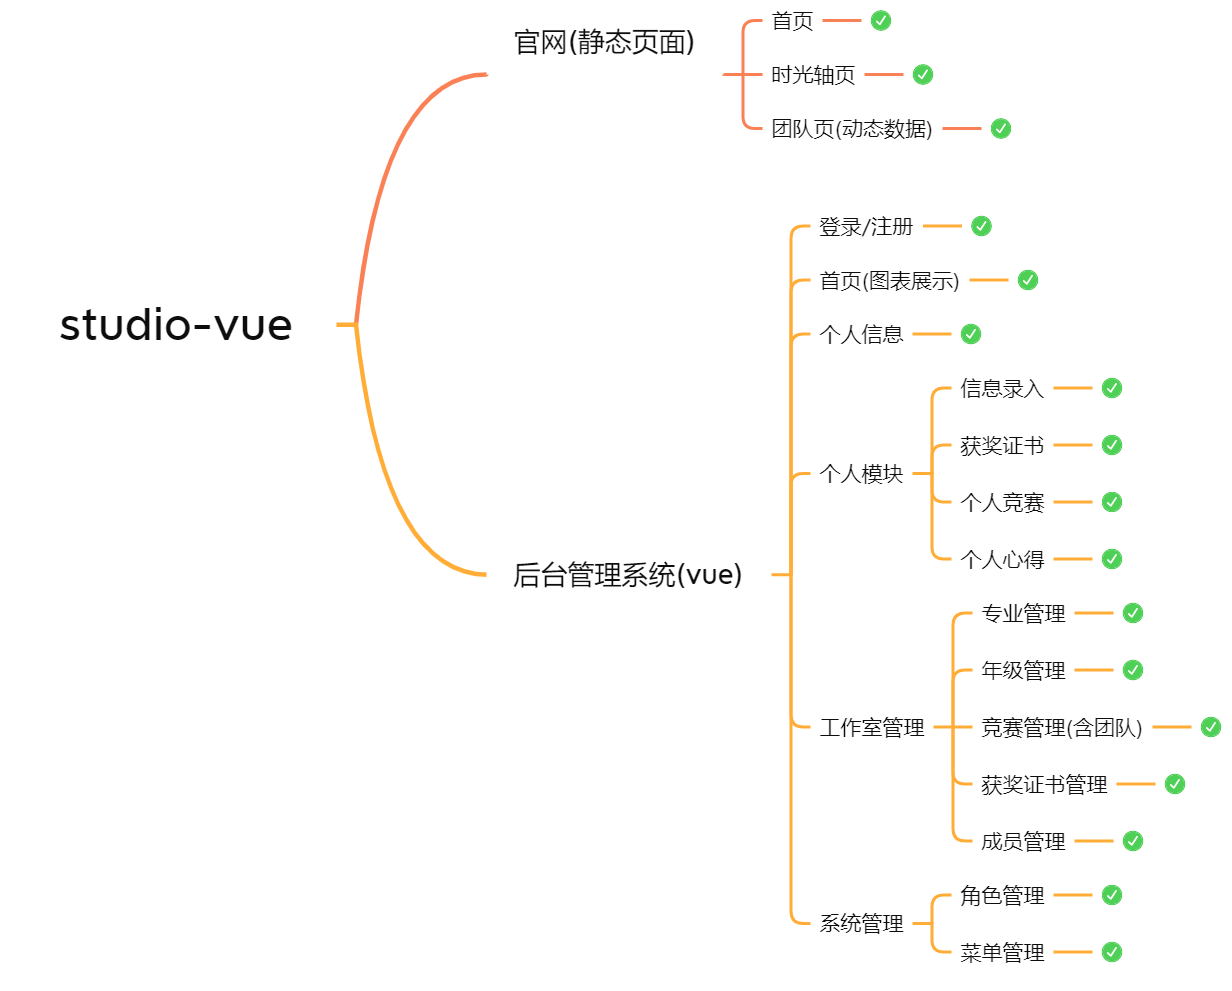
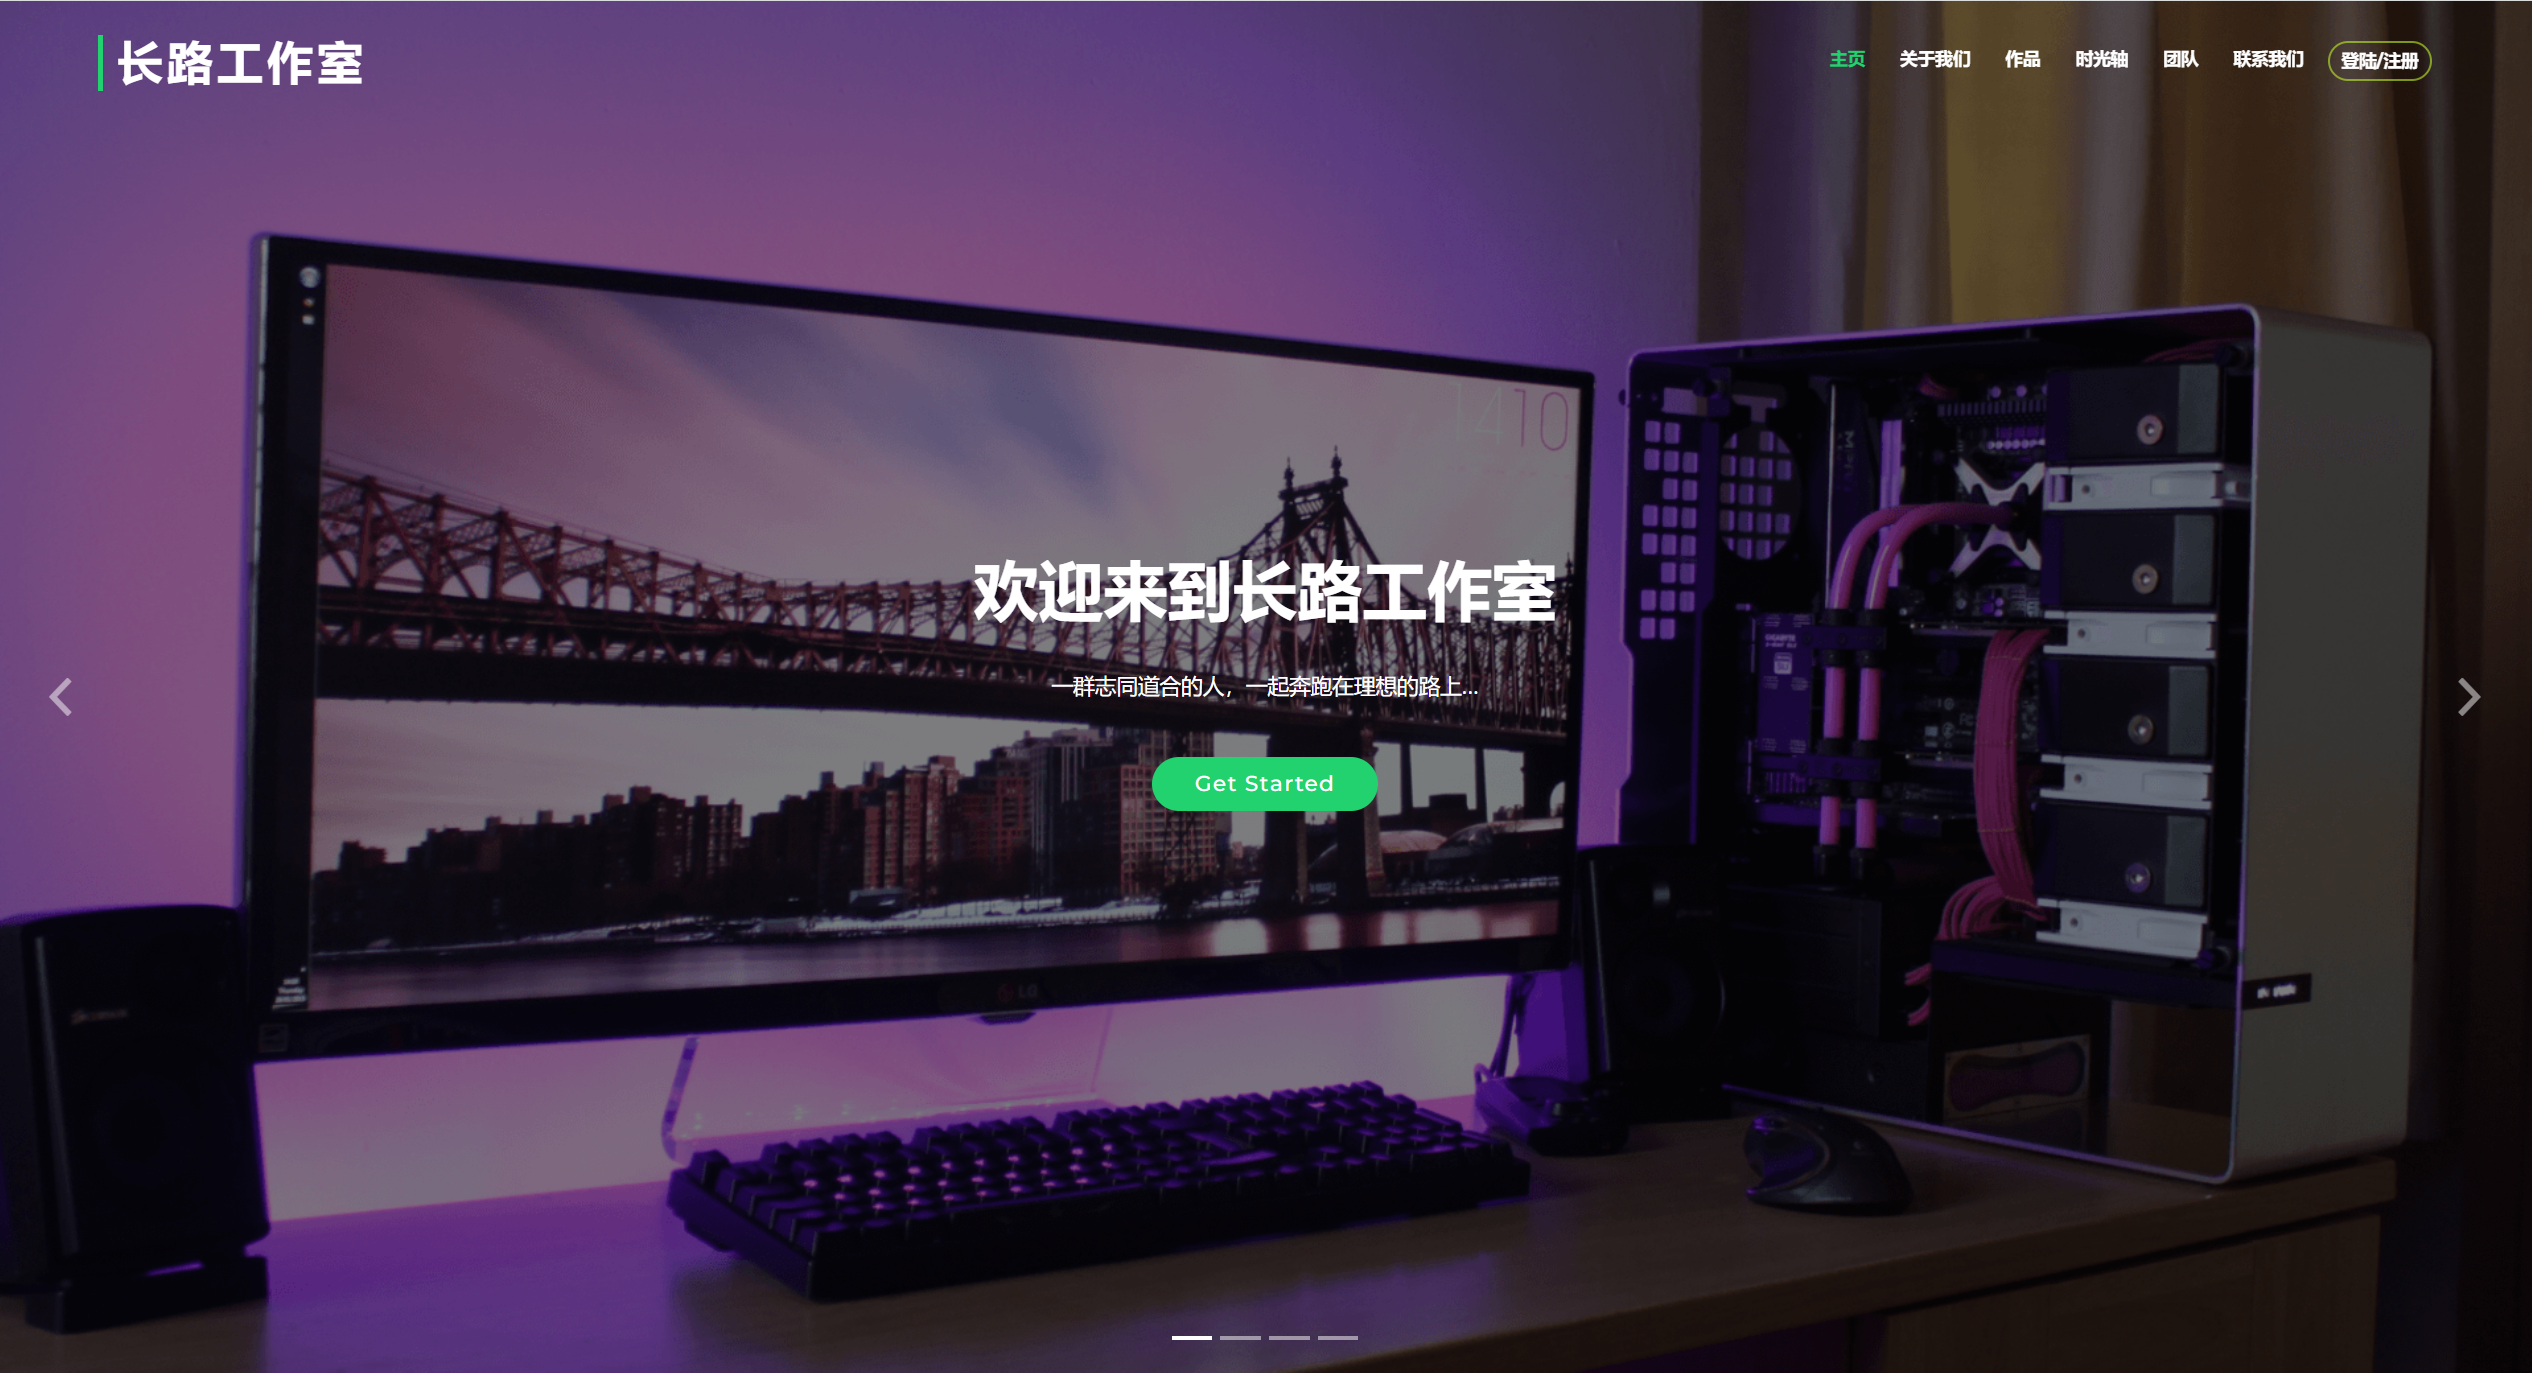
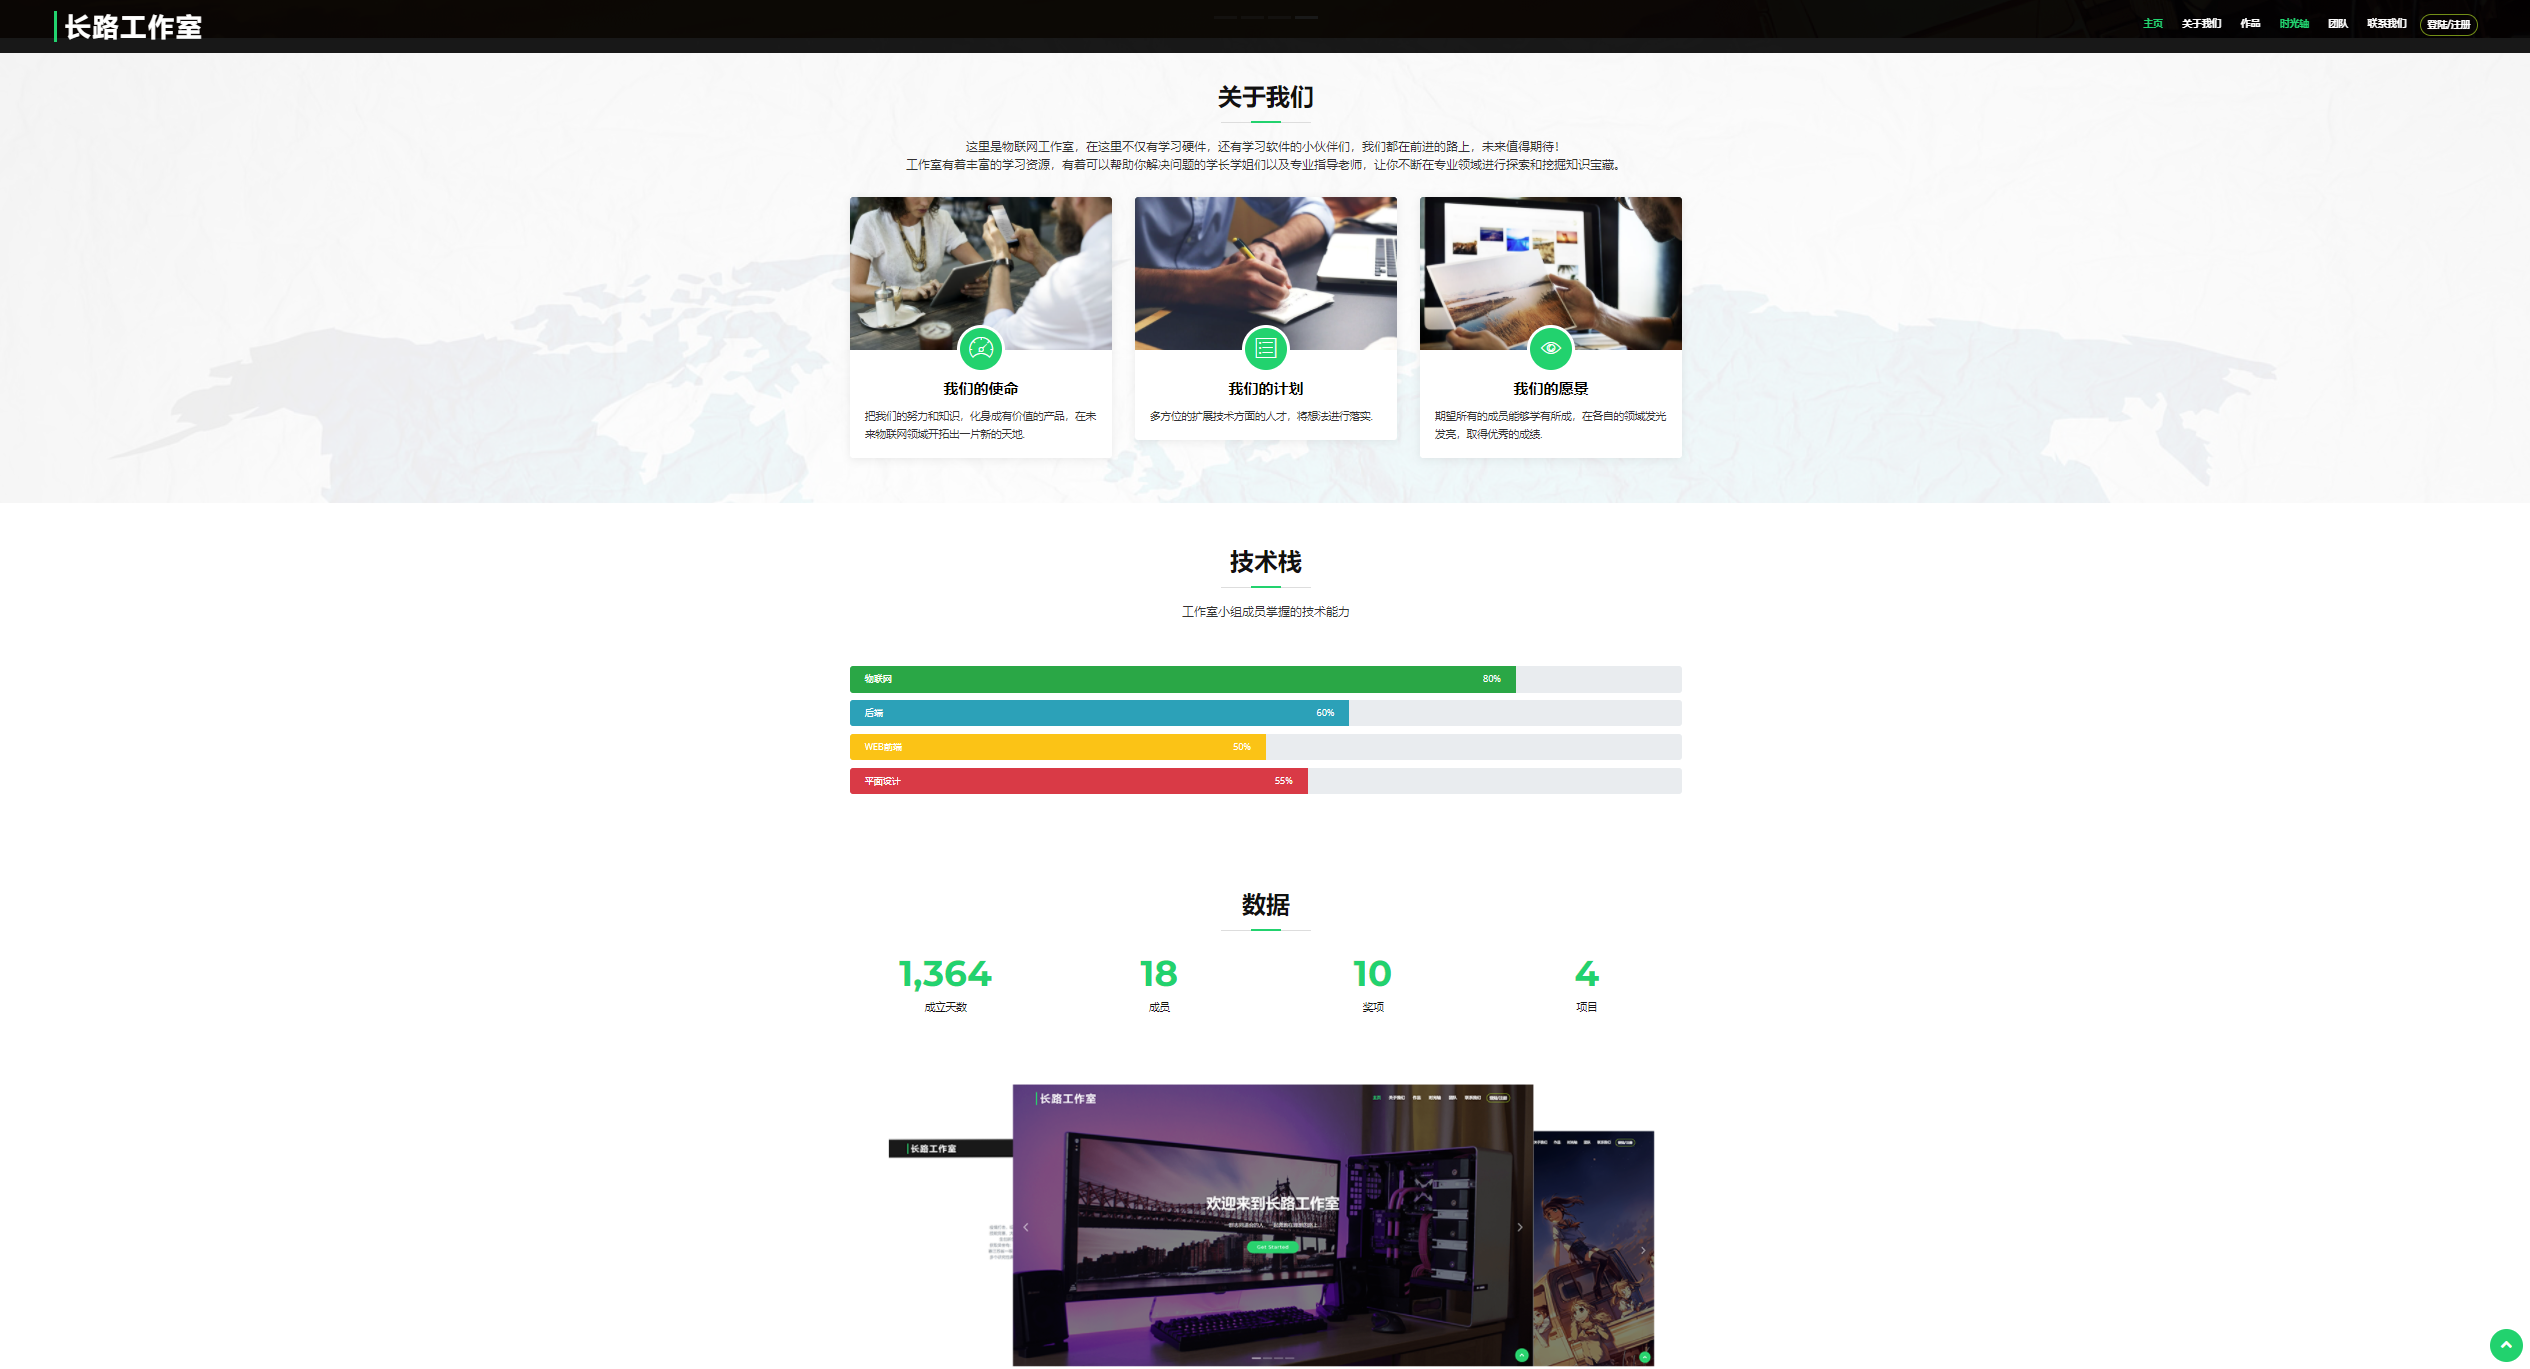
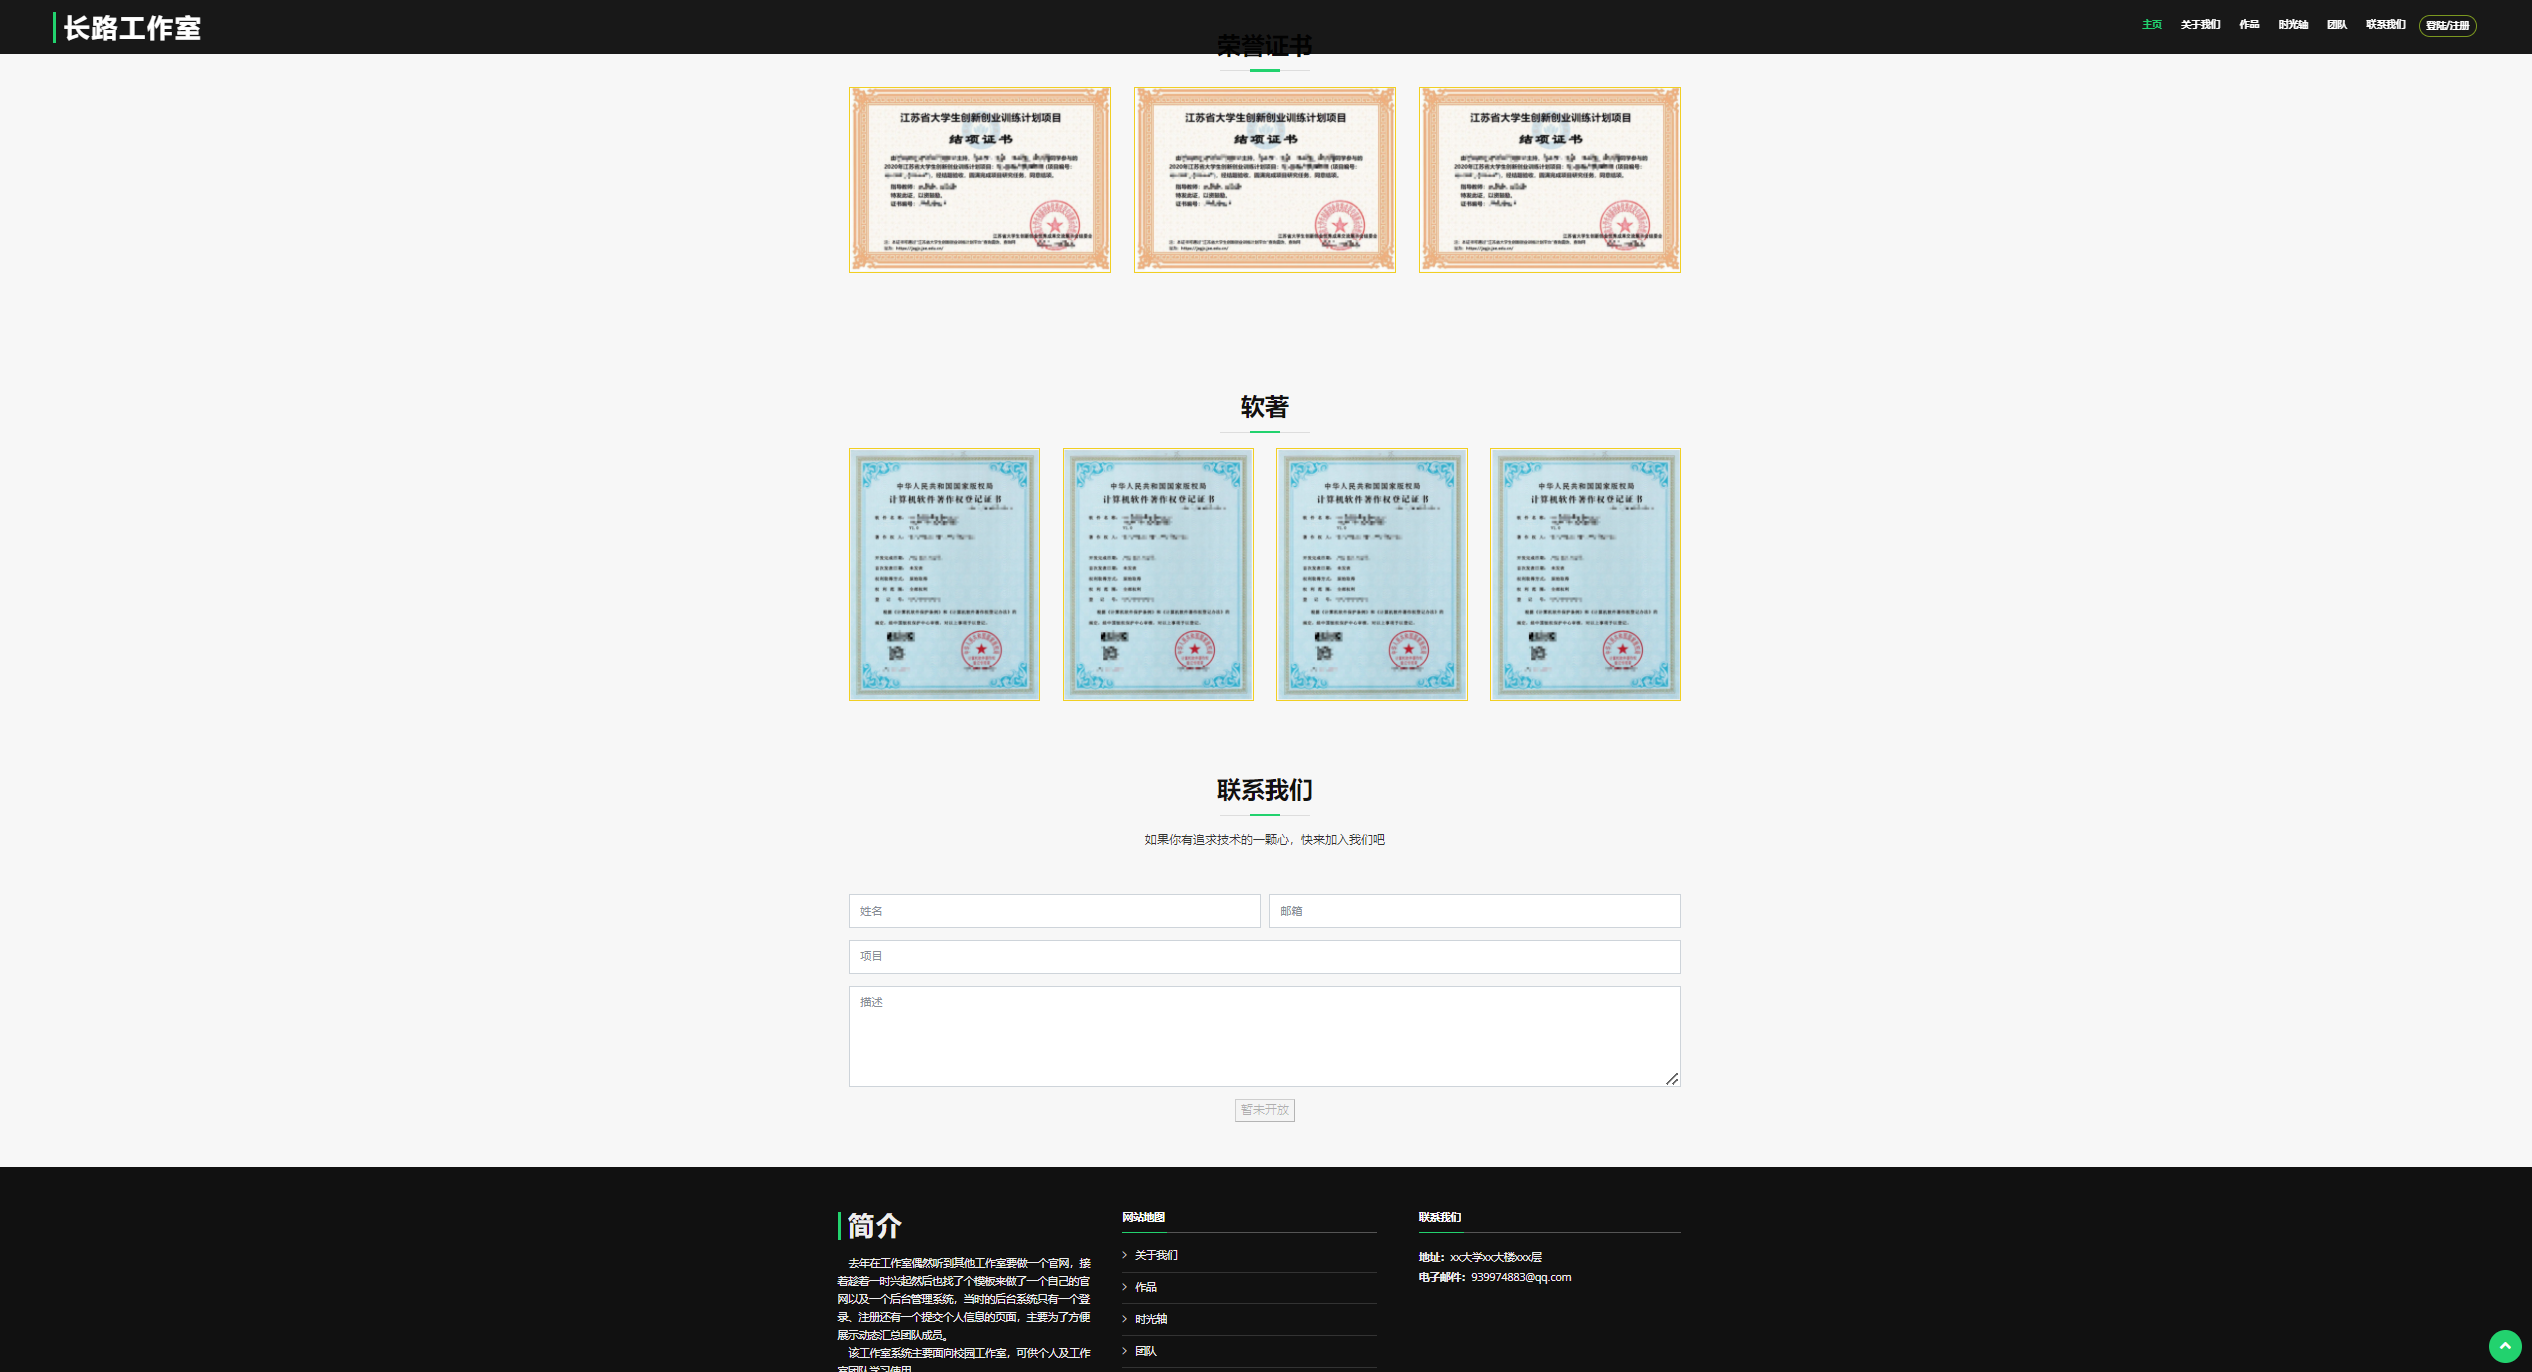
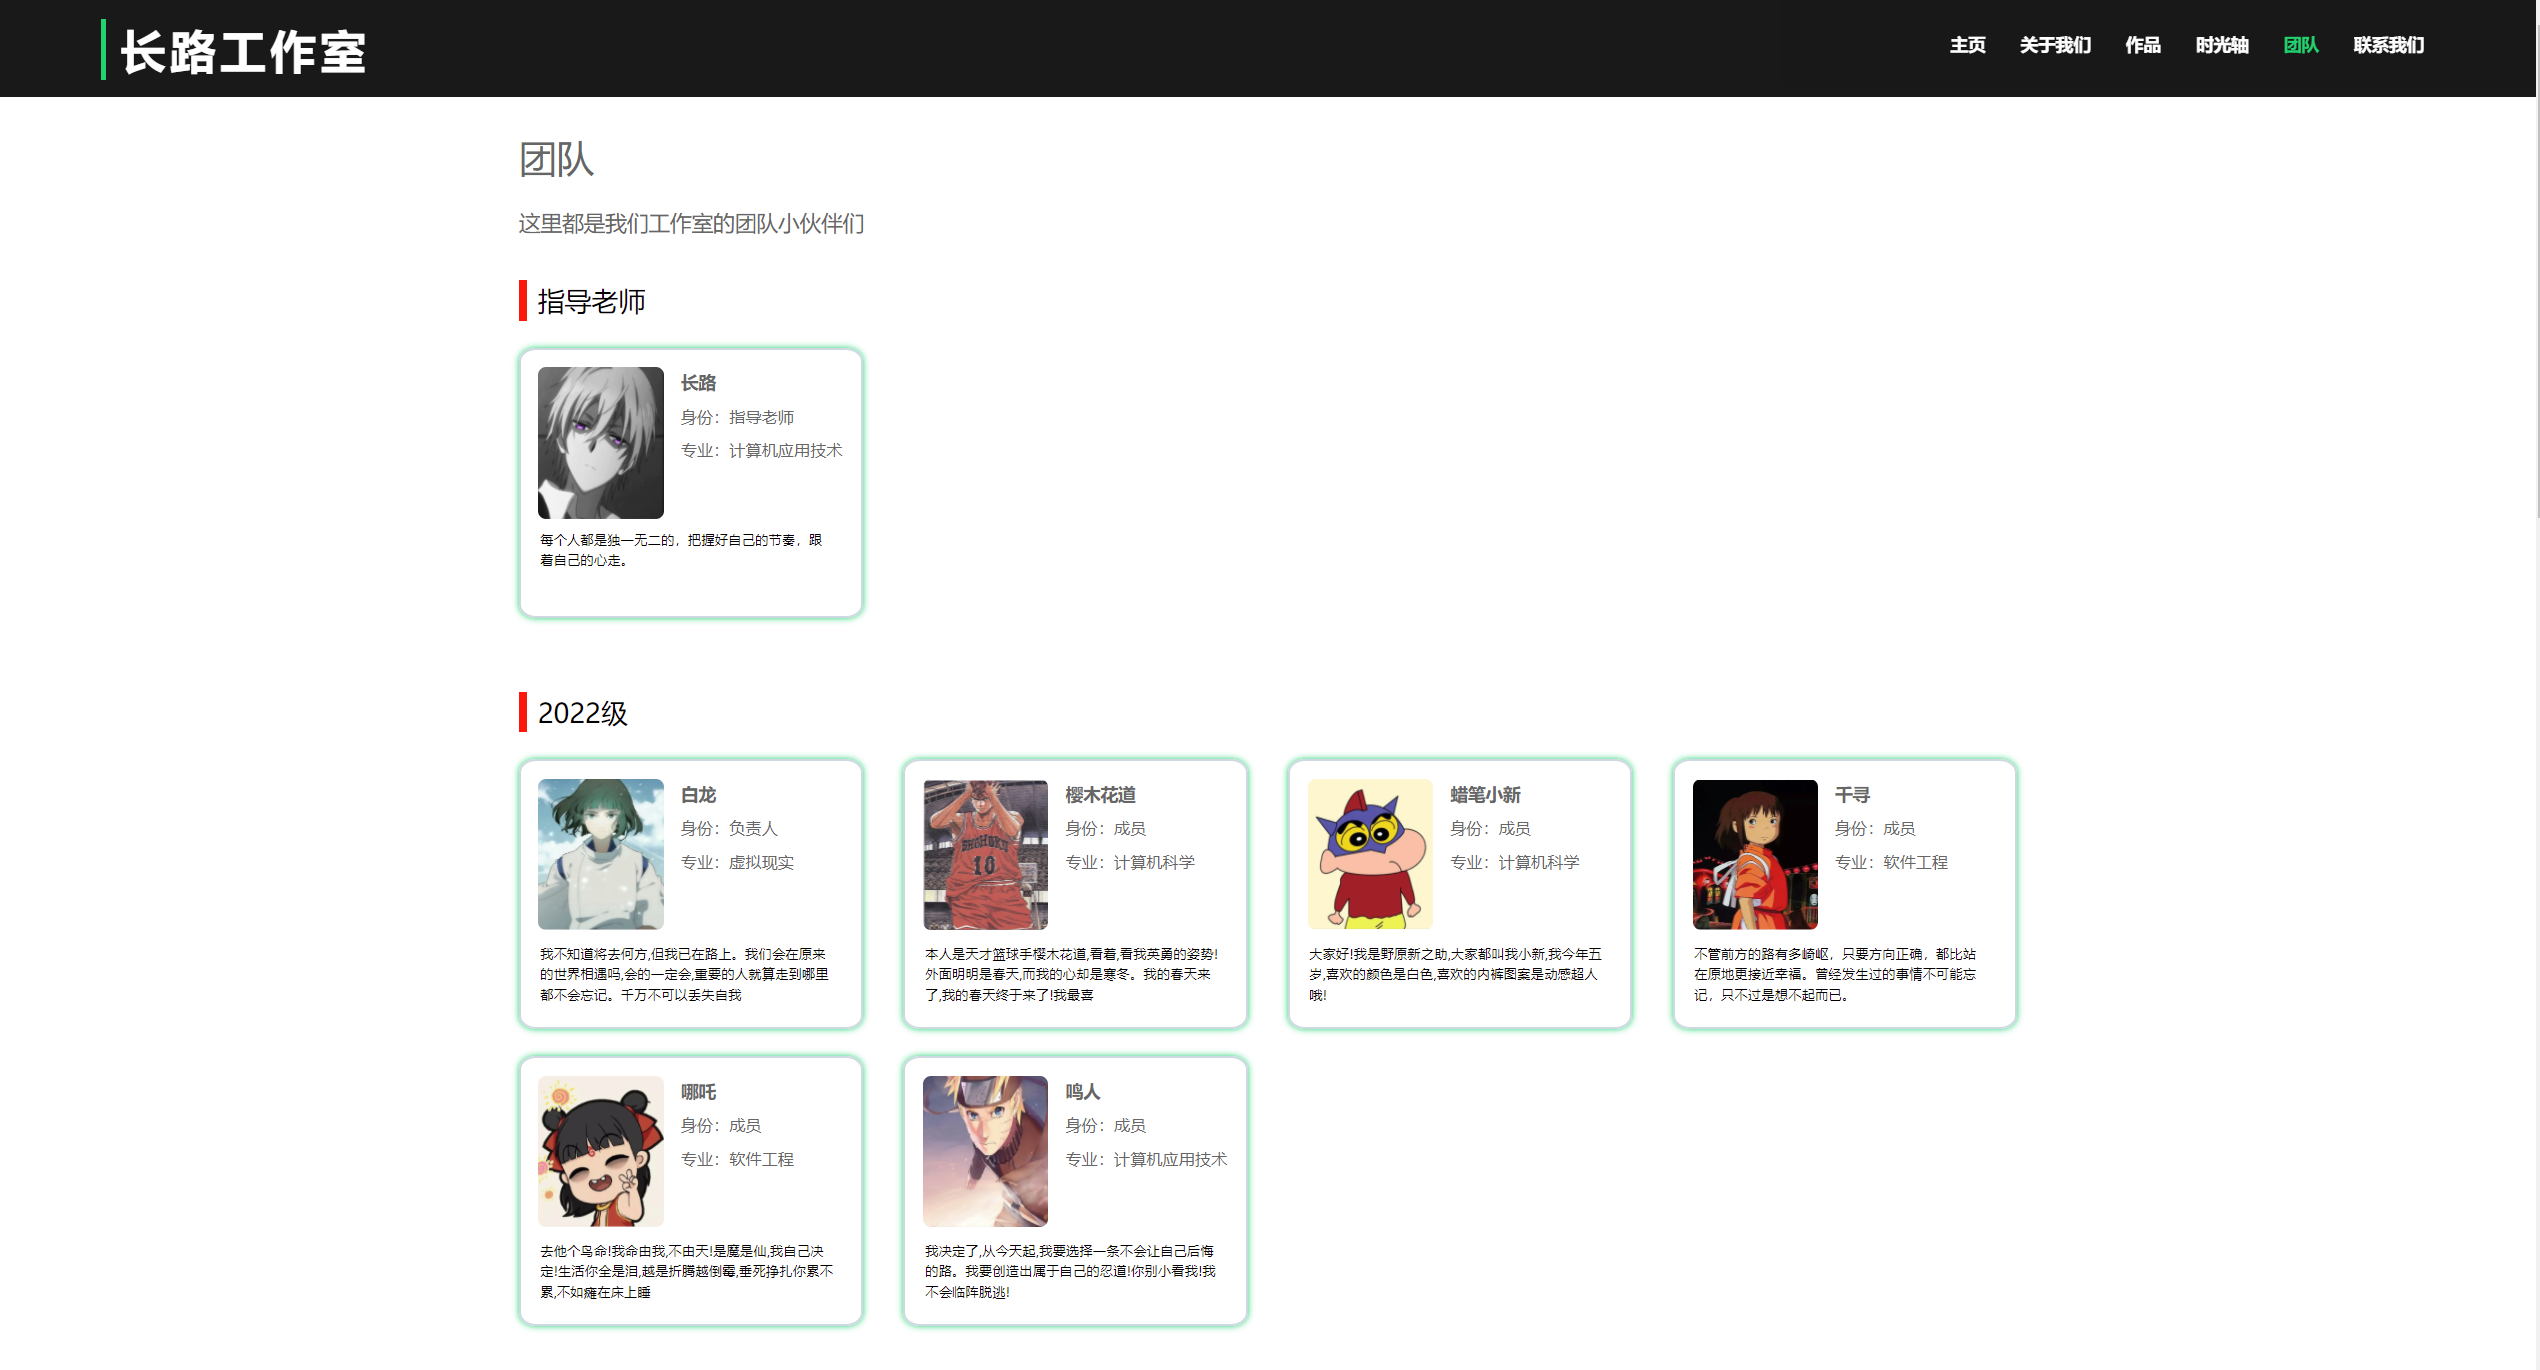
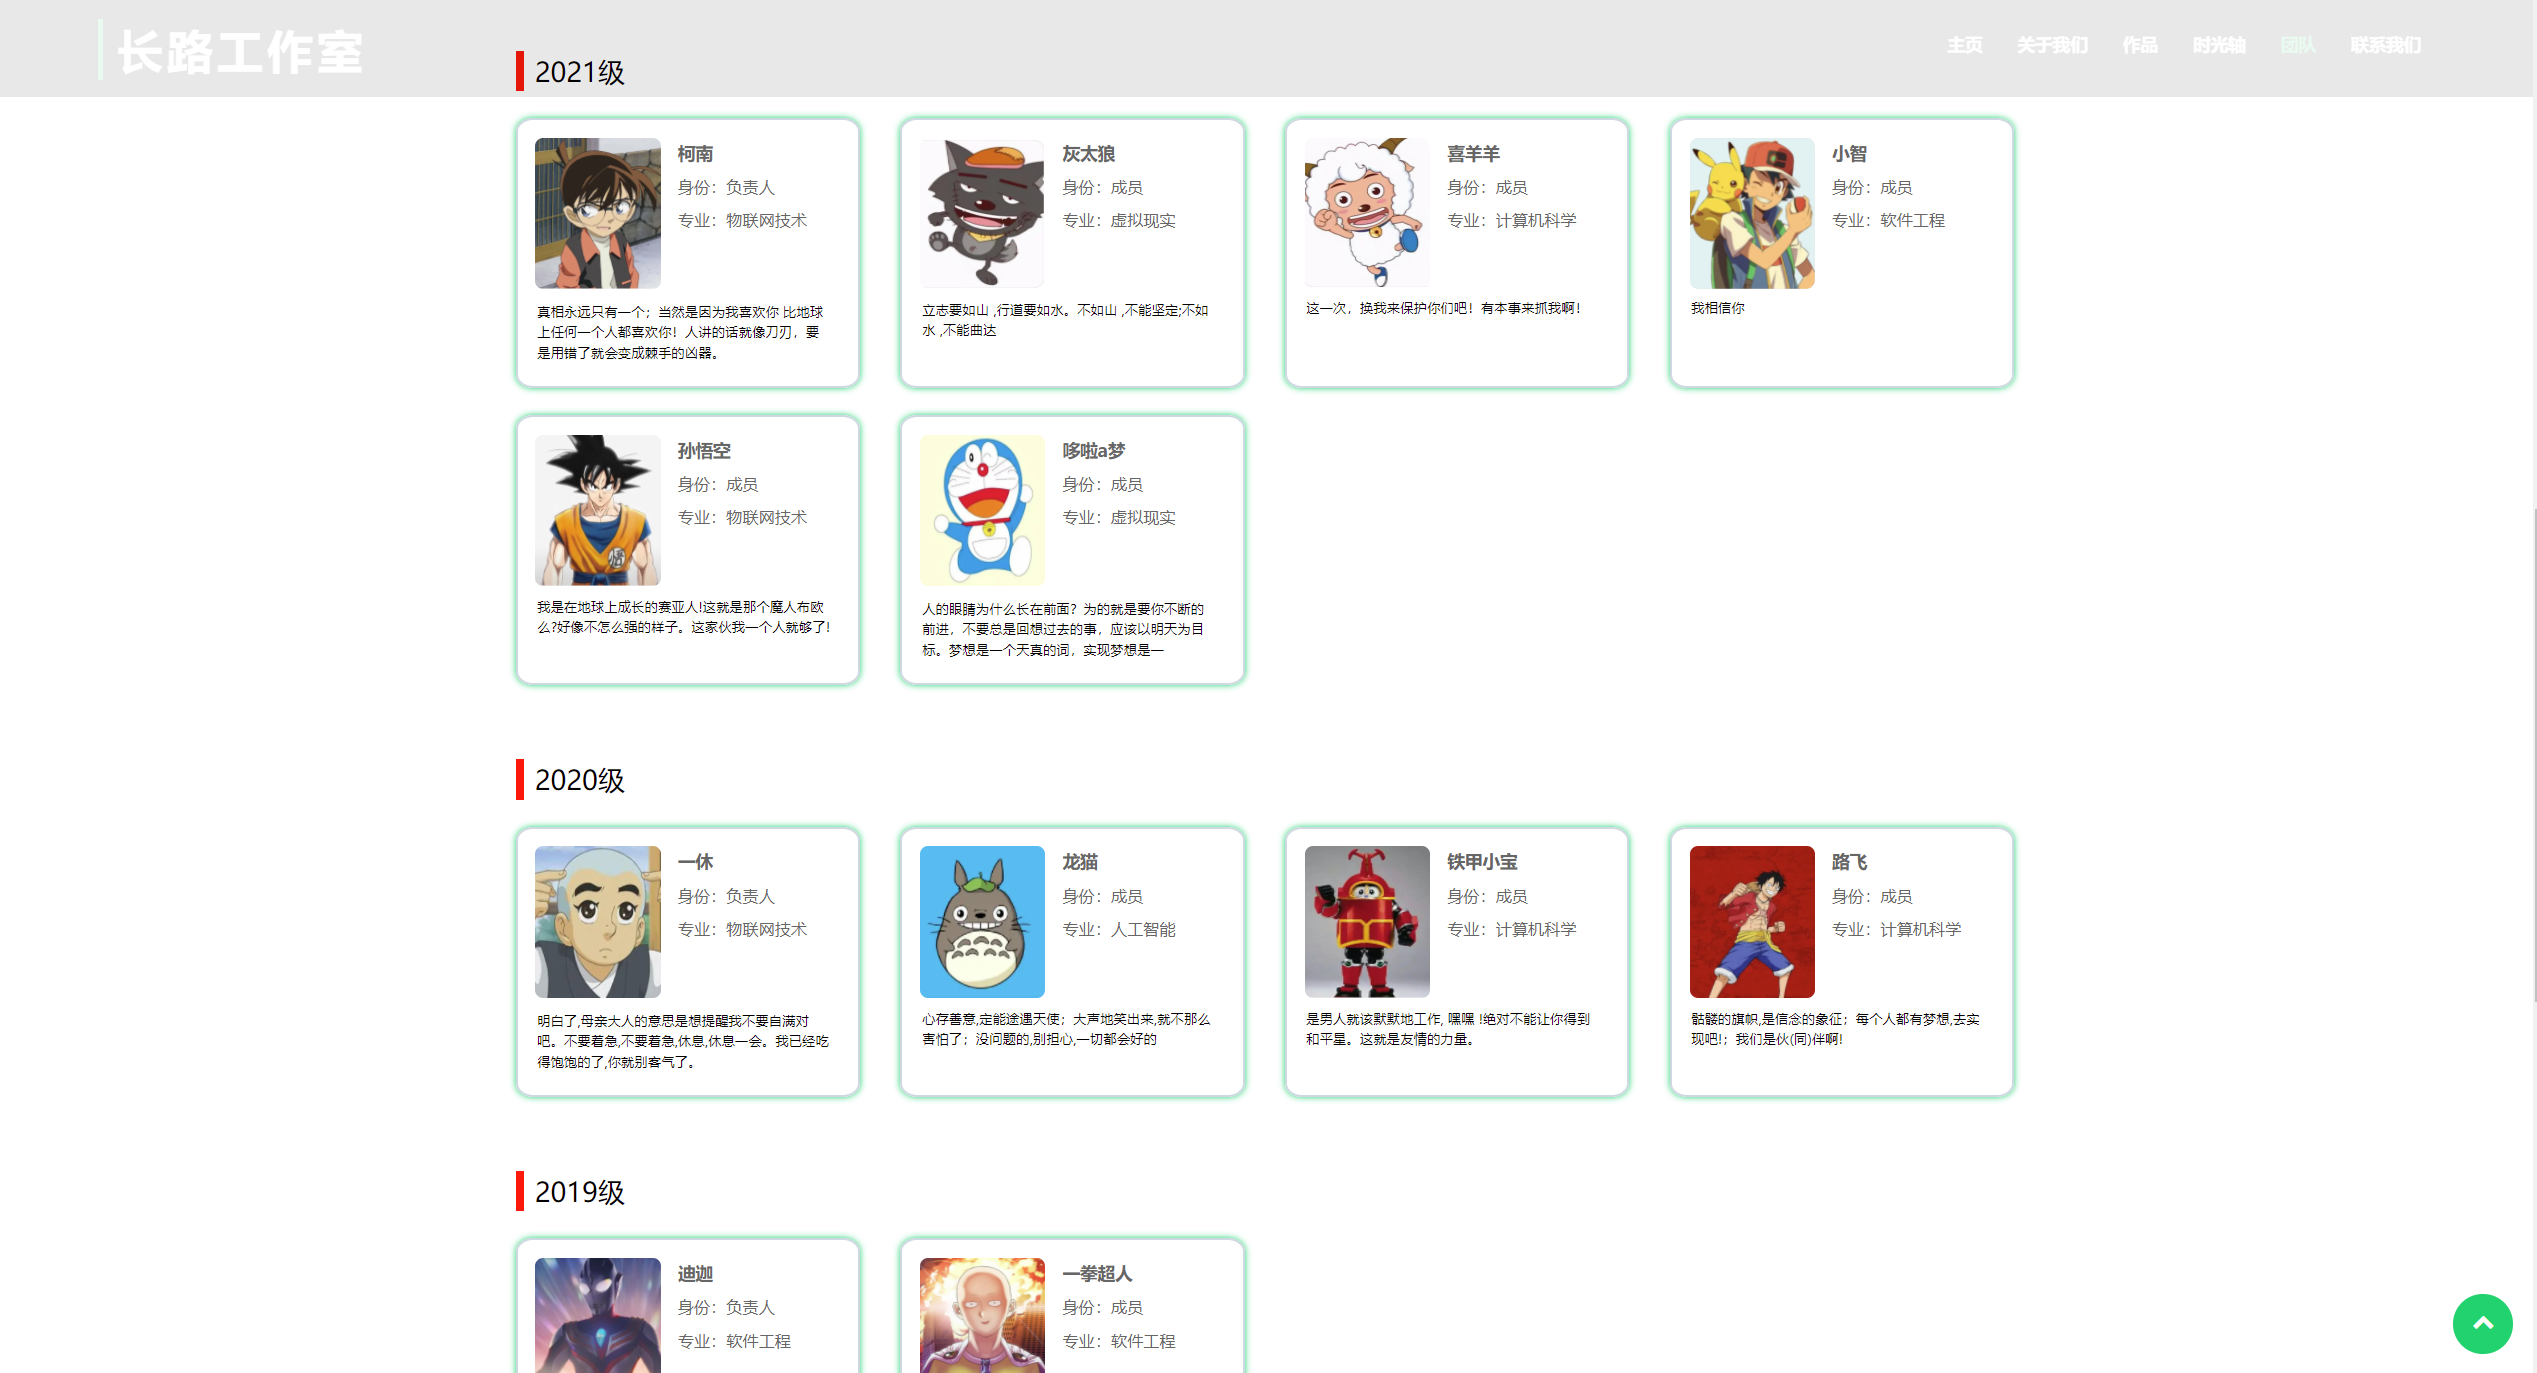
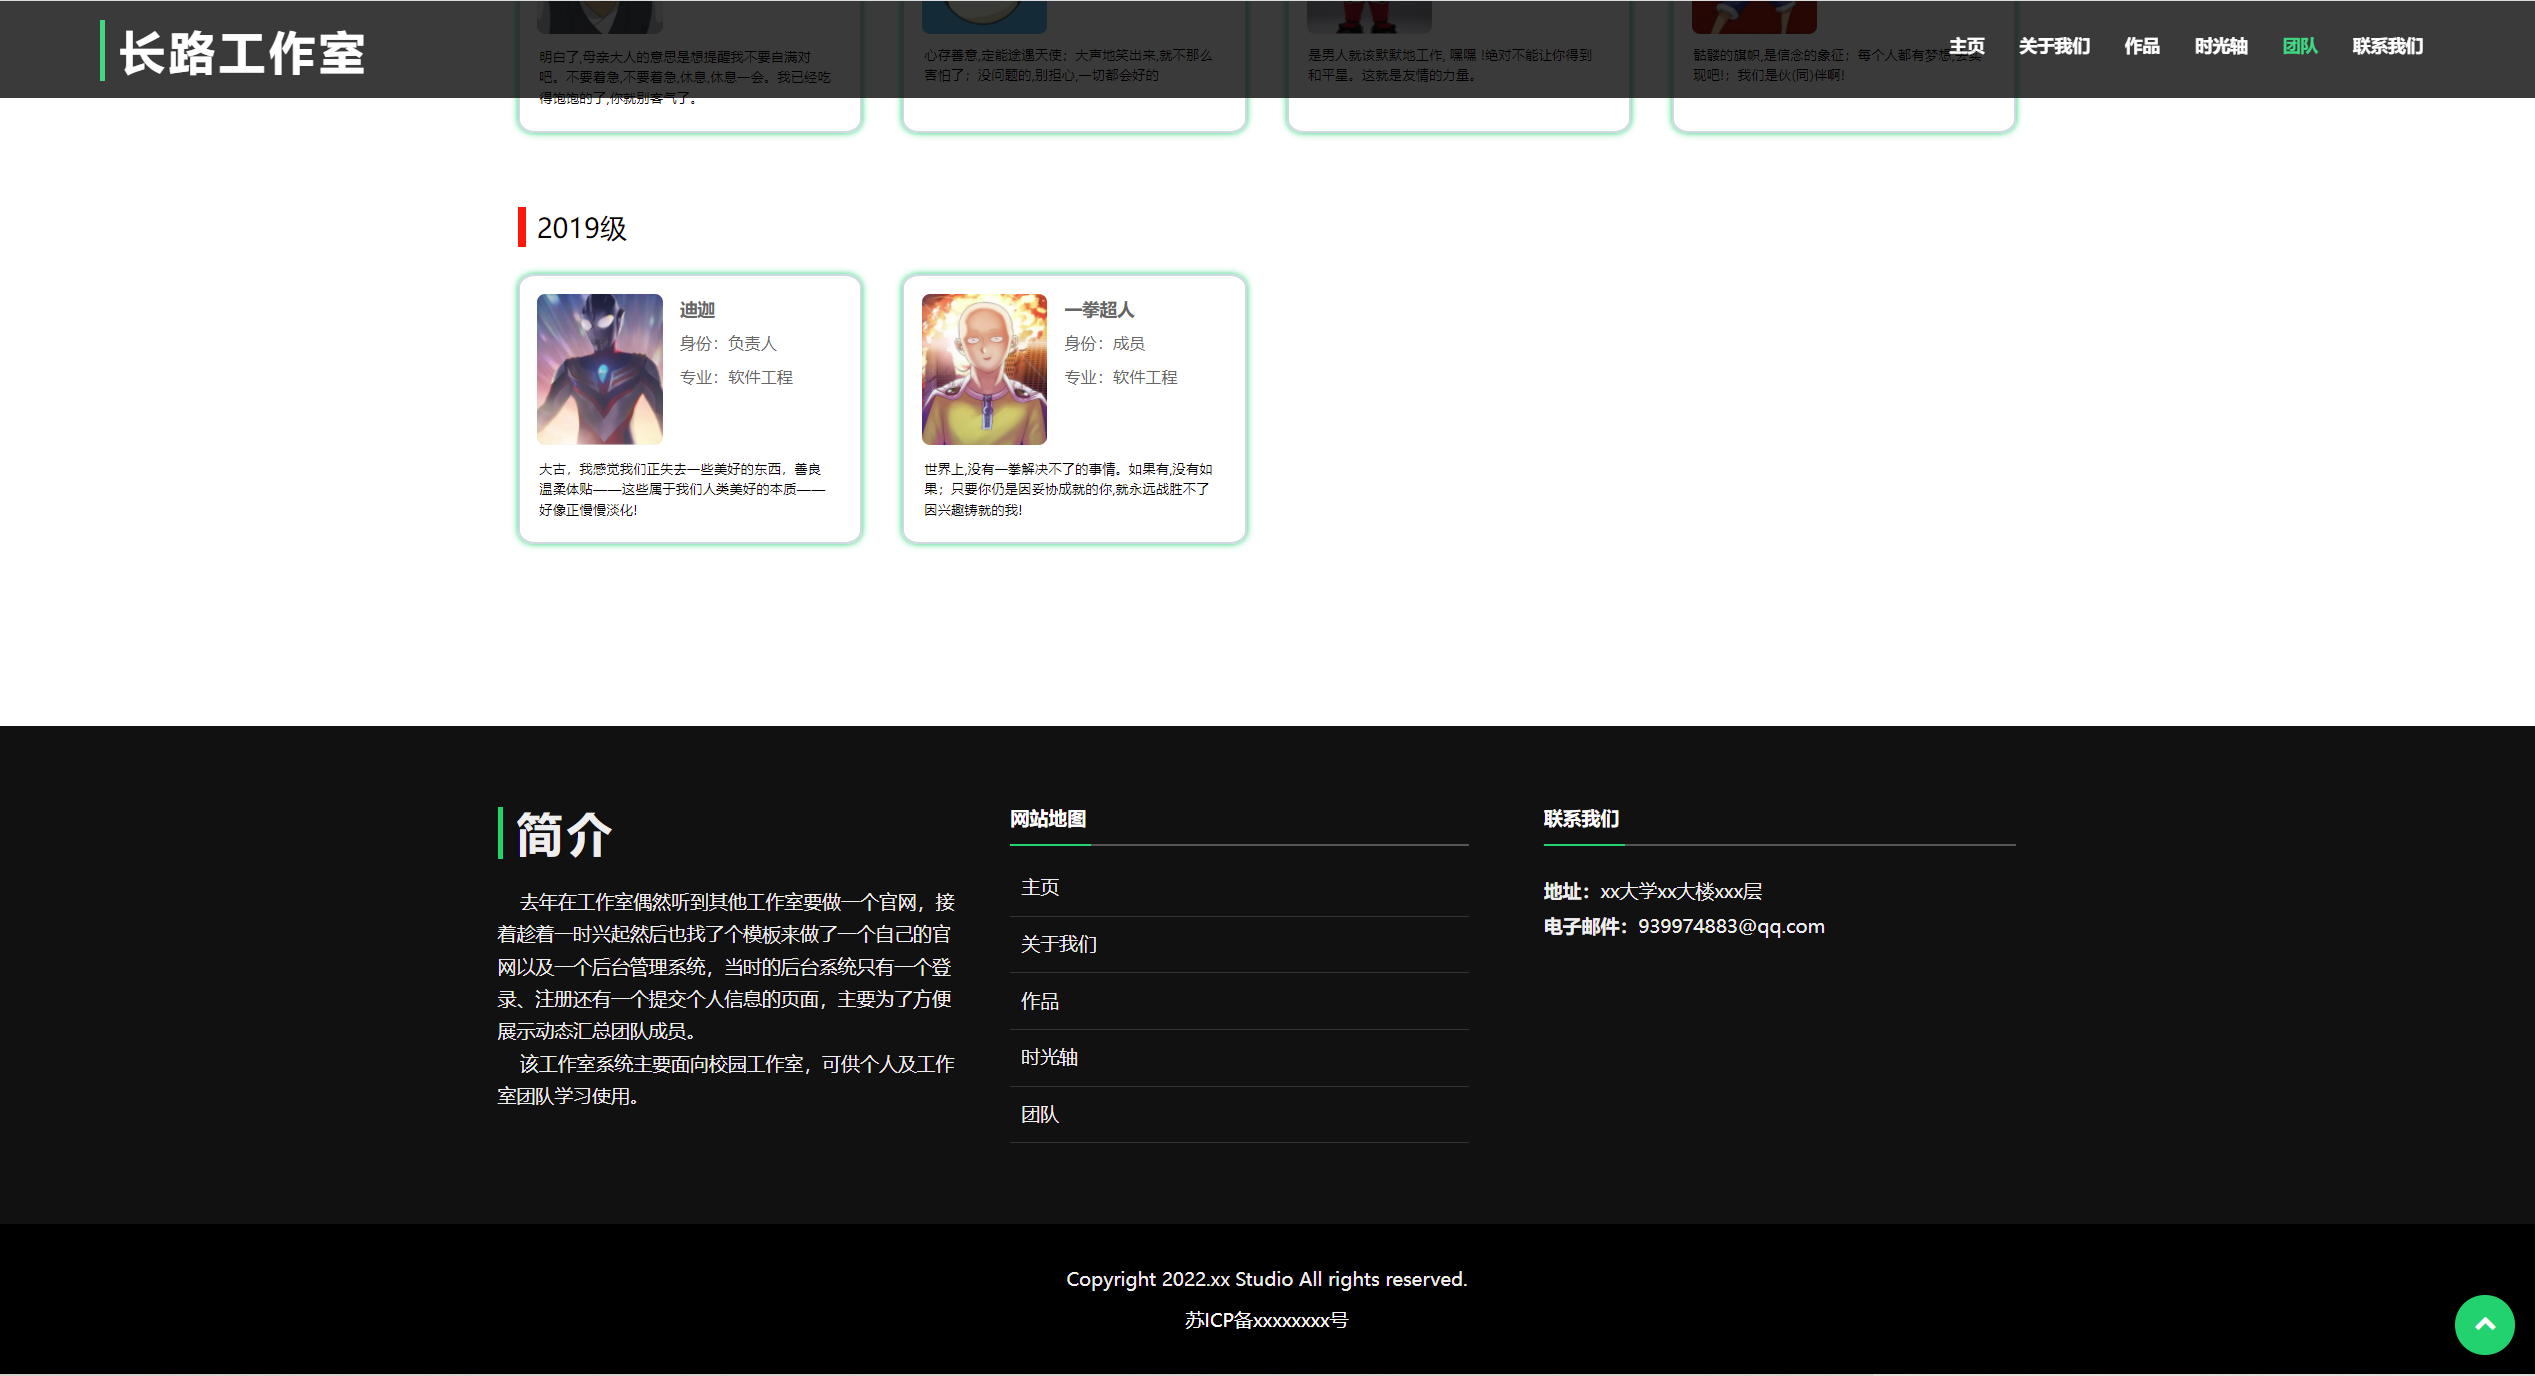
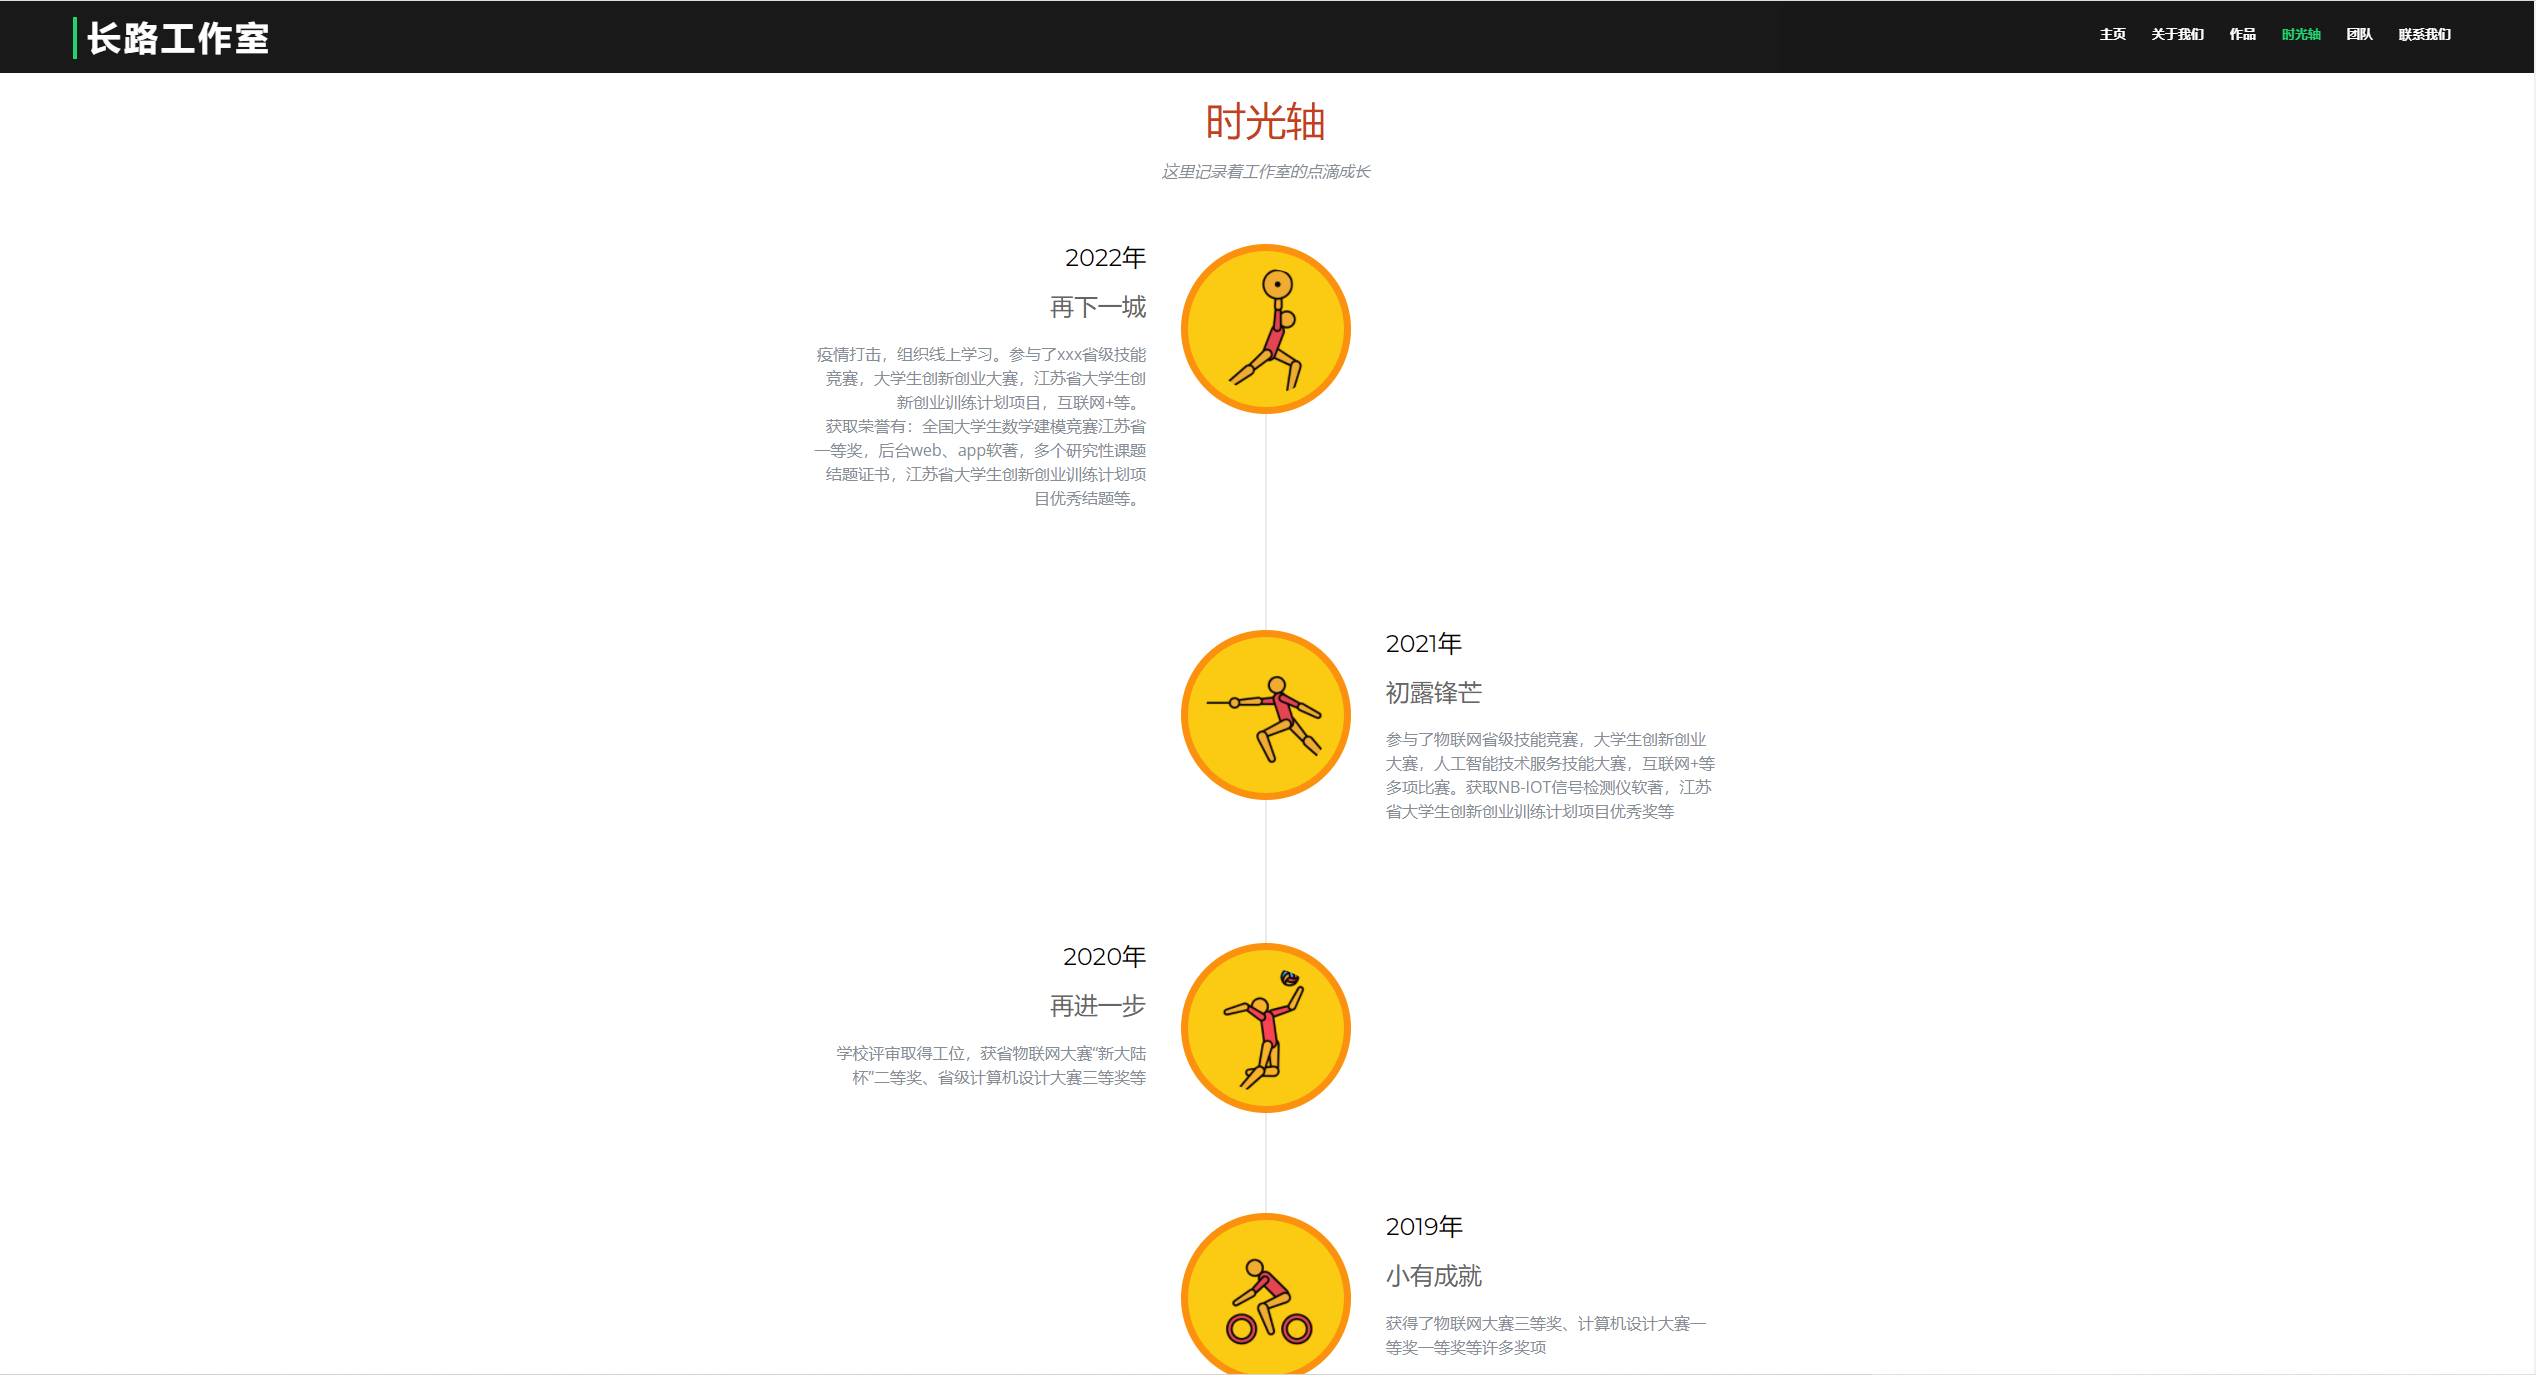
Studio official website
Front page:
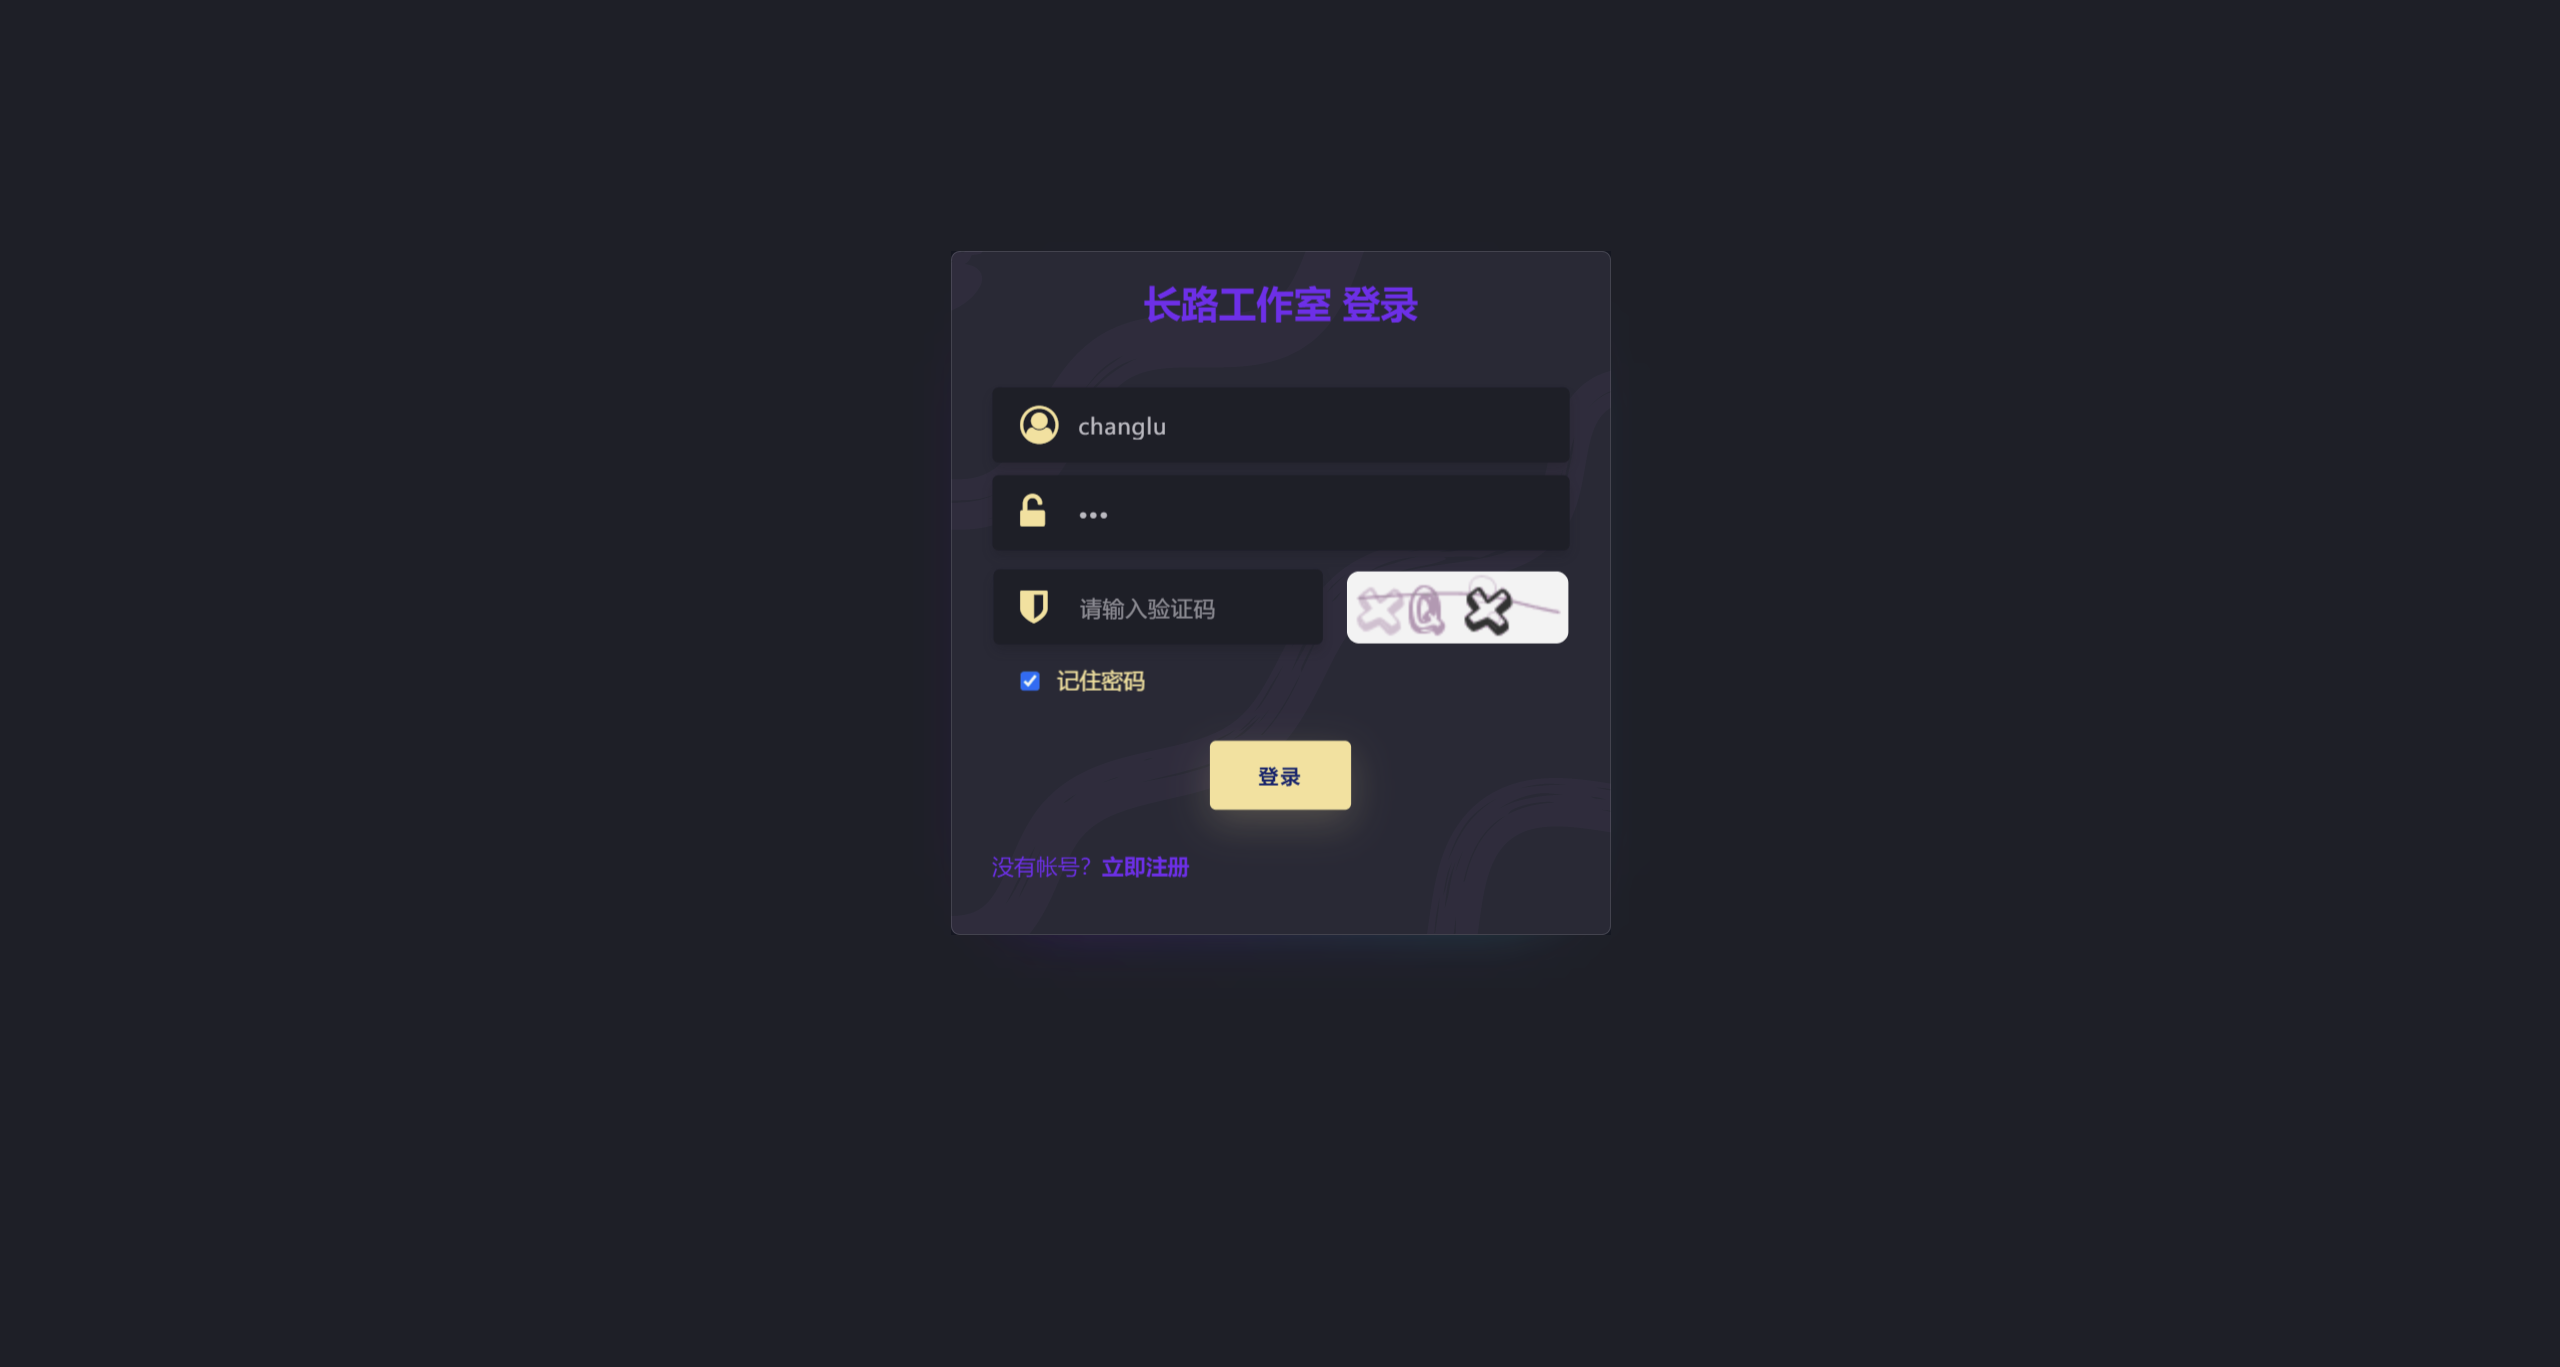
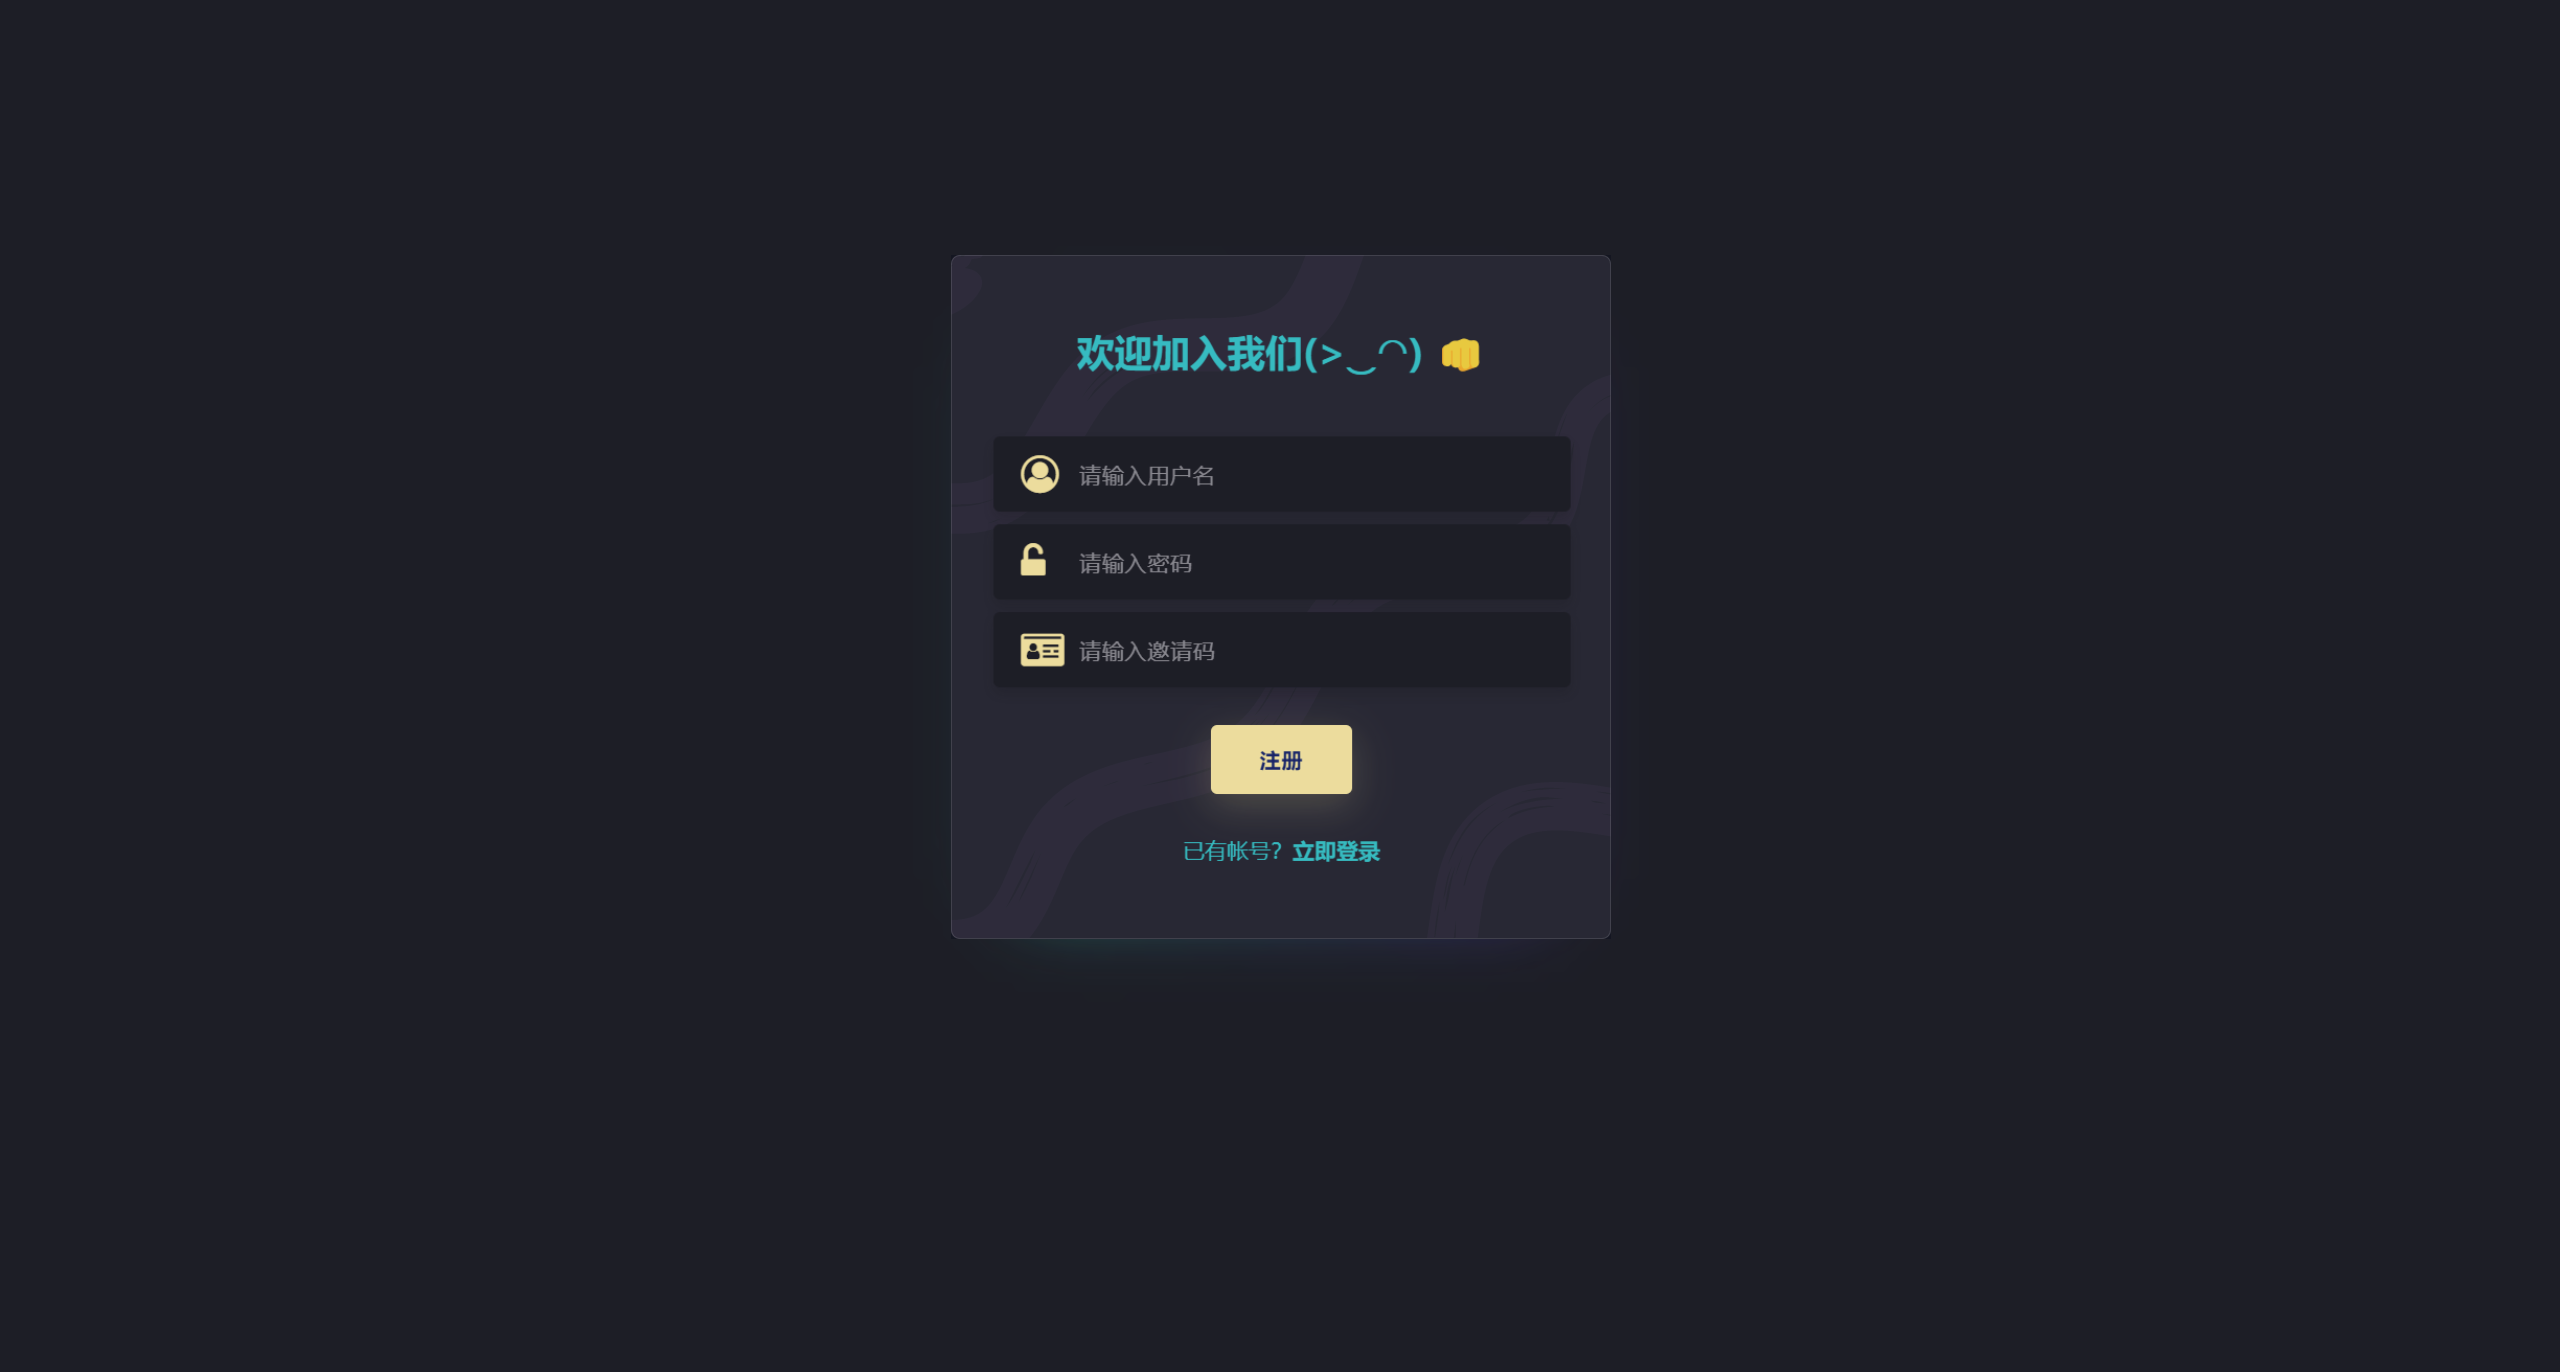
Studio backend management system
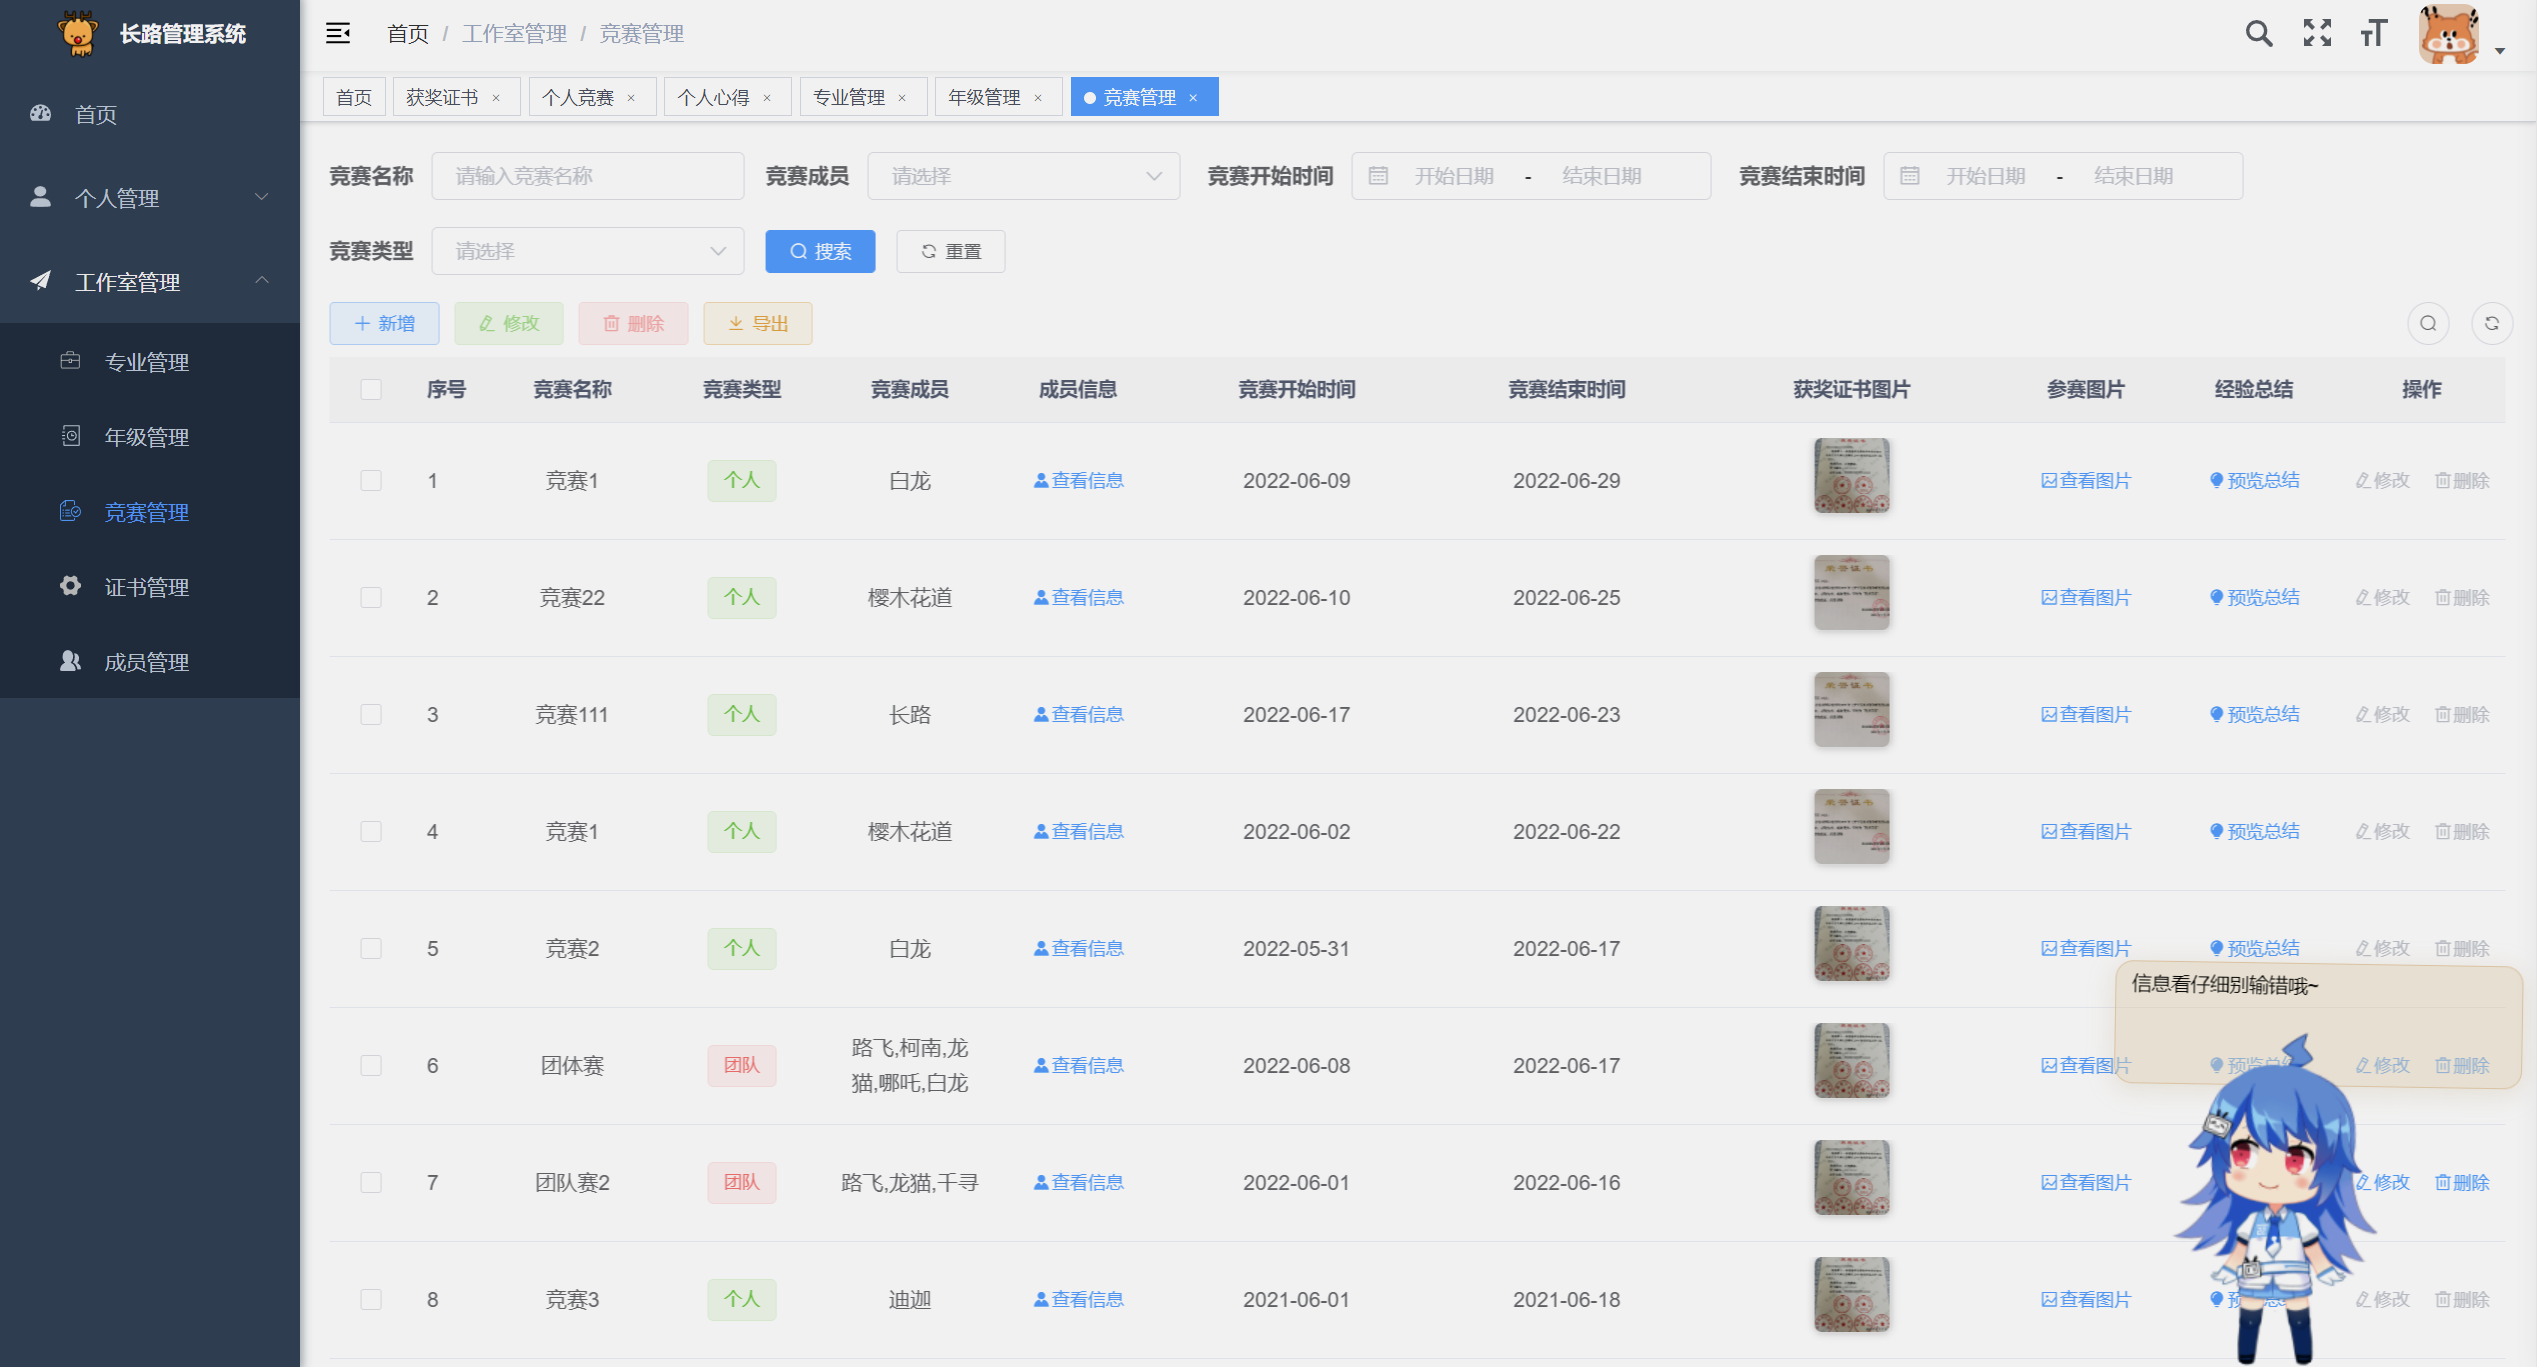
Home page (Echarts data display): studio data statistics; graphic display of professional award certificates and competition statistics based on grade;
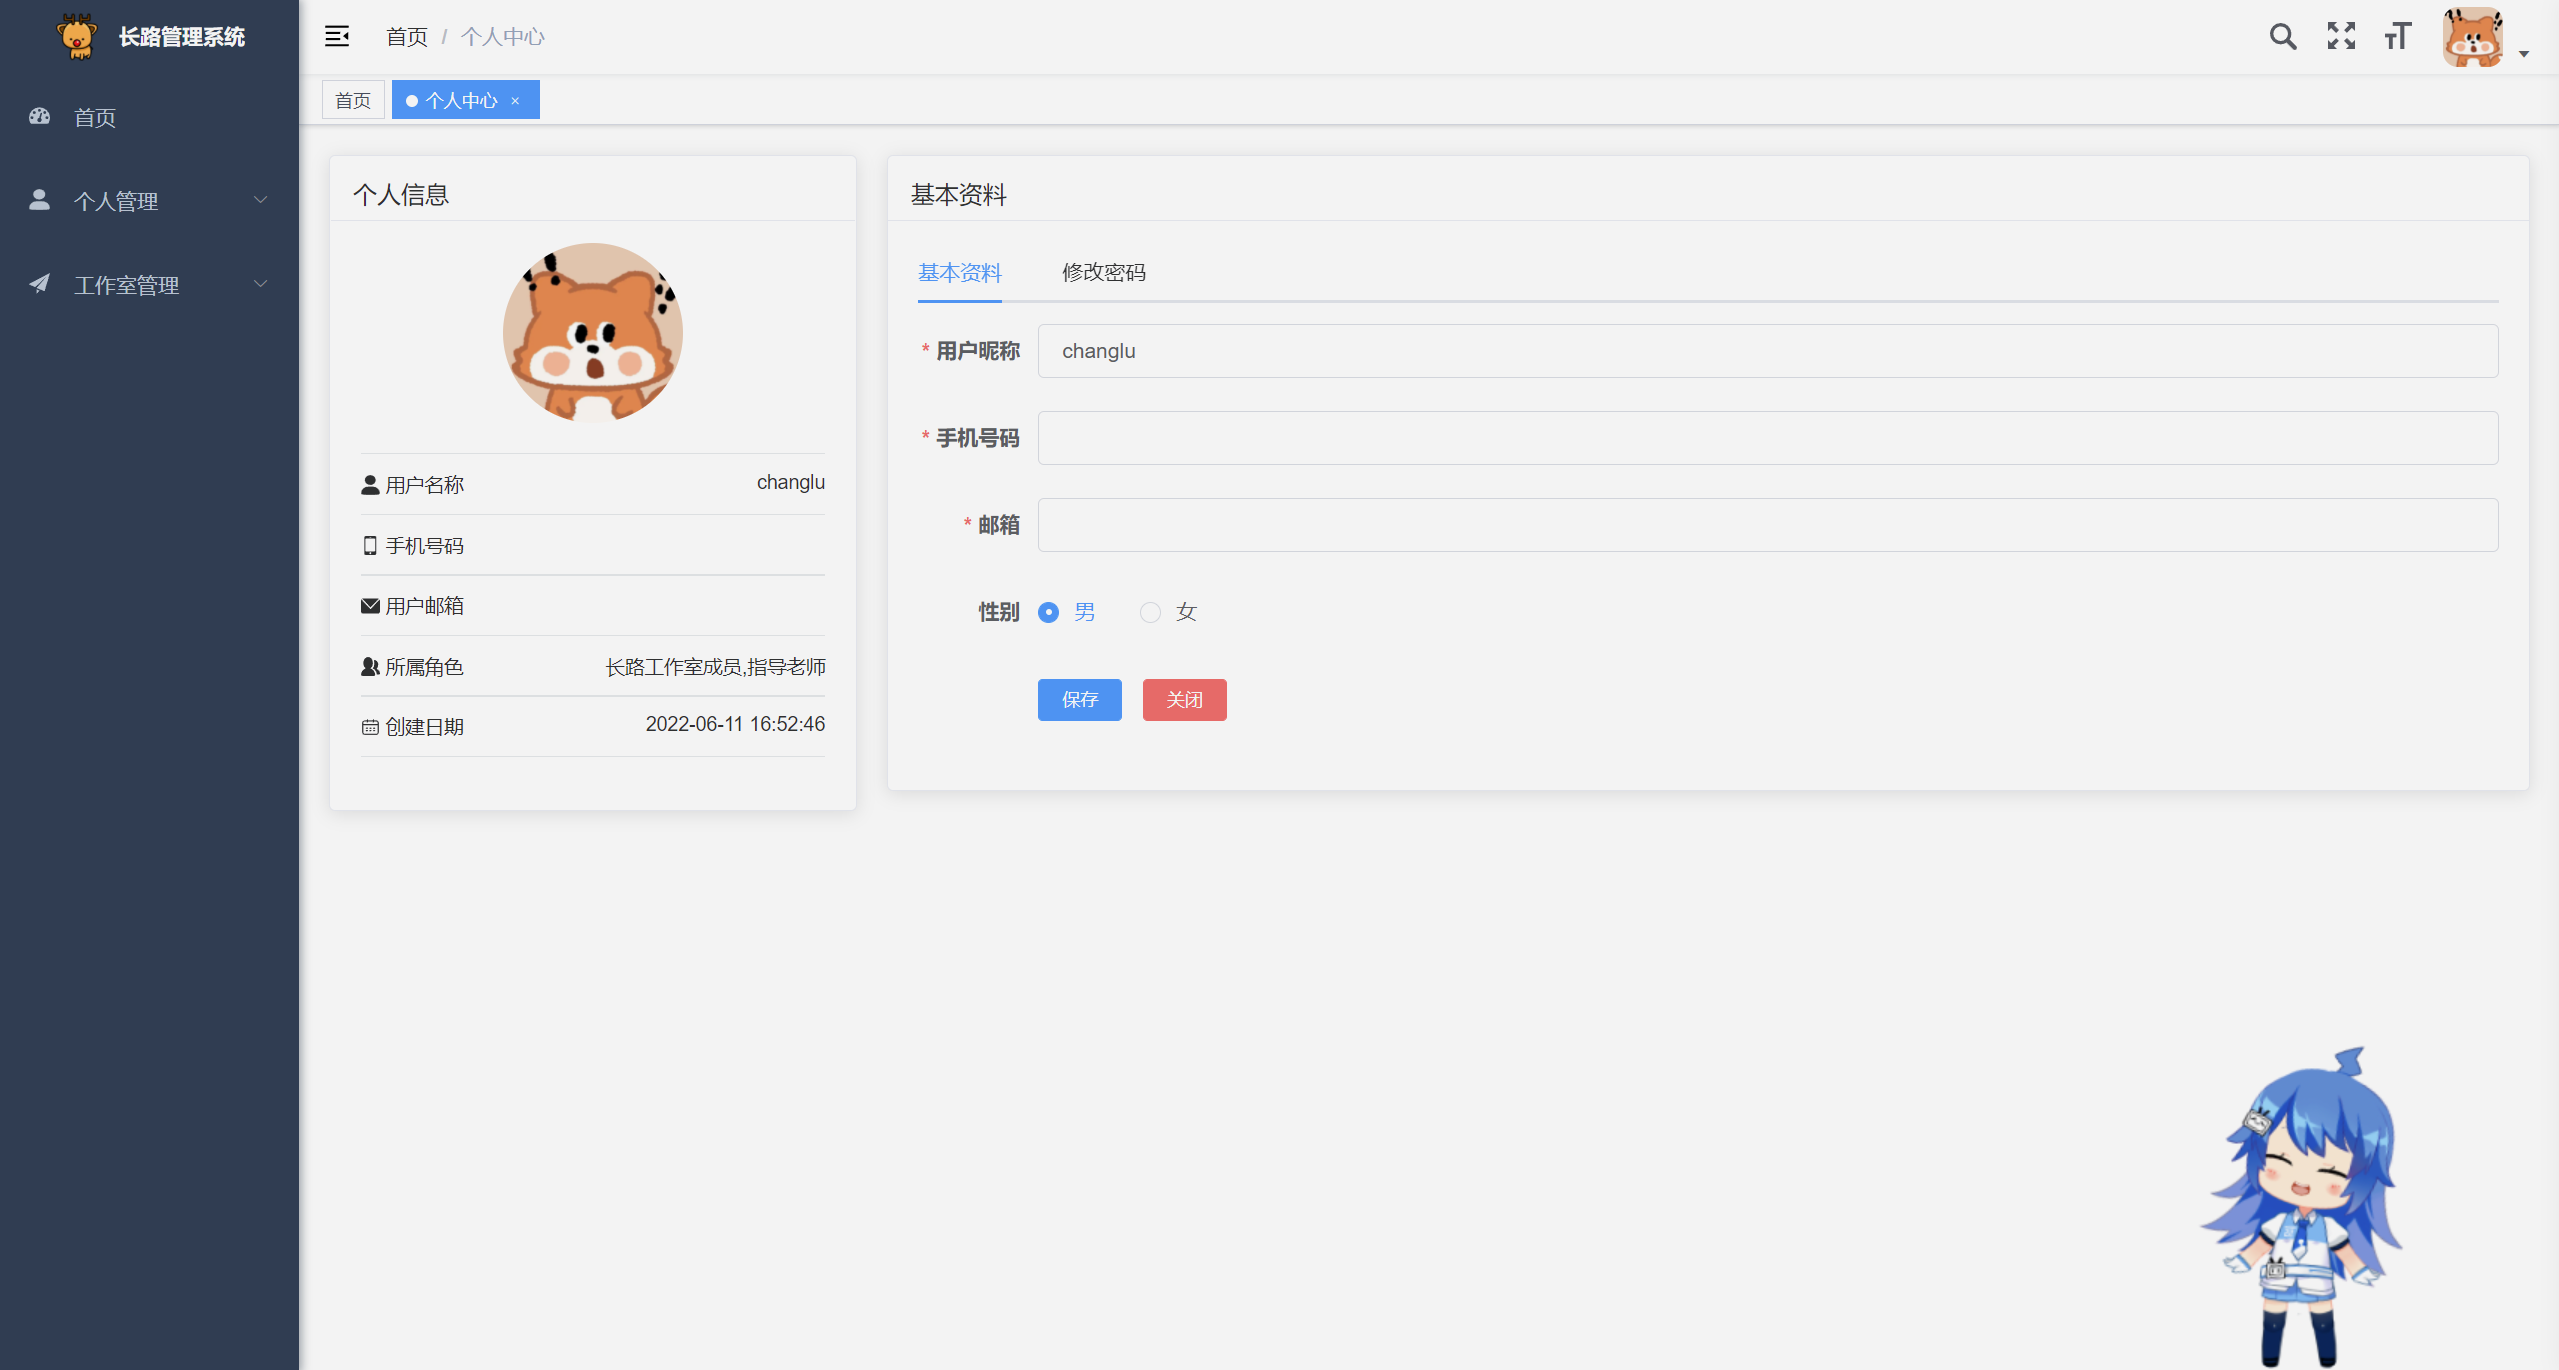
Personal information page: update personal information, change password
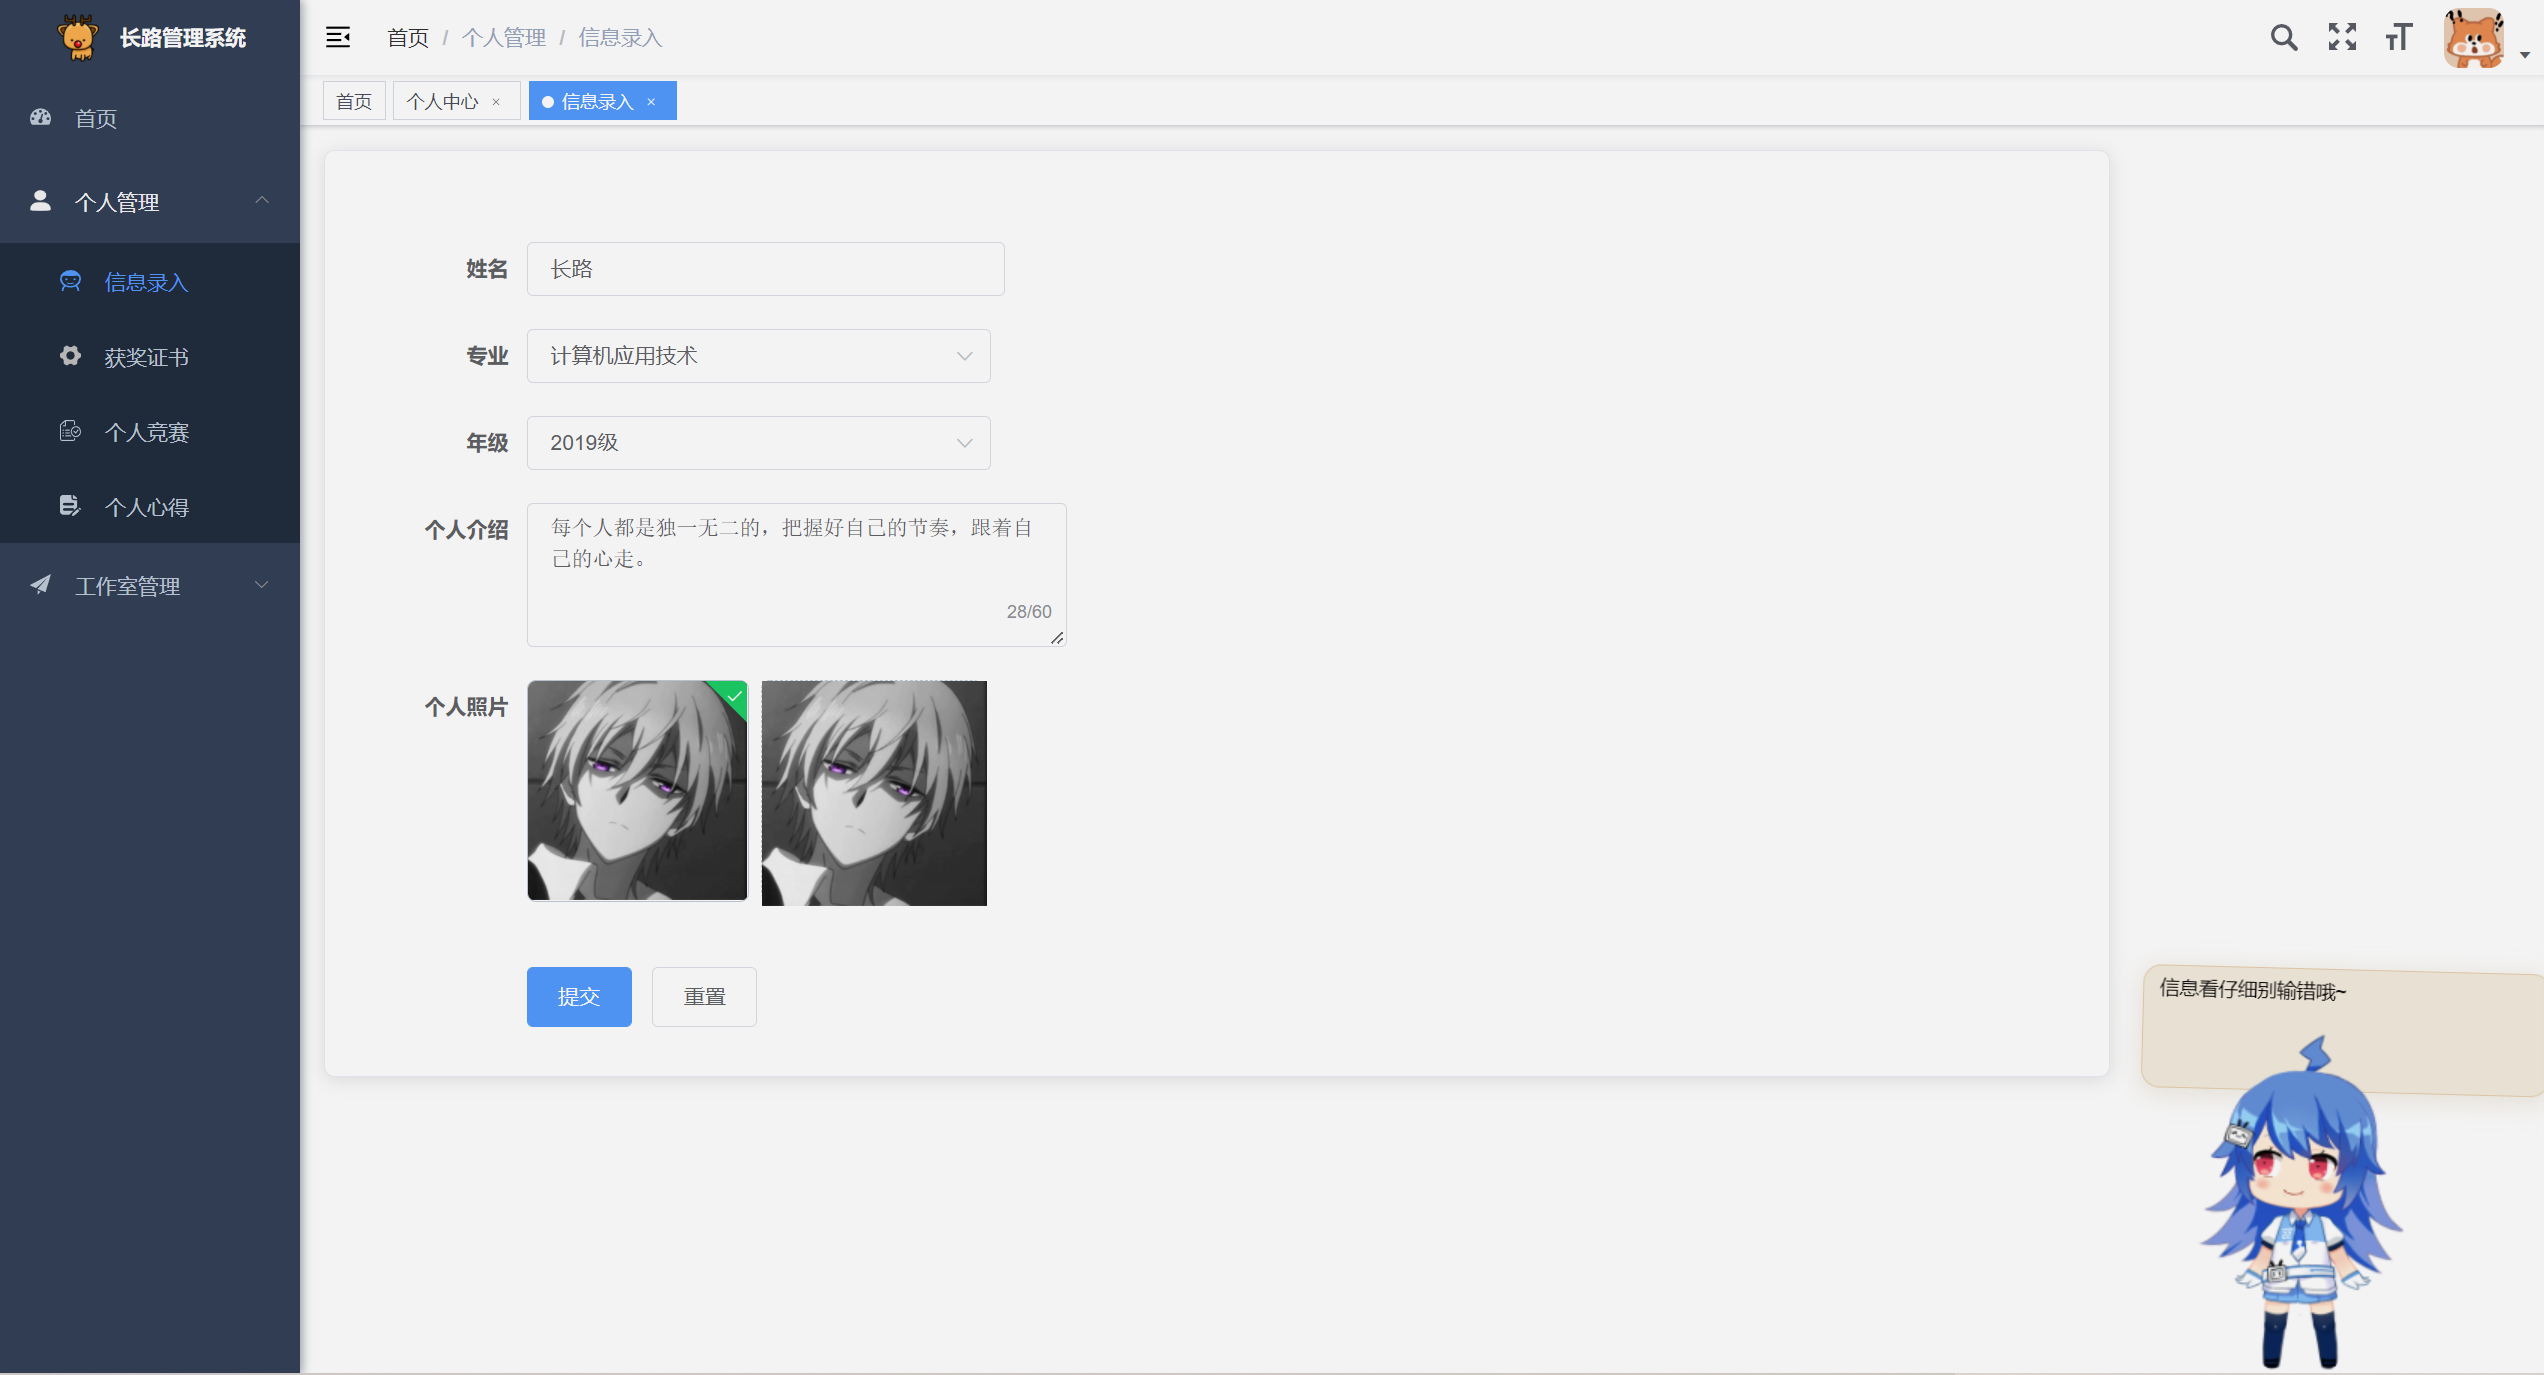
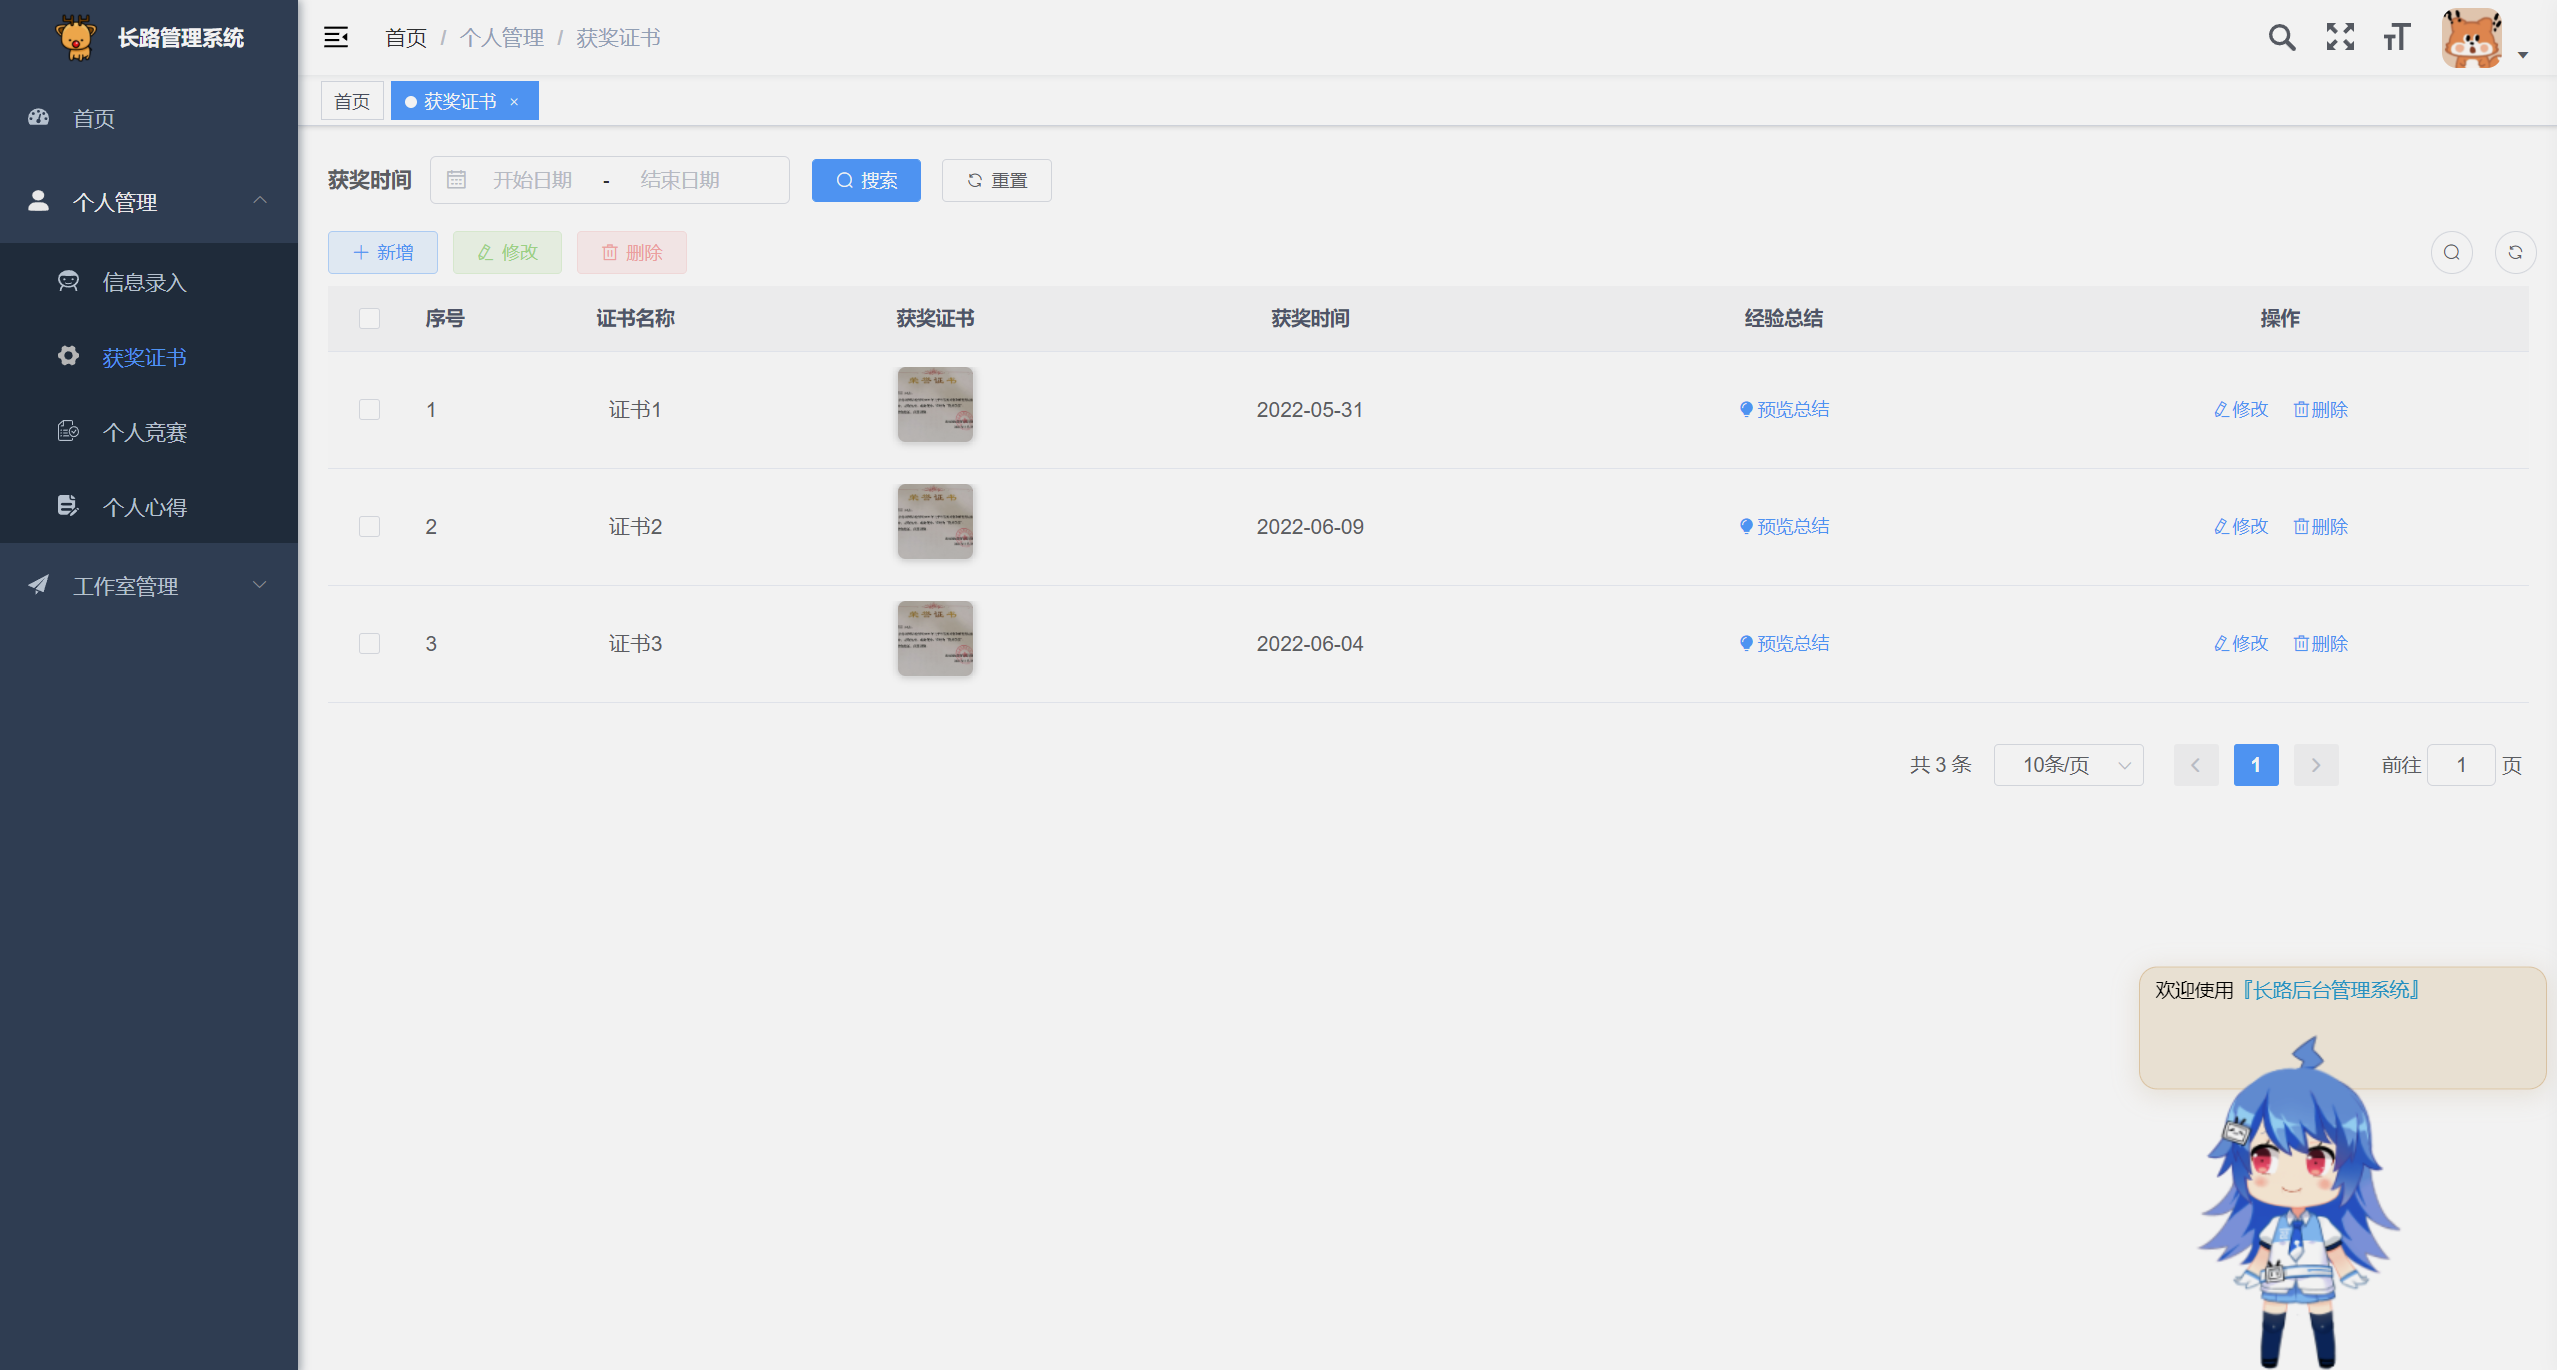
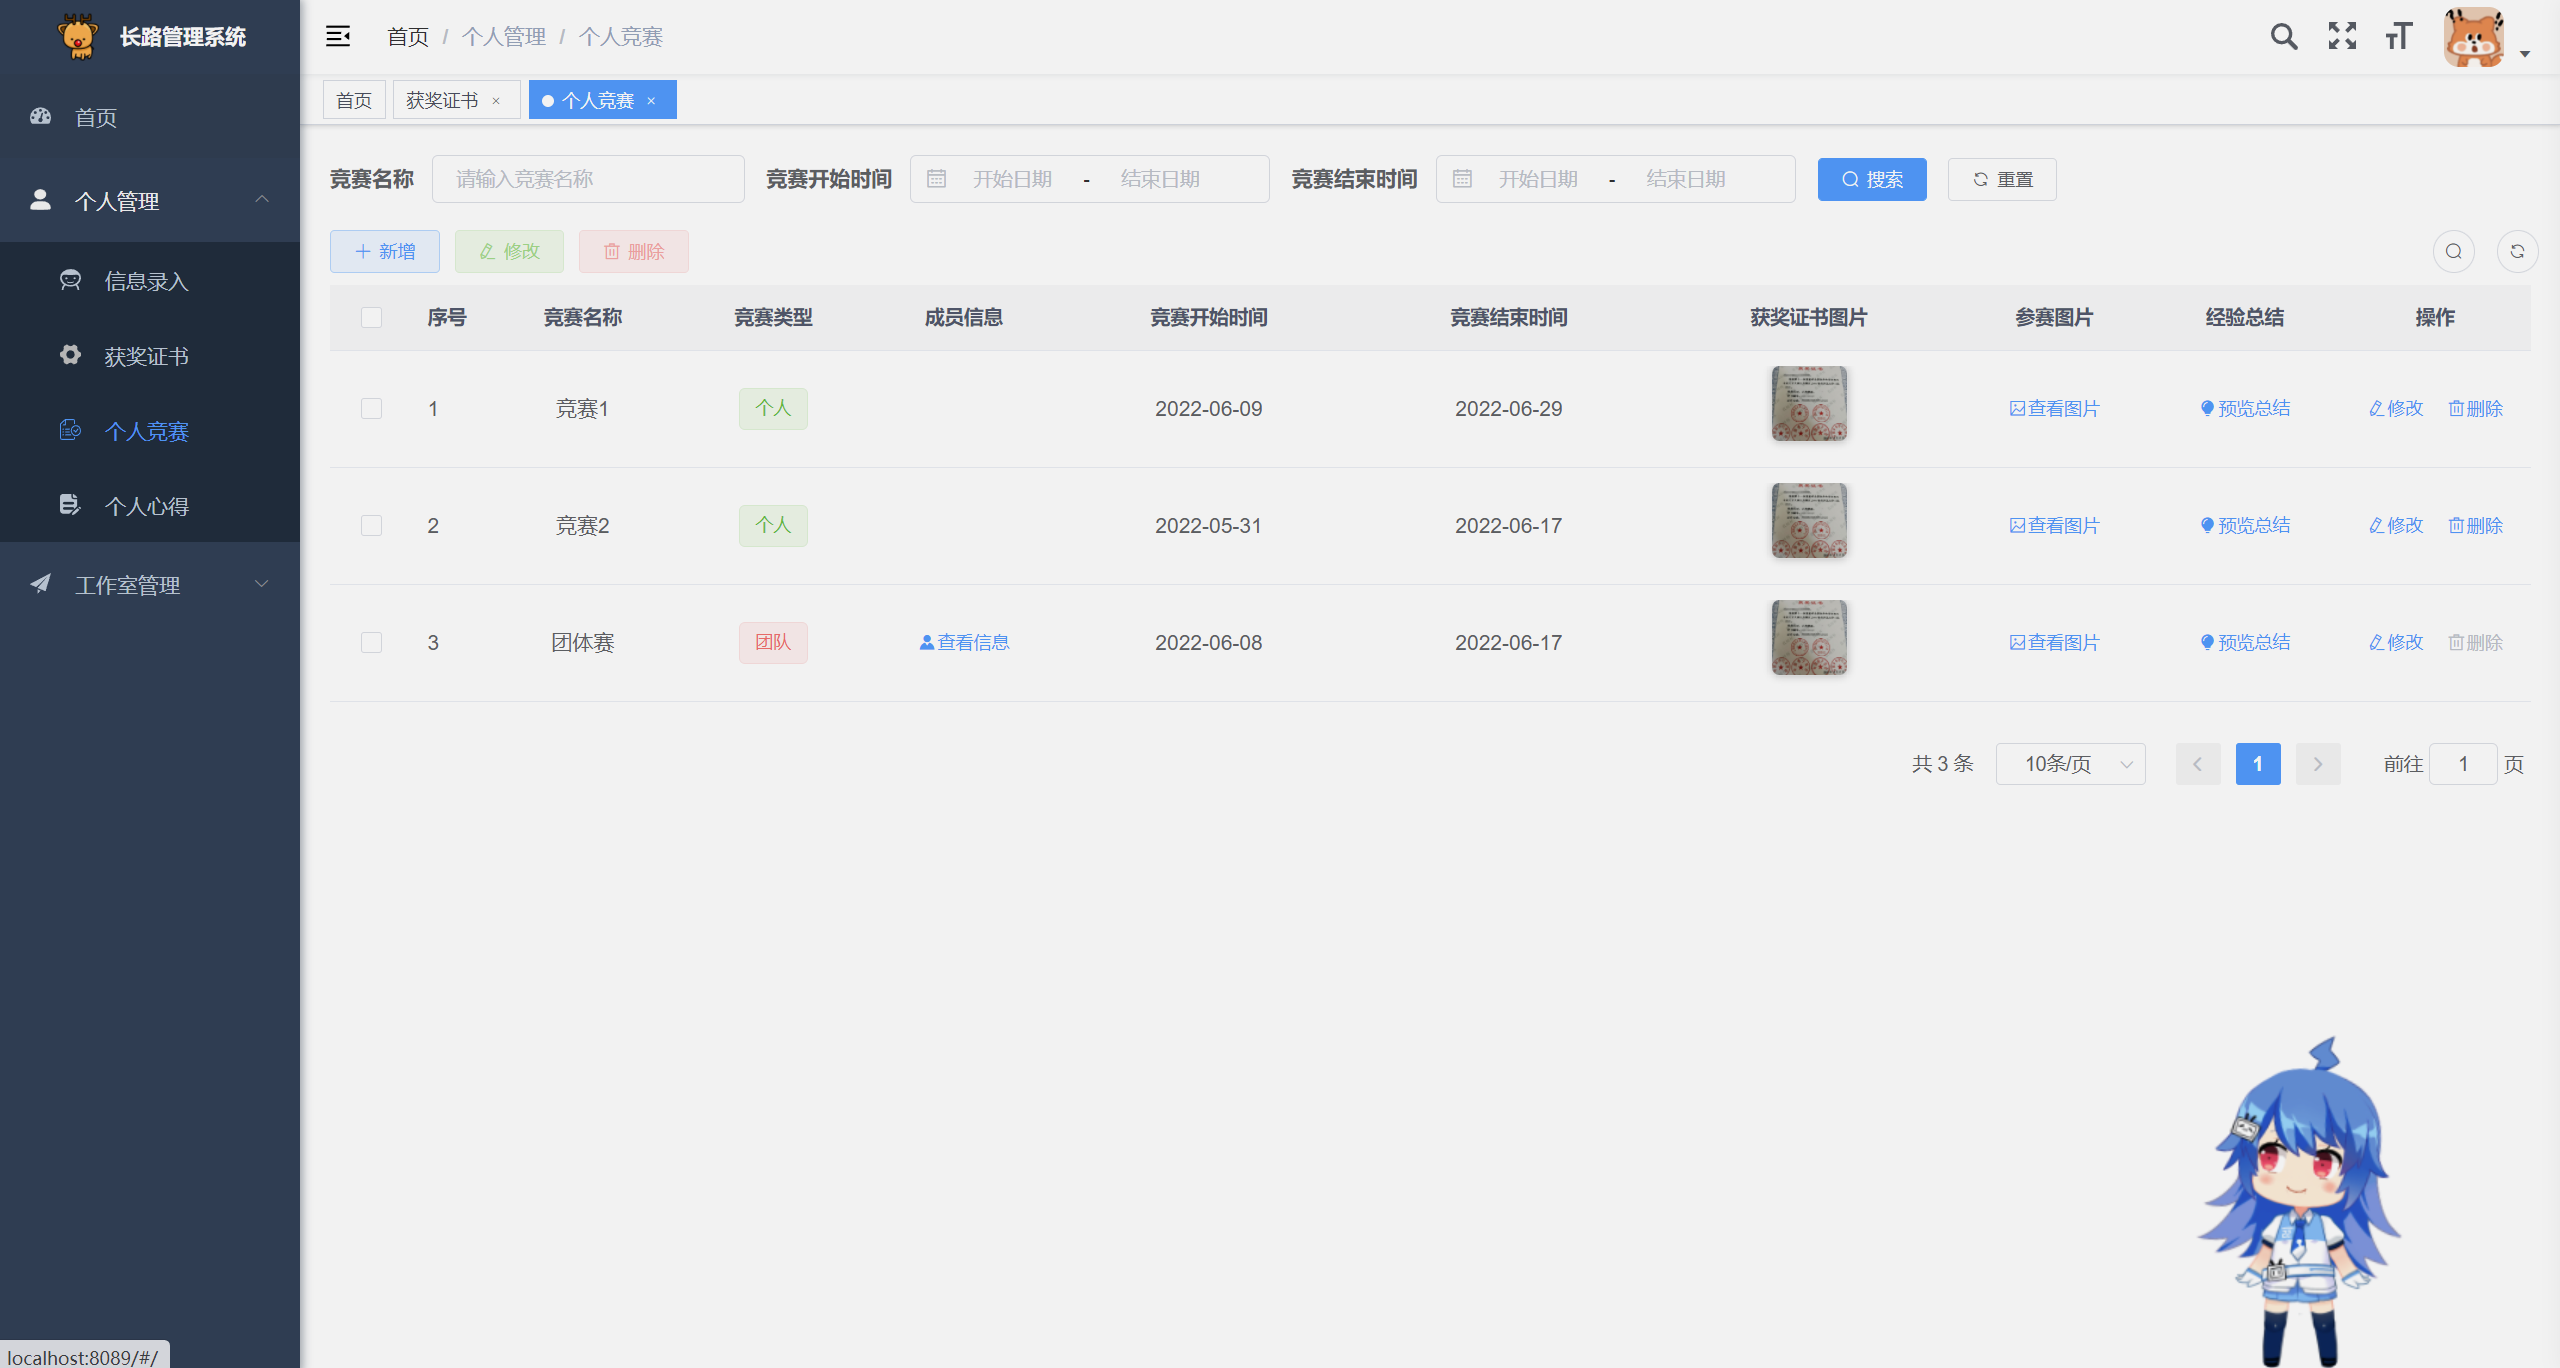
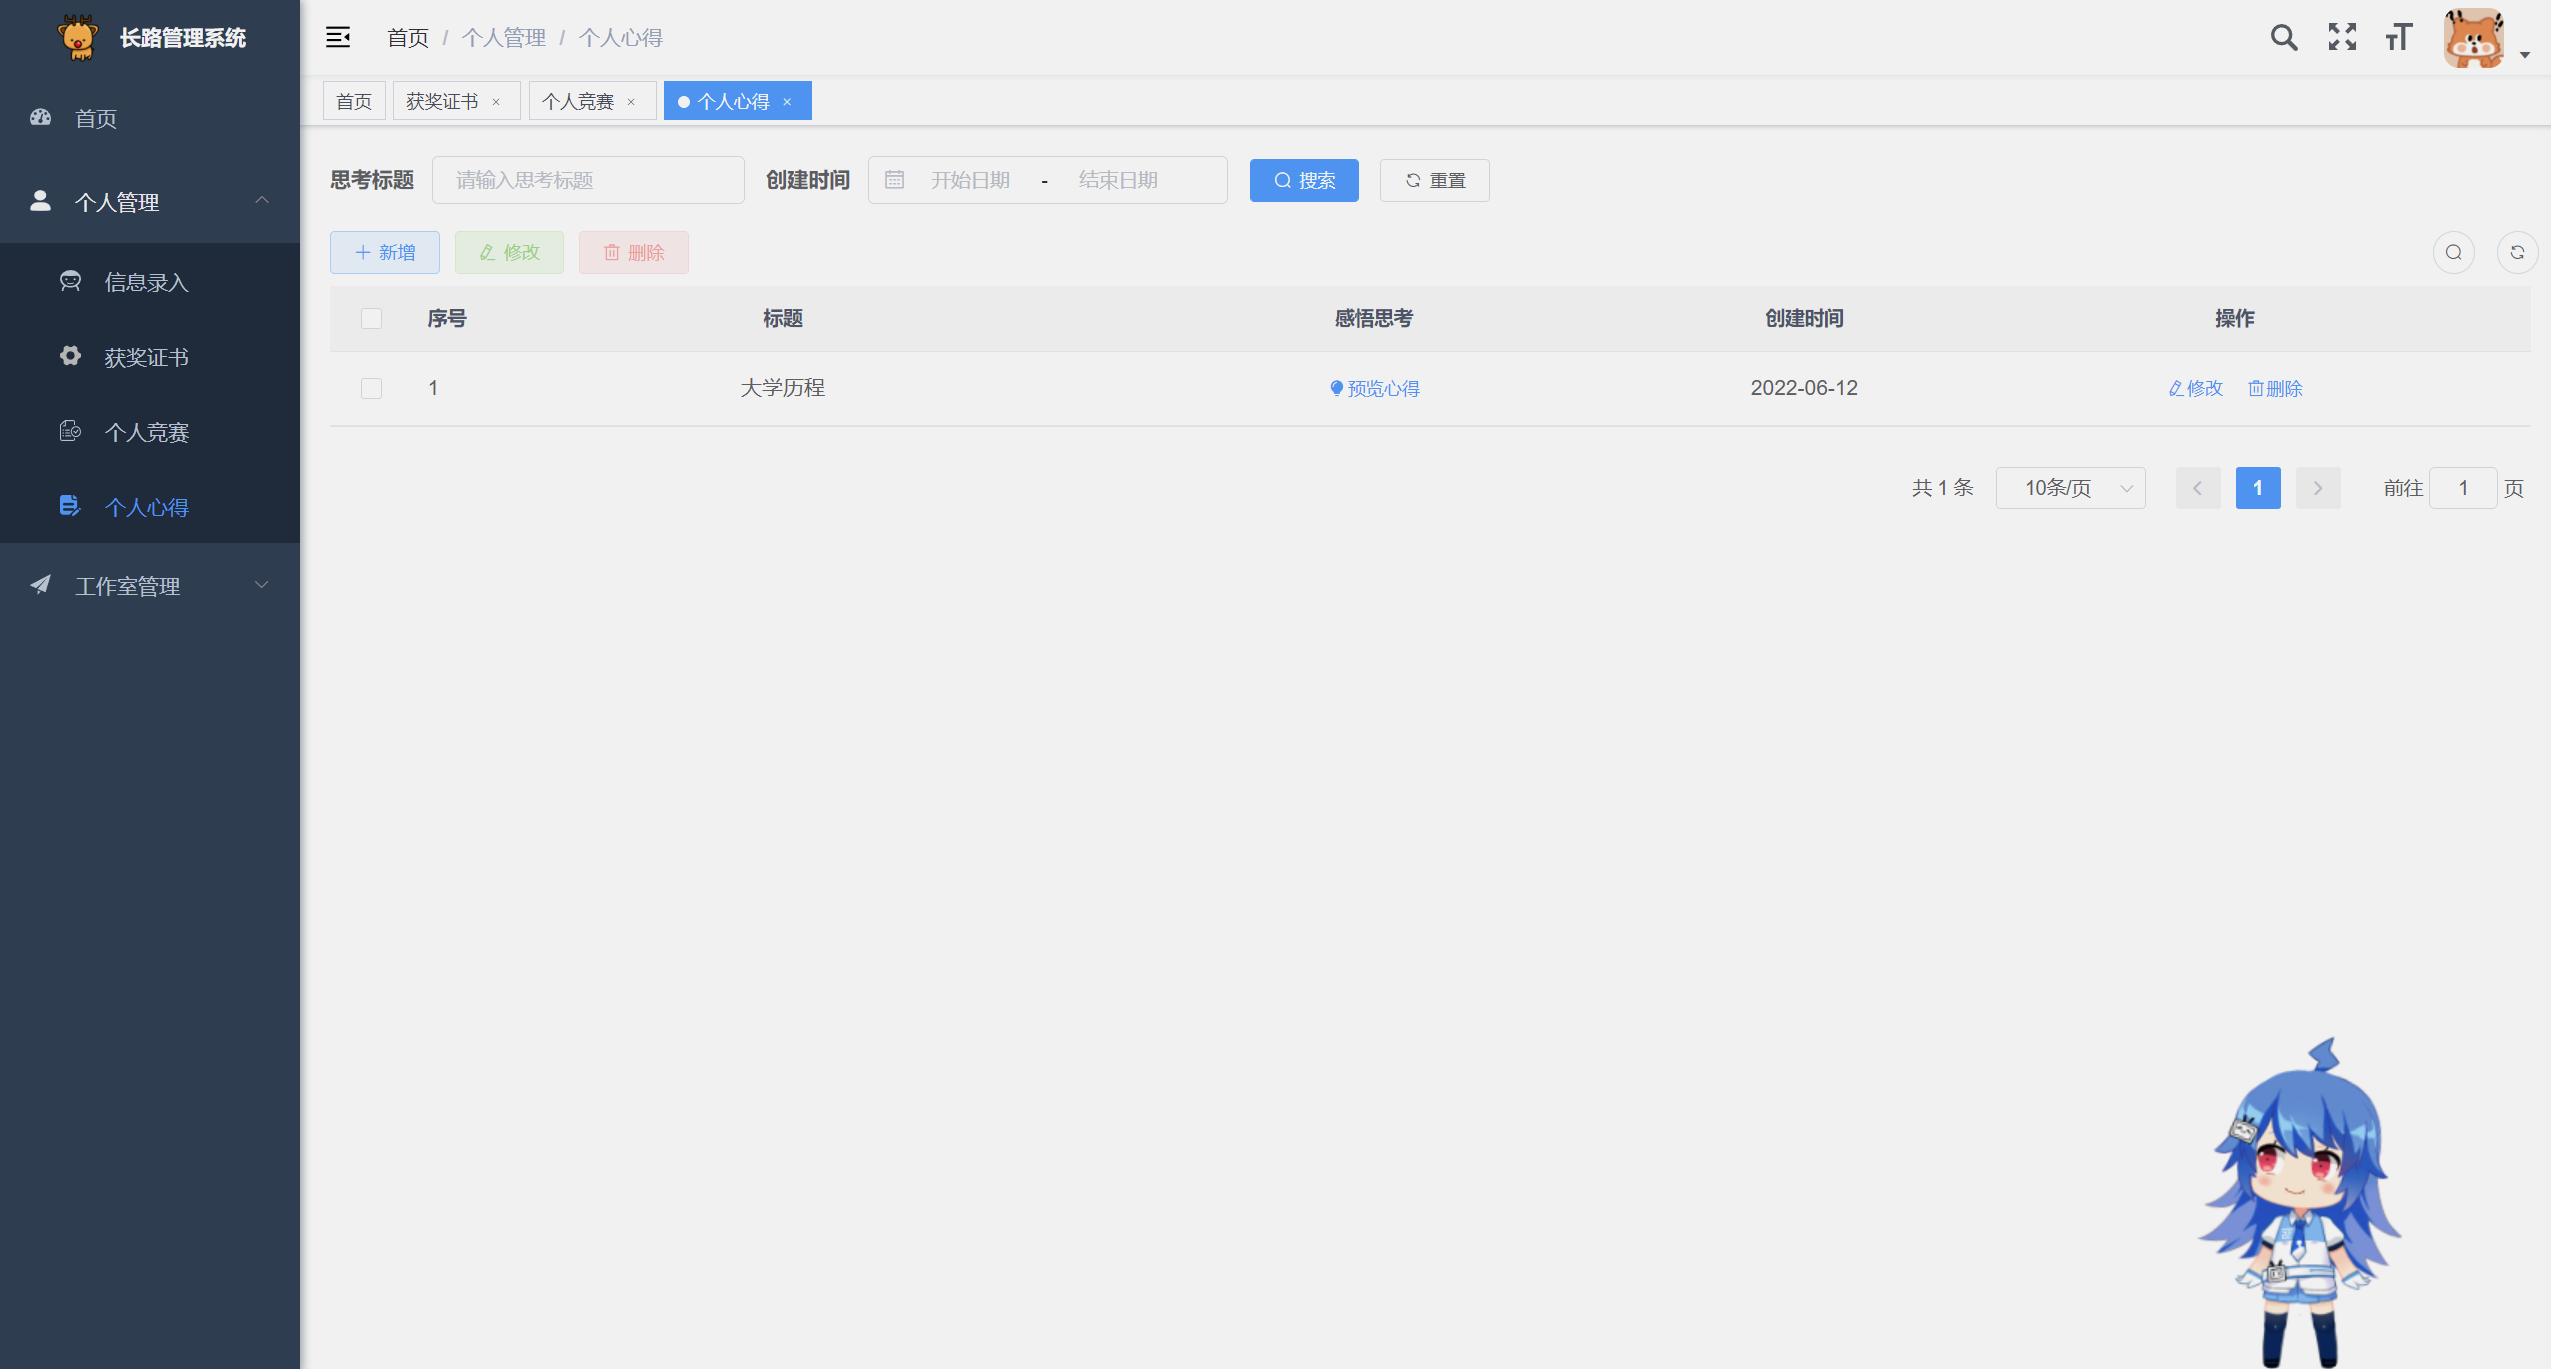
Personal management module:
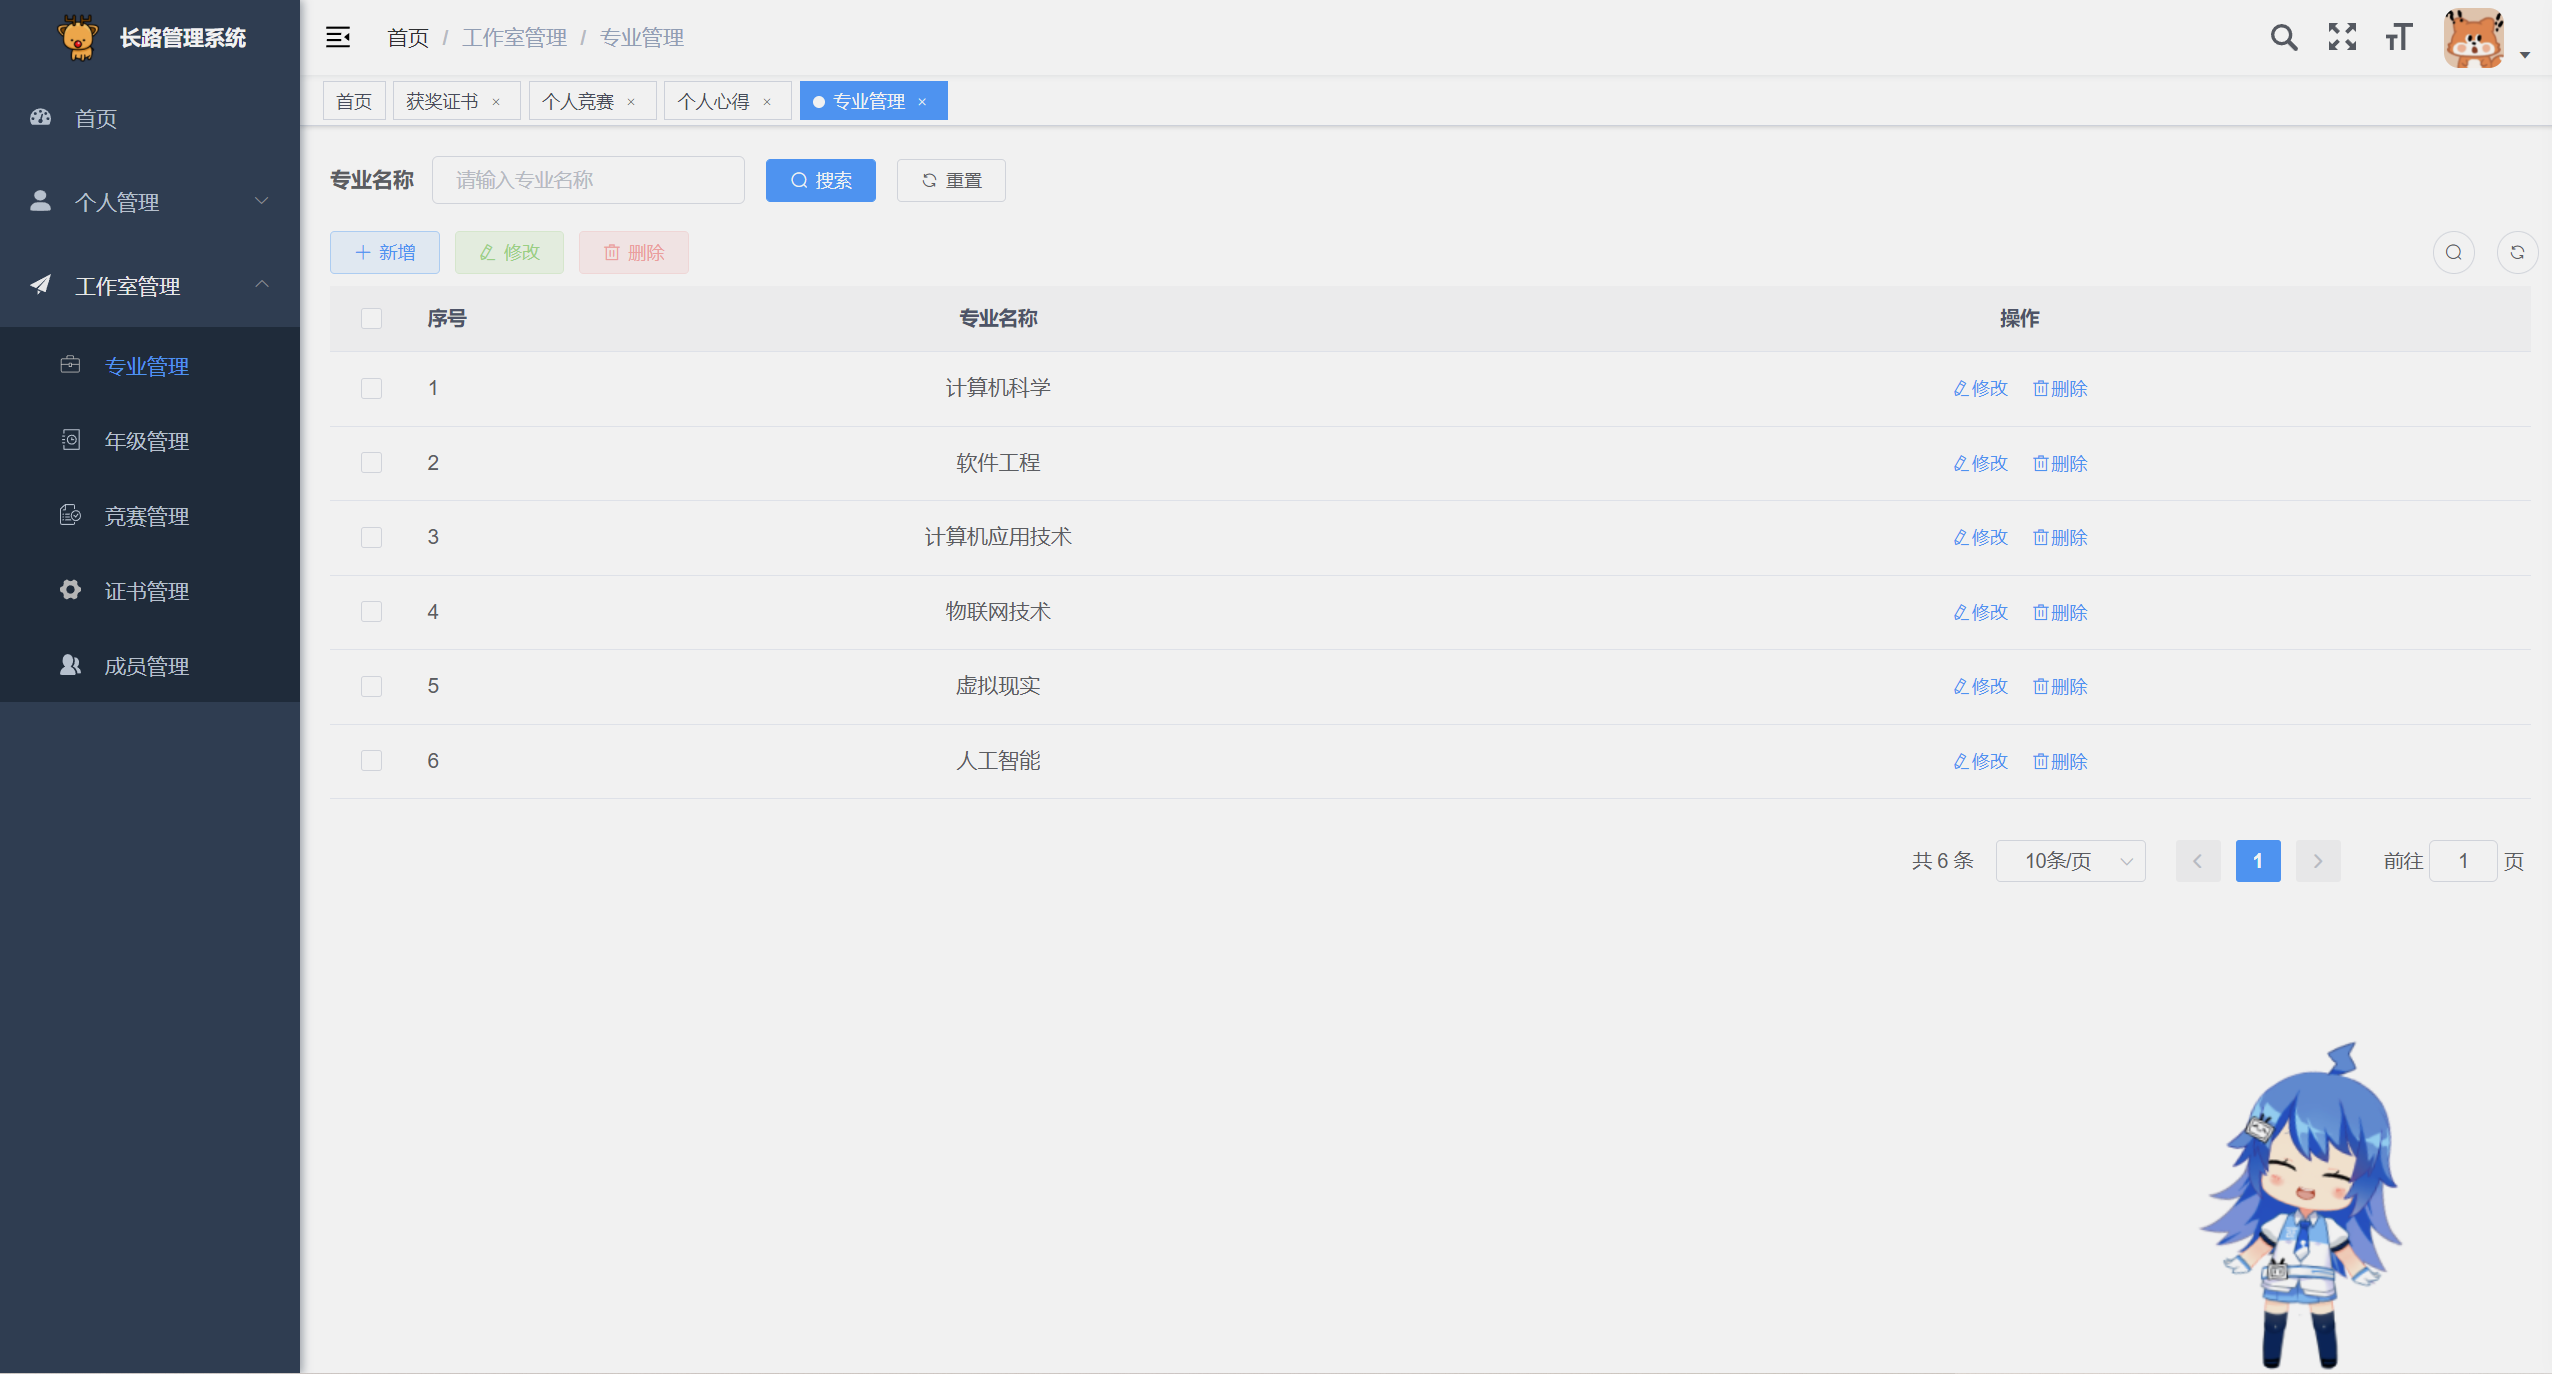
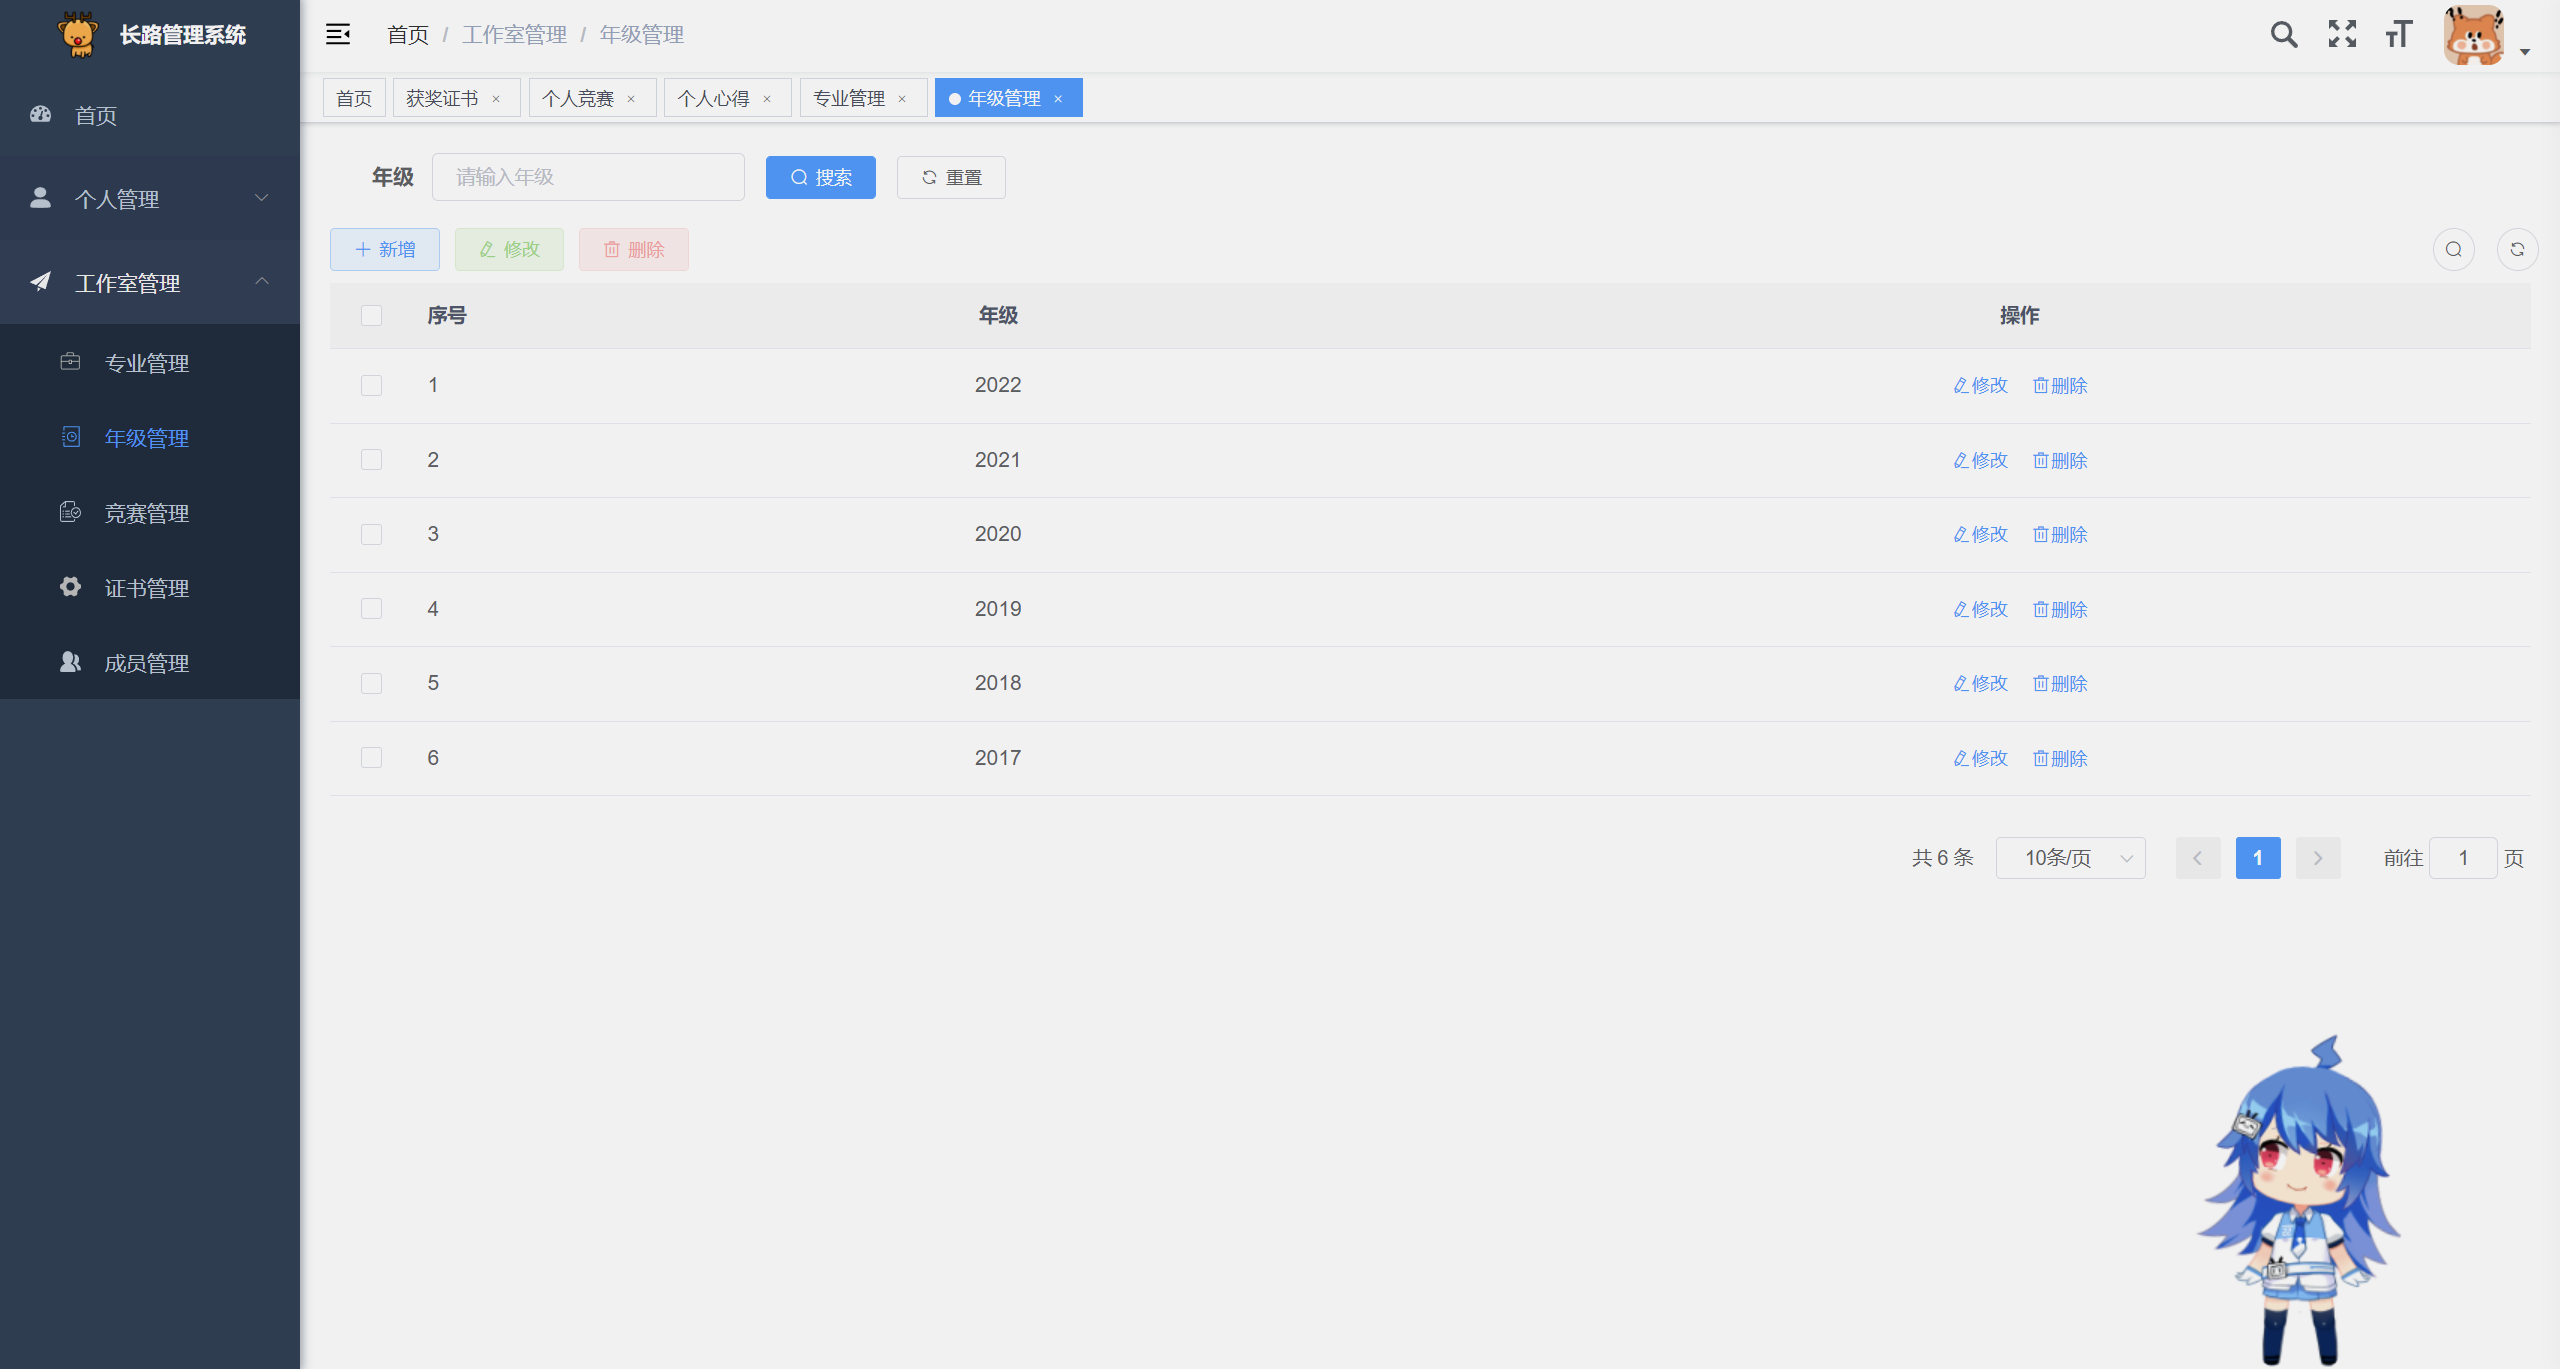
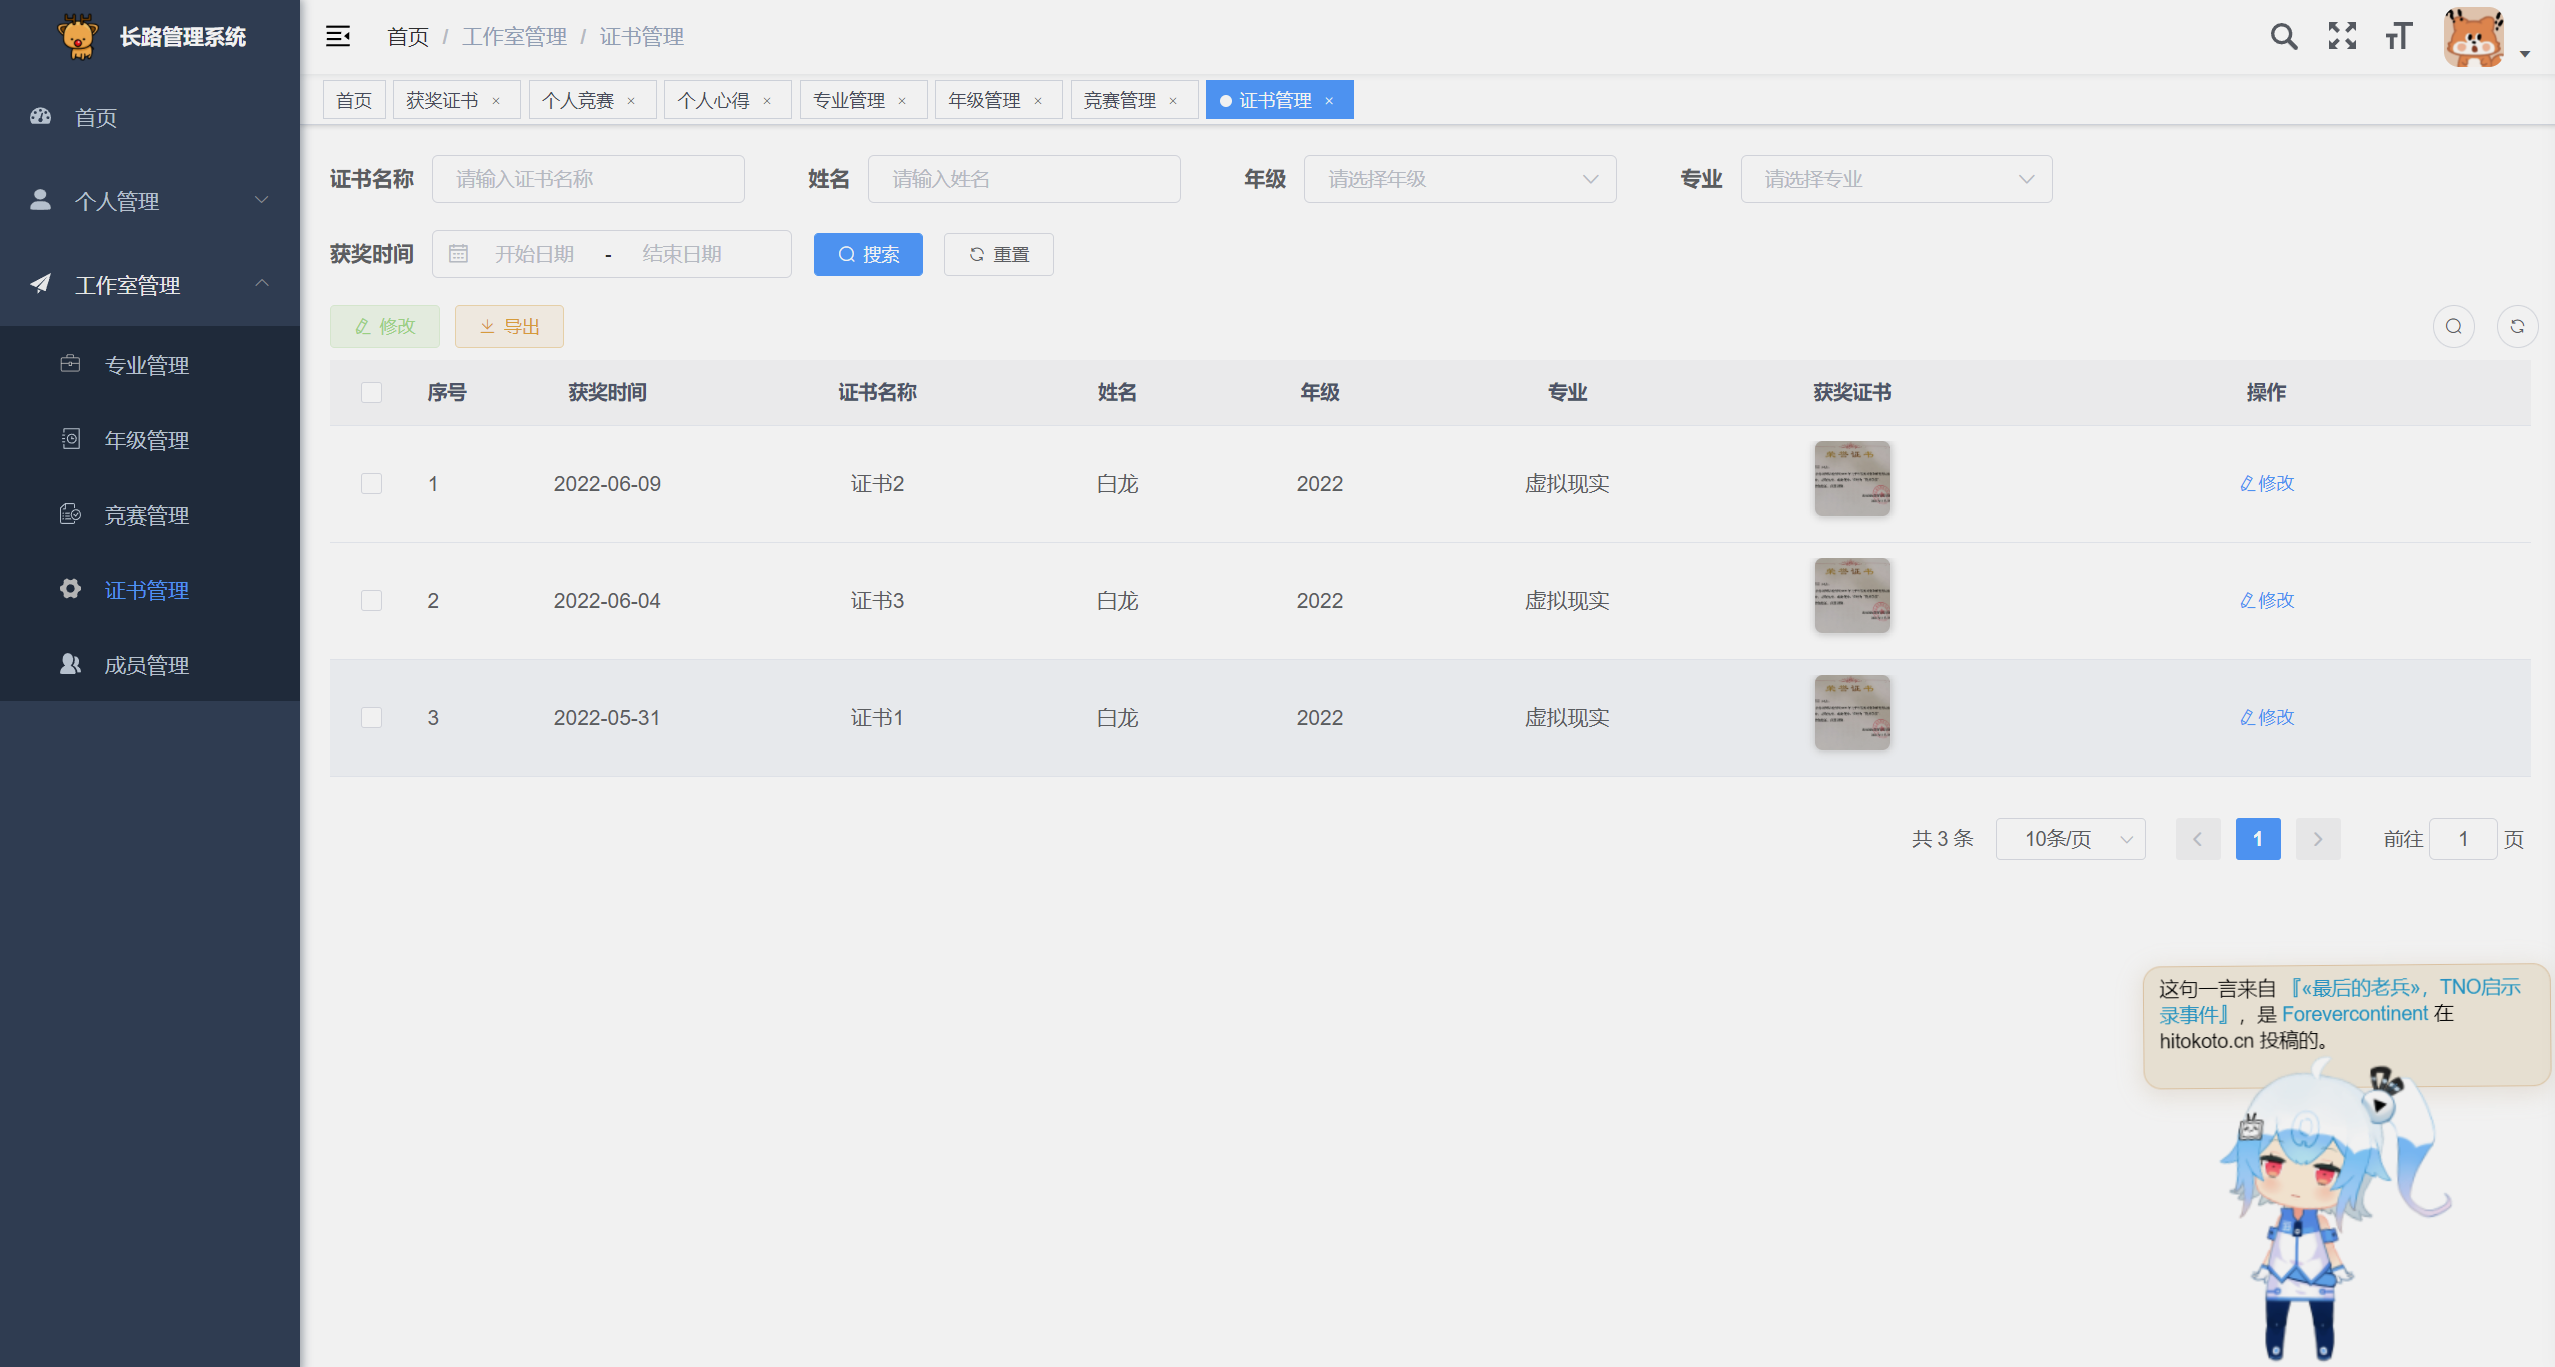
Studio management module:
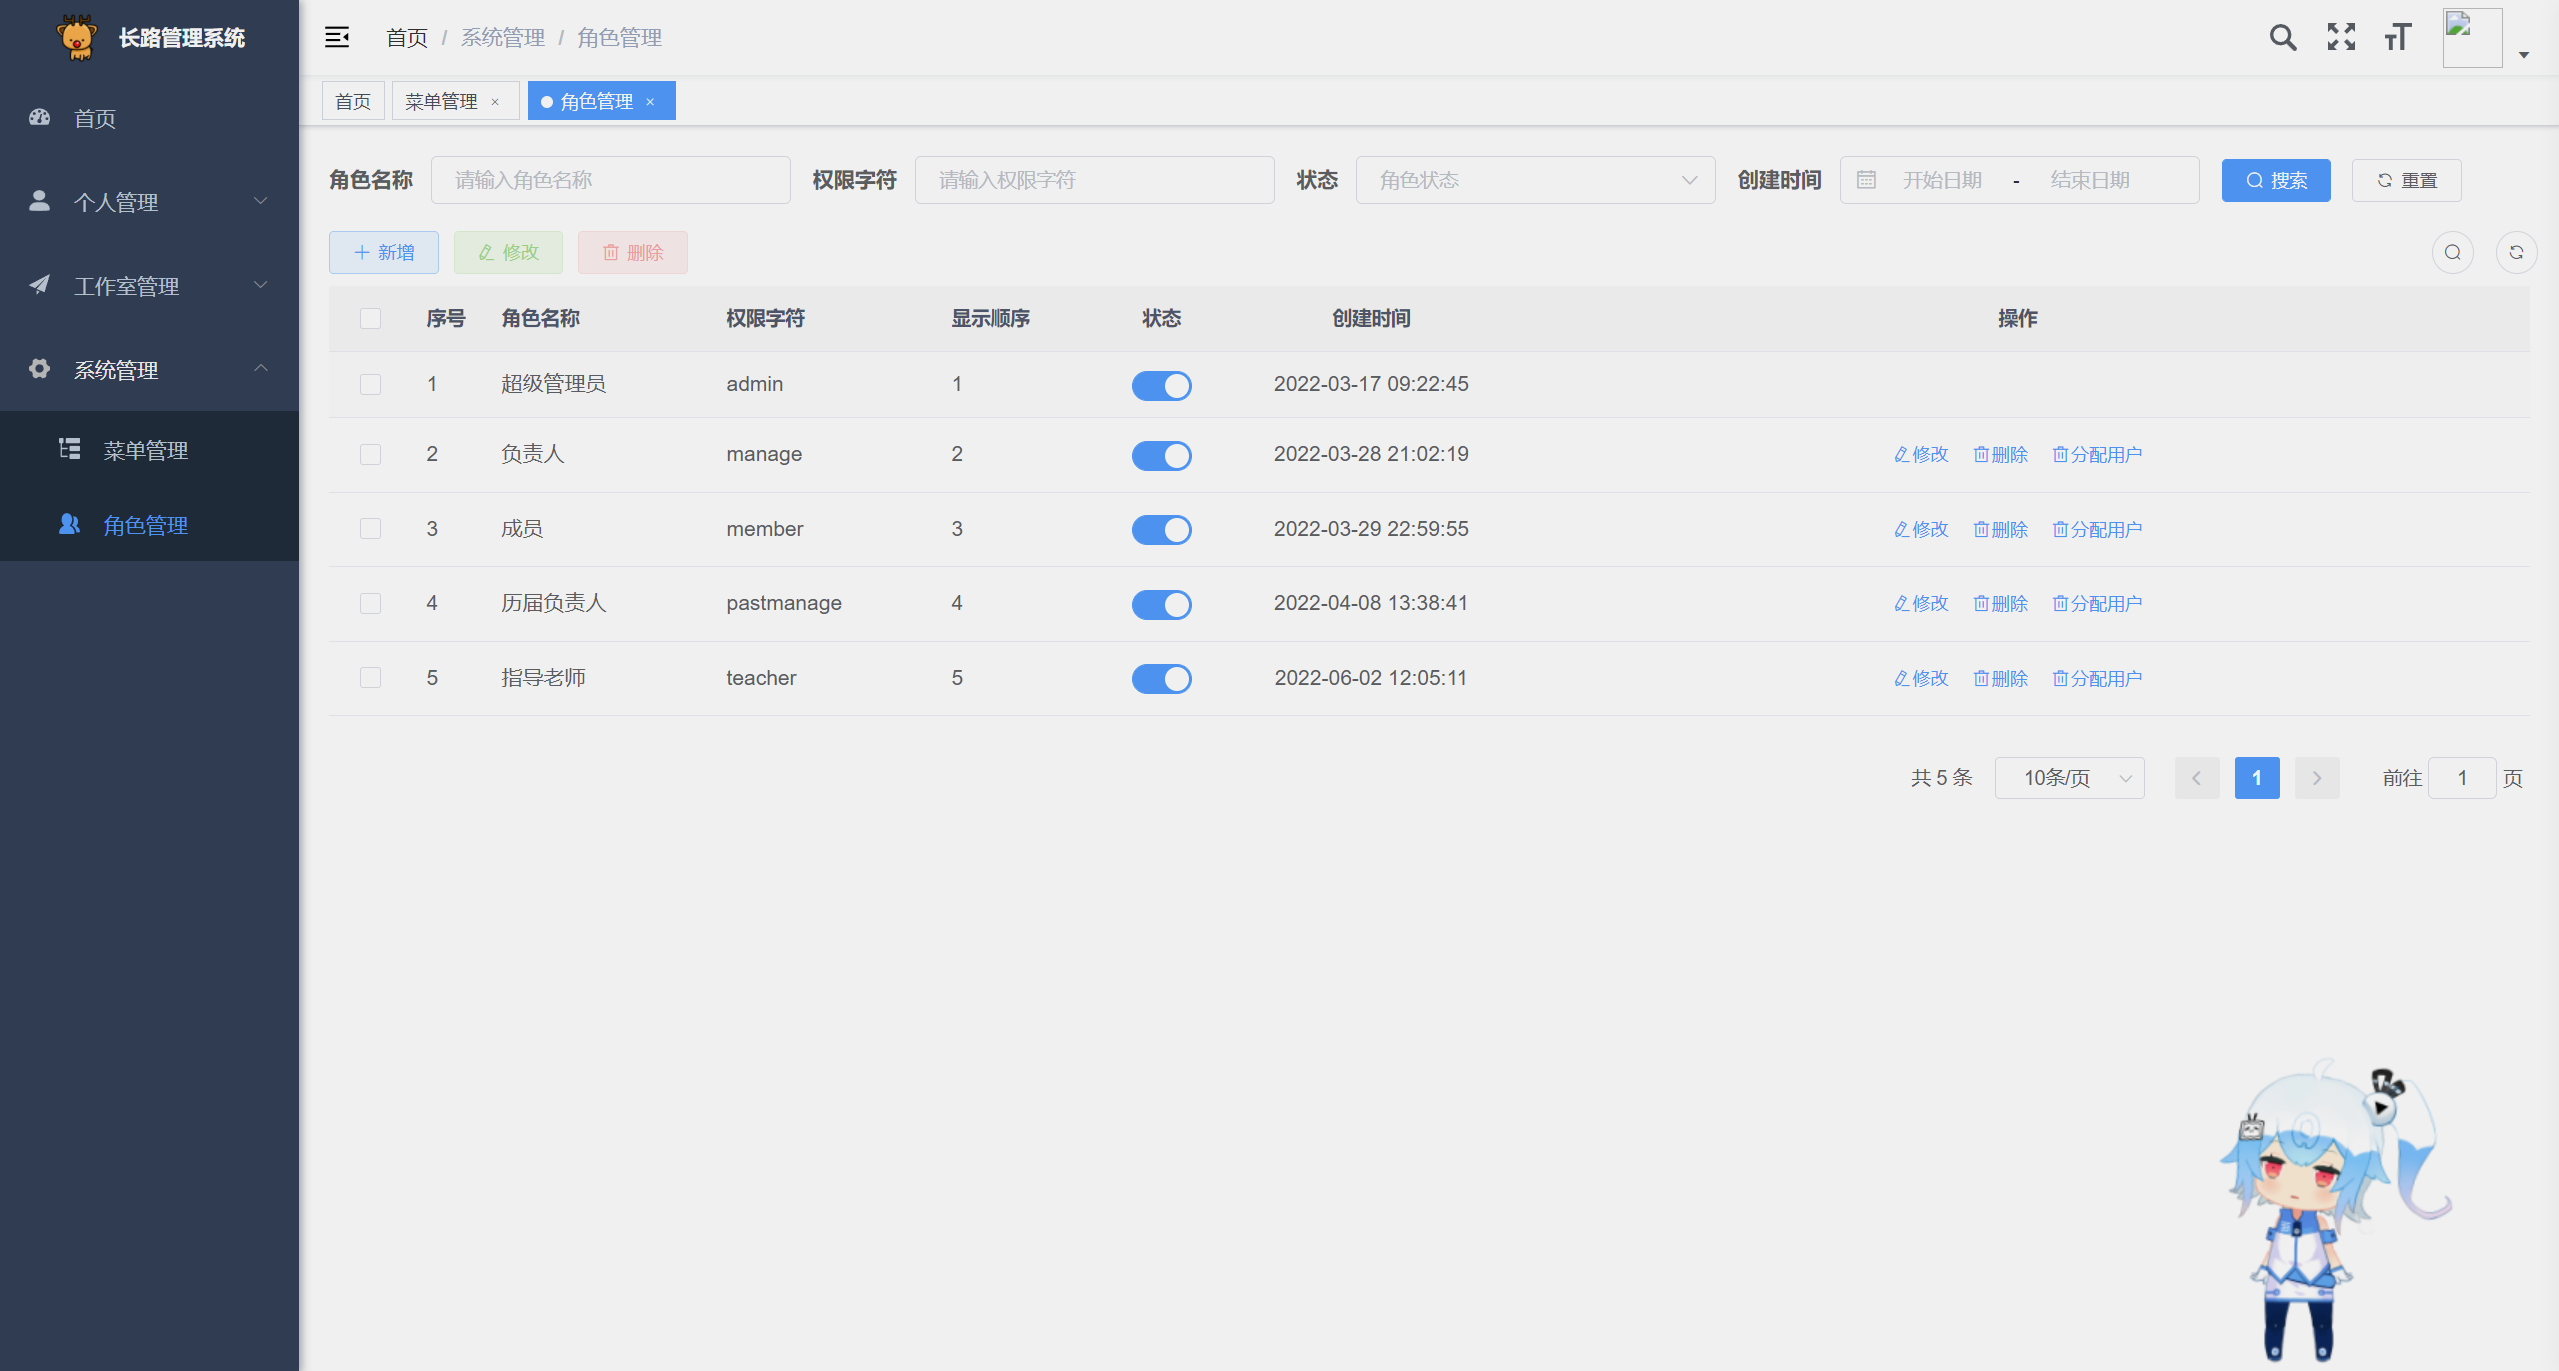
System management module (quoted by Ruoyi):
other
File upload interface: supports local or Alibaba Cloud OSS storage, just configure it.
API documentation: https://www.apifox.cn/apidoc/shared-456aee99-6931-48e5-bdd4-89c012d0178c
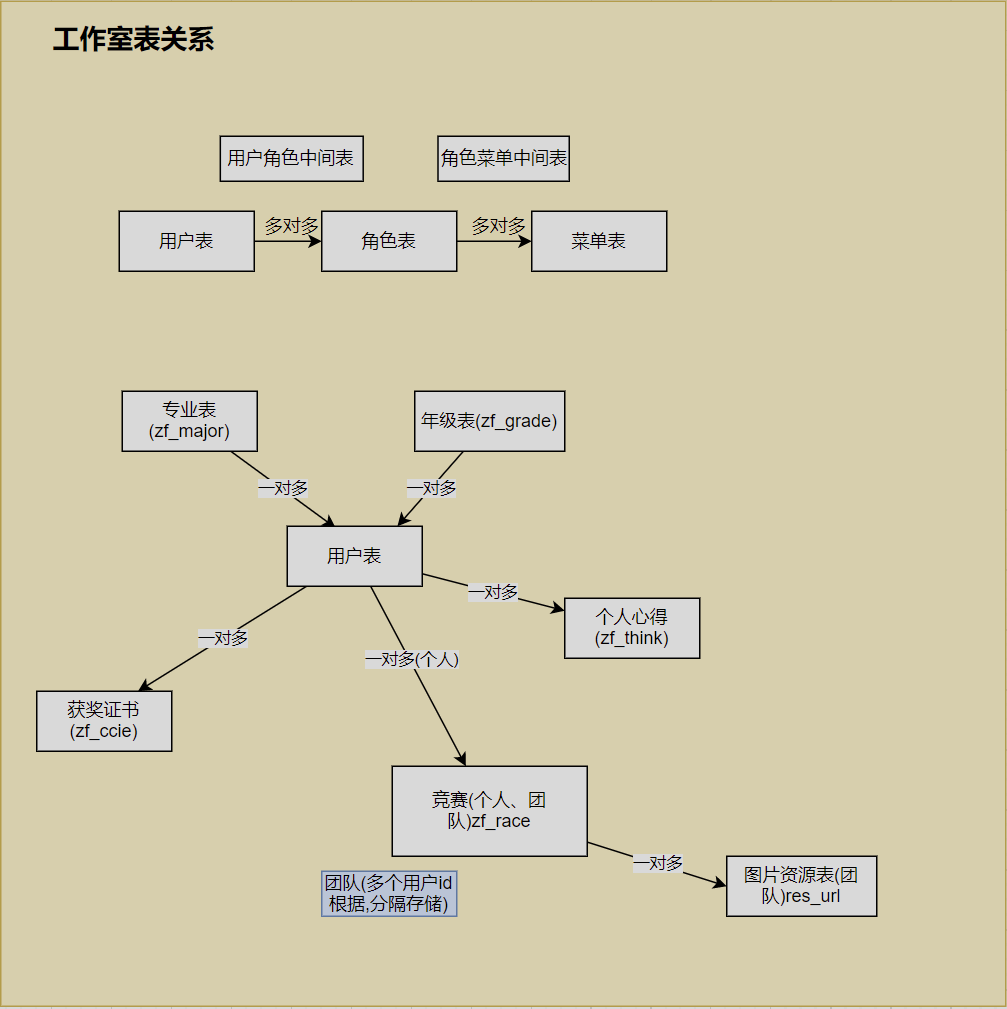
Database table relationship design:
Database table field design:

tags
local environment
Environment: Windows system
Development tools: IDEA2020
Project build tool: Maven3.6.3
Database: MySQL 5.7, Redis
Front-end environment: Node.js, Npm
Build and run local environment
1. Clone this project
 # github仓库
git clone https://github.com/changlua/Studio-Vue.git

# gitee仓库
git clone https://gitee.com/changluJava/studio-vue.git
2. Start the background service
①. Open the project in IDEA and configure the yaml file
Modify the database address in the studio-admin/application-dev file, the name and password of the connection database, and the password for redis.
②.Import sql/studio.sql
Operation method: Just import it directly. The sql statement to create the database has been added to the sql. You do not need to create the database yourself first. The default is studio.
③Run the startup class of studio-admin.
3. Run the front-end vue project of the background management system
Enter the studio-ui directory, execute the command to install the dependencies and run:
 # 安装依赖
npm install

# 运行项目
npm run dev
Visit: http://localhost:8089
The current management system only has one system administrator account: admin 123
4. Run static pages
Enter the studio-front directory and open index.html to enter the homepage. team.html is the team page.
Create the mydata folder in the server root directory / and copy the contents of the mydata directory into it:
The corresponding file contents are in the docker-compose directory of the warehouse:
After copying to the server, it is as follows:
The cloud server opens multiple ports (as shown below): only one port is actually opened in the end, and other ports only need to be opened during the process for testing.
Install Docker
See this blog: Quickly use Docker to deploy MySQL, Redis, and Nginx
Install Docker-Compose
See this blog: docker-compose quick start and practical combat
The corresponding docker-compose file has been uploaded to the docker-compose directory :
Step 1. Start the basic service file of docker-compose, start mysql and redis
①Set the redis password in the docker-compose-basic.yml file before starting, after line 35 --requirepass .
②Start the docker-compose file:
 # 进入到/mydata目录
cd /mydata

# 启动docker-compose-basic文件
docker-compose -f docker-compose-basic.yml up -d
docker-compose-basic.yml looks like this:
docker-compose-basic.yml :
 version : ' 3.1 '

networks :
  studio-net :  # 网络名
    name : studio-net
    driver : bridge

services :
  mysql :
    image : library/mysql:5.7.36
    restart : always
    container_name : mysql
    ports :
      - 3306:3306
    environment :
      - MYSQL_ROOT_PASSWORD=root
    volumes :
      - " /etc/localtime:/etc/localtime "
      - " /mydata/mysql/log:/var/log/mysql "
      - " /mydata/mysql/data:/var/lib/mysql "
      - " /mydata/mysql/conf:/etc/mysql/mysql.conf.d "
    networks :
      - studio-net
  redis :
    image : library/redis:5
    restart : always
    container_name : redis
    ports :
      - 6379:6379
    volumes :
      - " /mydata/redis/redis.conf:/etc/redis/redis.conf "
      - " /mydata/redis/data:/data "
    networks :
      - studio-net
    command : ["redis-server","/etc/redis/redis.conf","--appendonly yes", "--requirepass SZcmfGJGUD4v"]
Step 2: Create a mysql user and import the sql file
①The steps to set mysql password are as follows:
 # 使用mysql容器中的命令行
docker exec -it mysql /bin/bash

# 使用MySQL命令打开客户端:
mysql -uroot -proot --default-character-set=utf8

# 接着创建一个账户,该账号所有ip都能够访问
# 用户名:root  密码:123456
grant all privileges on * . * to ' root ' @ ' % ' identified by ' 123456 ' ;
②Import sql file: It is recommended to import via remote connection. The imported sql is as follows:
studio.sql : There is only one user account.studio-simple1.sql : consistent with the data of the demo website. The effect after importing studio.sql is as follows:
Preparation : Open port 2375 of the security group on the cloud server. [Tip: Please open it when uploading the image. If it is open for a long time, the 2375 port is easy to be planted with viruses. I have been infected]
Step 1: Turn on docker’s 2375 port listening on the server
Modify configuration file:
 # 编辑打开其中的docker.service文件
vim /usr/lib/systemd/system/docker.service

# 将其中的execstart进行替换
ExecStart=/usr/bin/dockerd -H tcp://0.0.0.0:2375 -H unix://var/run/docker.sock
Then reload the docker.server file and restart the docker service:
 # 重新加载服务配置docker.server
systemctl daemon-reload
# 重新启动docker
systemctl restart docker
Let’s test whether port 2375 is currently listening:
 # 若是出现json文件内容说明已经在监听了
curl http://127.0.0.1:2375/version

# 查看下2375端口是否被监听
netstat -nlpt

# 服务器防火墙开启2375端口
firewall-cmd --add-port=2375/tcp --permanent
firewall-cmd --reload
firewall-cmd --zone=public --list-ports
Step 2: Use local IDEA to test whether the docker service of the server can be connected
tcp://192.168.3.83:2375
Step 3: Modify the remote Docker service IP address
< dockerHost > http://192.168.3.83: 2375< /dockerHost >After modification, we manually build the jar package of studio.admin:
Then we execute the docker:build command to package the image and upload it to the server:
The result of a successful build is as follows:
We need to replace the configuration file under the nginx/conf.d configuration file in the /mydata directory with this one:
By default, our http configuration is in the mydata directory.
Start the final service compose file:
docker-compose -f docker-compose-studio.yml up -d ok, now we have finished deploying the service:
The docker-compose-studio.yml configuration file is as follows
version: ' 3.1 '

# 外部网络声明(否则无法使用之前已经定义好的网络)
networks:
  studio-net:
    external: true

services:
  studio:  # studio实验室
    image: studio/studio-admin:latest
    container_name: studo-admin
    ports:
      - 8999:8999
    volumes:
      - " /etc/localtime:/etc/localtime "
      - " /mydata/project/studio-admin/logs:/tmp/logs "
      - " /mydata/nginx/html/static:/tmp/static "
    networks:
      - studio-net
  nginx:   # nginx服务
    image: library/nginx:1.10
    container_name: nginx
    ports:
      - 80:80
      - 443:443
    volumes:
      - " /mydata/nginx/html:/usr/share/nginx/html "
      - " /mydata/nginx/logs:/var/log/nginx "
      - " /mydata/nginx/conf:/etc/nginx "
    networks:
      - studio-net
    depends_on:
- studioCreate two files in the directory ``/mydata/nginx/html`, namely admin and front. The former is placed in the backend system and the latter is placed in the official website:
The official website page in the warehouse is: studio-front , a pure html static page.
① Modify the front path and upload the official website page
The first modification: team.js , which is the interface path in it
 # 替换ip地址即可
const url = " http://192.168.3.83/api/common/members "
Modify the second part: index.html, login and registration page jump path
 < ! -- 同样修改ip地址即可 -- >
< li><a class= " loginbtn " href= " http://192.168.3.83/admin/ " target= " _blank " >登陆/注册< /a></li >
Finally, upload it to the server:
The project project in the warehouse is studio-ui , which is a vue project
Modification 1: Modify the IP address of the production environment
 # 只需要替换ip地址即可
BASE_URL: ' "http://192.168.3.83/api" '
Then let’s package the vue project:
 # 编译打包
npm run build
After packaging is completed, static resources will be generated in the dist directory:
Finally, we also transferred this static page to the admin directory of the server:
After the deployment is completed, test it: What I use here is the address built by the local virtual machine. You only need to replace it with your own production IP address.
Official website: http://192.168.3.83/
Backend management system: http://192.168.3.83/admin/, click Login and Register on the right side of the page to jump.
There is currently only one initial account that is the administrator:
admin 123
2023.12.28: Solved the 443 mapping problem of https deployment, the mapping 443 port nginx of the docker-compose file is not set
2023.12.27: Modify the mysql container name of the original production configuration file and resubmit the tags 1.2.0 tag
2023.7.27: Modified some issues with the deployment of studio-vue version 1.2, including inability to access images after uploading and Linux server deployment.
2022.10.20: Submit version v1.2.0 (supports docker-compose deployment).
2022.9.25: Docker-compose file to replace the docker command, update the Linux server deployment chapter in README.md.
2022.6.13: The open source warehouse is established and READEME is updated and improved.
2022.6.3-6.12: Project module name change, apifox document organization, open source plan preparation.
2022.6.2: The team page interface is updated to support the identity of the instructor.
2022.6.1: Added data backup function, including SQL and website image resources.
2022.5.6: The two upload functions are merged together, using factory mode for rewriting and reuse.
2022.4.22: Added the function of uploading and deleting local files
2022.4.18: Generate user member query sql to add accounts whose filter condition status is normal.
2022.4.17: New award certificates in individual competitions, homepage statistics bug
2022.4.16: ①The billboard girl implements drag and drop. ②The user login credentials change the user id to uuid.
2022.3.21-2022.4.15: v1.0.0 is initially completed and basic functions are implemented.
2021.11.22-2021.12.5: The studio official website and studio backend system are implemented. The minimum core function is to upload information of studio members.
QQ group: 571215225
Author QQ: 939974883


