gtasa_vita
v2.1
This is a wrapper/port of Grand Theft Auto: San Andreas Android for the PS Vita with lots of custom patches such as:
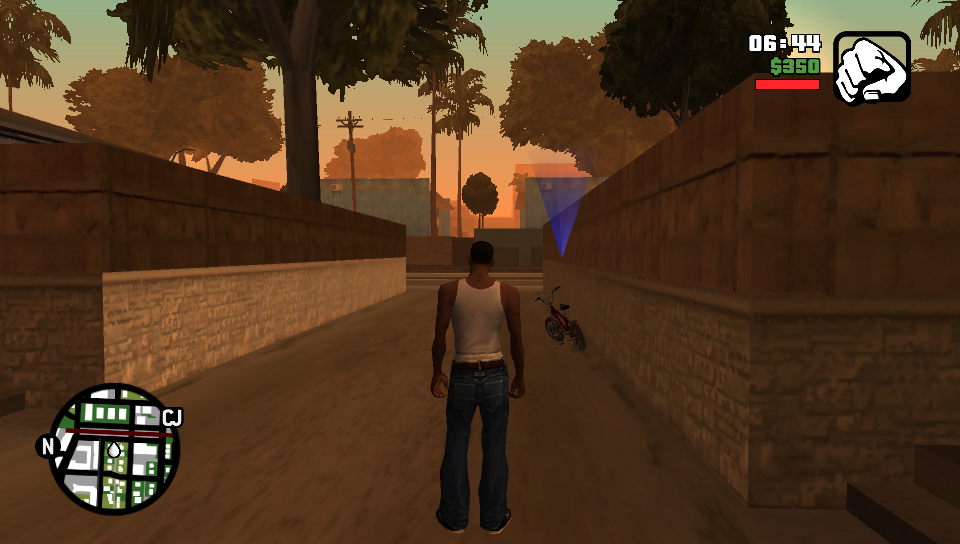
The port works by loading the official Android ARMv7 executable in memory, resolving its imports with native functions and patching it in order to properly run. By doing so, it's basically as if we emulate a minimalist Android environment in which we run natively the executable as is.
ux0:data/gtasa/controls.txt. Thanks to PoisonPoisonPoison.Tips and Tricks for instructions.(If you have already installed the game and want to update to a newer release, you can simply install GTASA.vpk on your PS Vita).
In order to properly install the game, you'll have to follow these steps precisely:
kubridge.skprx and fd_fix.skprx to your taiHEN plugins folder (usually ux0:tai) and adding two entries to your config.txt under *KERNEL: *KERNEL
ux0:tai/kubridge.skprx
ux0:tai/fd_fix.skprx
Note Don't install fd_fix.skprx if you're using repatch plugin
libshacccg.suprx, if you don't have it already, by following this guide.com.rockstargames.gtasager is not supported!) for Android in form of an .apk file and one or more .obb files (usually main.8.com.rockstargames.gtasa.obb and patch.8.com.rockstargames.gtasa.obb located inside the /sdcard/android/obb/com.rockstargames.gtasa/) folder. You can get all the required files directly from your phone or by using an apk extractor you can find in the play store. The apk can be extracted with whatever Zip extractor you prefer (eg: WinZip, WinRar, etc...) since apk is basically a zip file. You can rename .apk to .zip to open them with your default zip extractor.assets folder from your .apk file to ux0:data and rename it to gtasa. The result would be ux0:data/gtasa/.libGTASA.so from the lib/armeabi-v7a folder to ux0:data/gtasa.main.8.com.rockstargames.gtasa.obb with your zip explorer (.obb files are zip files just like .apk files so just rename the .obb to .zip) and extract the contents to ux0:data/gtasa.patch.8.com.rockstargames.gtasa.obb with the zip explorer and extract the contents inside the zip to ux0:data/gtasa.ux0:data/gtasa (overwrite if asked).ux0:data/gtasa/data/360Default1280x720.cfg to ux0:data/gtasa/ and rename it from 360Default1280x720.cfg to Adjustable.cfg. This file is a leftover from the Xbox 360 version and provides you the console HUD (e.g. radar on bottom left).If you have followed the steps correctly, this is how your ux0:data/gtasa folder should look like.

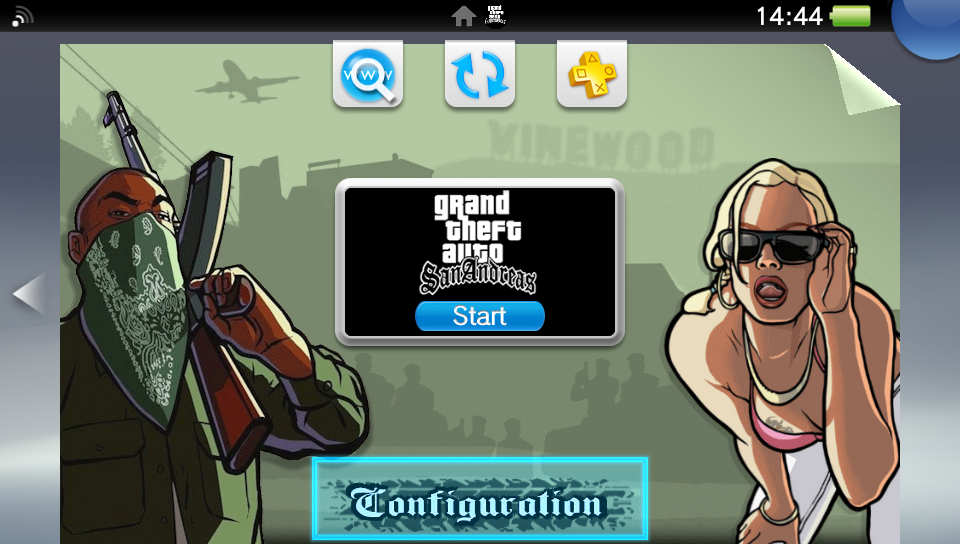
After fully installing the port, you'll be able to configure it with the Configurator app.
The Configurator app will allow users to enable or disable a set of optimizations, patches and renderer alterations to best match users taste.
You can launch the Configurator app by clicking on the Configuration button located on the LiveArea section of the port as shown in the following screenshot.
In order to reduce occasional stutters in-game, delete both ux0:data/gtasa/scache_small_low.txt and ux0:data/gtasa/scache_small.txt, then create a copy of the ux0:data/gtasa/scache.txt file to have two version of it. (for example scache(1).txt so in the end you end up with both scache.txt and scache(1).txt inside the ux0:data/gtasa/ folder), then rename scache.txt to scache_small.txt and scache(1).txt to scache_small_low.txt . This will however make the loading screen longer since it needs to compile more shaders ahead.
ux0:data/gtasa/cache contains much more than 300 files, it's recommended to delete the folder and have it rebuilt.In order to save storage on your Memory Card, you can safely delete all files in sub-folders of ux0:data/gtasa/texdb which end with:
.dxt.dat, .dxt.tmb, dxt.toc
.etc.dat, .etc.tmb, etc.toc
In order to build the loader, you'll need a vitasdk build fully compiled with softfp usage.
You can find a precompiled version here: https://github.com/vitasdk/buildscripts/actions/runs/1102643776.
Additionally, you'll need these libraries to be compiled as well with -mfloat-abi=softfp added to their CFLAGS:
mpg123
Apply mpg123.patch using patch -Np0 -i mpg123.patch.
autoreconf -fi
CFLAGS="-DPSP2 -mfloat-abi=softfp" ./configure --host=arm-vita-eabi --prefix=$VITASDK/arm-vita-eabi --disable-shared --enable-static --enable-fifo=no --enable-ipv6=no --enable-network=no --enable-int-quality=no --with-cpu=neon --with-default-audio=dummy --with-optimization=3
make install
openal-soft
cd build
cmake -DCMAKE_TOOLCHAIN_FILE=${VITASDK}/share/vita.toolchain.cmake -DCMAKE_BUILD_TYPE=Release -DCMAKE_C_FLAGS=-mfloat-abi=softfp .. && make install
libmathneon
make installvitaShaRK
make installimgui-vita
make installkubridge
mkdir build && cd build
cmake .. && make install
vitaGL
make SOFTFP_ABI=1 HAVE_SHADER_CACHE=1 SHARED_RENDERTARGETS=1 DRAW_SPEEDHACK=1 TEXTURES_SPEEDHACK=1 SAMPLERS_SPEEDHACK=1 NO_DEBUG=1 installFinally, in the folder of gtasa_vita, install SceLibc stubs using:
make -C libc_bridge installAfter all these requirements are met, you can compile the loader with the following commands:
mkdir build && cd build
cmake .. && make

