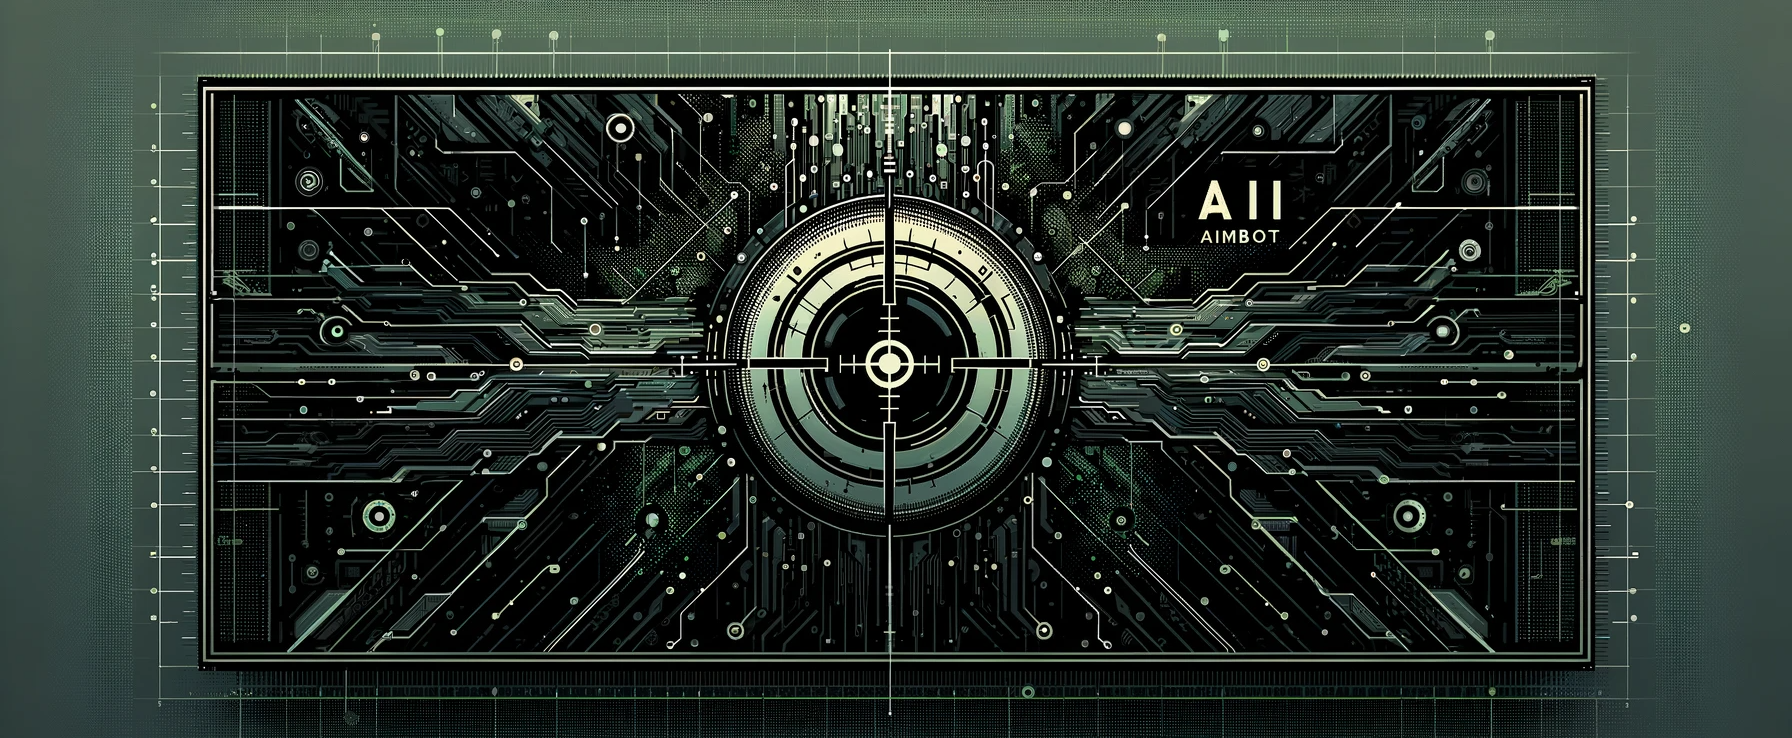
AI Aimbot
1.0.0
Prepare your custom code and submit it for the aimbot internation which ends later this year. Work alone or with friends. Check out the following videos to learn more.
All custom code must be submitting thru the launcher. https://youtube.com/live/mtV6w2qhaNs?feature=share
Download the RootKit Launcher. It is FREE. No coding required.
It will auto-setup everything for you!
Want to make your own bot? Then use the Starter Code Pack!
We're a charity on a mission to educate and certify the upcoming wave of developers in the world of Computer Engineering ?. Need assistance? Hop into our Discord and toss your questions at @Wonder in the #ai-aimbot channel (be sure to stick to this channel or face the consequences! ?). Type away your query and include @Wonder in there.
Our AI Aimbot ? sharpshoots targets in any game with humanoid characters, harnessing the power of YOLOv5. Currently, it's a ninja against anti-cheat systems, as it's visual-only. Still, watch out for manual player reports! ?
Intended for educational use ?, our aim is to highlight the vulnerability of game devs to AI-driven cheats. Pass it along to your game developer buddies, and save their games from being outsmarted!
Use at your own risk! If you're caught... well, you've been warned!
Watch the tutorial video (Works But Outdated)
Watch the live stream explainer (Works But Outdated)
Join the Discord
Fast ?♂️ - main.py ✅ Easy to set up, Works on any computer
Faster ?♂️? - main_onnx.py May need to edit a file, Works on any computer
Fastest - main_tensorrt.py ? Enterprise level hard, Works on computers with Nvidia GPUs only ?
Nvidia RTX 980 ?, higher or equivalent
And one of the following:
Nvidia CUDA Toolkit 11.8 DOWNLOAD HERE
Download and Unzip the AI Aimbot and stash the folder somewhere handy .
Ensure you've got Python installed (like a pet python ?) – grab version 3.11 HERE.
? Facing a python is not recognized... error? WATCH THIS!
? Is it a pip is not recognized... error? WATCH THIS!
Fire up PowerShell or Command Prompt on Windows ?.
To install PyTorch, select the appropriate command based on your GPU.
Nvidia pip install torch==2.0.1 torchvision==0.15.2 torchaudio==2.0.2 --index-url https://download.pytorch.org/whl/cu118
AMD or CPU pip install torch torchvision torchaudio
? Run the command below to install the required Open Source packages:
pip install -r requirements.txt
Follow these steps after Python and all packages have been installed:
Open PowerShell ⚡ or Command Prompt .
Input cd , then drag & drop the folder containing the bot code into the terminal.
Hit Enter ↩️.
Type python main.py and press Enter.
Use CAPS_LOCK to toggle the aimbot . It begins in the off state.
Pressing q ? at ANY TIME will shut down the program.
Follow these steps after Python and all packages have been installed:
Open the config.py ? file and tweak the onnxChoice variable to correspond with your hardware specs:
onnxChoice = 1 # CPU ONLY ?
onnxChoice = 2 # AMD/NVIDIA ONLY ?
onnxChoice = 3 # NVIDIA ONLY ?️
IF you have an NVIDIA set up, run the following
pip install onnxruntime-gpu
pip install cupy-cuda11x
Follow the same steps as for the Fast ?♂️ Version above except for step 4, you will run python main_onnx.py instead.
Follow these sparkly steps to get your TensorRT ready for action!
Introduction ? Watch the TensorRT section of the setup video ? before you begin. It's loaded with useful tips!
Oops! Don't Forget the Environment ? We forgot to mention adding environmental variable paths in the video. Make sure to do this part!
Get Support If You're Stumped ?
If you ever feel lost, you can always @Wonder your questions in our Discord . Wonder is here to help!
Install CupyRun the following pip install cupy-cuda11x
CUDNN Installation ? Click to install CUDNN ?. You'll need a Nvidia account to proceed. Don't worry it's free.
Unzip and Relocate ?➡️
Open the .zip CuDNN file and move all the folders/files to where the CUDA Toolkit is on your machine, usually at C:Program FilesNVIDIA GPU Computing ToolkitCUDAv11.8.
Get TensorRT 8.6 GA ?
Fetch TensorRT 8.6 GA ?.
Unzip and Relocate ?➡️
Open the .zip TensorRT file and move all the folders/files to where the CUDA Toolkit is on your machine, usually at C:Program FilesNVIDIA GPU Computing ToolkitCUDAv11.8.
Python TensorRT Installation ?
Once you have all the files copied over, you should have a folder at C:Program FilesNVIDIA GPU Computing ToolkitCUDAv11.8python. If you do, good, then run the following command to install TensorRT in python.
pip install "C:Program FilesNVIDIA GPU Computing ToolkitCUDAv11.8pythontensorrt-8.6.1-cp311-none-win_amd64.whl"
If the following steps didn't work, don't stress out! ? The labeling of the files corresponds with the Python version you have installed on your machine. We're not looking for the 'lean' or 'dispatch' versions. ? Just locate the correct file and replace the path with your new one. You've got this! ?
Set Your Environmental Variables ? Add these paths to your environment:
C:Program FilesNVIDIA GPU Computing ToolkitCUDAv11.8lib
C:Program FilesNVIDIA GPU Computing ToolkitCUDAv11.8libnvvp
C:Program FilesNVIDIA GPU Computing ToolkitCUDAv11.8bin
Download Pre-trained Models ?
You can use one of the .engine models we supply. But if it doesn't work, then you will need to re-export it. Grab the .pt file here for the model you want. We recommend yolov5s.py or yolov5m.py HERE ?.
Run the Export Script ?♂️
Time to execute export.py with the following command. Patience is key; it might look frozen, but it's just concentrating hard! Can take up to 20 minutes.
python .export.py --weights ./yolov5s.pt --include engine --half --imgsz 320 320 --device 0
Note: You can pick a different YOLOv5 model size. TensorRT's power allows for larger models if desired!
If you've followed these steps, you should be all set with TensorRT!
*Default settings are generally great for most scenarios. Check out the comments in the code for more insights. ? The configuration settings are now located in the config.py file!
CAPS_LOCK is the default for flipping the switch on the autoaim superpower!
useMask - Set to True or False to turn on and off ?
maskWidth - The width of the mask to use. Only used when useMask is True ?
maskHeight - The height of the mask to use. Only used when useMask is True ?
aaQuitKey - The go-to key is q, but if it clashes with your game style, swap it out! ⌨️♻️
headshot_mode - Set to False if you're aiming to keep things less head-on and more centered. ➡️?
cpsDisplay - Toggle off with False if you prefer not to display the CPS in your command station.
visuals - Flip to True to witness the AI's vision! Great for sleuthing out any hiccups. ♂️✅
aaMovementAmp - The preset should be on point for 99% of players. Lower the digits for smoother targeting. Recommended doses: 0.5 - 2. ⚖️?️
confidence - Stick with the script here unless you're the expert. ?
screenShotHeight - Same as above, no need for changes unless you've got a specific vision. ??️
screenShotWidth - Keep it constant as is, unless you've got reasons to adjust. ??️
aaDetectionBox - Default's your best bet, change only if you've got the know-how. ?✅
onnxChoice - Gear up for the right graphics card—Nvidia, AMD, or CPU power! ?
centerOfScreen - Keep this switched on to stay in the game's heart. ❤️
The bot's efficiency depends on your setup. We achieved 100-150 CPS with our test specs below .
- AMD Ryzen 7 2700
- 64 GB DDR4
- Nvidia RTX 3080
Tip: Machine Learning can be tricky, so reboot if you keep hitting CUDA walls.
We're all about collaboration. Your contributions can earn you credit and potential ?!
Want to volunteer? Have video or program ideas? Tell us!
Splitgate (reported by a Discord user ♂️), EQU8 detects win32 mouse movement library.
Show off your work or new models via Pull Requests in customScripts or customModels directories, respectively. Check out the example-user folder for guidance.
Mask Player to avoid false positives
Happy Coding and Aiming! ??


