ScribeAI
v1.2.1

Scribe AI is a ChatGPT-like extension for VS Code. Now you can have an AI chatbot like ChatGPT right in VS Code! Use it as your AI programming assistant which you can talk with to understand complex code, modify and improve your code, or generate comments for your code. The possibilities are endless. To start, highlight a piece of code and click on the plus icon on the left to open up a chat and start talking with Scribe AI just like in ChatGPT! All your conversations are saved in your workspace so you can look back on them as notes.
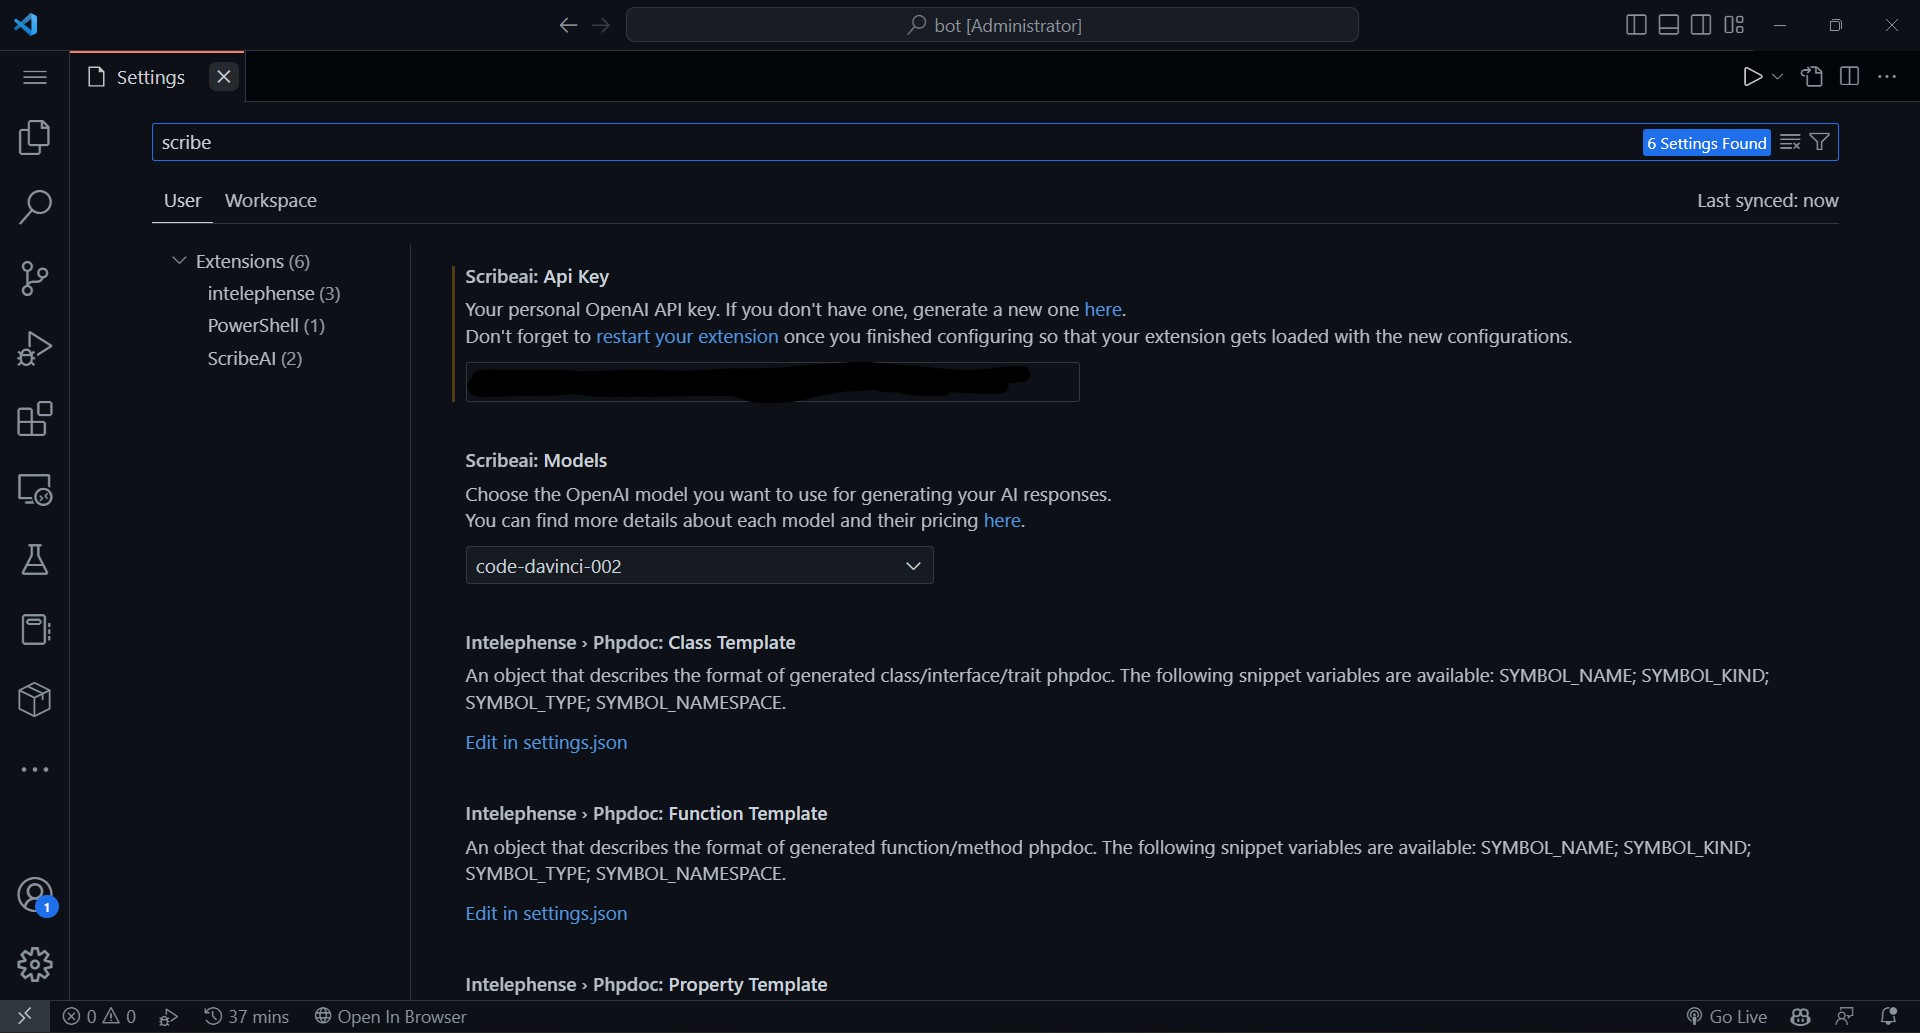
gpt-4 model is now available to choose for those people that have access to it.code-davinci-002 no longer supported. OpenAI recently announced the shutdown of Codex models by March 23.Code -> Preferences -> Settings and under Extensions you will find ScribeAI settings. Or you can just search ScribeAI in search box. And you will find a option to choose your model. Go ahead and choose ChatGPT and restart your extension by clicking on restart your extension in the API key settings. Now you are using ChatGPT!
Explain the code. Then hit Ask AI button! The AI will respond back to you with the response. You can continue to reply to the AI’s response and hold a conversation with the AI just like in ChatGPT! The conversation context is maintained between queries. The conversation will be saved in your workspace and you can close it and open it anytime. You can also edit your comments and delete them.
Editing:

Refactor the code to include comments, Rewrite the code in Python, and much more! The possibilities are endless. Now finally hit AI Edit button and you will see that your selected code has been modified. If you don’t like the result you can always Undo it by pressing Mac: ⌘ Command + Z, Windows: Ctrl + Z or go to Edit -> Undo. Sometimes the formatting of the result is not correct or your originally highlighted section gets messed up, in such cases you can rehighlight the code and ask AI to Reformat the code so that it’s correct and press the AI Edit button.Refactoring:

Rewriting in another lanugage:

Adding docstring:

Fixing mistakes:

Create Note. Your notes won’t get sent over to AI.

.vsix file from Releases.Click on the Extensions icon(Ctrl+Shift+X)
Search for ScribeAI
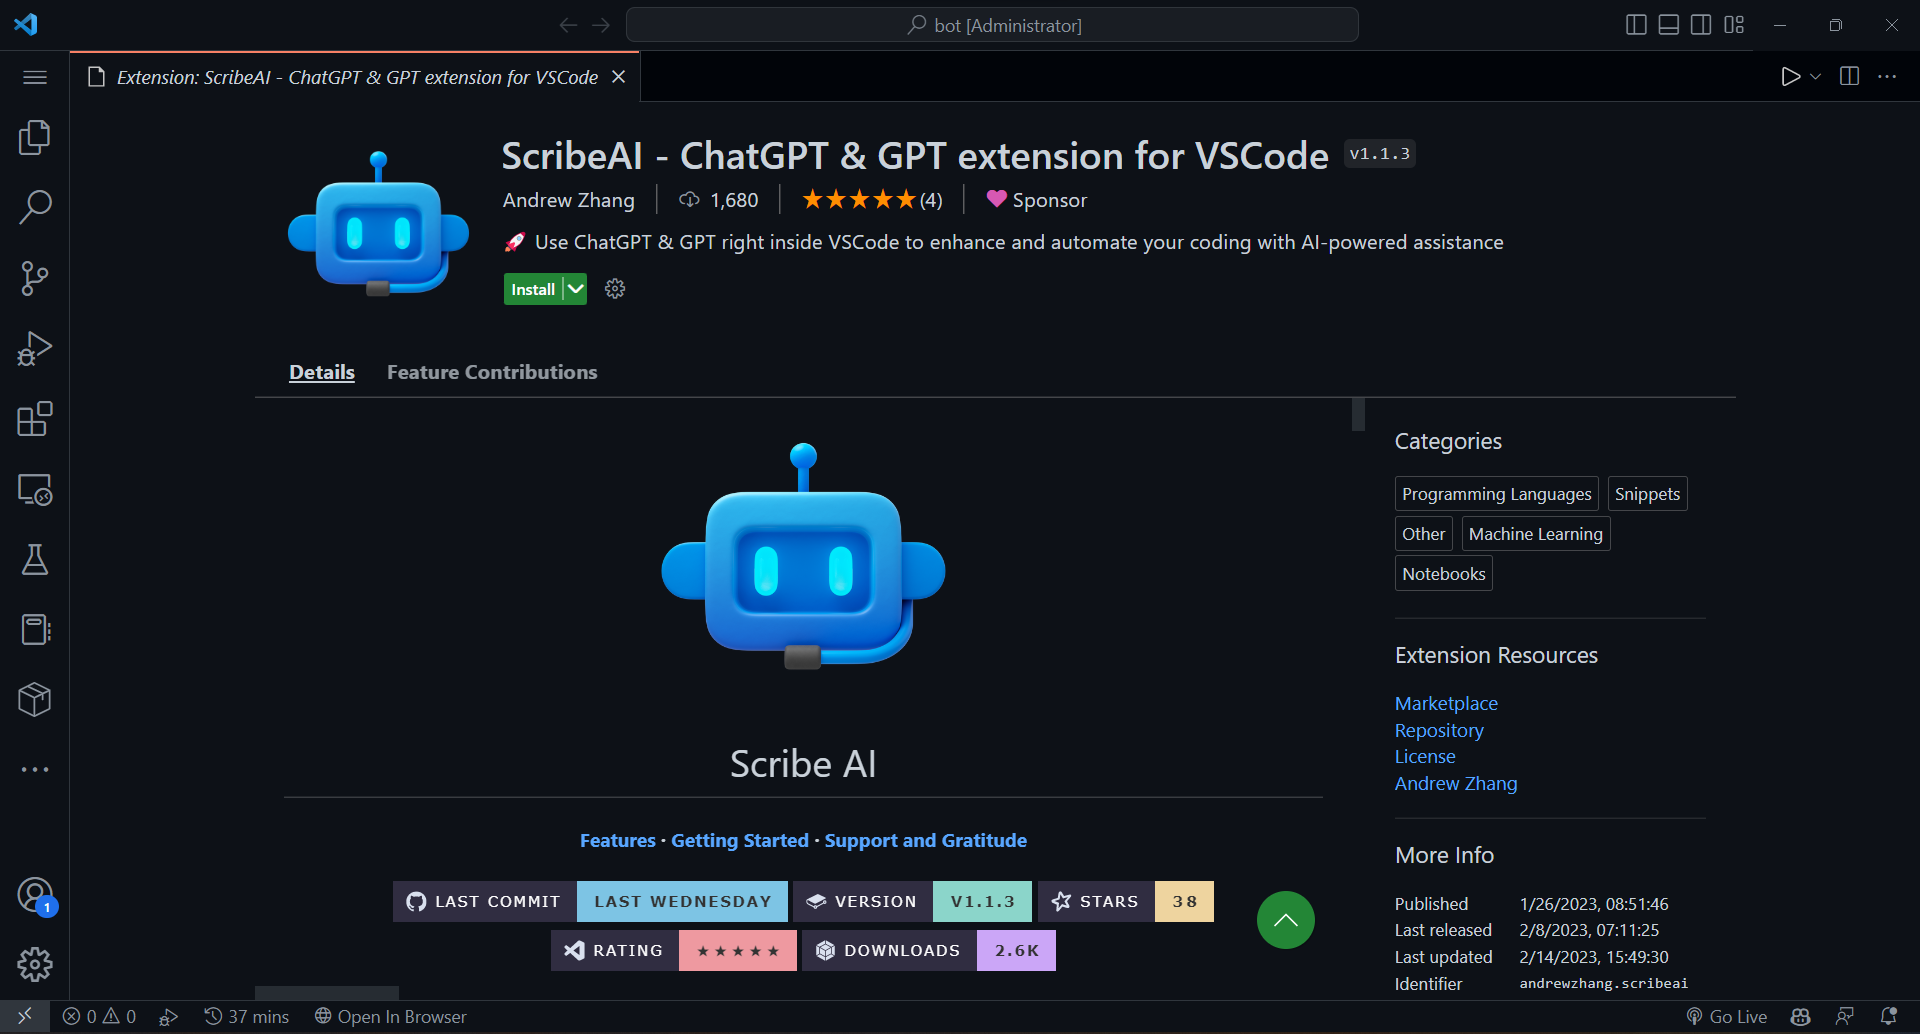
The extension on VSCode marketplace looks like this, click the install button.
Once installation is complete, go to settings and search for ScribeAI to add your OpenAI API key, when you install and use ScribeAI for the first time, it will ask you for your OpenAI API key. This is used by the extension to access the API and is only sent to OpenAI.
When you are done adding the API key; reload/restart the extension to apply the changes
Go to the explorer in VSCode and open any file that you want to work on or edit.
Inside the open or active editor click the + icon that often appears on the left
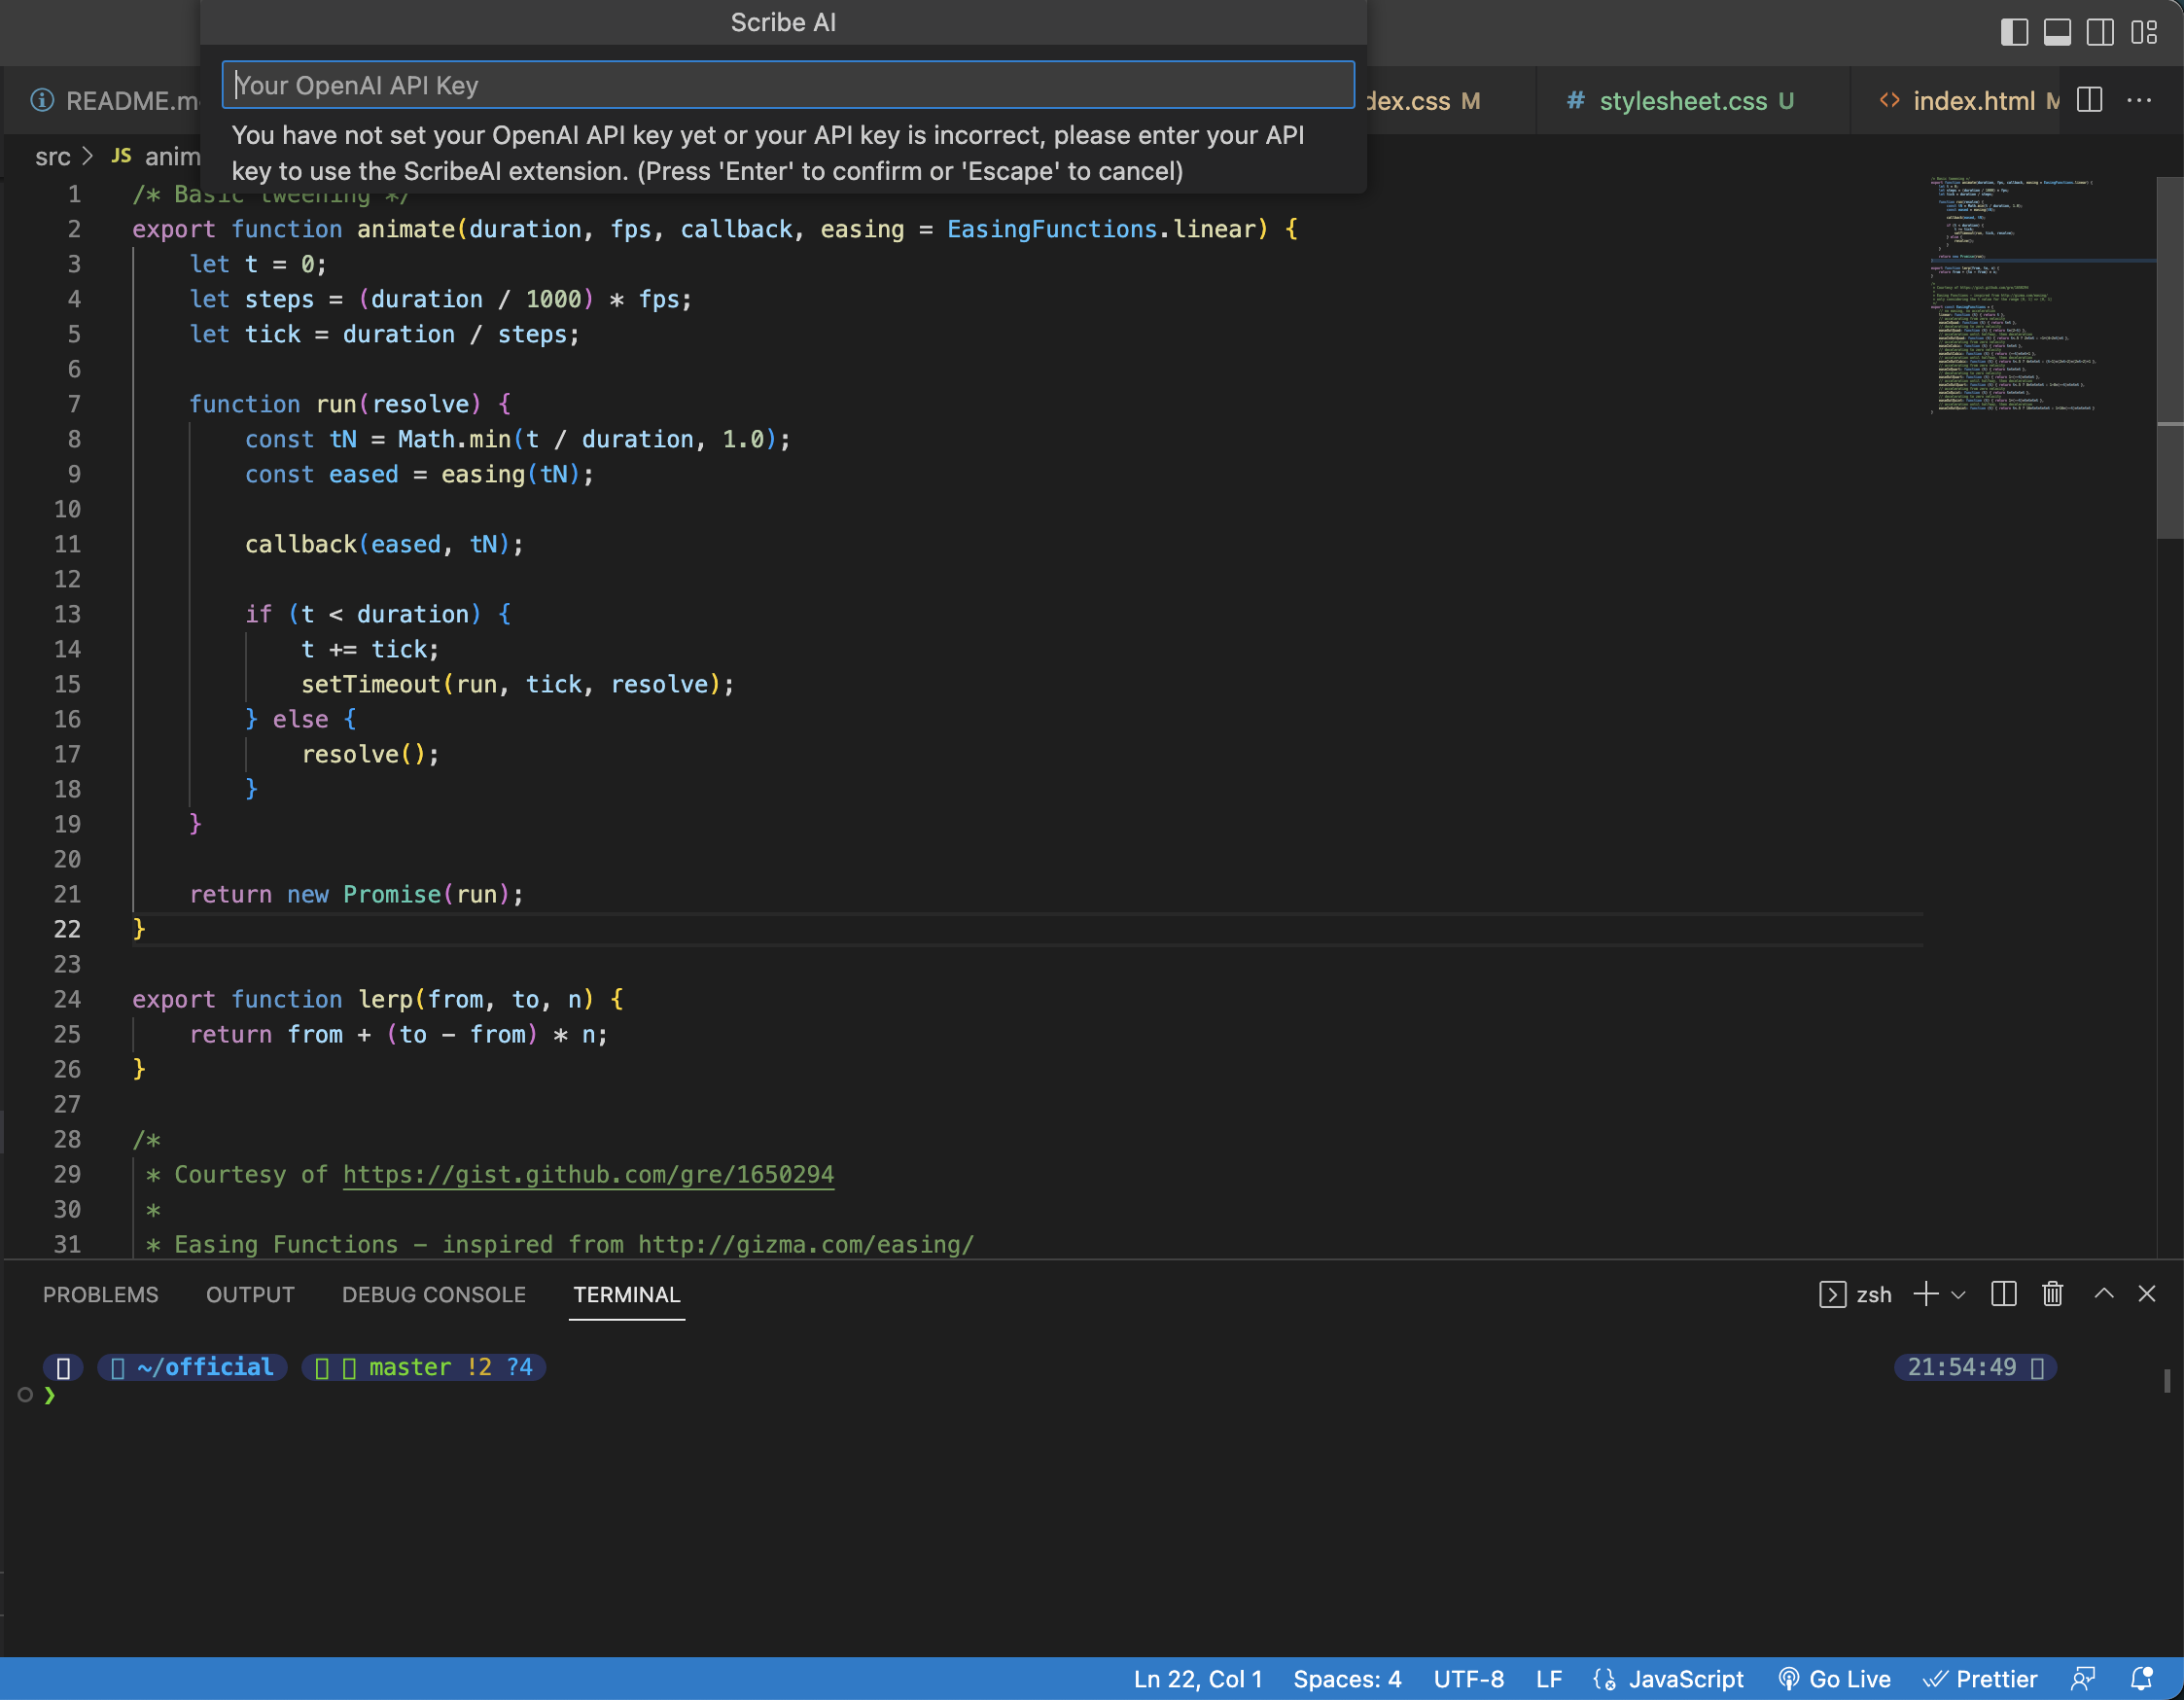
When you first use ScribeAI whether by Ask AI or AI Edit, it will ask you for your OpenAI API key. This is used by the extension to access the API and is only sent to OpenAI.
.vsix file from Releases.Click on releases tab.
You are redirected to a page that looks like this; Click on the preferred zipped file format; and download
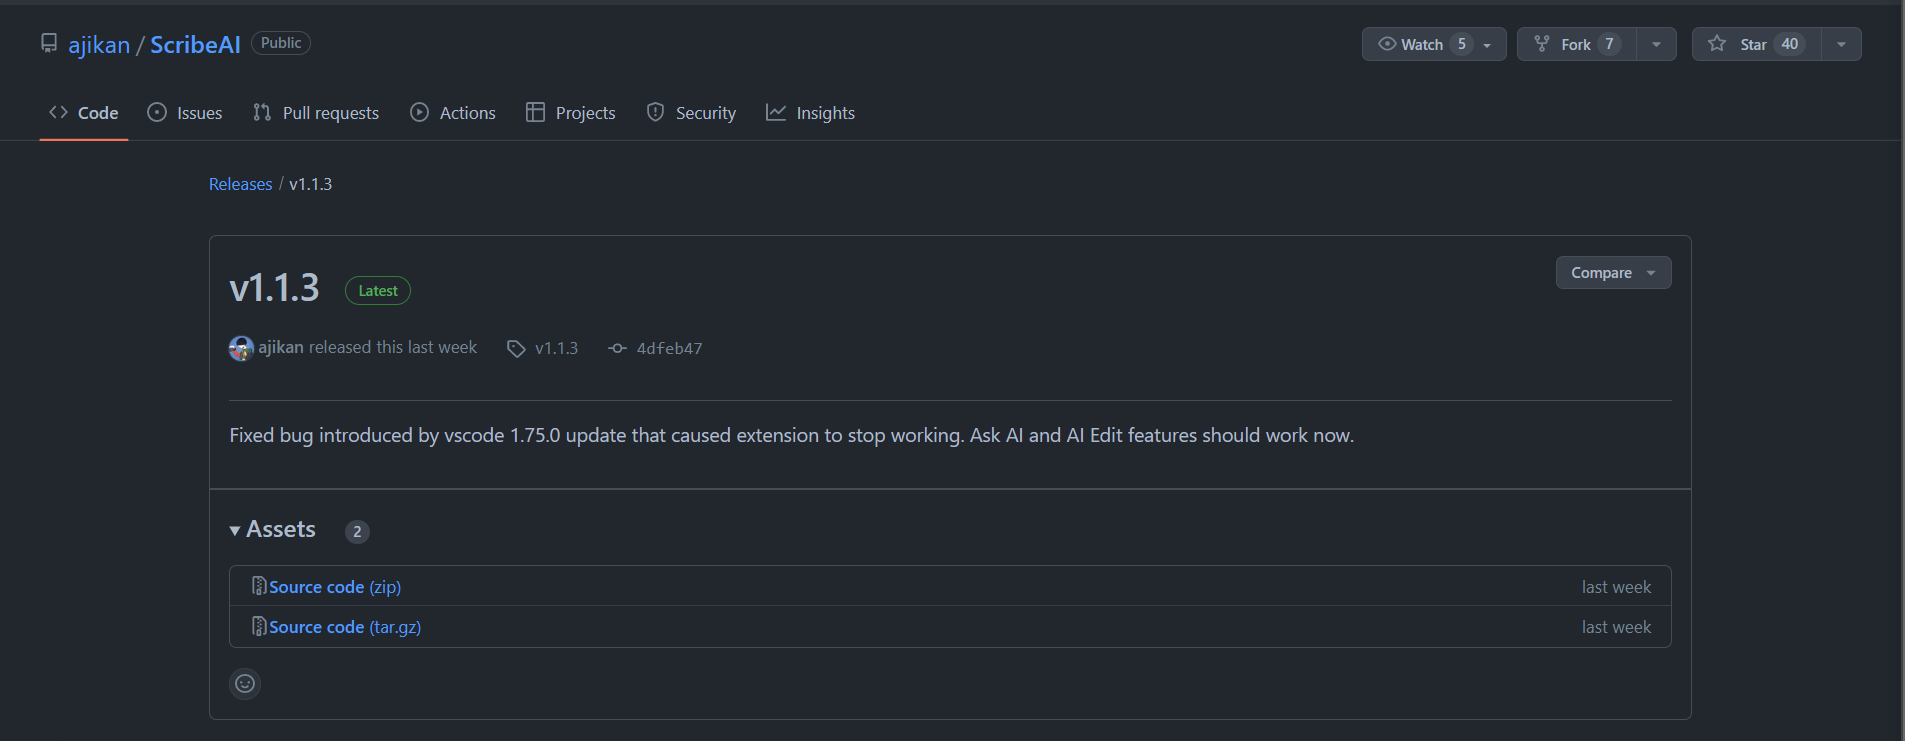
Unzip the downloaded file, and open the folder with VSCode
Go through the process elaborated above to add your OpenAI API key and setup ScribeAI for the first time
Code -> Preferences -> Settings and under Extensions you will find ScribeAI settings. Or you can just search ScribeAI in search box.
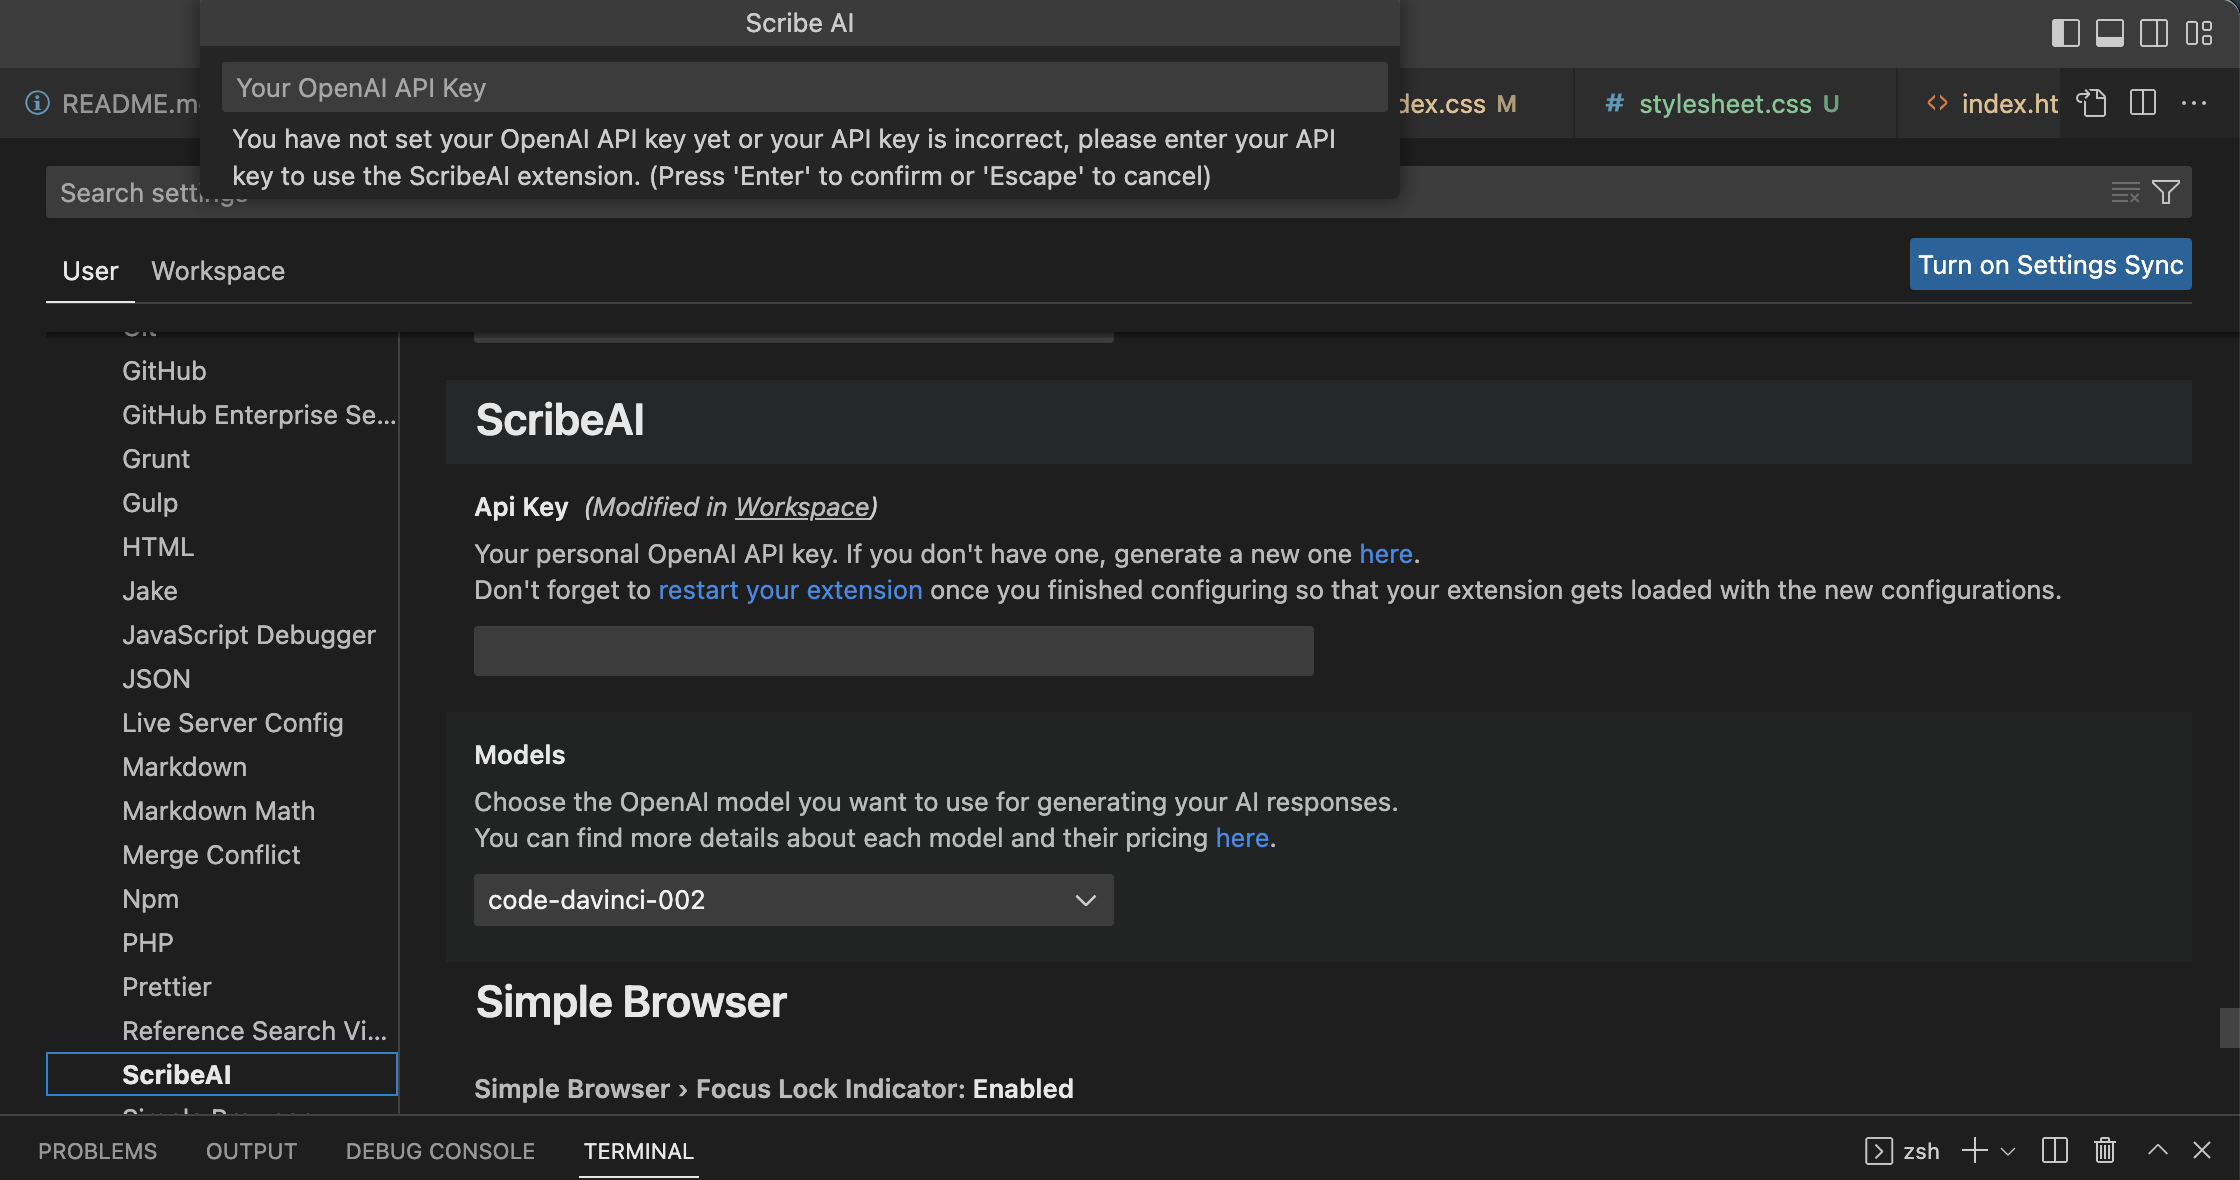
code-davinci-002 (because it’s free currently), then you can change it in User Settings.restart your extension in the API key settings ?
Copyright © 2022-present Scribe AI Team


