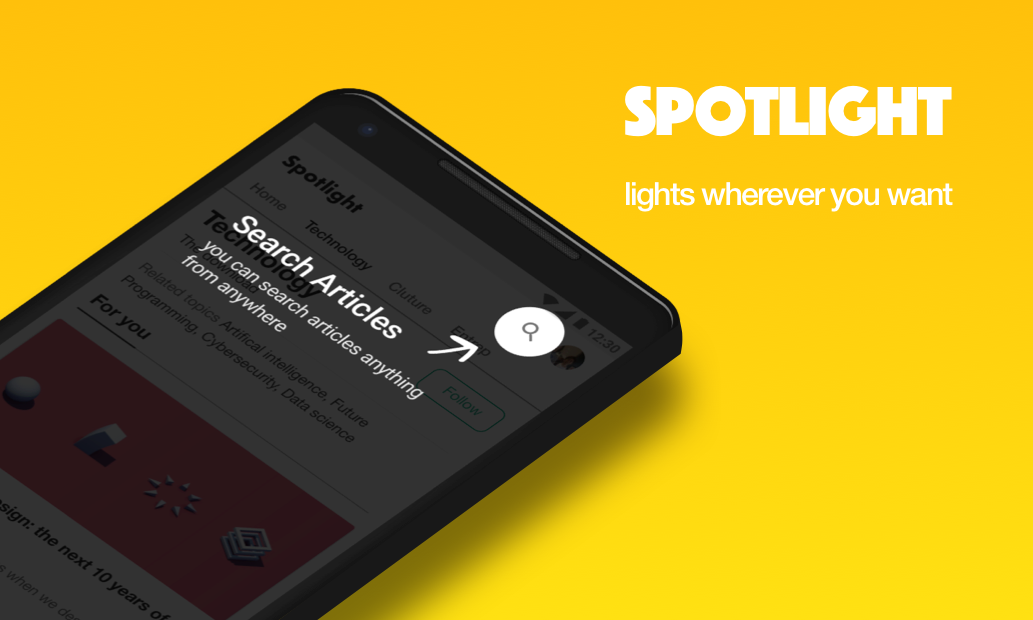
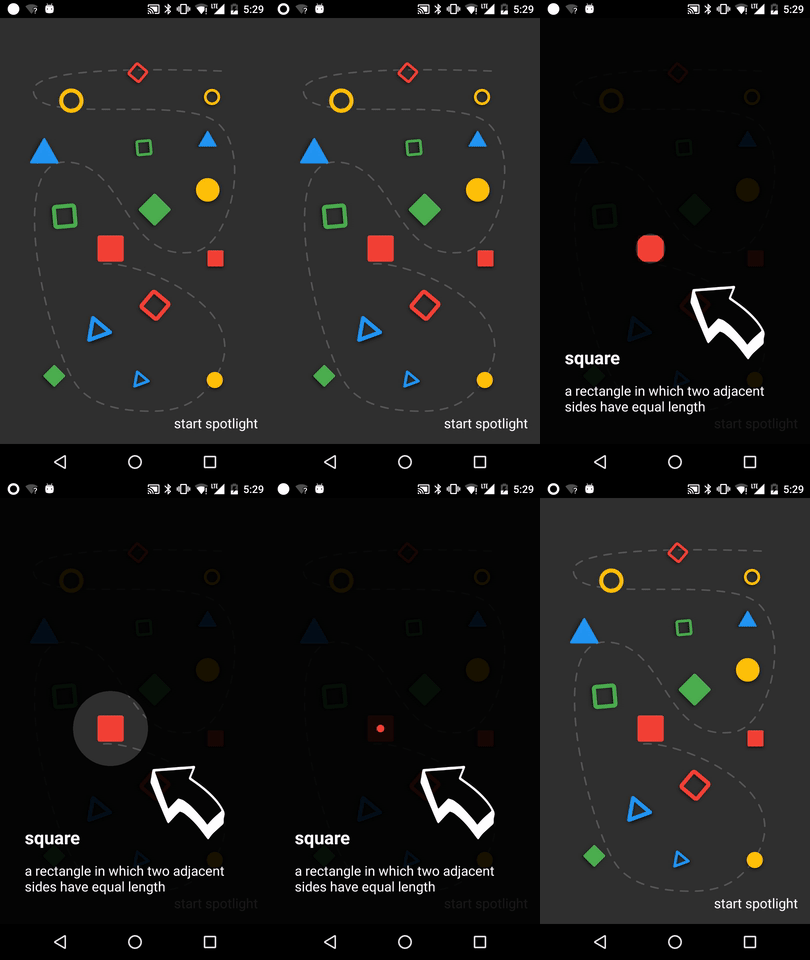
Spotlight
1.0.0

dependencies {
    implementation ' com.github.takusemba:spotlight:x.x.x '
} val spotlight = Spotlight . Builder ( this )
.setTargets(firstTarget, secondTarget, thirdTarget .. .)
.setBackgroundColor( R .color.spotlightBackground)
.setDuration( 1000L )
.setAnimation( DecelerateInterpolator ( 2f ))
.setContainer(viewGroup)
.setOnSpotlightListener( object : OnSpotlightListener {
override fun onStarted () {
Toast .makeText( this @MainActivity, " spotlight is started " , Toast . LENGTH_SHORT ).show()
}
override fun onEnded () {
Toast .makeText( this @MainActivity, " spotlight is ended " , Toast . LENGTH_SHORT ).show()
}
})
.build() Si desea mostrar Spotlight inmediatamente, debe esperar hasta que se establezcan las vistas.
 // with core-ktx method.
view.doOnPreDraw { Spotlight . Builder ( this ) .. .start() }
Cree un objetivo para agregar Spotlight.
Target es un lugar que Spotlight debe emitir. Puede agregar varios objetivos a Spotlight.
 val target = Target . Builder ()
    .setAnchor( 100f , 100f )
    .setShape( Circle ( 100f ))
    .setEffect( RippleEffect ( 100f , 200f , argb( 30 , 124 , 255 , 90 )))
    .setOverlay(layout)
    .setOnTargetListener( object : OnTargetListener {
      override fun onStarted () {
        makeText( this @MainActivity, " first target is started " , LENGTH_SHORT ).show()
      }
      override fun onEnded () {
        makeText( this @MainActivity, " first target is ended " , LENGTH_SHORT ).show()
      }
    })
.build() val spotlight = Spotlight . Builder ( this ) .. .start()
spotlight.finish() val spotlight = Spotlight . Builder ( this ) .. .start()
spotlight.next()
spotlight.previous()
spotlight.show( 2 ) Shape define cómo se verá tu objetivo. Las formas de círculo y rectángulo redondeado ya están implementadas, pero si desea una forma personalizada, puede lograrla implementando la interfaz Shape .
 class CustomShape (
    override val duration : Long ,
    override val interpolator : TimeInterpolator
) : Shape {

  override fun draw ( canvas : Canvas , point : PointF , value : Float , paint : Paint ) {
    // draw your shape here.
  }
} Effect te permite decorar tu objetivo. Las formas RippleEffect y FlickerEffect ya están implementadas, pero si desea su efecto personalizado, puede lograrlo implementando la interfaz Effect .
 class CustomEffect (
    override val duration : Long ,
    override val interpolator : TimeInterpolator ,
    override val repeatMode : Int
) : Effect {

  override fun draw ( canvas : Canvas , point : PointF , value : Float , paint : Paint ) {
    // draw your effect here.
  }
}Clona este repositorio y consulta el módulo de la aplicación.
 Copyright 2017 Taku Semba.

Licensed under the Apache License, Version 2.0 (the "License");
you may not use this file except in compliance with the License.
You may obtain a copy of the License at

   http://www.apache.org/licenses/LICENSE-2.0

Unless required by applicable law or agreed to in writing, software
distributed under the License is distributed on an "AS IS" BASIS,
WITHOUT WARRANTIES OR CONDITIONS OF ANY KIND, either express or implied.
See the License for the specific language governing permissions and
limitations under the License.