ved
vid macos
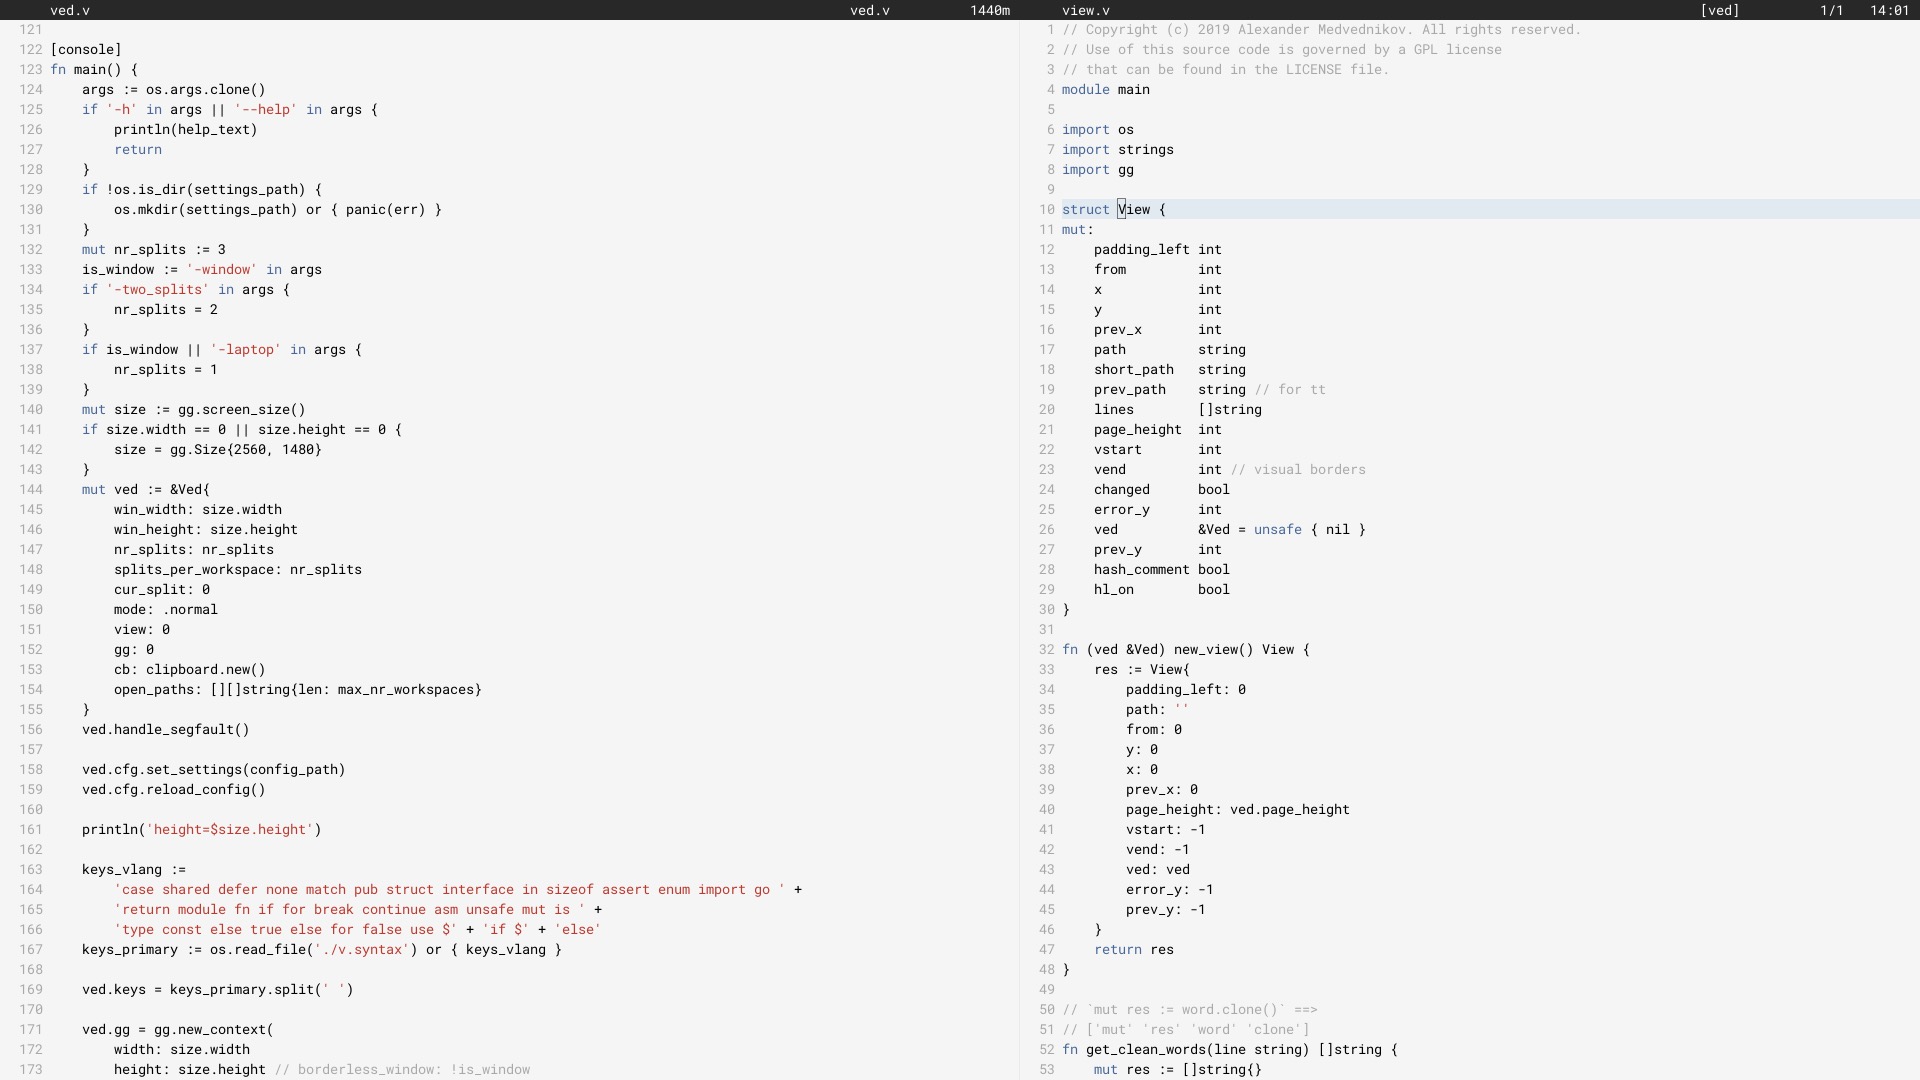
He estado usando Ved como mi editor principal desde junio de 2017 (fue reescrito en V en junio de 2018).
Puede que no funcione para todos. Actualmente existen limitaciones que deben solucionarse. Estamos trabajando para mejorar lentamente la estabilidad de ved y la experiencia del usuario.
Para configurar el editor, consulte la sección de configuración.
En Linux, necesitará instalar algunos paquetes necesarios para utilizar las bibliotecas X11, ya que Ved es una aplicación gráfica. En Macos y Windows, esto se puede omitir. Luego instale V y compile ved. Esto tardará un par de segundos.
 git clone https://github.com/vlang/ved
cd ved
v .
./ved
Ved debería construirse en menos de un segundo.
De forma predeterminada, se utiliza la representación de fuentes incorporada de V, pero existe una opción para usar el tipo libre, que puede proporcionar una mejor representación para algunos usuarios:
v -d use_freetype .
Para utilizar freetype, primero debe estar instalado en su sistema. Siga los pasos para su plataforma a continuación.
Ubuntu:
sudo apt install libfreetype6-dev libx11-dev libxrandr-dev mesa-common-dev libxi-dev libxcursor-dev
Fedor:
sudo dnf install freetype-devel libXcursor-devel libXi-devel
Arco:
pacman -S freetype2
MacOS:
brew install freetype
Ventanas:
v setup-freetype
Discord (comunidad principal): https://discord.gg/vlang. Únete al canal #ved .
Ved crea un directorio de configuración en $HOME/.ved donde almacena espacios de trabajo, sesiones, tareas y el archivo de configuración. El archivo de configuración es simplemente un archivo TOML llamado conf.toml . Proporciona una forma de cambiar algunas configuraciones básicas y los colores del editor.
Si no desea tocar el archivo de configuración, ¡nunca tendrá que hacerlo! Ved no lo crea por sí solo y proporciona valores predeterminados sensatos para ayudarle a comenzar. Si eres más aventurero, aquí tienes un archivo de configuración de ejemplo que contiene todas las configuraciones posibles:
 # To get started, create a file called "conf.toml" in $HOME/.ved
# Most of the settings are contained inside this "editor" table.
[ editor ]
dark_mode = false       # Ved comes with a light and dark mode built-in.
cursor = ' variable '     # Ved has three variants: Variable, block, and beam. You are probably used to "variable" or "beam".
text_size = 18          # ┌───────────────────────────────────────────────────┐
line_height = 20        # │ These *can* be edited, but you probably shouldn't │
char_width = 8          # └───────────────────────────────────────────────────┘
tab_size = 4            # Ved uses tab characters (t). This settings changes how many spaces a tab should be displayed as
backspace_go_up = true  # If set to true, hitting the backspace doesn't do anything when you reach the beginning of the line

# If you do not like ved's default colorscheme, or you just want
# something new, edit the "colors" table. Ved uses a form of base16
# to control syntax and editor highlighting. Please note that due
# to ved's very minimal highlighting, base16 themes copied off of
# the internet are not going to look like very much like their
# screenshots.
[ colors ]
base00 = " efecf4 "
base01 = " e2dfe7 "
base02 = " 8b8792 "
base03 = " 7e7887 "
base04 = " 655f6d "
base05 = " 585260 "
base06 = " 26232a "
base07 = " 19171c "
base08 = " be4678 "
base09 = " aa573c "
base0A = " a06e3b "
base0B = " 2a9292 "
base0C = " 398bc6 "
base0D = " 576ddb "
base0E = " 955ae7 "
base0F = " bf40bf " Ved funciona mejor con espacios de trabajo (directorios con código). Puede tener múltiples espacios de trabajo y cambiar rápidamente entre ellos con C [ y C ] .
Para abrir múltiples espacios de trabajo, ejecute
ved path/to/project1 path/to/project2
Enlaces de teclas:
C es ⌘ en macOS, Ctrl en todos los demás sistemas.
 C q q  exit the editor
C o    open a file
C s    save
C r    reload current file
C p    open ctrlp (fuzzy search)
/      search in current file
C g    copy current file's path to clipboard
t      go to the previous file
gd     go to definition

C c    git commit -am
C -    git diff
?      git grep (search across all files in current workspace)

C u    build current project (build instructions must be located in "build")
C y    alternative build of the current project (build instructions must be located in "build2")
C 1    switch to Ved from any other application (only on macOS for now)

C d    go to the previous split
C e    go to the next split
C [    go to the previous workspace
C ]    go to the next workspace

C a    start a new task
C t    show the Timer/Pomodoro window
Enlaces vim compatibles:
 j k h l         down, up, left, right (moves cursor)
C-F C-B         page down, page up
L H             go to top/bottom of the page
w b             next/previous word
dw de cw ce     delete word
di ci           smart delete
A I             go to start/end of line, insert mode
o O             new line below/above, insert mode
v               selection mode
zz              center current line
y d p J         yank, delete, paste, join lines
.               repeat last action
< >             indent right/left
/ * n           search, search for word under cursor, next occurence
gg G            go to the beginning/end of the file
x r             delete/replace character under cursor
C-n             autocomplete
+y              yank and copy to system clipboard


