keras でのさまざまなディープイメージセグメンテーションモデルの実装。
チュートリアルを含む完全なブログ投稿へのリンク: https://divamgupta.com/image-segmentation/2019/06/06/deep-learning-semantic-segmentation-keras.html
https://liner.ai を使用してコンピューター上でセグメンテーション モデルをトレーニングすることもできます。
| 電車 | 推論/エクスポート |
|---|---|
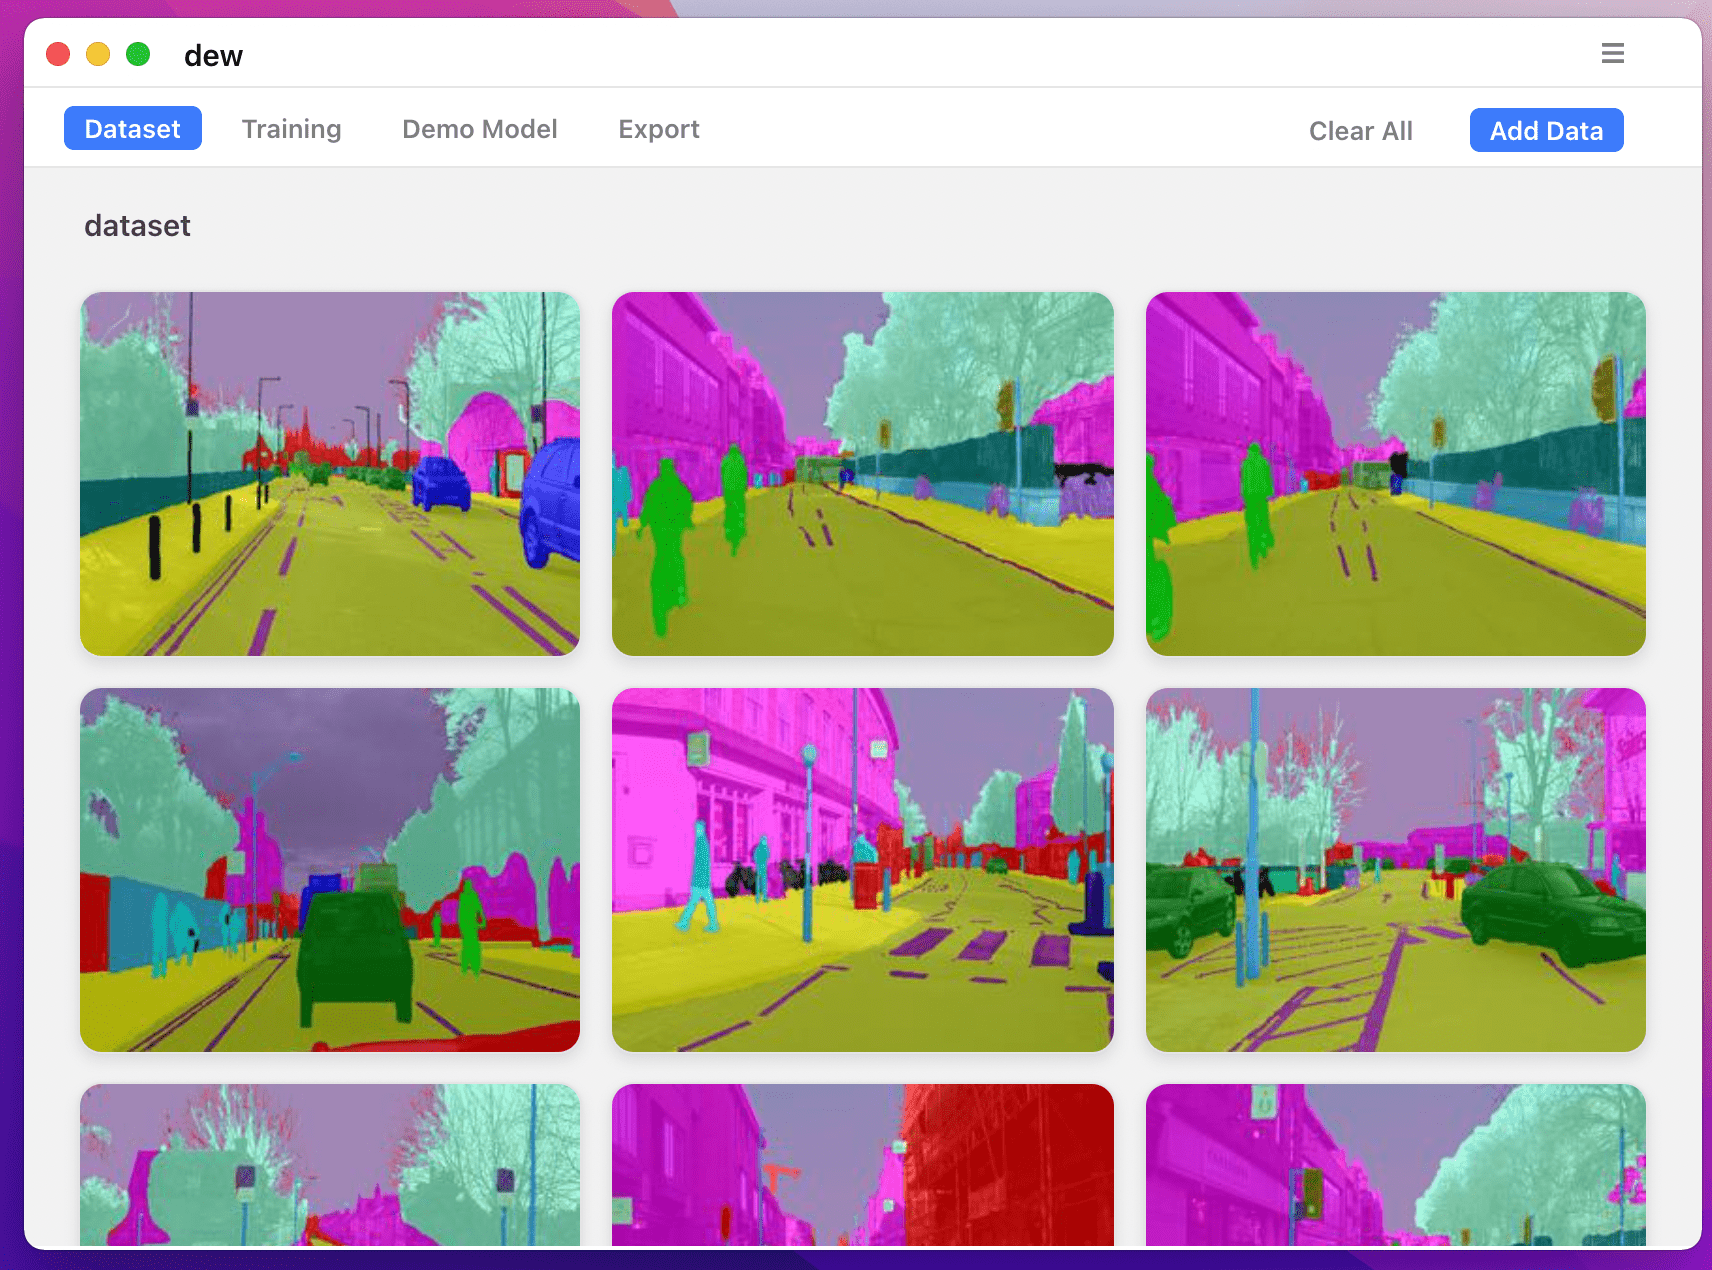 | 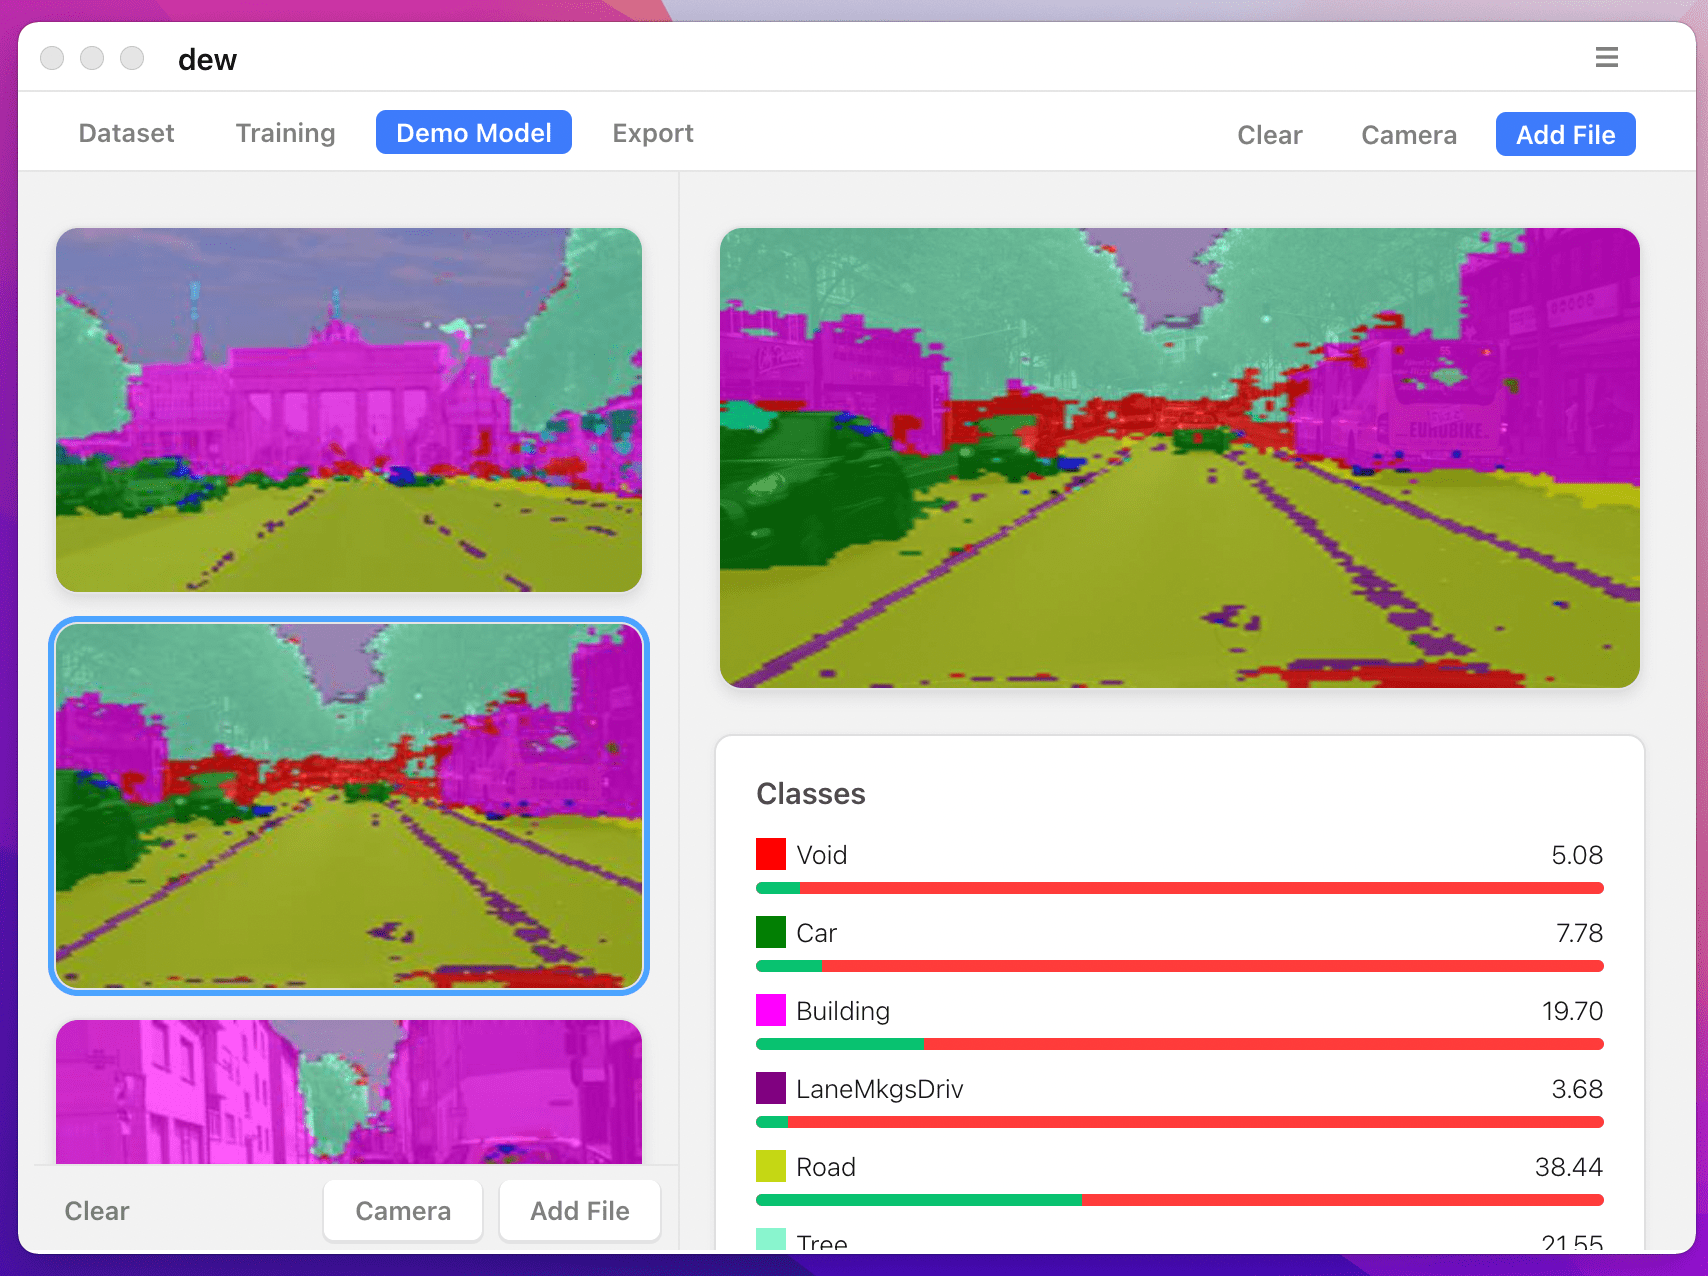 |
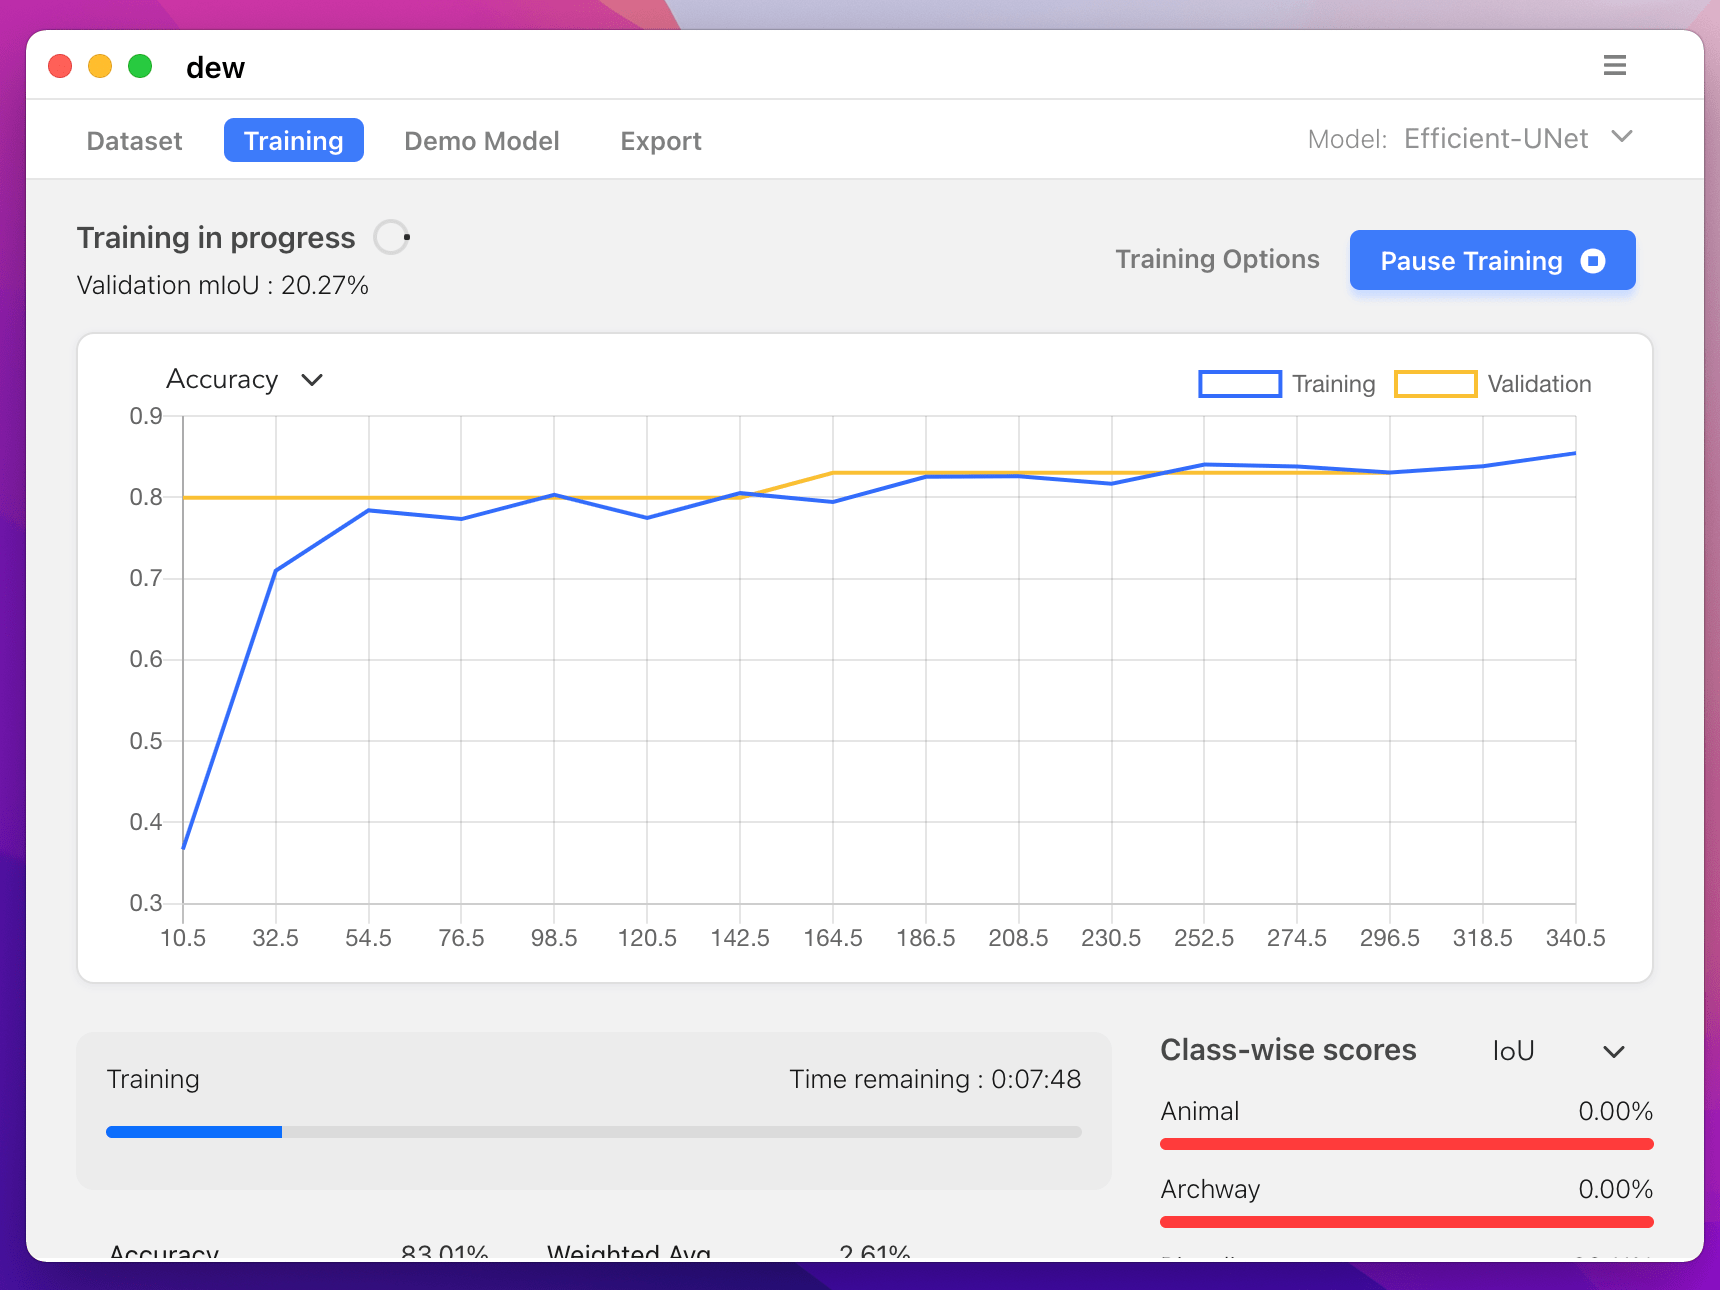 | 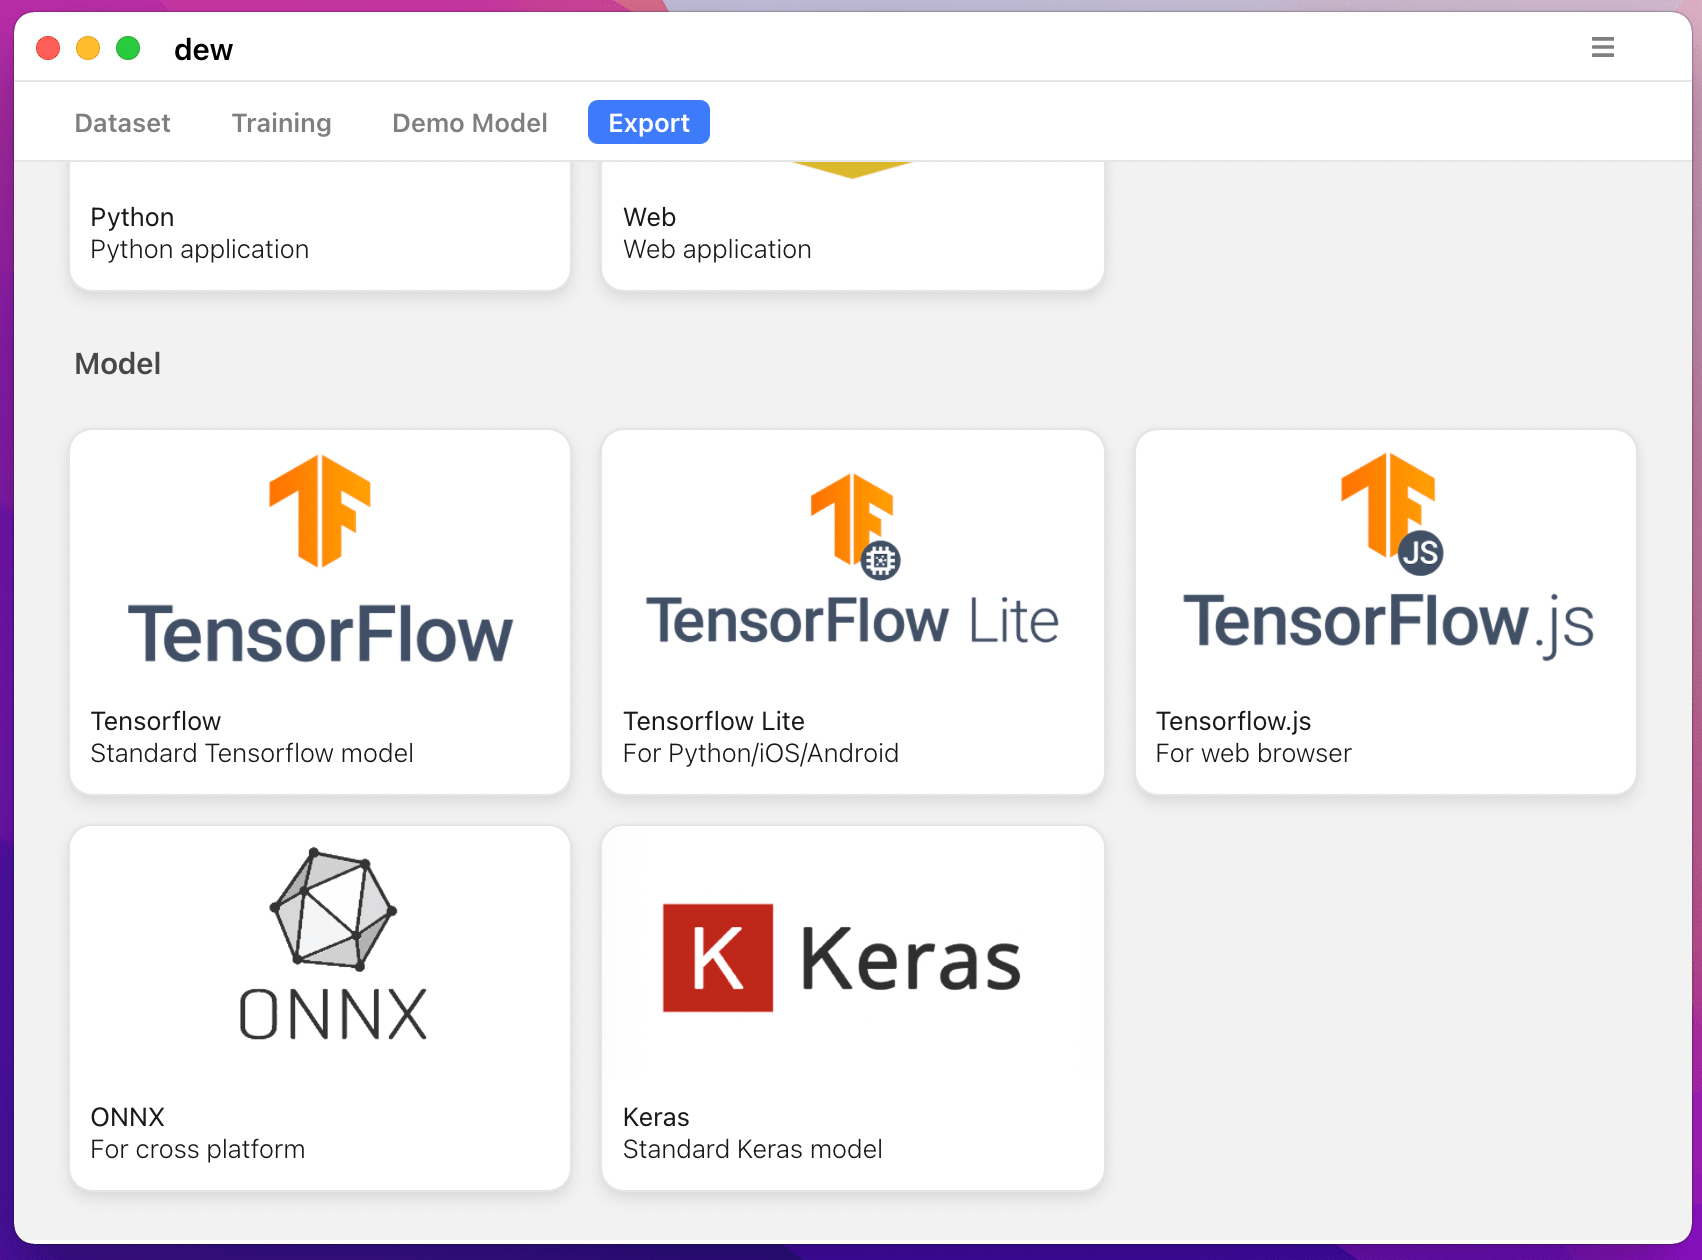 |
次のモデルがサポートされています。
| モデル名 | ベースモデル | セグメンテーションモデル |
|---|---|---|
| fcn_8 | バニラCNN | FCN8 |
| fcn_32 | バニラCNN | FCN8 |
| fcn_8_vgg | VGG16 | FCN8 |
| fcn_32_vgg | VGG16 | FCN32 |
| fcn_8_resnet50 | レスネット-50 | FCN32 |
| fcn_32_resnet50 | レスネット-50 | FCN32 |
| fcn_8_mobilenet | モバイルネット | FCN32 |
| fcn_32_モバイルネット | モバイルネット | FCN32 |
| pspネット | バニラCNN | PSPネット |
| pspnet_50 | バニラCNN | PSPネット |
| pspnet_101 | バニラCNN | PSPネット |
| vgg_pspnet | VGG16 | PSPネット |
| resnet50_pspnet | レスネット-50 | PSPネット |
| unet_mini | バニラミニCNN | ユーネット |
| アネット | バニラCNN | ユーネット |
| vgg_unet | VGG16 | ユーネット |
| resnet50_unet | レスネット-50 | ユーネット |
| mobilenet_unet | モバイルネット | ユーネット |
| セグネット | バニラCNN | セグネット |
| vgg_segnet | VGG16 | セグネット |
| resnet50_segnet | レスネット-50 | セグネット |
| mobilenet_segnet | モバイルネット | セグネット |
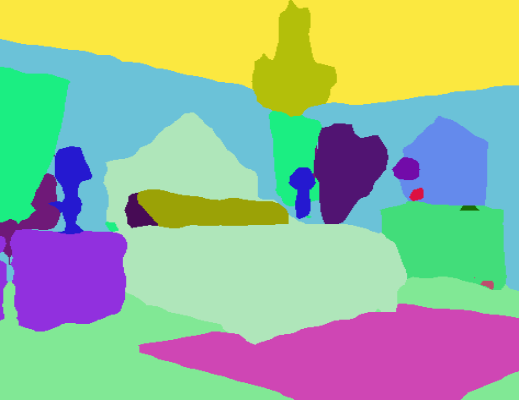
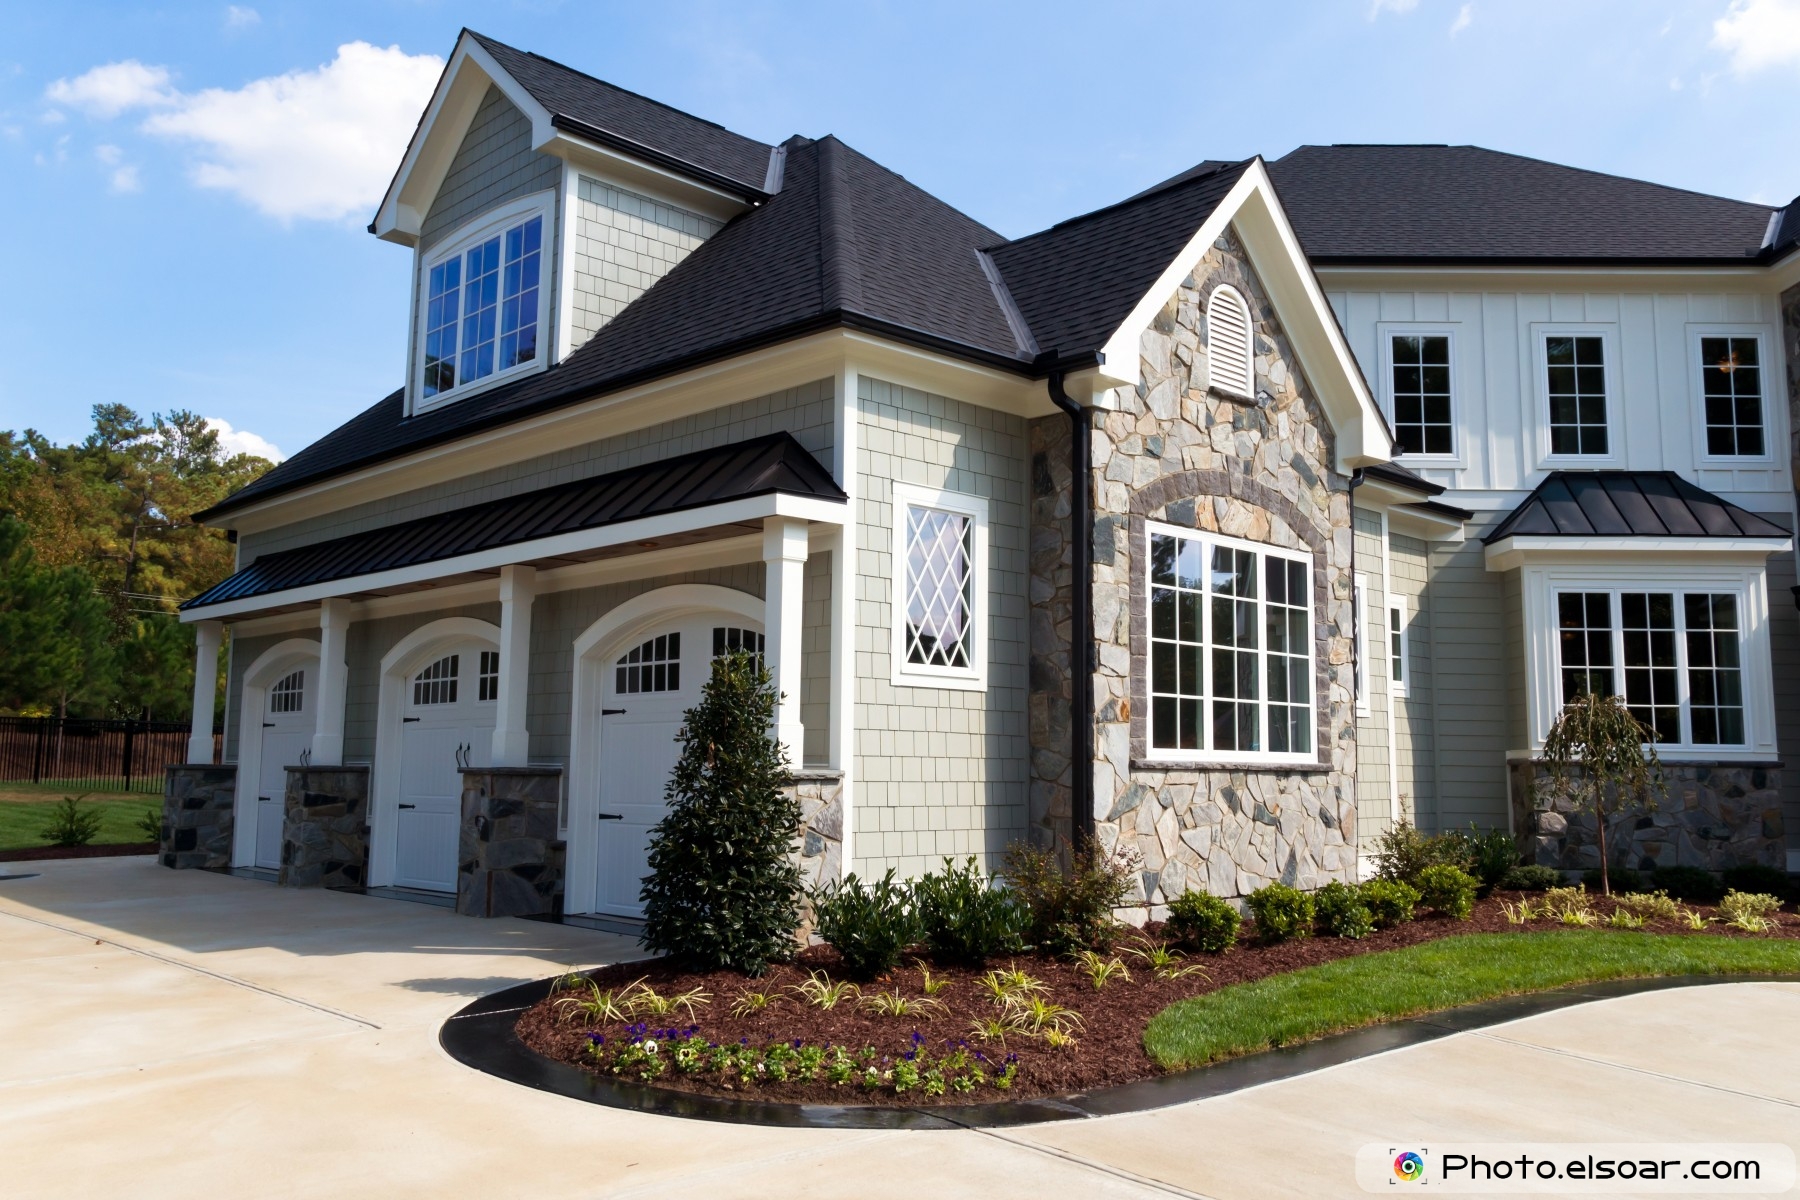
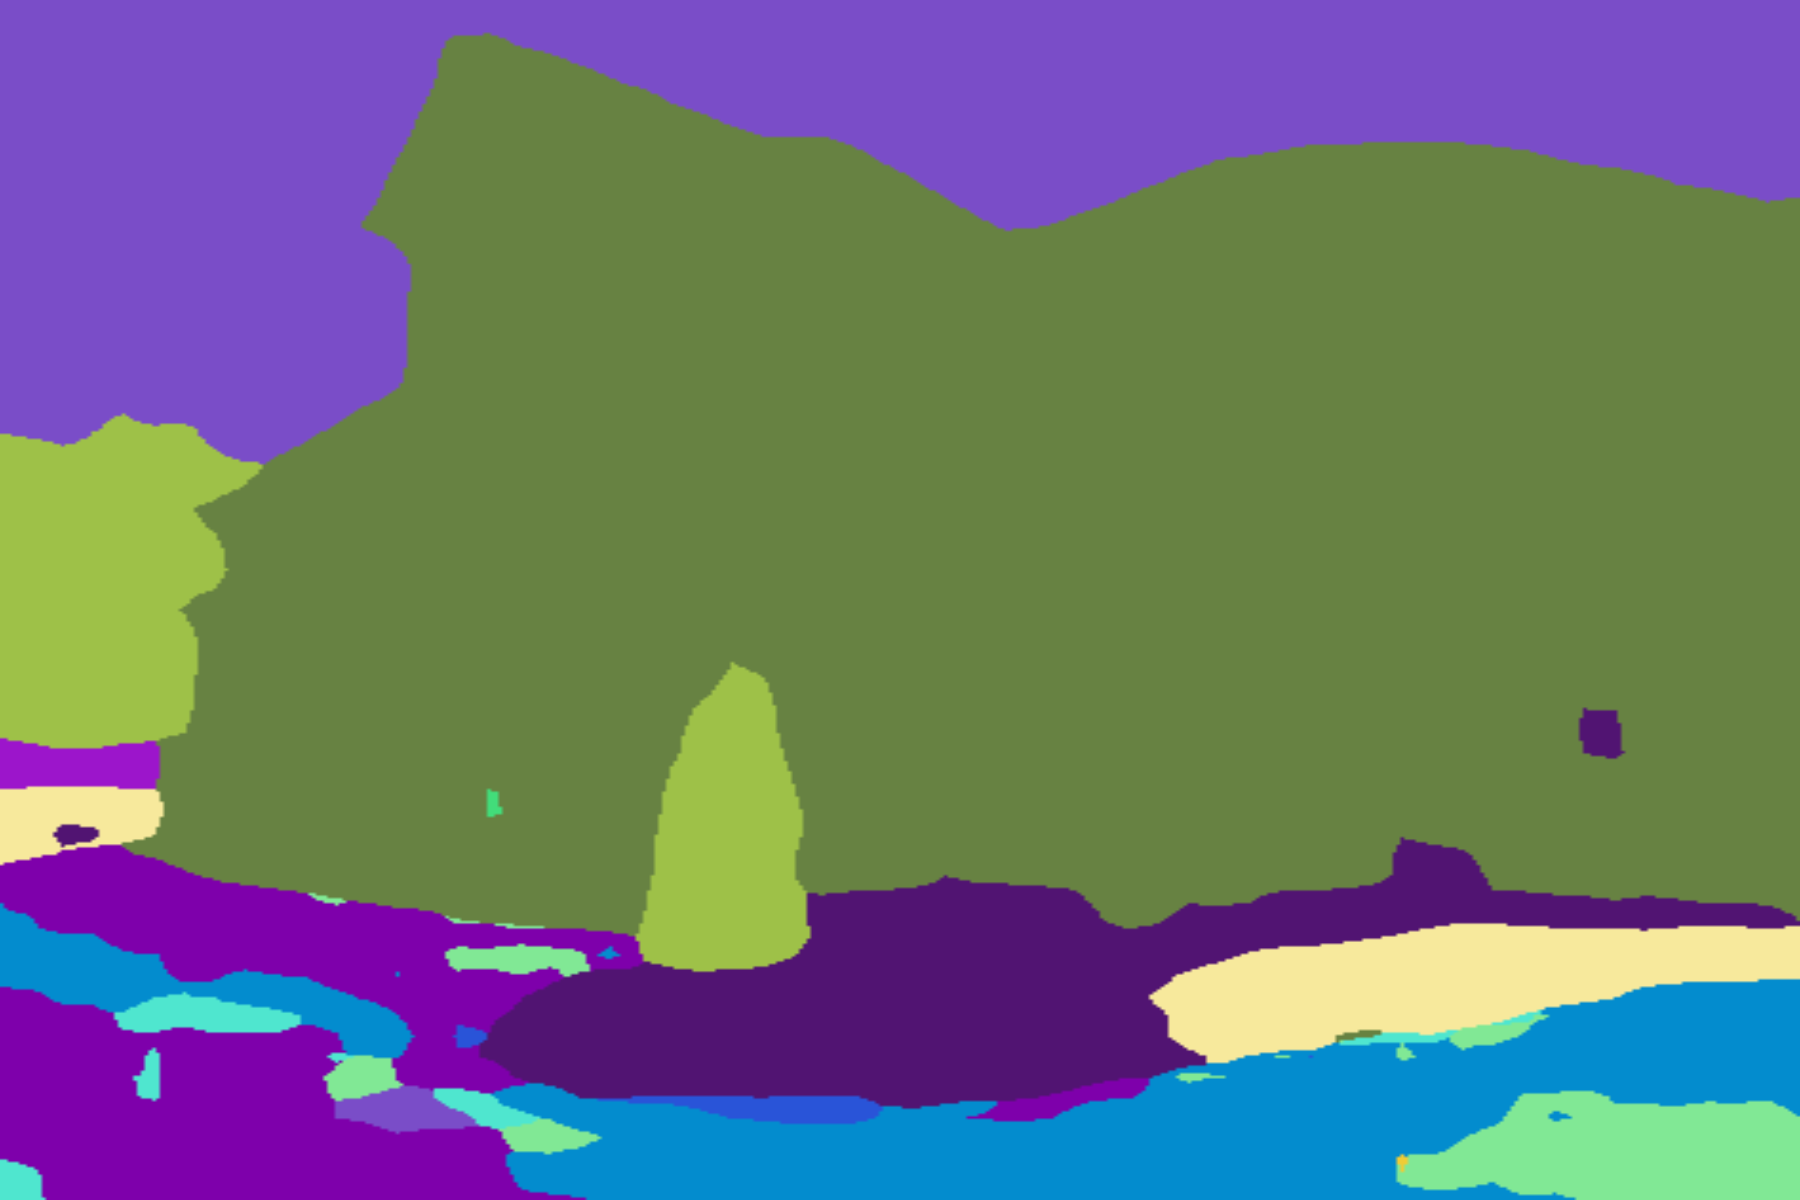
提供される事前トレーニング済みモデルの結果の例:
| 入力画像 | 出力セグメンテーション画像 |
|---|---|
 |  |
 |  |
このライブラリを使用している場合は、以下を使用して引用してください。
 @article{gupta2023image,
  title={Image segmentation keras: Implementation of segnet, fcn, unet, pspnet and other models in keras},
  author={Gupta, Divam},
  journal={arXiv preprint arXiv:2307.13215},
  year={2023}
}
apt-get install -y libsm6 libxext6 libxrender-dev
pip install opencv-pythonモジュールをインストールする
推奨される方法:
pip install --upgrade git+https://github.com/divamgupta/image-segmentation-keraspip install keras-segmentationgit clone https://github.com/divamgupta/image-segmentation-keras
cd image-segmentation-keras
python setup.py install from keras_segmentation . pretrained import pspnet_50_ADE_20K , pspnet_101_cityscapes , pspnet_101_voc12
model = pspnet_50_ADE_20K () # load the pretrained model trained on ADE20k dataset
model = pspnet_101_cityscapes () # load the pretrained model trained on Cityscapes dataset
model = pspnet_101_voc12 () # load the pretrained model trained on Pascal VOC 2012 dataset
# load any of the 3 pretrained models
out = model . predict_segmentation (
inp = "input_image.jpg" ,
out_fname = "out.png"
)フォルダを2つ作る必要がある
注釈画像のファイル名は、RGB 画像のファイル名と同じである必要があります。
対応する RGB 画像の注釈画像のサイズは同じである必要があります。
RGB イメージ内の各ピクセルについて、注釈イメージ内のそのピクセルのクラス ラベルは青色のピクセルの値になります。
注釈画像を生成するコード例:
 import cv2
import numpy as np

ann_img = np . zeros (( 30 , 30 , 3 )). astype ( 'uint8' )
ann_img [ 3 , 4 ] = 1 # this would set the label of pixel 3,4 as 1

cv2 . imwrite ( "ann_1.png" , ann_img )
注釈画像には bmp または png 形式のみを使用してください。
以下をダウンロードして解凍します。
https://drive.google.com/file/d/0B0d9ZiqAgFkiOHR1NTJhWVJMNEU/view?usp=sharing
dataset1/ という名前のフォルダーが作成されます。
Python スクリプトで keras_segmentation をインポートし、API を使用できます。
 from keras_segmentation . models . unet import vgg_unet

model = vgg_unet ( n_classes = 51 ,  input_height = 416 , input_width = 608  )

model . train (
    train_images =  "dataset1/images_prepped_train/" ,
    train_annotations = "dataset1/annotations_prepped_train/" ,
    checkpoints_path = "/tmp/vgg_unet_1" , epochs = 5
)

out = model . predict_segmentation (
    inp = "dataset1/images_prepped_test/0016E5_07965.png" ,
    out_fname = "/tmp/out.png"
)

import matplotlib . pyplot as plt
plt . imshow ( out )

# evaluating the model
print ( model . evaluate_segmentation ( inp_images_dir = "dataset1/images_prepped_test/" , annotations_dir = "dataset1/annotations_prepped_test/" ) )コマンドラインのみを使用してツールを使用することもできます
準備したデータを検証するために、準備したアノテーションを視覚化することもできます。
python -m keras_segmentation verify_dataset
 --images_path= " dataset1/images_prepped_train/ "
 --segs_path= " dataset1/annotations_prepped_train/ "
 --n_classes=50
python -m keras_segmentation visualize_dataset
--images_path= " dataset1/images_prepped_train/ "
--segs_path= " dataset1/annotations_prepped_train/ "
--n_classes=50モデルをトレーニングするには、次のコマンドを実行します。
python -m keras_segmentation train
 --checkpoints_path= " path_to_checkpoints "
 --train_images= " dataset1/images_prepped_train/ "
 --train_annotations= " dataset1/annotations_prepped_train/ "
 --val_images= " dataset1/images_prepped_test/ "
 --val_annotations= " dataset1/annotations_prepped_test/ "
 --n_classes=50
 --input_height=320
 --input_width=640
 --model_name= " vgg_unet "
上の表からmodel_nameを選択してください
トレーニングされたモデルの予測を取得するには
python -m keras_segmentation predict
 --checkpoints_path= " path_to_checkpoints "
 --input_path= " dataset1/images_prepped_test/ "
 --output_path= " path_to_predictions "
ビデオの予測を取得するには
python -m keras_segmentation predict_video
 --checkpoints_path= " path_to_checkpoints "
 --input= " path_to_video "
 --output_file= " path_for_save_inferenced_video "
 --display
Web カメラで予測を行いたい場合は、 --input使用しないでください。または、デバイス番号を渡します: --input 0
--display予測されたビデオを含むウィンドウを開きます。ヘッドレス システムを使用する場合は、この引数を削除します。
IoU スコアを取得するには
python -m keras_segmentation evaluate_model
 --checkpoints_path= " path_to_checkpoints "
 --images_path= " dataset1/images_prepped_test/ "
--segs_path= " dataset1/annotations_prepped_test/ " 次の例は、10 個のクラスを使用してモデルを微調整する方法を示しています。
 from keras_segmentation . models . model_utils import transfer_weights
from keras_segmentation . pretrained import pspnet_50_ADE_20K
from keras_segmentation . models . pspnet import pspnet_50

pretrained_model = pspnet_50_ADE_20K ()

new_model = pspnet_50 ( n_classes = 51 )

transfer_weights ( pretrained_model , new_model  ) # transfer weights from pre-trained model to your model

new_model . train (
    train_images =  "dataset1/images_prepped_train/" ,
    train_annotations = "dataset1/annotations_prepped_train/" ,
    checkpoints_path = "/tmp/vgg_unet_1" , epochs = 5
)
次の例は、より大きな (より正確な) モデルから小さなモデルへの知識の転送を示しています。ほとんどの場合、知識蒸留によってトレーニングされた小規模なモデルは、バニラの教師あり学習を使用してトレーニングされた同じモデルと比較してより正確です。
 from keras_segmentation . predict import model_from_checkpoint_path
from keras_segmentation . models . unet import unet_mini
from keras_segmentation . model_compression import perform_distilation

model_large = model_from_checkpoint_path ( "/checkpoints/path/of/trained/model" )
model_small = unet_mini ( n_classes = 51 , input_height = 300 , input_width = 400  )

perform_distilation ( data_path = "/path/to/large_image_set/" , checkpoints_path = "path/to/save/checkpoints" ,
teacher_model = model_large , student_model = model_small , distilation_loss = 'kl' , feats_distilation_loss = 'pa' )次の例は、トレーニング用のカスタム拡張関数を定義する方法を示しています。
 from keras_segmentation . models . unet import vgg_unet
from imgaug import augmenters as iaa

def custom_augmentation ():
    return  iaa . Sequential (
        [
            # apply the following augmenters to most images
            iaa . Fliplr ( 0.5 ),  # horizontally flip 50% of all images
            iaa . Flipud ( 0.5 ), # horizontally flip 50% of all images
        ])

model = vgg_unet ( n_classes = 51 ,  input_height = 416 , input_width = 608 )

model . train (
    train_images =  "dataset1/images_prepped_train/" ,
    train_annotations = "dataset1/annotations_prepped_train/" ,
    checkpoints_path = "/tmp/vgg_unet_1" , epochs = 5 ,
    do_augment = True , # enable augmentation
    custom_augmentation = custom_augmentation # sets the augmention function to use
)次の例は、入力チャンネル数を設定する方法を示しています。
 from keras_segmentation . models . unet import vgg_unet

model = vgg_unet ( n_classes = 51 ,  input_height = 416 , input_width = 608 ,
                 channels = 1 # Sets the number of input channels
                 )

model . train (
    train_images =  "dataset1/images_prepped_train/" ,
    train_annotations = "dataset1/annotations_prepped_train/" ,
    checkpoints_path = "/tmp/vgg_unet_1" , epochs = 5 ,
    read_image_type = 0  # Sets how opencv will read the images
                       # cv2.IMREAD_COLOR = 1 (rgb),
                       # cv2.IMREAD_GRAYSCALE = 0,
                       # cv2.IMREAD_UNCHANGED = -1 (4 channels like RGBA)
)次の例は、カスタム画像前処理関数を設定する方法を示しています。
 from keras_segmentation . models . unet import vgg_unet

def image_preprocessing ( image ):
    return image + 1

model = vgg_unet ( n_classes = 51 ,  input_height = 416 , input_width = 608 )

model . train (
    train_images =  "dataset1/images_prepped_train/" ,
    train_annotations = "dataset1/annotations_prepped_train/" ,
    checkpoints_path = "/tmp/vgg_unet_1" , epochs = 5 ,
    preprocessing = image_preprocessing # Sets the preprocessing function
)次の例は、モデル トレーニング用のカスタム コールバックを設定する方法を示しています。
 from keras_segmentation . models . unet import vgg_unet
from keras . callbacks import ModelCheckpoint , EarlyStopping

model = vgg_unet ( n_classes = 51 ,  input_height = 416 , input_width = 608 )

# When using custom callbacks, the default checkpoint saver is removed
callbacks = [
    ModelCheckpoint (
                filepath = "checkpoints/" + model . name + ".{epoch:05d}" ,
                save_weights_only = True ,
                verbose = True
            ),
    EarlyStopping ()
]

model . train (
    train_images =  "dataset1/images_prepped_train/" ,
    train_annotations = "dataset1/annotations_prepped_train/" ,
    checkpoints_path = "/tmp/vgg_unet_1" , epochs = 5 ,
    callbacks = callbacks
)次の例は、モデルに追加の画像入力を追加する方法を示しています。
 from keras_segmentation . models . unet import vgg_unet

model = vgg_unet ( n_classes = 51 ,  input_height = 416 , input_width = 608 )

model . train (
    train_images =  "dataset1/images_prepped_train/" ,
    train_annotations = "dataset1/annotations_prepped_train/" ,
    checkpoints_path = "/tmp/vgg_unet_1" , epochs = 5 ,
    other_inputs_paths = [
        "/path/to/other/directory"
    ],


#     Ability to add preprocessing
    preprocessing = [ lambda x : x + 1 , lambda x : x + 2 , lambda x : x + 3 ], # Different prepocessing for each input
#     OR
    preprocessing = lambda x : x + 1 , # Same preprocessing for each input
)私たちのライブラリを使用しているいくつかのプロジェクトを次に示します。
公開プロジェクトでコードを使用する場合は、ここにリンクを追加してください (問題を投稿するか PR を作成して)