注: ライブラリは積極的に保守/構築されていません。貢献したい場合は、問題を作成してください。
Simulate は、インテリジェント エージェント (強化学習など) や合成データ生成のためのシミュレーション環境を簡単に作成および共有するためのライブラリです。
シンプルなpip install simulate Simulate を使用してシミュレートをインストールします (仮想環境で優先的に)。注: vtk 、Python 3.8 を使用した Apple Silicon 用に構築されていません。その場合は>3.9でインストールしてください。
仮想環境を作成し、コード スタイル/品質ツールとコード ベースをローカルにインストールします。
pip install --upgrade simulate
PR をマージする前に、スタイルを修正します ( isort + black使用します)。
make style
Simulate の API は、優れた Kubric の API からインスピレーションを得ています。ユーザーはSceneを作成し、そこにAssets (オブジェクト、カメラ、ライトなど) を追加します。
シーンを作成したら、ファイルとして保存して共有できます。これは gIFT ファイル、つまり関連リソースを含む JSON ファイルです。
バックエンド レンダリング/シミュレーション エンジン (現時点では Unity、Blender、Godot) のいずれかを使用してシーンをレンダリングしたり、シミュレーションを実行したりすることもできます。
保存/共有形式はエンジンに依存せず、グラフィック業界標準を使用します。
一緒に簡単な探索をしてみましょう。
 import simulate as sm

scene = sm.Scene()
Python API は src/simulate にあります。これにより、シーンの作成と読み込み、およびバックエンドへのコマンドの送信が可能になります。
シーンをレンダリングおよび/または実行するためのバックエンドがいくつか提供されています。デフォルトのバックエンドは特別なインストールを必要とせず、pyvista に基づいています。これにより、シーンを迅速にレンダリング/探索できますが、物理シミュレーションは処理できません。物理シミュレーションを可能にするために、たとえば、 engine="unity"を設定することで Unity バックエンドを使用できます (近々、Godot および Blender エンジンのバックエンドも同様に使用されます)。 Unity ビルドは自動的にダウンロードされ (まだダウンロードされていない場合)、生成されてシミュレーションを実行します。あるいは、Unity エディター自体をダウンロードして使用することもできます。その後、Unity バージョン 2021.3.2f1 で開く必要があります。
ローカル ファイルまたはハブからのシーンのロードはScene.create_from()で行われ、ローカルに保存するか、 scene.save()またはscene.push_to_hub()でハブにプッシュします。
from simulate import Scene
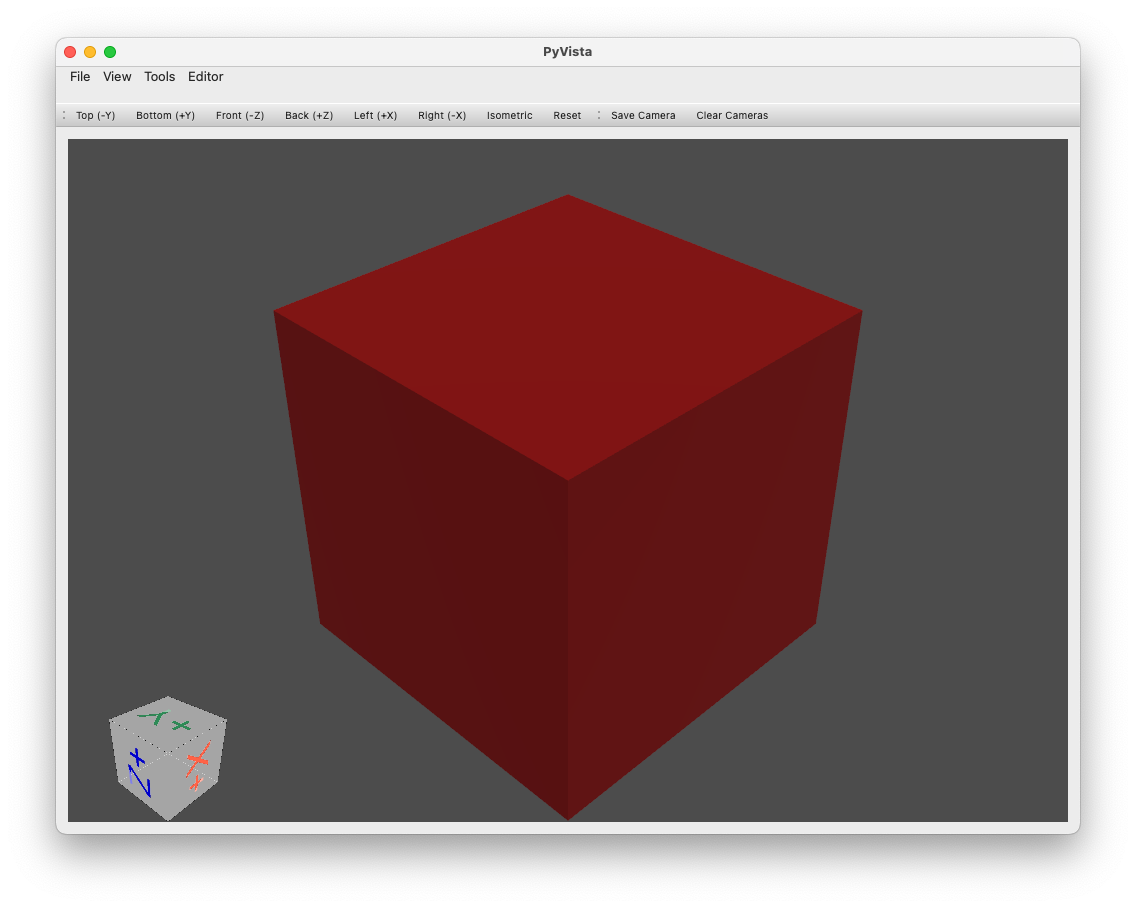
scene = Scene.create_from('tests/test_assets/fixtures/Box.gltf') # either local (priority) or on the Hub with full path to file
scene = Scene.create_from('simulate-tests/Box/glTF/Box.gltf', is_local=False) # Set priority to the Hub file
scene.save('local_dir/file.gltf') # Save to a local file
scene.push_to_hub('simulate-tests/Debug/glTF/Box.gltf') # Save to the Hub - use a token if necessary
scene.show()
平面とその上に球があるシーンを作成する基本的な例:
 import simulate as sm

scene = sm.Scene()
scene += sm.Plane() + sm.Sphere(position=[0, 1, 0], radius=0.2)

>>> scene
>>> Scene(dimensionality=3, engine='PyVistaEngine')
>>> └── plane_01 (Plane - Mesh: 121 points, 100 cells)
>>>     └── sphere_02 (Sphere - Mesh: 842 points, 870 cells)

scene.show()
オブジェクト (およびシーン) は、オプションのメッシュ (内部ではpyvista.PolyDataまたはpyvista.MultiBlockオブジェクトとして作成/保存/編集される) とマテリアルおよび/またはライト、カメラ、エージェントを備えたツリー内の単なるノードです。特別なオブジェクト。
現在、次のオブジェクト作成ヘルパーが提供されています。
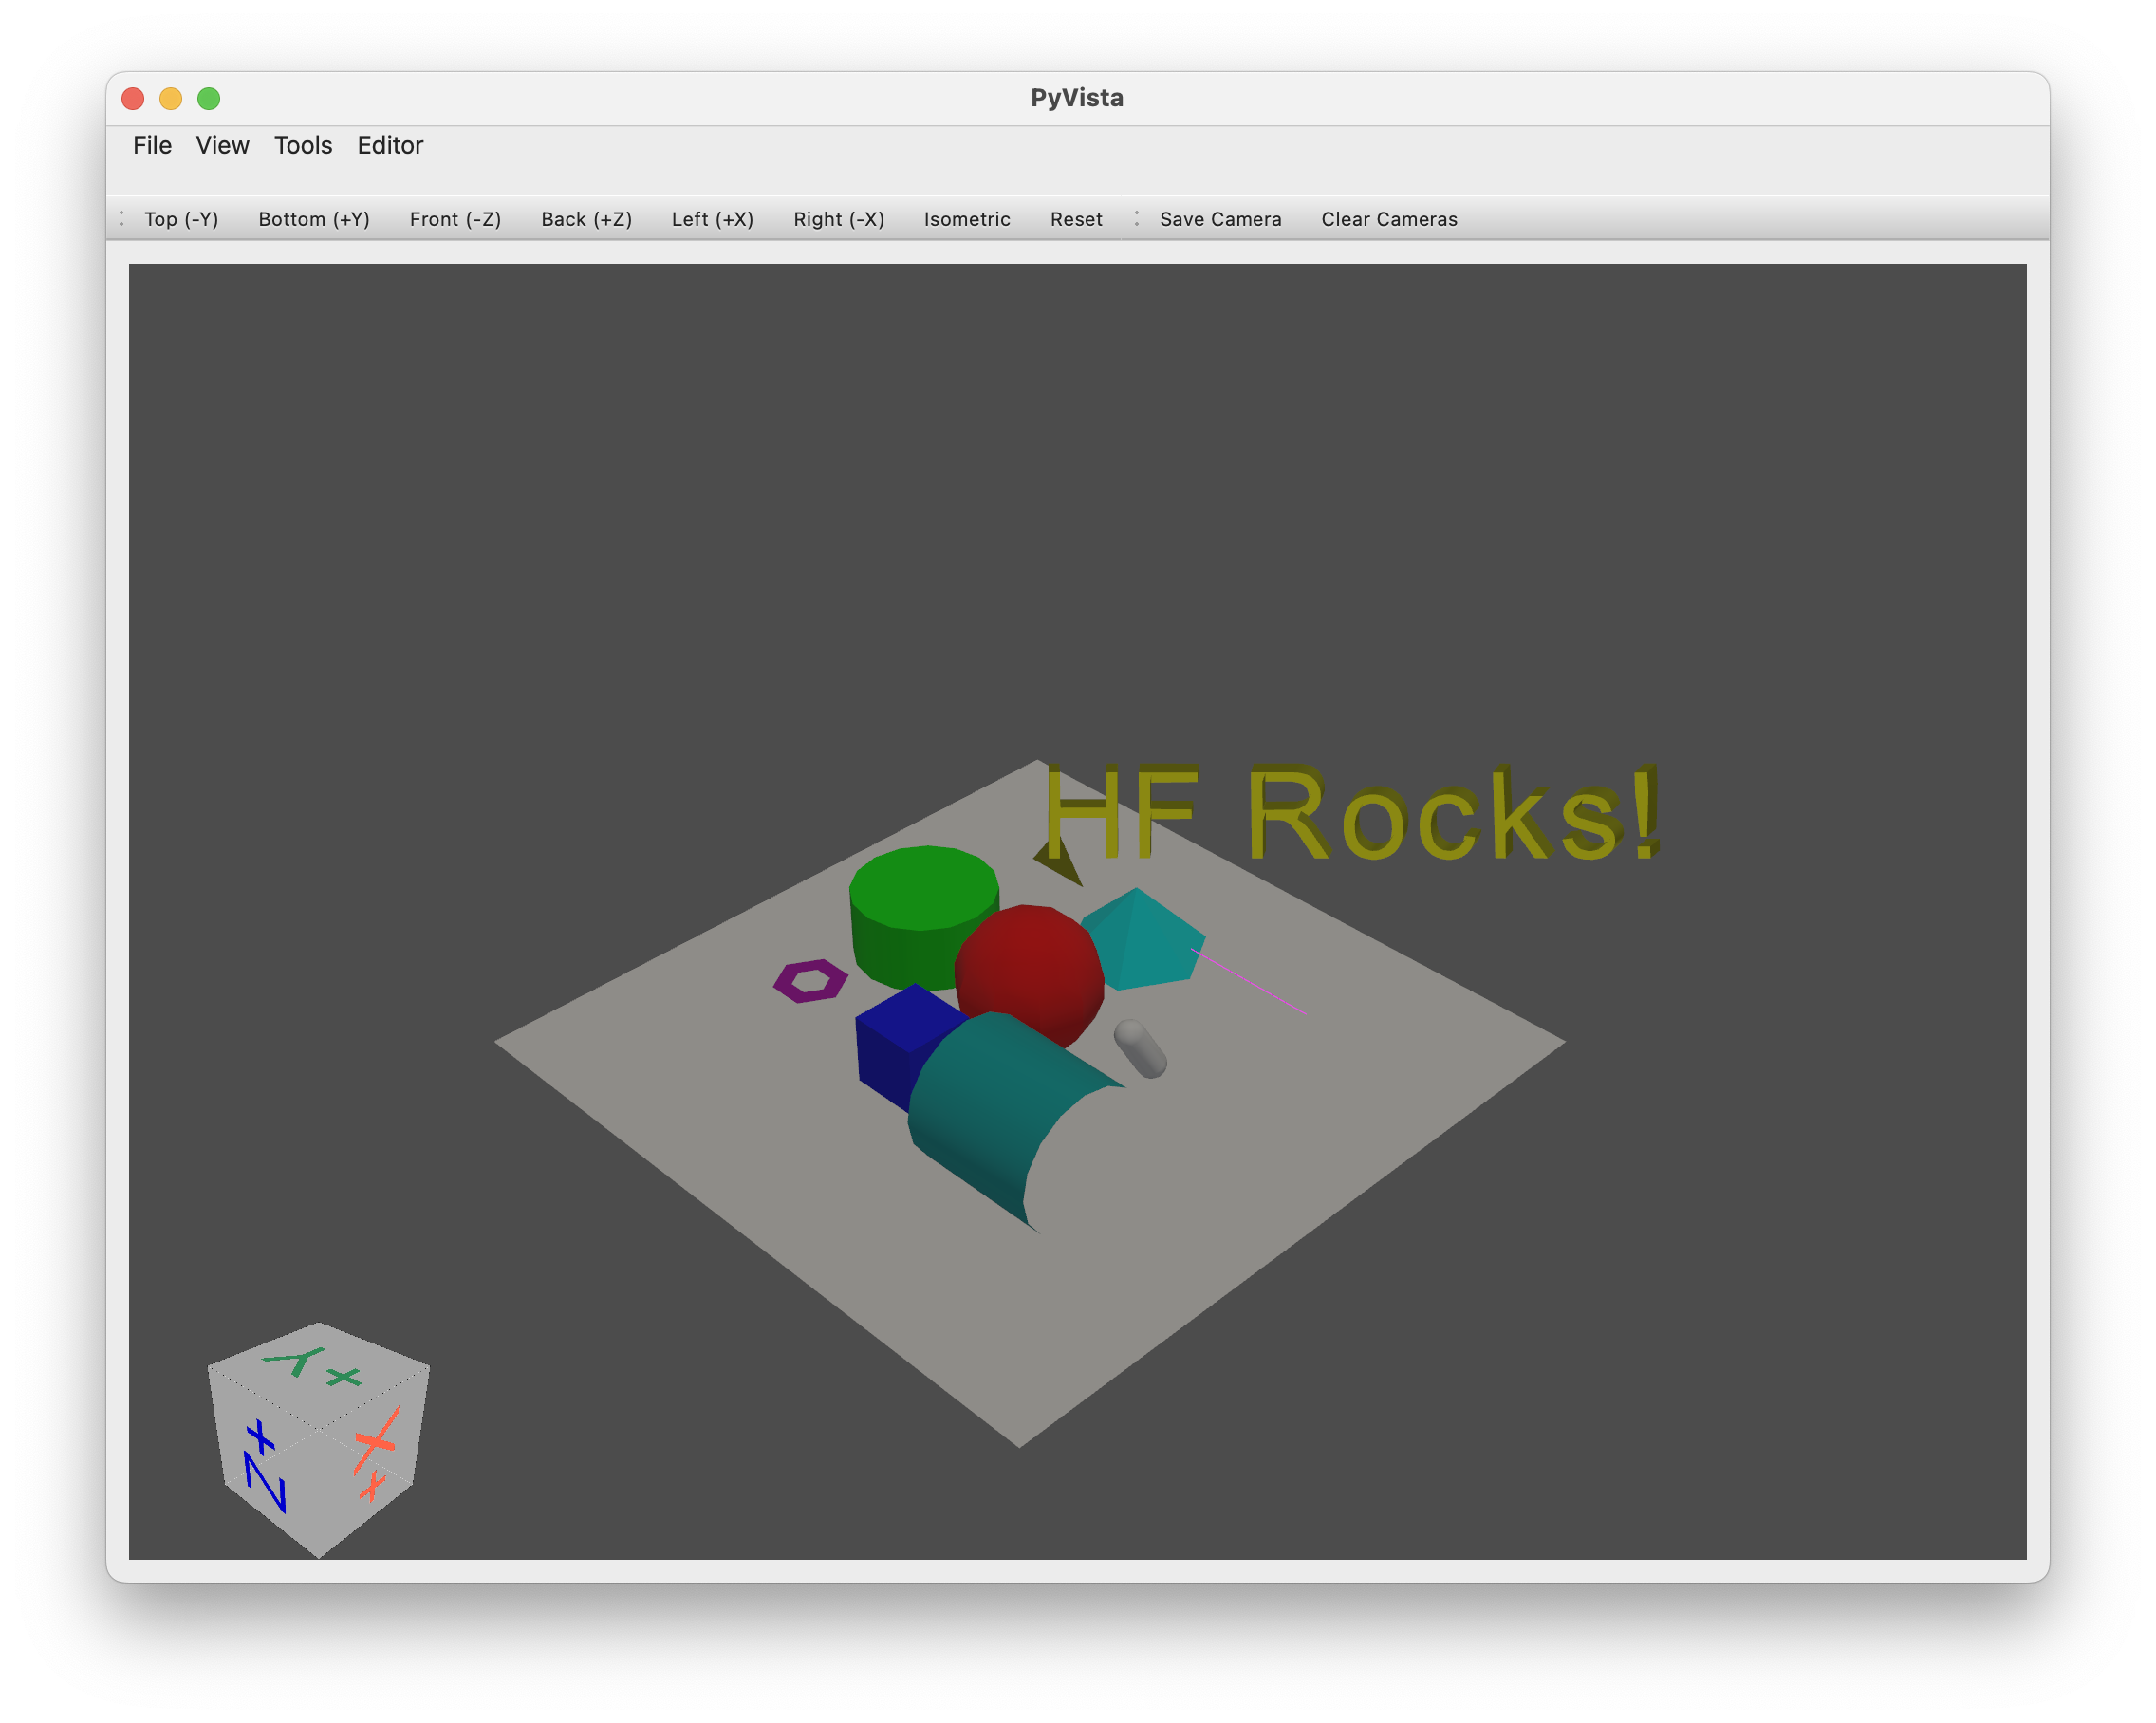
Object3Dメッシュやマテリアルを含む任意のオブジェクトPlaneSphereCapsuleCylinderBoxConeLineMultipleLinesTubePolygonRingText3DTriangleRectangleCircleStructuredGridこれらのオブジェクトの多くは、次の例を実行することで視覚化できます。
python examples/basic/objects.py
オブジェクトの追加/削除:
+ ) 演算子 (またはメソッド.add(object) ) を使用すると、オブジェクトが前のオブジェクトの子として追加されます。- ) 演算子または.remove(object)コマンドを使用して削除できます。.clear()でクリアできます。scene.sphere += sphere_child 。オブジェクトへのアクセス:
name属性で指定されるか、クラス名 + 作成カウンタから自動的に生成される) を使用して、親の属性として直接アクセスできます。.get_node(name)を使用して名前からアクセスすることもできます。tree_*属性を使用して、ノードのツリーの一部をすばやく移動したりリストしたりできます。以下に操作の例をいくつか示します。
 # Add two copy of the sphere to the scene as children of the root node (using list will add all objects on the same level)
# Using `.copy()` will create a copy of an object (the copy doesn't have any parent or children)
scene += [scene.plane_01.sphere_02.copy(), scene.plane_01.sphere_02.copy()]

>>> scene
>>> Scene(dimensionality=3, engine='pyvista')
>>> ├── plane_01 (Plane - Mesh: 121 points, 100 cells)
>>> │   └── sphere_02 (Sphere - Mesh: 842 points, 870 cells)
>>> ├── sphere_03 (Sphere - Mesh: 842 points, 870 cells)
>>> └── sphere_04 (Sphere - Mesh: 842 points, 870 cells)

# Remove the last added sphere
>>> scene.remove(scene.sphere_04)
>>> Scene(dimensionality=3, engine='pyvista')
>>> ├── plane_01 (Plane - Mesh: 121 points, 100 cells)
>>> │   └── sphere_02 (Sphere - Mesh: 842 points, 870 cells)
>>> └── sphere_03 (Sphere - Mesh: 842 points, 870 cells)
オブジェクトは簡単に移動、回転、拡大縮小できます
以下にいくつかの例を示します。
 # Let's translate our floor (with the first sphere, it's child)
scene.plane_01.translate_x(1)

# Let's scale the second sphere uniformly
scene.sphere_03.scale(0.1)

# Inspect the current position and scaling values
print(scene.plane_01.position)
>>> array([1., 0., 0.])
print(scene.sphere_03.scaling)
>>> array([0.1, 0.1, 0.1])

# We can also translate from a vector and rotate from a quaternion or along the various axis
オブジェクトの編集:
デフォルトの視覚化エンジンはpyvistaの vtk バックエンドで提供されます。
視覚化エンジンの開始は、 .show()を使用して簡単に実行できます。
scene.show()
他のレンダリング/シミュレーション エンジンへのブリッジはintegrationsディレクトリにあります。
GCP 上で実行している場合は、QT が GCP 上で適切に動作しないため、 pyvistaqtインストールしないように注意してください。また、インストールした場合は環境からアンインストールしてください。
 @misc { simulate ,
  author = { Thomas Wolf, Edward Beeching, Carl Cochet, Dylan Ebert, Alicia Machado, Nathan Lambert, Clément Romac } ,
  title = { Simulate } ,
  year = { 2022 } ,
  publisher = { GitHub } ,
  journal = { GitHub repository } ,
  howpublished = { url{https://github.com/huggingface/simulate} }
}

