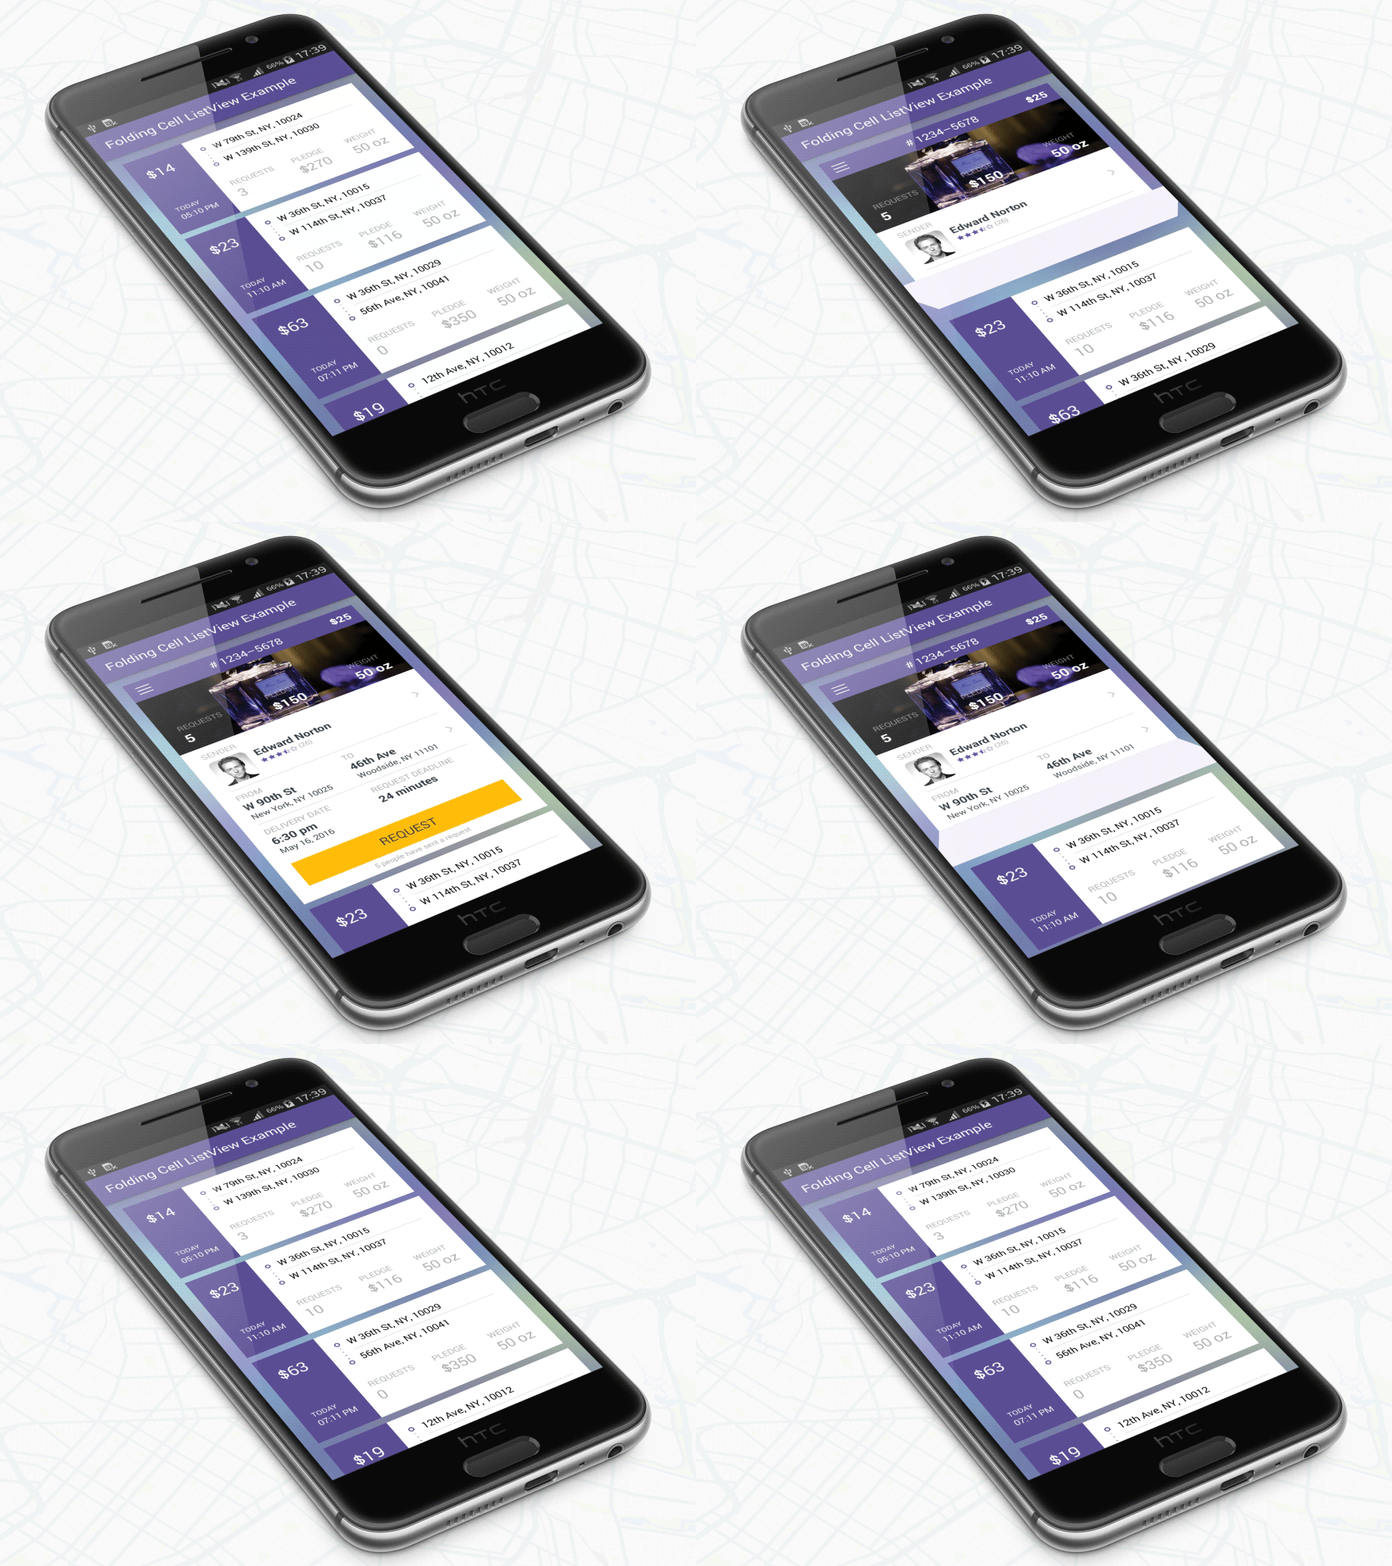

ここからパッケージをダウンロードしてプロジェクトのクラスパスに追加するか、Maven リポジトリを使用します。
グラドル:
' com.ramotion.foldingcell:folding-cell:1.2.3 'ミナミマグロ:
libraryDependencies += " com.ramotion.foldingcell " % " folding-cell " % " 1.2.3 "メイビン:
< dependency >
	< groupId >com.ramotion.foldingcell</ groupId >
	< artifactId >folding-cell</ artifactId >
	< version >1.2.3</ version >
</ dependency >
com.ramotion.foldingcell.FoldingCellをレイアウトに追加します< com .ramotion.foldingcell.FoldingCell
xmlns : android = " http://schemas.android.com/apk/res/android "
android : id = " @+id/folding_cell "
android : layout_width = " match_parent "
android : layout_height = " wrap_content " >
</ com .ramotion.foldingcell.FoldingCell> 2. 子要素を2 つだけセルに追加します。最初の子 (コンテンツ ビュー) は常に展開された状態のレイアウトを表し、2 番目の子 (タイトル ビュー) は折りたたまれた状態のレイアウトを表します。もちろん、これらのレイアウトには子要素をいくつでも含めることができ、複雑にすることもできますが、正しく機能するには、いくつかの制限があります。コンテンツ ビューの高さは、タイトル ビューの高さの少なくとも2 倍である必要があり、各レイアウトの高さはこれらのレイアウトはandroid:layout_height="wrap_content"に設定する必要があります。 dpで正確な高さを設定したい場合は、コンテンツ ビューまたはタイトル ビュー内の独自のレイアウトで子要素の高さを設定できます。また、 android:visibility="gone"を使用してコンテンツ ビューのレイアウトを非表示にする必要があります。
< com .ramotion.foldingcell.FoldingCell
xmlns : android = " http://schemas.android.com/apk/res/android "
android : id = " @+id/folding_cell "
android : layout_width = " match_parent "
android : layout_height = " wrap_content " >
< FrameLayout
android : id = " @+id/cell_content_view "
android : layout_width = " match_parent "
android : layout_height = " wrap_content "
android : background = " @android:color/holo_green_dark "
android : visibility = " gone " >
< TextView
android : layout_width = " match_parent "
android : layout_height = " 250dp " />
</ FrameLayout >
< FrameLayout
android : id = " @+id/cell_title_view "
android : layout_width = " match_parent "
android : layout_height = " wrap_content " >
< TextView
android : layout_width = " match_parent "
android : layout_height = " 100dp "
android : background = " @android:color/holo_blue_dark " />
</ FrameLayout >
</ com .ramotion.foldingcell.FoldingCell>3. もうすぐ完成!残りのステップは 2 つです!アニメーションを正しく行うには、折りたたみセルのルート要素に 2 つのプロパティを設定する必要があります。
android:clipChildren="false"
android:clipToPadding="false"
4. 最後のステップ! MainActivity.javaの折り畳みセルに onClickListener を追加して、アニメーションを切り替えます。
@ Override
protected void onCreate ( Bundle savedInstanceState ) {
super . onCreate ( savedInstanceState );
setContentView ( R . layout . activity_main );
// get our folding cell
final FoldingCell fc = ( FoldingCell ) findViewById ( R . id . folding_cell );
// attach click listener to folding cell
fc . setOnClickListener ( new View . OnClickListener () {
@ Override
public void onClick ( View v ) {
fc . toggle ( false );
}
});
} 5. 追加のステップ - セル設定をカスタマイズします。現時点では、アニメーション時間、裏面の色、追加の反転数という 3 つの主要なパラメータがあります。最初の 2 つでは疑問が生じない場合、3 つ目については説明が必要です。最初(メイン)のフリップの後に実行されるフリップの数です。デフォルト値は0 (自動選択) です。また、4 番目の追加パラメーターであるカメラの高さがあり、3D 効果のレベル (深さ) を制御します。セル設定を変更するには 2 つの方法があります。 res-auto名前空間xmlns:folding-cell="http://schemas.android.com/apk/res-auto"を使用した XML レイアウト ファイルから:
folding-cell:animationDuration="1000"
folding-cell:backSideColor="@color/bgBackSideColor"
folding-cell:additionalFlipsCount="2"
folding-cell:cameraHeight="30"
またはコードから:
 // get our folding cell
final FoldingCell fc = ( FoldingCell ) findViewById ( R . id . folding_cell );
// set custom parameters
fc . initialize ( 1000 , Color . DKGRAY , 2 );
// or with camera height parameter
fc . initialize ( 30 , 1000 , Color . DKGRAY , 2 );
この例と他のより複雑な例は、このリポジトリで見つけることができます。

Folding Cell は MIT ライセンスに基づいてリリースされています。詳細については、「ライセンス」を参照してください。
このライブラリは、厳選された最高の UI オープンソース プロジェクトの一部です。
プロジェクトでオープンソース ライブラリを使用する場合は、必ずクレジットを明記し、www.ramotion.com にバックリンクしてください。
Android アプリでこの UI コンポーネントなどを試してみてください。ご興味がございましたらお問い合わせください。