EasyAdapter
v2.0.5
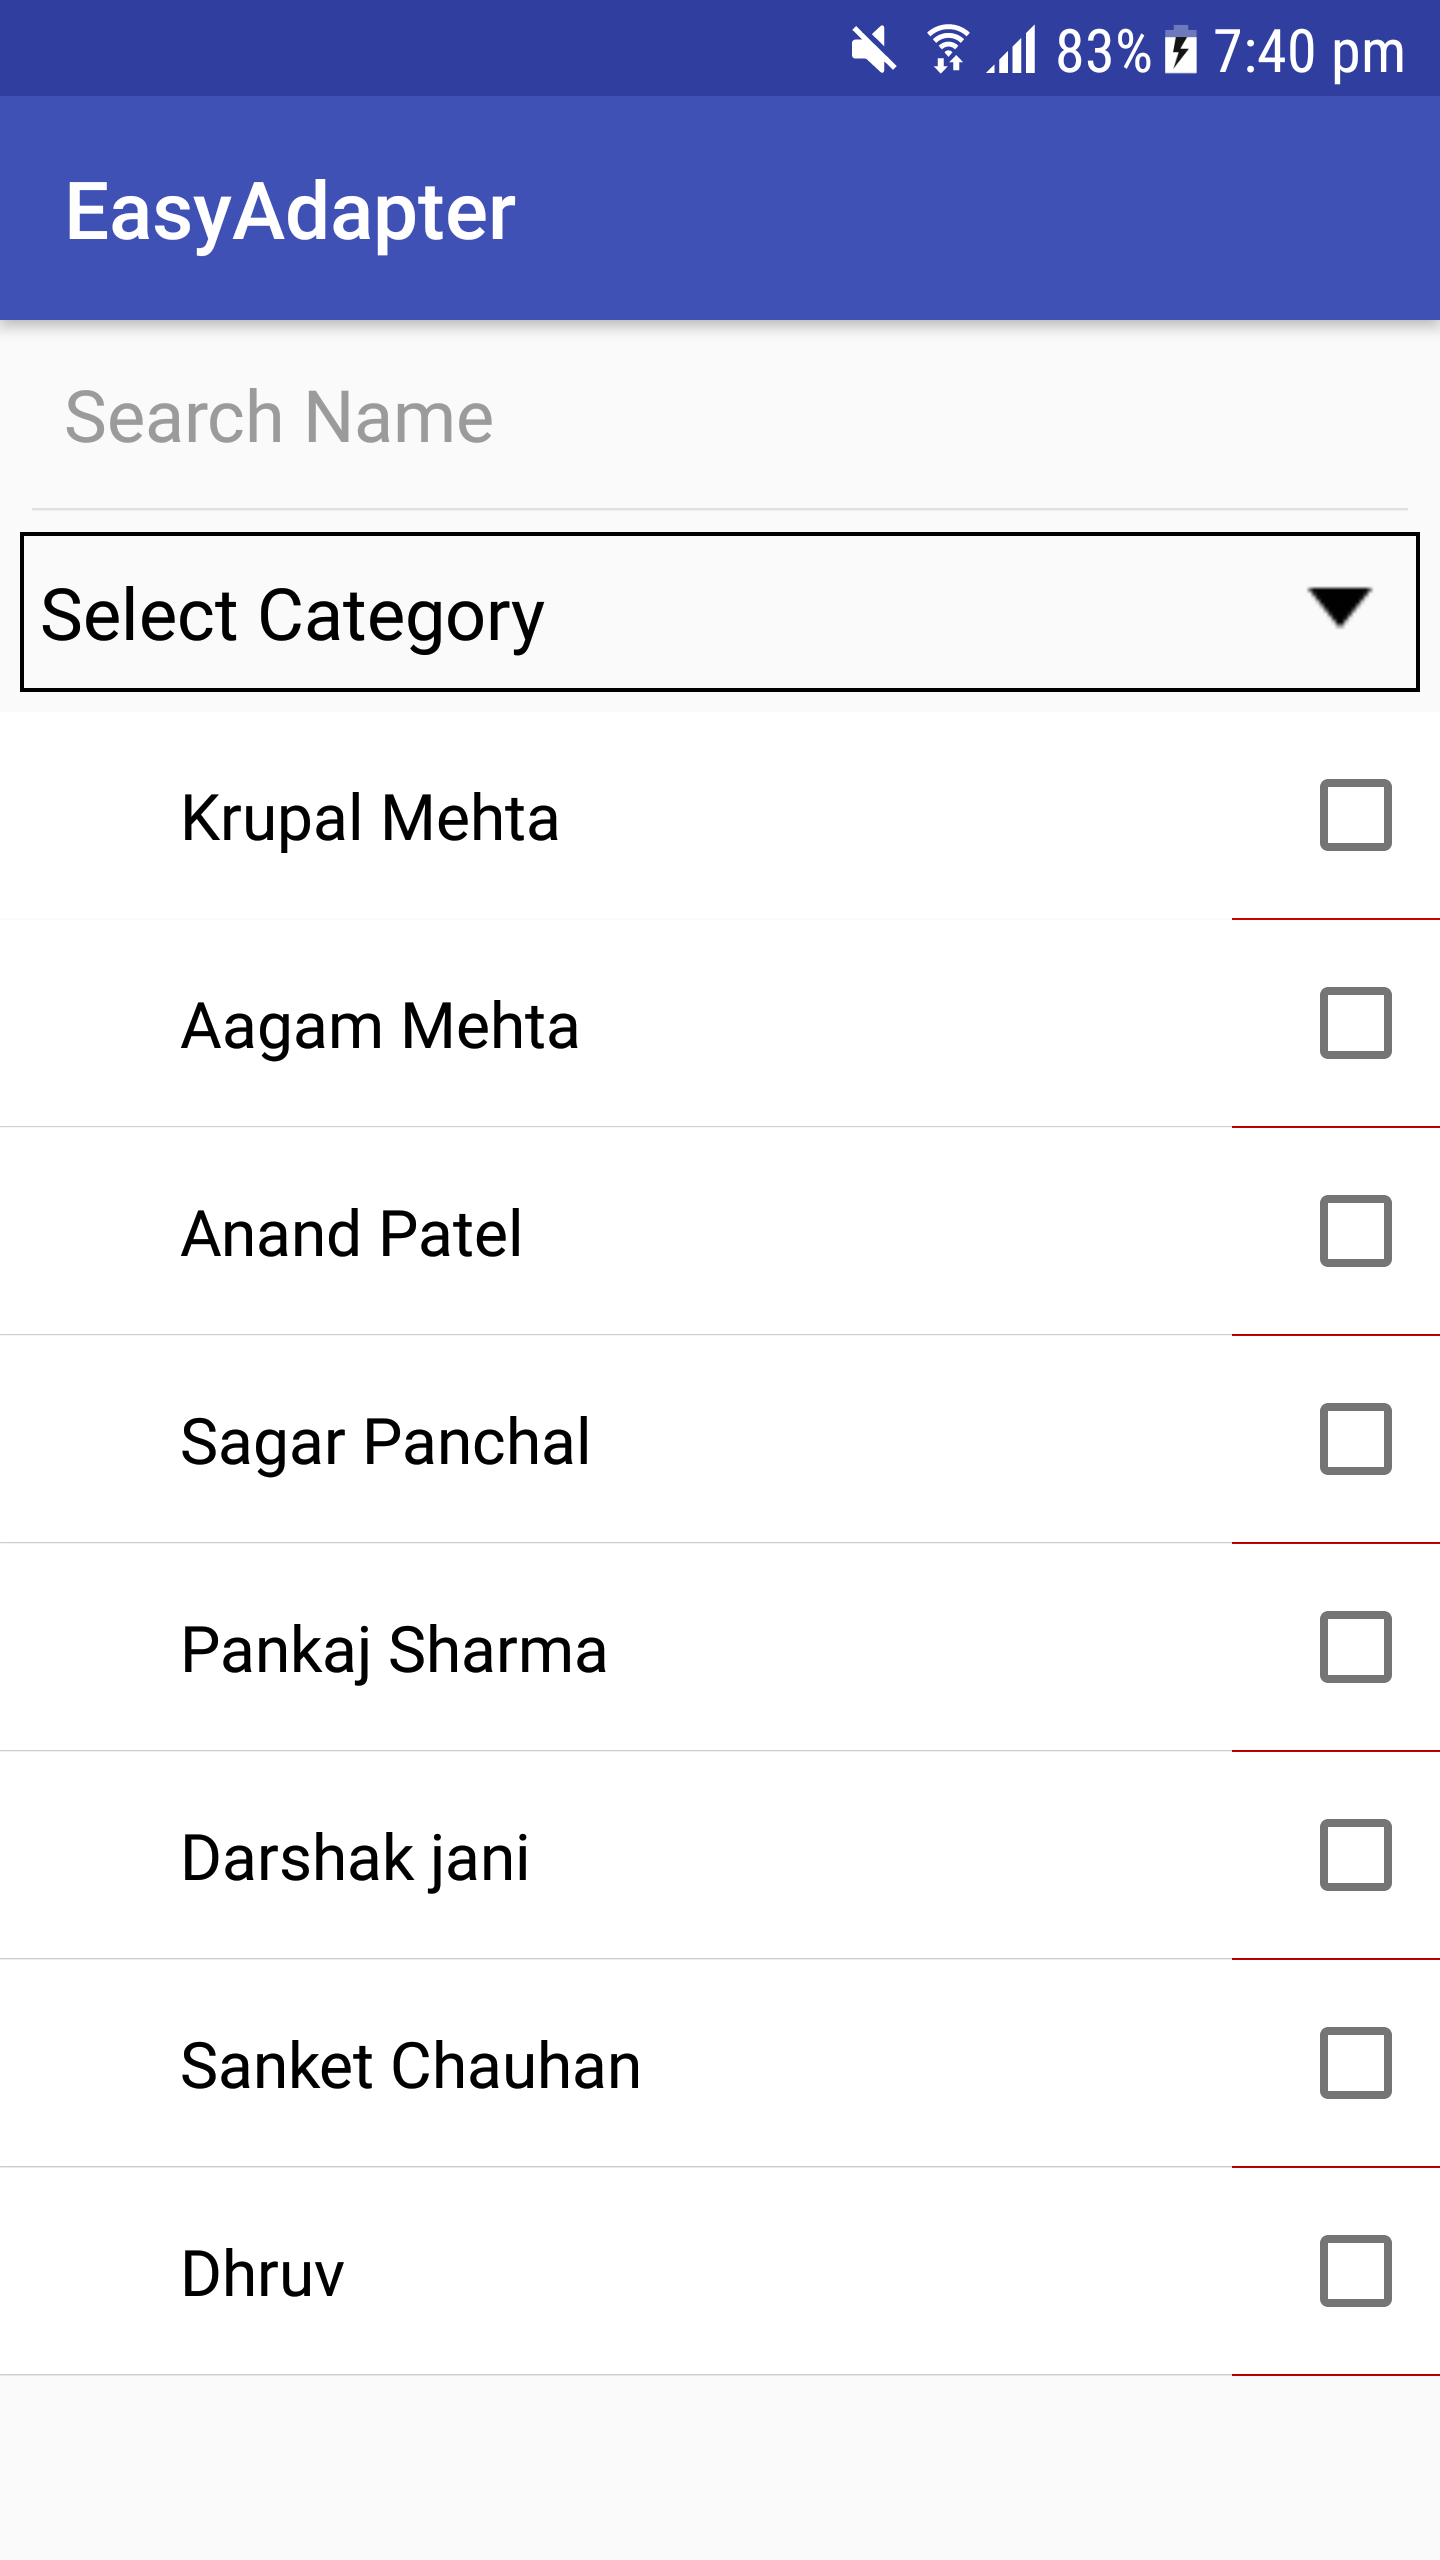
RecyclerView は主に Android プロジェクトで Android ウィジェットとして使用されます。そのためには、ビューの項目を提供するアダプターを実装する必要があります。ほとんどの場合、同じ基本ロジックが必要ですが、すべてを何度も何度も記述する必要があります。そこで、ここにその解決策を示します。
アプリ > build.gradle
implementation ' com.github.mkrupal09:EasyAdapter:v2.0.5 'root > build.gradle、すべてのプロジェクト > リポジトリに jitpack.io Maven URL を追加します
allprojects {
		repositories {
			.. .
			maven { url ' https://jitpack.io ' }
		}
}アプリの build.gradle 内に buildFunction ブロックを追加し (そうでない場合)、下記のように dataBinding フラグを追加します。
android {
    buildFeatures {
        dataBinding true
    }
} adapter = new EasyAdapter < Category , InflaterCategoryBinding >( R . layout . inflater_category ) {
@ Override
public void onBind ( @ NonNull InflaterCategoryBinding binding , @ NonNull Category model ) {
binding . tvName . setText ( model . name );
}
}
 class CategoryAdapter () :EasyAdapter<Category, InflaterCategoryBinding>( R .layout.inflater_category) {
    override fun onBind ( binding : InflaterCategoryBinding , model : Category ) {
        binding. apply {
            tvName.text = model.name
            cbCategory.isChecked = model.isSelected
        }
    }
}
###java
     public CategoryAdapter () {
        super ( R . layout . inflater_category );
    }

    @ Override
    public void onBind ( @ NonNull InflaterCategoryBinding binding , @ NonNull Category model ) {
        binding . tvName . setText ( model . name );
} // Override in Adapter
override fun onCreatingHolder ( binding : InflaterCategoryBinding , easyHolder : EasyHolder ) {
super .onCreatingHolder(binding, easyHolder)
binding.root.setOnClickListener(easyHolder.clickListener)
}adapter.setRecyclerViewItemClick { itemView, model ->
// Perform Operation here
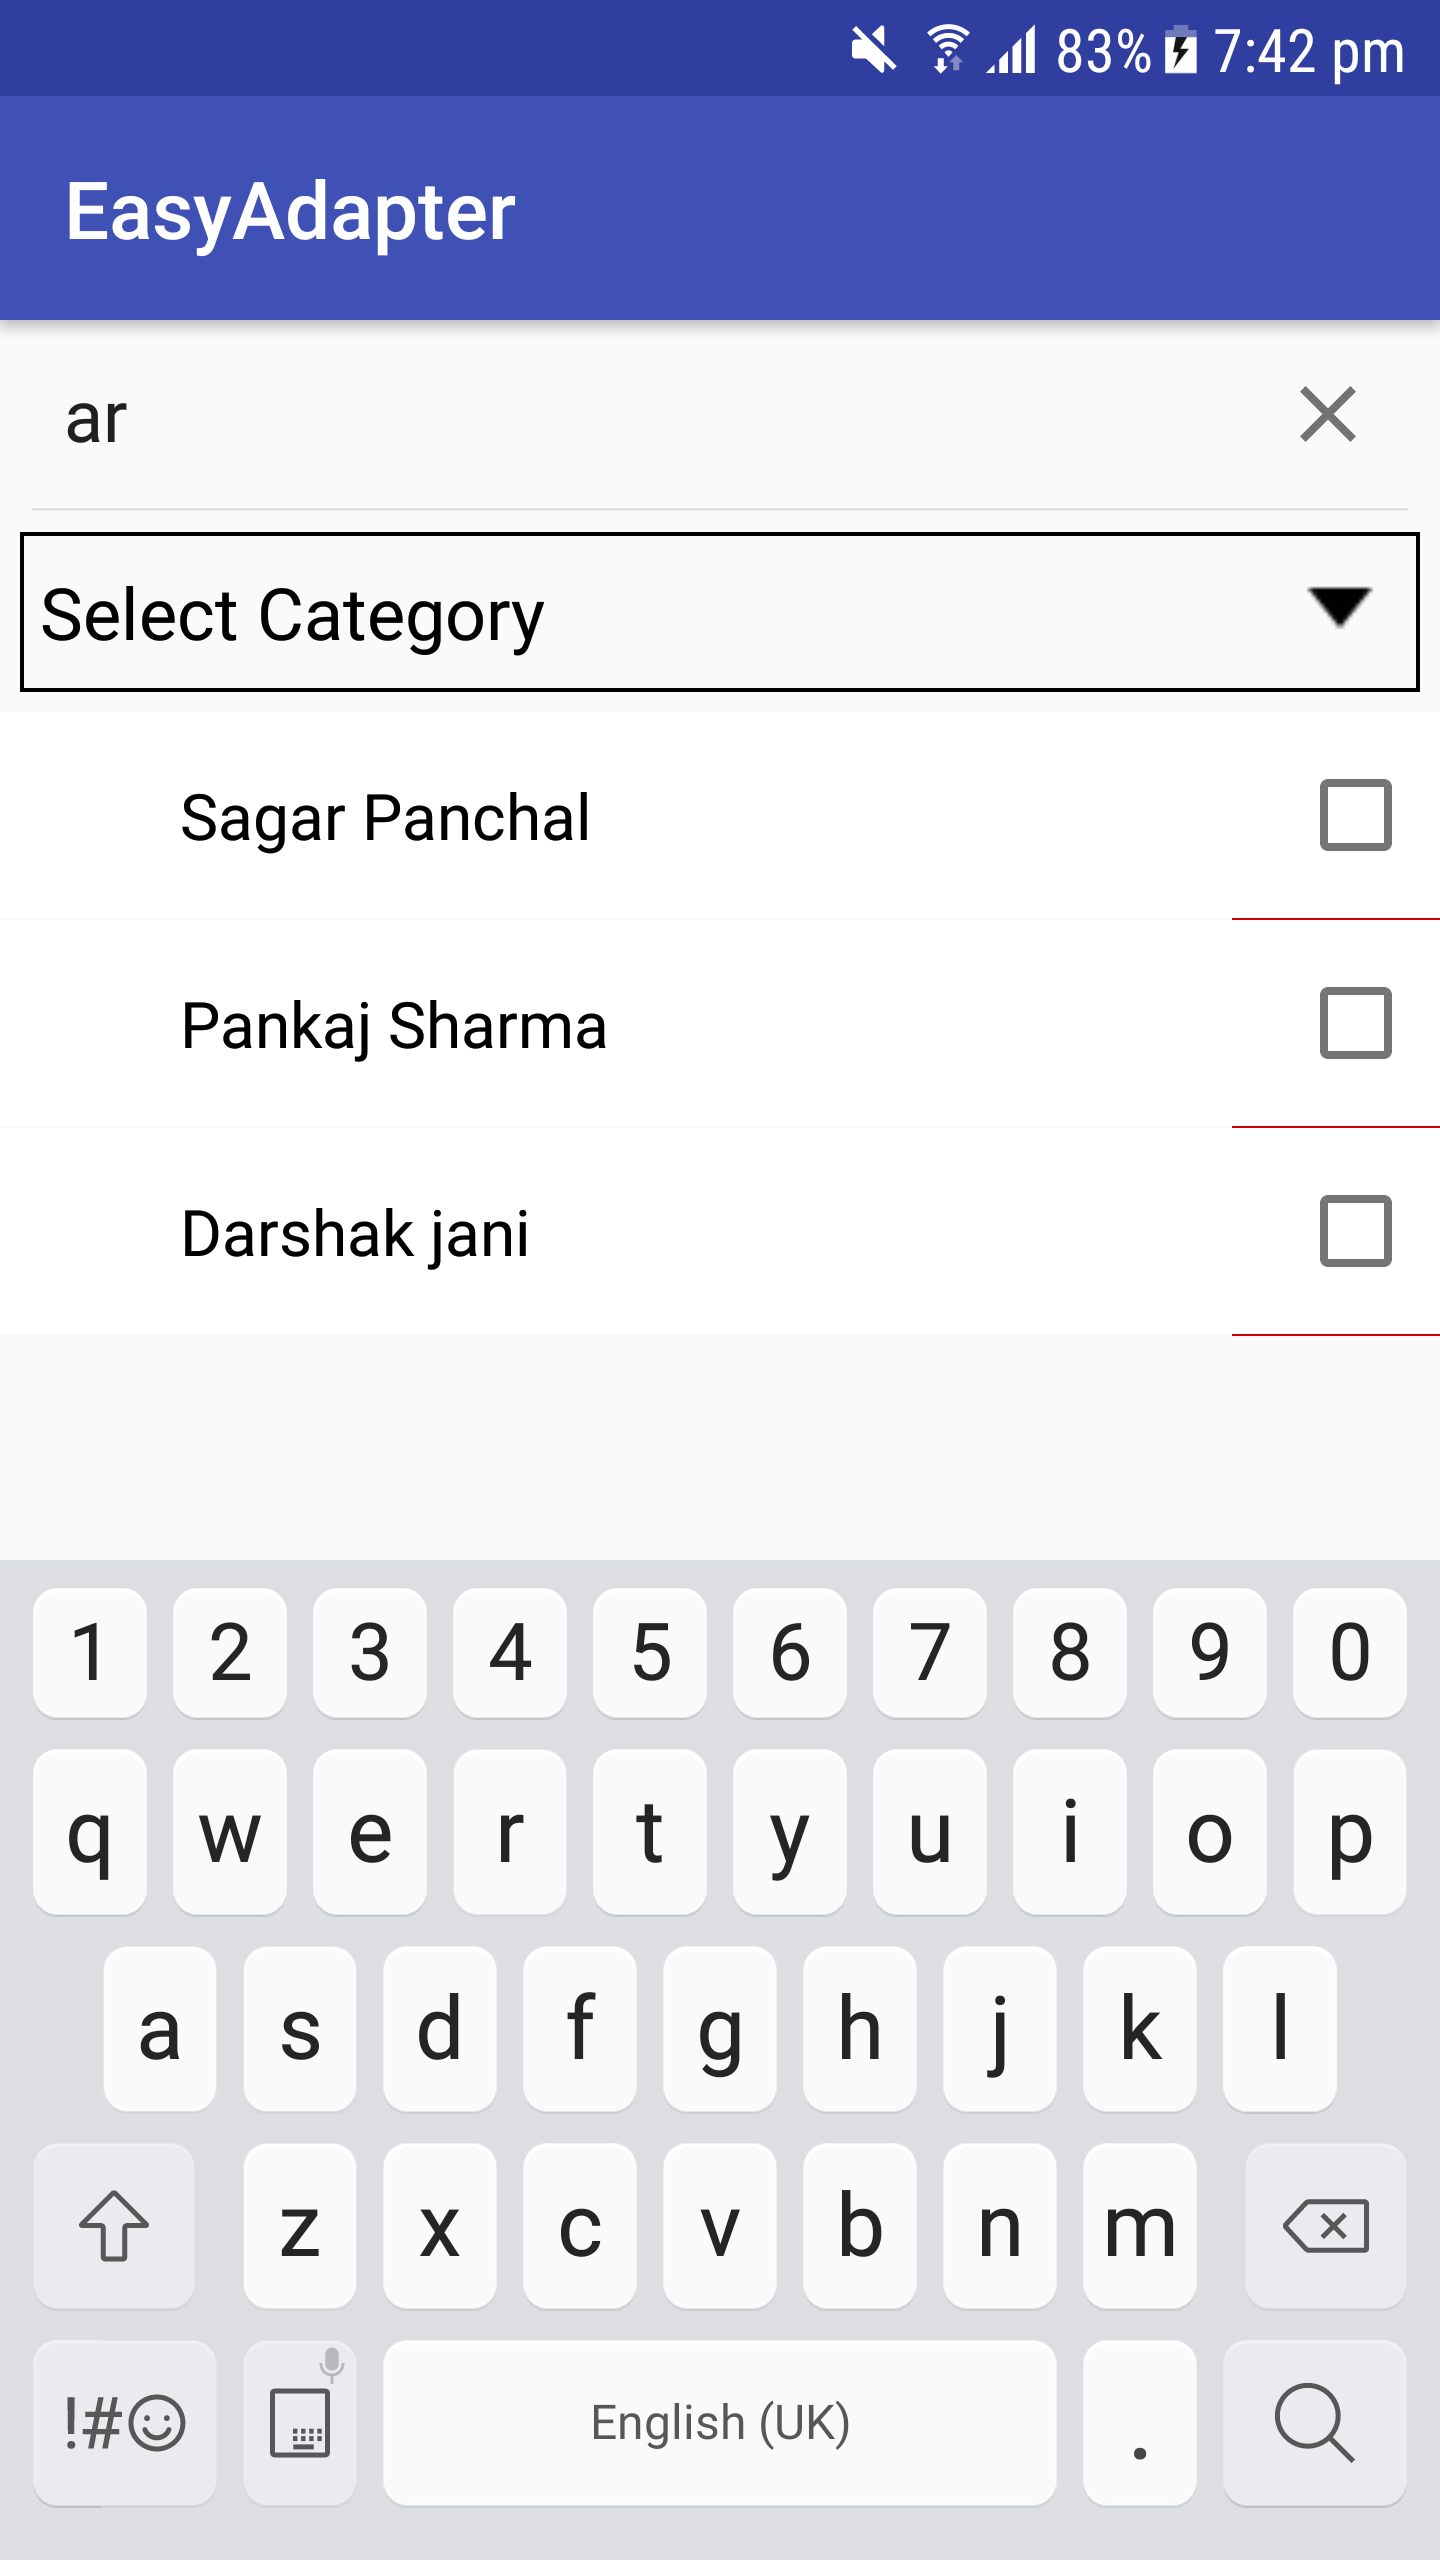
}adapter.performFilter(newText,filter)
val filter = object : EasyAdapter . OnFilter < Category > {
override fun onFilterApply ( filter : Any , model : Category ): Boolean {
return model.name.toLowerCase().contains(filter.toString().toLowerCase())
}
override fun onFilterResult ( filteredList : ArrayList < Category > ? ) {
adapter.clear( false )
adapter.addAll(filteredList, false )
adapter.notifyDataSetChanged()
}
}
adapter.setLoadMoreRes( R .layout.layout_progress)
adapter.setOnLoadMoreListener(binding.recyclerView, EasyAdapter . OnLoadMoreListener {
            if (paging != - 1 ) {
                requestLoadMore() // Your Method
                return @OnLoadMoreListener true // Returns True if you have more data
            }
            return @OnLoadMoreListener false // Return false if you don't have more data
        })
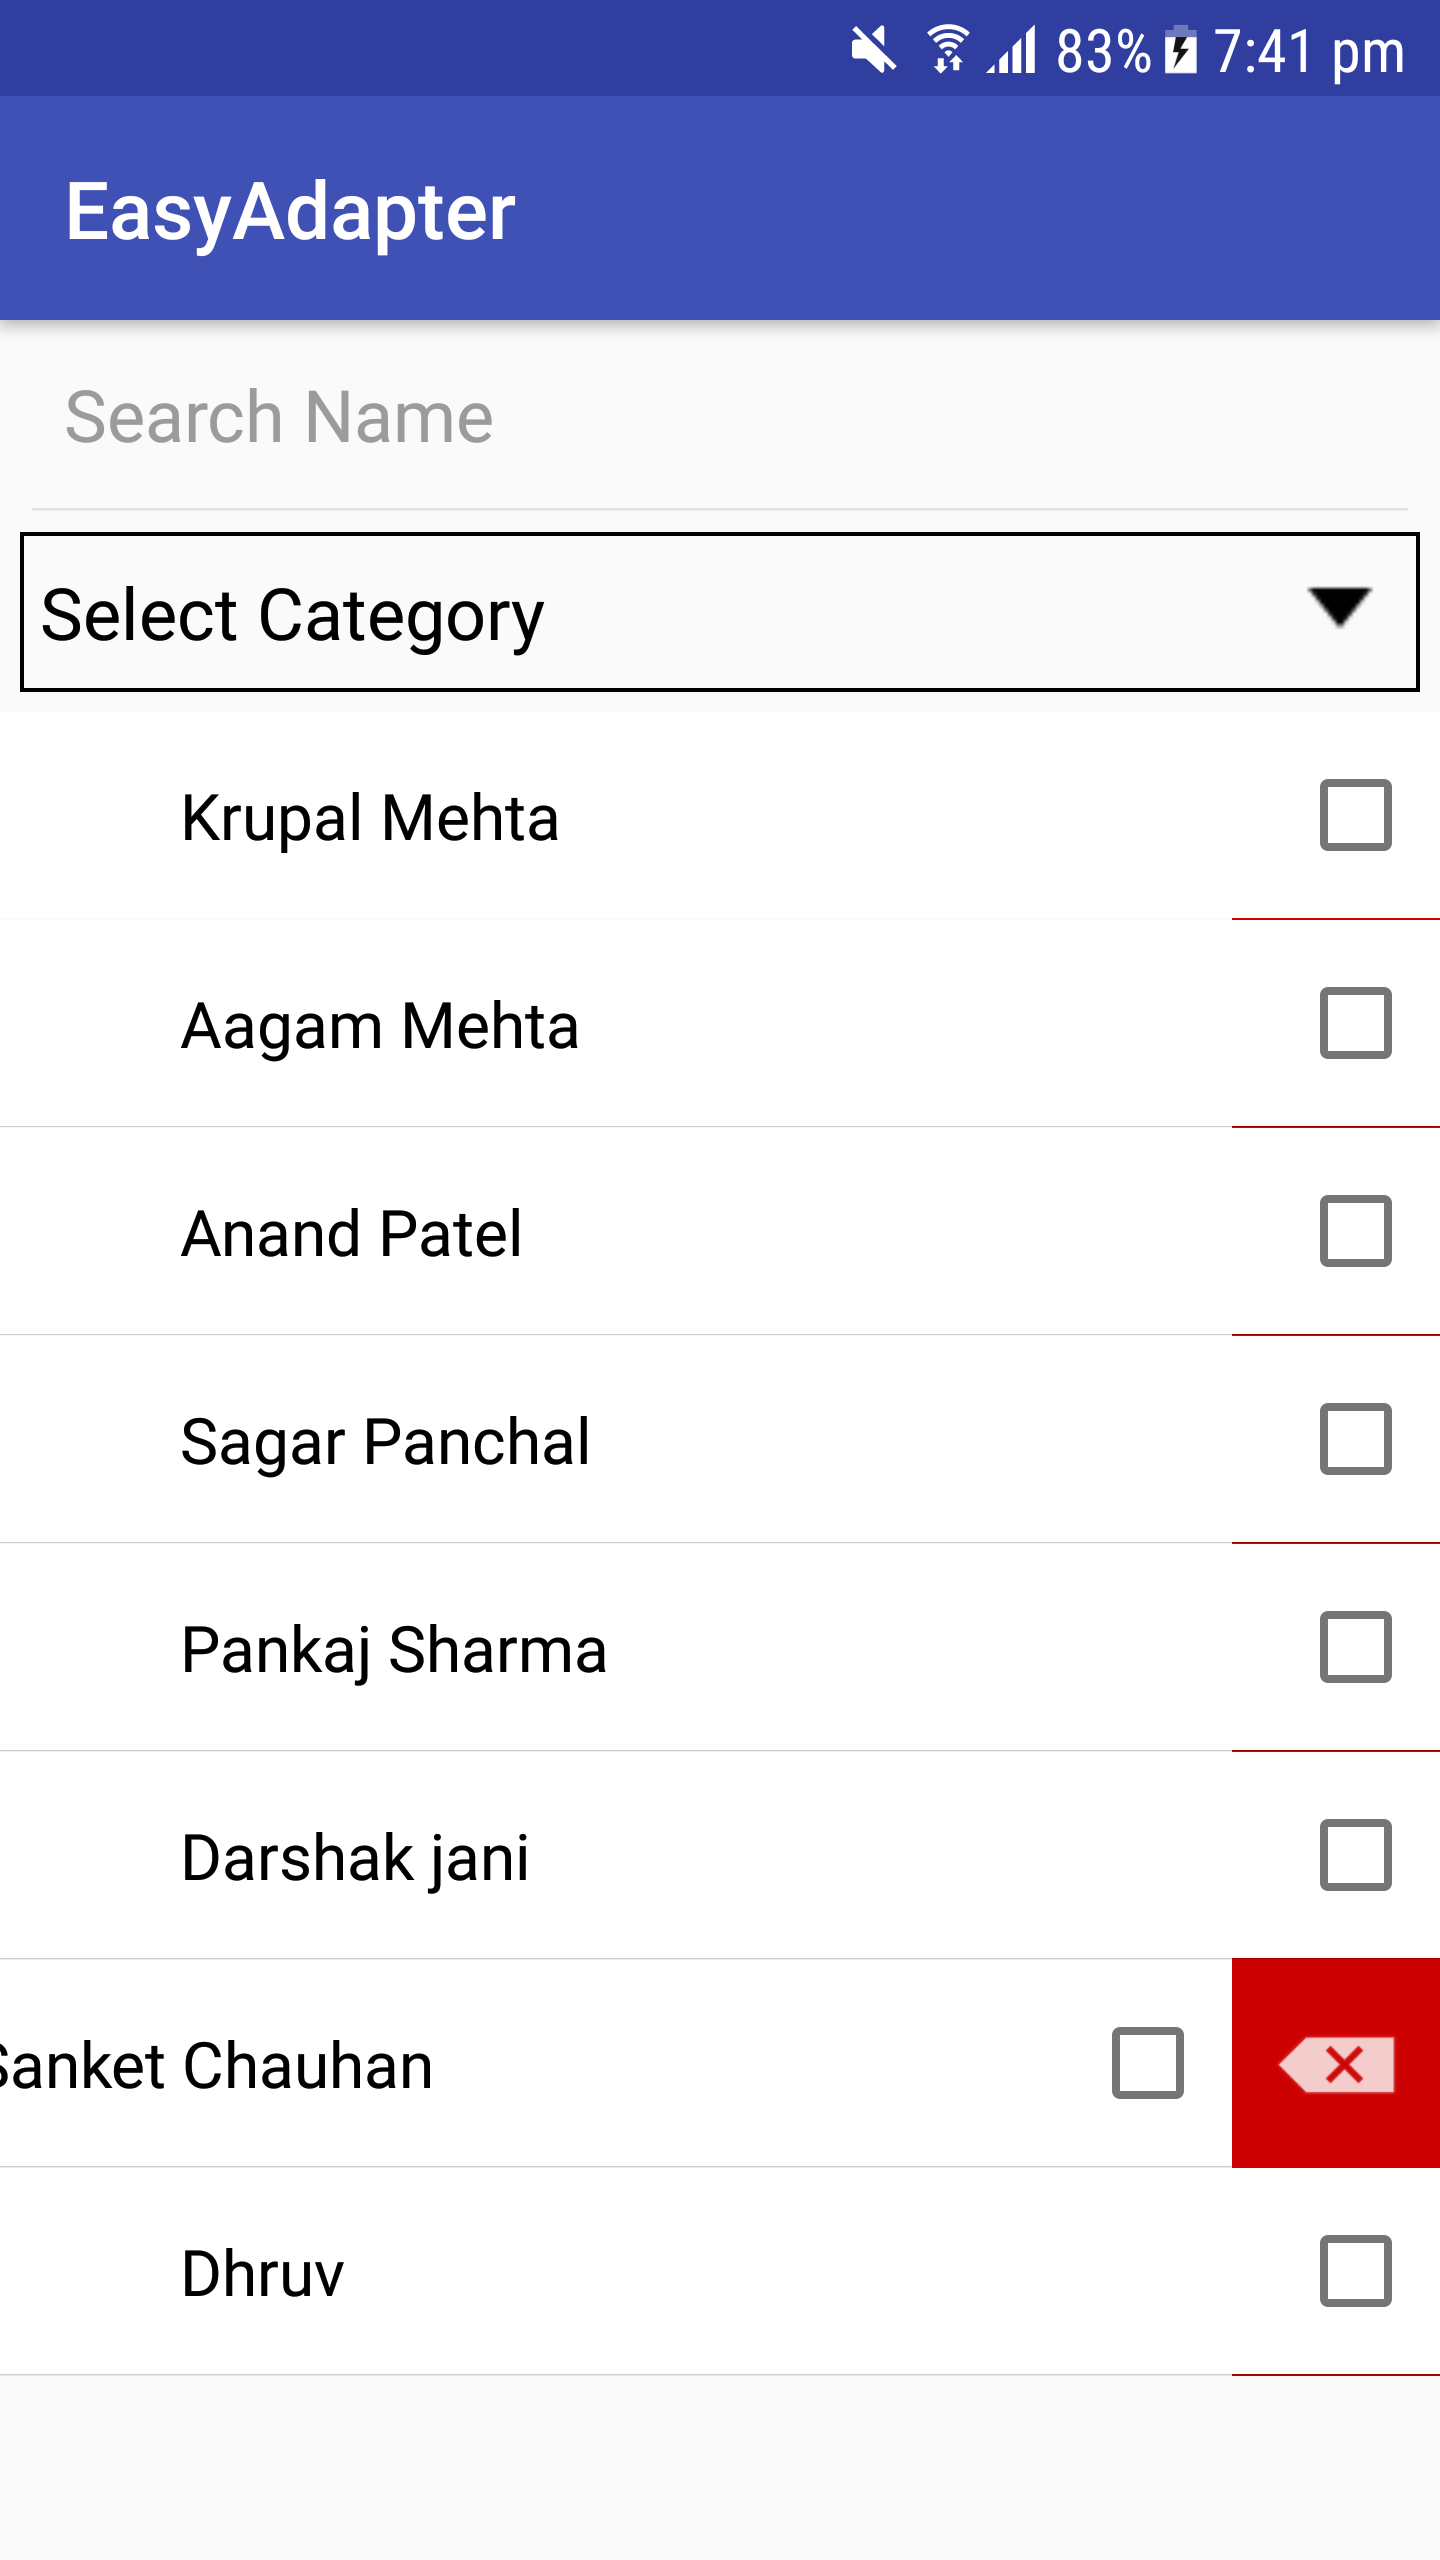
adapter.enableSwipeAction(binding.recyclerView) override fun onCreatingHolder ( binding : InflaterCategoryBinding , easyHolder : EasyHolder ) {
binding.llDelete.post {
easyHolder.setEnableSwipeToDelete(binding.llCategory, 0 , binding.llDelete.measuredWidth)
}
}
 < FrameLayout
        android : layout_width = " match_parent "
        android : layout_height = " wrap_content " >

        //Swipe Reveal Layout
        < LinearLayout
            android : id = " @+id/llDelete "
            android : padding = " 10dp "
            android : layout_gravity = " end "
            android : background = " @android:color/holo_red_dark "
            android : layout_width = " wrap_content "
            android : layout_height = " match_parent " >

            < ImageView
                android : layout_width = " wrap_content "
                android : layout_height = " wrap_content "
                android : src = " @android:drawable/ic_input_delete " />
        </ LinearLayout >

        //Your container
        < LinearLayout
            android : background = " @android:color/white "
            android : id = " @+id/llCategory "
            android : layout_width = " match_parent "
            android : layout_height = " wrap_content "
            android : gravity = " center_vertical "
            android : orientation = " horizontal "
            android : padding = " 5dp " />

</ FrameLayout >adapter.setOnDataUpdateListener {
if (it.size <= 0 ) {
Toast .makeText( this @MainActivity, " No Data Found " , Toast . LENGTH_SHORT ).show()
}
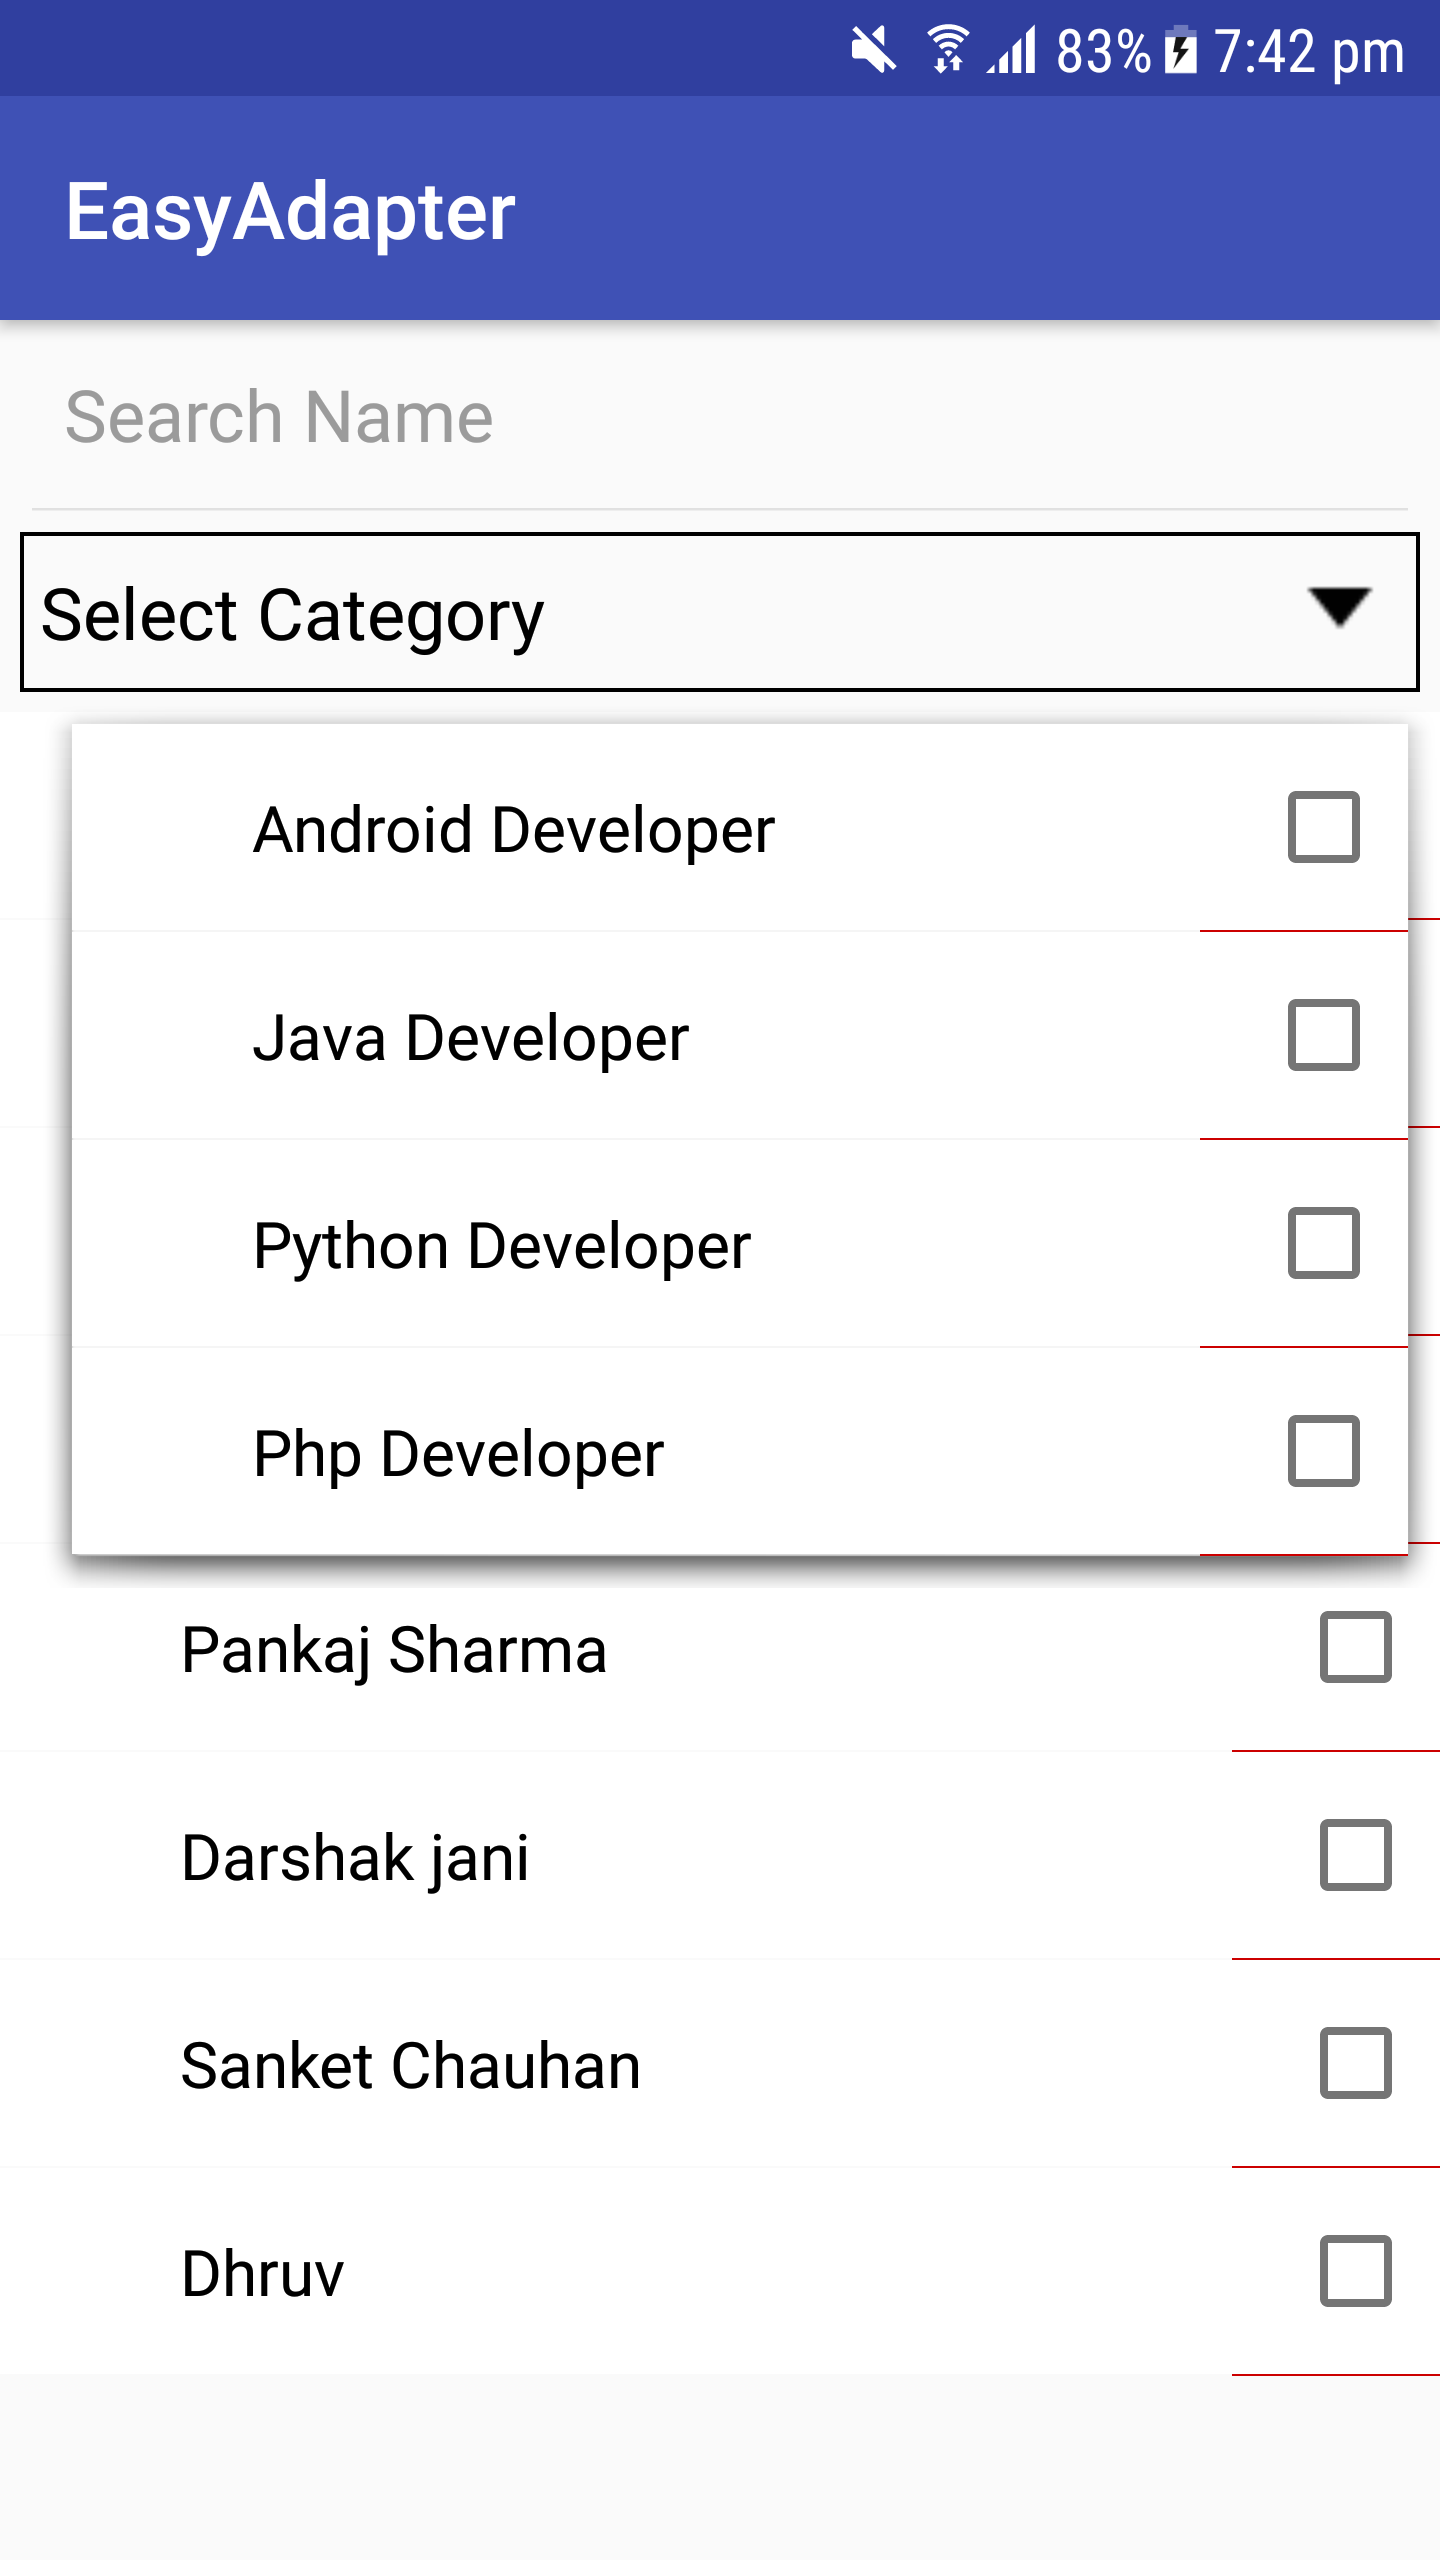
}EasyAdapter を使用できる EasySpinner を作成しました
ArrayAdapter や CustomArrayAdapter を記述する必要はなく、EasyAdapter の多くの機能を利用できます。
  < easyadapter .dc.com.library.EasySpinner
            android : background = " @drawable/rect_background "
            android : id = " @+id/easyspinner "
            android : layout_width = " 220dp "
            android : layout_height = " wrap_content "
            android : textColor = " @android:color/black "
            android : drawableRight = " @android:drawable/arrow_down_float "
            android : textColorHint = " @android:color/black "
            android : padding = " 10dp "
            android : hint = " Select Name " />
アダプターを EasySpinner に設定する
binding.easyspinner.setAdapter(adapter)を使用すると、スピナーをオートコンプリートテキストビューとして使用できます
 binding.easyspinner.enableAutoCompleteMode { easySpinner, text ->
            adapter.performFilter(text, filter)
}
以上です...スピナーアダプターが完成します。
レイアウトのプレビューには tools 属性を使用するため、常にアプリケーションを実行する必要はありません
リサイクルショップビュー
tools:listitem="@layout/inflater_category"
tools:itemCount="5"
tools:orientation="horizontal"
app:layoutManager="android.support.v7.widget.GridLayoutManager"
レイアウト
tools:text="Sample Text"
tools:visibility="VISIBLE"
tools:background="@color/colorPrimary"
アンドロイドの事前定義サンプルデータ
 tools:text="@tools:sample/cities,first_names,us_phones,lorem,lorem/random"
 tools:background="@tools:sample/backgrounds/scenic"
 tools:src="@tools/avatars"
カスタムサンプルデータ
 To create your fake/sample data folder,
just right click on the “app” folder then “new > Sample Data directory” <br />
create new file with "filename" and write each text by new lines

file contains -

Georgia <br />
Illinois <br />
Paris <br />
London <br />

so it will randomly pick names and display in layout by
tools:text="@sample/filename" 変更履歴
https://github.com/alex-townsend/SwipeOpenItemTouchHelper
この人がいないと、recyclerview でスワイプ アクションを実行できません
https://android.jlelse.eu/android-tools-attributes-listitem-sample-data-rocks-bbf49aaa9f07
Android ツールの属性に関する知識を共有するため
ビール買ってきてよ。 ?
 Copyright 2013 DC, Inc.

Licensed under the Apache License, Version 2.0 (the "License");
you may not use this file except in compliance with the License.
You may obtain a copy of the License at

   http://www.apache.org/licenses/LICENSE-2.0

Unless required by applicable law or agreed to in writing, software
distributed under the License is distributed on an "AS IS" BASIS,
WITHOUT WARRANTIES OR CONDITIONS OF ANY KIND, either express or implied.
See the License for the specific language governing permissions and
limitations under the License.


