ved
vid macos
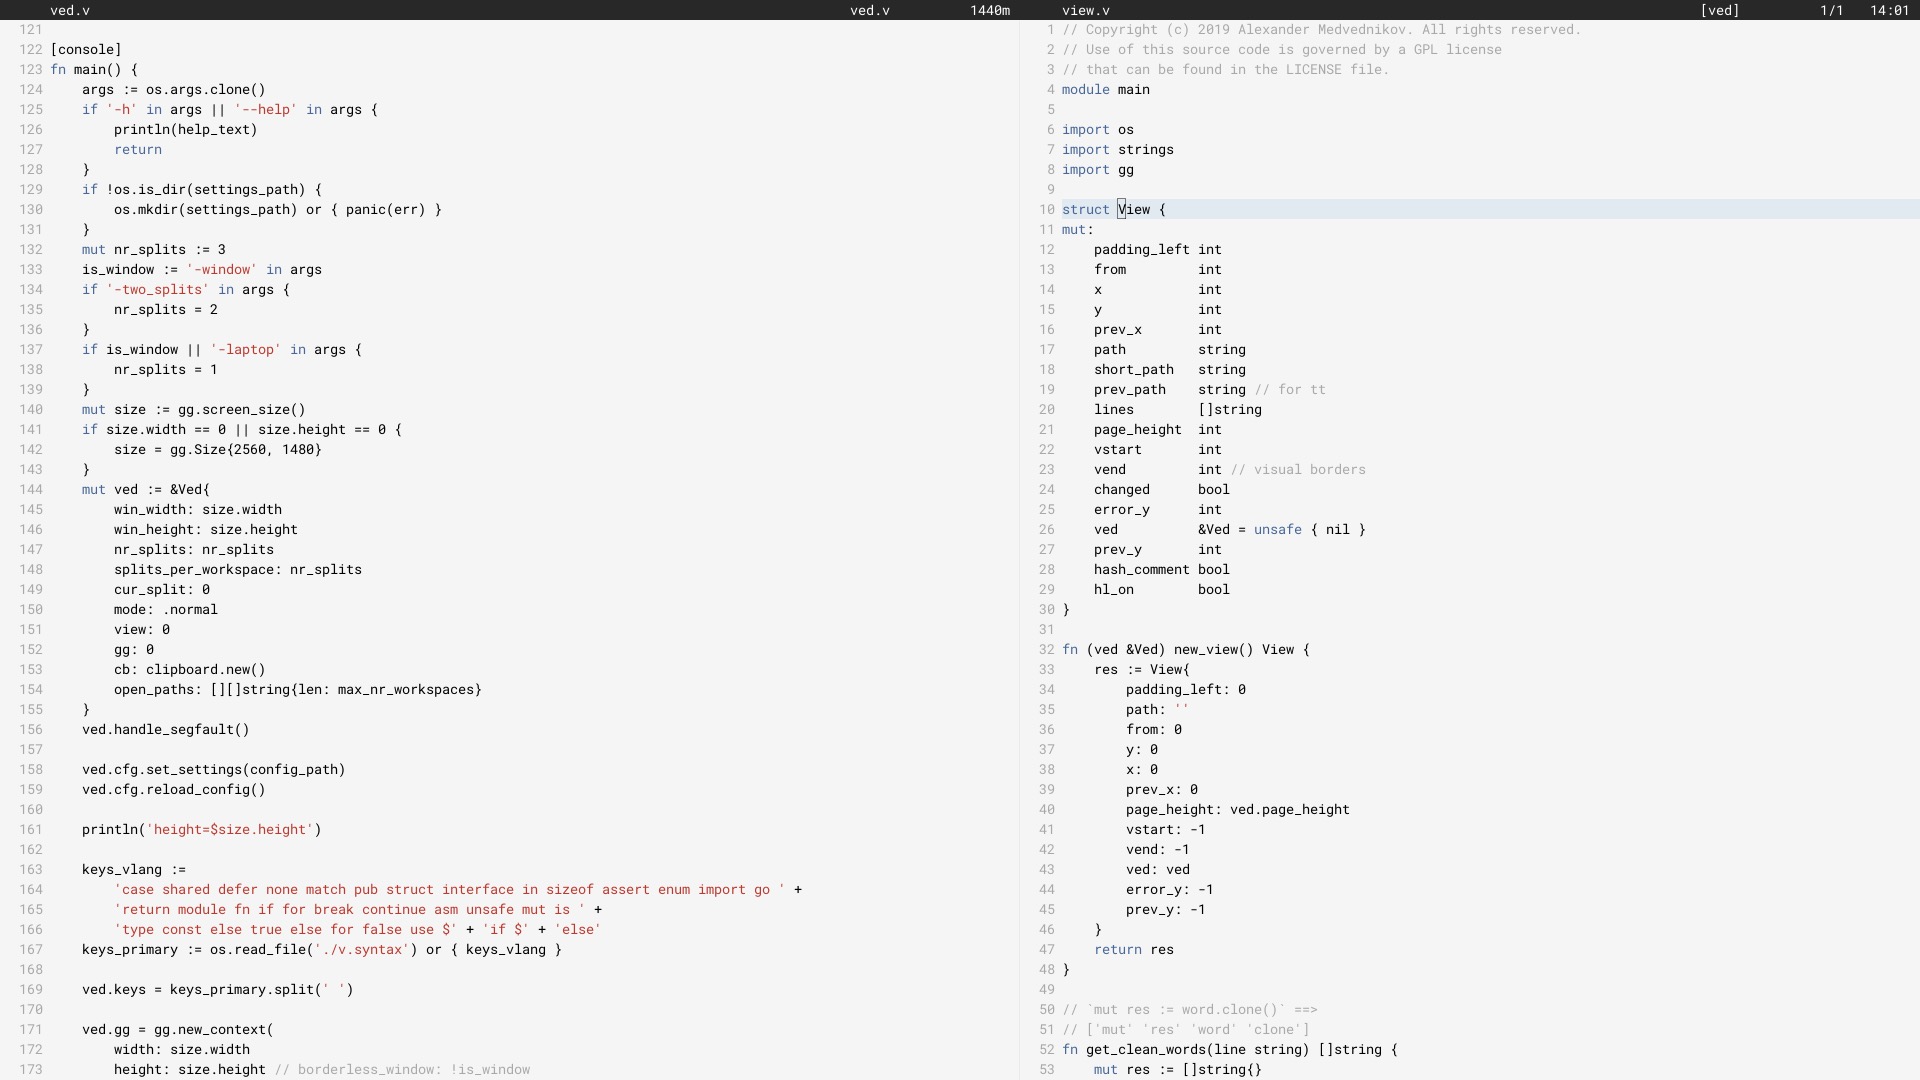
私は 2017 年 6 月からメイン エディタとして Ved を使用しています (2018 年 6 月に V で書き直されました)。
すべての人に効果があるわけではないかもしれません。現在、回避する必要がある制限があります。私たちは、ved の安定性とユーザー エクスペリエンスを徐々に改善することに取り組んでいます。
エディターを構成するには、構成セクションを参照してください。
Linux では、Ved はグラフィカル アプリケーションであるため、X11 ライブラリを使用するために必要ないくつかのパッケージをインストールする必要があります。 MacOS と Windows では、これをスキップできます。次に、V をインストールして ved をコンパイルします。これには数秒かかります。
 git clone https://github.com/vlang/ved
cd ved
v .
./ved
ヴェドは 1 秒以内にビルドインするはずです。
デフォルトでは、V の組み込みフォント レンダリングが使用されますが、freetype を使用するオプションがあり、一部のユーザーにとってはより良いレンダリングが提供される可能性があります。
v -d use_freetype .
freetype を使用するには、まずシステムに freetype をインストールする必要があります。以下のプラットフォームに応じた手順に従ってください。
Ubuntu:
sudo apt install libfreetype6-dev libx11-dev libxrandr-dev mesa-common-dev libxi-dev libxcursor-dev
フェドーラ:
sudo dnf install freetype-devel libXcursor-devel libXi-devel
アーチ:
pacman -S freetype2
macOS:
brew install freetype
Windows:
v setup-freetype
Discord (プライマリコミュニティ): https://discord.gg/vlang. #vedチャンネルに参加してください。
Ved は$HOME/.vedに設定ディレクトリを作成し、そこにワークスペース、セッション、タスク、構成ファイルを保存します。構成ファイルは、 conf.tomlという単純な TOML ファイルです。いくつかの基本設定とエディターの色を変更する方法を提供します。
構成ファイルに触れたくない場合は、その必要はありません。 Ved はそれ自体を作成せず、開始するための適切なデフォルトを提供します。もっと冒険したい場合は、考えられるすべての設定を含む構成ファイルの例を以下に示します。
 # To get started, create a file called "conf.toml" in $HOME/.ved
# Most of the settings are contained inside this "editor" table.
[ editor ]
dark_mode = false       # Ved comes with a light and dark mode built-in.
cursor = ' variable '     # Ved has three variants: Variable, block, and beam. You are probably used to "variable" or "beam".
text_size = 18          # ┌───────────────────────────────────────────────────┐
line_height = 20        # │ These *can* be edited, but you probably shouldn't │
char_width = 8          # └───────────────────────────────────────────────────┘
tab_size = 4            # Ved uses tab characters (t). This settings changes how many spaces a tab should be displayed as
backspace_go_up = true  # If set to true, hitting the backspace doesn't do anything when you reach the beginning of the line

# If you do not like ved's default colorscheme, or you just want
# something new, edit the "colors" table. Ved uses a form of base16
# to control syntax and editor highlighting. Please note that due
# to ved's very minimal highlighting, base16 themes copied off of
# the internet are not going to look like very much like their
# screenshots.
[ colors ]
base00 = " efecf4 "
base01 = " e2dfe7 "
base02 = " 8b8792 "
base03 = " 7e7887 "
base04 = " 655f6d "
base05 = " 585260 "
base06 = " 26232a "
base07 = " 19171c "
base08 = " be4678 "
base09 = " aa573c "
base0A = " a06e3b "
base0B = " 2a9292 "
base0C = " 398bc6 "
base0D = " 576ddb "
base0E = " 955ae7 "
base0F = " bf40bf "Ved はワークスペース (コードのあるディレクトリ) で最もよく機能します。複数のワークスペースを持ち、 C [とC ]を使用してそれらをすばやく切り替えることができます。
複数のワークスペースを開くには、次を実行します。
ved path/to/project1 path/to/project2
キーバインディング:
C macOS では⌘ 、他のすべてのシステムではCtrlです。
 C q q  exit the editor
C o    open a file
C s    save
C r    reload current file
C p    open ctrlp (fuzzy search)
/      search in current file
C g    copy current file's path to clipboard
t      go to the previous file
gd     go to definition

C c    git commit -am
C -    git diff
?      git grep (search across all files in current workspace)

C u    build current project (build instructions must be located in "build")
C y    alternative build of the current project (build instructions must be located in "build2")
C 1    switch to Ved from any other application (only on macOS for now)

C d    go to the previous split
C e    go to the next split
C [    go to the previous workspace
C ]    go to the next workspace

C a    start a new task
C t    show the Timer/Pomodoro window
サポートされている vim バインディング:
 j k h l         down, up, left, right (moves cursor)
C-F C-B         page down, page up
L H             go to top/bottom of the page
w b             next/previous word
dw de cw ce     delete word
di ci           smart delete
A I             go to start/end of line, insert mode
o O             new line below/above, insert mode
v               selection mode
zz              center current line
y d p J         yank, delete, paste, join lines
.               repeat last action
< >             indent right/left
/ * n           search, search for word under cursor, next occurence
gg G            go to the beginning/end of the file
x r             delete/replace character under cursor
C-n             autocomplete
+y              yank and copy to system clipboard


