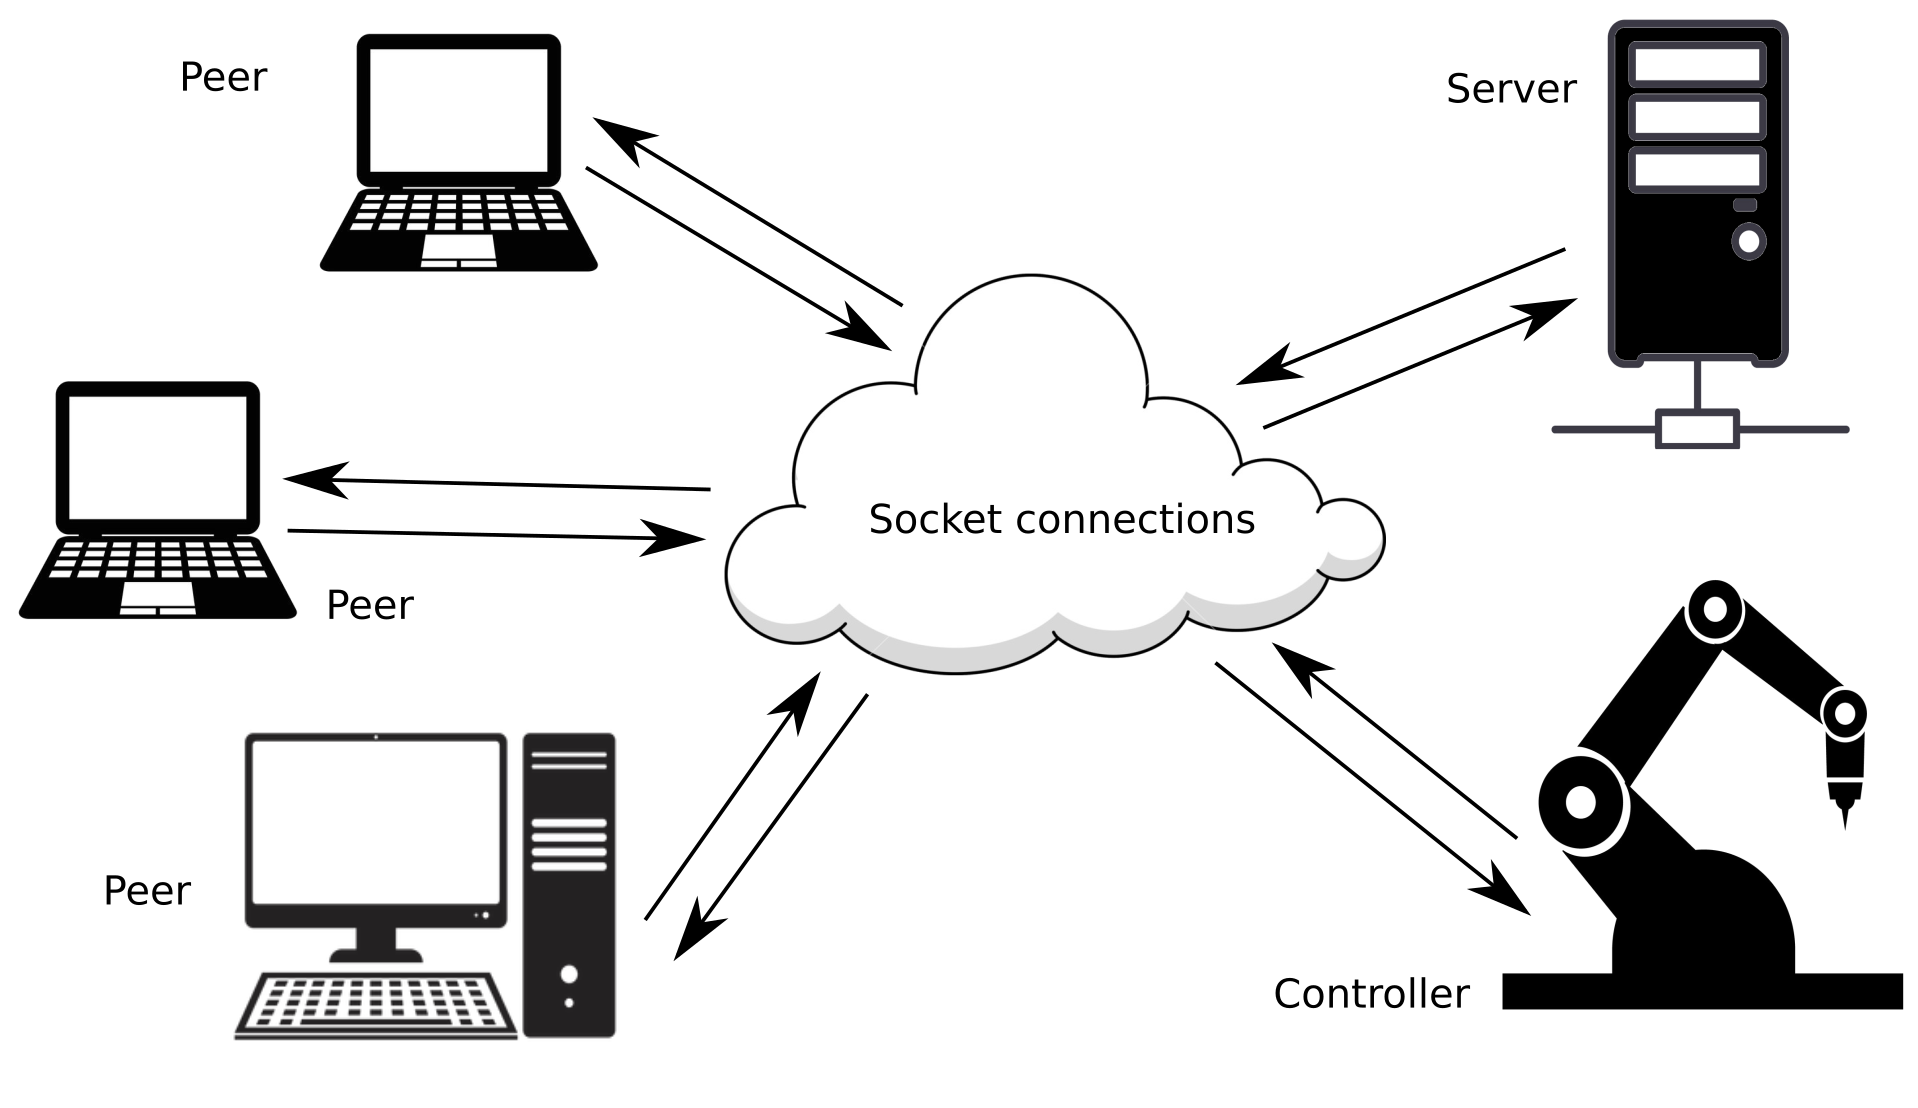
MinimalSocket は、完全にプラットフォームに依存しない方法で、 tcpおよびudpソケット接続をセットアップおよび作成するための最新のC++ライブラリを提供します。サポートされているシステムは、 Windows 、任意のLinuxディストリビューション、およびMacOSです。
「機能」セクションでは、 MinimalSocketのさまざまな機能について詳しく説明します。使用法とサンプルを読んで、 MinimalSocket がいかに簡単に使用できるかを確認してください。
これはCMakeプロジェクトです。このライブラリをどのように統合できるかを確認するには、CMake サポートをチェックしてください。
このライブラリが役に立った場合に備えて、必ずスターを付けてください。
もうスターを辞めていないですか?今すぐ実行してください;)!
MinimalSocket を使用すると、 tcpおよびudp接続を構築および設定できます。メッセージは、バイトまたは文字列の両方のバッファーの観点から送受信できます。実際、ソケットに必要な機能はこれだけです。特に、Google プロトコル バッファーや NanoPb などのアプローチを使用すると、より複雑なメッセージをバイトのバッファーにシリアル化したり、バイトのバッファーから内部化したりできるためです。
MinimalSocketの最も注目すべき特徴は次のとおりです。
次の表は、 MinimalSocketを使用して作成できるソケットのブロック動作と非ブロック動作の違いをまとめたものです。
| ブロック動作。完了またはタイムアウトに達するまで呼び出し元はブロックされます (指定されている場合)。 | ノンブロッキング動作、関数はすぐに戻ります | |
|---|---|---|
| 新しいクライアントの受け入れ (tcp のみ) | 呼び出し側スレッドは、新しいクライアントが実際に接続を要求するか、タイムアウトに達するまで吸収されます (タイムアウトが指定されている場合)。 | accept 関数を呼び出す前にクライアントからの接続要求がすでにキューに入れられていた場合は、新しい接続ハンドラーが返され、それ以外の場合は nullopt が返されます。 |
| 新しいメッセージを受信します (tcp および udp) | 呼び出し側スレッドは、新しいメッセージがソケットに送信されるか、タイムアウトに達するまで吸収されます (タイムアウトが指定されている場合)。 | メッセージが送信され、受信関数を呼び出す前にソケット バッファーにすでにキューに入っている場合は、そのメッセージが返されます。それ以外の場合は、空のメッセージが返されます。 |
| 新しいメッセージを送信します (tcp および udp) | ソケットのバッファーがいっぱいではなく、送信するメッセージを完全にホストできる場合、メッセージは実際にバッファーに書き込まれ、関数はほぼ瞬時に戻ります。逆に、呼び出し元のスレッドは、バッファー内のスペースがなくなるまで (メッセージが反対側から消費されるため) 吸収され、その後、メッセージが実際に書き込まれ、関数が完了します。 | ソケットのバッファーに十分なスペースがある場合、メッセージが書き込まれ、関数が戻ります。逆の場合、関数は実際にメッセージを送信せずにすぐに戻ります (送信は後で再試行できます)。 |
もうスターを辞めていないですか?今すぐ実行してください;)!
従来のブロッキングTCPサーバーを作成するには、 tcp::TcpServerオブジェクトを構築するだけです。
# include < MinimalSocket/tcp/TcpServer.h >

MinimalSocket::Port port = 15768 ; // the port to bind
MinimalSocket::tcp::TcpServer< true > tcp_server (
    port, MinimalSocket::AddressFamily::IP_V4);
それを開きます:
 // open the server: binds the port and start to listen on the port
bool success = tcp_server.open();
これで、新しいクライアントを受け入れる準備が整いました。
 // accepts the next client that will ask the connection
MinimalSocket::tcp::TcpConnectionBlocking accepted_connection =
    tcp_server.acceptNewClient(); // blocking till a client actually asks the
                                // connection
これを行うだけで、受け入れられたクライアントとメッセージを交換できるようになります。
 // receive a message
std:: size_t message_max_size = 1000 ;
std::string
    received_message // resized to the nunber of bytes actually received
    = accepted_connection.receive(message_max_size);
// send a message
accepted_connection.send( " a message to send " );
代わりに非ブロッキング サーバーが必要な場合は、同様の方法で作成できます。
MinimalSocket::Port port = 15768 ; // the port to bind
MinimalSocket::tcp::TcpServer< false > tcp_server (
    port, MinimalSocket::AddressFamily::IP_V4);
tcp_server.open();
このサーバー バージョンはノンブロッキングです。つまり、accept 関数はすぐに戻ります。
 // check if a client asked for the connection. If no, the function immediately
// returns a nullopt. On the contrary, the returned optional contains the
// handler to the connected client
std::optional<MinimalSocket::tcp::TcpConnectionBlocking>
    maybe_accepted_connection = tcp_server.acceptNewClient();
サーバー自体はブロックしていませんが、最終的に受け入れられるクライアント ハンドラーはブロックしていることに注意してください。ソケットを非ブロッキング ハンドラーに転送することで、非ブロッキング ソケットに切り替えることもできます。
MinimalSocket::tcp::TcpConnectionNonBlocking accepted_connection_nn_block =
maybe_accepted_connection-> turnToNonBlocking ();TCPクライアントを作成するには、 tcp::TcpClientオブジェクトを構築するだけです。
# include < MinimalSocket/tcp/TcpClient.h >

MinimalSocket::Port server_port = 15768 ;
std::string server_address = " 192.168.125.85 " ;
MinimalSocket::tcp::TcpClient< true > tcp_client (
    MinimalSocket::Address{server_address, server_port});
それを開きます:
 // Open the server. Here, the client will ask the connection to specified
// server. After that, the client will be actually connected.
bool success =
    tcp_client.open(); // blocking till the connection is actually established
これを行うだけで、リモート サーバーと情報を送受信できるようになります。
 // send a message
tcp_client.send( " a message to send " );
// receive a message
std:: size_t message_max_size = 1000 ;
std::string
    received_message // resized to the nunber of bytes actually received
    = tcp_client.receive(message_max_size);
代わりに非ブロッキング クライアントが必要な場合は、それを作成し、同様の方法で使用できます。
MinimalSocket::Port server_port = 15768 ;
std::string server_address = " 192.168.125.85 " ;
MinimalSocket::tcp::TcpClient< false > tcp_client (
    MinimalSocket::Address{server_address, server_port});
tcp_client.open();

std:: size_t message_max_size = 1000 ;
// non blocking receive: returns immediately with an empty message in case no
// new data were available, or with a non empty message in the contrary case
std::string received_message = tcp_client.receive(message_max_size);通常のudpソケットを作成するには、 udp::Udpオブジェクトを構築するだけです。
# include < MinimalSocket/udp/UdpSocket.h >

MinimalSocket::Port this_socket_port = 15768 ;
MinimalSocket::udp::Udp< true > udp_socket (this_socket_port,
                                        MinimalSocket::AddressFamily::IP_V6);
それを開きます:
 // Open the server. This will bind the specified port.
bool success = udp_socket.open();これで、他のudpソケットを使用して情報を送受信できるようになります。
 // send a message to another udp
MinimalSocket::Address other_recipient_udp =
    MinimalSocket::Address{ " 192.168.125.85 " , 15768 };
udp_socket.sendTo( " a message to send " , other_recipient_udp);
// receive a message from another udp reaching this one
std:: size_t message_max_size = 1000 ;
auto received_message = udp_socket.receive(message_max_size);
// check the sender address
MinimalSocket::Address other_sender_udp = received_message->sender;
// access the received message
std::string received_message_content // resized to the nunber of bytes
                                    // actually received
= received_message->received_message;開いたudpソケットを特定のアドレスに「接続」することもできます。 udpソケットは接続指向ではないため、これは単に他のピアから受信するメッセージがフィルターで除外されることを意味することに注意してください。
MinimalSocket::Address permanent_sender_udp =
    MinimalSocket::Address{ " 192.168.125.85 " , 15768 };
MinimalSocket::udp::UdpConnected< true > udp_connected_socket =
    udp_socket.connect(
        permanent_sender_udp); // ownership of the underlying socket is
                                // transfered from udp_socket to
                                // udp_connected_socket, meaning that you can't
                                // use anymore udp_socket (unless you re-open
                                // it)
これで、受信者/送信者を指定せずにデータを送受信できるようになりました。
 // receive a message
std:: size_t message_max_size = 1000 ;
std::string
    received_message // resized to the nunber of bytes actually received
    = udp_connected_socket.receive(message_max_size);
// send a message
udp_connected_socket.send( " a message to send " );非ブロッキングudpソケットを作成して使用することもできます。
MinimalSocket::Port this_socket_port = 15768 ;
MinimalSocket::udp::Udp< false > udp_socket (
    this_socket_port, MinimalSocket::AddressFamily::IP_V6);
udp_socket.open();

std:: size_t message_max_size = 1000 ;
// non blocking receive: returns immediately with an empty message in case no
// new data were available, or with a non empty message in the contrary case
//
// struct ReceiveStringResult {
//   Address sender;
//   std::string received_message;
// };
std::optional<MinimalSocket::ReceiveStringResult> received_message =
udp_socket.receive(message_max_size);もうスターを辞めていないですか?今すぐ実行してください;)!
tcpソケットに関する使用例はここで見つけることができ、 udpサンプルについてはここで説明します。
注意!!!サンプルの実行は、初回はファイアウォールによってブロックされる可能性があります。ファイアウォールを適切に設定するか、管理者権限でサンプルを実行してください。
もうスターを辞めていないですか?今すぐ実行してください;)!
このライブラリを使用するには、CMake を利用できます。より正確には、このパッケージを取得してMinimalSocketライブラリにリンクできます。
 include (FetchContent)
set (BUILD_MinimalCppSocket_SAMPLES OFF CACHE BOOL "" FORCE) # you don't want the samples in this case
FetchContent_Declare(
min_sock
GIT_REPOSITORY https://github.com/andreacasalino/Minimal-Socket
GIT_TAG        master
)
FetchContent_MakeAvailable(min_sock)
次に、 MinimalSocketライブラリにリンクします。
 target_link_libraries ( ${TARGET_NAME}
    MinimalSocket
)
システム固有のモジュールはすべて内部に組み込まれており、公開されていません。さらに、 Windowsでは、 wsock32とws2_32 はプライベートにリンクされているため、 MinimalSocket を使用するときに再度リンクする必要はありません。