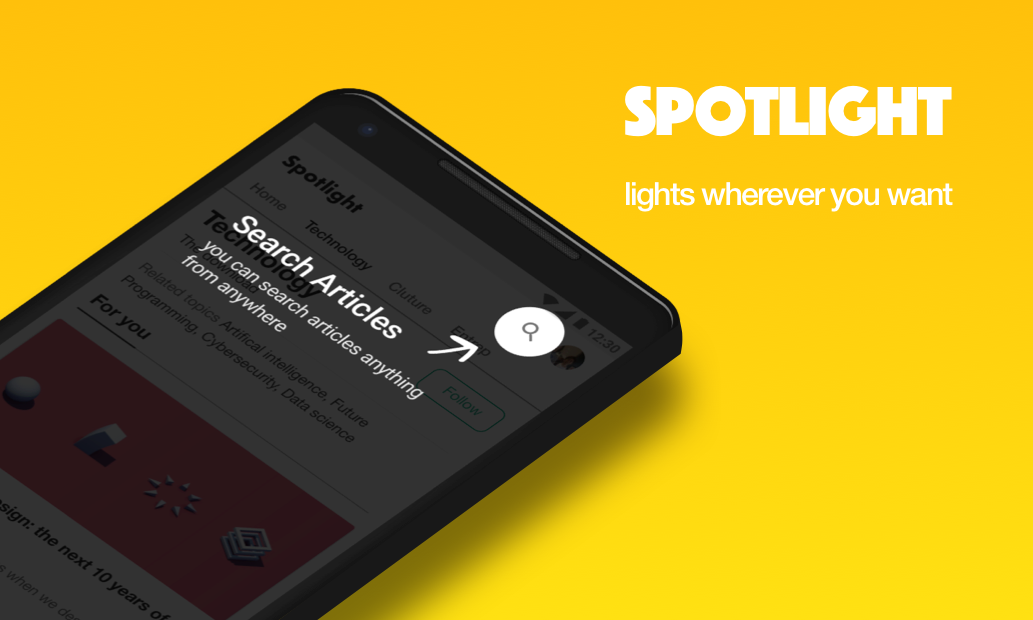
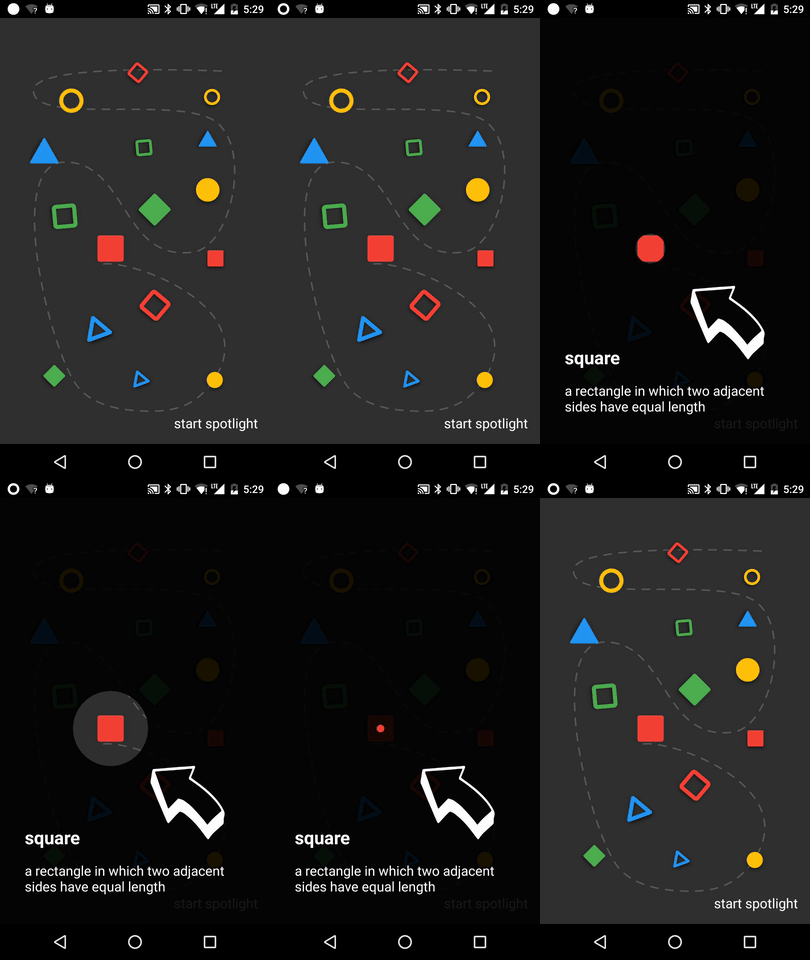
Spotlight
1.0.0

dependencies {
    implementation ' com.github.takusemba:spotlight:x.x.x '
} val spotlight = Spotlight . Builder ( this )
.setTargets(firstTarget, secondTarget, thirdTarget .. .)
.setBackgroundColor( R .color.spotlightBackground)
.setDuration( 1000L )
.setAnimation( DecelerateInterpolator ( 2f ))
.setContainer(viewGroup)
.setOnSpotlightListener( object : OnSpotlightListener {
override fun onStarted () {
Toast .makeText( this @MainActivity, " spotlight is started " , Toast . LENGTH_SHORT ).show()
}
override fun onEnded () {
Toast .makeText( this @MainActivity, " spotlight is ended " , Toast . LENGTH_SHORT ).show()
}
})
.build() Se quiser mostrar o Spotlight imediatamente, você terá que esperar até que as visualizações sejam apresentadas.
 // with core-ktx method.
view.doOnPreDraw { Spotlight . Builder ( this ) .. .start() }
Crie um alvo para adicionar o Spotlight.
Target é um spot a ser lançado pelo Spotlight. Você pode adicionar vários alvos ao Spotlight.
 val target = Target . Builder ()
    .setAnchor( 100f , 100f )
    .setShape( Circle ( 100f ))
    .setEffect( RippleEffect ( 100f , 200f , argb( 30 , 124 , 255 , 90 )))
    .setOverlay(layout)
    .setOnTargetListener( object : OnTargetListener {
      override fun onStarted () {
        makeText( this @MainActivity, " first target is started " , LENGTH_SHORT ).show()
      }
      override fun onEnded () {
        makeText( this @MainActivity, " first target is ended " , LENGTH_SHORT ).show()
      }
    })
.build() val spotlight = Spotlight . Builder ( this ) .. .start()
spotlight.finish() val spotlight = Spotlight . Builder ( this ) .. .start()
spotlight.next()
spotlight.previous()
spotlight.show( 2 ) Shape define a aparência do seu alvo. As formas Circle e RoundedRectangle já estão implementadas, mas se você quiser sua forma personalizada, ela poderá ser obtida implementando a interface Shape .
 class CustomShape (
    override val duration : Long ,
    override val interpolator : TimeInterpolator
) : Shape {

  override fun draw ( canvas : Canvas , point : PointF , value : Float , paint : Paint ) {
    // draw your shape here.
  }
} Effect permite que você decore seu alvo. As formas RippleEffect e FlickerEffect já estão implementadas, mas se você quiser seu efeito personalizado, ele pode ser obtido implementando a interface Effect .
 class CustomEffect (
    override val duration : Long ,
    override val interpolator : TimeInterpolator ,
    override val repeatMode : Int
) : Effect {

  override fun draw ( canvas : Canvas , point : PointF , value : Float , paint : Paint ) {
    // draw your effect here.
  }
}Clone este repositório e verifique o módulo do aplicativo.
 Copyright 2017 Taku Semba.

Licensed under the Apache License, Version 2.0 (the "License");
you may not use this file except in compliance with the License.
You may obtain a copy of the License at

   http://www.apache.org/licenses/LICENSE-2.0

Unless required by applicable law or agreed to in writing, software
distributed under the License is distributed on an "AS IS" BASIS,
WITHOUT WARRANTIES OR CONDITIONS OF ANY KIND, either express or implied.
See the License for the specific language governing permissions and
limitations under the License.