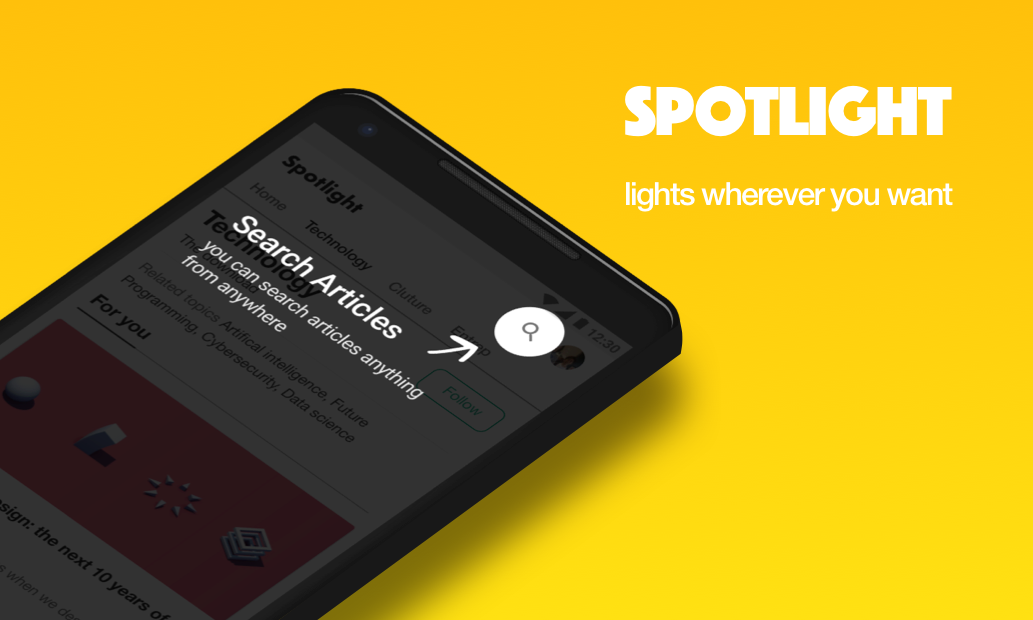
Spotlight
1.0.0

dependencies {
    implementation ' com.github.takusemba:spotlight:x.x.x '
} val spotlight = Spotlight . Builder ( this )
.setTargets(firstTarget, secondTarget, thirdTarget .. .)
.setBackgroundColor( R .color.spotlightBackground)
.setDuration( 1000L )
.setAnimation( DecelerateInterpolator ( 2f ))
.setContainer(viewGroup)
.setOnSpotlightListener( object : OnSpotlightListener {
override fun onStarted () {
Toast .makeText( this @MainActivity, " spotlight is started " , Toast . LENGTH_SHORT ).show()
}
override fun onEnded () {
Toast .makeText( this @MainActivity, " spotlight is ended " , Toast . LENGTH_SHORT ).show()
}
})
.build() Если вы хотите немедленно показать Spotlight, вам придется подождать, пока представления не будут выложены.
 // with core-ktx method.
view.doOnPreDraw { Spotlight . Builder ( this ) .. .start() }
Создайте цель, чтобы добавить Spotlight.
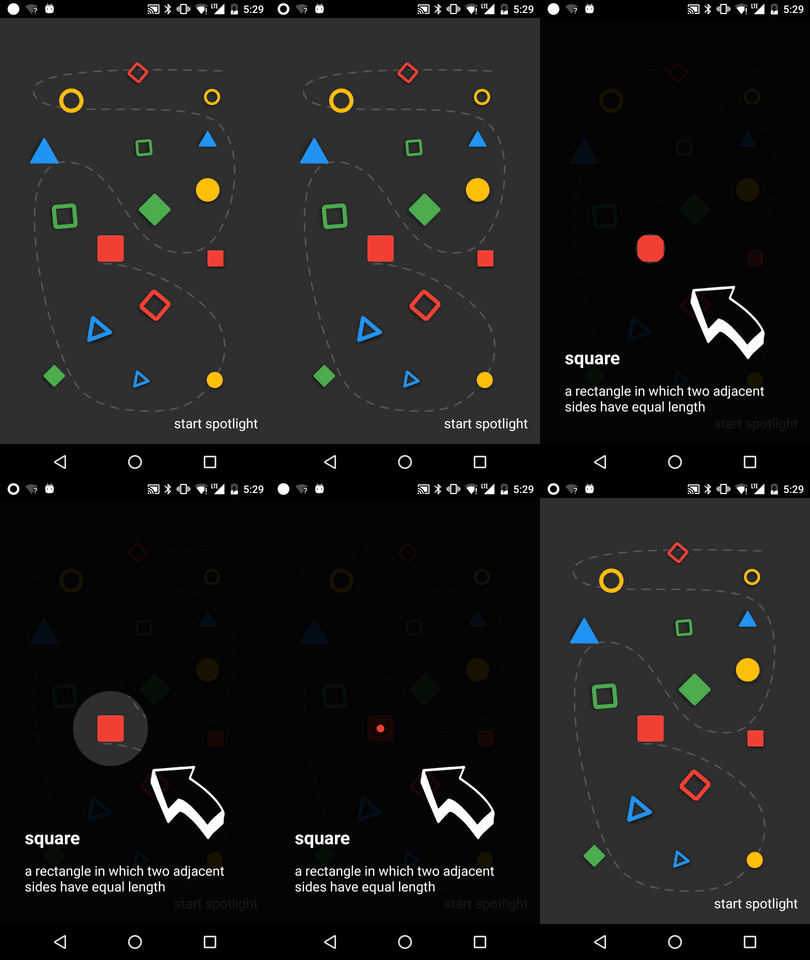
Цель — это место, которое будет использовано Spotlight. Вы можете добавить несколько целей в Spotlight.
 val target = Target . Builder ()
    .setAnchor( 100f , 100f )
    .setShape( Circle ( 100f ))
    .setEffect( RippleEffect ( 100f , 200f , argb( 30 , 124 , 255 , 90 )))
    .setOverlay(layout)
    .setOnTargetListener( object : OnTargetListener {
      override fun onStarted () {
        makeText( this @MainActivity, " first target is started " , LENGTH_SHORT ).show()
      }
      override fun onEnded () {
        makeText( this @MainActivity, " first target is ended " , LENGTH_SHORT ).show()
      }
    })
.build() val spotlight = Spotlight . Builder ( this ) .. .start()
spotlight.finish() val spotlight = Spotlight . Builder ( this ) .. .start()
spotlight.next()
spotlight.previous()
spotlight.show( 2 ) Shape определяет, как будет выглядеть ваша цель. Формы Circle и RoundedRectangle уже реализованы, но если вам нужна собственная форма, ее можно заархивировать, реализовав интерфейс Shape .
 class CustomShape (
    override val duration : Long ,
    override val interpolator : TimeInterpolator
) : Shape {

  override fun draw ( canvas : Canvas , point : PointF , value : Float , paint : Paint ) {
    // draw your shape here.
  }
} Effect позволяет украсить вашу цель. Формы RippleEffect и FlickerEffect уже реализованы, но если вам нужен собственный эффект, его можно заархивировать, реализовав интерфейс Effect .
 class CustomEffect (
    override val duration : Long ,
    override val interpolator : TimeInterpolator ,
    override val repeatMode : Int
) : Effect {

  override fun draw ( canvas : Canvas , point : PointF , value : Float , paint : Paint ) {
    // draw your effect here.
  }
}Клонируйте этот репозиторий и проверьте модуль приложения.
 Copyright 2017 Taku Semba.

Licensed under the Apache License, Version 2.0 (the "License");
you may not use this file except in compliance with the License.
You may obtain a copy of the License at

   http://www.apache.org/licenses/LICENSE-2.0

Unless required by applicable law or agreed to in writing, software
distributed under the License is distributed on an "AS IS" BASIS,
WITHOUT WARRANTIES OR CONDITIONS OF ANY KIND, either express or implied.
See the License for the specific language governing permissions and
limitations under the License.