密室逃脱11逃出神秘金字塔攻略
- 作者:互联网
- 时间:2024-08-21 13:36:01
密室逃脱11逃出神秘金字塔怎么过,如何快速通关,有哪些地方是比较难的呢?下面来一起看看吧!
密室逃脱11逃出神秘金字塔攻略图解法
第一关
第一关是教学关卡,会有一系列提示。
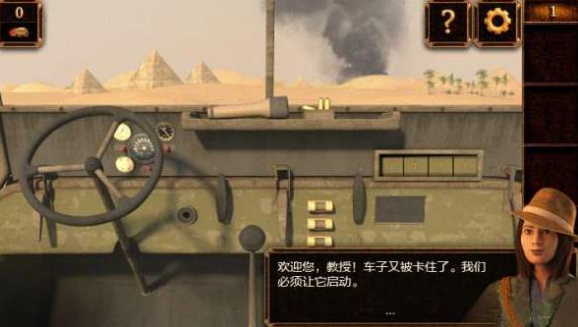
只需按照提示一步步操作,即可轻松过关。
第二关
首先点击上图所示物品将其收集,
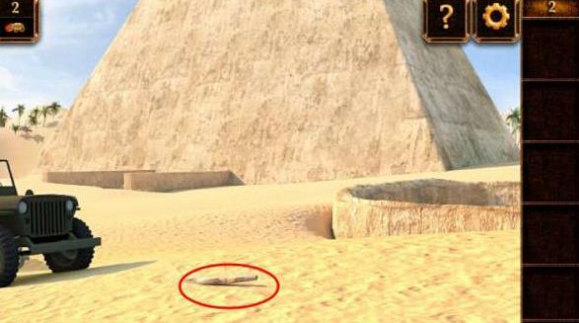
接下来点击画面右边的圆形土堆切换画面。

点击上图物品将其收集后按左下角按钮返回。
点击上图方框处切换画面。
将图示刷子捡起,并合并铲子(这一步之前也可完成),返回。
用收集到的刷子点击上图红色标记处。
出现一个物品,点击收集,返回。
用铲子铲除图示石块,出现一扇门。
靠近门,出现一堵密码墙。

点击右上角收集到的物品,按提示输入密码,通关!
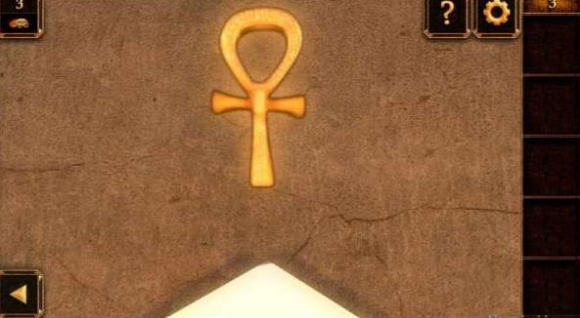
第三关
入口处看到大门,门是关的,不过没关系

如上图所示,小编标记的地方都是破解本关谜题的关键之处(图中标记的6个点接下来都会用到,记不住的可以滑动到最上面查看上图)。首先,点击图示1形似帽子处,会出现一盒火柴,点击收集。
接下来点击图示2处,会出现一幅打乱的法老画像,玩家只需简单翻转就能将法老画像复原。
法老画像复原后出现的是一颗钻石,点击收集。
继续点击图3处,看到一颗甲虫状宝石,先收集起来,然后用火柴照亮黑色方框处。
黑色方框下面是一个钩子,点击收集。

返回点击图4处,用钩子将法老雕塑后面打开。
出现一个类似三角形的物品,点击收集。
返回,首先将钻石和三角形的物品合并,之后点击图5处,保护玻璃会被敲开,收集权杖。
将之前收集到的物品嵌入图6处,大功告成!
第四关
细心的同学也许注意到了,没错,这就是制作木乃伊的房间,
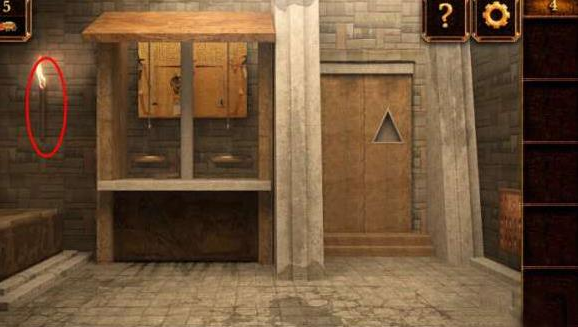
来到第四关游戏,我们首先点击图示火把将其收集。
点击火把旁边的橱柜,看到一把锤子,捡起来。
用锤子将火把下面半高的墙壁砸开。

看到一个木箱子,用火把将木箱子点燃。
看到一个楔形物体,拾起来。
返回,点击右下角有图画的墙壁,看到一堆硬币,捡起。这时候请大家注意小编用红方框标记的画面,这很重要,一个图形表示二,一个图形表示七,请记住!
返回至有天枰处,请看小编用红色圆圈画出的标记,没错,天枰一边放七颗硬币,一边放二颗硬币,至于为什么聪明的玩家看看上一步小编强调的重点就明白了。点击金字塔形物体将其获取!
将楔形物体和金字塔形物体组合,嵌入门上三角处,通关!

第五关
进入第5关游戏,
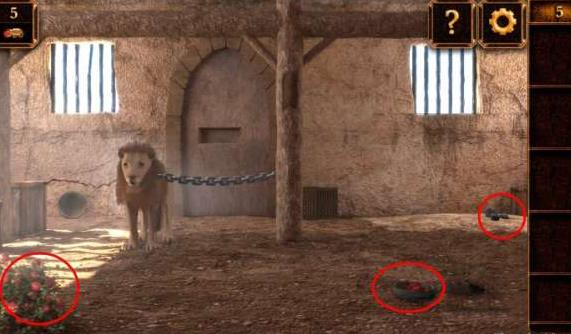
首先分别点击小编用红色圆圈标记的地方收集到三种物品。
将收集到的三种物品按顺序合成。
将最终合成物喂给狮子,狮子吃后被毒死。

之后分别点击上图用红色标记的两个地方,收集到两种物品。
将图示收集到的某种物品移至箭头所示处,得到一种新的物品。
再将之前收集到的钢管敲破树皮,又获得新物品。
把前后两次获得的新物品合成为一种。
点击铁门,按上图所示嵌入物品。

点击死狮,记住以上图形。
按从左至右的顺序组合死狮身上的图案,铁门打开,通关!
上一篇: 黑神话悟空赤发鬼怎么获取
下一篇: 樱花校园手游怎么恋爱
相关阅读
- 密室逃脱11逃出神秘金字塔攻略 2024-08-21
- 密室逃脱11逃出神秘金字塔第八关怎么过 2024-05-11
- 密室逃脱11逃出神秘金字塔第九关怎么过 2024-05-11
- 密室逃脱11逃出神秘金字塔第十关怎么过 2024-05-11
- 密室逃脱11逃出神秘金字塔第十二关怎么过 2024-05-11
- 密室逃脱11逃出神秘金字塔第十一关怎么过 2024-05-11