In the previous two sections, we learned how to build a Java compiler and introduced the first Java program. So how to run Java code?
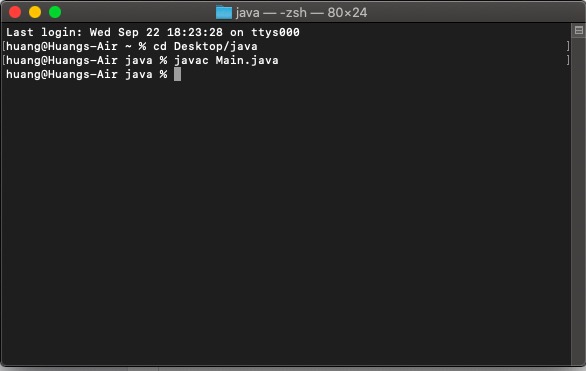
publicclassMain{publicstaticvoidmain(String[]args){System.out.println(Hiwww.dotcpp.com);}}Taking Mac as an example (the same goes for Windows), first find a location to create a new folder, such as java (more standardized), create a new document, copy the above code into it, and then save the file name as Main.java when saving. . The reason for this change is that the file name Main should be consistent with the class name, and the suffix should be changed to java to indicate that this is a java file. After saving, open the terminal (cmd in Windows) and use the cd command to switch to the java folder, and then enter the javac command to compile it into a bytecode file, that is, enter the command: javac Main.java, as shown below:

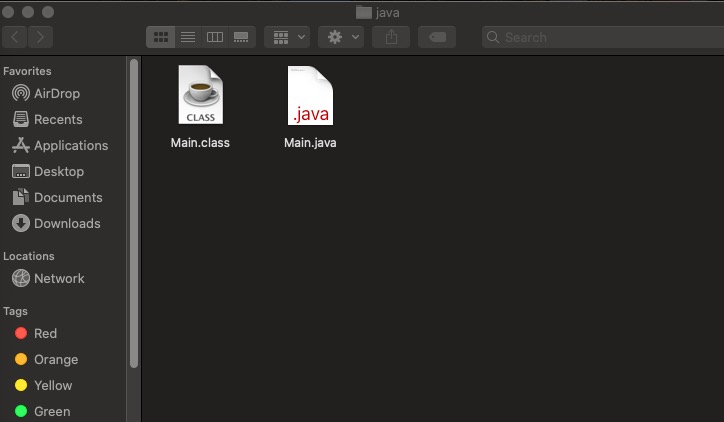
Then let's take a look at the newly created java folder. Is there an extra file?

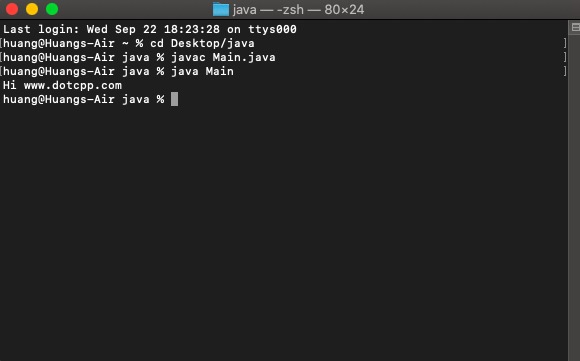
That's right, the Main.class on the right is the java bytecode file generated by the javac command just now. It can be executed. How to execute it? To interpret and execute through the java command, continue to enter the command: java Main , as shown below:

You can see that after executing the command, the running effect of the code is displayed on the screen, and the code of "Hi www.dotcpp.com" is displayed. Do you understand it?
You can follow this idea and try to run your first code through a computer, whether it is windows, mac or even Linux system, and feel the effect of the code!
PS: It should be noted that when writing Java code in your own local compiler, the main method is Main and the class name can be other names. It does not necessarily have to be Main, but if it is used on various OJs or websites that run code online There may be requirements that it must be fixed as the Main entry point.
publicclassMain{publicstaticvoidmain(String[]args){}}