First log in to the server. Generally, the Linux server will provide IP address, port number and user name and password information. We can connect remotely through SSH and other tools.
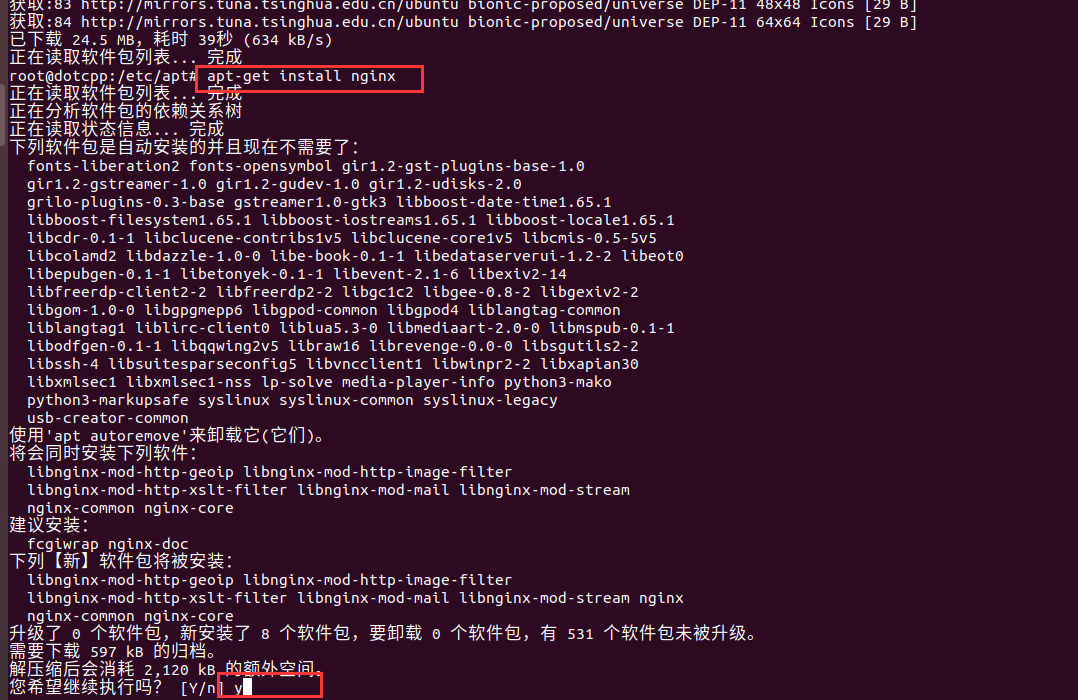
After successful login, first install nginx, which can be solved with one command.
sudoapt-getinstallnginx
But before installation, it is recommended to execute the update command to update apt-get.
sudoapt-getupdate

The installation can be completed after a short period of command execution. If an error of Certificate verification failed occurs during this step, you can refer to this article to solve the problem.
Solution to the problem of Certificate verification failed when executing update
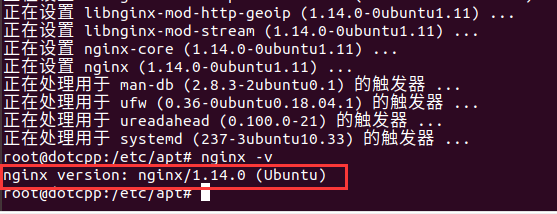
If everything goes well, after the installation is complete we use
nginx-v
command to check the version number of nginx. If so, the installation is successful.

You can see that the author here is the default version 1.14 of nginx.
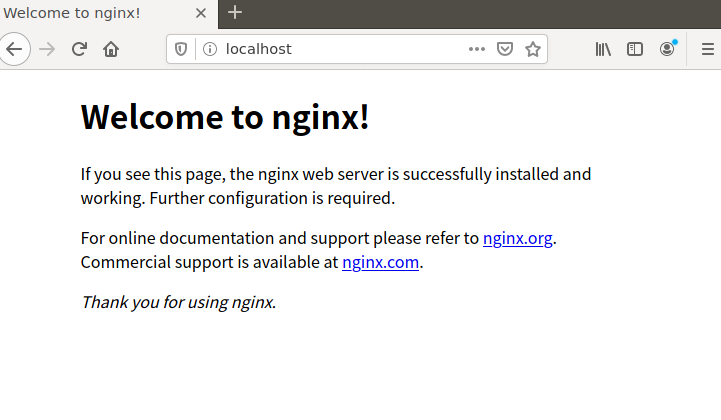
At the same time, you can open the browser and enter 127.0.0.1 or localhost to see such an interface.

As shown in the figure, it means that nginx is installed successfully. At the same time, here is a commonly used command nginx -t to check whether the nginx configuration is correct.

As shown in the picture above, you can see that the configuration is OK, and it tells us the location of the nginx configuration file /etc/nginx/nginx.conf. We will talk about it later.