1. Install Mysql
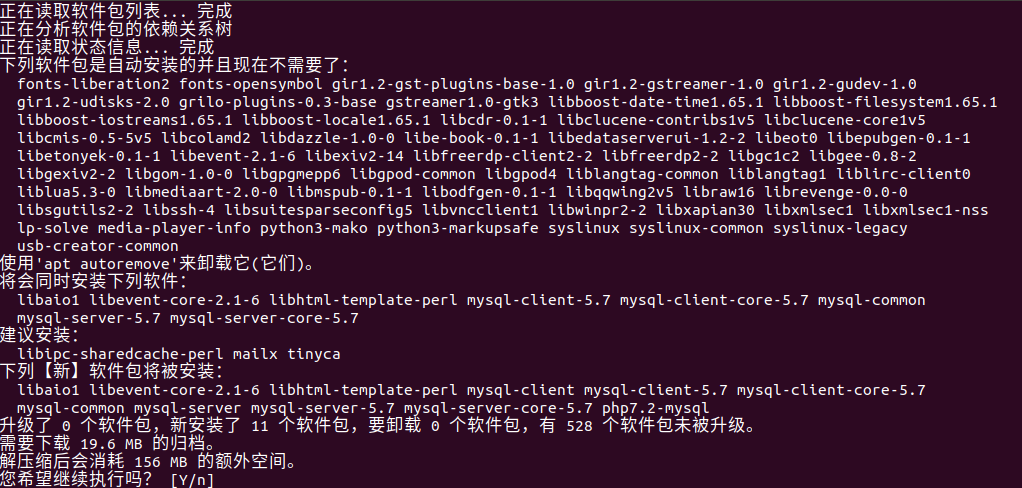
Next, install Mysql. Since the Mysql module was not installed when installing Nginx, add it when installing Mysql here. The command is as follows:
apt-getinstallmysql-servermysql-clientphp7.2-mysql
If you don’t have root permissions, please add the sudo command before it.

Enter y and wait a moment to complete.
If prompted for a password during the installation process, remember it.
2. Verify Mysql
The method is to create a mysql.php file under /var/www/html and enter the following:
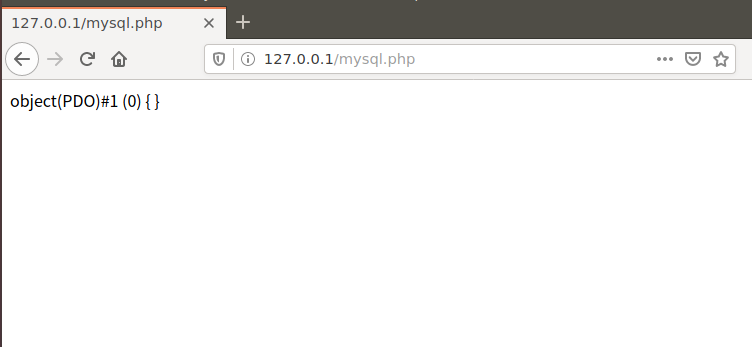
<?phptry{$pdo=newPDO('mysql:host=localhost;dbName=mysql;','root','root');var_dump($pdo);}catch(Exception$e){echo$e-> getMessage();}After saving, open the browser and enter 127.0.0.1/mysql.php. If the following page opens, it means the installation is successful.

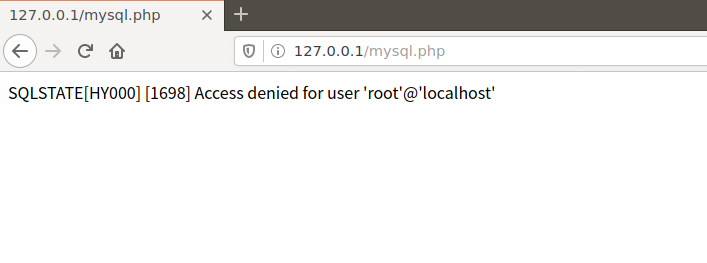
If you open the following page:

It means access is denied. You can refer to solving the problem of installing Mysql under ubuntu without a password by default.