Many friends like to use the Bi-Cut software because the functions in Bi-Cut are very rich. The following is a tutorial on how to enlarge a designated area in Bi-Cut . Friends who are interested should come and take a look.

1. In the first step, we first open the must-cut software on the computer, and then click the "Start Creating" option on the software page.

2. In the second step, after entering the video editing page, we first click the "Import Material" option in the upper left corner of the page, then find the video material file you need in the folder page, select it and click the "OK" option

3. In the third step, after opening the video file, we click the "+" icon in the lower right corner of the video to add the video material to the video track.

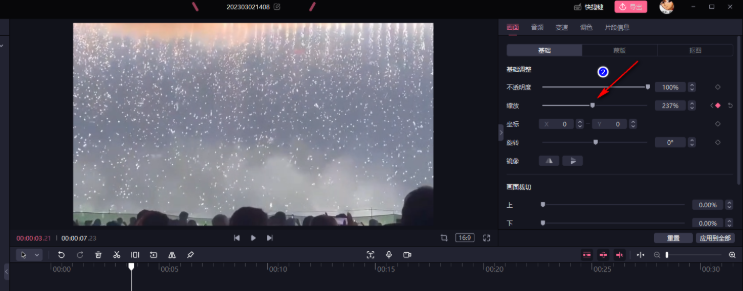
4. Step 4: After adding the video to the track, we first click on the video in the track and place the white line where the zoom needs to be set. Then in the screen settings in the upper right corner of the page, we find the zoom option and click on it. The diamond icon to the right of the option to add a keyframe to the video

5. In the fifth step, we add a keyframe before and after the area where we need to add zoom, then click on the first keyframe, and then drag the zoom option to adjust the zoom at that point. In the same operation, click on the next keypoint. Then adjust the zoom size
