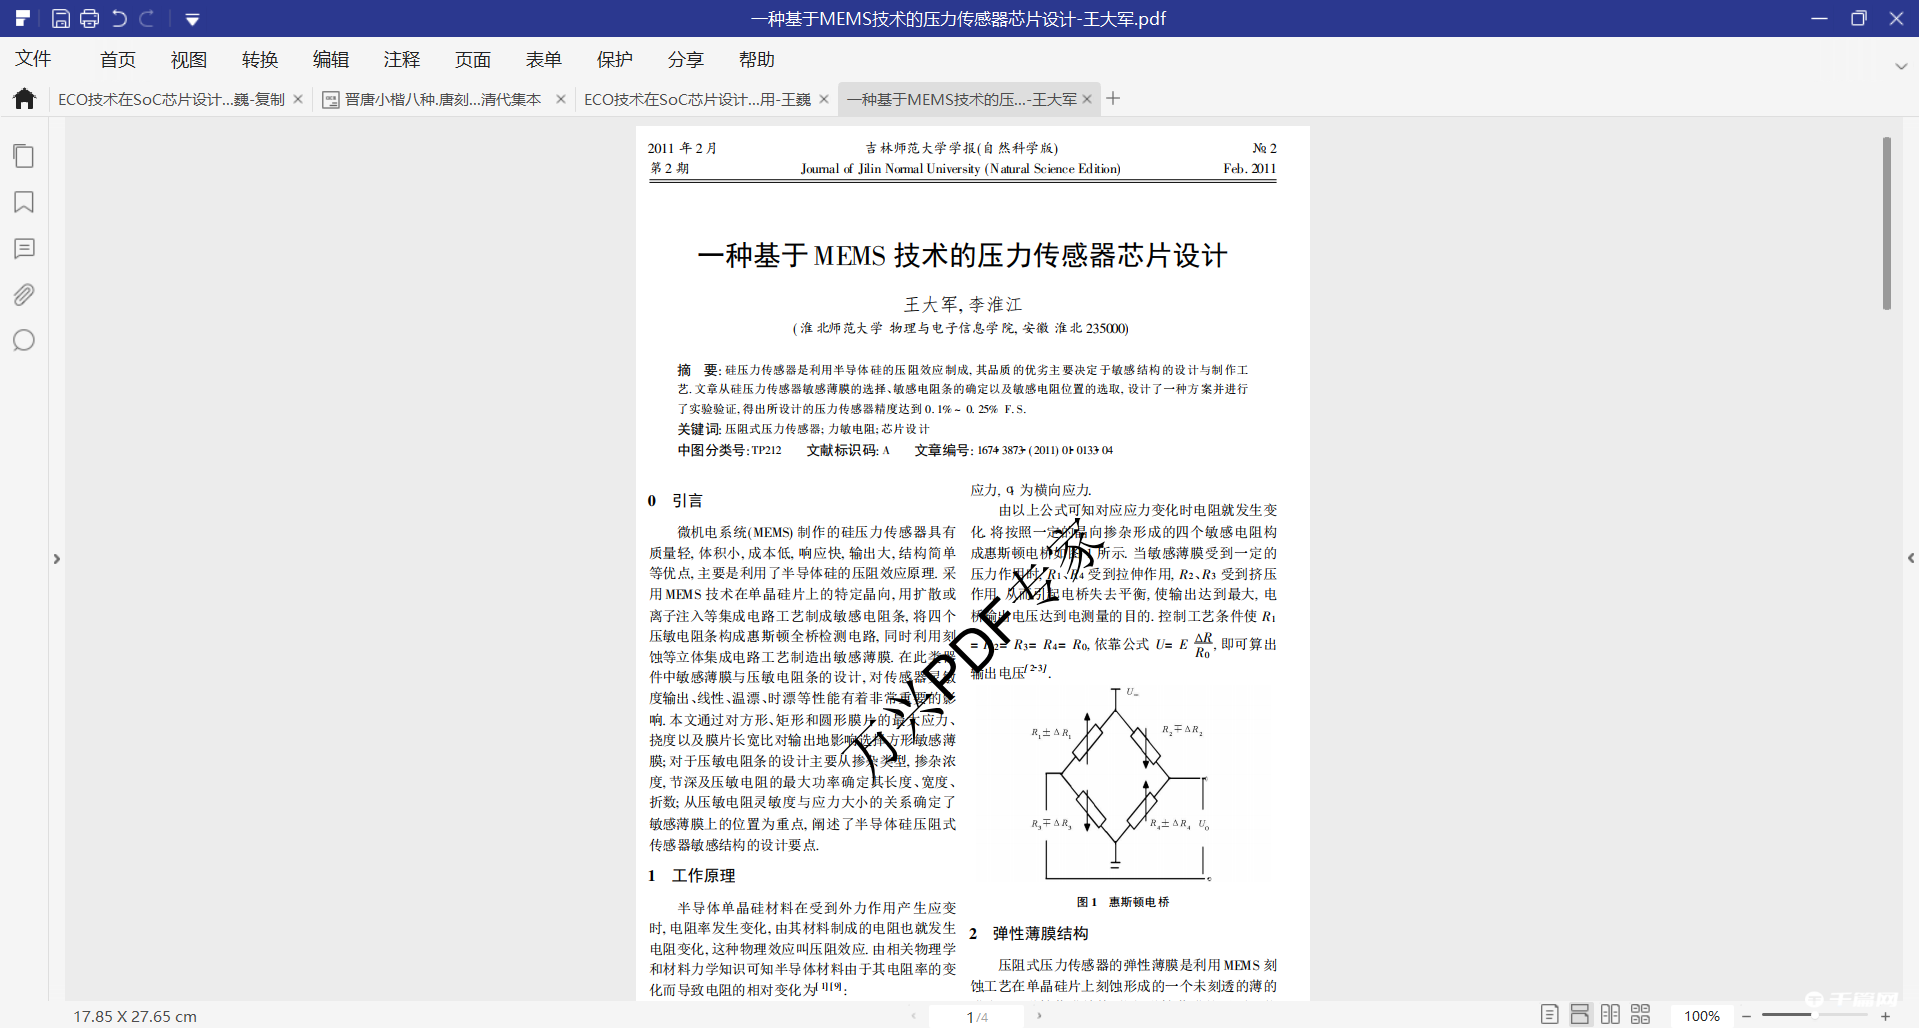
I believe that many friends will add watermarks to images in order to protect their own results. However, many friends who use PDFelement do not know how to add watermarks. To address this issue, the following is about how PDFelement adds watermarks to PDF files. The method tutorial is here, friends who need it can come and take a look.

1. Download and install Wondershare PDFelement, open the software, enter the interface, register and log in to your account, as shown in the picture, click [Open File] on the homepage to import PDF files.


2. The PDF file is added successfully. Click [Edit] - [Watermark] - [New Watermark] in the upper menu bar.

3. The Add Watermark window pops up, as shown in the picture. Click [Text], enter text in the dialog box, then click [Style], select your favorite text style, and then click [Properties] to modify the text size and font color. Click Sure,

4. You can also set different watermark attributes, such as the rotation angle of the watermark and the transparency of the watermark. You can also add watermarks to different page numbers according to the actual situation.

5. After the setting is completed, return to the main interface, as shown in the figure, the PDF file has been added with a watermark.

The above is all about how to add watermark to PDF files with PDFelement . I hope it can help you all. Friends can pay attention to more software-related content, and we will always bring software tutorials to you! If you have any controversy about this article, you can leave a message in the comment area and discuss it with your friends.