《寂静岭 2 重制版》是 Bloober Team 对原版恐怖杰作的彻底重新演绎,在詹姆斯穿越寂静岭深渊的旅程中,有许多熟悉的和新的谜团和恐怖等待揭开。这是我们的深入演练,可帮助您了解游戏的许多目标、谜题和其他神秘秘密。
以下演练是在将两种类型的难度(即战斗和谜题)设置为“标准”的情况下完成的,因此,如果您玩不同的难度,则某些物品(例如健康饮料和游戏)的位置和/或可用性可能会有所不同。弹药。谜题的解决方案也可能有所不同。
在标志性的开场过场动画之后,了解詹姆斯的动作和互动,并从他汽车的驾驶座上拿起你的第一张地图。
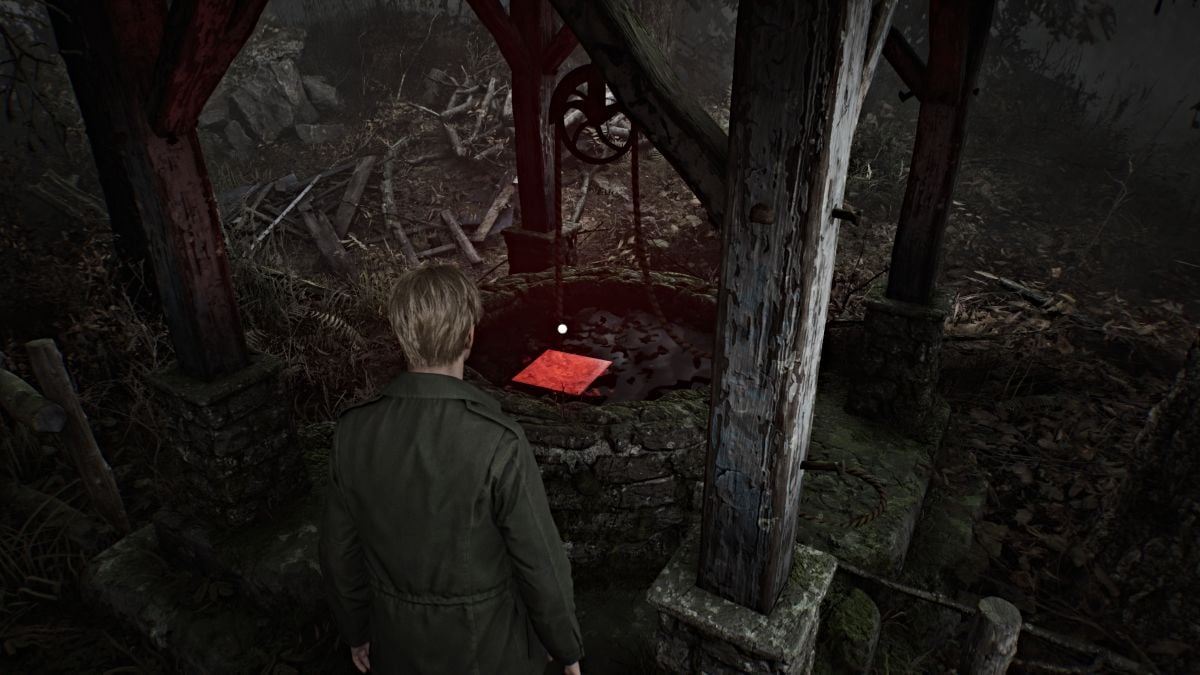
走下观察区尽头的楼梯,开始漫长的、充满雾气的步行,前往寂静岭。有一次你会遇到一口井,井里发出红光。上去吧;里面是一个亮红色的方块,表示您的第一个手动保存点(从现在起我们将它们称为“红色保存点” )。在游戏过程中尽可能多地找到并使用这些内容。
沿着主路继续前进,直到到达一座有墓地的教堂,在那里你第一次见到安吉拉·奥罗斯科。她声称正在寻找她的母亲以及她的父亲和兄弟,但没有透露其他信息。过场动画结束后,请随意探索该地区,但要知道这里没有任何物品可供拾取。如果您愿意,您还可以与安吉拉多交谈几次,以获得更独特的对话。
离开墓地,继续沿着同一条主路行走,穿过寂静岭牧场区域。
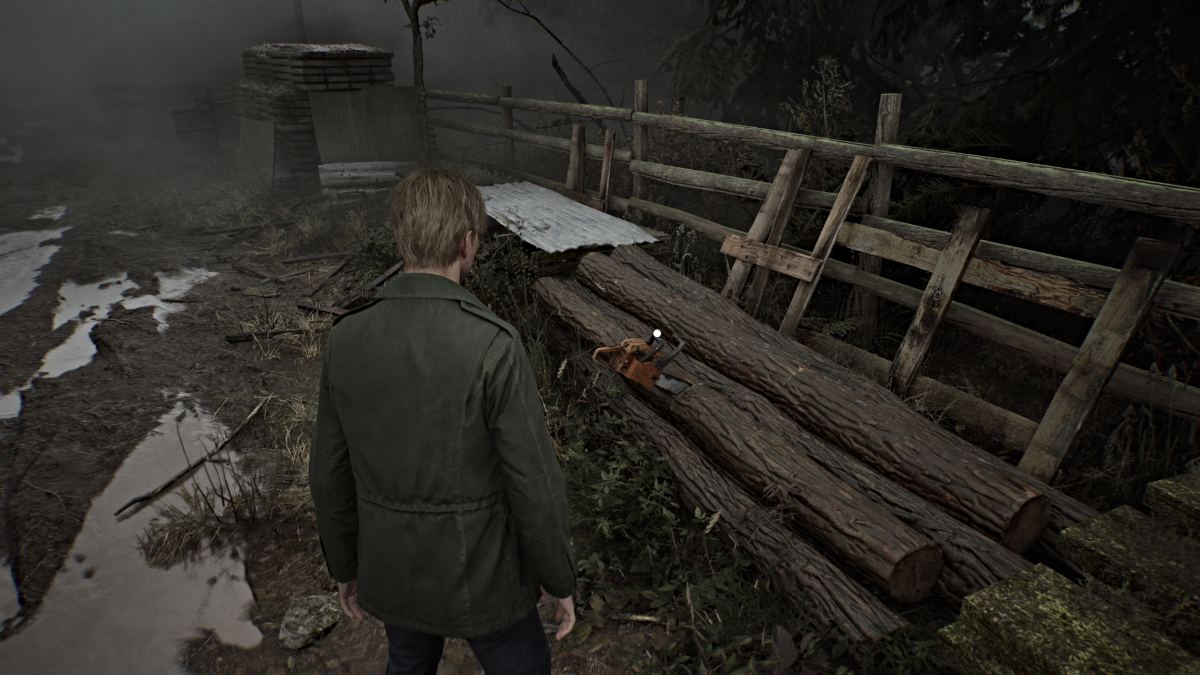
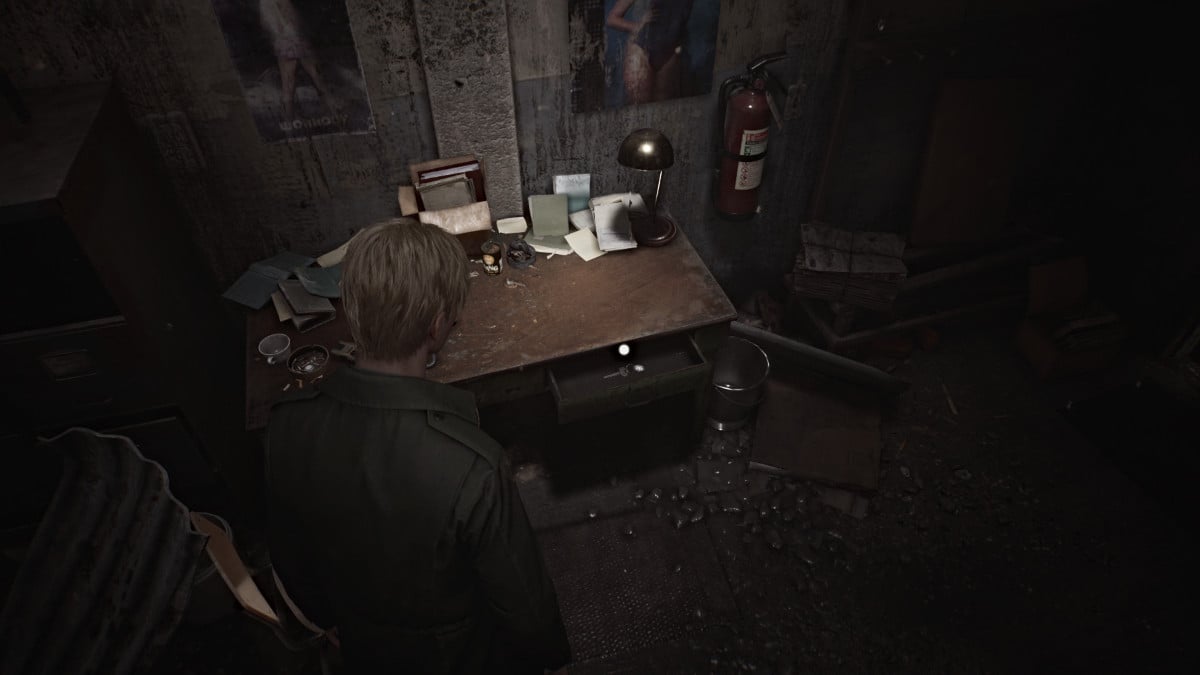
继续前行,直到到达路上的一个大路障,路障上有一扇锁着的小门。在您左边附近寻找一家门开着的小汽车配件店。进入场所并在建筑物周围向左走,您可以从打开的窗户跳进去。在里面寻找一张亮着灯的桌子,抽屉里面有一把汽车零件钥匙,可以打开外面挡住你去路的门。
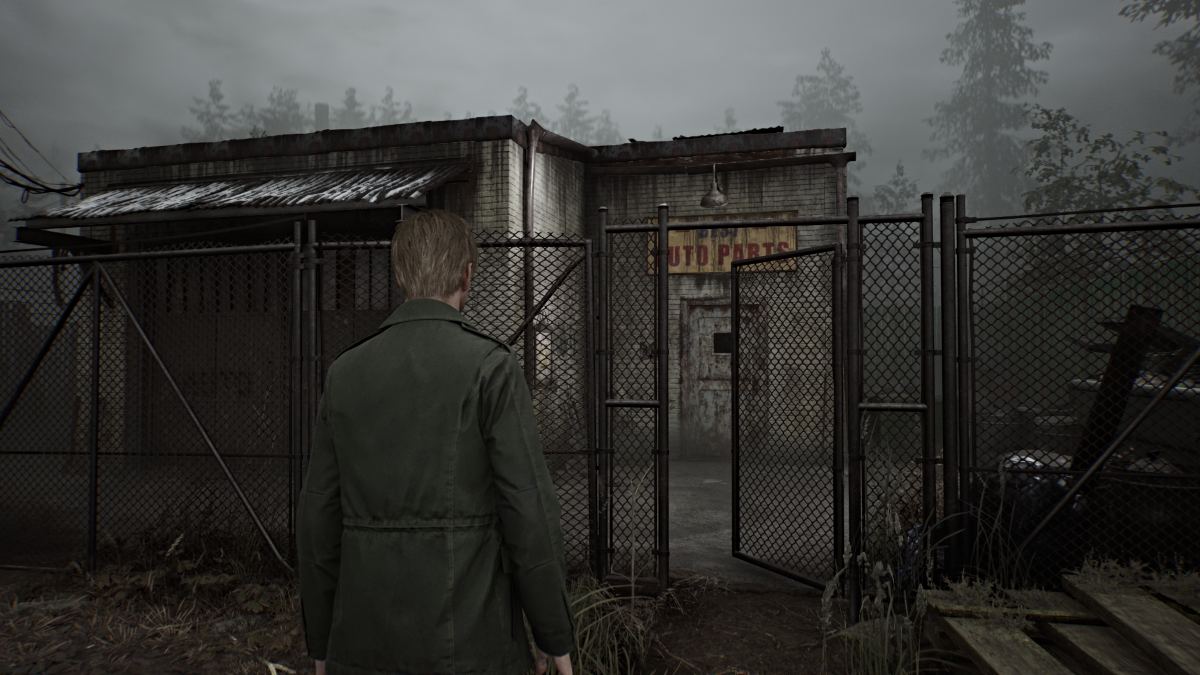
继续沿着这条路一直走,直到你到达一个熟悉的(如果你玩过原版)地点,在立交桥下,那里到处都是栅栏和破损的木板。虽然您无法进入,但您可以与该地点互动,因为它是过去复活节彩蛋的一瞥。
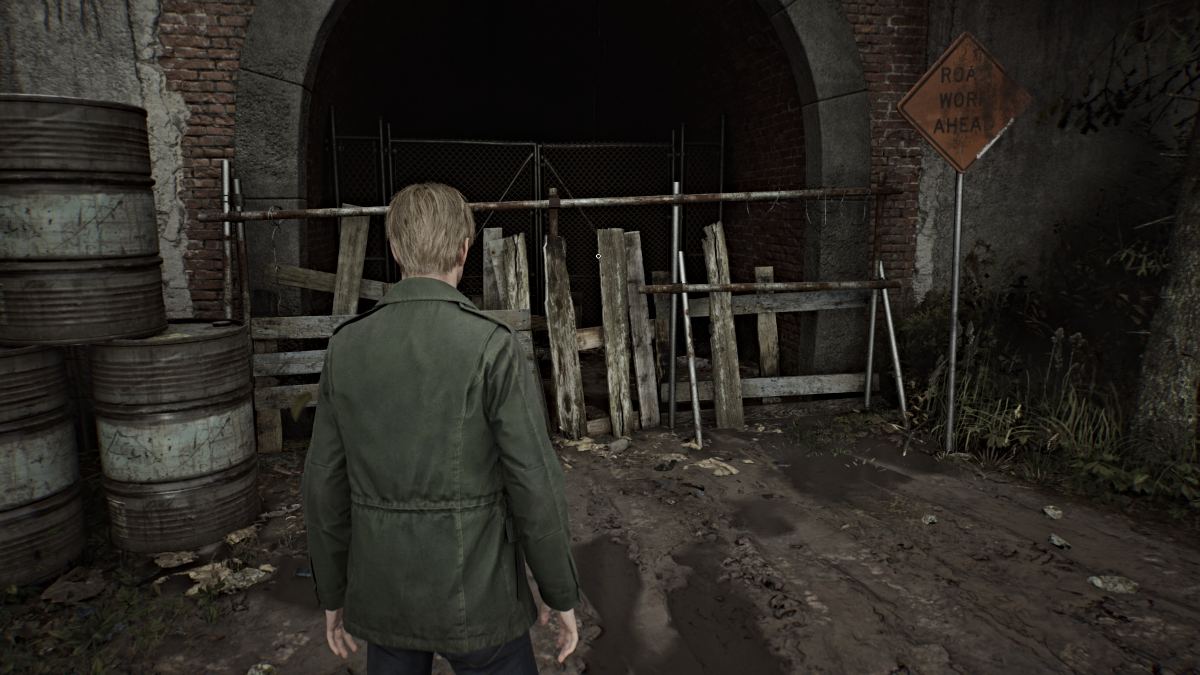
在立交桥的空地下方左转,穿过前面的大门,这将带您前往 Witse 路(根据您的地图)并进入寂静岭镇。
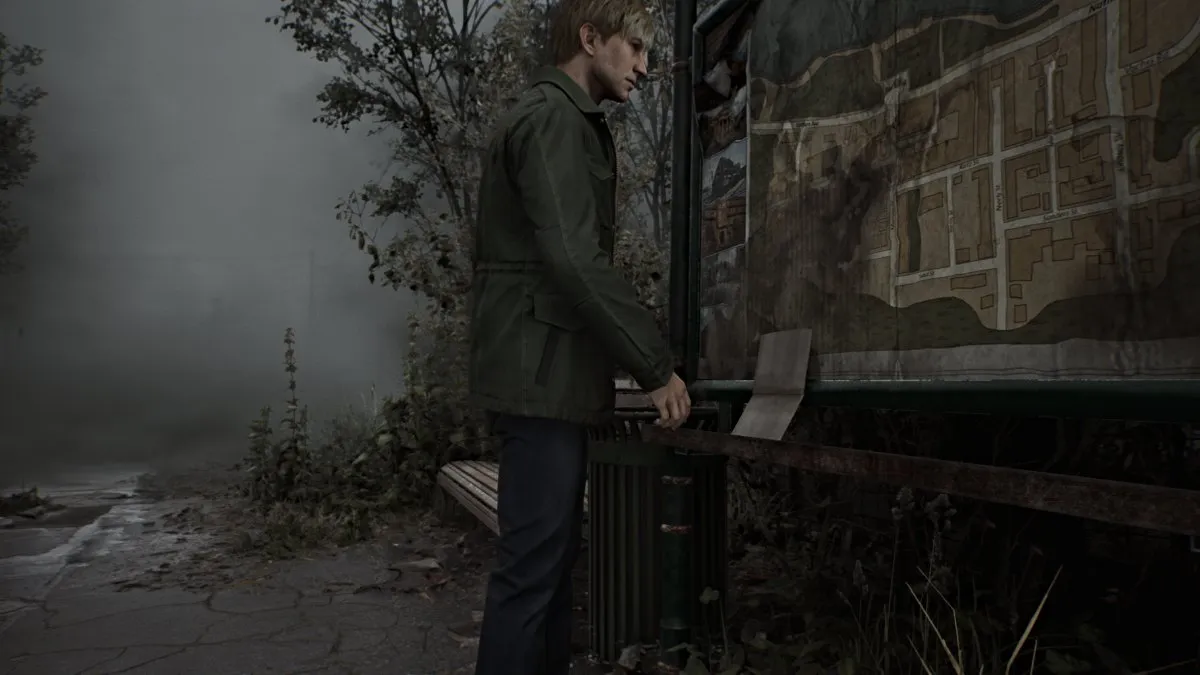
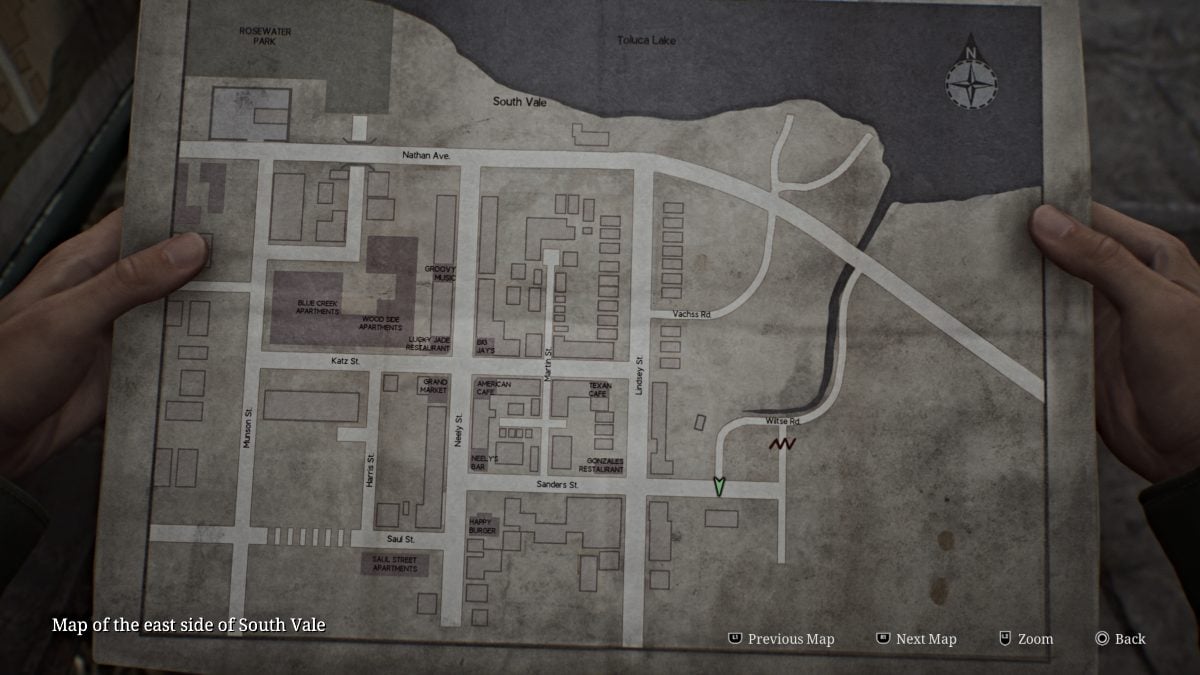
到达桑德斯街后,将播放一个过场动画,詹姆斯在一个标志下发现了另一张更大的城镇地图。这样您就可以从头顶查看城镇地图的西侧和东侧以及所有主要地标。
首先,进入附近的花店并在前台领取花店留言(备忘录)。
除了詹姆斯可以看到附近地板上的血迹外,里面没有其他东西可找到,所以沿着桑德斯街返回,直到看到一条更大的血迹,沿着林赛街向北延伸。目前所有其他路径都被巨大的路障封锁,所以只需沿着小路走即可。
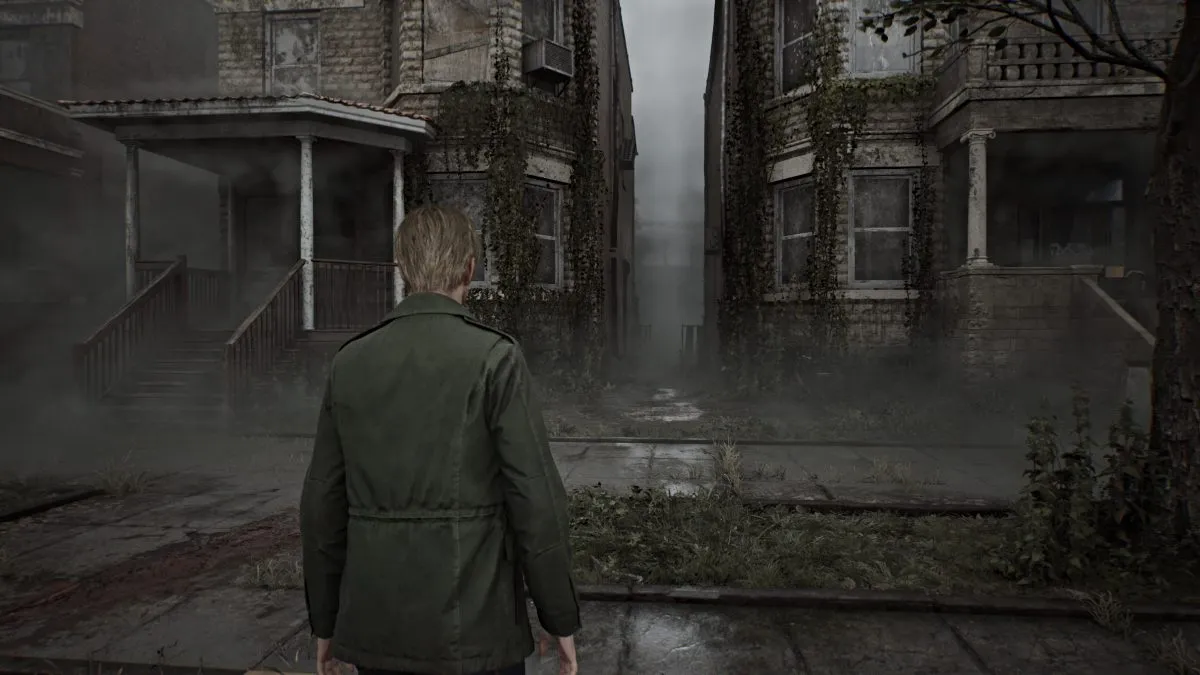
另一个过场动画显示一个奇怪的人物在詹姆斯前面的远处行走,你会想要跟随它。保持直行,血迹会引导你从两座建筑物之间的道路左侧绕道(见上图)。
在穿过小巷之前,转向并沿着 Vachss Road 跑,直到到达“请勿进入”大门。与其互动以获得另一个过去的一瞥。
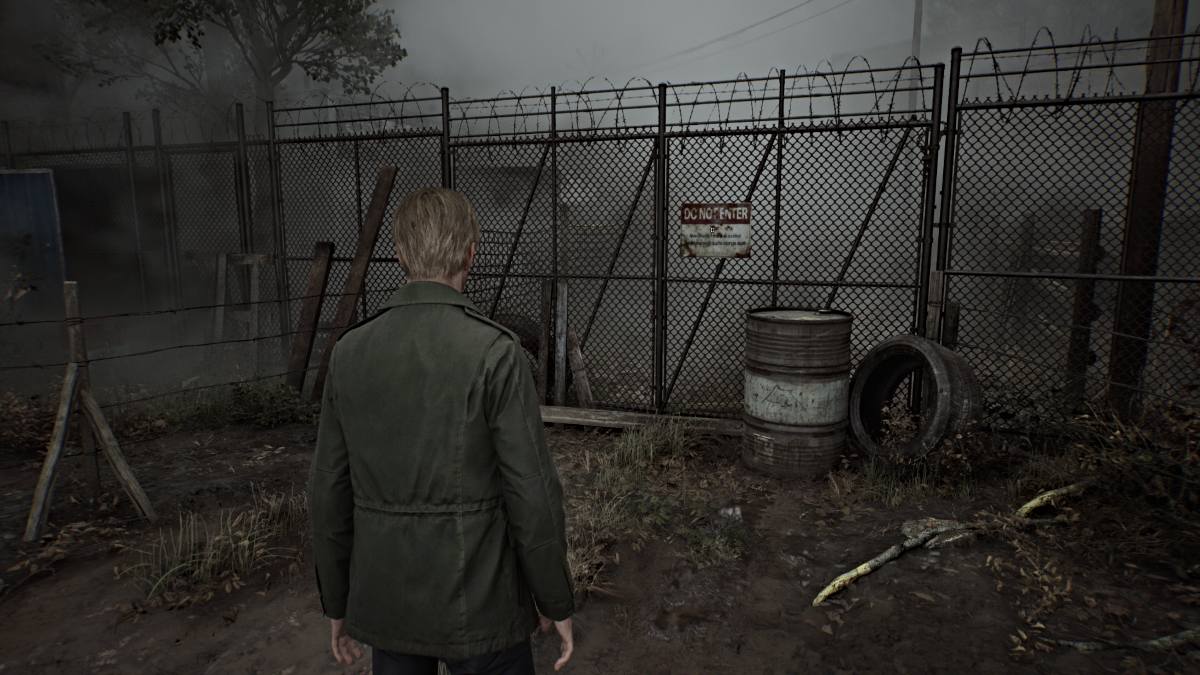
现在,穿过小巷,跟随奇怪的声音穿过后巷区域,直到到达门底部有破洞的车库。爬过它进入房子。
使用附近墙上的红色保存点,然后直接进入厨房。从一个抽屉里拿一杯健康饮料,然后继续走到左边的门。沿着走廊顺着听起来像是无线电静电的声音,直到你能进入右边的一扇门。房间内的扶手椅上放置着一台收音机。
抓住它,就会出现一个过场动画,詹姆斯面对之前的同一个人物,结果证明这是一个怪物(被称为说谎的人物)。
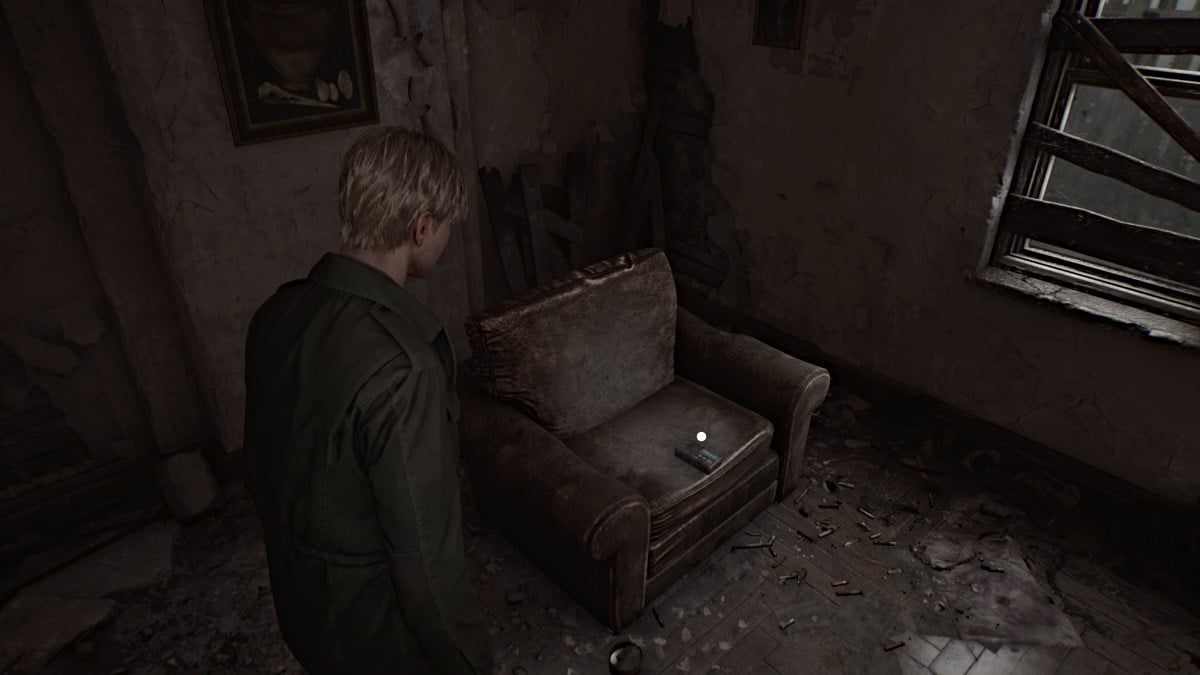
这是您对游戏战斗系统的第一次介绍,该系统允许您攻击和躲避(使用适当的按钮)。使用詹姆斯从窗户抓起的木板对躺着的人进行攻击,同时注意其物理攻击和酸攻击。持续对它施加压力,直到它倒在地上,然后使用相同的攻击按钮将其踩死。
继续穿过房子,直到你在墙上找到一个可以滑过去的破口。打开右边桌子上的急救箱,取出注射器(强效医疗物品),然后用木板直接打开窗户逃离房子。过场动画结束后,您可以从马丁街继续前行。
在马丁街的最北端,您会在白色尖桩篱笆附近发现另一个“过去的一瞥” (见下图)。
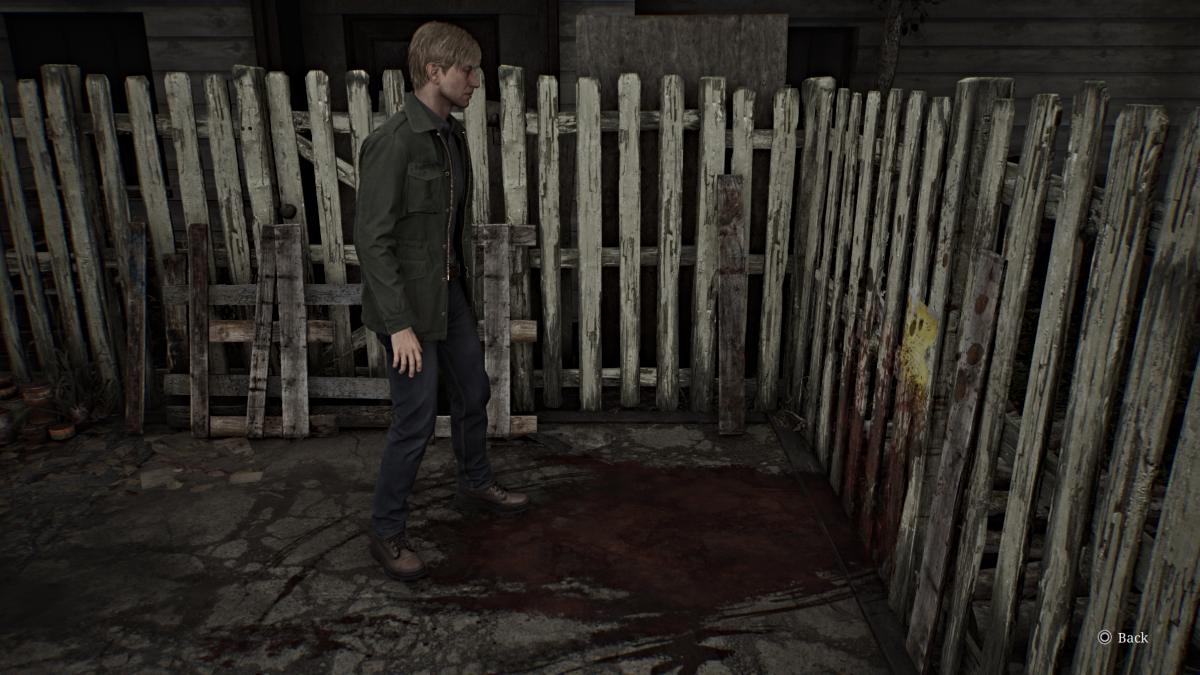
现在向南跑,与前方人行道上的血腥尸体互动,从尼利酒吧(你的下一个目的地之一)拿起火柴盒。另外,在尸体前方几英尺处拾取马丁街笔记。
一些怪物现在将在寂静岭周围的不同地方活跃,所以一定要小心你的背后,选择你的战斗,并明智地使用你的健康物品。
继续沿着 Katz St 行驶,直到找到Big Jay's 咖啡馆的后门。进去并小心潜伏在里面的躺着的人影。解决掉它,然后前往咖啡馆前面,在其中一张桌子上找到大杰的便条。展位区的另一张桌子上将提供健康饮料。离开咖啡馆的正门进入尼利街。
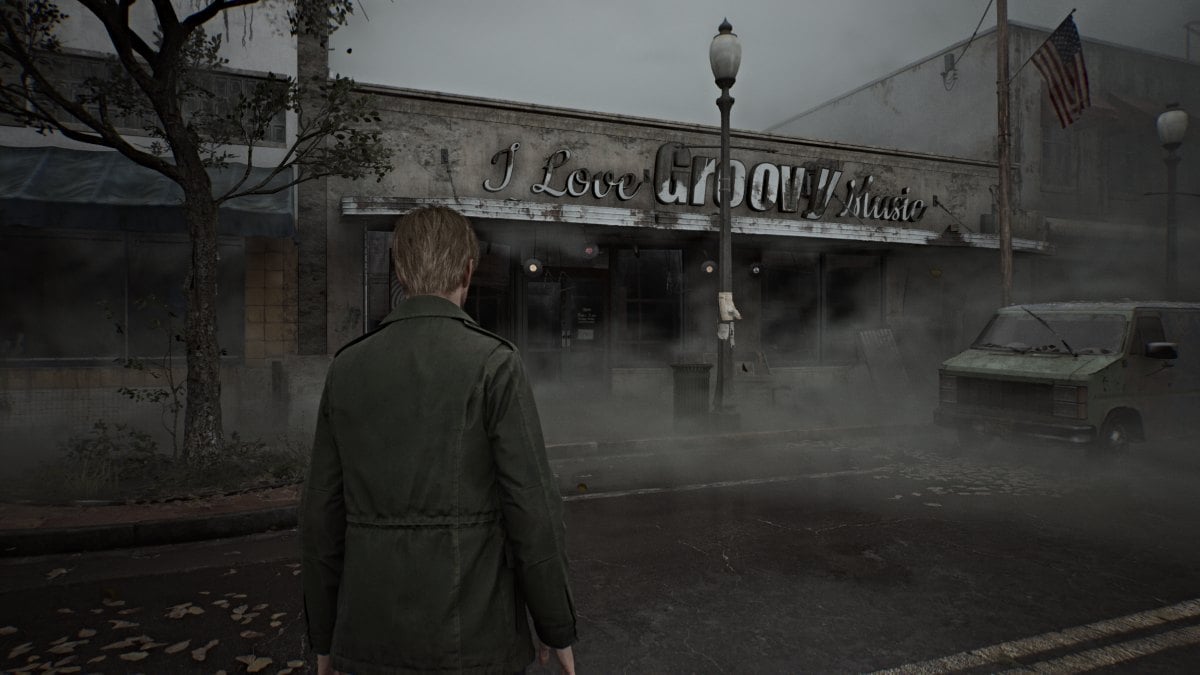
首先,在尼利向北走,打破附近警车的窗户,获得第一批手枪子弹,稍后会派上用场。当您到达I Love Groovy Music Shop (通过风铃很容易找到)时,请先绕道到对面的小巷,在桌子上喝一杯健康饮料。
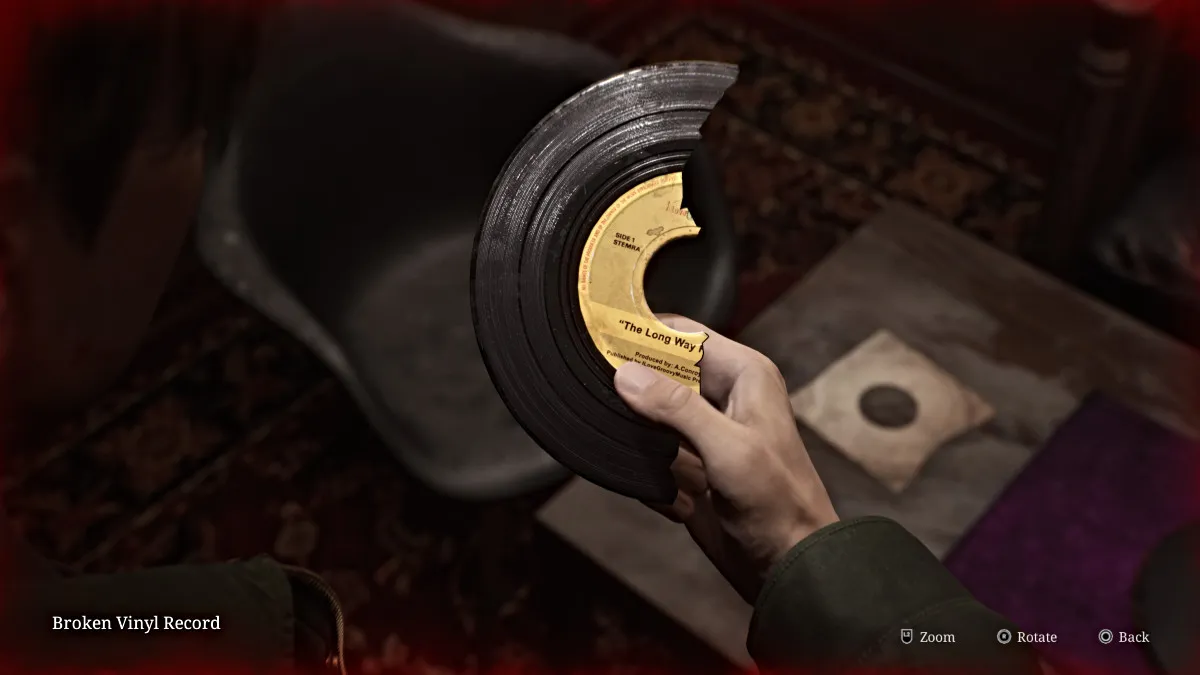
原路返回音乐商店并进去,两个躺着的人物正在那里等待。尽力一次对付他们,因为你现在只有一块木板来保护自己。完成后,从柜台收集唱片店笔记,然后走到后面,砸碎一扇大窗户,进入唱片室。中间的矮桌上放着黑胶胶和一张破损的黑胶唱片。
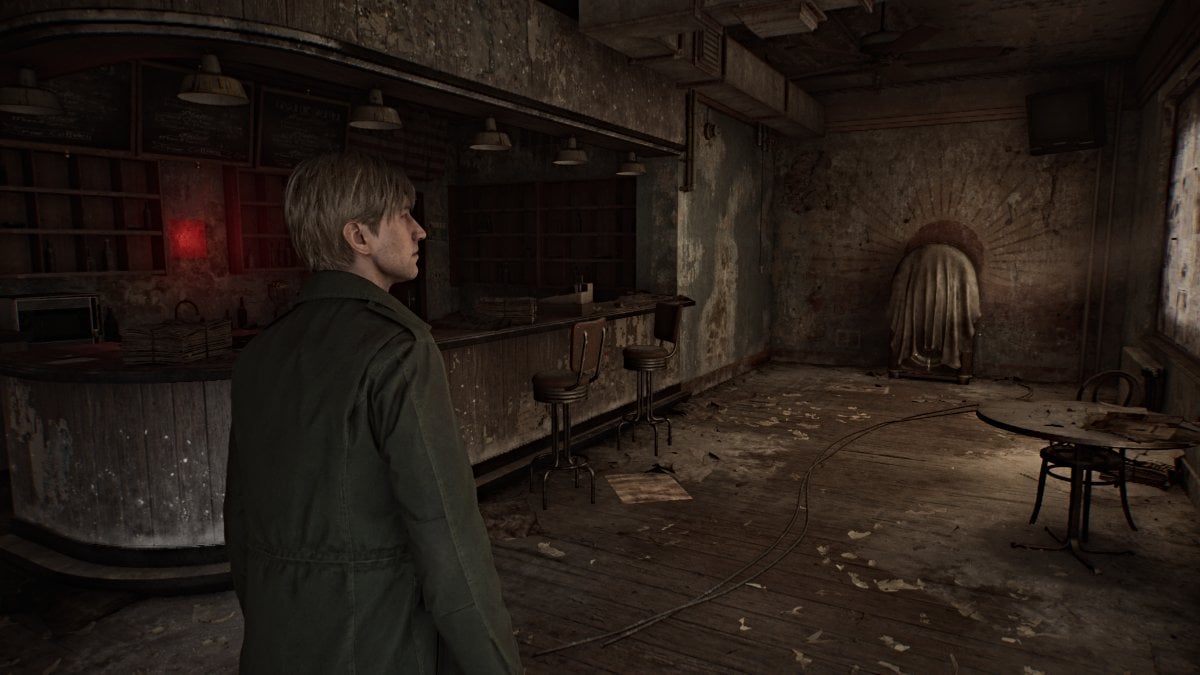
离开商店,最后前往Neely's Bar 。在里面,你左边的墙上会有另一个红色保存点,柜台上有Neely's Bar Note ,还有一扇锁着的门,需要 特殊钥匙。其中一个窗户上有一条令人不安的信息,上面写着“这里有一个洞。现在已经消失了。” 。后墙上有一个破损的自动点唱机,它是游戏的第一个谜题。
里面有一半破损的黑胶唱片放在轨道上等待播放。与其交互以将其从机器中移除,并将其添加到您的库存中。现在,使用黑胶胶和破碎黑胶唱片的另一半将两部分组合起来。这将为您提供一张名为“The Long Way Home”的胶合黑胶唱片。
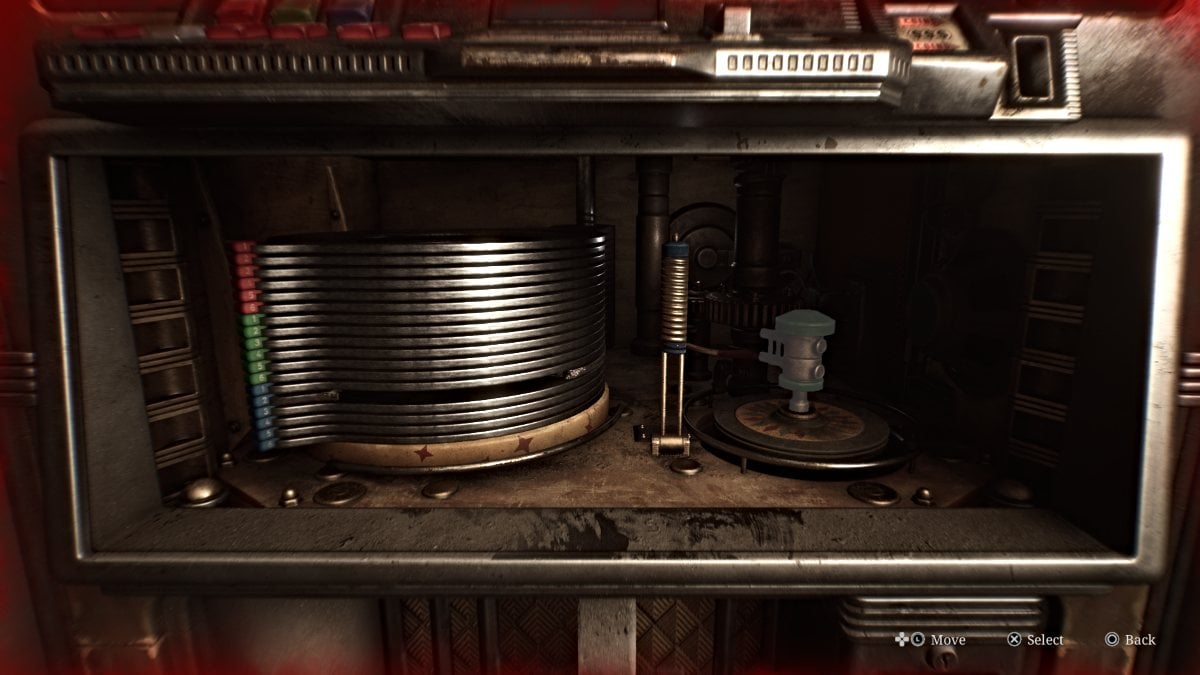
接下来,你需要准备机器来播放唱片,里面有三个可以移动的部分,分别是蓝色、红色和绿色。您的第一个目标是将红色部分连接到绿色部分,以便它可以向后移动并避开您需要向下推的蓝色部分。
完成此操作后,按下绿色部分,直到它推出轨道,以便您放置胶合黑胶唱片。然后轨道装置将升起,您需要按下正确的按钮才能播放唱片。然而,您需要的“2”按钮不见了,而且您还需要一枚硬币。所以暂时离开点唱机。
Neely's Bar Note表明一名男子带着按钮和一半唱片(你已经修好了)跑掉了,他住在Saul 街药房旁的9 号公寓。索尔街公寓将在您的地图上圈出。
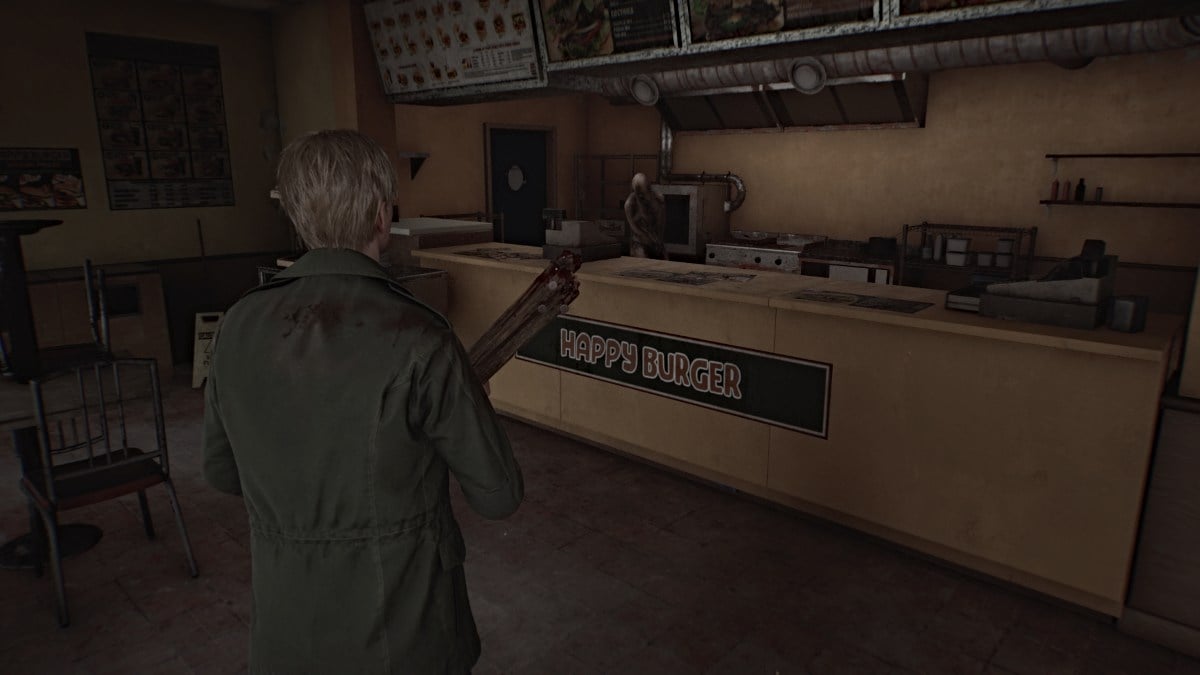
前往索尔街公寓。如果你愿意的话,你可以沿途看看快乐汉堡,但里面和周围潜伏着三个谎言人物。里面只有一杯健康饮料(在你跳过去的窗户旁边的桌子上)和一支注射器(厨房区域),由其中一个怪物看守。
除非您认为自己有足够的信心去对抗或克服它,否则我们建议您暂时喝点健康饮料并继续。
进入索尔街公寓并记下紧邻您右侧的办公室。门是锁着的,但您仍然可以通过沿着大厅进一步走到右侧的下一个门口(1 号公寓)进入,在那里您可以将梳妆台推开。在办公室内,您会发现5 号公寓钥匙和一张关于泄漏的小纸条。另外,记下走廊墙上的建筑地图(如下所示),以便找到前往正确公寓的路。
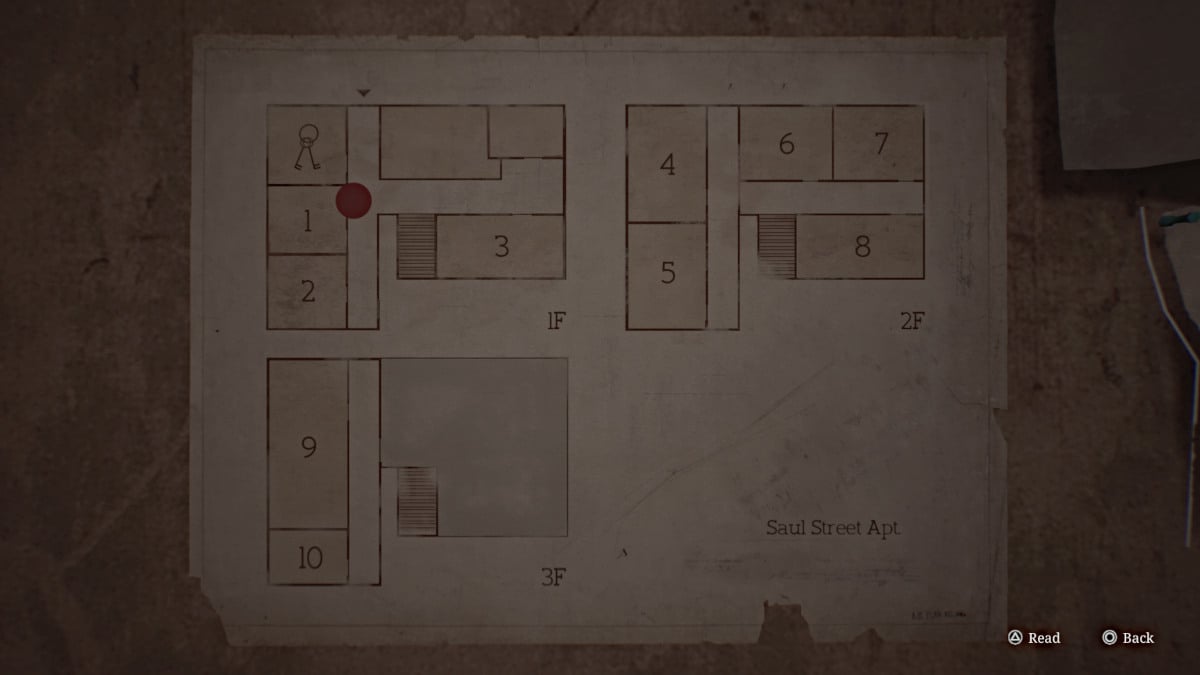
不过,在前往那里之前,请左转经过楼梯间,穿过左侧 3 号公寓对面的裂门,通向Green Pharmacy 。当您进入时,注射器将放在您右侧桌子上的急救箱中。
现在原路返回到通往公寓二楼的楼梯间,然后向右走,直到看到7 号公寓旁边的狭小空间。仔细检查一下,你会在里面找到租户的便条。返回通过狭小空间或可以解锁的门,现在前往 5 号公寓。使用钥匙进入并寻找墙上的缝隙,将您带到4 号公寓。在过场动画中,詹姆斯造成的噪音会对您需要前往的9 号公寓楼上的三楼造成干扰。乐趣。
这里没有可以拾取的物品,因此请穿过下一个墙壁间隙,通向被碎片堵塞的走廊的另一侧。穿过打开的窗户到达阳台,然后走上消防楼梯,直到在顶部最右侧找到另一个打开的窗户。一旦你跳过了防火梯,就不能再回头了。
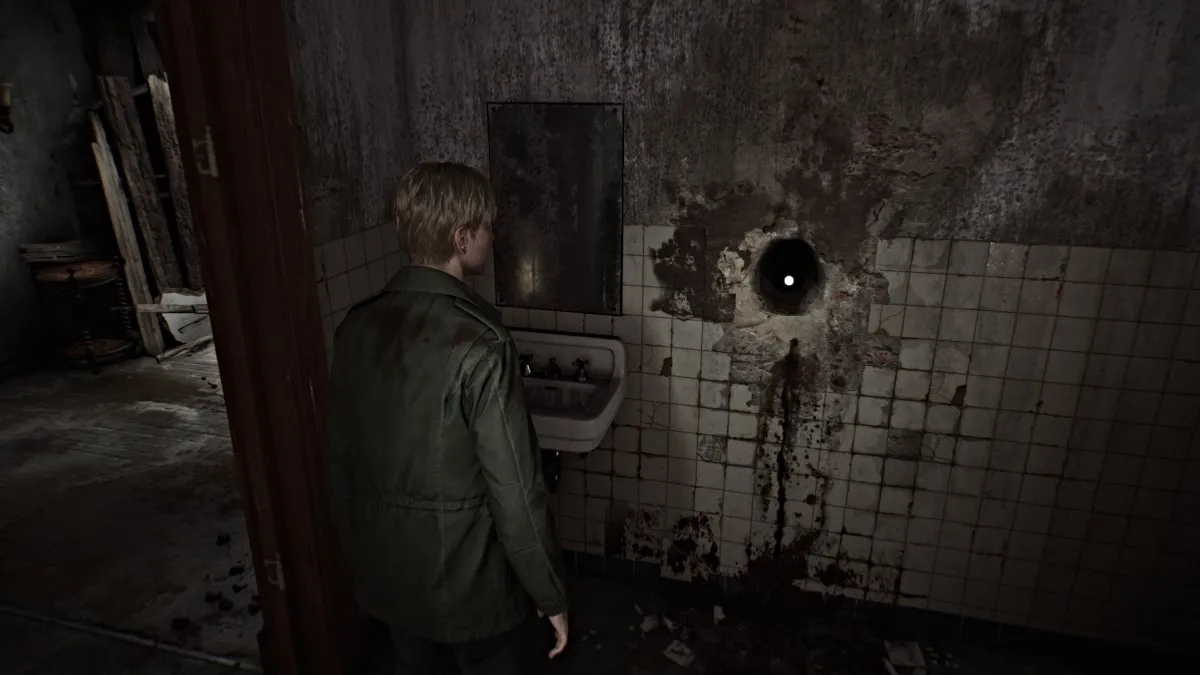
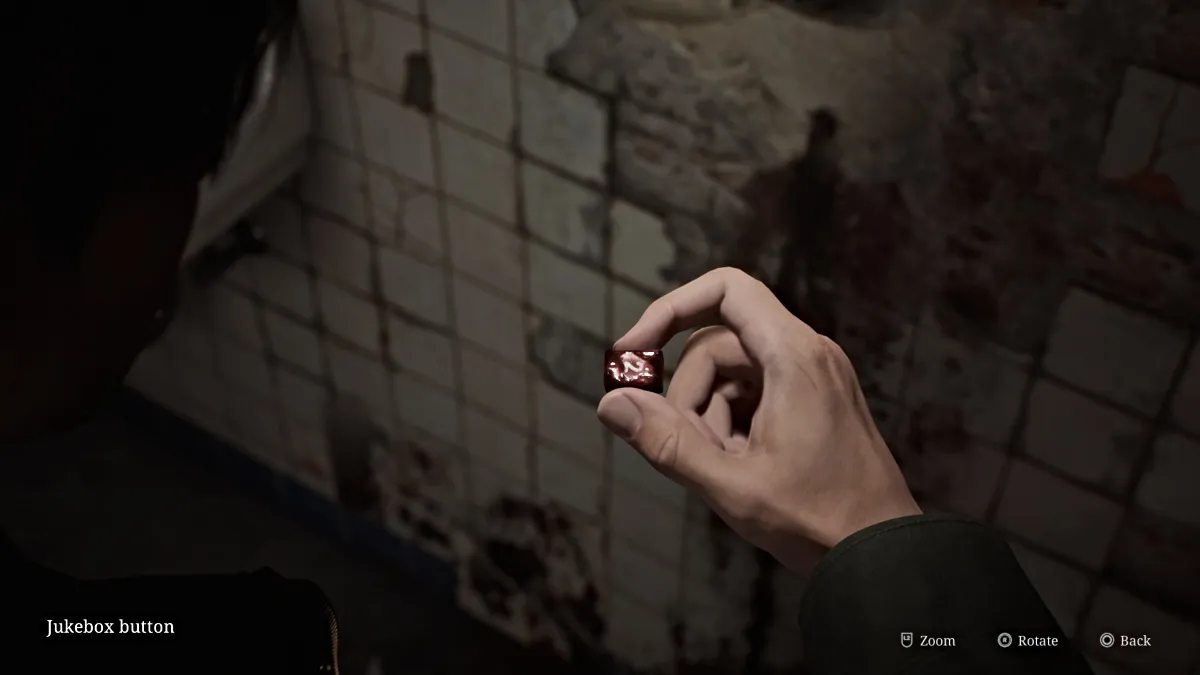
走到浴室旁边的门处,会播放一个过场动画,詹姆斯试图打开门,却发现门被锁住了,里面散发着可怕的气味,他把手上的门把手沾上了黑色物质。现在,进入旁边的浴室,墙上会有一个大洞(见上图)。与它互动以“搜索”它(包括可爱的声音),直到詹姆斯拉出点唱机丢失的“2”按钮。
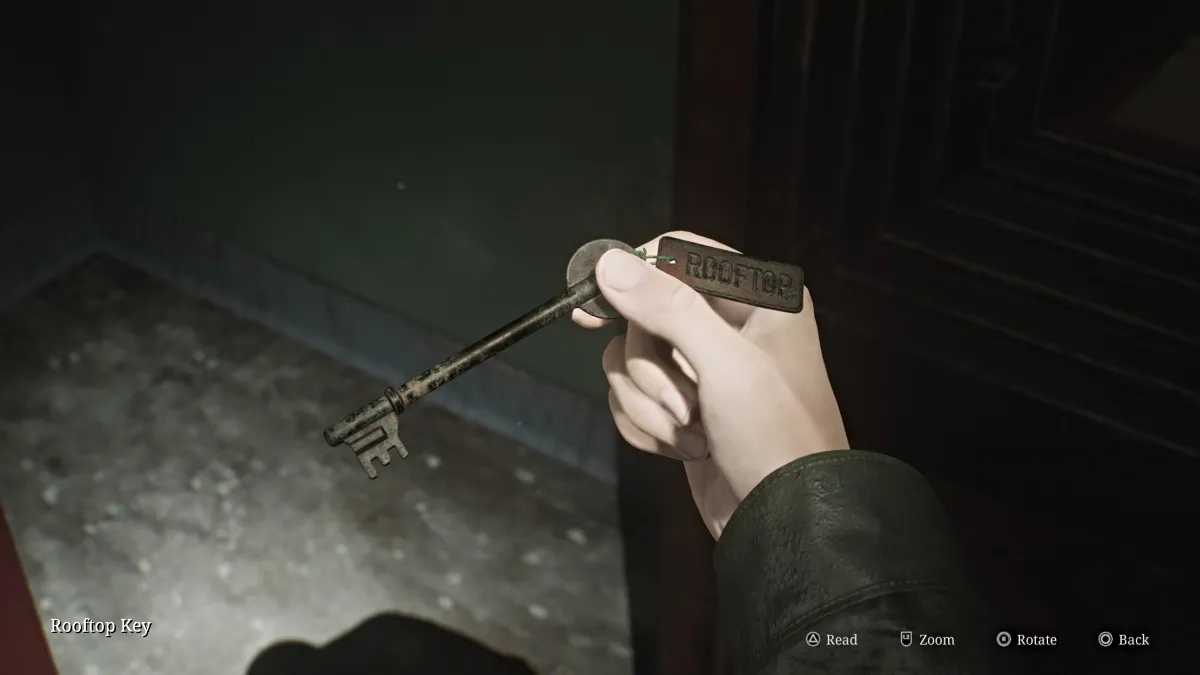
现在通过附近的门前往屋顶,您会看到前面有一个梯子。
你右边的门通向另一个室内楼梯间,但它已被完全摧毁,所以这不是一个选择。走下梯子,你最终会到达大楼的垃圾区。从另一侧锁着的门出去。
您可以继续沿着索尔街行驶,左边一扇敞开的大门后面有一辆房车。附近有一个躺着的人影会接近你,所以处理掉它然后进去。拿上房车便条和一杯健康饮料,然后离开时地上的索尔街便条告诉你: “他们可能会被杀死。只要确保他们趴下即可” 。
另外,请务必拿走房车附近街道上的旧地图(另一份备忘录)。
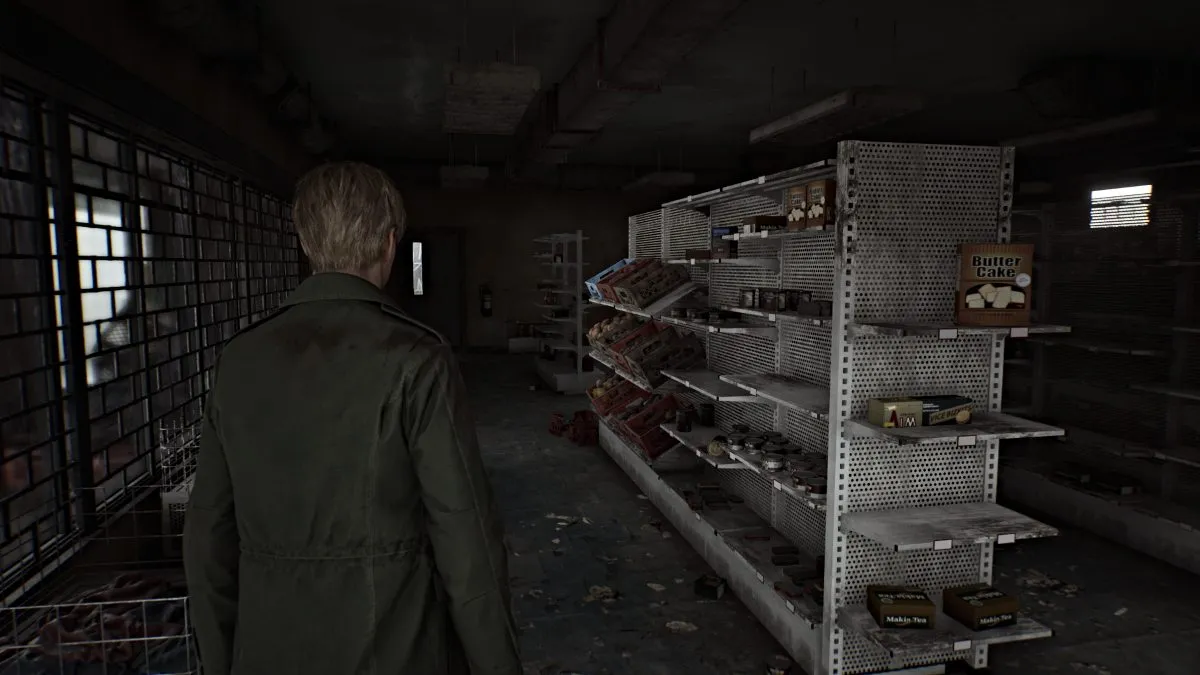
您仍然需要硬币才能在点唱机中播放唱片,所以先不要返回 Neely's Bar。首先,沿着尼利街(Neely Street)穿过它,直到找到一条开放的小巷,那里有通向大市场的后门。您需要密码才能打开门,在桑德斯街的一辆卡车附近找到的密码注释会给您提示。
本质上,最后一次尝试的人拨打了号码“4439”,并感觉他们“现在已经很接近了”。这意味着您可以输入后续数字,直到正确为止,但为了节省您的时间,代码是“4444” (标准拼图难度)。在里面,你会发现多达四杯健康饮料和两盒手枪弹药,所以进站是非常值得的。
右转进入 卡兹街 一路跑到尽头的德克萨斯咖啡馆,在大路障旁边。穿过未上锁的侧门到柜台后面的收银台。使用收银机内已有的钥匙和底部的按钮打开抽屉并取出尼利酒吧硬币。小心随后伏击你的谎言人物。
现在是时候返回尼利酒吧了,但在你这样做之前,请确保你已经从桑德斯街半路的一辆大卡车附近的尸体上拿到了桑德斯街笔记。
将Neely's Bar Coin插入点唱机并按“C”和“2”按钮最终播放唱片。一首熟悉的曲调响起,詹姆斯经历了一段脱节的闪回。完成(或者更确切地说是破坏)后,点唱机会吐出Neely's Bar Key ,您可以在附近锁着的门上使用它。
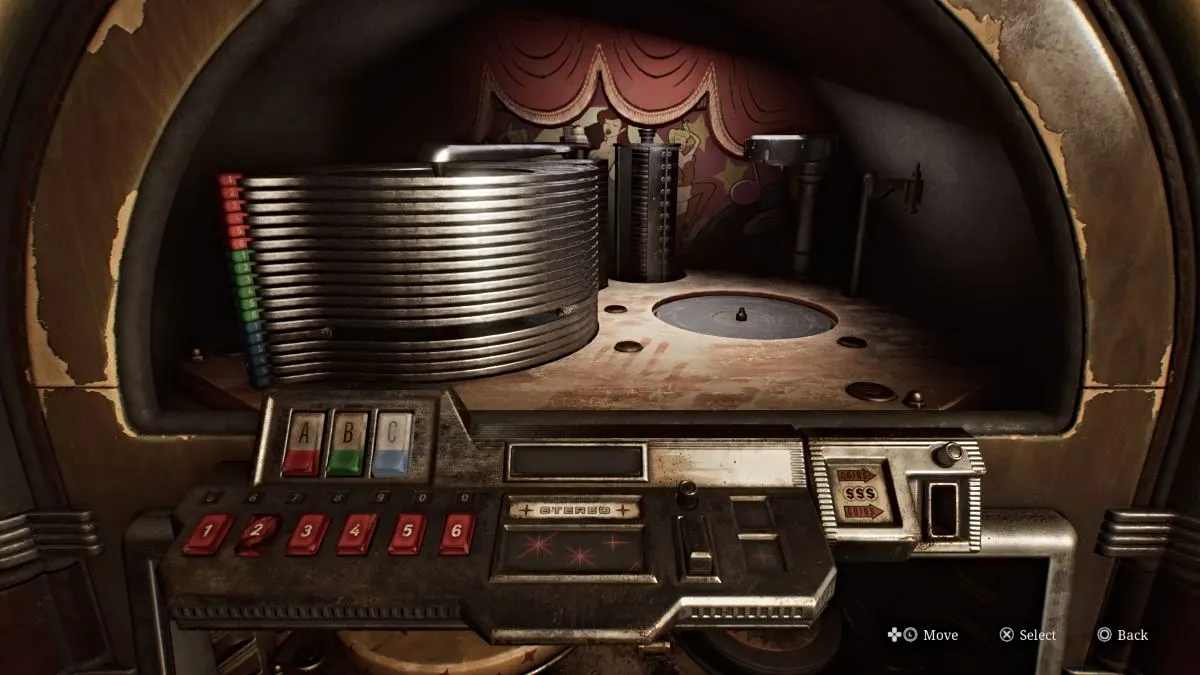
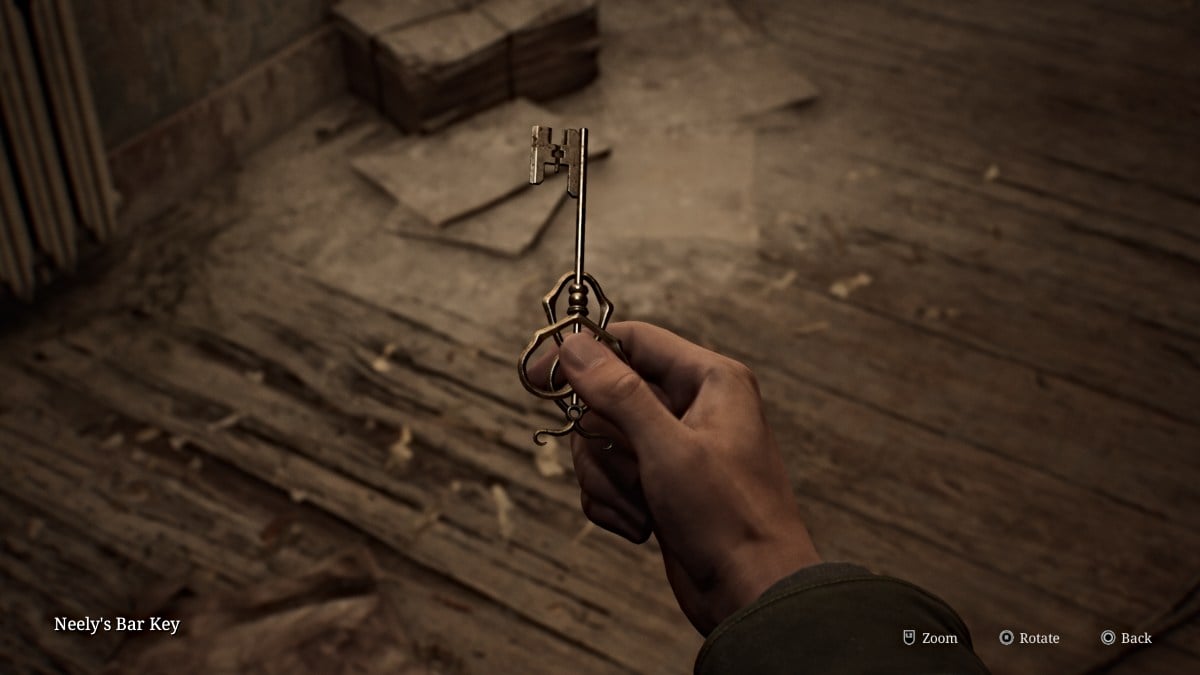
走进门并立即向右看。在墙上的高处可以看到一个狭窄的空间,你需要使用挡住道路的手推车才能到达它。将其推向墙壁,然后爬上去并穿过。
从墙上的急救柜里拿出健康饮料,然后进入隔壁房间,从桌子上拿起“后室信” ,表明你需要找到一辆车牌结尾为“06”的绿蓝色汽车关闭经过。离开后门,通向另一个停满汽车的后巷区域。
该地区唯一一辆有东西的汽车是马丁街交叉口右侧的亮绿色汽车。驾驶座上将有一杯健康饮料。原路返回,继续朝詹姆斯在地图上画的问号走。穿过路障门,废弃的绿蓝色汽车就在你的右边,旁边有一堆血迹斑斑的衣服。
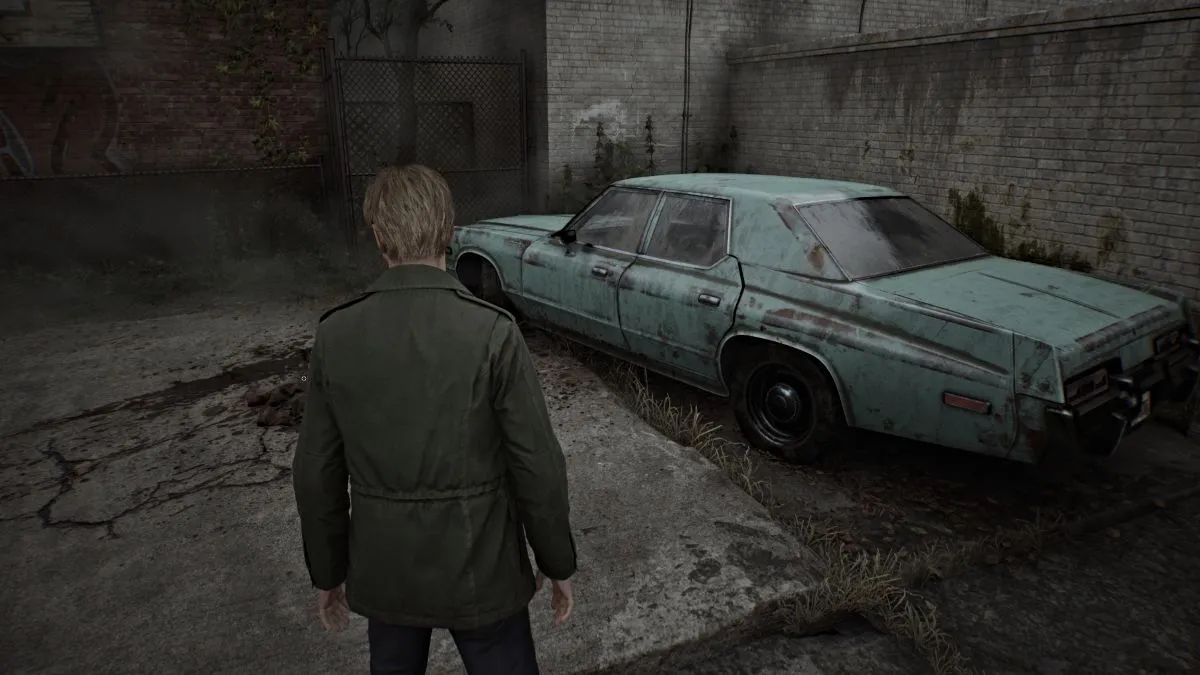
与其互动,詹姆斯会从其中拔出木边公寓钥匙,然后遭到多个谎言人物的伏击。您无法与他们全部战斗,因此请通过附近的小巷寻找逃生路线(您穿过的门将被锁住,因此请勿尝试)。这条小巷将带您回到卡茨街,这里也到处都是说谎的人物,现在您需要避开以保持健康。
首先,沿着卡茨街一直向西跑,直到到达巨大的障碍物。抓住地上的屏障笔记备忘录,然后在屏障中寻找一个缺口,在那里你可以看到用血写的短语(见下图),这是另一个过去的一瞥。
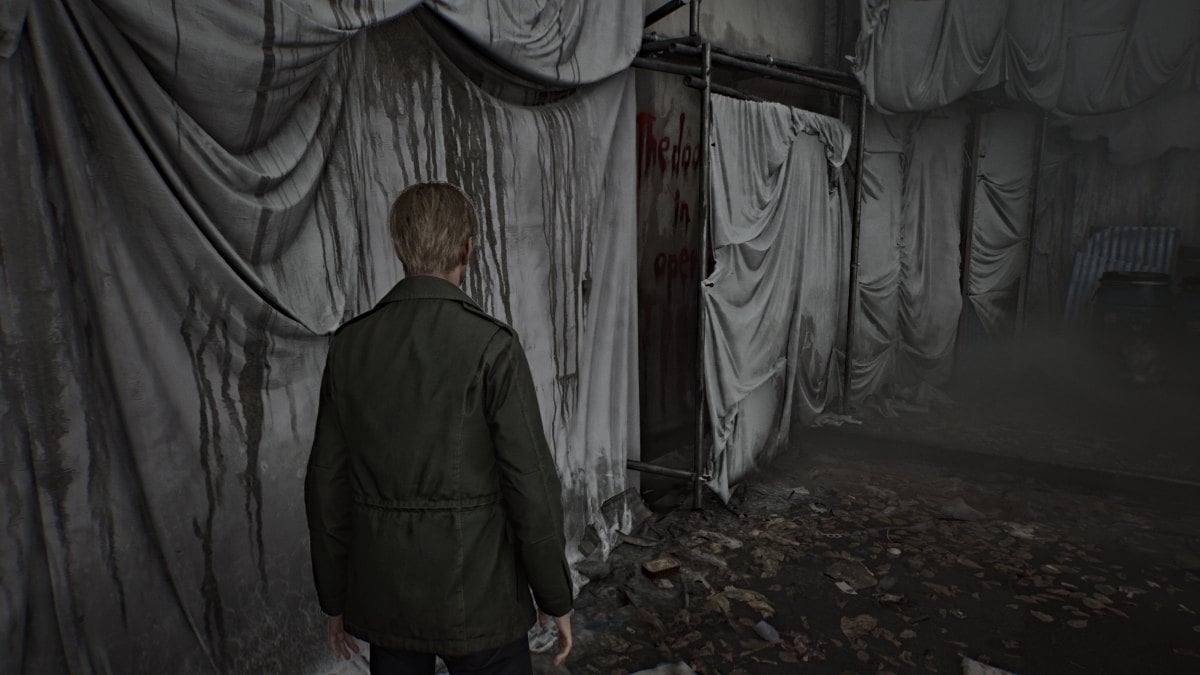
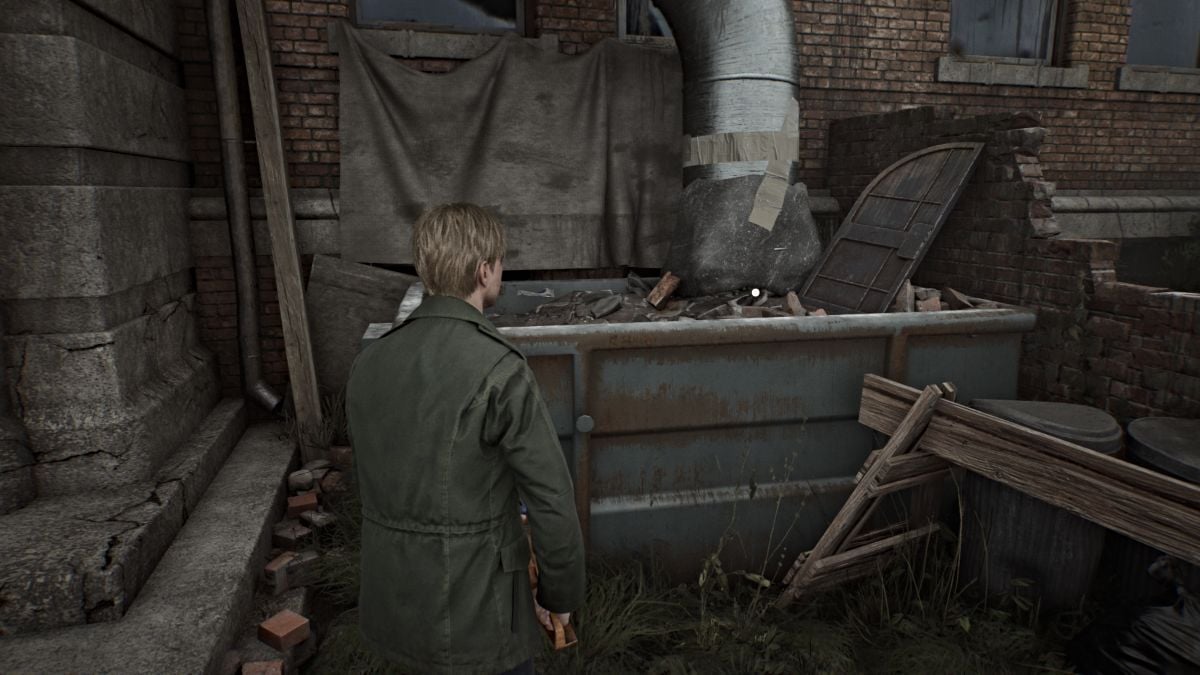
现在原路返回,直到您看到左边的 Wood Side 公寓的入口。在进去之前,跑到入口右侧的垃圾箱(如上图所示)并与其互动,以再次一睹过去的风采。从附近的板上取下德克萨斯咖啡馆传单备忘录,然后使用钥匙进去。
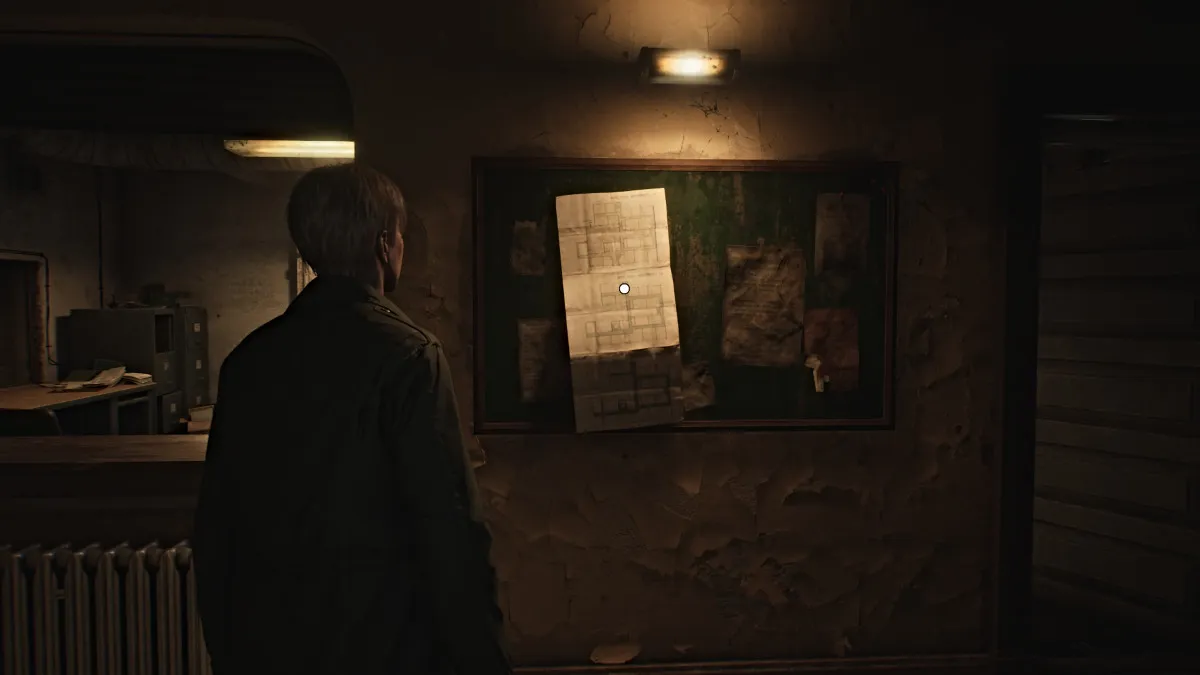
走进大厅,从墙上的公告牌上拿起公寓楼地图。它将向您显示Wood Side Apartments 1F-3F的布局,您可以使用相应的按钮循环浏览每个楼层。接下来,进入大厅办公室并使用左侧的红色保存点。进入它后面的房间,打开右边的柜子,找到手枪弹药。
在房间另一边的一张床单下,詹姆斯会发现一个奇怪的柜子,它是你要解决的下一个谜题。您需要找到特殊的硬币来放置在凹口中,所以我们稍后再讨论。
检查办公室右侧的清洁浴室以获取更多手枪弹药。该侧的其他门目前已锁定,因此请返回楼层的左侧。走到左后方,那里有一个装满文件活页夹的架子,从中取出行政笔记备忘录,其中谈到来自217 公寓的枪声。另外,坐在楼梯下再拿一杯健康饮料。
一楼的所有其他门都锁着,所以现在上楼到二楼。
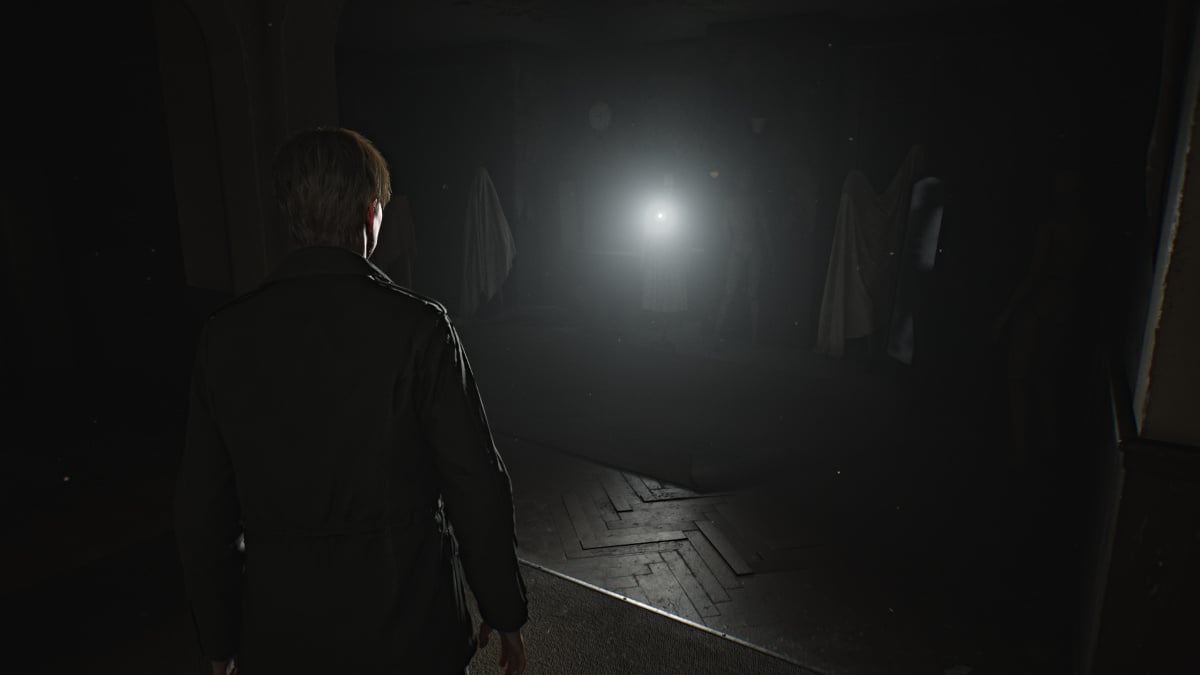
除右侧的公寓外,二楼的大部分区域目前无法进入。 202公寓的门敞开着,进去吧。客厅里发出异常明亮的光芒,原来是一个穿着玛丽服装的人体模型,里面还塞着一个手电筒。在服用之前,请先前往厨房区域,从其中一个柜子中取出一杯健康饮料。
现在去领取手电筒,这对以后的发展非常有帮助。隐藏在其后面的新型怪物(称为人体模型)会伏击您,因此在短暂的 QTE 后,请使用木板将其击倒。虽然它不像谎言人物那样吐出酸液,但它的物理攻击非常残酷,所以要小心。他们还喜欢偷袭,有时甚至可以通过保持静止来欺骗您的收音机。
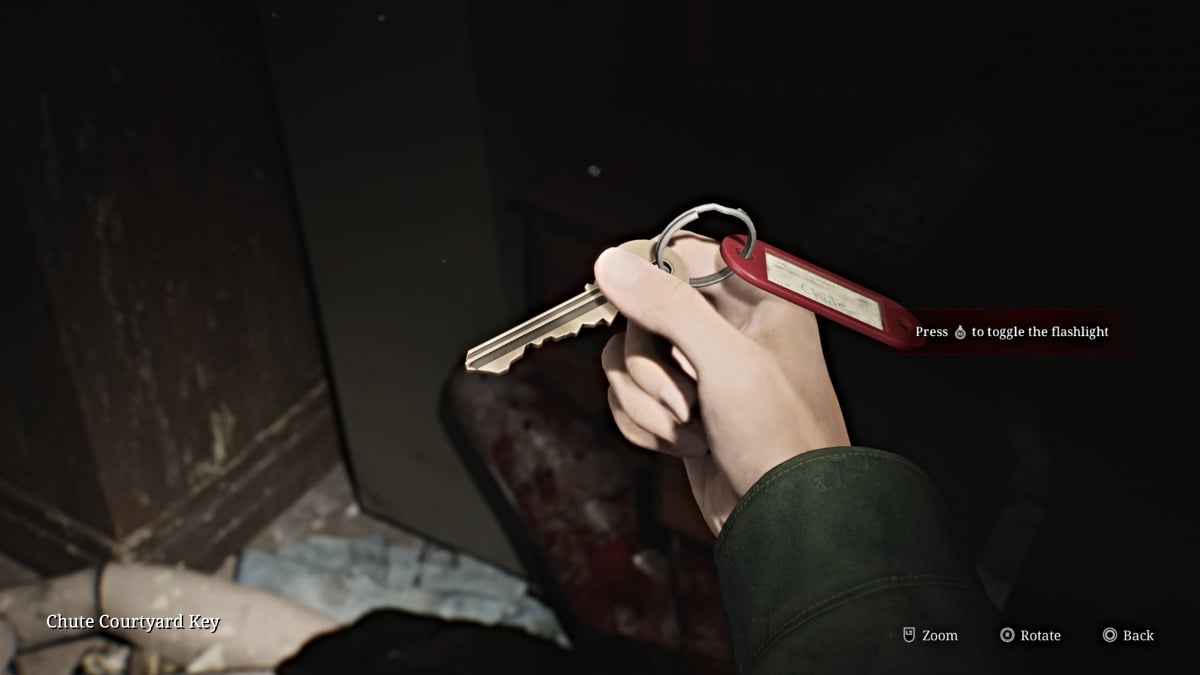
然后,从附近的梳妆台上拿起滑槽庭院钥匙,然后离开公寓。
跑上楼梯经过三楼(当前已锁定),直到到达死胡同。更多手枪弹药将放在这里的小桌子上。一路跑回一楼。
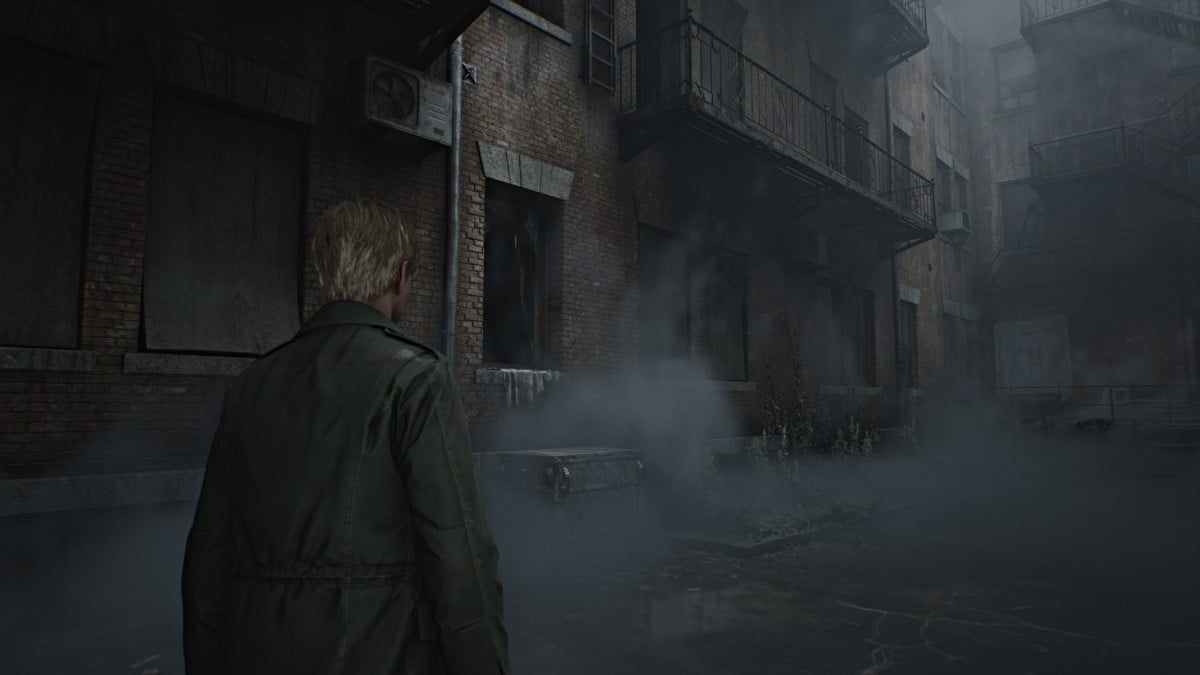
使用清洁浴室左侧门上的斜槽庭院钥匙,它将带您到外面的内部庭院,那里是建筑物的主要垃圾斜槽。注意滑道右侧有一扇打开的窗户,将附近的手推车拉向它,爬进112 号公寓。
在左边的房间里,在梳妆台抽屉里找到手枪弹药。右边厨房的桌子上有一篇关于被定罪的杀人犯沃尔特·沙利文的当地新闻文章。离开公寓,沿着走廊向右走到109 号公寓。
人体模型将藏在客厅的桌子下面,所以准备好与它战斗吧。然后,从附近的卧室拿走手枪弹药,然后离开公寓。继续沿着走廊走,打开右边的一扇门,通向滑道庭院的另一侧。然后继续往前走,看到地上有一把钥匙,被一些栅栏挡住了。与其互动以提示过场动画。
年轻女孩踢开钥匙跑开后,走近路穿过庭院回到大厅。你会注意到一楼的两侧现在都可以完全进入并且充满了怪物,所以要小心行走。首先前往右侧,因为那是您需要从那里获取钥匙的地方。
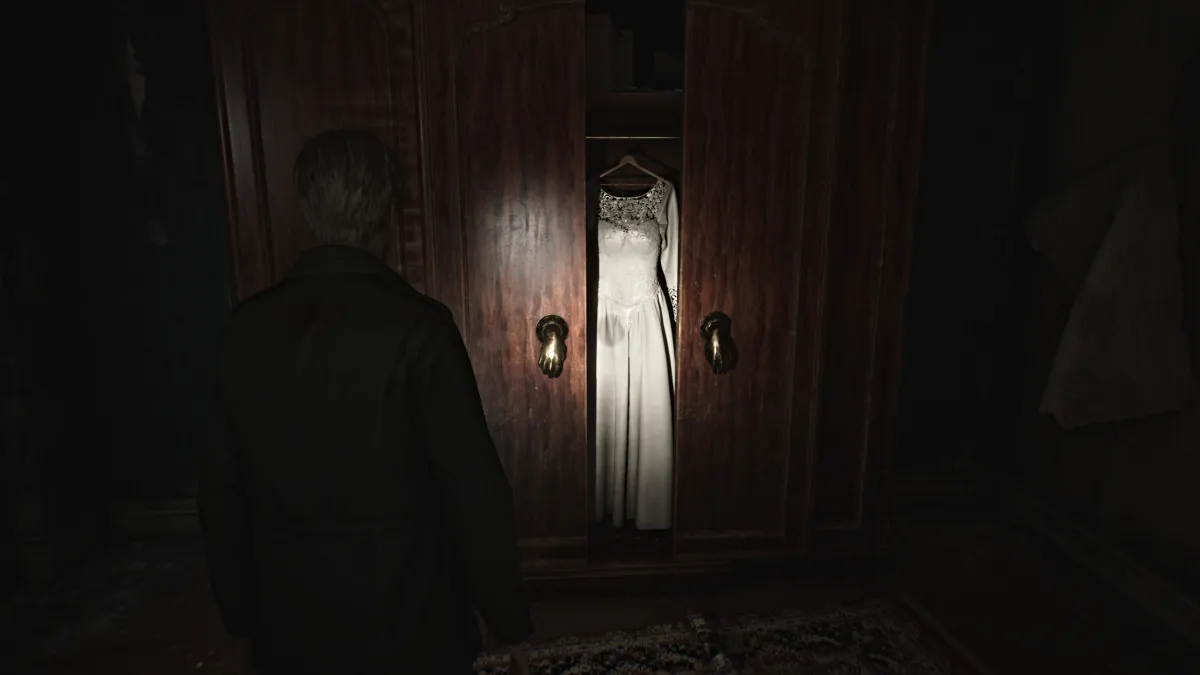
来到108 号公寓,走到卧室里的大衣柜前,衣柜里装有奇怪的手形把手(见上图)。与左手互动,使其向下转动并击落金苹果手柄。拿着它并离开公寓。继续沿着走廊走,在酒吧旁边领取2 楼走廊钥匙。快速跑进对面的107公寓,从卧室的梳妆台上拿一杯健康饮料,然后离开。
106 号公寓的门现在打开了,一个躺着的人挡住了你的去路。击败它并跑进公寓从客厅的柜子里拿一些手枪弹药。继续返回建筑物的左侧。
处理完更多的谎言人物后,进入102 号公寓,并在标有“情人节”的电视旁边拿起一张奇怪的照片。
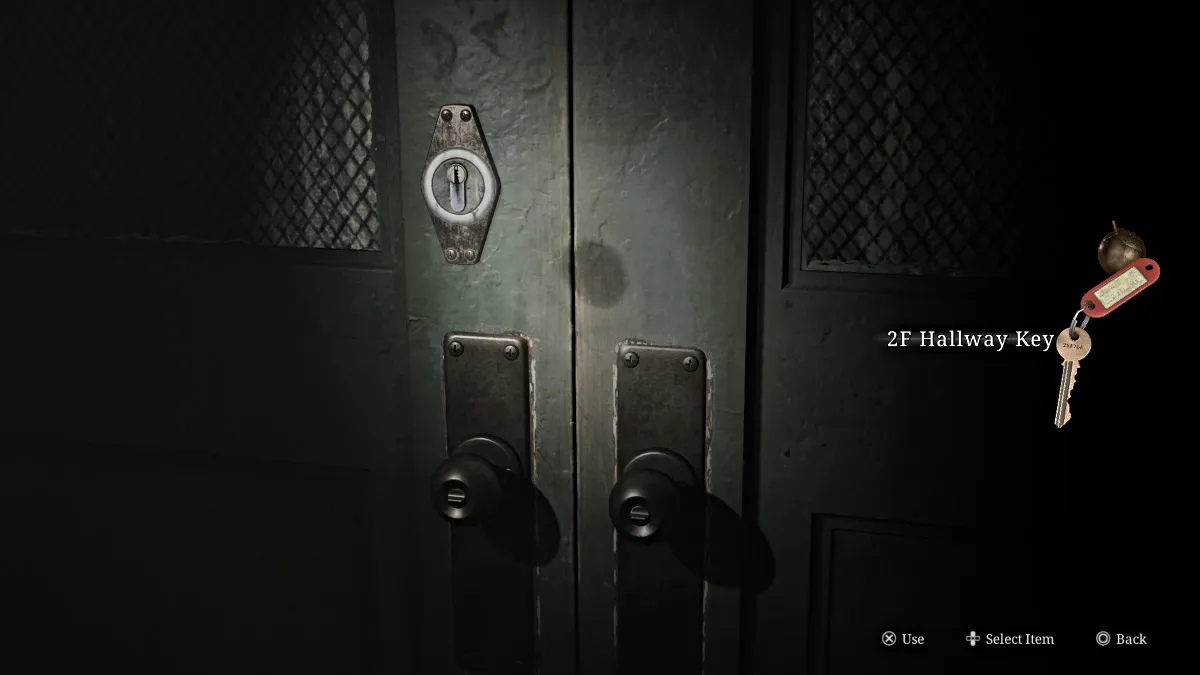
用你的新钥匙回到二楼,打开左边的绿色双门,这样就可以进入楼层的其余部分。当你沿着走廊走时,左边窗户上的一个缝隙显示出一辆婴儿车停在大楼外的空游泳池里。你会想要记住这一点。
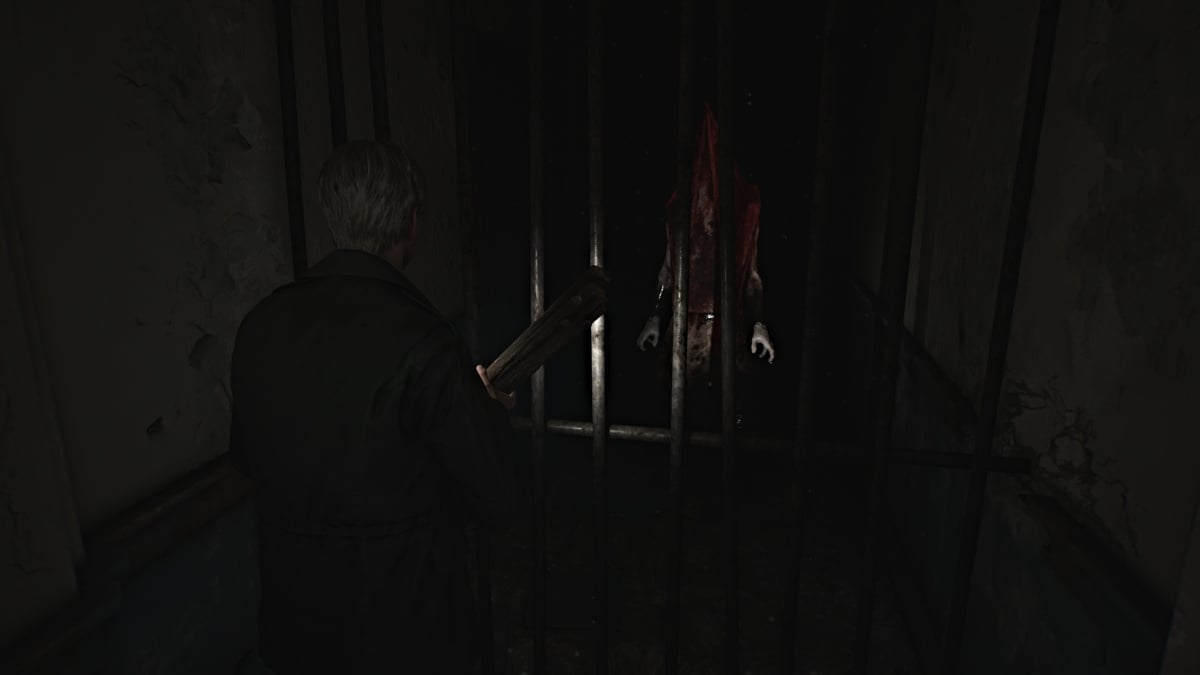
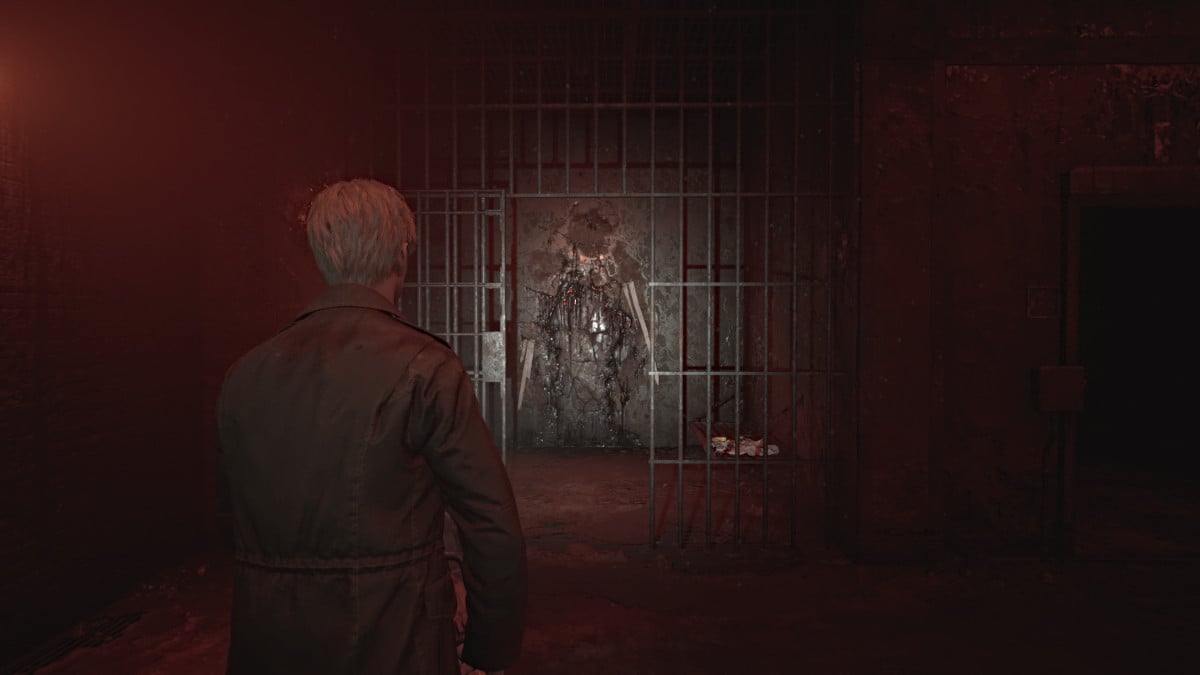
继续沿着大厅走,然后右转,直到您看到远处有红色的东西在发光。走近它,原来那不是别人,正是金字塔头,在另一组栅栏后面盯着詹姆斯。尽管令人不安,但他(目前)什么也没做,所以稍微回溯到213 号公寓。
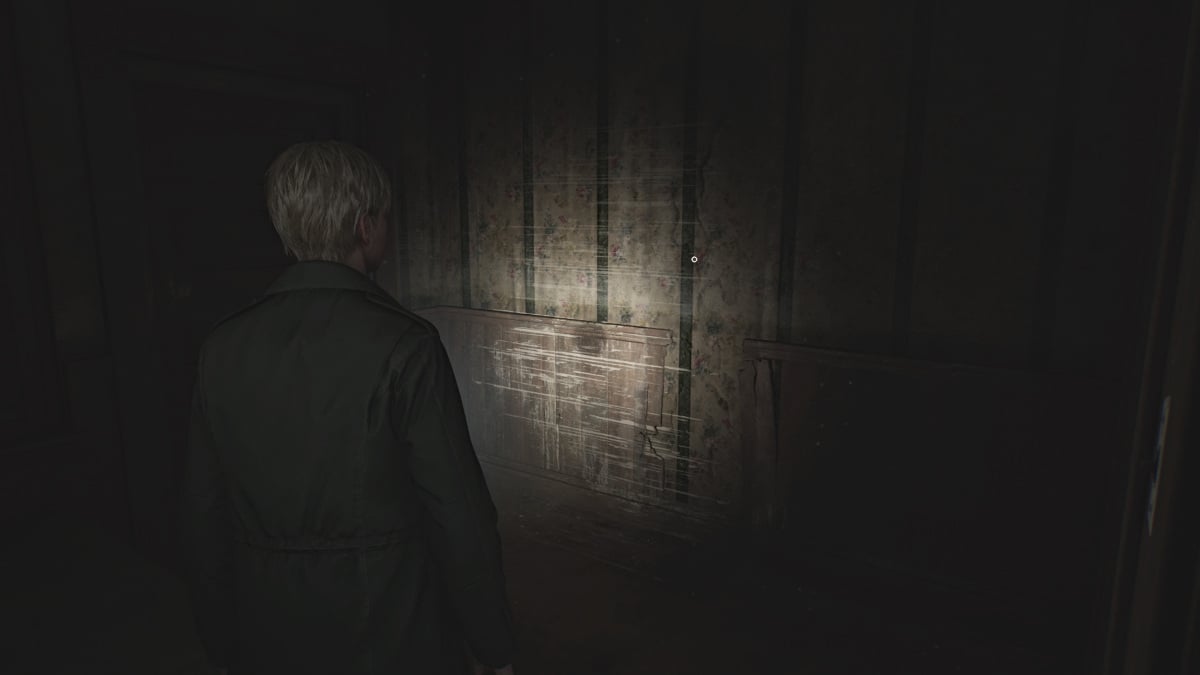
在里面,在卧室墙上寻找另一个“过去的一瞥”点(见上图),然后走到厨房附近墙上的一个缺口,该缺口通向走廊的另一侧,该缺口被一扇破门挡住。最后前往217 号公寓。
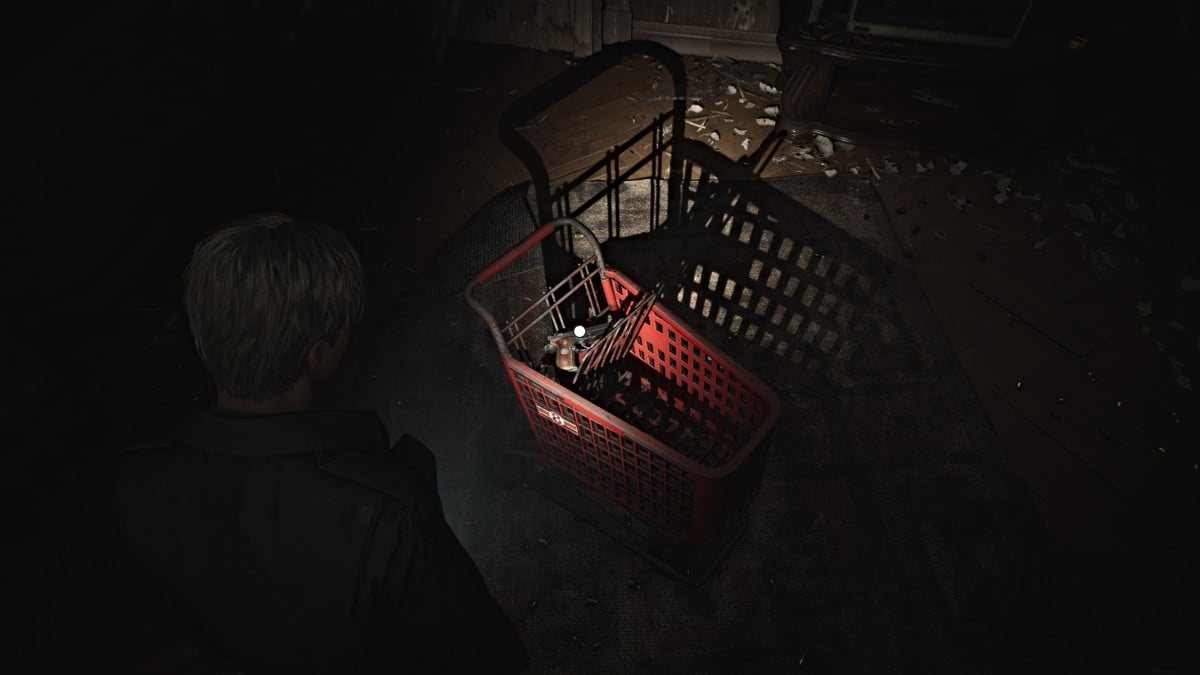
进去看到一间布满弹孔和弹壳的客厅,中间放着一辆红色购物车。看看里面,你会得到一把手枪,这是你迄今为止的第二件武器。此外,正如您所料,公寓里充满了手枪弹药,因此请到处检查。如果你到目前为止一直在努力收集弹药,那么你应该至少有 20 发左右。
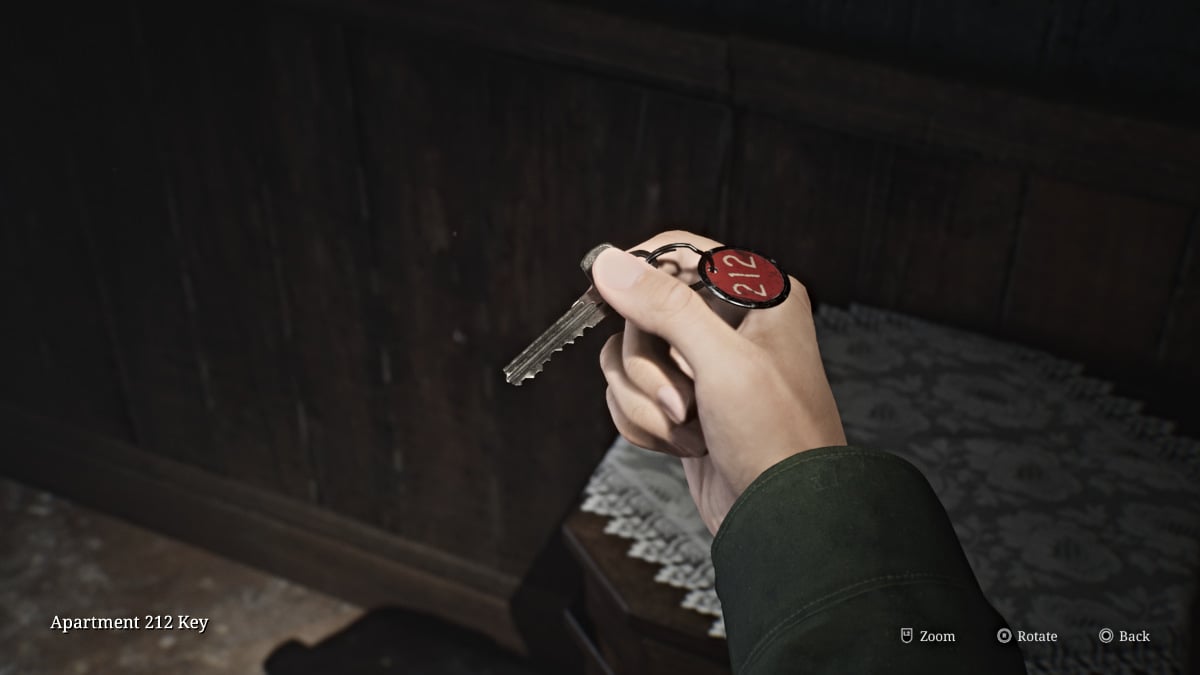
离开公寓,穿过墙缝回到213,一个满身是血的神秘人物坐在静态电视机前。与它互动一段简短的过场动画,然后从附近的梳妆台上拿起212 号公寓的钥匙。离开公寓,你会发现金字塔头不见了。使用钥匙进入另一间公寓。
从里面的厨房拿一杯健康饮料,然后穿过敞开的门前往阳台。穿过它到另一边的公寓,在那里你会在打开的冰箱里找到一个人体模型和一些手枪弹药。离开公寓,沿着大厅前往楼层的东南侧。一路上,走到另一个阳台上,拉动附近的控制杆,将防火梯降低到地面,以获得另一条捷径。
进入207 号公寓,你会发现一个躺着的人物、一个藏在浴室里的人体模型和手枪弹药。
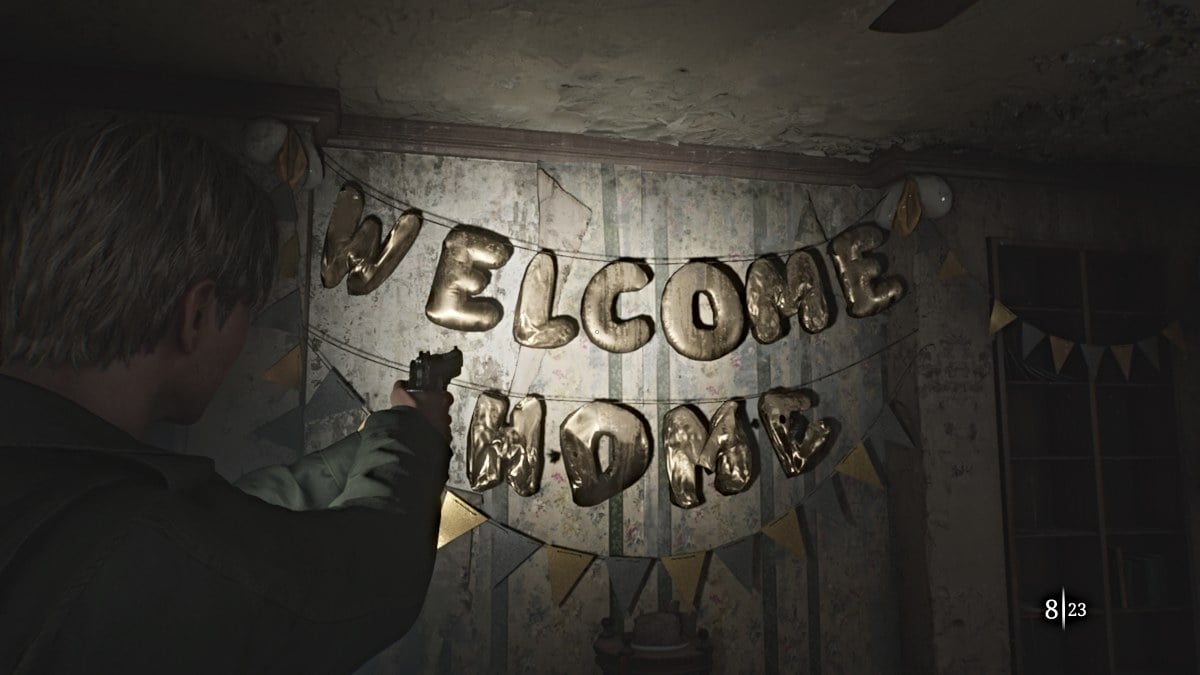
205 号公寓的阳台被挡住,因此请返回走廊并前往208 号公寓。
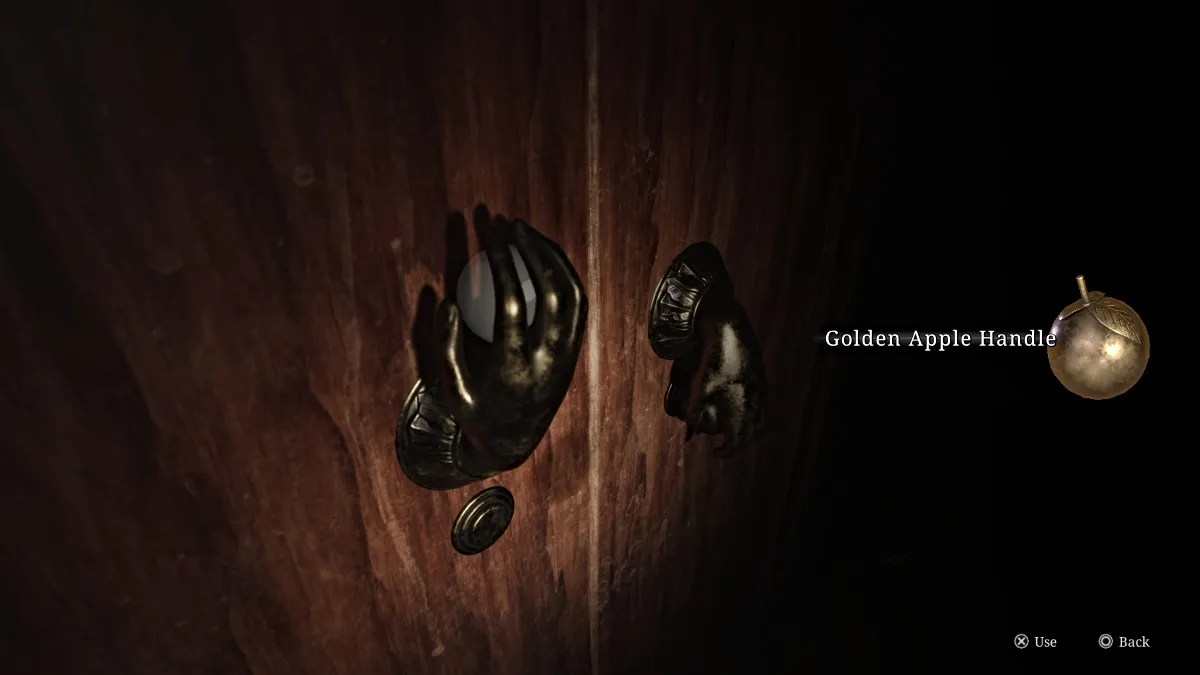
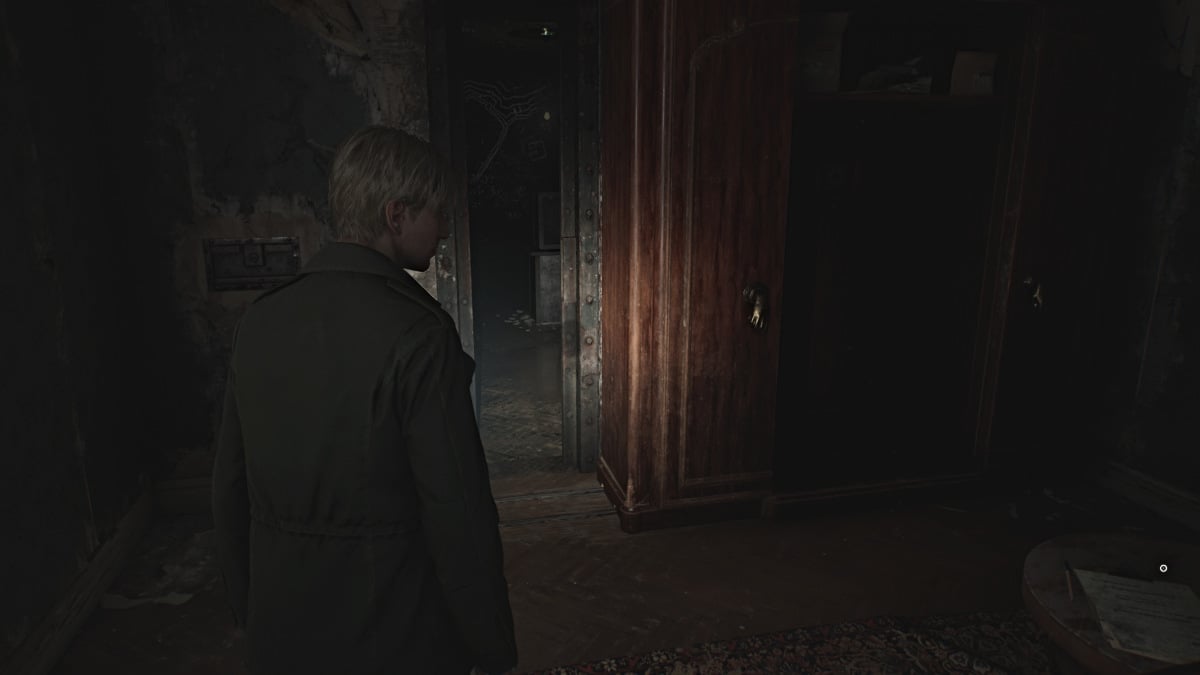
在里面你会发现另一个带有金色指针的大衣柜。走到它面前并使用您之前获得的金苹果手柄来解锁衣柜。走到它的左边并互动,将其推倒,露出一个秘密房间,墙上写着字,中间有一个上锁的保险箱。你一进去,门就会在你身后封上。
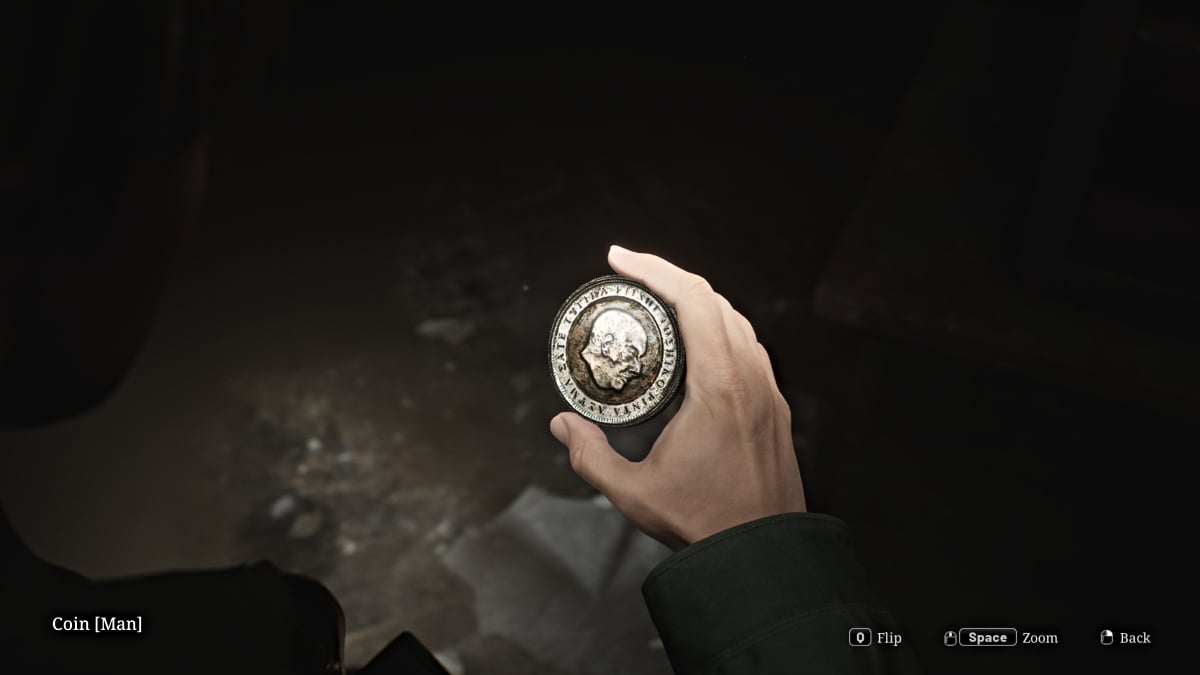
要打开保险箱,你需要输入正确的组合,你得到的唯一提示是你进来附近墙上的文字。正确的组合(标准拼图难度)是“右13”,“左” 7,然后“右11” 。保险箱将打开,露出男人硬币(用于楼下的硬币拼图)和一把钢钥匙,用于打开房间另一侧的门(上面画有白色方块)。
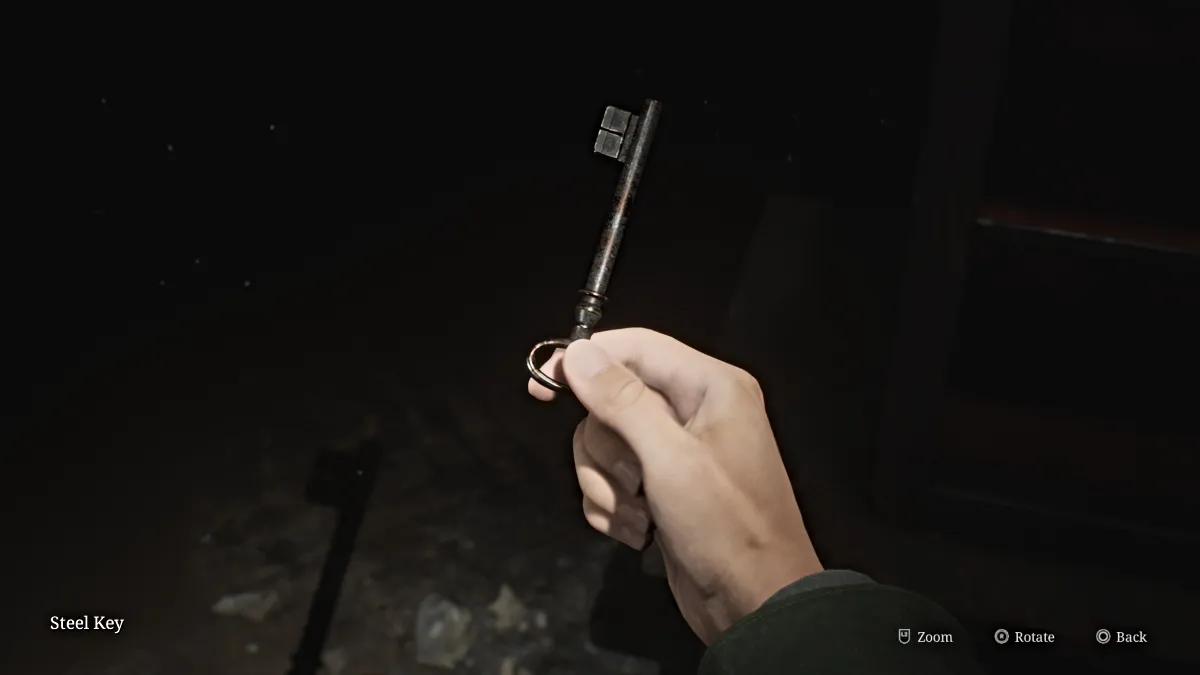
逃离房间,您将回到走廊, 205 号公寓的门现已敞开。进去你会发现一些虫子怪物以及药罐里的健康饮料,厨房里有手枪弹药,房间中间的椅子上有2F小楼梯钥匙。
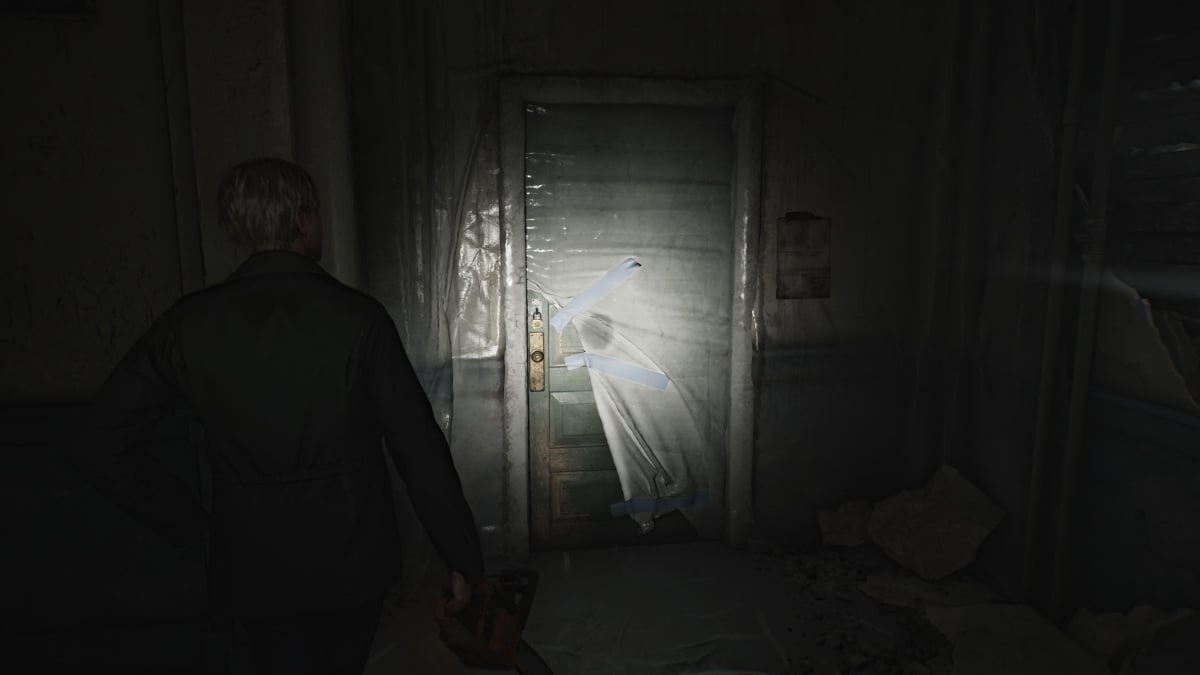
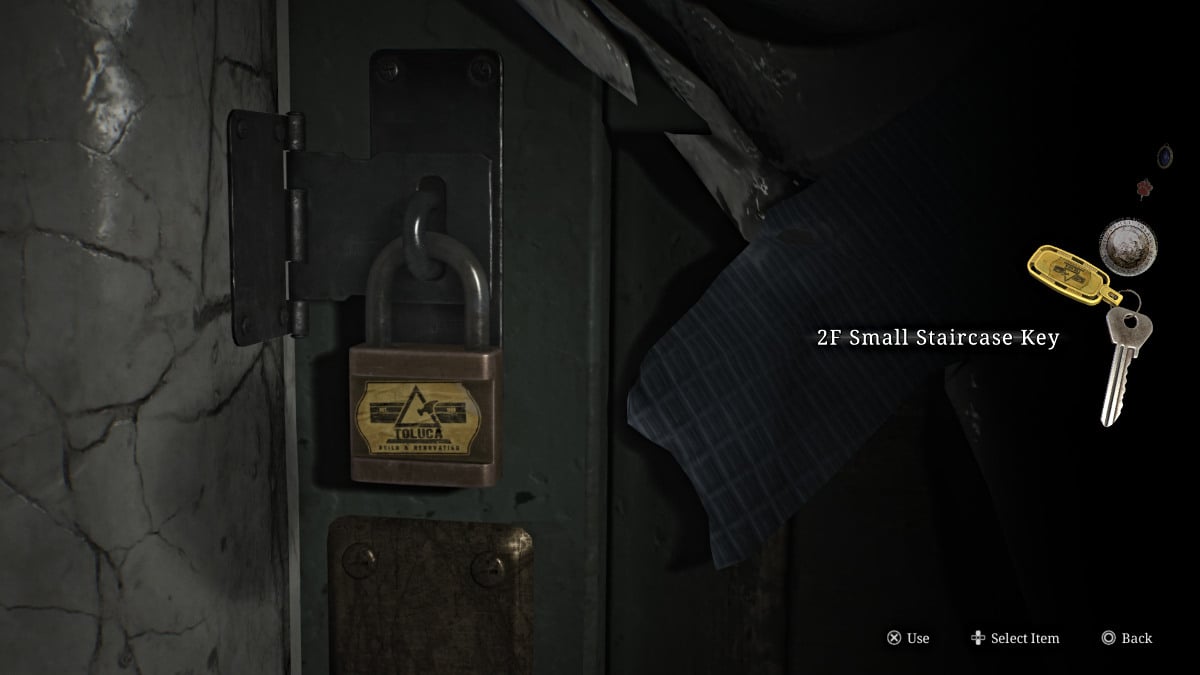
拿着它,一路回到地板北侧覆盖着塑料的楼梯。使用其上的2F小楼梯钥匙即可最终访问它。使用里面的红色保存点然后前往三楼。
到达三楼后,先沿着走廊直走,在尽头的扶手椅上领取一些手枪弹药。然后原路返回并向右走,直到到达另一个死胡同和一个通向311 号公寓的墙缝(见下图)。小心两个人体模型在附近等着伏击你。
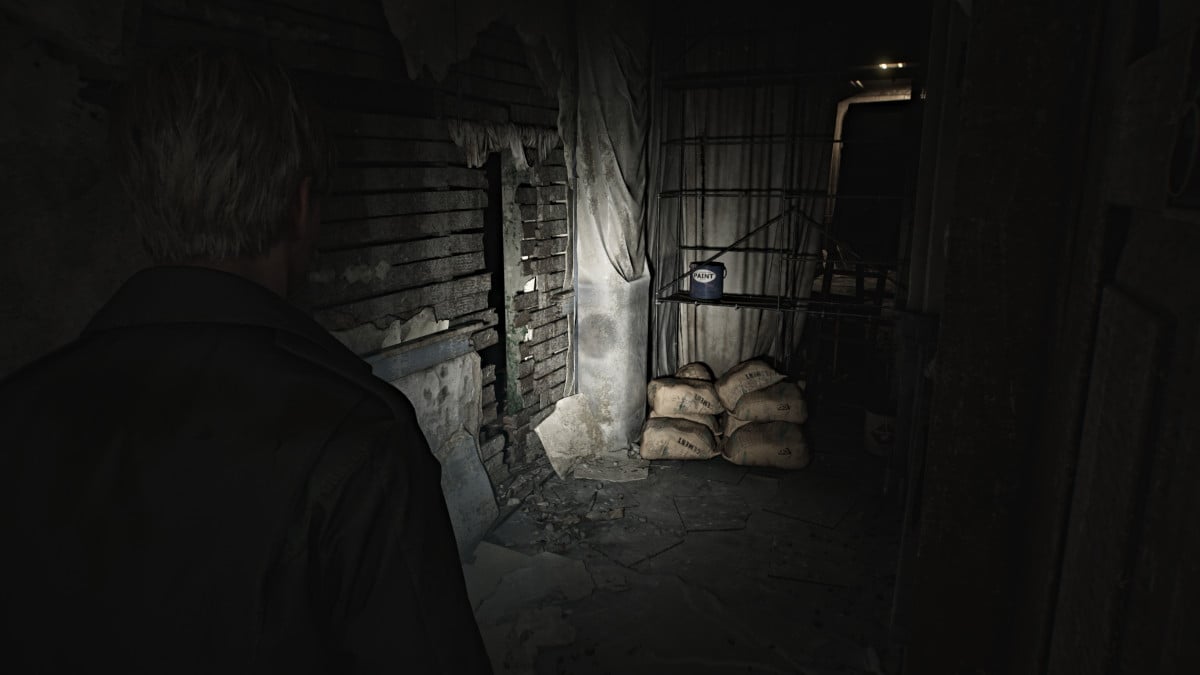
穿过并进入309 号公寓,然后短暂返回走廊并穿过另一个缝隙到达310 号公寓。这间公寓分为两半,因此请务必检查两侧。走廊尽头的一侧会有一张奇怪的纸条,你可以从桌子上拿起急救箱里的一些手枪弹药。
留意更多伏击的人体模型,然后使用阳台进入312 号公寓,在那里您会发现急救箱中的注射器、健康饮料以及挂在墙上的险恶笔记备忘录。
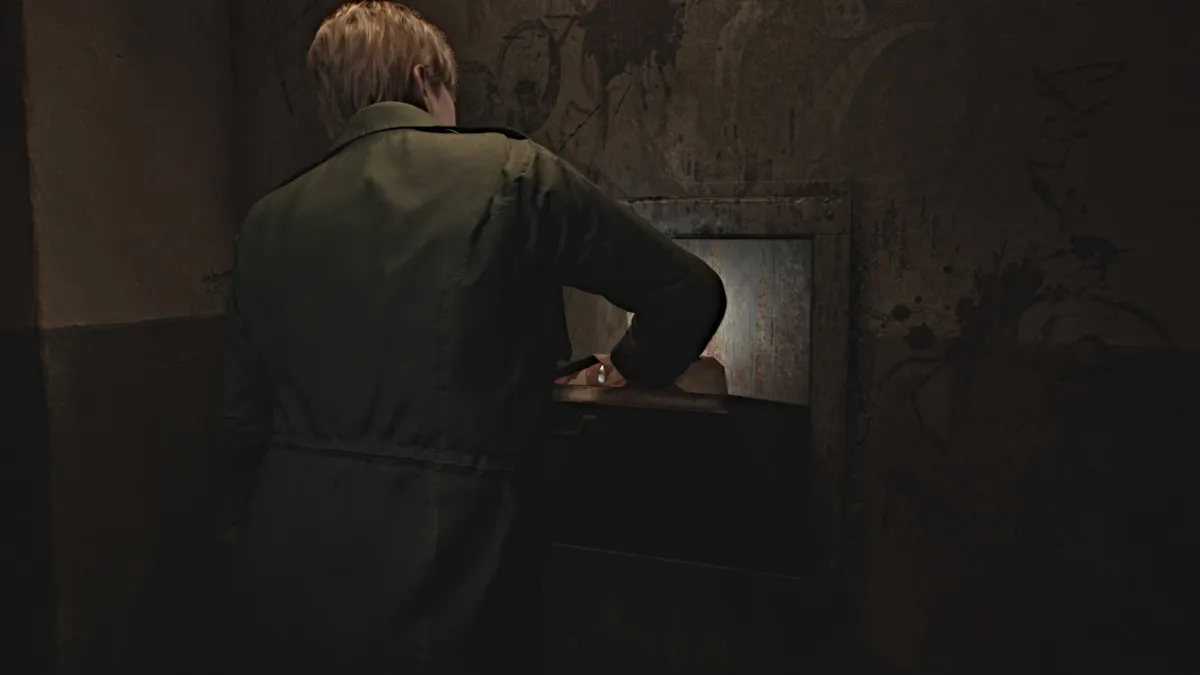
公寓左侧有一个狭小空间,上面有黑色残留物。爬过它,你就会出现在洗衣房里。从桌子上拿起罐装果汁包,然后将其带到附近的滑槽将其扔进去。重量会使一堆垃圾落入滑槽庭院,其中包括另一枚硬币。出门时,在洗衣机上多拿一些手枪弹药。
沿着北楼梯一直走到一楼,然后在底部的盒子里拿更多的手枪弹药。出口到走廊,你会听到右边传来类似干呕的声音。跟着他们进入最后的116 号公寓,一具尸体放在打开的冰箱里,有人在附近的浴室里呕吐。
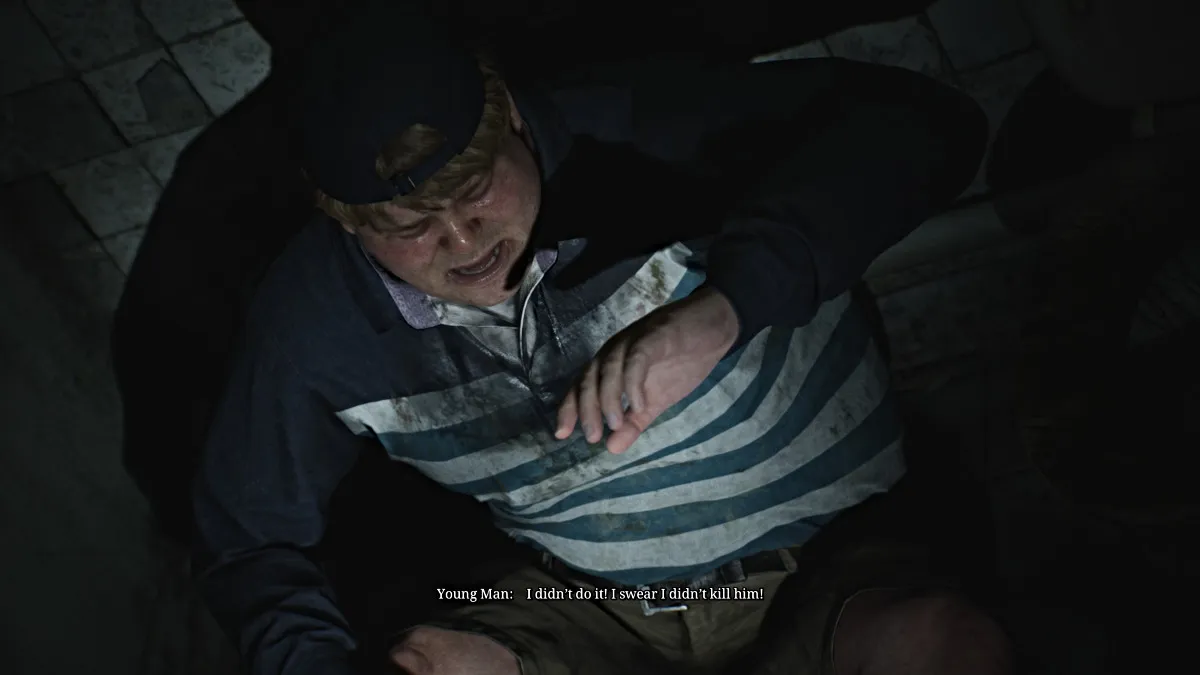
走近它,会出现一个过场动画,将詹姆斯介绍给埃迪·多姆布罗夫斯基(Eddie Dombrowski),埃迪看上去异常不安,而且明显身体不适。他似乎急于离开小镇,并邀请詹姆斯一同前往,但詹姆斯礼貌地拒绝了。过场动画结束后,在公寓中搜索物品,然后前往泳池区,泳池区爬满了躺着的人物,因此您需要小心地浏览。
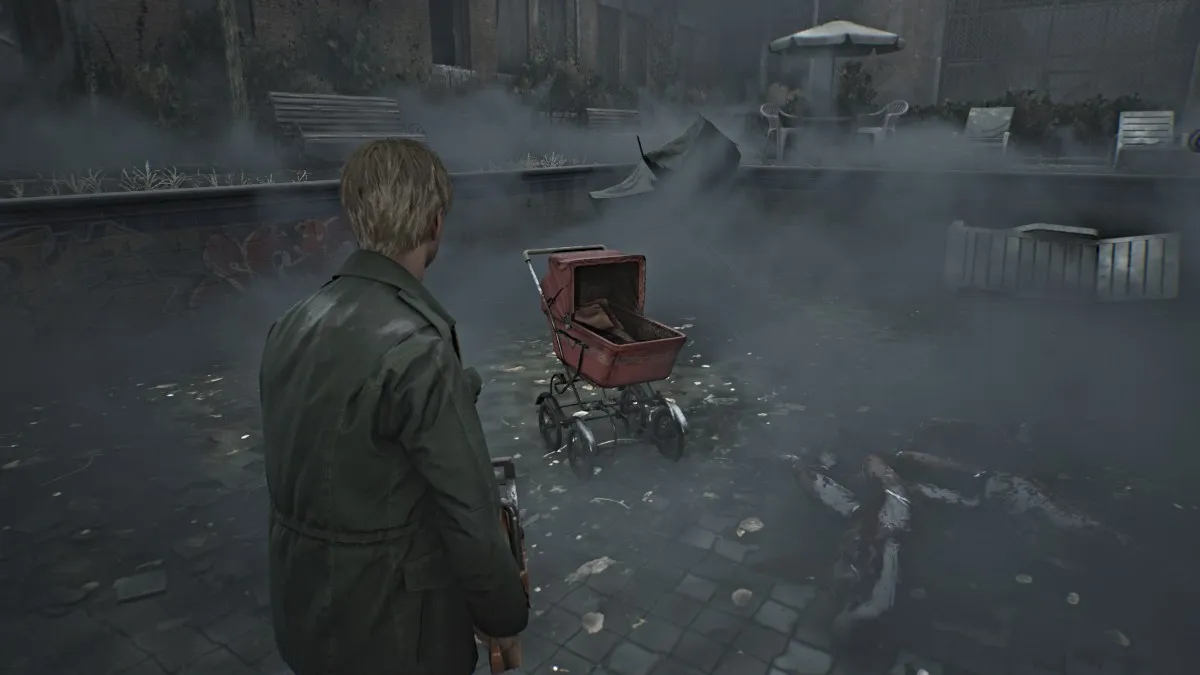
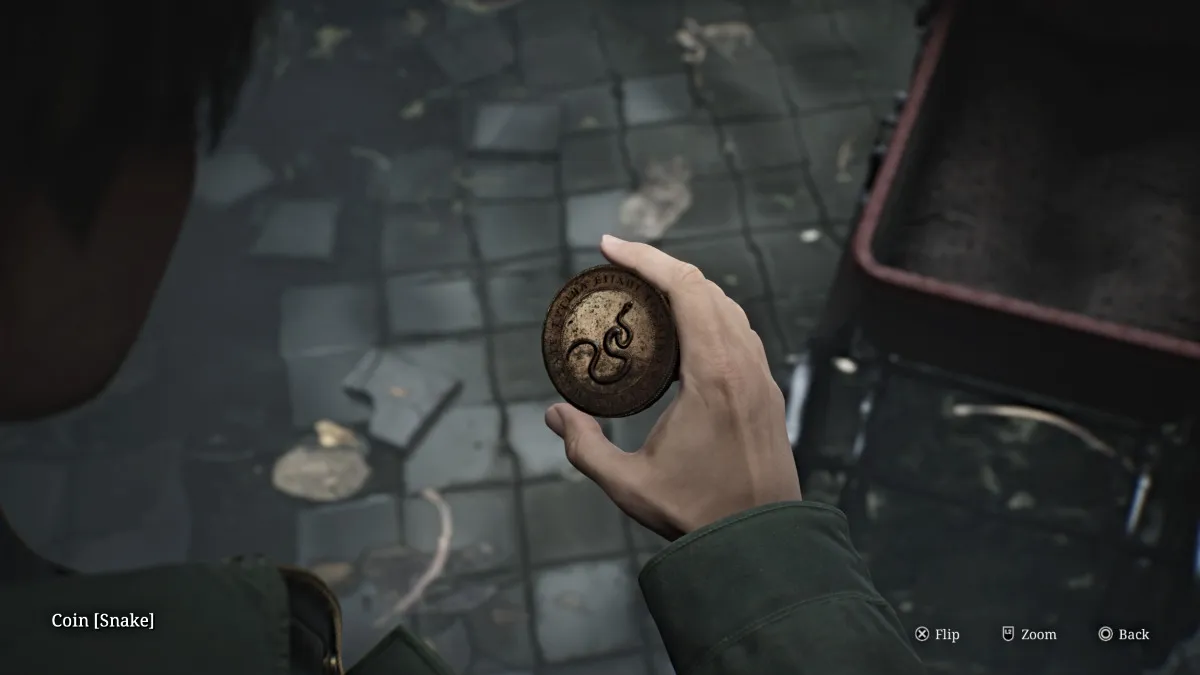
只杀死你必须杀死的东西,然后前往池中装有蛇币的婴儿车。
从你来时离开公寓的路上逃离该区域,然后前往通向斜槽庭院的双门。
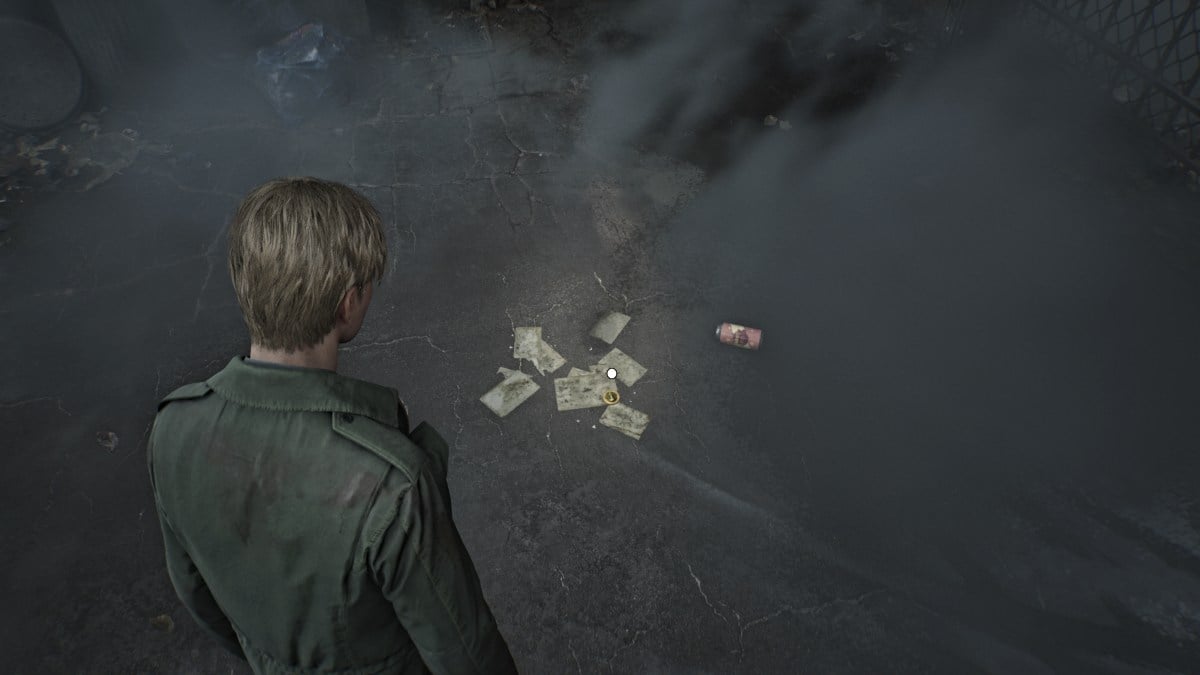
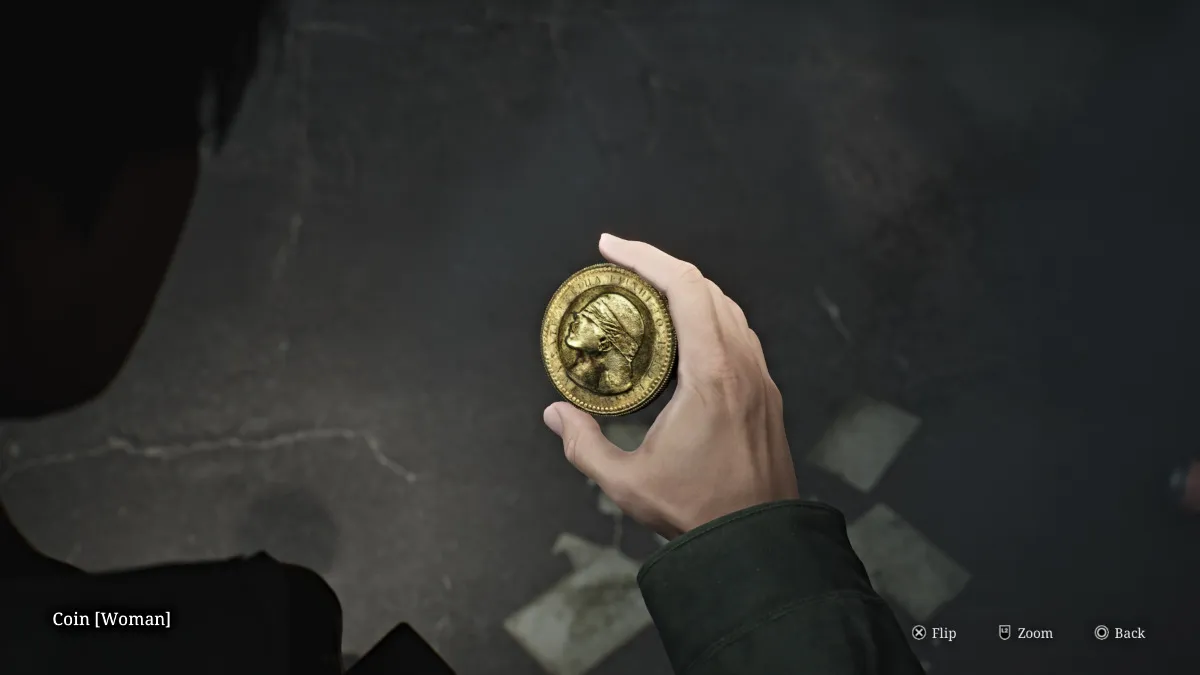
小心地在地面上寻找女人硬币,它位于一个果汁罐附近(见上图)。现在您已经拥有了所有必要的硬币,因此请返回大厅办公室以最终完成拼图。
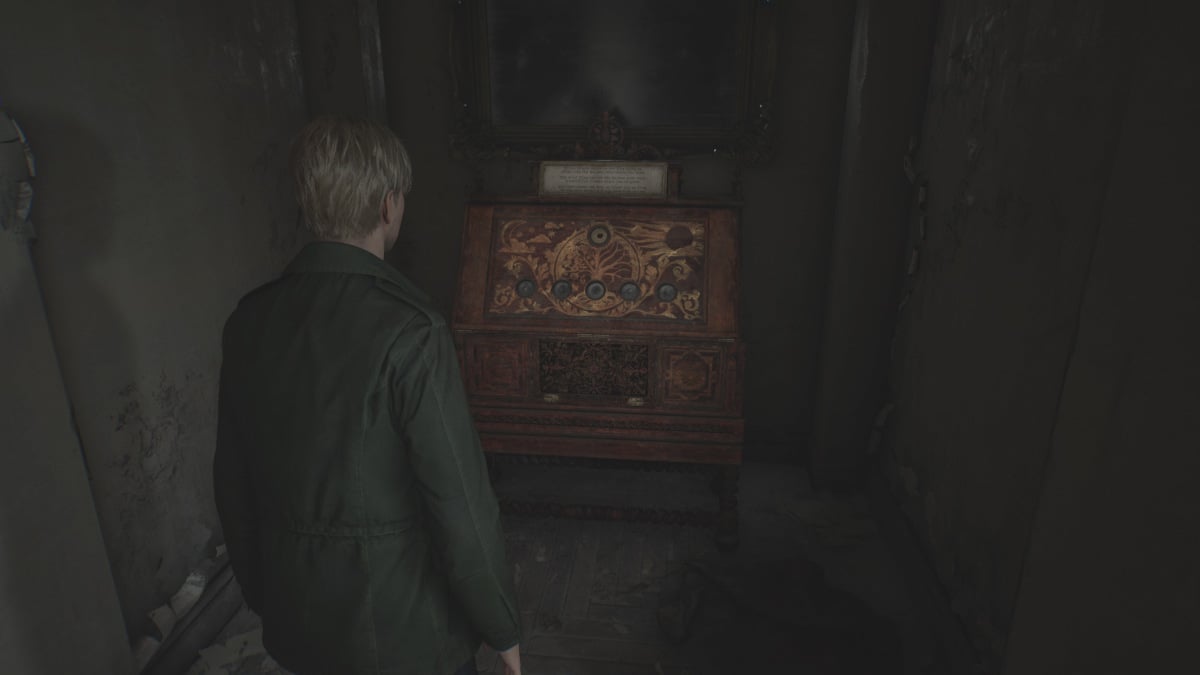
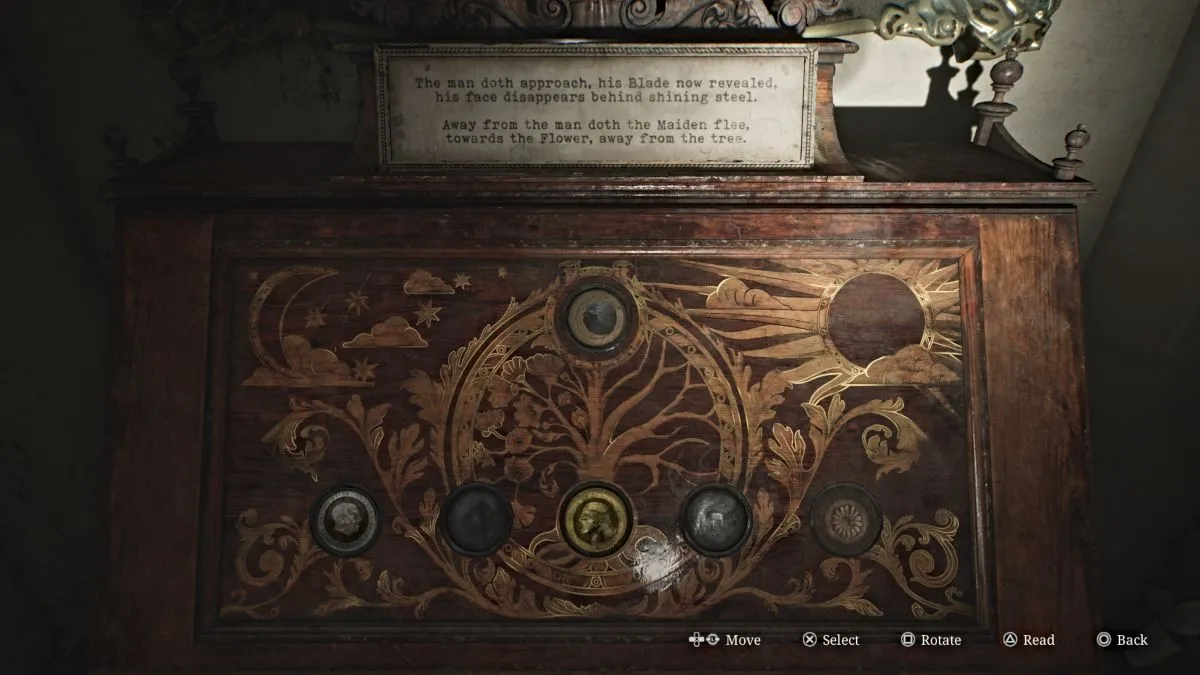
要打开大厅办公室的华丽柜子,您需要根据上面指示的诗句将三枚硬币(及其变体)放入正确的插槽中,当您完成每个步骤时,这首诗会发生变化。以下是该难题的完整解决方案(标准难度),步骤按顺序列出:
这样,这个谜题就有了最后一步,要求你选择“责备”哪一种硬币(男人、女人或蛇)。虽然答案没有错误,但你的选择将影响你得到的结局。通过您的努力,您还将获得201 号公寓钥匙。
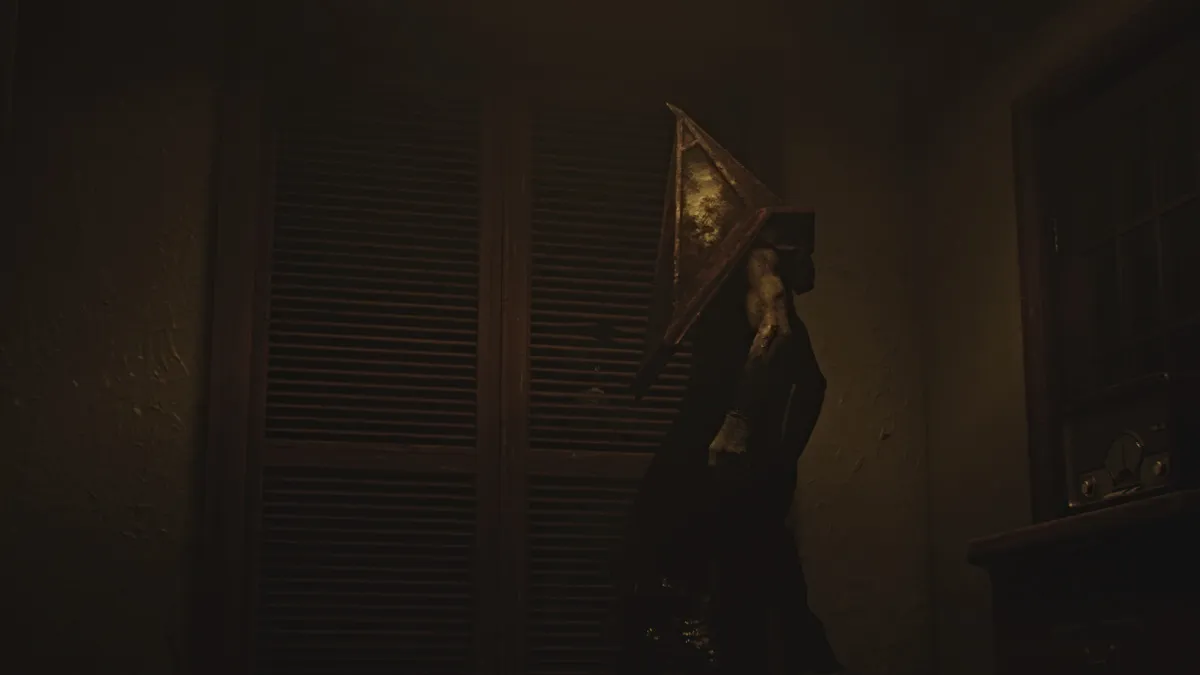
使用主大厅楼梯返回二楼,然后右转进入201 号公寓。不断探索,直到您在写字台上发现一块手帕,这将提示您出现金字塔头和一些人体模型的臭名昭著的过场动画。
他离开后,回到办公桌前收集手帕,然后走近另一侧的鲜红门,进入另一个过场动画,詹姆斯必须从一栋大楼穿过另一栋大楼。虽然从技术上讲它是蓝溪公寓,但它是一个被困在另一个世界的版本。
在异世界,原本正常的环境显得截然不同。更加破旧、生锈,而且常常被剥得只剩下肮脏的工业骨架。由于您还无法访问地图,因此请确定您的方位,然后穿过附近的蓝色门。从右边的扶手椅上拿起手枪弹药,然后向左走,沿着走廊走,直到获得Blue Creek Apts 2F-3F的地图。
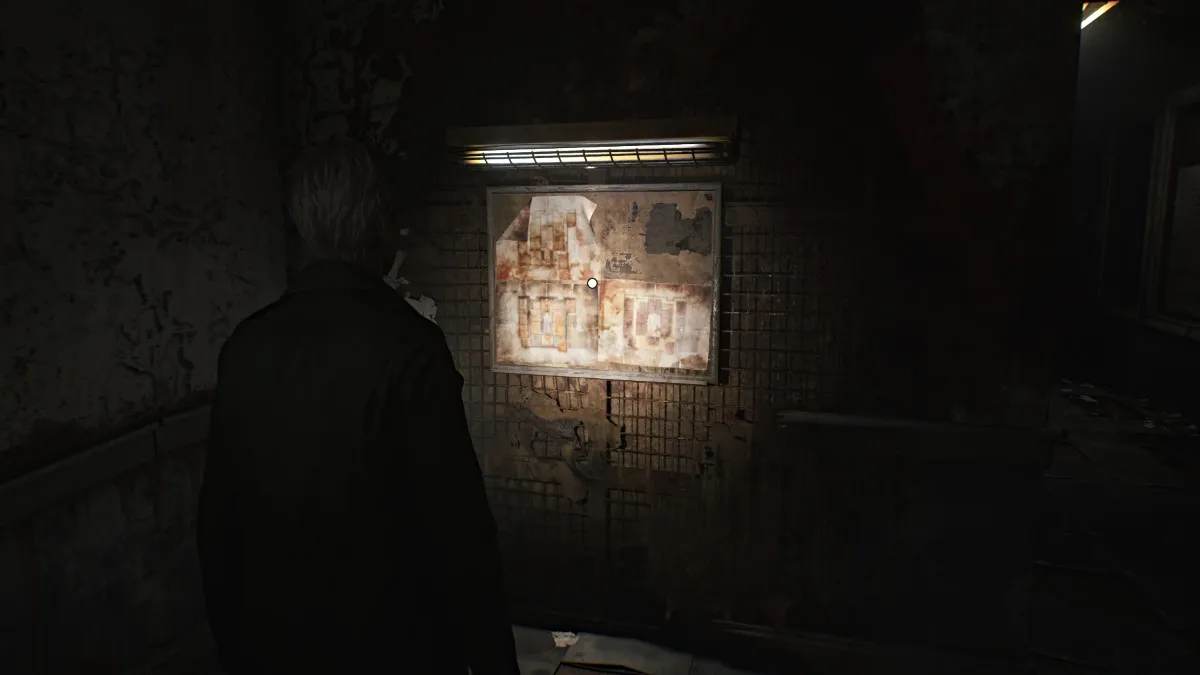
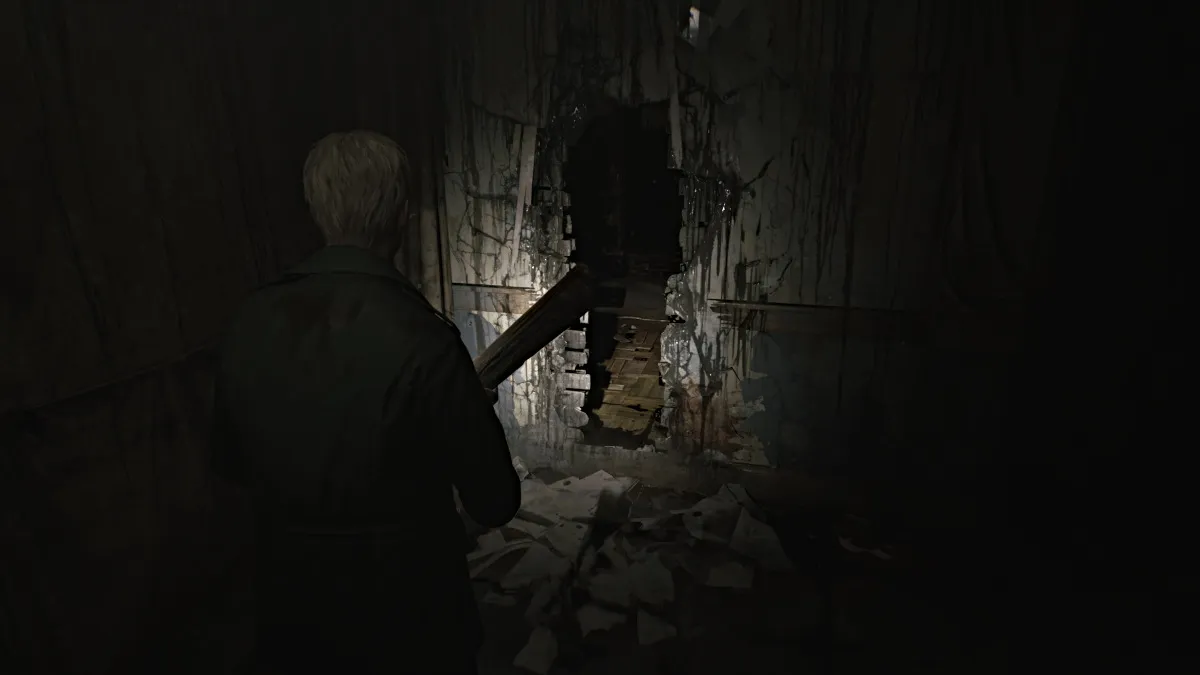
继续沿着走廊走,直到看到一堵看起来像易碎墙的地方。使用你的木板将其打破并滑过去。从附近的抽屉里收集手枪弹药,然后小心地走到公寓的另一边。处理怪物并从厨房区域获取更多手枪弹药,然后退出走廊。
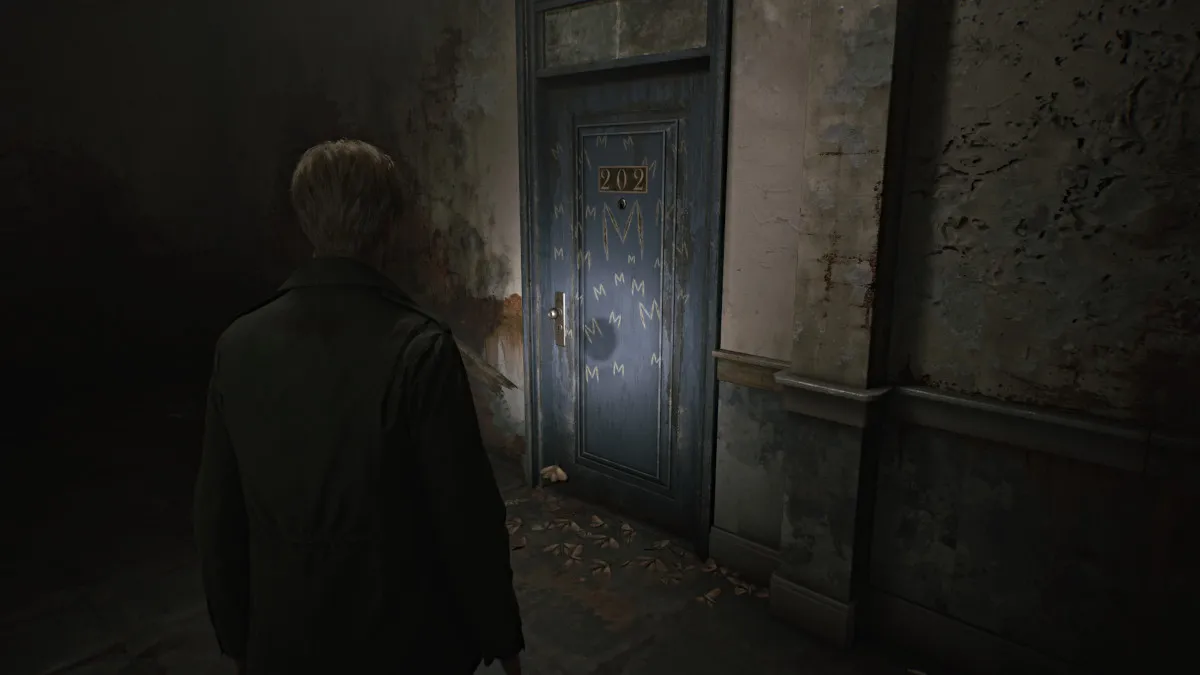
在某个时刻,您将经过202 号公寓的蓝色门,门上反复蚀刻着“M”,门前有几只死飞蛾。您稍后会返回到它。
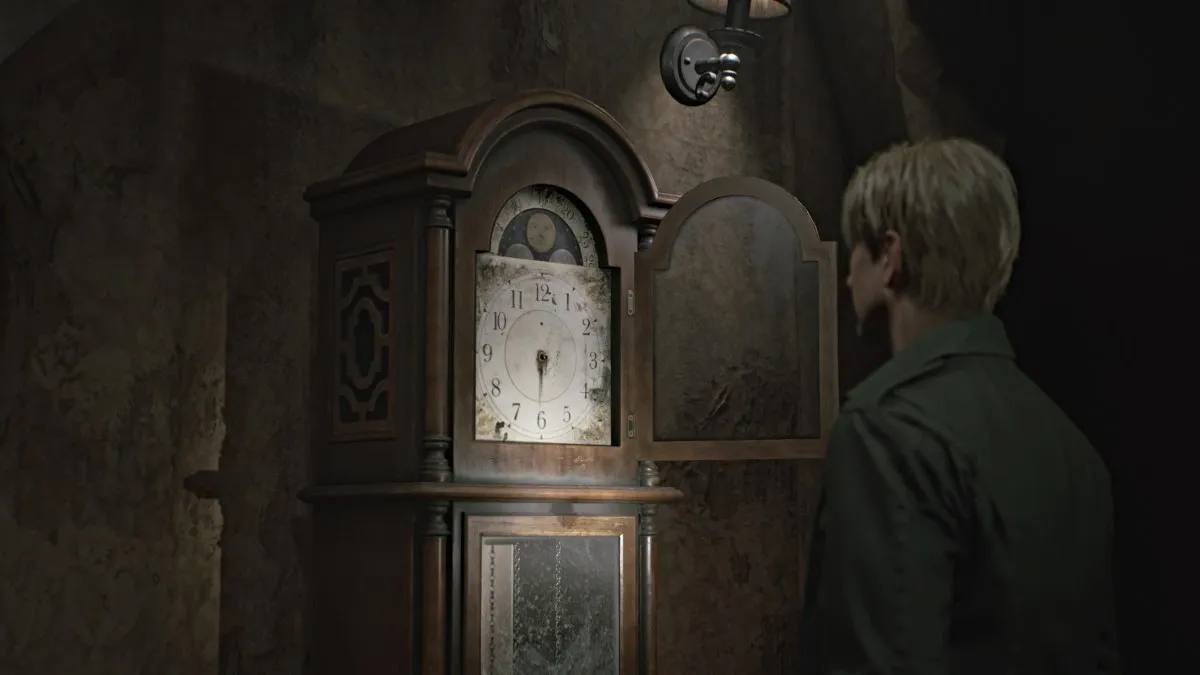
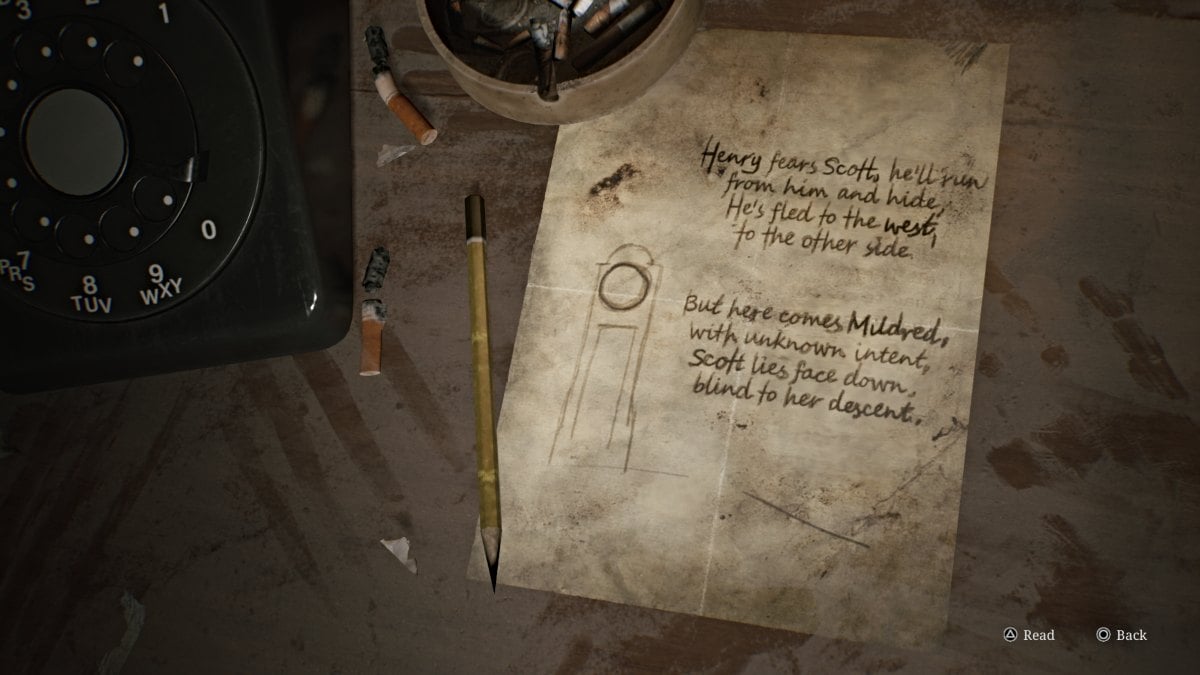
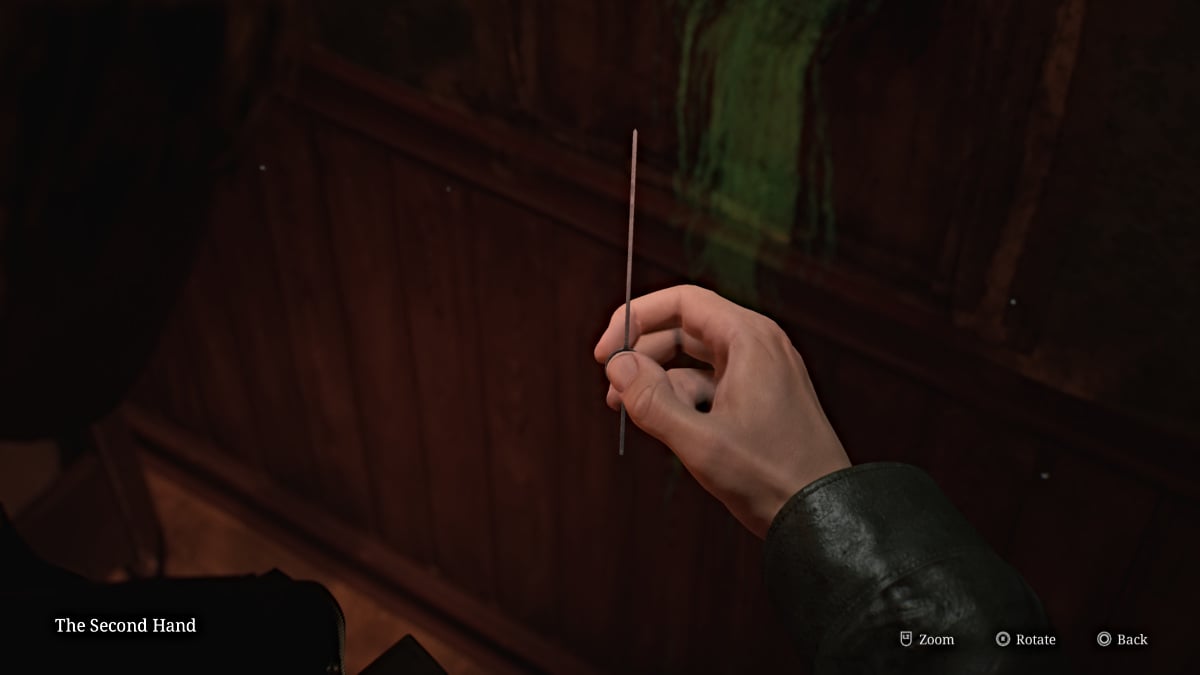
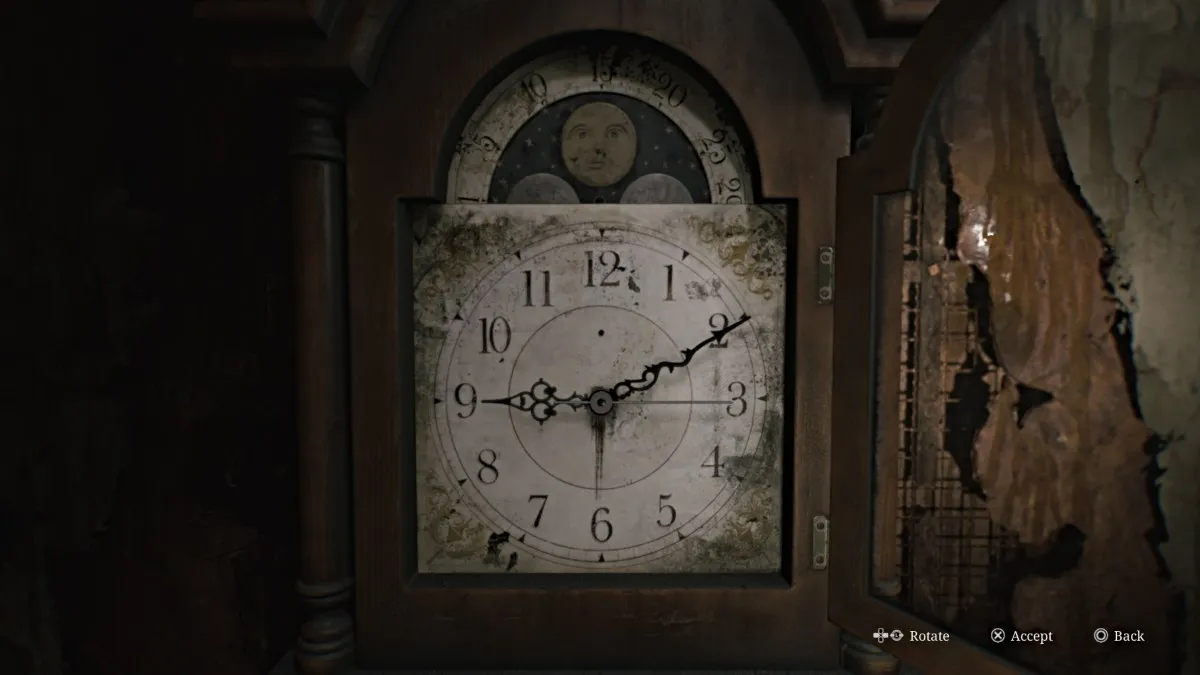
现在,进入212 号公寓,在那里你会发现一个红色保存点和一个实际上是一个谜题的祖父时钟。然而,要完成它,您需要先找到丢失的时针、分针和秒针。
时钟对面的桌子上还有一张手写的便条,提供了一些关于这些手需要放置的方向的提示。
走到阳台上,那里有一个众所周知的岔路口。右边是一扇橙色的门,上面刻着一个大“H” ,但你还不能打开它。相反,向左走,进入203 号公寓。抓住厨房内的注射器并打破那里的墙进入205 。
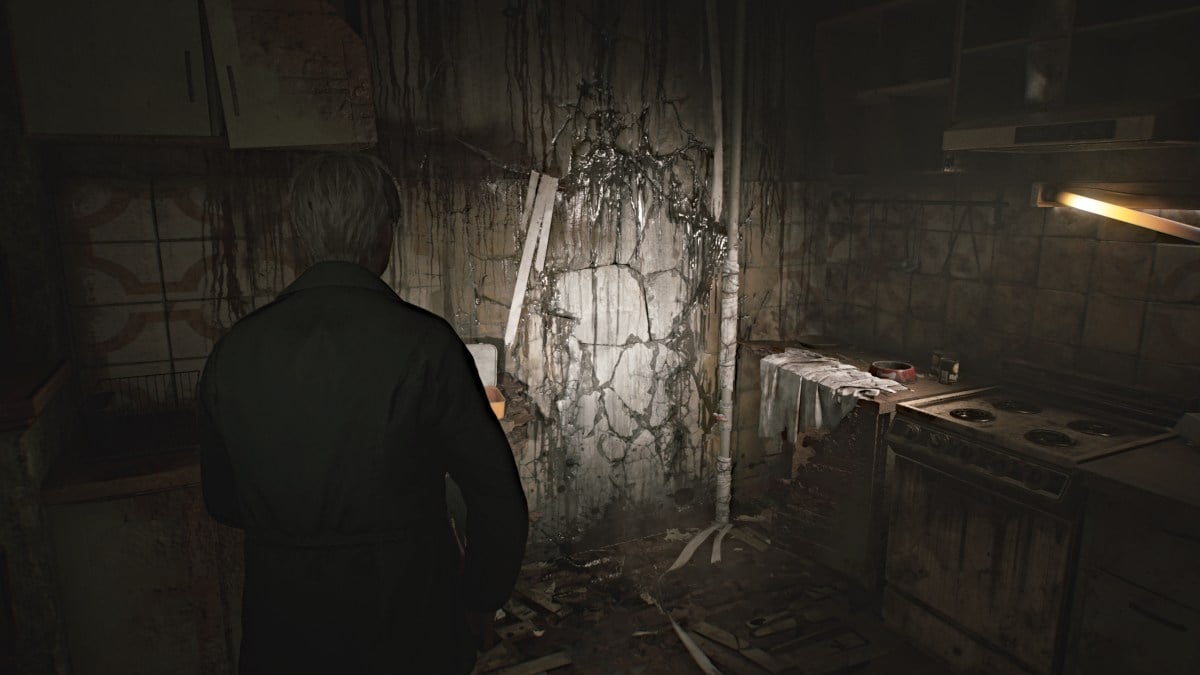
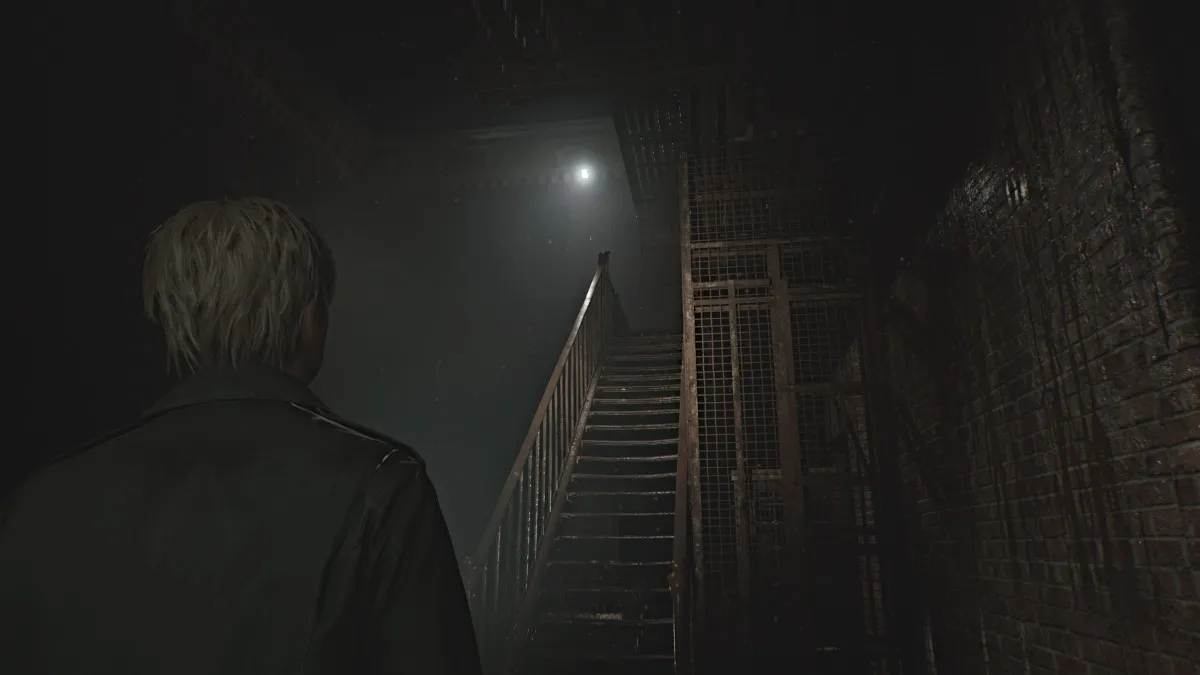
从另一边的婴儿床上收集手枪弹药,然后穿过去,直到到达另一个阳台的另一个打开的窗户。出发前从附近的浴室拿更多手枪弹药。走楼梯间到三楼,然后爬上爬行空间到达303号公寓。
首先,穿过厨房区域,那里还有另一堵易碎的墙。之后,您将到达杂物间,在那里您会找到手枪弹药和健康饮料。
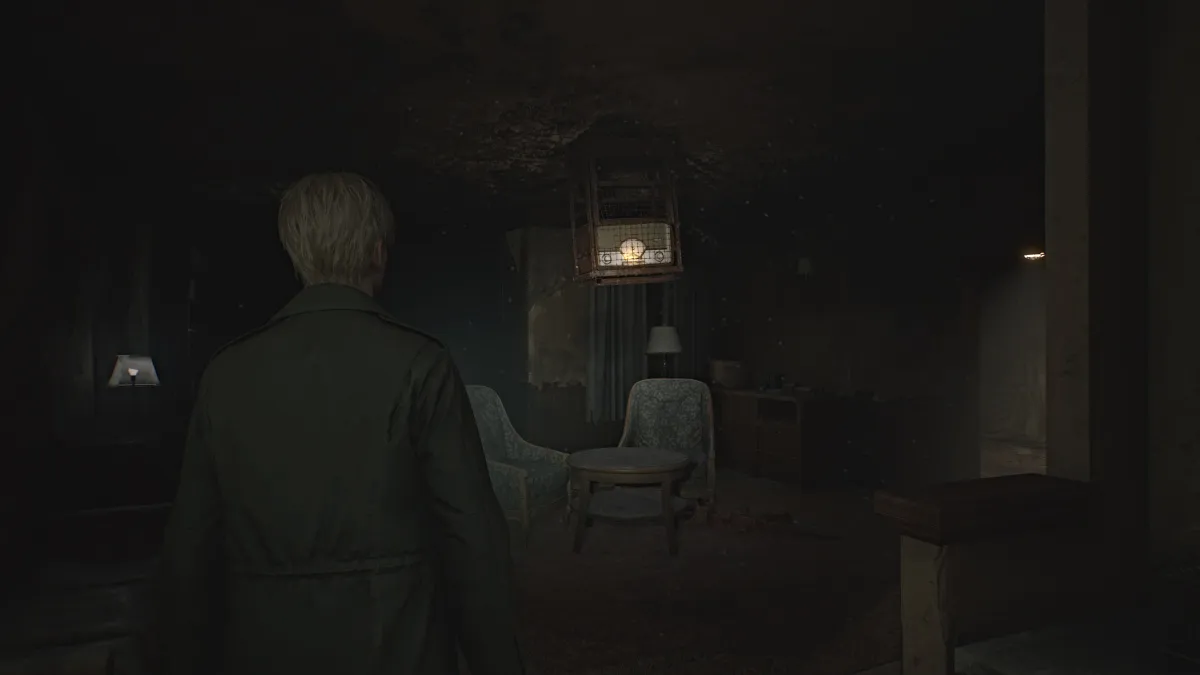
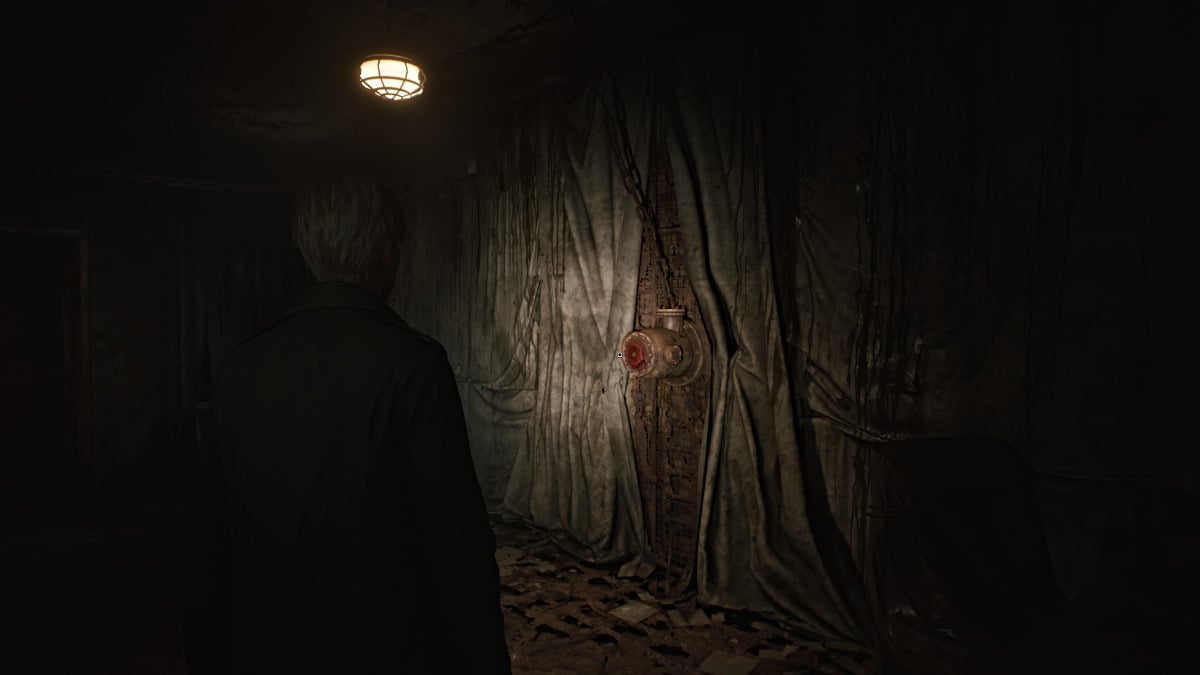
走到走廊和307 号公寓,您会看到天花板上有一台大型收音机正在播放音乐。收集更多手枪弹药后,前往右侧的房间,墙上有一个红色曲柄,但缺少阀门。
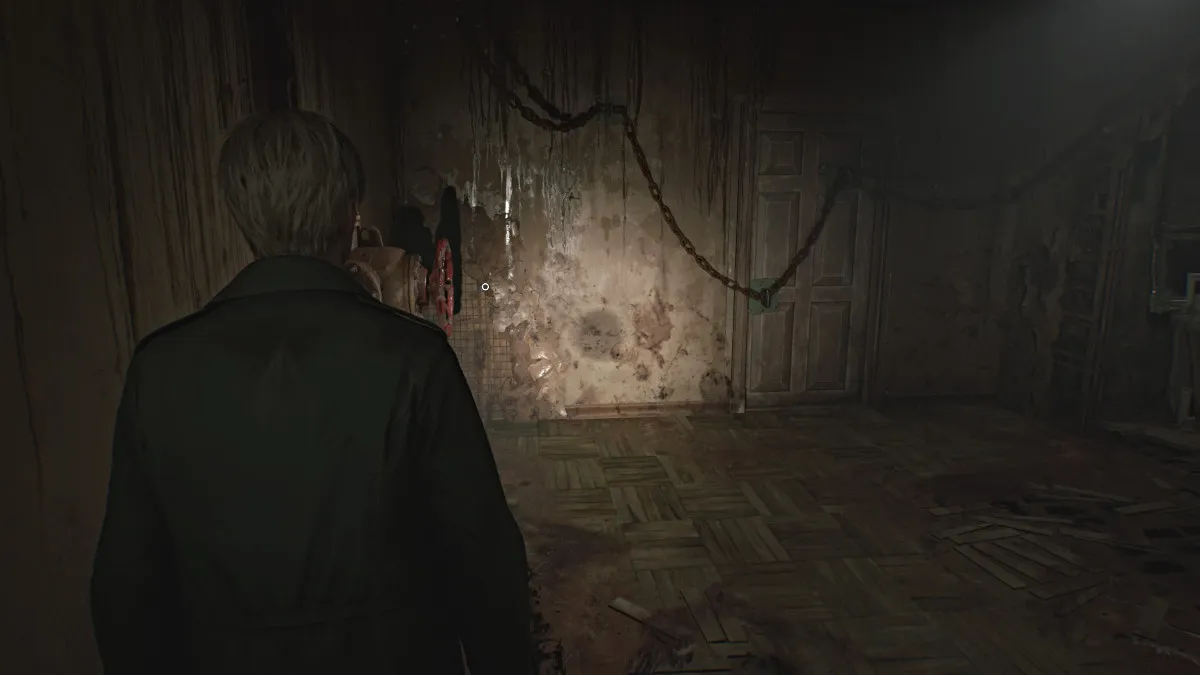
首先,穿过房间的另一扇门,这将带你到另一个阳台,然后回到305 号公寓。窗户将在你身后密封,你需要使用墙上的另一个红色曲柄打开附近的链门(见多于)。两个谎言人物会快速攻击,所以要处理掉他们。离开之前,请务必从桌子上拿起306 号公寓钥匙。
前往306 号公寓,探索并收集所有手枪弹药和健康饮料。在客厅里,您会看到另一个红色曲柄。
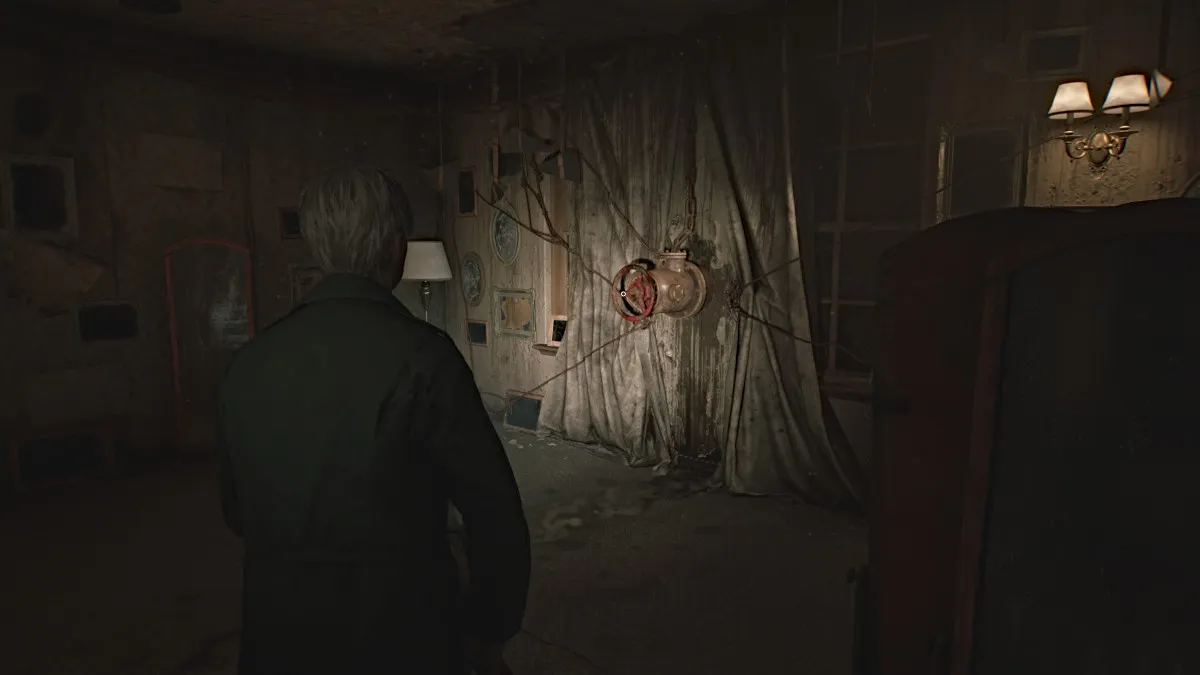
转动它撬开房间对面的门,并取回随后折断的阀门。现在回到307 号公寓,使用墙上曲柄上的阀门来关闭笼子里的收音机。
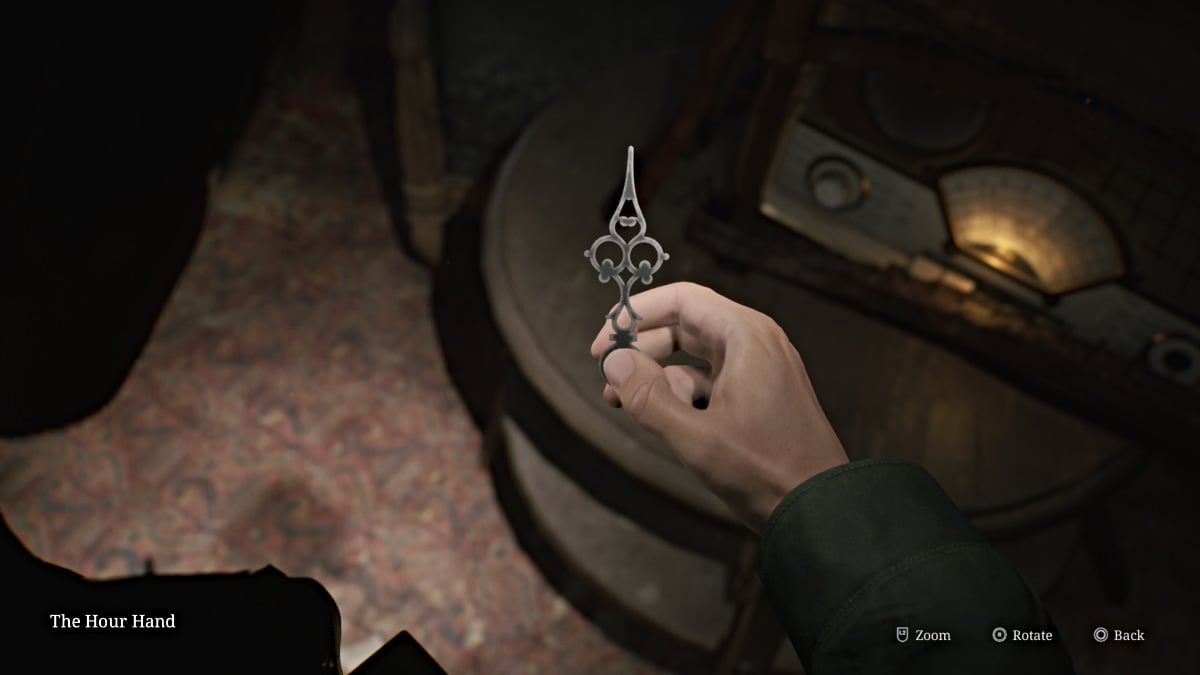
之后接近它以获得祖父钟的时针。然后,沿着消防梯返回(使用墙上的杠杆将楼梯降低到二楼)到212 号公寓,并将时针放在时钟上,开始第一个时钟谜题。
在这种情况下,将时钟上的时针转到“9” ,附近的橙色“H”门最终会解锁。通过阳台到达“H”门,您将进入 210 号公寓。在里面,您会发现一切都以鸟类为主题。客厅中的一个小“ seesaw”(正如詹姆斯所说的)需要一个鸟形物体来对其重量,而附近的一个锁着的门需要一个鸟形锁的钥匙。
前往厨房,从柜台拿起手枪弹药,然后将附近的墙壁分解以进入浴室。进入室内,唯一可以搜索的区域是(当然)厕所里装满了……好吧,“ goop”。 “搜索”它,直到詹姆斯拿出时钟的微小手为止。
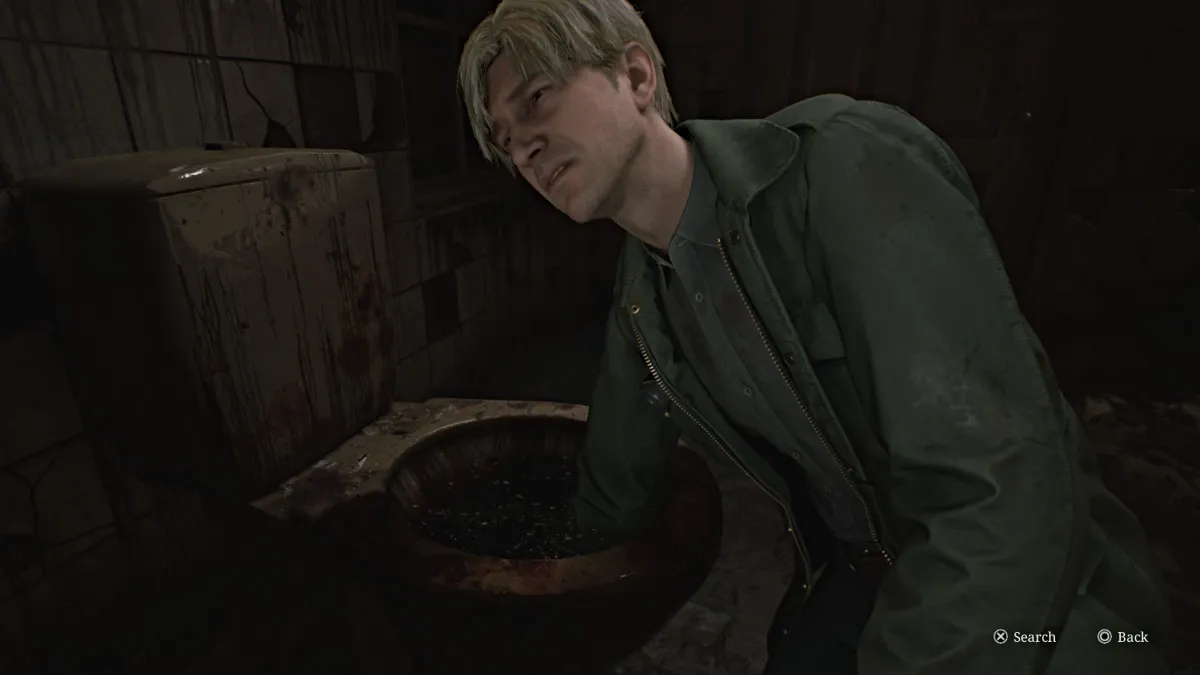
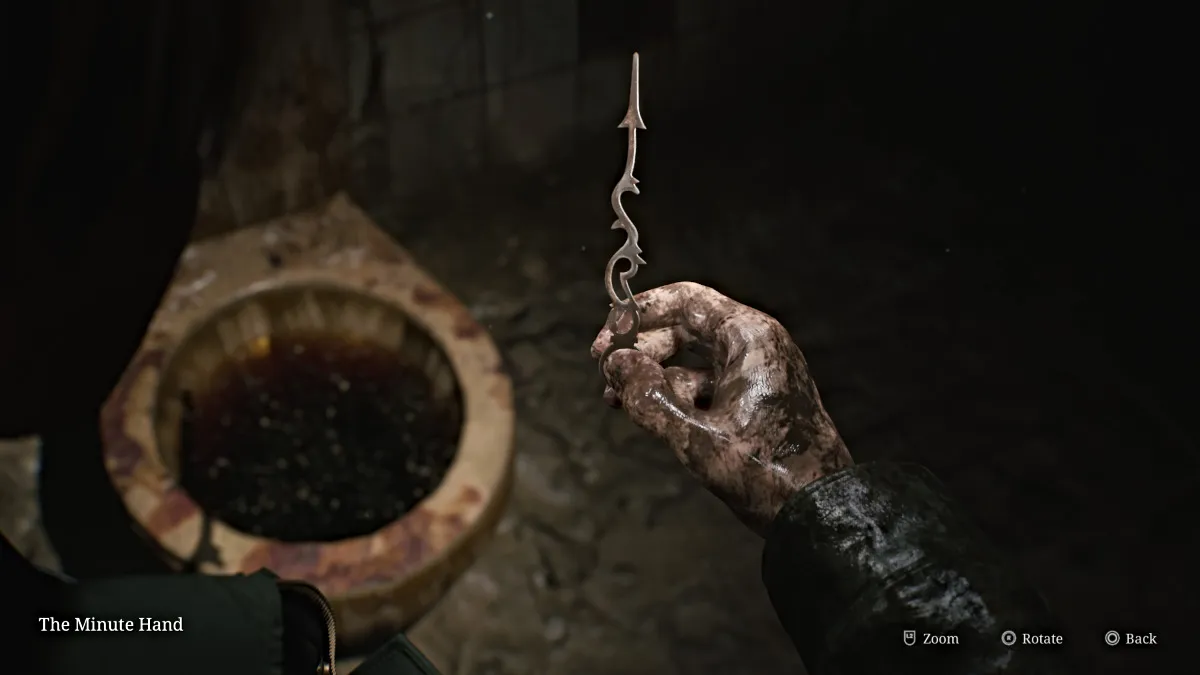
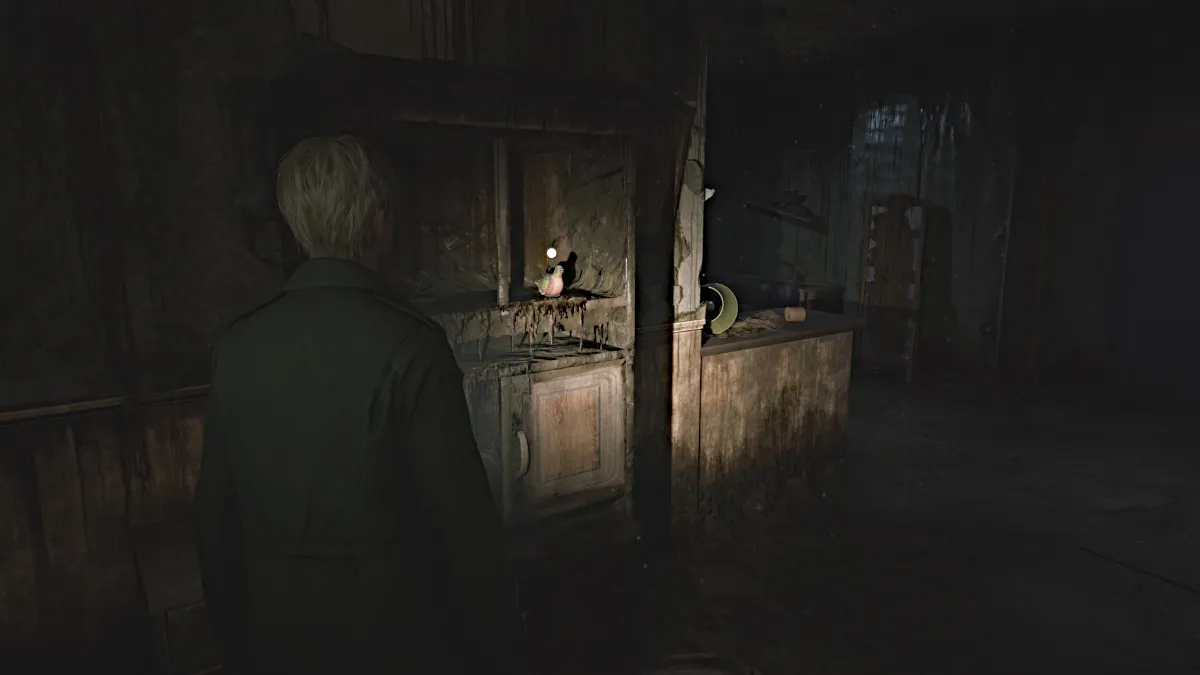
但是,这样做后,詹姆斯周围的环境突然改变了,您需要找到不同的出路。离开浴室,从附近的架子上拿起鸽子小雕像(如下所示)。在处理了指控的谎言人物(请记住,在其他世界中死亡后爆炸),将鸽子的身影放在雪索的左侧。现在,您需要找到另一个数字来平衡它。
离开并沿着大厅到达209公寓,在那里您会突然听到一些奇怪的耳语(对原件的回报)。穿过卧室去洗手间,打破里面的淋浴门以获取畸形的小雕像部分(如下所示)。
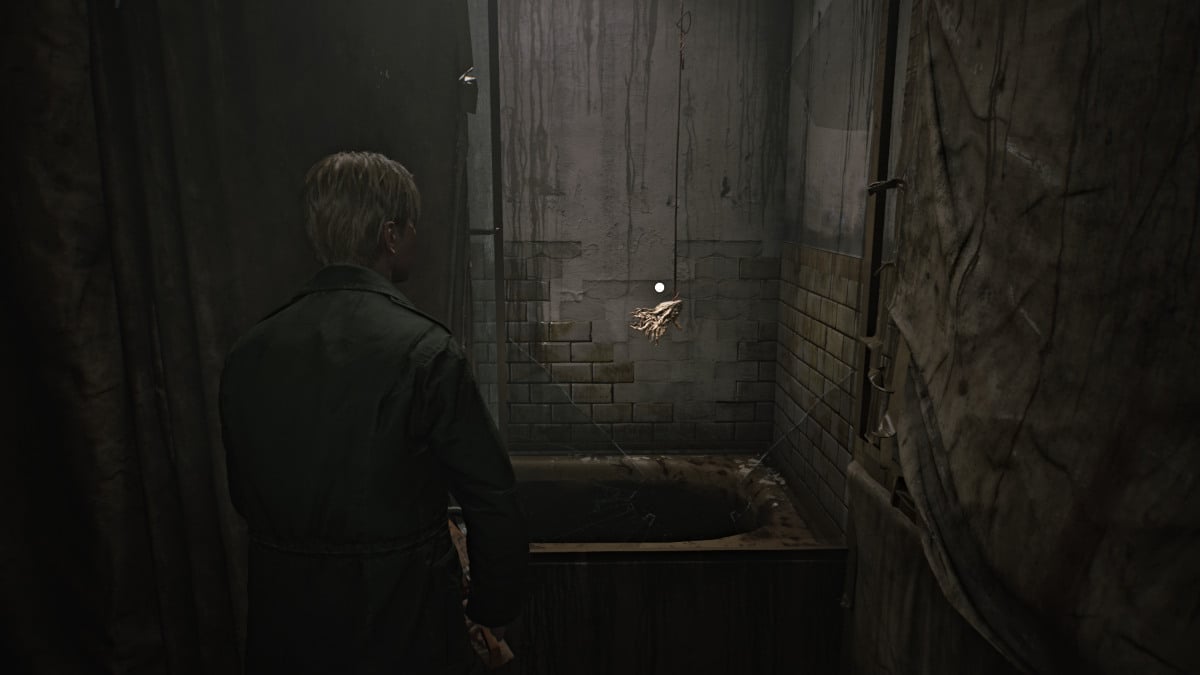
在出门时要小心一个躺着的身材,从左边的死端抓住手枪弹药,现在前往211公寓。您可以通过破墙或实际的门进入,健康饮料将坐在门附近。
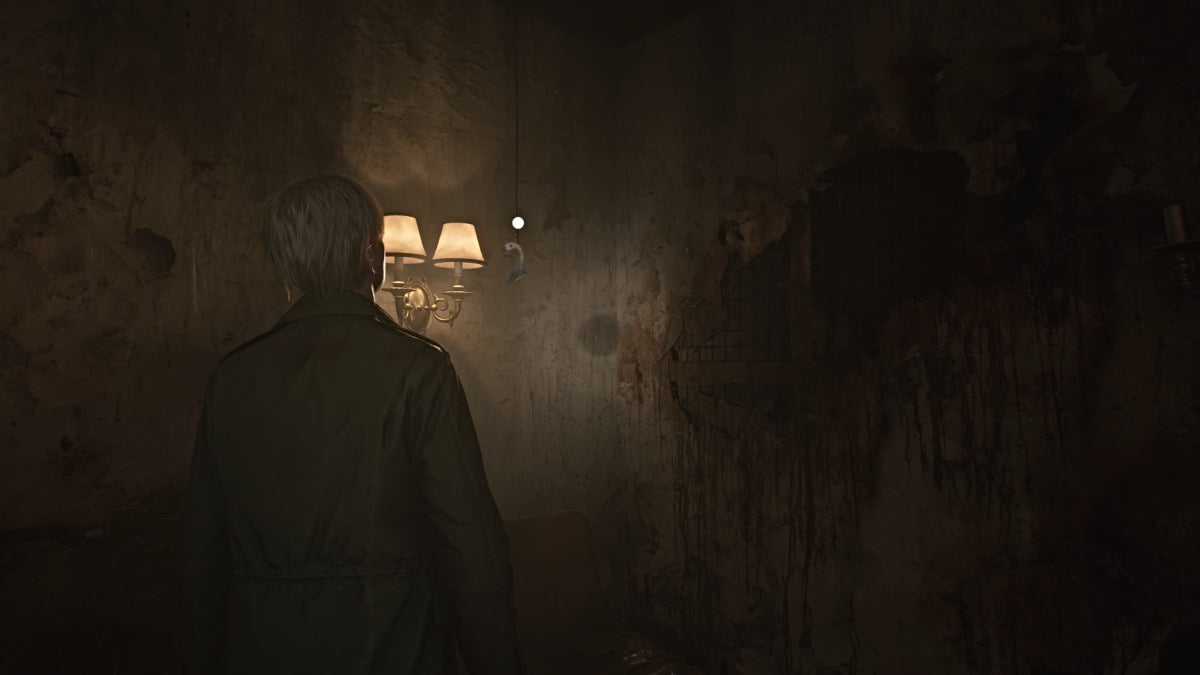
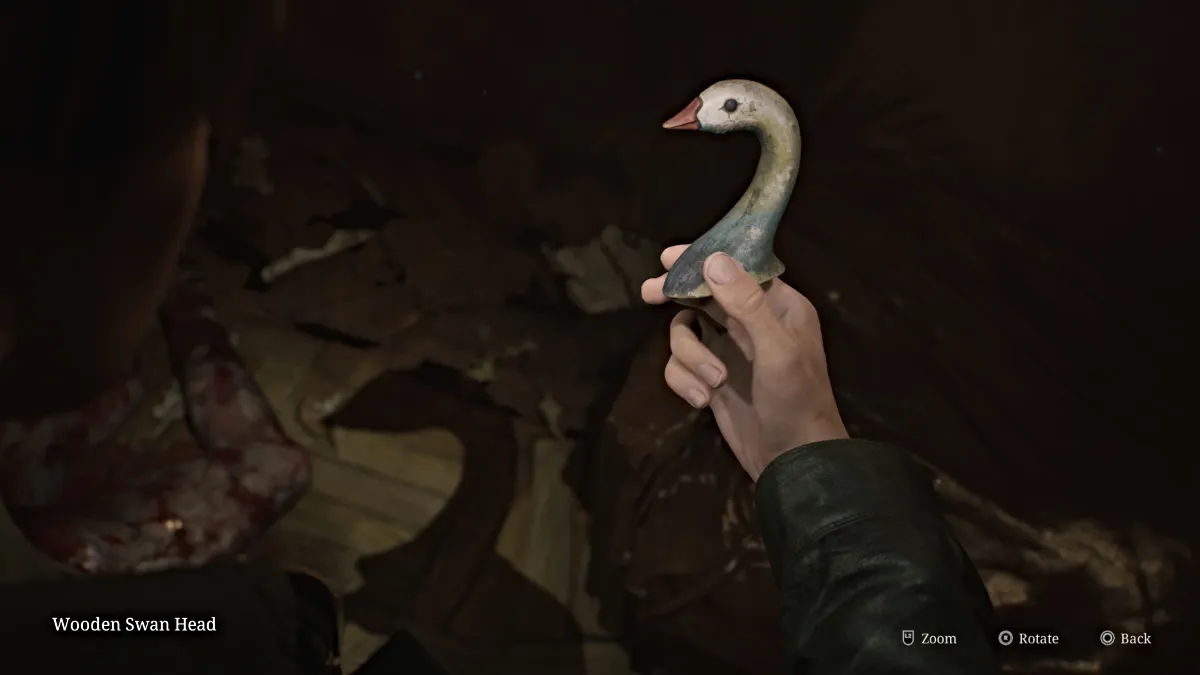
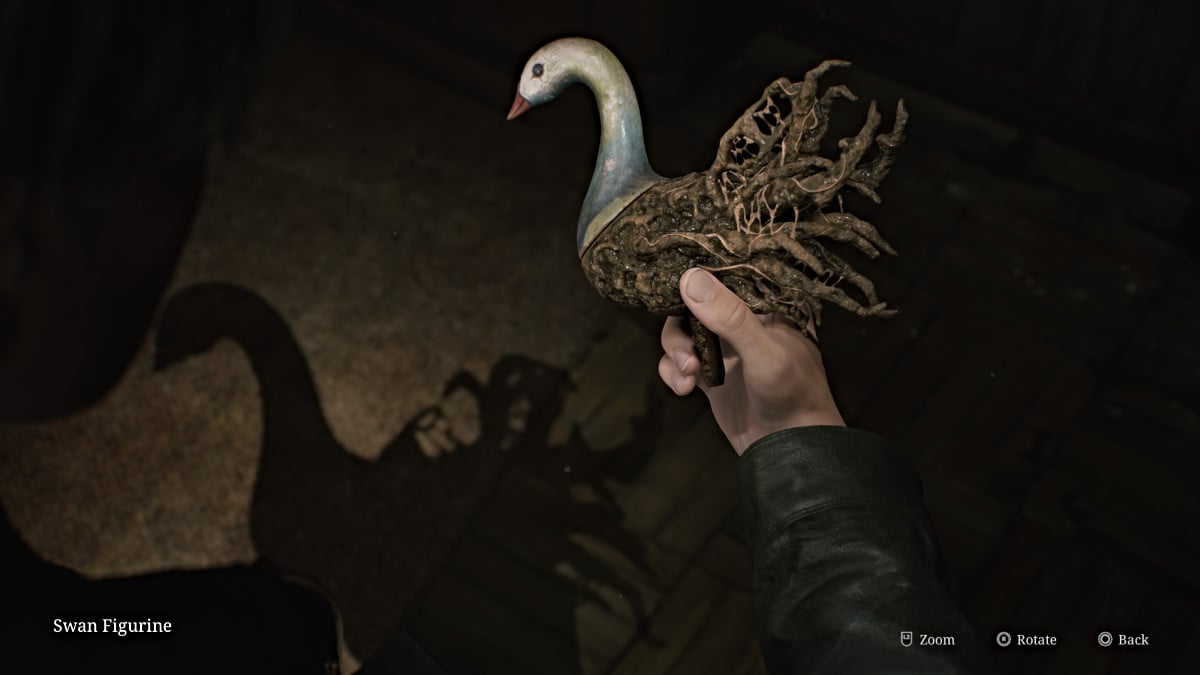
走进室内,处理两个试图吸引您的人体模特。在右边的同一个房间里,您会注意到后墙上有一个奇怪的阴影。环顾四周,木天天鹅的头(如上图)将从光线附近的一根绳子上悬挂。拿起它,然后将其与畸形的小雕像部分结合在库存中,以制成天鹅雕像。在出门的路上,从厨房里抓住更多的手枪弹药,然后回到公寓210。
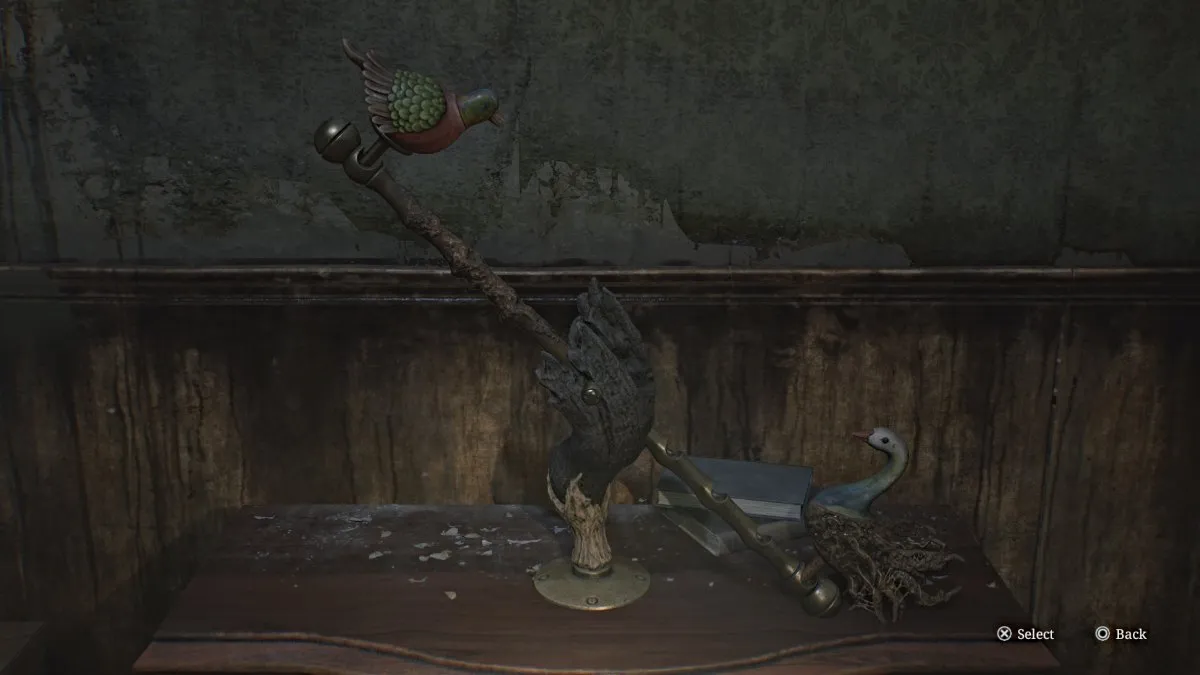
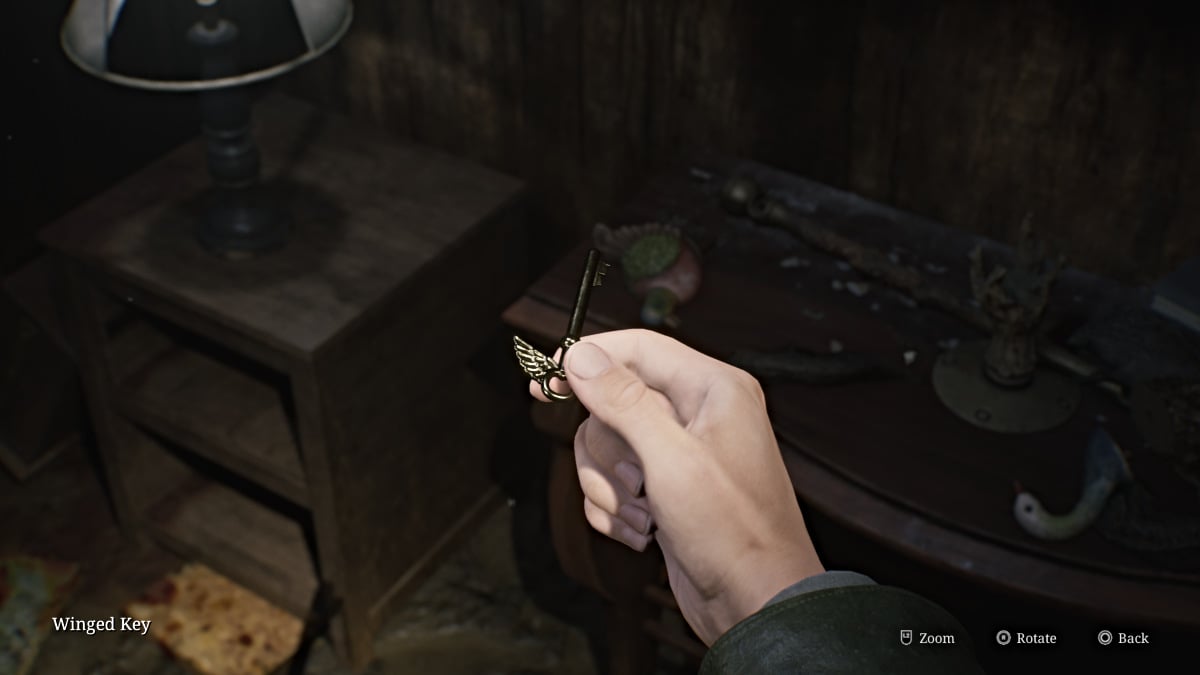
将天鹅小雕像放在雪索上,并调整为从中心的第二个插槽,以平衡雪索。木材支点将粉碎,露出有翼的钥匙。拿走它并在附近的锁门上使用。进入室内,您会看到地板上需要跳下的一个张孔。这将您带到Blue Creek公寓的一楼。
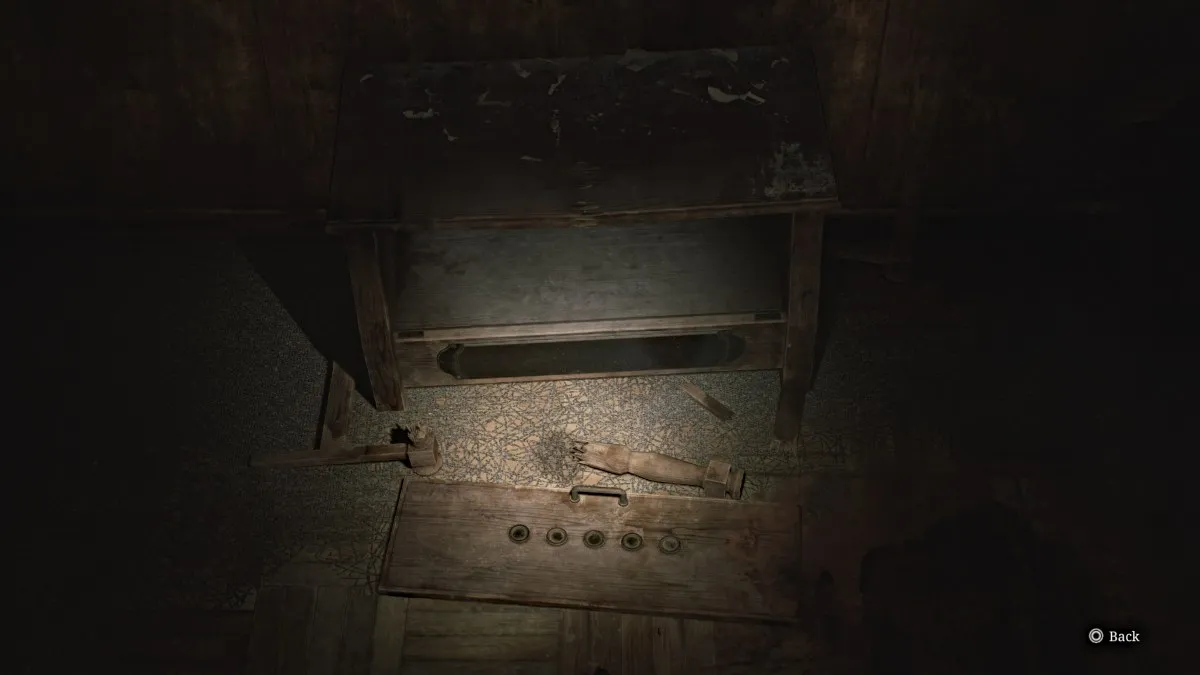
打开地图,您会发现自己在一楼的110公寓中。通过自己的方式,您会遇到过去的另一个瞥见(如上所述),这是原始游戏中的硬币拼图柜。当入口门被锁定时,继续前进并通过墙壁的间隙退出。向北行驶走廊,您会注意到,在那一侧的环境看起来不同,却少了。
进入看上去更干净的公寓109 ,然后穿过前方的白门。过场动画将与安吉拉(Angela)一起玩,安吉拉(Angela)似乎比以前更失去。
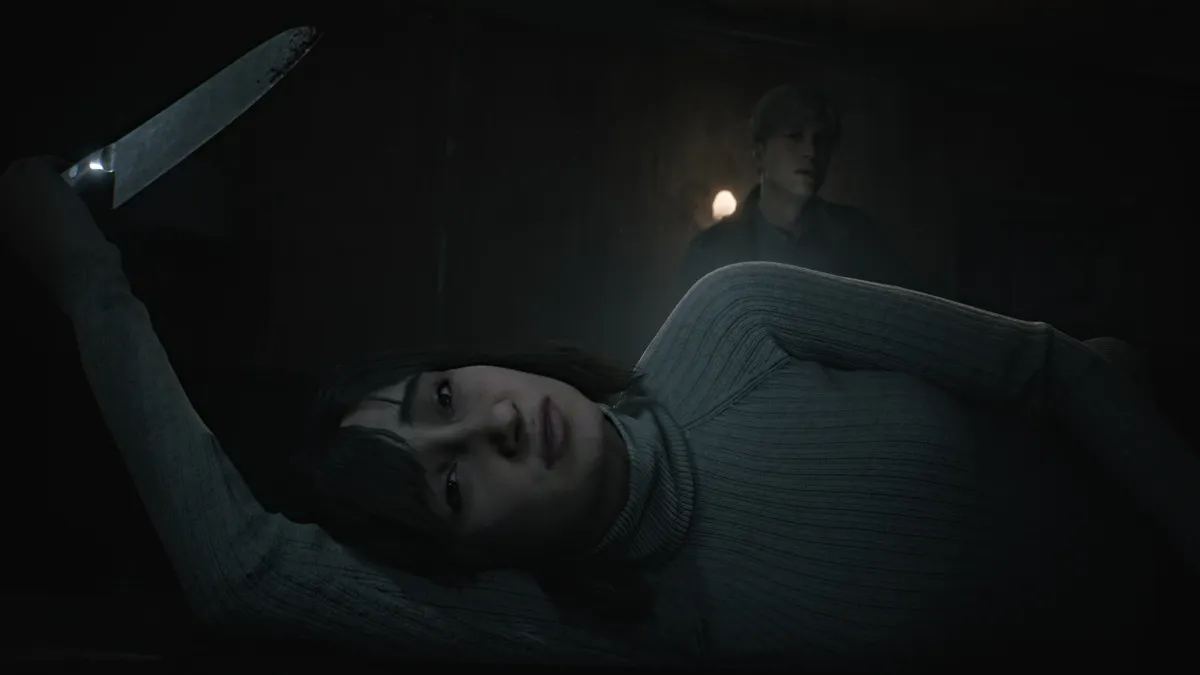
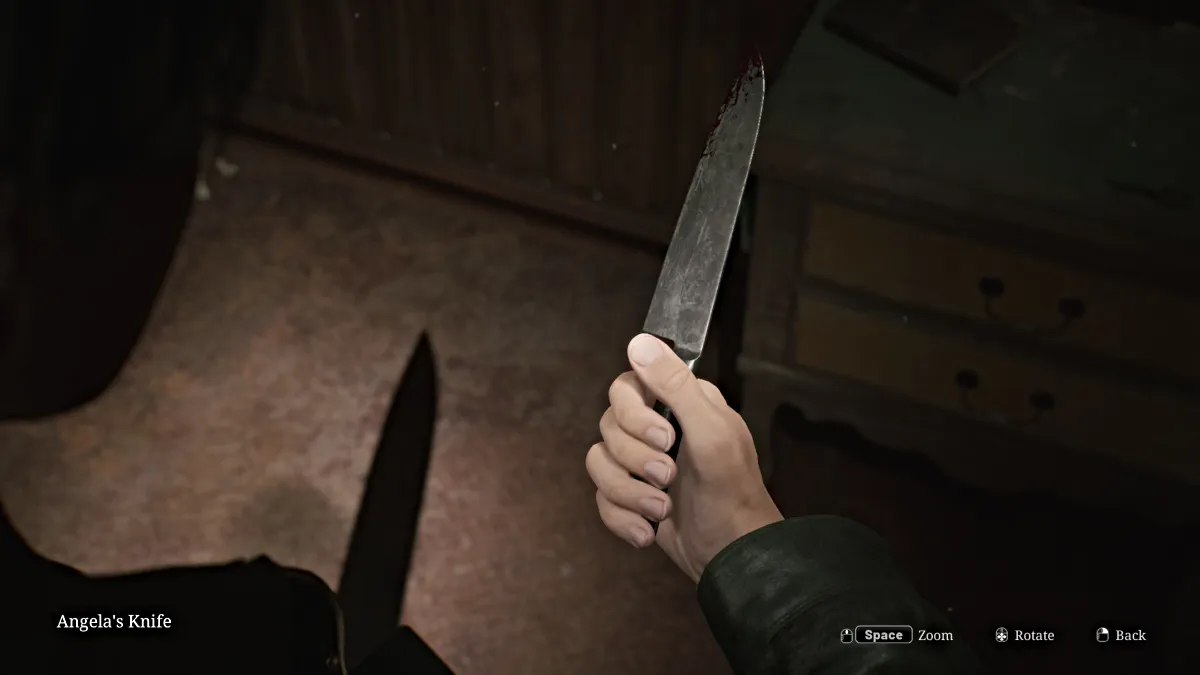
当过场动画结束时,她将刀离开后,詹姆斯(James)将其库存(可见)。
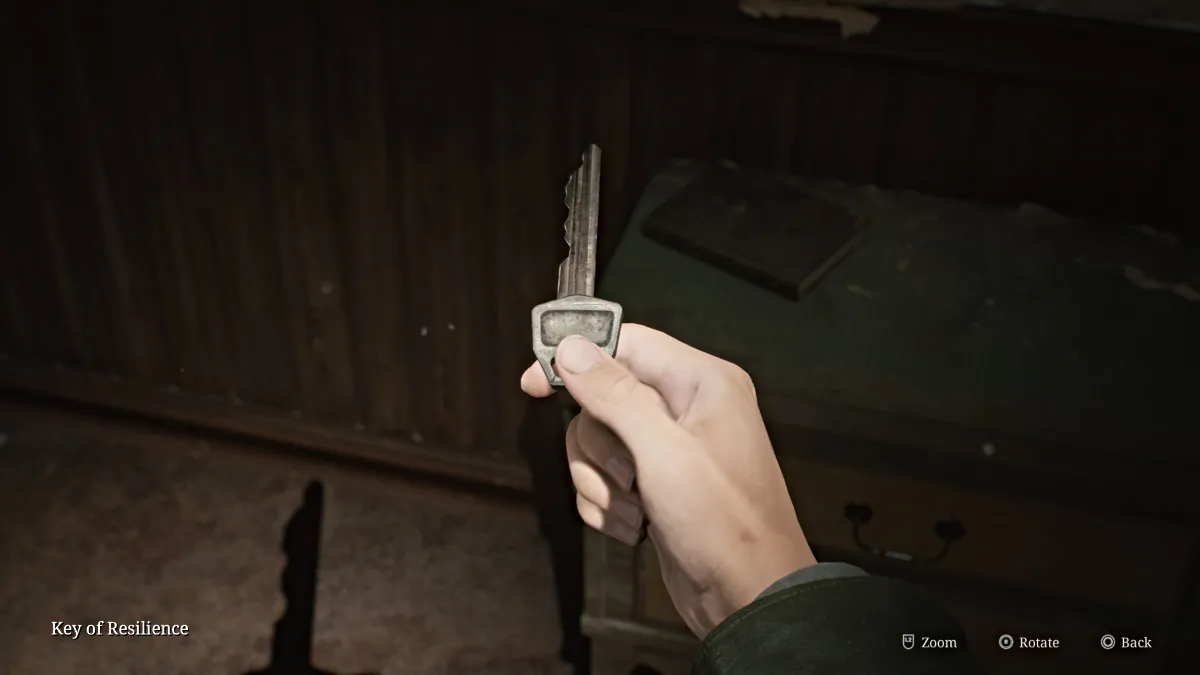
拿桌子上的弹性钥匙,然后离开公寓。在最南的门上使用通往门厅区域的弹性钥匙,并用字母“ s”(见下文)蚀刻的两扇门。但是,它已被锁定,因此您需要找到另一种方法。
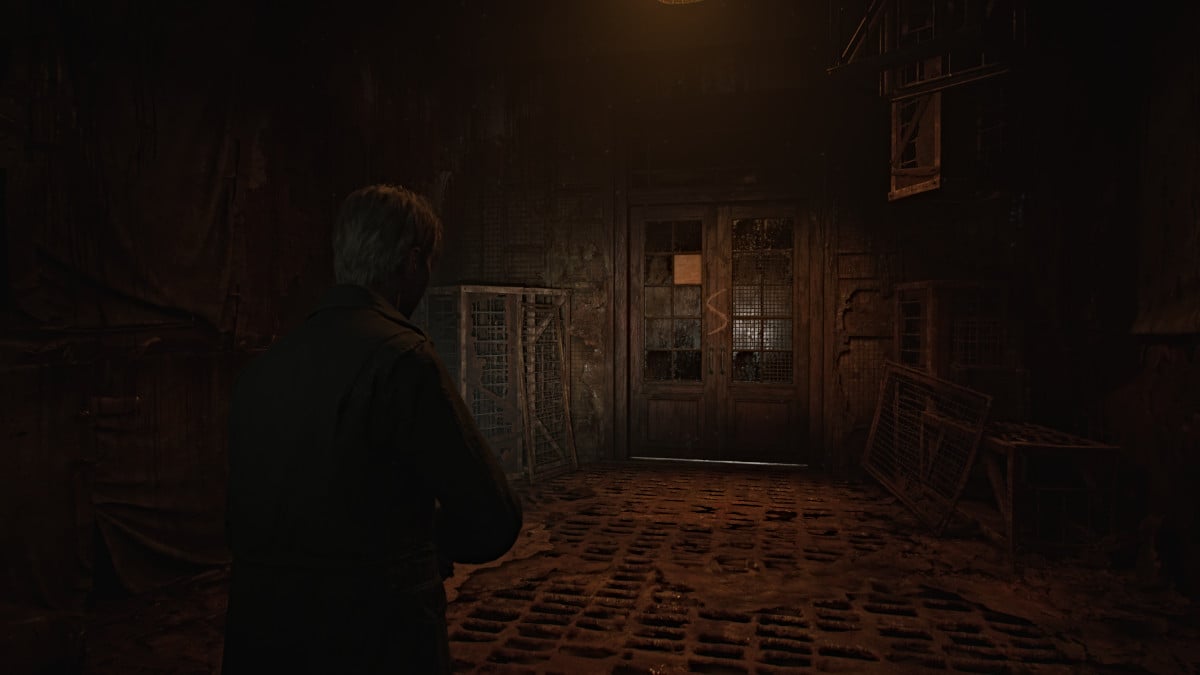
穿过门厅进入101公寓,从那里收集手枪弹药和注射器,并用它绕过走廊上的障碍物,并通往楼梯间房间。走进屋子,模特会伏击你。杀死它,以便您可以从中获取“永远在一起”的图片(奇怪的照片) 。
上楼梯(不,他不是在那里等您),然后从门回到二楼。返回时钟室(212),因为您有微小的手并将其放在时钟上。将其转到“ 2”并点击“接受”以解决难题的下一部分。这将解锁您前一段时间遇到的二楼的“ M”房间。
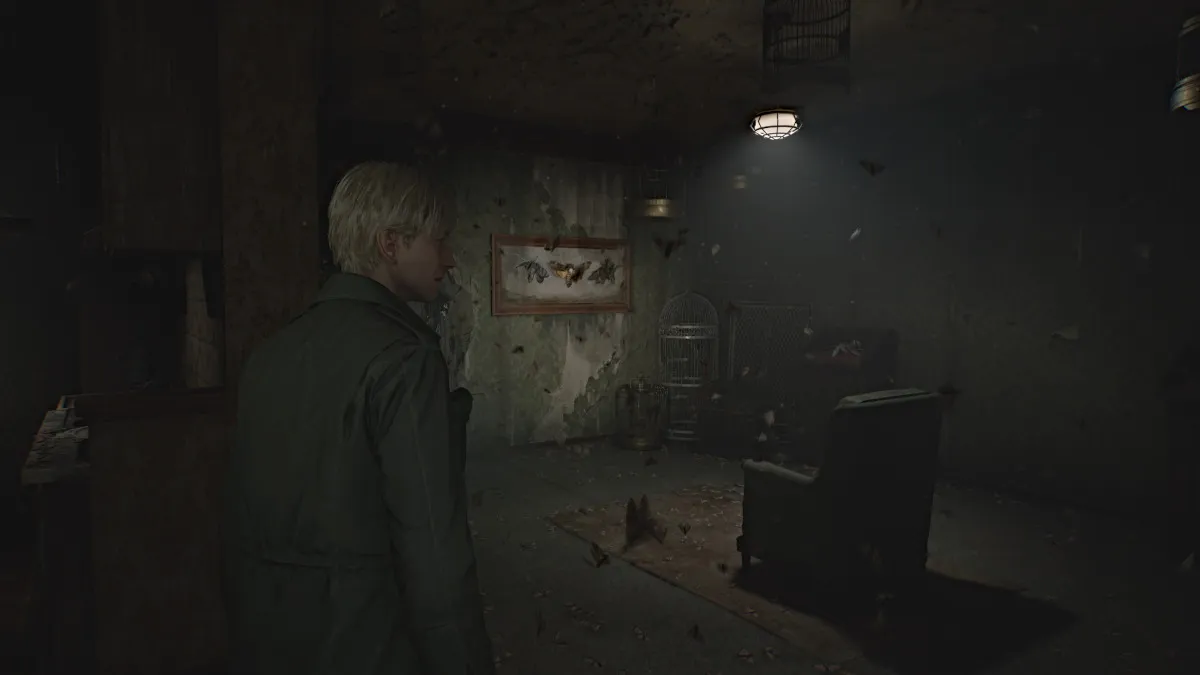
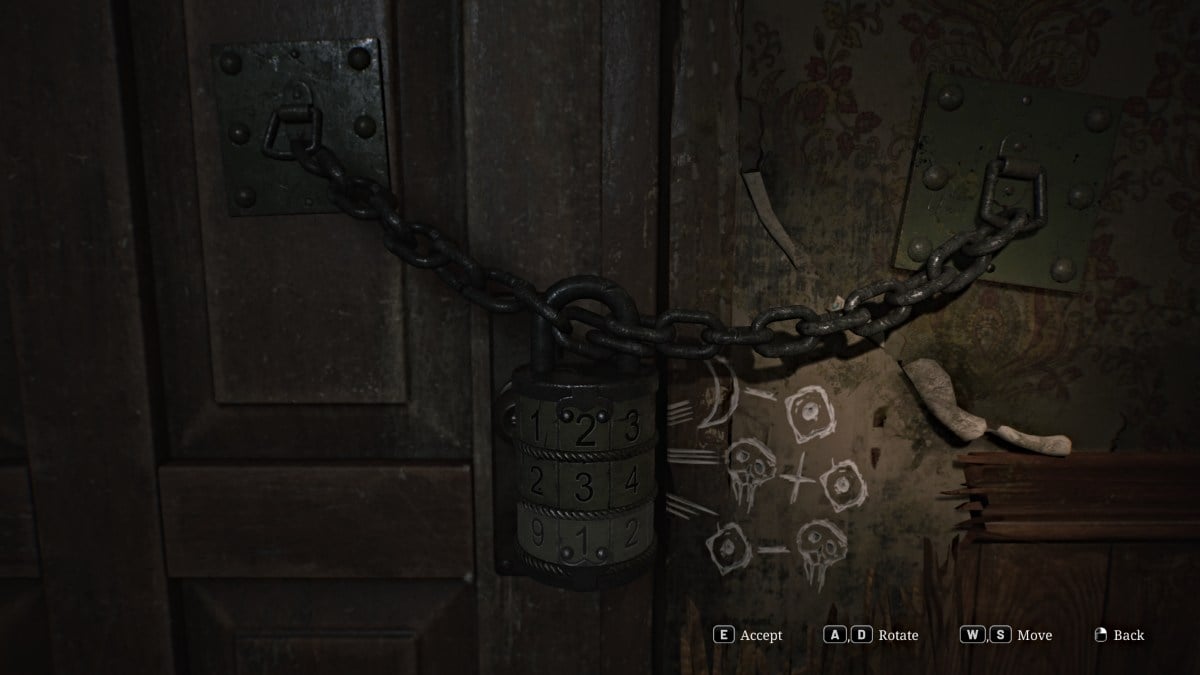
沿着大厅前往M房间(或公寓202公寓),然后进入另一个难题。整个地方都充满了飞蛾,您会注意到主房间周围的各种蛾类动物标本剥皮术。扶手椅后面是另一扇门被锁住的门,并带有一个大型组合锁,您需要解决,以将其拆开。
从本质上讲,要获得正确的组合,您需要计算整个公寓中显示的所有飞蛾(包括可损坏墙后面的隐藏的飞蛾)和翅膀上的符号。您将它们分解在锁旁边的符号数学问题中,一旦解决,您就会拥有这些数字。
但是,为了节省您的时间,锁的正确代码(标准难度)为373 。完成后,进入室内,您会看到另一个令人难以置信的诱人的孔,供詹姆斯伸出手。之后离开公寓。
返回时钟室,将二手放在时钟内。要完成难题的第三部分也是最后一部分,请将其转到“ 3” ,这将在一楼解锁不祥的房间。在离开时钟室之前,请确保从附近的房间里抓住手枪弹药,以及“时间如何飞”奇怪的照片。
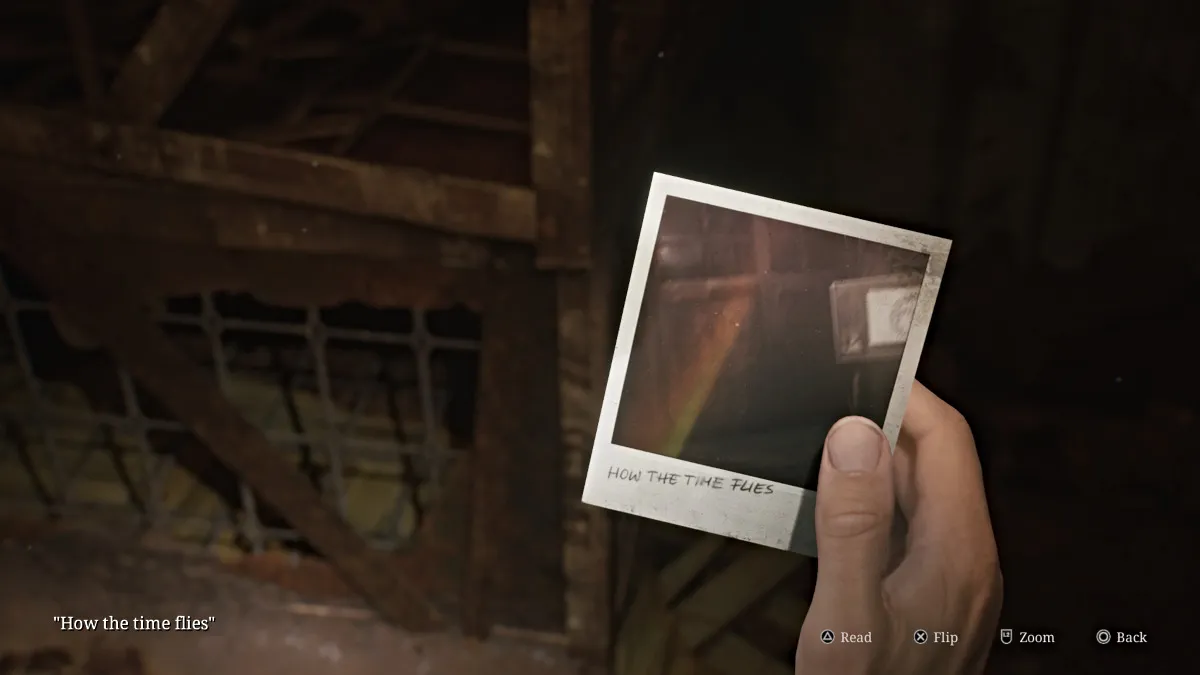
另外,请确保在进行之前在Blue Creek公寓中探索您想要的其他任何地方,因为S房间是该区域没有回报的重点。
如果您准备好了,请将二楼的西侧楼梯置于一楼。一路上,您可以注意到地板和墙壁上的新鲜污垢,表明刀片巨大的人一直在缠扰该区域。回到S房间所在的门厅区域,深吸一口气然后进去。
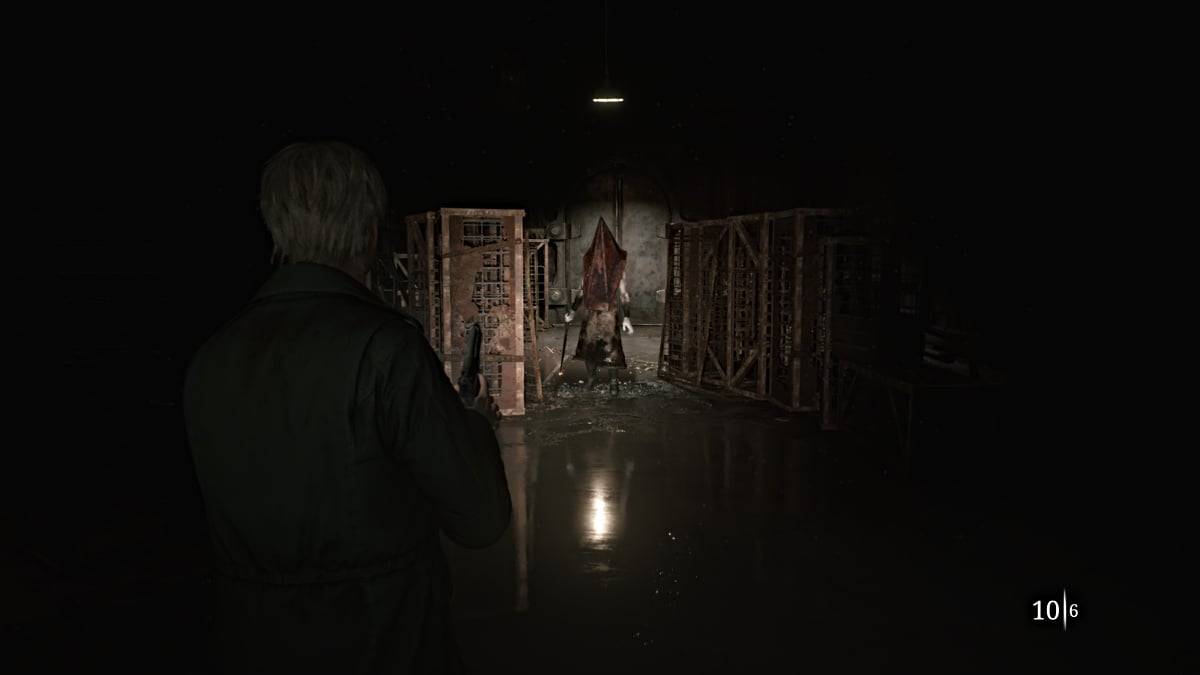
S房间是金字塔头的家,他本人一直潜伏着您的到来。一旦他转身面对你,战斗就开始了。
相反,这是您的活力足够长的斗争,因为随着您将很快意识到,金字塔头几乎没有损坏。您要在这里使用的唯一武器是您的手枪,因为与他保持距离是重中之重。如果您尝试近战攻击,他的大刀挥杆将严重损坏或杀死您。
值得庆幸的是,房间里装满了手枪弹药的盒子,因此在不断地在房间周围制作圆圈的同时,请利用这些弹药。继续向他发射子弹(避免使用头盔),在某一时刻,他会在房间开始洪水时变得更具侵略性。
继续采用相同的策略,直到最后,警报器开始大声,金字塔头立即停止了他的进攻。过场动画将显示他离开,完全结束了战斗。一旦您拥有控制权,请仔细检查您可能错过的任何手枪弹药的房间,然后走同样的门,这将使您直接在外面,回到镇上的街道上,Erose World现在消失了。
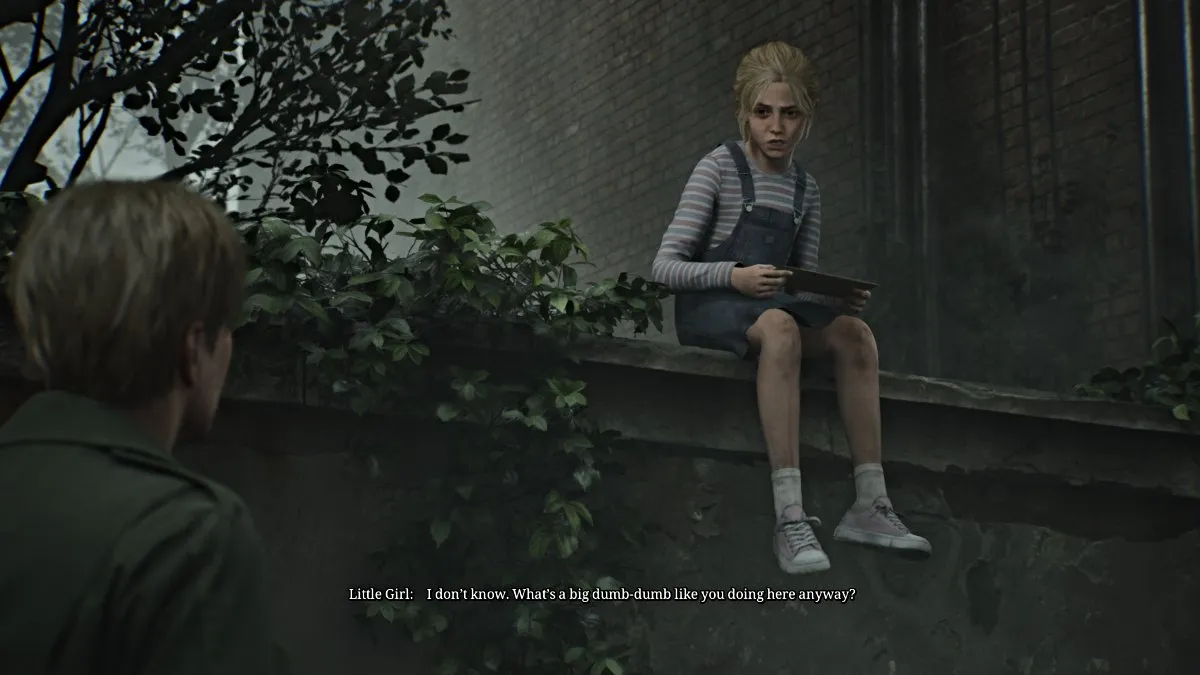
战斗之后,在外面碰到红色保存点,以节省进度,然后检查旁边的汽车,以便保健饮料。检查您的地图,现在您会发现自己在Silent Hill的West South Vale地区。您会看到北部的Rosewater Park盘旋,这意味着您的下一个主要目标。
转弯,检查右边的绿色汽车,以便在驾驶员座位上的手枪弹药。继续前进,另一个过场动画将扮演詹姆斯从前遇到这个年轻女孩的地方(名为Laura,但直到后来她才透露它)。她似乎拿着一封信,但拒绝告诉詹姆斯是什么,说他“无论如何都不爱玛丽”,然后再次起飞。过场动画以詹姆斯感到困惑,因为其他人也在这里为玛丽。
继续穿过隧道,将您直接进入玫瑰水公园。沿着第一个左侧朝板凳区域,在那里您可以在夹克旁边找到注射器。然后,沿着小桥越过,然后分开。沿着正确的道路遵循它,因为在那一侧会有一些手枪弹药。
继续直行,下面是“玫瑰水公园”的标志,该标志将您带到托卢卡湖的码头区域。
沿着漫长的中心路径到达凉亭,在那里您会看到雾中的女性形象。
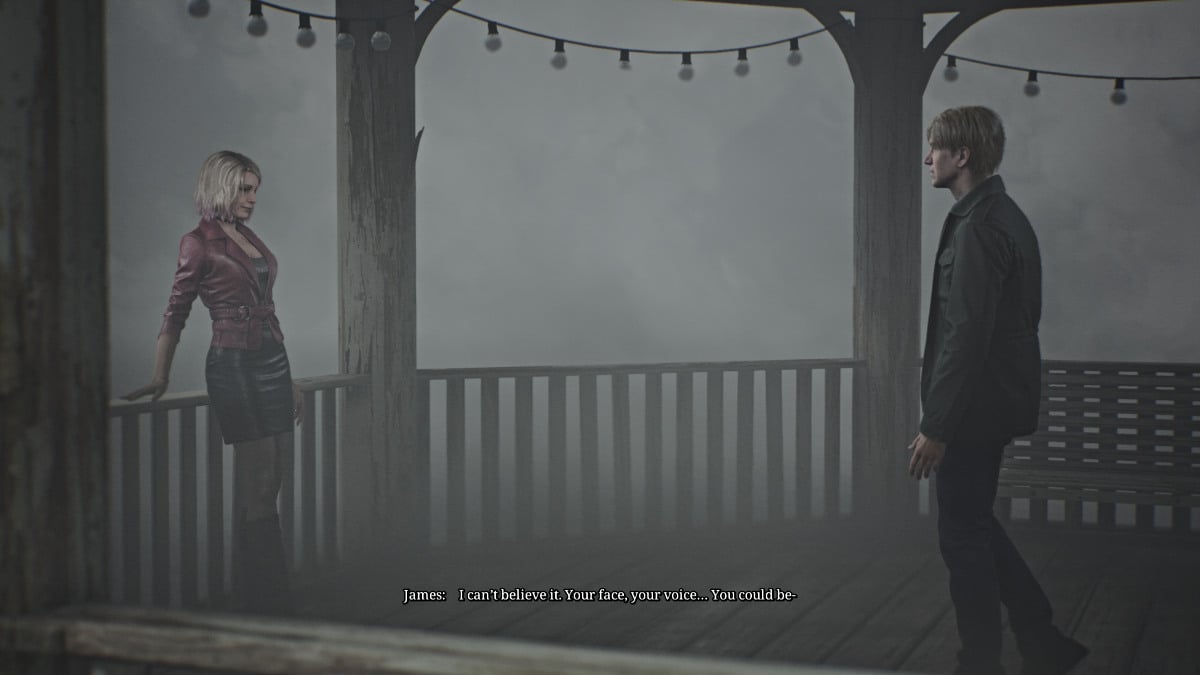
过场动画揭示了这是一个非常类似于玛丽的女人,但外观也很明显。她露面是玛丽亚。
随着詹姆斯显然感到失望和困惑,玛丽亚愿意带他去另一个可能的“特殊地方”玛丽所在。尽管玛丽亚偏爱独自一人,但玛丽亚坚持和他一起“周围的所有怪物”。他勉强同意,现在您的旅程包括玛丽亚作为您的同伴。
在公园的左侧和周围旋转,您会在起居区找到“这么远的家”奇怪的照片,在国际象棋桌上有更多的手枪弹药,在公共洗手间区域进行了健康饮料。将Rosewater Park离开西方出口,然后进入Nathan Avenue。
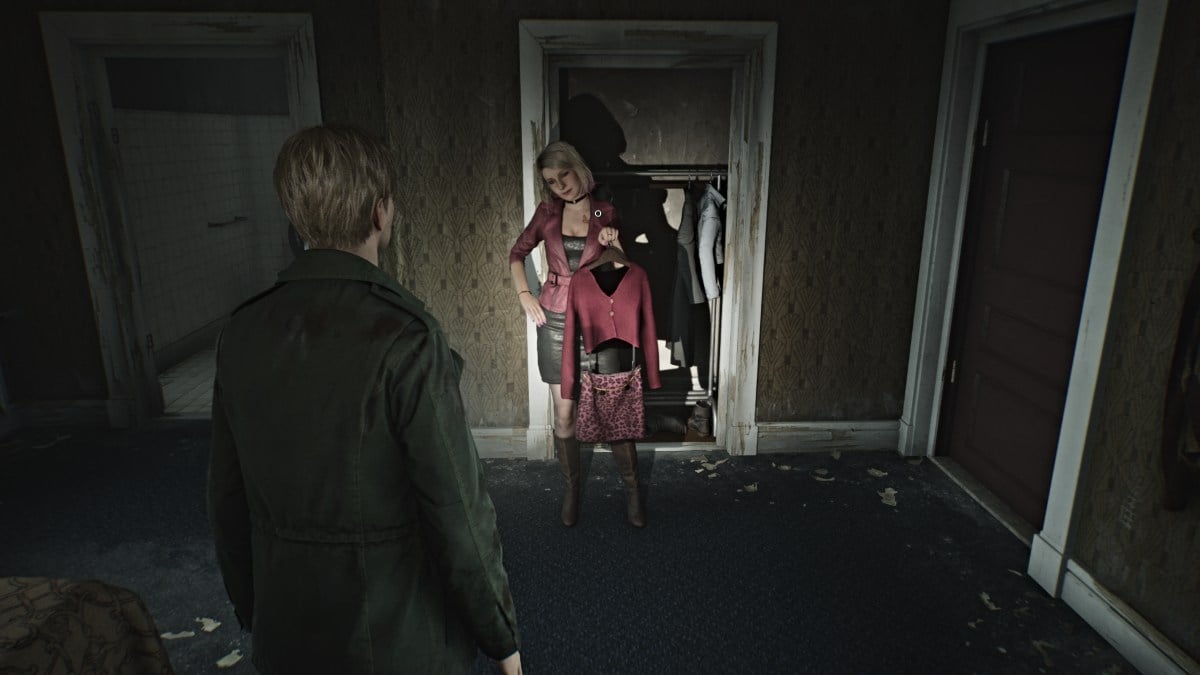
玛丽亚(Maria)告诉詹姆斯(James)切入杰克(Jack)的旅馆(Jack's Inn)到达目的地,然后就在街对面。首先进入汽车旅馆办公室,可以从背面的门进入。柜台下方有一个小的保险箱,需要打开代码。从公告板上拿起接待台纸条,该公告板暗示107室。您会在高架建筑物向汽车旅馆的后部找到它,但是您需要在108室中打破窗户才能到达那里。
进入后,打破连接到107室的墙壁,在卧室里,您会找到工具箱备忘录,这给您以下谜语:
通过执行适当的数学,您将获得代码0451 。当您准备离开房间时,玛丽亚(Maria)会用她在壁橱里发现的衣服逗弄您,问她是否看起来不错。
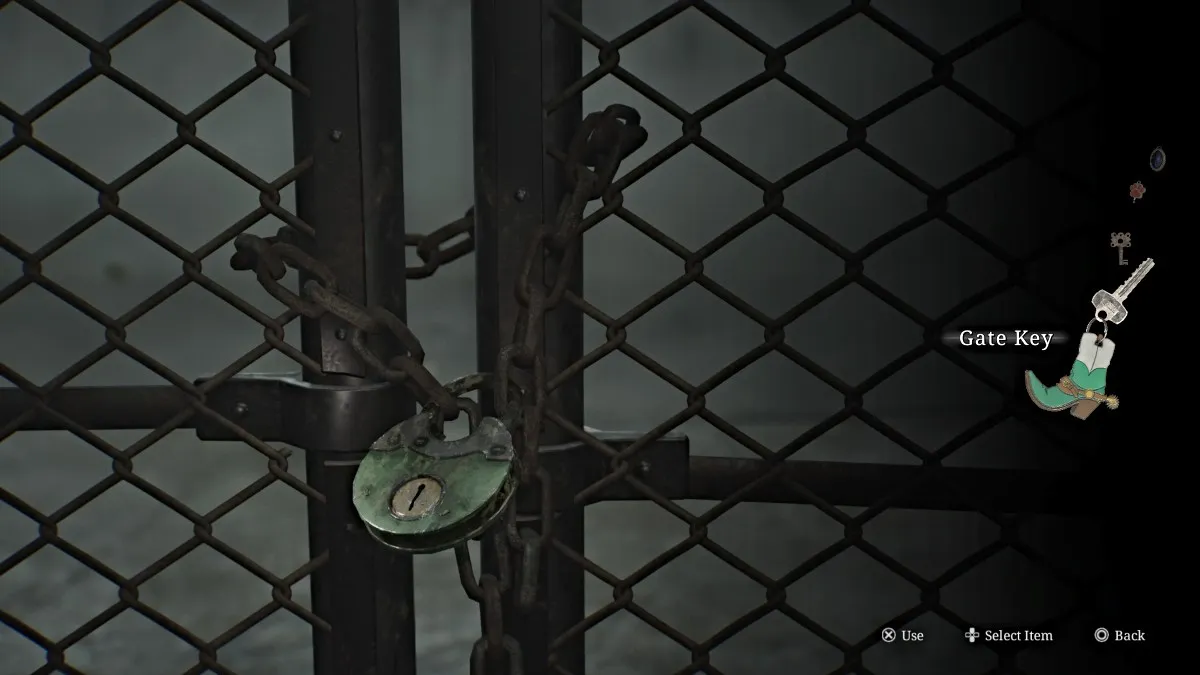
返回汽车旅馆办公室,使用代码,在保险箱内您会找到门键。不过,您没有太多时间去看它,因为人体模特突然伏击玛丽亚。一枪将把它放下。
在使用了坐在汽车后备箱上的红色保存点之后,现在是时候探索该地区的其他地方,因为您将无法返回一段时间,这将是夜间(还有更多危险)当你这样做时。
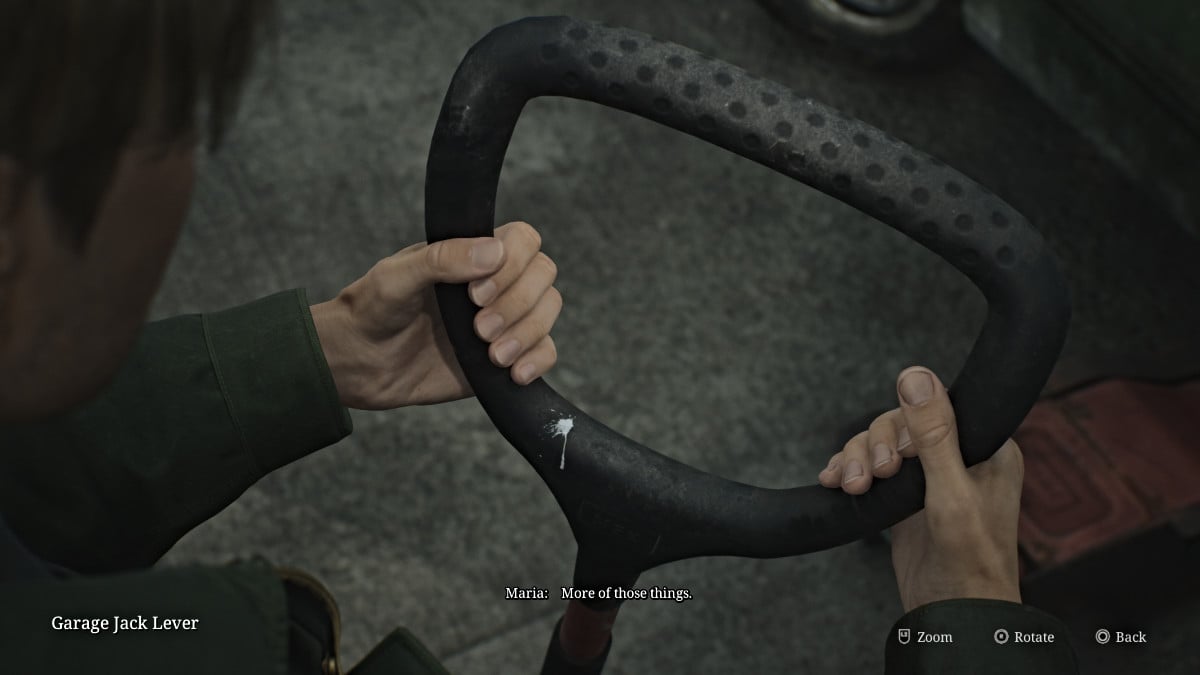
从您进入杰克酒店的地方,从内森大街(Nathan Avenue)左转,直到到达辛塔尼斯(Octanis)燃料。到达后,玛丽亚会说您走错了方向,并意识到忽略她的建议,让她在整个游戏中被怪物攻击会影响您的结局。
到辛塔尼斯燃料的后面,在那里您会发现车库杰克抬起的汽车。走上去,拿走车库杰克杠杆,但在此过程中,噪音会唤醒几个怪物。照顾撒谎的人物和虫子。
另外,当您在那儿时,穿越卡罗尔街(Carroll Street)到达皮特(Pete)的碗 - 奥拉玛(Or-Rama) ,然后去里面探索。在原始游戏中,您会在这里偶然发现埃迪(Eddie)和劳拉(Laura),但在翻拍中并非如此。这个地方是完全空的,但是您可以找到一个红色的保存点,一些备用的手枪弹药和躺在周围的健康饮料,以及在保龄球巷附近几乎吃过的披萨。
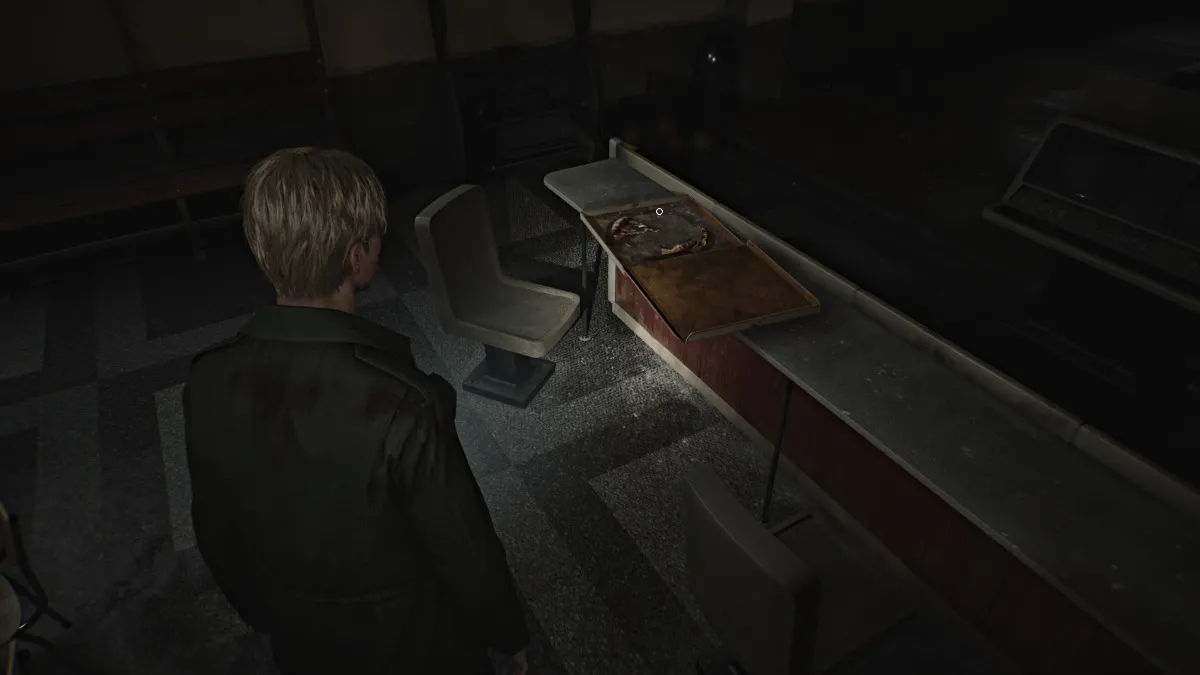
与之互动以又一看过去,詹姆斯会说:“这个地方到处都是怪物,有人怎么坐在这里吃披萨?”。这是对原始游戏中最具标志性的场景之一的有趣点头,而且埃迪可能仍然在这里。
当您准备就绪时,请留下皮特(Pete),然后一直沿着内森大街(Nathan Avenue)朝玫瑰水公园(Rosewater Park)前进。请注意现在散布在街上的怪物。回来后,专门进入玫瑰水公园外面的停车场。其中一辆停放的汽车将有一些手枪弹药,所以砸碎并抓住。
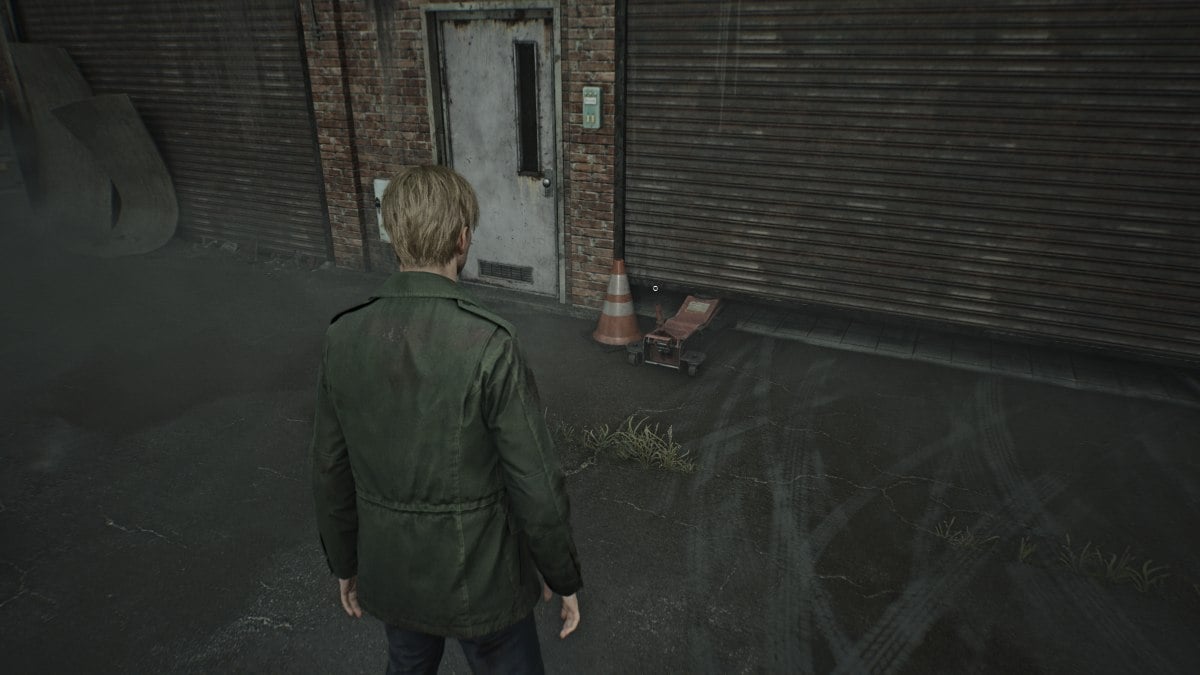
在停车场的车库后面跑来跑去,在那里您会看到一个车库杰克打开的大门,尽管缺少杠杆。使用您打捞的那个,您将能够完全打开大门。在里面,您会发现一系列有用的物品,包括:
这样,您现在已经涵盖了该地区需要探索的所有内容。因此,返回杰克酒店的停车场,再次使用红色保存点,然后使用您之前获得的大门钥匙来解锁西侧门,并访问西南谷的其余部分。
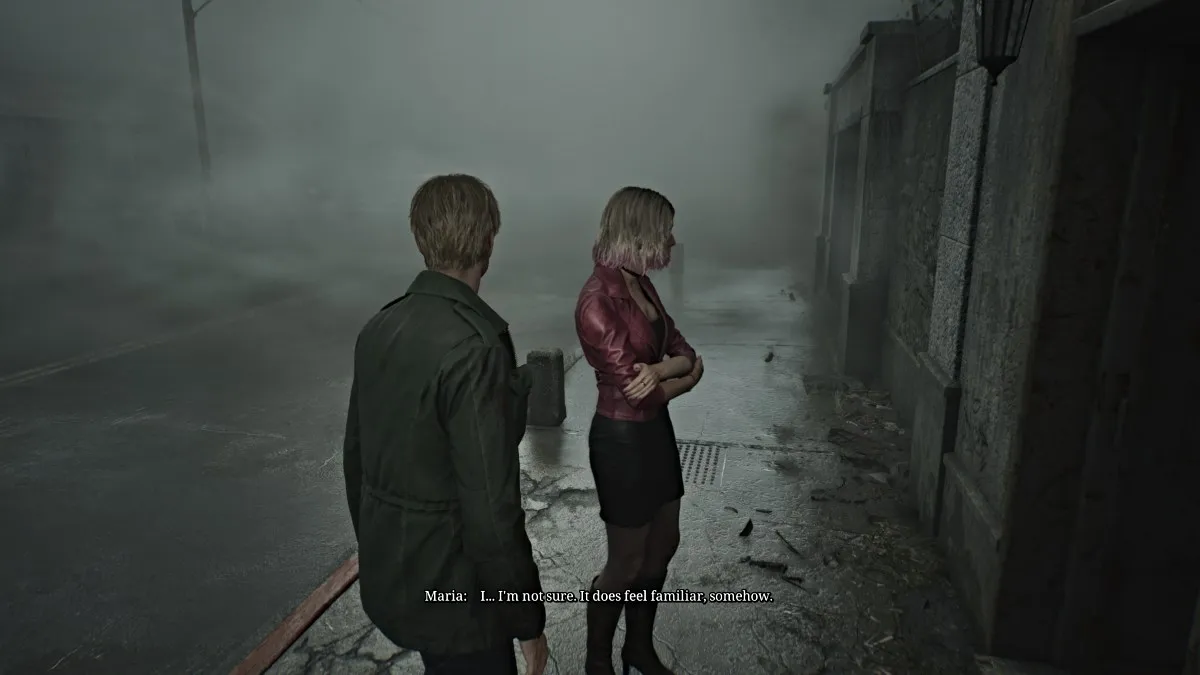
如果您首先向左绕道,您会遇到鲍德温大厦,这是原始游戏的侧面故事诞生的重要地点。不幸的是,它的门被锁着,玛丽亚(Maria)甚至会拒绝进入庭院,并说虽然她觉得自己以前去过那里,但这似乎是“不好的记忆”。
这样,沿着芒森街(Munson Street)向南行驶,然后在卡茨街(Katz Street)悬挂一条右边,因为另一个高大的路障在您的路上。最终,过场动画将揭示道路在地面上又有巨大的差距结束,玛丽亚坚持要找到另一种方式。詹姆斯感受到了一些东西,发现怪物开始蜂拥而至,而雾气再次上升,就像以前一样。
詹姆斯(James)穿过小巷之门后,用木板将其隔开,以防止怪物,他唯一的近战武器似乎丢失了。但是,他转身发现一条钢管从吸烟汽车中伸出来,可以使用,从而在此过程中进行升级。
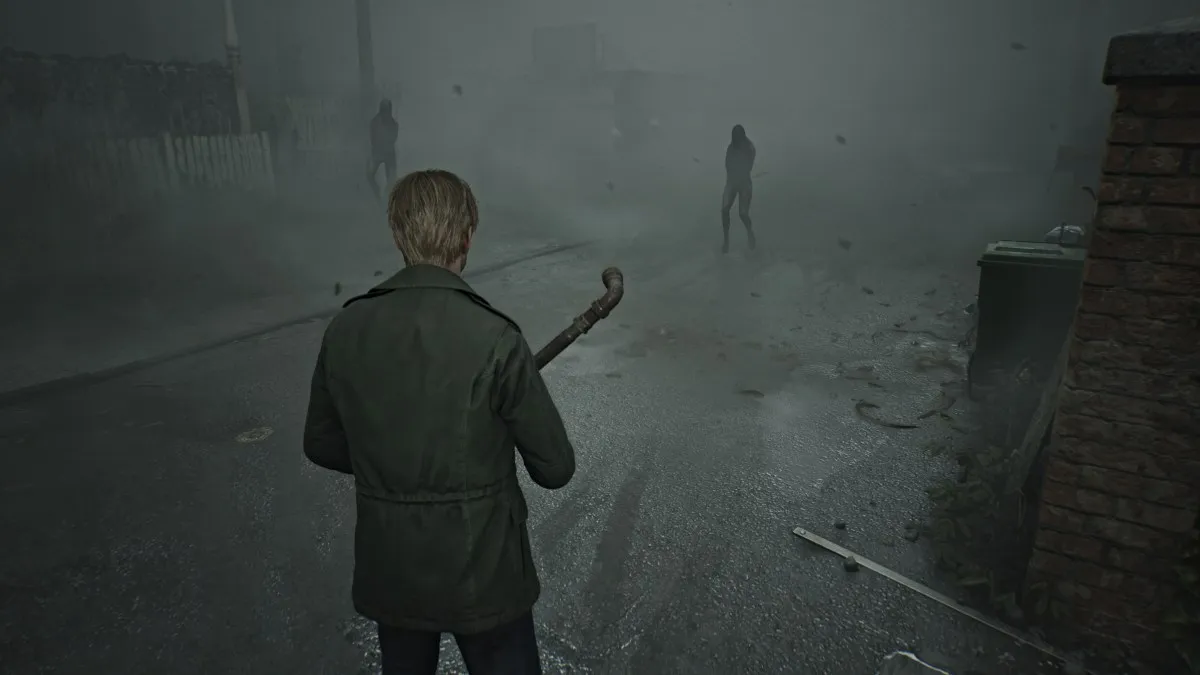
使用您的新近战武器来抵御您前面的怪物,并穿越后小巷和码头通往天堂的夜晚。拿起您可以沿途的所有手枪弹药。
最终,玛丽亚(Maria)将把您引导到围栏中的缝隙以逃脱。拿走它,经过短暂的过场动画,您会发现自己正好在天堂的夜晚。前往大楼的后门,尽管锁定了玛丽亚,但玛丽亚还是为您打开它。探索厨房和更衣室的物品,包括“准备杀死它!”奇怪的照片。
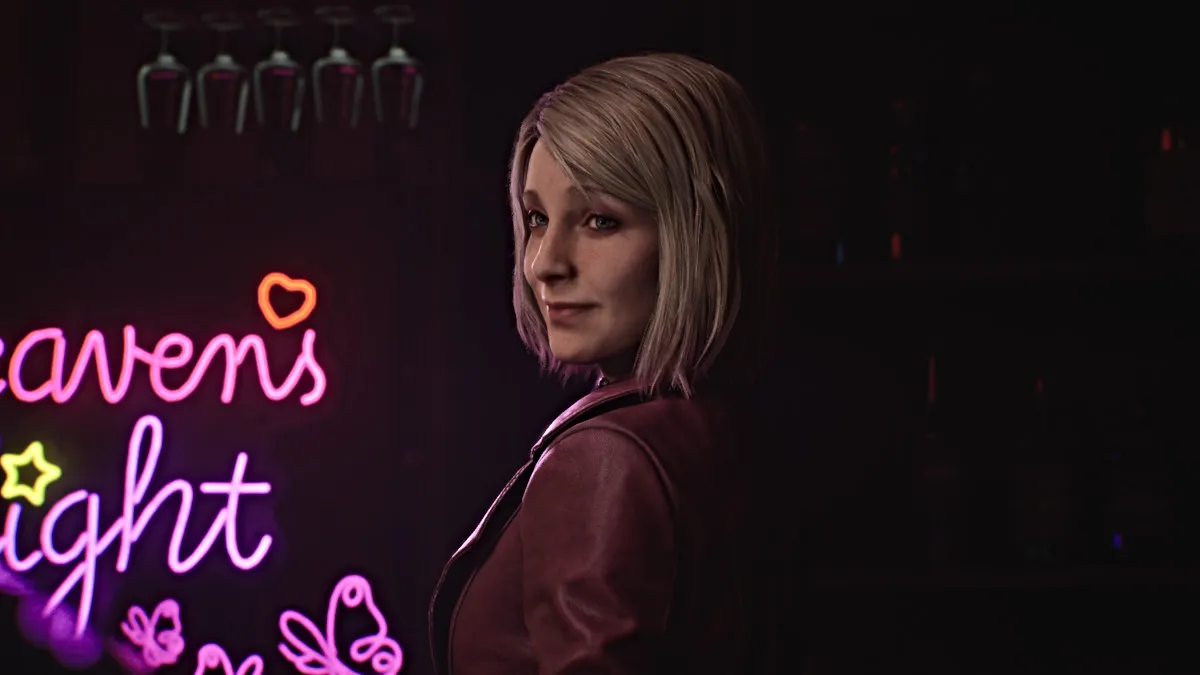
之后,穿过敞开的门和后台周围(这里更多的物品),直到到达前用餐区和酒吧。漫长的过场动画将与玛丽亚(Maria)一起玩,试图诱使詹姆斯(James)放松身心,并出于某种原因,他们在那里度过一段时间。她坚持认为这不是她所指的“特殊地方”,这只是一个捷径。
最终,他认为最好继续前进,玛丽亚将他带到前门,并带到她的真正“特殊地方”。
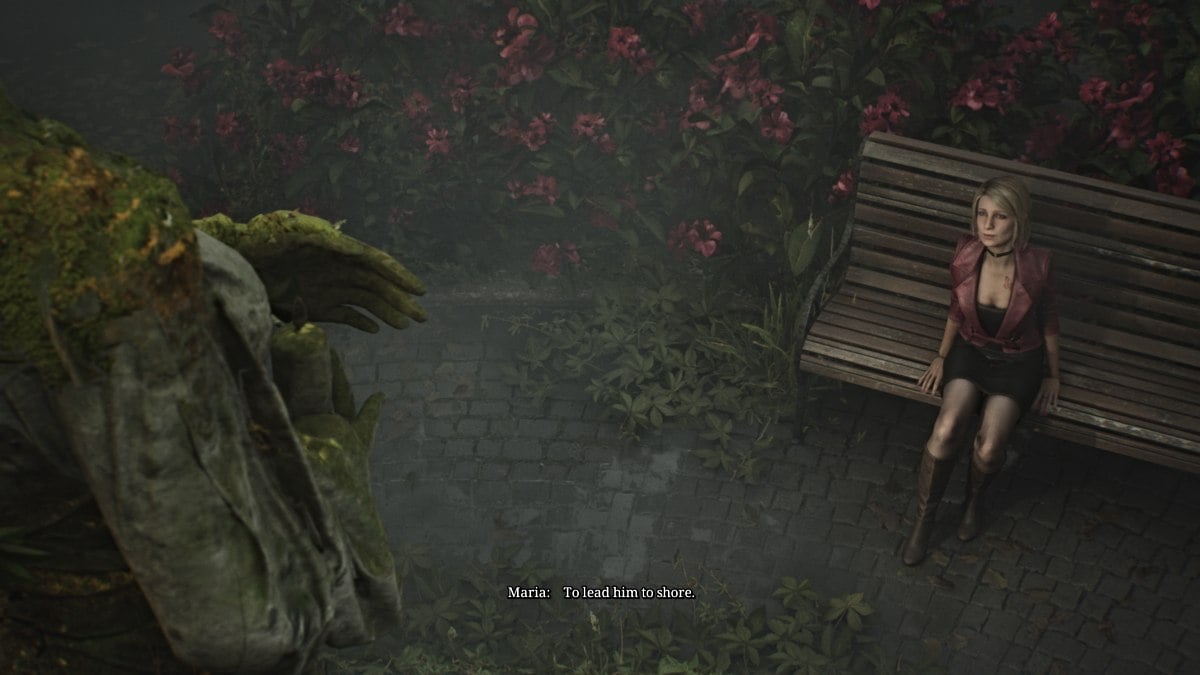
玛丽亚(Maria)将詹姆斯(James)引导到一个从未在寂静岭(Remake)(重制的新手)的地方,称为Moonlight Park 。他们到达一个小庭院,一个女人的雕像站在那儿,在一段长度的过场动画中,玛丽亚告诉詹姆斯,她背后的令人着迷但悲惨的故事。
同时,这个故事显然影响了詹姆斯,詹姆斯开始失去希望,因为在这种情况下,他会发现玛丽。玛丽亚(Maria)安慰他,并坚持认为他们会继续寻找,并突然在附近的尖叫声发出警报。
沿着玛丽亚(Maria)向隔壁的里弗里剧院(Reverie Theatre)的背面,那里有一个高处爬行的空间,供詹姆斯(James)适应和调查。玛丽亚(Maria)自从讨厌电影以来坚持留在后面(Geez,但不打保龄球?)。
进入室内后,您很快就会听到埃迪(Eddie)和劳拉(Laura)的声音,他们显然正在一起看电影,埃迪(Eddie)嘲笑劳拉(Laura)尖叫(您之前听到的声音)。
环顾四周并与附近的机柜互动,将其移出门,这会导致骚动。劳拉(Laura)被吓坏了,埃迪(Eddie)留下来。穿过门,围绕着左边的拐角处进入剧院,另一个过场动画将与Eddie一起玩。
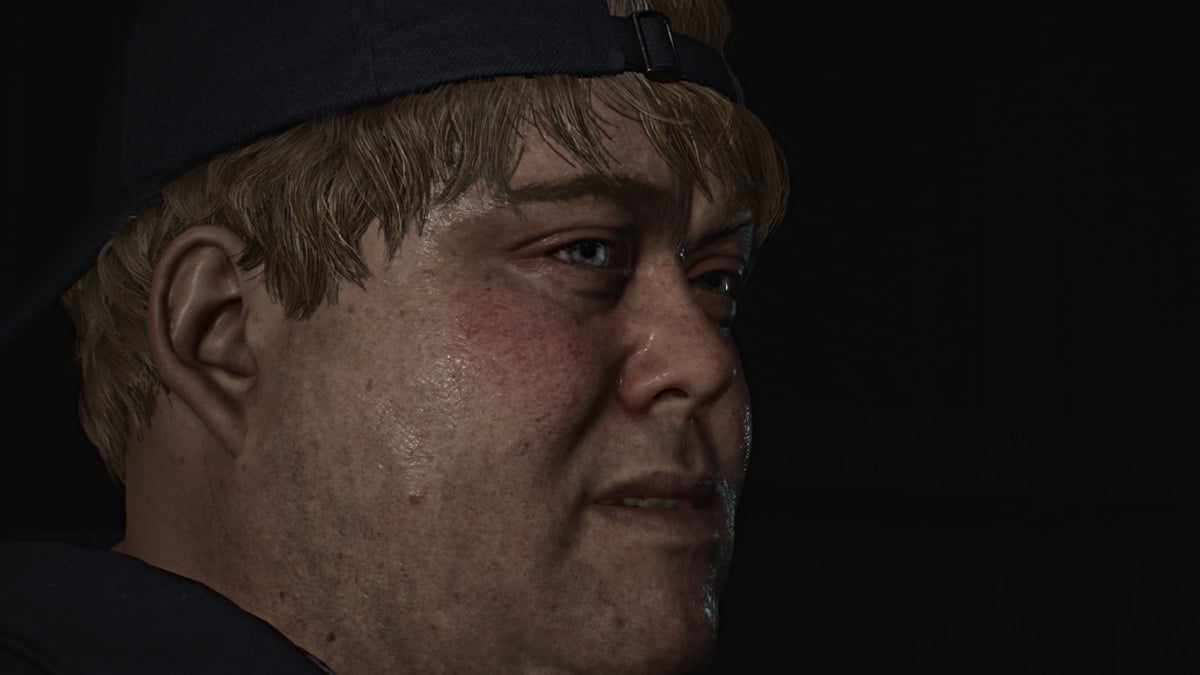
结束后,穿过左侧的门口,到达下一个剧院房间,劳拉(Laura)会在那里打开投影仪,在那里恶作剧。穿过后门前往走廊,然后爬上附近的楼梯间。穿过投影室,然后穿过充满胶卷的房间。在两个货架之间的缝隙中挤压,詹姆斯将在下一个投射室发现劳拉,后者再次逃跑。
穿过第二个投影室,然后穿过后门,然后继续将她一路追逐剧院的前门。进站停止两个大堂浴室,以便在您出发之前提供更多手枪弹药。
跑到外面,玛丽亚会说他们仍然可以抓住她。左转街和拐角处,另一个过场动画将揭示劳拉(Laura)跑到比赛中的下一个主要地点布鲁克黑文医院。
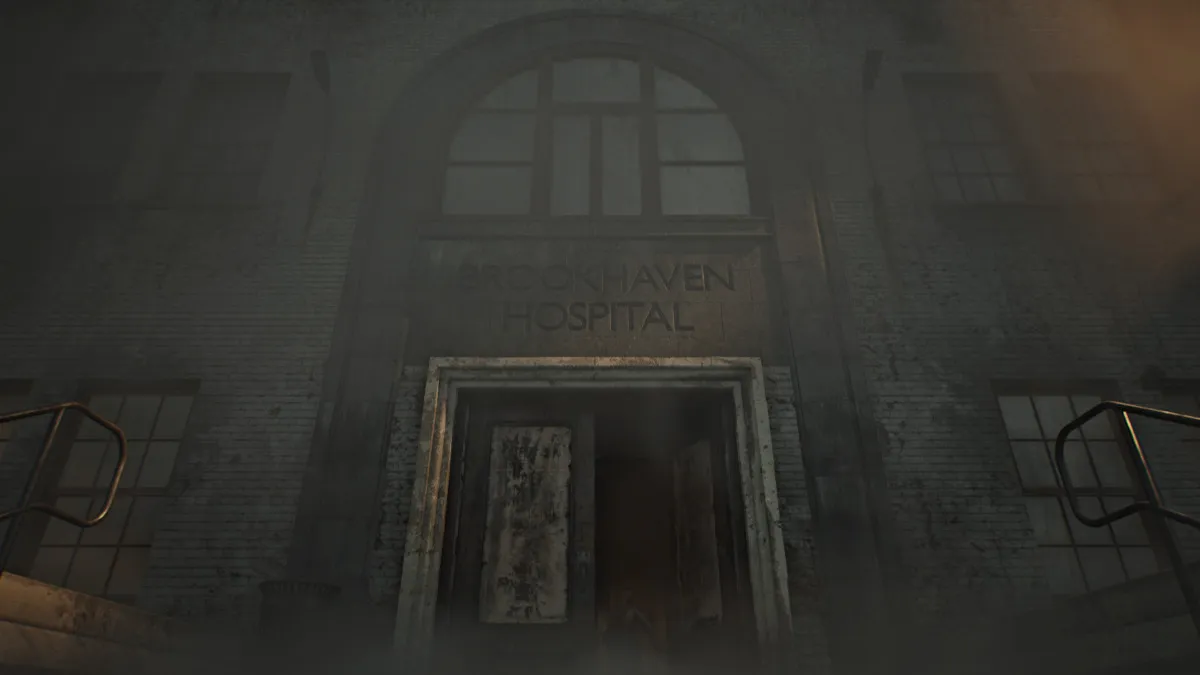
进入Brookhaven医院,立即右转到入境办公室。您会注意到一个开放的枪柜,曾经是a弹枪,暗示它可能仍在医院的某个地方。从附近的桌子上拿起第一批shot弹枪壳。
穿过下一套门,然后跑过去从公告板下的杂志架上抓住Brookhaven医院地图1F-3F 。向左去接待处,抓住钥匙储物柜注意,提到挂锁组合和检查室3 。桌子上也有手枪弹药。
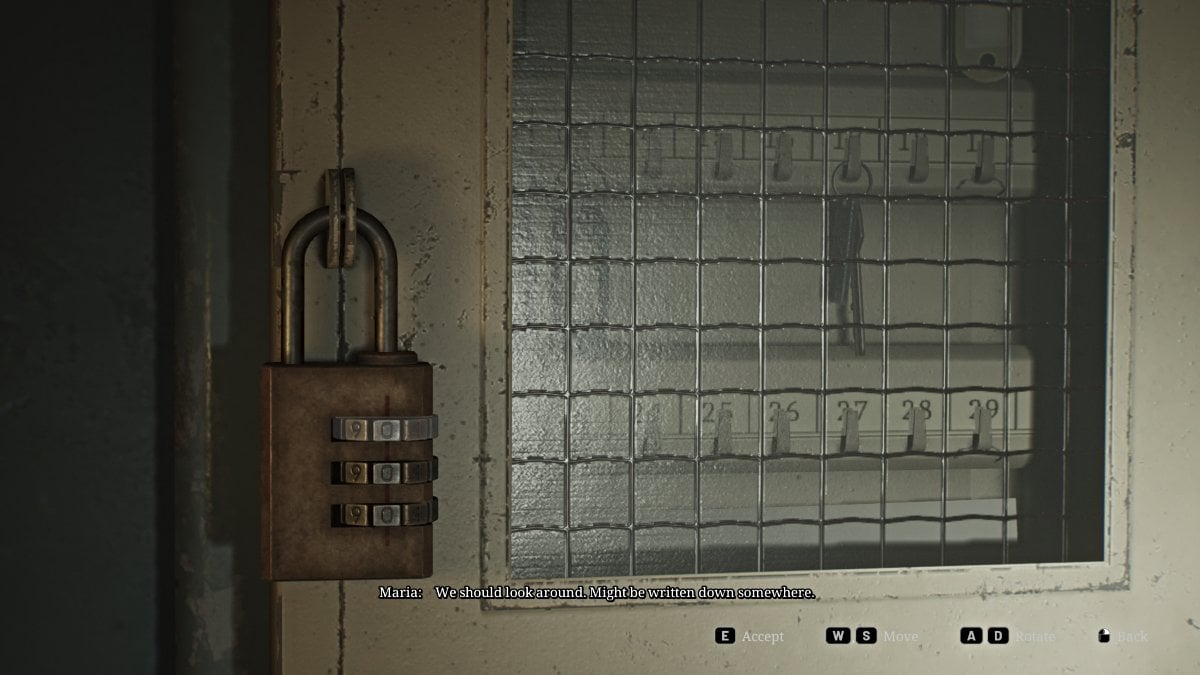
转身进入后面的房间,绕着开着窗户吹着一些文件。使用红色保存点,然后使用前面提到的挂锁在墙壁上的钥匙保险箱(可见)。正确的组合(标准难度)为724 ,但您仍然可以前往第3室,以获取护士的备忘录,以完成清酒,以及注射器和shot弹枪壳。盒子打开,取回地下室钥匙。
目前,一楼的大多数其他路线都被锁定,所以前往东侧的楼梯。过场动画将显示劳拉(Laura)在墙壁上绘画,然后再发现詹姆斯(James)并再次逃跑。如果您跟随她到二楼,您现在会发现门已锁定,因此,由于您有钥匙,因此回到地下室级别。从底部楼梯下面的抽屉里抓住手枪弹药,然后穿过门。
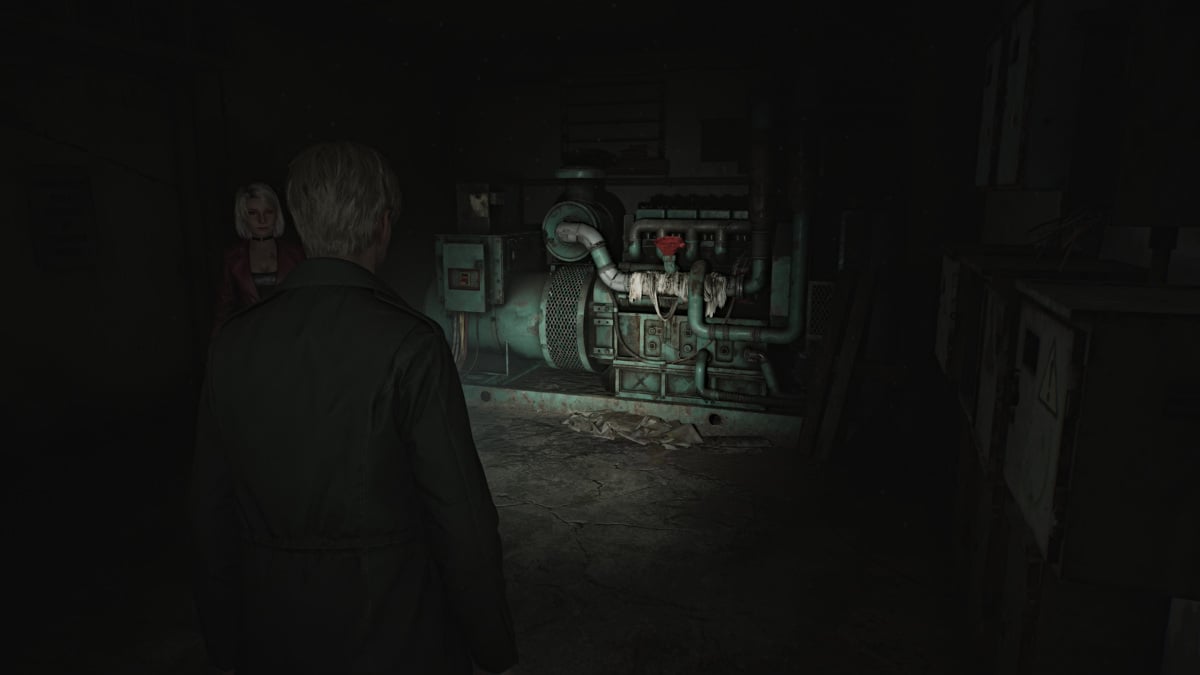
直接您会找到布鲁克黑文医院地下室的地图。获取轴承,然后向北前往泵房,在那里您可以在右边的容器上找到手枪弹药。继续到发电机室,在那里您会看到一个巨大的发电机,该发电机目前没有电源。水箱上的红色漏斗表明它需要燃料。
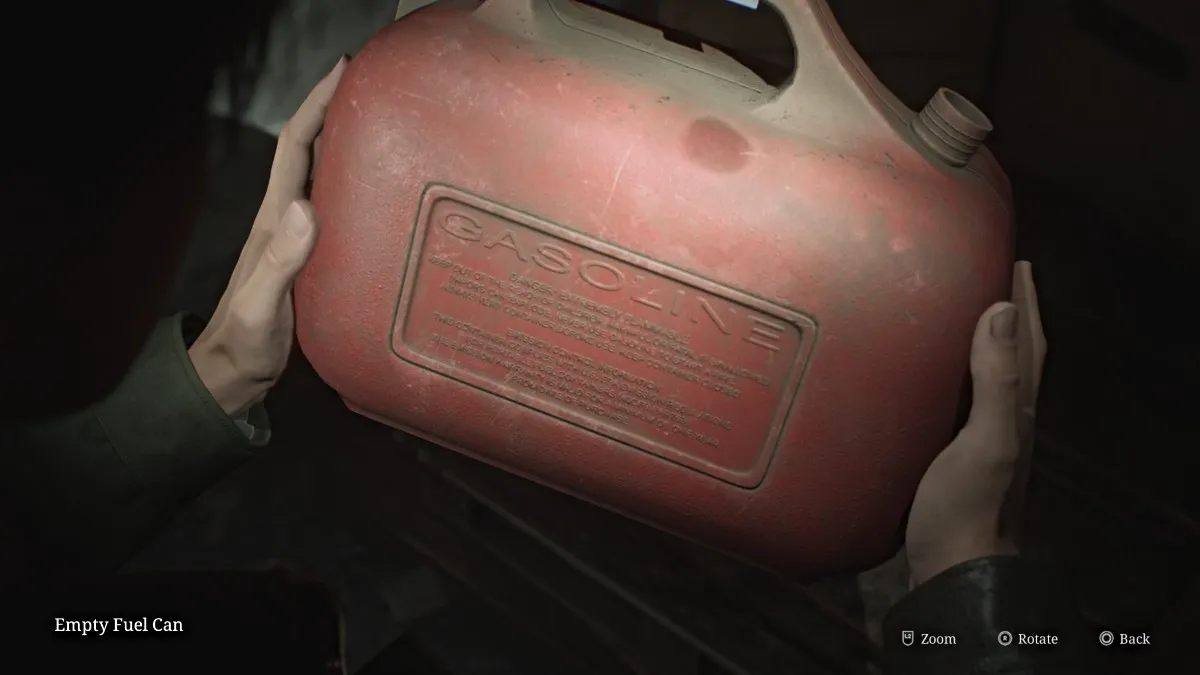
走进锅炉房间(由两个房间组成),然后当心伏击的人体模型。在后墙抓住一些手枪弹药,然后进入第二个锅炉房,在那里您会在后角处找到一个空的燃料罐。
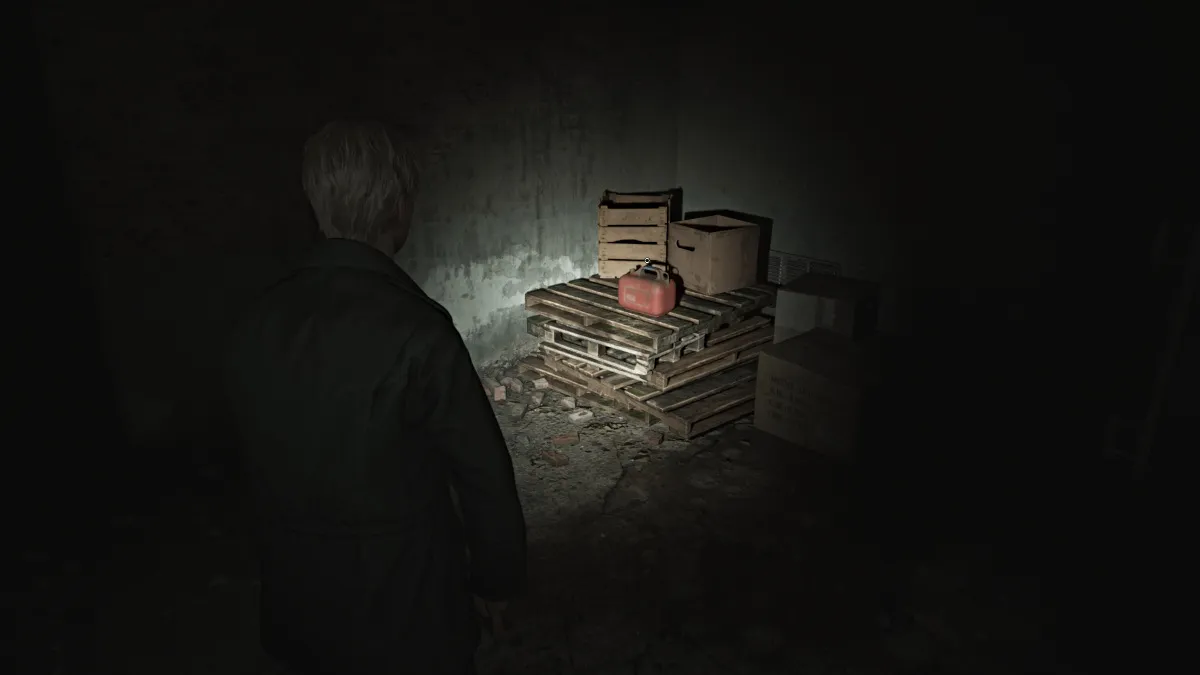
离开锅炉室,去洗衣房,那里有一台需要推动的手套。您的目的地是下一个房间(洗衣房)的高爬行空间。另一个人体模特会在途中伏击您,因此您可能想先照顾那个。也从该地区抓住更多的手枪弹药。
爬入储藏室,您会发现更多的手枪弹药,注射器和一个大型油箱,您可以在这里填充空的燃油罐。完成后,回到发电机室。用您收集的燃料填充发电机,然后将其打开,这将恢复电梯的电源。
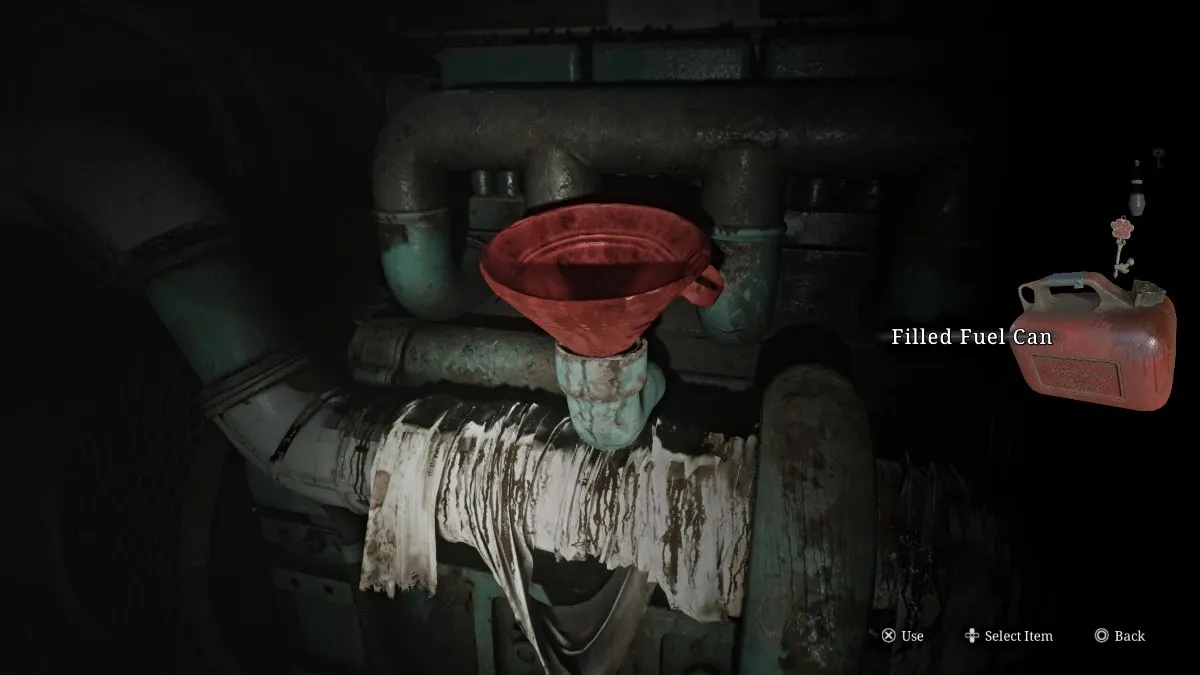
在那里的路上,在技术室停下来,进行一些手枪弹药和shot弹枪壳。将电梯带到二楼,到达那里后,将会播放过过场动画。
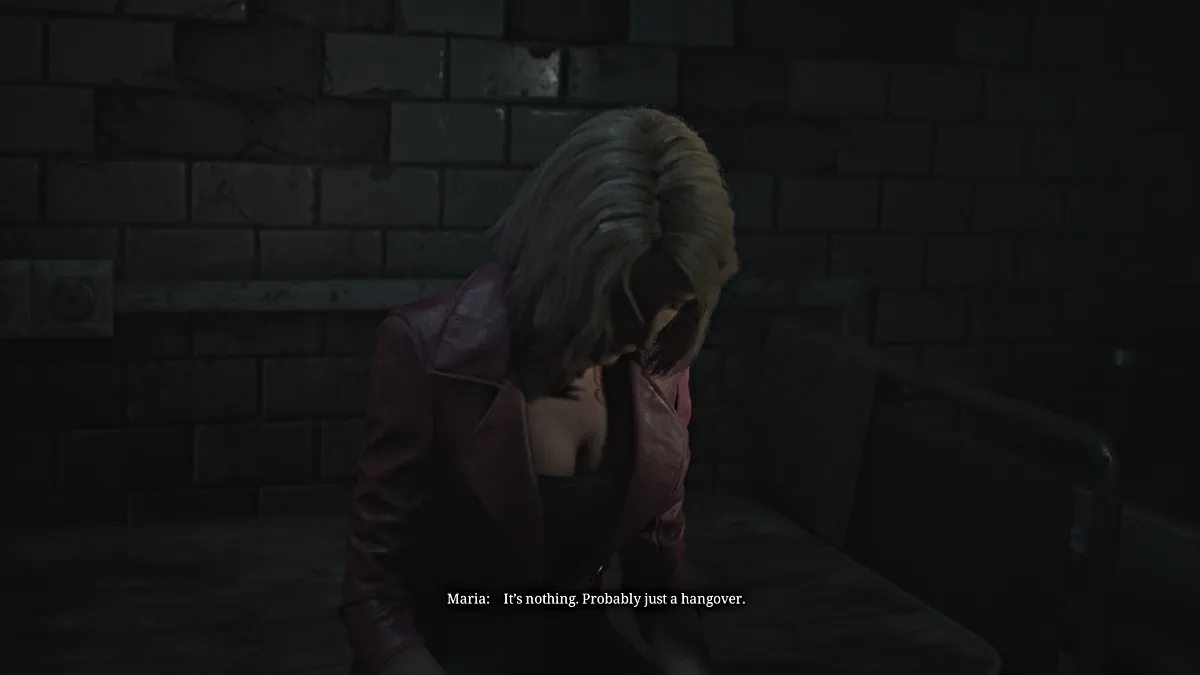
詹姆斯注意到现在天黑了,外面下雨了,玛丽亚奇怪地躲进了附近的护理室。詹姆斯问她怎么了,她坚持认为自己很累,决定停下来休息,吃点药,躺下。詹姆斯选择继续寻找劳拉,并说他会回来的。
走出房间,进入C3房间,那里有红色保存点和健康饮料。旁边的洗手间有一些手枪弹药,以及整个路上的C2房间。导演办公室附近的双门暂时已锁定,因此跑回北走廊,穿过那些门,您第一次与泡泡头护士相遇。
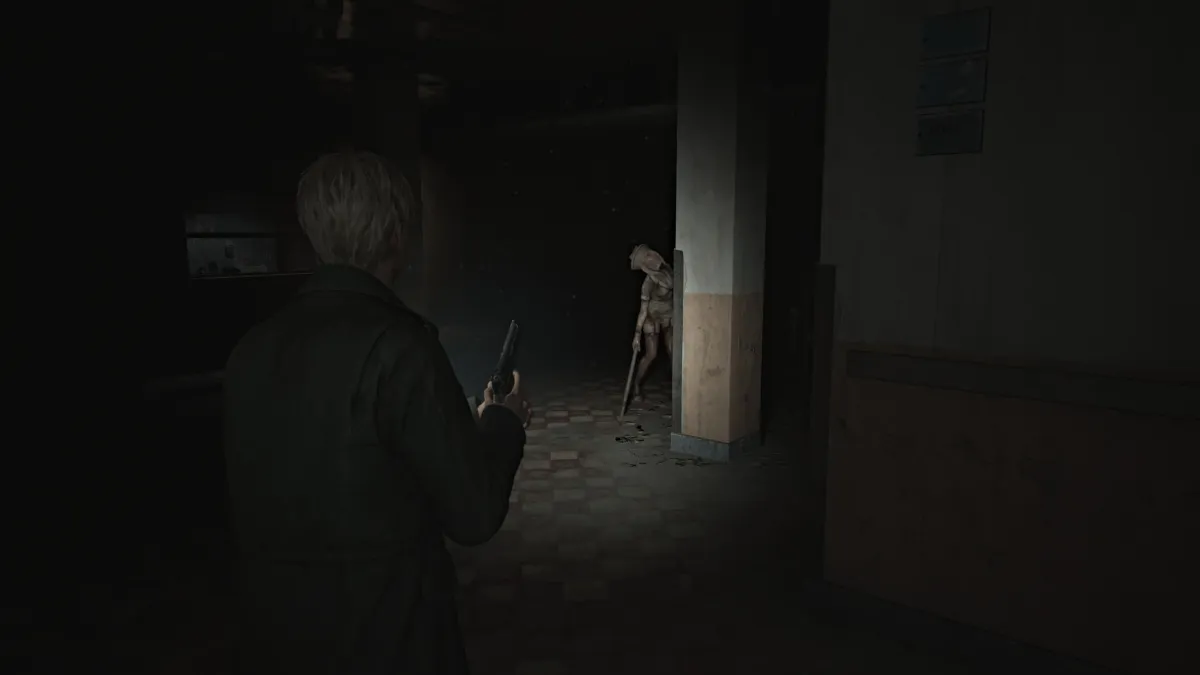
像人体模特一样,泡泡头护士也很敏捷,可以躲避攻击,所以要小心。最重要的是,他们挥舞着自己的武器,例如管道和刀具,它们可以反复攻击并可以很快覆盖地面,因此它们绝对是游戏中最强大的怪物之一。而且它们遍布医院,因此请明智地使用您的弹药。
继续沿着大厅,直到到达护士站和L3房间之间的空地。使用爬网空间进入L3房间,您会在那里找到手枪弹药,shot弹枪壳,健康饮料以及在观察室的“她的图纸”奇怪的照片。
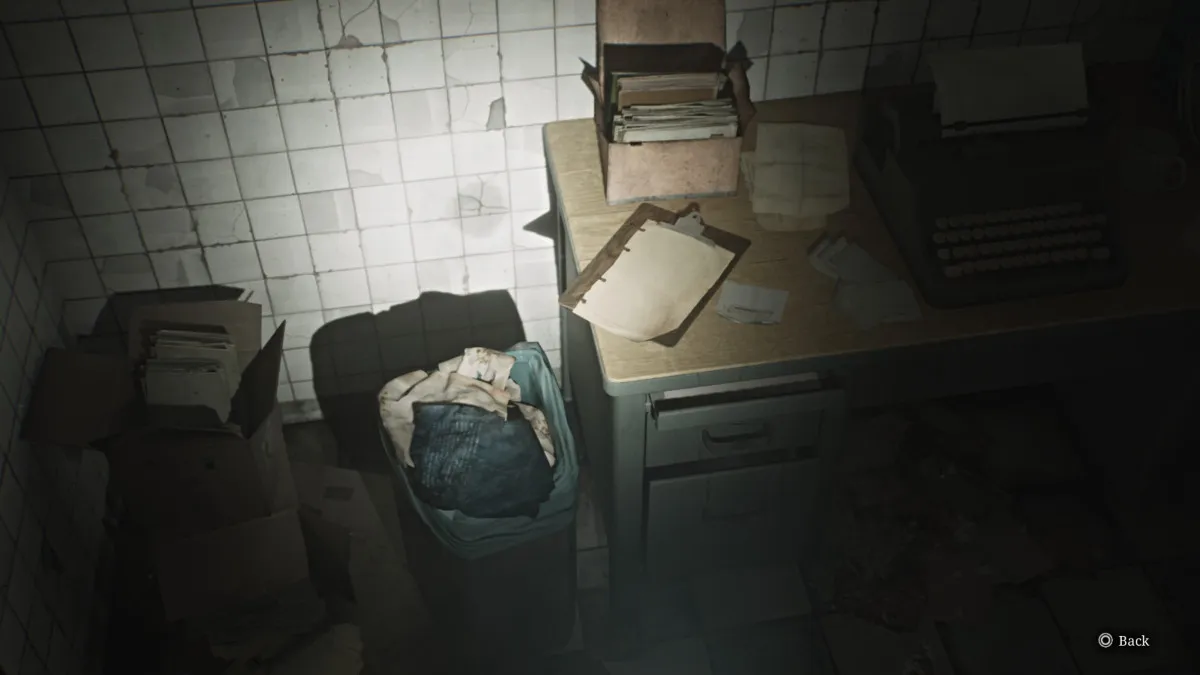
回溯,直到您可以向左转,然后将捷径从中心走廊驶向导演办公室。一路走来,在洗衣房里,在垃圾桶(可见)和一些shot弹枪贝壳中又一瞥过去。
另一个左前往C1房间,您可以从墙壁上拿出船只海报,露出鲜血和面试笔录中吸引的红眼。解锁您以前无法打开的双门,然后穿过大厅到淋浴室,淋浴房有手枪弹药和人体模特等待扑灭。使用它到达L2房间,您可以在其中找到shot弹枪壳,手枪弹药,一种健康饮料和两个怪物。
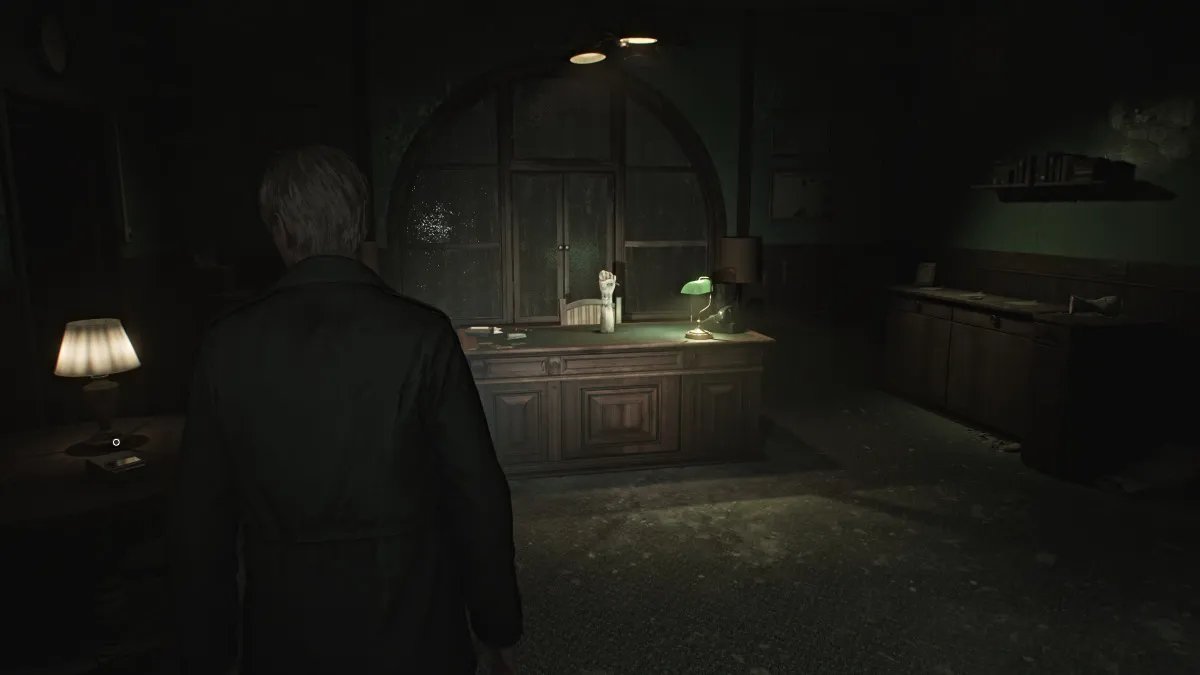
最后,进入导演办公室,在那里您会找到一个红色的保存点,锁定的门,录音和评估卡,适用于#50,#90和#130 。另外,在红色的窗帘后面,您会发现一个带有奇怪符号的保险箱,尽管其中一个丢失了。
最重要的是,桌子上有一个模特手臂,抓住了上述锁定门的钥匙。为了获得它,手臂需要三个患者手镯。
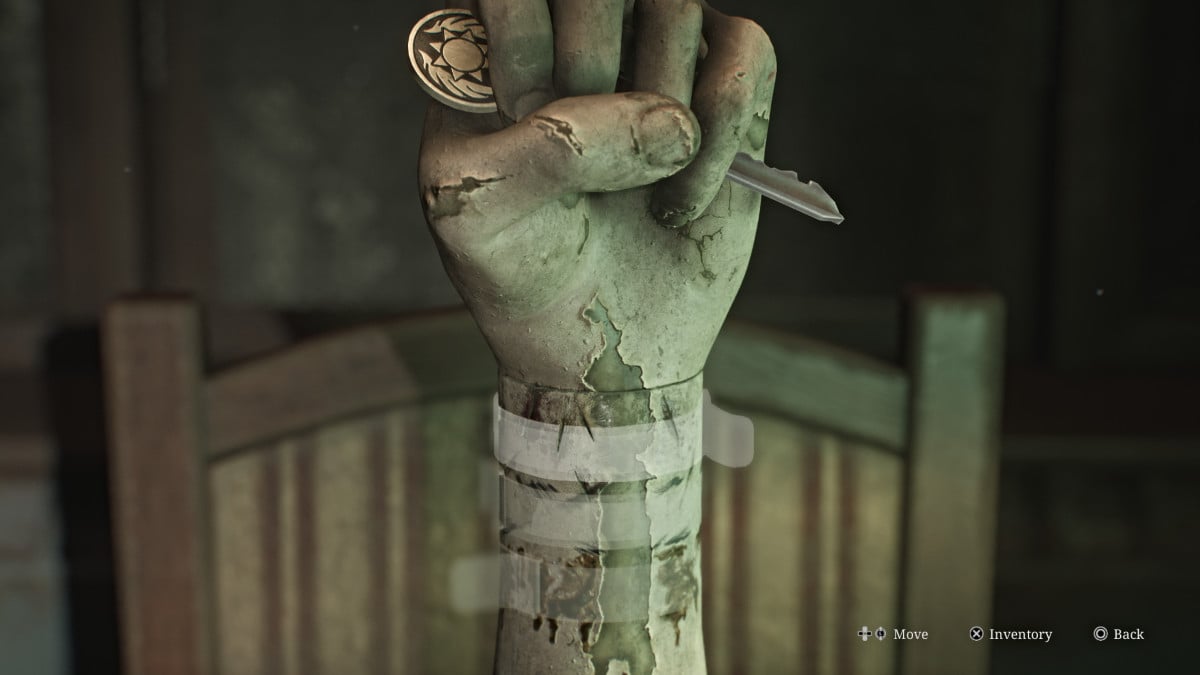
值得庆幸的是,您拿起的评估卡为您提供了一些有关在哪里找到它们以及丢失的符号板的提示。检查您的地图,然后离开办公室。
与另一位泡泡护士打交道后,从大厅对面的洗手间和M5房间捡起一些手枪弹药。在大厅的更远的地方, M1室将有shot弹枪壳和过去的瞥见可以解锁。
前往西走廊,您会注意到, L1房间的门被移至该室的一侧,该门被锁定在那一边。进入女子更衣室,您会发现丢失的shot弹枪(Yoink),以及更多的shot弹枪壳,手枪弹药,健康饮料和椅子上毛绒熊的弯针。
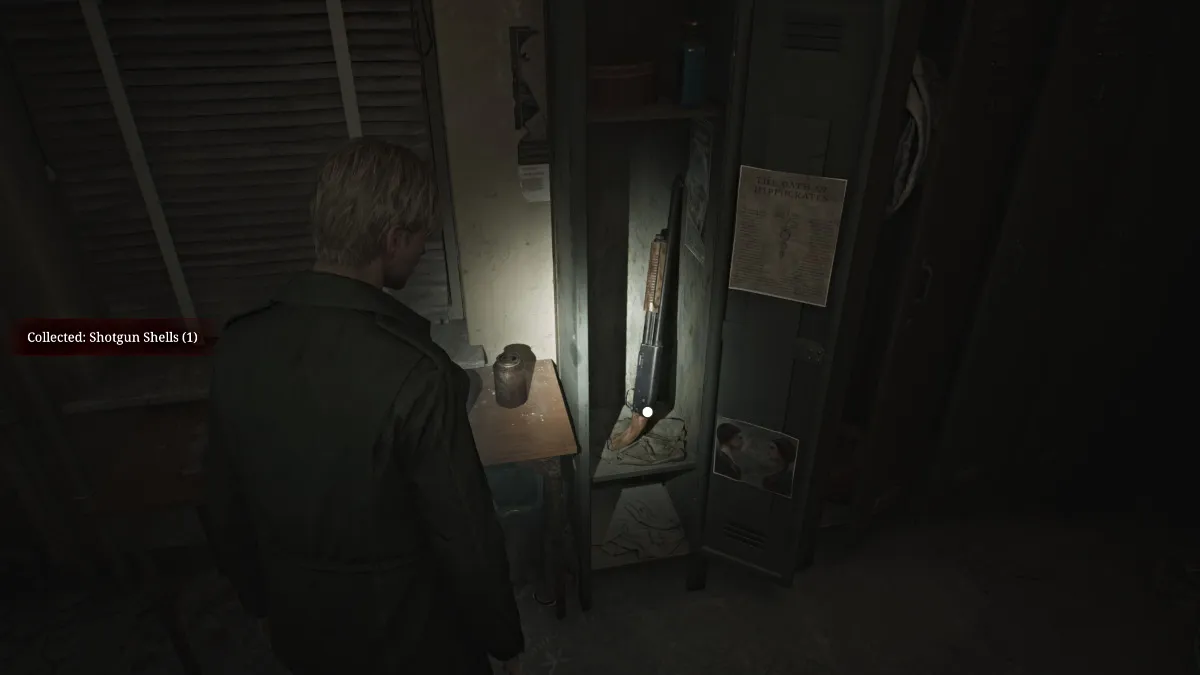
确保明智地使用shot弹枪,因为贝壳很难获得。这样,就出去,继续前往护士休息室的走廊。在内部,您会发现L1房间钥匙和泡沫护士守护它。要求它之后,回到L1房间,然后在里面冒险。房间很大,杂物不舒服,还有一些奇怪的声音来自小房间。
您可以使用一个高的爬行空间来进入它,而在房间的正确视线上推车可以到达它。抓住购物车,将其滚动在爬行空间下方,然后跳入里面。尽管有噪音,但房间还是空的,除了关于年轻女孩承认的笔记外。
离开房间,检查大厅对面的杂物间,那里的“东西”从墙上的洞中逃脱。当然,别无选择,只能遵循它。滑过墙壁后,您很快就会发现自己回到一楼,在一个未标记的房间里。您面前的一扇门被锁定了,因此穿过旁边的爬行空间,将您带到医疗记录室。
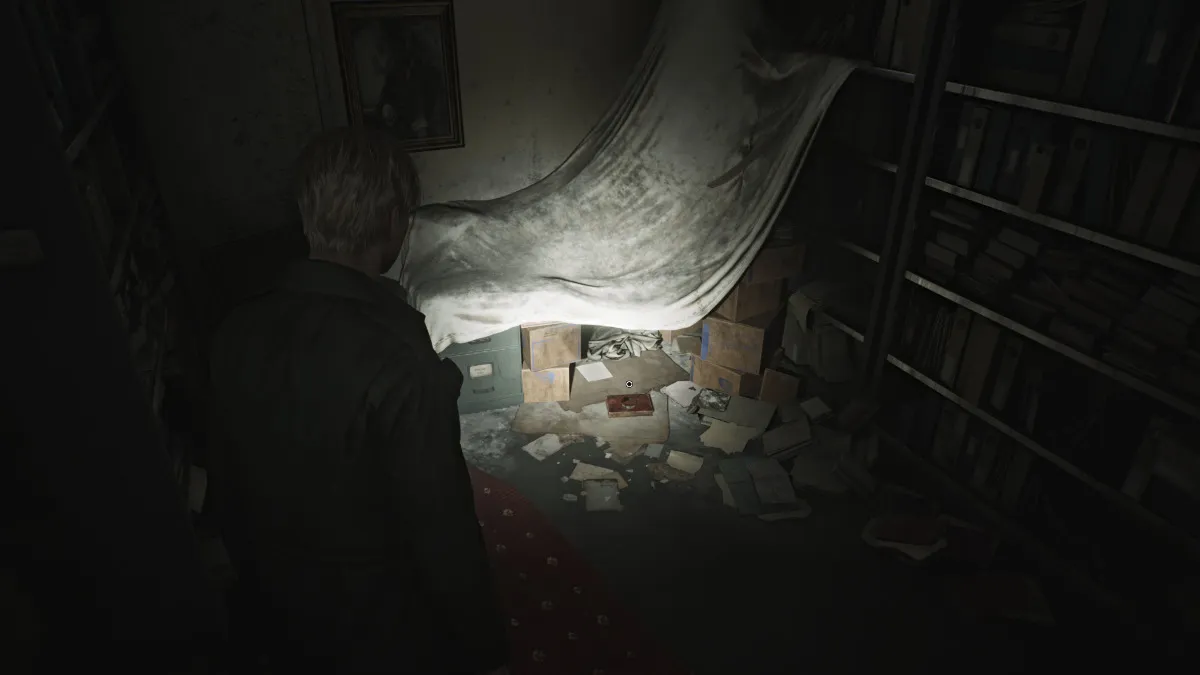
从您面前的地板上拿起乱码的便条,在左侧的左侧,您会发现另一个过去的瞥见(如下所示)。
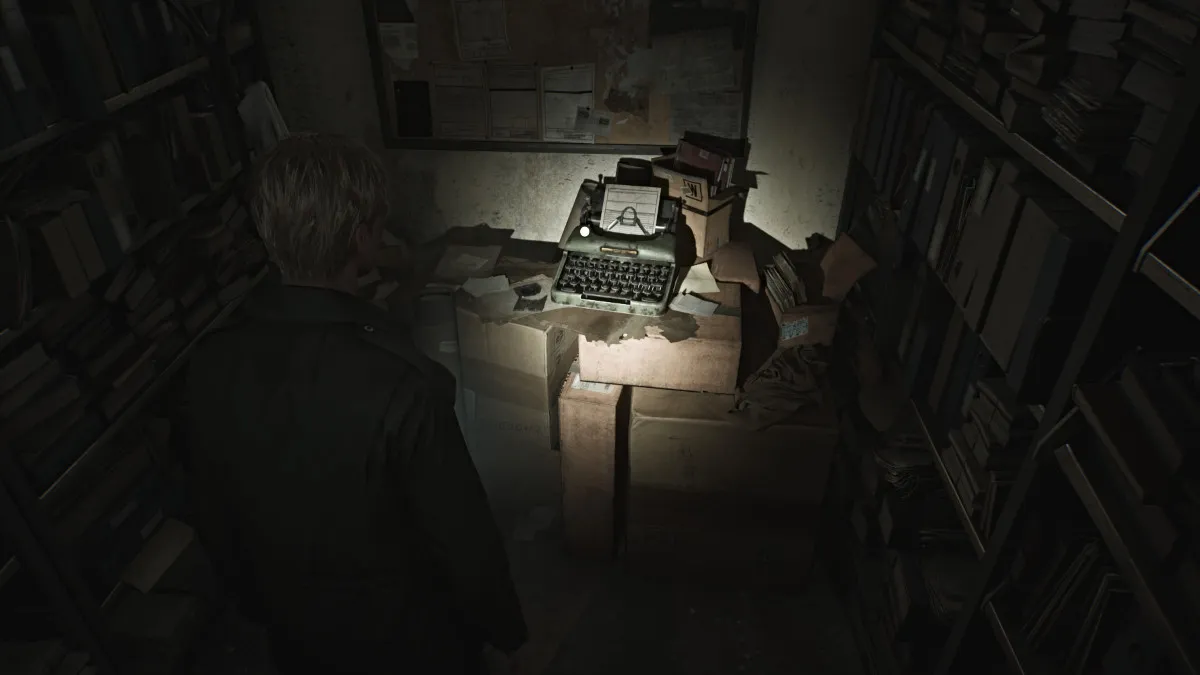
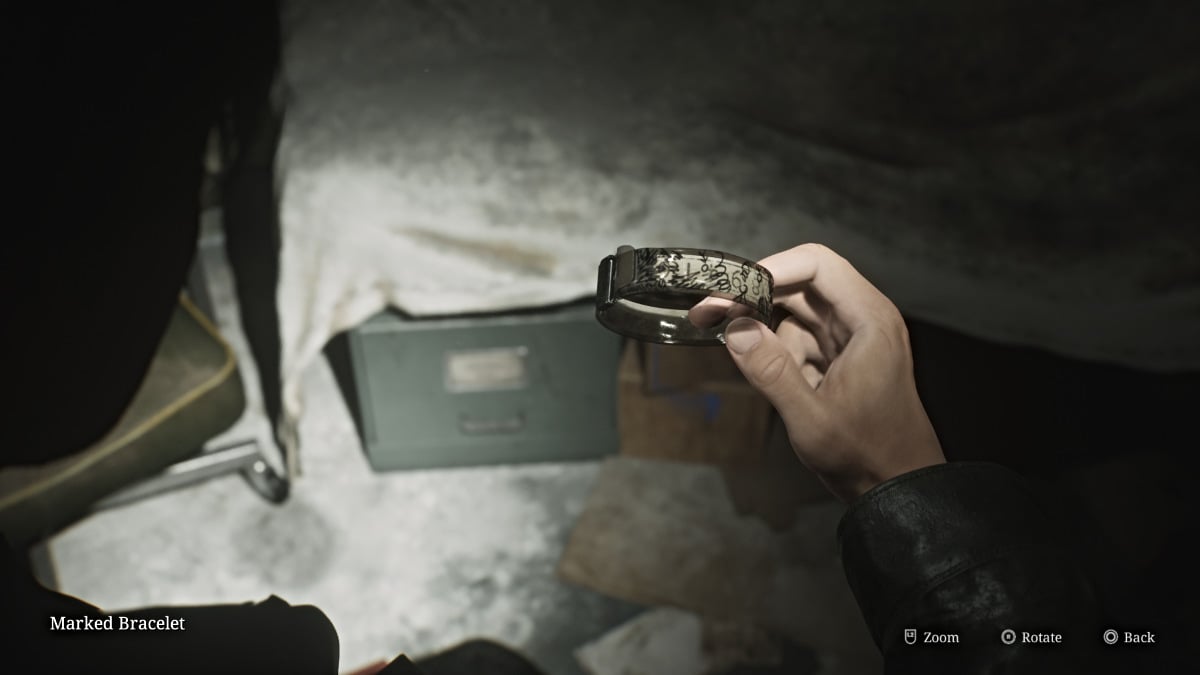
现在,您可以在床单下看到某些东西(在上面看到),事实证明是一个明显的手镯,这是您需要的三个手镯。这吸引了人体模型的注意力,因此随后对其进行处理。
无论是通过恢复的电梯还是东楼梯,都可以回到二楼。您可以选择在董事办公室掉下标记的手镯,也可以暂时保留。
无论哪种方式,接下来,您都需要前往带有键盘锁的护士办公室。为了节省您的时间,正确的代码(标准难度)为3578 。进入前,请快速检查旁边的储藏室中的一些shot弹枪壳。
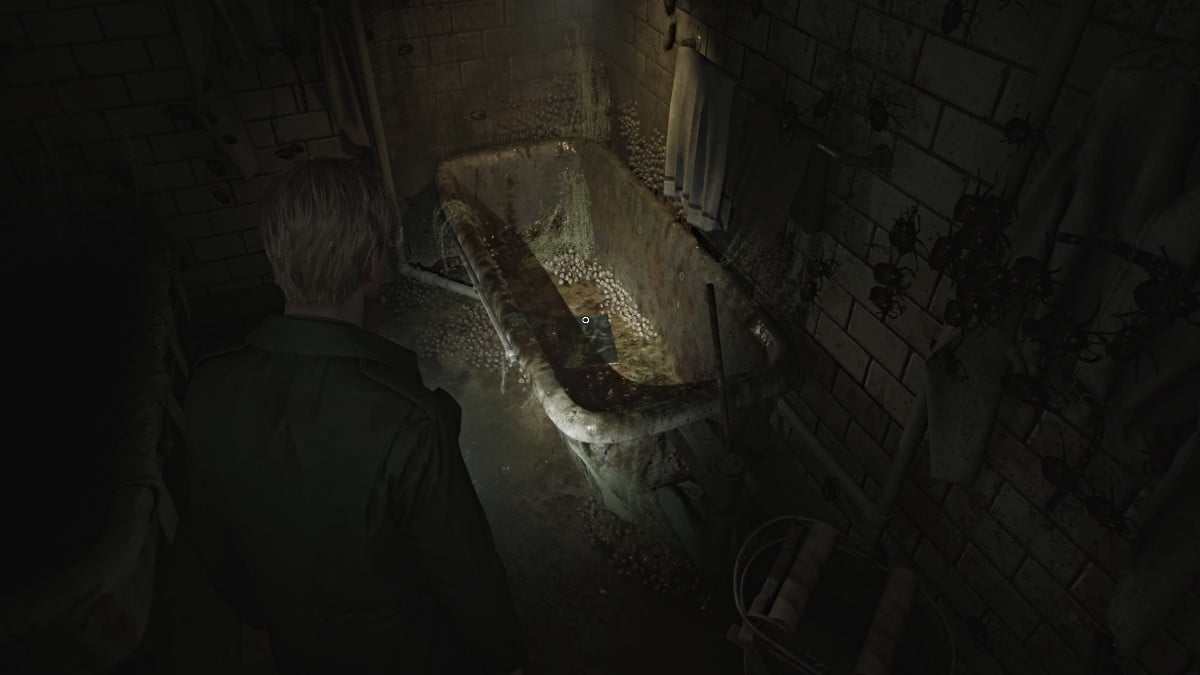
从护士办公室的窗户上抓住员工备忘录,然后在里面您会在第一间房间里找到手枪弹药,在治疗室之外的治疗室……虫子到处都是。值得庆幸的是,他们是不会伤害您的那种。在右侧的第三个浴缸中查看,然后从中拿起发霉的光刻。离开之前,还要抓住治疗室的纸条。
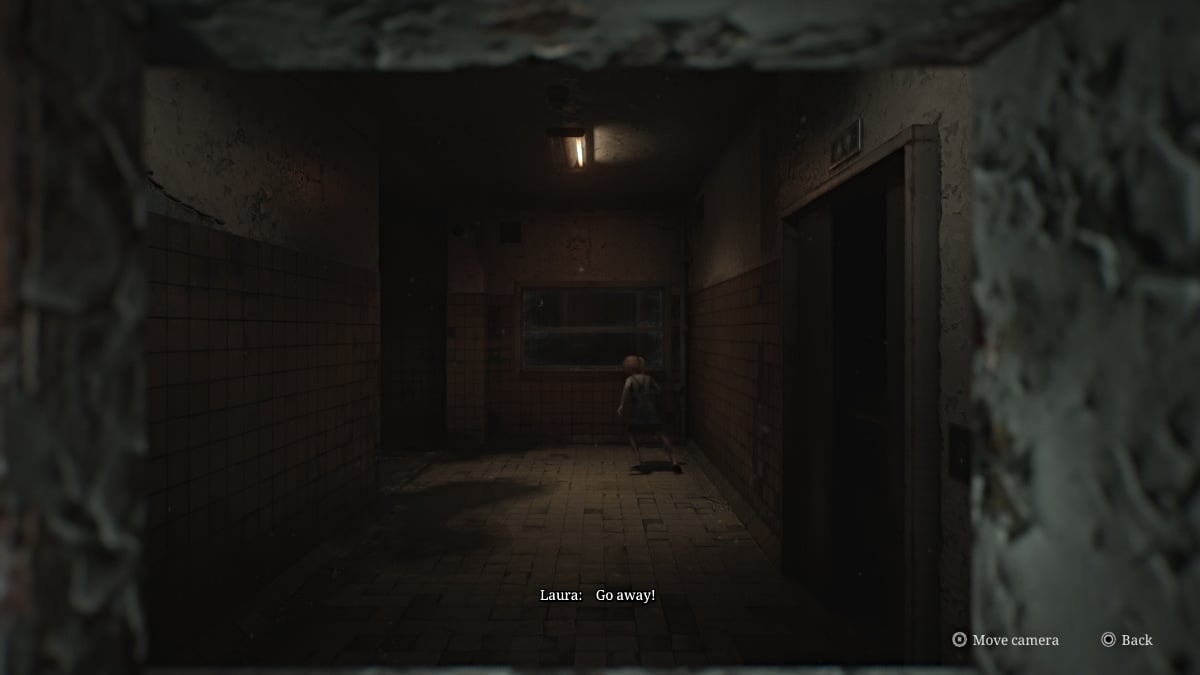
走出隔壁的门,将您带到西楼梯间。上三楼,您会听到听起来像一个年轻的女孩嗡嗡作响,墙上有更多的绘画。劳拉显然在附近,事实证明,她正处于地板的受限区域,被巨大的金属门挡住了。打开视图窗口,在另一侧看到劳拉。她再次逃跑了,詹姆斯能说一句话。
现在,前往D1房间,该房间上有一个组合锁。通常,您需要使用X射线室屏幕上的两个X光片来弄清代码。
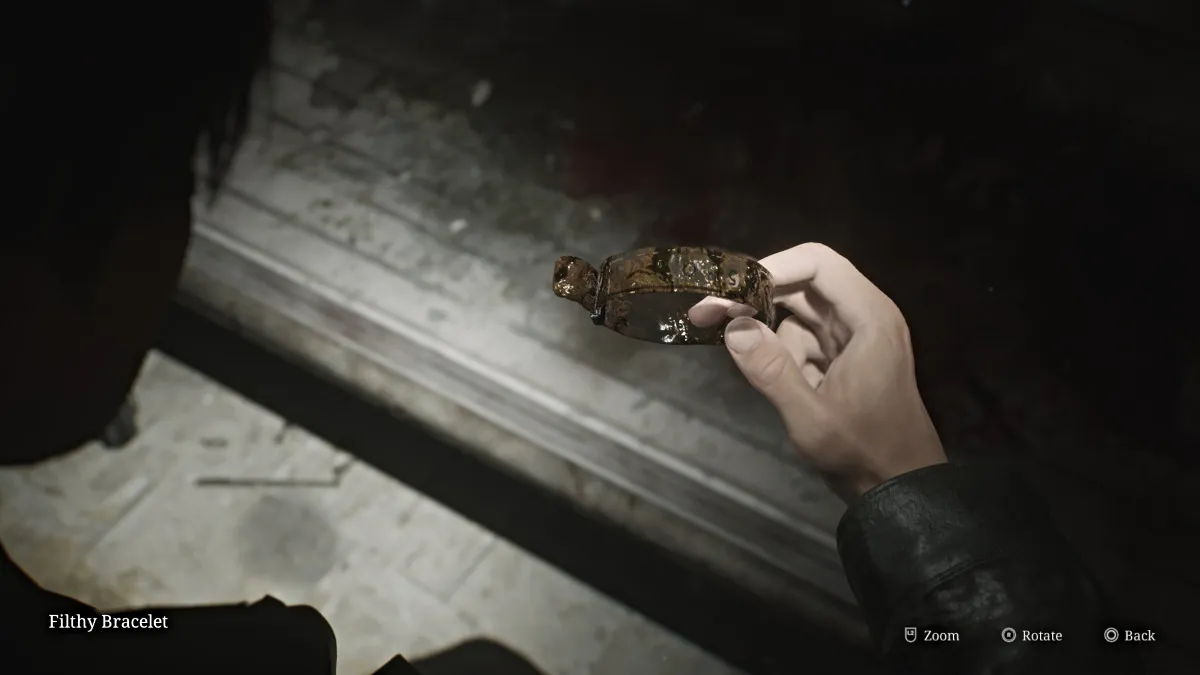
但是,为了节省时间,正确的代码(标准难度)为04(右),37(左),12(右) 。进入室内后,与患者床相互作用,詹姆斯(James)将剥落毯子,以发现第二名患者和肮脏手镯的血腥残留物。
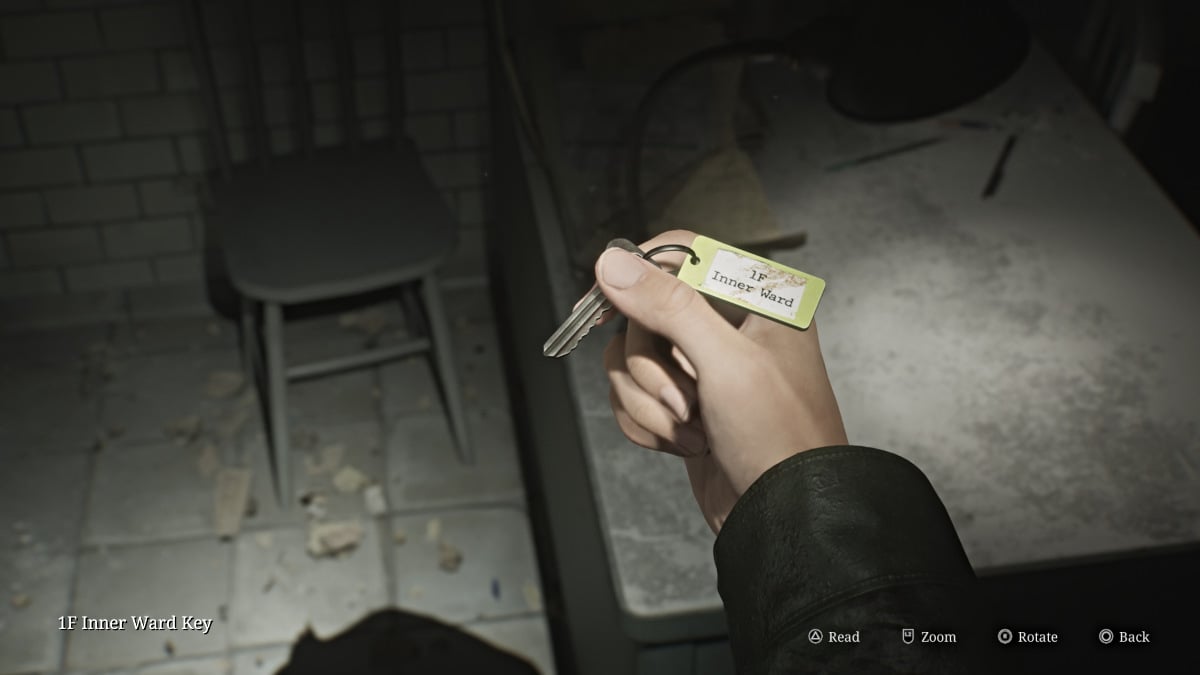
之后,探索附近的其他房间,以提供更多的手枪弹药。粉碎窗户进入检查室5 ,并从桌子上索取1F内部病房钥匙。
暂时无处可在3楼或以上上楼,并带有新的内部病房钥匙回到一楼。沿东楼梯,您会注意到1号检查室的门现已打开。走进室内并处理人体模型,这样您就可以索取一些手枪弹药,而“至少她在那里”奇怪的照片。
在关注泡泡护士时,继续走下走廊,决心阻止您的道路。上中央走廊,并使用内部病房钥匙最终进入地板的其余部分。首先在您的手枪弹药和键盘组合说明的右边查看医生办公室。
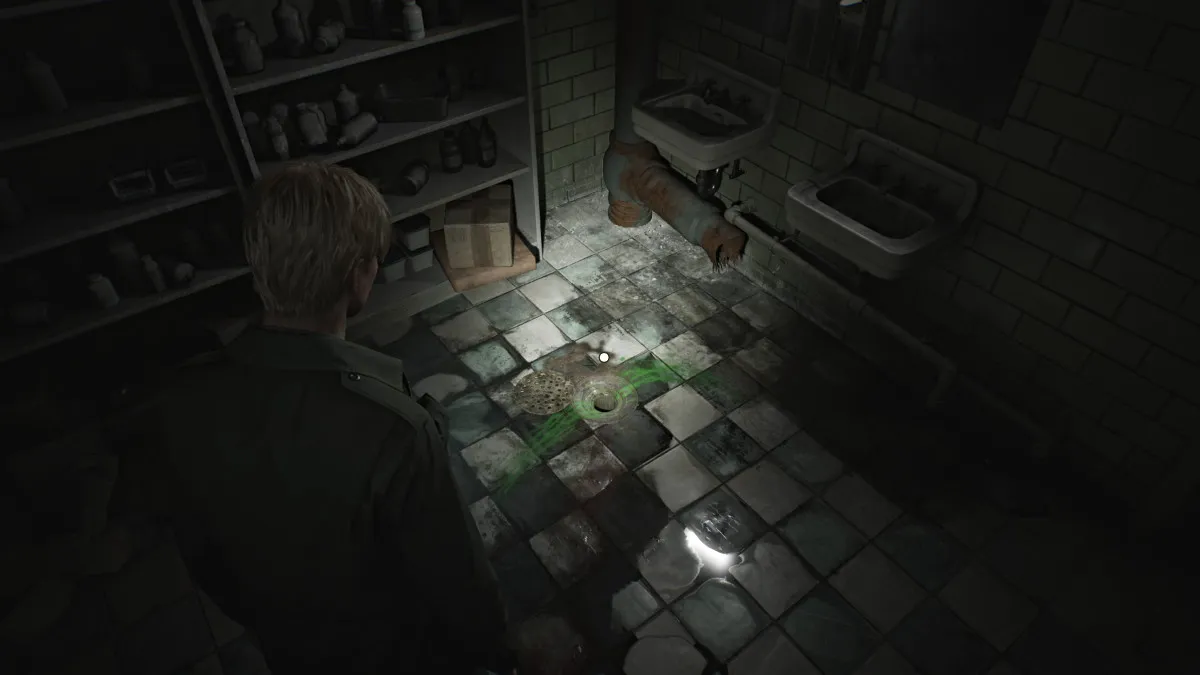
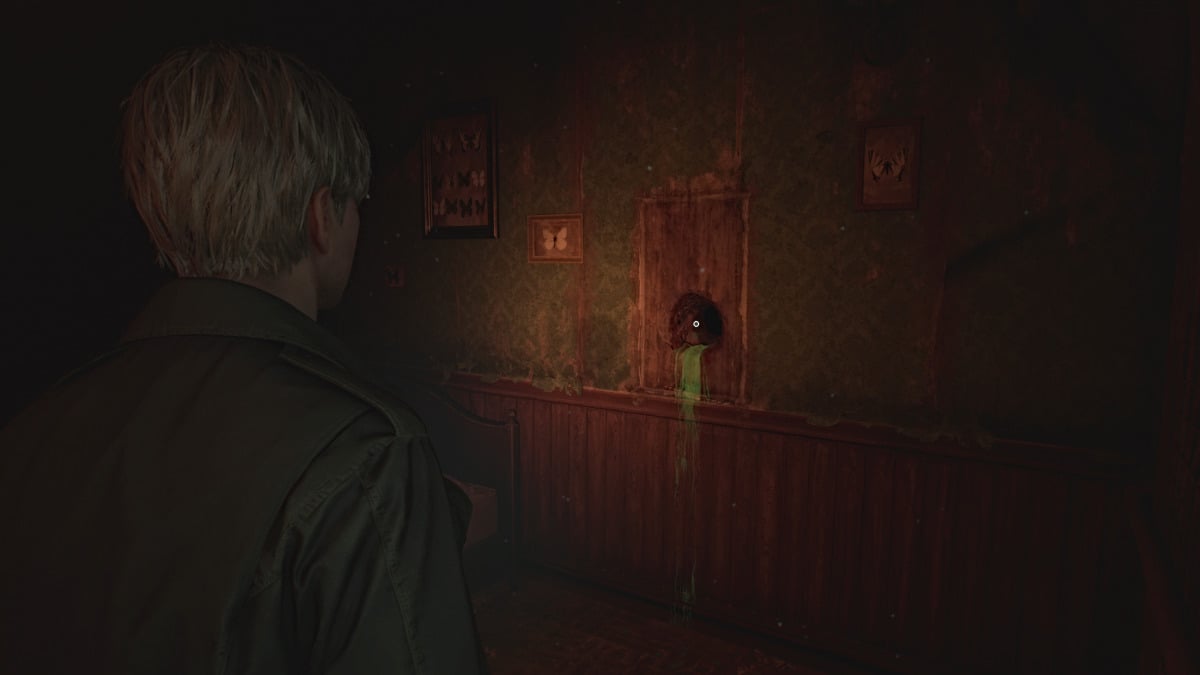
接下来,去查看日后您会发现更多的手枪弹药和潜伏的泡泡护士。死后,用左墙的间隙越过药房。在里面,您会发现更多的手枪弹药和水槽附近的地板上的一个奇怪的敞开管道,鲜绿色的残留物从中渗出。里面有一些东西,您将需要正确的工具才能将其取出。幸运的是,您已经有一半(弯曲的针)。
现在,转动并注意通往花园区域的敞开窗户。跳过它并开始探索,但要小心,因为它爬有怪物(主要是撒谎的人物)。转到左侧的凉亭,并使用背面的爬网空间进入它。处理里面的模特,然后抓住手枪弹药和注射器。
前往花园的右侧,在木桌上拿起shot弹枪壳,然后进入温室。从抽屉中获取更多手枪弹药,然后使用打开的窗户越过泳池区域。
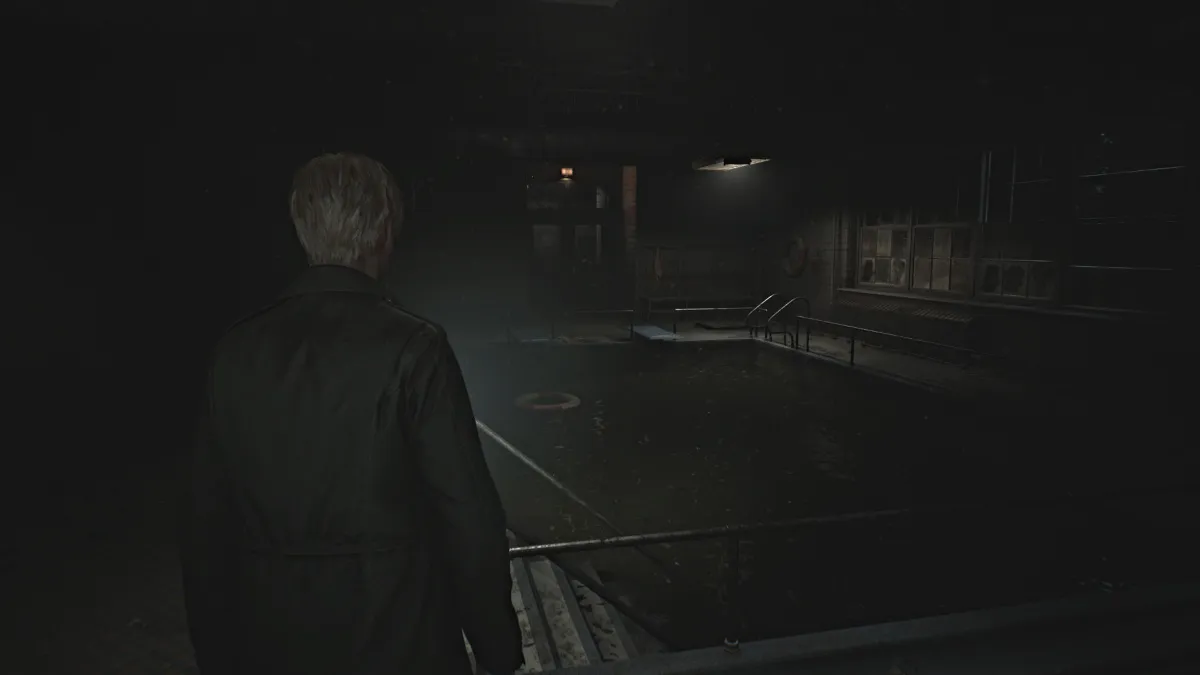
您需要得到的是在游泳池内,但不幸的是,它充满了一些非常讨厌的水,甚至詹姆斯都有限制,不会进去。在游泳池的另一侧,您会在地板上看到闩锁门这需要打开的钥匙。这使您可以访问泳池的泵系统,这将使您可以排出它,因此您需要找到该钥匙。
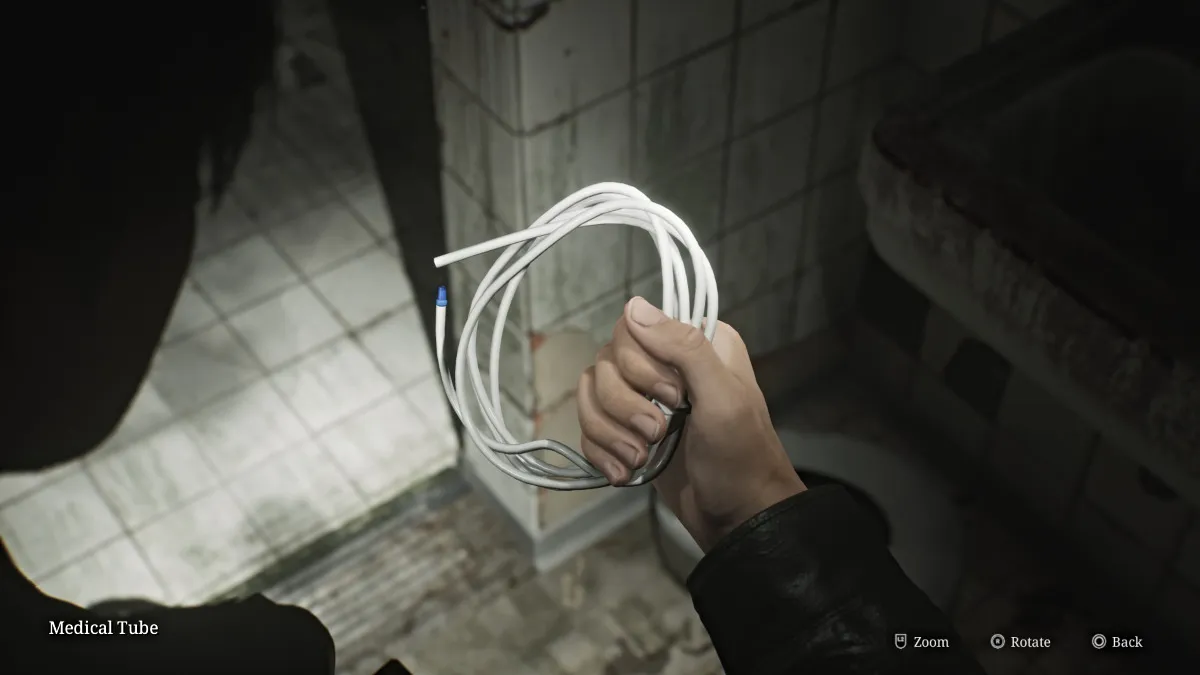
进入淋浴室,与一个摊位中的另一个人体模特打交道,然后去收集手枪弹药, shot弹枪贝壳和一根医用管子(如上图),位于一个水槽中。回到花园区域到药房。
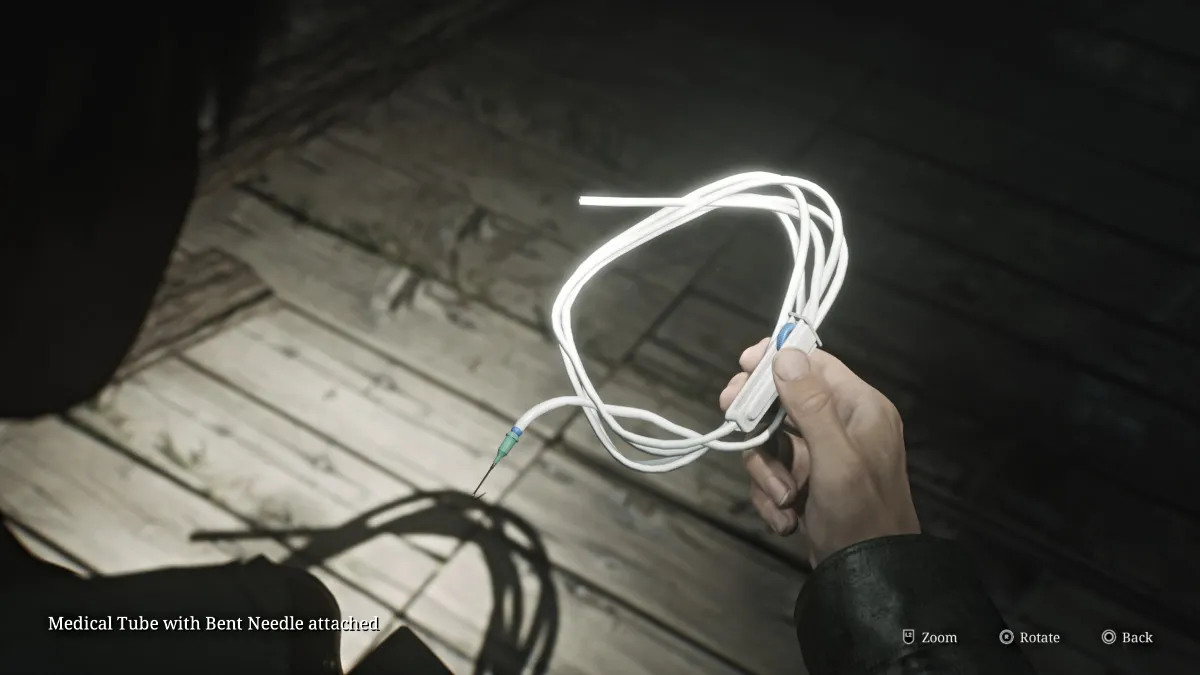
到达那里后,进入库存,将弯曲针与医用管相结合。转到管道排水管,并使用新工具将卡住的物体钓出来,事实证明这是游泳池的维护键。
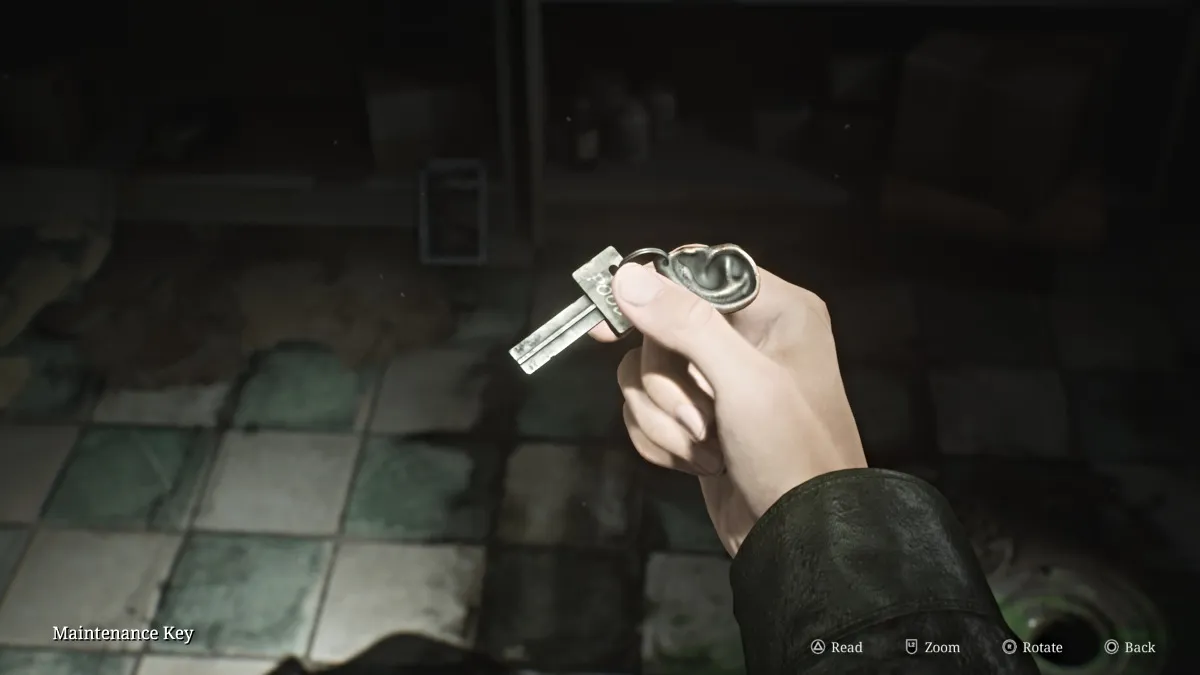
这样,再次回到游泳池,并使用闩锁门上的维护钥匙进入泵并完全排干游泳池。向下走进其中,砸碎瓷砖,漏水是为了获得血迹染色的手镯,这是您需要的第三个也是最后一个。
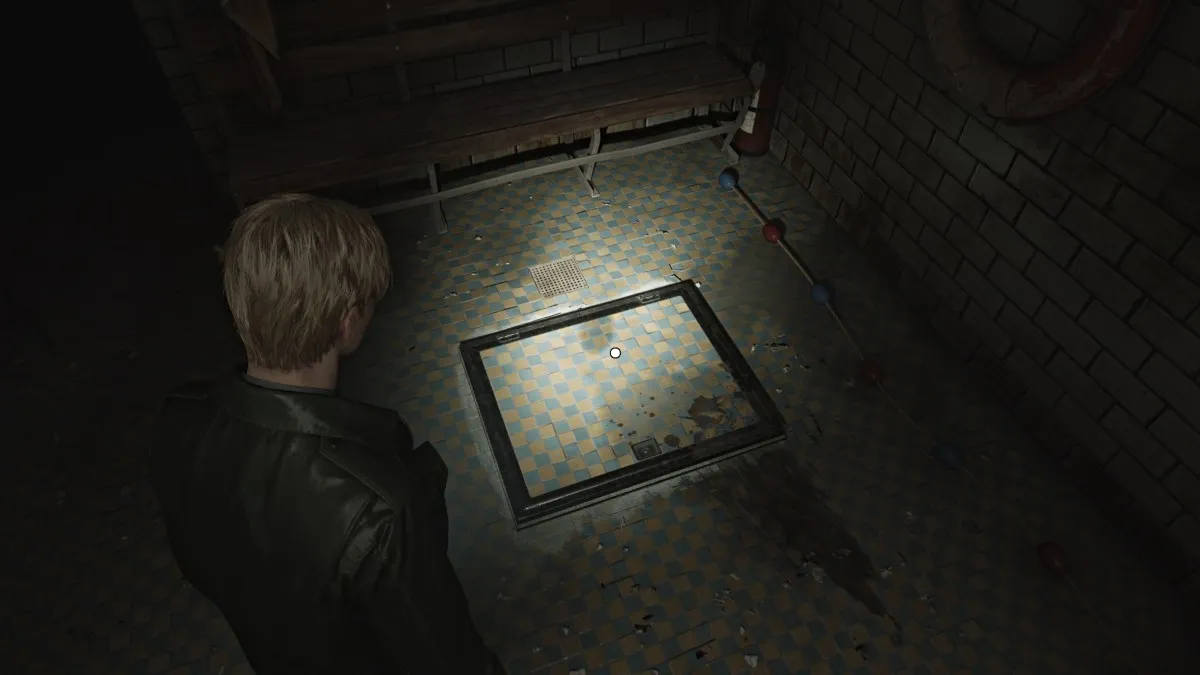
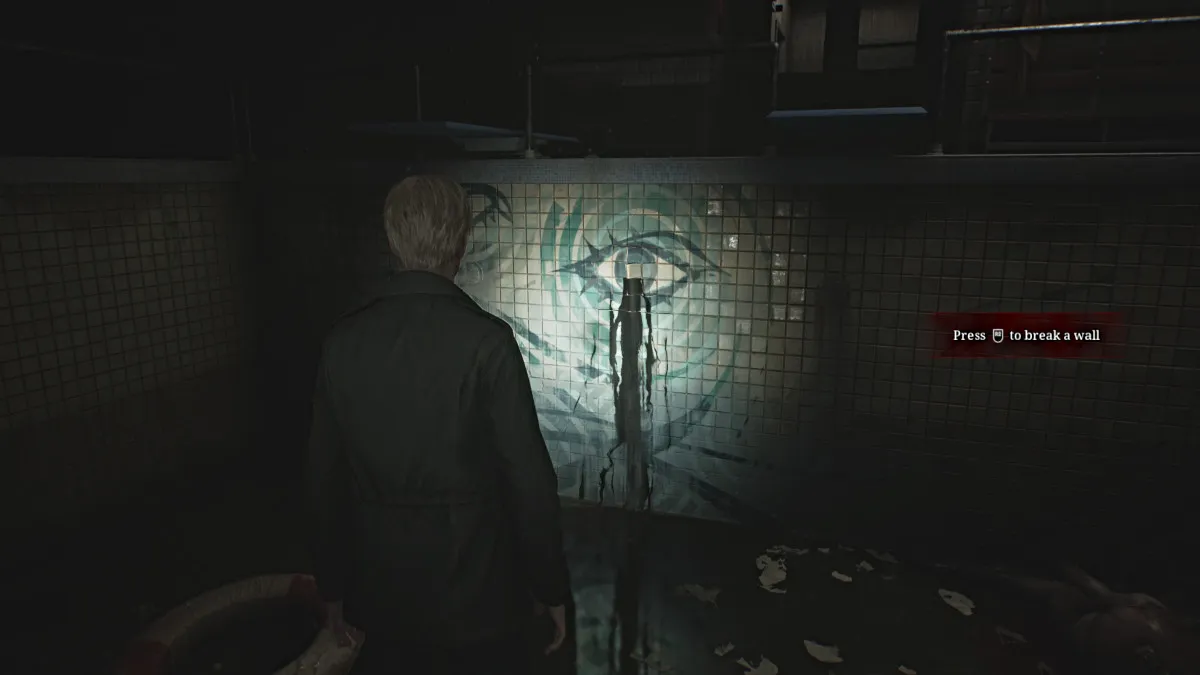
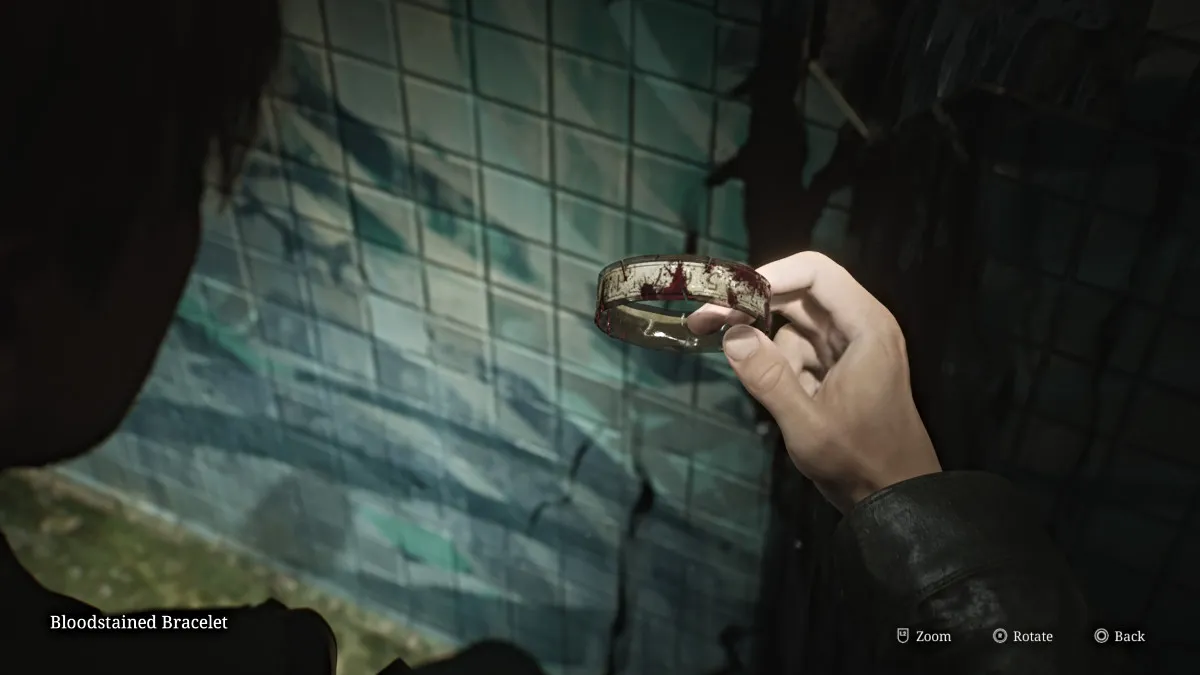
我们建议您回到药房,因为您早些时候在花园中杀死的许多怪物,包括游泳池中的怪物,都会恢复和攻击,您不想浪费宝贵的弹药和健康。
在返回楼上导演房间之前,您首先需要完成探索西侧的内部病房的其余部分。越过药房,并解锁了西北楼梯间的大门。接下来,前往厨房内,您可以在烤箱附近找到一瓶霉菌去除剂,如果您仍然需要代码到3楼的组合锁定,则可以使用它清理前面获得的发霉光刻。
除了在厨房对面的小洗手间和附近自助餐厅地区的shot弹枪贝壳中,几乎没有其他东西可以找到。探索结束后,返回楼上,到达导演的房间。
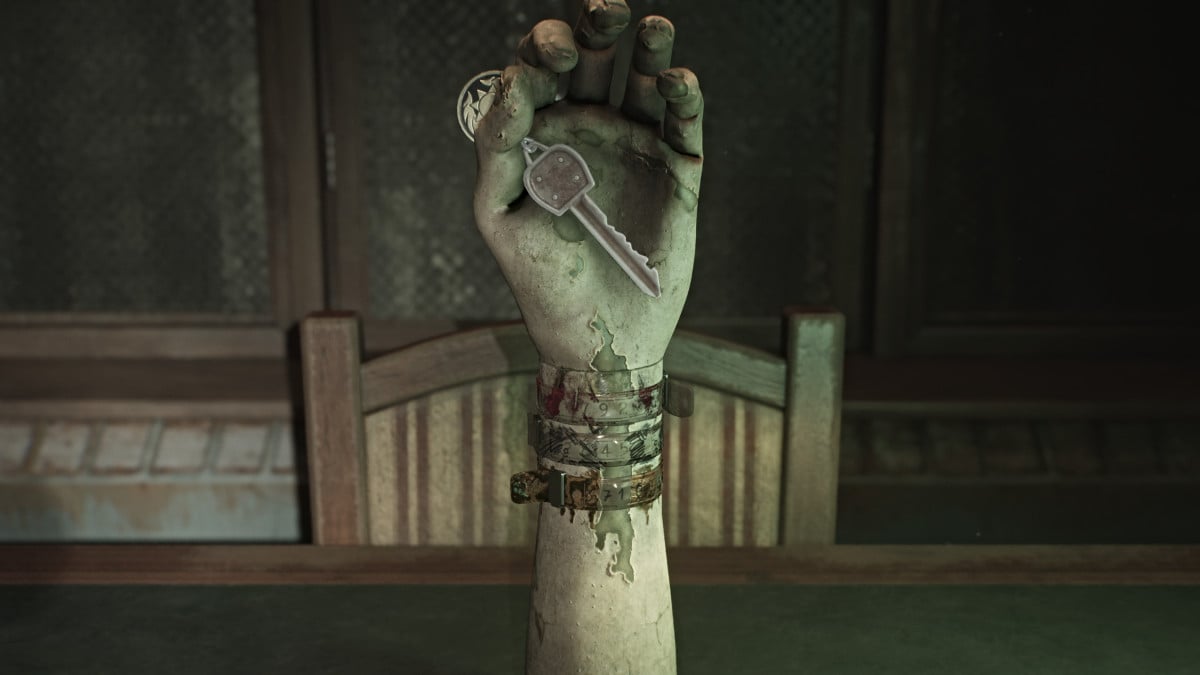
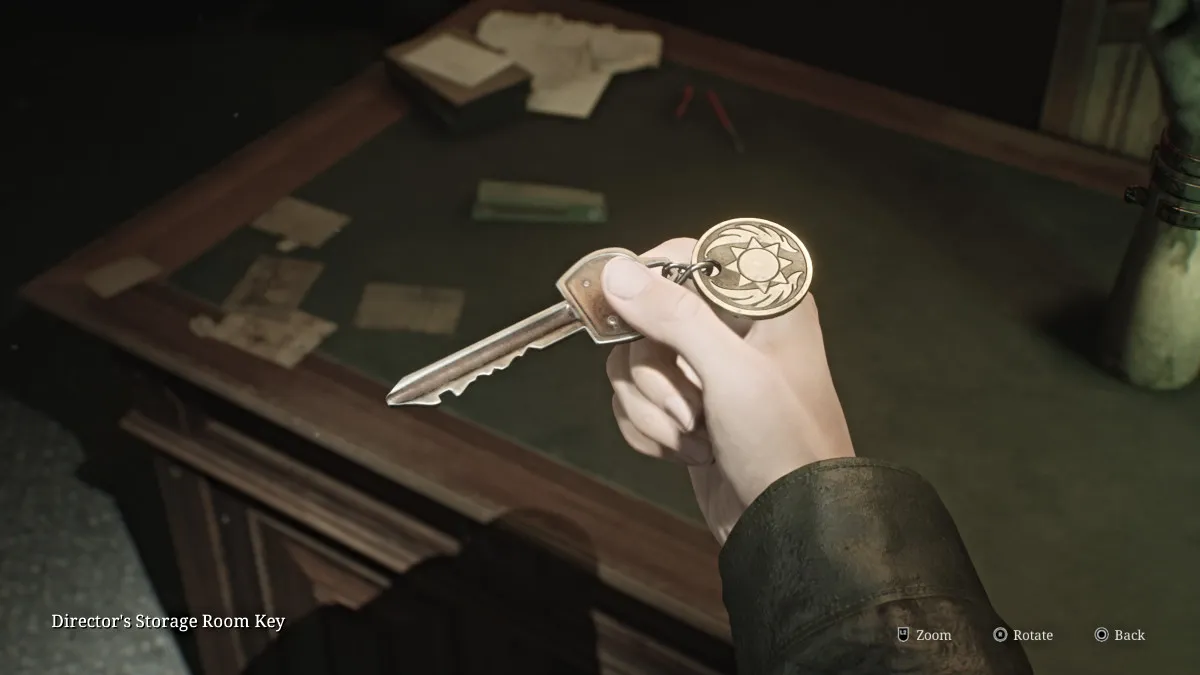
将您获得的其余手镯放在人体模型臂上,然后您需要以正确的顺序排列它们,并“旋转”它们,以使正确的数字集朝外。从上到下的正确顺序(标准难度)是鲜血的手镯,标记的手镯和肮脏的手镯,数量为: 92、45、71在上下衬里。
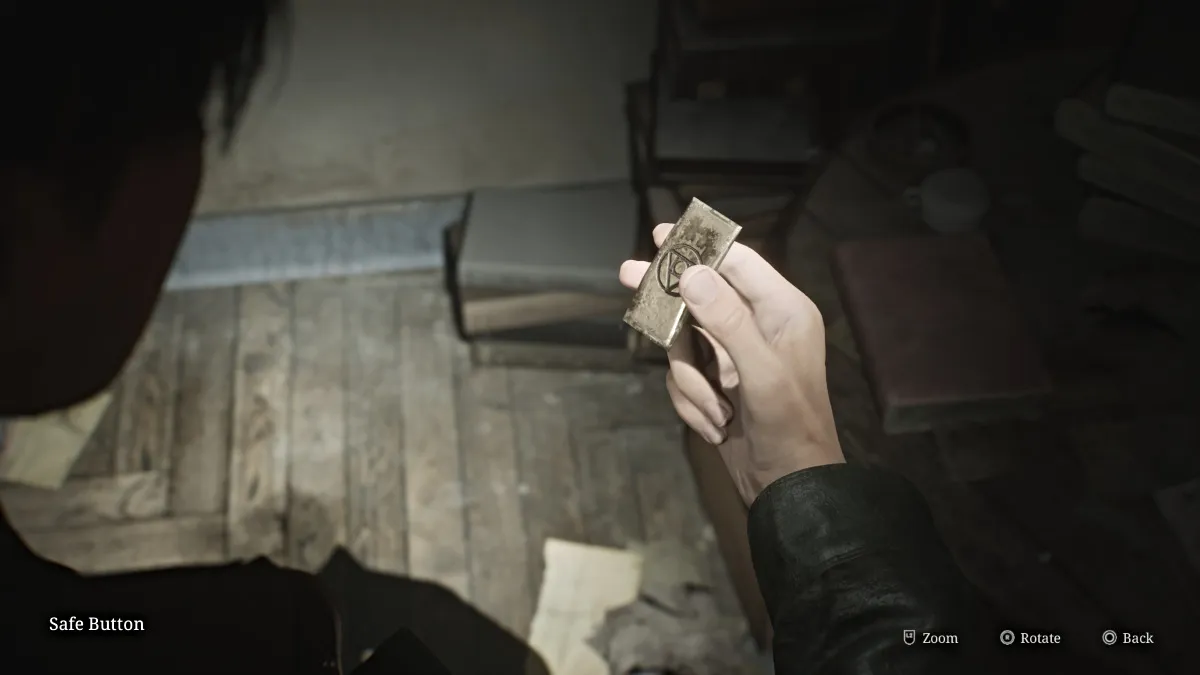
完成后,将为您敞开的手拿起导演的储藏室钥匙。去附近的锁门门上使用它,然后进入内部。在那里,您会在桌子上和架子上的架子上找到缺少的安全按钮,这是另一个难题。
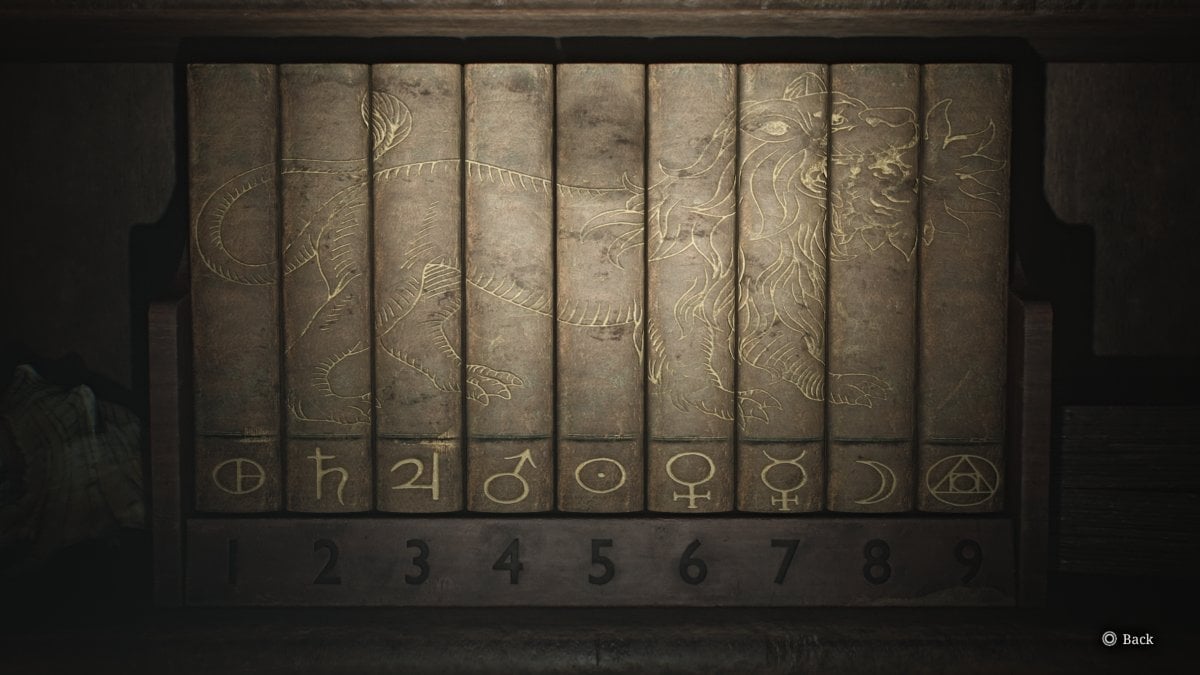
在这种情况下,您需要安排九本书,以便它们的刺匹配并形成呼吸呼吸狮的形象(如上所述)。之后似乎没有任何回报,但实际上,底部的符号顺序是您需要撞到导演保险箱中所需的线索。 Your other clue is the set of numbers from the bracelets.
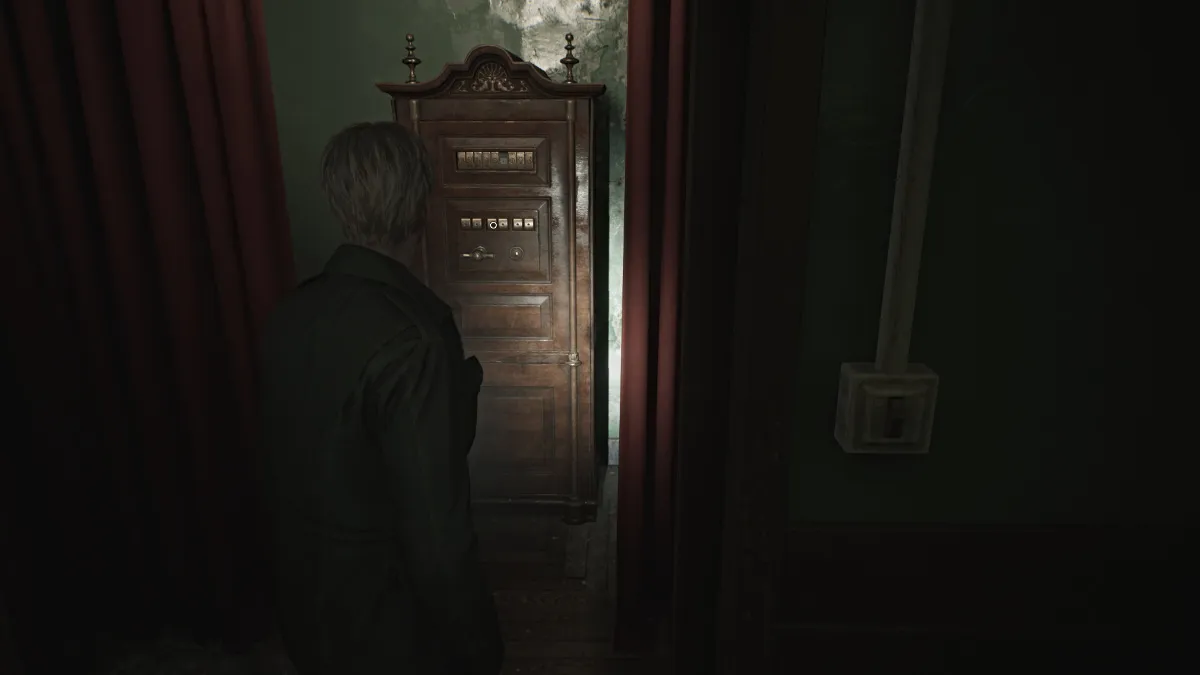
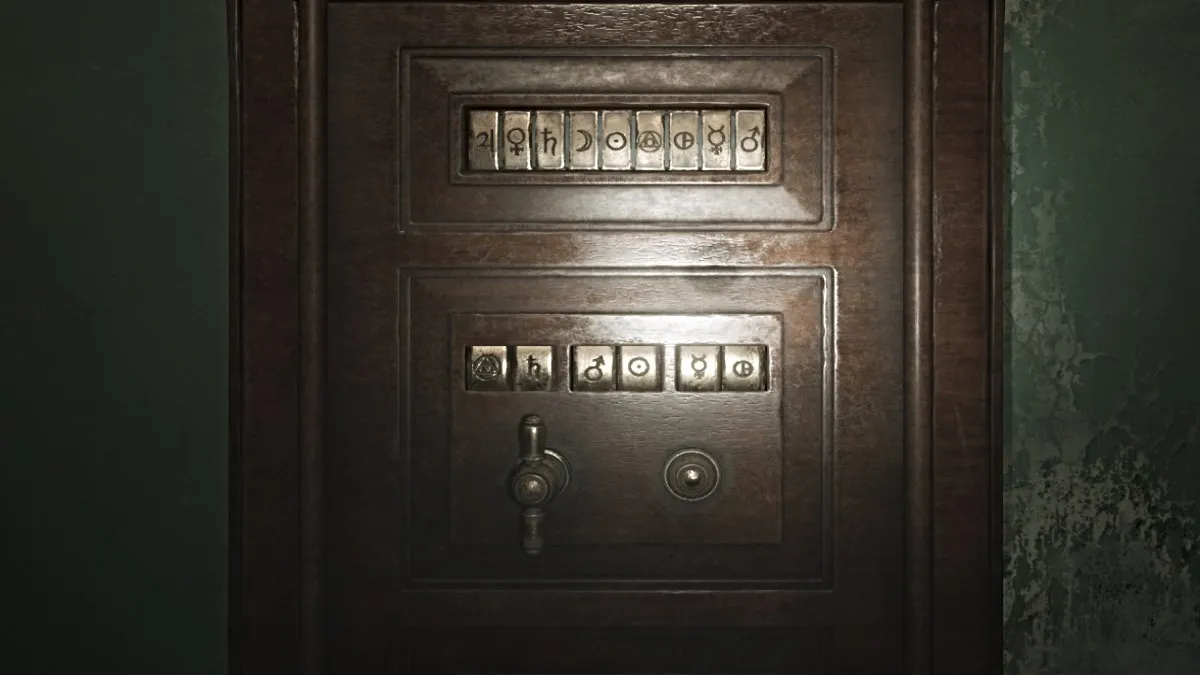
With that, go over to the safe, place the missing button you found into it, and use both your clues to figure out the correct symbol combination. Essentially, '92-45-71' from the bracelets is the numerical order of the combination, and you need to equate that to the symbol order from the book puzzle, all to form a cryptogram of sorts.
Once the correct combination is done (seen above), the safe will open and inside you can retrieve the Rooftop Key and the Safe Note , which gives some foreshadowing about the key taking James where he needs to go, and that "pain" will be involved, yay.
With that, go back and use the Red Save Point and start your journey up to the roof of Brookhaven.
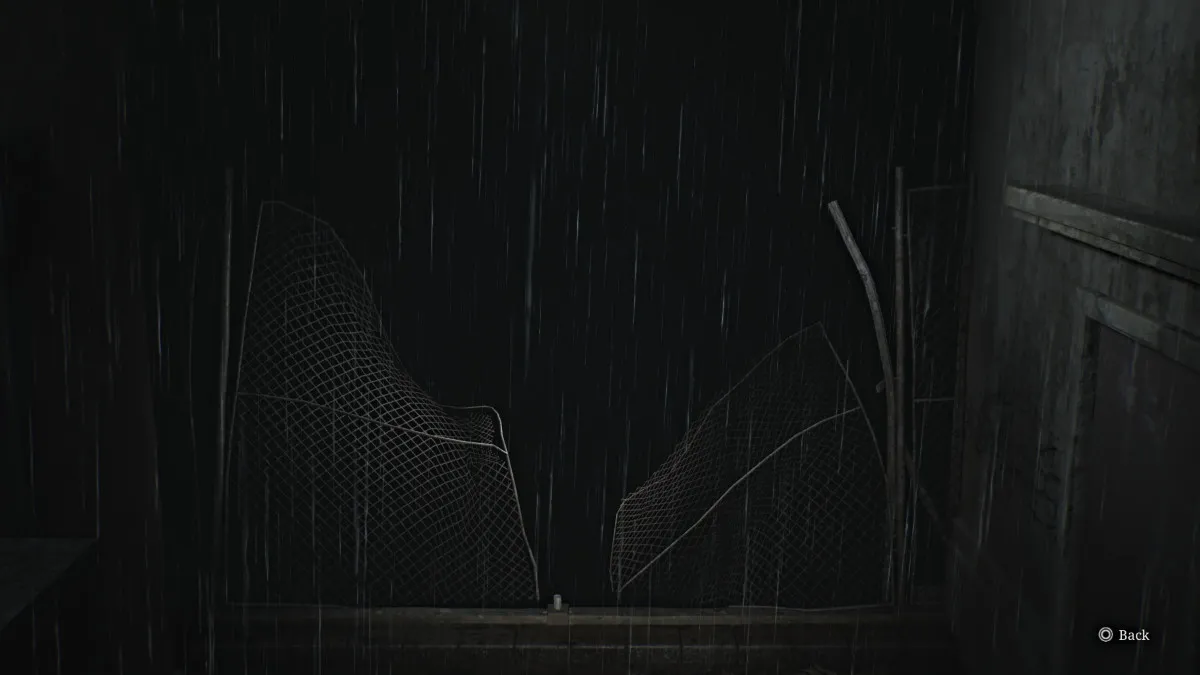
Once you arrive on the roof, first hang a right onto the nearby metal catwalk that has Shotgun Shells sitting at the end of it. Then go back to where you were and instead go straight, until you find an entrance to another metal catwalk that takes you around the left side of the roof.
At the end of it, you'll find another Glimpse of the Past (seen above) which happens to be the spot where James was shoved off the roof by Pyramid Head in the original game. However, that doesn't seem to be the case here.
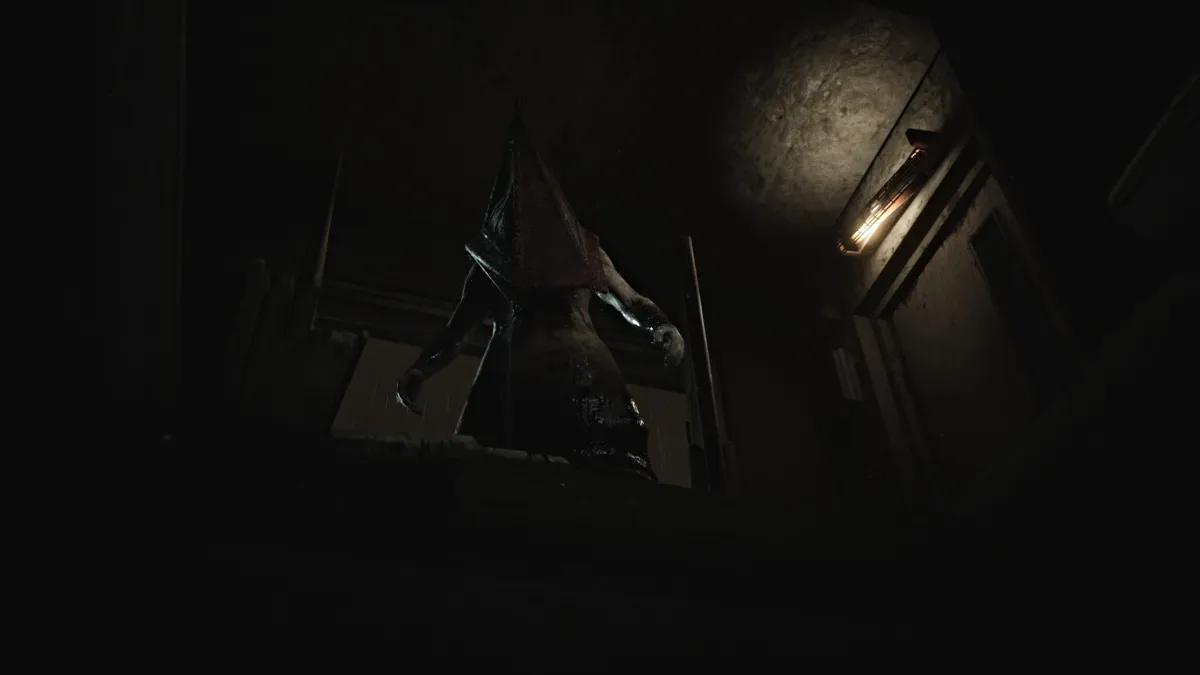
Now, go and investigate the yellow double doors that lead back inside. In what looks like the top of a wooden lift, you'll find the Page From a Diary on the floor. Pick it up, and as you try to go back through the doors, Pyramid Head will suddenly appear and grab James by the throat. This time, he shoves James down through the shaft, sending him back to the third floor.
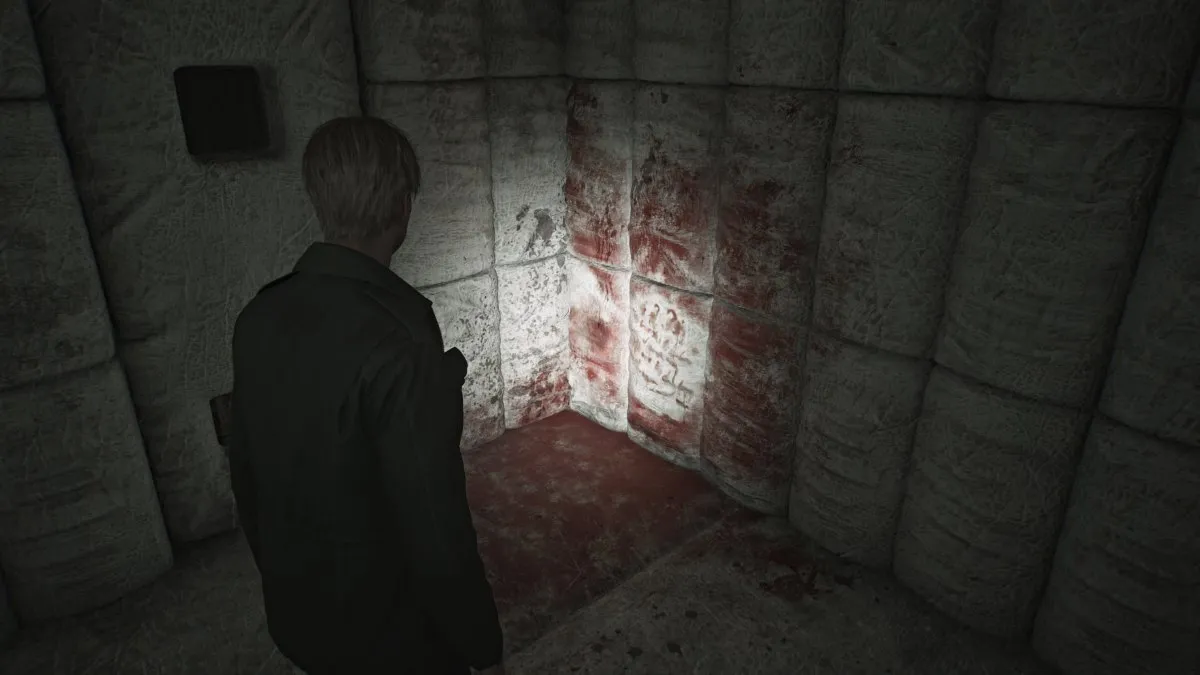
After James collects himself, you'll notice that you landed right on the opposite side of the huge 'Restricted Area' gate where Laura was last seen. First go investigate the Hydrotherapy Room , where you'll find Shotgun Shells , a Health Drink , and a Syringe . Next, when checking the padded rooms, in Room 13 you'll find another Glimpse of the Past covered in blood.
Continue on ahead and through the next set of yellow doors. Soon a cutscene will show James finally finding Laura in a room playing with teddy bears. He pleads for her to stop running and tell him how she knows about Mary. Laura seems hesitant to say much, but admits that she and Mary were friends and that they met at the hospital "last year".
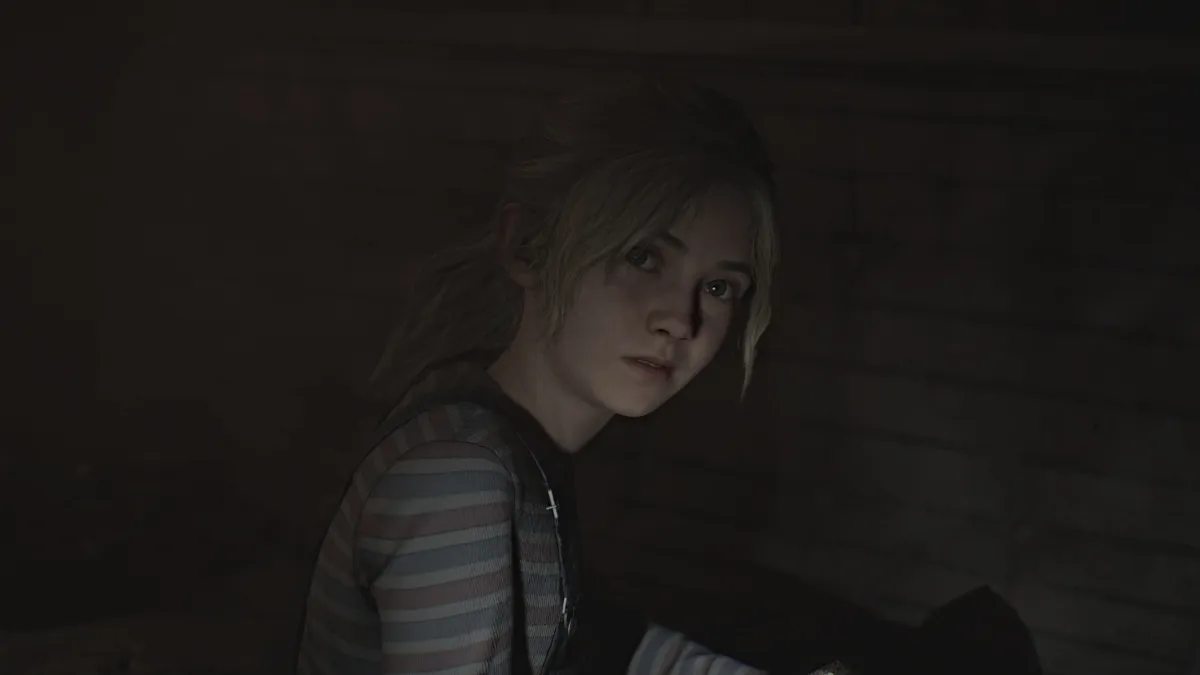
In confusion, James lashes out and calls Laura a liar, who immediately grows cold again and decides to play a trick on him. She baits him to another room nearby with the promise of another letter from Mary. The noise riles up a different kind of monster from within the walls, and now it's time for another boss fight.
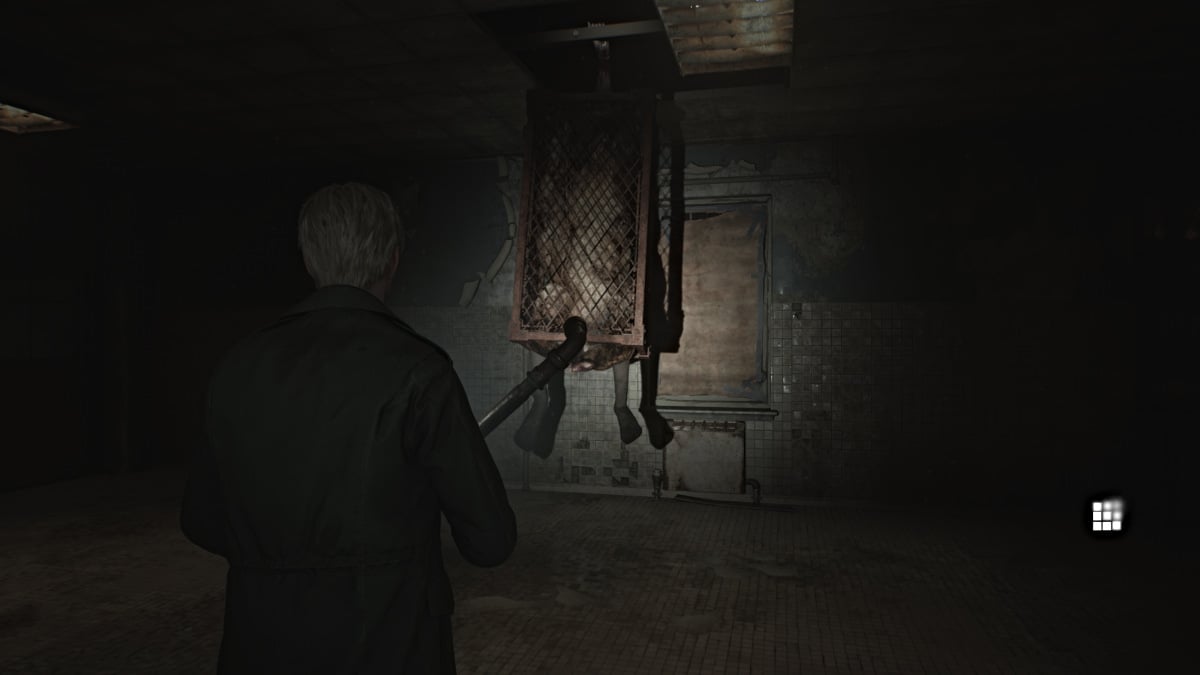
As the second boss fight in the game, Flesh Lips is as dangerous as it is disturbing to look at. Encased in a metal cage hanging from the ceiling, Flesh Lips will start the fight by essentially playing peek-a-boo with James, popping out from random places in the ceiling. Again, keeping your distance is a big priority.
While you can use both your Handgun and Shotgun to deal damage, Shotgun is king in this fight as you'll soon realize. Start by shooting its legs (shooting the cage won't do anything), and make note of the Shotgun Shells scattered around the room for your use.
The more damage you deal to it, its cage will start to come apart, allowing you to start damaging the body within as well. Eventually, this will cause Flesh Lips to take on a different form, using the metal bars from its cage like spider legs to chase you around the room.
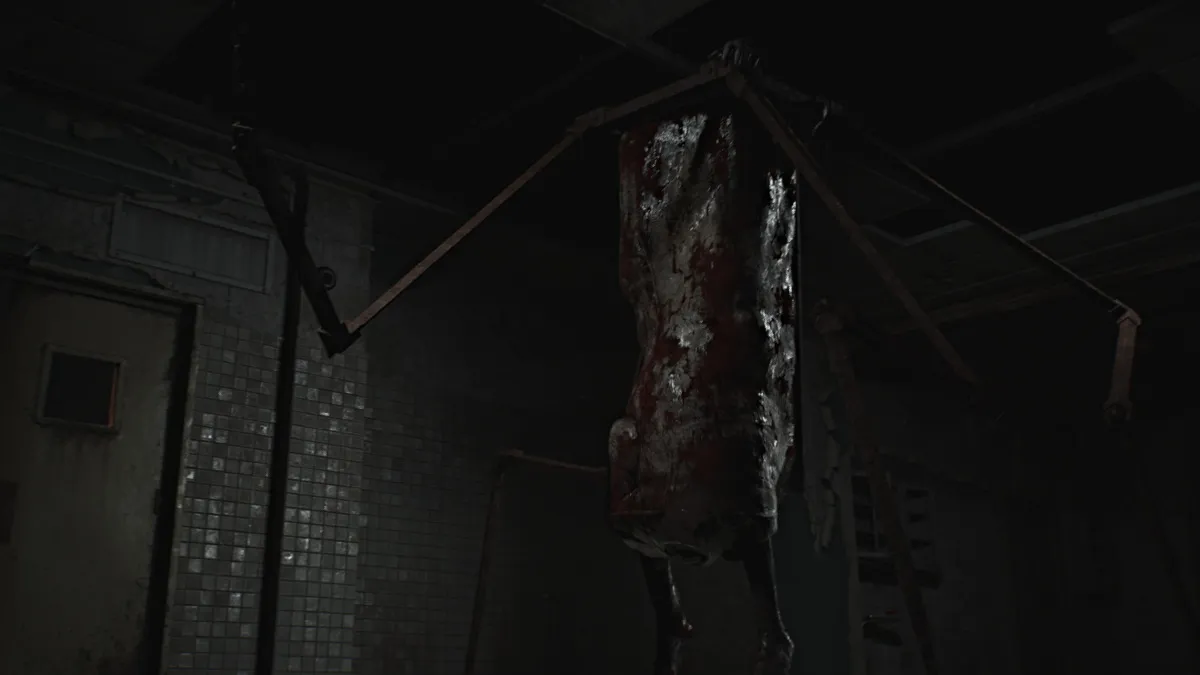
Deal damage as fast as you can, as this boss hits like a truck and you may find yourself swigging Health Drinks faster than you can blink. Occasionally it will emit a screaming attack that, while terrifying, just serves to stun you for a moment.
Eventually, Flesh Lips will collapse dead and James will go over to assess the damage. Suddenly, a second Flesh Lips monster will appear and capture James, dragging him through the ceiling and into an ominous cutscene that eventually lands us back in the Otherworld.
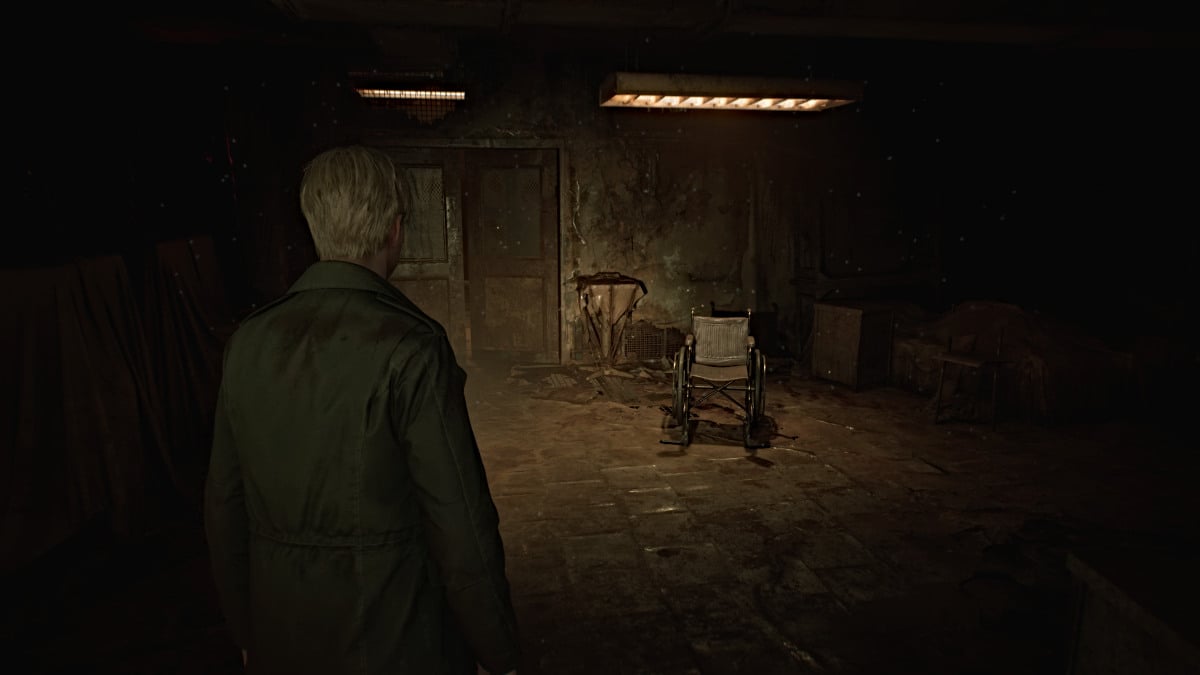
After being dropped off near the hospital's garden area, get your bearings and check your map. You'll notice that all of your markings have been wiped clean and that Brookhaven's version of the Otherworld spans every floor, including the Basement. So you've got a lot of exploring ahead of you.
Start off by going through the Dayroom and picking up some ammo there along with a Syringe and the Evaluation Card, Patient #3141 from the wheelchair in the middle of the room. Head out into the hall and use the Red Save Point to your left.
Much of the first floor is blocked off right now by large gaping holes in the floor and locked doors, so your only path is to the Elevator. Notice that it's missing the button for the Basement level , and you'll need to find it to reach there. For now head to the second floor.
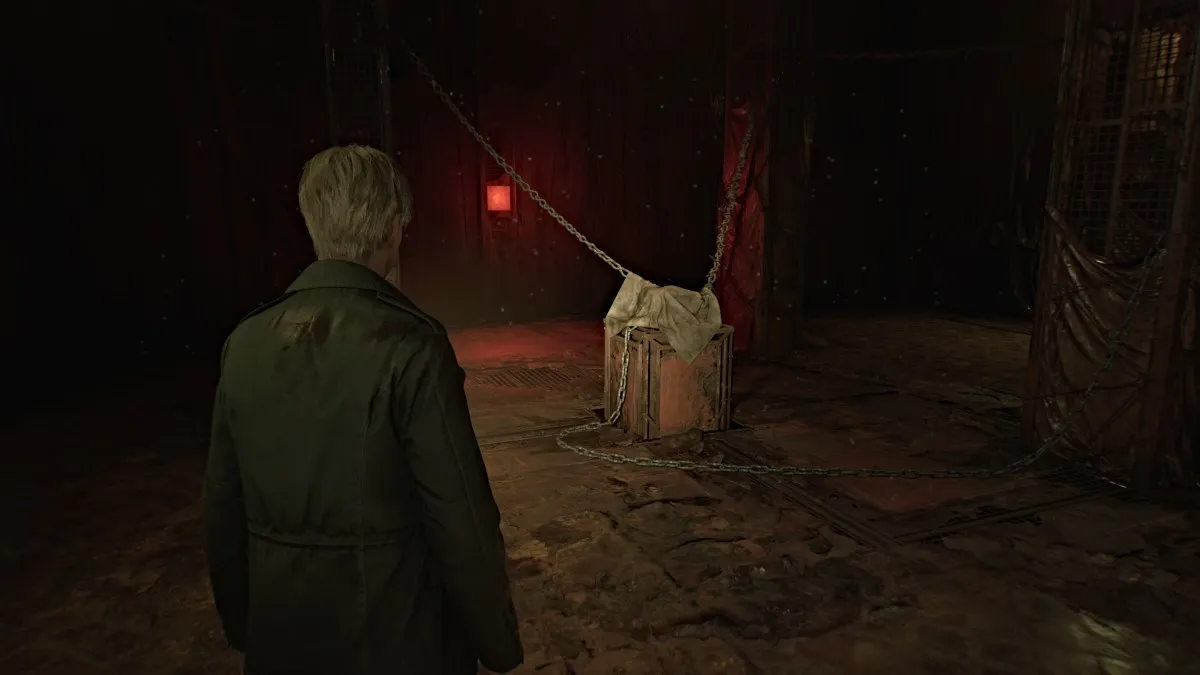
Once there, head right, and near the Nurse's Office , you'll see something sitting on top of a crate, chained and covered up (with a convenient Red Save Point behind it). Uncover it to find a lock box sealed with two numerical locks and a keyhole, meaning you'll need two codes to unlock it, as well as a key .
While we can provide you with the correct codes for the locks to help save you some legwork, before you can use those you need to find the key first. To do that, you need to get to the third floor.
First, investigate the nearby Nurse's Office for items and watch out for the Bubble Nurses who now wield knives instead of pipes. You'll find both Handgun Ammo and Shotgun Shells here, as well as a Health Drink . Cross your way over to the Treatment Room , and then take the crawlspace at the south wall into the Women's Locker Room . In there, you'll find a Syringe and more Shotgun Shells .
Circle around the hallway to the northwest stairwell, which you can take up to the third floor.
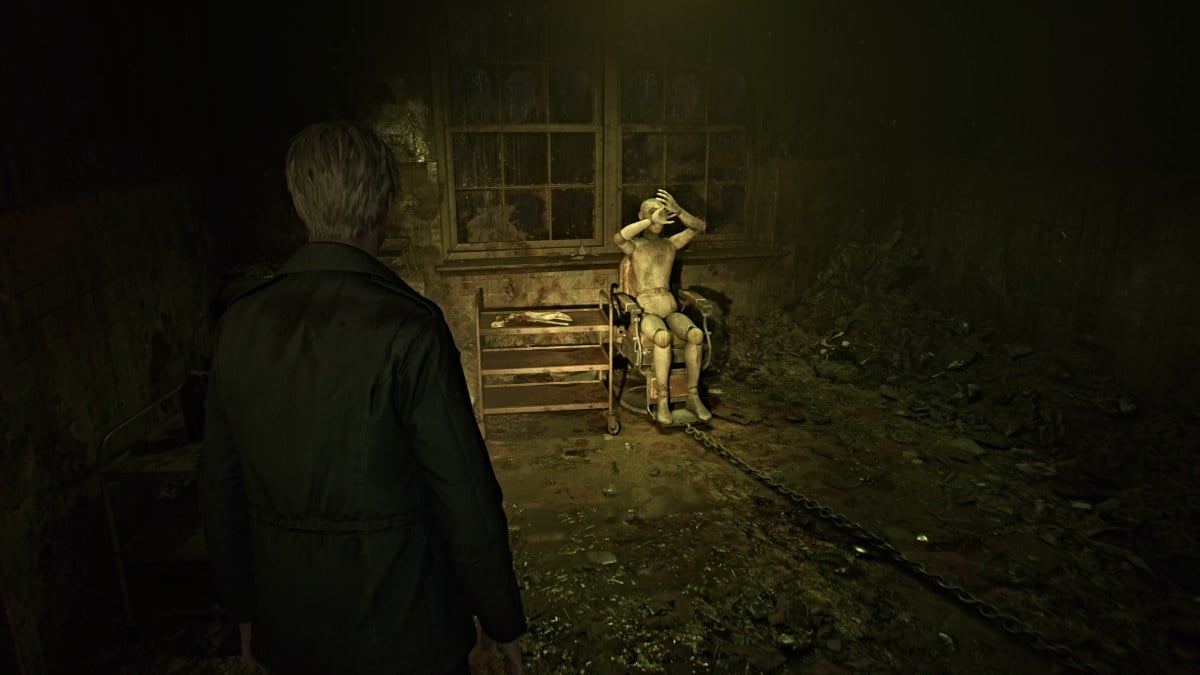
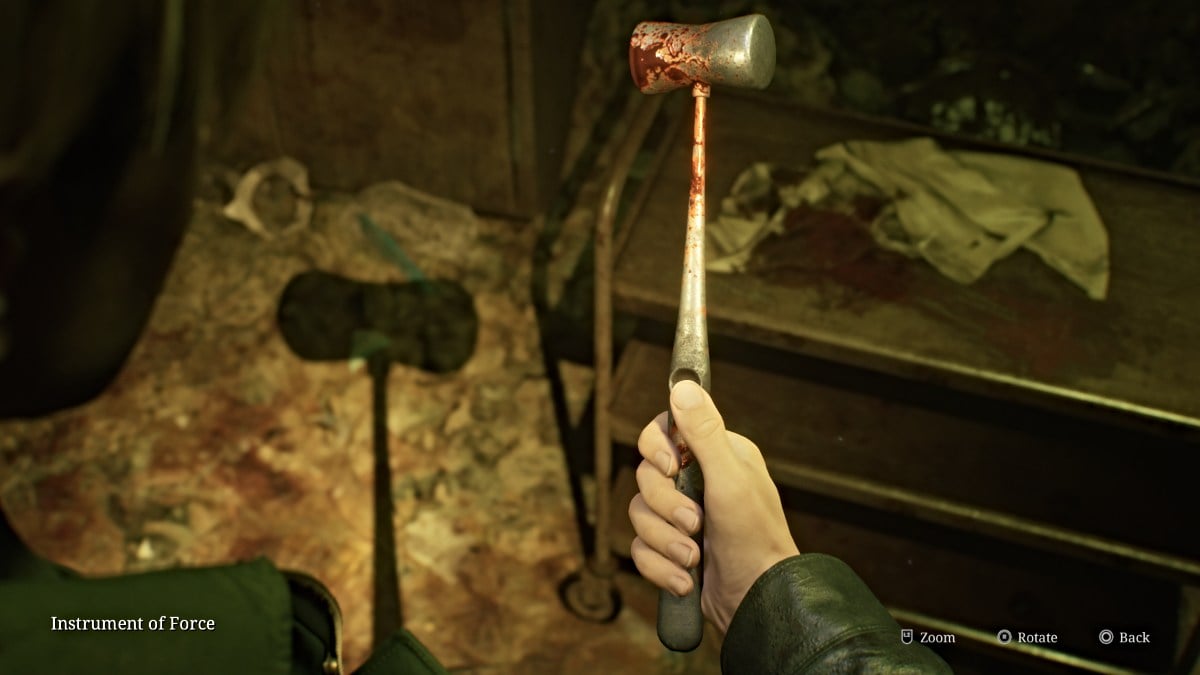
Once there, first head into the X-Ray Room and pick up The Procedure memo from the operating table. Over in Exam Room 4 you'll find a mannequin (no, not the monster) in a surgical chair with its hands in front of its face (seen above). Pick up the Instrument of Force from the tray nearby. This is one of two tools you'll need to get what's hiding inside the mannequin.
Make your way through Exam Room 5 and watch for another Bubble Nurse and Lying Figure in the hallway. Grab some Handgun Ammo from the desk tucked in the corner near Room D3 . Go in there next for Shotgun Shells and a Mannequin that sneaks off to ambush you from around the next corner. Deal with it and retrieve the Health Drink from that corner.
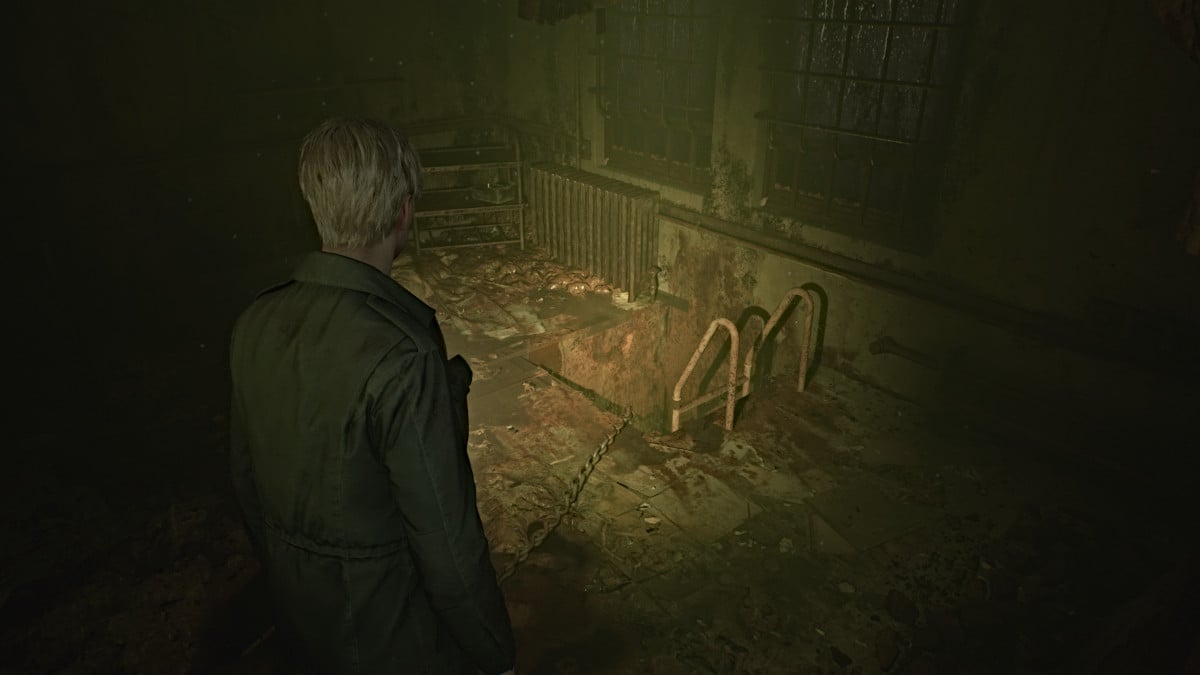
Backtrack to Room D2 and smash the wall on the north side to get in. Use it to cross over to Room D1 , where you'll find a ladder you need to climb down. This brings you down into the Kitchen on the first floor. Grab some Handgun Ammo from the Pantry area and ignore the back room behind it, as you'll only find a Mannequin in there. Explore the nearby Restrooms if you want for more Handgun Ammo and a Shotgun Shell .
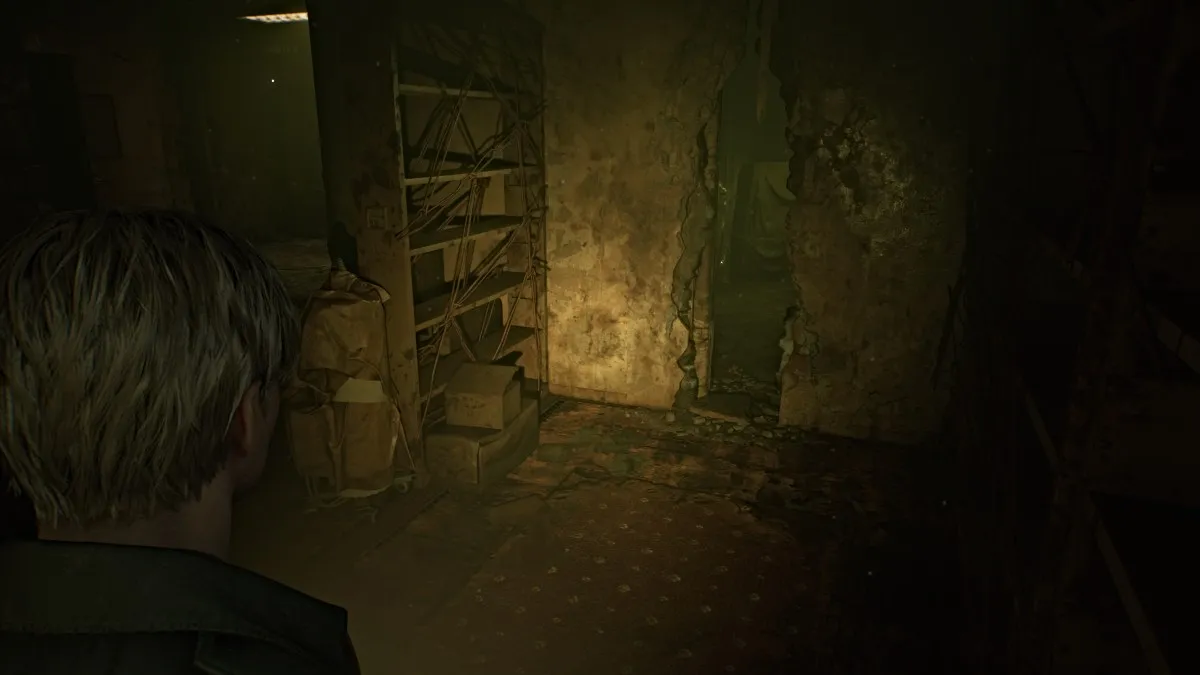
Head down the south side of the Kitchen and around to the Cafeteria . Deal with two Bubble Nurses and a Mannequin there then retrieve the Handgun Ammo on the middle table. Head into the Storage and Medical Records rooms next, where you'll find more Handgun Ammo , Shotgun Shells , and a Health Drink .
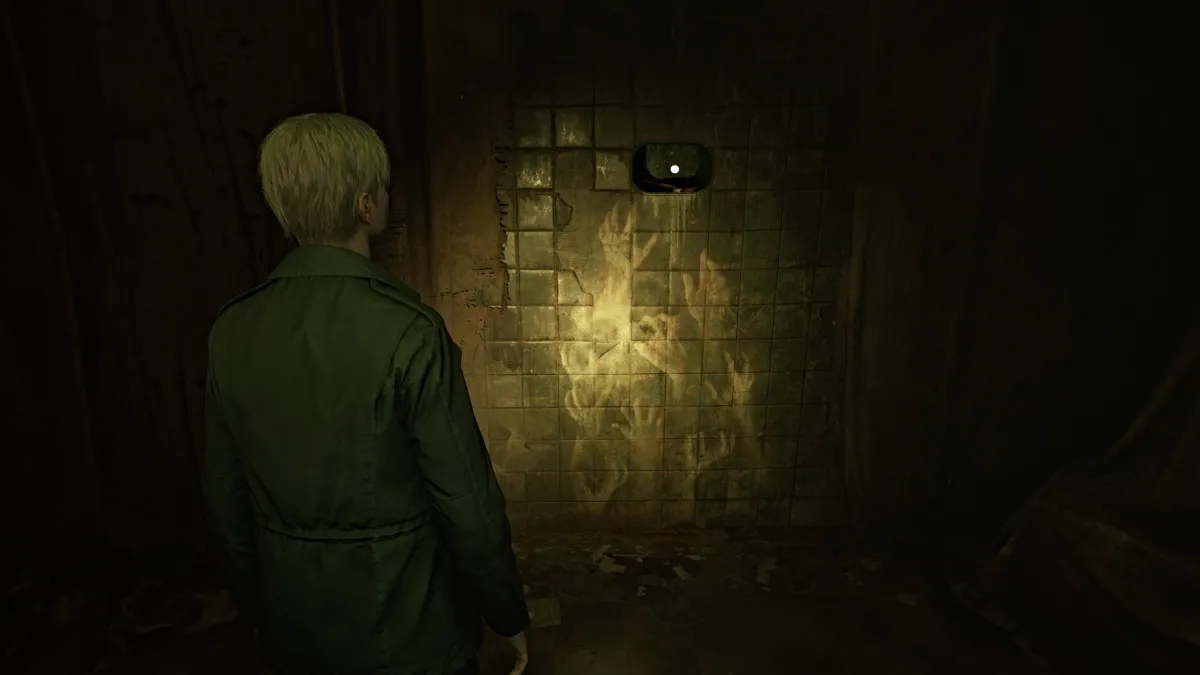
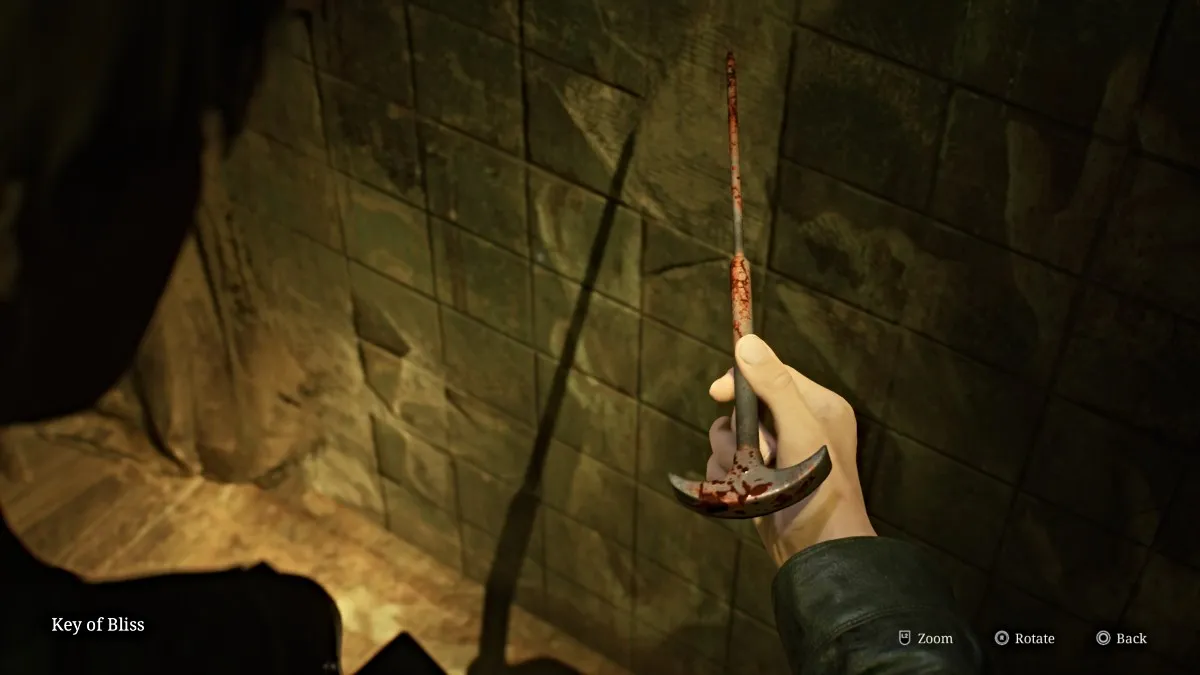
Slip through the wall crack near the back into an unmarked room, and on the wall to your right you'll see a familiar hand mural (seen above), and above it in a crevice, the Key of Bliss, the other tool you need 。 Take it and make your way back up the ladder in the Kitchen.
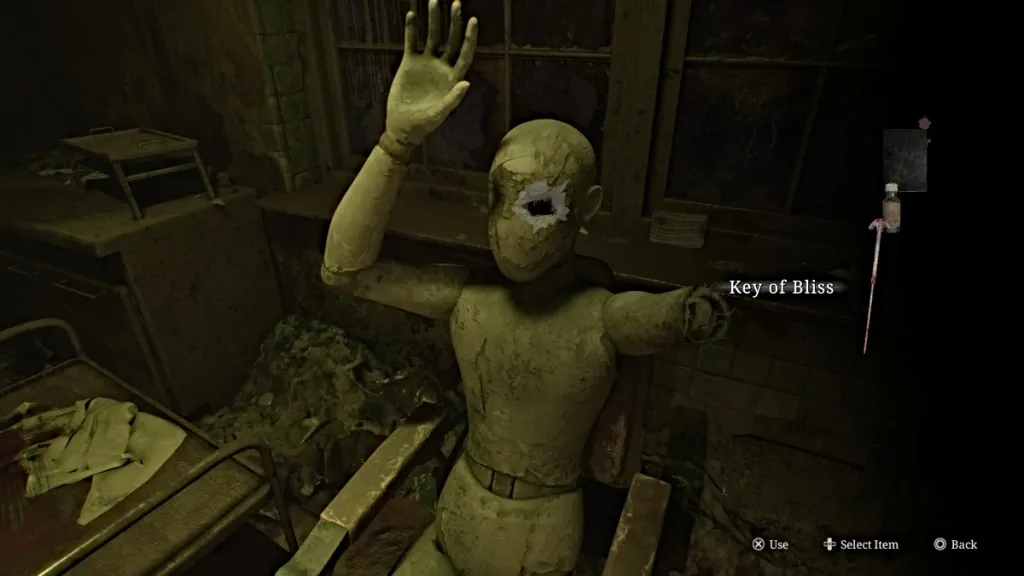
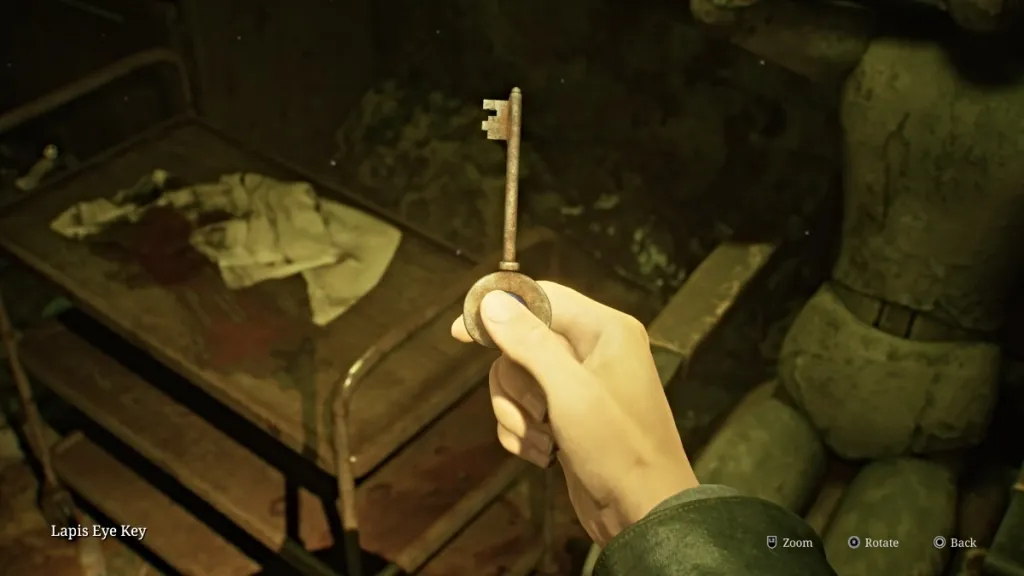
Head back to your mannequin friend in the surgical chair in Exam Room 4 . Use the Instrument of Force to break the right arm off, push the left arm away, and then use the Key of Bliss to brutally lobotomize the Lapis Eye Key from the eye socket. This is the key you need for the safe box.
With that done, make your way back down to the second floor via the stairwell.
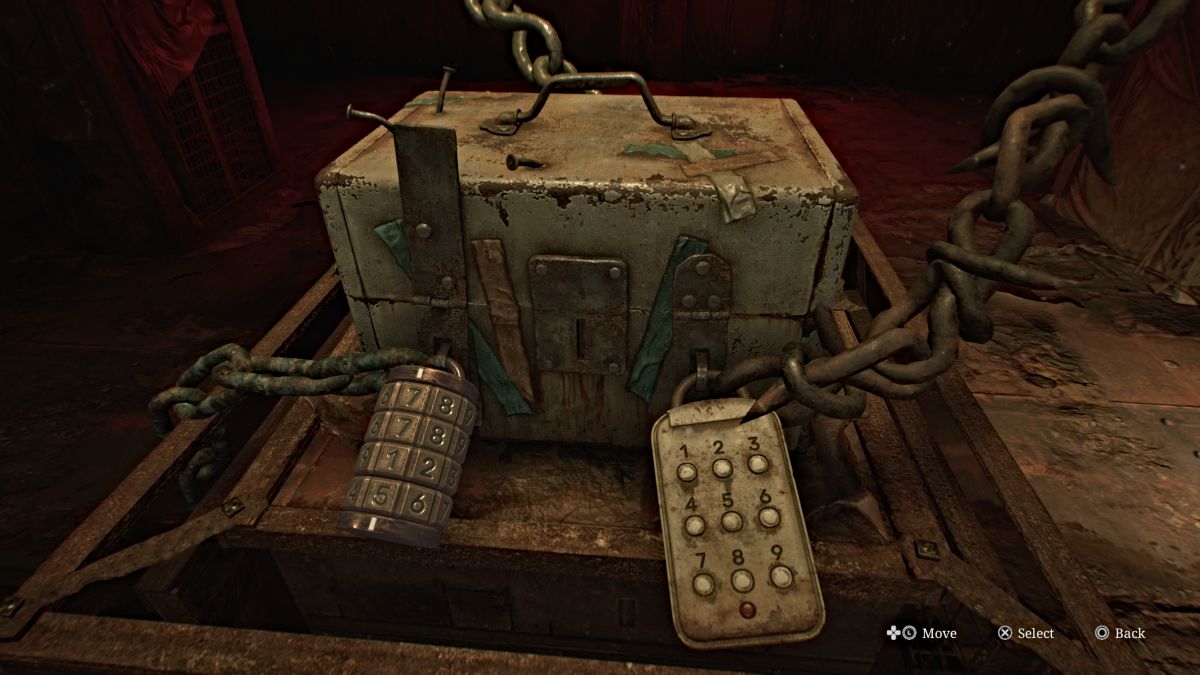
Head back to the chained box on the second floor, and first use the Red Save Point behind it. Use the Lapis Eye Key you just got on the box. This leaves the two numerical locks for you to crack. Luckily, we've got both of those codes figured out for you to save time.
If you're wanting to collect all of the memos in the game for the achievement, however, you should still visit Room M2 on the second floor for the Calendar Page , which provides the hint for the combination lock.
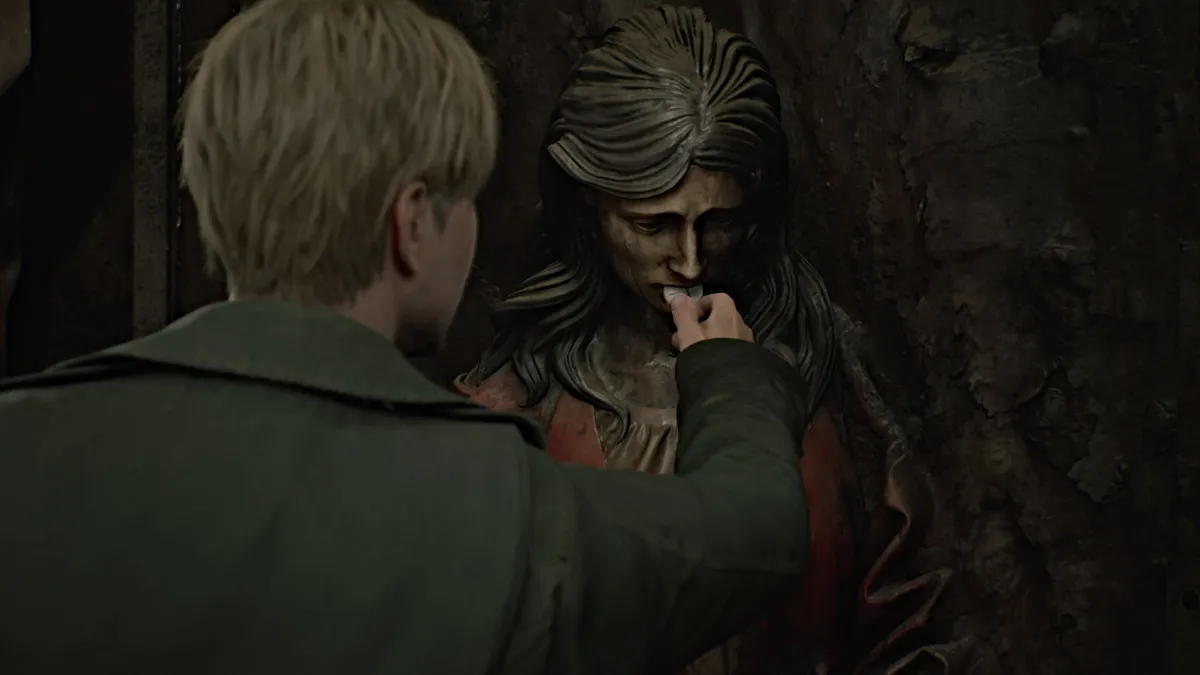
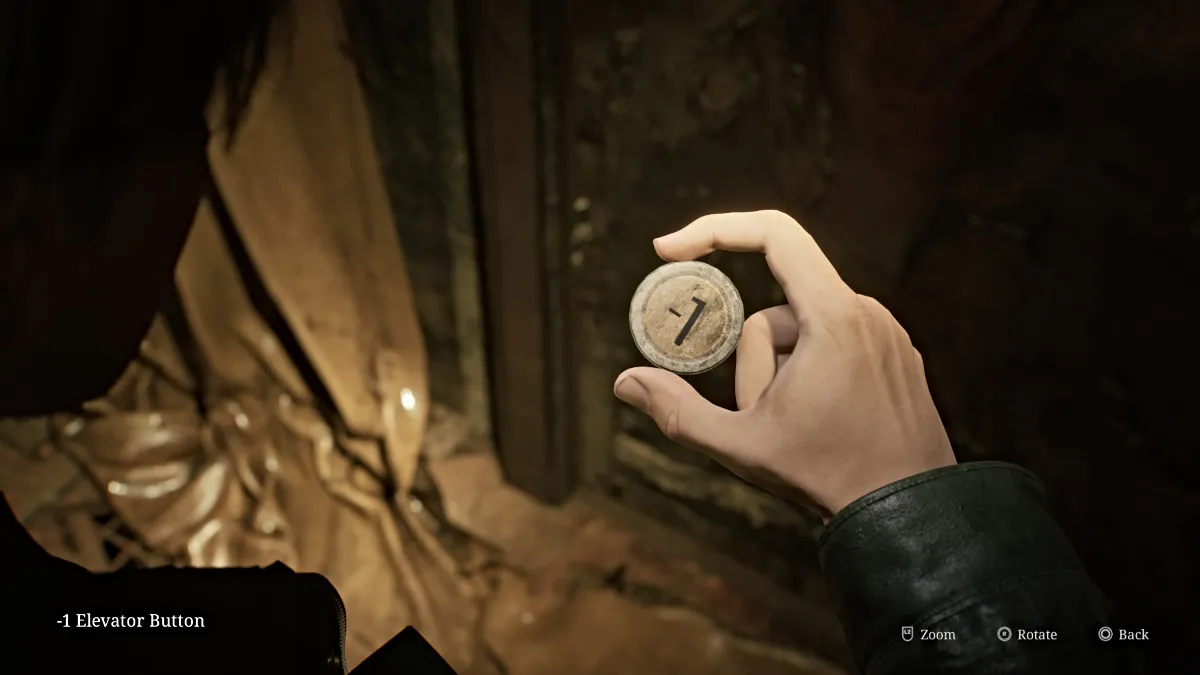
Once open, a cutscene will play where it's revealed that nothing is in the box, which leaves James dejected. However, a curtain nearby suddenly falls to reveal a strange door with a partial statue of a woman on it. James approaches it and finds the '-1' Elevator Button in its mouth, allowing you to use the elevator to reach the Basement .
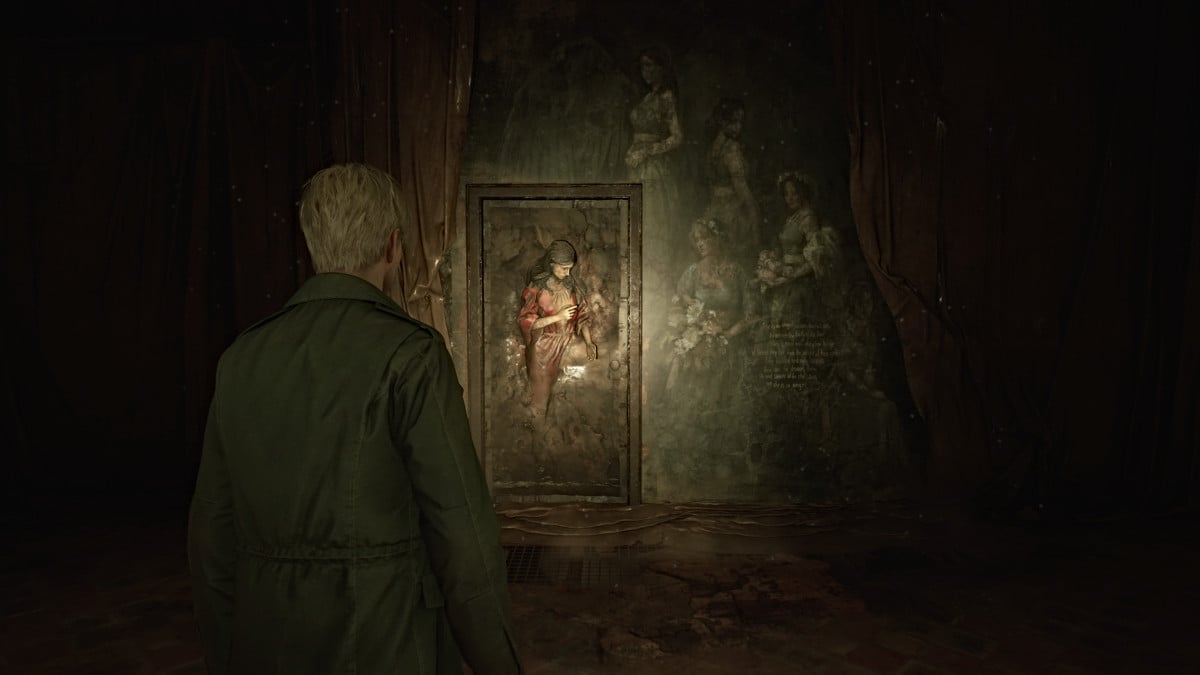
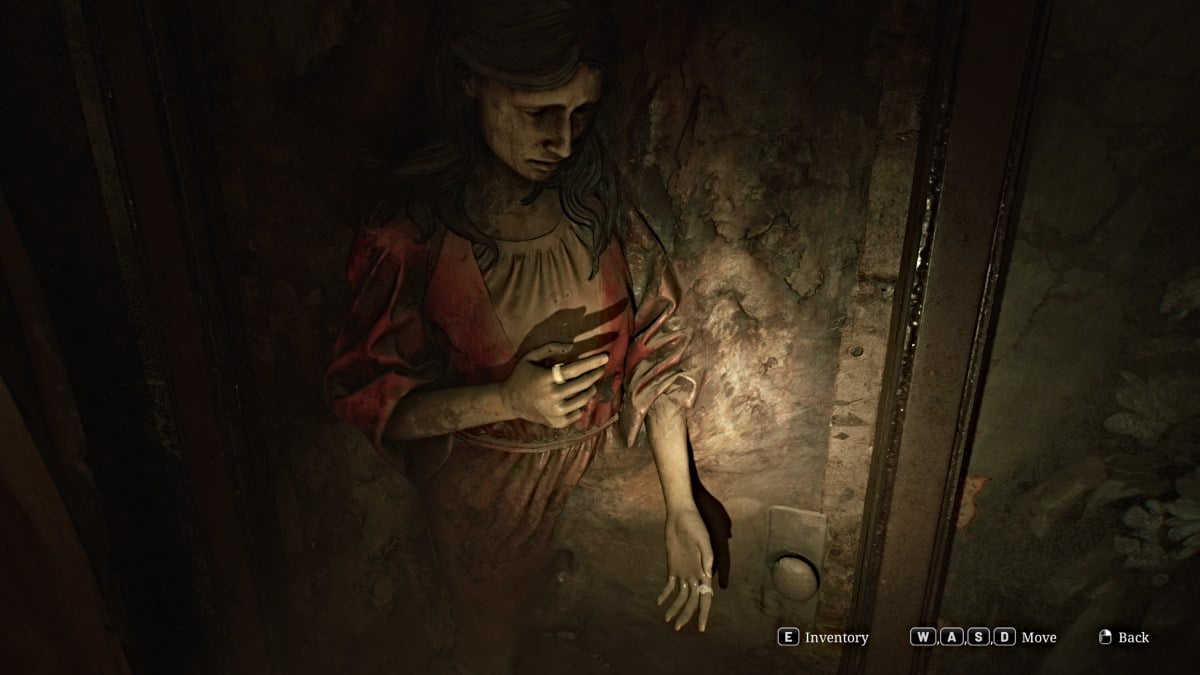
To open the Lady of the Door , you need to find the two rings missing from both her hands (seen above). To find one of them, the Basement is conveniently your next destination. Head to the Elevator and use the -1 Button to repair and take it down to the bowels of Brookhaven.
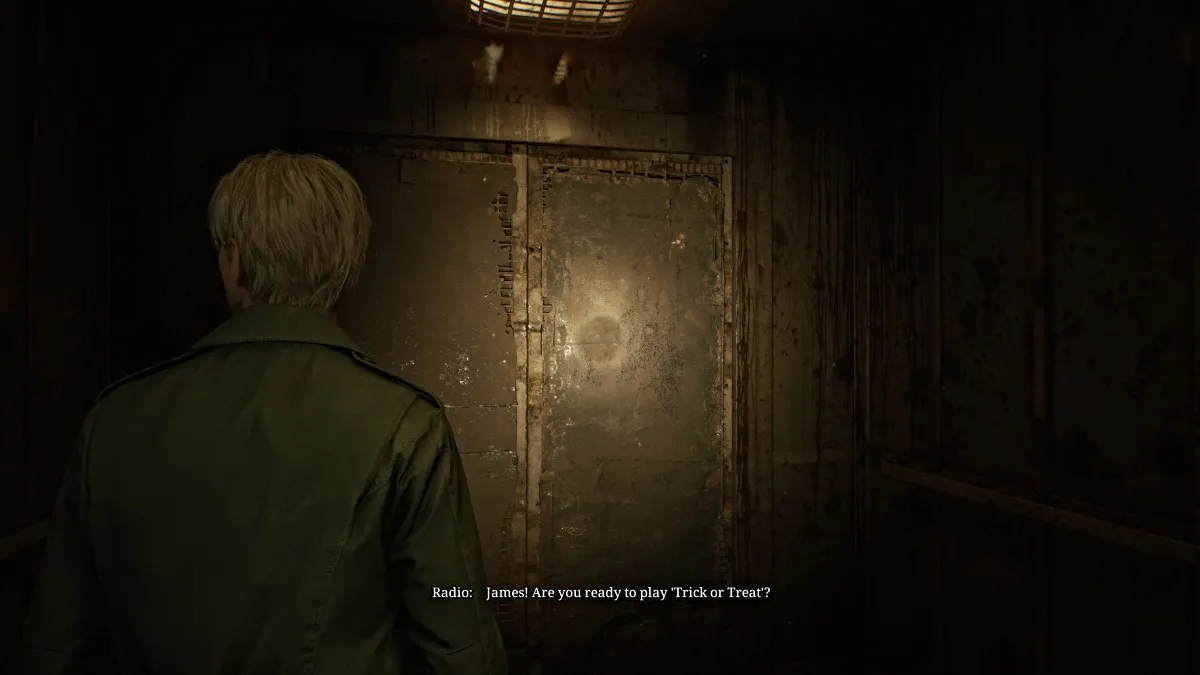
However, along the way, a mysterious voice will come over the radio system and enact a Trick or Treat game show just for James. It recites three quiz questions related to Silent Hill and its history that you'll need the right answers to when the time comes. So that you have them handy, here are the correct answers:
Soon you'll arrive in the Basement, and the right path is blocked so you'll need to navigate around on the left side of the floor. Check the Kitchen Disposal Room for some Handgun Ammo and Shotgun Shells then go through the Maintenance Room to get to the Generator Room . From there, head south into Laundry Storage where you can find Handgun Ammo then further into the Laundry Room and Storage Room which has a Health Drink .
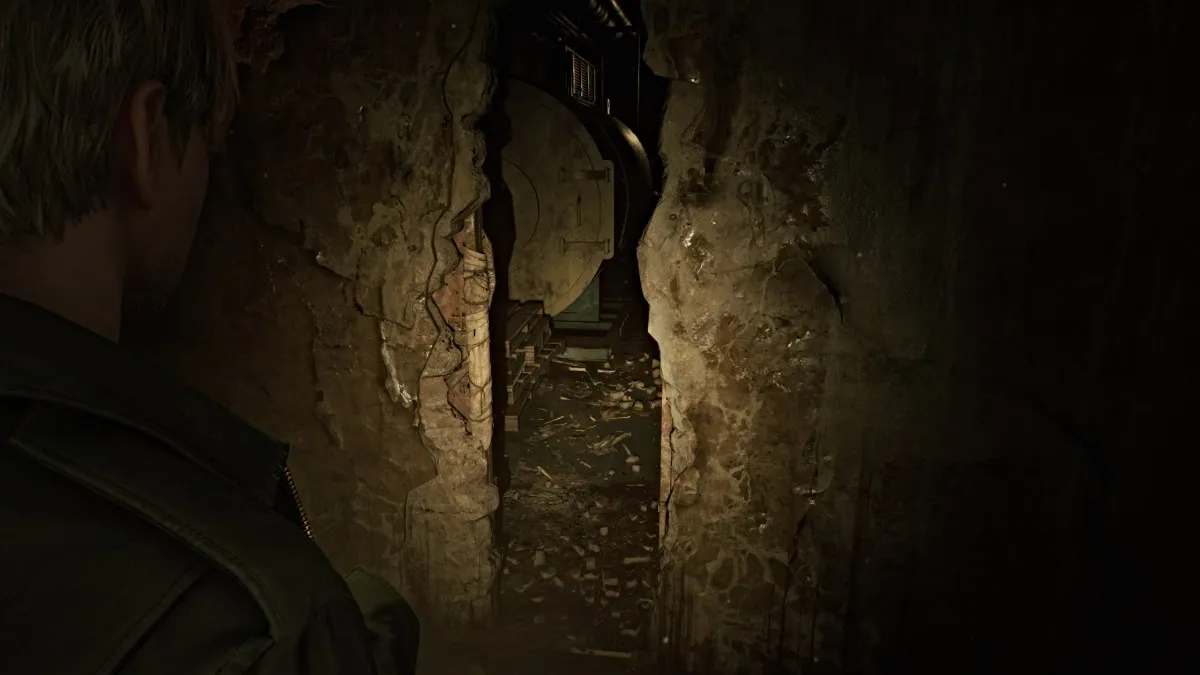
You'll come out on the other side of the huge gap in the floor, so you can continue down and around. The rest of the hallway is blocked, but a gap in the wall nearby will take you into the first Boiler Room . Cross into the second Boiler Room , deal with the Bubble Nurse patrolling the area, and then use the high crawlspace on the right side to make it out to the other side of the east hallway.
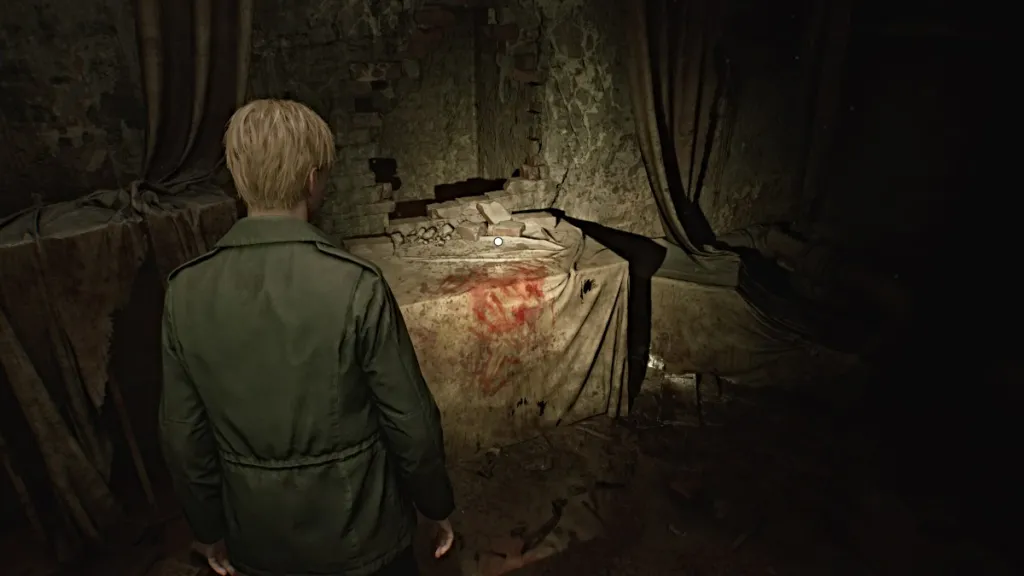
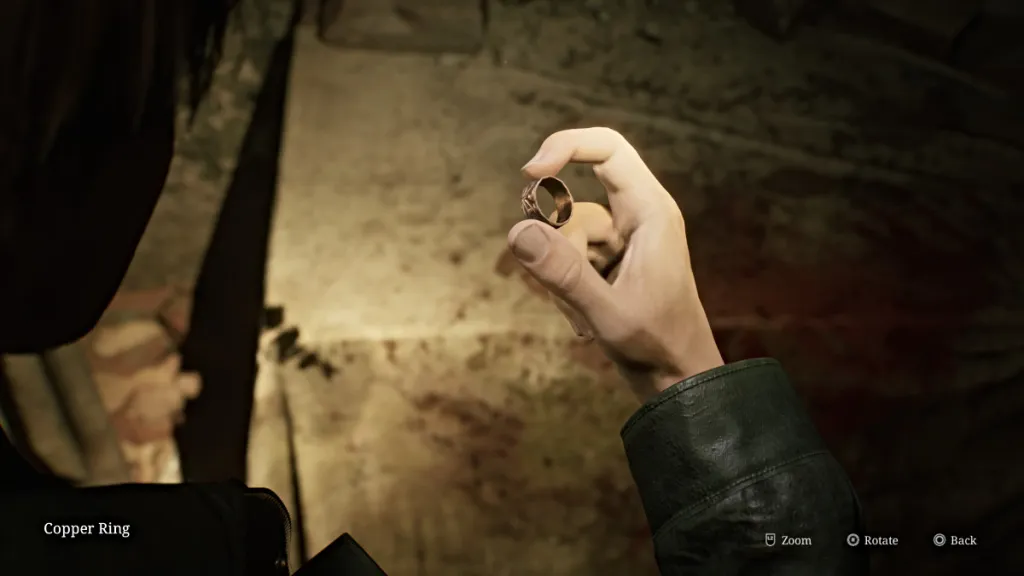
Your options are still very limited, so just go straight ahead through the next wall crack into the Pump Room . Sitting on a table to your right is the Copper Ring (seen below), the first of two that you need. As soon as you grab it a cutscene shows Maria suddenly appearing from the shadows, seemingly better than earlier.
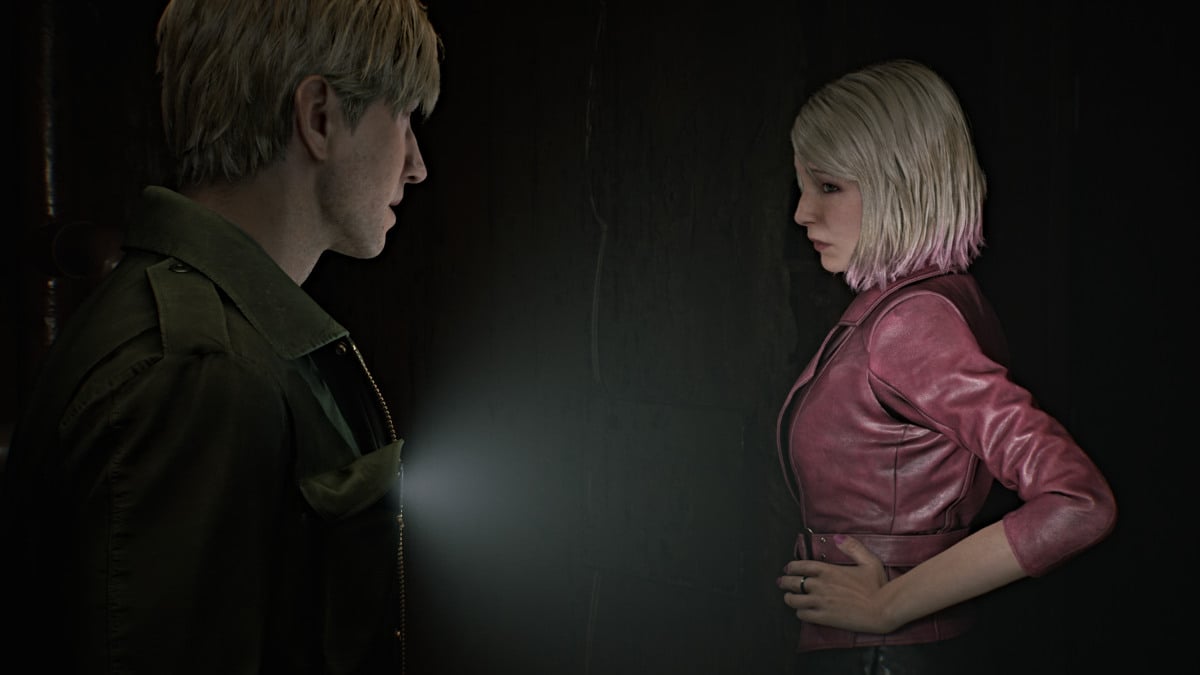
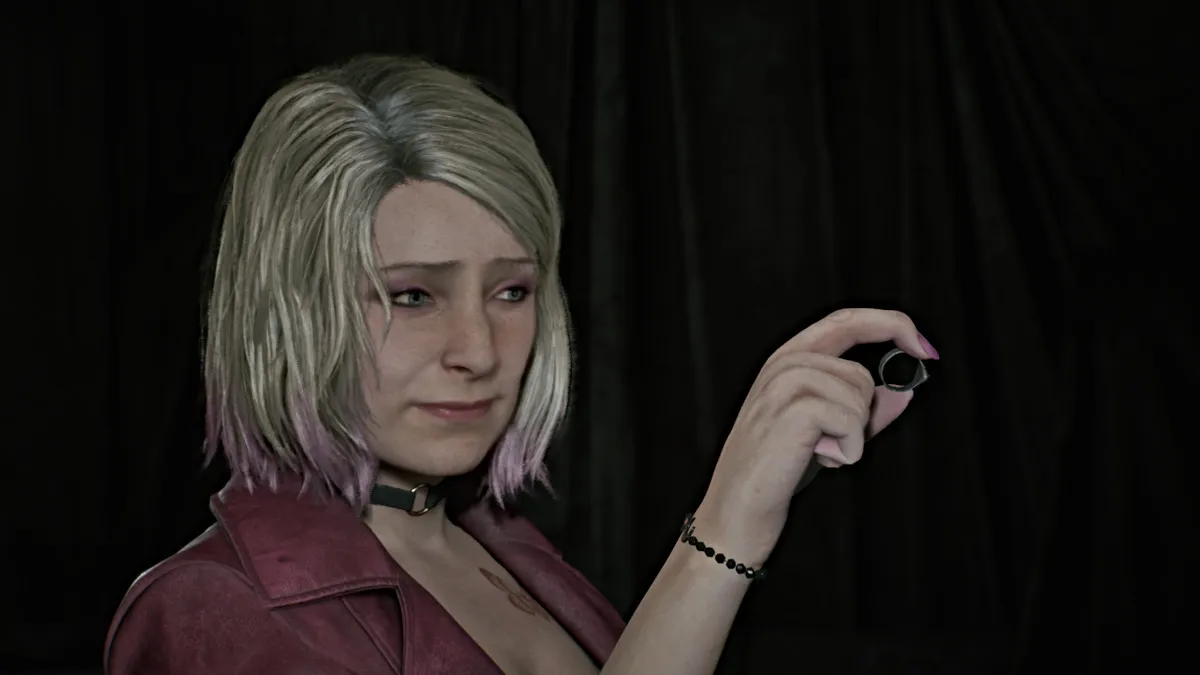
James almost mistakes her for Mary, which of course doesn't sit well with Maria. The conversation instead turns to Laura, with whom Maria feels a strange connection that she can't explain and just insists on finding her. With that, Maria returns as your companion.
Continue through the Pump Room and back out into the hallway. The Tech Room is blocked, so the only way forward is back up to the first floor . Make your way up through the rooms on the east side, starting with Exam Room 2 . Cross into Exam Room 3 where you can find a Syringe , then cut back into the hallway.
Follow Maria as she remarks about a "stroll in the rain", strangely unbothered by the Otherworld around them. The rest of the rooms on the right side are blocked, so the path takes you instead to the Pool area. Pick up the "They musn't know" Strange Photo from a nearby bench, then make your way around the pool (now a giant gaping pit) to the Shower Room , then across the hall to the Doctor's Lounge .
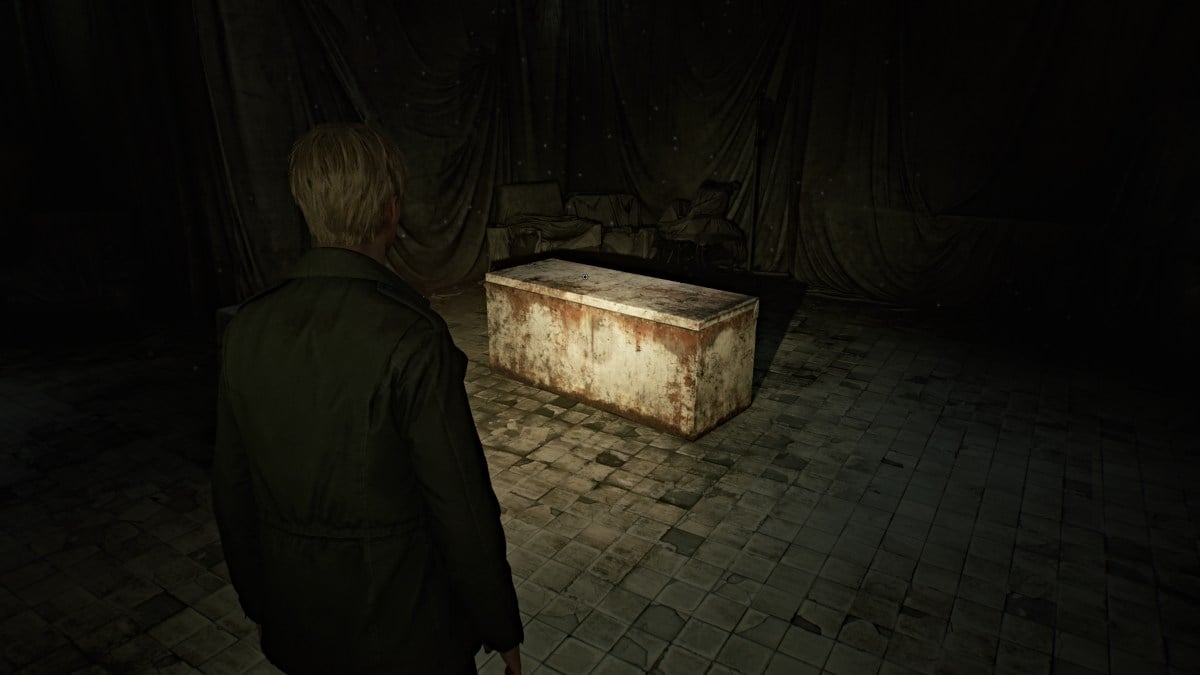
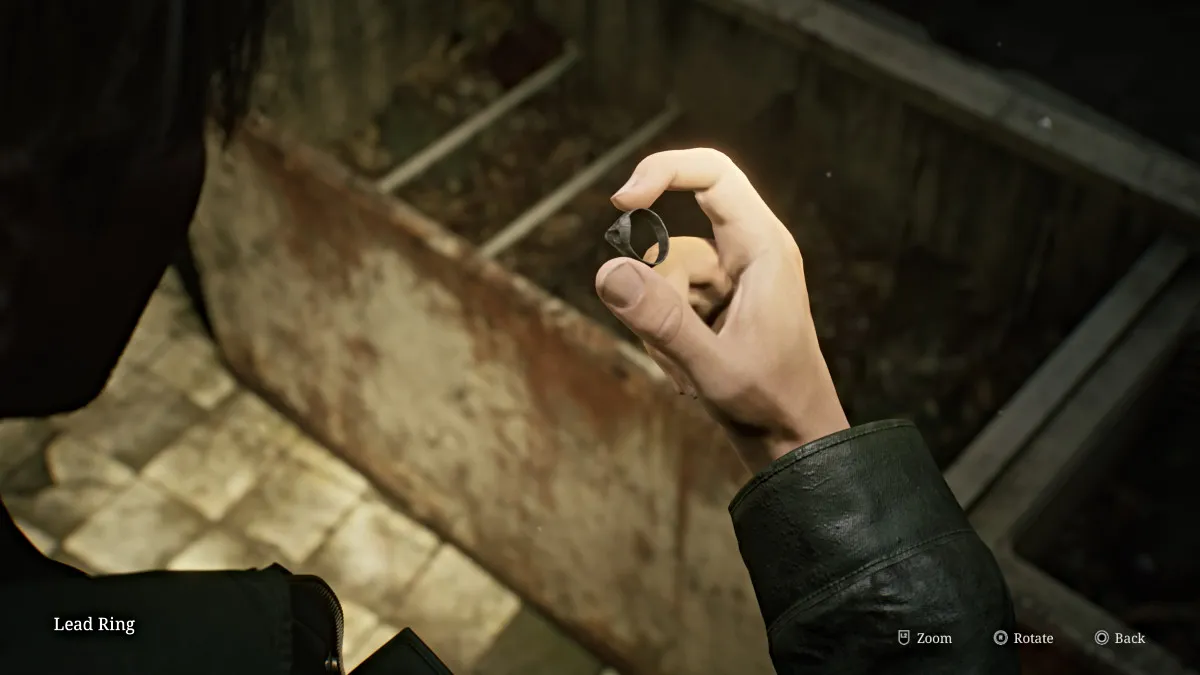
The room itself is mostly empty except for a large fridge that's been toppled over. James finds himself unable to open it alone and Maria teases him for it before offering to help with a hint of exasperation. They manage to open it together and upon peeking inside Maria finds a Lead Ring . It just so happens to be the other ring you need for the Lady of the Door.
Cross through the Locker Room to your left and pick up the Dissociated Note in there before continuing to the central hallway. Use the Red Save Point nearby before heading in the direction of the elevator. Before taking it though, head over to the Pharmacy , where you'll find an ornate box sitting on the counter.
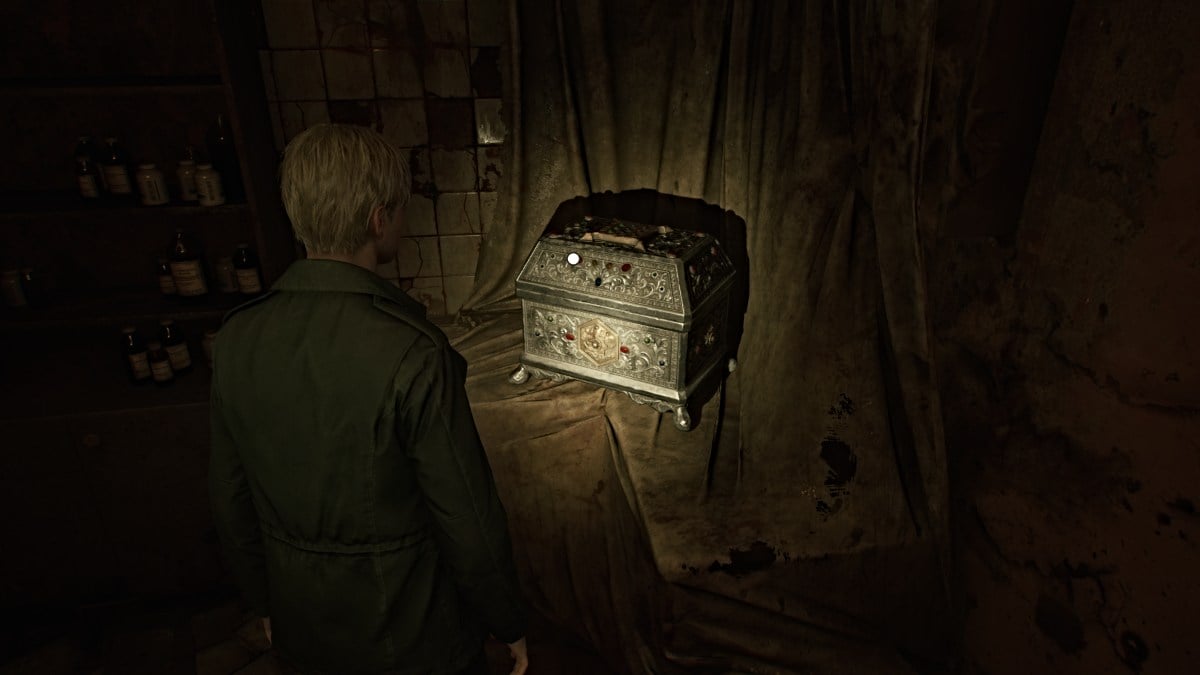
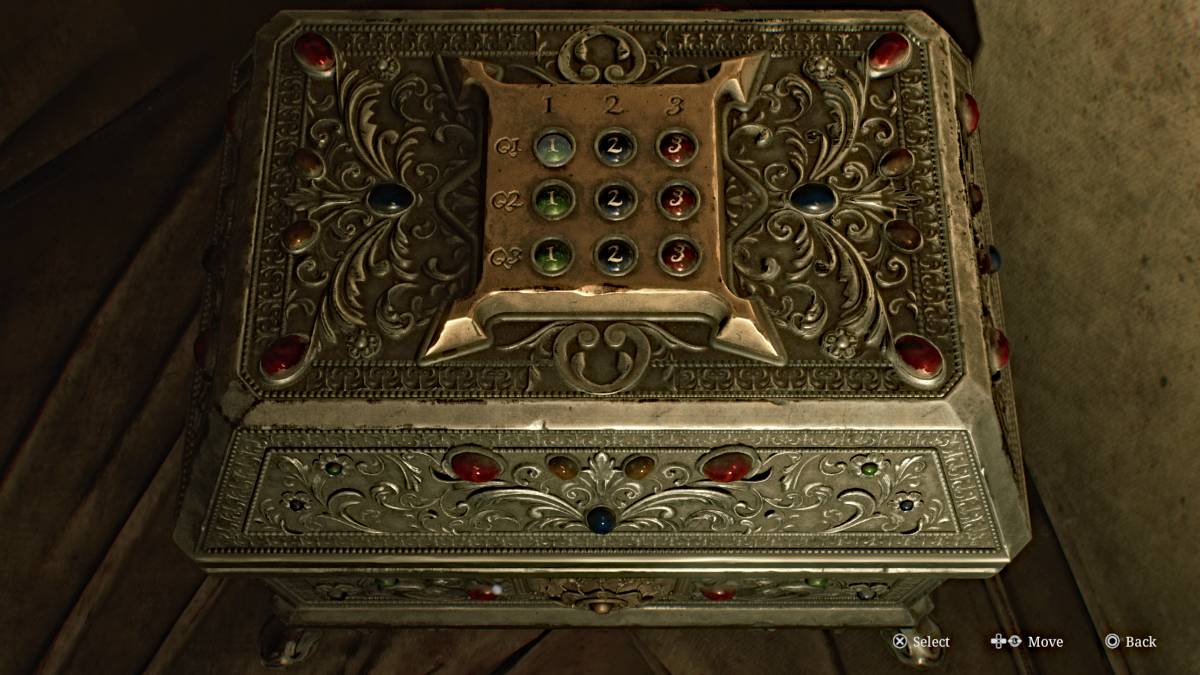
This is the "prize box" for the Trick or Treat quiz you received earlier, and you need to use the buttons on the top of it to punch in the correct answers. As mentioned earlier, the correct order is: 2,3,1.
If you punch them in correctly, you'll receive a nice reward of 5 x Shotgun Shells and 2 x Syringes . If you put the answers in wrong, you'll get pain instead, to put it lightly. When you're ready, take the elevator back to the second floor.
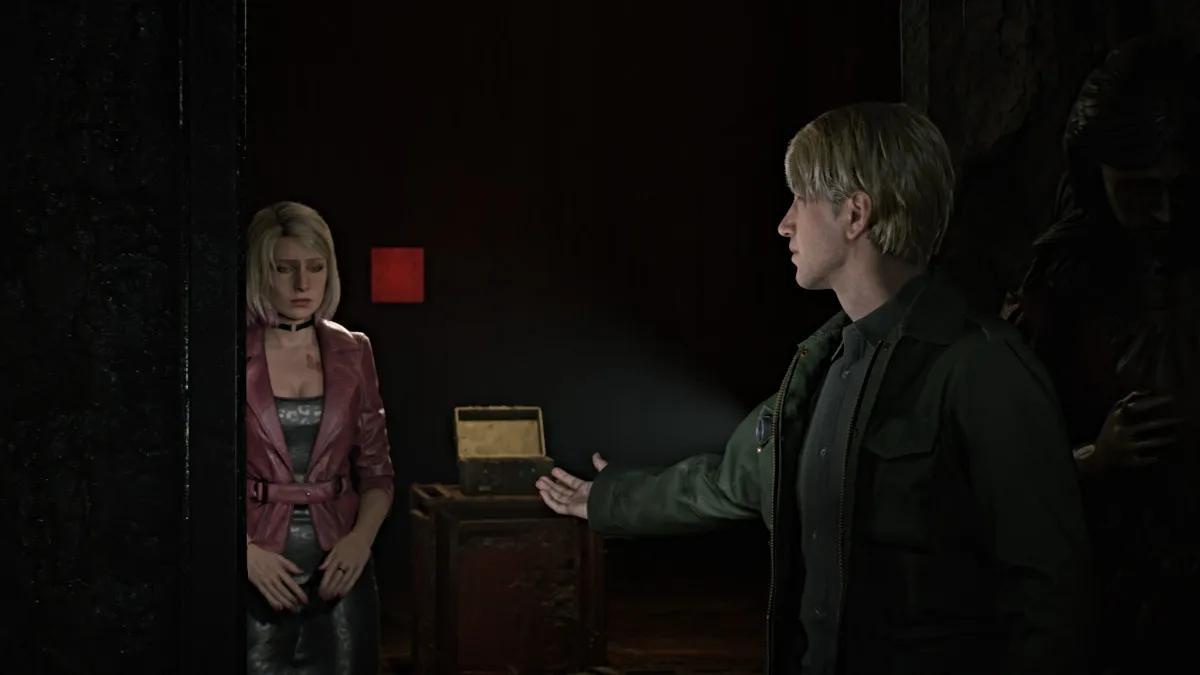
Once you're there, use the Red Save Point then go over to the Lady of the Door and place both rings on both hands. A cutscene plays as the door opens and James steps through, but Maria seems almost terrified to follow.
The path behind the door leads down a winding stairwell. Pick up the Ominous Note on the way down that reads, "It is done. Sick no more." Keep going down and there will be another Red Save Point for you to use if you haven't already. Continue down the steps and soon your map will be inaccessible, hinting that you've gone somewhere else entirely.
At the very bottom, go through the door and follow the path through the winding hallway. At a certain point, however, a cutscene triggers and James suddenly spots Pyramid Head approaching them, a spear in hand this time.
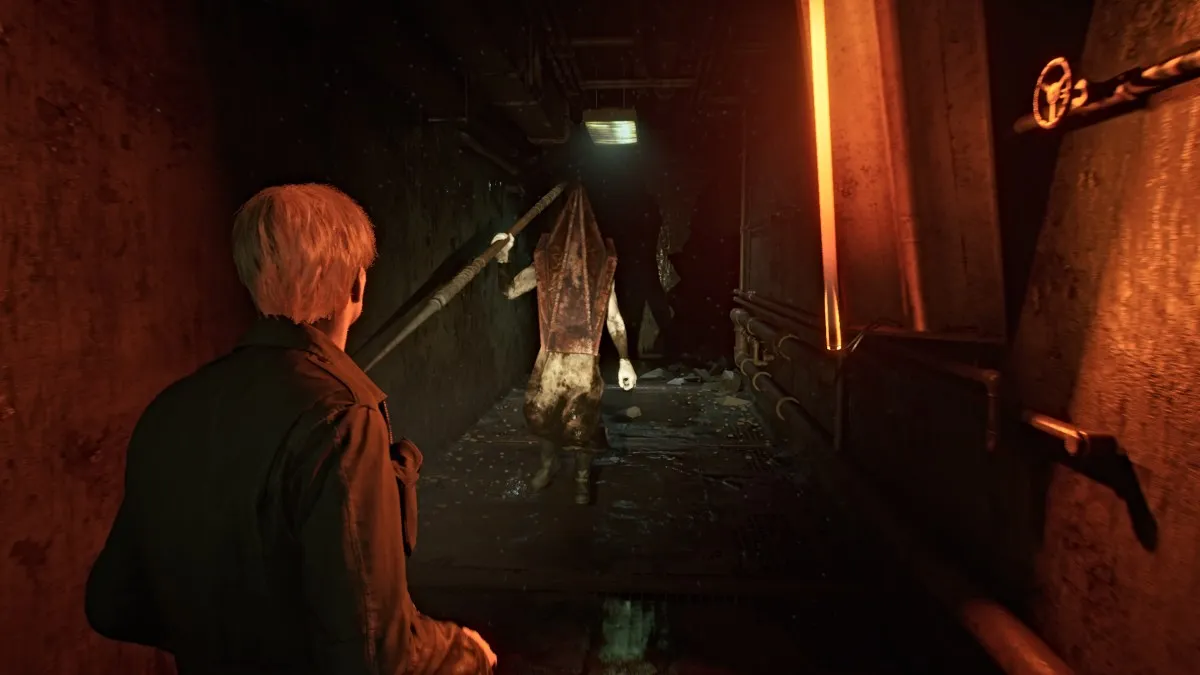
As soon as you regain control hit and hold your 'Sprint' button as Pyramid Head will be moving much faster this time, determined to catch both of you. Evade the obstacles that fall in your way and holes in the floor and keep going until you reach an elevator ahead.
James gets in first but the elevator tries to force itself shut as Maria tries to get in. However, Pyramid Head catches up and impales Maria with his spear, killing her instantly as the elevator shuts closed.
Soon the elevator opens, bringing you back to the first floor. The music calms and the threat is gone, and no monsters are present. Make your way across to the Reception Office , and on the desk by the open window is the Hospital Entrance Key . James sees Laura run off down the street into the darkness.
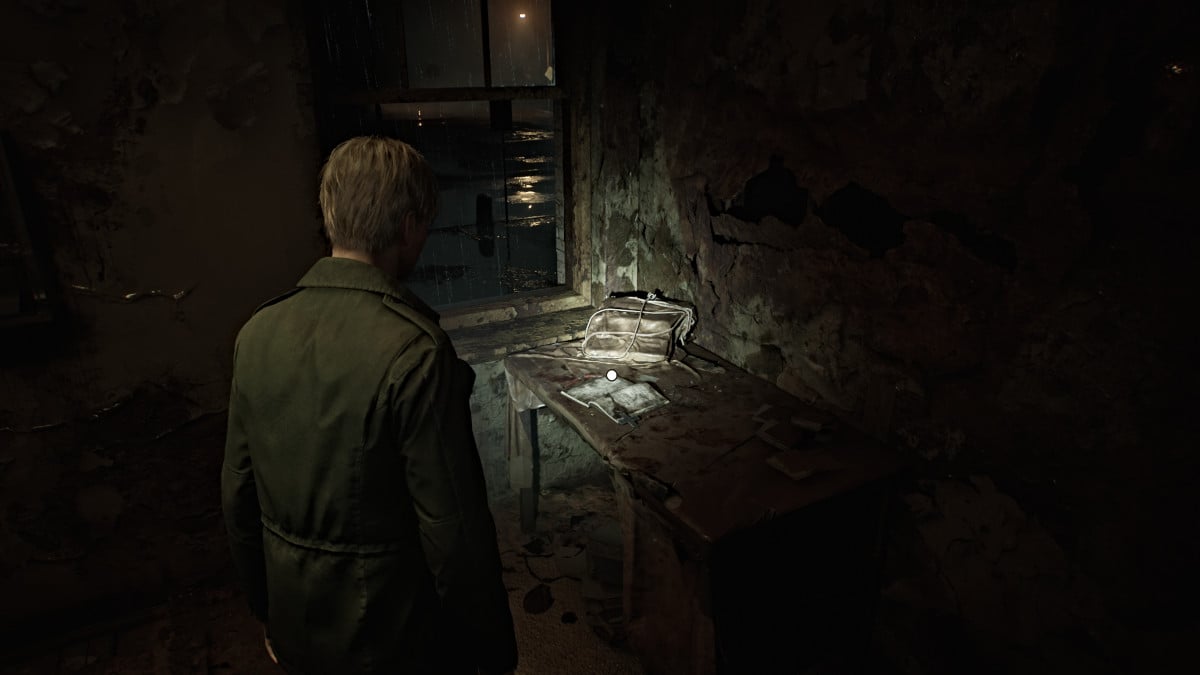

For now, make your way out of Brookhaven and into the stormy night.
Unfortunately, the Otherworld has now spilled out onto the streets and brought the monsters from the hospital with it, so tread carefully. Before you head straight to the story's next objective you can try to do some exploring in the area for items.
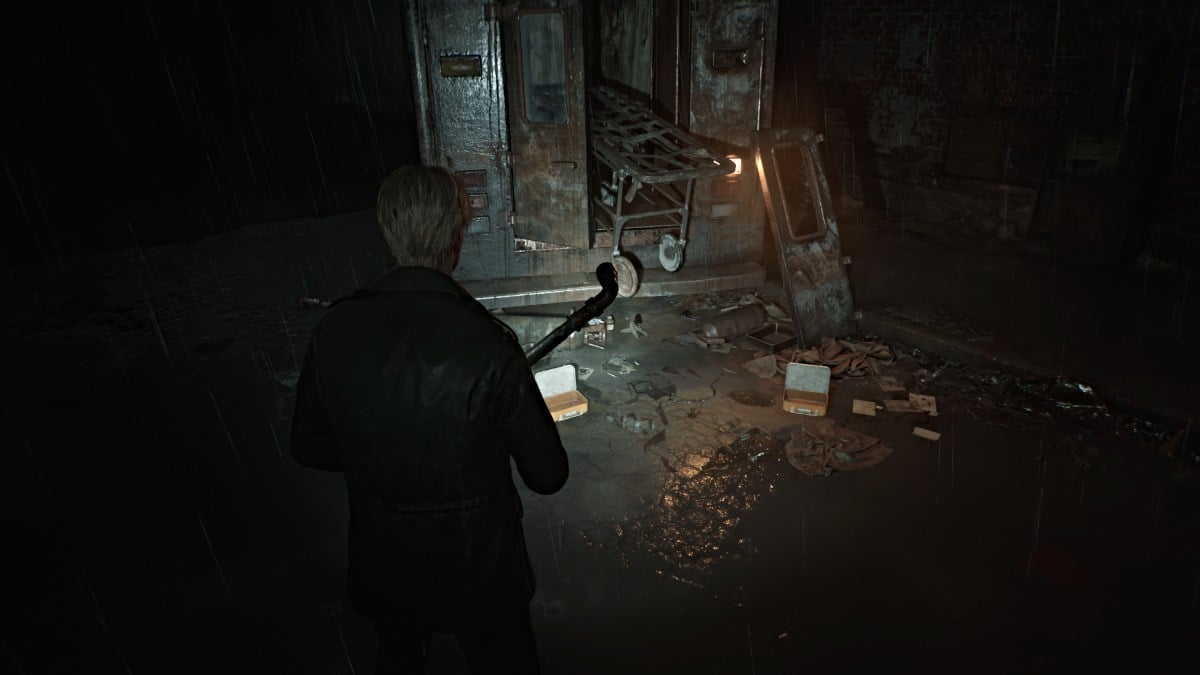
There isn't much to the left as the entire street is nothing but a chasm in that direction. There is a nearby wrecked ambulance that has a Health Drink and Syringe lying near it, if you feel up to dealing with the Bubble Nurses guarding it.
Head down the street to the right and you can find some Handgun Ammo and Shotgun Shells inside cars. Go through the door beyond a barricade near Heaven's Night and you can find more ammo in a nearby garage shed. Go all the way to the far right end of the street behind Heaven's Night where you'll see another shed area. On the right wall inside it you'll find a breakable spot, so tear it down and slip through.
Enter the Garage and grab the Syringe and Handgun Ammo , then use the Red Save Point on the wall. Head out and you'll catch Laura just beyond a gate ahead. Deal with the Bubble Nurse and Mannequin in your way first, then run to the far right corner where the door you used to get into Heaven's Night is. Some Handgun Ammo will be on the ground there.
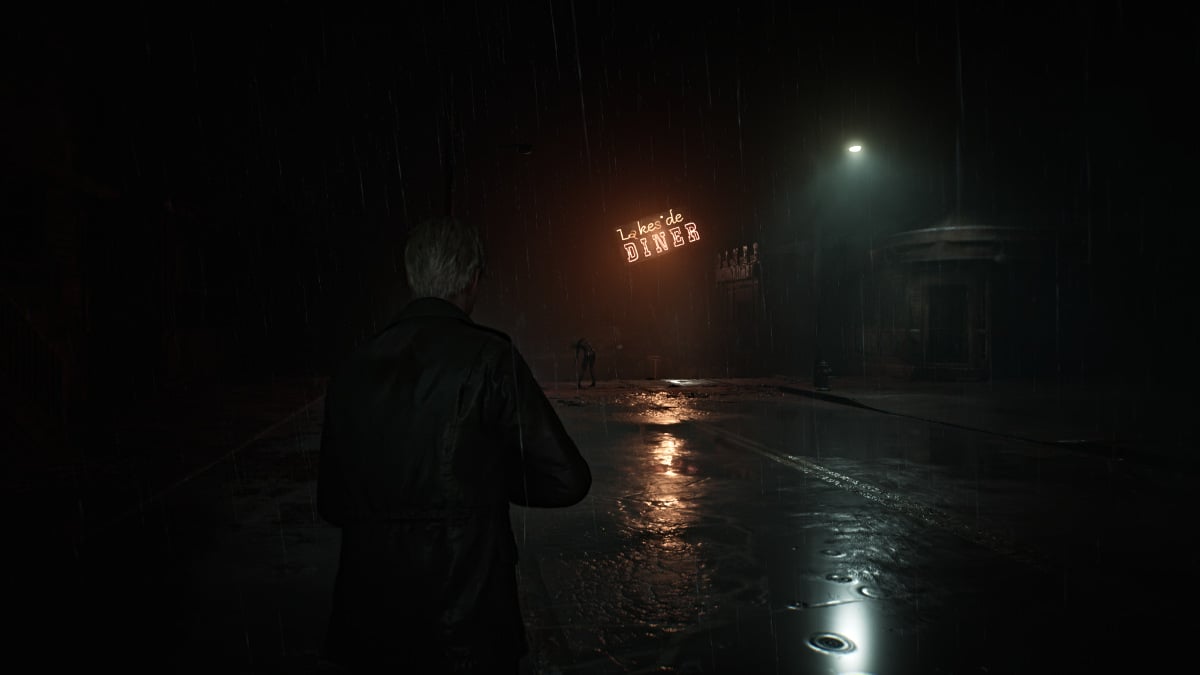
Backtrack to grab the handcart and push it in front of the gate, so you can jump over it. Soon you'll find yourself on Rendell Street and near the Lakeside Diner . First, grab Handgun Ammo sitting on the tire of a truck nearby then head towards the diner, then more on the front deck of a house on the left.
Deal with the Bubble Nurses in your way and then grab a Health Drink from one of the cars parked near the diner. Head inside and venture behind the counter for some Handgun Ammo and Shotgun Shells . Deal with more monsters in your way and use the double gate doors on the other side to leave.
Maneuver between the school bus and big rig truck, and you'll find more Handgun Ammo sitting on the bed of a pickup and Shotgun Shells on a barrel behind it. Pass through the gate back onto Rendell Street and head east. Be sure to check the front porches of the houses and cars you pass for more items.
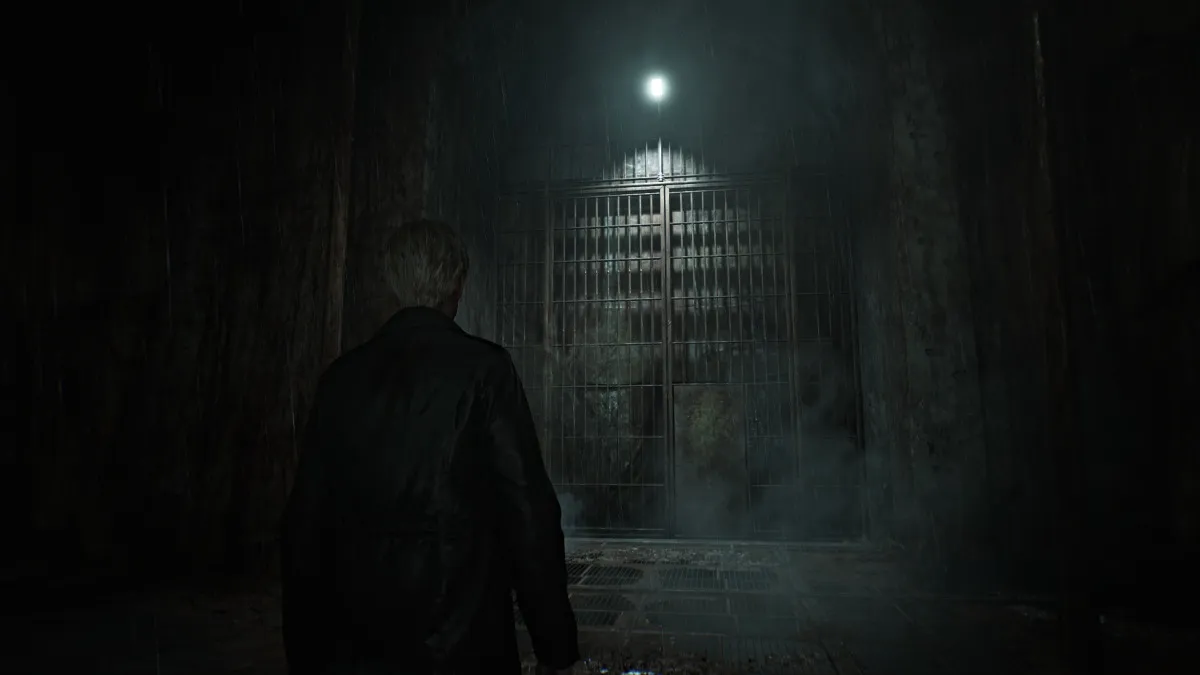
Soon you'll reach Munson Street , but there's nowhere to go but south towards the edge of your map. You'll catch another glimpse of Laura as she runs through a large gate, so follow her through. Cross the long and dark metal catwalk until you reach the other side.
Now you're back on the east side of town on Saul Street . Go into the Motor Home to your right, where you'll find a Red Save Point , Handgun Ammo , and the Note on a Map which has an ominously foreshadowing written message and a clue about where to go next for a "letter and a wrench ”。
As you go further down the street, there will be a high crawlspace you can climb up and through to enter a warehouse. Navigate through it, pick up more ammo and deal with monsters along the way until you reach a breakable wall at the back of it. Slip through and continue on until you reach the other side of the chasm on Neely Street .
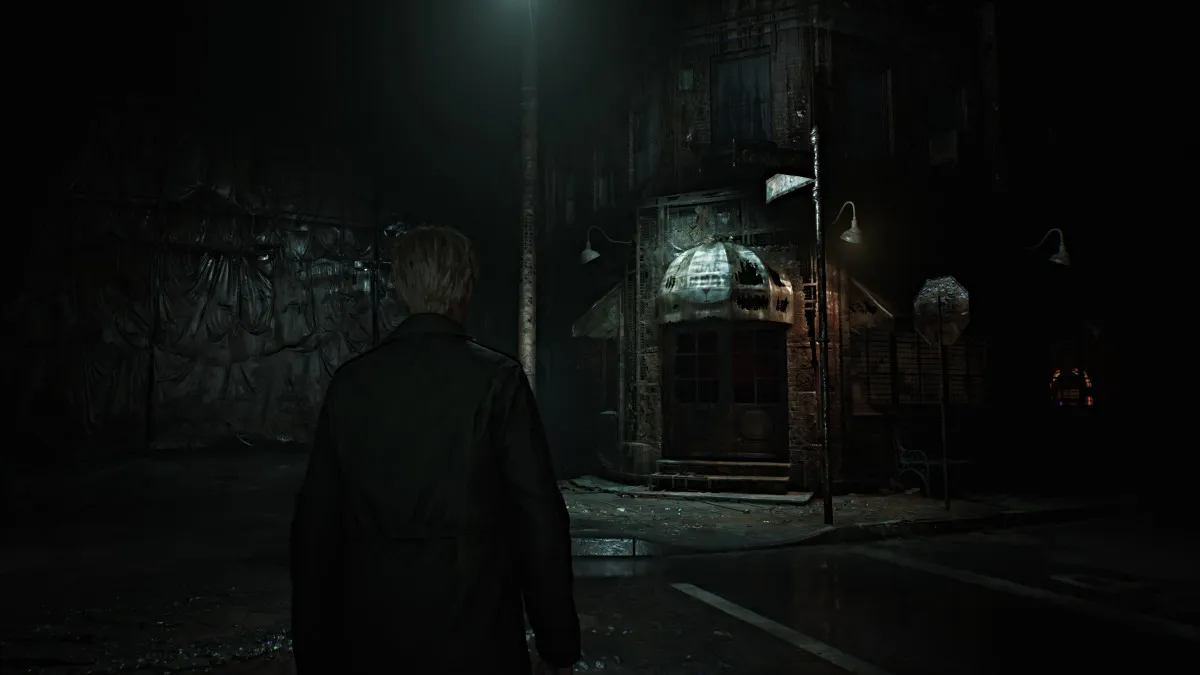
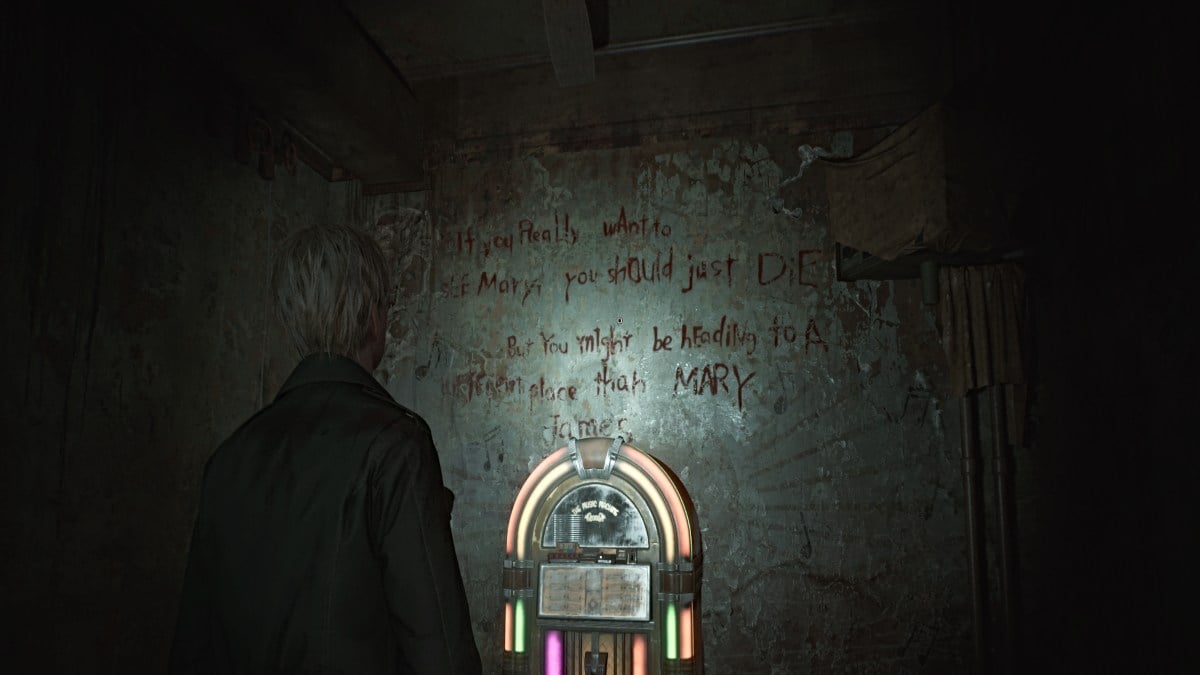
This will bring you face-to-face with Neely's Bar once again. Go inside and you'll see the jukebox is on, but rather than playing music it sounds like breathing. A threatening message on the wall behind it suggests that if he wants to see Mary "he should just die" but that he "might be going to a different place than Mary" when he does.
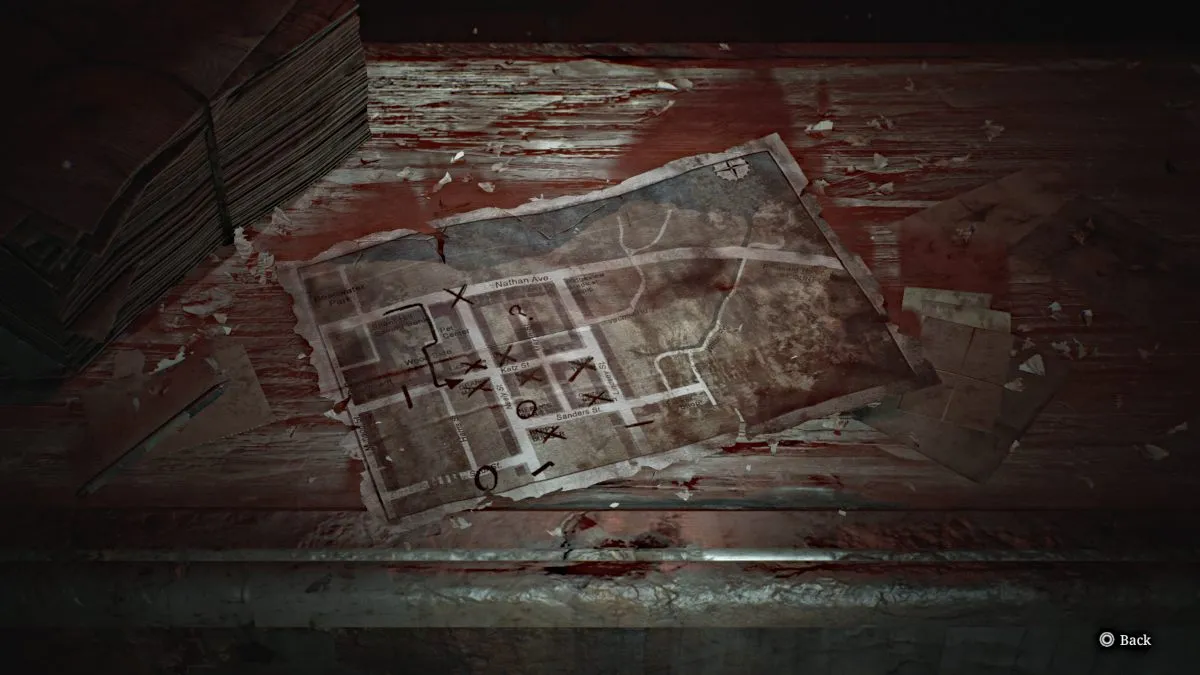
Go over to the counter to collect another Glimpse of the Past , then behind it for some ammo and a Red Save Point . Go to the door on the left that's slightly open and grab a Health Drink on your way out the back of the bar.
Go through the back alley area, grab some Handgun Ammo from a nearby car, a Health Drink on the ground near the chasm in front of you, and make your way around the corner to the back of a Laundromat . There will be a high crawlspace for you to climb up through.
Once inside, you'll hear a phone ringing somewhere nearby. Smash and grab the nearby Health Drink and deal with the two Bubble Nurses that approach you through the wall crack. Go through the crack yourself afterward, make your way through the front of the laundromat, and jump through the open window on the right to the street.
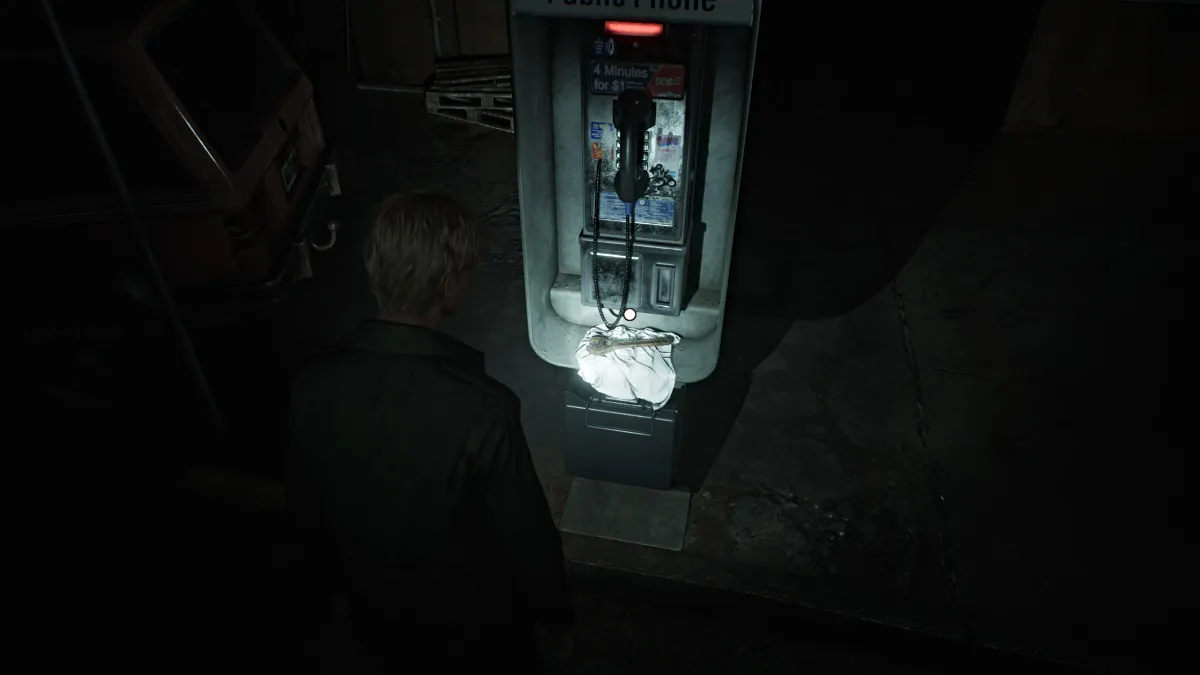
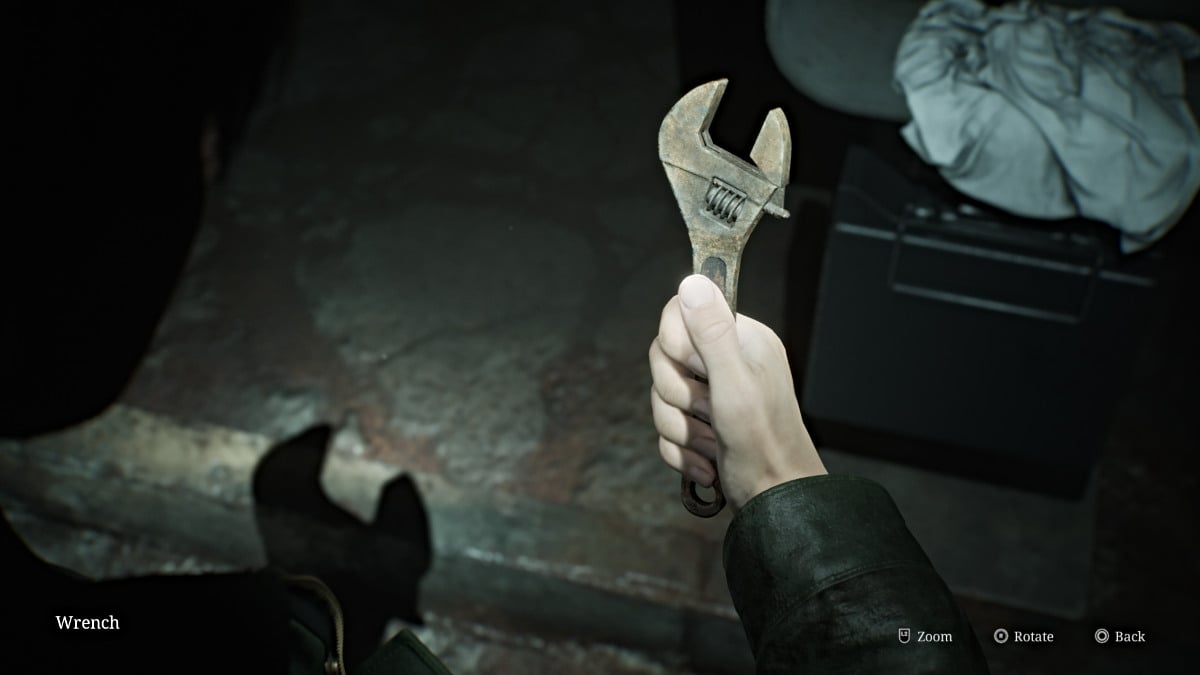
Turn left and you'll notice it's a payphone ringing. Walk over and answer it, but no one is on the other line. After James hangs up the phone, a piece of paper drops in the change slot. It reveals yet another message that implies that "the key is in the park, at the feet of the praying woman", and that "the wrench will open the gate". With that, pick up the Wrench sitting under the phone.
Now you'll need to head back north to Rosewater Park to find what you need. Head to Neely Street and run north until you reach a tall barricade with a door. Head through and you'll find another huge gate ahead. Use your Wrench to open it and pass through.
You'll find yourself going over another metal catwalk, but this time a new monster called a Mandarin is crawling beneath it. Even though it's beneath the grate, it can still attack you if too close, so keep your distance and keep running until you reach the end of the tunnel. Beyond that, you'll find yourself back in the same tunnel you used to enter Rosewater Park.
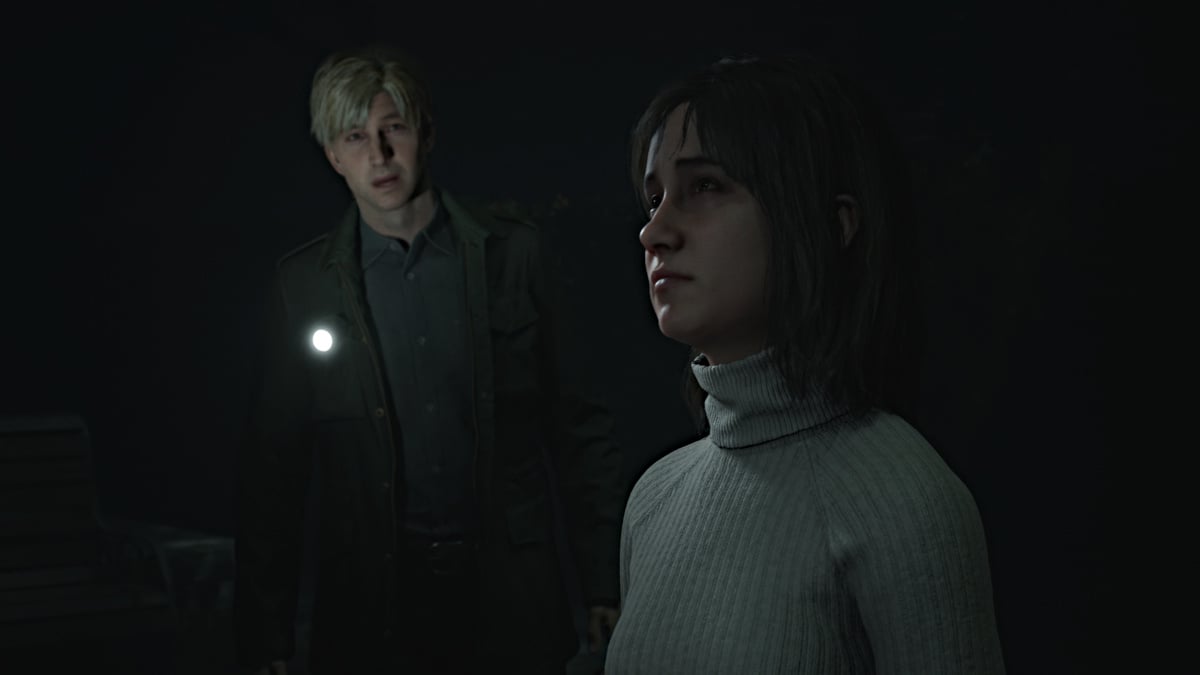
Head inside and make your way toward the west side of the entrance area. There are no items are monsters to worry about here, so just head straight for the iron gate on the west side . Follow the path straight across until you see what looks like a statue lit up ahead. Approach it and you'll notice that Angela is surprisingly there too.
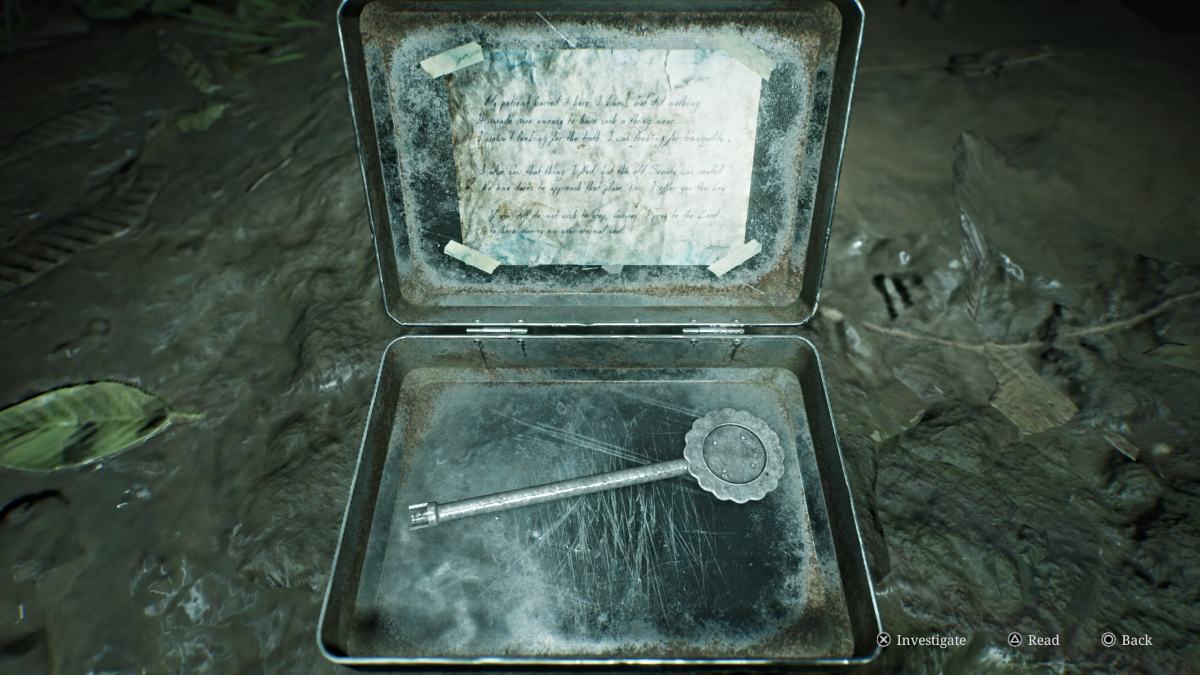
After the cutscene, interact with the praying woman statue and James will dig up a metal tin that contains the Historical Society Key . The Historical Society is located further west on Nathan Avenue , so leave the park and make your way there.
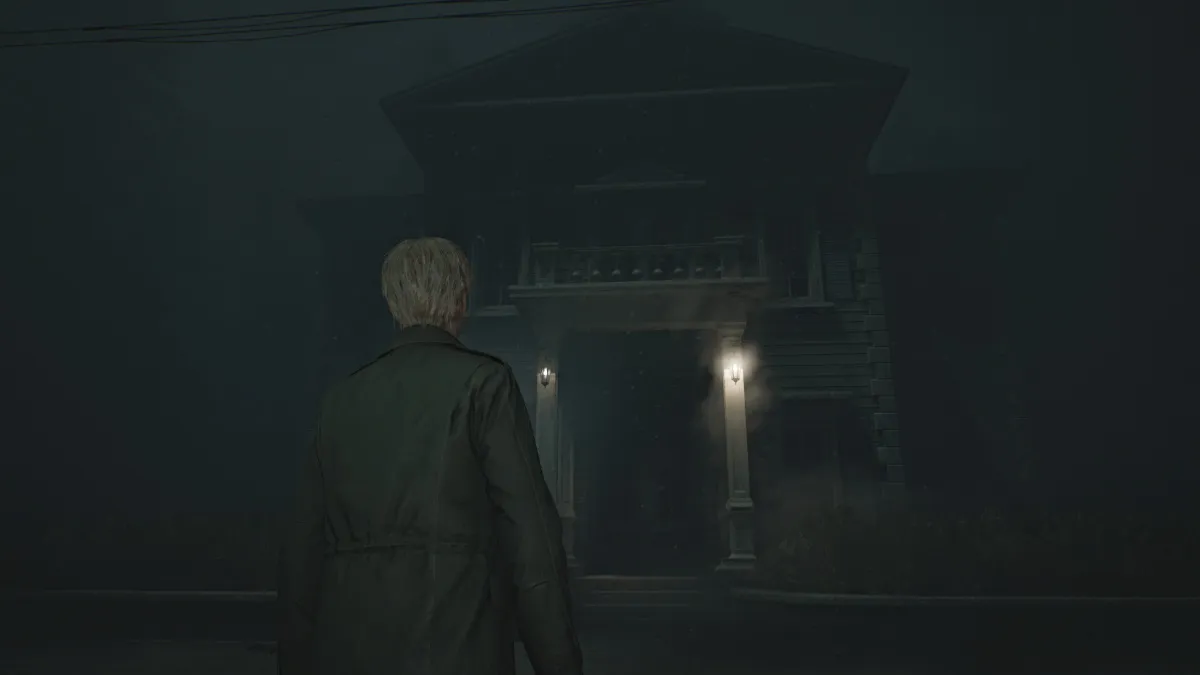
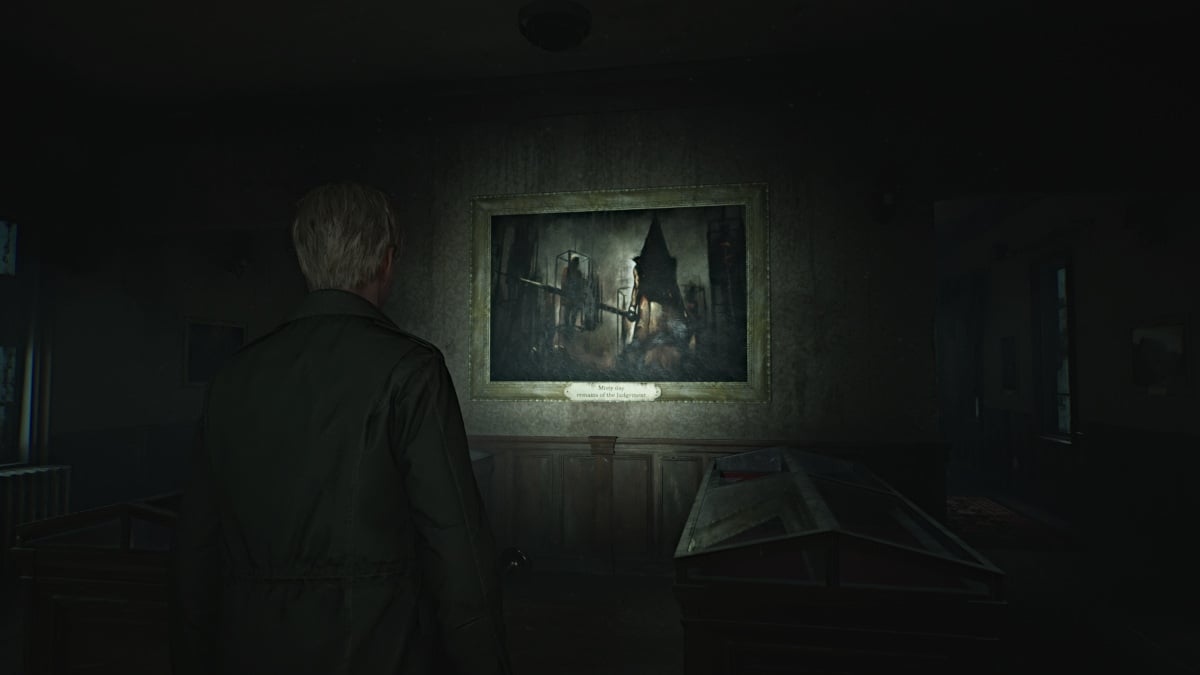
The journey along Nathan Avenue to the Silent Hill Historical Society is a somber and quiet one, as there are no monsters anywhere on the road. Soon enough you'll see the building lit up in the fog to your right. Use the Historical Society Key and head inside. Use the Red Save Point near the entrance.
As you explore, it's definitely hard to miss the portrait straight ahead that depicts Pyramid Head himself. Make your way toward the back of the museum and there will be a strange dark tunnel in the wall for you to enter. You won't be returning to the surface of Silent Hill for a while beyond this point .
The staircase you take down through the tunnel is very, very long, and the distant sound of foghorns accompanies your descent. That is a reference to the Little Baroness steamboat that sank in Toluca Lake decades earlier, of which there's a picture in the Historical Society.
This staircase seemingly takes you deep beneath the lake, but when you finally cross through a door at the bottom, you'll find yourself in Toluca Prison .
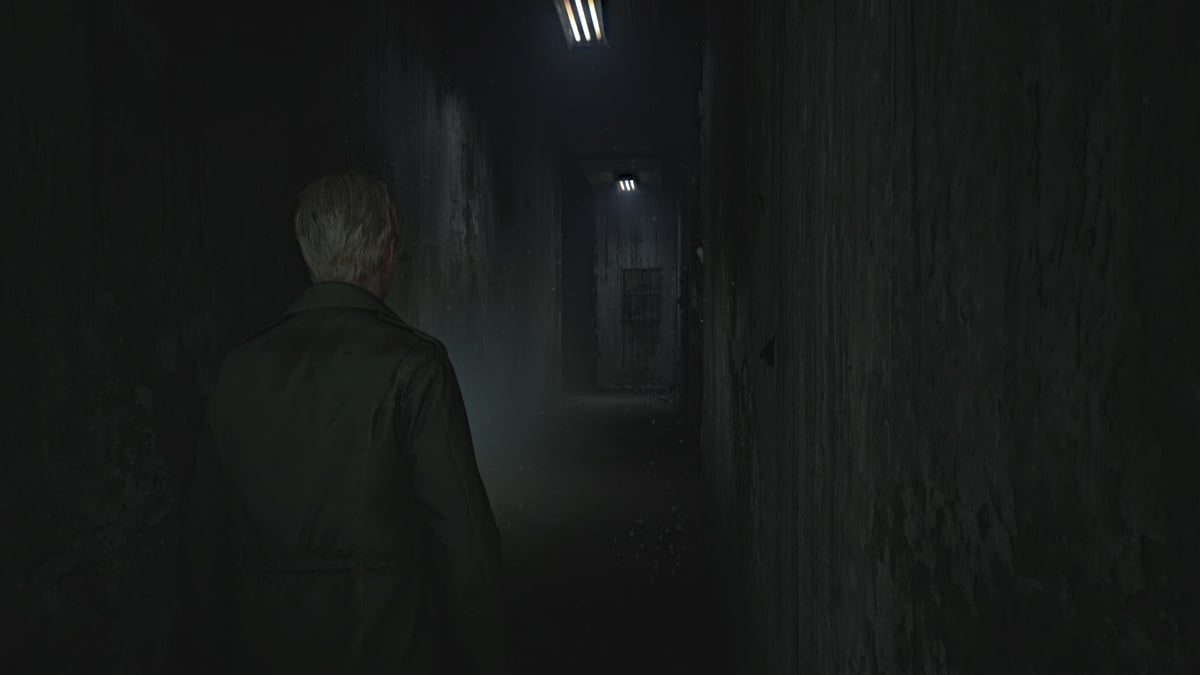
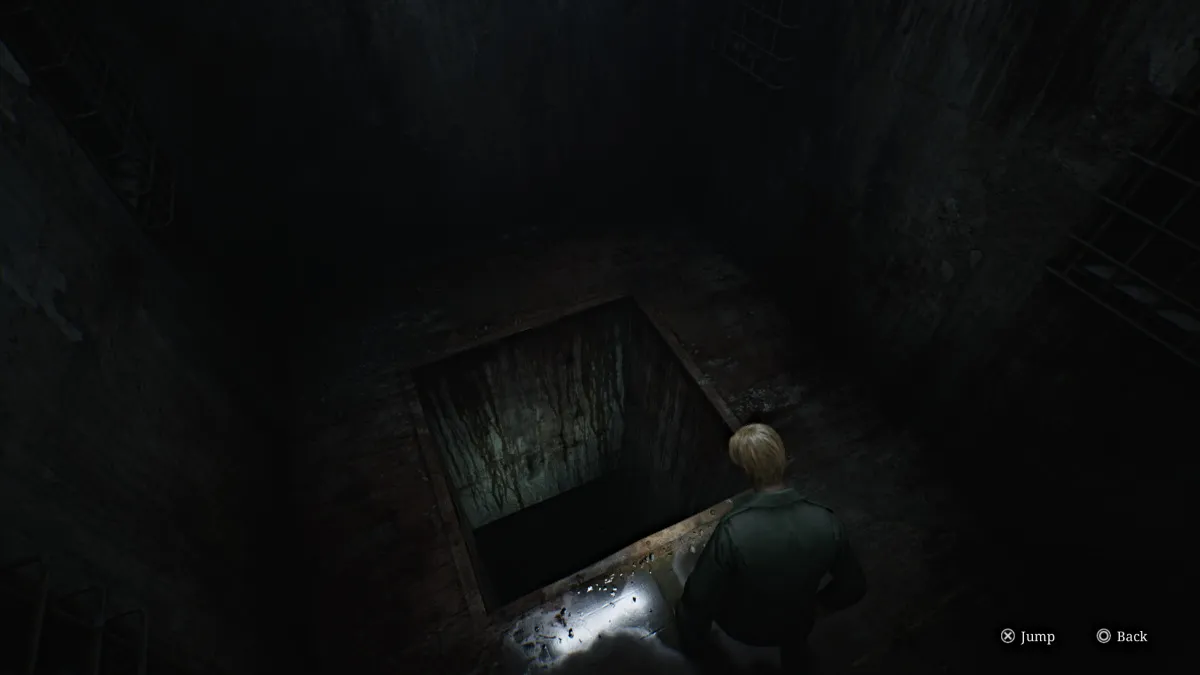
Grab the Syringe from a first aid kit on the table in the small room you pass through, then continue on through the next door. You don't have a map of this area yet, so keep an eye on your surroundings. The door to your right is locked, so head left down the hall . The path will diverge, and left is a dead end so go right .
You'll soon see another door, so go through it. Inside, you'll find nowhere to go but a large dark hole in the floor, forcing you to go deeper. Interact with it twice and James will hesitantly take the plunge.
Upon reaching the bottom, you'll find yourself in what looks like a well with no visible way out. There is a way out, however, and you just need to find the right spot on the wall to break through . Keep trying different spots until one lets you out and has a door on the other side.
You're now in what seems to be a flooded area of the prison, shaped like a maze. Go right and then turn left when you can and head straight towards the door ahead of you. Deal with the Lying Figure that blocks your way and you'll then see that there are two doors. The one in front of you is locked, so take the right door .
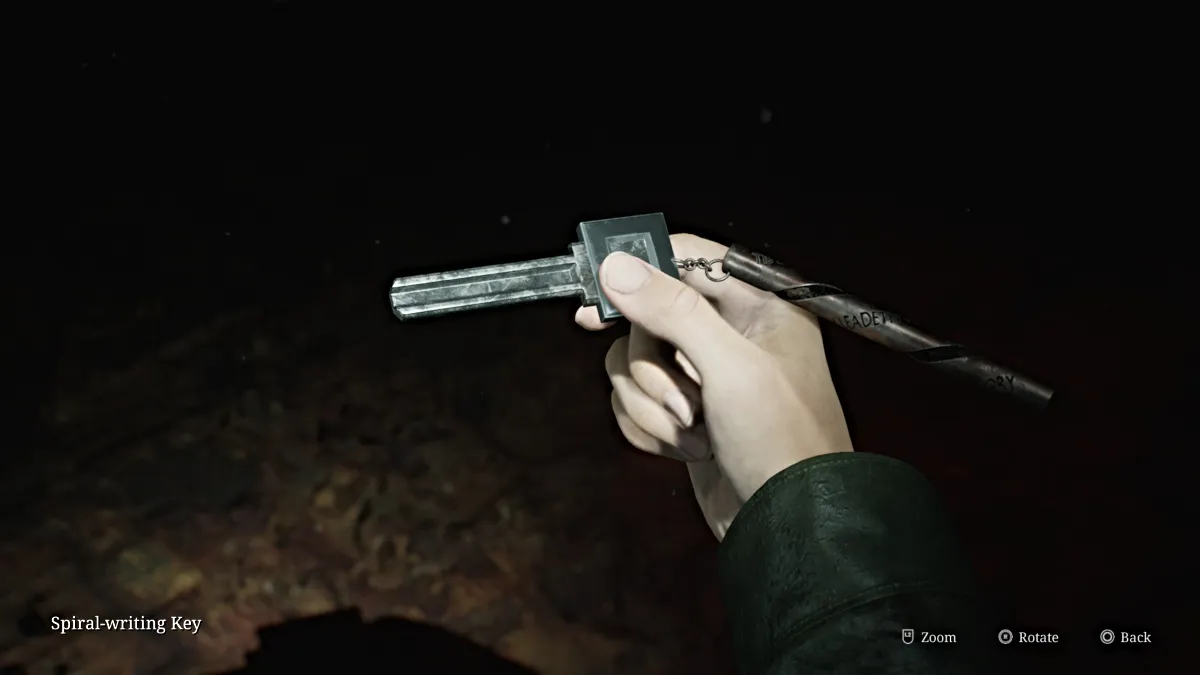
Down the hall ahead is what looks like another deep hole, but is blocked off by a locked prison gate. Backtrack a bit and go through the door on your right, where on the floor you'll find the Spiral Writing Key .
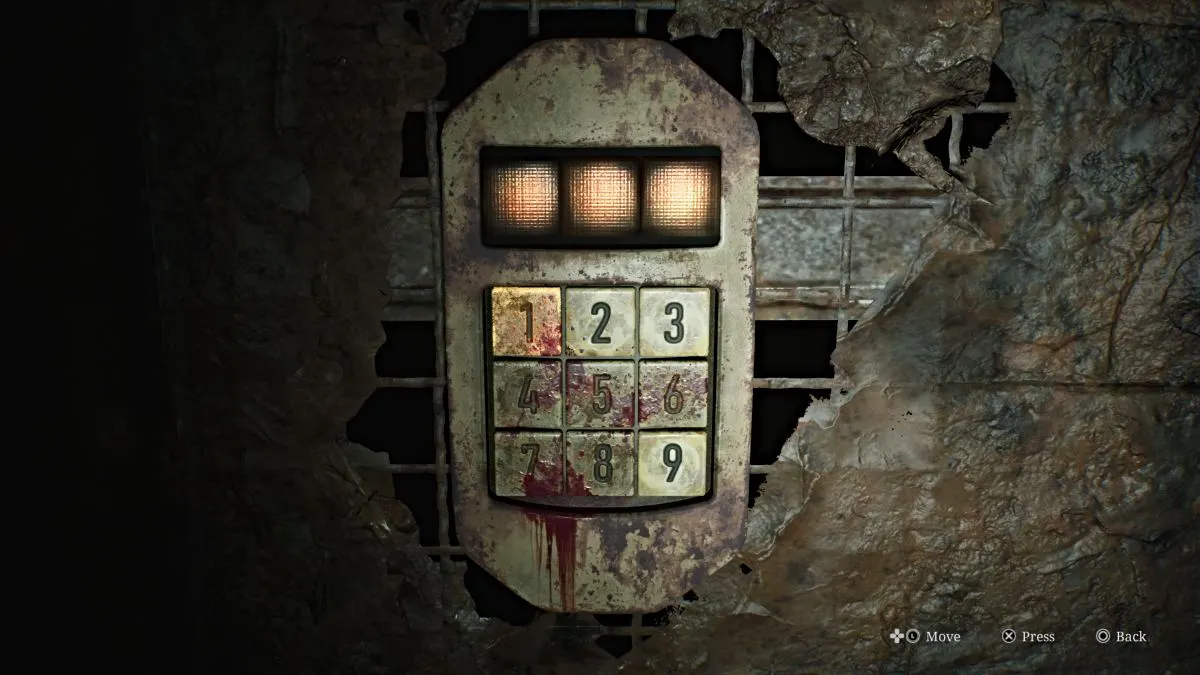
After picking it up, however, the lights will shut off and then turn back on to reveal the room suddenly covered in bugs who will bite James occasionally, causing damage.
To escape the room you need to use the keypad (seen above) and figure out the correct code, which is a random combination of the numbers 2, 3, and 9 (the only ones not covered in blood). The solution for every playthrough, regardless of difficulty, is entirely random , so it's an anxious test of trial and error. To help you out, here are all of the possible combinations for you to work through:
| 2-3-9 | 2-9-3 |
| 3-2-9 | 3-9-2 |
| 9-2-3 | 9-3-2 |
Once you break out, go back over to the locked prison gate and use the Spiral Writing Key on it, revealing the next hole for you to jump down. Interact twice to jump further into the abyss.
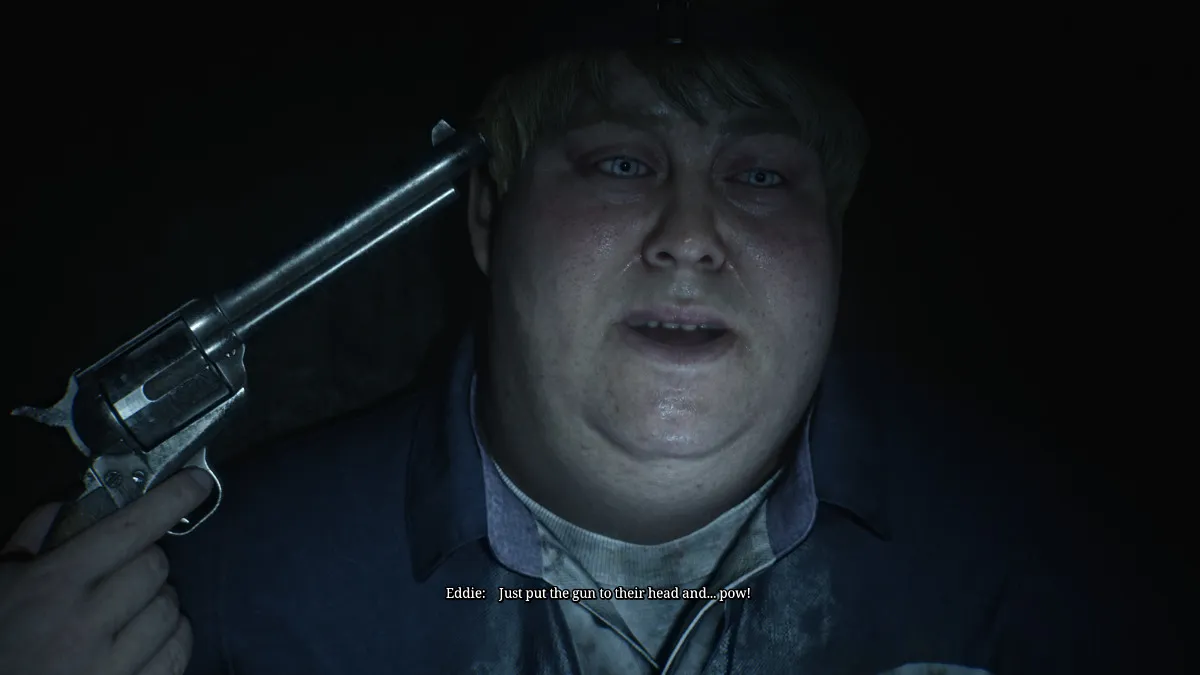
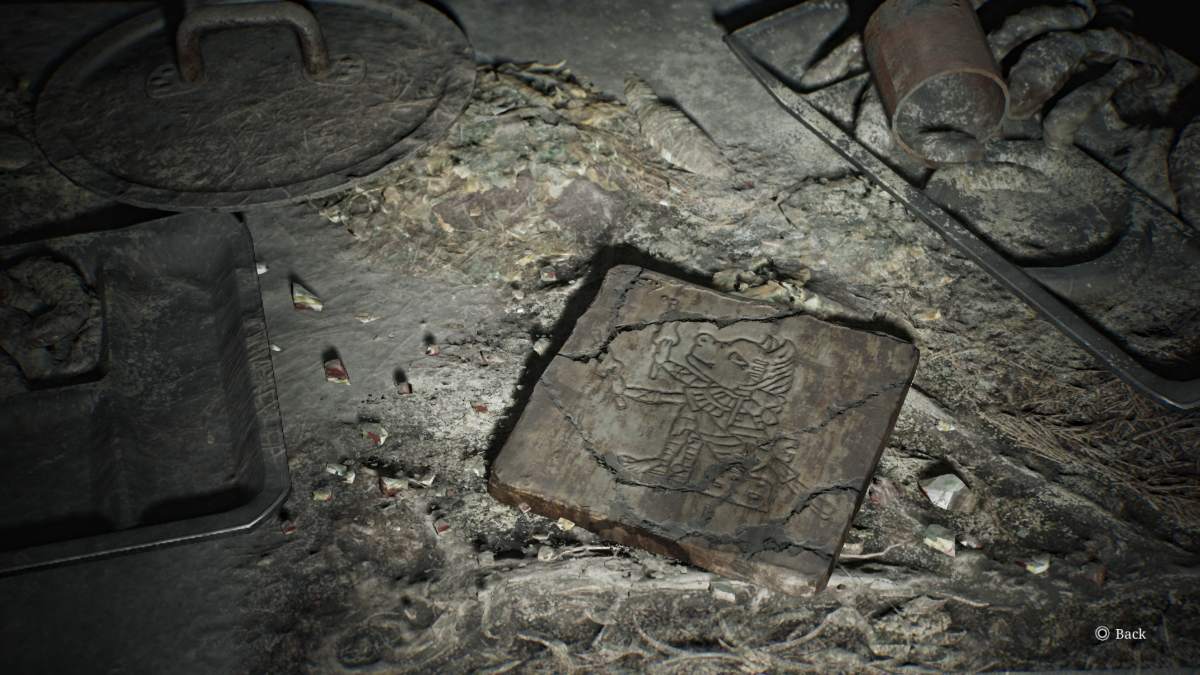
After your next fall, you'll land in the Canteen room of the prison. Grab a Health Drink from the food line at the back of the room, then explore the right side of the room to find a Glimpse of the Past on one of the tables. When you're ready, approach the body under the bright light hunched over a table, recently killed.
Eddie appears from the shadows, remarking that killing a person "ain't no big deal". James tries to understand Eddie's reasoning for what happened until it becomes clear that Eddie killed them for how they "looked at him". Eddie gets defensive when James reprimands him before opting to go off on his own.
Once he's gone, go through the same doors and ahead you'll find the prison's Armory . After using the Red Save Point , on the back wall, you can finally grab a map of the entire prison .
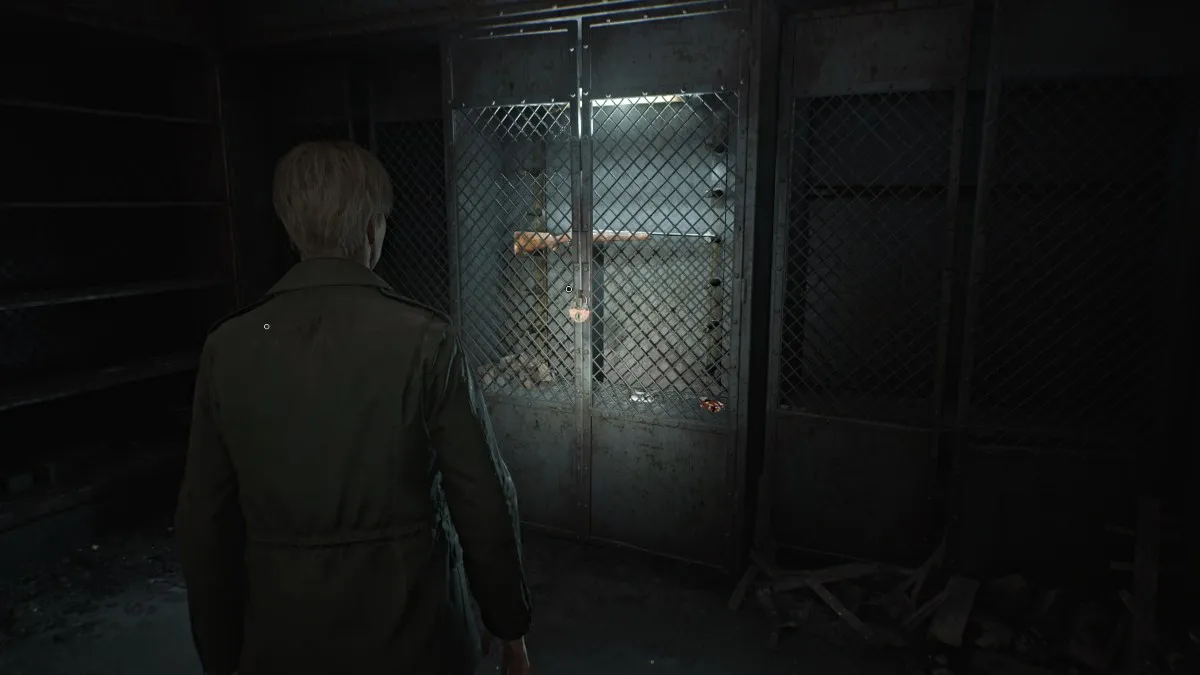
There's also Handgun Ammo , a Syringe , Rifle Ammo , and a Hunting Rifle weapon , though it's currently locked in a cabinet. You'll need to find the key for it, and thankfully there's a hint in the nearby Gun Cabinet Notice .
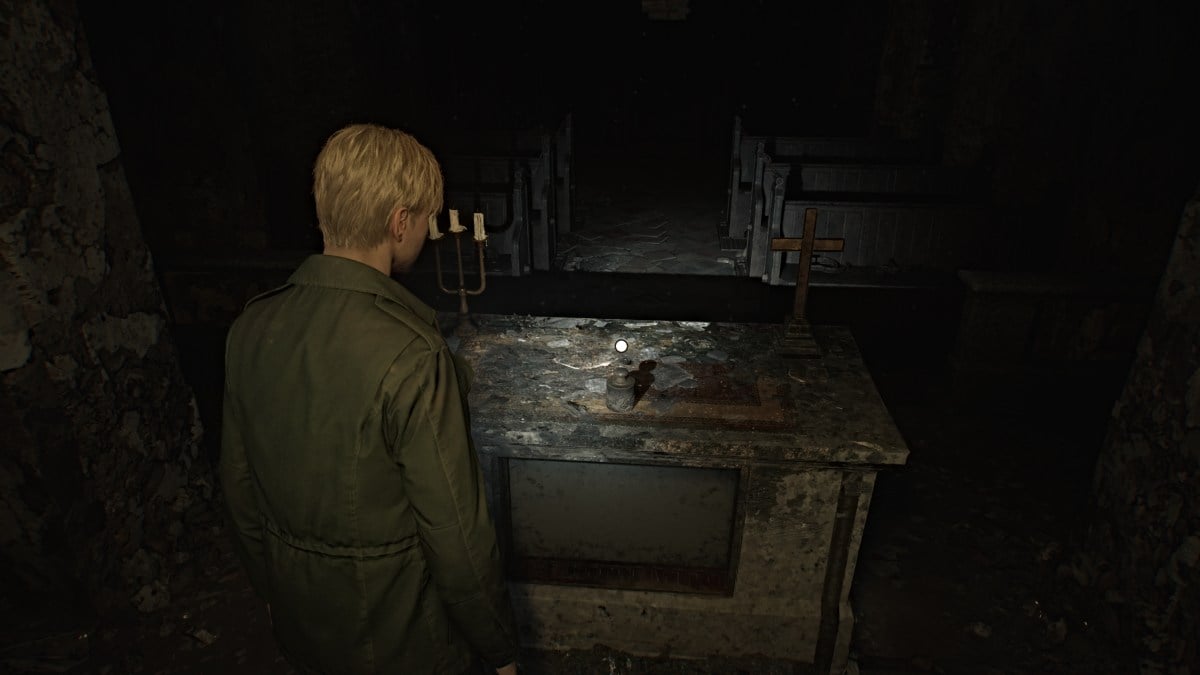
For now, start exploring the surrounding areas such as the Church to the left of the Armory. Inside you'll find an object called The Heaviest Weight up at the pulpit. Over in the Vestry you can find a Syringe .
Head next through the double doors to Block A and Block B . To your right as you enter, you'll notice a door with a Hornless Ox portrait on it. Meanwhile, over in Block B is a door with an Eyeless Boar portrait , the far end of Block A is a door with a Headless Serpent , and the door to the Basement has a Wingless Dove .
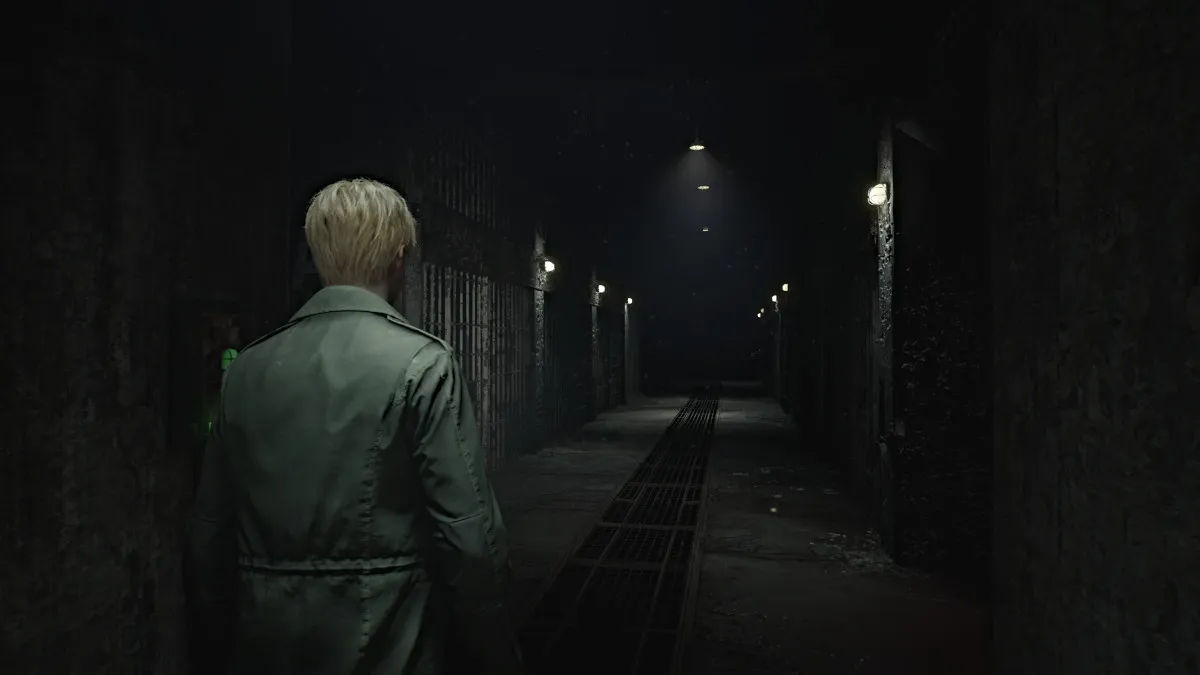
The levers on the walls can give you some temporary light in the block, as even with the flashlight it's uncomfortably dark. However, it will also send Mannequins scurrying up walls to the ceiling. Yep, you now have "Spider Mannequins" to deal with.
In Cell A3 you'll find Rifle Ammo and a Glimpse of the Past in the form of a shrine. In Cell A5 will be Handgun Ammo . Over in Cell A7 there's a crawlspace that takes you to Cell B1 , which has a Health Drink and a hiding Mannequin. Cell B3 has a breakable wall that lets you cross to Cell A9 and A8 , which has Shotgun Shells and another Mannequin.
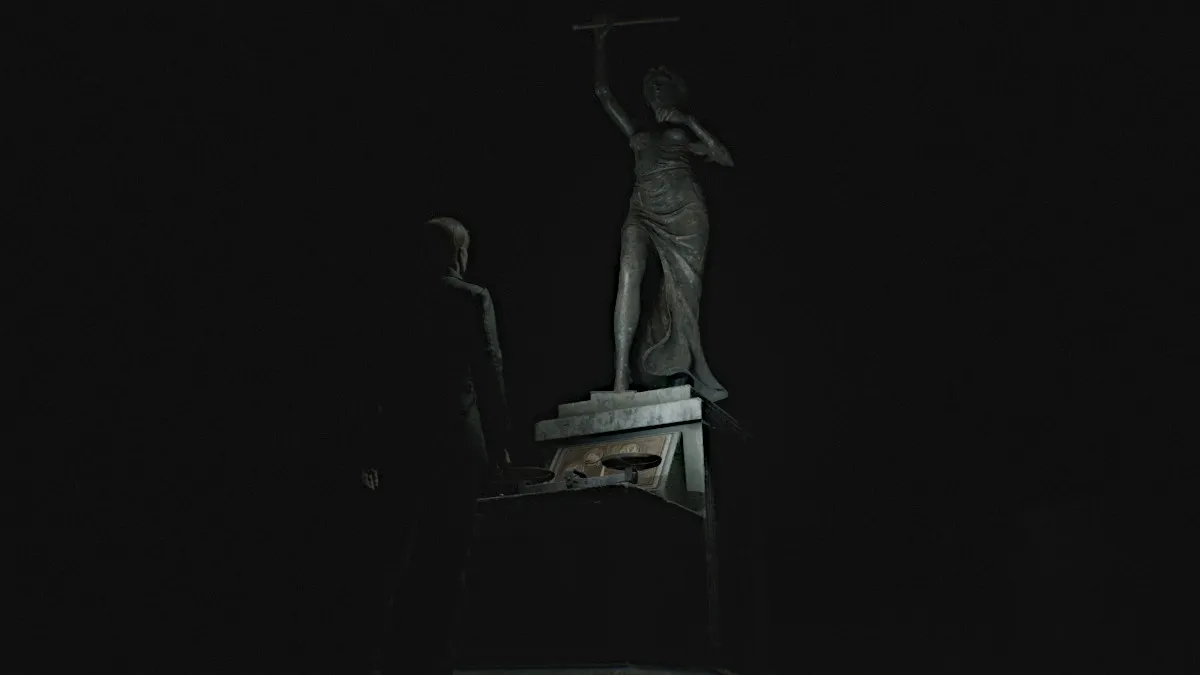
After exploring both blocks, head east down the hallway to the Yard , and use the Red Save Point to your left. This area is unbearably dark, but to keep your...bearings (aha), just run straight ahead. You'll hear a strange galloping noise circling around you, but rest assured there are no monsters in this area.
You'll soon see something ahead of you with a cover over it. Interact to pull it off, revealing a statue with a scale contraption at its base. This is where you put The Heaviest Weight to use, as you need to use it with the smaller weight already available.
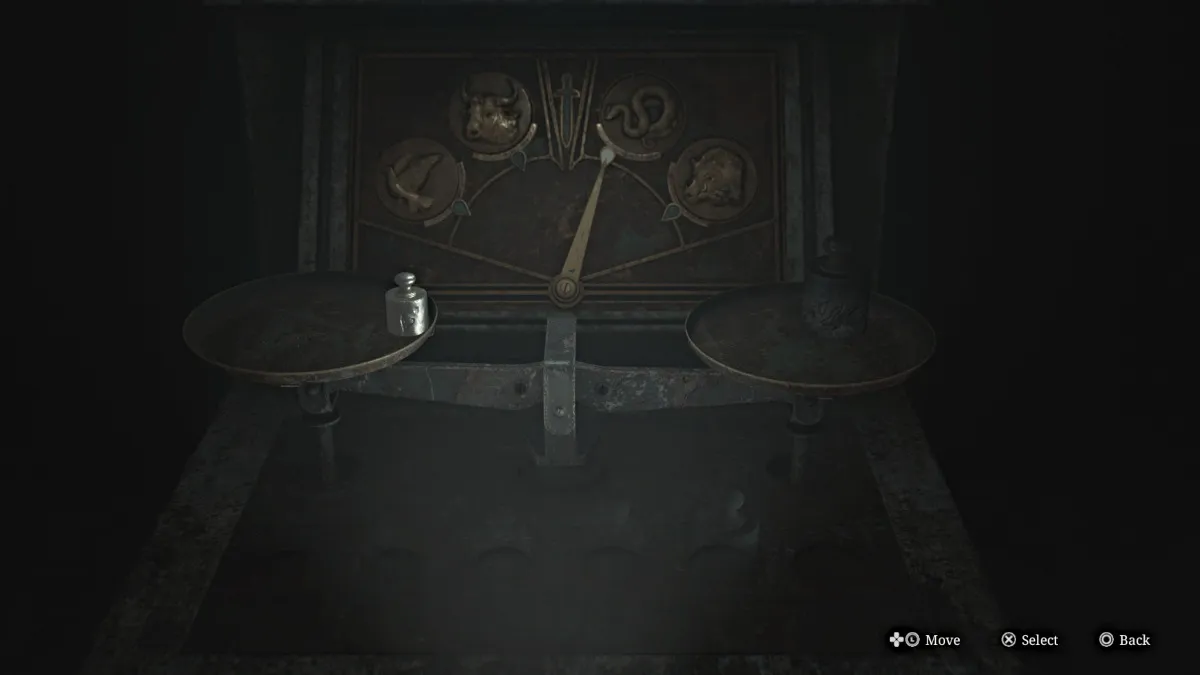
Place the smaller weight on the left scale, and the Heaviest Weight on the right scale , which will tip the arrow above it to the Serpent symbol. This means the Serpent Door within the prison has been unlocked. Head back inside.
The Serpent Door is over at the far end of Block A, to your left after returning from the Yard. Head through it and you'll pass by a lit room with an electric chair in it.
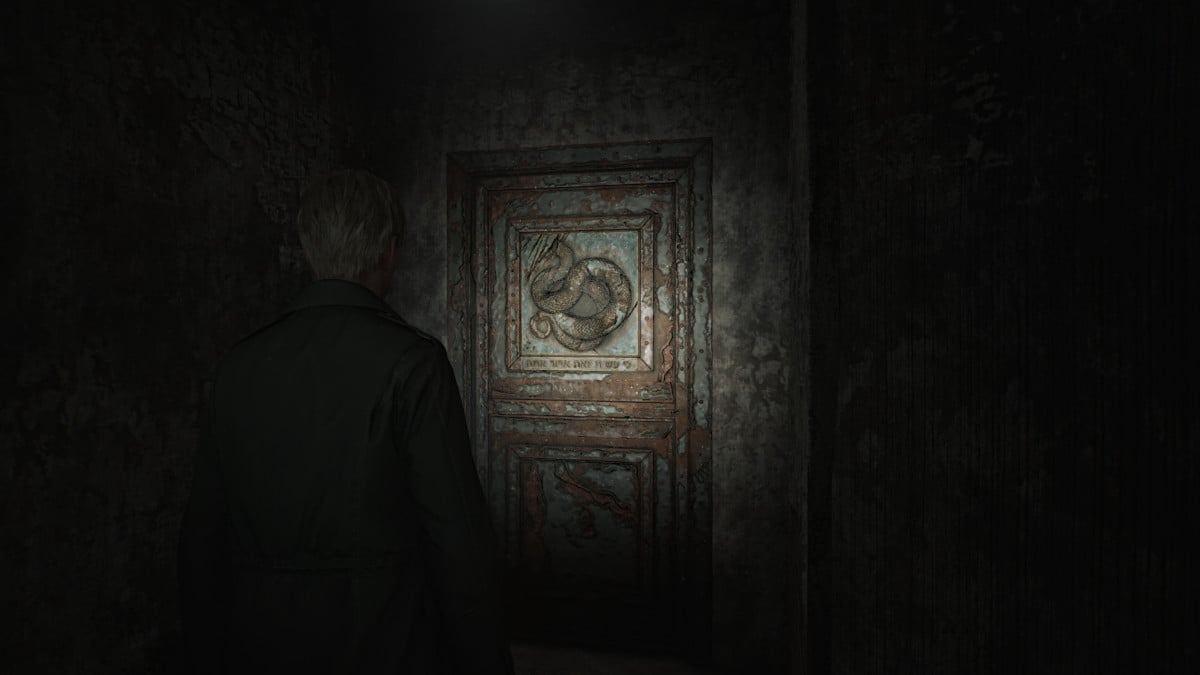
Enter the Guardroom , where you can find a Syringe , Shotgun Shells , and another wall lever you can use to light your way while keeping the spider crawling Mannequins at bay.
Make your way down the block, and in Cell E4 you can grab the Family Photo (memo). Further on, the room next to the Death Chamber has some Handgun Ammo . Now make your way across to the other side of the block, which has much higher ceilings crawling with spider Mannequins. Do your best to keep the lights on as you explore and deal with them when they jump back down to attack.
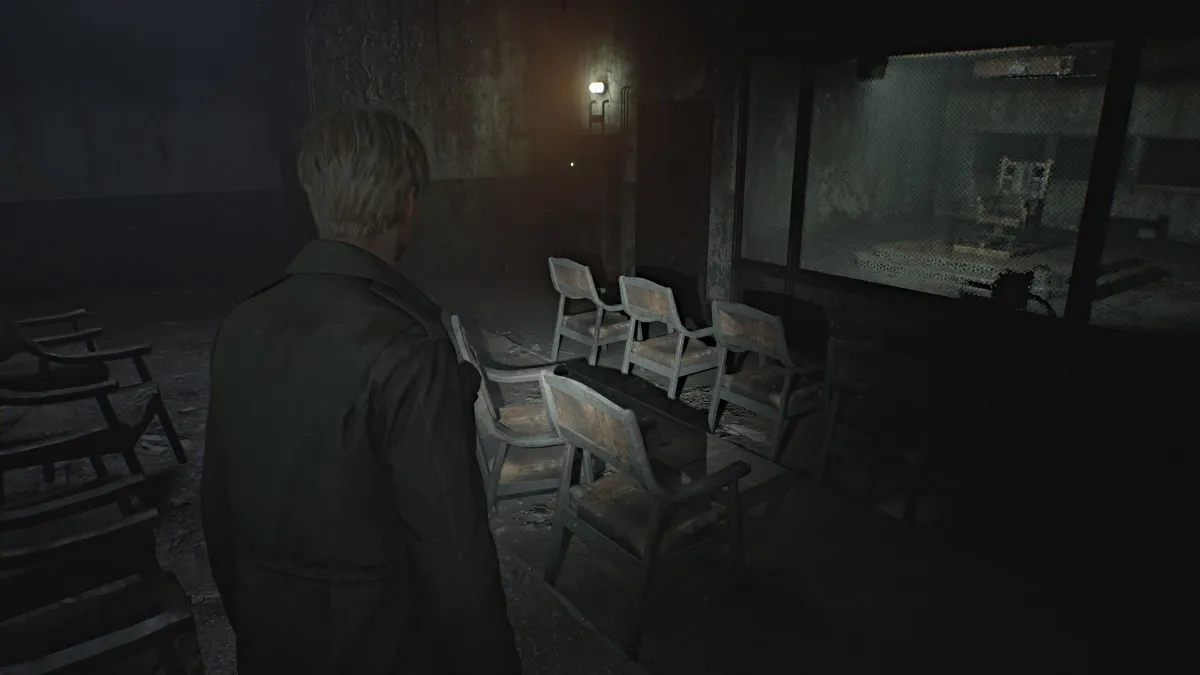
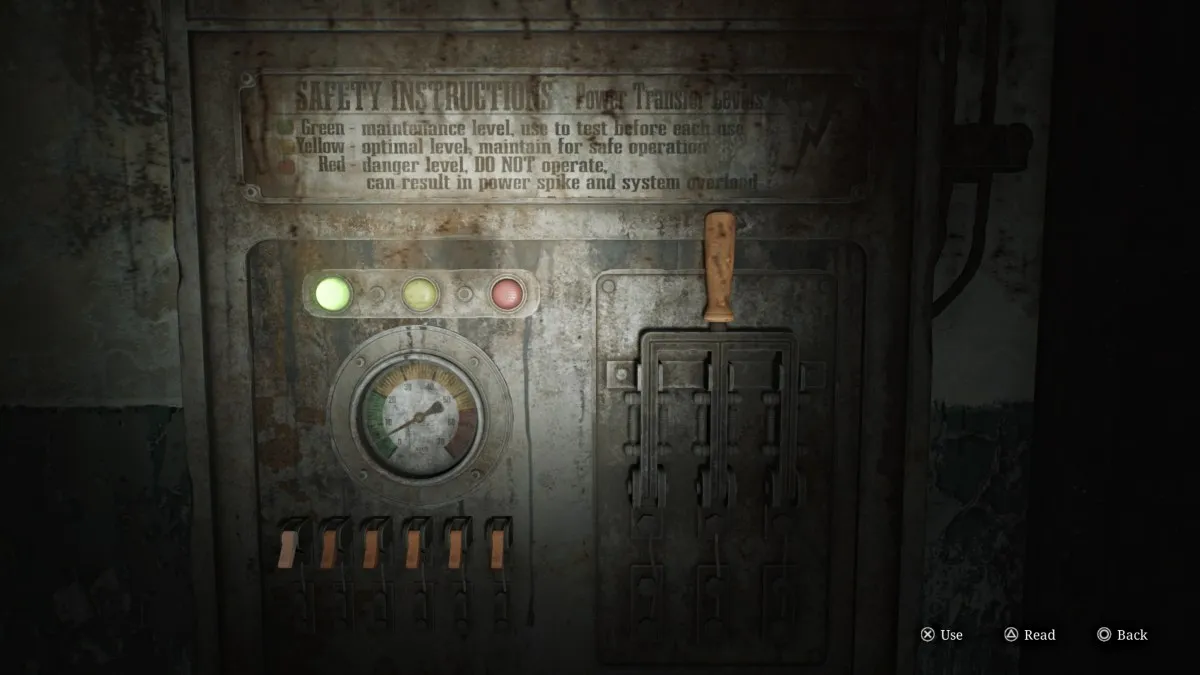
Investigate the rooms on the northeast side, including the Witness Room where you'll find, Handgun Ammo , a Red Save Point , and the machine used to operate the electric chair. Interact with it and you'll see a power gauge along with a sequence of switches and the lever to pull when ready.
The instructions note that you don't want to throw the lever when the power is in the red, but that's actually exactly what you want to do. You'll need to press the switches in the correct order to where they're all turned on at once , sending the power to maximum. Once you have, pull the lever which will overload the power system and automatically unlock all cell doors in the area.
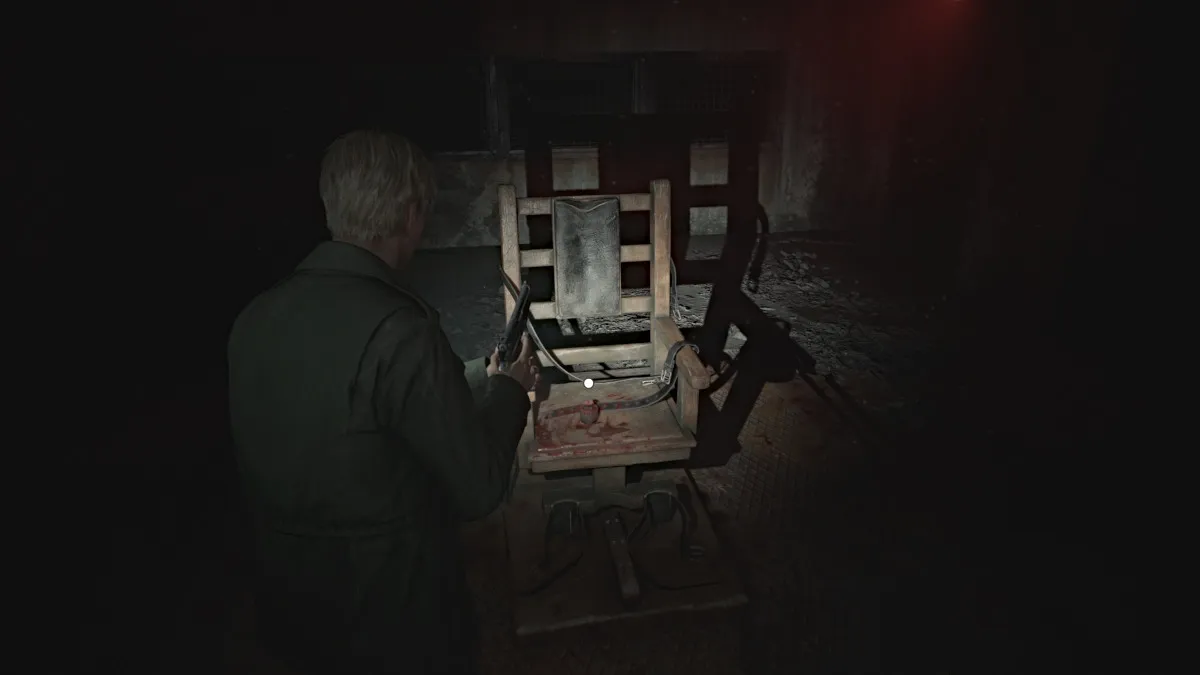
This means you can now enter the Death Chamber and claim the Medium Weight sitting on the electric chair. Now you need to focus on making it through the rest of the block alive, as the alarms have riled up all monsters in the area, and you can no longer use the lights. The path you came in is blocked so exit via the Death Chamber.
Explore the open cells to find more Handgun Ammo , Shotgun Shells , and a Health Drink . In Cell E1 near the start of the block is a breakable wall, so bash it down to get to the other side of the block. You can find several more Shotgun Shells in the cells on this side. When ready, go into Cell E10 and slide through the wall gap into the Witness Checkpoint area.
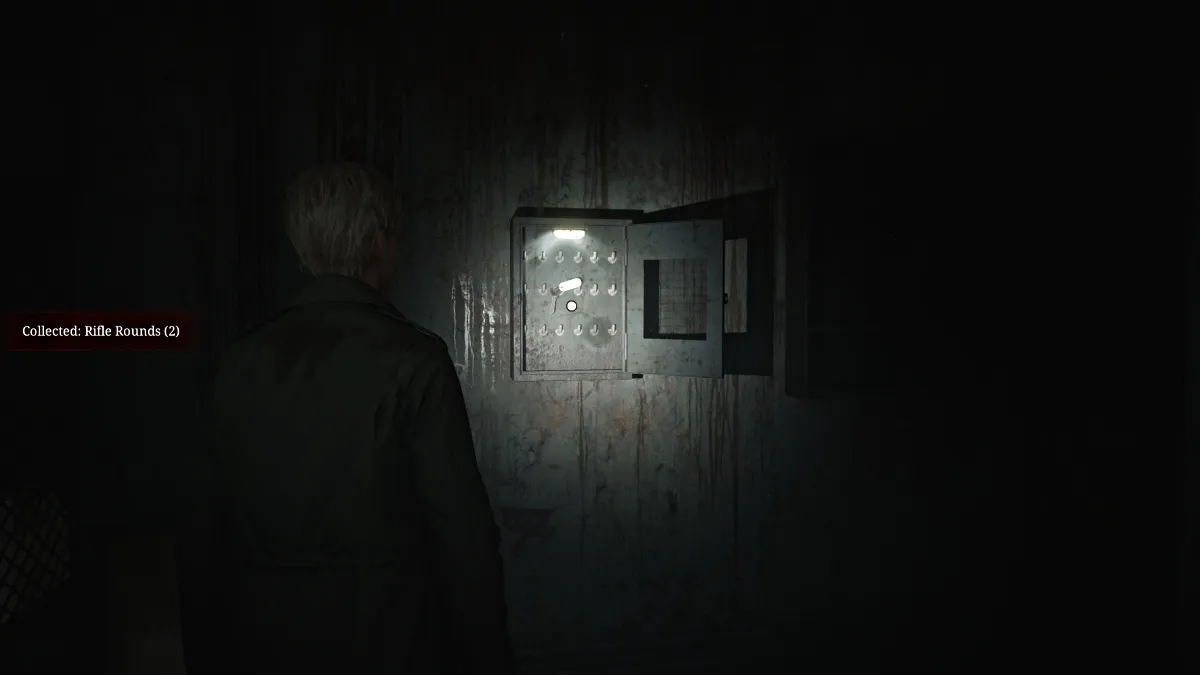
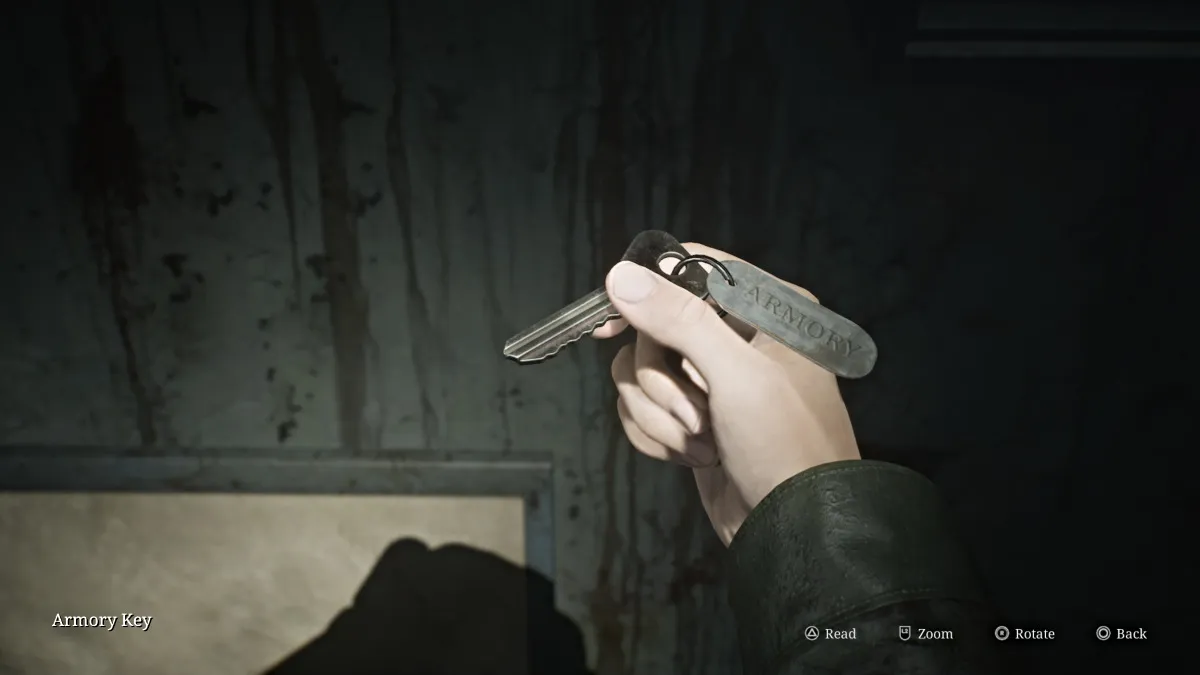
Pick up the Handgun Ammo and Health Drink you find here, as well as the Armory Key hanging in a cabinet on the wall. This will allow you to go and claim the Hunting Rifle . Head back to the Armory and do just that, then use the Red Save Point before heading back to the Scales of Justice statue in the Yard.
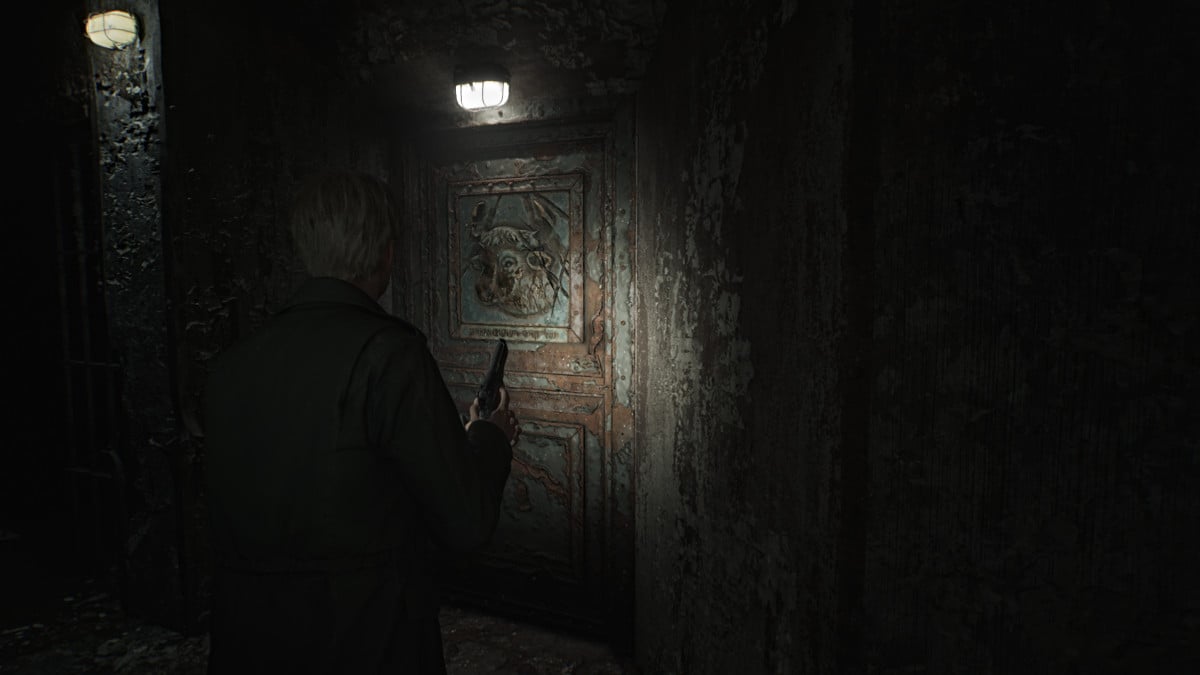
Once you return to the statue in the Yard , your next objective is to place the smallest and Heaviest Weight on the left scale, and your newly acquired Medium Weight on the right scale . Upon doing so, the Hornless Ox Door (seen above) near the entrance to the entire block will unlock.
Head back and through the new door then up the stairs to the second floor of the prison. This area is absolutely crawling with spider Mannequins, so keep your wits about you as you progress through. Go down the first row of cells on the right and use Cell C2 to cross into C3 . Cell C4 has a crawlspace but requires a key to be unlocked . Grab the Health Drink from Cell C5 then head to the Guardroom on the right side.
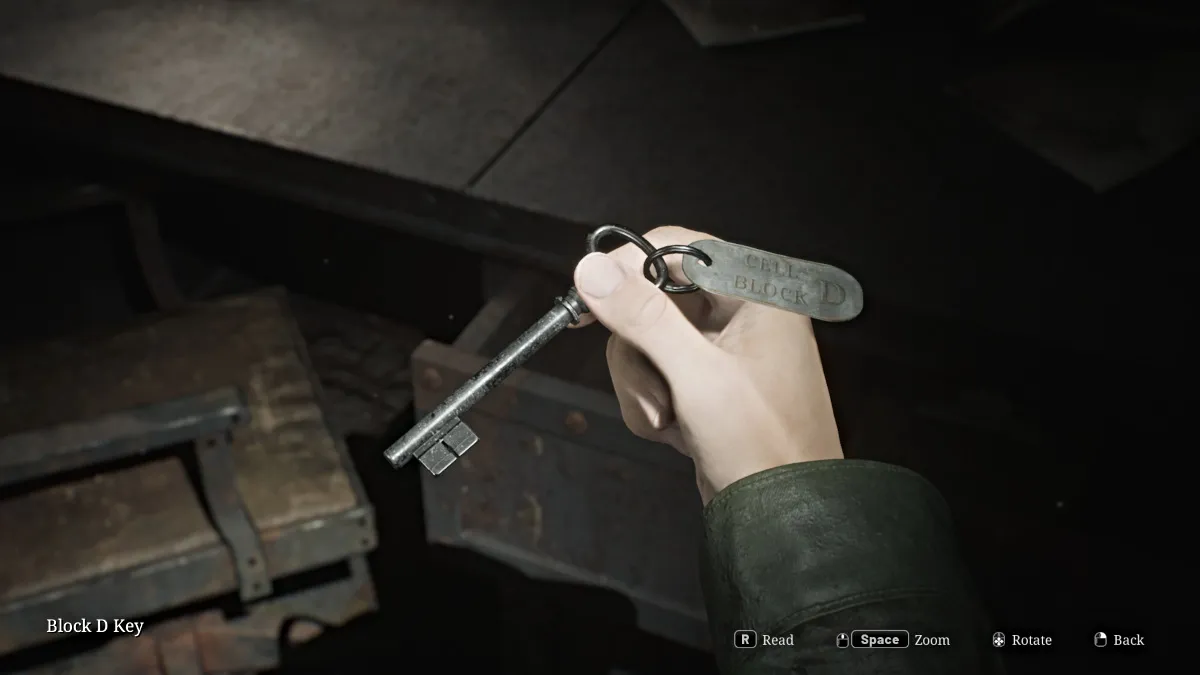
Inside you'll find the Block D Key in a desk drawer along with a Red Save Point , some Handgun Ammo , and a prison guard's notes about something important in Cell D5 . Start making your way to the other side of the block. Use the breakable wall to get into Cell C6 for a Health Drink and a Syringe . Continue down the walkway and use the Block D Key on the door ahead to get into D Block.
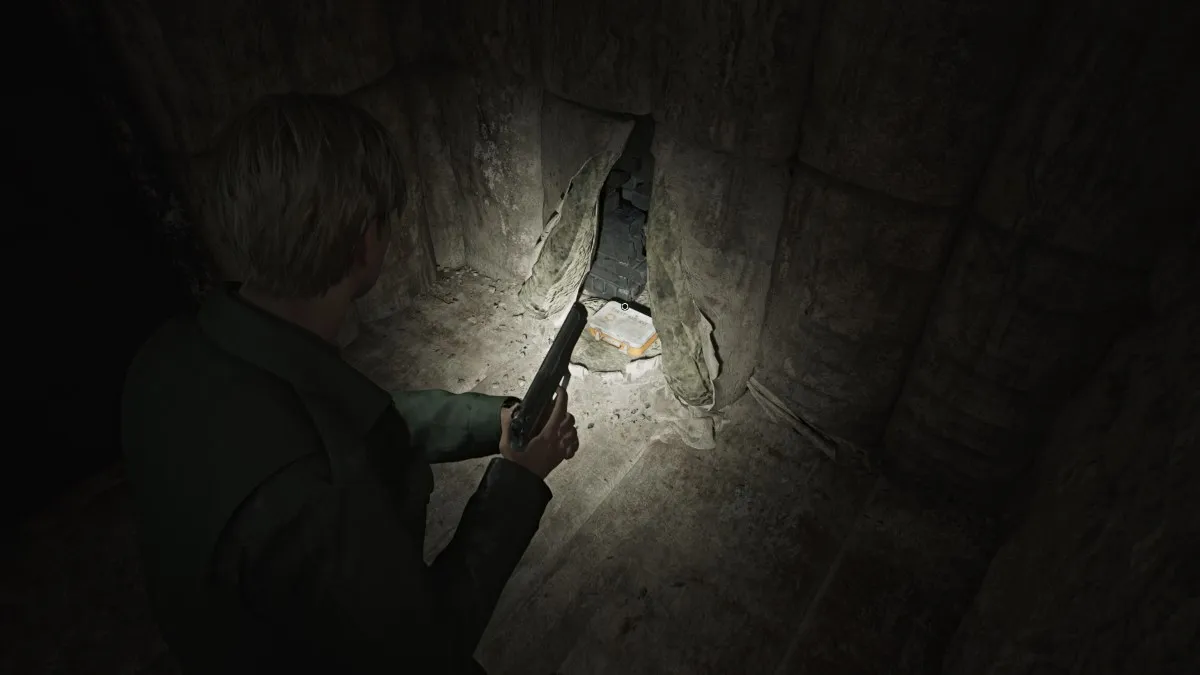
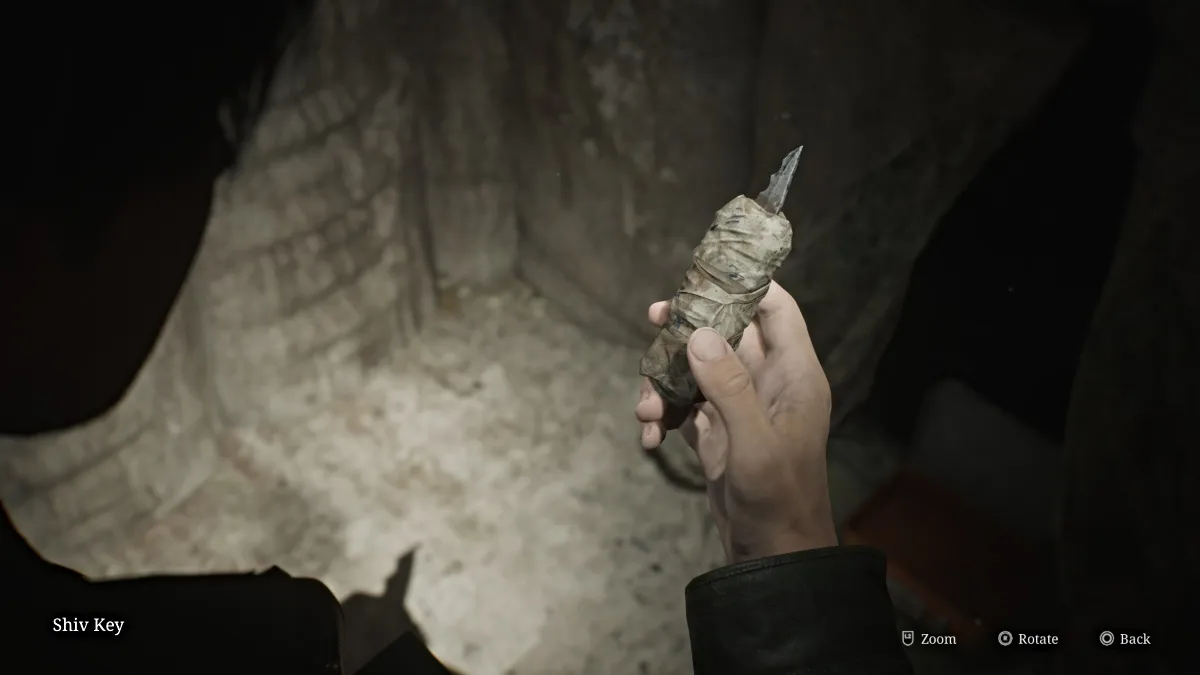
Keep the lights on as you make your way around to Cell D5 , which is a padded room. Inside a first aid kit box you'll find the Shiv Key , and the Threatening Note on the wall that says "we could both use a bath". With that, head back across to the C Block and use the Shiv Key on Cell C4 .
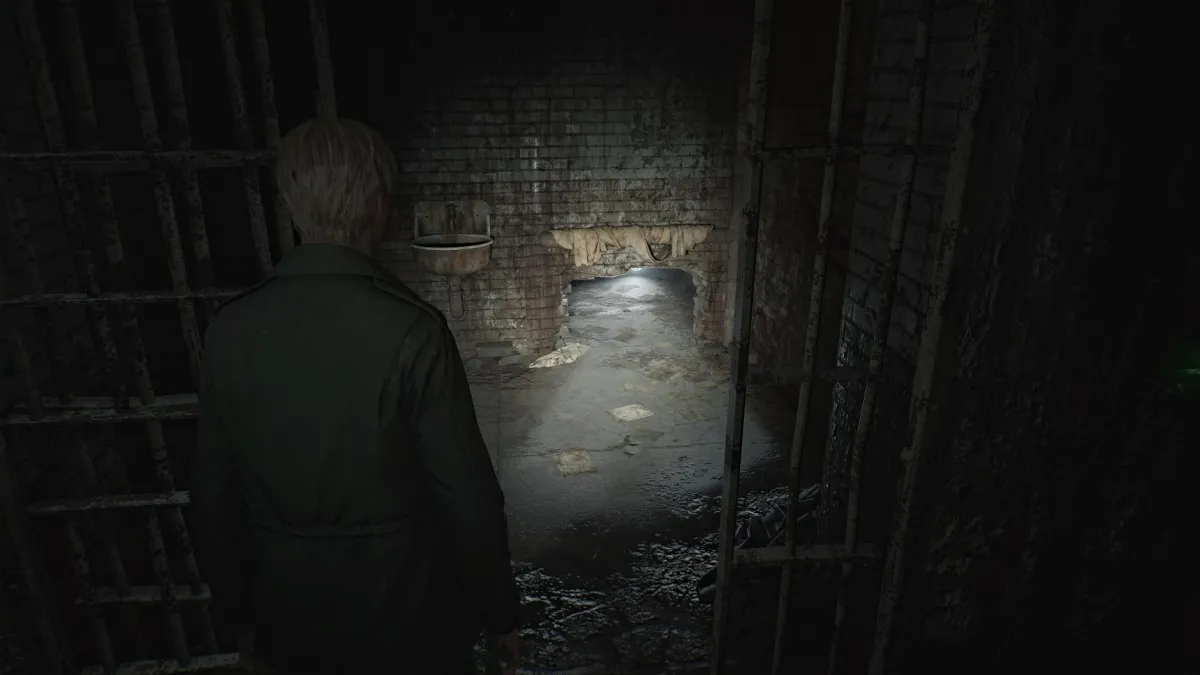
Slip through the crawlspace and grab the Paranoid Note off the pipe. Slip between the pipes on the left side, then down through another crawlspace.
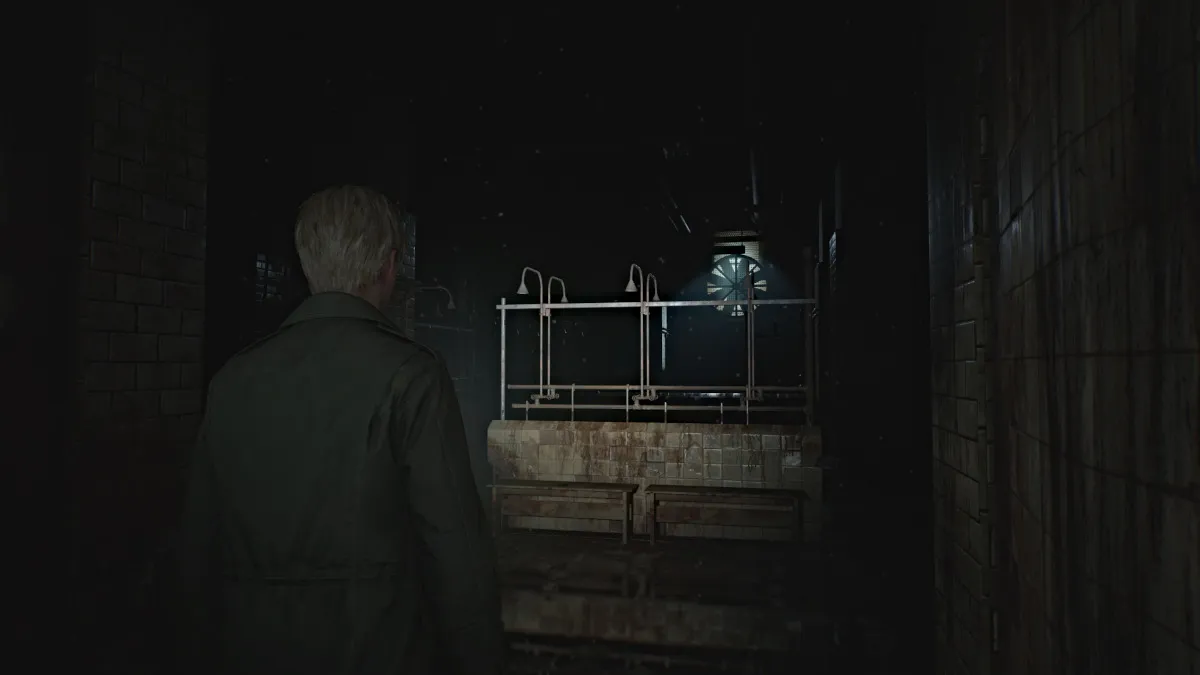
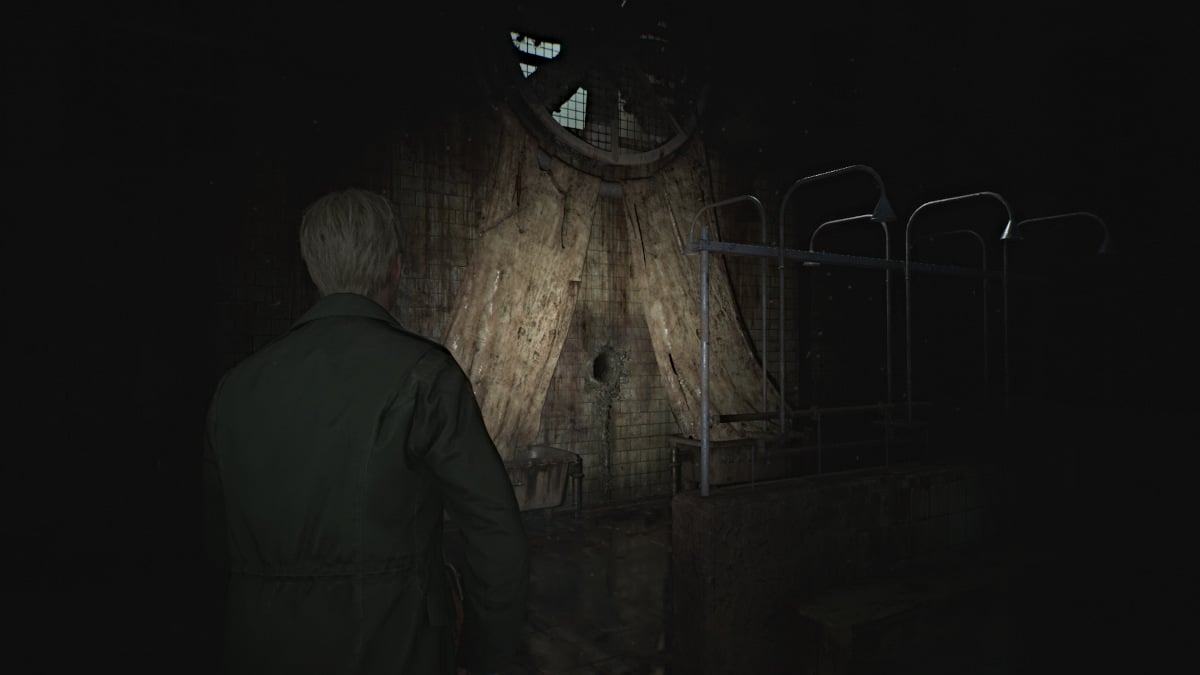
This brings you to the Toilets Room , where you can find some Handgun Ammo on a bench and a Health Drink in a stall. Head over to the Showers area next and deal with the Bubble Nurse patrolling the center of the area. Make note of all the corpses scattered everywhere too, because they won't be still for long.
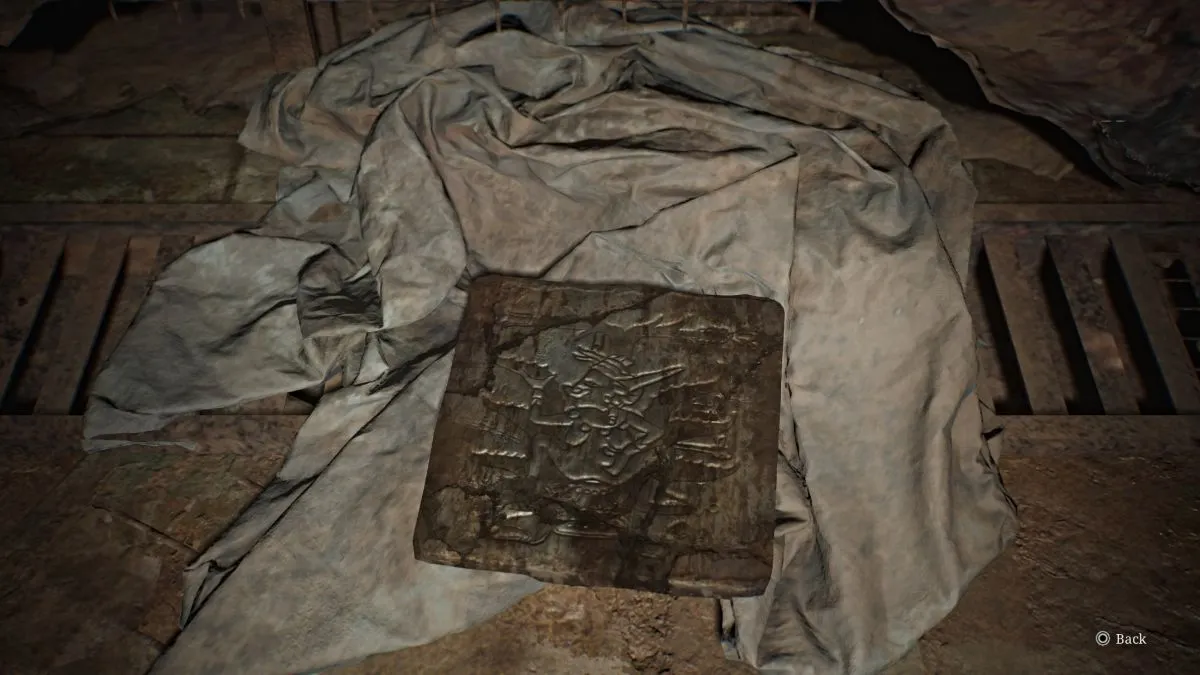
Venture up the right side of the room, where you'll find another tablet-shaped Glimpse of the Past on the floor.
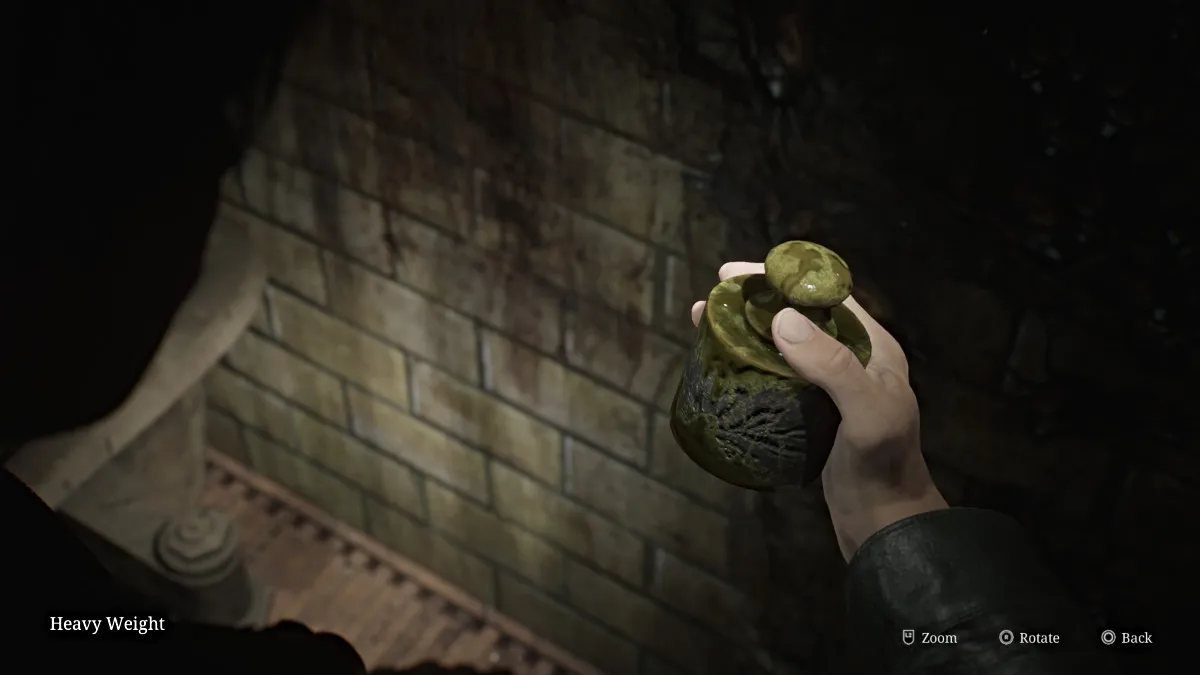
Head towards the back and underneath the rotating fan you'll find a strange "curtain" structure with a hole in the wall that obviously you'll need to have James stick his hand in. Interact with it and you'll obtain the Heavy Weight (seen above).
This will rile up several monsters in both rooms and rather than fight them all, bum rush back to the crawlspace in the Toilets Room and escape through. Make your way all the way back through the block and out the Ox Door.
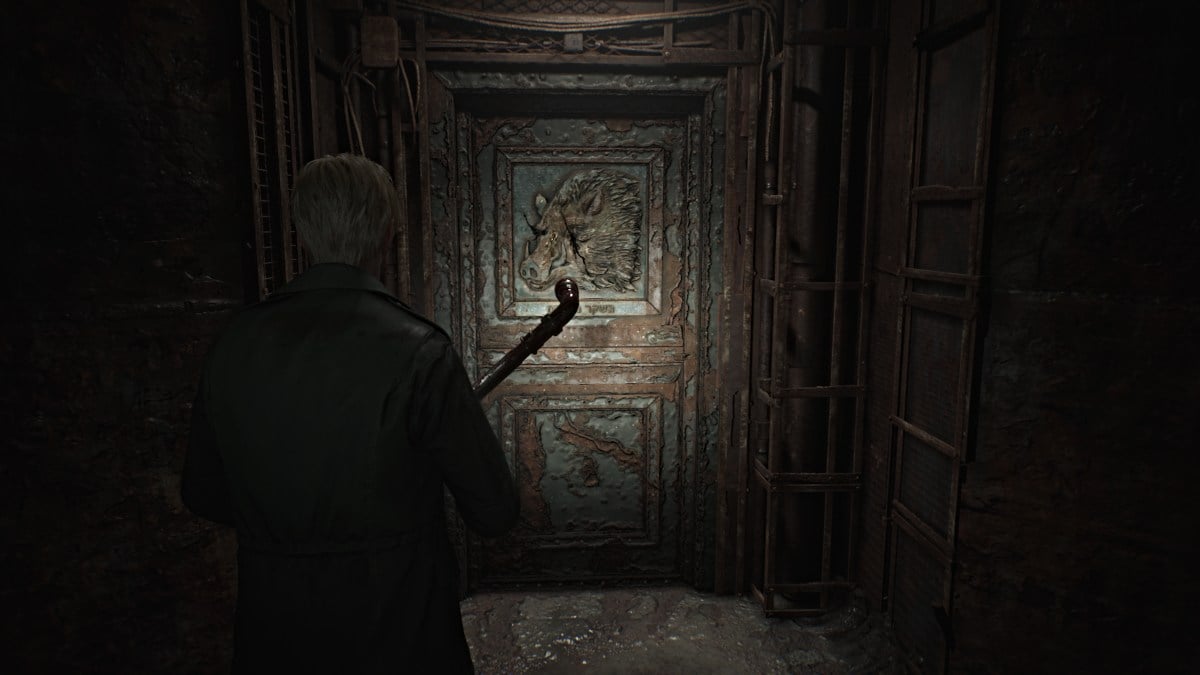
Once again, head back to the Yard to complete the next step of the Scales of Justice. This time, place all of the weights you have on the right scale, except for the smallest weight which you'll put on the left scale. This will unlock the Eyeless Boar Door next which leads to the Administrative Section of the prison. Head back inside and straight ahead to that door, which will be on your right.
Head inside and take the hallway around the Warehouse room, which you can access from the door on the left side. In there, you'll find a couple of monsters along with some ammo and the "Old Man's always prepared" Strange Photo .
Now make your way to the Visitation Room , and grab the Prisoner's Note from station 7 before backtracking to station 5 where you can jump through to the other side.
Grab the Shotgun Shells from station 7 before moving on towards the Break Room . On the way there, stop in the Women's Restroom for a Health Drink and a surprise in the last stall, then the Men's Restroom for a Red Save Point .
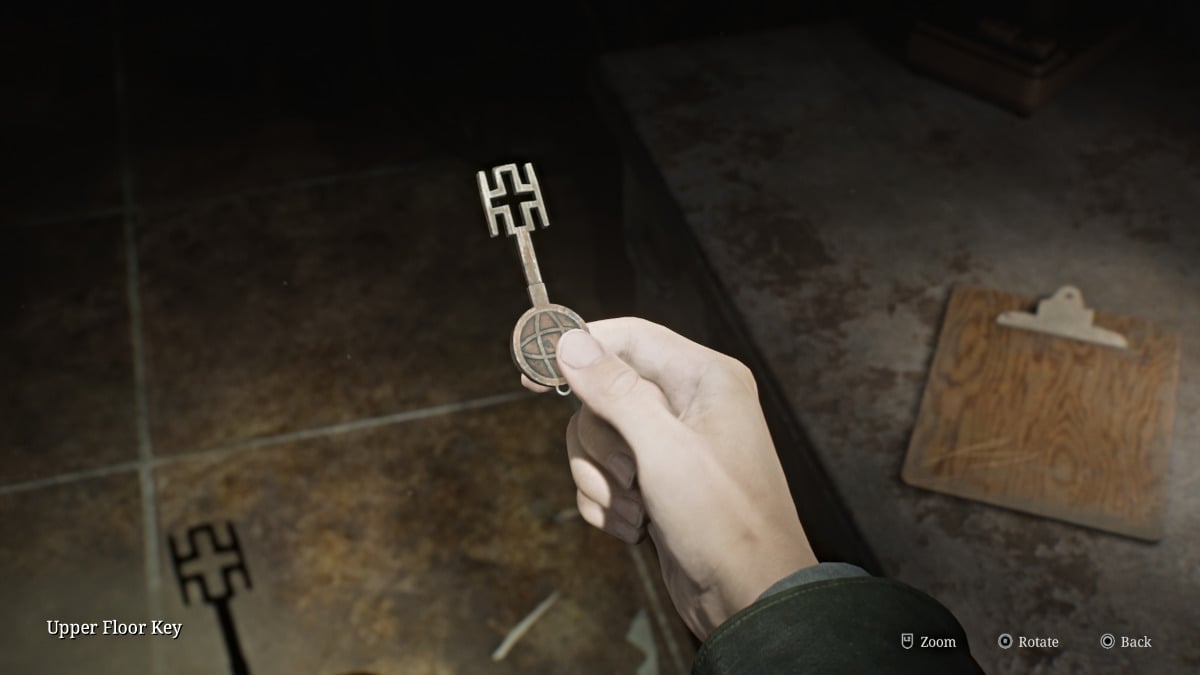
Cut through the Break Room , grab the Handgun Ammo that's in there, then head north to the Infirmary . As expected, there are a few Bubble Nurses to deal with in there, so fight your way through them to the very back room of the Infirmary. There you'll find Shotgun Shells , a Health Drink , and the Upper Floor Key .
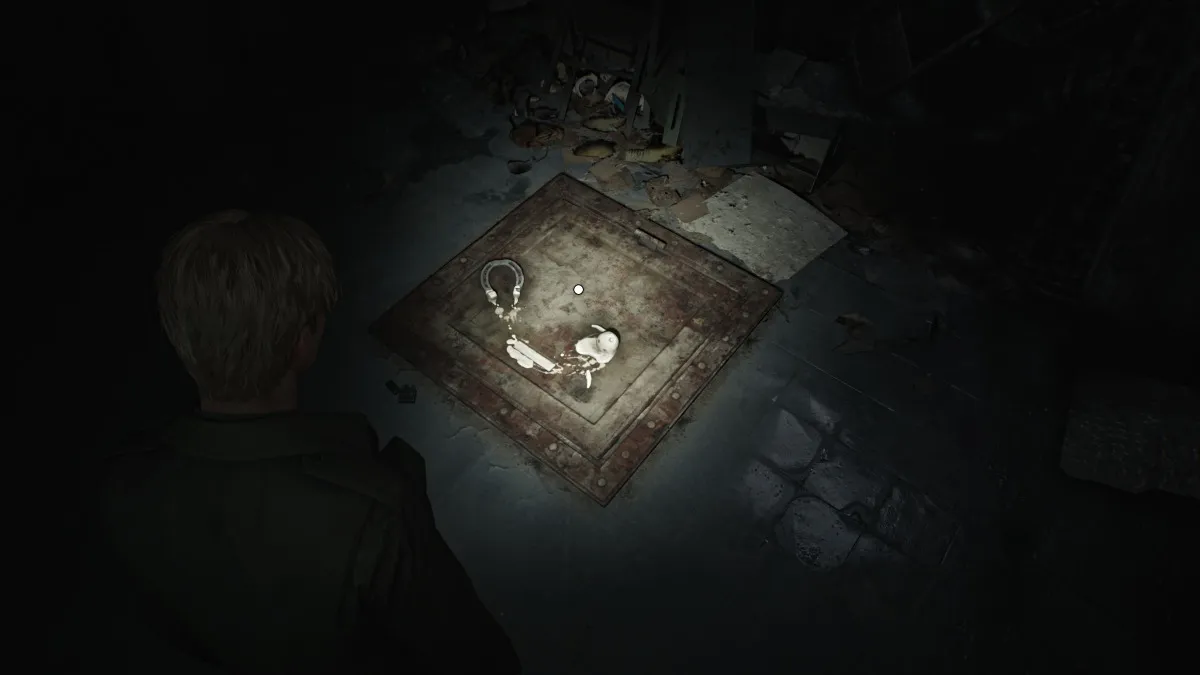
Backtrack on the other side of the Break Room to find another Glimpse of the Past on the floor in front of you, consisting of a horseshoe and a melted wax figurine.
Run back over to the Restrooms and use the Upper Floor Key on the locked gate near the Men's Restroom (by the wall that says "Reap What You Sow"). Take the stairs all the way up to the Warden's Office on the third floor, use the Red Save Point in the nearby storage room, and grab the Handgun Ammo there as well.
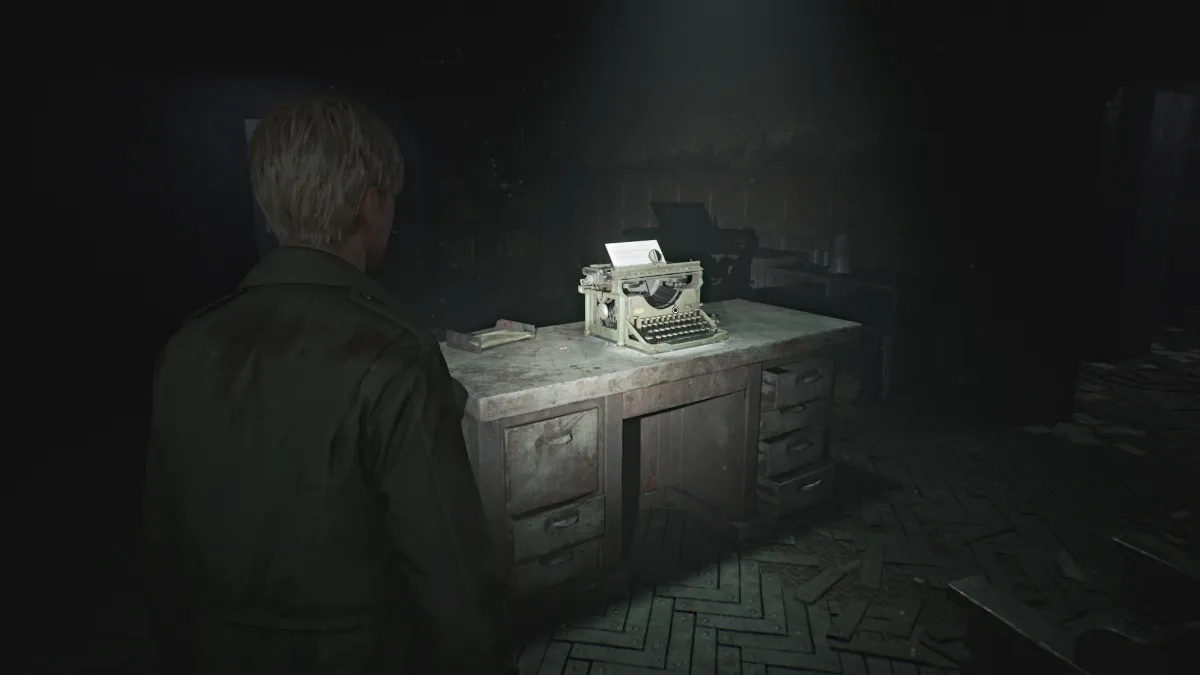
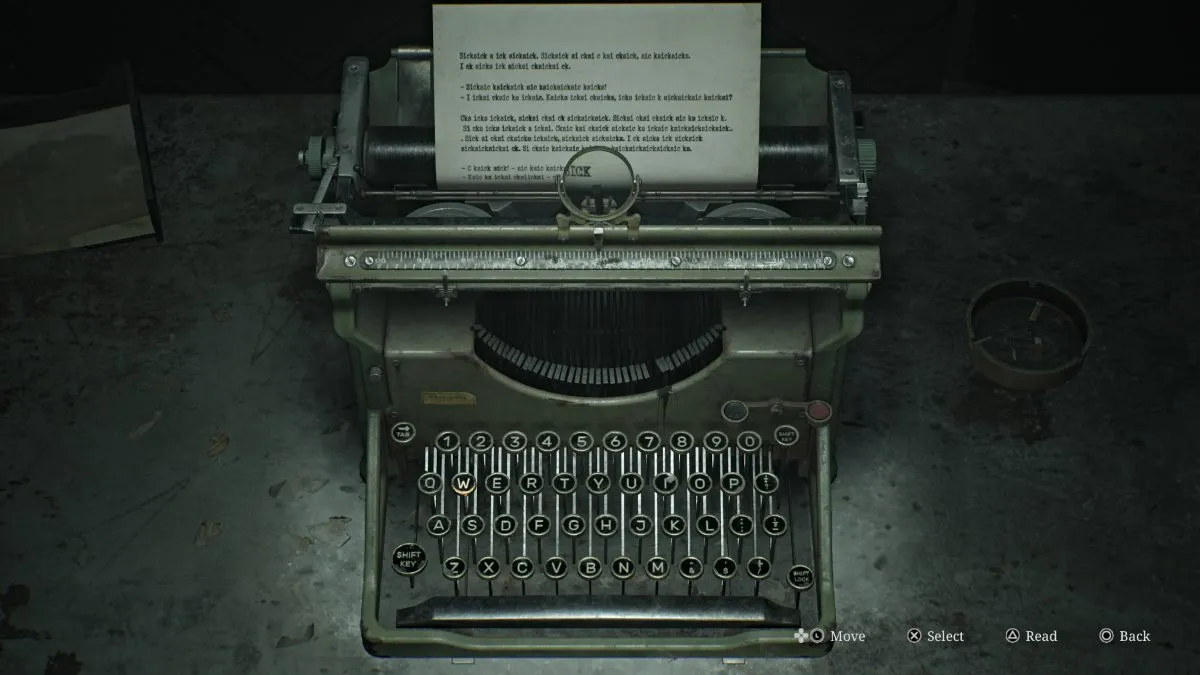
Go back into the office where there's a typewriter on the desk. The paper set in it has the word "sick" typed endlessly, and all you need to do is type repeatedly (any keys) until the desk drawer underneath opens. Inside you can claim the Light Weight . Now you need to make your way back to the Yard once again for the next step.
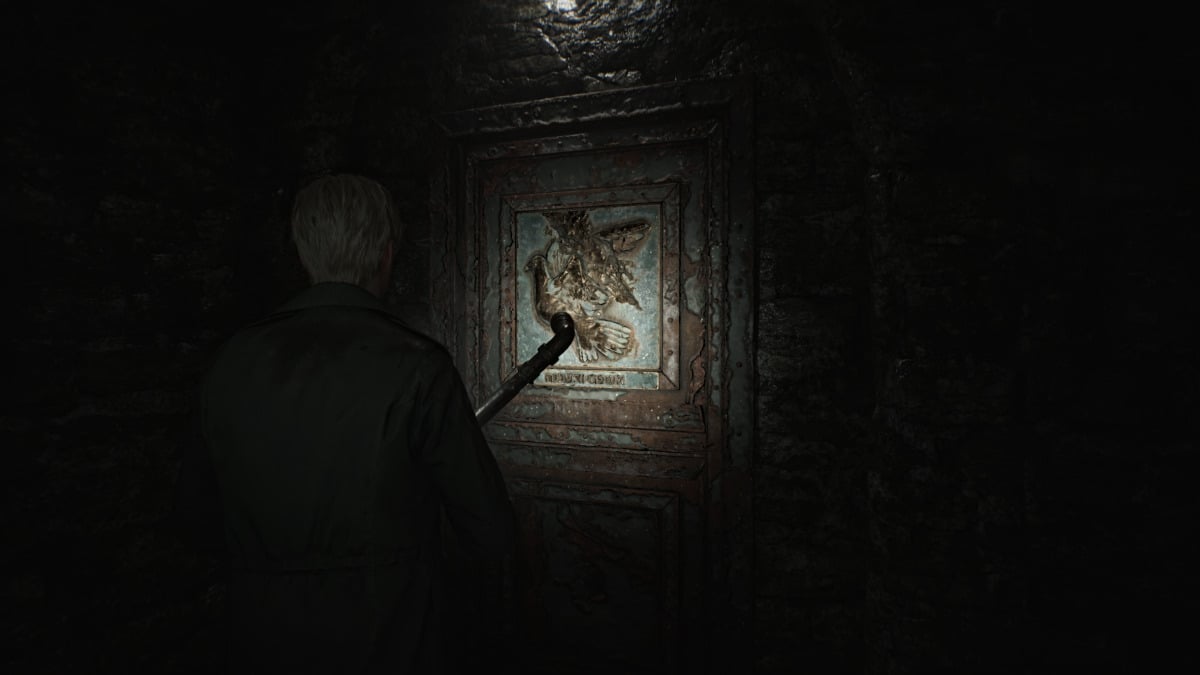
Once you're back at the Scales of Justice, this time you'll need to place every weight on the left scale, except for the Medium Weight which you put over on the right scale . This will open up the Wingless Dove Door , which leads to the Basement level . Head back inside and immediately turn left to find the door down a flight of stairs.
Once inside, start exploring the lower half of the cell block and when you look inside Cell F6 you'll notice the last weight you need sitting on a sheet. For now, go over to Cell F9 and bash through the breakable wall to get to F10 , where there's a ladder you can take up to unlock one of the doors on the first floor.
Head back down and make your way through all the sneaky Mannequins to Cell F14 and grab the Health Drink there. In F16 you'll notice piles of books and glyphs painted on the walls. If you wait long enough, you'll hear an otherworldly voice chanting something.
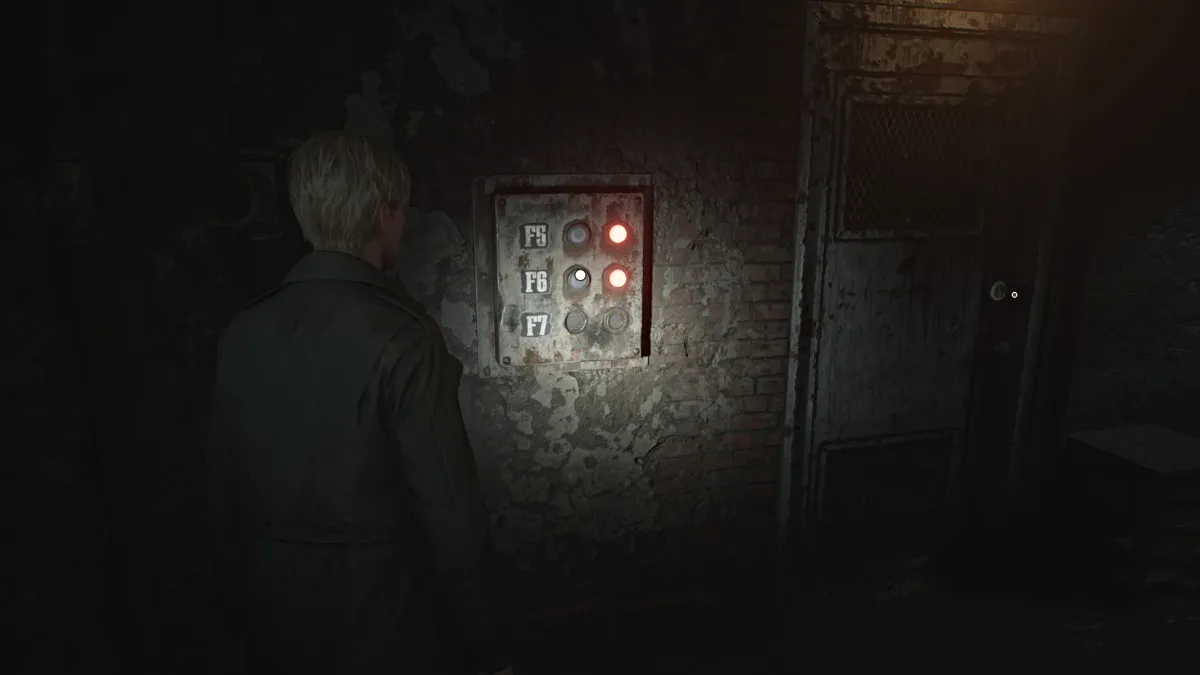
Use the crawlspace on the other side of the hall to get into the next room. Grab the Shotgun Shells from the desk, and view the note on the wall that mentions a prisoner being moved to Cell F6 , where the weight you need is. Go over to the button panel where there are options lit for Cells F5 and F6.
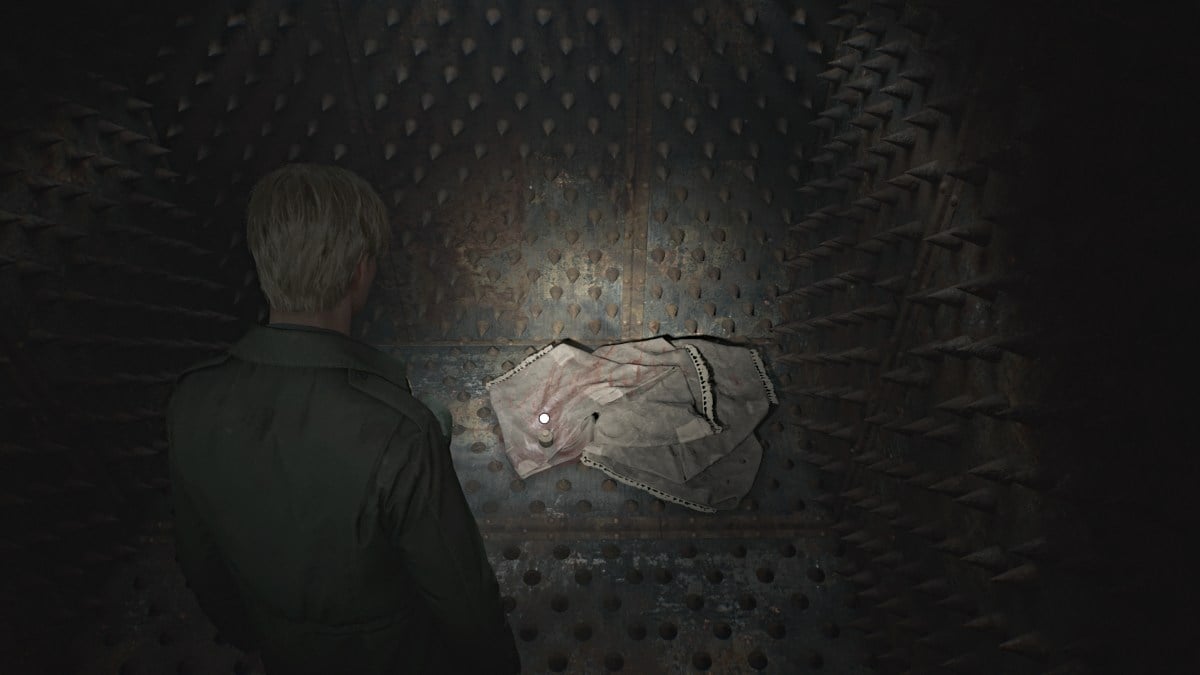
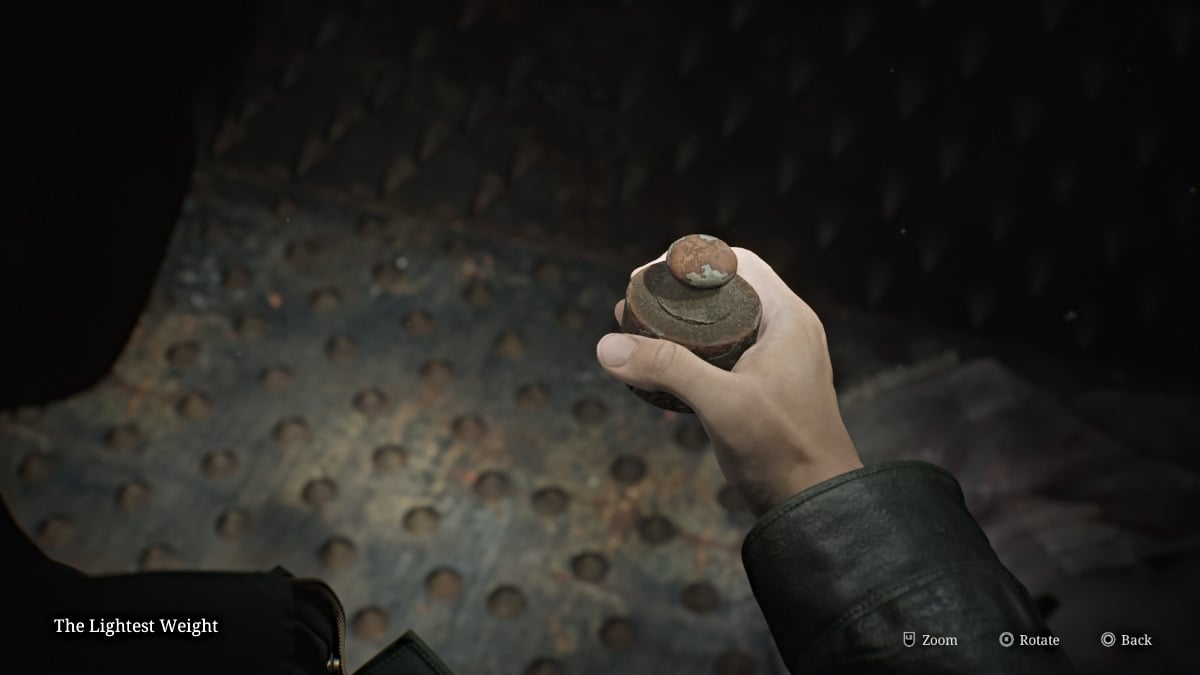
Press F6 and head over to claim the Lightest Weight from inside the cell along with the Confession memo. The door will slam shut temporarily for a nice jumpscare but you'll be able to leave soon enough. Remember to use the ladder in Cell F10 to get out since the entrance is caved in.
Time to head back to the Scales of Justice for the final time.
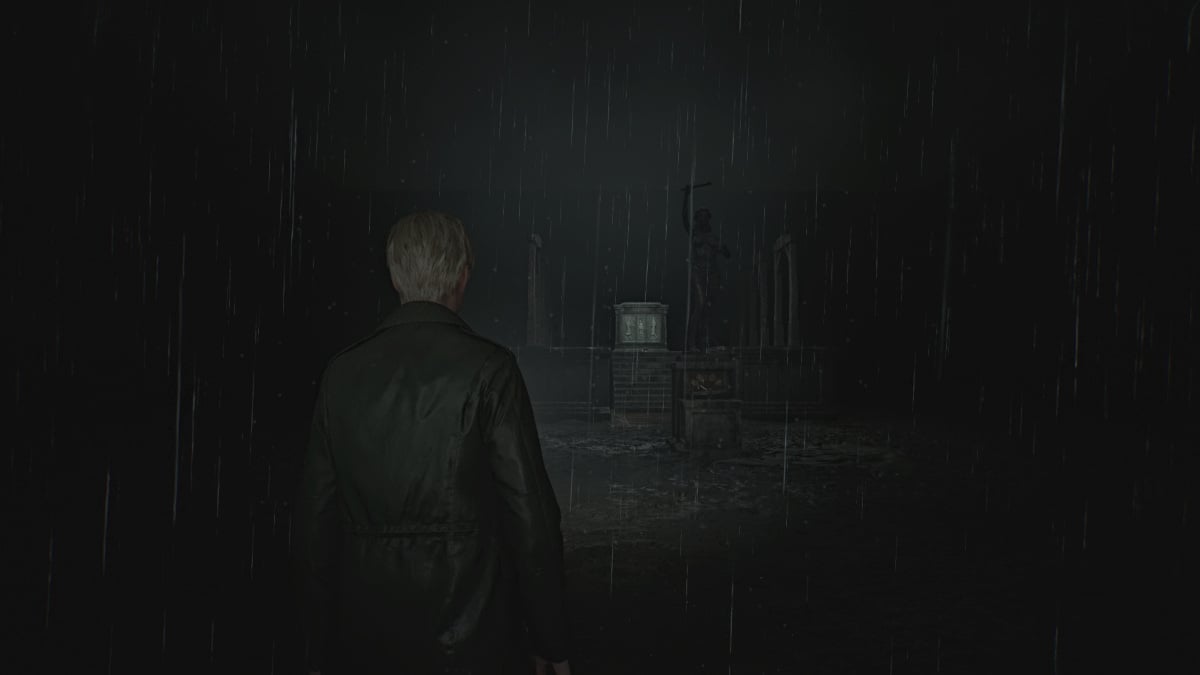
Head back out into the Yard , where it's now raining somehow (being that you're supposedly miles underground). Go over to the Scales of Justice and this time, do the following to perfectly balance the scales:
Putting all the scales back in their respective slots underneath the scale first can help you figure out which weight is which if you're having difficulty. Once the weight is balanced and the arrow centers on the sword symbol, something will fall out of the statue's hand and it's the Execution Lever . This is what you'll need for the next puzzle ahead.
For the Gallows Puzzle , place the Execution Lever in the slot on the platform between both rows of Gallows. The slab in front of you will open to reveal six criminals and their sins, and six slates depicting justifications for those sins.
You'll need to sort out which slates go with which passages regarding the sins of various criminals, and some passages can be different depending on your playthrough and difficulty. At the end, you'll need to choose which criminal was "justified" in their actions, or acting in self-defense.
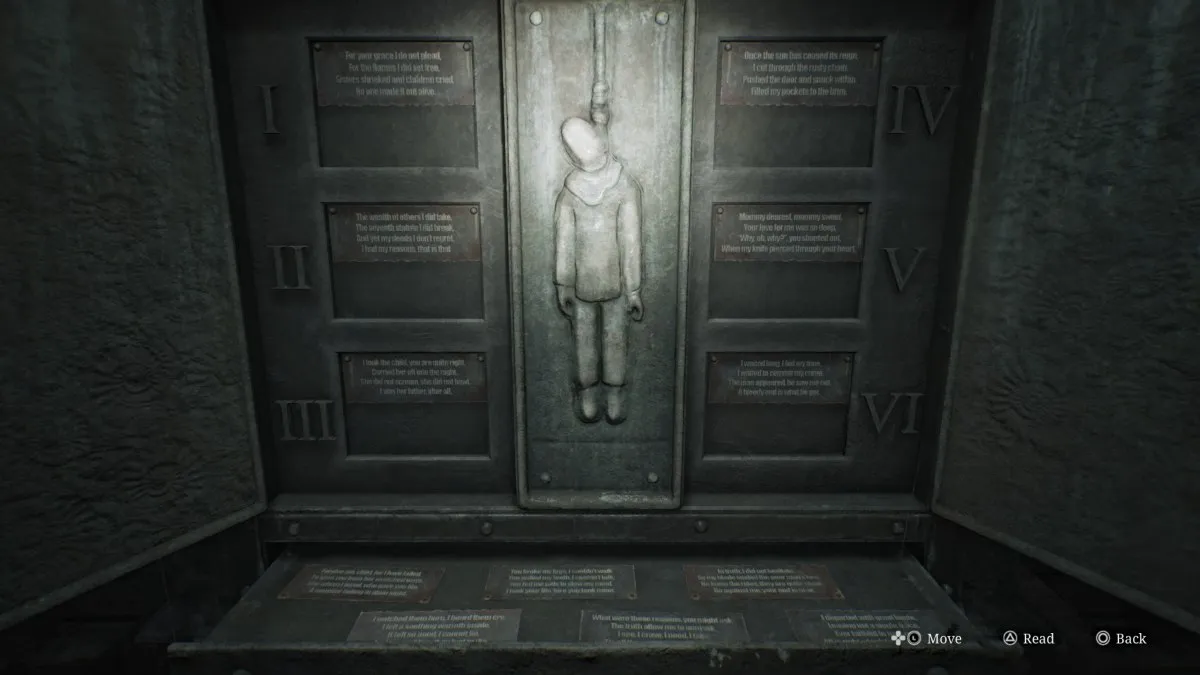
This is arguably the most difficult puzzle in the entire game, but to help you match up the slates with the correct passages, here are the possible answers for each.
| Passage No. | 诗 | Possible Answers |
|---|---|---|
| 我 | For your grace I do not plead, For the flames I did set free, Sisters shrieked and children cried, No one made it out alive. | Answer #1 - Though the young ones' deaths I mourn, Their tormentors are no more, On young souls the nuns did prey, Took their innocence away. Answer #2 - I watched them burn, I heard them cry, I felt a soothing warmth inside, It felt so good, I cannot lie, And for my bliss, they had to die. |
| 二 | The wealth of others I did take, The seventh statute I did break, And yet my deeds I don't regret, I had my reasons, that is that. | Answer #1 - The reason, if I have to say, Was to survive another day, To them, it was a loaf of bread, To me, a cherished step ahead. Answer #2 - What were those reasons you might ask, The truth allow me to unmask, 我懂了。 I crave, I need, I take, 'Tis all the sense it needs to make. |
| 三、 | I took the child you are quite right, Carried her off into the night, She did not scream, she did not bawl, I was her father, after all. | Answer #1 - Forgive me, child, for I have failed, To save you from her wretched ways, She whom I loved, who gave you life, A monster hiding in plain sight. Answer #2 - My only daughter, joy of days, They wanted to take you away, Hush, little baby, and be still, 如果我不能拥有你,那么没有人会拥有你。 |
| 四号 | Once the sun has ceased its reign, I cut through the rusty chain, Pushed the door and snuck within, Filled my pockets to the brim. | Answer #1 - So my guilt is plain to see, I had robbed the pharmacy, Yet, I did so not for gain, But so I could ease the pain. Answer #2 - I departed with great haste, Leaving not a single trace, Ever faithful to my creed, All is right, which feeds my greed. |
| V | Mommy dearest, mommy sweet, Your love for me was so deep, "Why, oh, why?", you shouted out, When my knife pierced through your heart. | Answer #1 - You broke my legs, I couldn't walk, You pulled my teeth, I couldn't talk, You fed me pills to slow my mind, I took your life 'fore you took mine. Answer #2 - You were, oh, so kind to me, Filled my heart with joy and glee, In the end, it was for naught, "Why, oh, why?", you ask.为什么不呢? |
| 六、 | I waited long, I bid my time, I waited to commit my crime, The man appeared, he saw me not, A bloody end is what he got. | Answer #1 - In truth, he was less man than beast, And on my flesh and soul he'd feast, My will to live he'd try to break, There is so much a man can take. Answer #2 - In truth, I did not hesitate, As my blade sealed the poor man's fate, He knew the rules, they are quite clear, Go against me, your end is near. |
For the passage(s) that has Answer #1 as their choice, that will be the one you want to choose as innocent or "justified". More than one passage may indicate innocence based on this, and you need to decide which one best describes self-defense or defense of another (such as a child).
When you've made your choice, go over to the corresponding noose and pull it down.
If you guessed correctly, you'll fall through the platform and land inside The Labyrinth . If you guessed wrong, you'll instead fall into a room with several monsters you'll need to run through and make your way back up to the Gallows and try again.
After successfully completing the Gallows Puzzle, ahead of you will be not one but two more massive holes to jump into, sending you to a depth clearly beyond reality. Afterward, you'll take a mineshaft elevator down to a floor with a Red Save Point . Use it and enter through the door ahead.
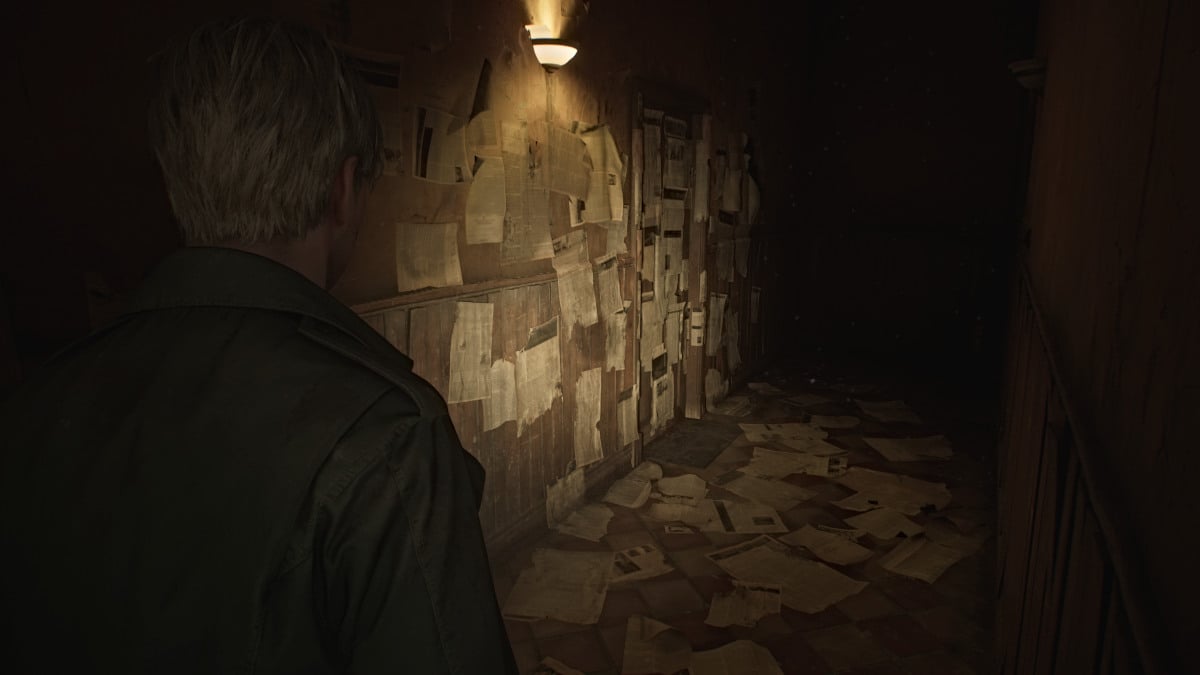
Follow the path through what resembles an apartment hallway, and you'll hear whispers behind the doors you pass. If you budge the doors, they'll hush in response. Keep going until you reach a section of the hallway decorated with newspaper clippings, including a bloodied one on the floor you can read about the murder of Thomas Orosco, Angela's father .
Suddenly, Angela's screams can be heard from behind the door ahead, alluding to a conflict with her father. Go inside, grab the Health Drink and Shotgun Shells from the kitchen area, then take a deep breath and go through the darker door on the left, where you'll see one of two more doors. The one in front of you is likely the bedroom of Angela's brother.
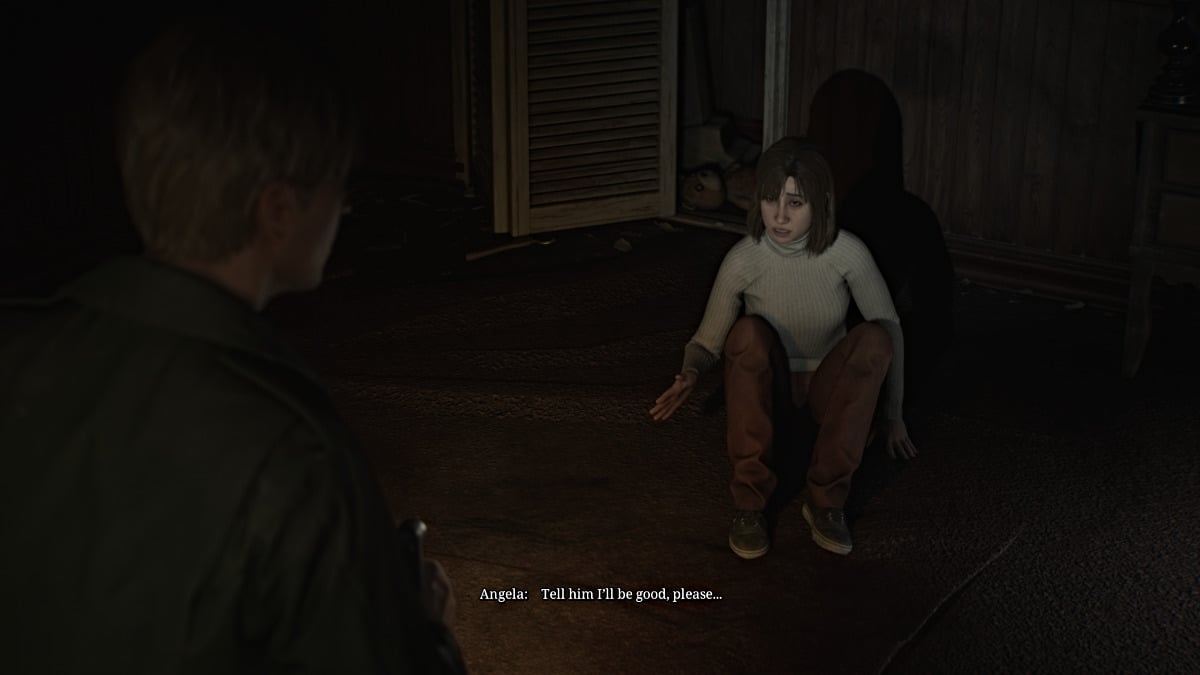
Go to the one on the left, where you'll find Angela cowering inside. Before James can figure out what's wrong, a much larger monster called the Abstract Daddy suddenly attacks and slams him through a wall. Take a deep breath and prepare for one of the most challenging and emotionally devastating fights in the game.
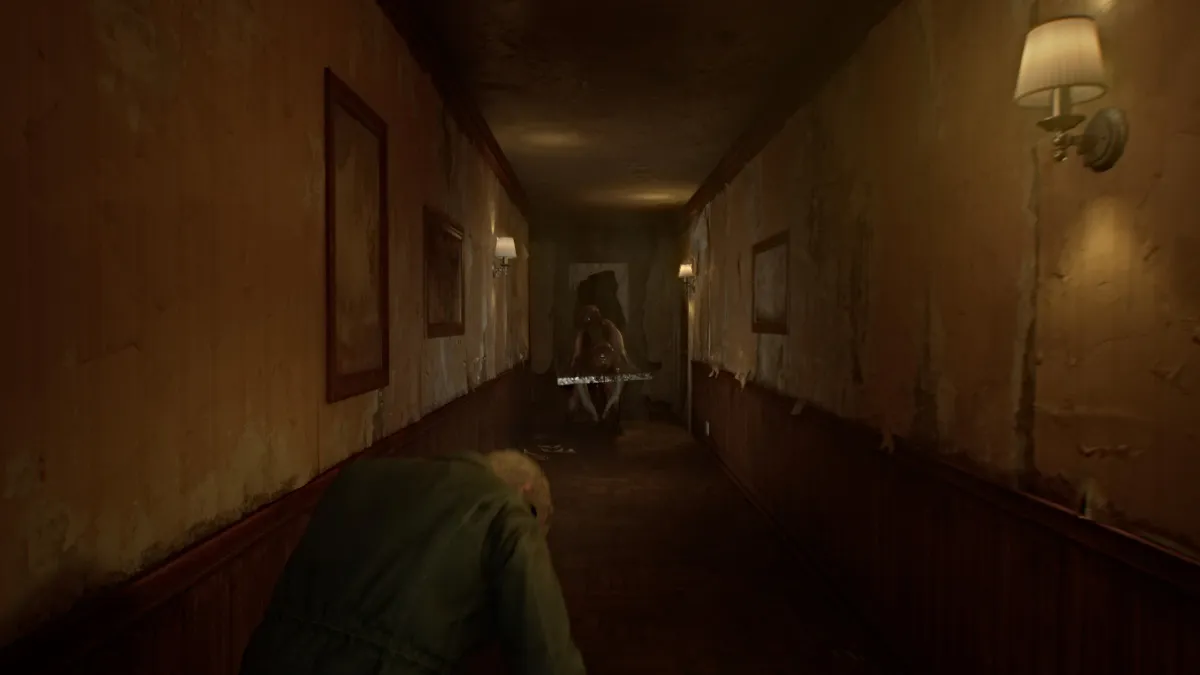
If it wasn't already obvious, Abstract Daddy is the disturbing manifestation of Angela's intense trauma from being sexually abused by her father as a child, and its physical form is meant to embody that. It makes it one of the most intense and consequential fights in the game.
The battle begins with Abstract Daddy confronting you in the hallway, and once again, keeping your distance from him is imperative. If he manages to charge and grab you, he can deal significant damage in each instance, so be sure to keep your health topped off.
You may initially think you're fighting him in tight quarters, but the "arena" has suddenly taken the form of a seemingly endless maze within Angela's home. This allows you to land hits on Abstract Daddy while constantly keeping your distance. Prioritize your Hunting Rifle and Shotgun for dealing damage, and time your shots well because he has an insane amount of health.
At certain junctions when you've dealt enough damage, Abstract Daddy will disappear briefly, allowing you time to recover and reload your weapons . Make sure to explore everywhere you can for extra ammo and health. As you travel through the maze, you'll see Angela fleeing in terror herself, and occasionally a scratchy recording of her father will play, further inferring his verbal abuse.
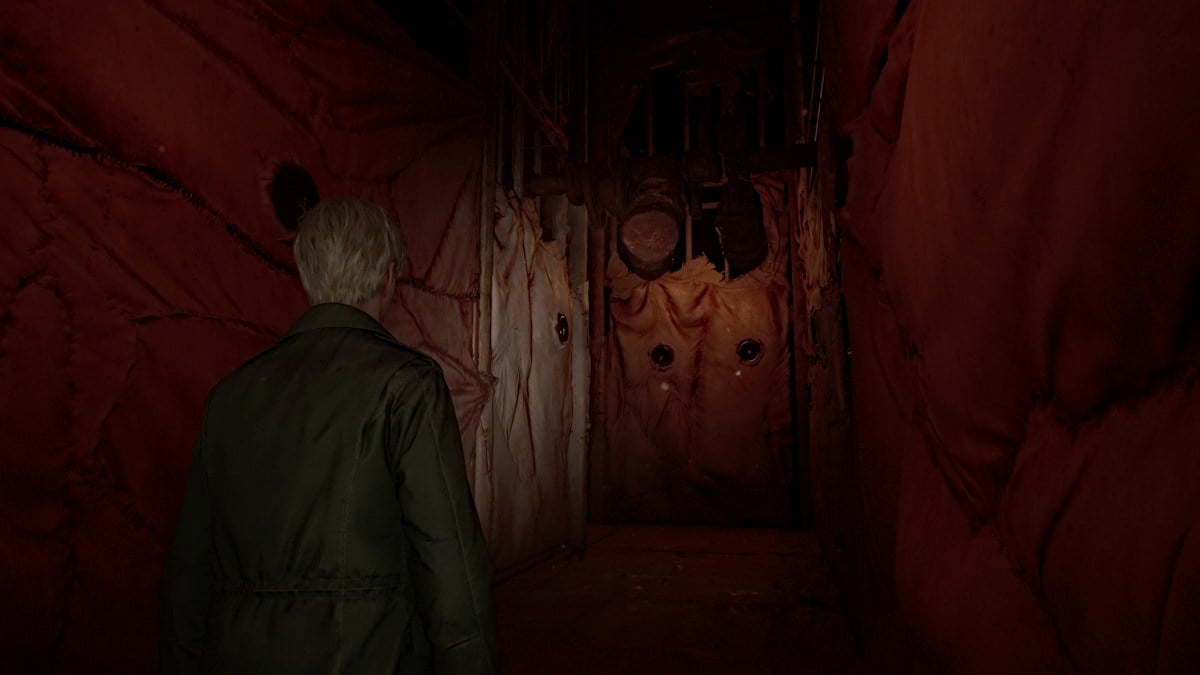
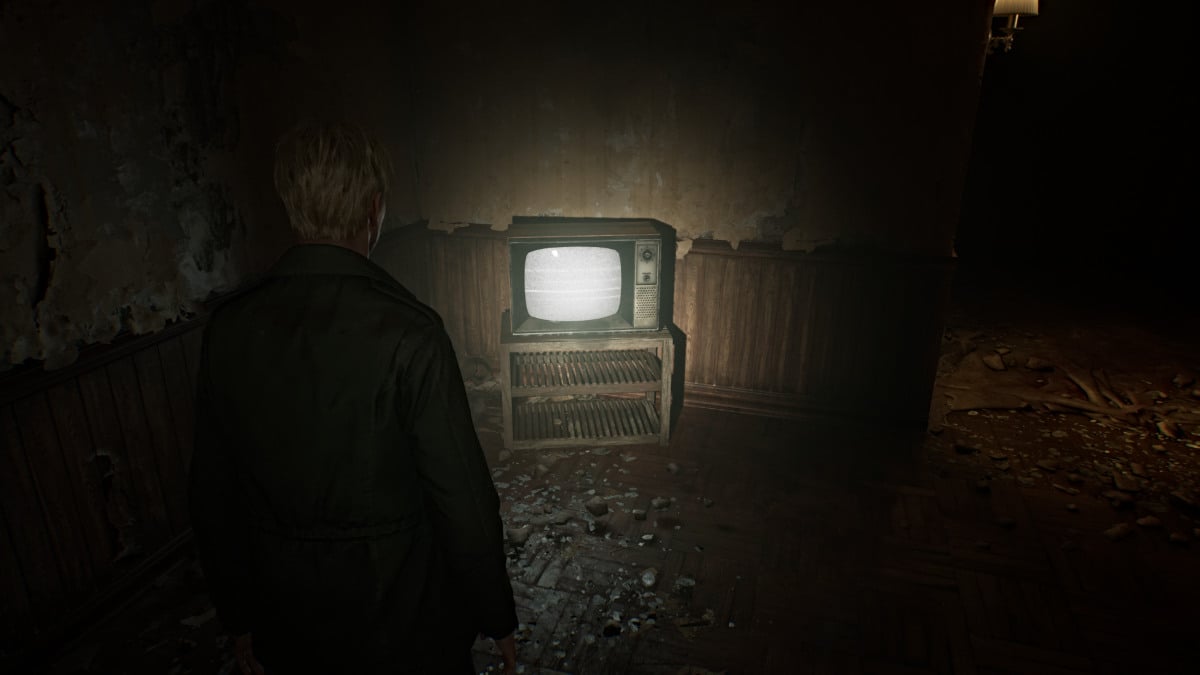
The fight occurs over multiple phases, and at least three times you'll need to trigger the next one by finding a static TV and smashing it with your pipe. The further into the fight you go, the more the environment changes into something closer to the Otherworld, and the walls turn...well, "fleshy".
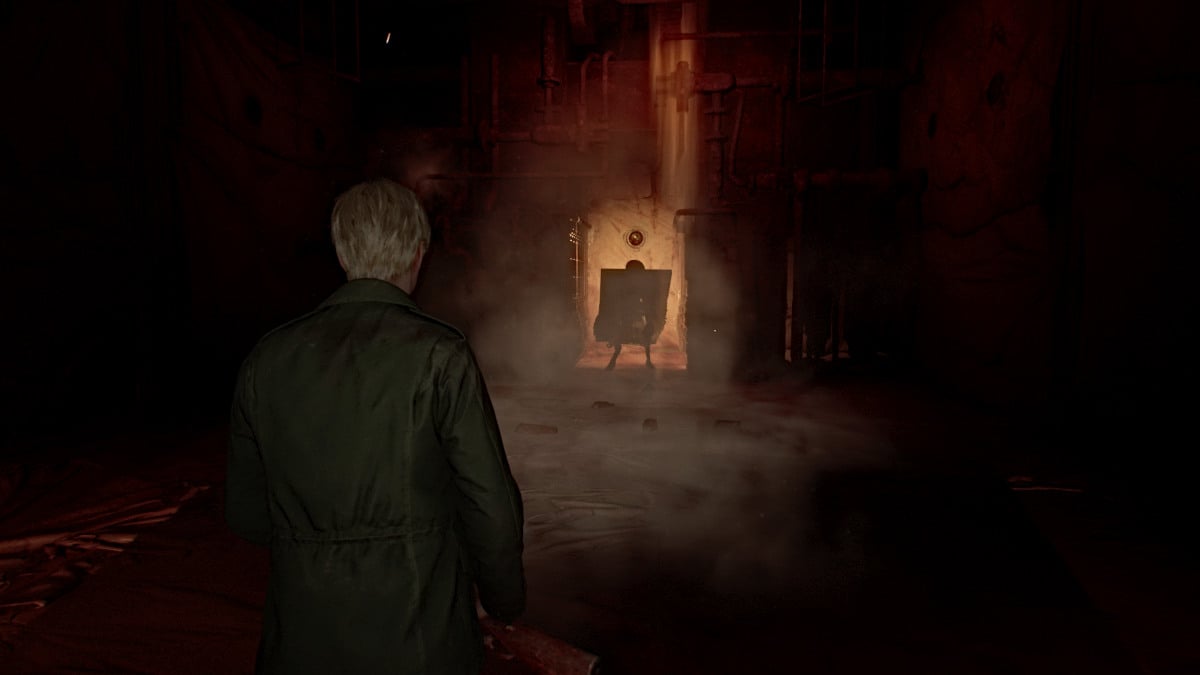
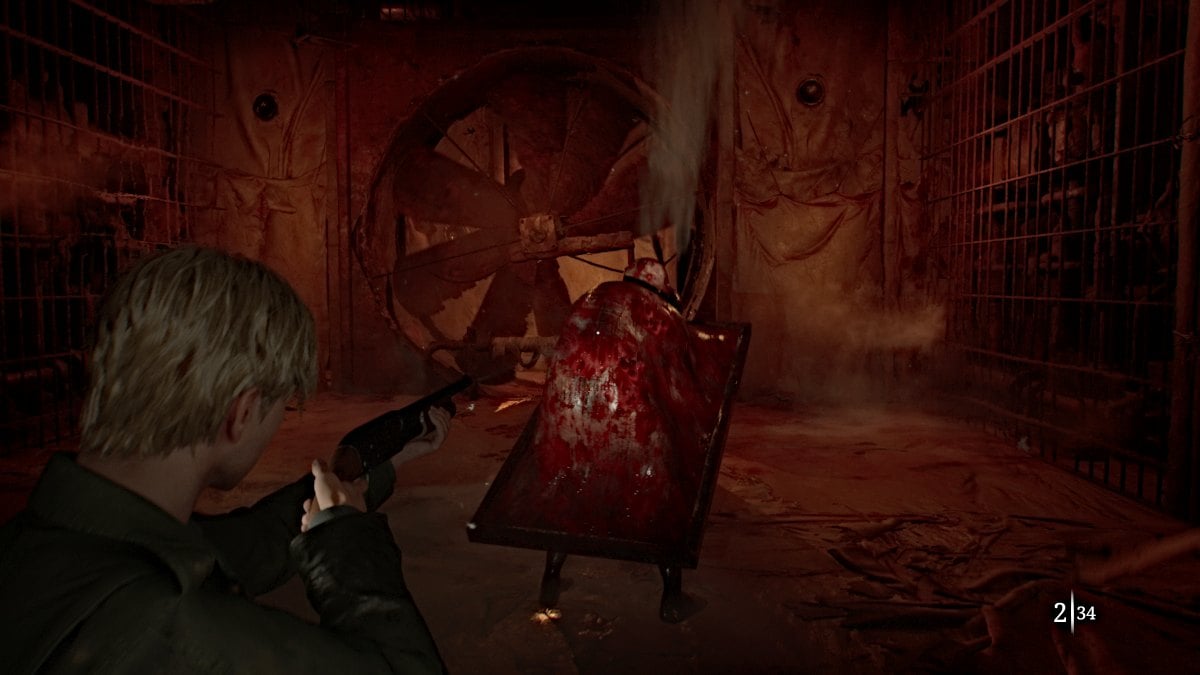
Eventually, you'll arrive at the final phase of the fight in a wide-open area. By this point, you've likely exhausted most of your ammo if not your health stores as well, so make use of the items spread around the room. Keep dealing damage, and Abstract Daddy's attacks will gradually slow down and become easier to dodge. Soon enough, he'll go down and a cutscene will follow.
Angela approaches in rage and slams a TV on top of the Abstract Daddy, killing it. The environment has also returned to the way it was before the fight began. James tries to console Angela though to little effect, and the two argue over his possessiveness of Mary and how he treated her while she was sick.
Soon enough, Angela will retreat and now you're free to explore the rest of the Labyrinth.
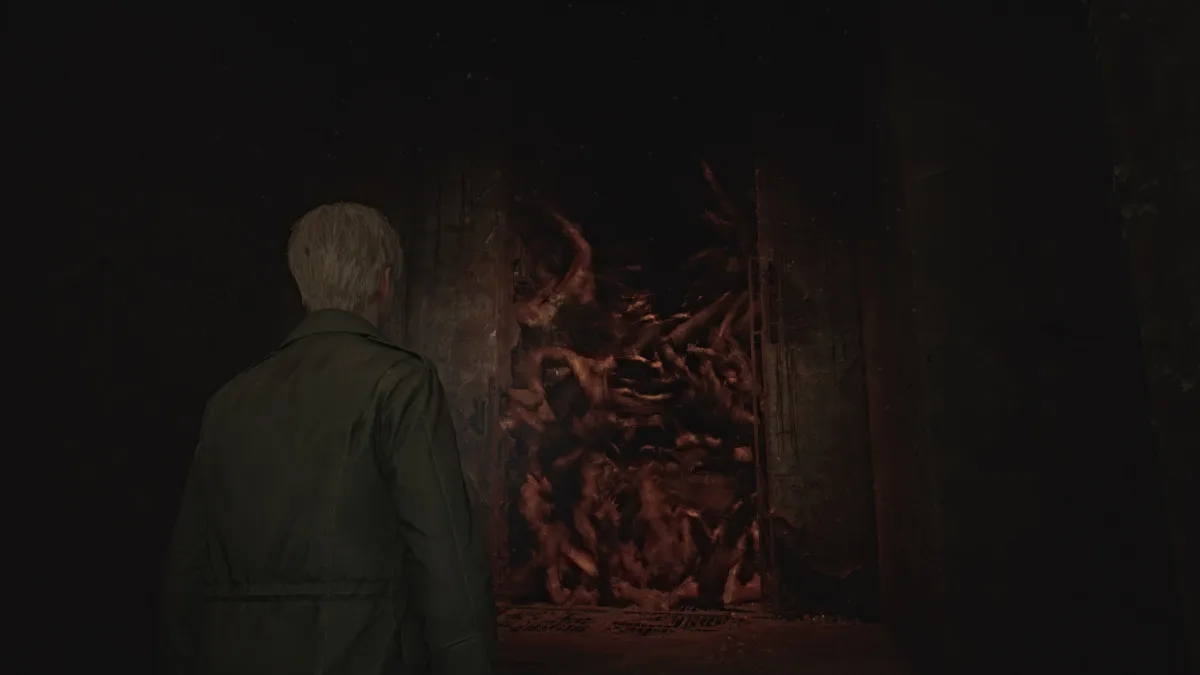
After you move on from "Angela's apartment", you'll soon find yourself in a strange, maze-like area, and in front of you a barrier made of what looks like monsters from Silent Hill. If you try to cross through it, James will feel nauseous and back off, so you need to find a way to remove it. James will call it the "Strange Wall" on your map.
For now, head right and use the Red Save Point along the way. Go all the way across (the door to your right is locked) and down the stairwell and through the door ahead. On the other side is something, or rather someone, that James definitely didn't expect to see.
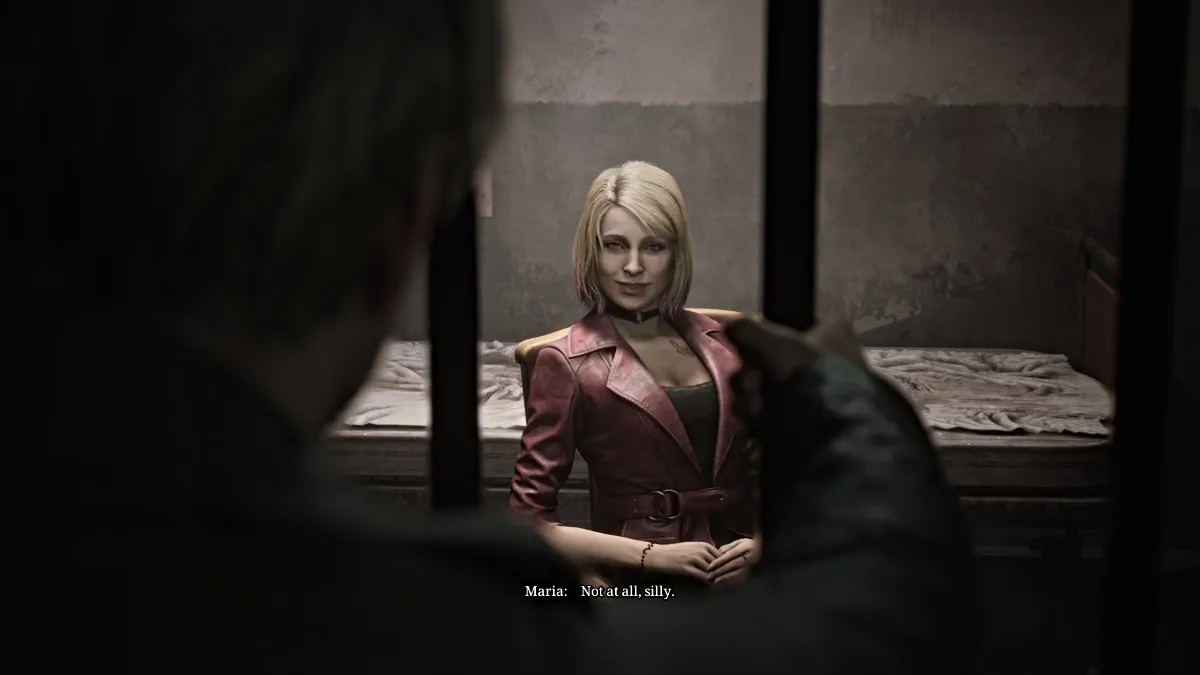
Maria is "alive" and well, sitting in a cell, and chides James for seeming to think she had been killed by Pyramid Head "in that long hallway". She laughs and muses about how he was "always so forgetful". She eerily sounds like Mary, which James notices and mentions. However, she rebuffs that she's not "his Mary", and insists that she's all he needs since she's "real".
Grappling with the situation, James starts to walk away and says with some hesitation that he'll find a way to get her out of the cell.
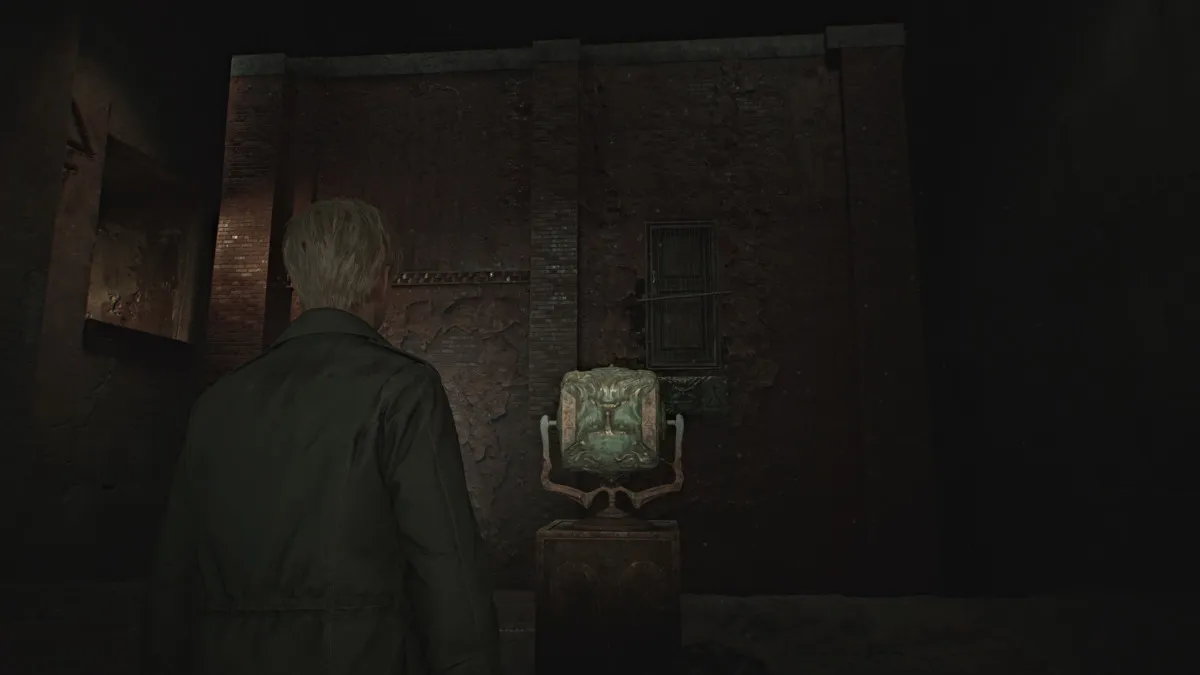
Head back up the stairs to the path you walked before, and now you'll find the Rotating Cube Puzzle contraption in the center of it, along with what looks like an entire building in the chasm next to you. The rotating cube features different faces on each side, along with different symbols.
Depending on how you turn it, the building in front of you will rotate as well and reveal new paths and three other main areas for you to explore. Those areas include: the Rotten Area, the Desolate Area , and the Ruined Area .
This puzzle serves as the focal point of the Labyrinth, and your goal here is to use it to access each of those different areas one by one. For easy reference, here are the symbols required for each area:
| 象征 | Area Unlocked |
|---|---|
| Upward-facing triangle with a cross underneath | Rotten Area |
| Infinity symbol with a vertical line above crossed through twice | Desolate Area |
| Downward-facing triangle with a cross underneath | Ruined Area |
| None (side axis of the cube) | 选修的; Find the "Your best buddy!"奇怪的照片 inside the cube itself. |
So for now, you'll want to start with accessing the Rotten Area . Turn the cube in the proper direction, then go into the building and take the stairs that lead up to the path on the left side. Go down the hallway and at the end there will be three doors, for each of the three areas. Go through the Green Door on your left to enter the Rotten Area.
You'll start in a hallway completely covered in bugs, so move through carefully and watch out for where the floors switch to metal grates, as Mandarins will be lurking beneath. Remember that all of your maps for the Labyrinth are hand-drawn, so you have to learn the area as you go.
After that first metal grate path, turn left and find some Handgun Ammo on a dresser (which you're probably starved for after Abstract Daddy) at a dead end. Backtrack to the main hallway and continue on until you see a door ahead. Go through it and you'll enter a room with a Suspended Cage high up, three other different doors, and a Red Save Point .
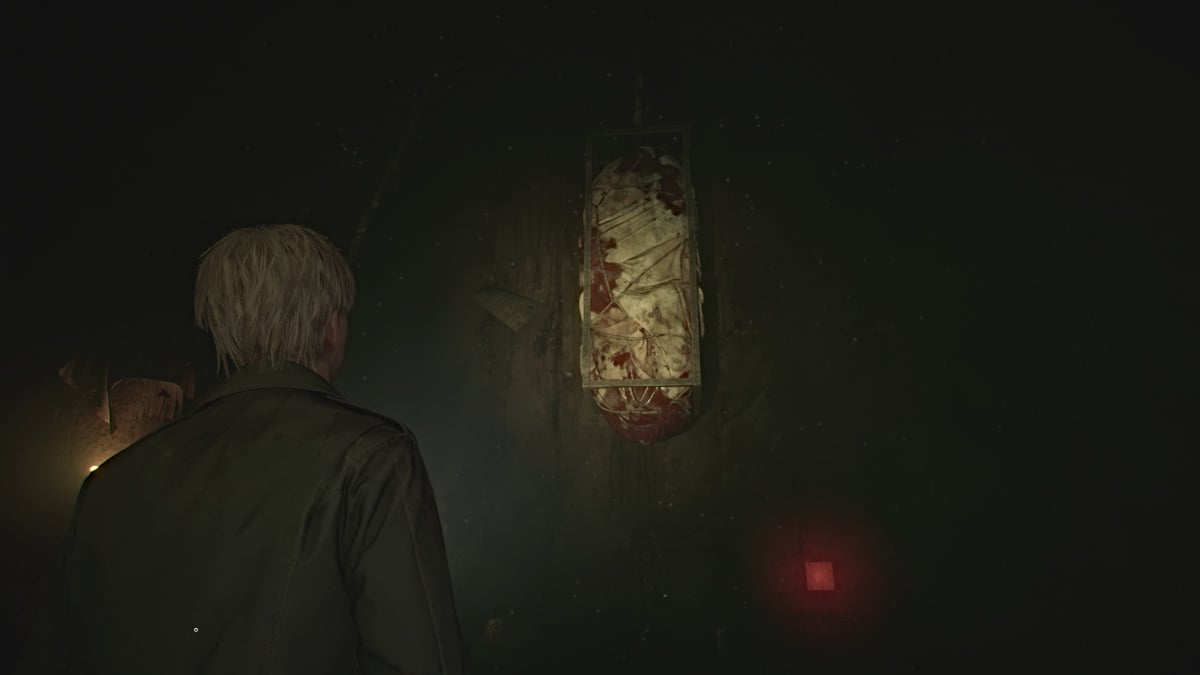
To bring down the Suspended Cage you'll need something to cut its tether, so for now head through the door to your left.
Go down the hall, grab Rifle Ammo from a small cabinet on your right, and continue straight to the open door at the end. Be extra careful here as not only are there bugs everywhere, but the floor of the entire main hallway area is metal grating, so Mandarins will be patrolling.
Keep your distance from them (these seem to be invincible so don't waste your ammo) and make your way down the hall until you reach the second left. Take it and follow the next hallway until you find another door. Inside the floor will be normal, so you get a breather. Deal with a couple of Mannequins lurking there and claim a Syringe and Handgun Ammo .
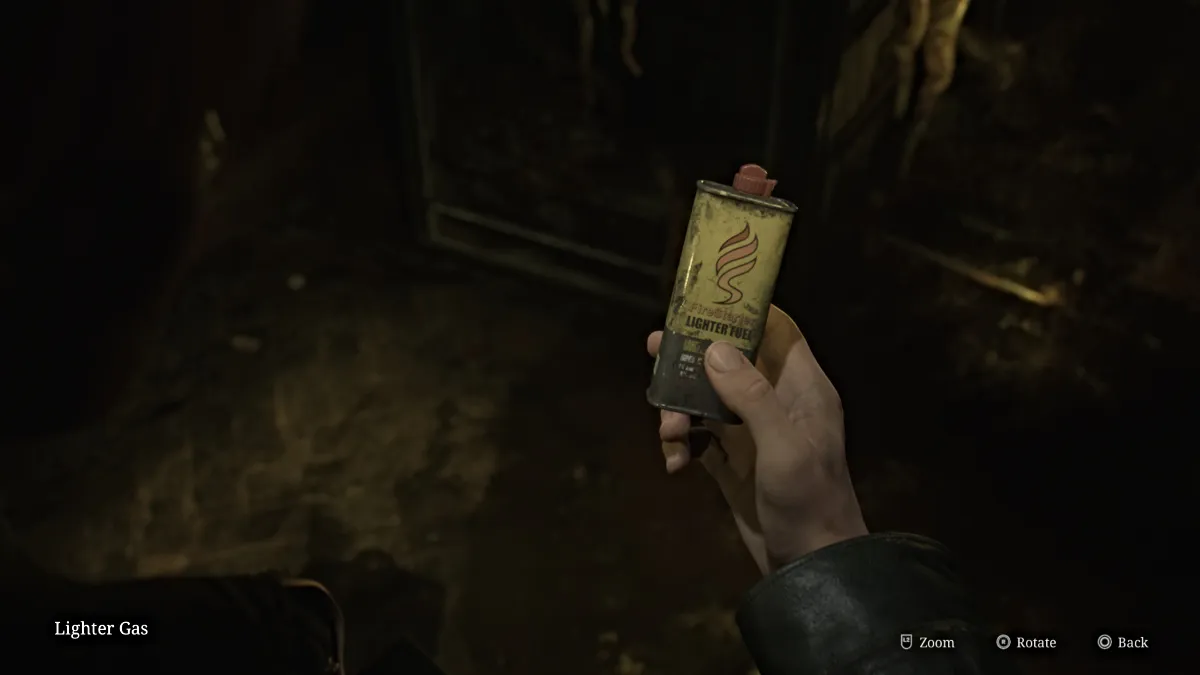
Take the pushcart in the room over to the high crawlspace near the door, and climb up and through to the next room over. Inside you'll notice the fridge in the kitchen shaking nonstop. Approach it and through all the lovely muck that pours out from it, James will find a small can of Lighter Gas . Grab the Handgun Ammo and Health Drink nearby as well.
Carefully make your way back out into the main hallway and bum rush your way back to the Suspended Cage Room.
Now take the door to the south and sprint across the grated hallway all the way south until you can leapfrog over a box and find a set of double doors ahead of you. Go through them and grab a Health Drink on your way through the next door ahead. Watch out for a Mannequin in the dark and grab Shotgun Shells from a small cabinet.
In the next room you'll find a bed that's been brutally split in half (could venture a guess who did that) and on the wall behind it a hole oozing blood. James knows the deal by now, so go over and interact with it until you pull out the Lighter Wick .
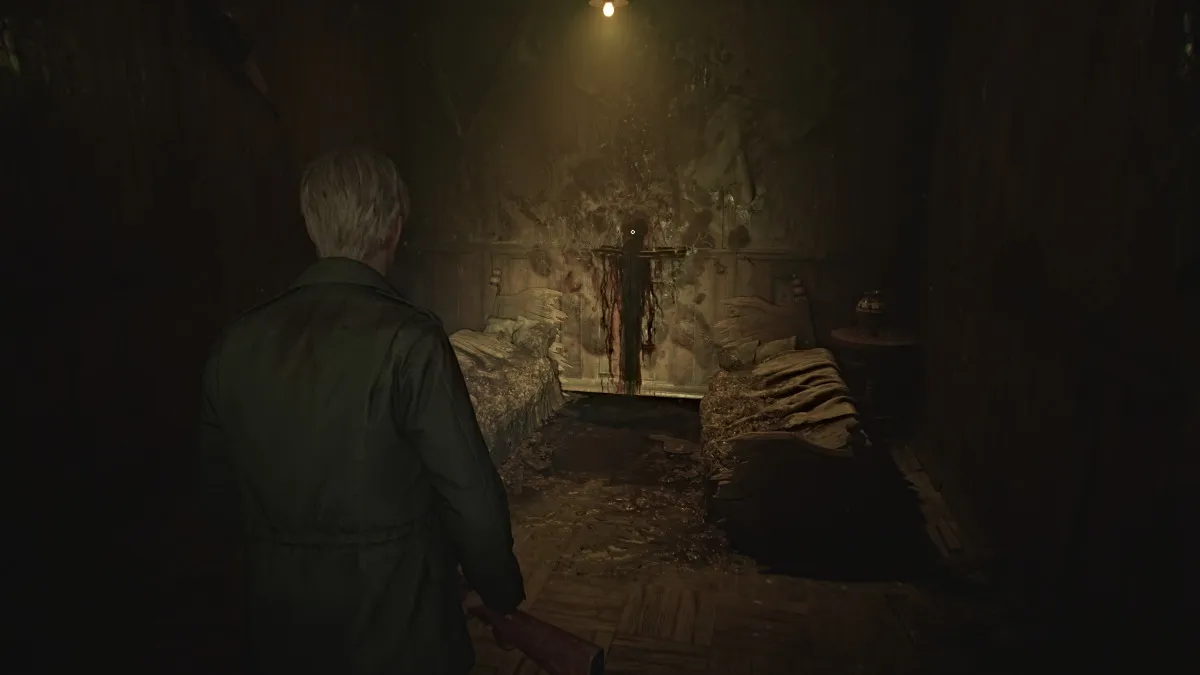
Now, before you go back to the Suspended Cage room, exit through the door beyond the bedroom, and run down the hallway until you can turn right and follow the path to another door. Go through and inside is just one huge room with a desk right in the center. Deal with the Bubble Nurse patrolling it and then check the drawer to claim the Iron Key .
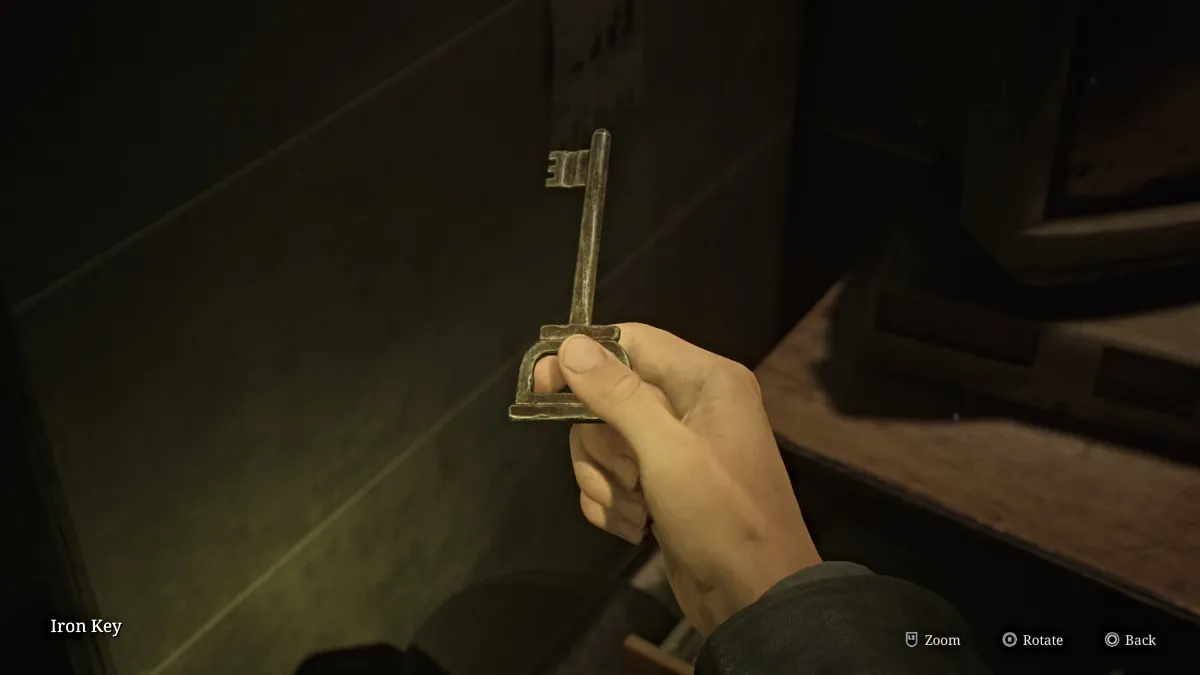
Now make your way back to the Suspended Cage Room and go back through the first door you went through where you found a locked door requiring a key. Use the Iron Key to unlock it and you'll find a bathroom inside. Interact with the nearby bathtub and James will quickly learn that the liquid bubbling inside it is too acidic for him to touch. This means you need to drain it somehow.
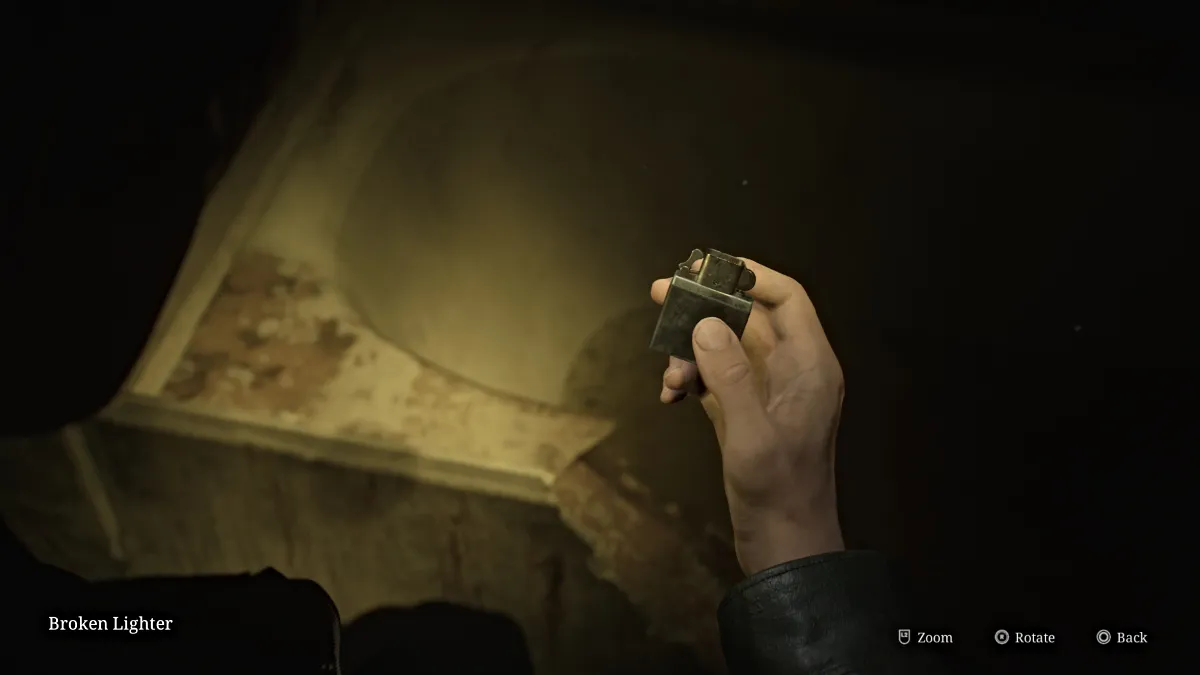
Go through the nearby gap in the wall and follow the narrow hallway all the way down until you reach a bug-filled room with a red crank. Turn it until the pipes burst and the tub breaks open, draining all of the bad stuff out so you can reach your prize. Return to it to claim the Broken Lighter .
Return to the Suspended Cage room and combine the Broken Lighter with the Lighter Gas and the Lighter Wick to make an actual Lighter . Use it on the tether holding up the cage and soon the entire thing will fall and break through the floor, leaving a large hole behind, perfect for you to jump through. Use the nearby Red Save Point and then do just that.
This brings you back to the Labyrinth Center with the Rotating Cube Puzzle, and now it's time to move on to the next area. Turn the cube to the appropriate direction (as seen in the table above) to unlock the Desolate Area next. Run through the building and back up to the left-side path, and this time take the door straight ahead.
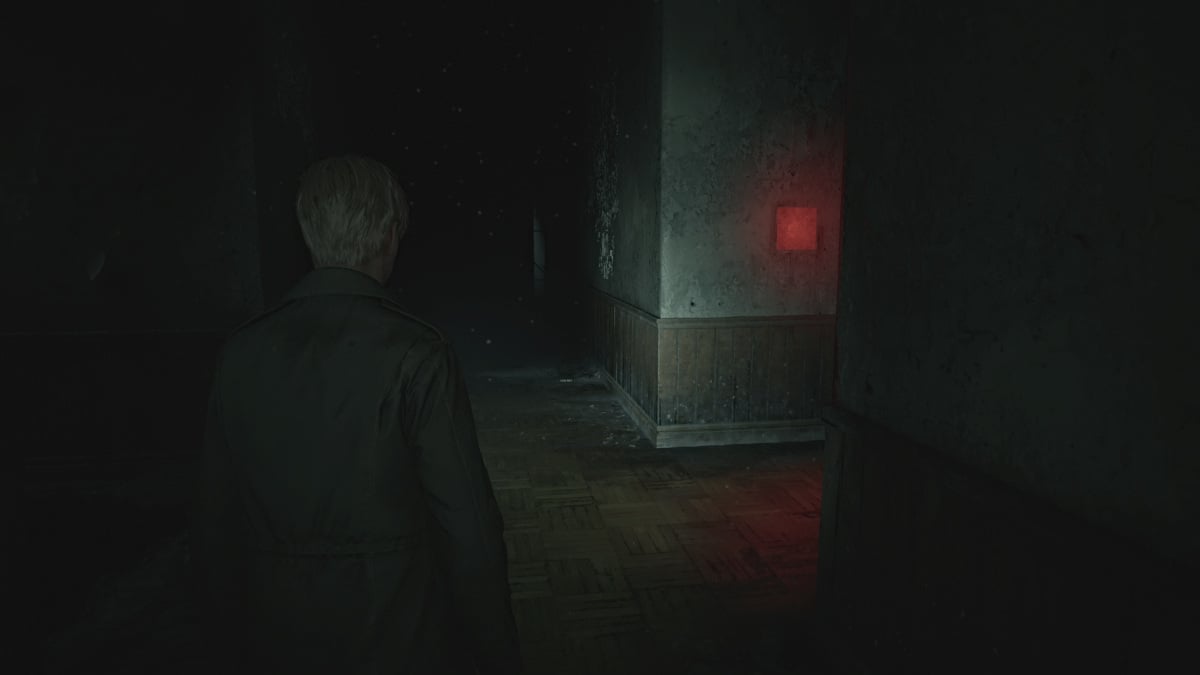
Upon entering the Desolate Area , use the nearby Red Save Point and make note of the locked door to your right, and the ladder to your left. Continue straight ahead and find the second door on your right and go through it. There will be a wall crack by a closet for you to take to the room adjacent, where you'll find some Rifle Ammo , Shotgun Ammo , and a Mannequin hiding behind a bookshelf.
Backtrack to the small bedroom where you find a Health Drink and Ladder II . Go down it to reach the Flooded Level , and follow the path until you find a hole you can peek through to see a key (which you will need).
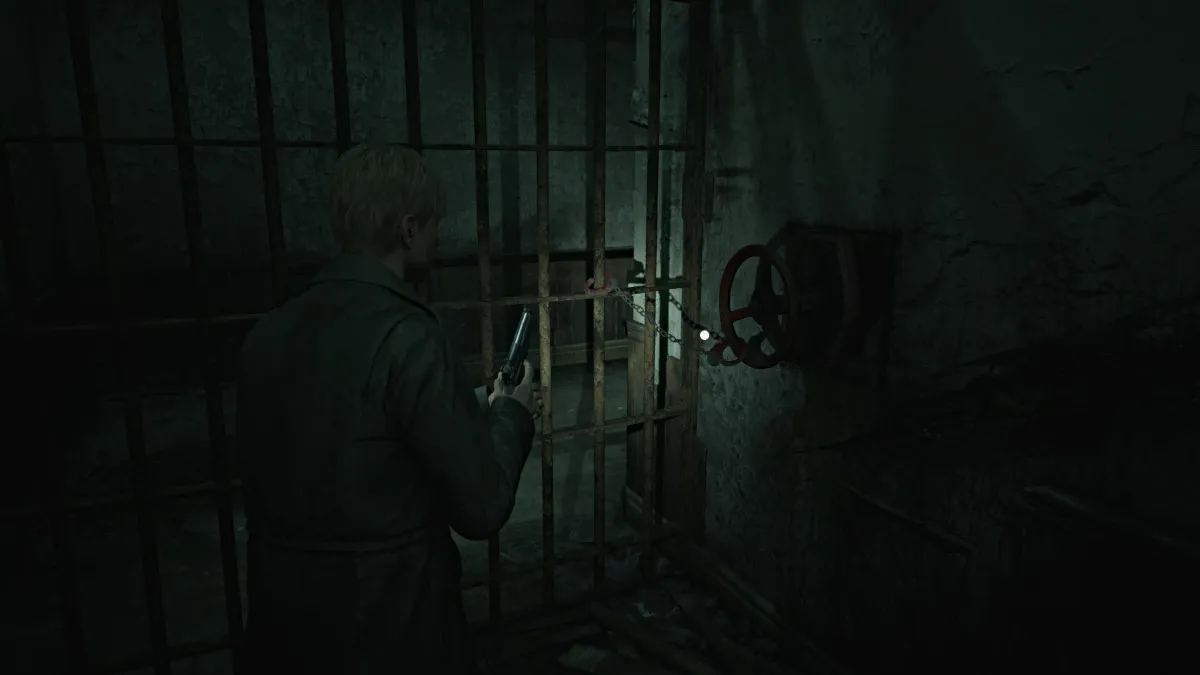
Keep going and you'll see that the door to that room is locked. Make your way south until you find Ladder I and climb up, where ahead of you will be the Handcuffed Gate (seen above). You'll need a certain key you already saw to unlock it, but for now, go through the door to your left.
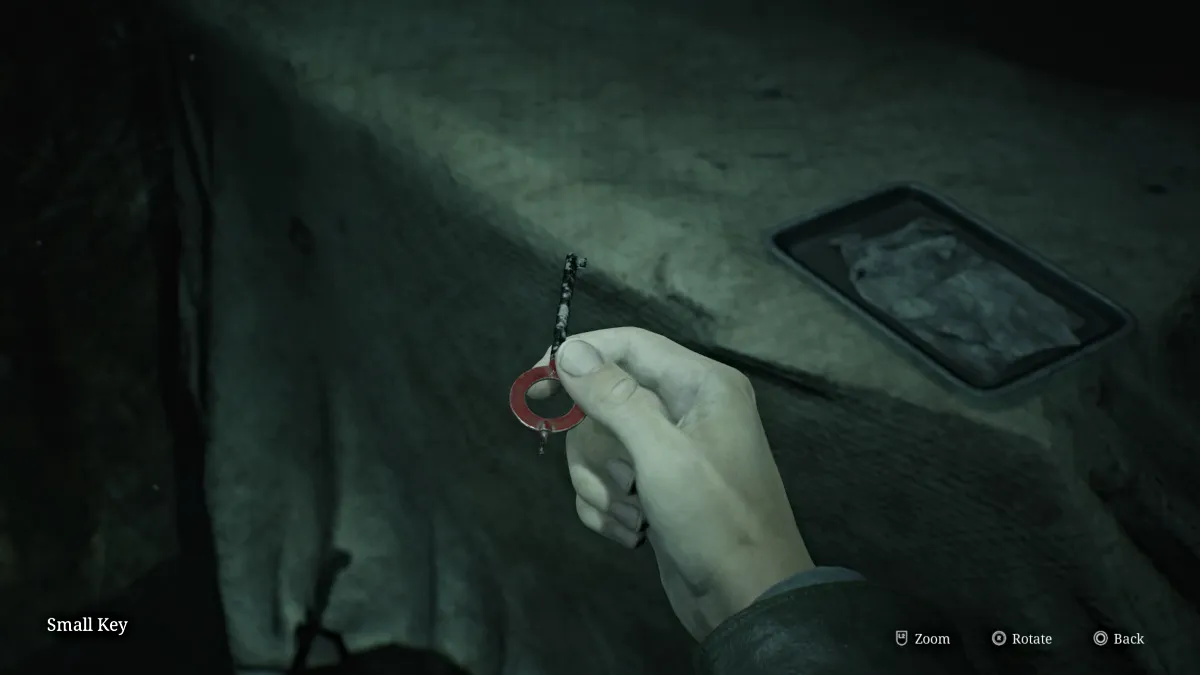
Follow the hallway until you can make two rights to find another ladder that will take you back down to a cave area. Follow it until it brings you to the room where you spotted the key. Pick up the Small Key and head back to Ladder I to use it on the Handcuffed Gate . Now you can access the rest of the Desolate Area.
Follow the corridor to the next room and look for a pushcart you can use to reach a high crawlspace. Climb up and through and continue until you find Ladder IV to take back down to the Flooded Level . Another crawlspace ahead will bring you to a Wire Barrier that prohibits you from going forward. You'll need something to help get rid of those wires.
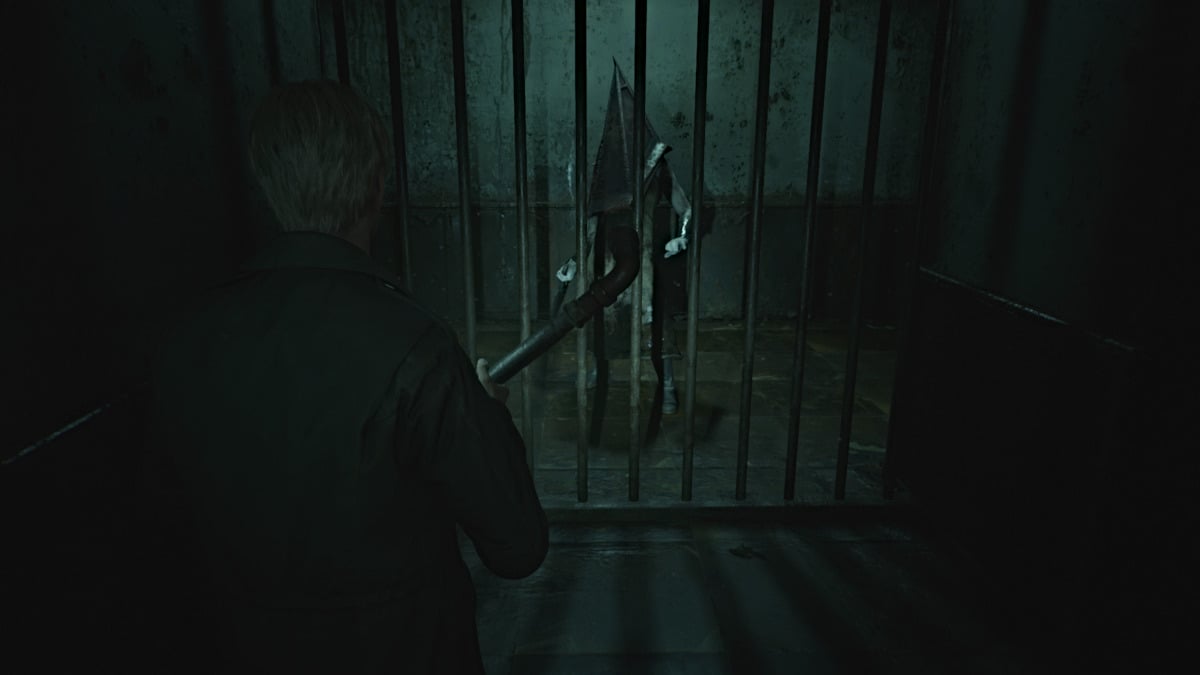
Go through the next hallway on the right, full of bugs of course, and suddenly Pyramid Head will appear and start giving chase. This is not a boss fight, you're simply in his domain now and need to avoid him at all costs while completing your objectives.
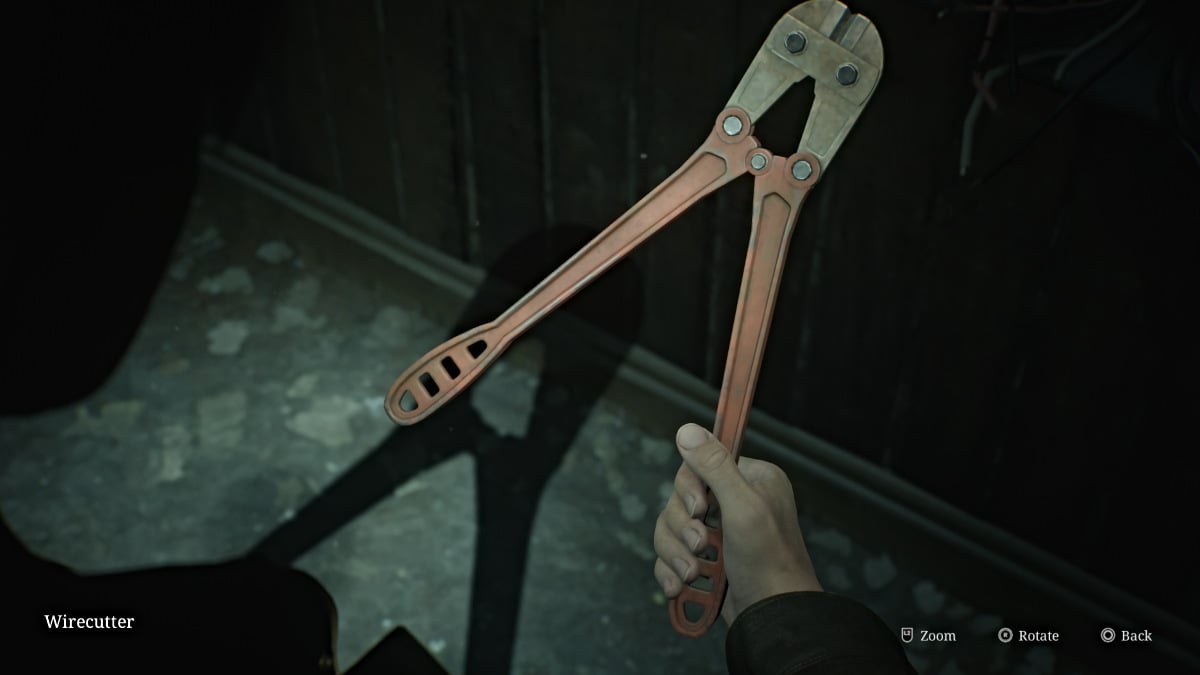
Go up Ladder V and follow the long hallway up until you can turn left, but quickly go right for some Handgun Ammo in a dresser at the dead end. Backtrack and go left through the wide open door to the room where you can remove a set of Wirecutters from a broken fuse box.
As tempting as it might be, do NOT take the south corridor past the fuse box as that will bring you back to the tunnel with the crawlspace that caved in after passing through, meaning you'll have to backtrack much further around the map.
Instead, go back down Ladder V to the area where Pyramid Head was, but he'll no longer be there. Instead, you'll have to deal with Mandarins and other monsters in your way.
For some extra items and a Strange Photo you can make your way to and up the ladder you initially passed while evading Pyramid Head. Otherwise, head back to the tunnel with the barrier of Wires and use the Wirecutters to get through. Go down the next ladder ahead, and grab a nearby Health Drink before dropping down another hole that brings you back to the Rotating Cube Puzzle once more.
Be sure to use the Red Save Point nearby to save all your recent progress. Now it's time to turn the cube in the appropriate direction for the Ruined Area . Remember, the symbol is an upside-down triangle with a cross underneath . Cross through the building and up the path to where you can now take the red door to the right.
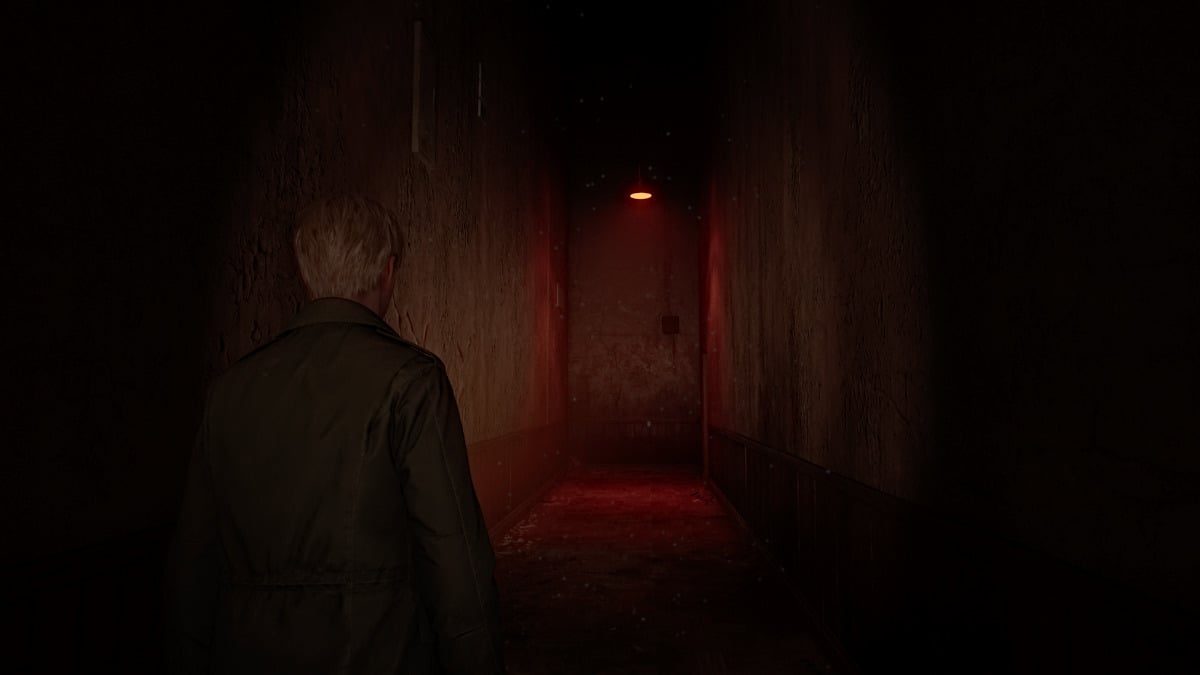
The Ruined Area of the Labyrinth is quite different from the other areas in that it's essentially a monster gauntlet. You'll enter different areas where you need to defeat various monsters to progress forward. Make sure to gather all of the ammo and health items in the areas first, then go interact with the red door at the back for the alarm to go off and the monsters to come alive .
In the first two areas, it'll be mostly regular monsters such as Lying Figures, Mannequins, and Bubble Nurses. The third area will be full of bugs and you'll need to kill Mandarins crawling beneath the floors. The Shotgun and Hunting Rifle are best for those.
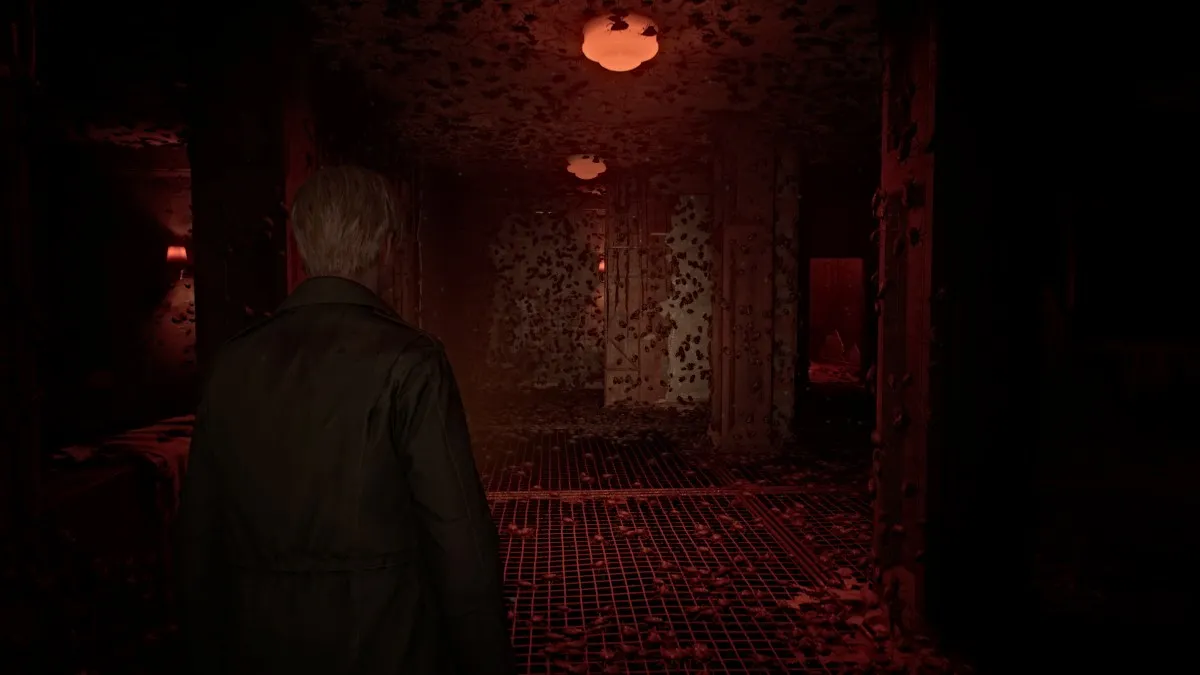
At the end of it all, you'll get a gracious Red Save Point , which we recommend because soon after you'll run into Pyramid Head yet again. He'll give chase and you need to run in the other direction until you reach a familiar-looking barrier made of monsters. This time, however, you're able to get through before Pyramid Head catches you. Continue on into the next room, where you'll find Maria at last, but it seems it's too late once again.
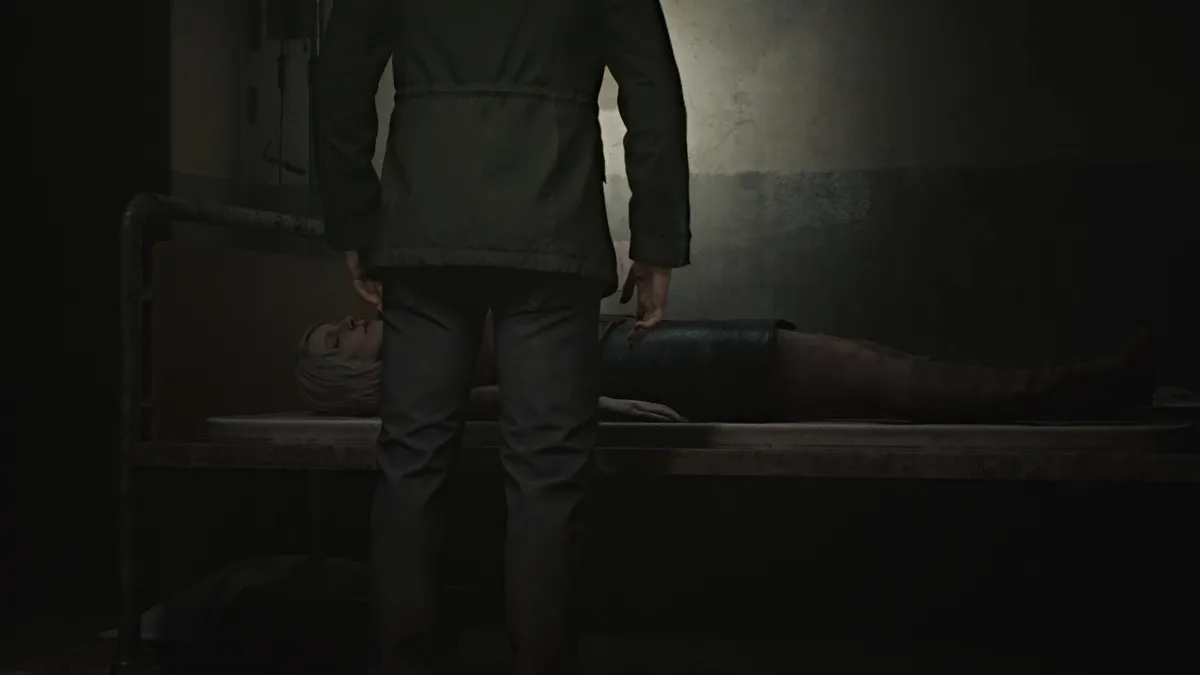
James finds himself overcome with grief at the sight of Maria clearly dead and murdered (likely by the same culprit), and him unable to help her in time. Likely a similar grief to the loss of Mary, he whispers her name and leaves, powerless to do anything else.
Once you leave the room, head up the stairs to where the Rotating Cube Puzzle normally is, but now it's been brutally destroyed, and among the rubble is the Great Knife , Pyramid Head's main weapon.
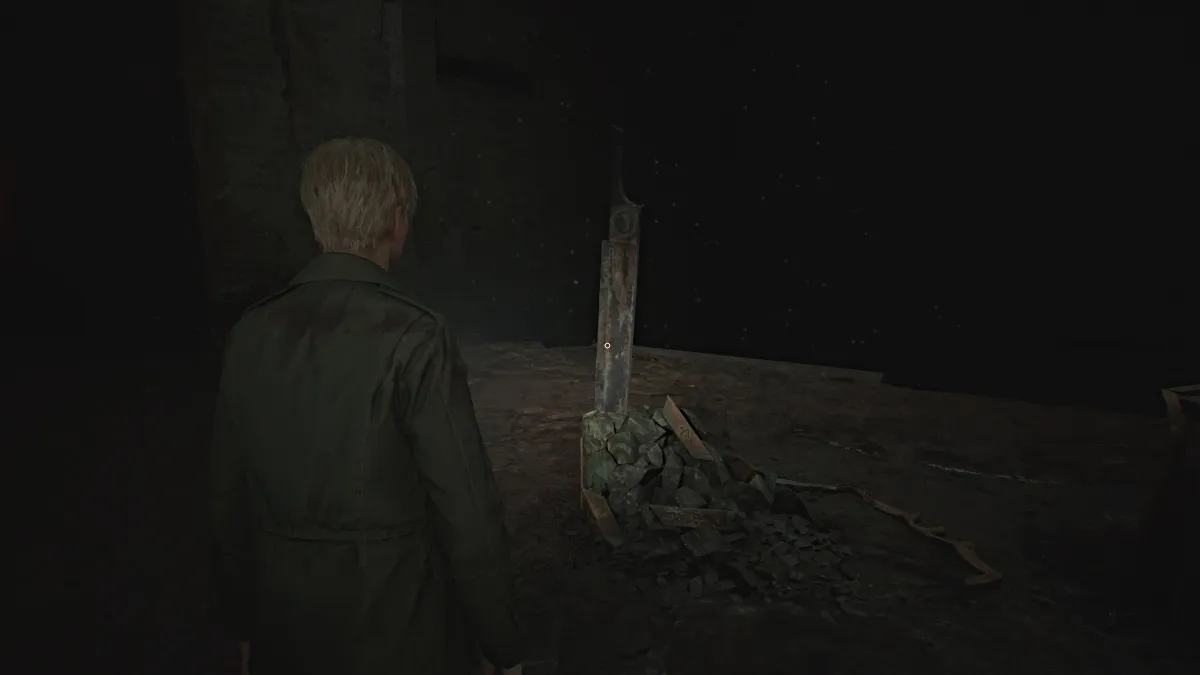
Interact with the Great Knife and James will pry it loose, allowing you to wield it, sort of. Drag it left toward the Strange Barrier and you'll now be able to pass through it. Drag the Great Knife all the way until you're completely through the barrier with a ladder ahead of you. You can now drop it and continue on (sorry, you can't keep it in your inventory this time).
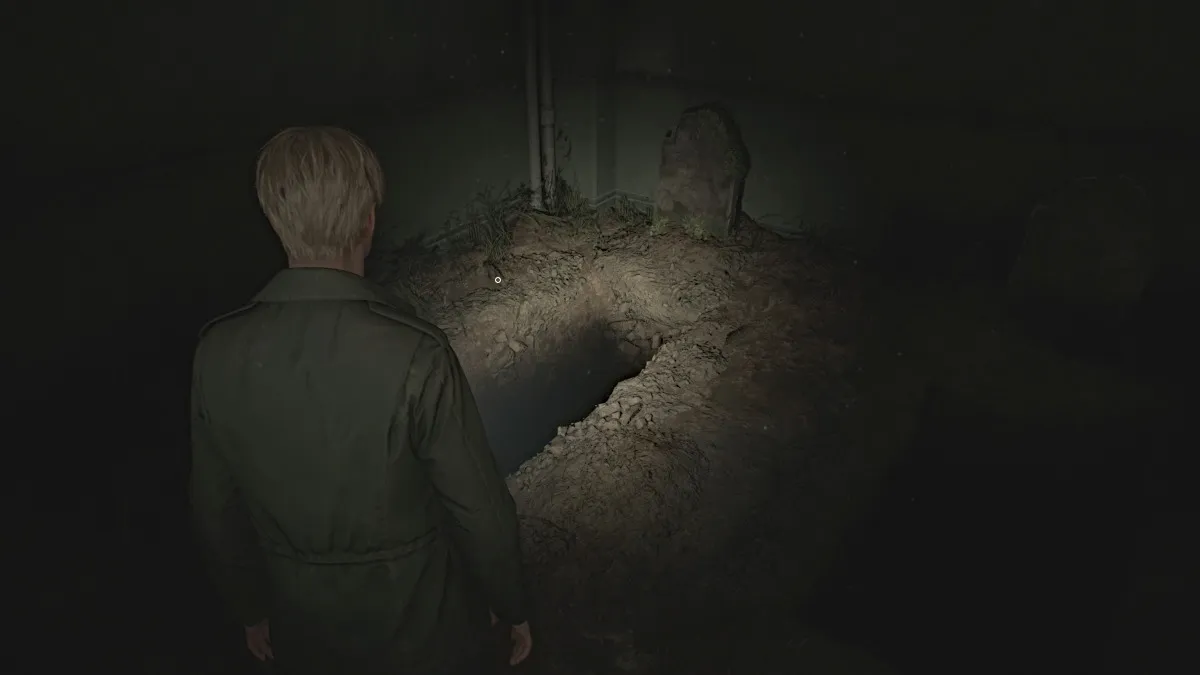
After climbing the ladder, follow the hallway until you can climb back down another ladder, which leads you to a small cemetery area. You can salvage some Shotgun Shells and a Health Drink here. Among the gravestones you'll find three that are of particular importance: Angela Orosco, Eddie Dombrowski, and James Sunderland.
To progress onward, you'll need to jump down into the hole that is your grave. When you're ready, take the plunge to the deepest reaches of the abyss, where your final adversary of the Labyrinth will be waiting. Follow the long hallway ahead of you, and at the end will be a freezer door soaked in blood. Go through it, and Eddie will be on the other side.
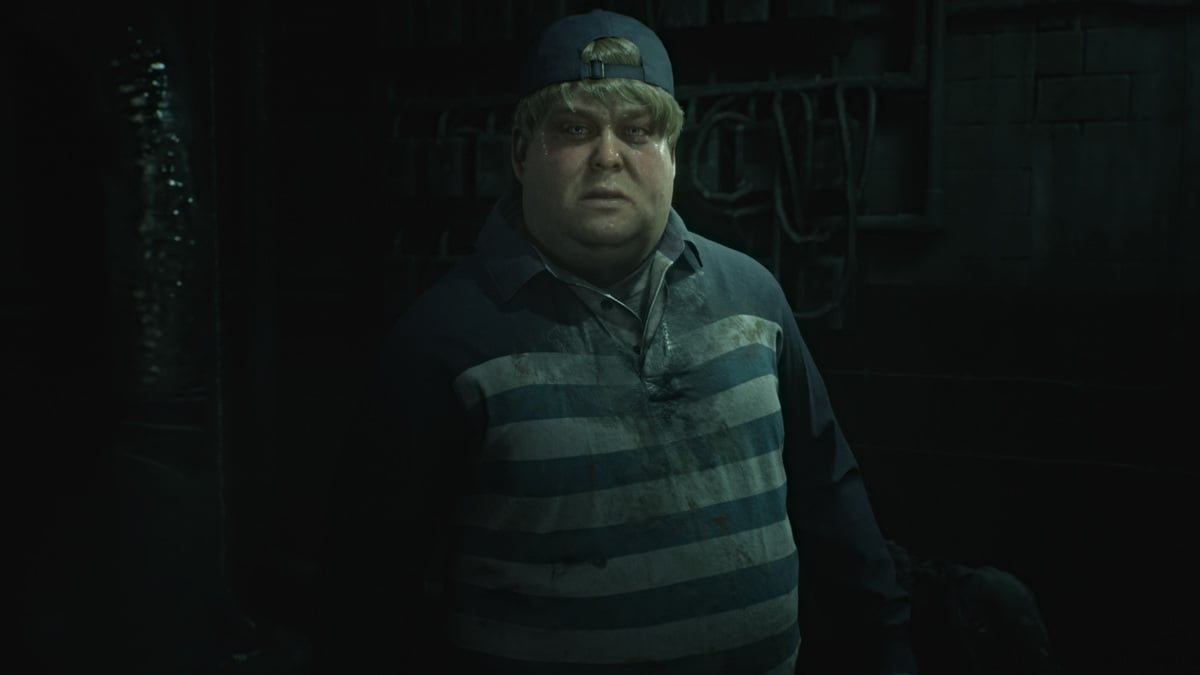
Clearly having lost himself, Eddie claims the corpse in front of him has been following him the whole time, laughing and insulting him. He then accuses James of doing the same, and that Silent Hill called them both because they're "not like other people". Determined to punish James the same way, he coerces him to the meat freezer for a fight.
Grab the Health Drinks on both sides of the room, make sure your guns are reloaded, and then follow Eddie through the same door.
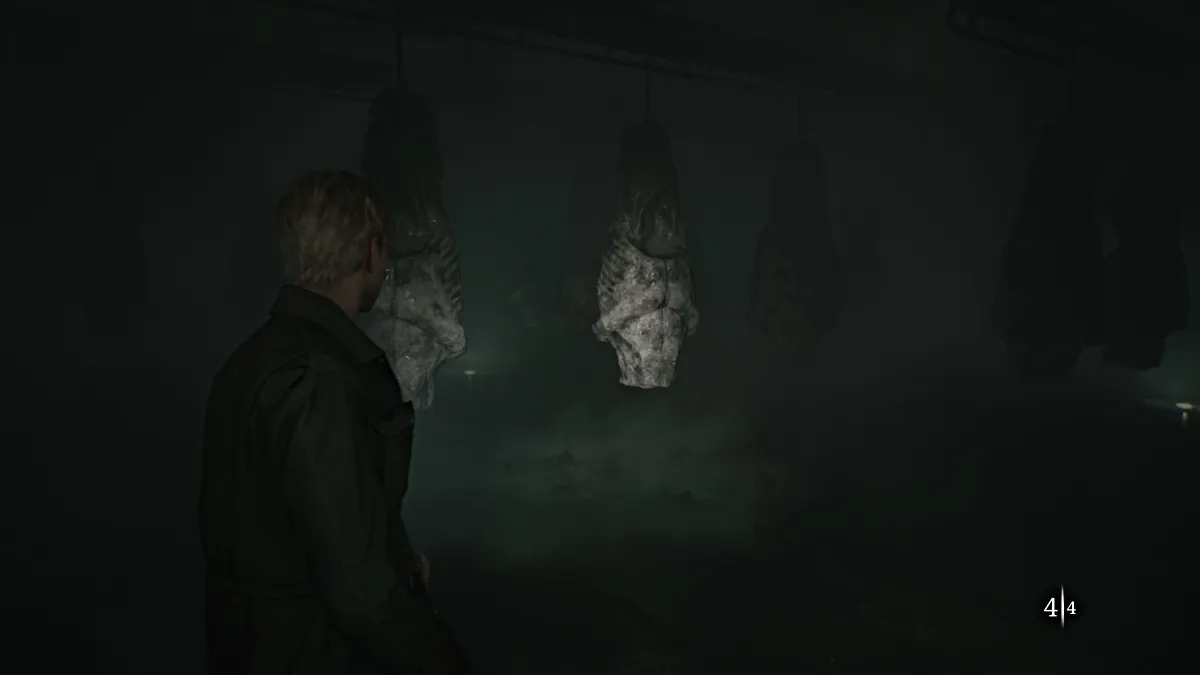
Make your way into the freezer and Eddie will officially engage you in a fight, and you'll want to avoid getting shot by him as much as possible because even just one shot from his gun hurts a lot .
Use the hanging sacks of meat for cover as Eddie circles around for sneak attacks. Do your best to keep him in your sights, or at least a sense of where he is, at all times. There will be some extra Shotgun Shells scattered around the walls of the room.
Shoot him enough times and he'll shoot a gas pipe that fills the room with fog, making it harder to spot where he is. Do your best to keep your back to a wall while waiting for him to approach. After a few more shots, the conveyors of meat will start to rotate, and you'll need to be wary of being caught in the open.
Be extra vigilant as Eddie will get more aggressive now with more gunshots and will attempt to sneak behind you for a pistol whip. Keep damaging him as much as possible and soon he'll succumb to his wounds and collapse, dead.
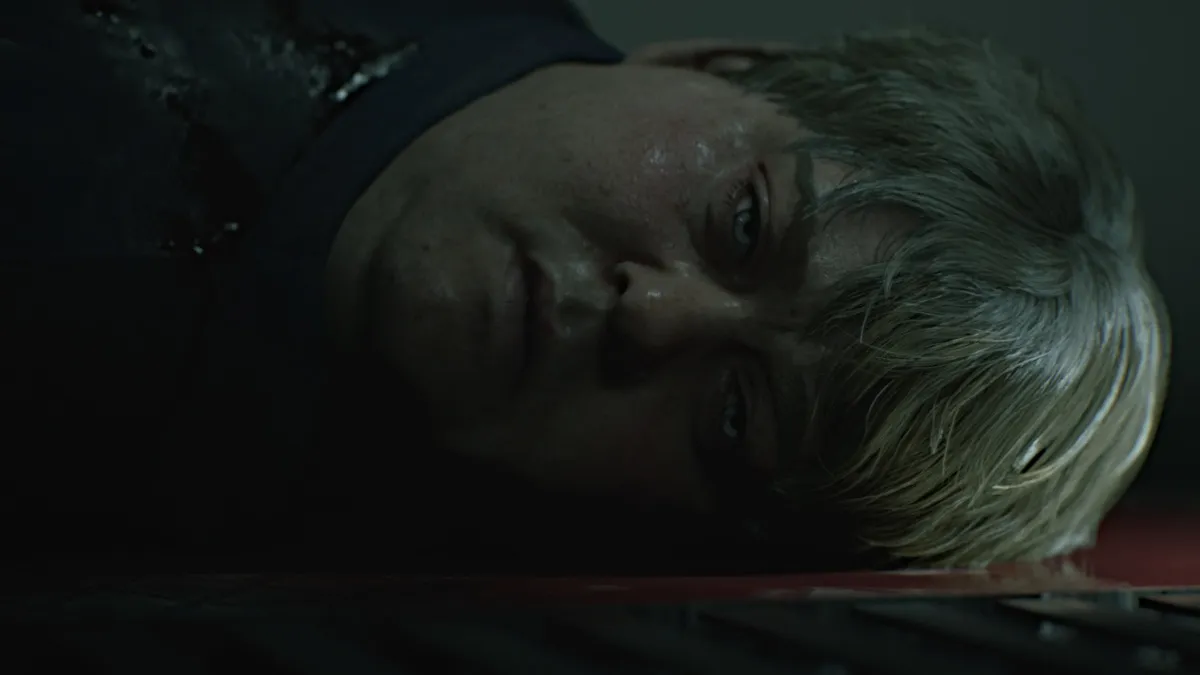
There's nothing left to do, so find the black double doors and open them to find your way out. Go through one more door, and you'll find yourself somehow back outside at the edge of Toluca Lake.
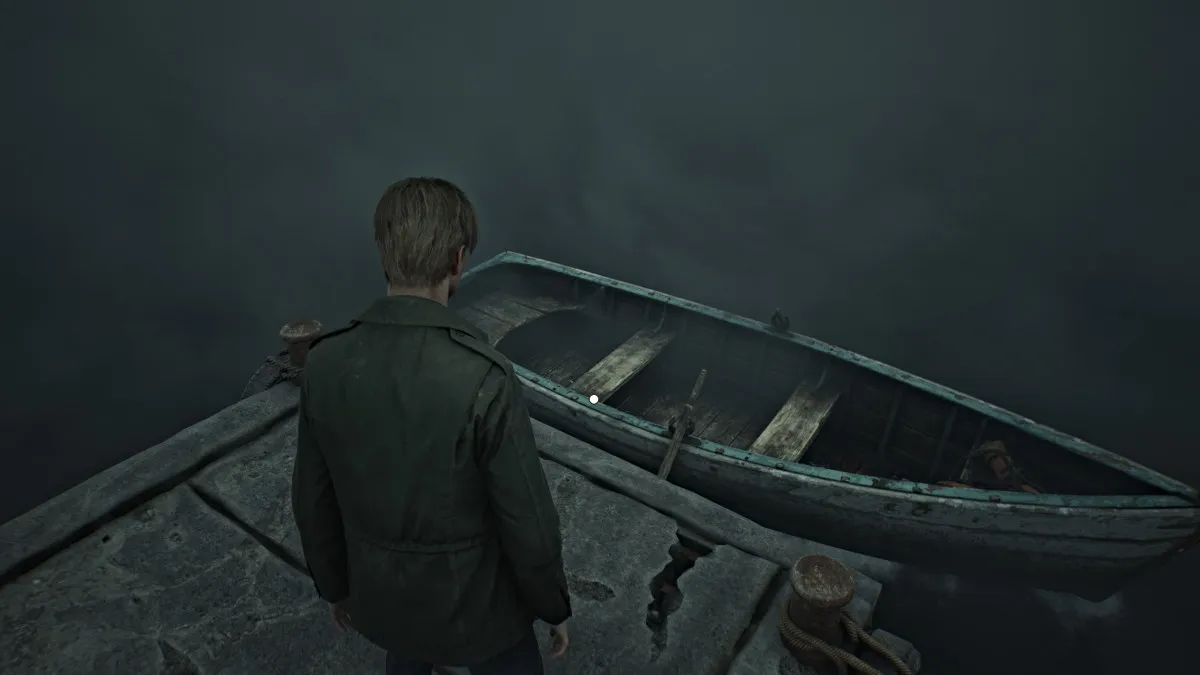
With all that James has experienced so far, it's now time to go to the one other "special place" Mary could be, which is the Lakeview Hotel . To get there though, you'll need to get across Toluca Lake, meaning you'll need a boat of some kind. Walk down the pier after using the Red Save Point and a small rowboat will be waiting for you.
After James climbs in and starts rowing, you'll soon need to take over yourself. You can control both oars separately (to turn if you veer off-course) with the appropriate controls or together at the same time to row straight.
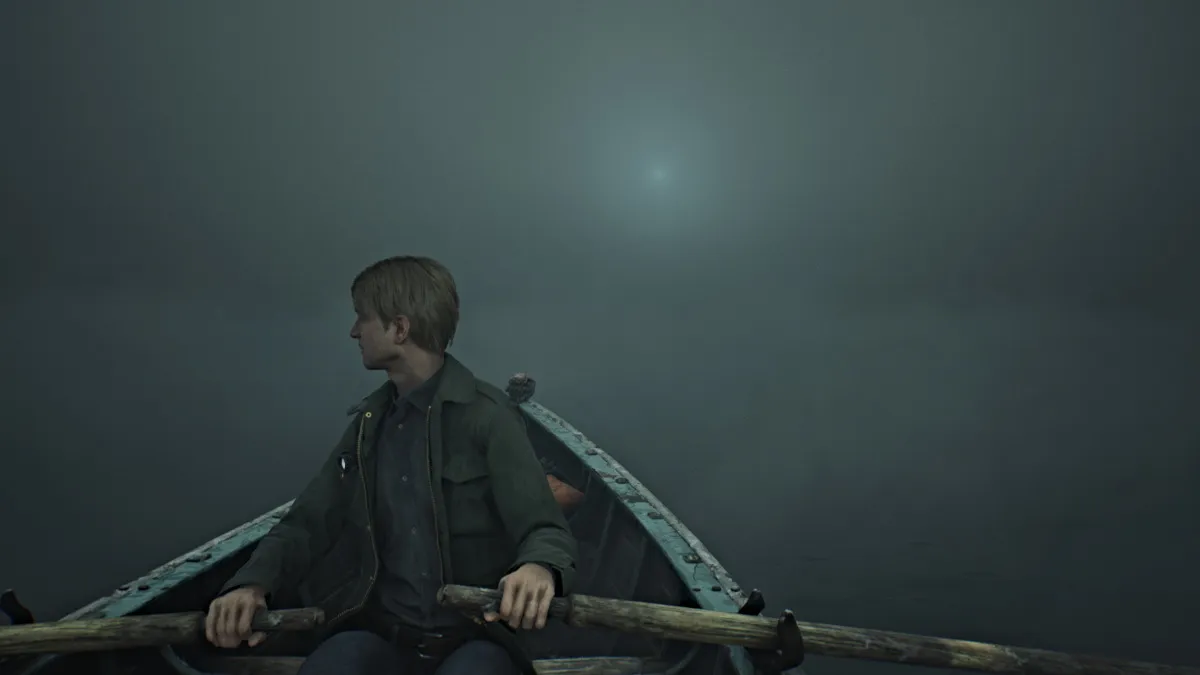
Your goal is to follow the light in the distance, which is coming from Lakeview Hotel. As you get closer, the light will grow bigger and brighter, so follow it until James reaches the pier in front of the hotel.
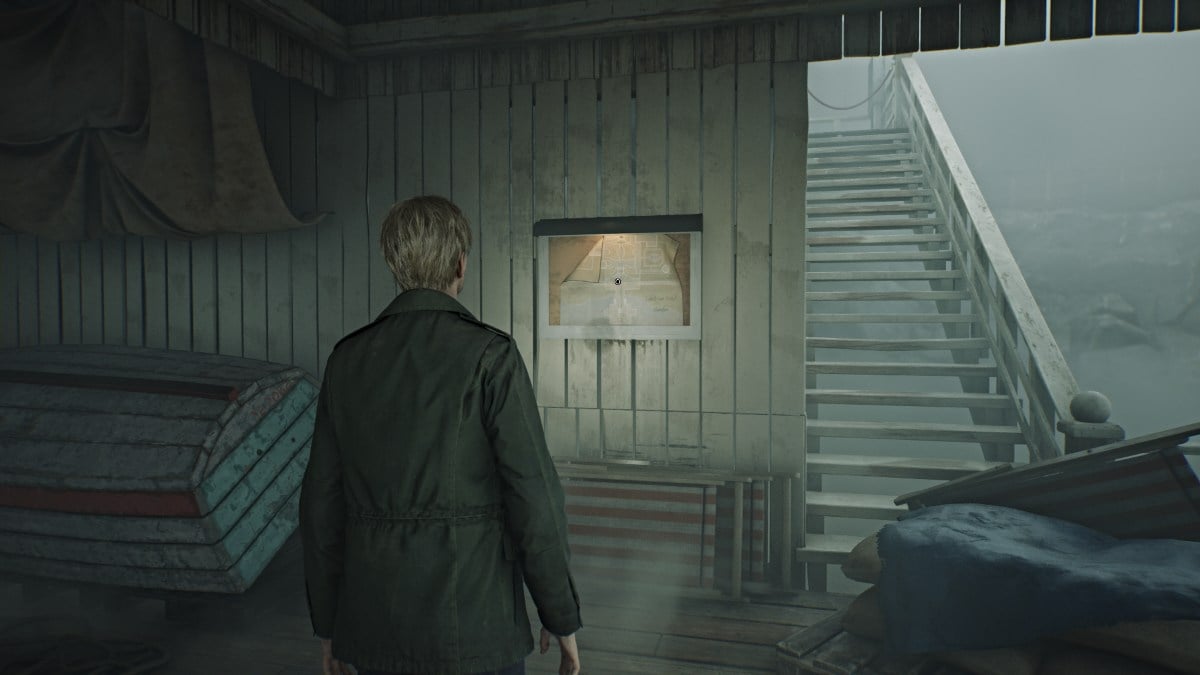
After another brief cutscene, you'll find yourself at the Lakeview pier. Go immediately to your right where you should spot the Lakeview Hotel Garden Map posted on a wall. Take it to get a look at where you are, which is the massive front entrance to the hotel.
For now, head up the central stairs and north in the direction of the garden area. Go up the next set of stairs and head left to find some Handgun Ammo in a gazebo. Now run to the far right side and on a small bench will be the Rotten Apple . Take it and make your way up the east side of the garden. Inside the Fish Fountain, you'll find a Glimpse of the Past in the form of a broken music box.
There's nothing else of note outside for now, so head to the hotel's entrance where you'll hear a piano being played inside.
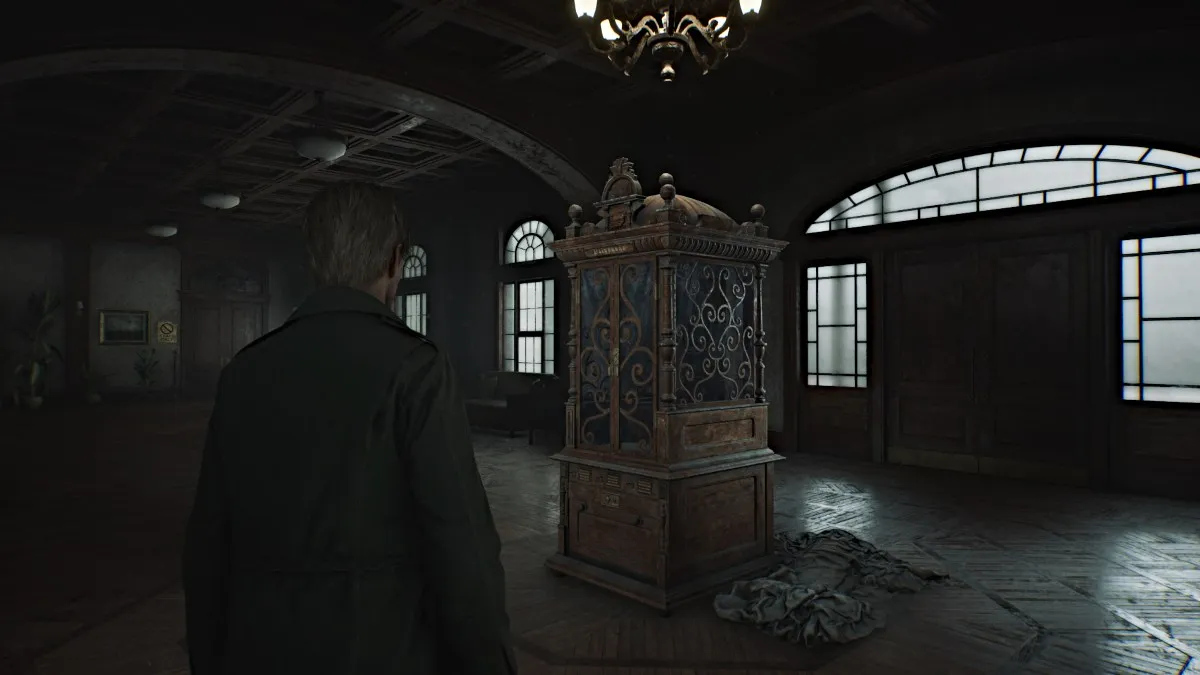
Go through the double doors and head right to collect the Lakeview Hotel 1F-3F Map , which also shows a map for the Venus Tears Bar in the Basement. Now, circle around to the front of the lobby, where you'll see a large and ornate Music Box (seen above) that requires a special key to open it.
Backtrack a bit and go inside the Check-In Room on the right to find a Red Save Point , a keyring that contains both the Room 312 Key and the Ornamental Key , and the Receptionist Memo that mentions the videotape James and Mary left now being kept in the Employee Section of the first floor .
Go check out the far right side of the lobby for some Handgun Ammo and head into Cafe Toluca . Grab a Health Drink from one of the tables, then go behind the bar to find the Room 102 Key at the far end. Go around the corner to find a breakable spot in the wall, letting you through to the Lost and Found Room. There you'll find more Handgun Ammo and the Lost and Found Note .
Go back to the Music Box machine and use the Ornamental Key to open it. Inside you'll see that three figurines are required to play the music reels. For now, head down the left side of the lobby and through the open door on the left, where the piano tunes are coming from.
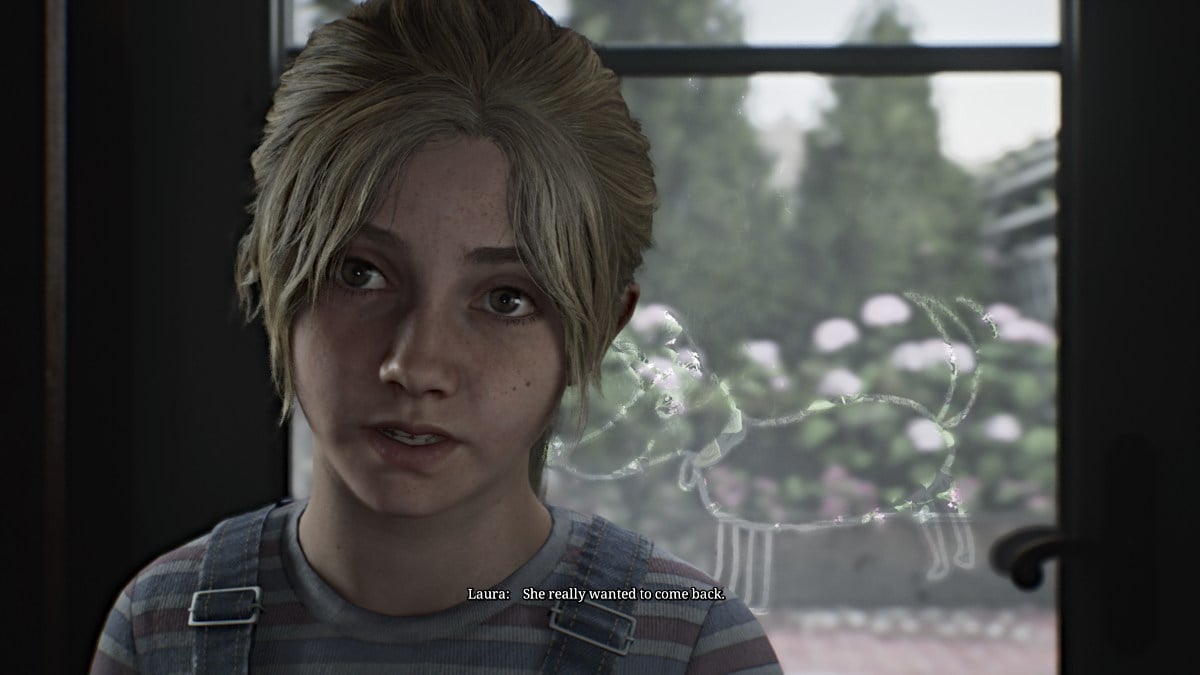
While looking around in the Lake Shore Restaurant , James gets startled by Laura hiding near the piano. The two of them talk about Mary and how they both want to find her for very similar reasons. In a letter from Mary addressed to Laura, it's revealed that Mary cared deeply for her and even hinted at adoption, if things had been different and she wasn't sick.
After James reads the letter which ends with Mary wishing Laura a happy eighth birthday, he asks her how old she is. Laura reveals that she turned eight "last week". That would mean that James' timeline of events has completely crumbled, as Mary didn't die three years ago after all, or even last year. If that letter is real, then Mary died only days ago.
Before James realizes that, however, Laura says that there was a second letter for James. She hands the envelope to him, but somehow it's empty. For now, she runs off to look for it.
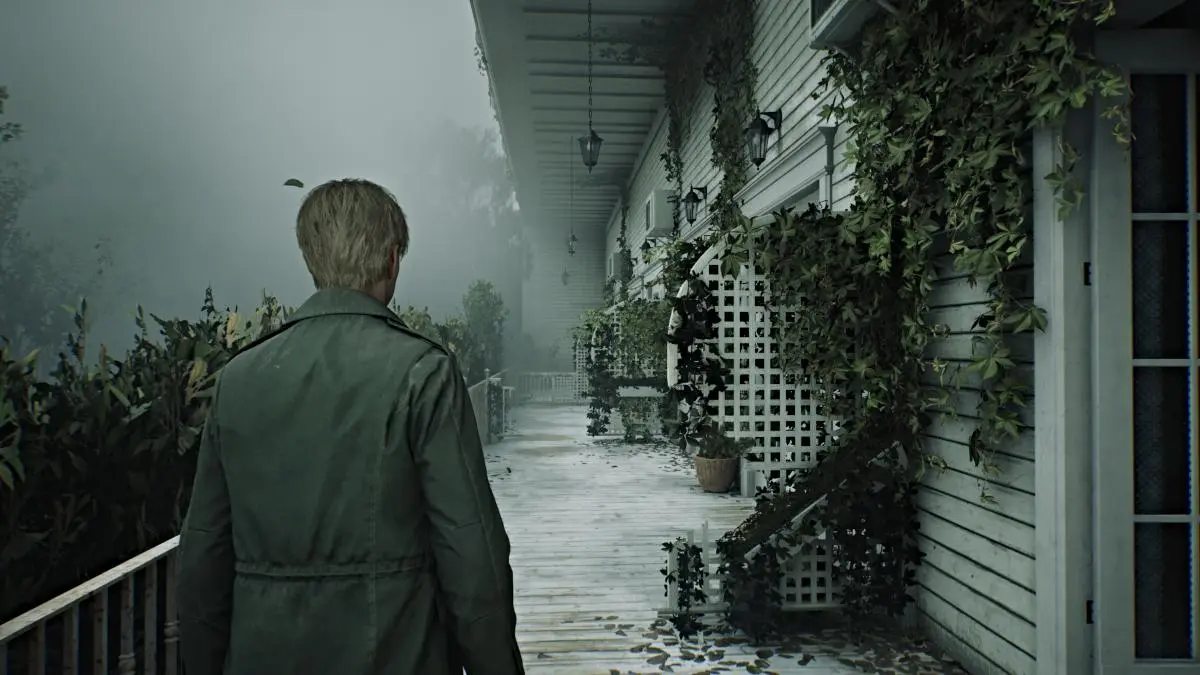
After leaving the Restaurant, follow Laura to the hotel rooms on the east side of the floor . As soon as you go through the parlor doors, however, you'll see that monsters are dwelling in the halls. Deal with the ones in your way and check the small cabinet outside Room 101 for some Handgun Ammo . There's nothing of note in that room, so go to Room 102 .
Use the key to get in, and inside you'll find a nice trove of useful items, including a Syringe , Health Drink , Shotgun Ammo , and Rifle Ammo .
Leave the room, and right across from the door, there's a crawlspace that leads into Room 103 . Slip through and grab the Health Drink from the bedside table before heading out to the patio. To the right, you'll notice that you can go all the way across to the other side. Every other room along the way is locked from the patio side, except for Room 106 at the very end.
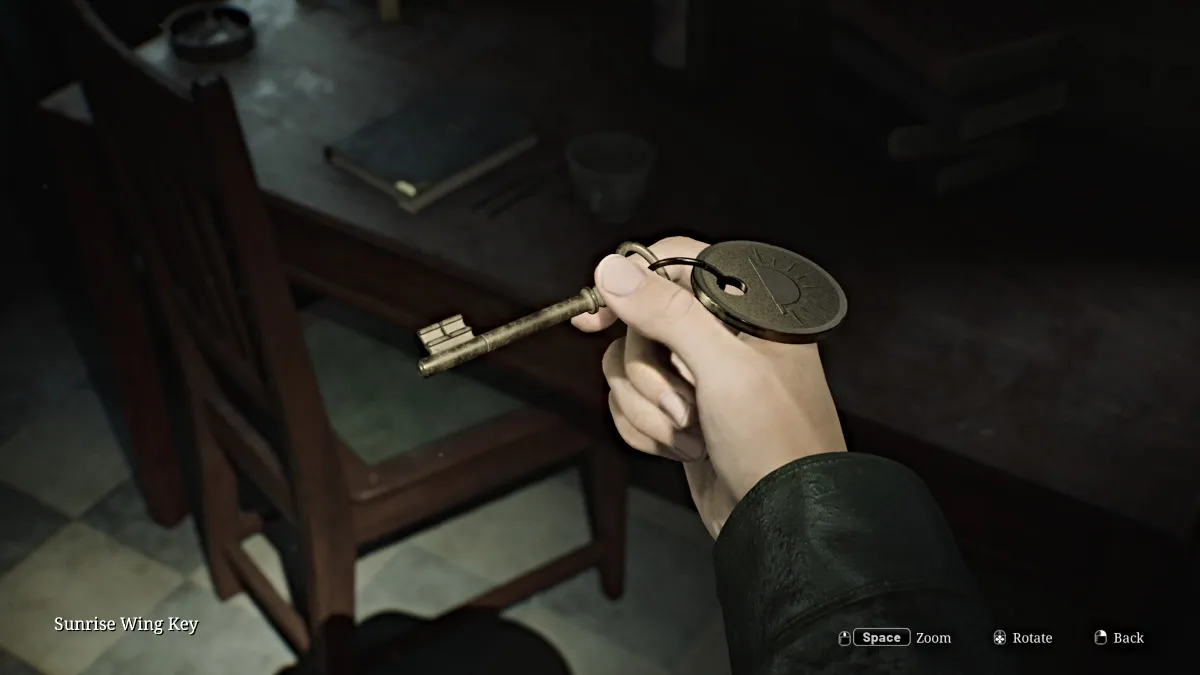
Go inside and check the bedside table for some Handgun Ammo , then go out into the hallway. A couple of Mannequins will ambush you in the dark, so take care of them first. Go check Room 104 , the only other accessible room on that side for the "aftermath..." Strange Photo and some Rifle Ammo .
Room 107 at the far south end requires a key to get in, so for now check the Utility Room nearby. Inside there's some Handgun Ammo and the Sunrise Wing Key , which unlocks an area of the second floor. Afterward, go unlock the door nearby that leads back to the front entrance area, if you want.
For now, make your way back to the lobby and up to the hotel's second floor.
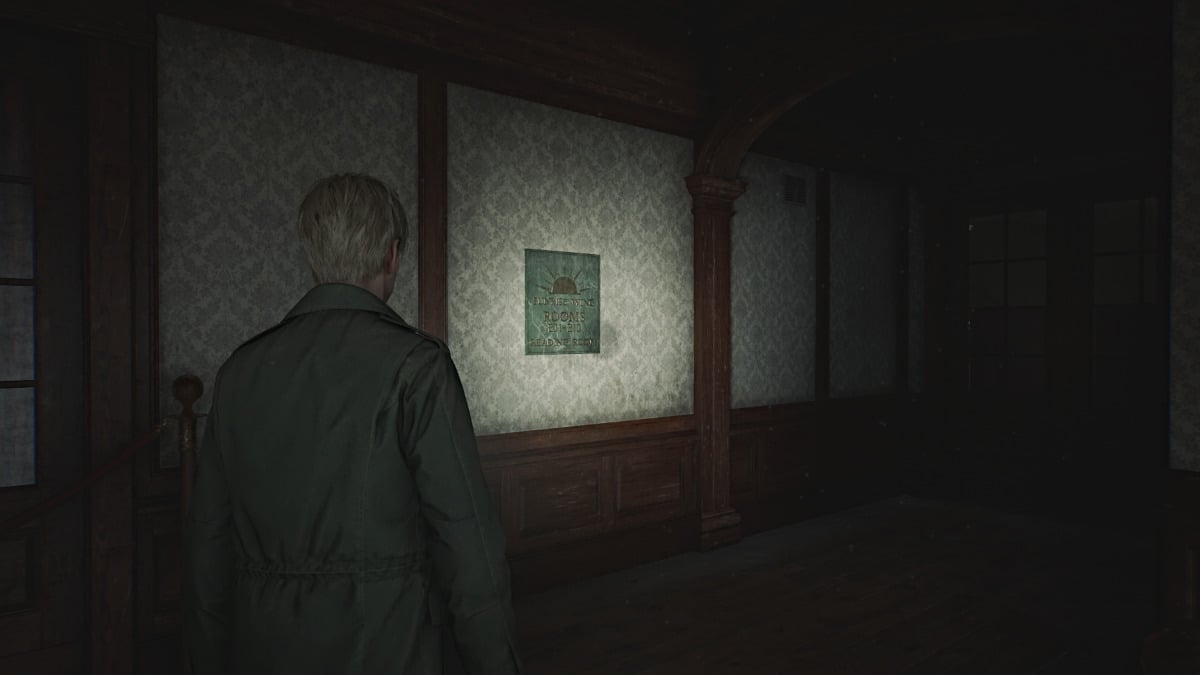
Upon reaching the second floor, you'll notice that the west half of the floor is locked off. So for now, go to the east side, which happens to be the Sunrise Wing where you can use the key you just got. Head inside and watch out for more lovely spider Mannequins crawling the walls and ceilings.
Before you investigate the Reading Room, duck into the Cloakroom on your left, which gives you access to the Hall room next door. Go in there and grab the Room 202 Key from a couch on the left side, then deal with a couple of Mannequins to get to the back of the room where you'll find the Ripe Apple (yum).
The patio is accessible and leads to the west side of the floor, but hold off on that for now.
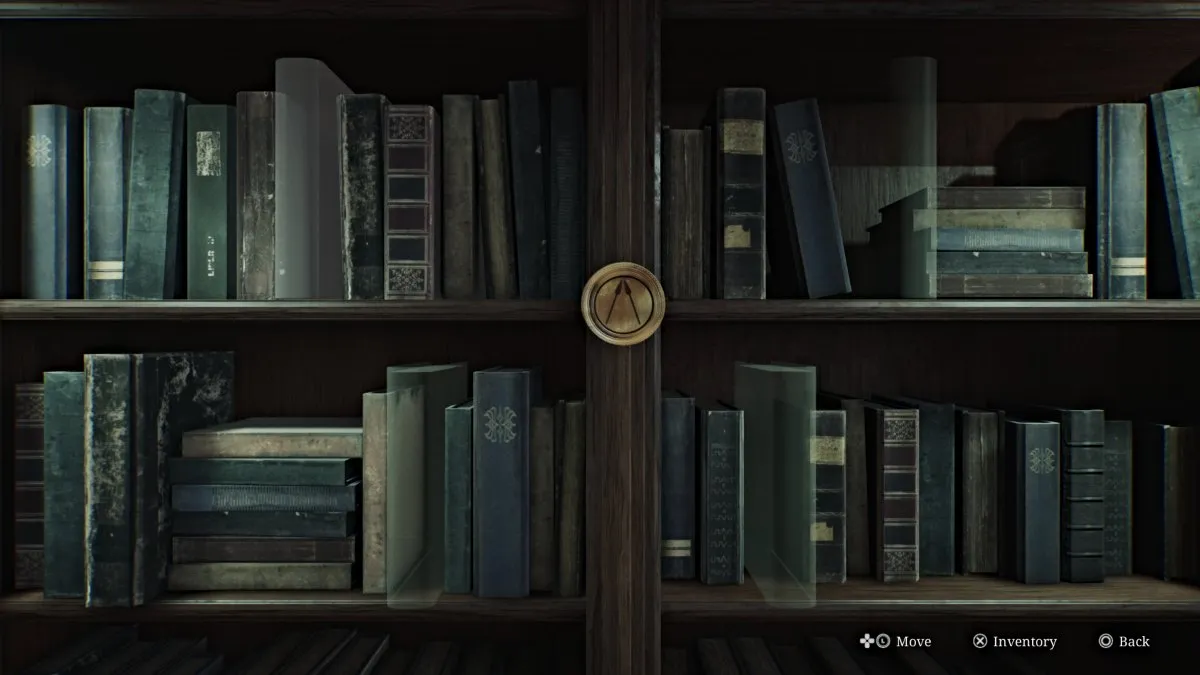
Now head into the Reading Room on your right, which James has marked on the map. Inside will be a Red Save Point along with four books you can pick up, including:
You'll need to place these books in the correct spots on the nearby bookshelf with a bronze emblem marked with two spears. Notice that the spine of each book has a different gold symbol, including an Eagle, Angel, Lion, and a Bull .
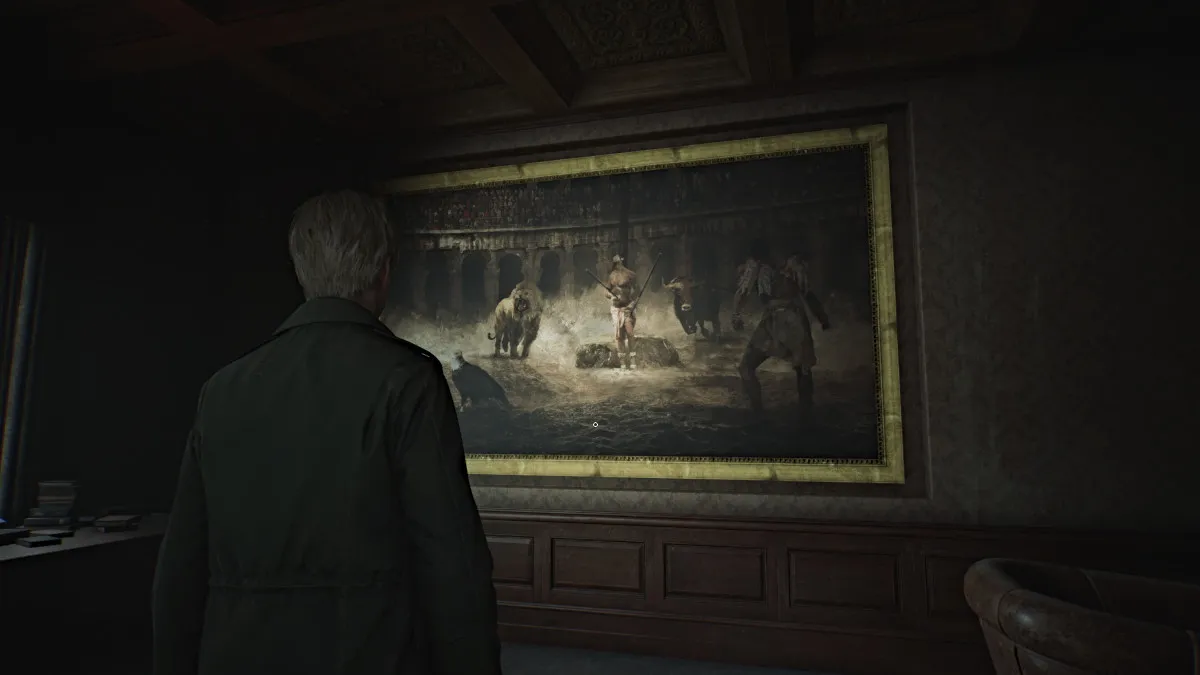
Next, look at the huge painting on the opposite wall, and you'll notice that it contains all of the aforementioned symbols as painted subjects. Two are in the background while the other two are in the foreground . Based on that, the books need to go on the shelf in the following order:
| 书 | 地点 |
|---|---|
| The One Who Soared (Eagle) | Top Right Slot |
| Revelations: A New Understanding (Angel) | Top Left Slot |
| Stalwart to the End (Bull) | Bottom Left Slot |
| Pride Before the Fall (Lion) | Bottom Right Slot |
Once done, the bookshelf will slide back to reveal a secret room that also connects to Room 205. Go inside where you'll find a series of Photos (#1-3) in the room along with a Briefcase that requires a letter-based combination to open.
Normally, to figure out the code you would need to replace the broken light bulb in the nearby Vanity Mirror with a new one. To do that you need to find the Paint Can (Room 318), the Can Opener (fallen book in Lake Shore Restaurant), and the new Lightbulb (locked left side of Garden area; use Boltcutters to access).
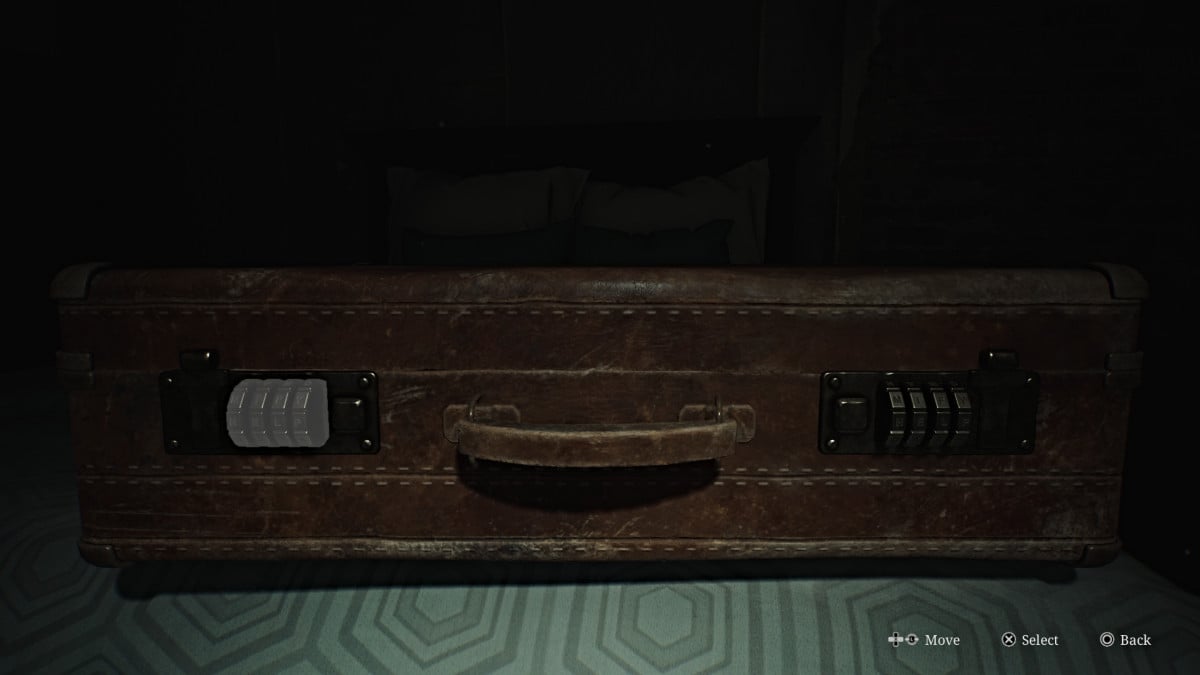
However, if you'd rather save time, the correct combination (Standard Difficulty) is "DEED DONE" . So input "DEED" on the left combination lock and "DONE" on the right one. Inside the Briefcase will be the Employee Elevator Key .
Up top, only Room 209 is accessible but has nothing valuable (only a Mannequin to jumpscare you). Head south and into Room 206 , where you can use a crawlspace to enter 207 and claim some Rifle Ammo . Double back out to the hall and Room 204 will have a Health Drink and Handgun Ammo for the taking.
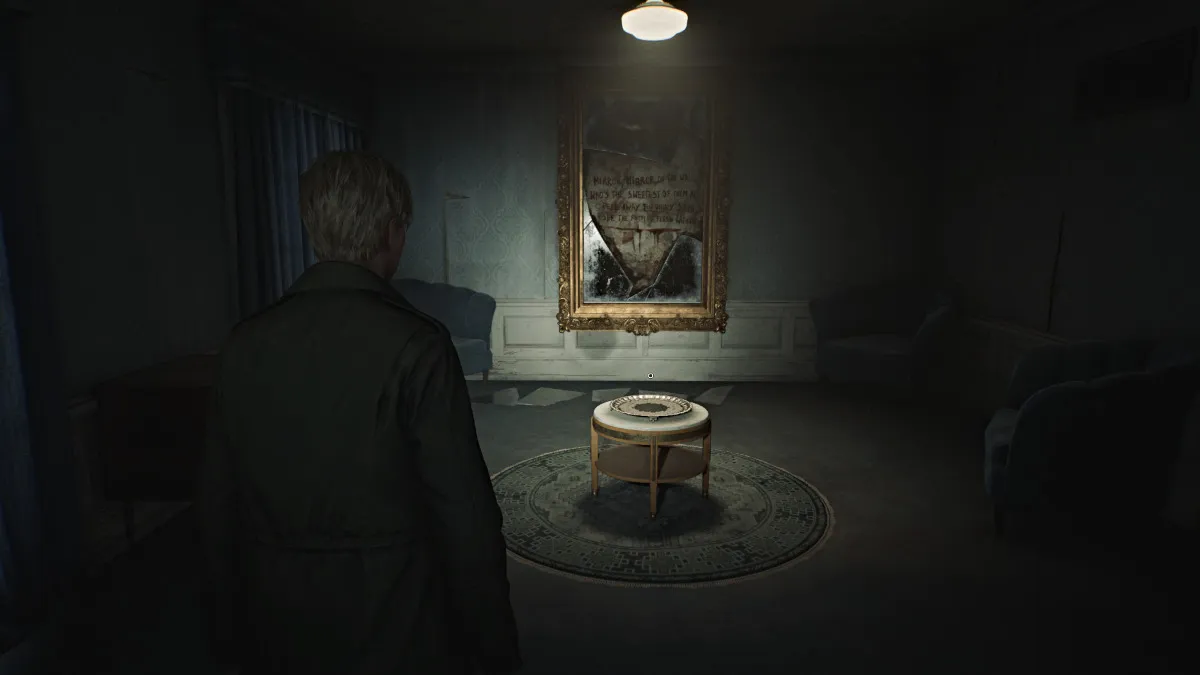
Finally, go to Room 202 and use the key you got to enter. Inside you'll find an ominous room with a small table and a platter on top of it. On the wall behind it is a broken mirror with words inside written in blood. "Mirror, Mirror, on the wall, Who's the sweetest of them all, Peel away the shiny skin, See the rotting flesh within."
On the floor beneath the mirror are five broken shards . A sixth one can be found in the bedroom on the opposite side; grab it before you start the puzzle. When ready, you first need to place either the Ripe Apple or Rotten Apple on the platter. For the sake of completing the puzzle, your choice doesn't matter.
Next, you'll be required to place each of the broken shards on the floor back into the mirror in the correct spots . The last one will be the one you took from the bedroom.
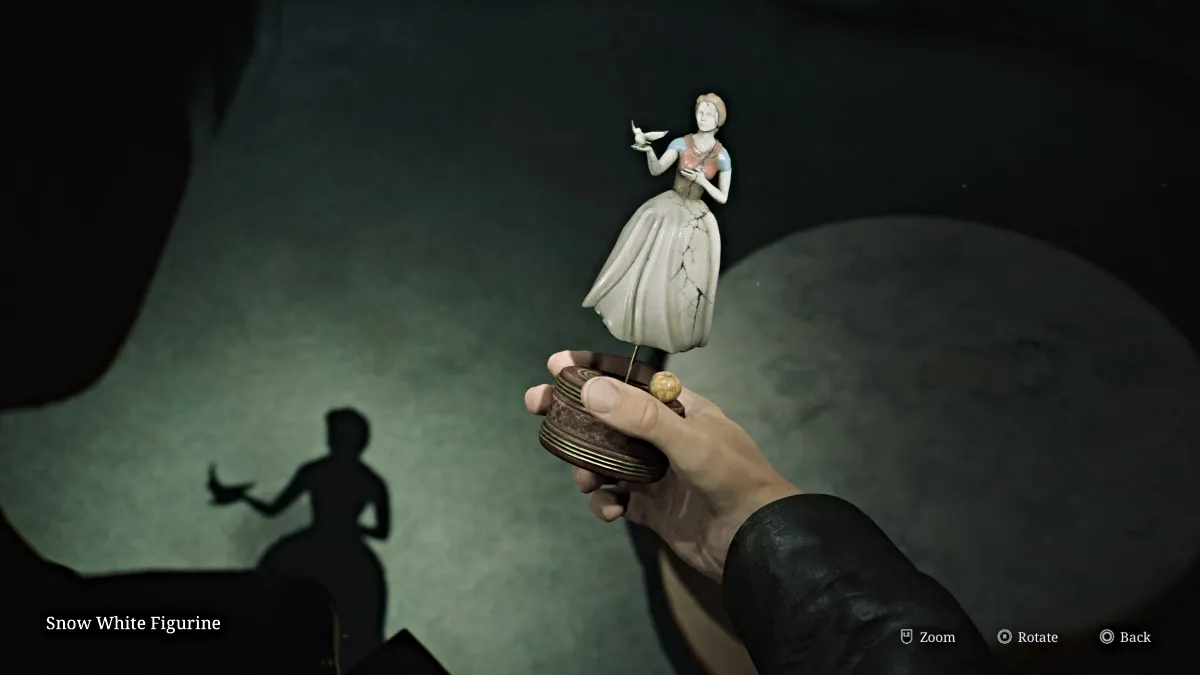
Once done, the mirror will reform and you'll then want to head to Room 201 next door to claim your reward, the Snow White Figurine .
Now make your way back through all of the spider Mannequins to the Cloakroom , and cut through the Hall room to the extended patio outside. Use it to reach the Nurse's Office on the left side of the floor, where you'll find a Bubble Nurse and a medical record sitting on a desk with the initials "MSS". Mary's perhaps?
Go out to the hallway and unlock the double doors to your left to make the Sunset Wing on the west side accessible. Go straight and around the corner to get some Shotgun Shells from a drawer. Bypass the Employee Elevator Room for now (for a specific reason) and explore the rest of the rooms on the floor first.
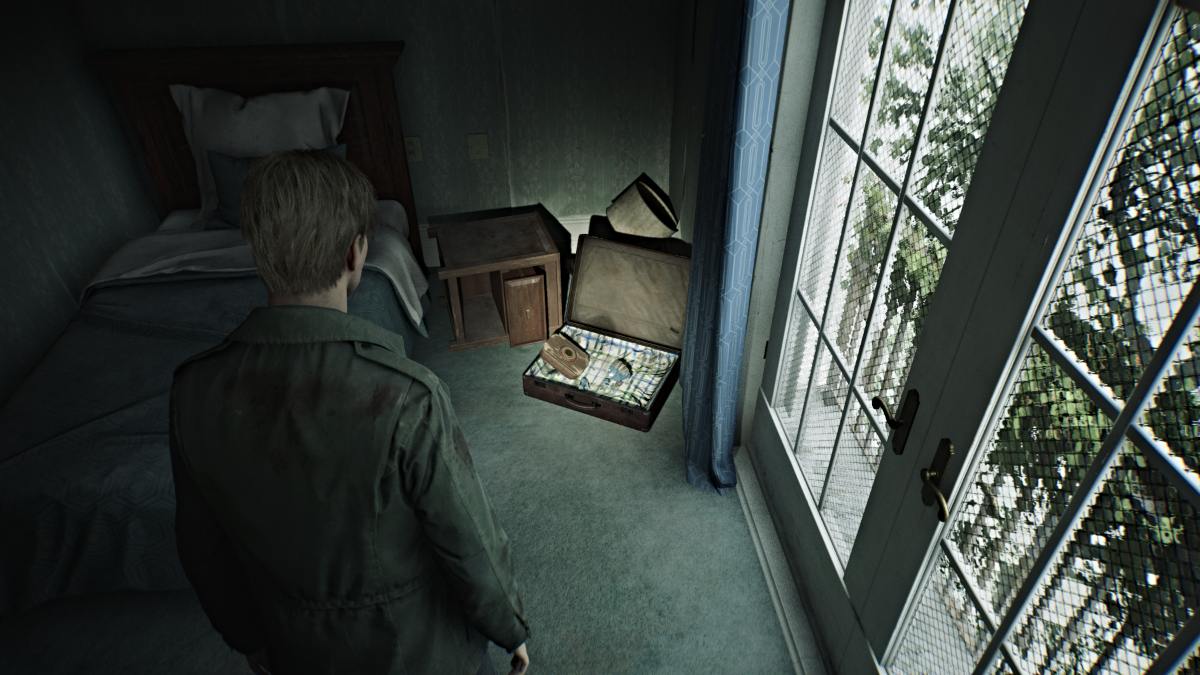
Note that the third floor is accessible from this side . Grab some Shotgun Shells from the drawer near Room 214. Go straight up the hall to the window at the far north end, where a Mannequin will be hiding and some Rifle Ammo on a table. Double back and turn right to find more Rifle Ammo at the end of that hall.
Inside Room 212 you'll find another Glimpse of the Past in an open briefcase. Leave and now head up to the third floor.
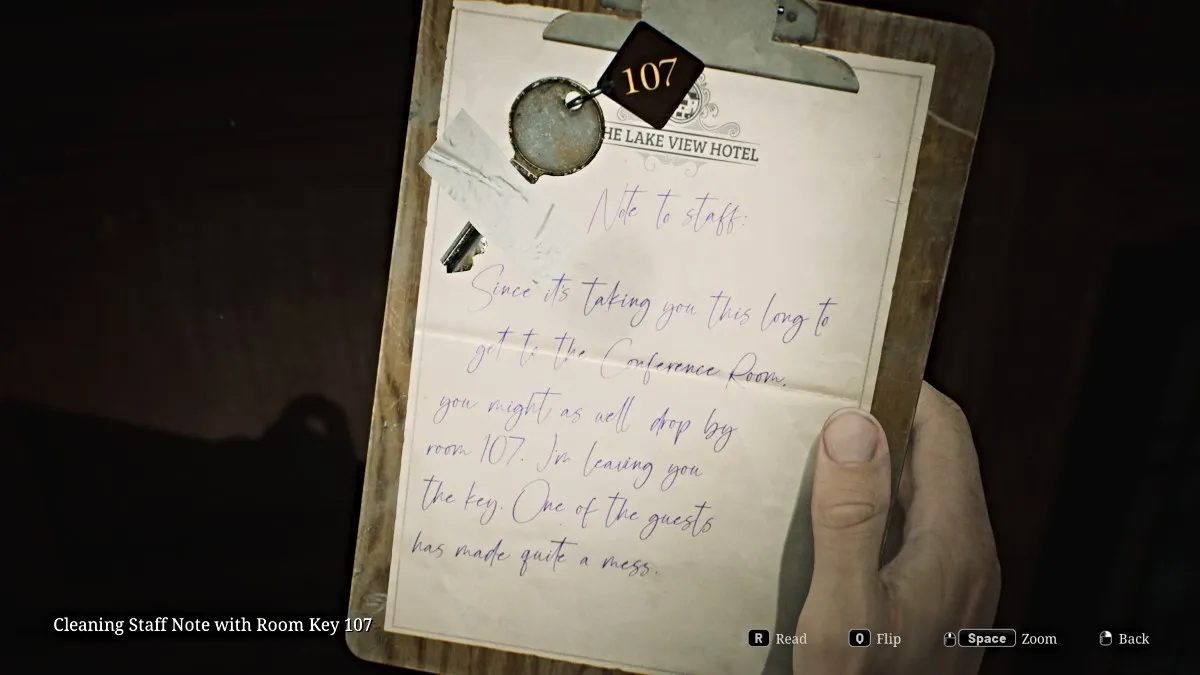
Go up the stairs to the third floor and first head into the Conference Room in front of you. Go across the room and pick up the Cleaning Staff Note With Room 107 Key off the fireplace. Now interact with the fireplace itself, and you'll notice one of the Music Box Figurines is stuck inside it . You'll need something to unlock the fireplace first.
For now, run back out into the hallway, and you'll notice double doors locked by an iron gate. If you approach it, Mary's voice will suddenly shout for James, surprising him. You'll need a key to access that part of the floor, however. For now, go check the Utility Room around the corner, where you'll find Handgun Ammo , Shotgun Ammo , and a set of Boltcutters (used to unlock the outside Garden's left side).
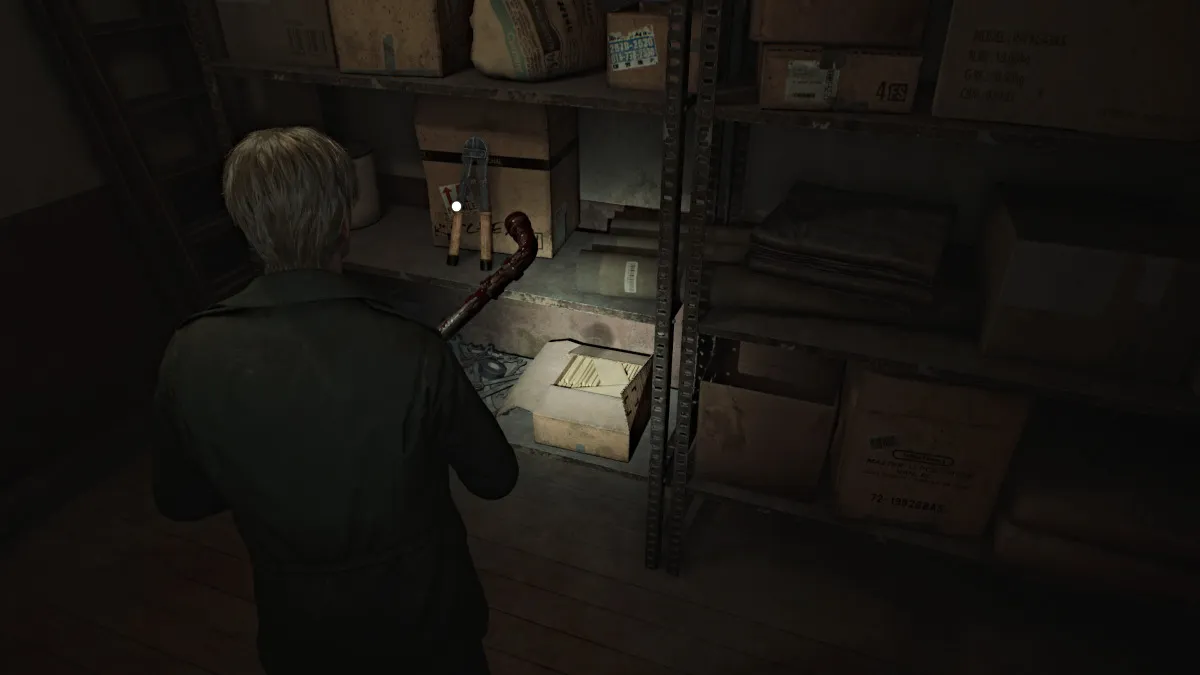
Double back around the hallway to where you see a bright red 'Exit' sign. This will take you outside and down a stairwell (grab the ammo from the table on the way down) to the second floor, into the southeast corner you couldn't access before.
First go into Room 215 , where you'll find a breakable wall that will take you to 214 . Unlock the door in there, and you now have a handy shortcut to the other side of the Sunset Wing.
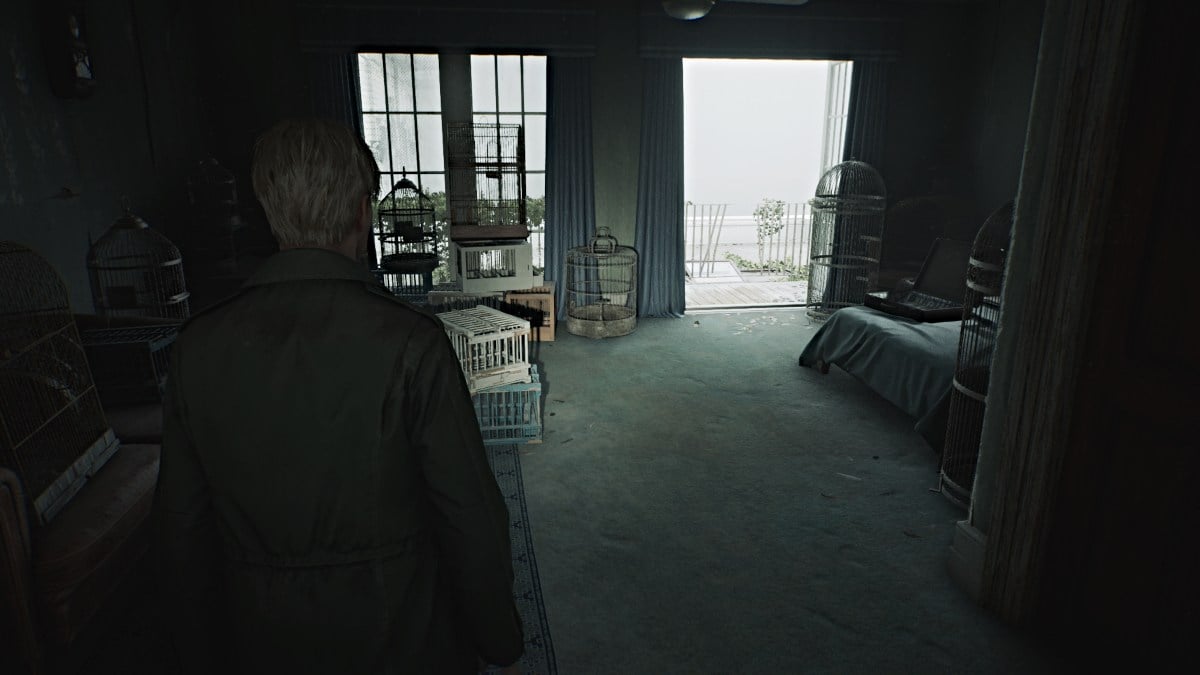
Now double back to Room 217 , a room full of bird cages where the patio doors will blow open, making another path for you. Grab the ammo from the suitcase on the bed and go look outside, where you'll see another red book lying on the glass ceiling across the way. Use your Handgun to shoot the cracked glass plate underneath it, so it falls into the Lake Shore Restaurant below.
Use your new shortcut and head all the way back down to the first floor and to the restaurant, where the book will be lying on top of a box. Interact with it, and it will open to reveal the Can Opener (for the Paint Can, if you're uncovering the briefcase code yourself). Take it and then head to Room 107 , now that you have the key for it.
Unlock it and go inside. First, pick up the Cleaning Staff Note #3 from the nearby table, then a Health Drink from the bathroom, and then head outside to the patio area.
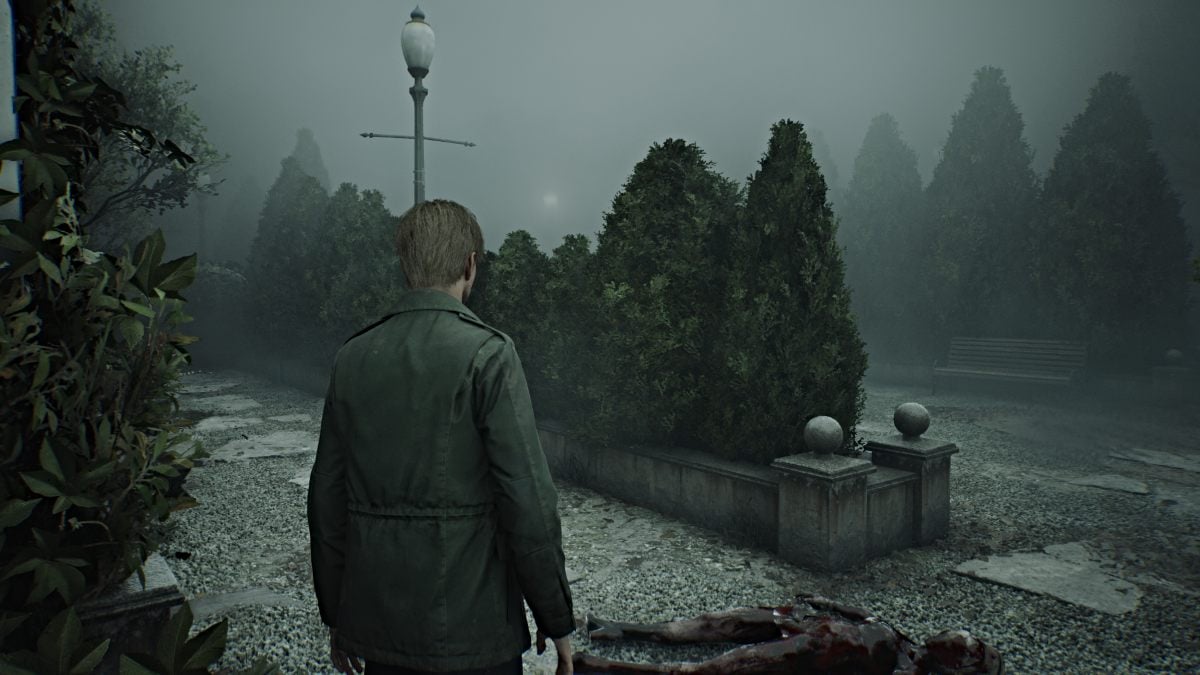
Turns out that this leads to the east side of the Garden area that you couldn't access initially. Grab Shotgun Shells from the table near the doors then start exploring the area. Deal with the monsters patrolling the grounds and make your way to the gazebo in the back corner. Inspect the overturned cleaning bucket and you'll get the Fireplace Key .
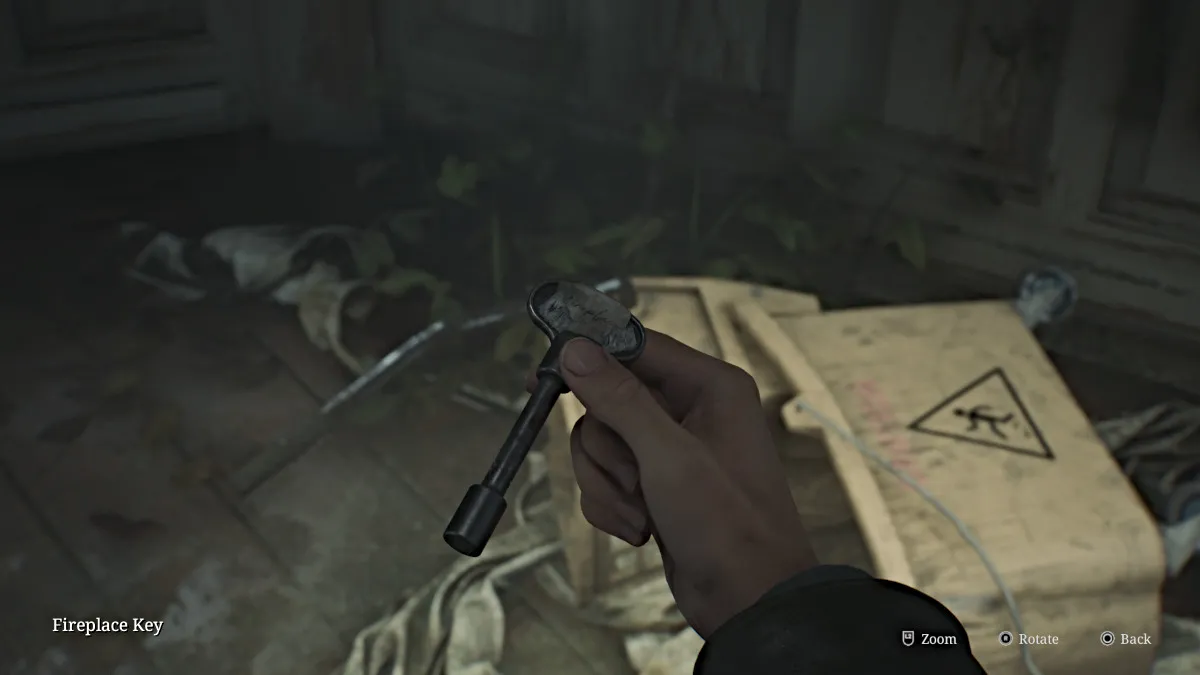
Now you can head back up to the third floor to put that key to good use.
Make your way back up to the third floor of the hotel (notice that some walls and windows are starting to wither) and go into the Conference Room . Run over to the fireplace and use the Fireplace Key to unlock it and retrieve the Cinderella Figurine .

A cutscene follows that shows a huge Mandarin enemy burst through the side of the room and attack James. While it may look like it at first, this isn't a boss fight. Just unload some Shotgun Shells (or whatever you have) into it until it dies.
Go into the side room the monster came from and grab a Health Drink and ammo from the phone table, then turn your attention to the shelf ahead. Push it out of the way to reveal a breakable wall. Bust through it to get into Room 317 . The wall behind you will collapse, so the only way forward is outside.
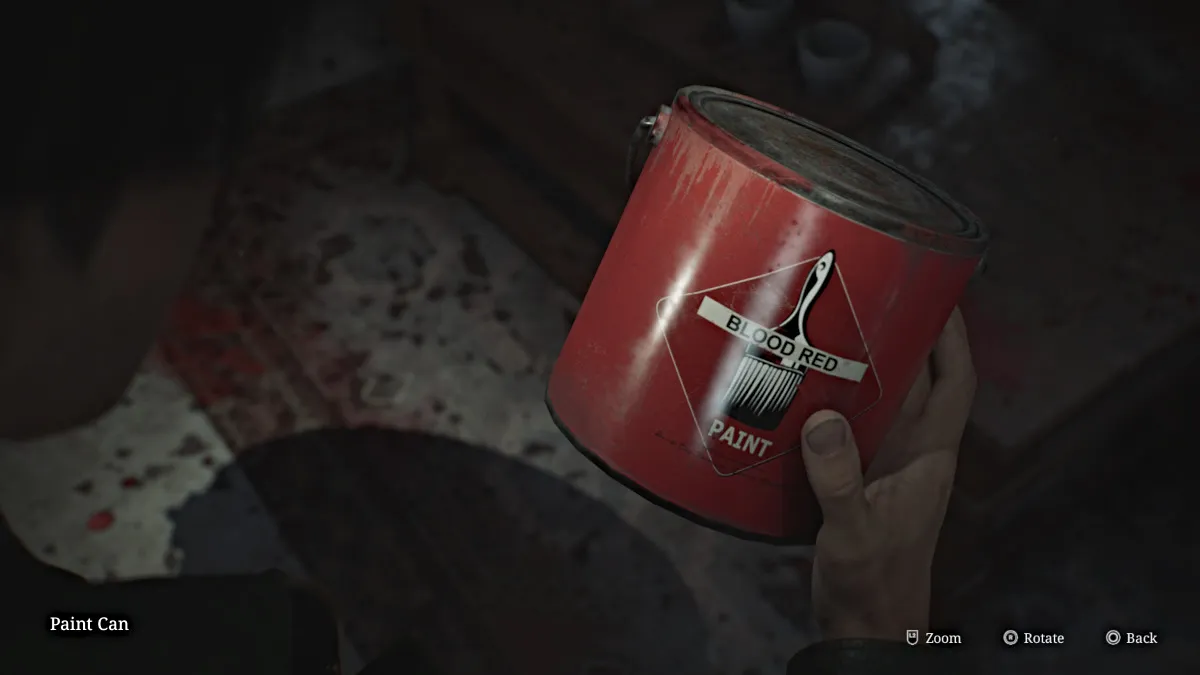
Hop across the low fence to the patio of Room 318 and go inside to see what looks like a catastrophic mess of blood on every surface, but it turns out to be red paint. There's an unopened Paint Can for you to claim, and you can combine it with the Can Opener to open it. You just need a Lightbulb to dip in the paint itself, which is at the fish statue in the Garden area.
You can take all those items back to Room 205 behind the Reading Room and use them on the Vanity Mirror to reveal the aforementioned code.
Once you've taken care of everything mentioned up to this point, it's now time to head back to the Employee Elevator Room on the second floor. If you attempt to go into the elevator immediately, you'll notice a loud alarm go off, meaning there's too much weight present.
In other words, you're going to need to offload everything you're carrying. Your weapons, your healing items, your flashlight, your key items, everything.
Use the Red Save Point inside, and then interact with the nearby cabinet. Inside, you'll see containers for each type of item you're carrying. Start dumping everything you have into them, however, you're oddly allowed to keep your photo of Mary , her letter (which if you look is now strangely blank), her handkerchief, and Angela's Knife .
Now you can enter the elevator and take it to the first floor , the only place you can go. Be forewarned, there are Mandarins patrolling these areas, and you will need to do your best to sneak around and avoid them since you have no means of killing them. If you walk quietly and keep your distance, they won't detect you.
Jump into the Break Room across the hall in front of you first, and grab the map for the Employee Section of the hotel(since you had to leave your other map behind). Now go to the Break Room Safe on the other side of the room.
The safe requires a keypad code to unlock it, and normally to figure it out you would need to solve the Gem Box Puzzle located in the Manager's Office and find all of the gems around the floor to do so.
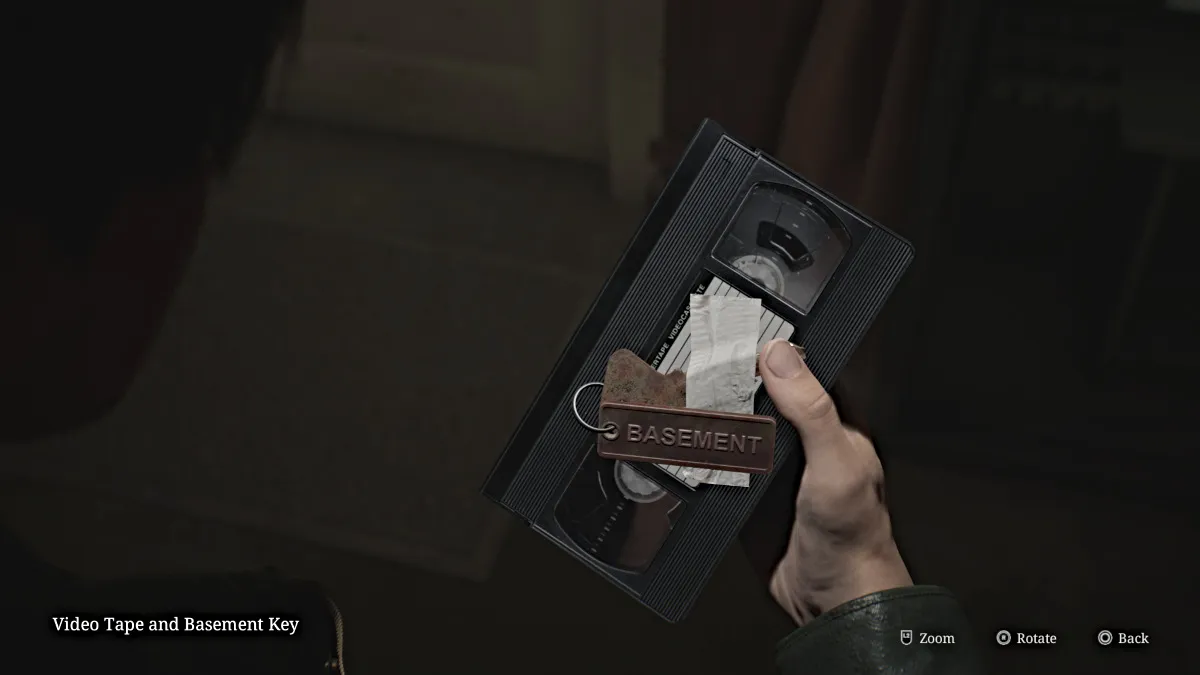
However, since this area is especially dangerous, we have the code for you to help save both time and your health. The correct code for the Break Room Safe is 7414. Inside you'll find the Video Tape and Basement Key , which will allow you to go to the Basement level of the Employee Section.
Tiptoe past the Mandarins and unlock the door to the stairwell that will take you down there.
Upon reaching the Basement level, check your map and carefully make your way south to the Maintenance Room first, avoiding the one patrolling Mandarin as you go. Once there, pick up the blue Pump Valve sitting on a table.
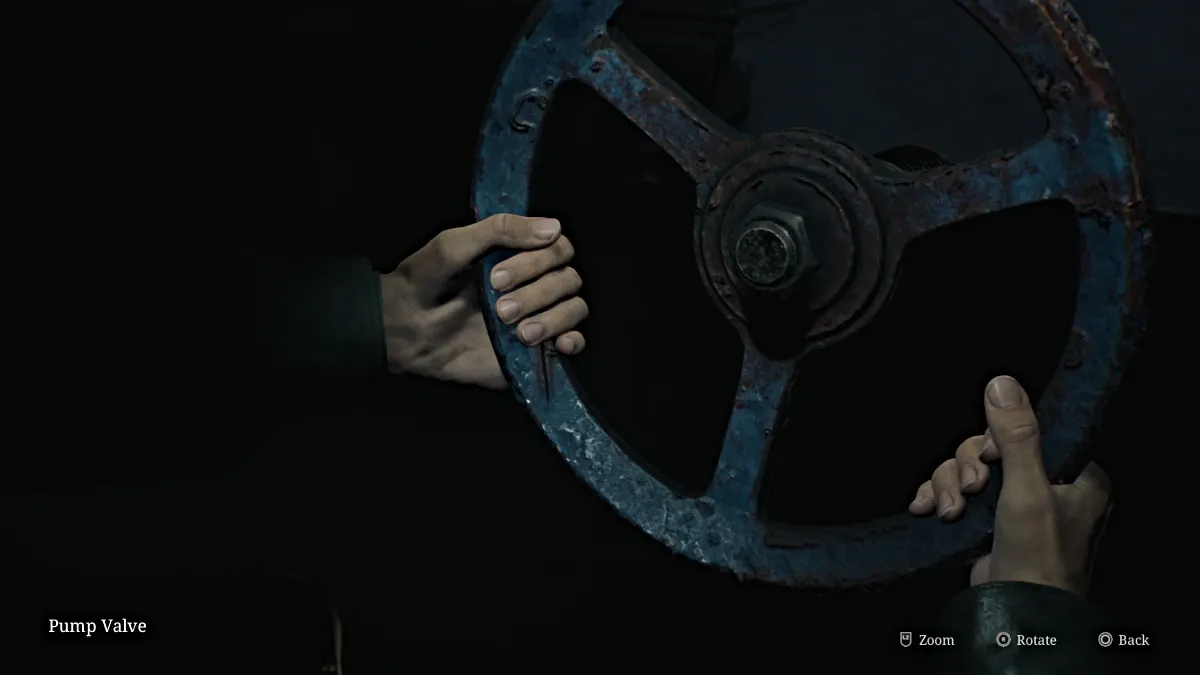
Exit the room via the gap in the wall to save yourself time on the Mandarin's patrol route (we recommend tailing it and then shortcutting up the middle once it's passed back around) and now head for the Liquor Storage Room .
Go inside, slide through another gap in the wall on the left side (wait for the Mandarin to pass before you do), and use the Pump Valve to cut off pressure from a nearby steam valve that's blocking access to the Boiler Room . Once done, go into the Boiler Room and grab the Venus Tears Bar Key hanging on a pipe by the boiler.
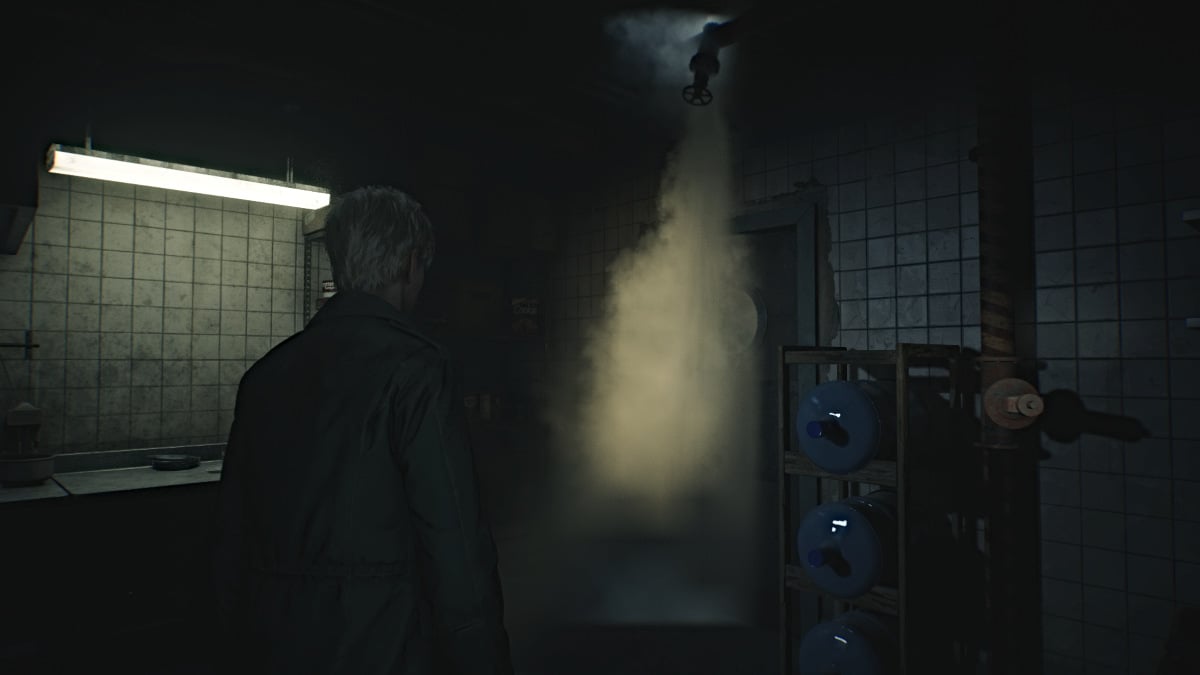
Leave the room and grab your Pump Valve because you'll need it one more time. Use the key to unlock the door to your left to the Venus Tears Bar Kitchen and go in. There will be one more spewing steam pipe that you need to depressurize, so use the Pump Valve nearby to do so.
Go through the next door to the bar itself, where you'll find a broken jukebox underneath a shattered aquarium that's flooded the room. Grab the "Better leave..." Strange Photo behind the bar, then go over and pick up the Little Mermaid Figurine off the floor, then use the Red Save Point nearby.
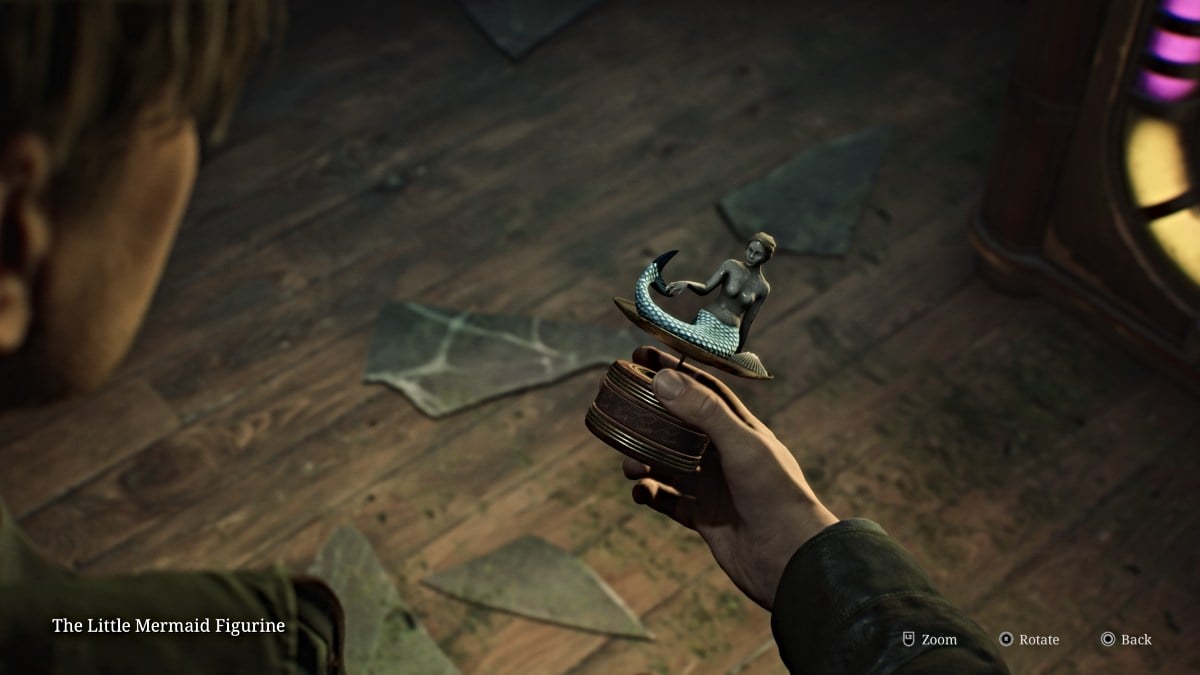
Leave the Venus Tears Bar through the front entrance and now make your way back up to the second floor to quickly reclaim your items from the Employee Elevator Room. Once that's done, head back down to the first floor where the Music Box is, now that you have everything you need.
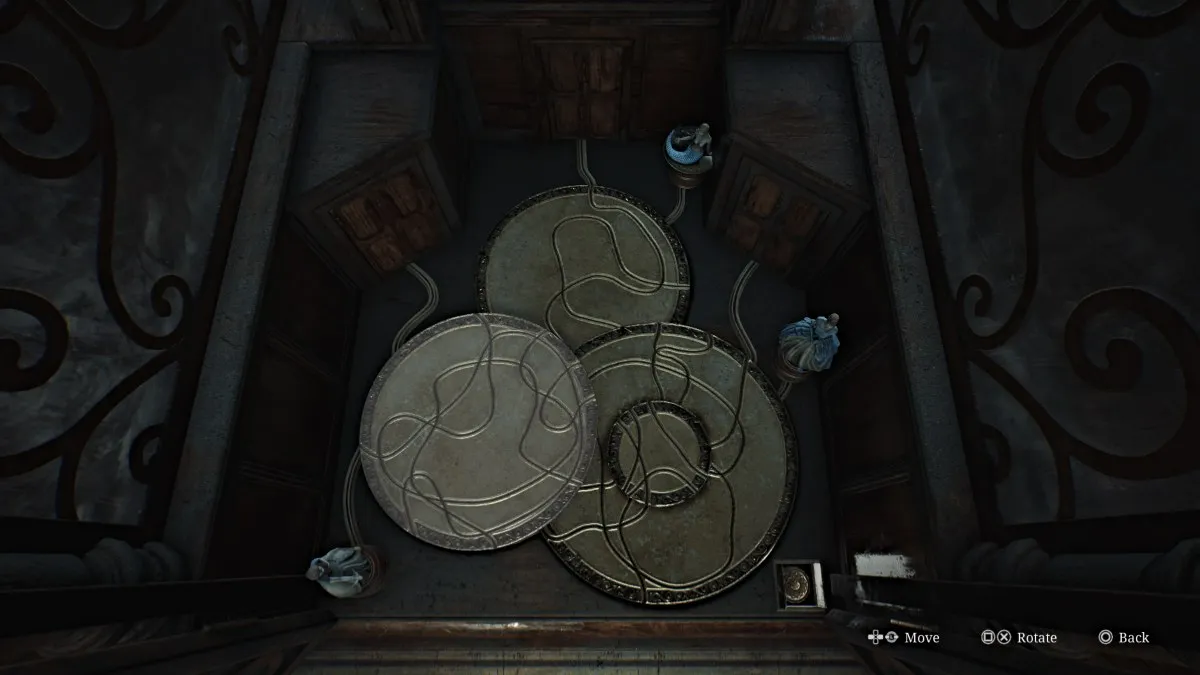
Approach the Music Box and look inside to place the three figurines you've collected in their respective spots. Your goal is to send those figurines along the correct track etched into the discs to their correct doors.
To do that, you need to rotate the discs inside the machine until they form the correct paths to the correct doors. The solution for all three figurines is:
Once you've aligned the tracks, press the button at the bottom right and the machine will prepare the sequence. However, there's one more step to complete.
You can now view the poems for the respective princesses on the facade of the machine, and there is a key above each passage (seen below). Your goal here is to turn each key the correct number of times, according to the numbers mentioned in each passage.
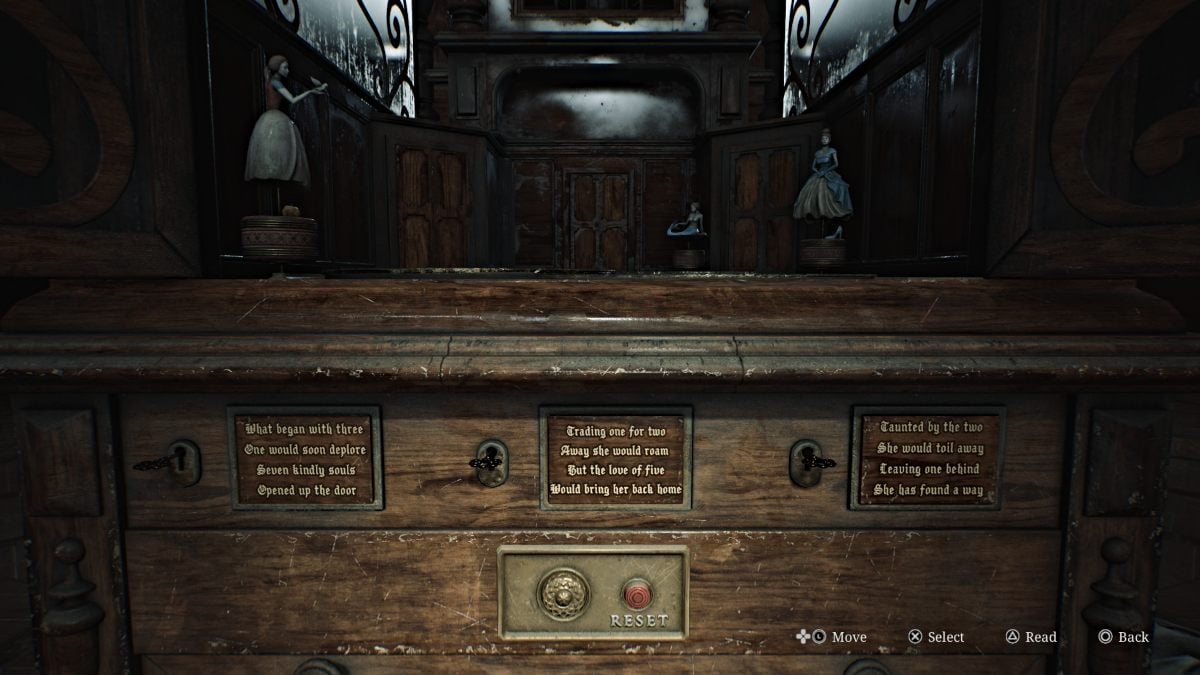
For Snow White, turn her key seven times. For Little Mermaid, turn her key five times. Finally, for Cinderella, turn her key one time.
Once you do, a familiar tune will play for James and he'll receive the 3F Corridor Key . This will unlock the gated hallway on the third floor, where you heard Mary's voice.
It's now time to face the music, literally?
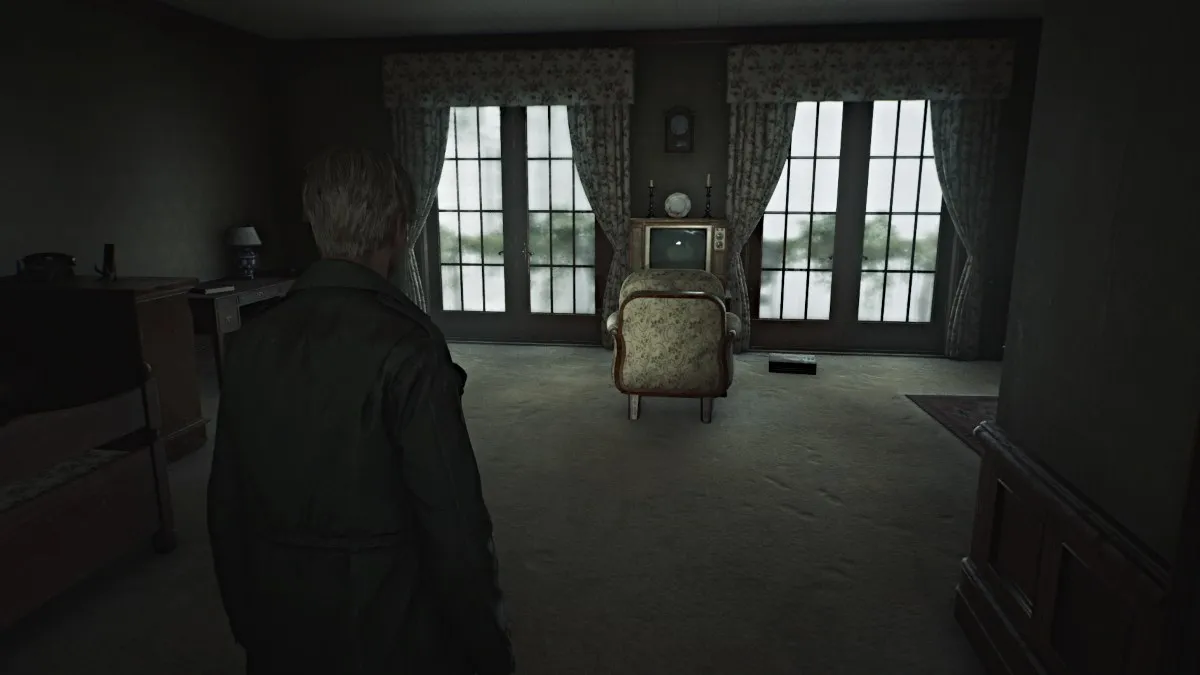
Go all the way up to the third floor and use the 3F Corridor Key on the gate. Go down the hall to the last room on the right and use the Room 312 Key to enter.
As you'll recall, this is the room where James and Mary stayed during their last visit to Silent Hill. Despite his assumption, Mary doesn't seem to be here either, but there's a TV with a VCR for your use. Go over and put the Video Tape you got from the Basement inside the VCR.
During the cutscene, the tape begins with the final moments of their visit to the town, and Mary asking James to bring them back one day. At one point she coughs, and the tape devolves into a mess of static and unstable images. However, among them a sequence plays of James approaching Mary in her bed and suddenly suffocating her with a pillow, revealing that he actually killed her.
James sits in silence, at last faced with the actual truth that he's subconsciously denied this entire time, to the point of believing Mary was dead for three years yet actually still alive (in fact it was only days, thanks to Laura's information).
After an emotional scene with Laura, the room transforms, though not into the usual version of the Otherworld. Instead, everything in the room is burnt and drenched in water, as if in the aftermath of a fire. Mary's voice suddenly calls out to James on his radio.
Once you have control, leave the room.
With the truth now known, the rest of the hotel appears to also be burnt, soaked, and falling apart. Go into Room 314 and grab Handgun Ammo from the bedside table, then go into the bathroom and through the wall gap to the hallway. There's more Handgun Ammo inside a table drawer to your right.
Also, be aware that there are NO monsters in Lakeview's Otherworld, so you can travel freely without having to worry.
The only way forward is south down the hall, so head that way and duck through the debris. You'll notice there's a high crawlspace to your left as you pass. Go down the hall and to the left where there's a pushcart for you to use. Crawl into the room ahead first where there's an ominous message scratched on the wall and a Syringe on a table.
Take the pushcart down the hall to the crawlspace, but it quickly collapses through the floor, ruining that plan. Instead, jump down the hole that's been made, bringing you to the second floor. Go down the hall and grab a Health Drink from Room 207 before going into the nearby Restroom .
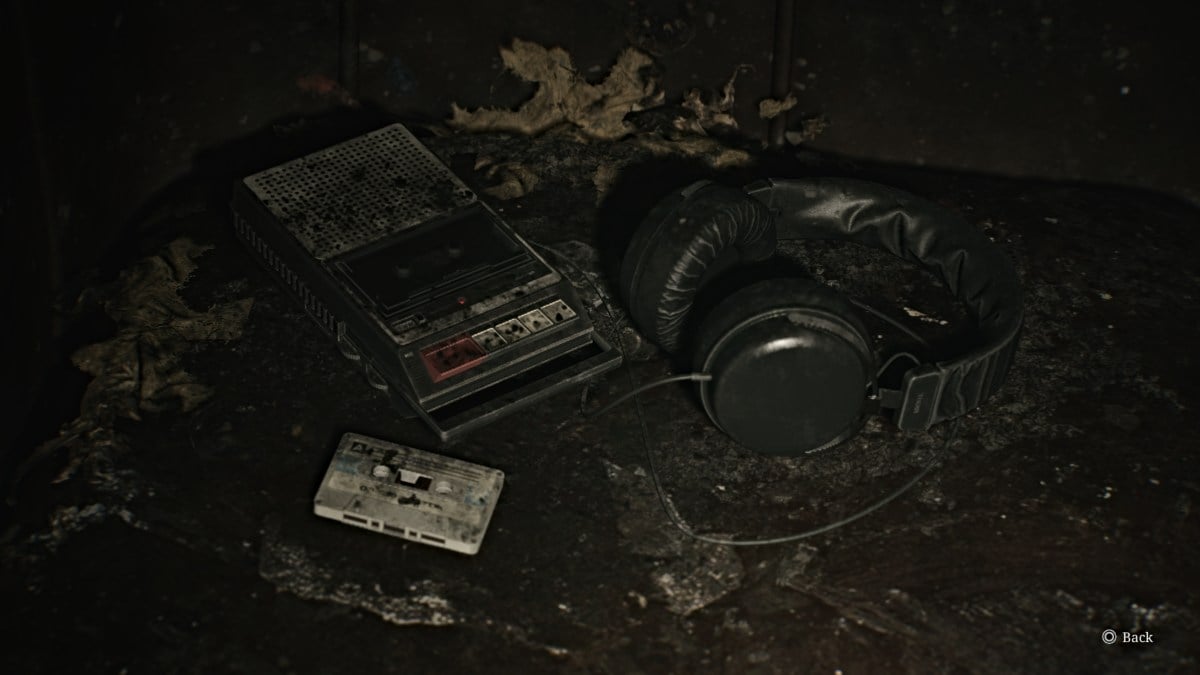
Use it to cross over into the Reading Room , and you'll find a Glimpse of the Past (seen above) sitting on a nearby couch. Use the Red Save Point then leave the room through the double doors. Go across to the Cloakroom and into the Hall. In the back left corner, you'll see the lit Elevator through a hole in the wall, which you need to get to.
To do that, go to the right side of the Hall and look up to spot a crawlspace. Use the shelf under it to climb through to the Nurse's Office . Make your way around through the office, listen to an ominous tape recording on the table if you wish, and then continue through the wall crack to the hallway. Follow it all the way to the Elevator and take it down to the Basement .
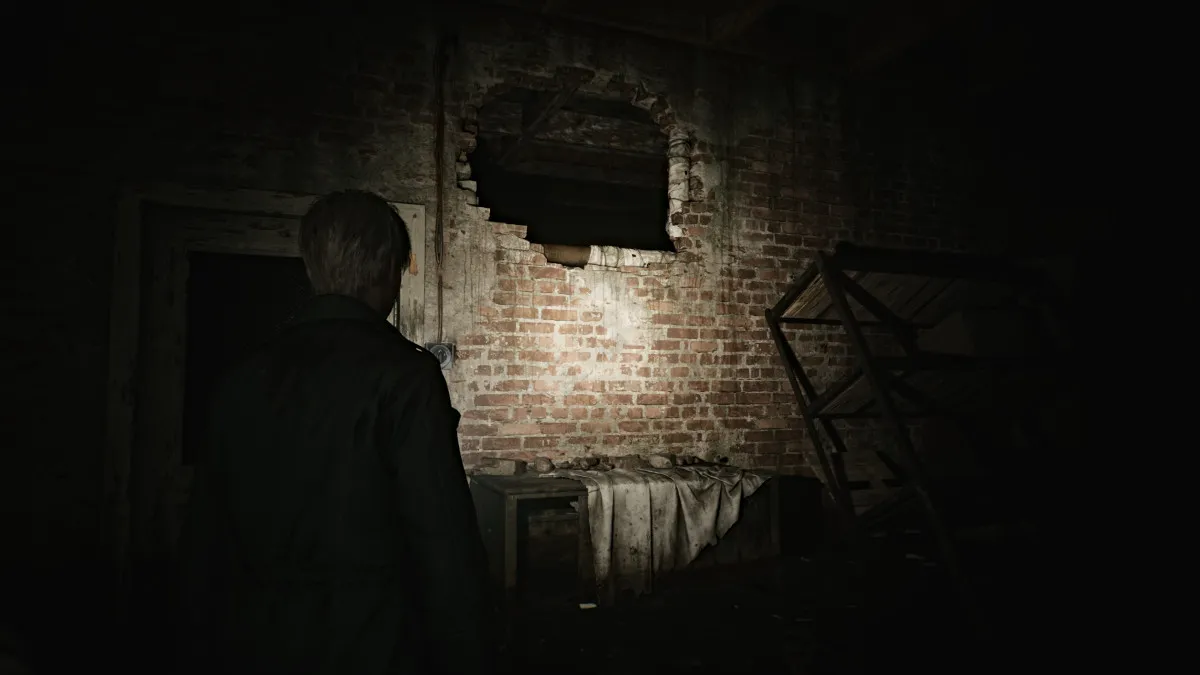
Once you exit the elevator, make your way through the flood to the Venus Tears Bar . Use the Red Save Point behind the bar and then head through the kitchen area and then to Liquor Storage . Grab the Rifle Ammo that's in there and then use the high crawlspace in the wall beside the locked door to get out.
Ahead of you will be a door that's glowing strangely bright from the other side. Head over and go inside, where a cutscene will play with Angela standing on a fiery stairwell.
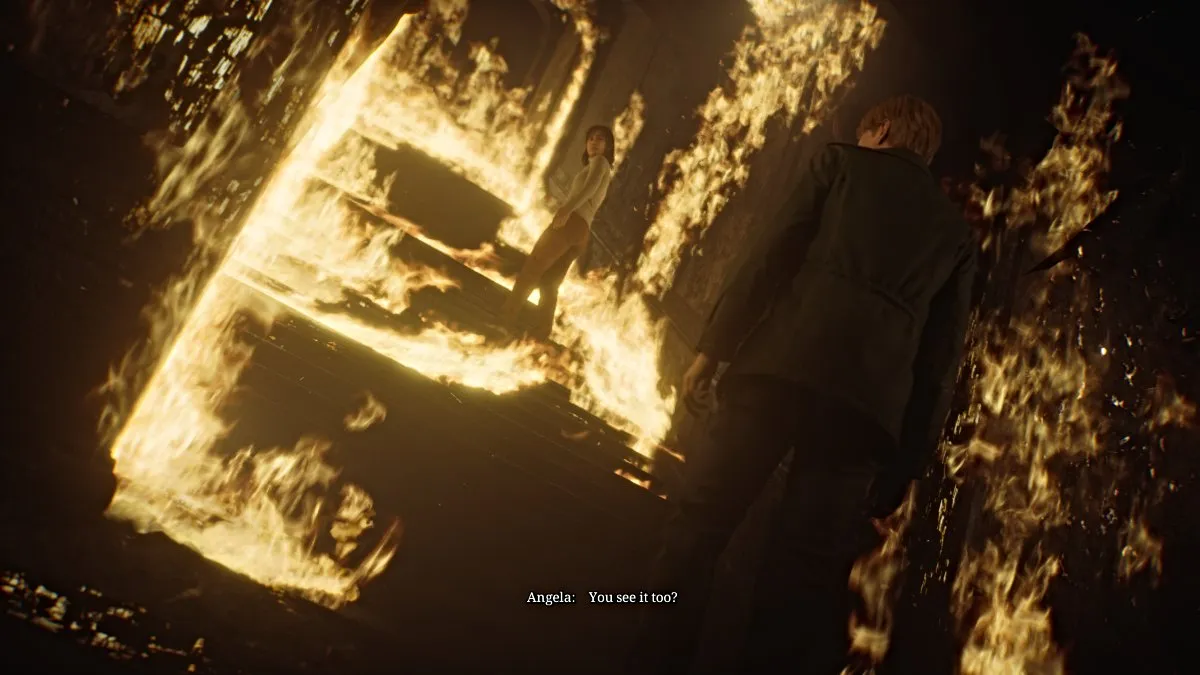
This serves as Angela's final farewell as she goes up the stairs, her fate unknown but hinted. James leaves to continue on.
Make your way through the rest of the Basement, where you'll notice there are now some monsters but they will not attack James . They're entirely passive, so just leave them be and save your ammo . Go into the Manager's Office, cross into the TV Room, and follow a hall that leads off the map.
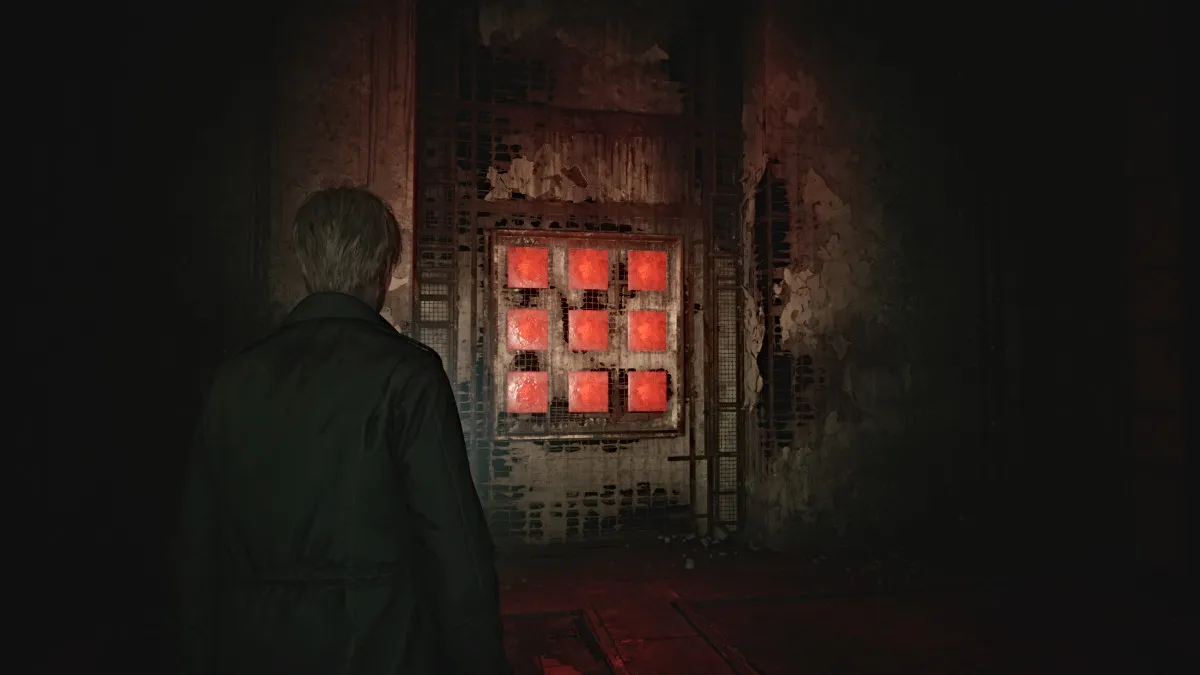
Continue until you come across a set of nine Red Save Points . The game obviously insists that you save here, so do so. With that, take a deep breath and go through the double doors ahead.
Inside is a seemingly dark and empty room, but suddenly Mary...or rather, Maria's voice yells for James. Once again she's "alive" but held captive now by two Pyramid Heads. Despite James' pleas, they proceed to stab Maria dead once again, and he yells in frustration.
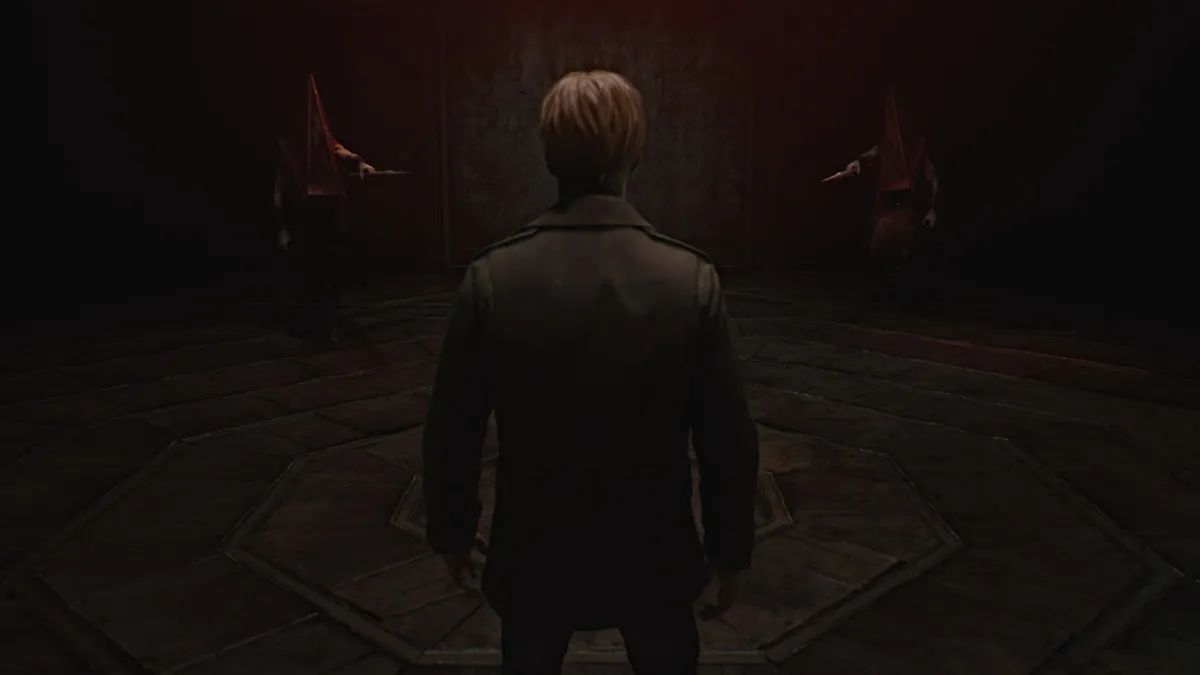
He finally makes his confession of needing Maria, an alluring shadow of his deceased wife, to soothe his pain and at the same time punish him for what he's done. That punishment has clearly been dealt, and James declares, "I don't need you anymore", likely referring to both Maria and Pyramid Head.
With that, they both approach James with spears in hand, ready to test that declaration.
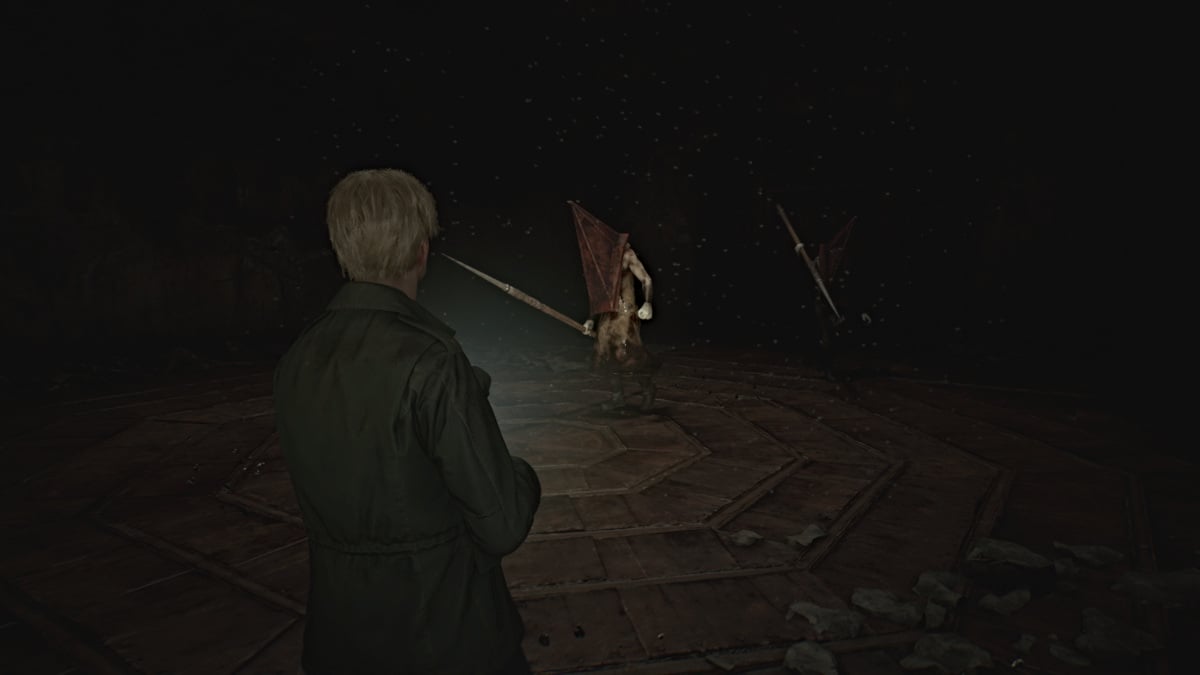
As soon as James says, "I'm ready", the battle begins. Both Pyramid Heads will quickly advance toward you with their spears, and your goal here is to deal as much damage as possible to both of them. You'll need every bullet you've got, and if you need more, there are plenty of ammo boxes and Health Drinks scattered around the room .
Starting with the Hunting Rifle is optimal, as it has the best range with the most damage dealt. After that, you can interchange between the Handgun and Shotgun as needed. Keep your distance as they'll both attempt various lunge and stabbing attacks with their spears. Kite them around the room while unloading as many shots as possible, and eventually, a cutscene will trigger.
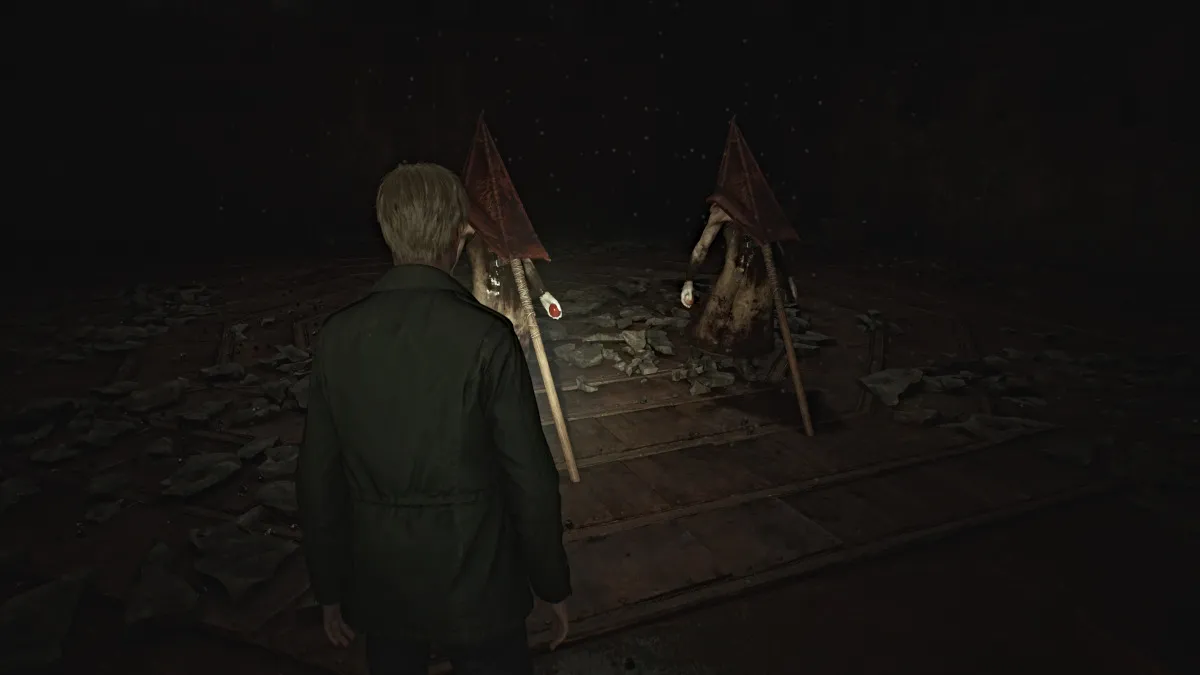
Both Pyramid Heads will go to the center of the room and ceremoniously impale themselves with their own spears. Their judgment has been made, so their presence is no longer needed.
Approach them and take the Scarlet Egg and Rust-colored Egg from their hands. Use these to unlock the doors that lead out.
You'll arrive back outside on a metal walkway, where there are several more ammo cartridges to pick up, along with a Syringe and the "SHAPE FORCES THE MIND" Strange Photo at the back right corner.
Reload all your weapons, top off your health, and head all the way up the stairs until you reach the top of the building. From here, a cutscene with Mary will play that's influenced by your decisions up to that point in the game. How you treated Maria, whether you looked at certain items often, whether you kept your health high or low, etc. They will all affect the subsequent ending as well.
Once Mary (or Maria) succumbs to her turmoil and transforms into a monstrous version of herself, you'll be forced to fight her to ultimately bring peace or at least some sort of finality.
Like the Flesh Lips boss much earlier in the game, she'll be encased in a floating cage, and you'll need to keep your distance and deal damage, preferably with either your Hunting Rifle or Handgun . She also uses flocks of moths to chase and deal ranged damage to James, while also using a tentacle appendage to deal brutal stabbing attacks.
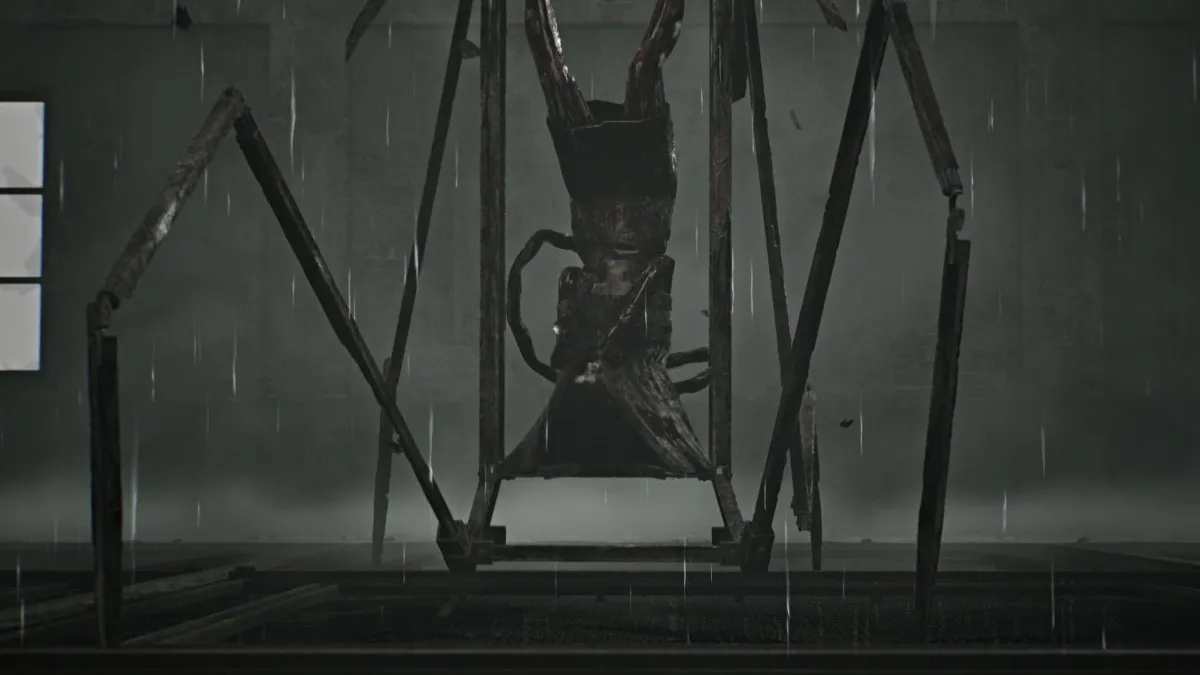
Once you deal enough damage, the cage surrounding Mary will morph into something akin to a spider, also similar to Flesh Lips' second form. She'll force James down into a dark passage area right underneath the metal platform, and you'll need to do damage whenever she appears from above.
The final phase of the fight will collapse the entire area, and you'll need to keep shooting while dodging her charge and swing attacks with her metal "legs". Her attacks hit hard, so be sure to stay topped off as much as possible. This is the final boss of the game, so make use of everything you have.
Eventually, her cage will collapse, leaving her unable to move and mumbling James' name. Go over and shoot one last time to end the fight.
Afterward, your designated ending will play out, again depending on your actions up to now.恭喜!
Below we've listed all 43 unlockable achievements/trophies in Silent Hill 2 Remake, including 31 hidden ones. Unlocking all of them will require multiple playthroughs.
| Achievement/Trophy | 如何解锁 |
|---|---|
| 你让我快乐 | Collect all other trophies/achievements 在游戏中。 |
| 现在没有回头路 | Try to leave Silent Hill in the Observation area. (Walk down the opposite direction on the road at the start of the game until James turns back.) |
| 享受您的住宿 | 到达寂静岭。 |
| 漂亮又舒适 | 到达伍德赛德公寓。 |
| 我们不要聚会! | Shoot all the balloons in Wood Side Apartments. (Shoot all balloons in the "Welcome Home" apartment; recommend saving before doing so to recover the bullets used.) |
| 超凡脱俗 | 第一次进入异世界。 |
| 通过 | Made your way out of Blue Creek Apartments. |
| 不可思议 | 认识玛丽亚。 |
| 一切似乎都井然有序 | 揭开106号房间的秘密。 |
| 剩菜 | Find the pizza in Pete's Bowl-O-Rama |
| 录取 | 到达布鲁克海文医院。 |
| 噩梦燃料 | 击败肉唇。 |
| Alone Again. | Survive the Chase in Brookhaven Hospital. |
| 进入深渊 | 到达长楼梯的尽头。 |
| 不可饶恕 | 击败抽象爸爸。 |
| 内殿 | Find His Room. (When Pyramid Head first chases you in the Desolate Area of the Labyrinth, run left past a ladder and through double doors to find his lair. Quickly exit after to avoid getting caught by him.) |
| 一个人 | 杀了艾迪。 |
| 希望之光 | 到达湖景酒店。 |
| 托卢卡湖之灾 | 花 10 分钟游览托卢卡湖。 |
| 真正特别 | 过时的 |
| It's Bread. | 与面包互动。 |
| 过时的 | 毁掉你不需要的东西。 |
| That Part of Me. | 打败她。 |
| 伐木工人 | 找到电锯。 |
| 无情 | 用践踏攻击消灭 50 名敌人。 |
| 没什么大不了的 | 使用远程武器杀死 75 名敌人。 |
| 钝力创伤 | 使用近战武器杀死 75 名敌人。 |
| You Never Know... | 尝试打开锁着的门 50 次。 |
| 破碎 | 摧毁 50 个窗户。 |
| 缔造和平 | Reach the "Leave" ending |
| 恶性循环 | Reach the "Maria" ending |
| 唯一的出路 | Reach the "In Water" ending |
| 甚至反抗死亡 | Reach the "Rebirth" ending |
| 最优秀的博伊 | Reach the "Dog" ending |
| 锡纸帽 | Reach the "UFO" ending |
| 我看到了那个小镇 | 完成任何难度的新游戏加。 |
| 无线电静默 | 不使用无线电完成游戏。 |
| James of All Trades | Kill at least one enemy with Wooden Plank, Steel Pipe, Handgun, Shotgun and Rifle in a single playthrough. |
| 未排列的碎片 | 在一次游戏中收集所有奇怪的照片。 |
| 档案管理员 | 在一次游戏中收集所有备忘录。 |
| 比雾还快 | Complete the game in under 10 hours. |
| 随心所欲 | 在不使用远程武器杀死敌人的情况下完成游戏。 |
| 像 2001 年一样举办派对 | 查看所有经典结局(离开、玛丽亚、水中、重生、狗)。 |
| 回声 | 在一次游戏中见证过去的一切。 |
There are a total of eight possible endings in Silent Hill 2 Remake, and each has its own requirements to be unlocked. Only three specific endings ("Leave", "Maria", and "In Water") can be obtained during your first playthrough, while the rest can be unlocked during New Game Plus.
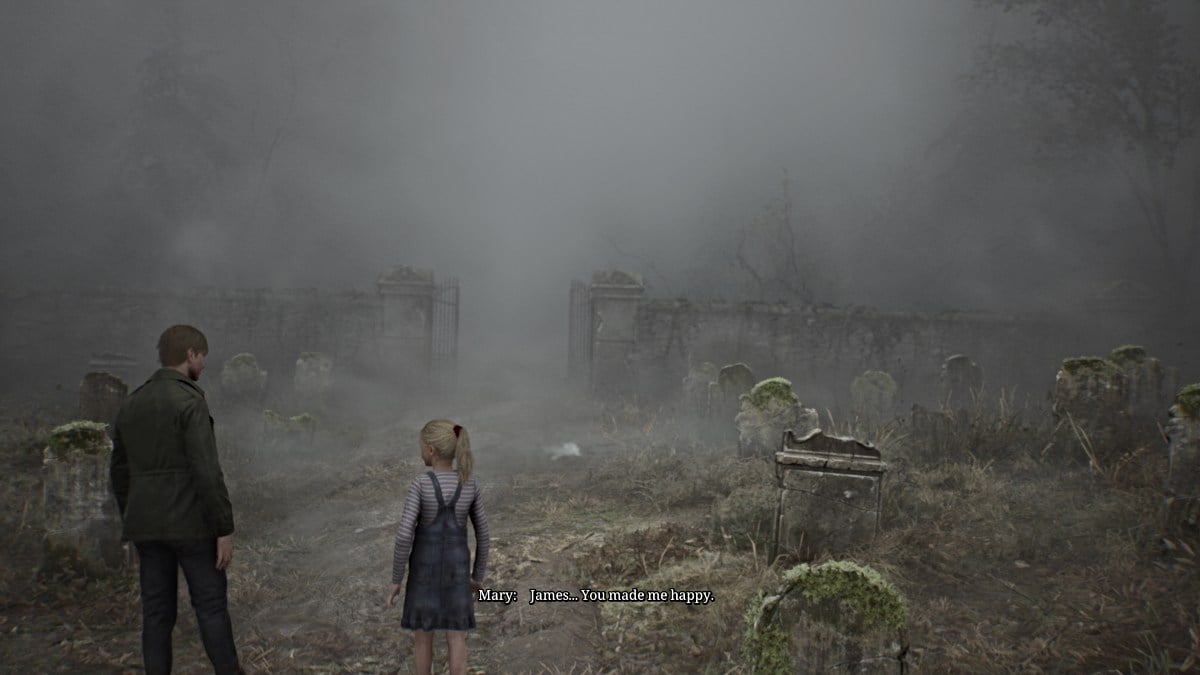
This is the "Best" ending for Silent Hill 2 Remake, as the story ends with James leaving Silent Hill with Laura in tow, having received forgiveness from Mary and realizing that he's allowed to move on. He and Laura leave Silent Hill together, and it's assumed that James adopts her as his daughter, since Mary wasn't able to.
Requirements for this ending:
Getting this ending also unlocks the 'Making Peace' achievement .
This is the designated "Bad" ending, as James instead leaves Silent Hill with Maria, having chosen her over Mary. At one point, Maria lets out a coughing fit and James acts annoyed, telling her to do something about it. He's learned nothing from his journey and Maria is likely doomed to succumb to the same illness that took Mary, the cycle beginning all over again.
Requirements for this ending:
Getting this ending also unlocks the 'Vicious Circle' achievement .
Debatably another "bad" ending, this is absolutely the most tragic ending in Silent Hill 2 Remake. After everything, James finds himself unable to move on from Mary's death and confesses that he simply can't live without her in his life. James drives his car into the depths of Toluca Lake in an attempt to reunite with Mary in death.
Requirements for this ending:
Getting this ending also unlocks the 'Only Way Out' achievement .
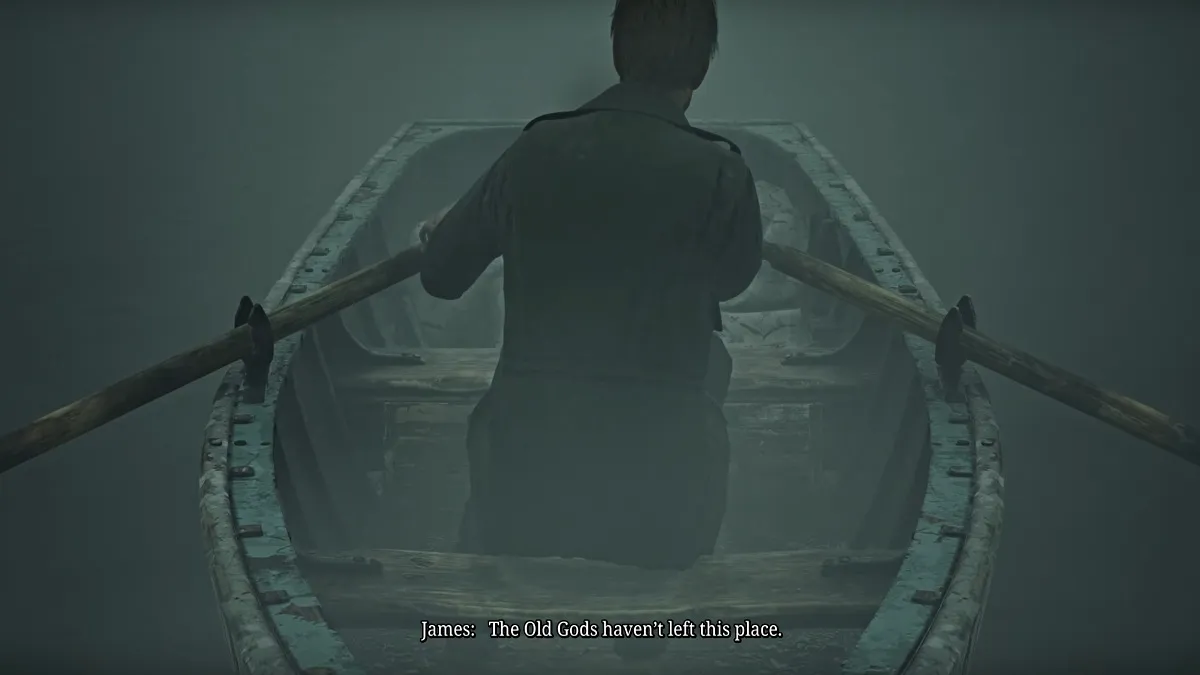
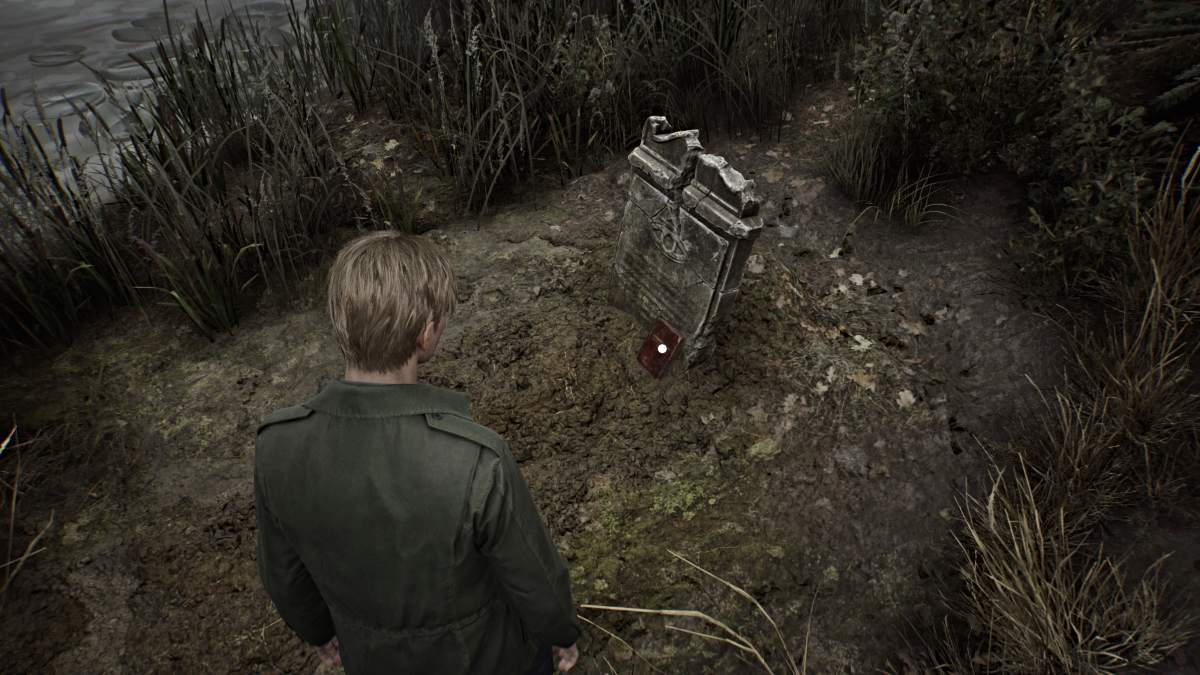
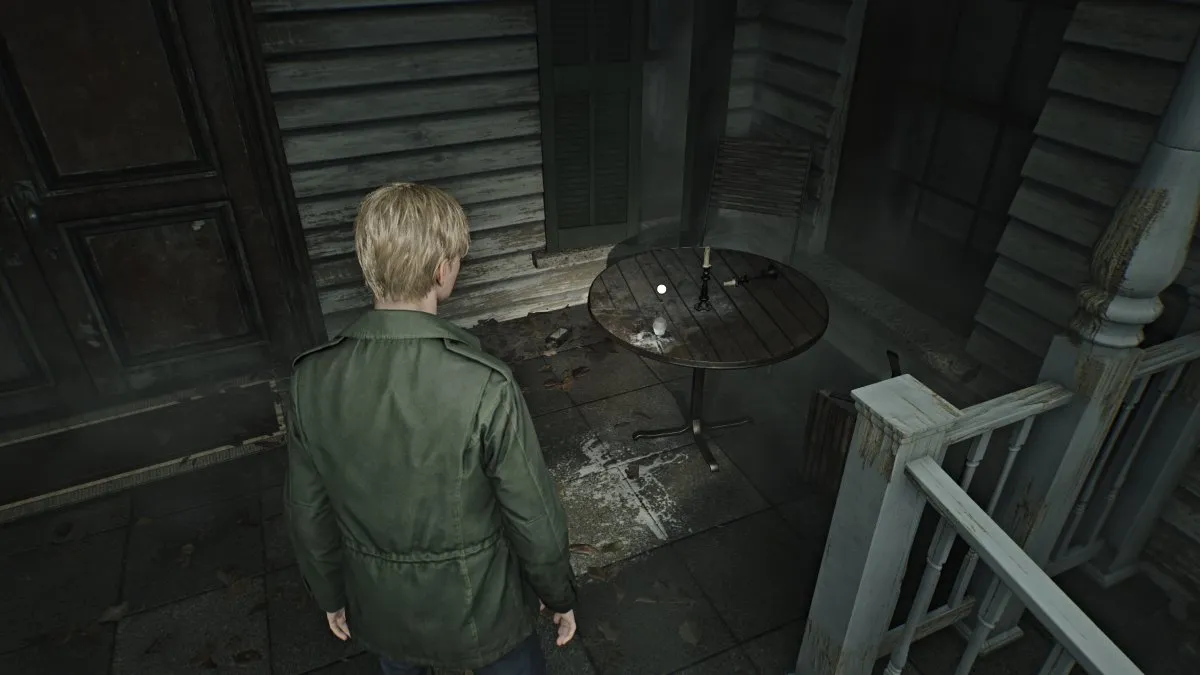
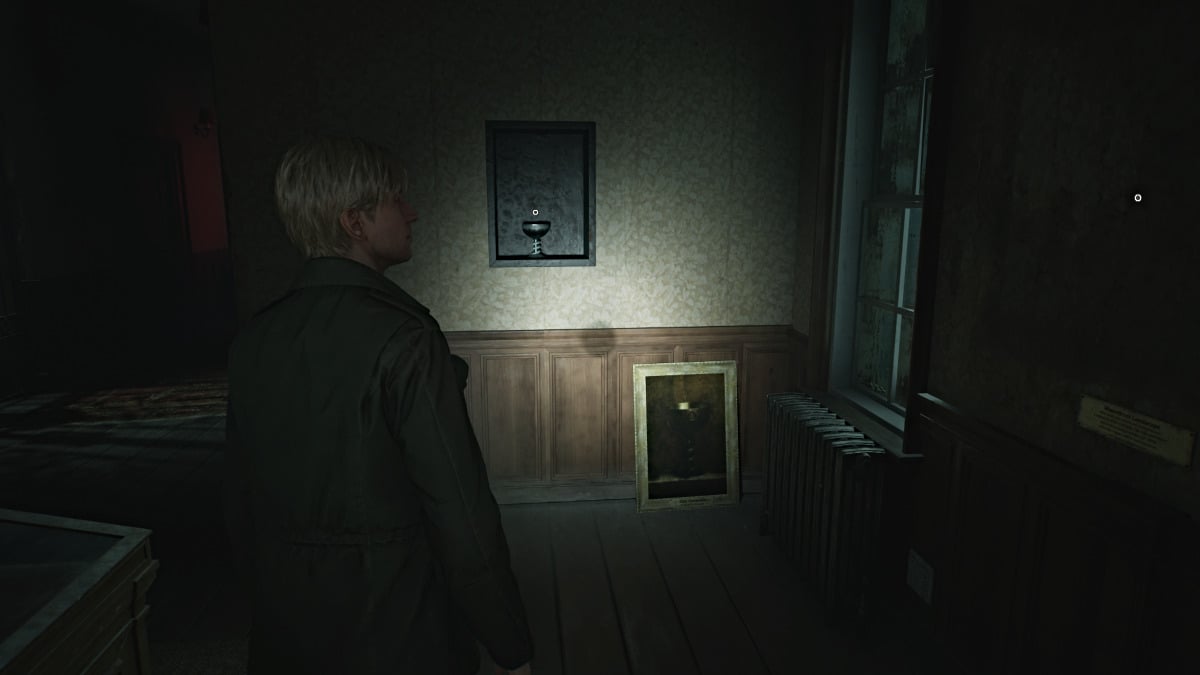
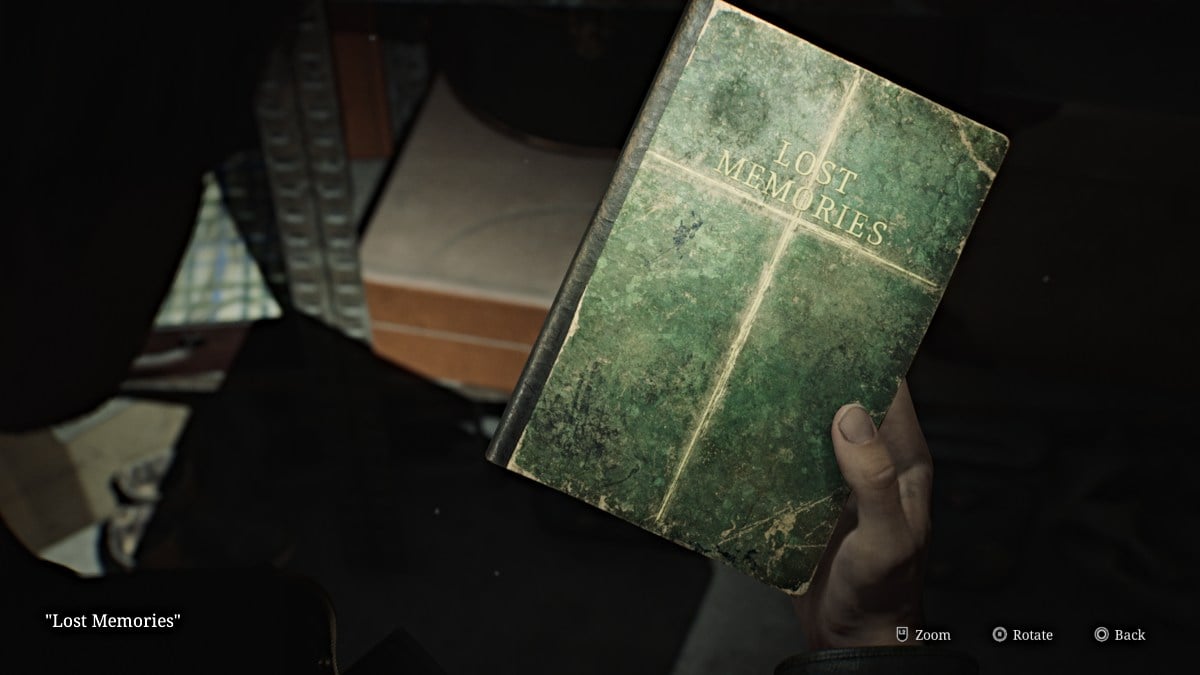
In this ending, after obtaining all the necessary ritual items James takes Mary's body and rows out to the island in the middle of Toluca Lake, where an old church is located. While its history is shrouded in mystery, James is determined to revive Mary using a strange ritual there, and we never know if it actually works.
Requirements for this ending:
Getting this ending also unlocks the 'Defy Even Death' achievement .
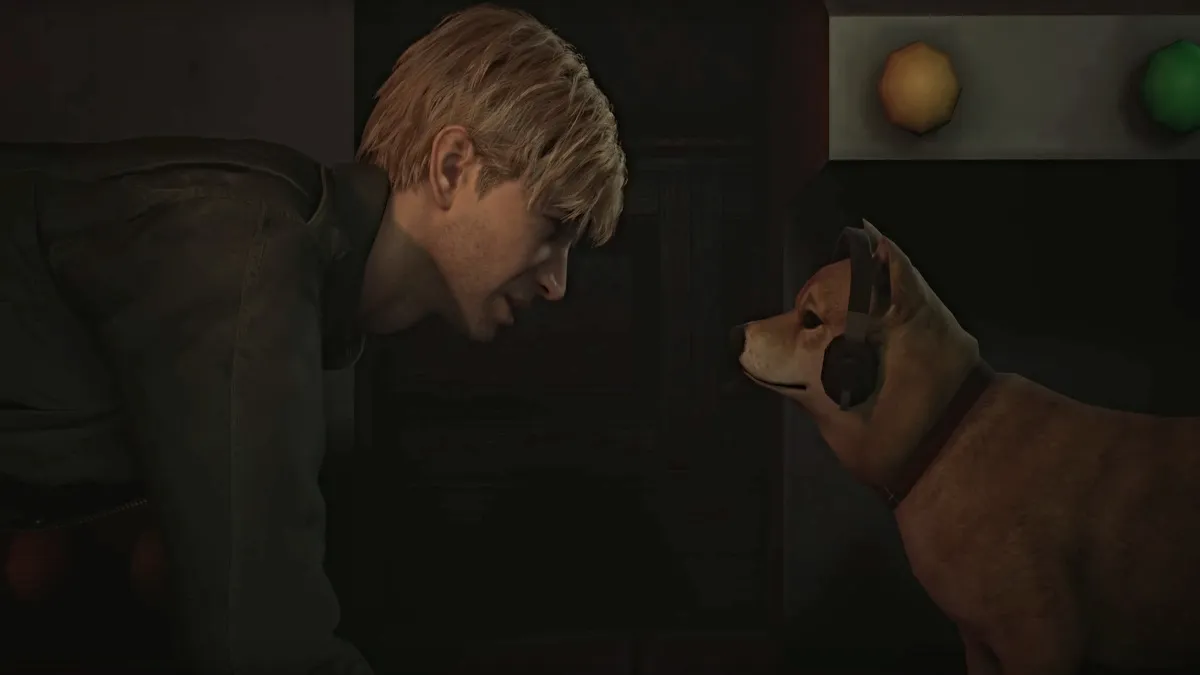
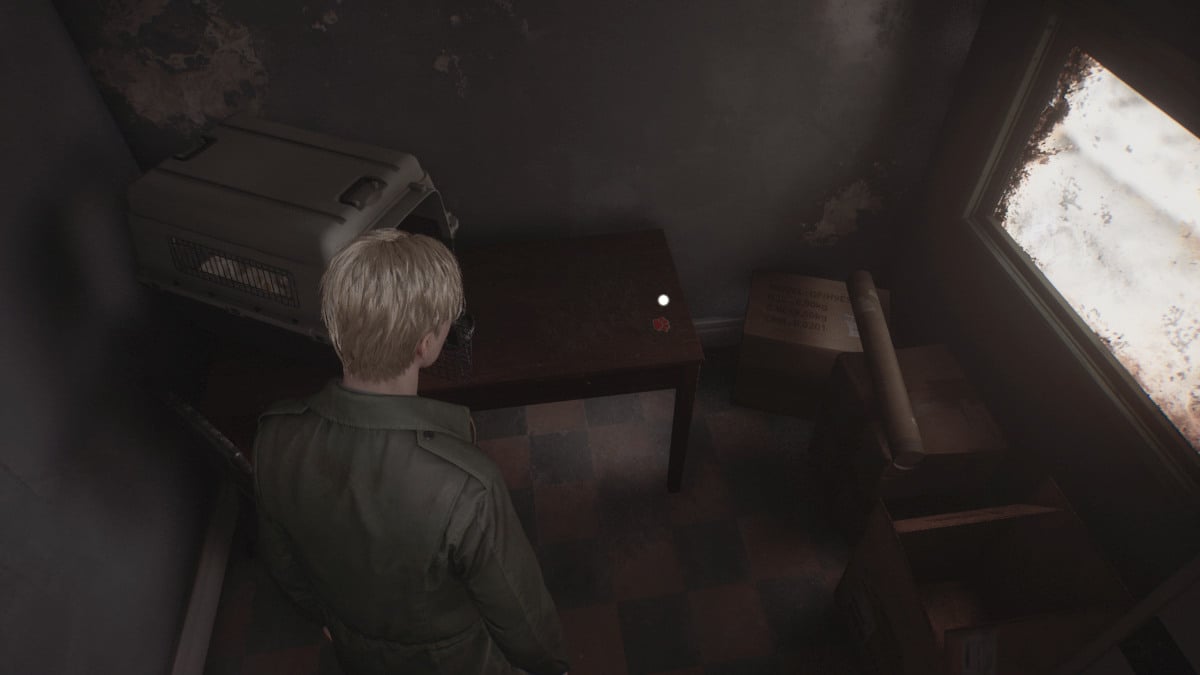
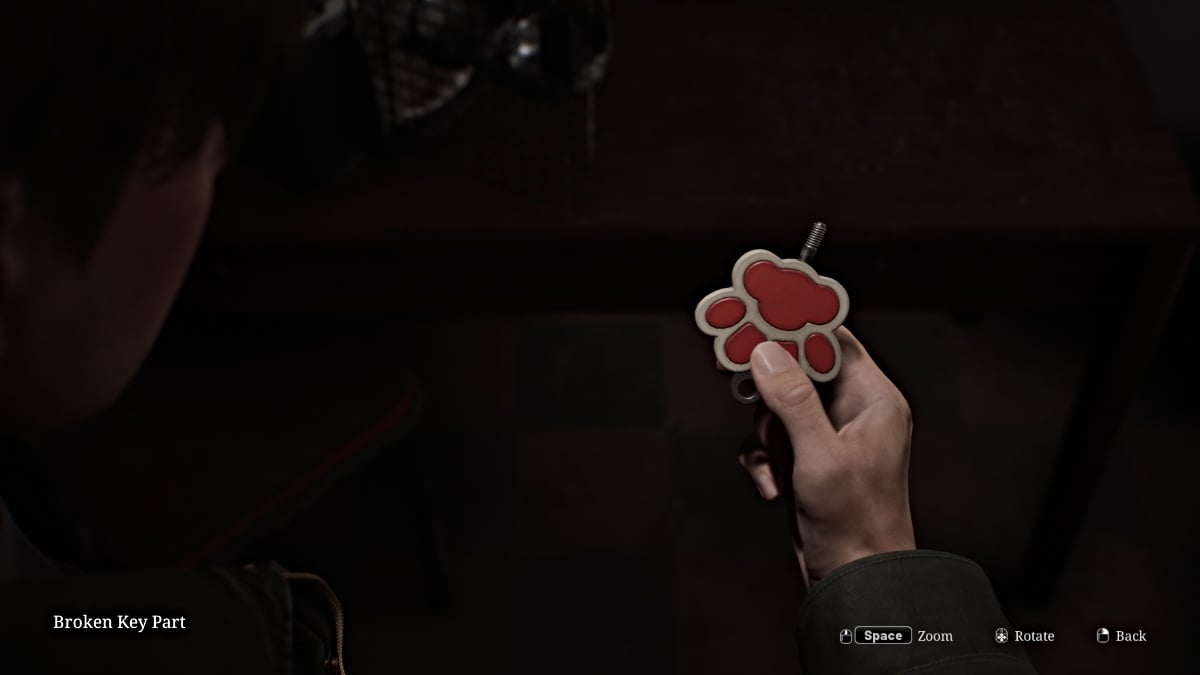
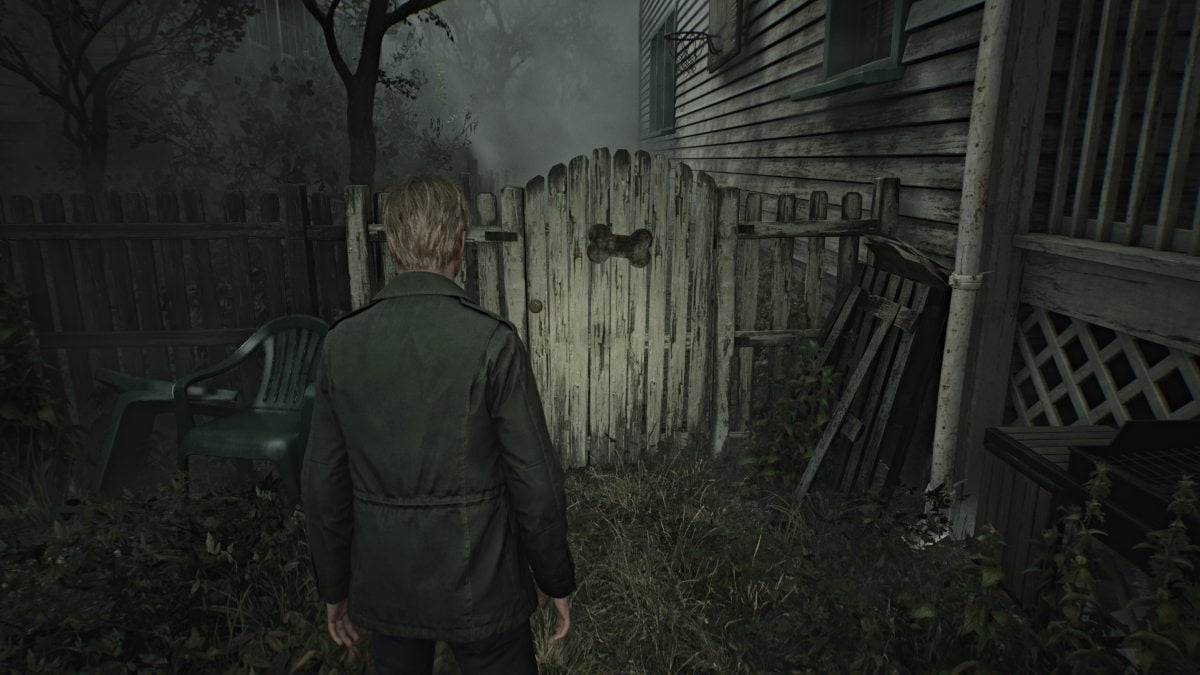
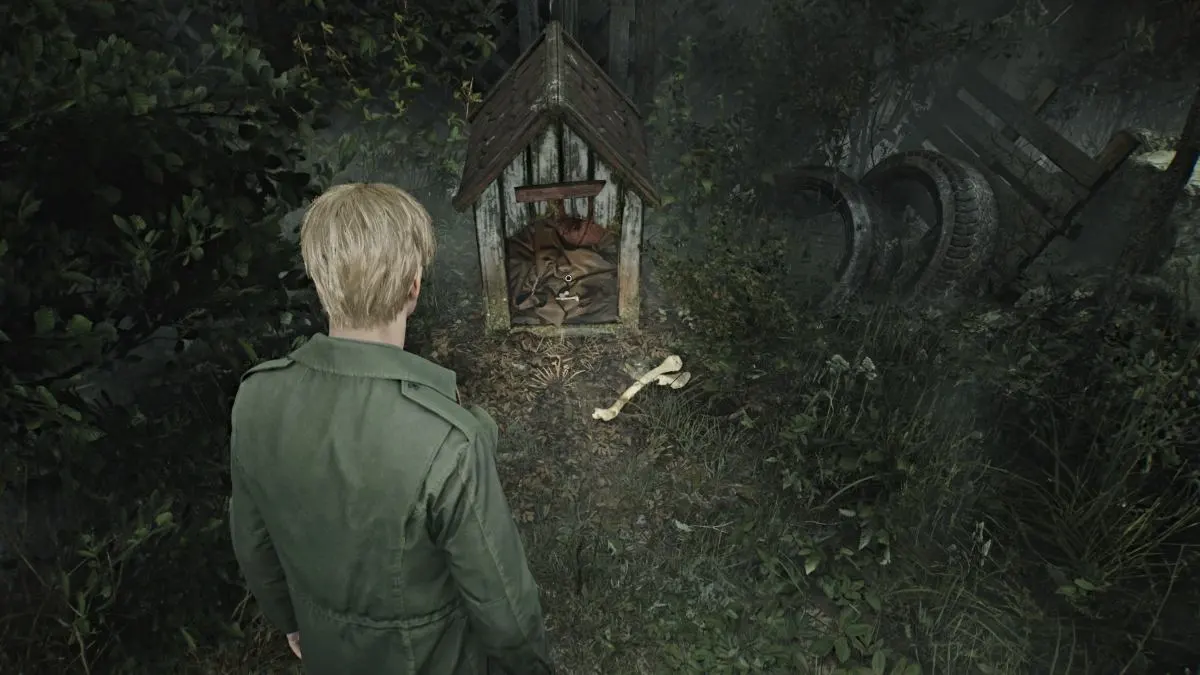
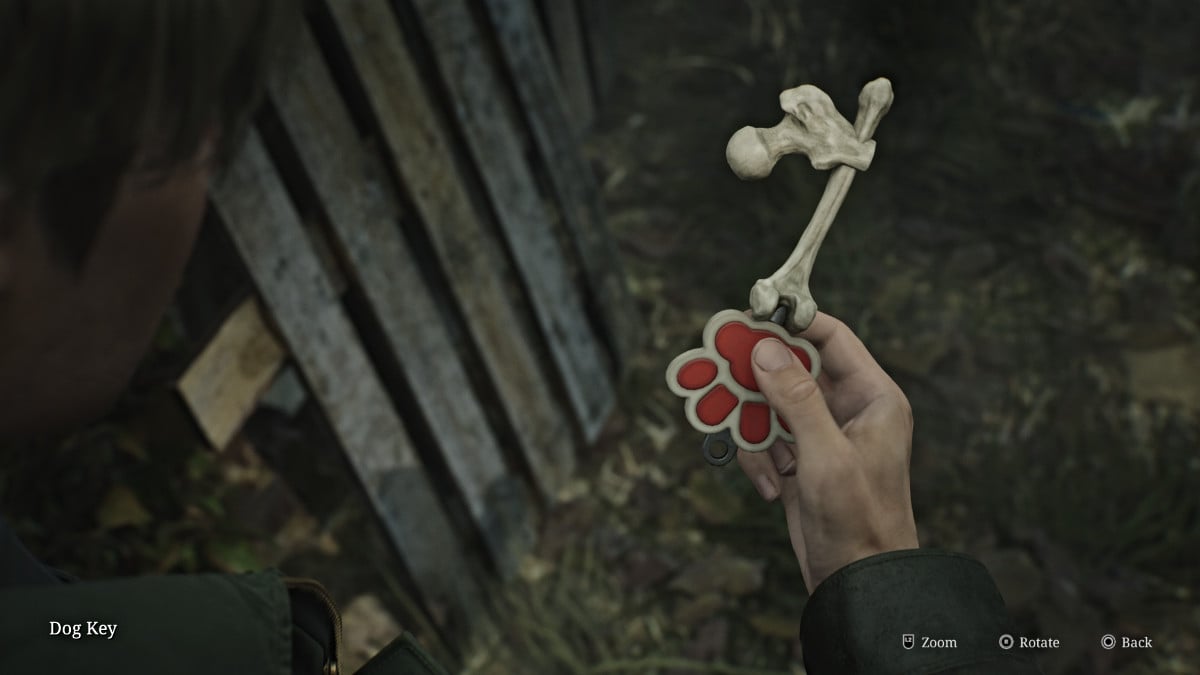
This is one of the game's two comical endings, and probably its most infamous. It has James open a door at the Lakeview Hotel to reveal a Shiba Inu dog named Mira sitting at a big computer console, controlling everything that's happened in Silent Hill up to that point.
Requirements for this ending:
Getting this ending also unlocks the 'The Goodest Boi' achievement .
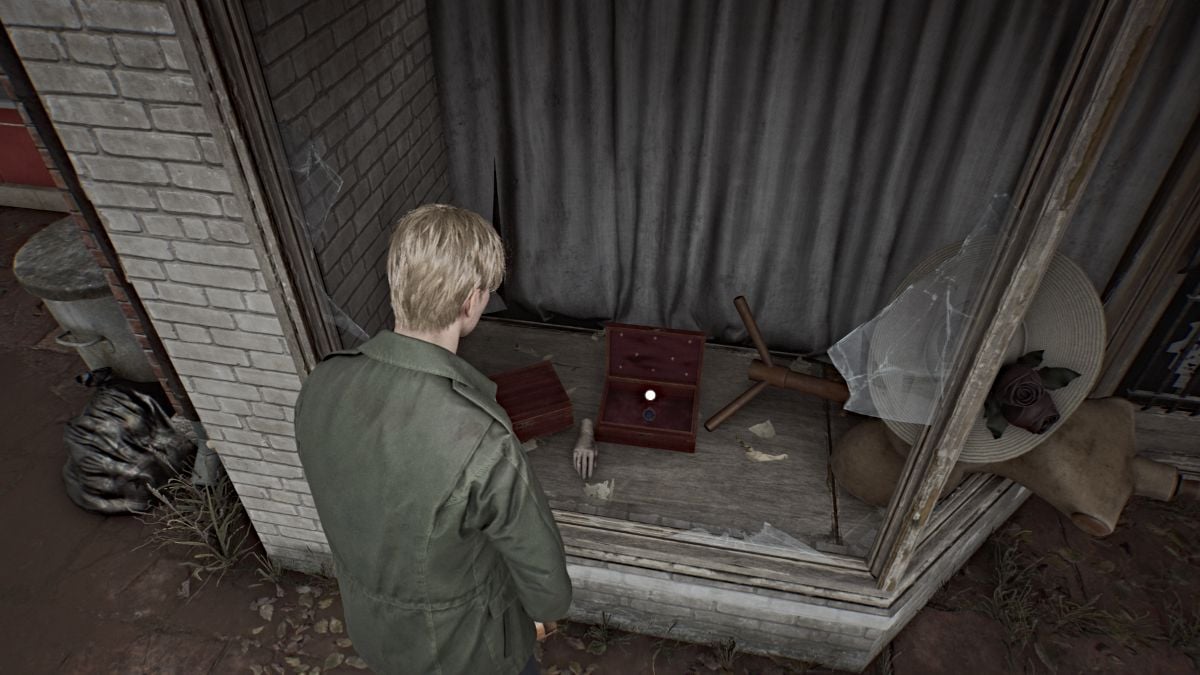
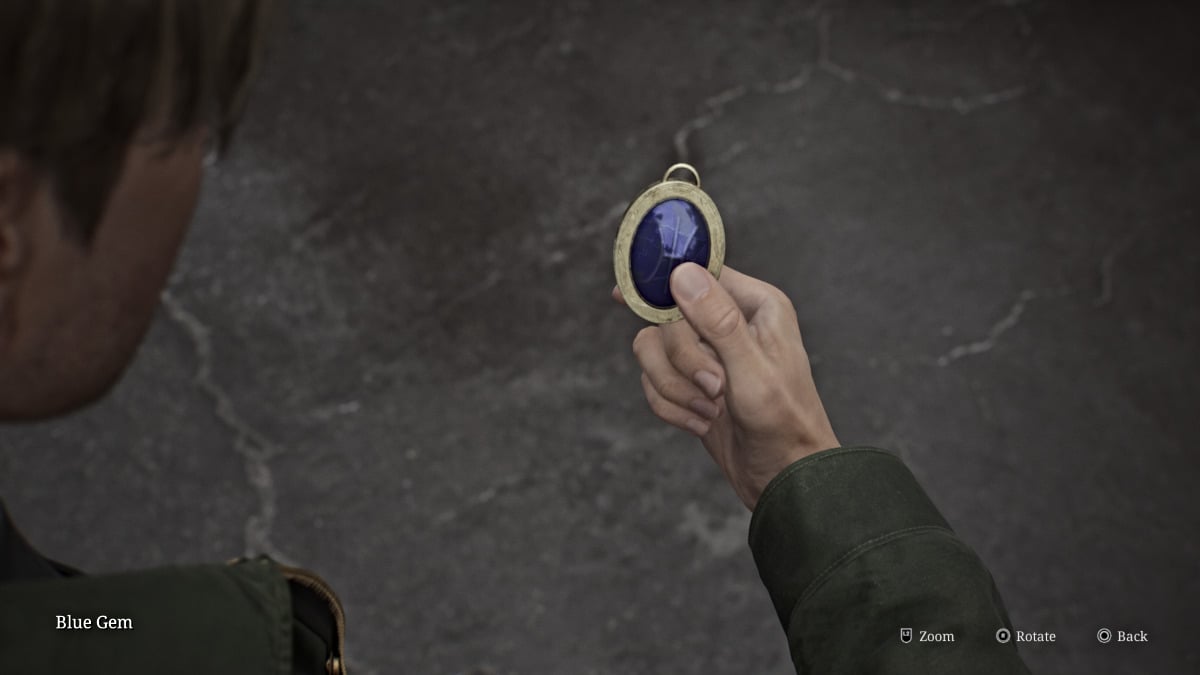
The second comical ending, presented as a silent film sequence, also takes place at the Lakeview Hotel and sees aliens actually visit James along with a hilarious cameo of a character from the original game.
Requirements for this ending:
Getting this ending also unlocks the 'Tinfoil Hat' achievement .
This is the first of two new endings added in Silent Hill 2 Remake, and it acts as a sort of expansion of the "In Water" ending. As James expresses that he simply can't live without Mary, in this version she appears next to him in the car, soothing him with her touch and voice.
James asks if she'll wait for him, and Mary insists that she's "always been waiting for him". The scene ends there, likely meaning that James chooses to live instead.
Requirements for this ending:
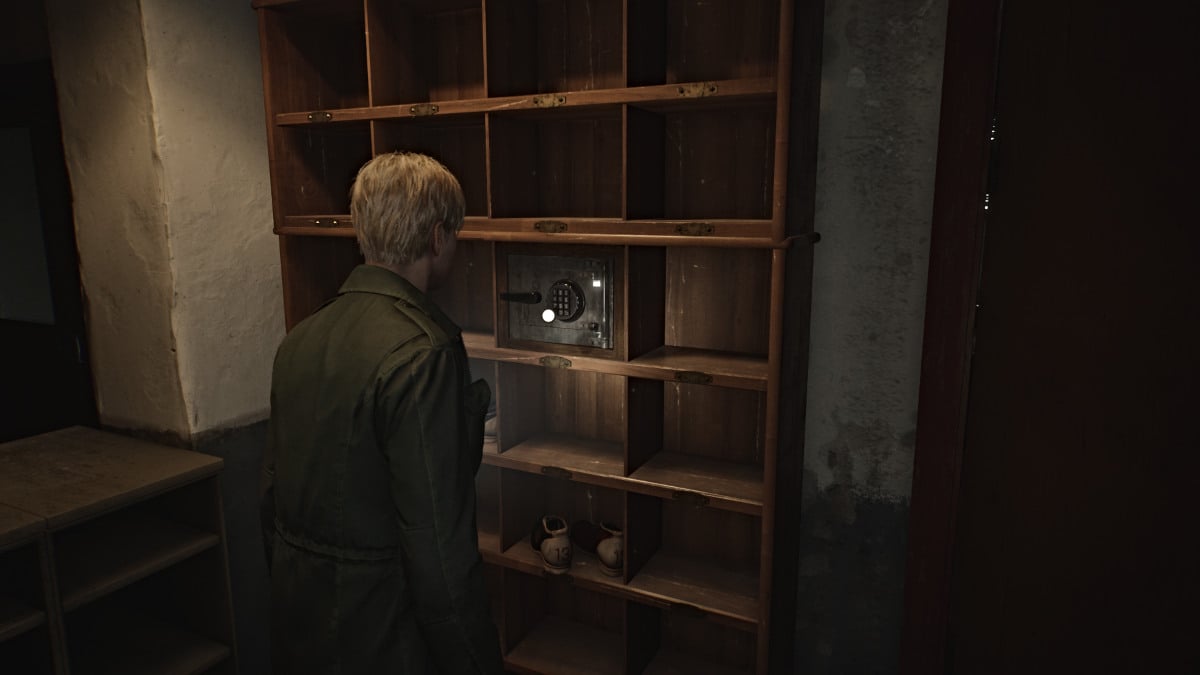
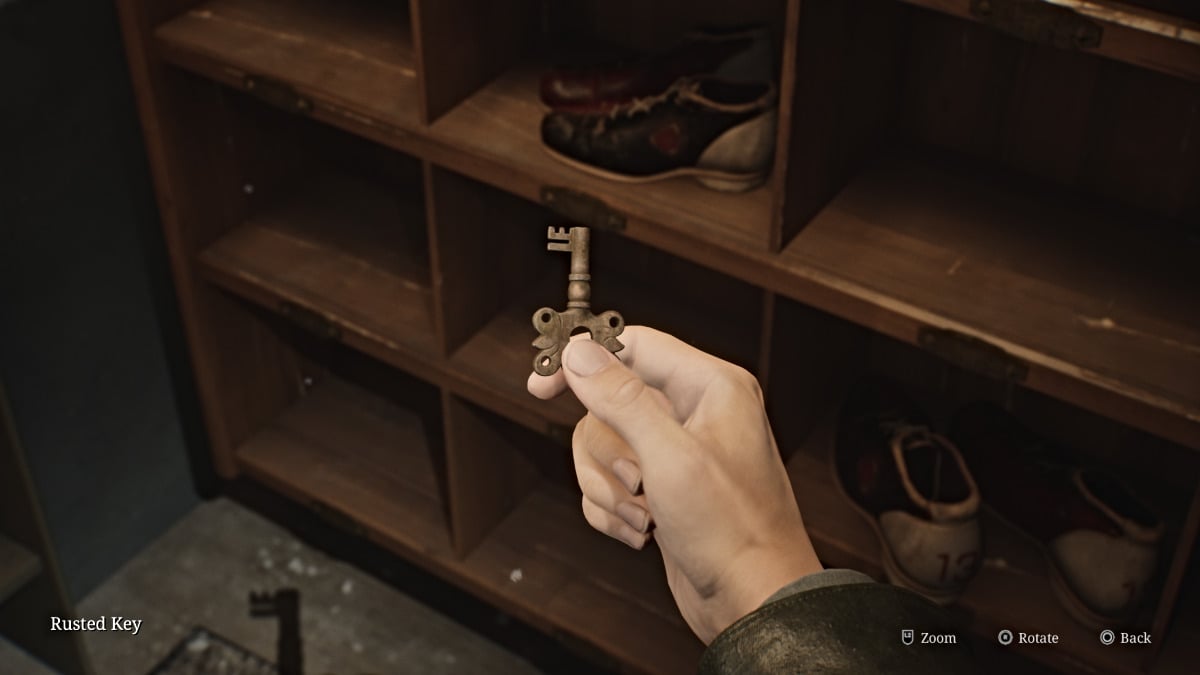
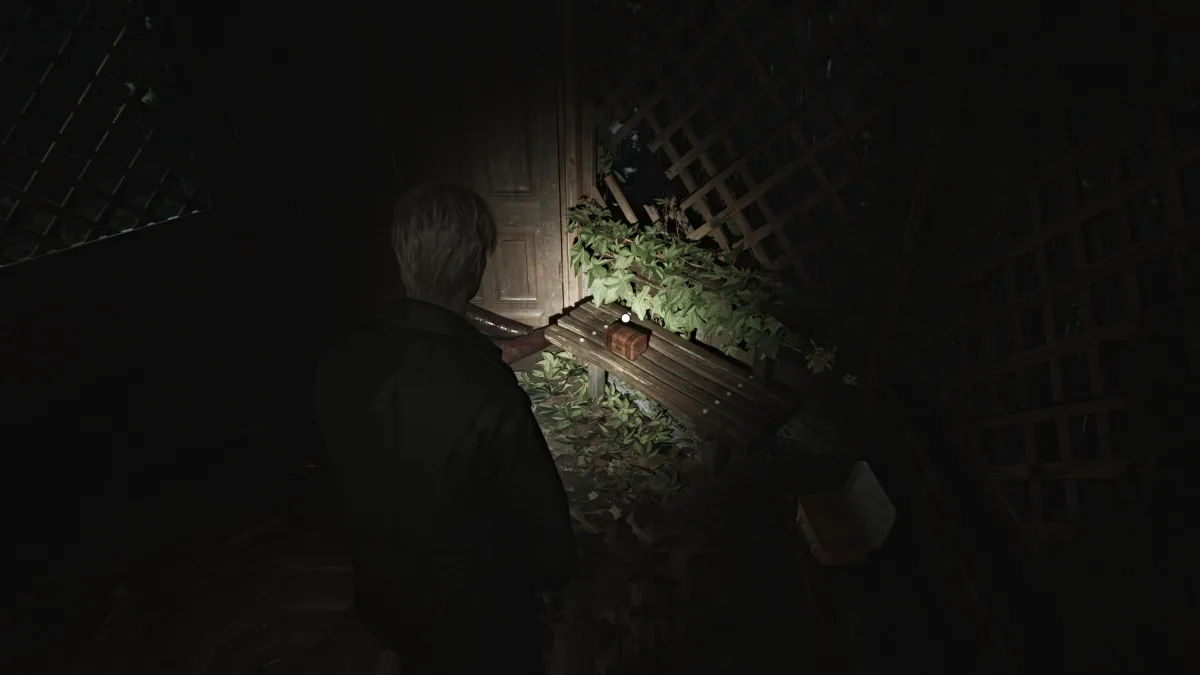
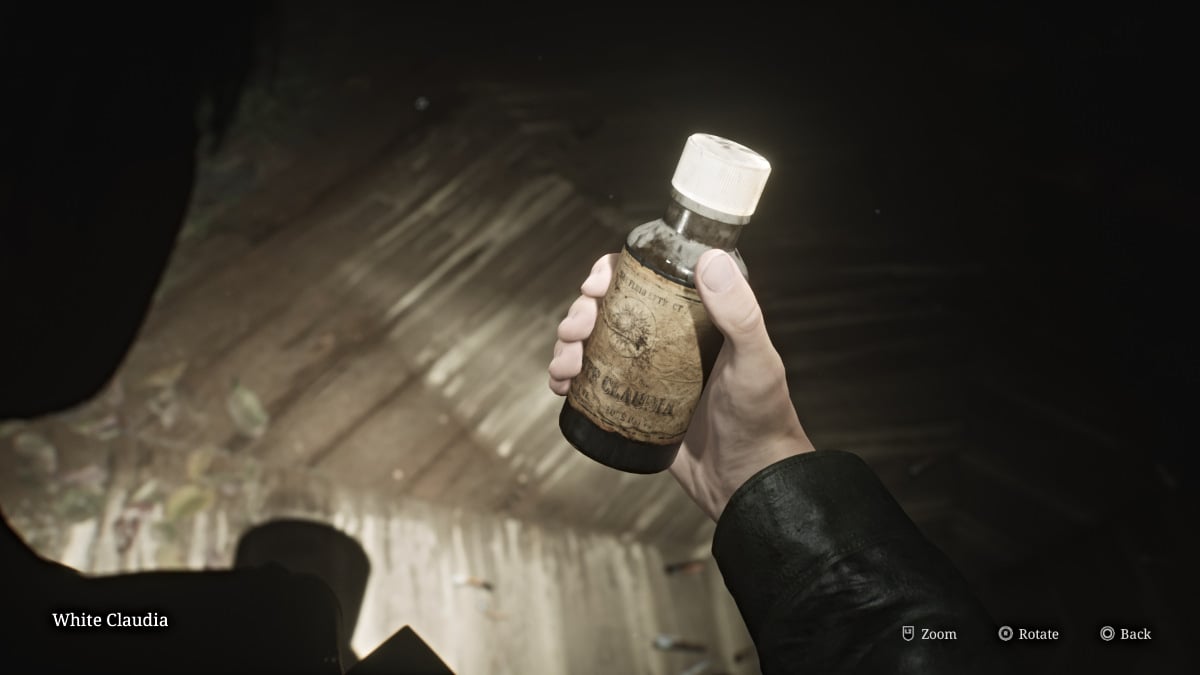
This is the second of two new endings added in Silent Hill 2 Remake, and it essentially presents the tape scene in the Lakeview Hotel much differently. Instead of the tape showing Mary's visible symptoms of illness and her death, James stays behind the camera in their hotel room and eventually puts it down as they continue packing. He promises to bring her back to Silent Hill, and the tape ends.
In the present, James is no longer sitting in the chair, seemingly gone. It alludes that because of the change in events on the tape, Mary was never sick and thus was never killed, meaning that the events of Silent Hill 2, at least for James, never happened.
Requirements for this ending:
Be sure to check out all of our latest gaming guides and news for the Silent Hill franchise here at Pro Game Guides, such as Silent Hill the Short Message walkthrough.