EasyAdapter
v2.0.5
يستخدم RecyclerView في الغالب عناصر واجهة مستخدم Android في مشروع Android، لذلك يتعين عليك تنفيذ محول يوفر العناصر للعرض. في معظم الحالات، يتطلب الأمر نفس المنطق الأساسي، ولكنه يتطلب منك كتابة كل شيء مرارًا وتكرارًا. لذا إليك الحل لذلك.
التطبيق> build.gradle
implementation ' com.github.mkrupal09:EasyAdapter:v2.0.5 'الجذر > build.gradle، أضف عنوان url الخاص بـ jitpack.io maven في جميع المشاريع > المستودعات
allprojects {
		repositories {
			.. .
			maven { url ' https://jitpack.io ' }
		}
}داخل التطبيق build.gradle أضف كتلة buildFeatures (إن لم يكن) وأضف علامة dataBinding كما هو مذكور أدناه
android {
    buildFeatures {
        dataBinding true
    }
} adapter = new EasyAdapter < Category , InflaterCategoryBinding >( R . layout . inflater_category ) {
@ Override
public void onBind ( @ NonNull InflaterCategoryBinding binding , @ NonNull Category model ) {
binding . tvName . setText ( model . name );
}
}
 class CategoryAdapter () :EasyAdapter<Category, InflaterCategoryBinding>( R .layout.inflater_category) {
    override fun onBind ( binding : InflaterCategoryBinding , model : Category ) {
        binding. apply {
            tvName.text = model.name
            cbCategory.isChecked = model.isSelected
        }
    }
}
###java
     public CategoryAdapter () {
        super ( R . layout . inflater_category );
    }

    @ Override
    public void onBind ( @ NonNull InflaterCategoryBinding binding , @ NonNull Category model ) {
        binding . tvName . setText ( model . name );
} // Override in Adapter
override fun onCreatingHolder ( binding : InflaterCategoryBinding , easyHolder : EasyHolder ) {
super .onCreatingHolder(binding, easyHolder)
binding.root.setOnClickListener(easyHolder.clickListener)
}adapter.setRecyclerViewItemClick { itemView, model ->
// Perform Operation here
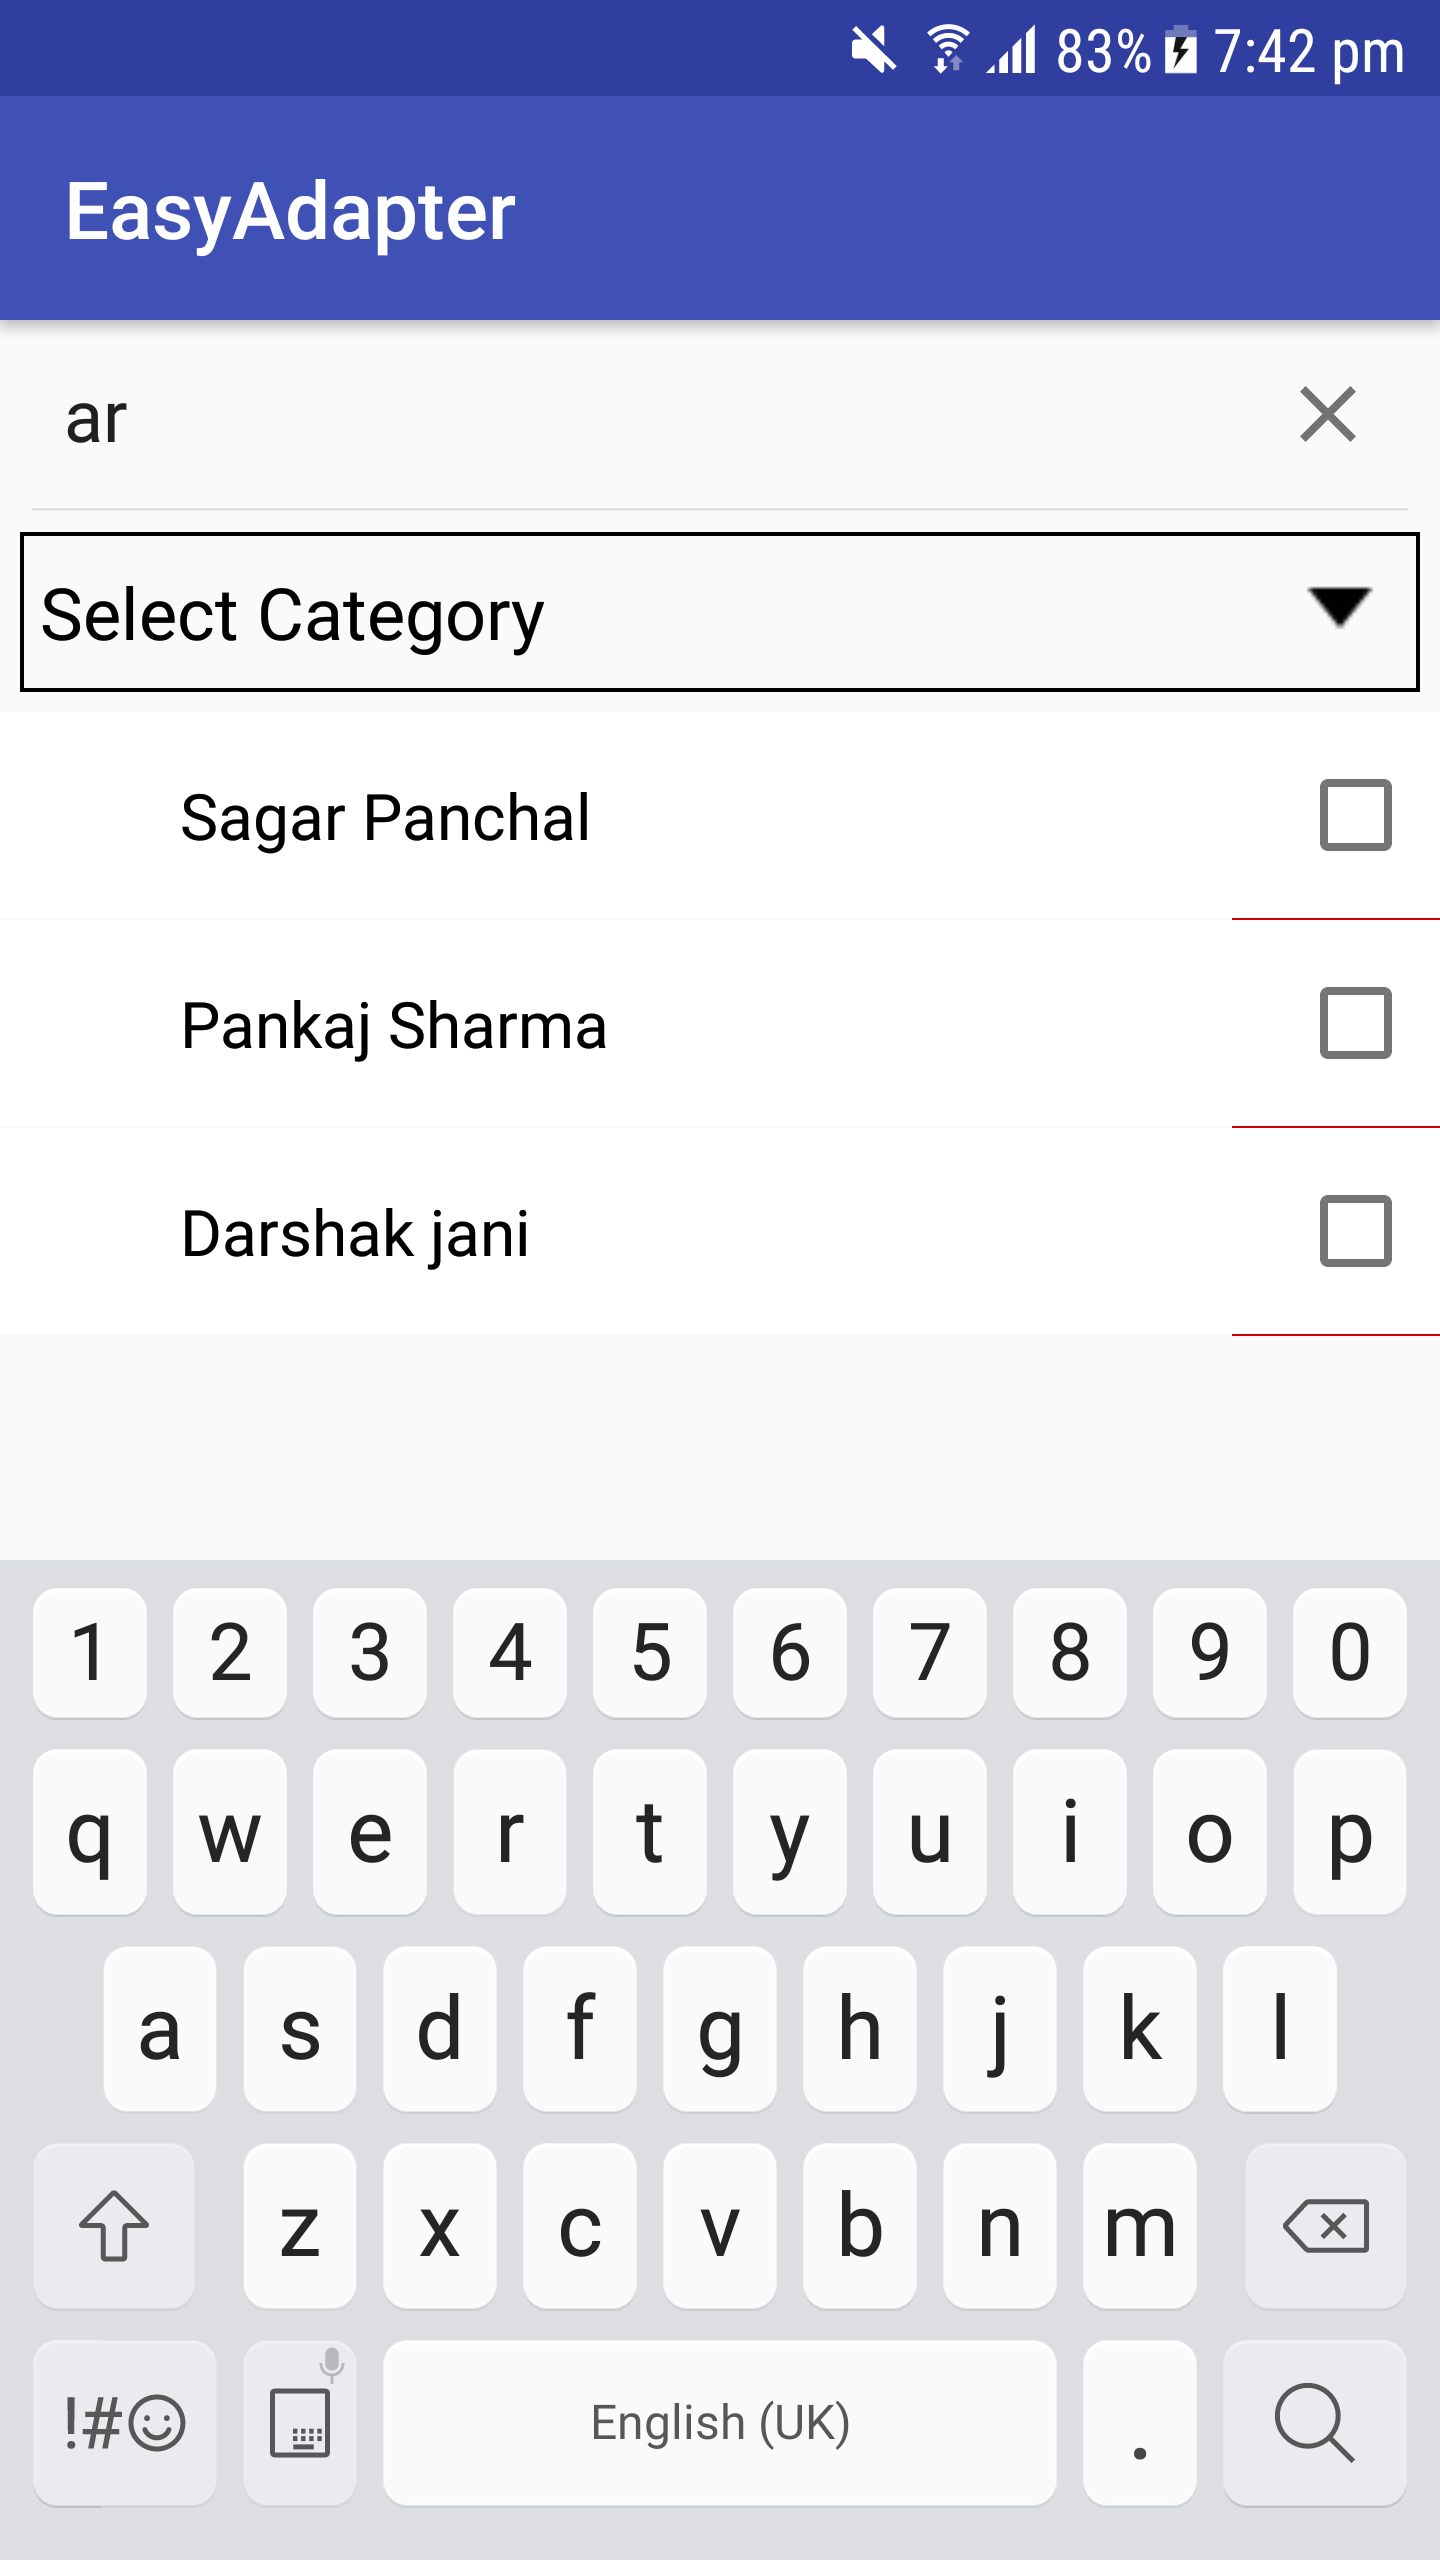
}adapter.performFilter(newText,filter)
val filter = object : EasyAdapter . OnFilter < Category > {
override fun onFilterApply ( filter : Any , model : Category ): Boolean {
return model.name.toLowerCase().contains(filter.toString().toLowerCase())
}
override fun onFilterResult ( filteredList : ArrayList < Category > ? ) {
adapter.clear( false )
adapter.addAll(filteredList, false )
adapter.notifyDataSetChanged()
}
}
adapter.setLoadMoreRes( R .layout.layout_progress)
adapter.setOnLoadMoreListener(binding.recyclerView, EasyAdapter . OnLoadMoreListener {
            if (paging != - 1 ) {
                requestLoadMore() // Your Method
                return @OnLoadMoreListener true // Returns True if you have more data
            }
            return @OnLoadMoreListener false // Return false if you don't have more data
        })
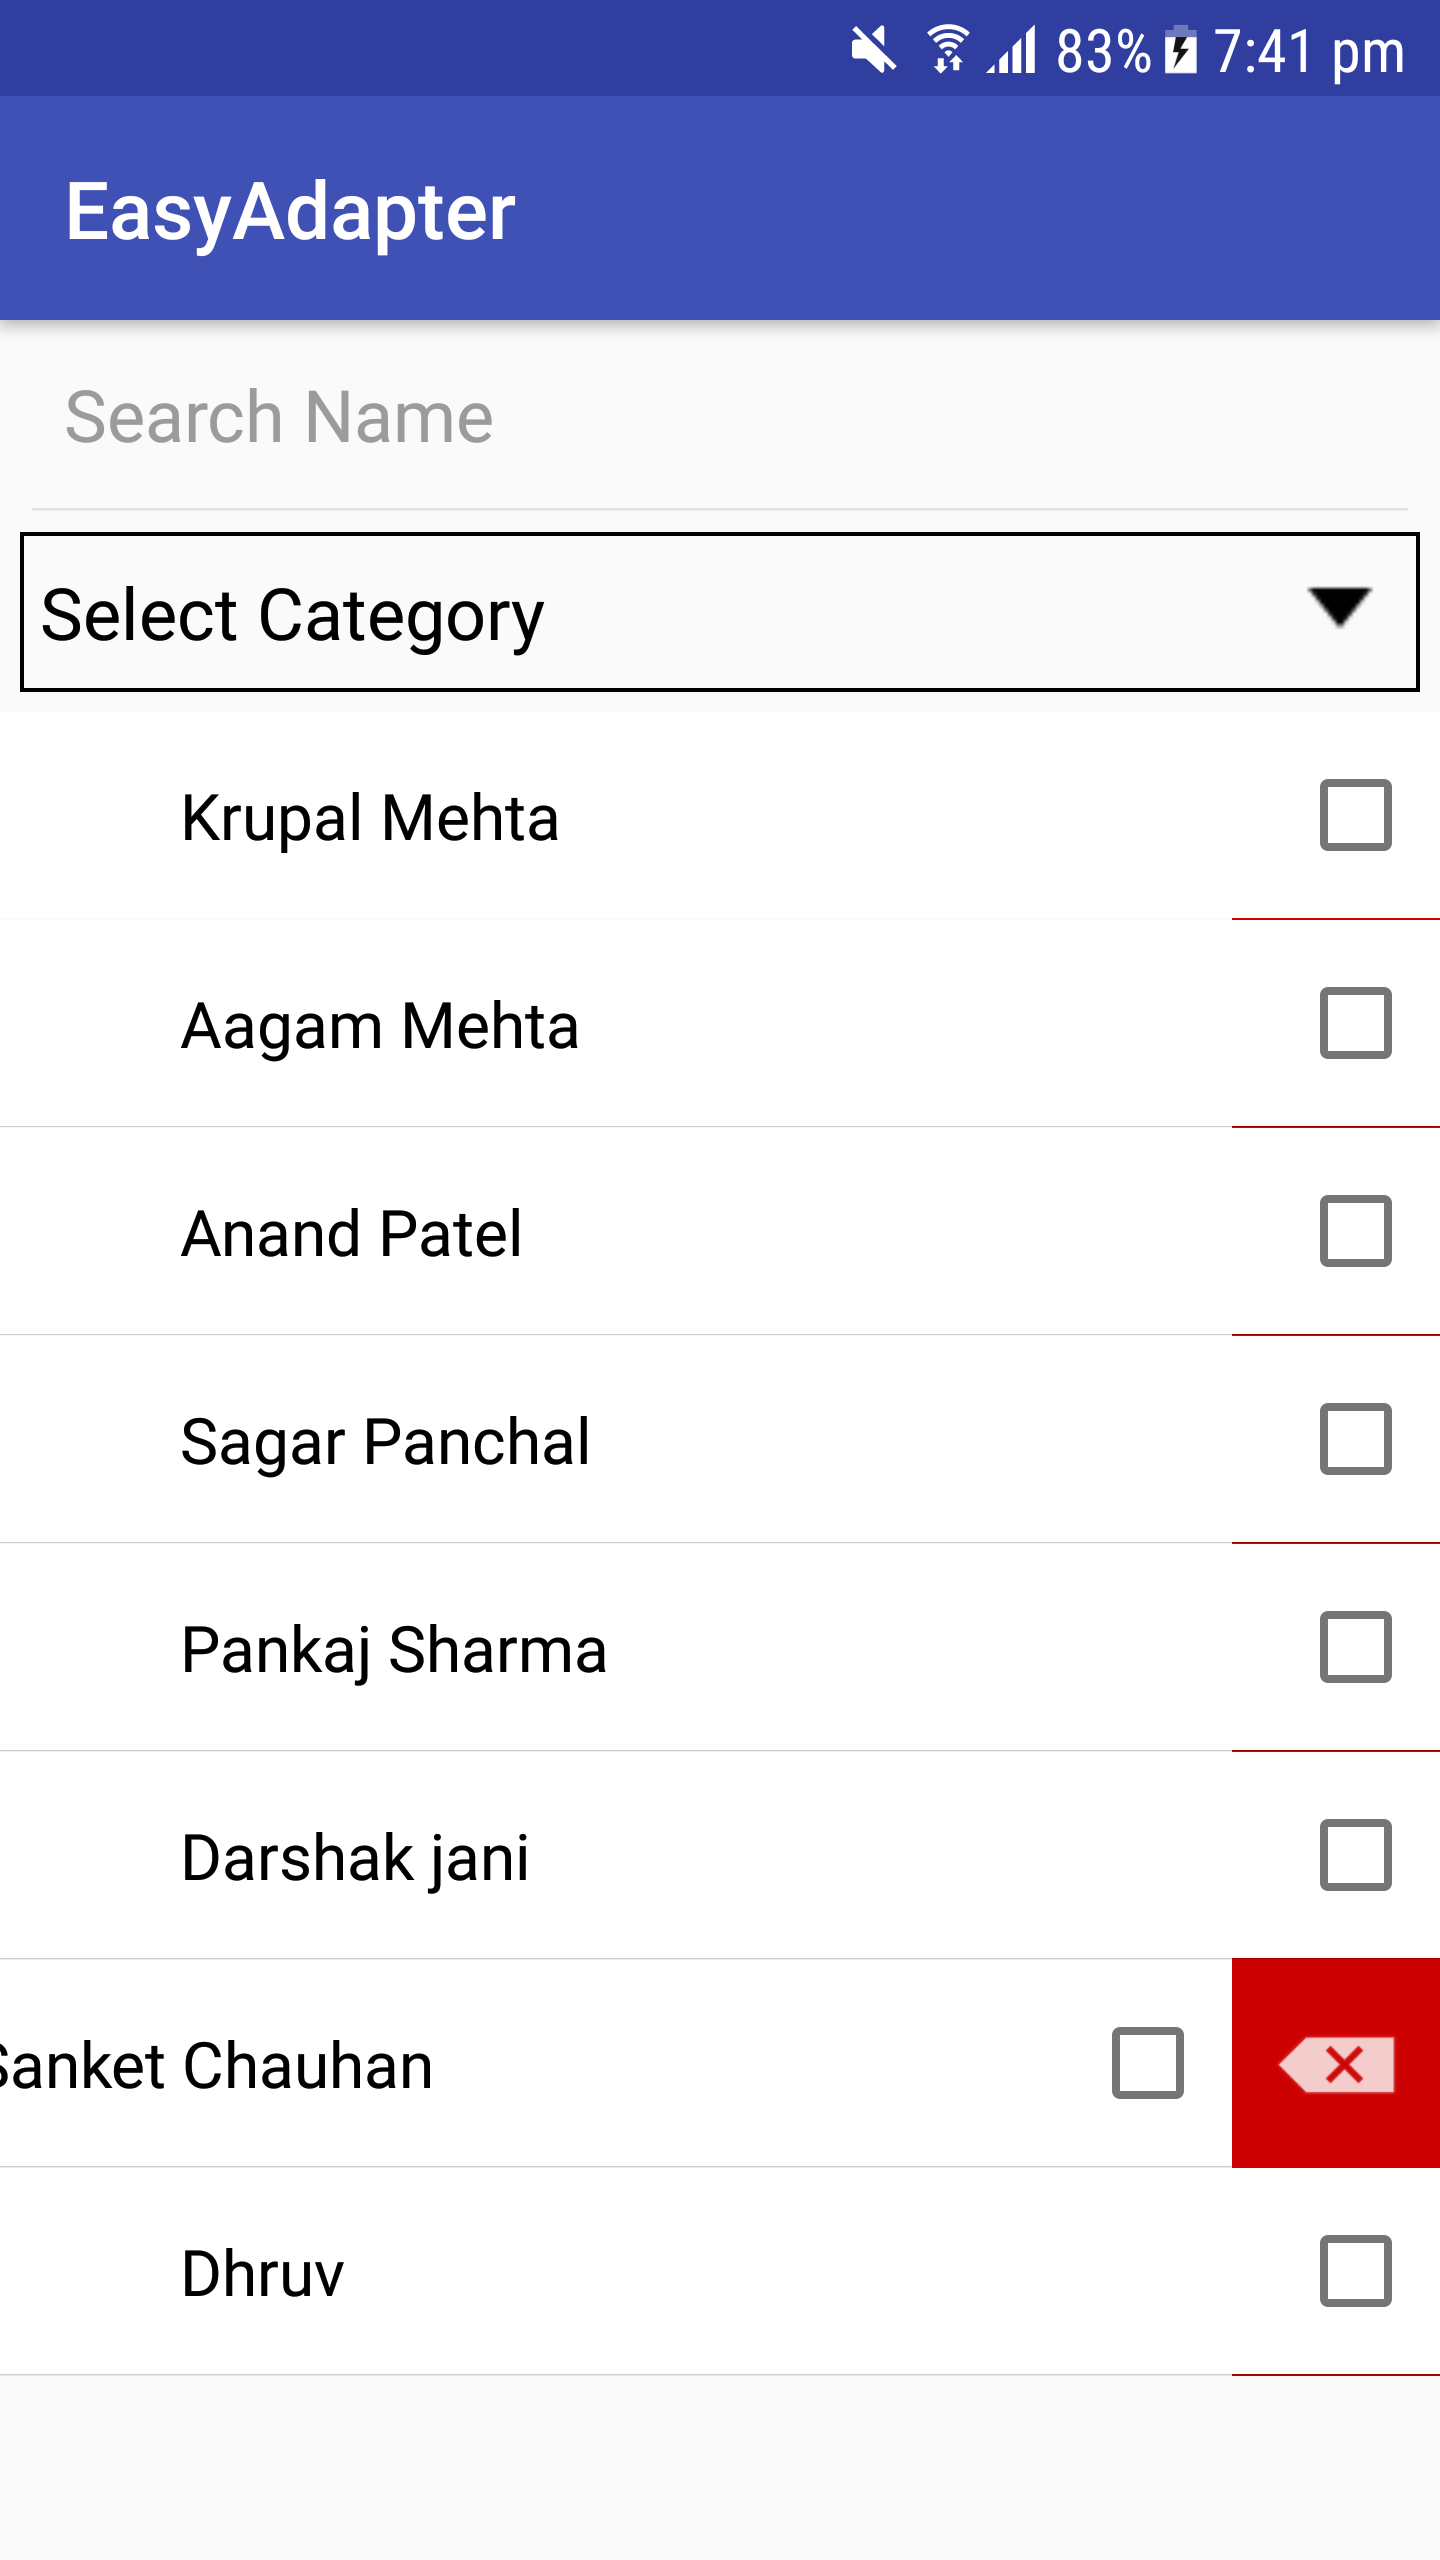
adapter.enableSwipeAction(binding.recyclerView) override fun onCreatingHolder ( binding : InflaterCategoryBinding , easyHolder : EasyHolder ) {
binding.llDelete.post {
easyHolder.setEnableSwipeToDelete(binding.llCategory, 0 , binding.llDelete.measuredWidth)
}
}
 < FrameLayout
        android : layout_width = " match_parent "
        android : layout_height = " wrap_content " >

        //Swipe Reveal Layout
        < LinearLayout
            android : id = " @+id/llDelete "
            android : padding = " 10dp "
            android : layout_gravity = " end "
            android : background = " @android:color/holo_red_dark "
            android : layout_width = " wrap_content "
            android : layout_height = " match_parent " >

            < ImageView
                android : layout_width = " wrap_content "
                android : layout_height = " wrap_content "
                android : src = " @android:drawable/ic_input_delete " />
        </ LinearLayout >

        //Your container
        < LinearLayout
            android : background = " @android:color/white "
            android : id = " @+id/llCategory "
            android : layout_width = " match_parent "
            android : layout_height = " wrap_content "
            android : gravity = " center_vertical "
            android : orientation = " horizontal "
            android : padding = " 5dp " />

</ FrameLayout >adapter.setOnDataUpdateListener {
if (it.size <= 0 ) {
Toast .makeText( this @MainActivity, " No Data Found " , Toast . LENGTH_SHORT ).show()
}
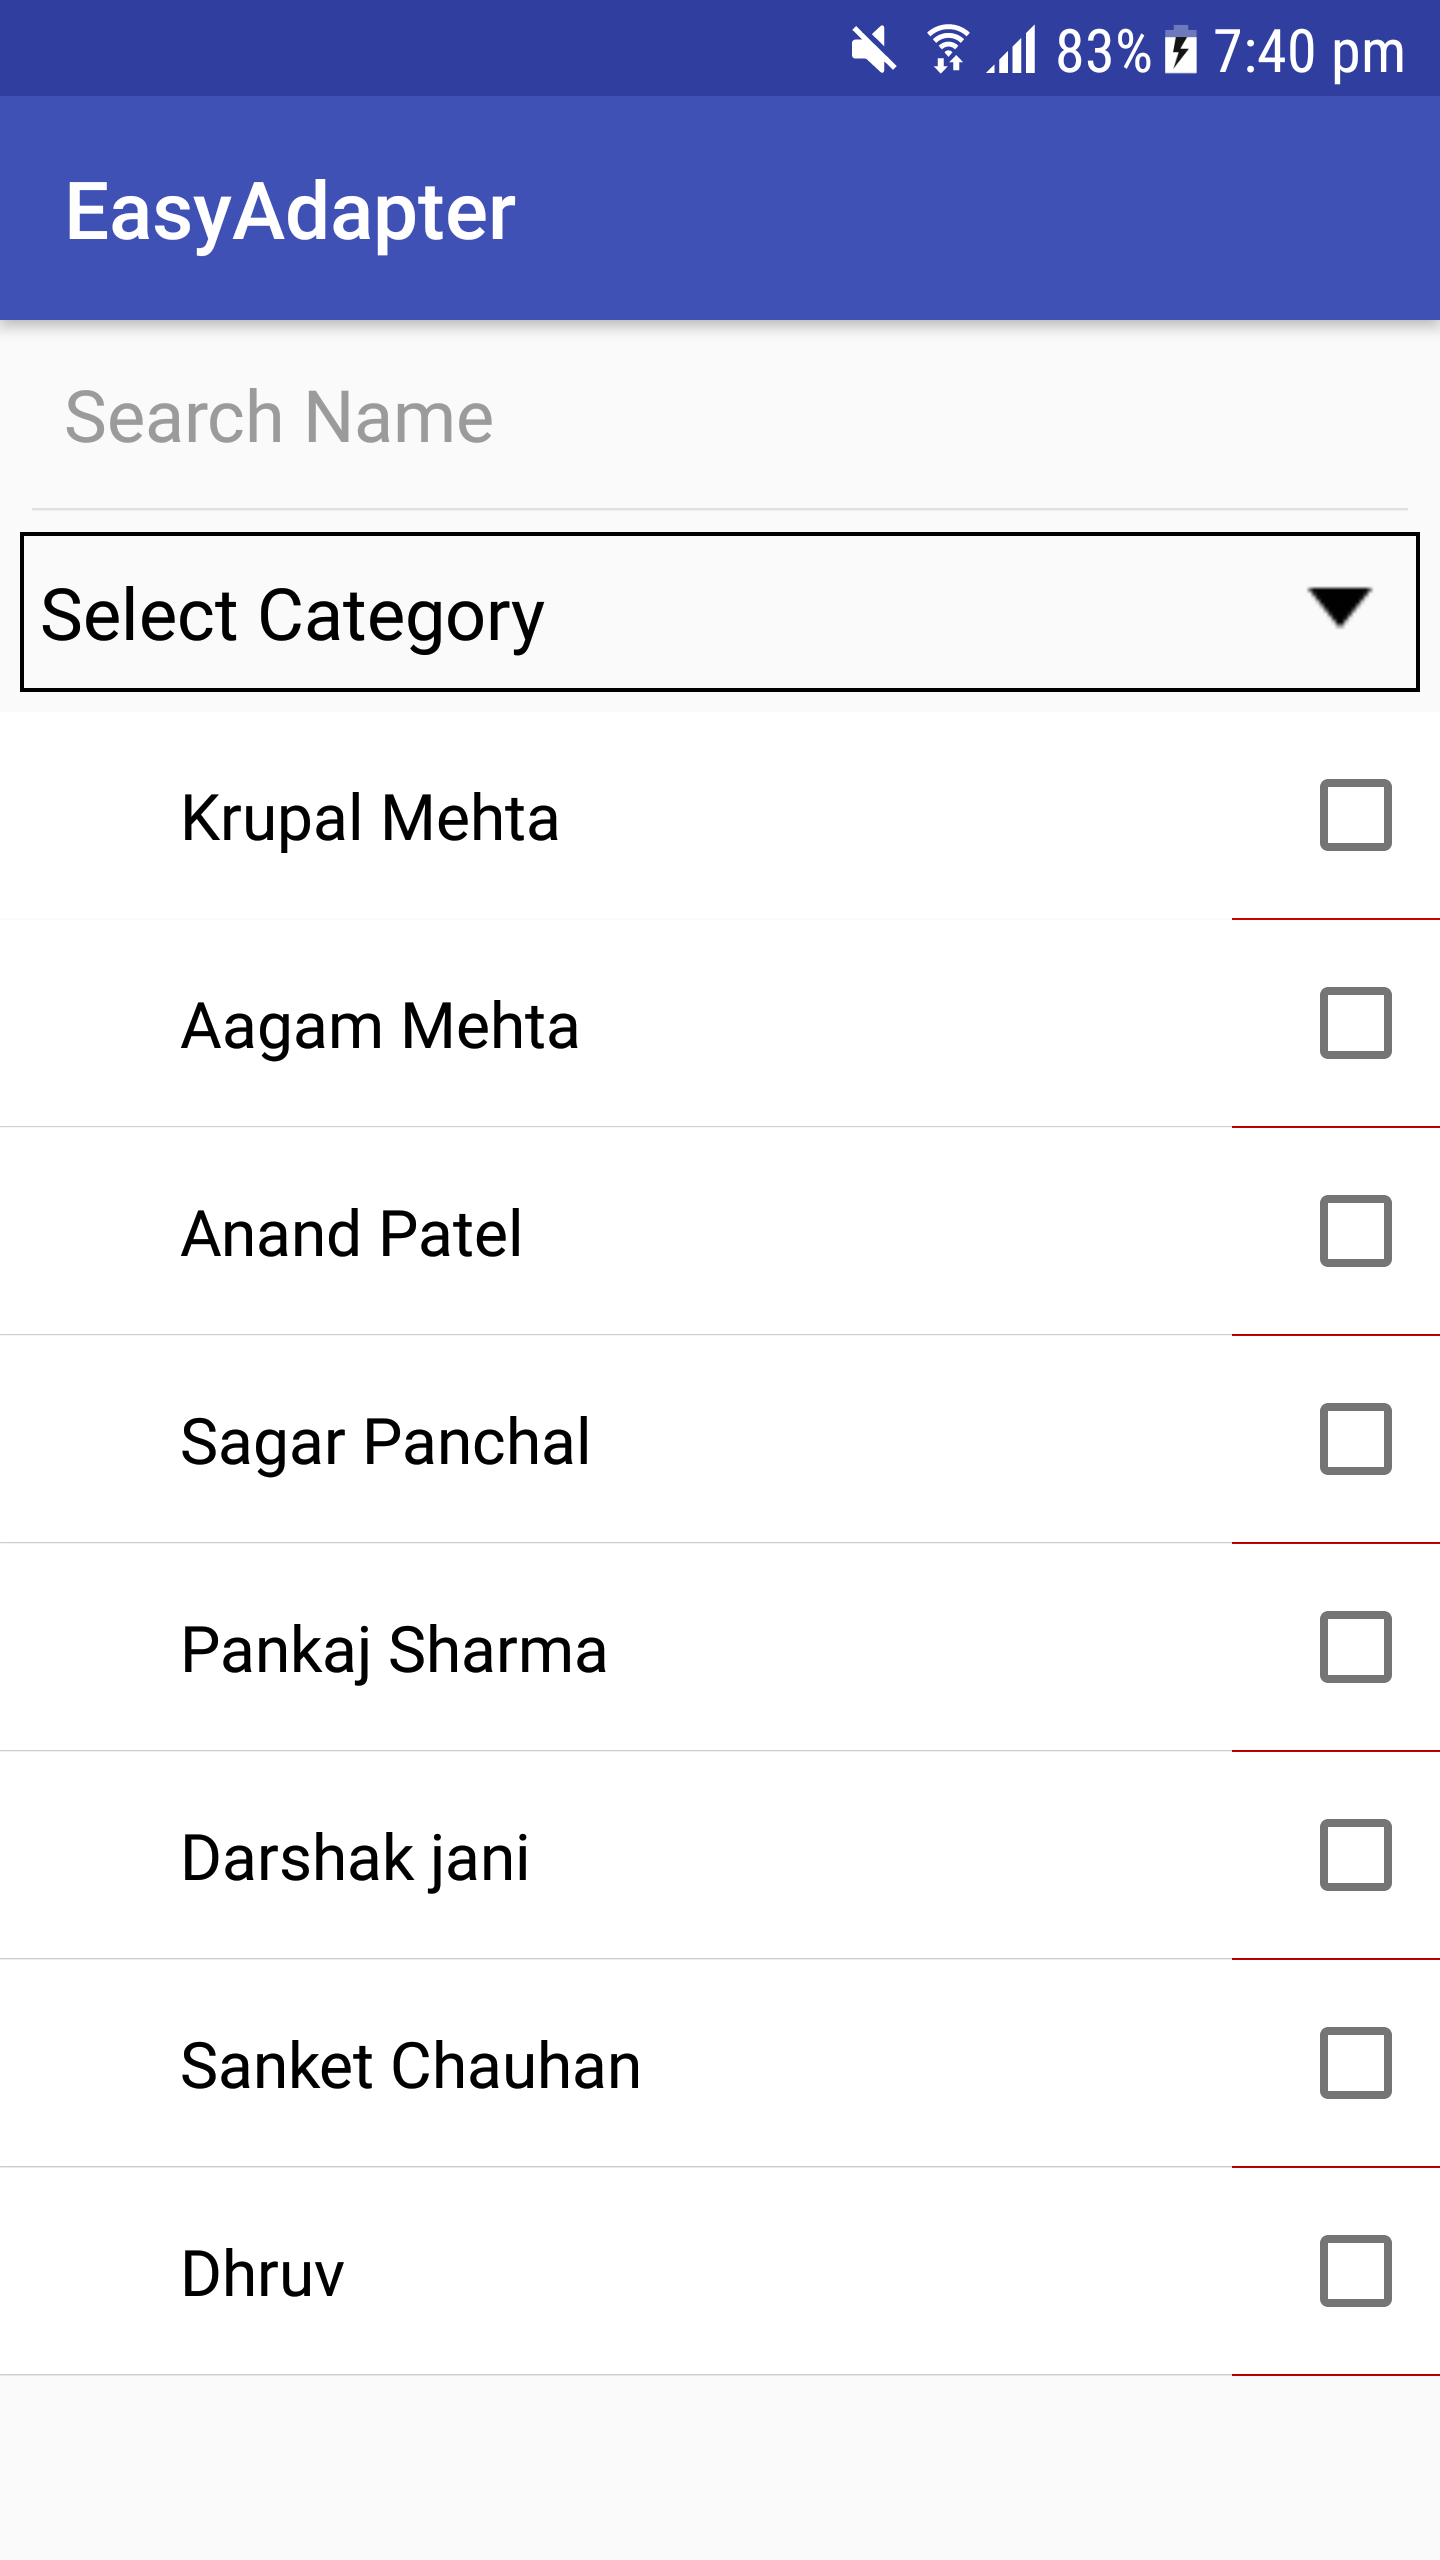
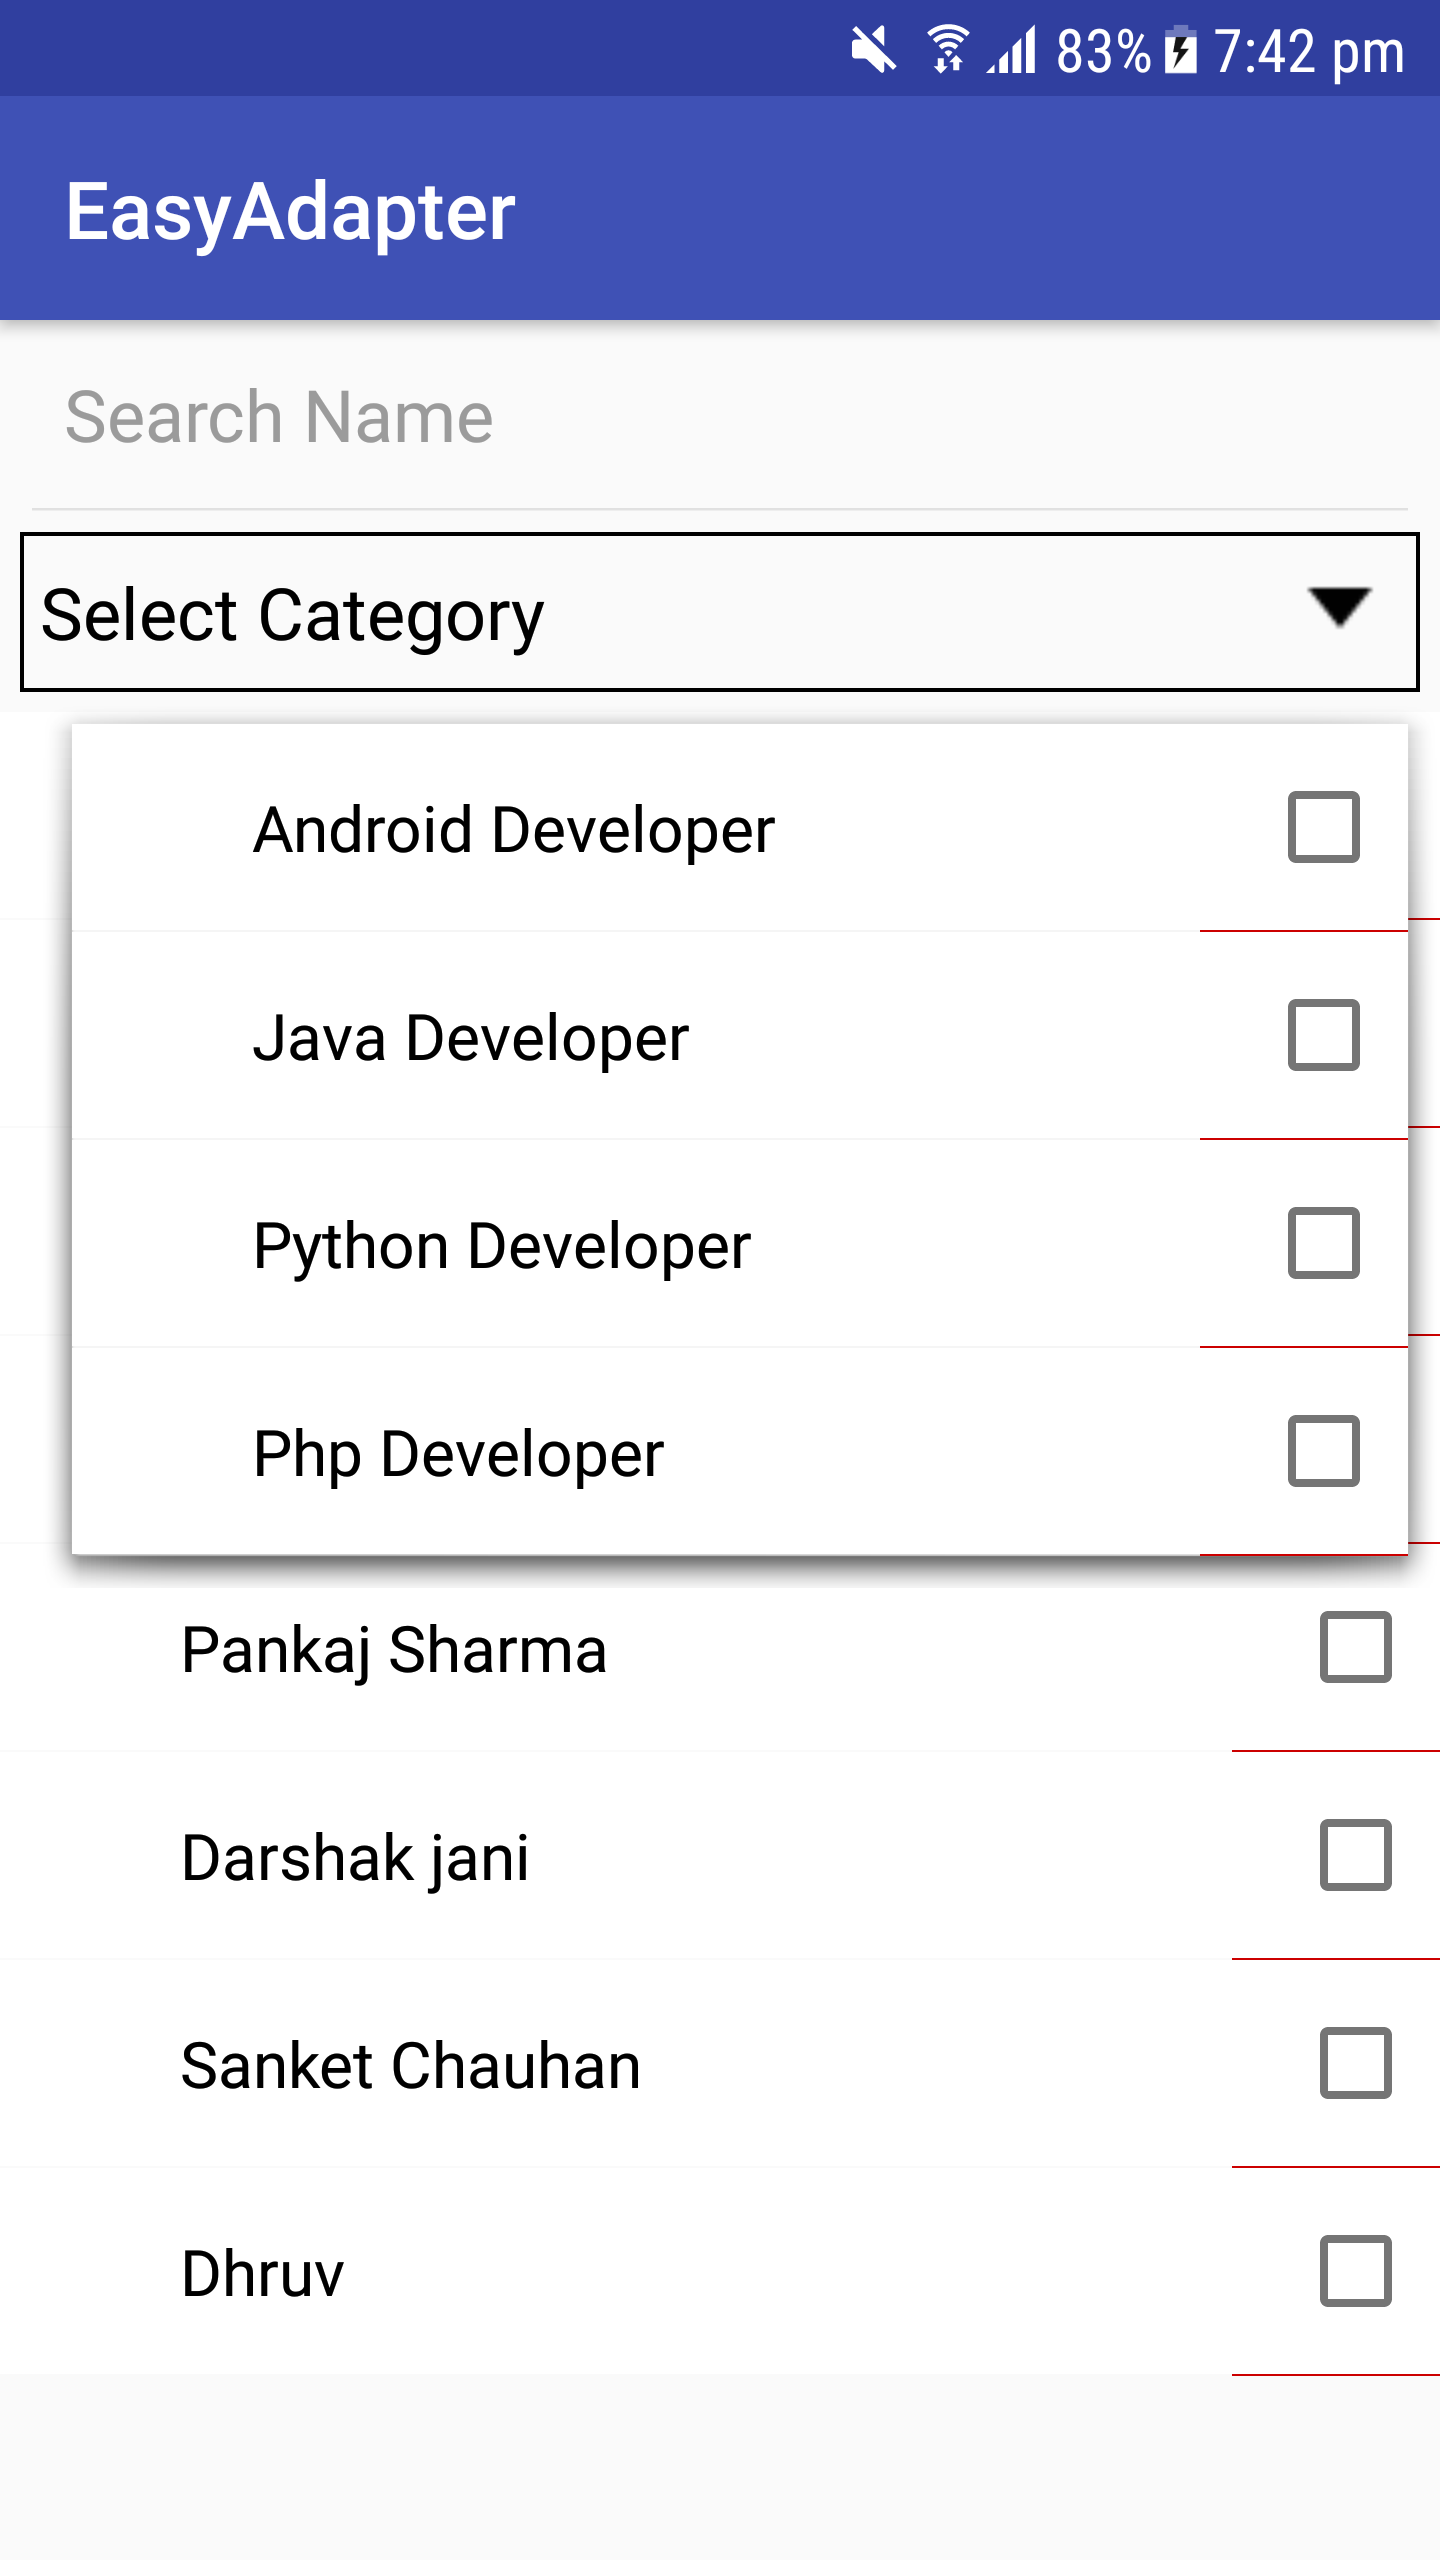
} لقد أنشأنا EasySpinner حيث يمكنك استخدام EasyAdapter
لا داعي لكتابة ArrayAdapter أو CustomArrayAdapter وسيكون لديك الكثير من الميزات من EasyAdapter.
  < easyadapter .dc.com.library.EasySpinner
            android : background = " @drawable/rect_background "
            android : id = " @+id/easyspinner "
            android : layout_width = " 220dp "
            android : layout_height = " wrap_content "
            android : textColor = " @android:color/black "
            android : drawableRight = " @android:drawable/arrow_down_float "
            android : textColorHint = " @android:color/black "
            android : padding = " 10dp "
            android : hint = " Select Name " />
ضبط المحول على EasySpinner
binding.easyspinner.setAdapter(adapter)يمكنك استخدام الدوار كعرض نص الإكمال التلقائي باستخدام
 binding.easyspinner.enableAutoCompleteMode { easySpinner, text ->
            adapter.performFilter(text, filter)
}
هذا كل شيء... سيكون لديك محول الدوار.
استخدم سمة الأدوات لمعاينة التخطيط، لذلك لا تحتاج إلى تشغيل التطبيق دائمًا
com.recyclerview
tools:listitem="@layout/inflater_category"
tools:itemCount="5"
tools:orientation="horizontal"
app:layoutManager="android.support.v7.widget.GridLayoutManager"
تَخطِيط
tools:text="Sample Text"
tools:visibility="VISIBLE"
tools:background="@color/colorPrimary"
android يحدد مسبقًا بيانات العينة
 tools:text="@tools:sample/cities,first_names,us_phones,lorem,lorem/random"
 tools:background="@tools:sample/backgrounds/scenic"
 tools:src="@tools/avatars"
بيانات العينة المخصصة
 To create your fake/sample data folder,
just right click on the “app” folder then “new > Sample Data directory” <br />
create new file with "filename" and write each text by new lines

file contains -

Georgia <br />
Illinois <br />
Paris <br />
London <br />

so it will randomly pick names and display in layout by
tools:text="@sample/filename" سجل التغيير
https://github.com/alex-townsend/SwipeOpenItemTouchHelper
بدون هذا الشخص لا يمكن تحقيق إجراء التمرير السريع في عرض إعادة التدوير
https://android.jlelse.eu/android-tools-attributes-listitem-sample-data-rocks-bbf49aaa9f07
لمشاركة المعرفة حول سمات أدوات Android
اشتري لي بيرة. ؟
 Copyright 2013 DC, Inc.

Licensed under the Apache License, Version 2.0 (the "License");
you may not use this file except in compliance with the License.
You may obtain a copy of the License at

   http://www.apache.org/licenses/LICENSE-2.0

Unless required by applicable law or agreed to in writing, software
distributed under the License is distributed on an "AS IS" BASIS,
WITHOUT WARRANTIES OR CONDITIONS OF ANY KIND, either express or implied.
See the License for the specific language governing permissions and
limitations under the License.


