ved
vid macos
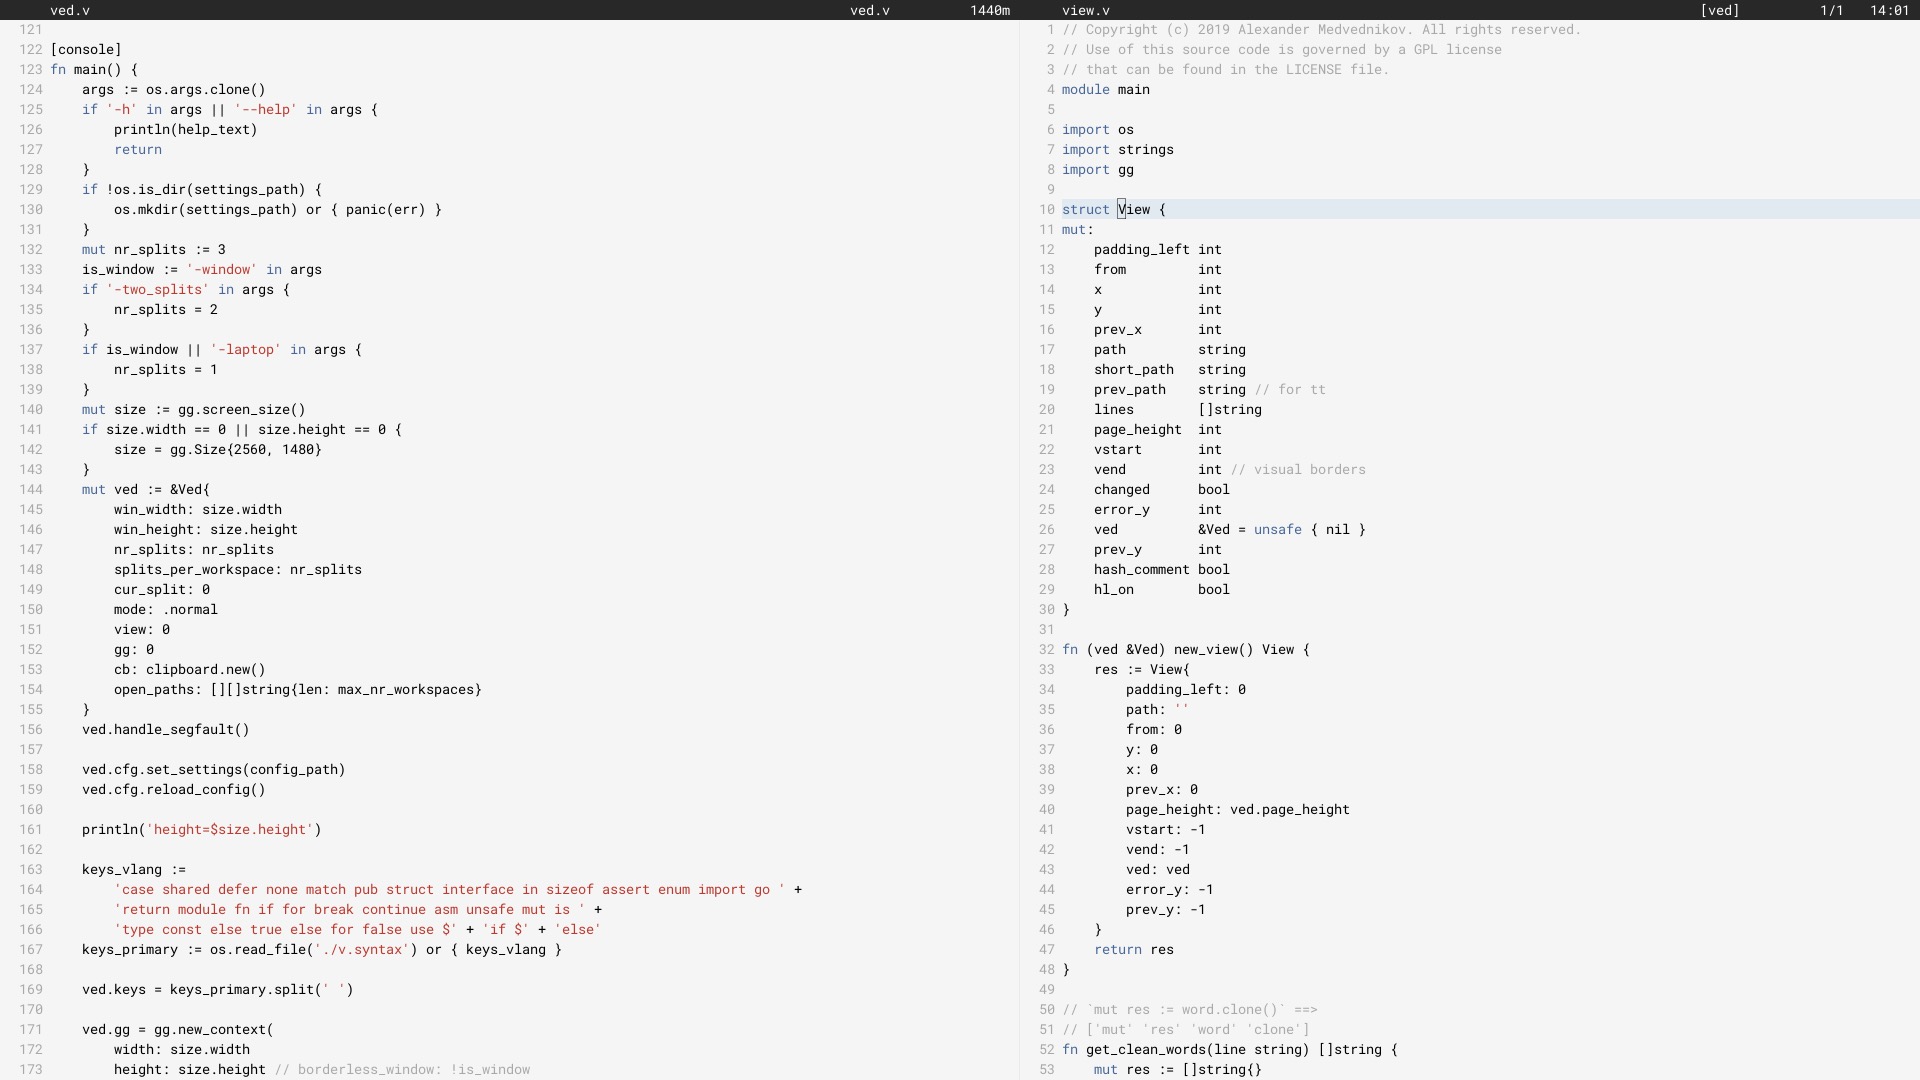
أستخدم Ved كمحرر رئيسي منذ يونيو 2017 (تمت إعادة كتابته في V في يونيو 2018).
قد لا تعمل مع الجميع. توجد حاليًا قيود يجب التغلب عليها. نحن نعمل على تحسين استقرار التطبيق وتجربة المستخدم ببطء.
لتكوين المحرر، يرجى مراجعة قسم التكوين.
في نظام التشغيل Linux، ستحتاج إلى تثبيت بعض الحزم اللازمة لاستخدام مكتبات X11، نظرًا لأن Ved هو تطبيق رسومي. يمكن تخطي ذلك في نظامي التشغيل macos وwindows. ثم قم بتثبيت V وتجميع ved. سيستغرق هذا بضع ثوان.
 git clone https://github.com/vlang/ved
cd ved
v .
./ved
يجب أن يبني Ved في أقل من ثانية.
افتراضيًا، يتم استخدام عرض الخط المدمج في V، ولكن هناك خيار لاستخدام الكتابة الحرة، مما قد يوفر عرضًا أفضل لبعض المستخدمين:
v -d use_freetype .
لاستخدام freetype، يجب أولاً تثبيته على نظامك. اتبع الخطوات الخاصة بالنظام الأساسي الخاص بك أدناه.
أوبونتو:
sudo apt install libfreetype6-dev libx11-dev libxrandr-dev mesa-common-dev libxi-dev libxcursor-dev
فيدورا:
sudo dnf install freetype-devel libXcursor-devel libXi-devel
قوس:
pacman -S freetype2
ماك:
brew install freetype
ويندوز:
v setup-freetype
Discord (المجتمع الأساسي): https://discord.gg/vlang. انضموا إلى قناة #ved .
يقوم Ved بإنشاء دليل إعدادات في $HOME/.ved حيث يقوم بتخزين مساحات العمل والجلسات والمهام وملف التكوين. ملف التكوين هو ببساطة ملف TOML يسمى conf.toml . فهو يوفر طريقة لتغيير بعض الإعدادات الأساسية وألوان المحرر.
إذا كنت لا تريد لمس ملف التكوين، فلن تضطر إلى القيام بذلك أبدًا! لا يقوم Ved بإنشائه بنفسه ويوفر إعدادات افتراضية معقولة للبدء. إذا كنت أكثر ميلًا إلى المغامرة، فإليك مثال لملف التكوين الذي يحتوي على جميع الإعدادات الممكنة:
 # To get started, create a file called "conf.toml" in $HOME/.ved
# Most of the settings are contained inside this "editor" table.
[ editor ]
dark_mode = false       # Ved comes with a light and dark mode built-in.
cursor = ' variable '     # Ved has three variants: Variable, block, and beam. You are probably used to "variable" or "beam".
text_size = 18          # ┌───────────────────────────────────────────────────┐
line_height = 20        # │ These *can* be edited, but you probably shouldn't │
char_width = 8          # └───────────────────────────────────────────────────┘
tab_size = 4            # Ved uses tab characters (t). This settings changes how many spaces a tab should be displayed as
backspace_go_up = true  # If set to true, hitting the backspace doesn't do anything when you reach the beginning of the line

# If you do not like ved's default colorscheme, or you just want
# something new, edit the "colors" table. Ved uses a form of base16
# to control syntax and editor highlighting. Please note that due
# to ved's very minimal highlighting, base16 themes copied off of
# the internet are not going to look like very much like their
# screenshots.
[ colors ]
base00 = " efecf4 "
base01 = " e2dfe7 "
base02 = " 8b8792 "
base03 = " 7e7887 "
base04 = " 655f6d "
base05 = " 585260 "
base06 = " 26232a "
base07 = " 19171c "
base08 = " be4678 "
base09 = " aa573c "
base0A = " a06e3b "
base0B = " 2a9292 "
base0C = " 398bc6 "
base0D = " 576ddb "
base0E = " 955ae7 "
base0F = " bf40bf " يعمل Ved بشكل أفضل مع مساحات العمل (الأدلة ذات التعليمات البرمجية). يمكنك الحصول على مساحات عمل متعددة والتبديل بينها بسرعة باستخدام C [ و C ] .
لفتح مساحات عمل متعددة، قم بتشغيل
ved path/to/project1 path/to/project2
الارتباطات الرئيسية:
C هو ⌘ على نظام التشغيل macOS، Ctrl على جميع الأنظمة الأخرى.
 C q q  exit the editor
C o    open a file
C s    save
C r    reload current file
C p    open ctrlp (fuzzy search)
/      search in current file
C g    copy current file's path to clipboard
t      go to the previous file
gd     go to definition

C c    git commit -am
C -    git diff
?      git grep (search across all files in current workspace)

C u    build current project (build instructions must be located in "build")
C y    alternative build of the current project (build instructions must be located in "build2")
C 1    switch to Ved from any other application (only on macOS for now)

C d    go to the previous split
C e    go to the next split
C [    go to the previous workspace
C ]    go to the next workspace

C a    start a new task
C t    show the Timer/Pomodoro window
روابط vim المدعومة:
 j k h l         down, up, left, right (moves cursor)
C-F C-B         page down, page up
L H             go to top/bottom of the page
w b             next/previous word
dw de cw ce     delete word
di ci           smart delete
A I             go to start/end of line, insert mode
o O             new line below/above, insert mode
v               selection mode
zz              center current line
y d p J         yank, delete, paste, join lines
.               repeat last action
< >             indent right/left
/ * n           search, search for word under cursor, next occurence
gg G            go to the beginning/end of the file
x r             delete/replace character under cursor
C-n             autocomplete
+y              yank and copy to system clipboard


