Silent Hill 2 Remake هو إعادة تصور كاملة من قبل فريق Bloober لتحفة الرعب الأصلية، وهناك الكثير من الألغاز والرعب المألوفة والجديدة التي يجب اكتشافها أثناء رحلة جيمس عبر هاوية Silent Hill. إليك هذه الإرشادات المتعمقة لمساعدتك في تحقيق العديد من أهداف اللعبة والألغاز والأسرار الغامضة الأخرى.
يتم إجراء الإرشادات التالية مع تعيين كلا النوعين من الصعوبة (على سبيل المثال - القتال والألغاز) على "قياسي" ، لذلك إذا كنت تلعب بمستوى صعوبة مختلف فقد يكون هناك اختلاف في الموقع و/أو مدى توفر عناصر معينة مثل المشروبات الصحية و ذخيرة. قد تختلف حلول الألغاز أيضًا.
بعد المشهد الافتتاحي الشهير، تعرف على تحركات جيمس وتفاعلاته، واحصل على خريطتك الأولى من مقعد السائق في سيارته.
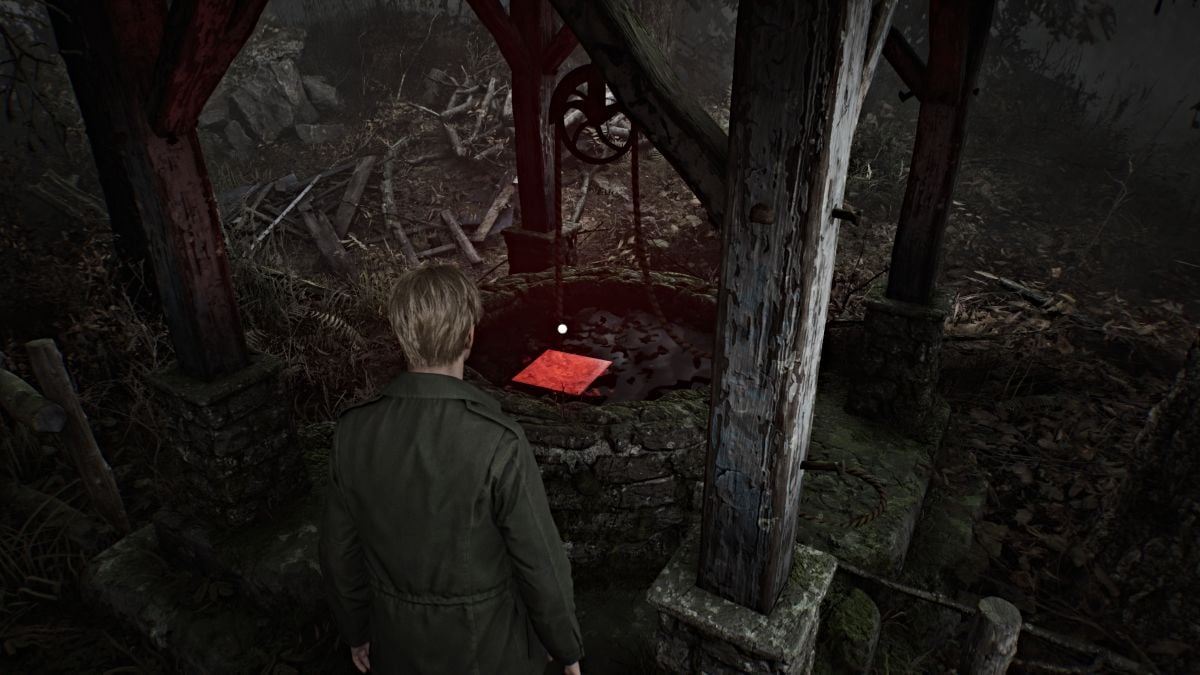
انزل الدرج في أقصى نهاية منطقة المراقبة وابدأ مسيرتك الطويلة المليئة بالضباب نحو Silent Hill. في مرحلة ما سوف تصادف بئرًا ينبعث منه ضوء أحمر. اصعد إليها؛ يوجد بالداخل مربع أحمر ساطع يشير إلى نقطة الحفظ اليدوية الأولى (سنشير إليها من الآن فصاعدًا باسم "نقاط الحفظ الحمراء" ). ابحث عن أكبر عدد ممكن منها واستخدمها أثناء اللعب.
واصل السير على طول الطريق الرئيسي حتى تصل إلى كنيسة بها مقبرة، حيث تقابل أنجيلا أوروسكو لأول مرة. تدعي أنها تبحث عن والدتها مع والدها وشقيقها، لكنها لا تكشف سوى القليل. بعد المشهد، لا تتردد في استكشاف المنطقة، ولكن اعلم أنه لا توجد عناصر لالتقاطها هنا. يمكنك أيضًا التحدث إلى أنجيلا عدة مرات لمزيد من الحوار الفريد إذا كنت تريد ذلك.
اترك المقبرة واستمر في السير على نفس المسار الرئيسي الذي يأخذك عبر منطقة Silent Hill Ranch.
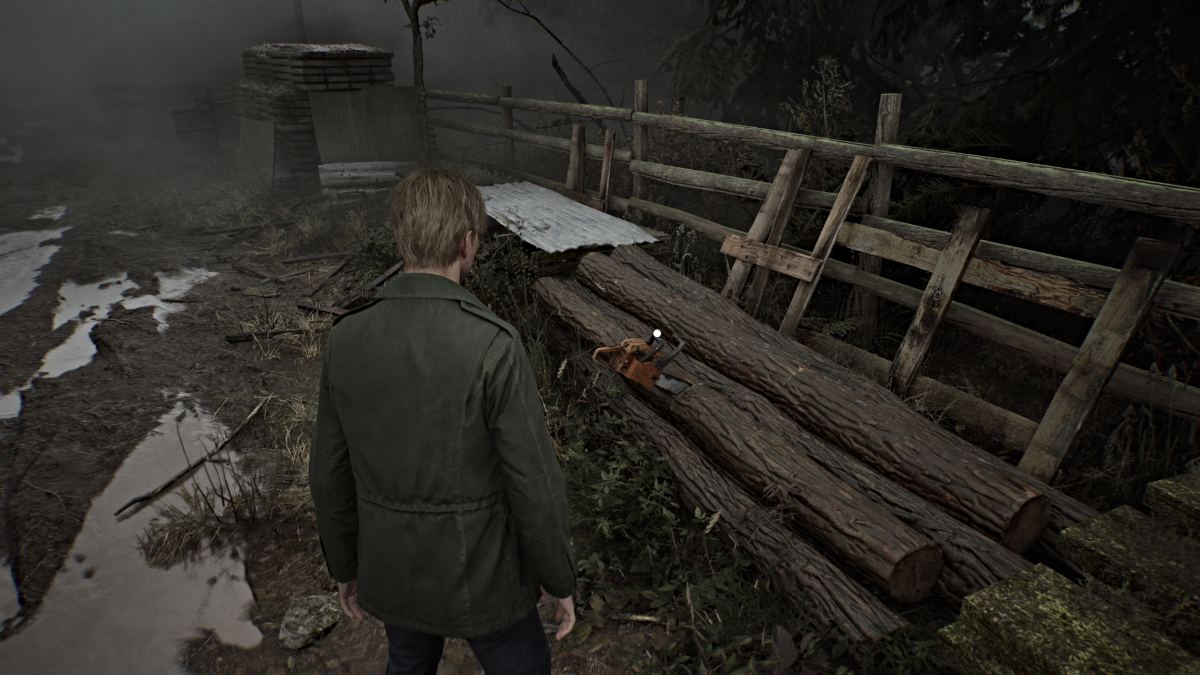
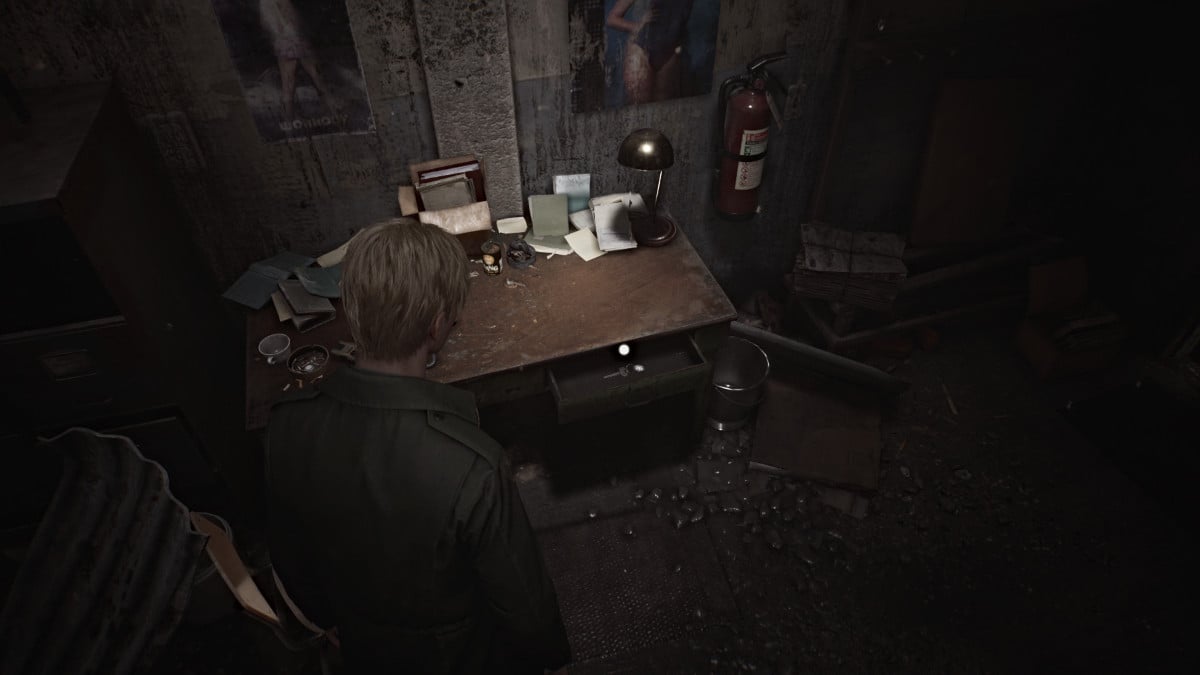
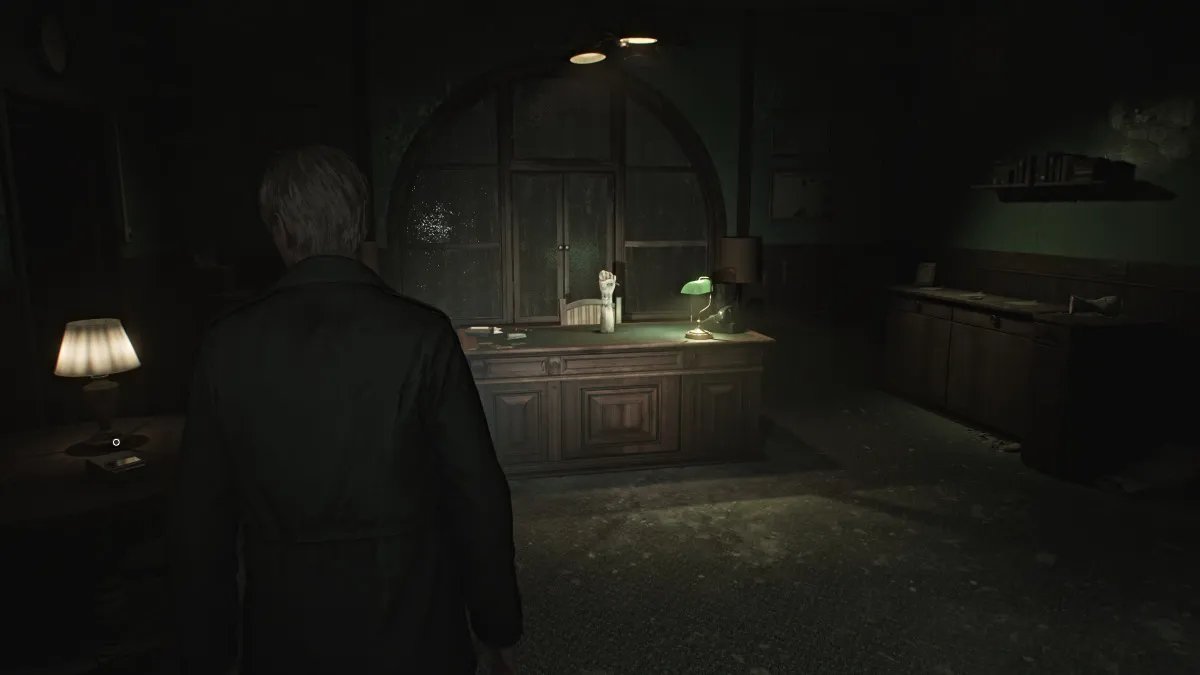
استمر في السير حتى تصل إلى حاجز كبير في الطريق به باب صغير مغلق. ابحث عن متجر صغير لقطع غيار السيارات بالقرب منك على يسارك مع فتح بوابته. أدخل المبنى واتجه يسارًا حول المبنى حيث يمكنك القفز عبر نافذة مفتوحة. ابحث عن مكتب مضاء بالداخل، وداخل الدرج سيكون مفتاح قطع غيار السيارات الذي يفتح الباب بالخارج ويسد طريقك.
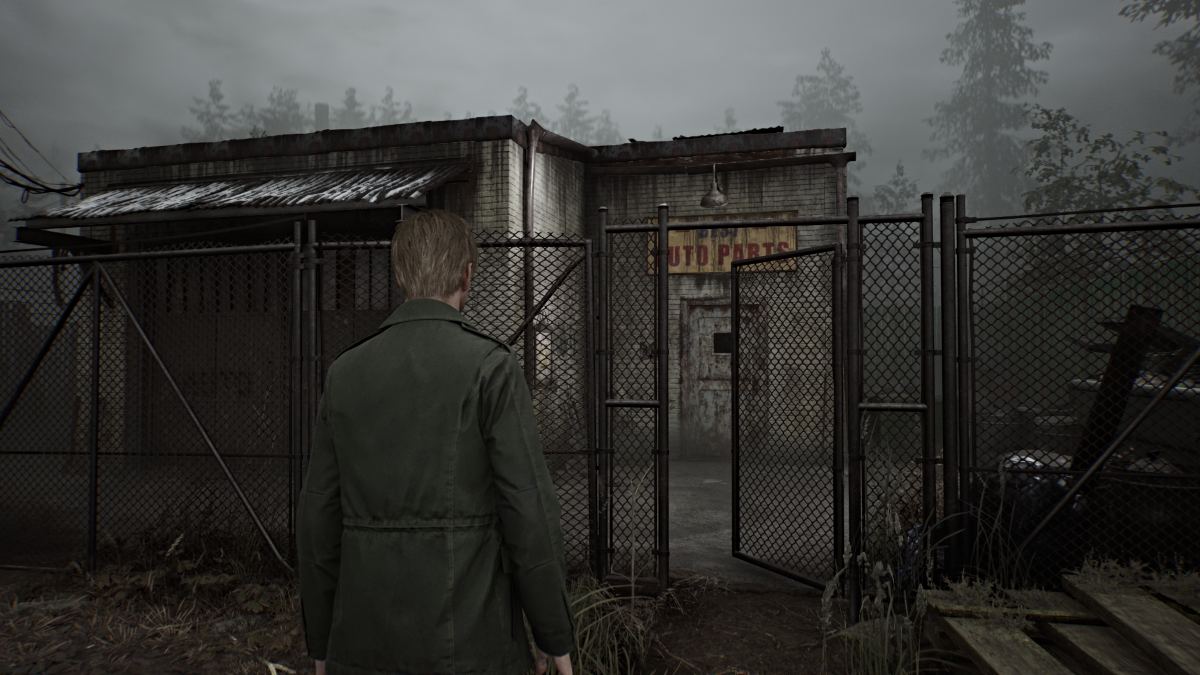
استمر في اتباع المسار بشكل مستقيم حتى تصل إلى مكان مألوف (إذا لعبت اللعبة الأصلية) أسفل جسر علوي مليء بالسياج والألواح المكسورة. بينما لا يمكنك الدخول إليه، يمكنك التفاعل مع المكان لأنه بمثابة لمحة عن بيضة عيد الفصح الماضية .
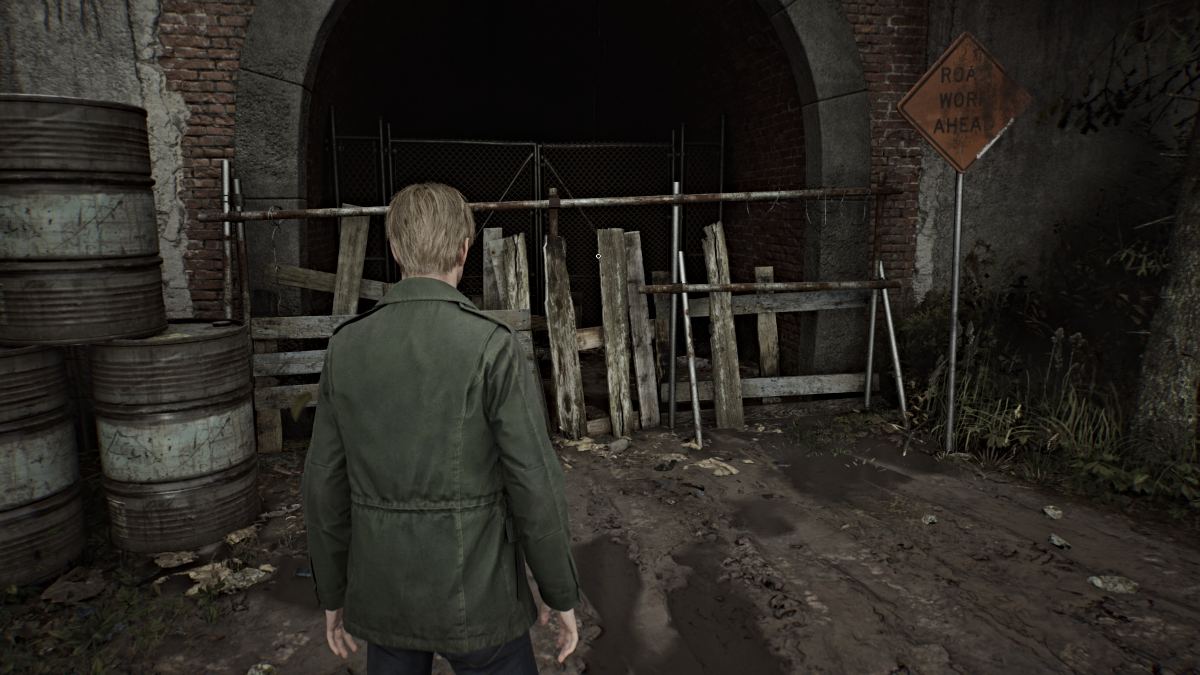
علق يسارًا أسفل منطقة مفتوحة من الجسر ومن خلال البوابة الأمامية، والتي ستأخذك إلى طريق Witse (حسب خريطتك) وإلى مدينة Silent Hill.
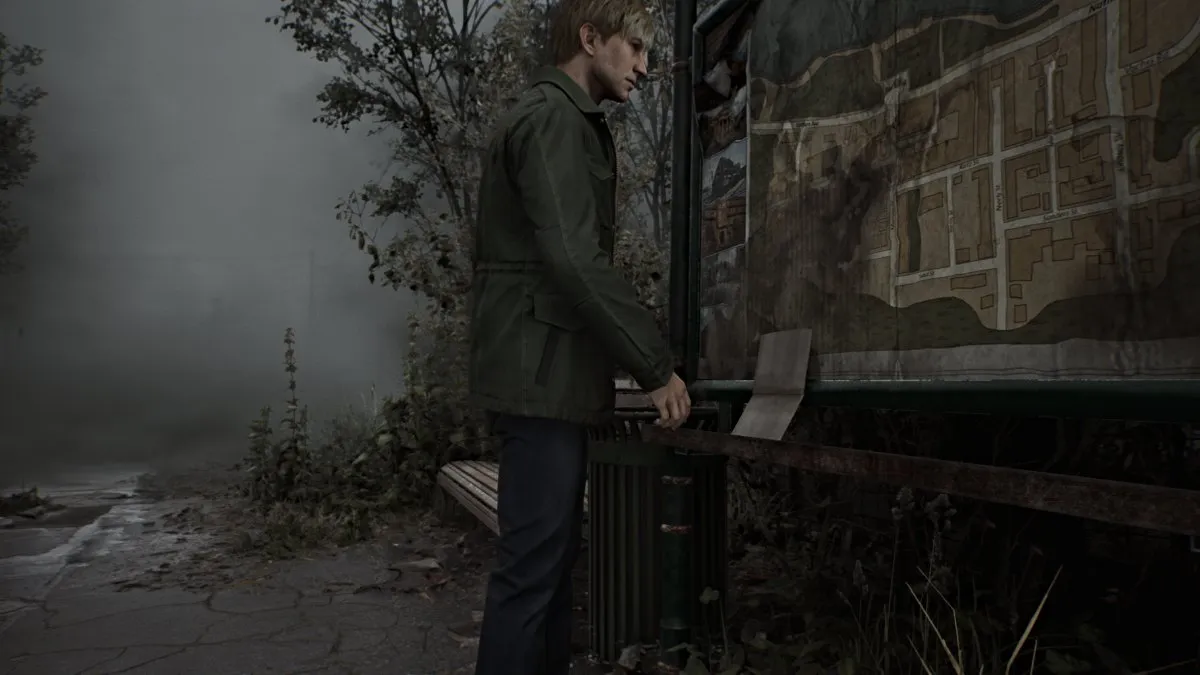
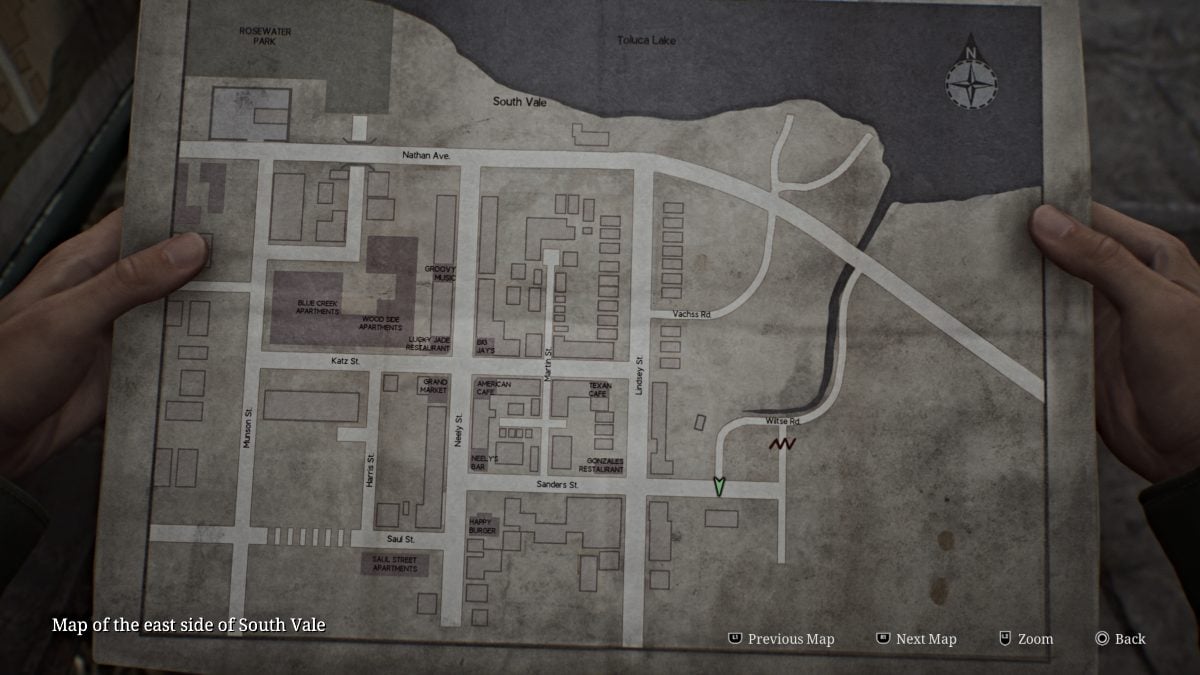
عند الوصول إلى شارع ساندرز، سيتم عرض مشهد حيث يجد جيمس خريطة أخرى أكثر اتساعًا للمدينة موضوعة أسفل لافتة. يسمح لك هذا بإلقاء نظرة على الجانبين الغربي والشرقي لخريطة المدينة وجميع المعالم الرئيسية من الأعلى.
أولاً، اذهب إلى متجر الزهور القريب واحصل على رسالة (مذكرة) متجر الزهور من المنضدة الأمامية.
بصرف النظر عن بقعة الدم على الأرض القريبة التي يمكن لجيمس أن ينظر إليها، لا يوجد شيء آخر يمكن العثور عليه بالداخل، لذا اتجه للخارج ونزولاً إلى شارع ساندرز حتى ترى مسارًا دمويًا أكبر بكثير يؤدي شمالًا إلى شارع ليندسي. جميع المسارات الأخرى مغلقة بحواجز ضخمة في الوقت الحالي، لذا فقط اتبع المسار.
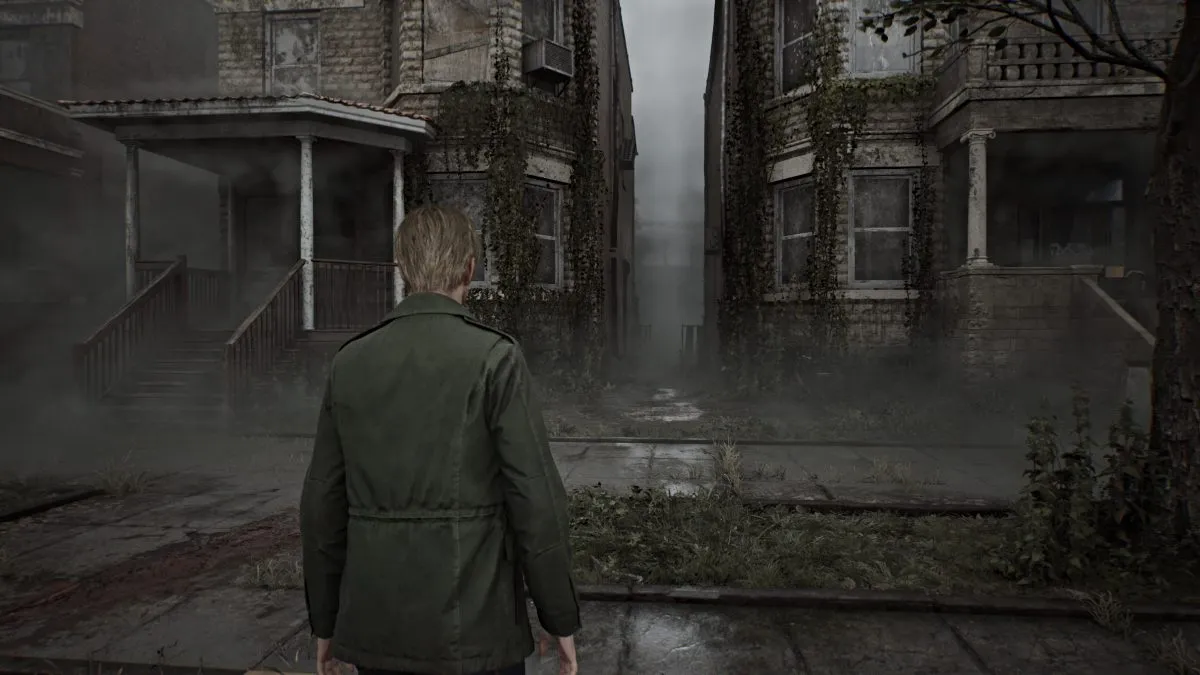
يكشف مشهد سينمائي آخر عن شخصية غريبة تسير على مسافة أمام جيمس، وسوف ترغب في متابعتها. حافظ على استقامتك وستقودك بقع الدم إلى منعطف غريب على الجانب الأيسر من الطريق بين مبنيين (كما هو موضح أعلاه).
قبل أن تمر عبر الزقاق، قم بالدوران واتجه نحو طريق Vachss حتى تصل إلى بوابة "ممنوع الدخول". التفاعل معها للحصول على لمحة أخرى من الماضي .
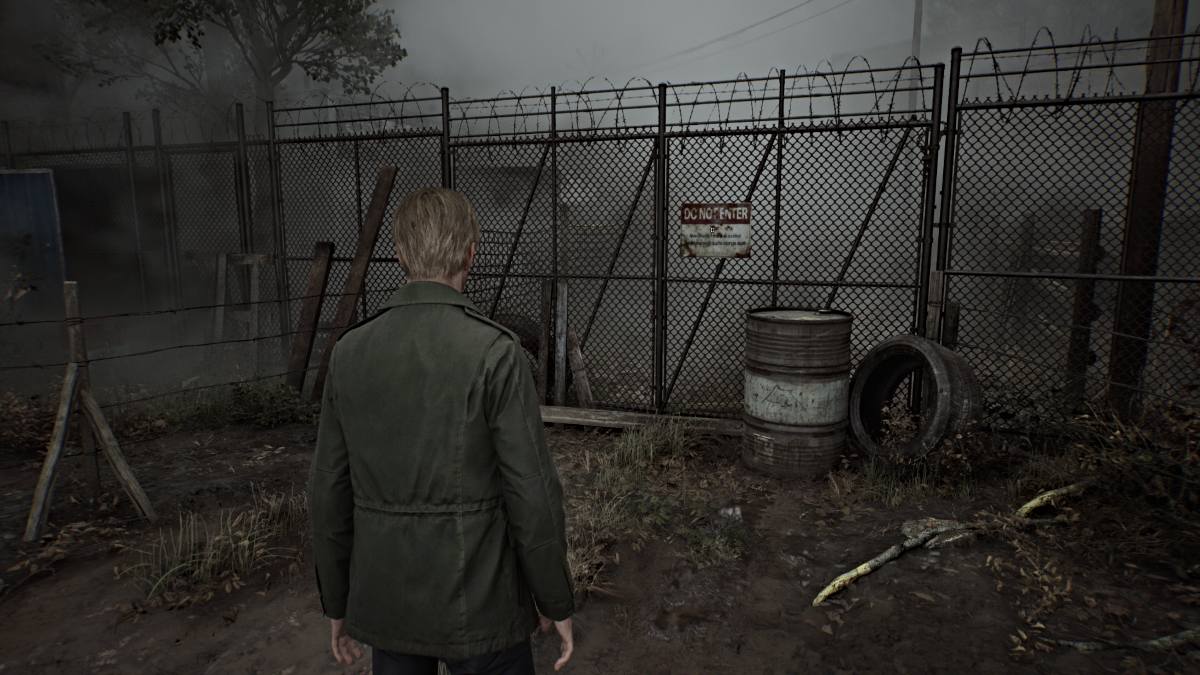
الآن، مر عبر الزقاق واتبع الأصوات الغريبة عبر منطقة الزقاق الخلفي حتى تصل إلى مرآب به فتحة مكسورة في أسفل الباب. الزحف من خلاله لدخول المنزل.
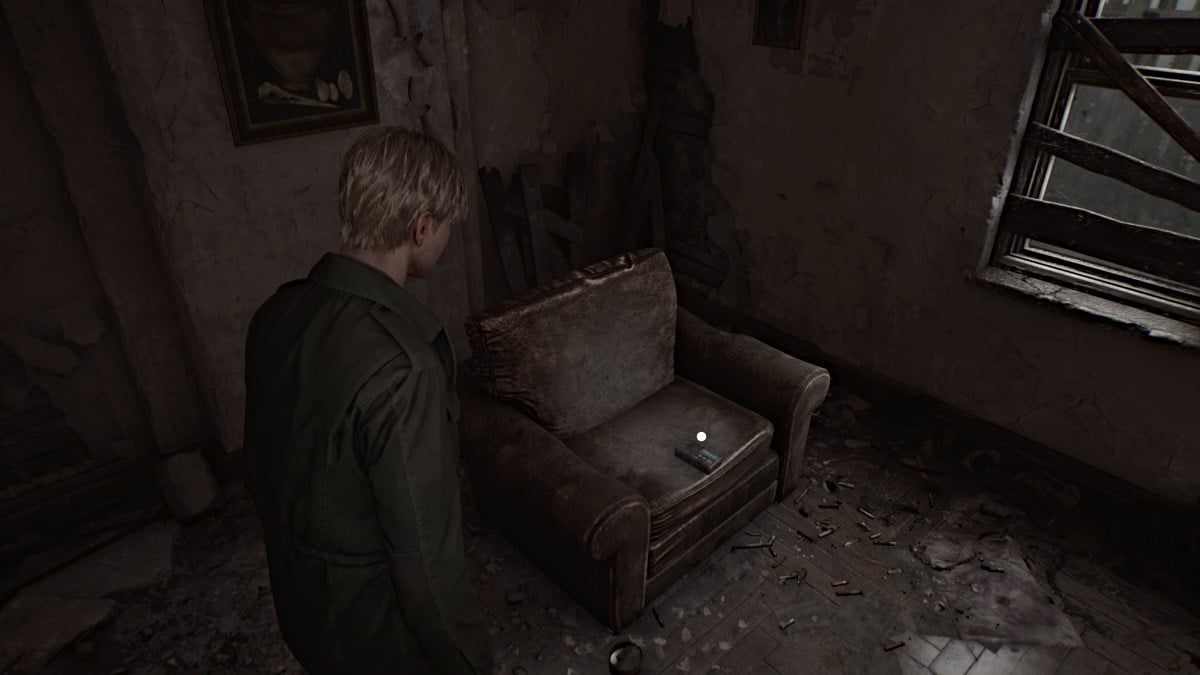
استخدم نقطة الحفظ الحمراء الموجودة على الحائط المجاور ثم اذهب مباشرة إلى المطبخ. احصل على مشروب صحي من أحد الأدراج واستمر حتى الباب الموجود على يسارك. اتبع ما يبدو وكأنه راديو ثابت في الردهة حتى تتمكن من الدخول من الباب على يمينك. داخل الغرفة، سيكون هناك راديو على كرسي بذراعين.
احصل عليه، وسيتبع ذلك مشهد سينمائي حيث يواجه جيمس نفس الشخصية من قبل، والتي تبين أنها وحش (يُعرف باسم الشخصية الكاذبة ).
هذه هي أول مقدمة لك لنظام القتال في اللعبة، والذي يسمح لك بالهجوم والمراوغة (باستخدام الأزرار المناسبة). استخدم اللوح الخشبي الذي يمسكه جيمس من النافذة لتوجيه ضربات إلى الشخصية الكذبة بينما تراقب هجماته الجسدية والحمضية. استمر في الضغط عليه حتى يسقط على الأرض واستخدم نفس زر الهجوم لدوسه حتى الموت.
واصل السير عبر المنزل حتى تجد فجوة مكسورة في الحائط لتتمكن من التسلل عبرها. افتح مجموعة الإسعافات الأولية الموجودة على المكتب على يمينك للحصول على حقنة (عنصر صحي قوي) ثم افتح النافذة للأمام مباشرة باستخدام اللوح الخشبي الخاص بك للهروب من المنزل. بعد مشهد سينمائي، يمكنك المتابعة من شارع مارتن.
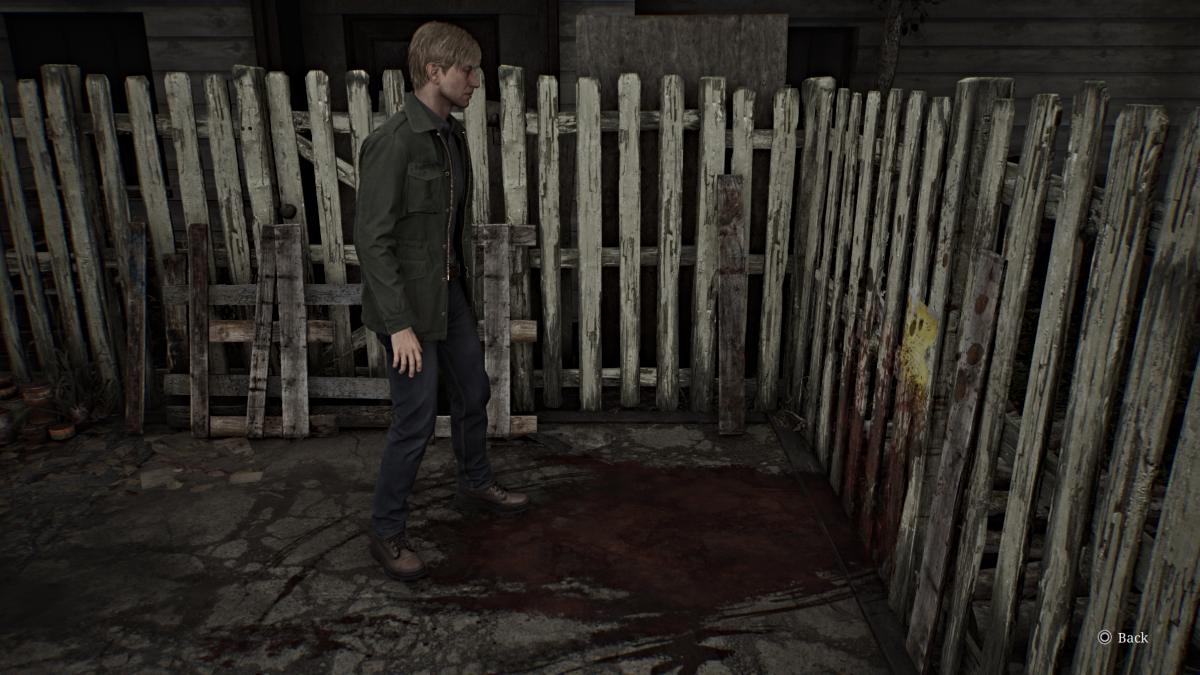
في أقصى نقطة شمال شارع مارتن ستجد لمحة أخرى عن الماضي بالقرب من سياج اعتصام أبيض (كما هو موضح أدناه).
اركض الآن جنوبًا وتفاعل مع الجثة الملطخة بالدماء على الرصيف أمامك لالتقاط كتاب الثقاب من Neely's Bar ، إحدى وجهاتك التالية. أيضًا، التقط Martin Street Note على بعد بضعة أقدام من الجثة.
ستنشط الآن العديد من الوحوش في أماكن مختلفة حول Silent Hill، لذا تأكد من حماية ظهرك واختيار معاركك واستخدام العناصر الصحية الخاصة بك بحكمة.
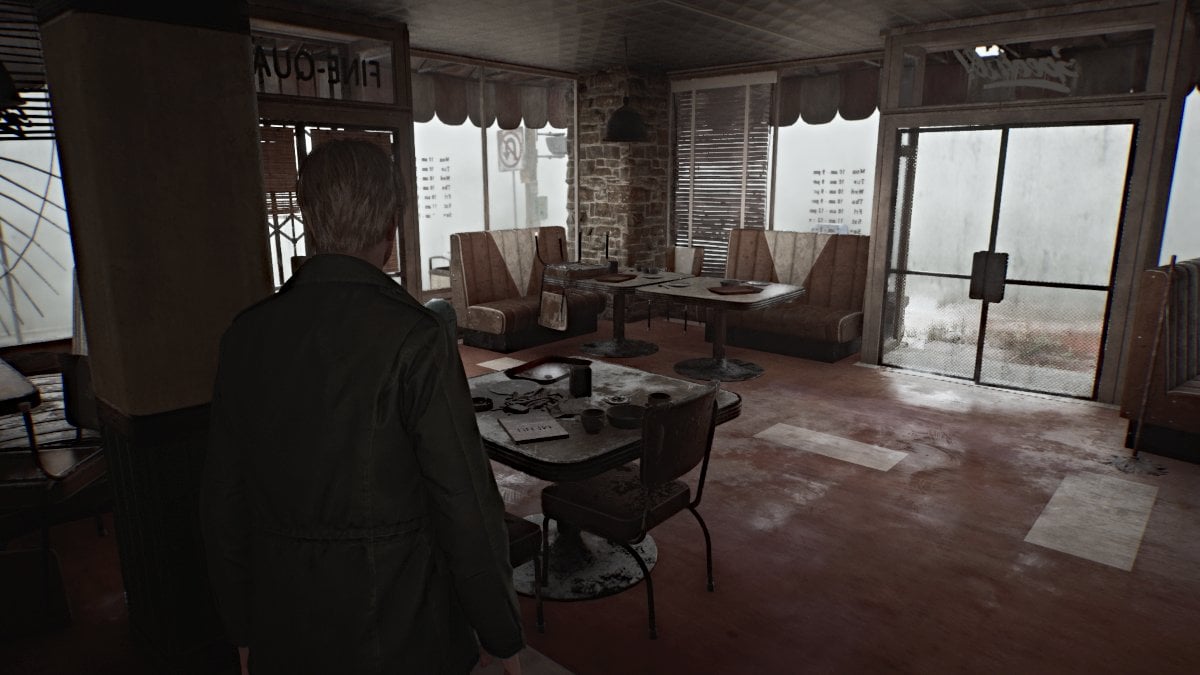
واصل السير على طول Katz St حتى تجد الباب الخلفي لمقهى Big Jay . اذهب إلى الداخل وكن حذرًا من الشكل الكاذب الموجود بالداخل. تعامل معها وتوجه إلى مقدمة المقهى لتجد ملاحظة Big Jay's Note على إحدى الطاولات. سيتم تقديم مشروب صحي على طاولة أخرى في منطقة الجناح. اترك المدخل الأمامي للمقهى في شارع نيلي.
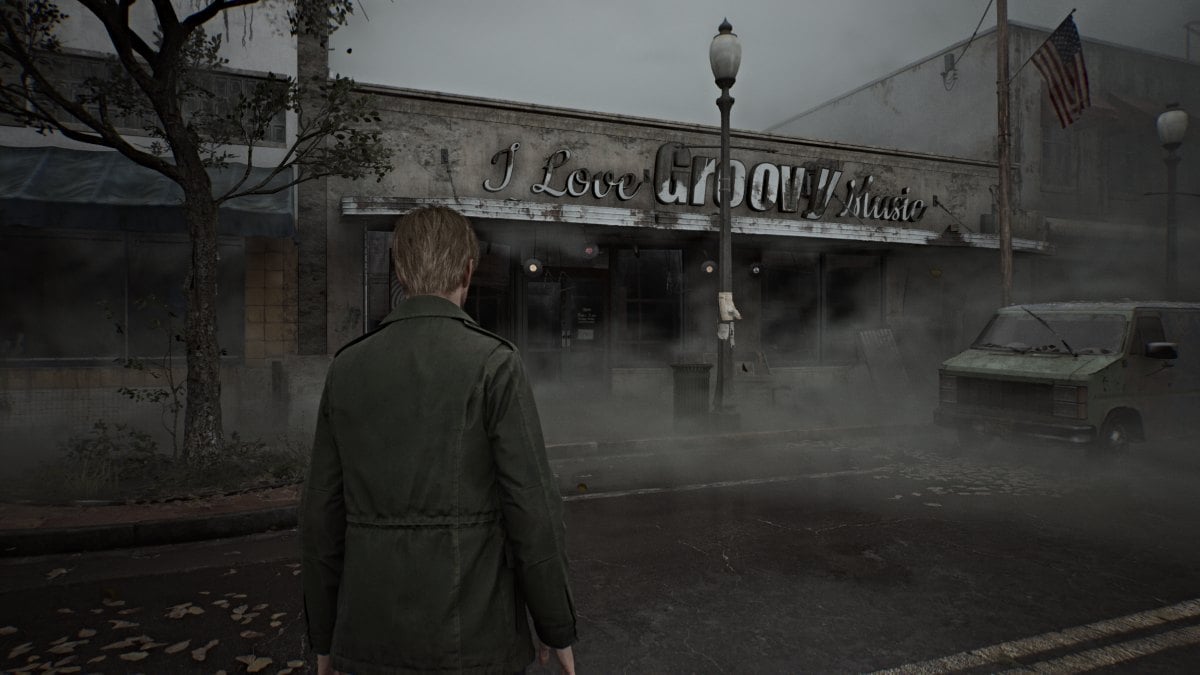
أولاً، اتجه شمالًا نحو Neely واكسر نوافذ سيارة الشرطة القريبة للحصول على الدفعة الأولى من رصاصات المسدس ، والتي ستكون مفيدة لك لاحقًا. عندما تصل إلى متجر I Love Groovy Music Shop (الذي يسهل اكتشافه من خلال دقات الريح)، انعطف أولاً إلى الزقاق المقابل له لتناول مشروب صحي على الطاولة.
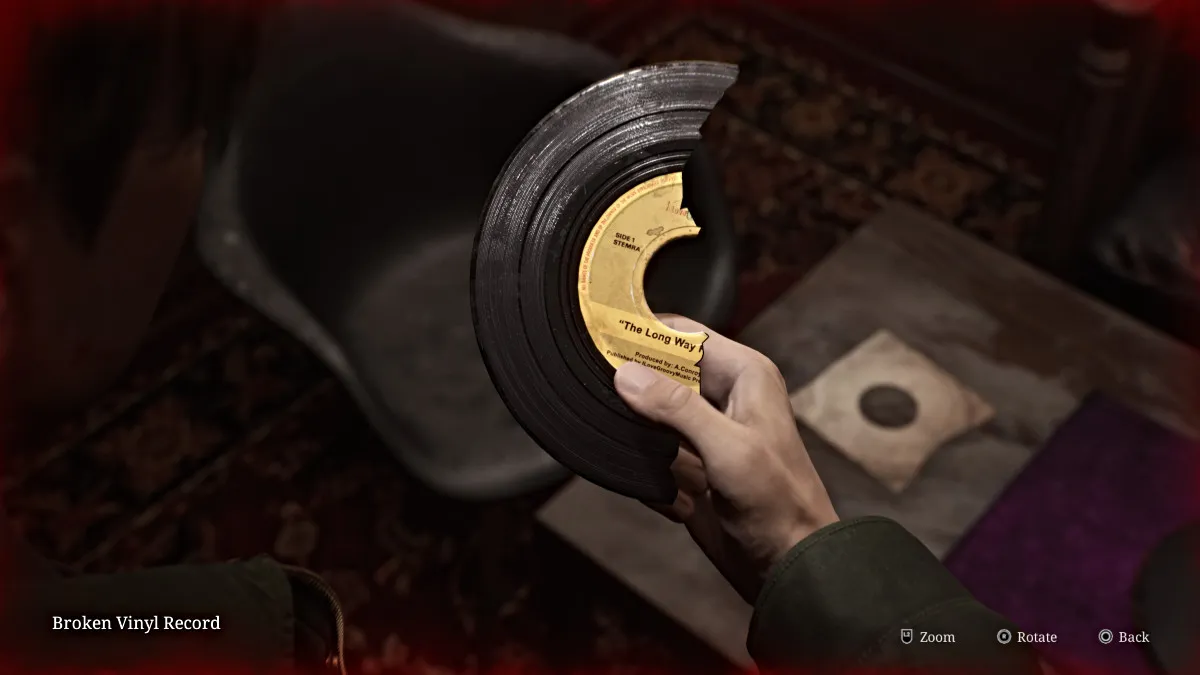
ارجع إلى متجر الموسيقى وادخل إلى الداخل، حيث سيكون هناك شخصان كاذبان في انتظارك. ابذل قصارى جهدك للتعامل معهم واحدًا تلو الآخر، حيث أنه ليس لديك سوى لوح خشبي للدفاع عن نفسك به الآن. بمجرد الانتهاء من ذلك، اجمع ملاحظة مخزن السجلات من المنضدة ثم اتجه إلى الخلف وحطم إحدى النوافذ الكبيرة للذهاب إلى غرفة التسجيل. على الطاولة المنخفضة في المنتصف سيكون هناك غراء الفينيل وسجل الفينيل المكسور .
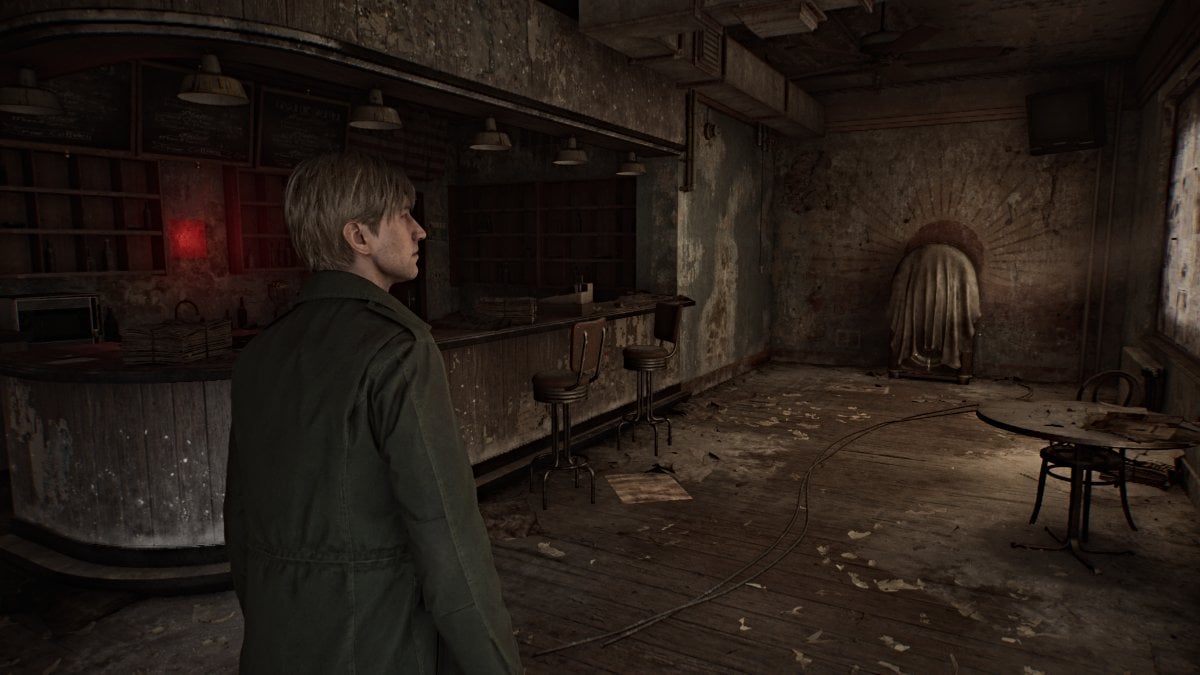
اترك المتجر وتوجه أخيرًا نحو Neely's Bar . بداخلها ستكون هناك نقطة حفظ حمراء أخرى على الحائط على يسارك، ومذكرة Neely's Bar Note على المنضدة، وباب مغلق يتطلب مفتاح خاص. توجد على إحدى النوافذ رسالة مزعجة نصها "كان هناك ثقب هنا. لقد اختفى الآن." . بجوار الجدار الخلفي يوجد صندوق موسيقي مكسور والذي يعد بمثابة اللغز الأول للعبة.
يوجد بداخله نصف سجل الفينيل المكسور الموجود على المسار في انتظار تشغيله. تفاعل معه لإزالته من الجهاز وإضافته إلى مخزونك. الآن، استخدم غراء الفينيل والنصف الآخر من سجل الفينيل المكسور لدمج القطعتين. سيعطيك هذا سجل الفينيل الملصق بعنوان "الطريق الطويل إلى المنزل" .
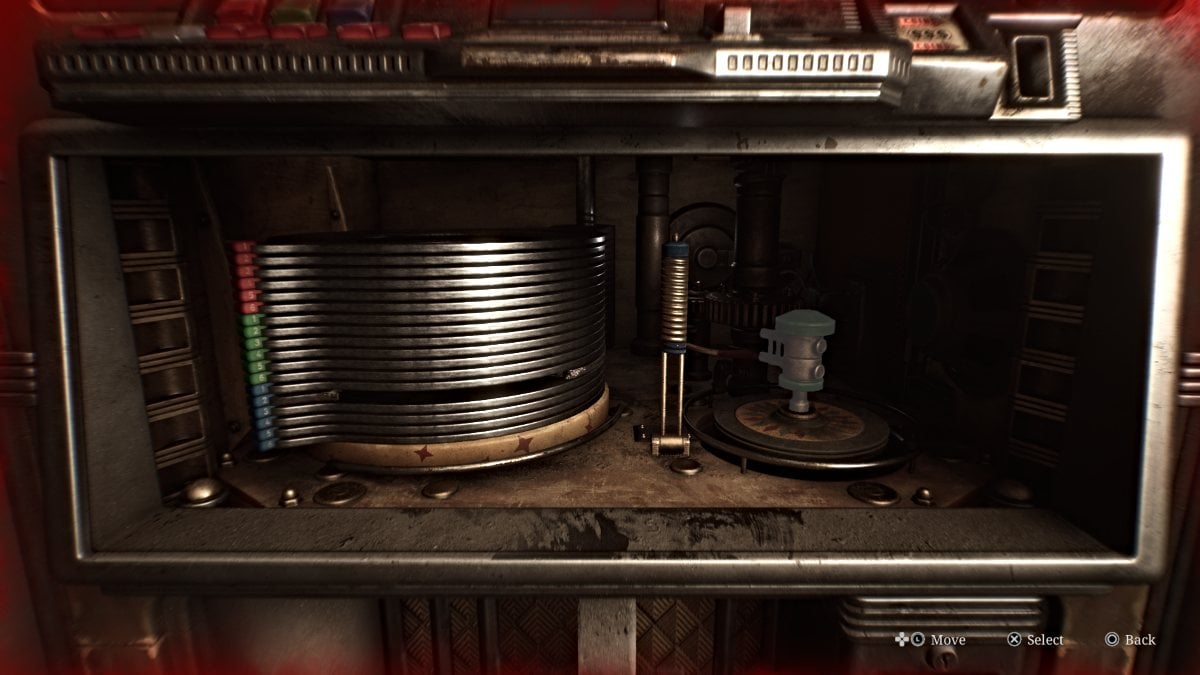
بعد ذلك، تحتاج إلى إعداد الجهاز لتشغيل السجل، وهناك ثلاثة أجزاء بالداخل يمكنك تحريكها وهي ملونة باللون الأزرق والأحمر والأخضر . هدفك الأول هو توصيل الجزء الأحمر بالجزء الأخضر حتى يتمكن من التحرك للخلف بعيدًا عن الجزء الأزرق، الذي تحتاج إلى دفعه لأسفل.
بمجرد الانتهاء من ذلك، اضغط على الجزء الأخضر حتى يدفع المسار للخارج لتتمكن من وضع سجل الفينيل الملصق عليه. سيتم بعد ذلك رفع آلية المسار، حيث تحتاج إلى الضغط على الأزرار الصحيحة لتشغيل السجل. ومع ذلك، فإن الزر "2" الذي تحتاجه مفقود وتحتاج إلى عملة معدنية أيضًا. لذا اترك صندوق الموسيقى في الوقت الحالي.
تشير ملاحظة Neely's Bar إلى أن رجلاً هرب بالزر ونصف السجل (الذي قمت بإصلاحه بالفعل) وأنه يعيش في الشقة رقم 9 في شارع شاول بجوار الصيدلية. سيتم وضع دائرة على شقق شارع شاول على خريطتك.
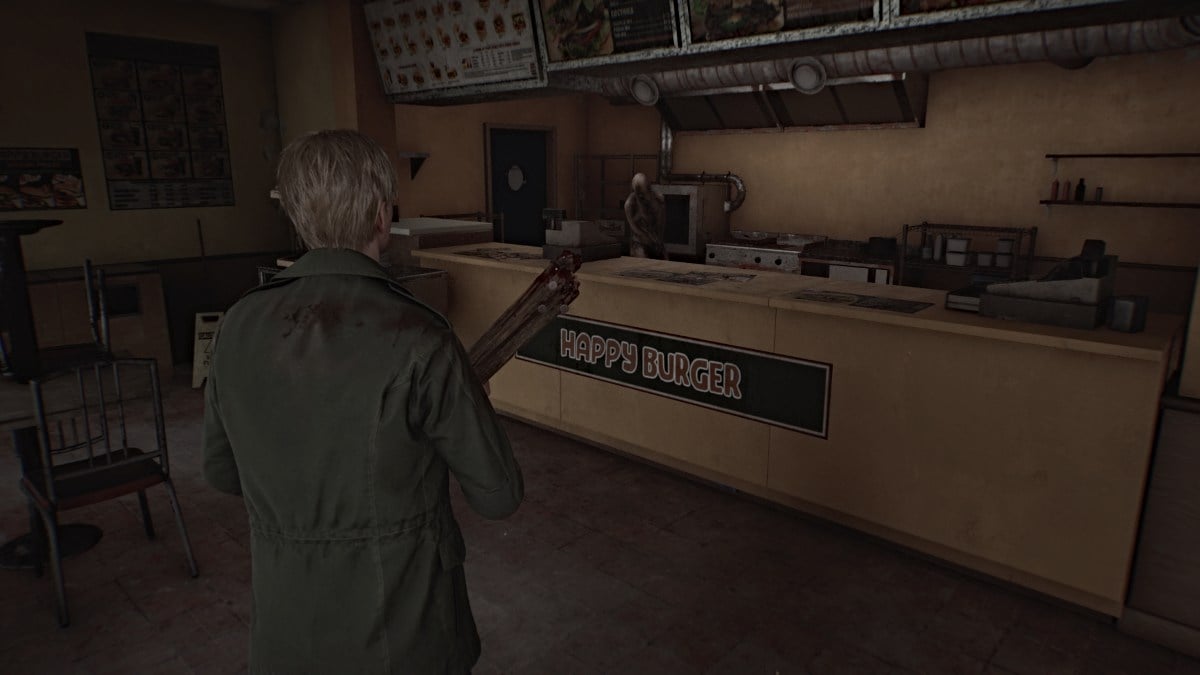
شق طريقك نحو شقق شارع شاول . يمكنك التحقق من Happy Burger على طول الطريق إذا كنت تريد ذلك، ولكن هناك ثلاثة شخصيات كاذبة كامنة بداخله وحوله. كل ما بداخلها هو مشروب صحي (على الطاولة بجوار النافذة التي تقفز من خلالها) وحقنة (منطقة المطبخ) يحرسها أحد الوحوش.
ما لم تكن تعتقد أنك واثق بما يكفي للقتال أو تجاوزه، فإننا نوصيك بتناول المشروب الصحي في الوقت الحالي والاستمرار.
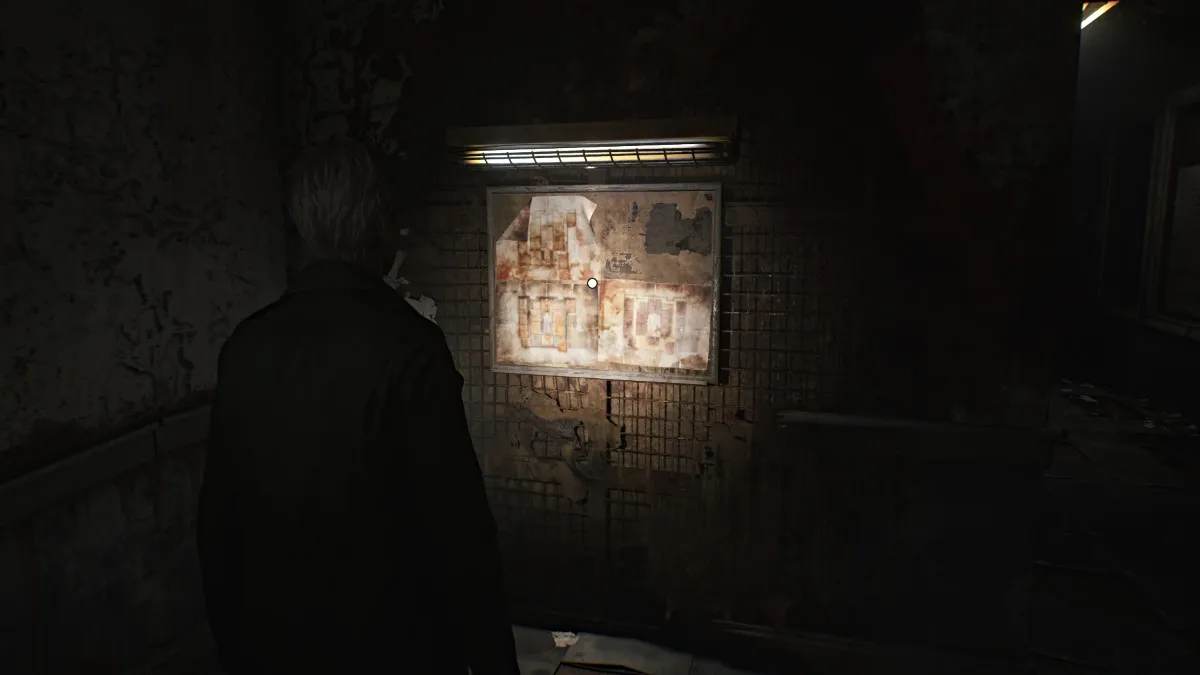
أدخل شقق Saul Street ولاحظ المكتب الموجود على يمينك على الفور. الباب المؤدي إليها مغلق، لكن لا يزال بإمكانك الدخول بالذهاب إلى أسفل القاعة إلى المدخل التالي على اليمين (الشقة 1)، حيث يمكنك دفع خزانة الملابس بعيدًا عن الطريق. ستجد داخل المكتب مفتاح الشقة 5 وملاحظة صغيرة حول وجود تسرب هناك أيضًا. قم أيضًا بتدوين خريطة المبنى الموجودة على الحائط في الردهة (كما هو موضح أدناه) للعثور على طريقك إلى الشقة المناسبة.
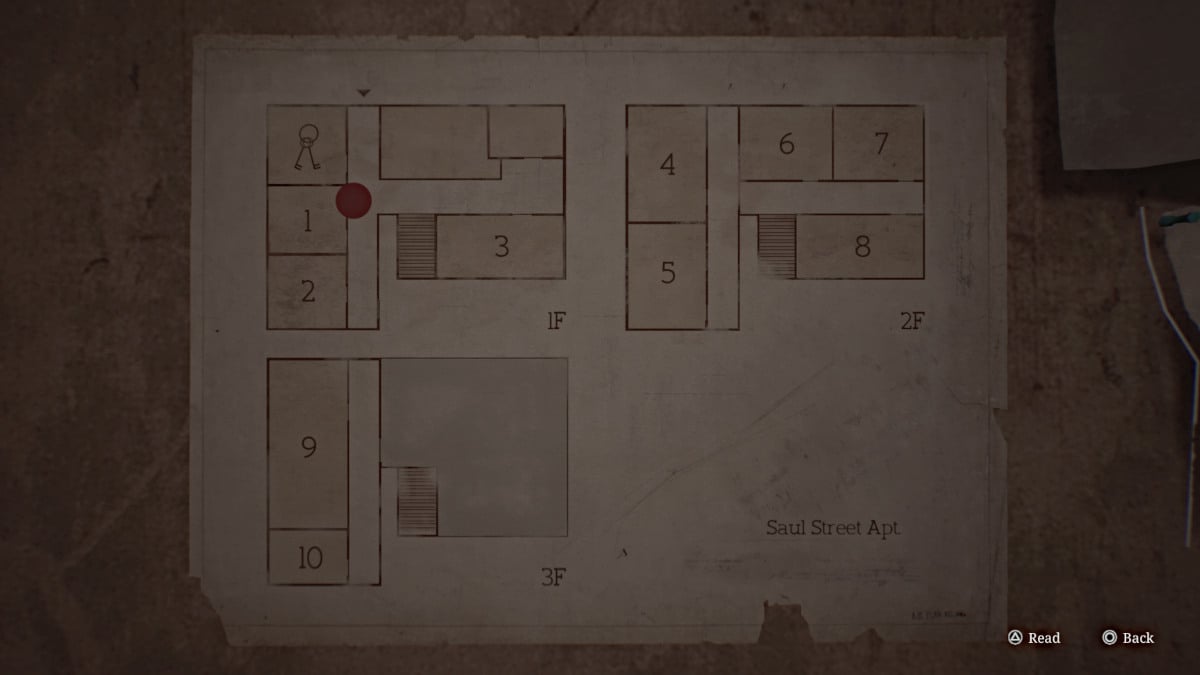
قبل أن تتوجه إلى هناك، اتجه يسارًا بعد الدرج وادخل عبر الباب المتصدع الموجود على يسارك والعكس للشقة 3، التي تؤدي إلى Green Pharmacy . ستكون المحقنة موجودة في مجموعة الإسعافات الأولية على طاولة على يمينك عند دخولك.
ارجع الآن إلى الدرج الذي يؤدي إلى الطابق الثاني من الشقق واتجه يمينًا حتى ترى مساحة الزحف بجوار الشقة 7 . قم بالمرور من خلاله وستجد بداخله مذكرة المستأجر . عد عبر مساحة الزحف أو الباب الذي يمكنك فتحه وتوجه الآن إلى الشقة 5. استخدم المفتاح للدخول وابحث عن فجوة في الجدار تقودك إلى الشقة 4 . أثناء مشهد سينمائي، ستتسبب الضوضاء التي يسببها جيمس في حدوث اضطراب في الطابق الثالث أعلاه، في الشقة رقم 9 حيث يتعين عليك الوصول إليها. هزار.
لا توجد عناصر لالتقاطها هنا، لذا مر عبر فجوة الجدار التالية التي تؤدي إلى الجانب الآخر من الردهة المسدودة بالحطام. مر عبر النافذة المفتوحة إلى الشرفة واصعد سلالم النجاة من الحريق حتى تجد نافذة أخرى مفتوحة في أقصى اليمين في الأعلى. بمجرد قفزك من خلال ينكسر مخرج الحريق، لذا لا داعي للرجوع.
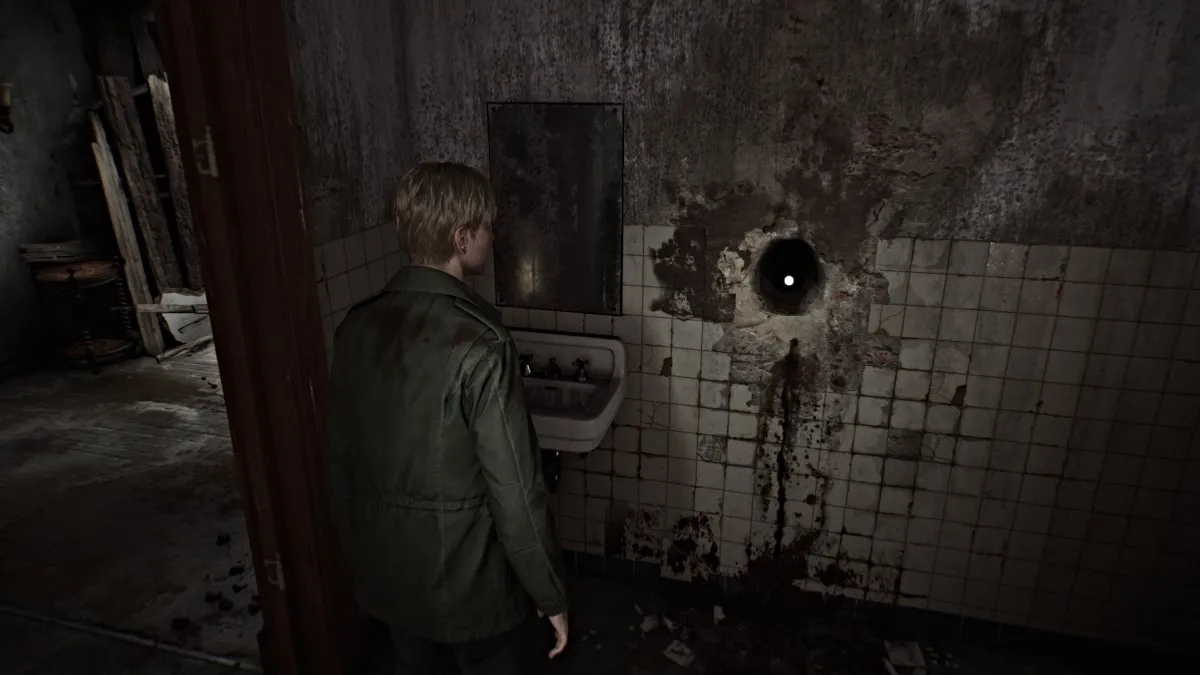
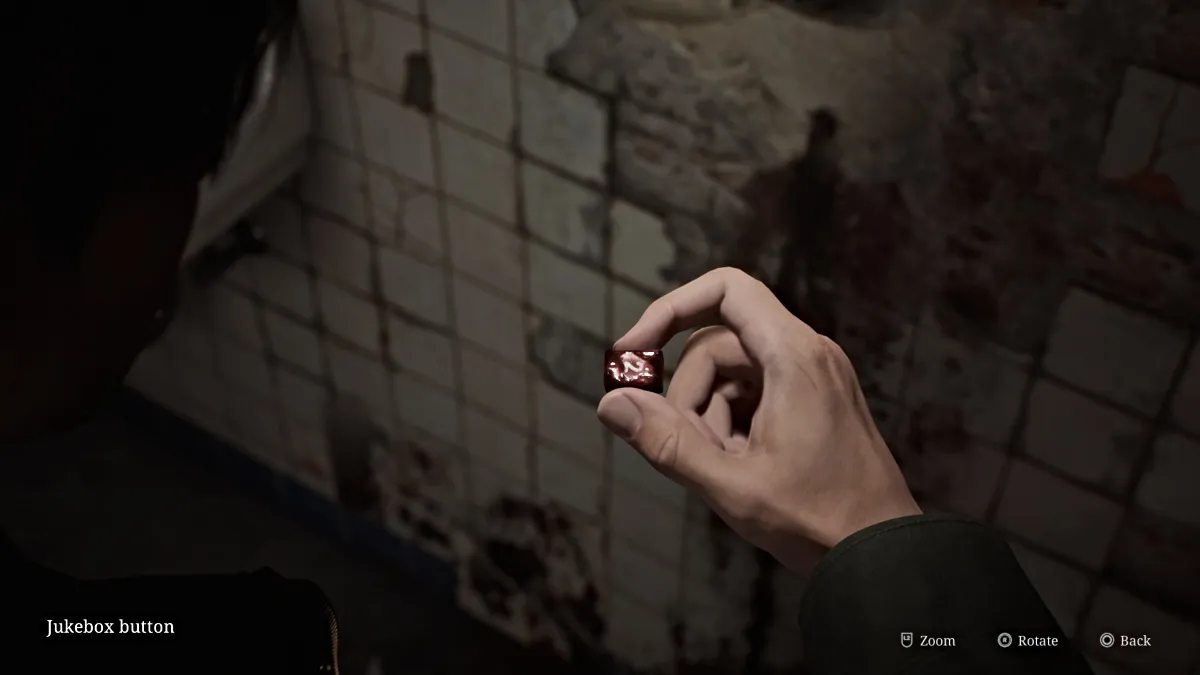
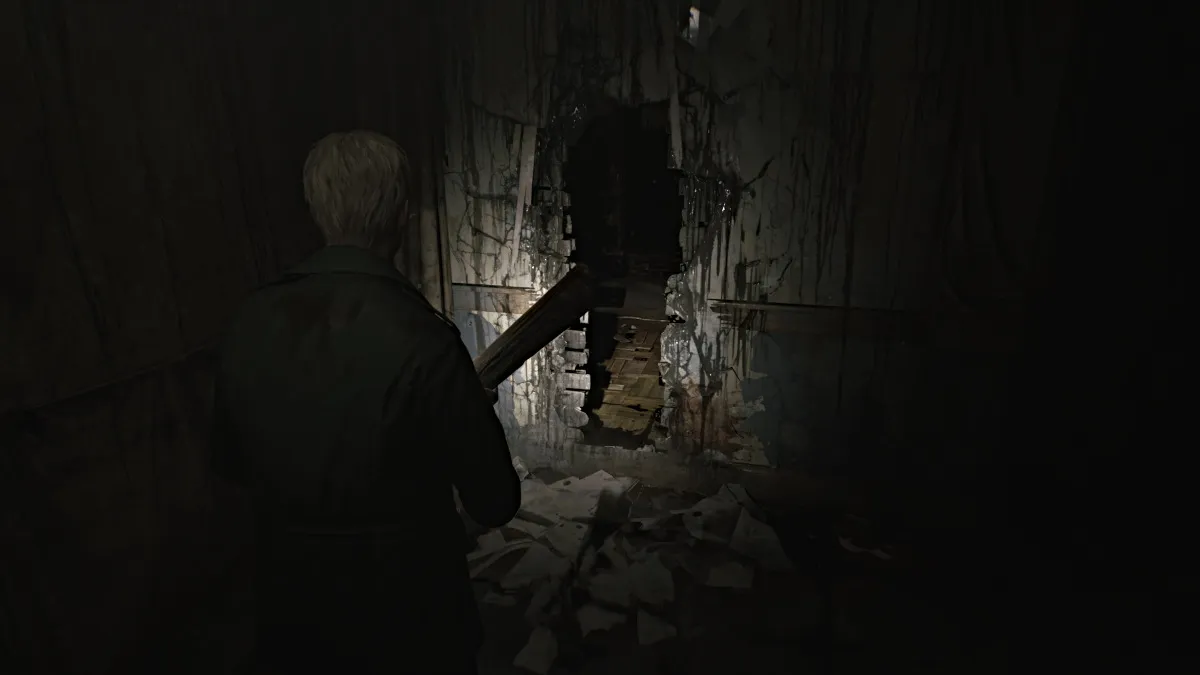
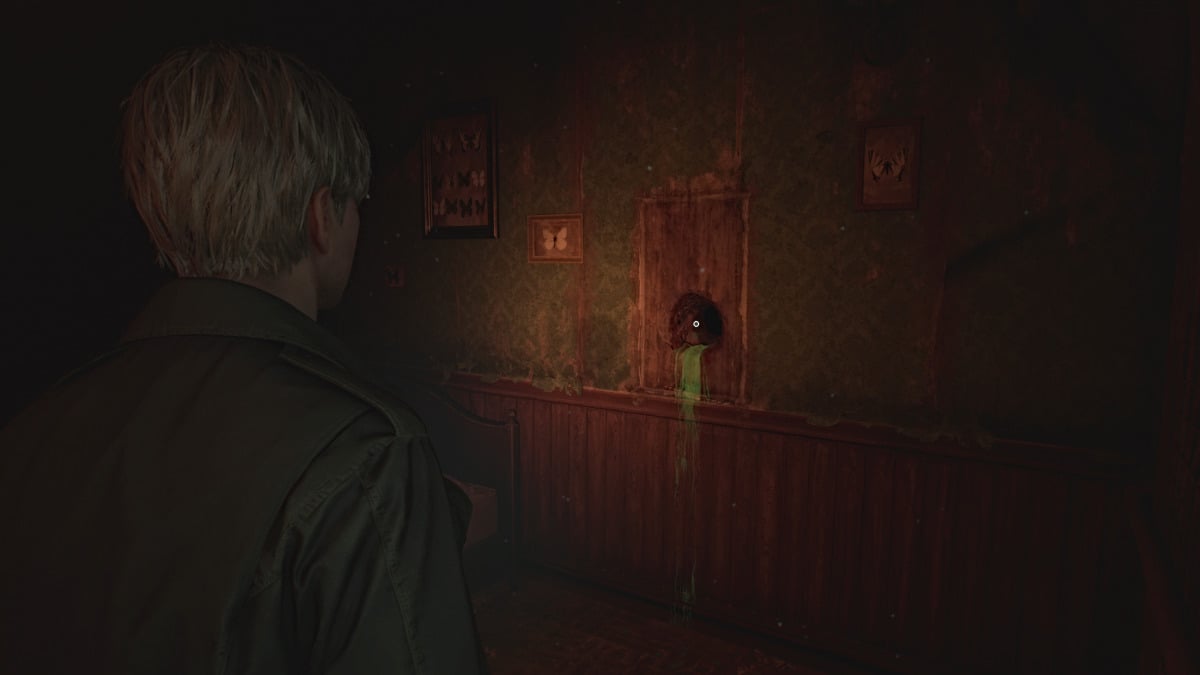
انتقل إلى الباب المجاور للحمام، وسيظهر مشهد حيث يحاول جيمس فتح الباب ليجده مغلقًا بالسلاسل، ورائحة فظيعة من الداخل، ويده من مقبض الباب ملطخة بمادة سوداء. الآن، اذهب إلى الحمام المجاور له حيث سيكون هناك ثقب كبير في الحائط (كما هو موضح أعلاه). تفاعل معه "للبحث" عنه (يتضمن الأصوات الجميلة) حتى يسحب جيمس الزر "2" المفقود لصندوق الموسيقى .
الآن اخرج إلى السطح من خلال الباب القريب وسترى سلمًا أمامك.
يؤدي الباب الموجود على يمينك إلى درج داخلي آخر، لكنه مدمر بالكامل، لذا فهذا ليس خيارًا. اهبط السلم وسينتهي بك الأمر في منطقة القمامة بالمبنى. اخرج من الباب الذي كان مغلقًا من الجانب الآخر.
يمكنك الاستمرار في السير في شارع شاول، وعلى اليسار سيكون هناك منزل متنقل خلف بوابة مفتوحة. سوف يقترب منك شخص كاذب بالقرب منه، لذا تعامل معه ثم ادخل إلى الداخل. احصل على Motor Home Note ومشروب صحي ، ثم Saul Street Note على الأرض عندما تغادر والتي تخبرك، "يمكن قتلهم. فقط تأكد من بقائهم بالأسفل" .
تأكد أيضًا من الحصول على الخريطة القديمة (مذكرة أخرى) الموجودة في الشارع بالقرب من Motor Home أيضًا.
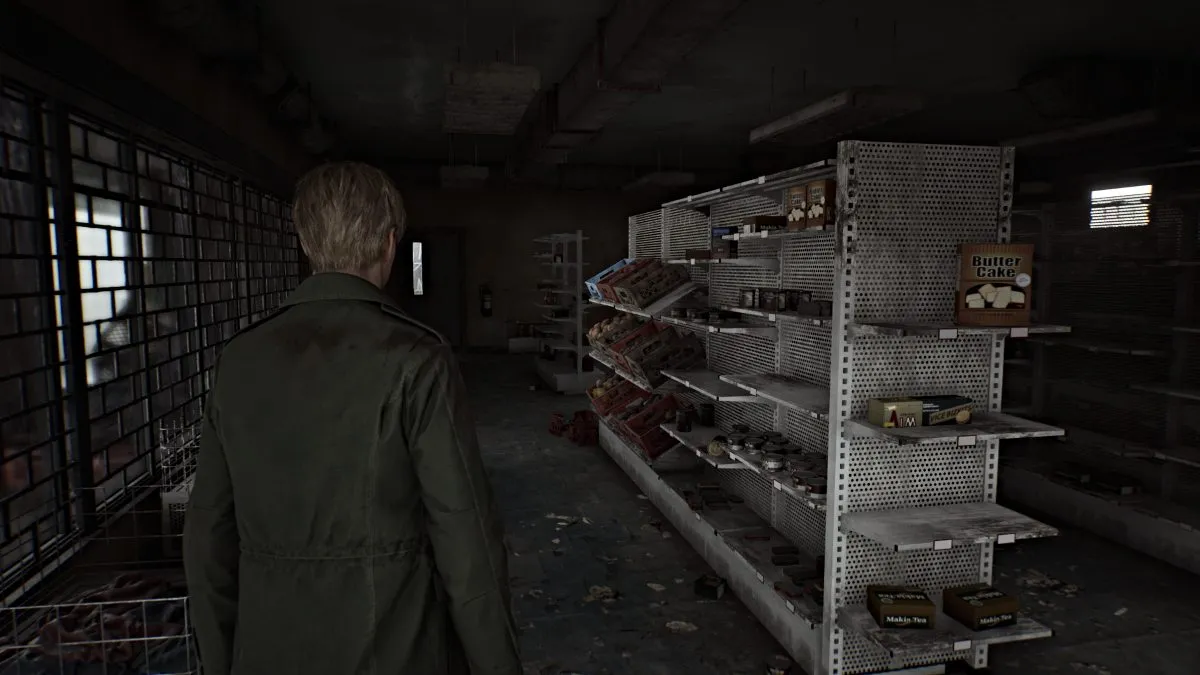
لا تزال بحاجة إلى العملة لتشغيل السجل في صندوق الموسيقى، لذا لا تعود إلى Neely's Bar بعد. أولاً، تجاوزه حتى شارع Neely Street حتى تجد زقاقًا مفتوحًا به باب خلفي يؤدي إلى Grand Market . أنت بحاجة إلى رمز لفتح الباب، وستعطيك مذكرة الرمز الموجودة بالقرب من شاحنة في شارع ساندرز تلميحًا.
في الأساس، وصل الشخص الذي حاول ذلك آخر مرة إلى الرقم "4439" وشعر أنه "قريب جدًا الآن". هذا يعني أنه يمكنك إدخال الأرقام اللاحقة حتى تحصل عليها بشكل صحيح، ولكن لتوفير الوقت، الرمز هو "4444" (صعوبة اللغز القياسية). في الداخل، ستجد أربعة مشروبات صحية وصندوقين من ذخيرة المسدس ، لذا فإن التوقف في الحفرة يستحق ذلك.
اتجه لليمين شارع كاتز واركض طوال الطريق إلى مقهى Texan في النهاية البعيدة بجوار الحاجز الكبير. مر عبر الباب الجانبي المفتوح إلى السجل الموجود خلف المنضدة. استخدم المفتاح الموجود بالفعل داخل السجل والزر الموجود بالأسفل لفتح الدرج واسترداد عملة Neely's Bar Coin . احترس من الشكل الكاذب الذي نصب لك كمينًا بعد ذلك.
حان الوقت الآن للعودة إلى Neely's Bar، ولكن قبل أن تفعل ذلك، تأكد من حصولك على مذكرة Sanders Street Note من الجثة الملقاة بالقرب من شاحنة كبيرة في منتصف الطريق في شارع Sanders.
أدخل عملة Neely's Bar Coin في صندوق الموسيقى واضغط على الزرين "C" و"2" لتشغيل السجل في النهاية. تُعزف نغمة مألوفة بينما يختبر "جيمس" ذكريات الماضي المفككة. بعد الانتهاء (أو الكسر بالأحرى)، يقوم صندوق الموسيقى بإخراج مفتاح Neely's Bar Key ، والذي يمكنك استخدامه على الباب المغلق القريب.
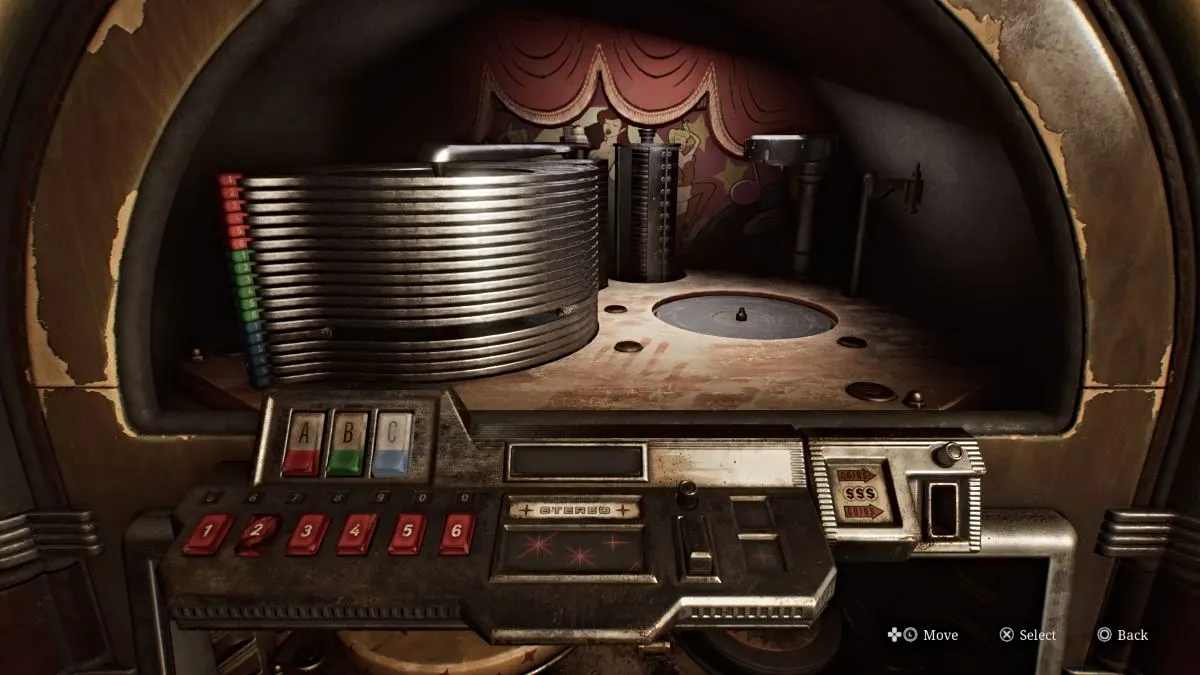
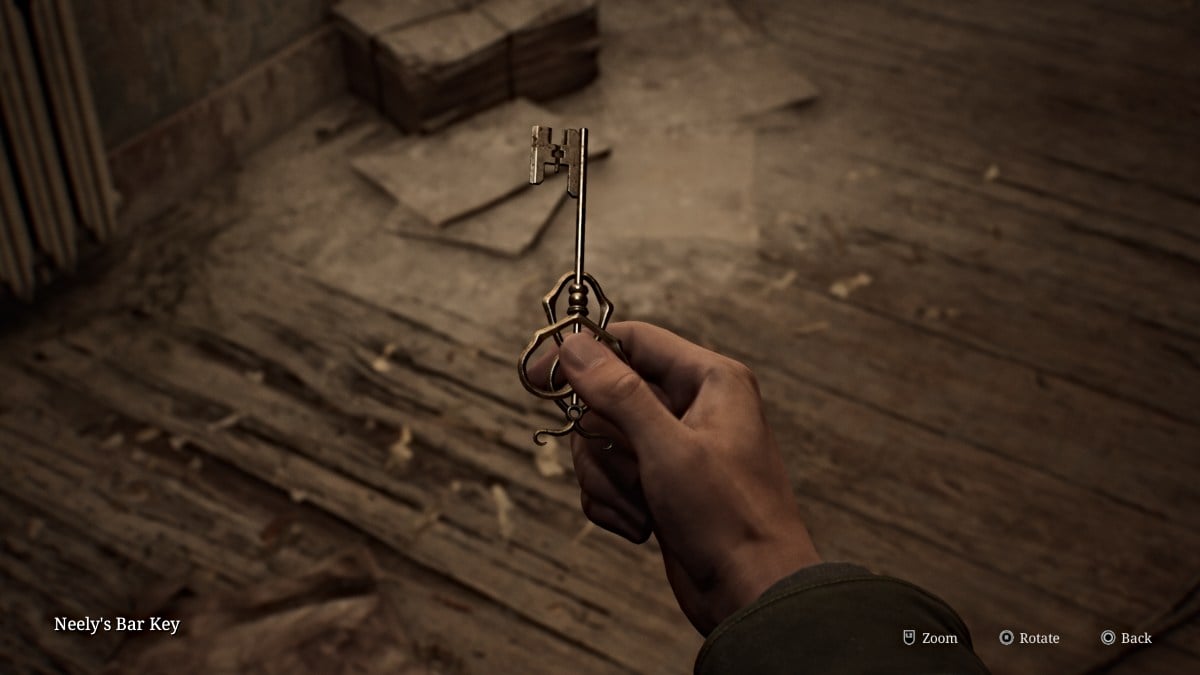
اذهب من خلال الباب وانظر على الفور إلى يمينك. يمكن رؤية مساحة الزحف عاليًا على الحائط، وستحتاج إلى استخدام العربة التي تسد الطريق للوصول إليها. ادفعه نحو الحائط، ثم تسلق للأعلى وعبره.
احصل على المشروب الصحي من خزانة الإسعافات الأولية الموجودة على الحائط ثم اذهب إلى الغرفة المجاورة والتقط رسالة الغرفة الخلفية من المكتب، والتي تشير إلى أنك بحاجة إلى العثور على سيارة باللون الأخضر والأزرق مع لوحة تنتهي بـ "06" بالقرب بواسطة. اترك الباب الخلفي الذي يؤدي إلى منطقة زقاق خلفي أخرى مليئة بالسيارات.
السيارة الوحيدة في المنطقة التي تحتوي على شيء ما هي السيارة الخضراء الزاهية الموجودة على يمينك عند التقاطع مع شارع مارتن. سيتم وضع مشروب صحي في مقعد السائق. تراجع واستمر في المضي قدمًا نحو علامة الاستفهام التي رسمها جيمس على خريطتك. مر عبر باب الحاجز وستكون السيارة المهجورة ذات اللون الأخضر والأزرق على يمينك، وبجانبها كومة من الملابس الملطخة بالدماء.
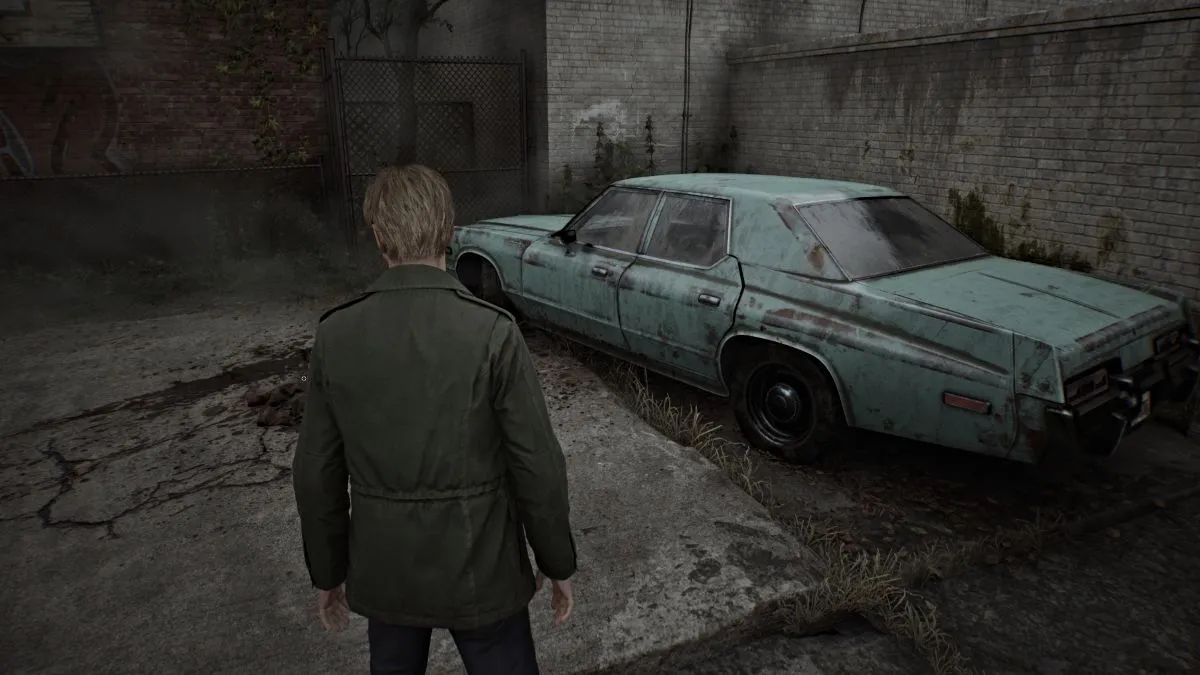
تفاعل معه وسيقوم جيمس بسحب مفتاح Wood Side Apartments Key منه قبل أن يتعرض لكمين من قبل العديد من الشخصيات الكاذبة. لا يمكنك محاربتهم جميعًا، لذا ابحث عن مهرب عبر زقاق قريب (الباب الذي دخلت منه سيكون مغلقًا، لذا لا تحاول). سيعيدك الزقاق إلى شارع كاتز، المليء أيضًا بالشخصيات الكاذبة التي يجب عليك تجنبها للحفاظ على صحتك.
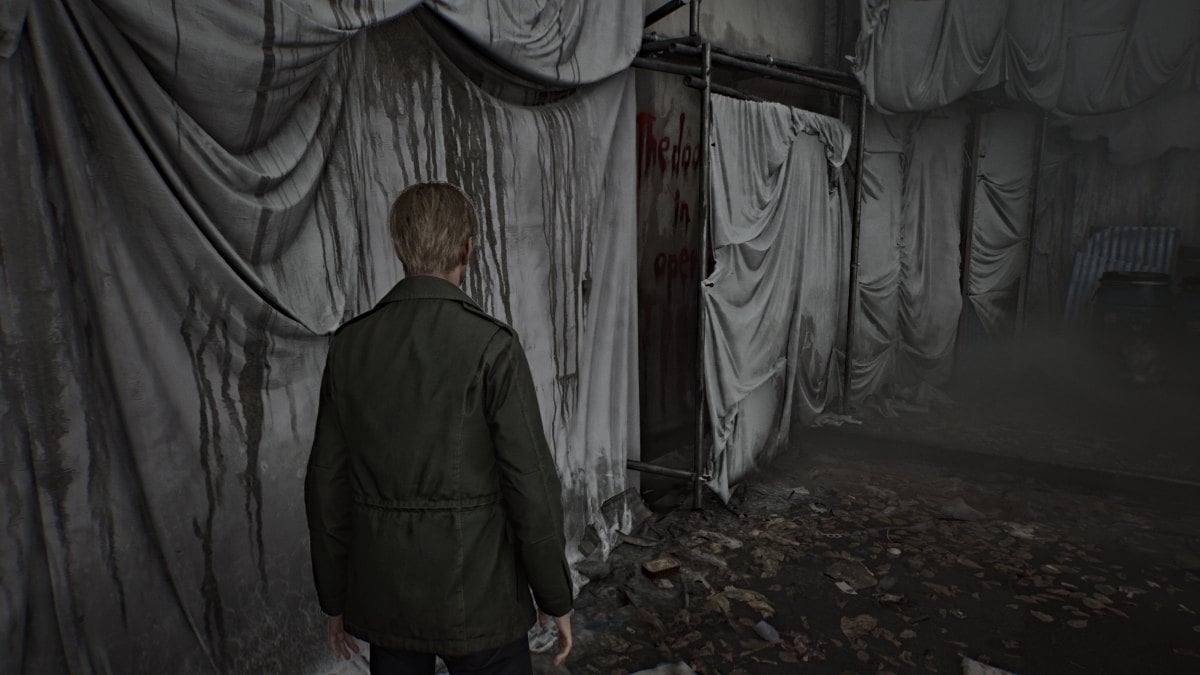
أولاً، اتجه غربًا على طول الطريق إلى شارع كاتز حتى تصل إلى الحاجز الضخم. أمسك بمذكرة Barrier Note ملقاة على الأرض، وابحث عن فجوة في الحاجز حيث يمكنك رؤية عبارة مكتوبة بالدم (كما هو موضح أدناه) للحصول على لمحة أخرى من الماضي .
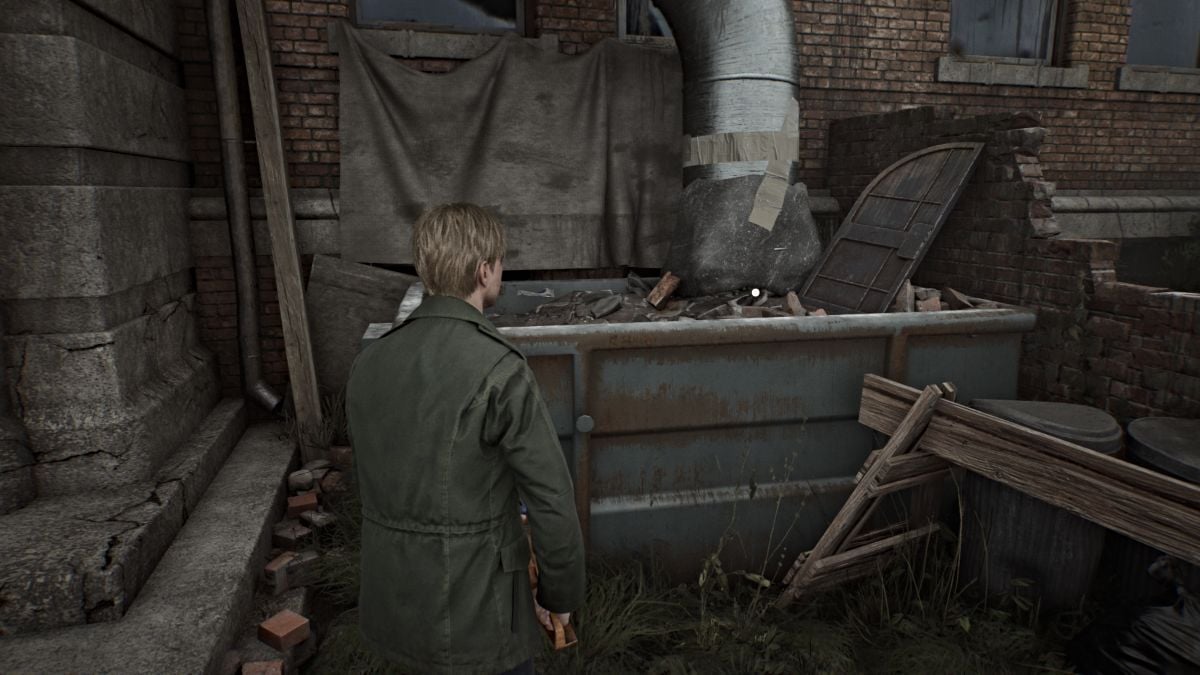
تراجع الآن حتى ترى مدخل Wood Side Apartments على يسارك. قبل الدخول، اركض إلى سلة المهملات الموجودة على يمين المدخل (كما هو موضح أعلاه) وتفاعل معها للحصول على لمحة أخرى من الماضي . احصل على مذكرة Texan Cafe Flyer من اللوحة المجاورة ثم استخدم المفتاح للدخول إلى الداخل.
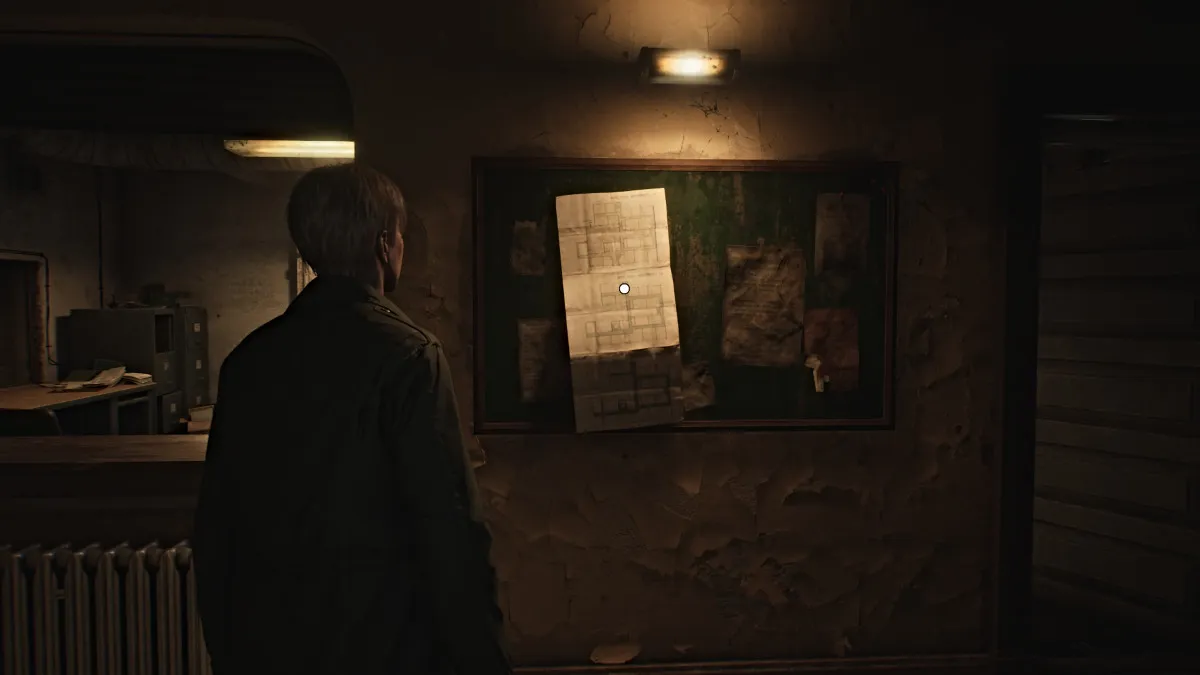
توجه إلى الردهة واحصل على خريطة المبنى السكني من لوحة الإعلانات الموجودة على الحائط. سيُظهر لك مخطط Wood Side Apartments 1F-3F ، ويمكنك التنقل عبر كل طابق باستخدام الزر المناسب. بعد ذلك، اذهب إلى مكتب الردهة واستخدم نقطة الحفظ الحمراء الموجودة على يسارك. اذهب إلى الغرفة خلفها وافتح الخزانة على يمينك المباشر للحصول على Handgun Ammo .
تحت ورقة على الجانب الآخر من الغرفة، سيكشف جيمس عن خزانة غريبة تعمل بمثابة اللغز التالي الذي يتعين عليك حله. ستحتاج إلى العثور على عملات معدنية خاصة لوضعها في المسافات البادئة، لذلك سنعود إليها لاحقًا.
تحقق من حمام الحراسة الموجود على يمين المكتب للحصول على المزيد من ذخيرة المسدس . الأبواب الأخرى على ذلك الجانب مغلقة الآن، لذا عد إلى الجانب الأيسر من الأرضية. اتجه نحو اليسار الخلفي حيث يوجد رف مليء بمجلدات المستندات واحصل على مذكرة الإدارة منه، والتي تتحدث عن طلقات نارية قادمة من الشقة 217 . يمكنك أيضًا الحصول على مشروب صحي آخر من الجلوس أسفل الدرج.
جميع الأبواب الأخرى في الطابق الأول مغلقة، لذا توجه الآن إلى الطابق العلوي إلى الطابق الثاني.
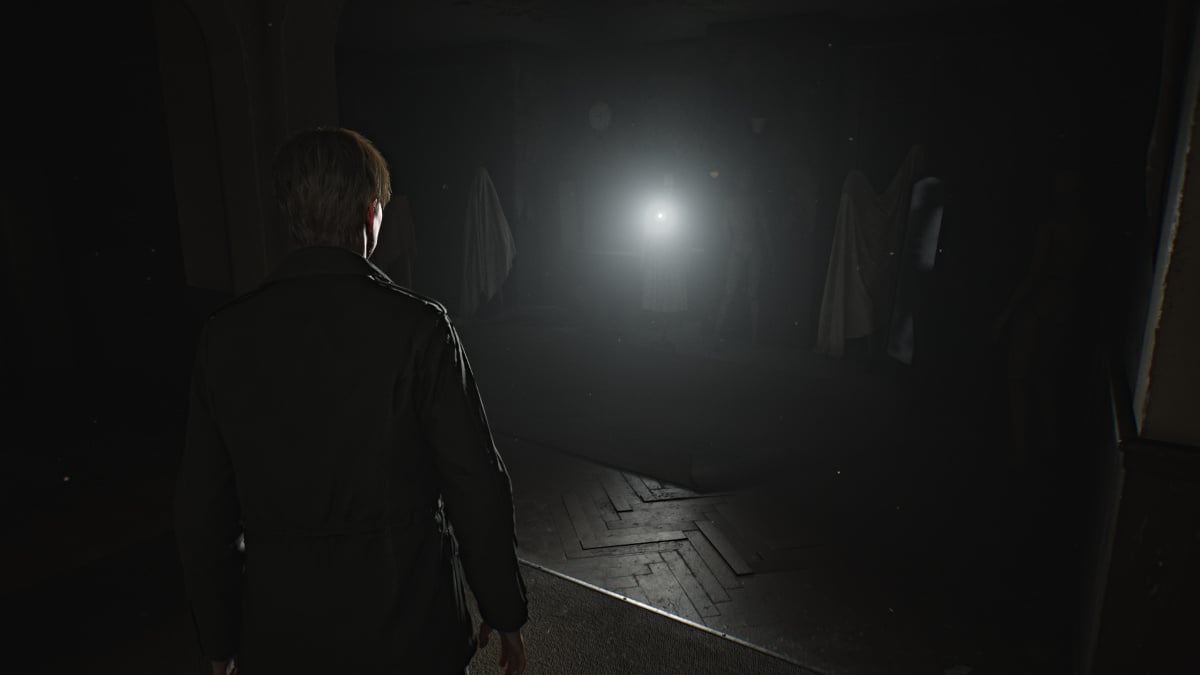
لا يمكن حاليًا الوصول إلى جزء كبير من الطابق الثاني، باستثناء الشقق الموجودة على يمينك. باب الشقة 202 مفتوح على مصراعيه، لذا ادخل إلى الداخل. يمكن رؤية ضوء ساطع بشكل غير عادي في غرفة المعيشة، وتبين أنه عارضة أزياء ترتدي زي ماري، مع مصباح يدوي مدسوس فيها. قبل أن تأخذه، انتقل أولاً إلى منطقة المطبخ واحضر مشروبًا صحيًا من إحدى الخزانات.
انتقل الآن واحصل على المصباح اليدوي، والذي سيكون مفيدًا جدًا للمضي قدمًا. هناك نوع جديد من الوحوش يختبئ خلفه يُسمى Mannequin سوف ينصب كمينًا لك، لذلك بعد فترة QTE القصيرة استخدم لوحك الخشبي لإسقاطه. على الرغم من أنه لا يبصق الحمض كما تفعل الشخصيات الكاذبة، إلا أن ضرباته الجسدية وحشية لذا كن حذرًا. كما أنهم يفضلون الهجمات التسللية ويمكنهم أيضًا خداع الراديو الخاص بك أحيانًا بالبقاء ساكنين .
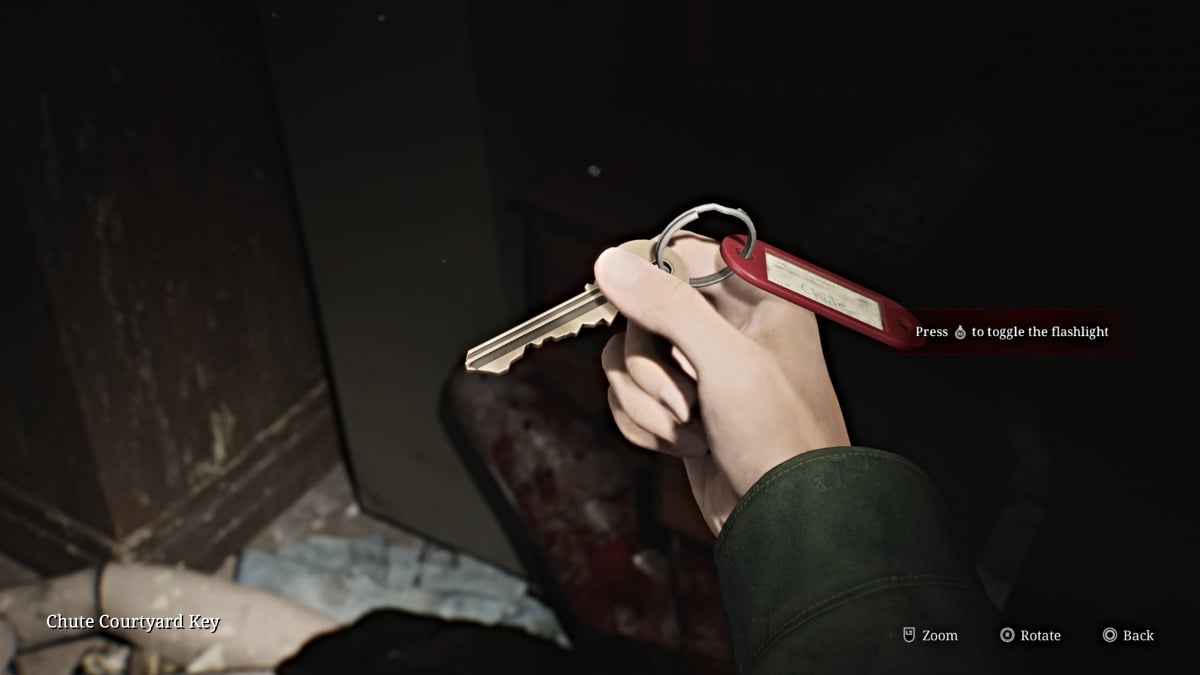
بعد ذلك، احصل على مفتاح Chute Courtyard Key من الخزانة المجاورة ثم غادر الشقة.
اصعد الدرج بعد الطابق الثالث (مغلق حاليًا) حتى تصل إلى طريق مسدود. المزيد من ذخيرة المسدس ستكون على طاولة صغيرة هنا. اركض طوال الطريق عائداً إلى الطابق الأول.
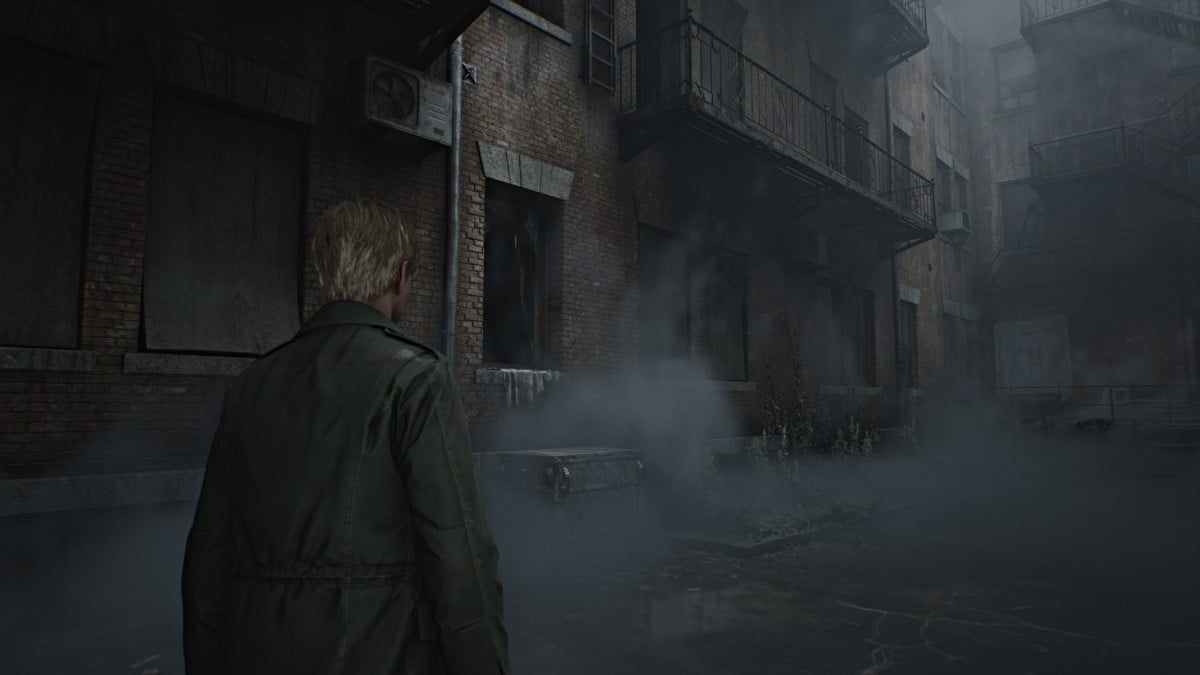
استخدم مفتاح Chute Courtyard الموجود على الباب الموجود على يسار حمام الحراسة، والذي سيأخذك إلى الخارج إلى الفناء الداخلي حيث يوجد شلال القمامة الرئيسي بالمبنى. لاحظ وجود نافذة مفتوحة على يمين المزلق واسحب عربة اليد القريبة نحوها لتصعد إلى الشقة 112 .
في الغرفة التي على اليسار مباشرة، ابحث عن Handgun Ammo في درج الخزانة. على طاولة في المطبخ إلى اليمين يوجد مقال إخباري محلي عن القاتل المدان والتر سوليفان. اترك الشقة واتجه يمينًا إلى أسفل القاعة إلى الشقة رقم 109 .
ستختبئ عارضة أزياء تحت الطاولة في غرفة المعيشة، لذا استعد لمحاربتها. بعد ذلك، احصل على ذخيرة المسدس من غرفة النوم المجاورة ثم غادر الشقة. استمر في السير في الردهة لفتح الباب الموجود على يمينك والذي يؤدي إلى الجانب الآخر من Chute Courtyard. ثم تابع تقدمك لترى المفتاح الموجود على الأرض مسدودًا ببعض القضبان. تفاعل معه لتظهر مشهدًا سينمائيًا.
بعد أن تركل الفتاة المفتاح وتهرب، خذ الطريق المختصر عبر الفناء عائداً إلى منطقة الردهة. ستلاحظ أن كلا جانبي الطابق الأول أصبحا الآن متاحين بالكامل ومليئين بالوحوش، لذا تحرك بحذر. اتجه للأسفل إلى الجانب الأيمن أولاً، حيث أن هذا هو المكان الذي تحتاج إلى الحصول على المفتاح منه.
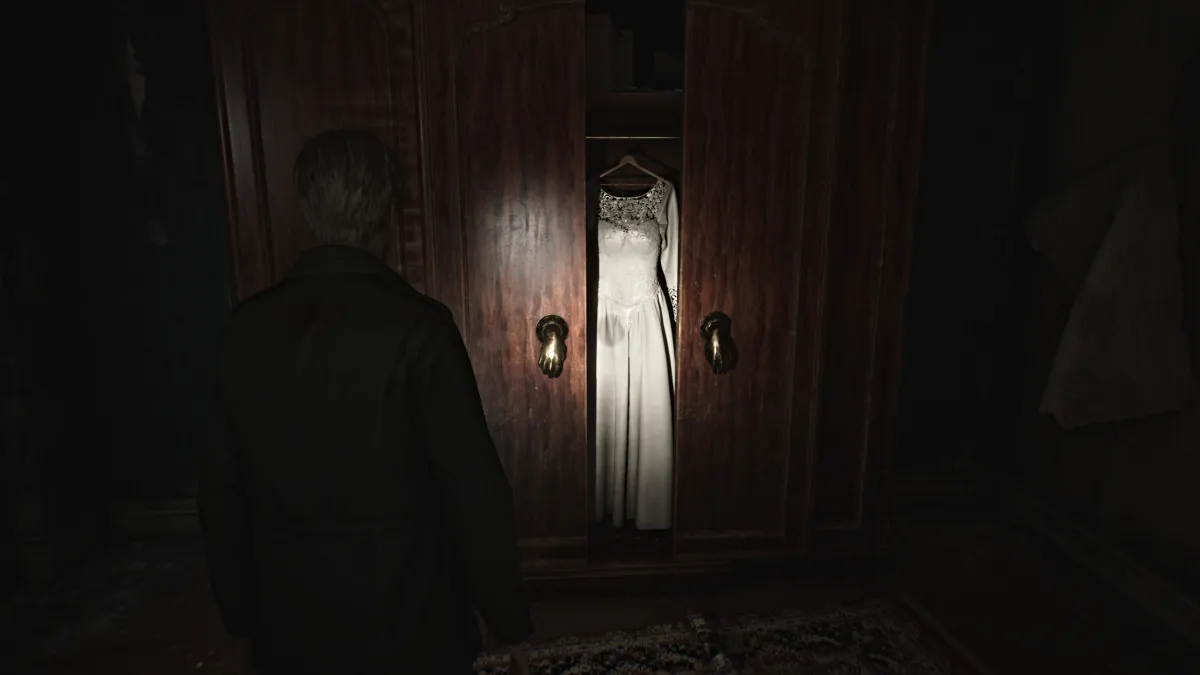
توقف عند Apartment 108 واذهب إلى خزانة الملابس الكبيرة في غرفة النوم المزودة بمقابض غريبة على شكل يد (كما هو موضح أعلاه). تفاعل باليد اليسرى بحيث تتجه للأسفل وتزيل مقبض التفاحة الذهبية . خذها واترك الشقة. واصل السير في الردهة لتحصل على مفتاح المدخل 2F بجوار القضبان. اركض سريعًا إلى الشقة 107 المقابلة لها واحصل على مشروب صحي من خزانة غرفة النوم ثم غادر.
باب الشقة 106 مفتوح الآن مع وجود شخصية كاذبة تسد طريقك. اهزمه وادخل إلى الشقة لتحصل على بعض ذخيرة المسدس من الخزانة الموجودة في غرفة المعيشة. استمر في العودة نحو الجانب الأيسر من المبنى.
بعد التعامل مع المزيد من الشخصيات الكاذبة، أدخل الشقة 102 واذهب لالتقاط صورة غريبة بالقرب من جهاز تلفزيون يحمل عنوان "عيد الحب" .
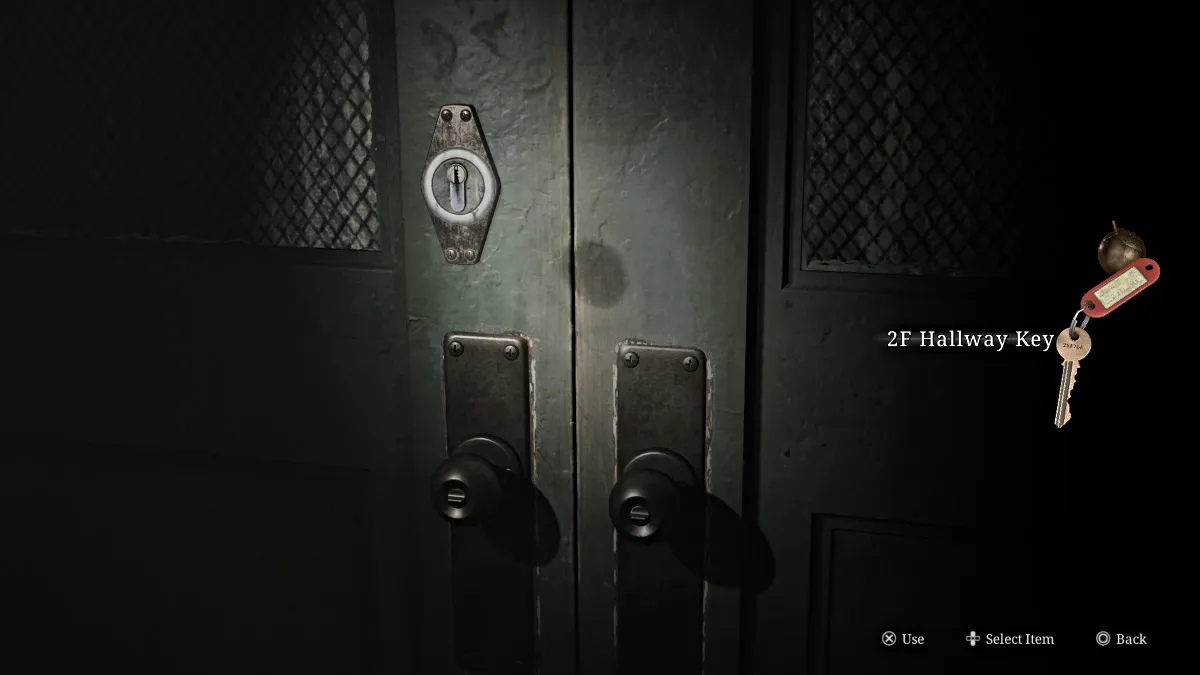
عد إلى الطابق الثاني بمفتاحك الجديد وافتح الأبواب المزدوجة الخضراء على يسارك، مما يسهل الوصول إلى بقية الطابق. أثناء نزولك إلى الردهة، ستجد فجوة في النافذة على يسارك تكشف عن عربة أطفال تجلس في حوض سباحة فارغ خارج المبنى. سوف ترغب في تذكر ذلك.
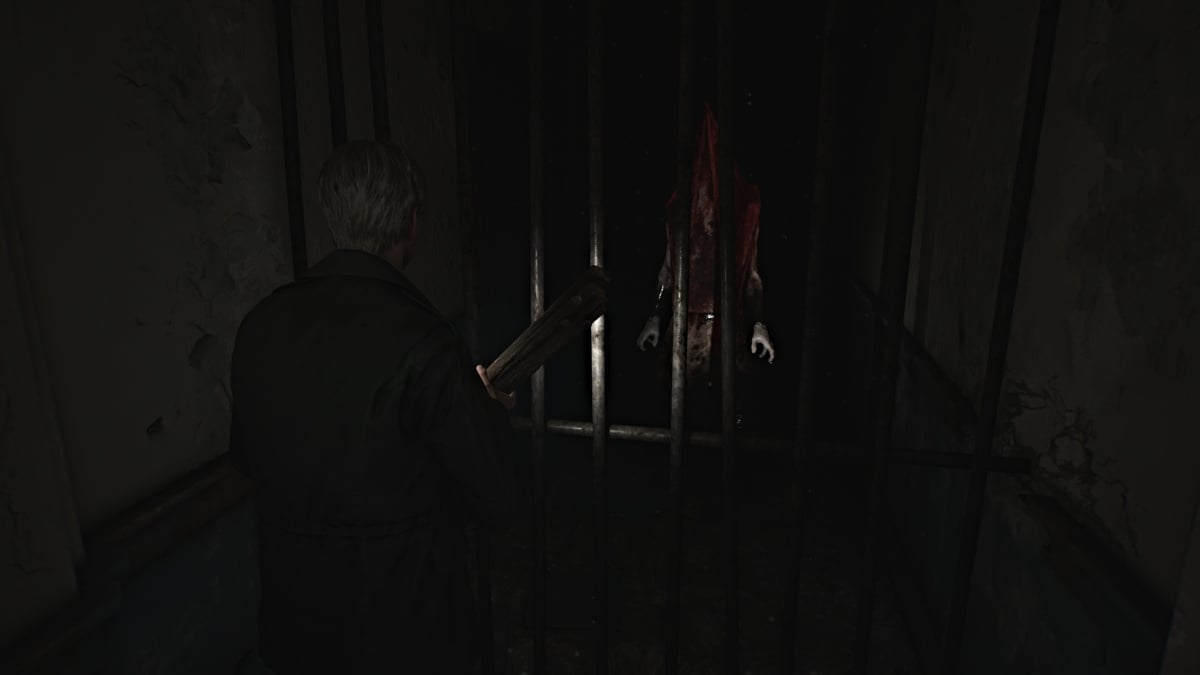
واصل السير في القاعة واتجه يمينًا حتى ترى شيئًا أحمر متوهجًا من بعيد. اقترب منه، واتضح أنه ليس سوى رأس الهرم ، الذي يحدق في جيمس من خلف مجموعة أخرى من القضبان. على الرغم من أن الأمر مقلق، إلا أنه لا يفعل أي شيء (في الوقت الحالي)، لذا تراجع قليلاً إلى الشقة 213 .
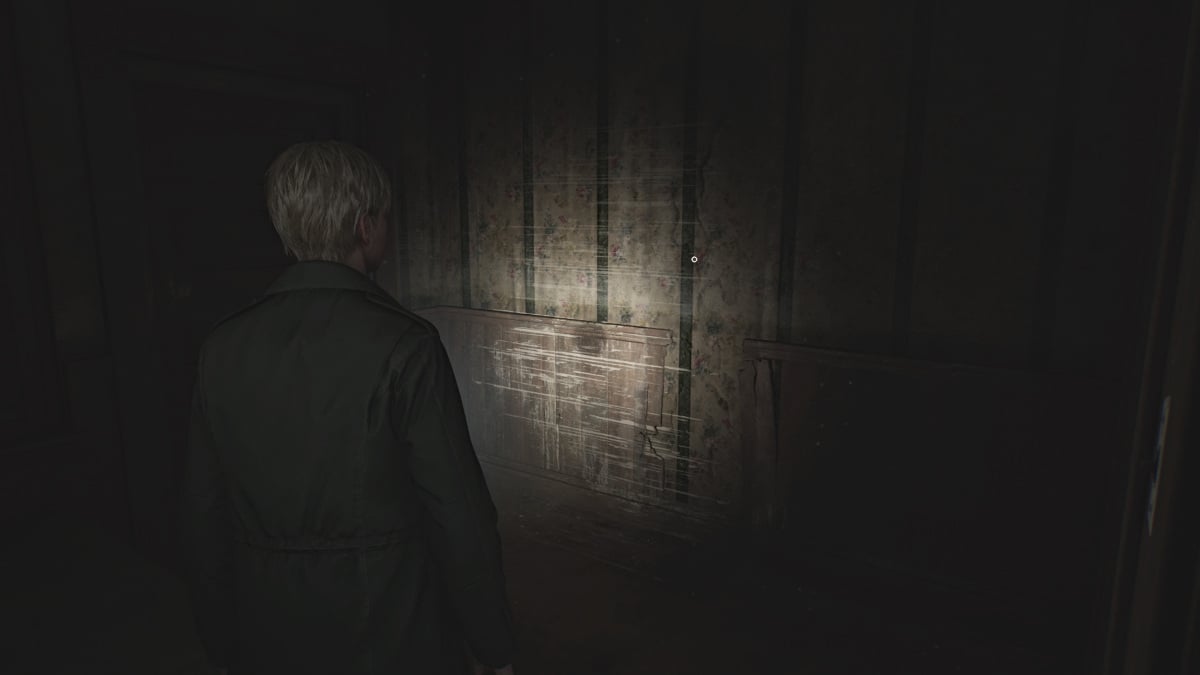
في الداخل هناك، ابحث عن بقعة أخرى لمحة من الماضي على جدار غرفة النوم (كما هو موضح أعلاه)، ثم انتقل إلى فجوة في الحائط بالقرب من المطبخ تؤدي إلى الجانب الآخر من الردهة المسدودة بباب مكسور. شق طريقك إلى الشقة 217 في النهاية.
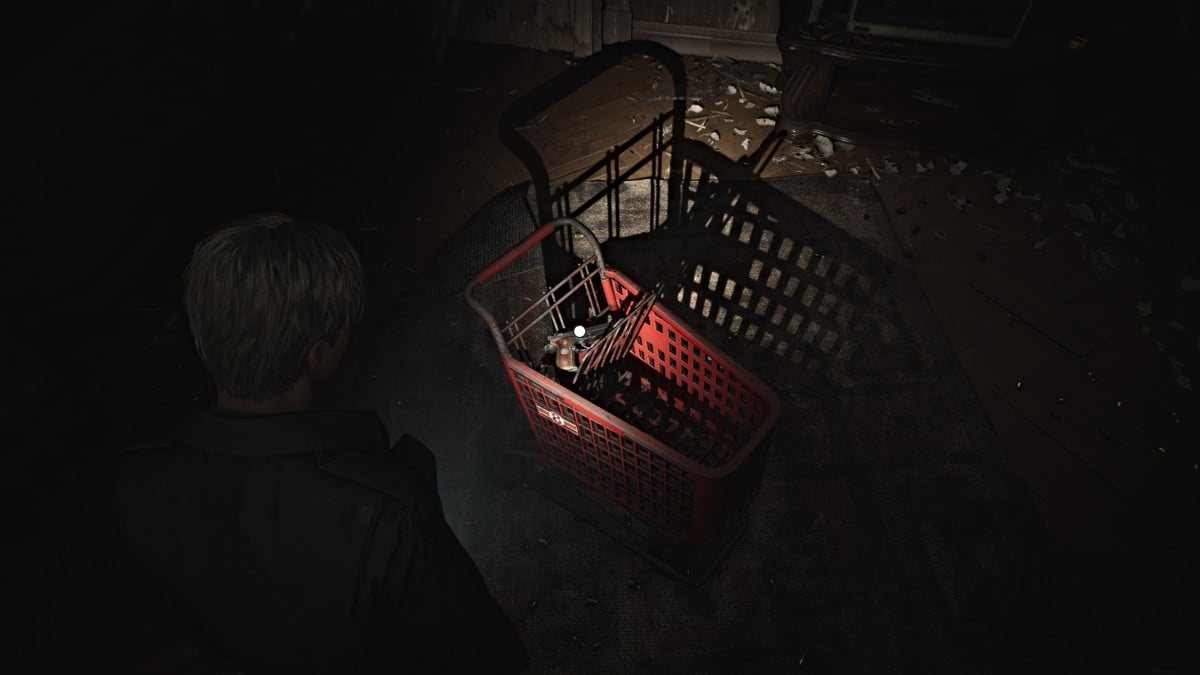
اذهب إلى الداخل لترى غرفة معيشة مليئة بثقوب الرصاص وأغلفة القذائف، مع وجود عربة تسوق حمراء في المنتصف. انظر بداخله وستتم مكافأتك بمسدس ، وهو سلاحك الثاني حتى الآن. أيضًا، كما تتوقع، الشقة مليئة بذخيرة المسدس التي يمكنك المطالبة بها، لذا تحقق من كل مكان. إذا كنت مجتهدًا في جمع الذخيرة حتى الآن، فمن المفترض أن يكون لديك 20 طلقة على الأقل أو نحو ذلك.
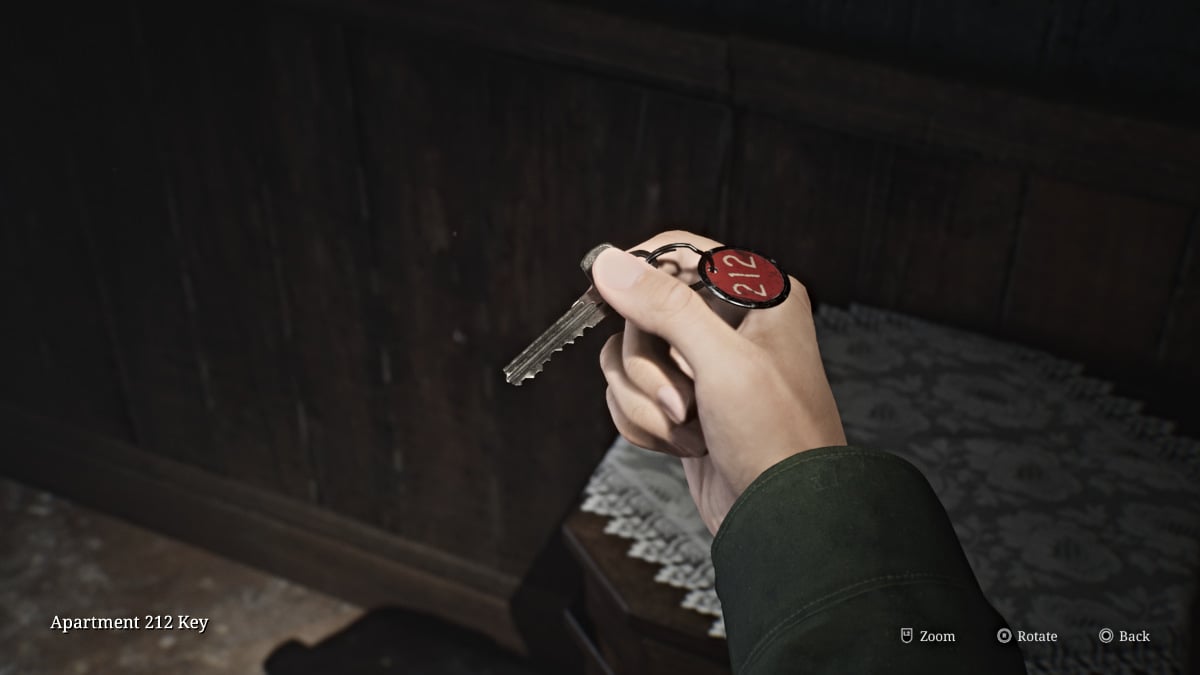
غادر الشقة وعُد عبر فجوة الجدار إلى 213، حيث تجلس شخصية غامضة مغطاة ومبللة بالدماء أمام تلفزيون ثابت. تفاعل معها للحصول على مشهد قصير، ثم احصل على مفتاح الشقة 212 من الخزانة القريبة. اترك الشقة وستلاحظ اختفاء Pyramid Head. استخدم المفتاح للدخول إلى الشقة الأخرى.
احصل على مشروب صحي من المطبخ بالداخل، ثم توجه عبر الباب المفتوح إلى الشرفة. اعبرها إلى الشقة على الجانب الآخر، حيث ستجد عارضة أزياء مع بعض ذخيرة المسدس في الثلاجة المفتوحة. اترك الشقة واتجه إلى أسفل القاعة وحولها إلى الجانب الجنوبي الشرقي من الأرضية. على طول الطريق، اخرج إلى شرفة أخرى واسحب الرافعة القريبة لخفض مخرج الحريق إلى مستوى الأرض من أجل اختصار آخر.
انتقل إلى الشقة 207 حيث ستجد شخصية كاذبة، وعارضة أزياء مختبئة في الحمام، وذخيرة مسدس .
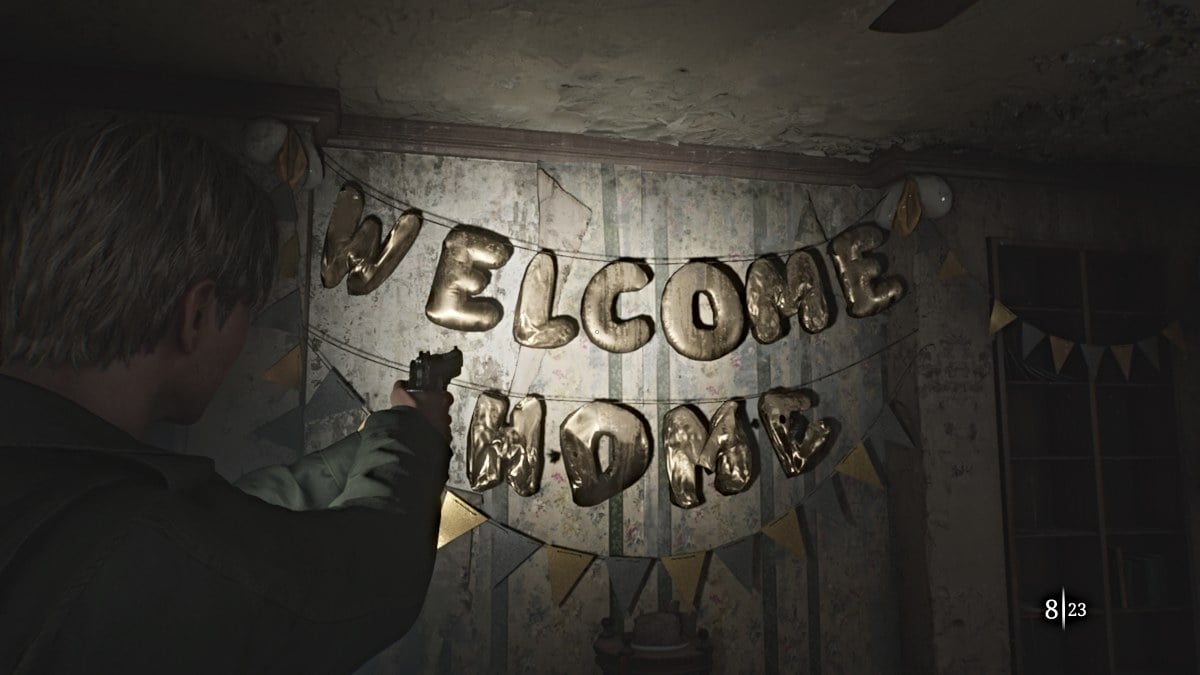
205 محجوب عن الشرفة لذا عد إلى الردهة وإلى الشقة 208 بدلاً من ذلك.
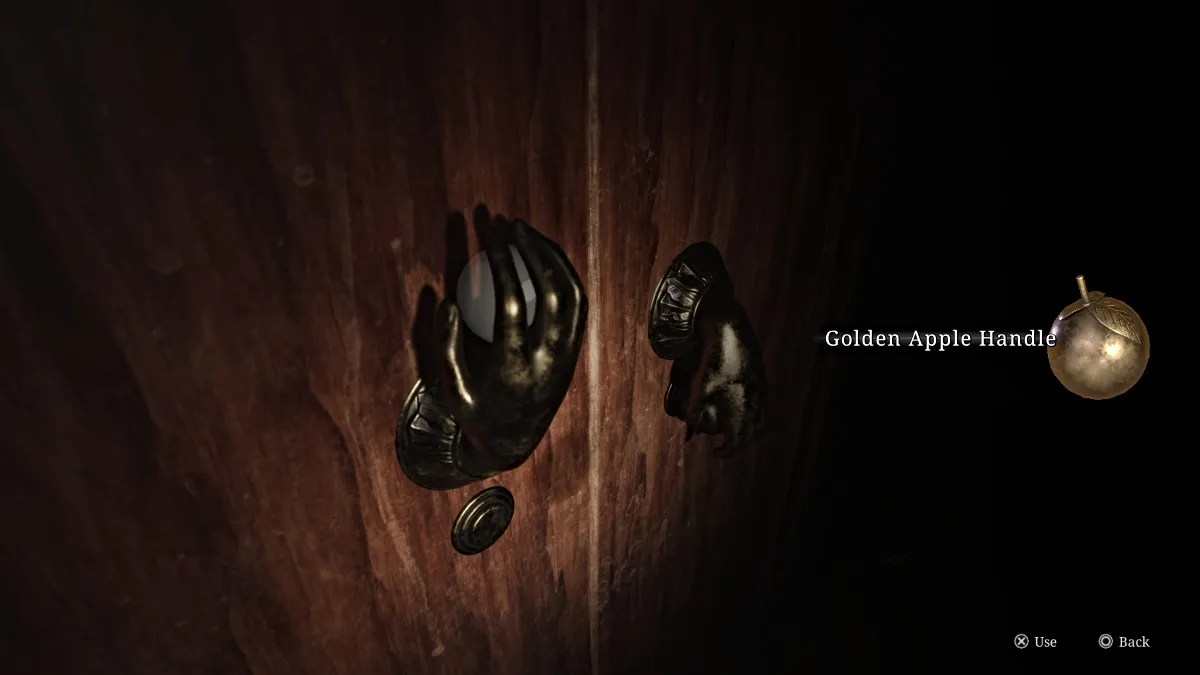
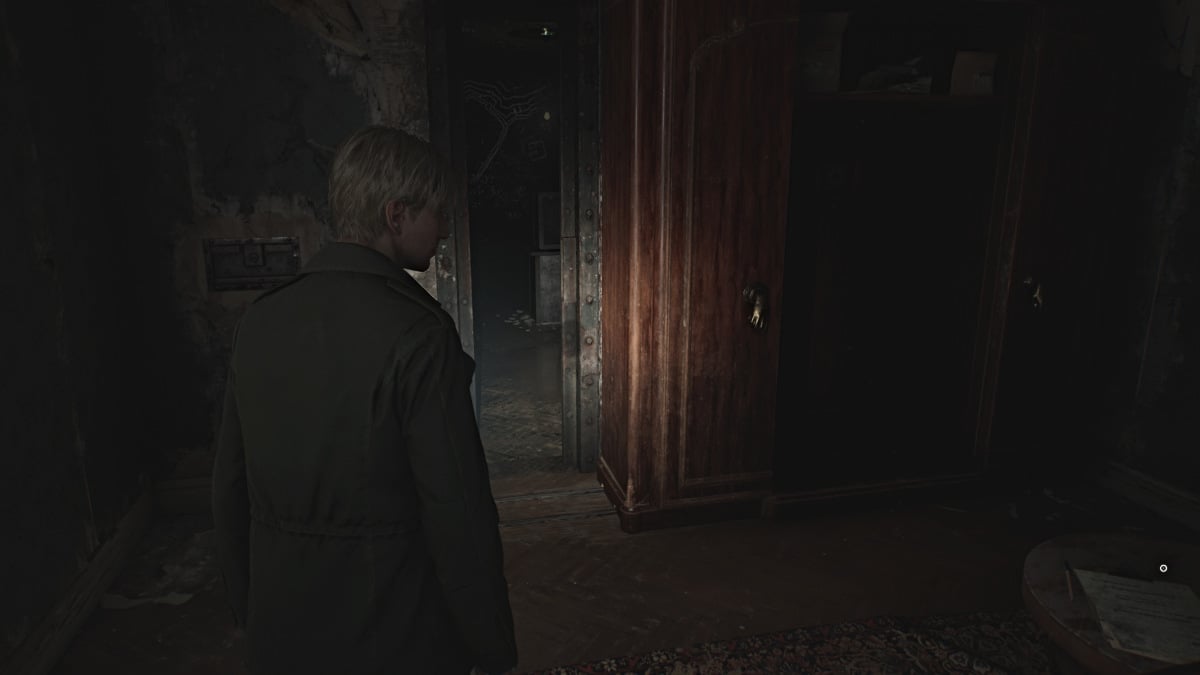
ستجد في الداخل خزانة ملابس كبيرة أخرى بأيدٍ ذهبية. اصعد إليه واستخدم مقبض Golden Apple الذي حصلت عليه مسبقًا لفتح خزانة الملابس. اذهب إلى اليسار وتفاعل لدفعها واكشف عن غرفة سرية بها كتابة على الجدران وخزنة مقفلة في المنتصف. بمجرد دخولك، سيتم إغلاق الباب خلفك.
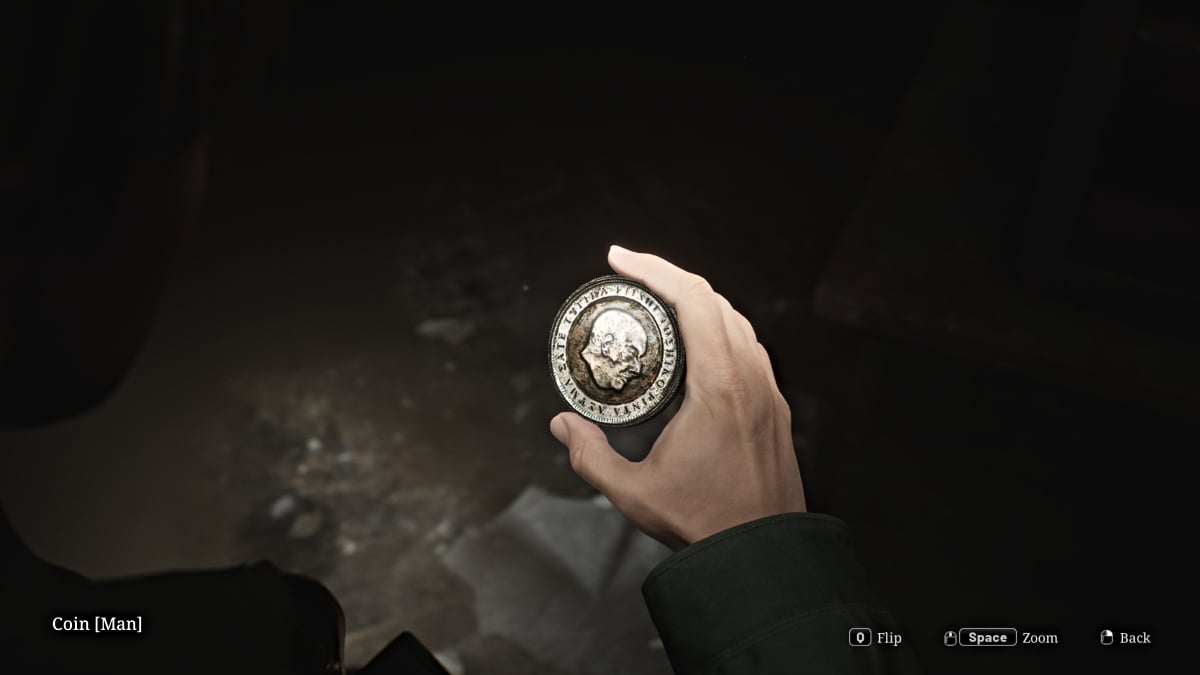
لفتح الخزنة، عليك أن تضع المجموعة الصحيحة، والتلميح الوحيد الذي تحصل عليه هو من المقطع المكتوب على الحائط بالقرب من المكان الذي دخلت فيه. المجموعة الصحيحة (صعوبة اللغز القياسية) هي "يمين 13"، "يسار" 7، ثم "يمين 11" . سيتم فتح الخزنة لتكشف عن عملة الرجل (لغز العملة في الطابق السفلي) ومفتاح فولاذي لاستخدامه على الباب الموجود على الجانب الآخر من الغرفة (مع مربعات بيضاء مرسومة عليه).
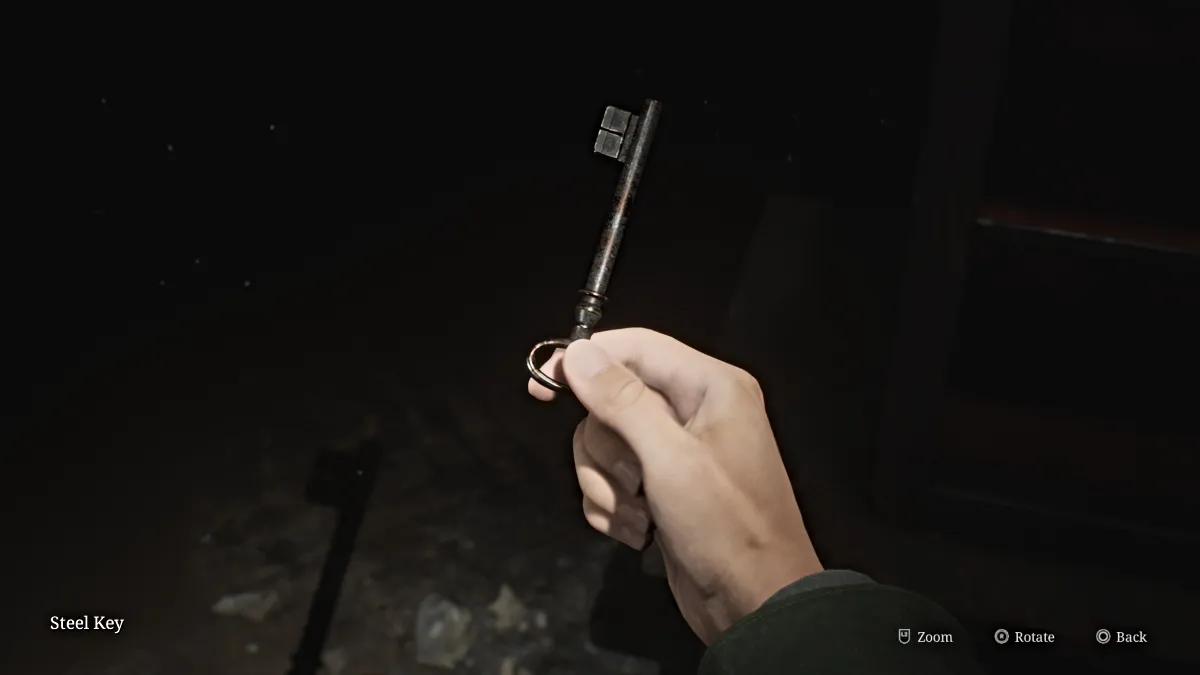
اهرب من الغرفة وستعود إلى الردهة حيث باب الشقة 205 مفتوح الآن على مصراعيه. اذهب إلى الداخل حيث ستجد بعض وحوش الحشرات جنبًا إلى جنب مع مشروب صحي في علبة دواء، وذخيرة المسدس في المطبخ، ومفتاح الدرج الصغير 2F يجلس على الكرسي في منتصف الغرفة.
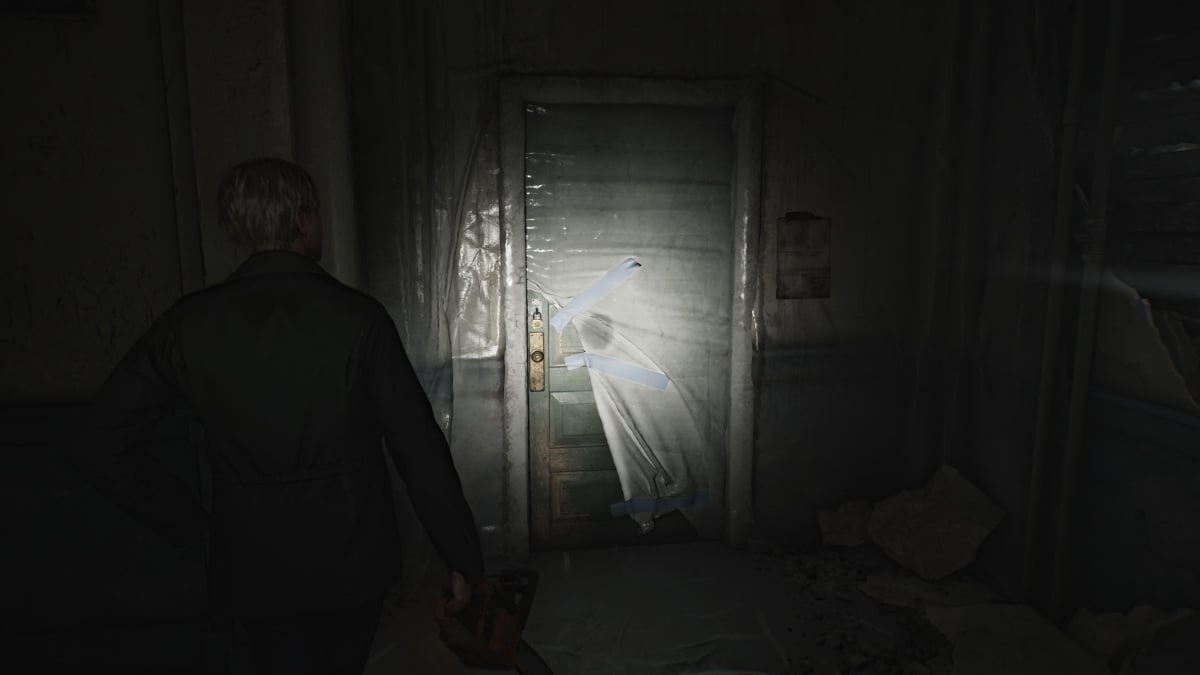
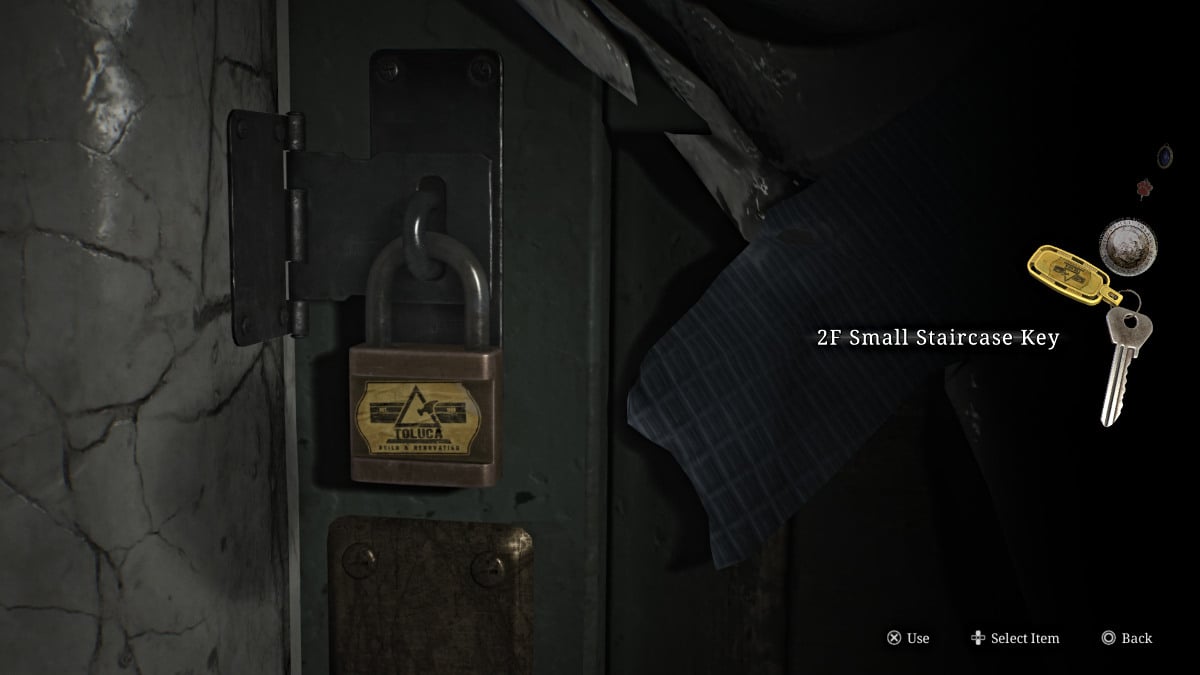
مع حمل ذلك في يدك، عد إلى الدرج الموجود على الجانب الشمالي من الأرضية المغطاة بالبلاستيك. استخدم مفتاح الدرج الصغير 2F للوصول إليه أخيرًا. استخدم نقطة الحفظ الحمراء بالداخل ثم اصعد إلى الطابق الثالث.
بمجرد وصولك إلى الطابق الثالث، اتجه مباشرة إلى أسفل الردهة أولاً لتحصل على بعض ذخيرة المسدس الجالسة على كرسي بذراعين في الطريق المسدود. ثم تراجع واتجه يمينًا حتى تصل إلى طريق مسدود آخر وفجوة في الجدار تقودك إلى الشقة 311 (كما هو موضح أدناه). احترس من وجود عارضتين في انتظار نصب كمين لك في مكان قريب.
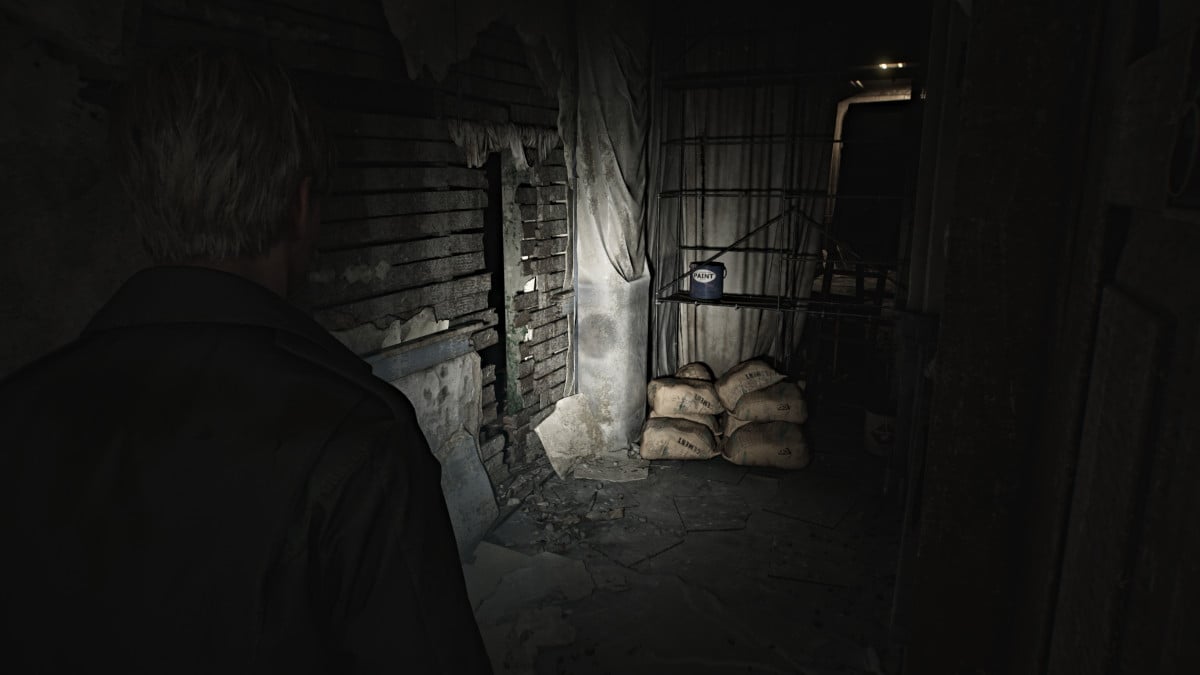
شق طريقك واعبر إلى الشقة 309 ، ثم عد لفترة وجيزة إلى الردهة ومن خلال فجوة أخرى إلى الشقة 310 . هذه الشقة مقسمة إلى نصفين، لذا تأكد من التحقق من كلا الجانبين. سيحتوي الجانب الموجود في نهاية الردهة على ملاحظة غريبة يمكنك التقاطها من المكتب وبعض ذخيرة المسدس في حاوية الإسعافات الأولية.
راقب المزيد من عارضات الأزياء التي نصبت الكمائن واستخدم الشرفة للعبور إلى الشقة 312 ، حيث ستجد حقنة في مجموعة الإسعافات الأولية، ومشروبًا صحيًا ، ومذكرة Sinister Note معلقة على الحائط.
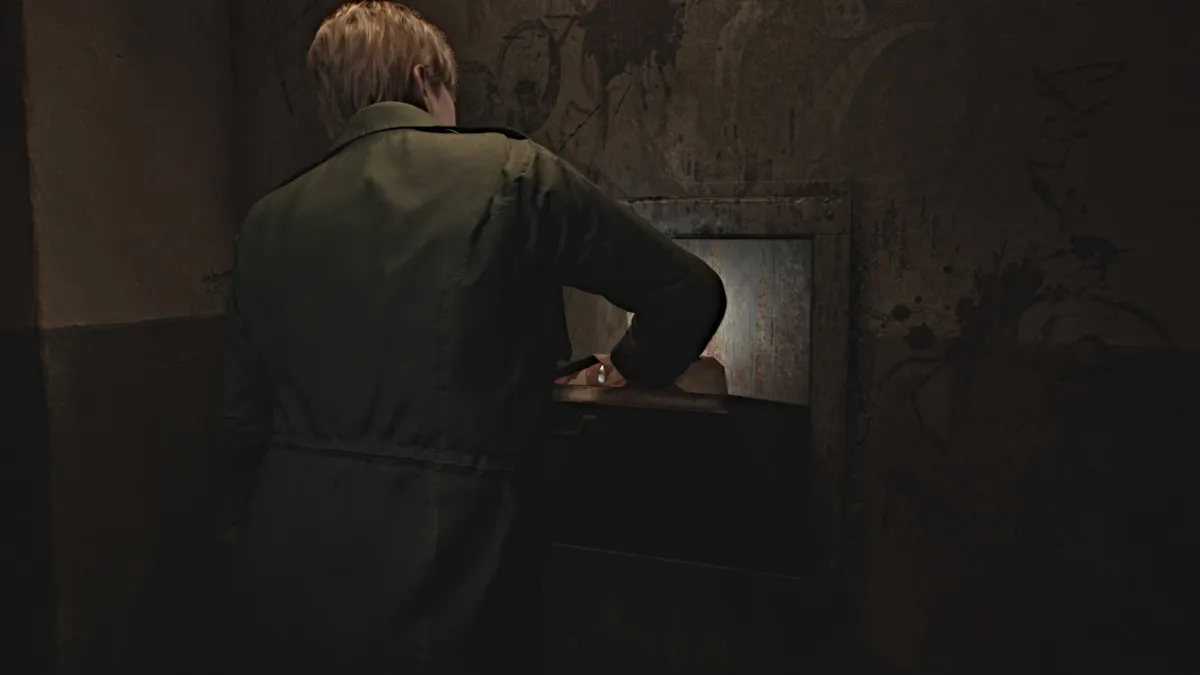
على الجانب الأيسر من الشقة، هناك مساحة للزحف بها بقايا سوداء. قم بالزحف من خلاله وستخرج إلى غرفة الغسيل . أمسك علبة العصير المعلب من الطاولة وخذها إلى المزلق القريب لإسقاطها. الوزن سيتسبب في سقوط مجموعة من القمامة في ساحة المزلق ، بما في ذلك عملة معدنية أخرى. احصل على المزيد من ذخيرة المسدس الموجودة على الغسالة في طريقك للخروج.
اسلك الدرج الشمالي وصولاً إلى الطابق الأول ، واحصل على المزيد من ذخيرة المسدس الموجود على صندوق في الأسفل. اخرج إلى الردهة، وستسمع أصواتًا تشبه أصوات التهوع القادمة من اليمين. اتبعهم إلى الشقة 116 في النهاية، حيث توجد جثة في ثلاجة مفتوحة وشخص يتقيأ في الحمام المجاور.
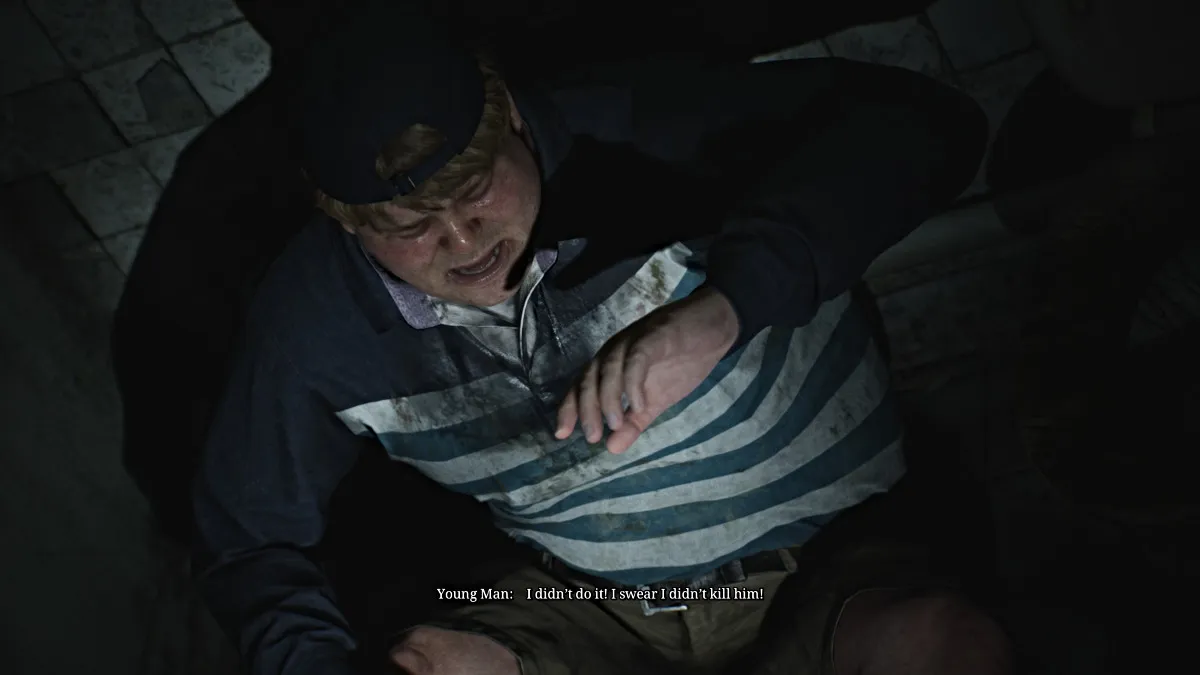
اقترب منه وشاهد مشهدًا سينمائيًا يقدم جيمس لإدي دومبروفسكي ، الذي يبدو متقلبًا بشكل غريب ومن الواضح أنه ليس على ما يرام. يبدو حريصًا على مغادرة المدينة ويطلب من جيمس أن يأتي معه، لكنه يرفض بأدب. بعد المشهد السينمائي، ابحث في الشقة عن العناصر وقبل الذهاب إلى منطقة حمام السباحة، التي تزحف مع شخصيات Lying Figures لذا ستحتاج إلى التنقل فيها بعناية.
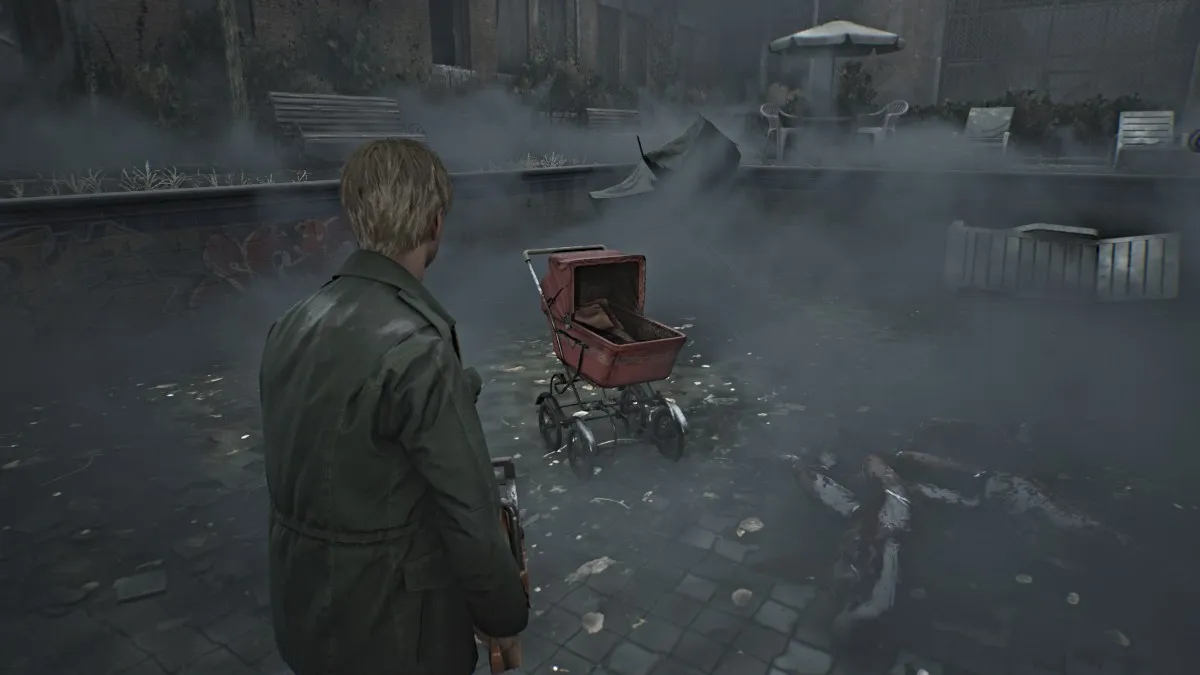
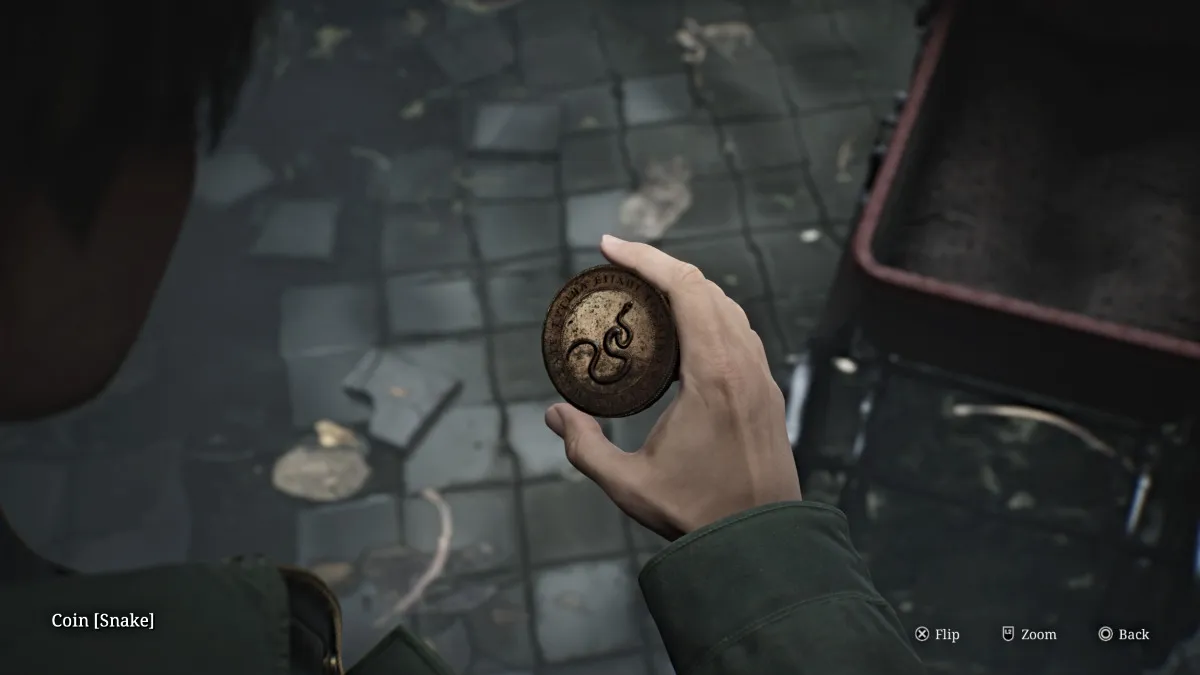
اقتل فقط ما يجب عليك فعله وشق طريقك إلى عربة الأطفال الموجودة في حوض السباحة والتي تحتوي على عملة الثعبان .
اهرب من المنطقة عائداً بالطريقة التي أتيت بها واخرج من الشقة، ثم توجه إلى الأبواب المزدوجة التي تؤدي إلى Chute Courtyard.
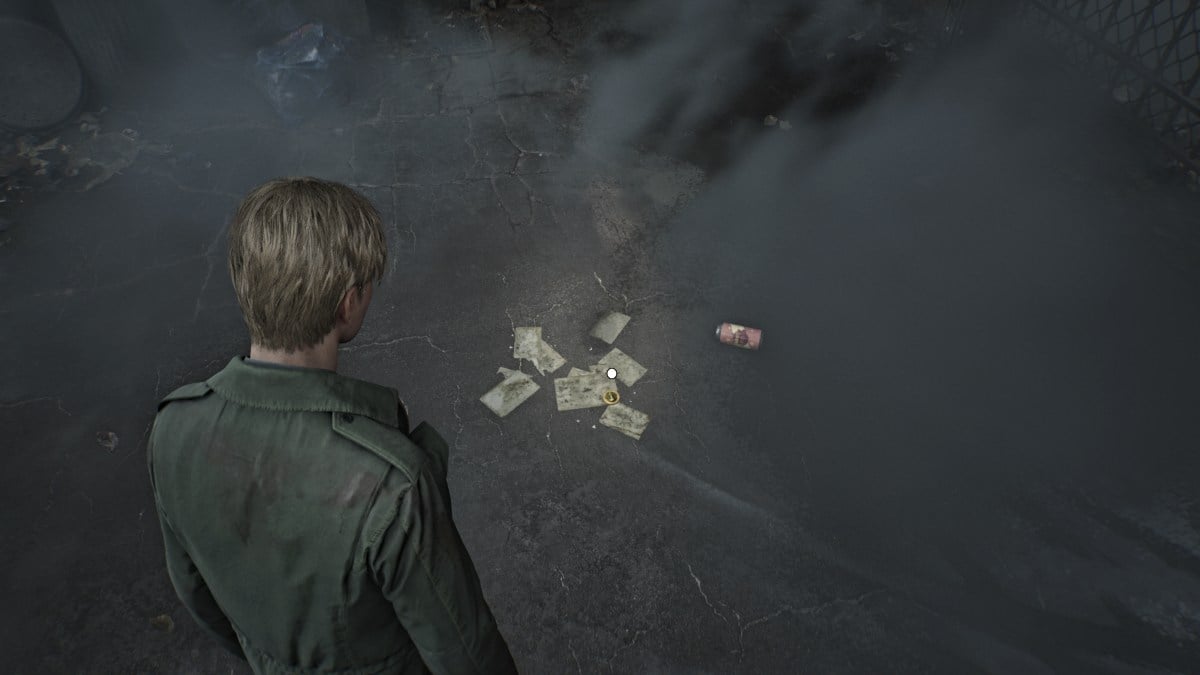
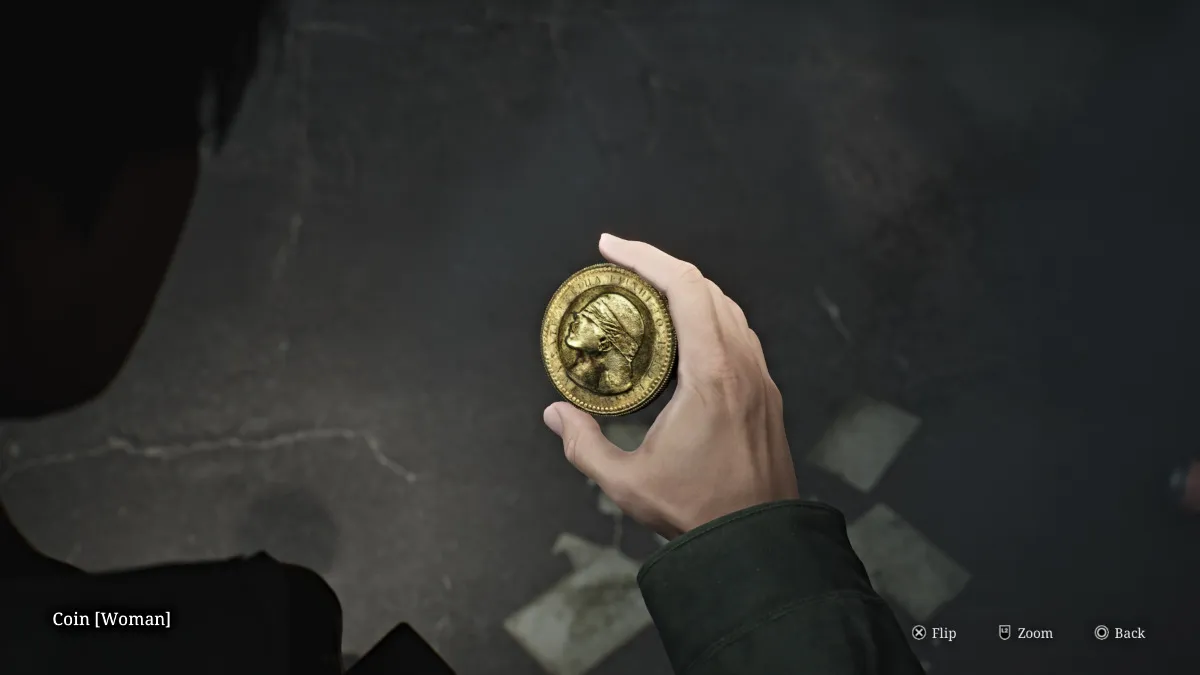
ابحث بعناية في الأرض عن عملة المرأة ، والتي ستكون ملقاة بالقرب من إحدى علب العصير (كما هو موضح أعلاه). الآن لديك جميع العملات المعدنية اللازمة، لذا عد إلى مكتب الردهة لإكمال اللغز أخيرًا.
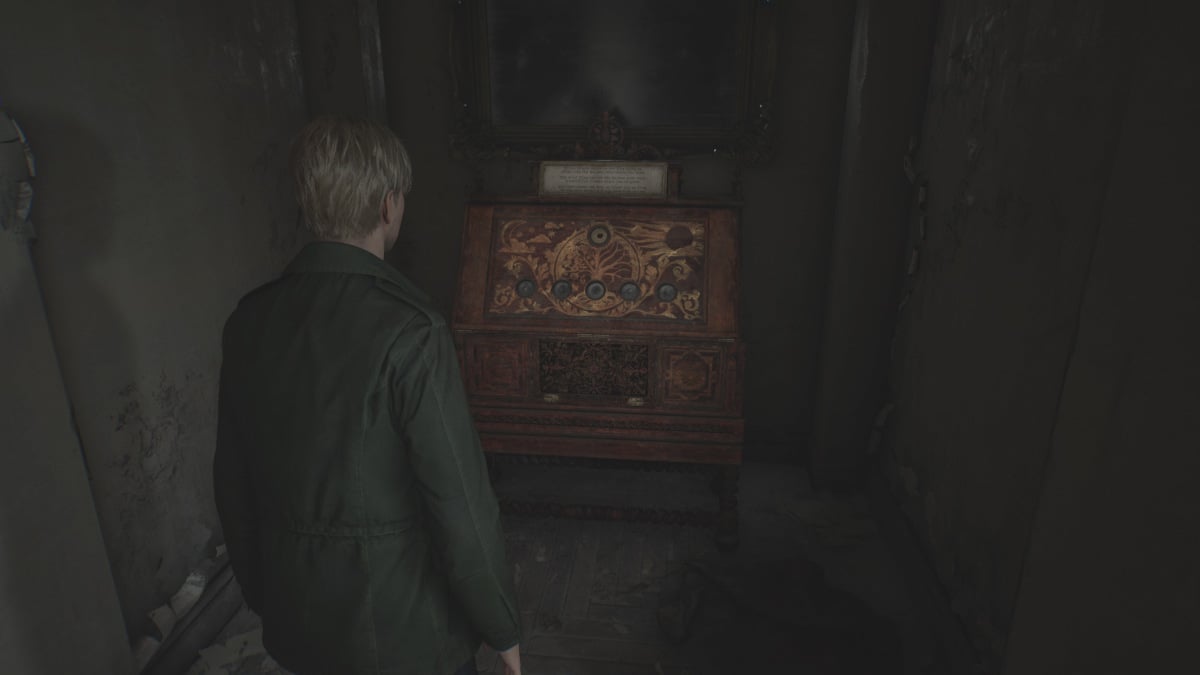
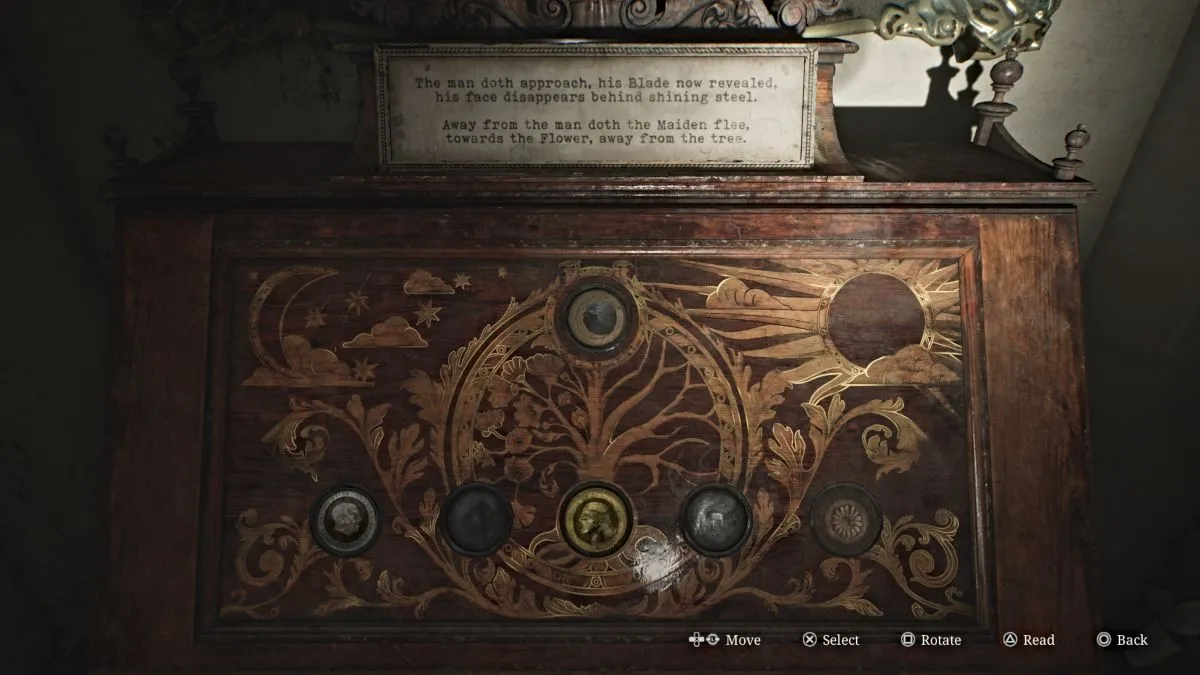
لفتح الخزانة المزخرفة في مكتب الردهة، تحتاج إلى وضع ثلاث عملات معدنية (ومتغيراتها) في الفتحات الصحيحة وفقًا للقصيدة المشار إليها أعلاه، والتي ستتغير عند إكمال كل خطوة. إليكم الحل الكامل للغز (الصعوبة القياسية)، مع ذكر الخطوات بالترتيب:
مع ذلك، فإن اللغز لديه خطوة أخيرة، والتي تتطلب منك اختيار العملة التي "تلومها" (رجل، امرأة، أو ثعبان). على الرغم من عدم وجود إجابة خاطئة، فإن اختيارك سيؤثر على النهاية التي تحصل عليها . ستحصل أيضًا على Apartment 201 Key لجهودك.
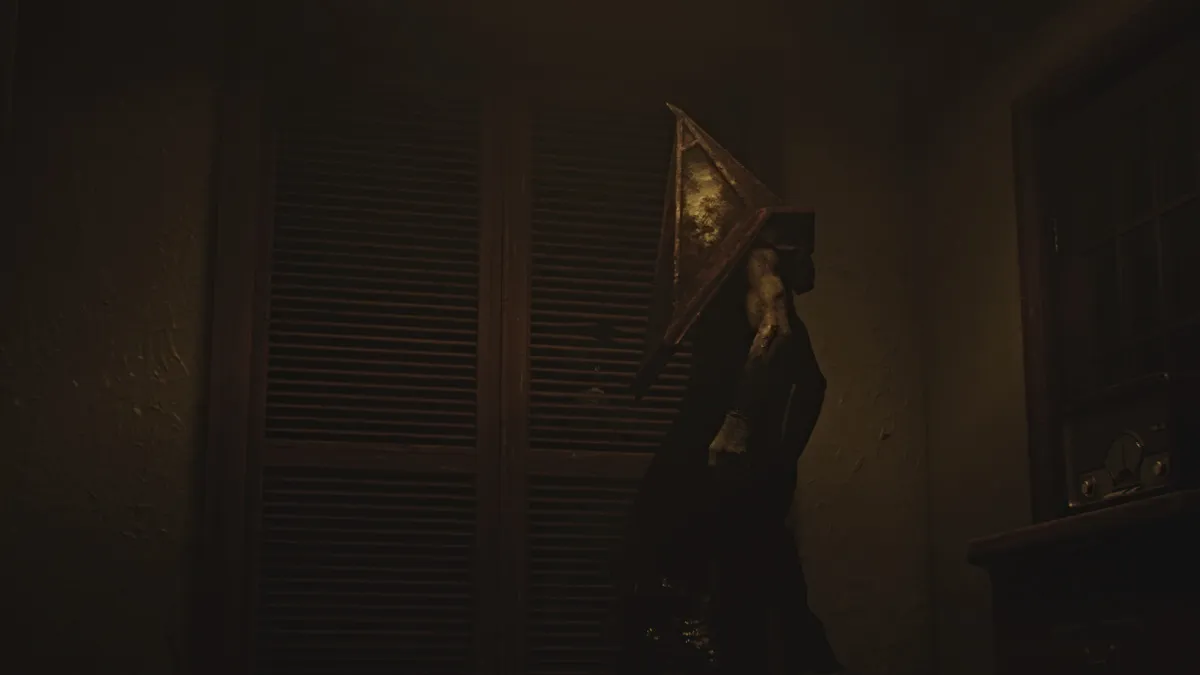
استخدم درج الردهة الرئيسي للعودة إلى الطابق الثاني ، ثم انعطف يمينًا للتوجه إلى الشقة 201 . استكشف حتى تجد منديلًا على مكتب للكتابة، والذي سيمثل مشهدًا سينمائيًا سيئ السمعة مع رأس الهرم وبعض العارضات.
بعد أن يغادر، عد إلى المكتب واجمع المنديل ، ثم اقترب من الباب الأحمر الساطع على الجانب الآخر للحصول على مشهد سينمائي آخر حيث يجب على جيمس أن يعبر حرفيًا من مبنى إلى آخر. في حين أنها من الناحية الفنية شقق Blue Creek ، فهي نسخة محاصرة في العالم الآخر .
في العالم الآخر، تبدو البيئة الطبيعية مختلفة بشكل كبير؛ أكثر تهالكًا وصدأًا وغالبًا ما يتم تجريدها من الهيكل العظمي الصناعي القذر. حدد اتجاهك، حيث أنه لا يمكنك الوصول إلى الخريطة بعد، واذهب عبر الباب الأزرق القريب. احصل على Handgun Ammo من الكرسي ذو الذراعين إلى يمينك، ثم اتجه يسارًا واتبع المدخل حتى تحصل على خريطة Blue Creek Apts 2F-3F .
استمر في السير في الردهة حتى تصل إلى ما يشبه الجدار القابل للكسر . استخدم لوحك الخشبي لتحطيمه والانزلاق من خلاله. اجمع ذخيرة المسدس من أحد الأدراج القريبة وشق طريقك بعناية إلى الجانب الآخر من الشقة. اعتن بالوحوش واحصل على المزيد من ذخيرة المسدس من منطقة المطبخ قبل الخروج إلى الردهة.
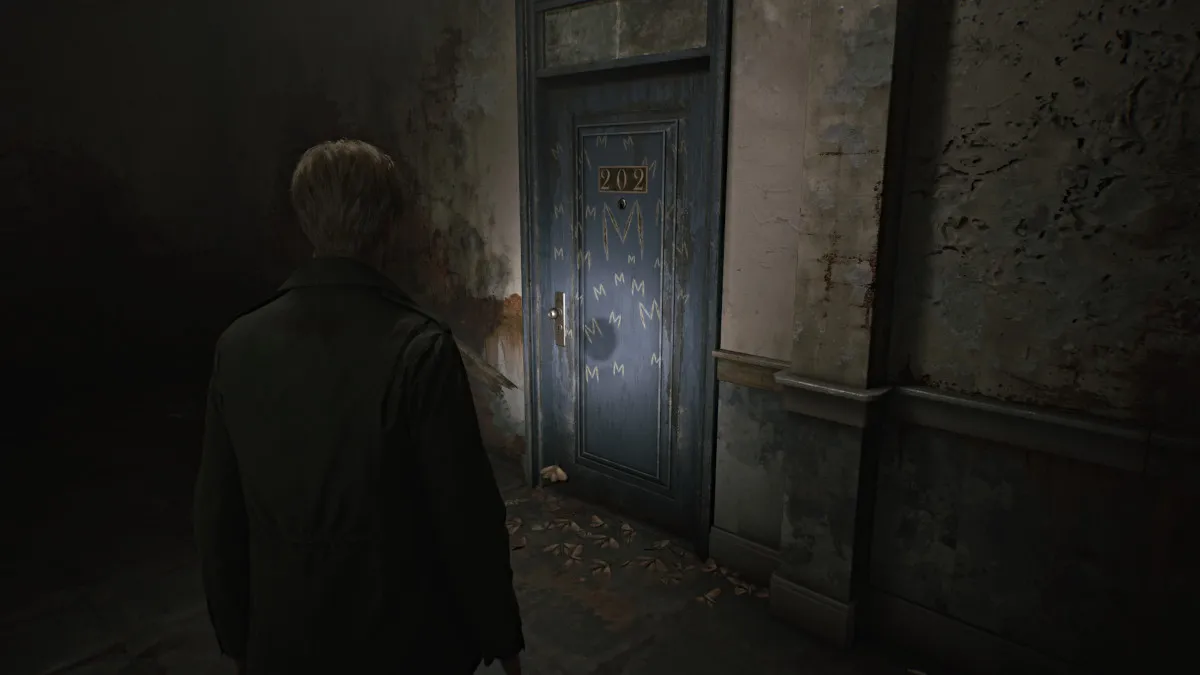
عند نقطة ما، سوف تمر بالباب الأزرق المؤدي إلى الشقة 202 ، والذي تم حفر حرف "M" فيه بشكل متكرر وأمامه العديد من الفراشات الميتة. ستعود إليه لاحقا.
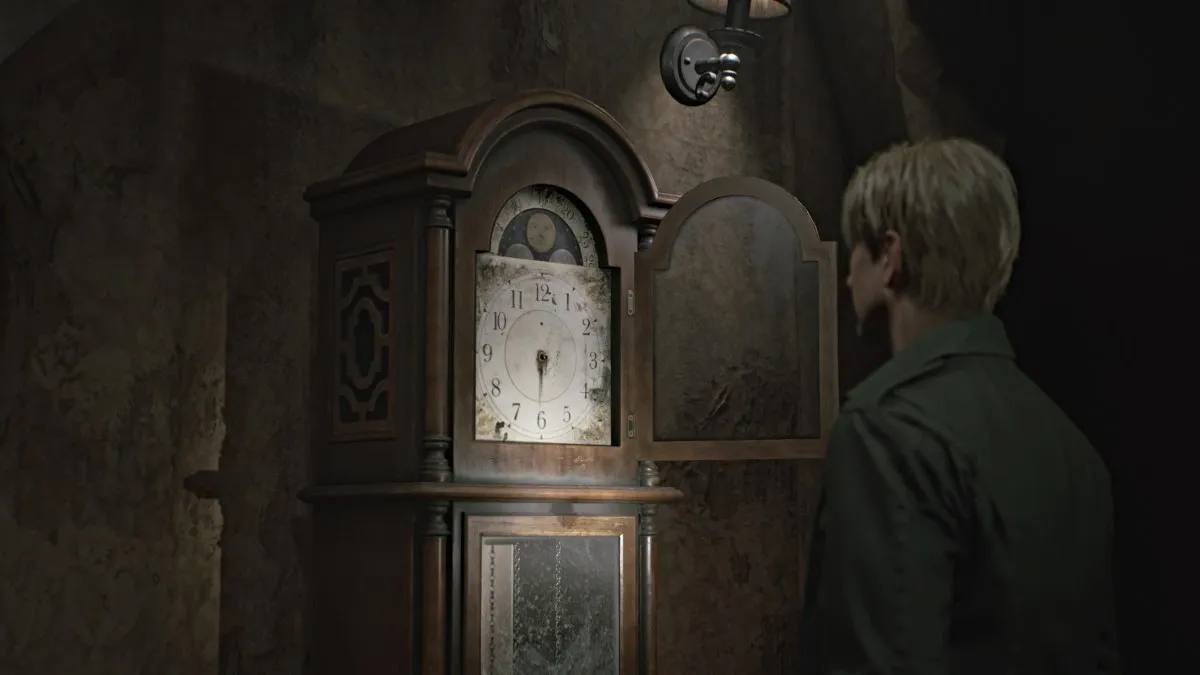
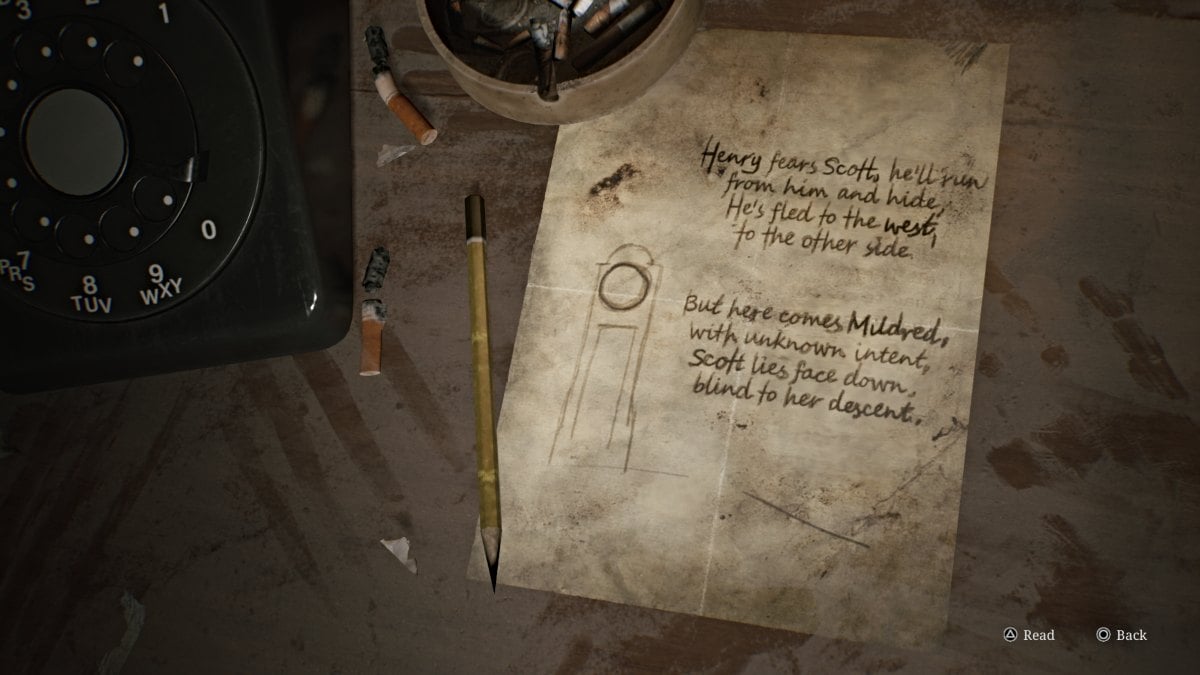
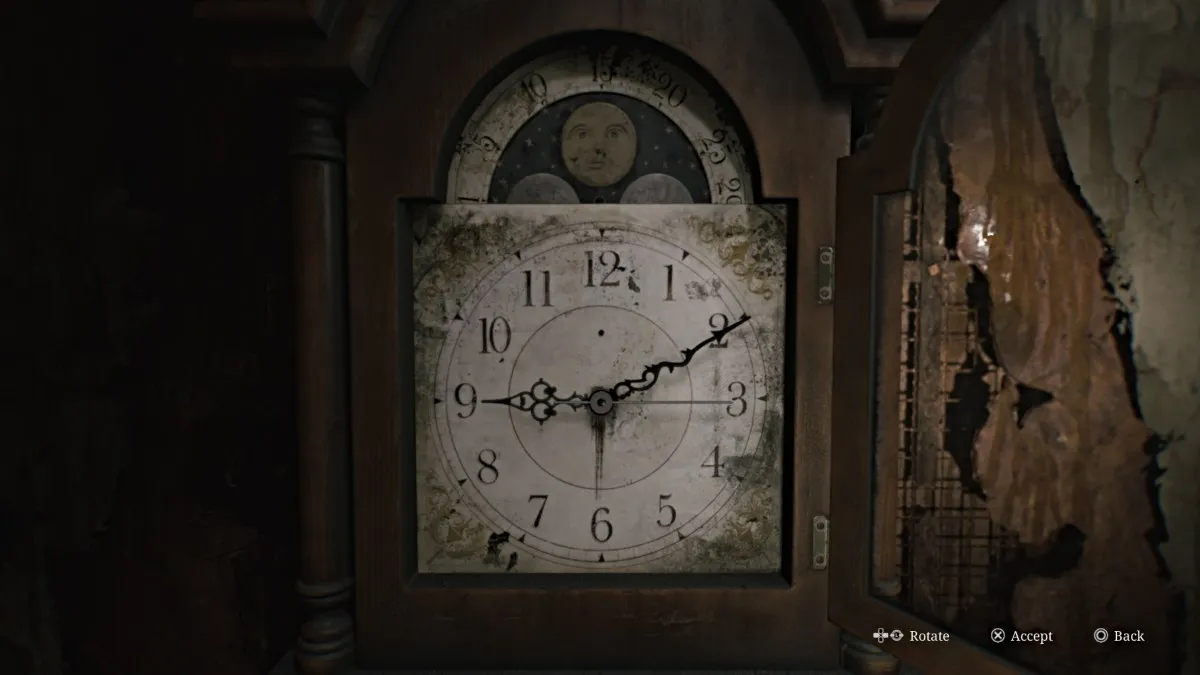
في الوقت الحالي، انتقل إلى الشقة 212 ، حيث ستجد نقطة حفظ حمراء وساعة الجد وهي في الواقع لغز. ومع ذلك، لإكمالها، ستحتاج إلى العثور على عقارب الساعة والدقائق والثواني المفقودة أولاً .
هناك أيضًا ملاحظة مكتوبة بخط اليد على الطاولة المقابلة للساعة توفر بعض التلميحات حول الاتجاهات التي يجب وضع تلك الأيدي فيها.
اخرج إلى الشرفة، حيث يوجد مفترق طرق كما يقول المثل. إلى اليمين يوجد باب برتقالي عليه حرف "H" كبير مخدوش ، لكن لا يمكنك فتحه بعد. بدلاً من ذلك، اتجه يسارًا إلى الشقة 203 . أمسك المحقنة داخل المطبخ واكسر الجدار هناك للوصول إلى 205 .
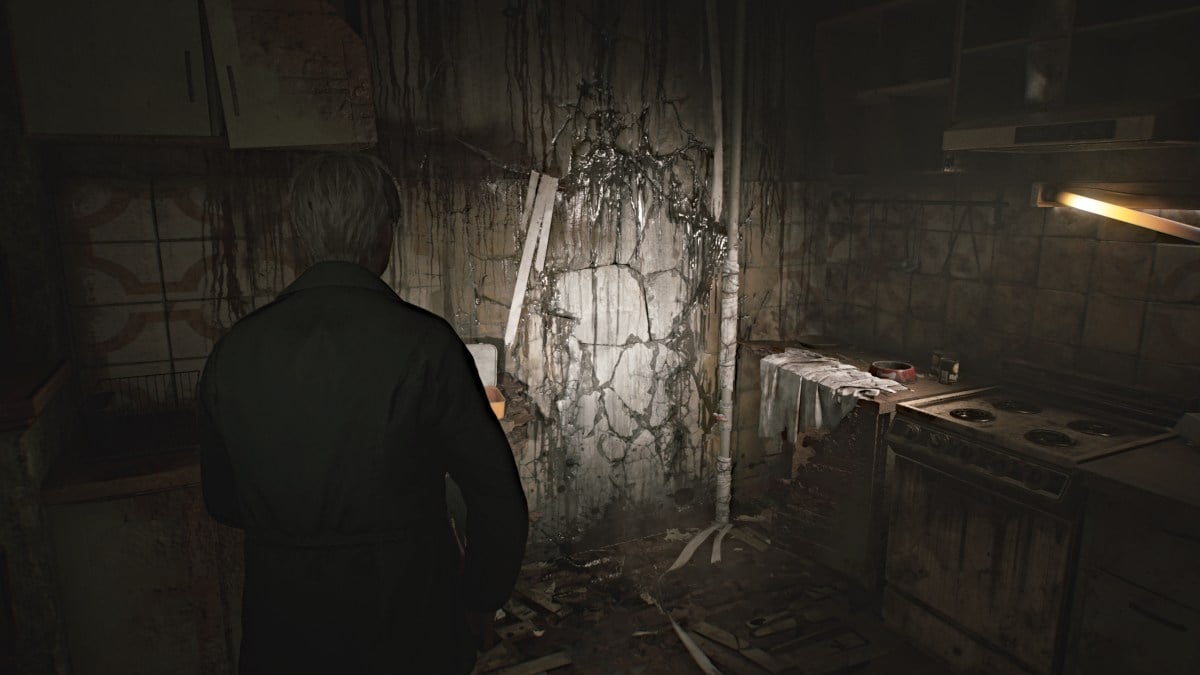
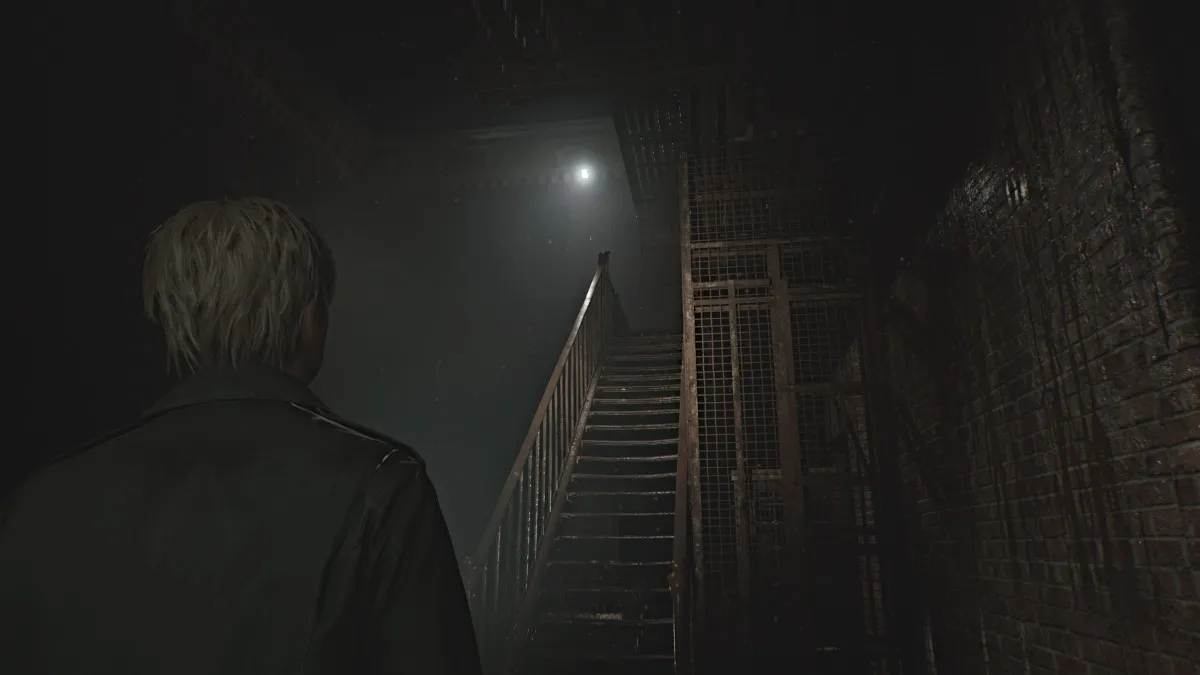
اجمع ذخيرة المسدس من سرير الطفل الموجود على الجانب الآخر وشق طريقك حتى تصل إلى نافذة مفتوحة أخرى تؤدي إلى شرفة أخرى. احصل على المزيد من ذخيرة المسدس من الحمام القريب قبل أن تذهب. اصعد الدرج إلى الطابق الثالث وتسلق عبر مساحة الزحف لتهبط في الشقة 303 .
أولاً، انتقل إلى منطقة المطبخ، حيث يوجد جدار آخر قابل للكسر. وبعد ذلك، ستصل إلى غرفة المرافق حيث ستجد ذخيرة المسدس ومشروبًا صحيًا .
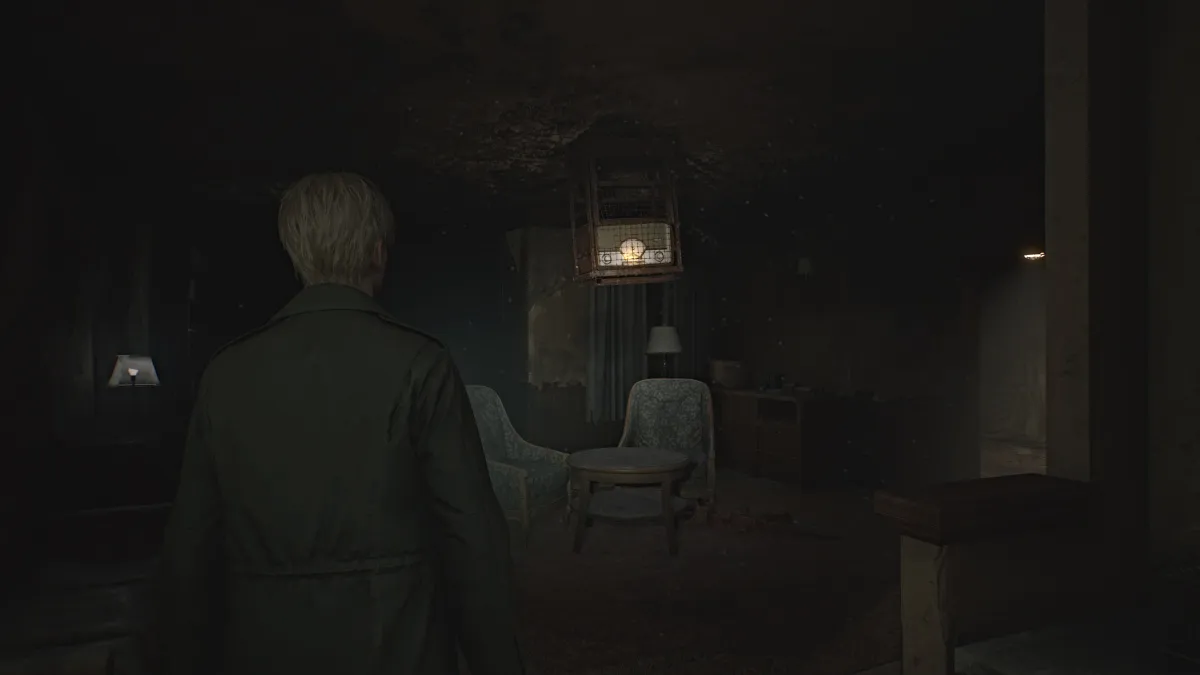
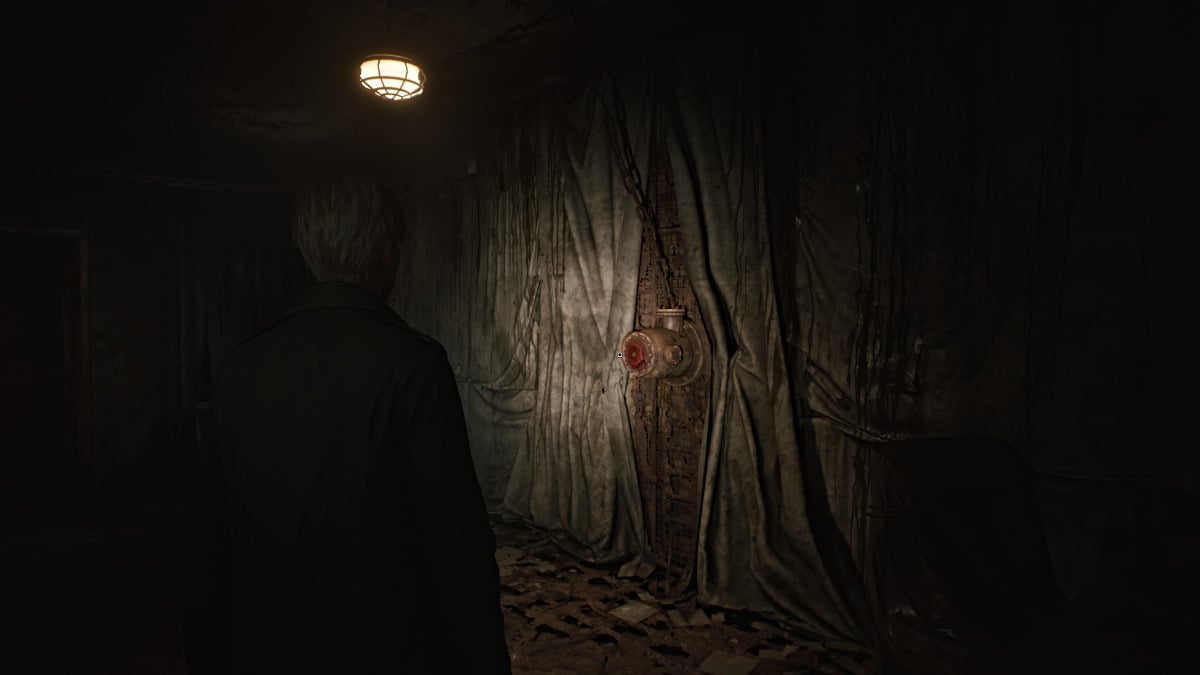
اخرج إلى الردهة وإلى الشقة 307 حيث سترى راديوًا كبيرًا معلقًا في السقف وهو يشغل الموسيقى. بعد جمع المزيد من ذخيرة المسدس، اذهب إلى الغرفة على اليمين مع وجود كرنك أحمر على الحائط يفتقد صمامًا .
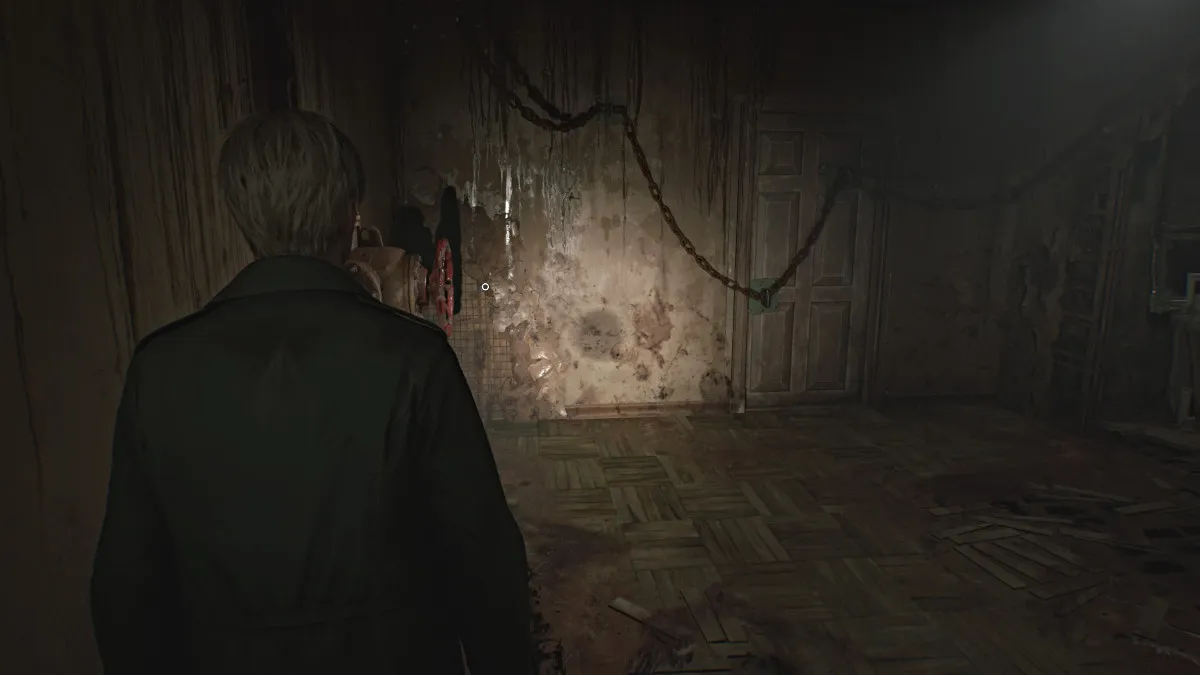
أولاً، مر عبر الباب الآخر في الغرفة والذي سيأخذك إلى شرفة أخرى ثم يعود إلى الشقة 305. ستُغلق النافذة خلفك، وعليك كسر الباب المقيد بالسلاسل القريبة باستخدام الساعد الأحمر الآخر الموجود على الحائط (كما هو موضح فوق). سوف تهاجم شخصيتان كاذبتان بسرعة، لذا تخلص منهما. تأكد من الحصول على مفتاح الشقة 306 من الطاولة قبل المغادرة.
شق طريقك نحو الشقة 306 واستكشف واجمع كل ما تستطيع من ذخيرة المسدس والمشروبات الصحية . في غرفة المعيشة، سترى كرنكًا أحمر آخر.
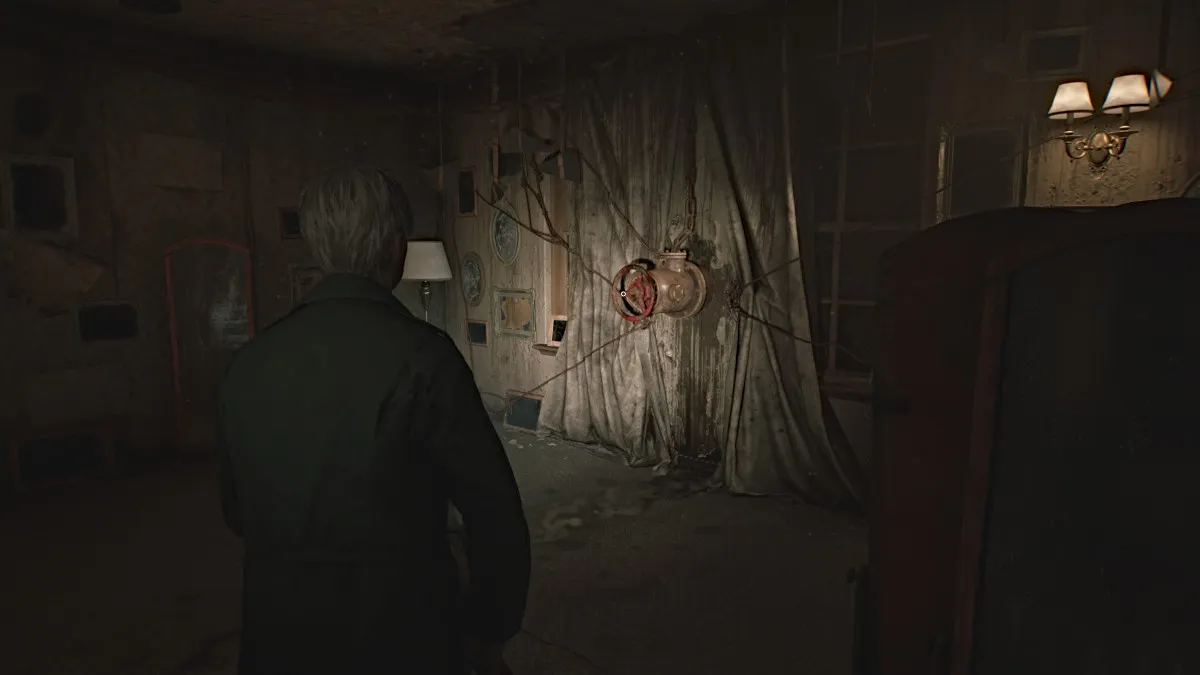
قم بتدويره لفتح الباب عبر الغرفة، واسترداد الصمام الذي ينقطع بعد ذلك. عد الآن إلى الشقة 307 واستخدم الصمام الموجود على ذراع الحائط لإسقاط الراديو الموجود في القفص.
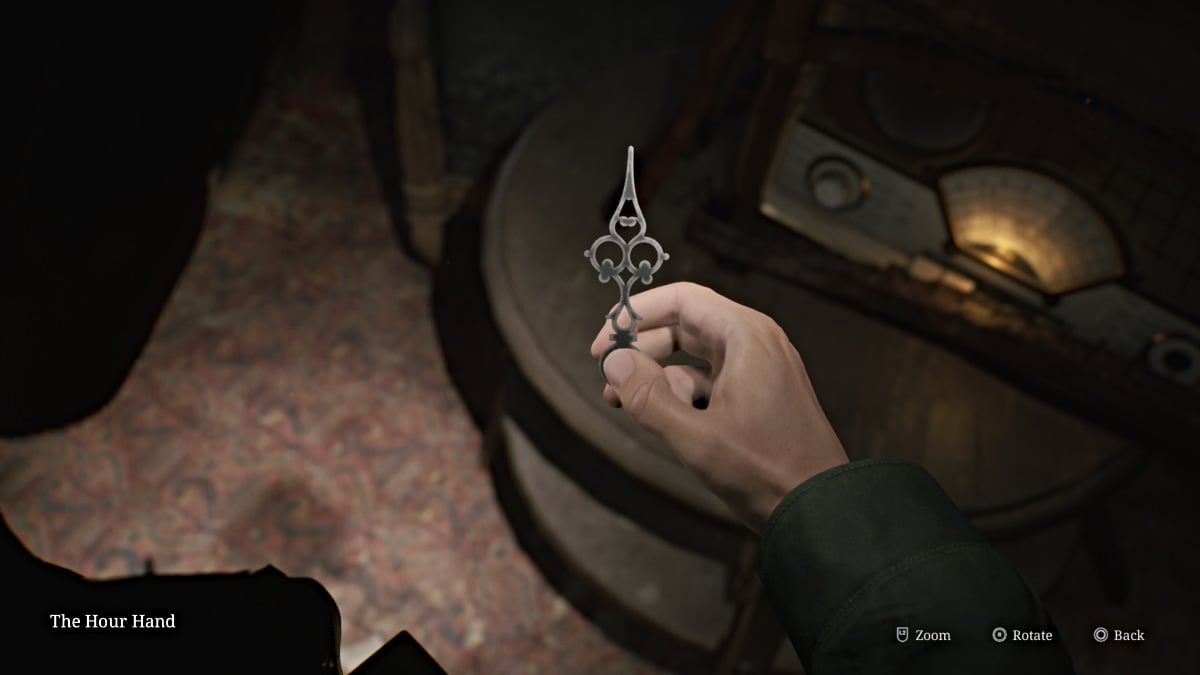
اقترب منها بعد ذلك للحصول على عقرب الساعات لساعة الجد. بعد ذلك، عد إلى أسفل مخرج الحريق (استخدم الرافعة الموجودة على الحائط لخفض الدرج إلى الطابق الثاني) إلى الشقة 212 وضع عقرب الساعة في الساعة لبدء لغز الساعة الأول.
في هذه الحالة، أدر عقرب الساعات إلى الرقم '9' على الساعة، وسيتم في النهاية فتح الباب البرتقالي الذي يحمل حرف 'H' القريب. شق طريقك إلى الباب "H" عبر الشرفة وسيأخذك إلى الشقة 210. في الداخل، ستلاحظ وجود طابع الطيور في كل شيء. يحتاج "VESAW" صغير (كما يسميه جيمس) في غرفة المعيشة إلى جسم على شكل طائر لوزنه ، ويتطلب باب مغلق قريب مفتاحًا لقفله على شكل طائر.
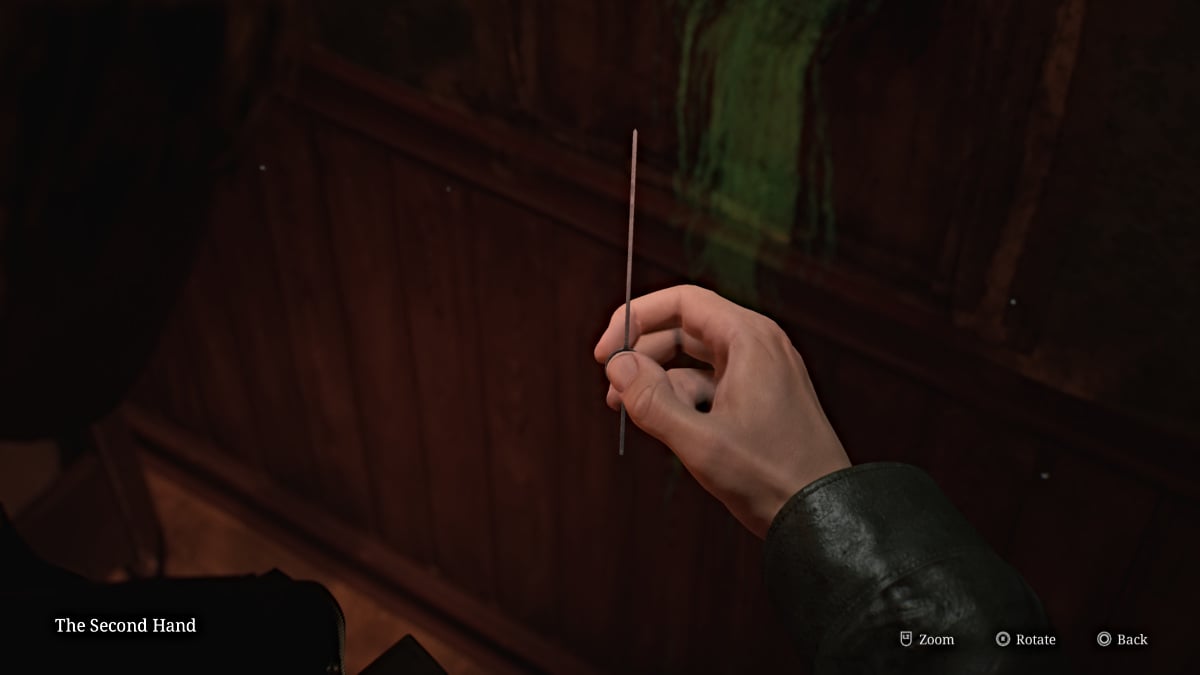
انتقل إلى المطبخ ، والاستيلاء على ذخيرة المسدس من العداد ، وقم بتحطيم الجدار القريب للوصول إلى الحمام. اذهب إلى الداخل والمنطقة الوحيدة القابلة للبحث هي (بالطبع) المرحاض المليء بـ ... حسنًا ، "goop". "ابحث" حتى يخرج جيمس يد الدقيقة على مدار الساعة.
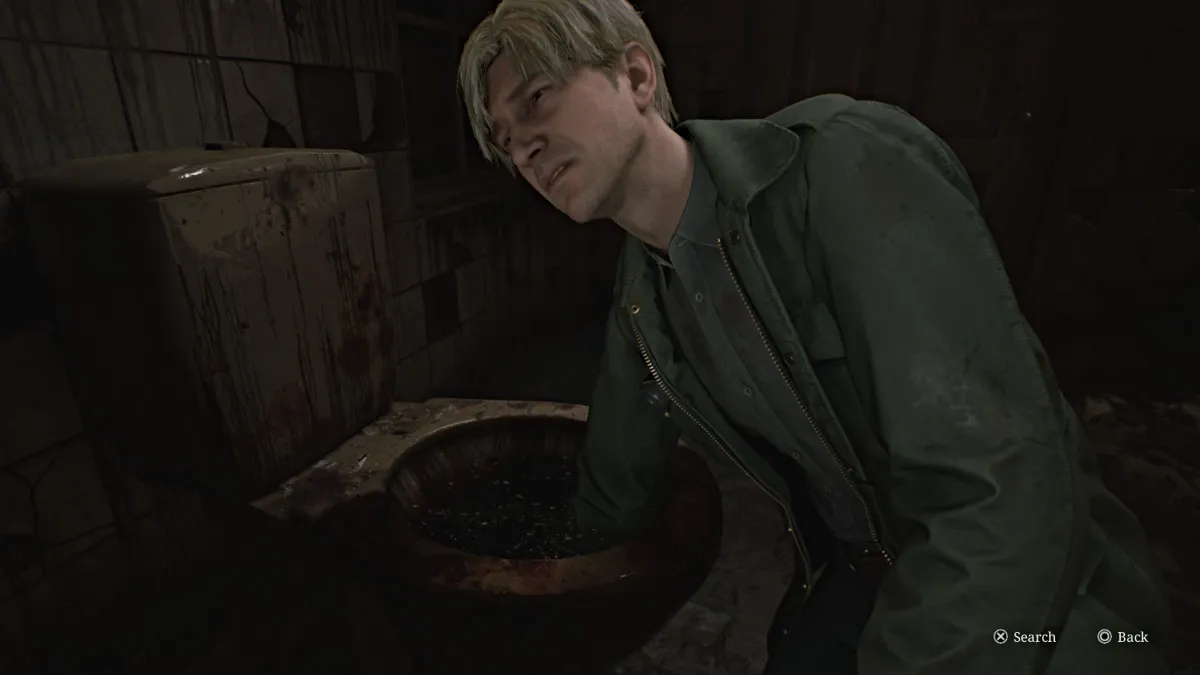
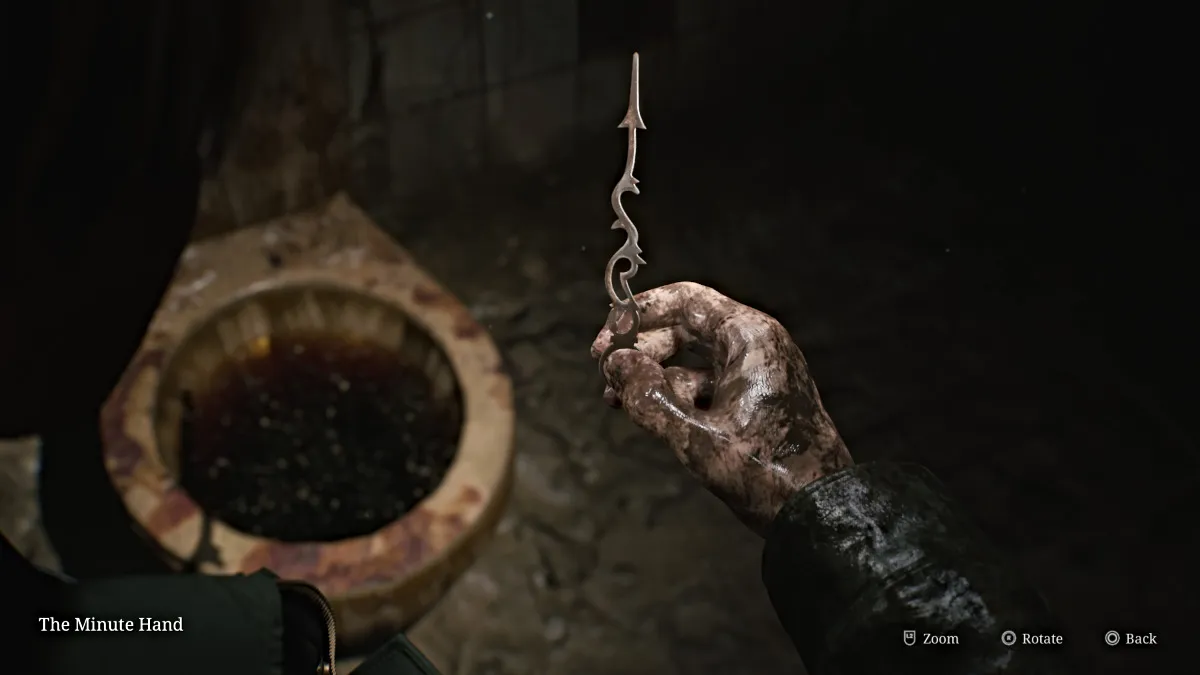
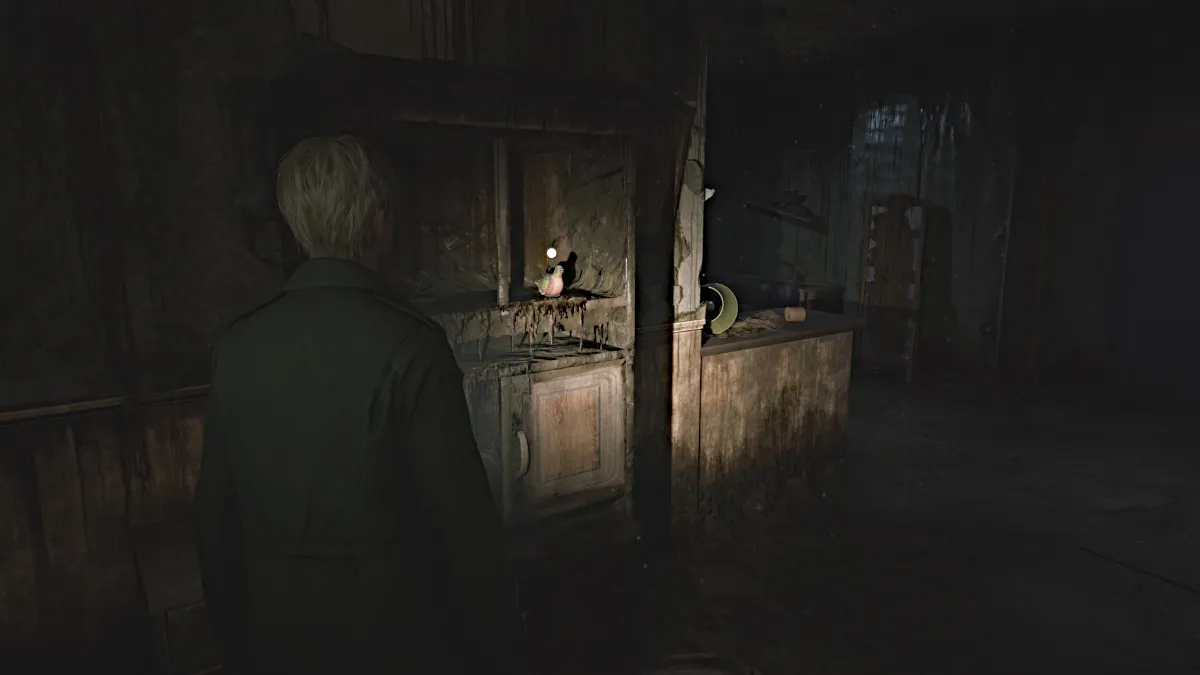
ومع ذلك ، عند القيام بذلك ، تتغير البيئة المحيطة جيمس فجأة وستحتاج إلى إيجاد طريقة مختلفة للخروج. اترك الحمام وانتزاع تمثال الحمام من الرف القريب (يظهر أدناه). بعد التعامل مع شخصية الكذب التي تتهم (تذكر أنها تنفجر بعد الموت في العالم الآخر) ، ضع شخصية الحمام على الجانب الأيسر من المؤرقة . الآن تحتاج إلى العثور على الرقم الآخر لتحقيق التوازن بينه.
اترك وينزل القاعة إلى الشقة 209 ، حيث ستسمع فجأة بعض الهمس الغريب (ارتداد إلى الأصل). اذهب عبر غرفة النوم للوصول إلى الحمام وكسر باب الدش من الداخل للحصول على جزء تمثال مشوه (يظهر أدناه).
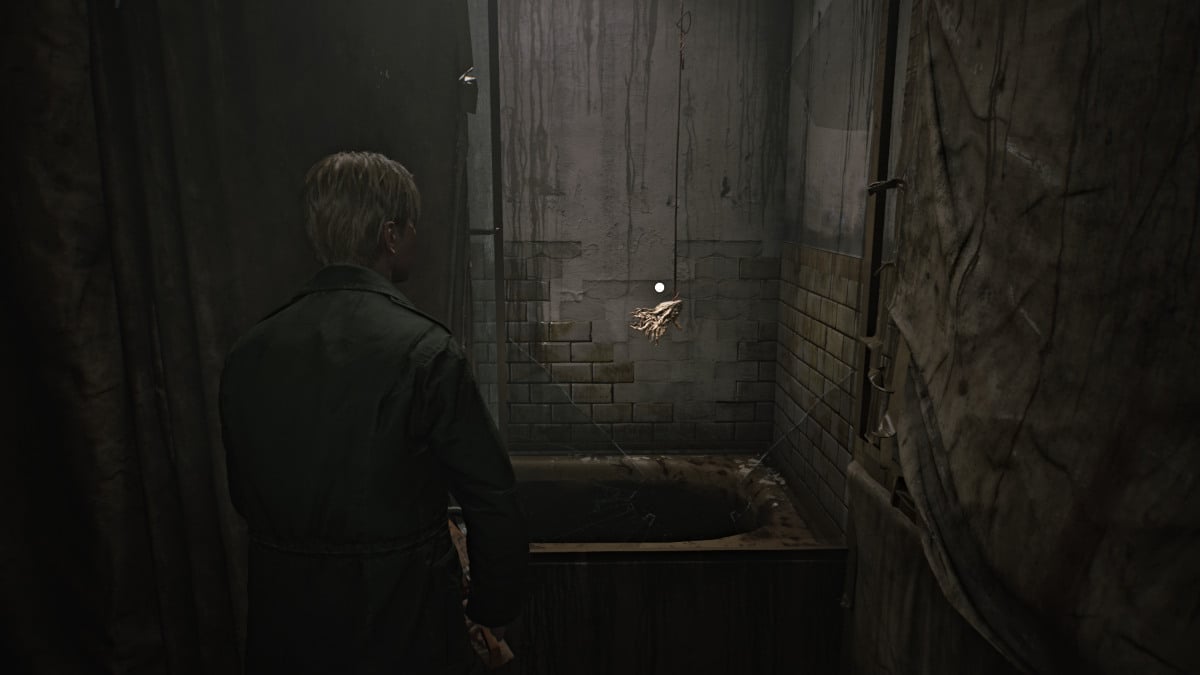
كن حذرًا من شخصية الكذب في طريقك للخروج ، وانتزاع ذخيرة مسدس من طريق مسدود إلى يسارك وتوجه الآن إلى الشقة 211 . يمكنك الدخول عبر الجدار المكسور أو الباب الفعلي ، وسيجلس مشروب صحي بالقرب من الباب.
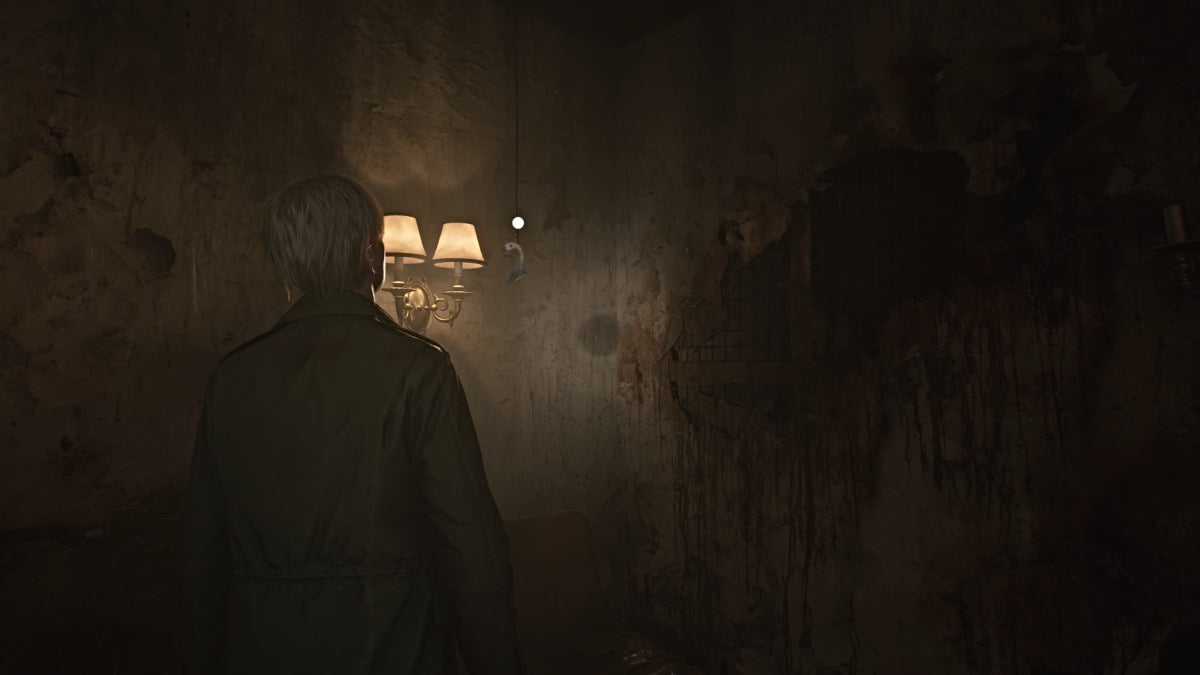
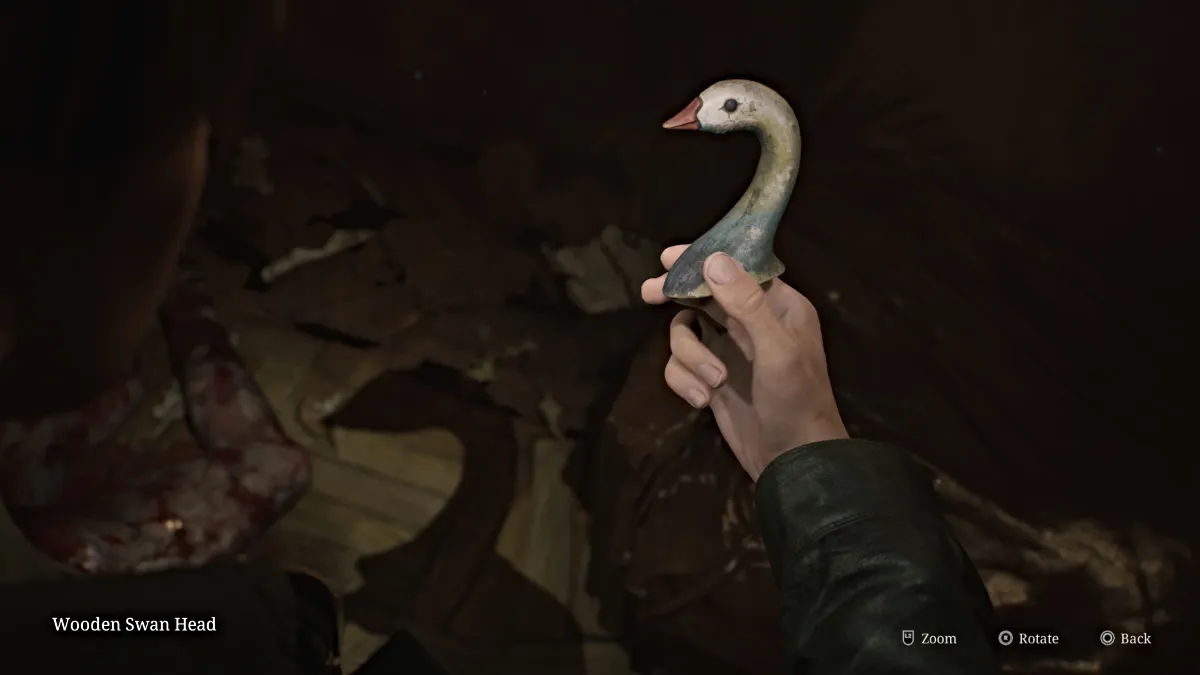
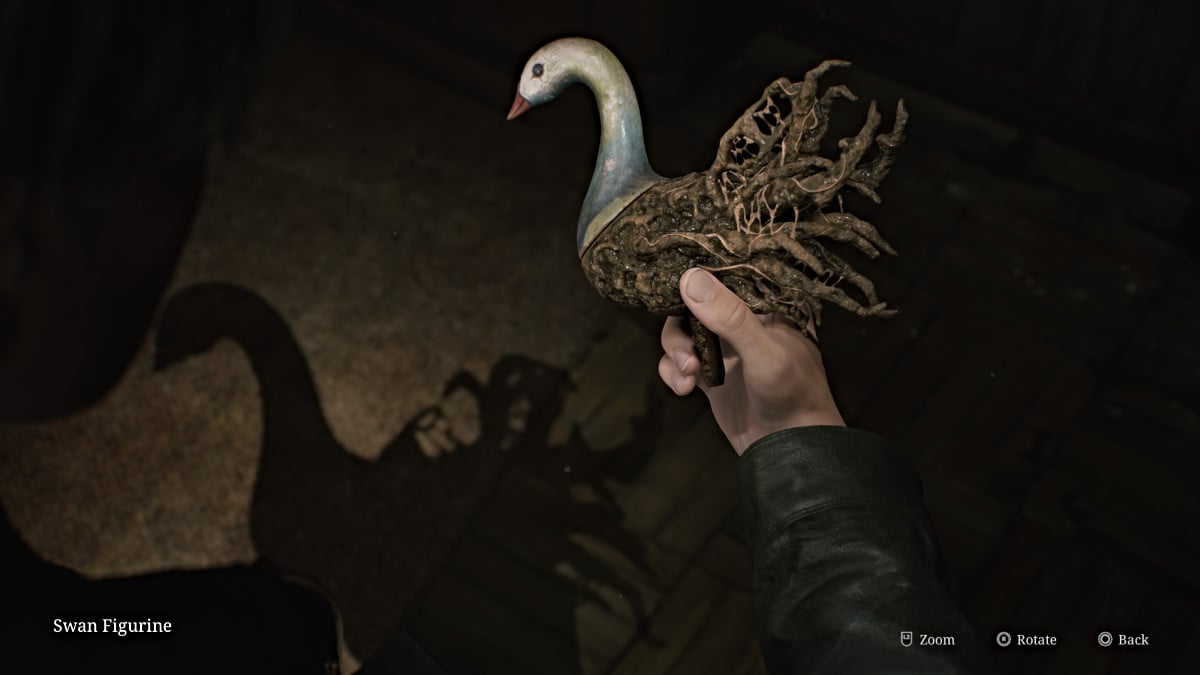
اذهب إلى الداخل والتعامل مع العارضين الذين يحاولان الحصول على الهبوط عليك. في تلك الغرفة نفسها على اليمين ، ستلاحظ ظلًا غريبًا على الجدار الخلفي. انظر حولك وسوف يكون رأس البجعة الخشبية (كما هو موضح أعلاه) معلقًا من سلسلة بالقرب من الضوء. خذها ثم ادمجها في مخزونك مع جزء تمثال مشوه لصنع تمثال Swan. احصل على المزيد من ذخيرة المسدس من المطبخ في طريقك للخروج والعودة إلى الشقة 210.
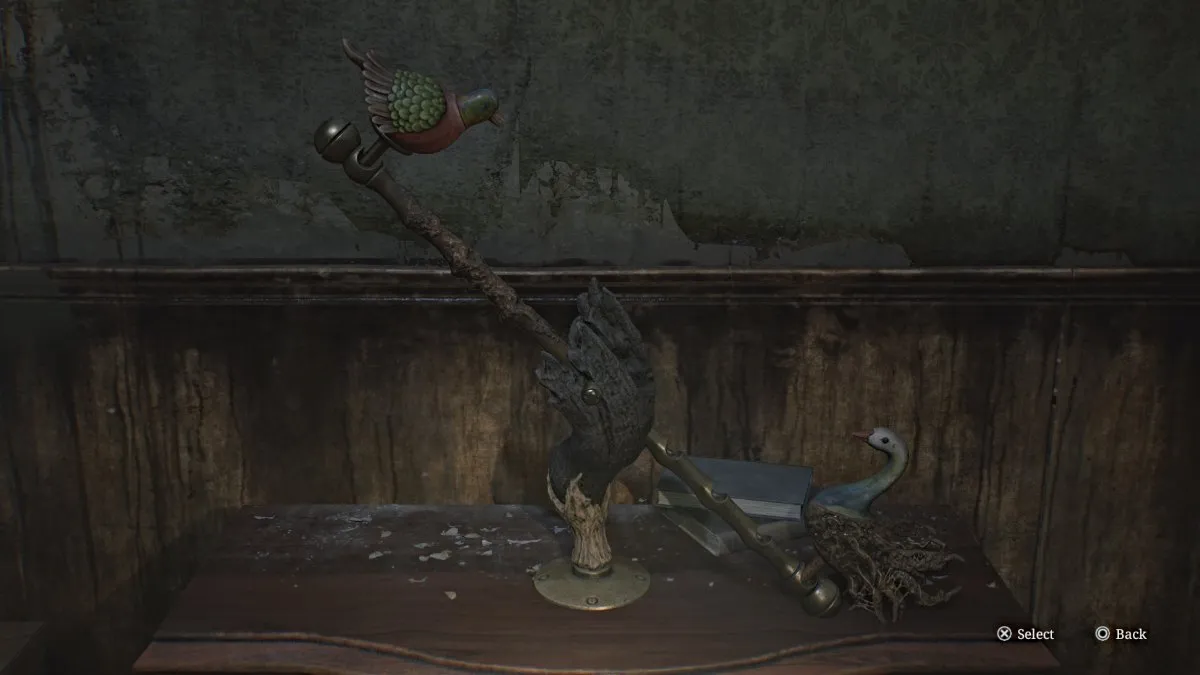
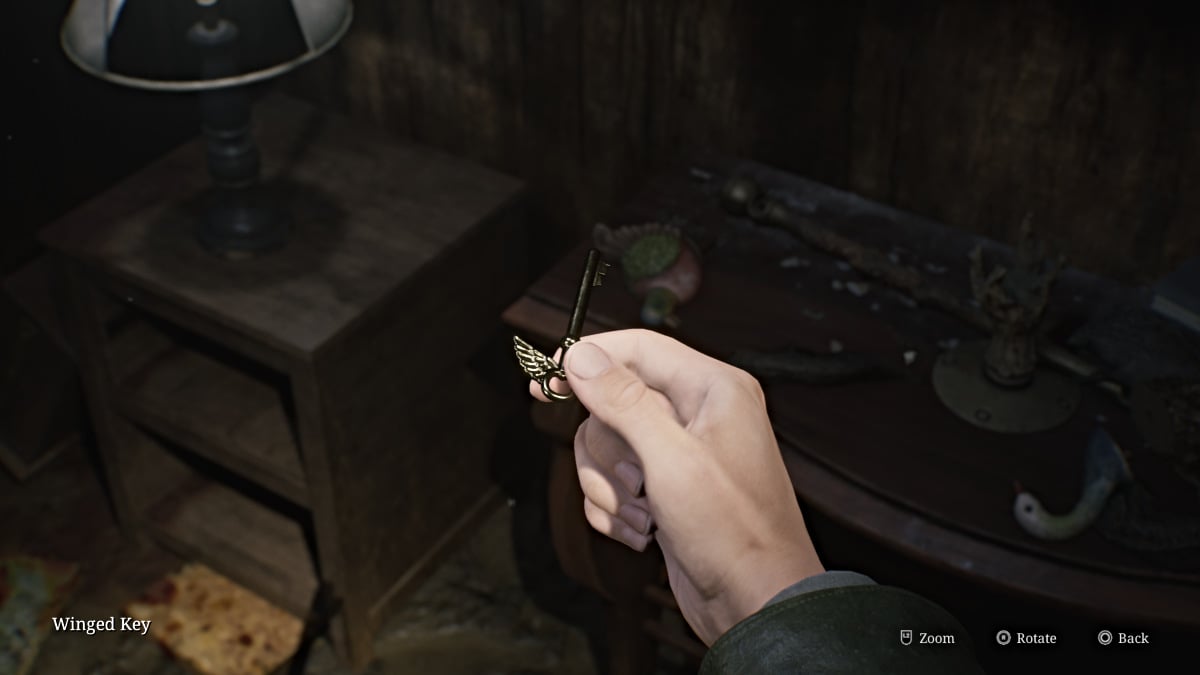
ضع تمثال البجعة على المرحة وتكيف مع الفتحة الثانية من المركز لتحقيق التوازن بين المراحل. ستحطم نقطة ارتكاز الخشب ، وتكشف عن المفتاح المجنح . خذها واستخدمها على الباب المقفل القريب. اذهب إلى الداخل وسترى ثقبًا في الأرض ستحتاج إلى القفز. هذا يقودك إلى الطابق الأول من شقق بلو كريك.
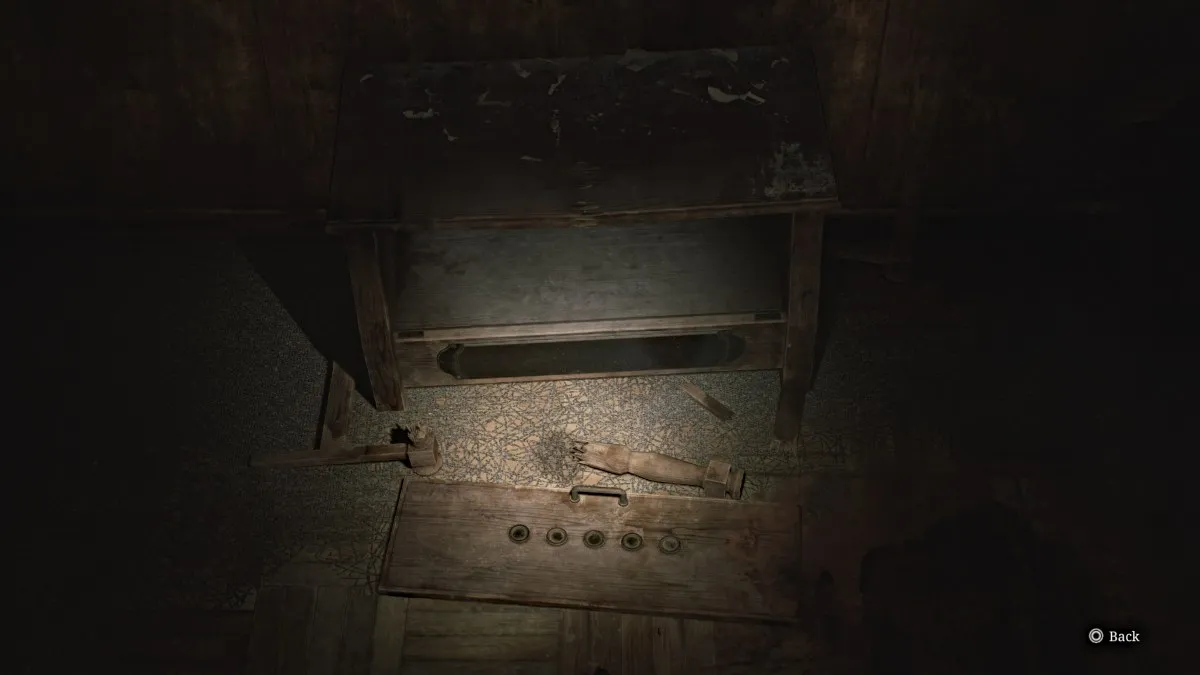
افتح الخريطة وستجد نفسك في شقة 110 في الطابق الأول. شق طريقك وسوف تصادف لمحة أخرى عن الماضي (كما هو موضح أعلاه) ، وهو خزانة ألغاز العملة من اللعبة الأصلية. استمر وخرج من خلال الفجوة في الحائط عندما يتم قفل باب المدخل. توجه شمالًا إلى أعلى الردهة ، وستلاحظ أن البيئة تبدو مختلفة على هذا الجانب ، أقل انهيارًا.
اذهب إلى داخل الشقة المنظف 109 وعبر الباب الأبيض إلى الأمام. سوف يلعب Cutscene مع أنجيلا ، التي تبدو أكثر ضائعة من ذي قبل.
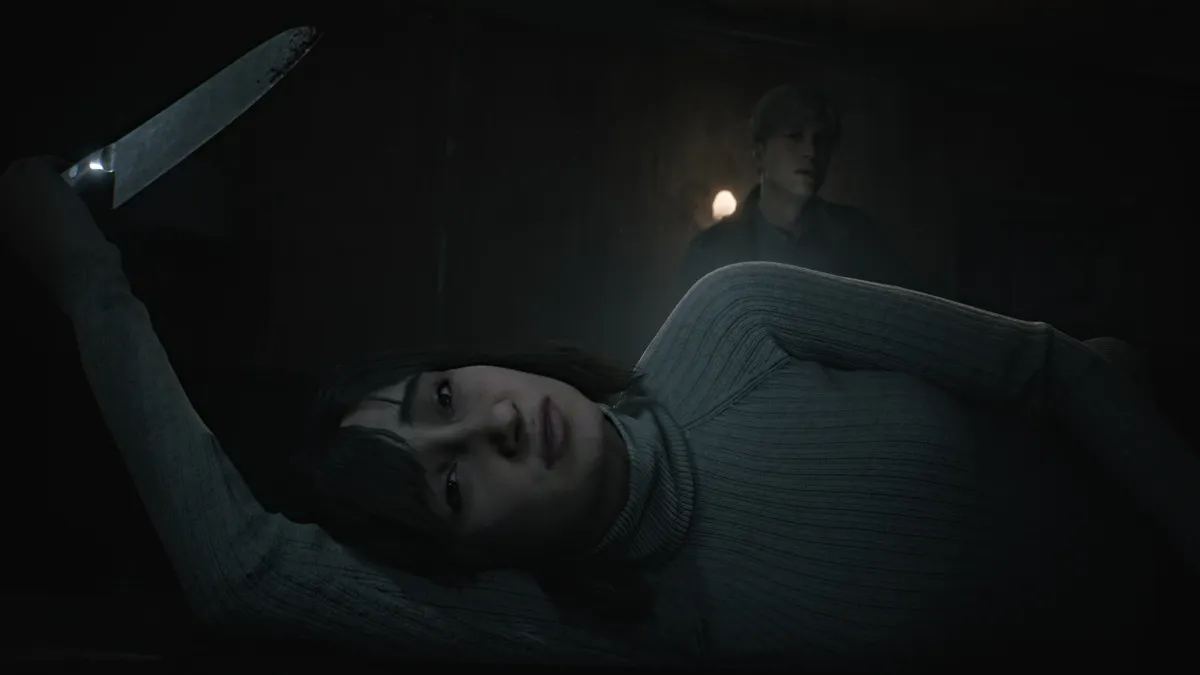
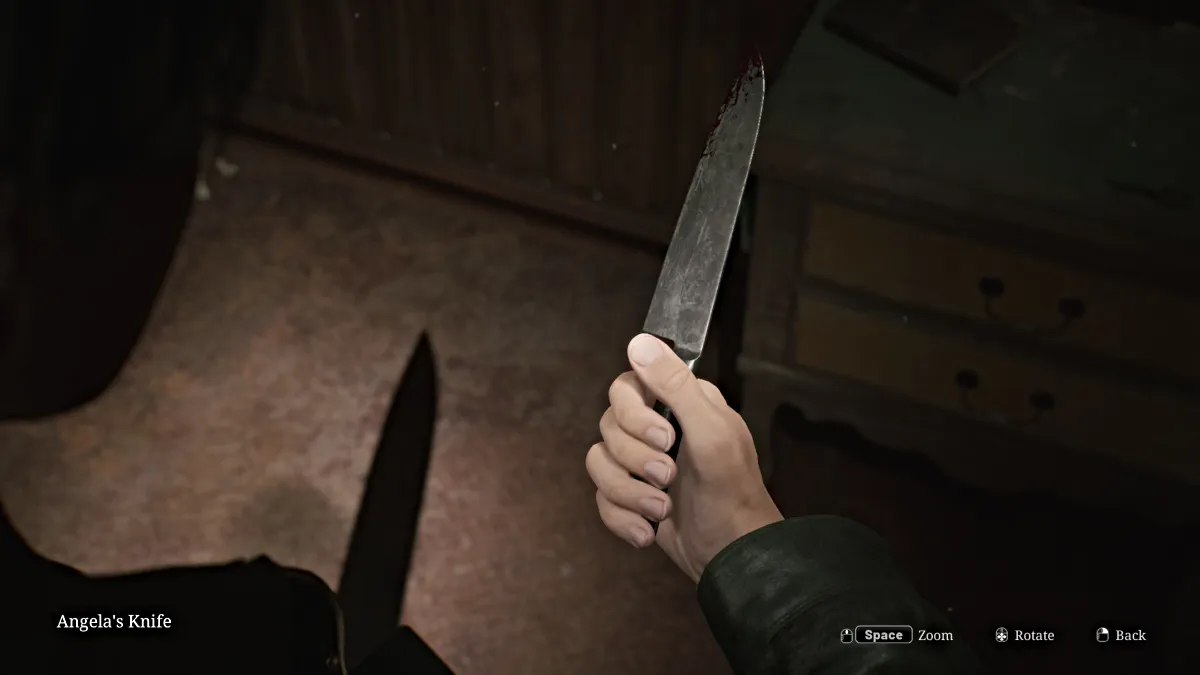
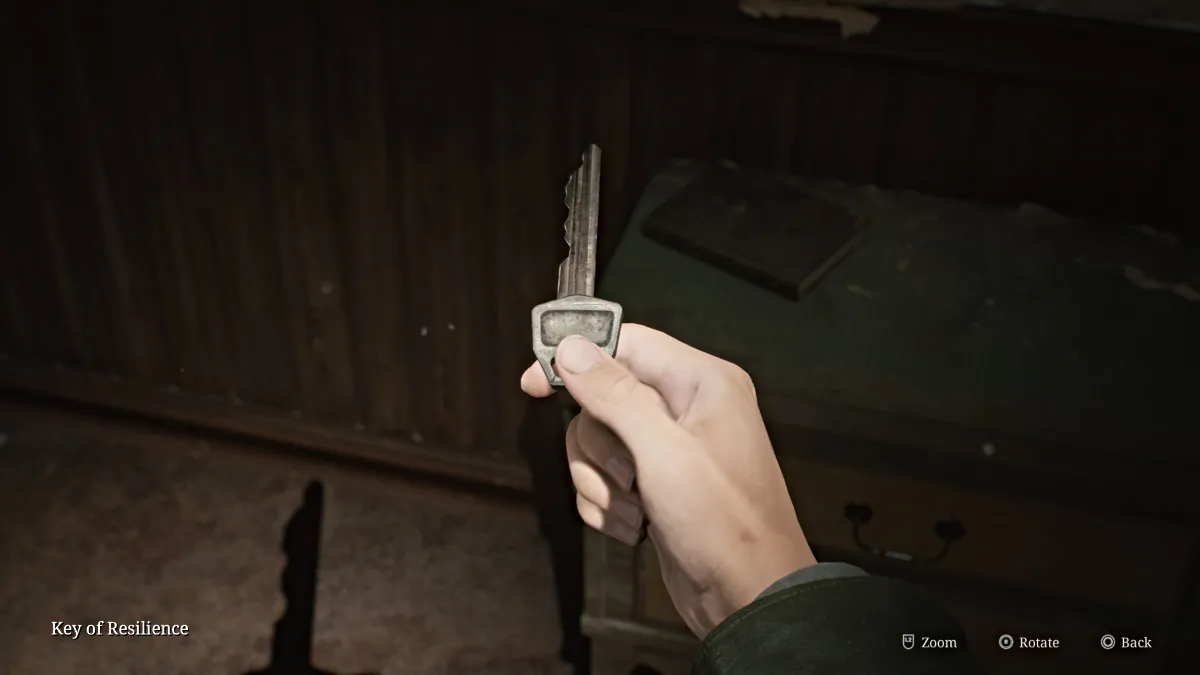
مع انتهاء cutscene وتترك السكين خلفها ، سيأخذ جيمس ذلك لمخزونه (كما هو موضح أعلاه).
خذ مفتاح المرونة الموجود أيضًا على الطاولة ثم اترك الشقة. استخدم مفتاح المرونة على الباب الجنوبي الذي يؤدي إلى منطقة بهو وأبواب مزدوجة محفورة بالحرف " (كما هو موضح أدناه). ومع ذلك ، فهي مغلقة ، لذلك ستحتاج إلى إيجاد طريقة أخرى.
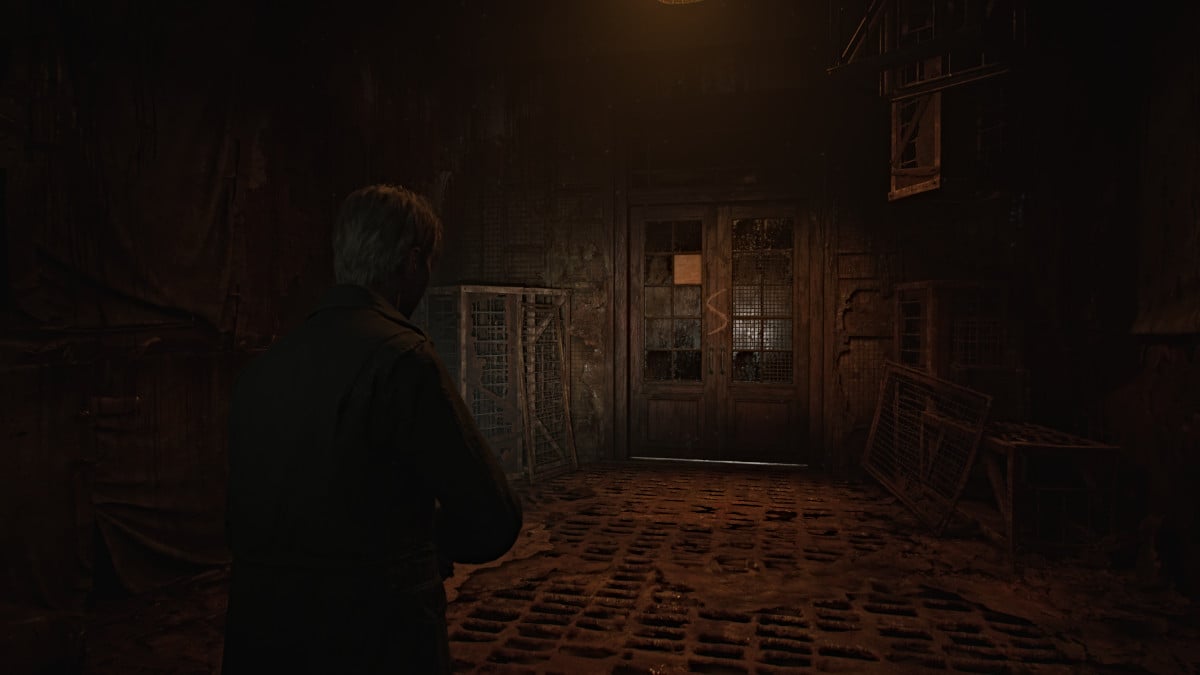
انتقل إلى البهو إلى شقة 101 ، وجمع ذخيرة المسدس والحقنة من هناك ، واستخدمها لتجاوز حاجز في الردهة ، ويؤدي إلى غرفة الدرج . اذهب إلى الداخل ، حيث ستخوضك عارضة أزياء. اقتلها ، بحيث يمكنك الحصول على صورة "معا إلى الأبد" (صورة غريبة) منها.
اصعد على الدرج (لا ، إنه لا ينتظرك هناك) وعلى الباب مرة أخرى إلى الطابق الثاني. عد إلى غرفة الساعة (212) نظرًا لأن لديك يد دقيقة ووضعها على مدار الساعة. حوله إلى "2" وضرب "قبول" لحل الجزء التالي من اللغز. سيؤدي هذا إلى فتح غرفة "M" في الطابق الثاني الذي صادفته منذ فترة.
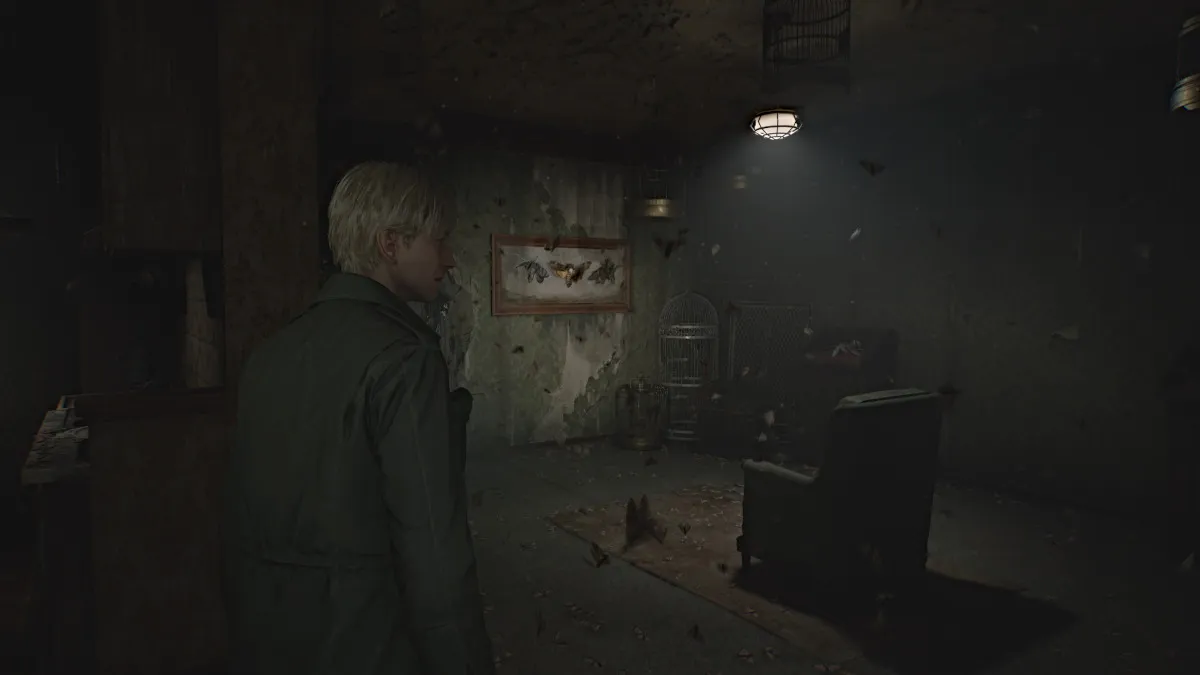
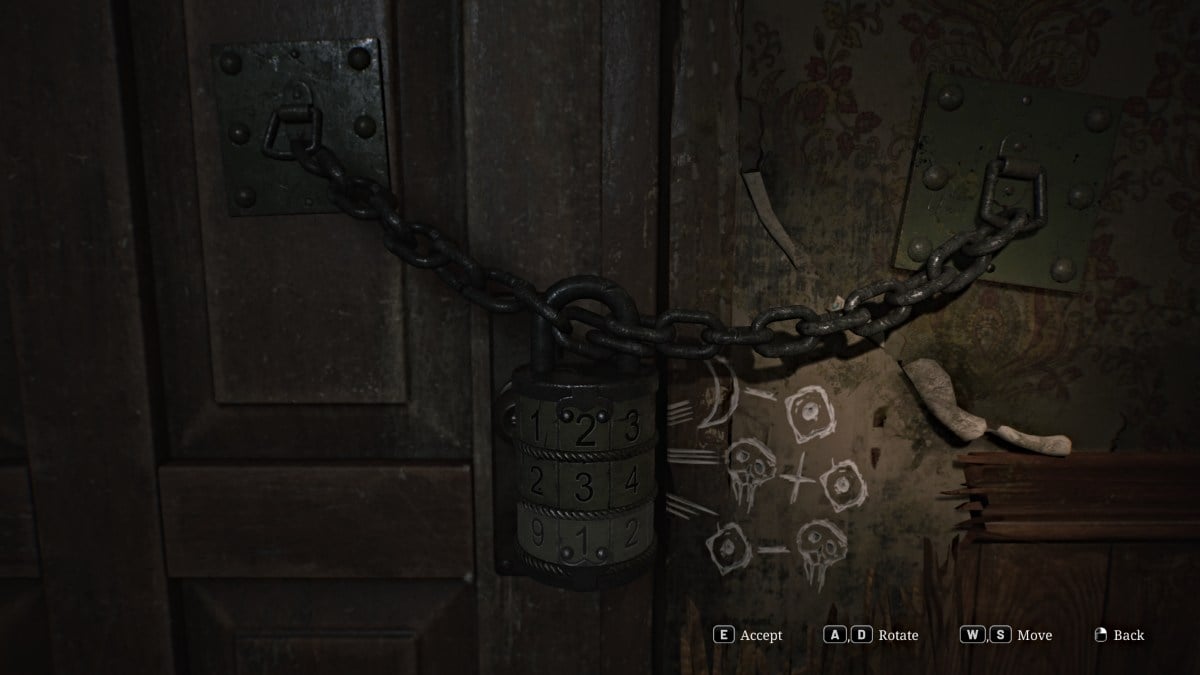
توجه إلى القاعة إلى غرفة M (أو الشقة 202 ) وانتقل إلى الداخل للحصول على لغز آخر. تمتلئ المكان بأكمله بالعث ، وستلاحظ عروضًا مختلفة من التحنيط حول الغرفة الرئيسية. خلف كرسي بذراعين يوجد باب آخر مغلق مع قفل مزيج كبير تحتاج إلى حله لكسره.
في الأساس ، للحصول على المزيج الصحيح ، تحتاج إلى أخذ عدد العث المعروضة في الشقة بأكملها (بما في ذلك تلك المخفية خلف الجدار القابل للكسر) والرموز الموجودة على أجنحتها. أنت تعامل هؤلاء في مشاكل الرياضيات الرمزية بجوار القفل ، وبمجرد حلها سيكون لديك الأرقام.
لتوفير الوقت ، ومع ذلك ، فإن الكود الصحيح للقفل (الصعوبة القياسية) هو 373 . بمجرد الانتهاء من ذلك ، اذهب إلى الداخل حيث سترى ثقبًا آخر جذابًا بشكل لا يصدق في الحائط لجيمس ليمسك يده . اترك الشقة بعد ذلك.
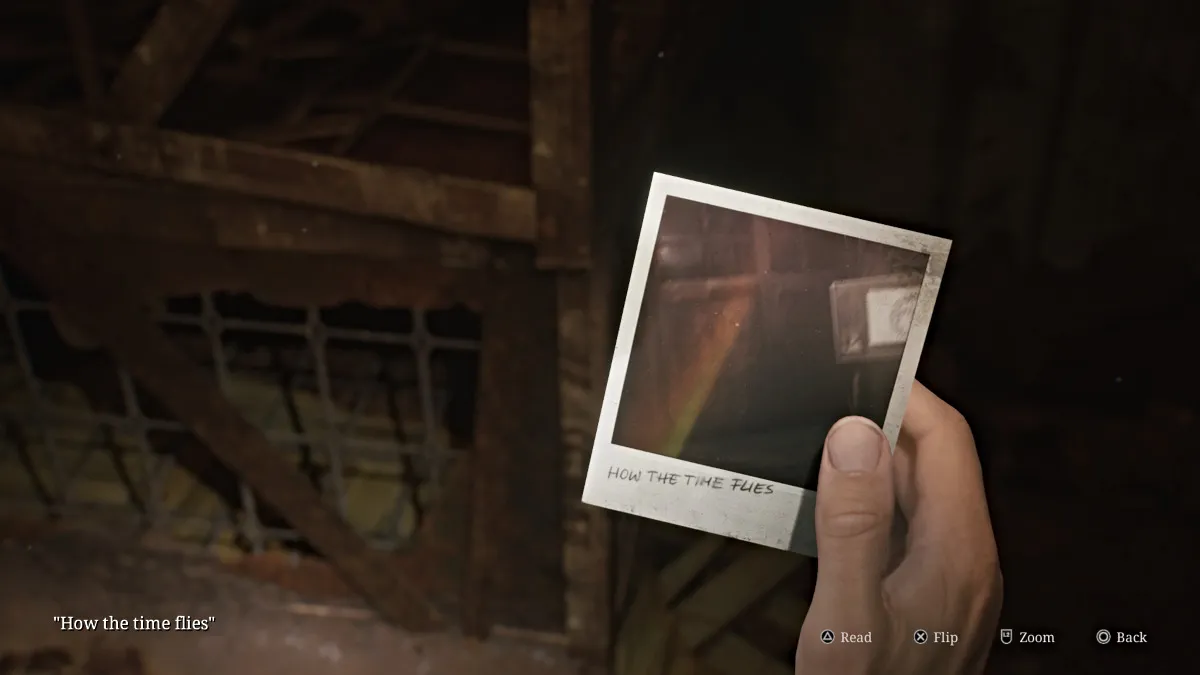
ارجع إلى غرفة الساعة ووضع اليد الثانية داخل الساعة. لإكمال الجزء الثالث والأخير من اللغز ، قم بتحويله إلى "3" وسيؤدي ذلك إلى فتح الغرفة المشؤومة في الطابق الأول. قبل مغادرة غرفة الساعة ، تأكد من الاستيلاء على ذخيرة المسدس من الغرفة المجاورة وصورة "كيف يطير الوقت".
تأكد أيضًا من استكشاف أي مكان آخر تريده في شقق Blue Creek قبل التقدم ، حيث أن غرفة S هي نقطة اللاعودة لهذه المنطقة .
إذا كنت جاهزًا ، خذ الدرج في الطابق الثاني في الجانب الغربي إلى الطابق الأول. على طول الطريق ، يمكنك أن تلاحظ غماشات جديدة في الطوابق والجدران ، مما يشير إلى أن شخصًا ما لديه شفرة ضخمة كان يطارد المنطقة. عد إلى منطقة البهو حيث توجد غرفة S ، خذ نفسًا عميقًا وانتقل إلى الداخل.
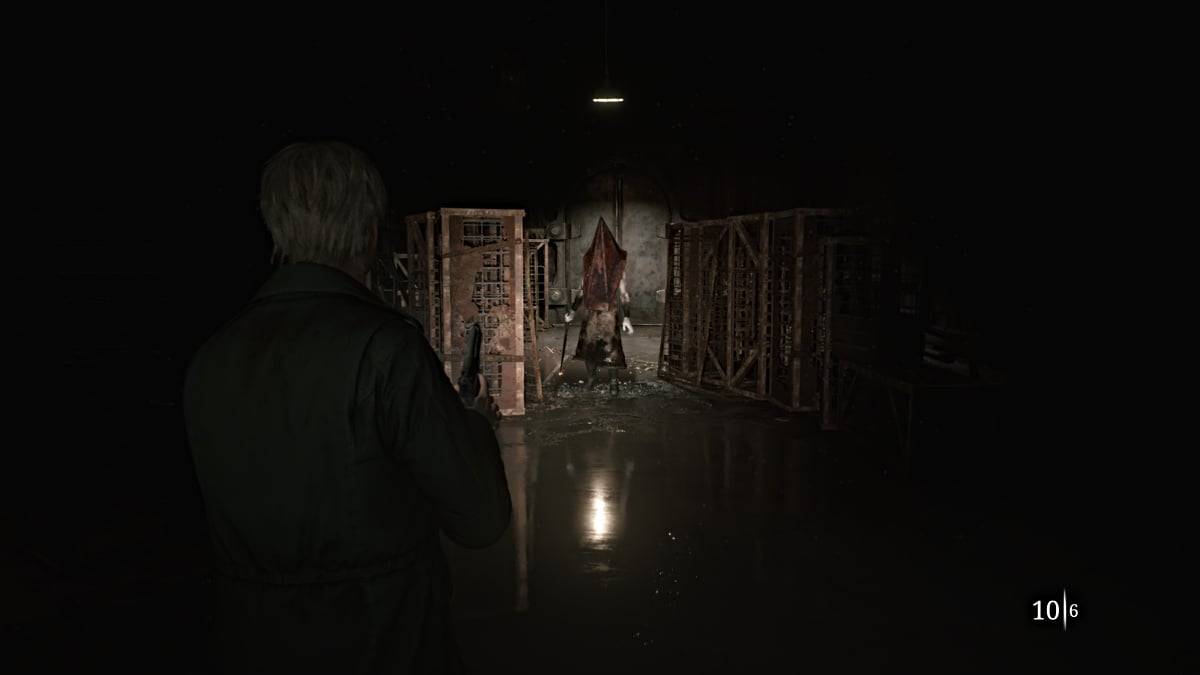
الغرفة S هي موطن لا شيء سوى هرم ، الذي كان يتربص وينتظر وصولك. بمجرد أن يلجأ إلى مواجهتك ، تبدأ المعركة.
بدلاً من ذلك ، إنها معركتك للبقاء على قيد الحياة لفترة كافية لأنك ستدرك بسرعة ، فإن Hear Head لا يتطلب سوى القليل من الأضرار على الإطلاق . السلاح الوحيد الذي تريد استخدامه هنا هو مسدسك لأن الحفاظ على المسافة منه هو الأولوية القصوى. إذا حاولت هجوم المشاجرة ، فإن تأرجح واحد من سكينه العظيم إما سوف يضر بشدة أو يقتلك الصريح.
لحسن الحظ ، تتناثر الغرفة بصناديق من ذخيرة المسدس ، لذلك استفد من تلك أثناء صنع الدوائر بشكل مستمر في جميع أنحاء الغرفة. استمر في إطلاق الرصاص فيه (تجنب خوذته) وفي وقت ما سيصبح أكثر عدوانية بينما تبدأ الغرفة في الفيضان.
استمر في نفس الاستراتيجية حتى أخيرًا ، تبدأ صفارات الإنذار في الصراخ وتوقف رأس هرم هجومه على الفور. سيظهر له cutscene مغادرته ، وينهي القتال تماما. بمجرد أن تتحكم ، تحقق من الغرفة لأي ذخيرة مسدس قد تكون قد فاتتك ثم تخرج نفس الأبواب ، والتي ستأخذك مباشرة إلى الخارج ، والعودة إلى شوارع المدينة ، وذهب العالم الآخر الآن.
اضغط على Red Save Point مباشرةً بعد المعركة لإنقاذ تقدمك ، ثم تحقق من السيارة المجاورة لها لتناول مشروب صحي . تحقق من خريطتك وستجد نفسك الآن في منطقة Silent Hill الغربية الجنوبية . سترى أن Rosewater Park Up شمالًا محاط بالدورة ، مما يعني أن هذا هو هدفك الرئيسي التالي.
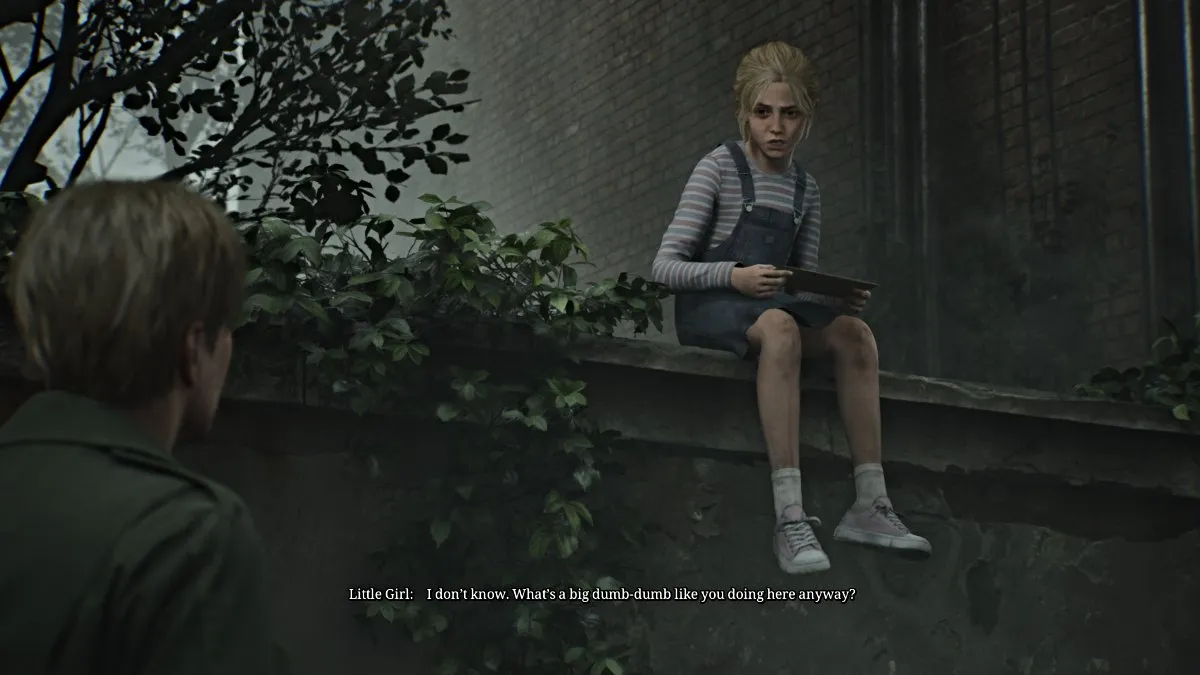
اقلب الزاوية وتحقق من السيارة الخضراء على يمينك لذخيرة المسدس في مقعد السائق. استمر في الاستمرار وستلعب Cutscene آخر حيث يركض جيمس إلى الفتاة الصغيرة من قبل (تدعى لورا لكنها لا تكشف عنها حتى وقت لاحق). يبدو أنها تحمل خطابًا لكنها ترفض إخبار جيمس بما هو عليه ، قائلاً إنه "لم يحب ماري على أي حال" ويقلع مرة أخرى. ينتهي cutscene مع جيمس يحير أن شخص آخر هنا من أجل ماري أيضا.
استمر في النفق الذي يأخذك مباشرة إلى حديقة Rosewater. خذ اليسار الأول نحو منطقة مقاعد البدلاء ، حيث يمكنك العثور على محقنة بجوار سترة. ثم ، خذ الجسر الصغير الذي يختلف بعد ذلك. خذ الطريق الصحيح واتبعه ، حيث سيكون هناك بعض ذخيرة المسدس لإنقاذ على هذا الجانب.
استمر في الاستمرار وتحت علامة "Rosewater Park" ، والتي تقودك إلى منطقة الرصيف بواسطة Toluca Lake.
خذ الطريق المركزي الطويل إلى مراقبة ، حيث سترى شخصية أنثى في الضباب.
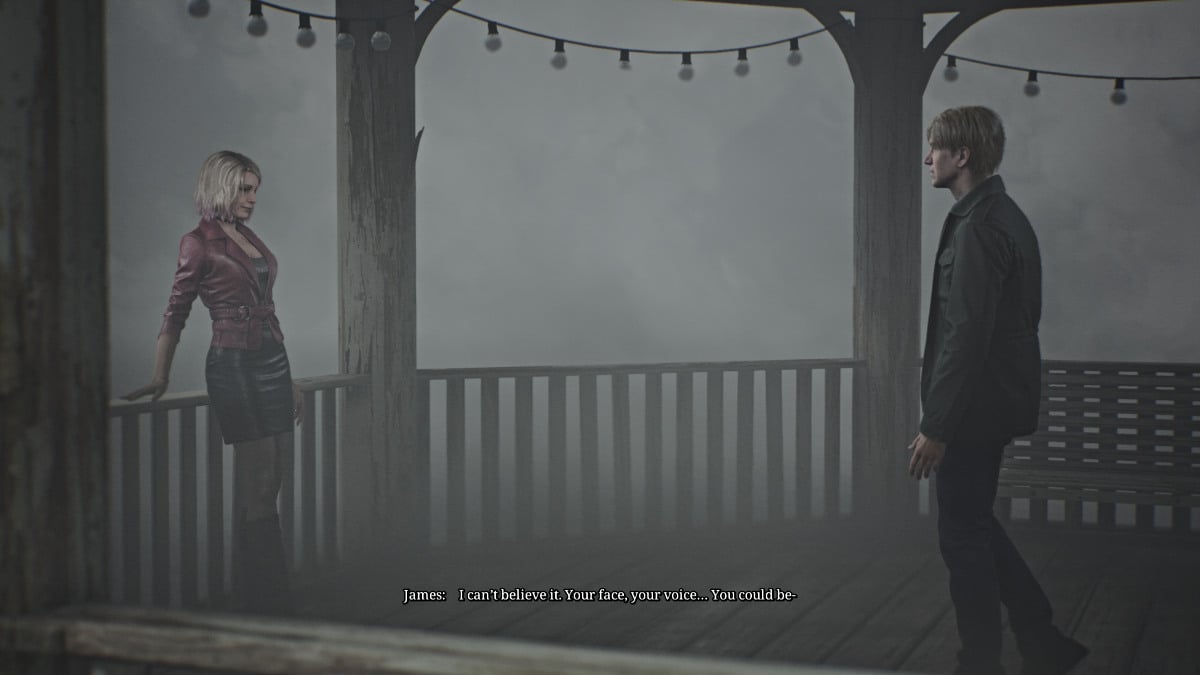
يكشف cutscene عن أنها امرأة تشبه ماري بشكل مخيف ، ولكن مع وجود المزيد من النظرة بشكل ملحوظ. هي تكشف نفسها باسم ماريا .
بينما ينمو جيمس بخيبة أمل وارتباك بشكل واضح ، تقدم ماريا أن تأخذه إلى "مكان خاص" آخر قد تكون ماري في. على الرغم من تفضيله للذهاب بمفرده ، تصر ماريا على المجيء معه مع "جميع الوحوش حولها". يوافق على مضض ، والآن تشمل رحلتك ماريا كرفيقك.
قمرة بالدورة لأسفل وحول الجانب الأيسر من الحديقة ، حيث ستجد صورة غريبة "بعيدًا عن المنزل" في منطقة جلوس ، وذخيرة أكثر قليلاً على طاولة الشطرنج ومشروب صحي في منطقة مرحاض عامة . اترك حديقة Rosewater من خارج الغرب وعلى شارع ناثان.
تطلب ماريا جيمس أن تخترق جاكز إن للوصول إلى وجهتها ، لذا توجه إلى هناك عبر الشارع. توجه إلى مكتب الموتيل أولاً ، والذي يمكن الوصول إليه من الباب على الجانب الخلفي. هناك أمان صغير تحت العداد يتطلب فتح رمز. احصل على ملاحظة مكتب الاستقبال من لوحة الإعلانات ، والتي تلمح إلى الغرفة 107 . ستجدها في المبنى المرتفع باتجاه الجزء الخلفي من الفندق ، ولكن ستحتاج إلى كسر النافذة في الغرفة 108 للوصول إلى هناك.
بمجرد دخوله ، قم بتكسير الجدار المتصل بـ Room 107 ، وفي غرفة النوم ستجد مذكرة Toolbox ، والتي تمنحك اللغز التالي:
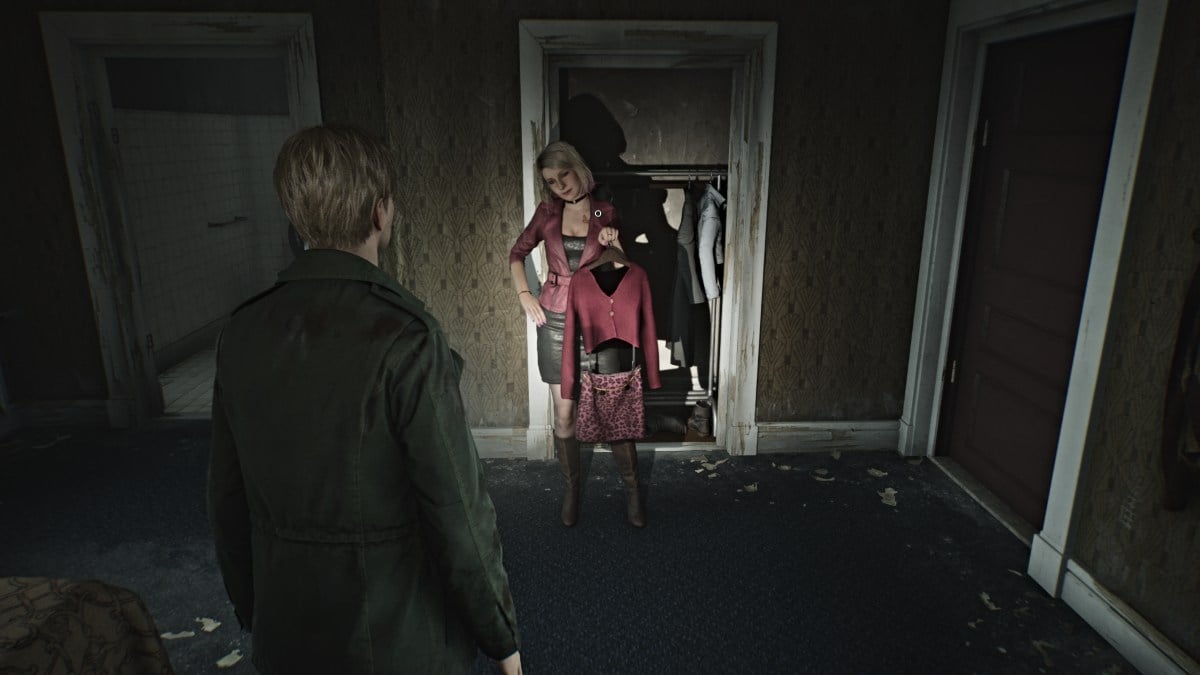
من خلال القيام بالرياضيات المناسبة ، ستحصل على الكود 0451 . بينما كنت على استعداد لمغادرة الغرفة ، ستضربك ماريا مع الزي الذي وجدته في الخزانة ، وسألني عما إذا كان سيبدو جيدًا عليها.
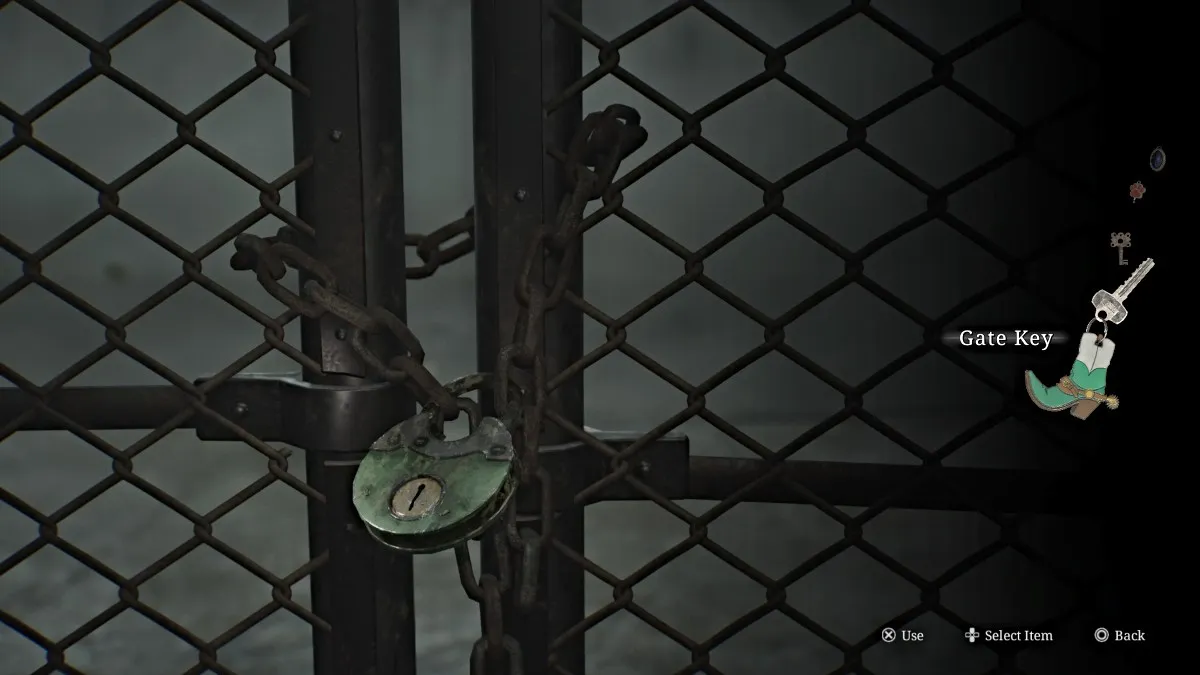
عد إلى مكتب الموتيل ، واستخدم الكود ، وداخل الخزنة ستجد مفتاح البوابة . لا تحصل على الكثير من الوقت للنظر إليه ، حيث أن عارضة أزياء تُعزى فجأة. لقطة واحدة سوف تنزلها.
بعد استخدام نقطة التوفير الحمراء جالسة على جذع السيارة ، حان الوقت لاستكشاف أماكن أخرى في المنطقة قبل مواصلة القصة ، حيث لن تتمكن من العودة لفترة من الوقت وستكون ليلا (والمزيد خطير) عندما تفعل .
من حيث دخلت Jack's Inn ، تركت رأس Nathan Avenue حتى تصل إلى وقود Octanis . عند وصوله ، ستقول ماريا أنك تسير في الاتجاه الخاطئ وتدرك أن تجاهل نصيحتها والسماح لها بالهجوم من قبل الوحوش في جميع أنحاء اللعبة سيؤثر على نهايتك.
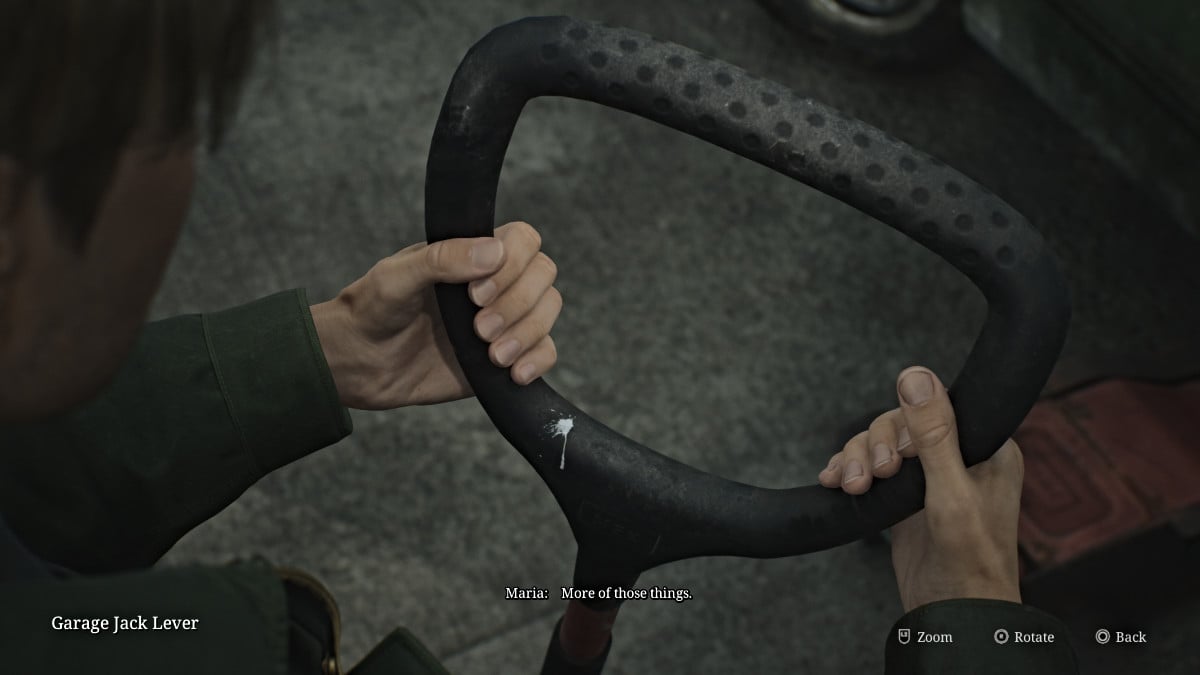
اذهب إلى الجزء الخلفي من وقود أوكتانيس حيث ستجد سيارة يتم رفعها بواسطة مقبس المرآب . المشي وأخذ رافعة جاك المرآب منه ، لكن الضوضاء ستستيقظ عدة وحوش في هذه العملية. اعتني بالشخصيات والبق الكذب التي تأتي.
أيضًا أثناء وجودك هناك ، توجه عبر شارع Carroll إلى Pete's Bowl-O-Rama واذهب للاستكشاف في الداخل. بينما في اللعبة الأصلية ، كنت تتعثر عبر إدي ولورا هنا ، هذا ليس هو الحال في النسخة الجديدة. المكان فارغ تمامًا ولكن يمكنك العثور على نقطة حفظ حمراء ، وبعض ذخيرة المسدس الاحتياطية والمشروبات الصحية ملقاة ، إلى جانب بيتزا تقريبًا بالقرب من ممرات البولينج.
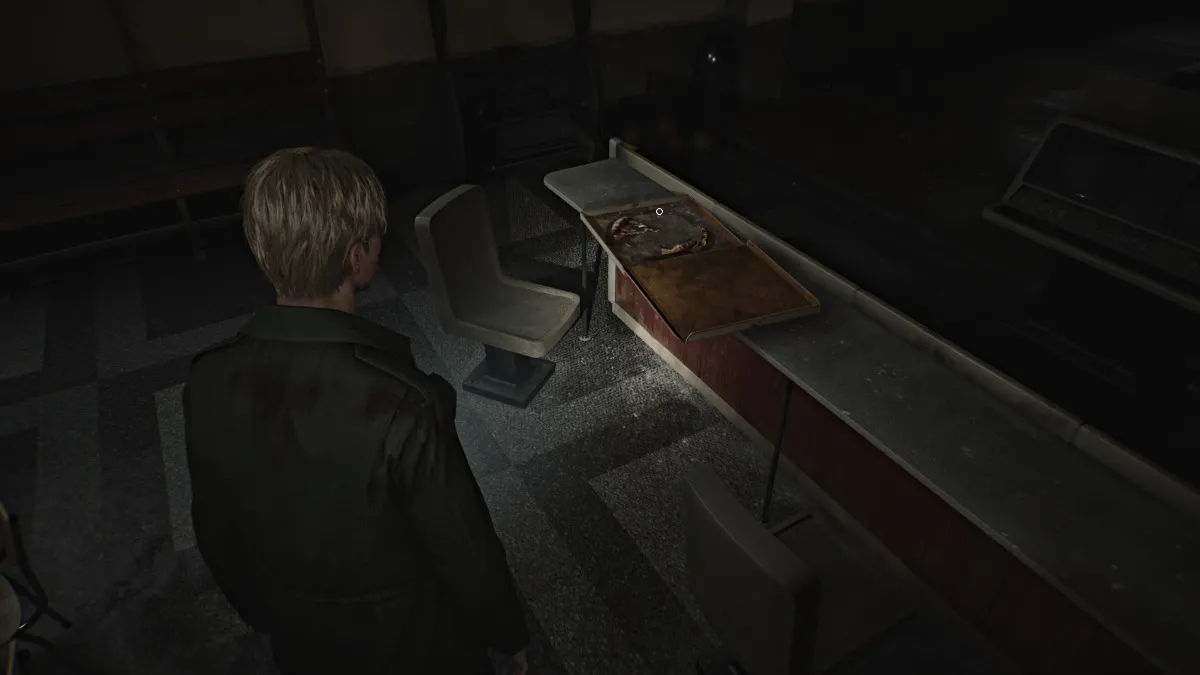
تفاعل معها للحصول على لمحة أخرى عن الماضي ، وسيلاحظ جيمس "هذا المكان مليء بالوحوش ، كيف يمكن لشخص ما الجلوس هنا ويأكل البيتزا؟". إنها إشارة ممتعة إلى واحدة من أكثر المشاهد شهرة من اللعبة الأصلية ، وربما لا يزال إدي هنا.
اترك Pete عندما تكون جاهزًا وتتجه طوال الطريق إلى شارع ناثان باتجاه حديقة Rosewater. كن على دراية بالوحوش المنتشرة الآن على طول الشارع. بمجرد عودتك ، اذهب على وجه التحديد إلى موقف السيارات خارج حديقة Rosewater . واحدة من السيارات المتوقفة بداخلها سيكون لها بعض ذخيرة المسدس ، لذلك تحطيم والاستيلاء.
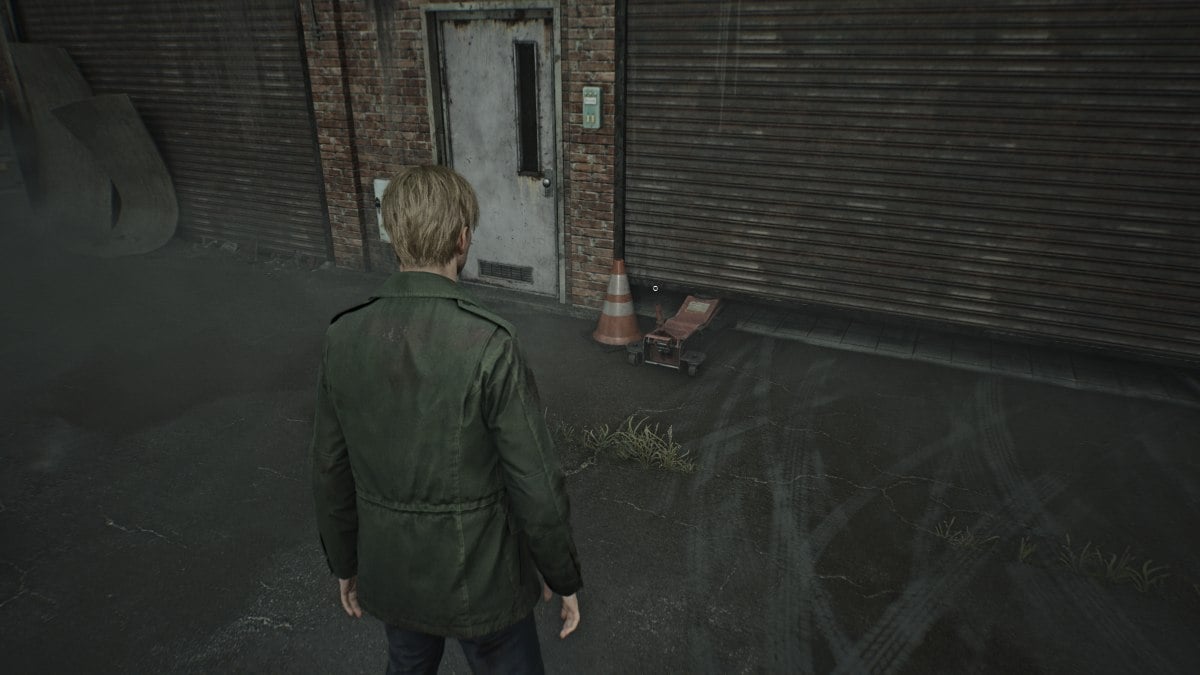
ركض إلى الجزء الخلفي من المرآب في موقف السيارات ، حيث سترى بوابة يتم فتحها بواسطة مقبس المرآب ، وإن كان في عداد المفقودين. استخدم الشخص الذي قمت بإنقاذه وستتمكن من فتح البوابة بالكامل. ستجد في الداخل مجموعة من العناصر المفيدة ، بما في ذلك:
مع ذلك ، سيكون لديك الكثير من كل ما ستحتاج إلى استكشافه في المنطقة في الوقت الحالي. لذا ، عد عبر موقف السيارات في Jack's Inn ، واستخدم نقطة حفظ Red هناك مرة أخرى ، واستخدم مفتاح البوابة الذي حصلت عليه مسبقًا لإلغاء تأمين بوابة West Side والوصول إلى بقية West South Vale.
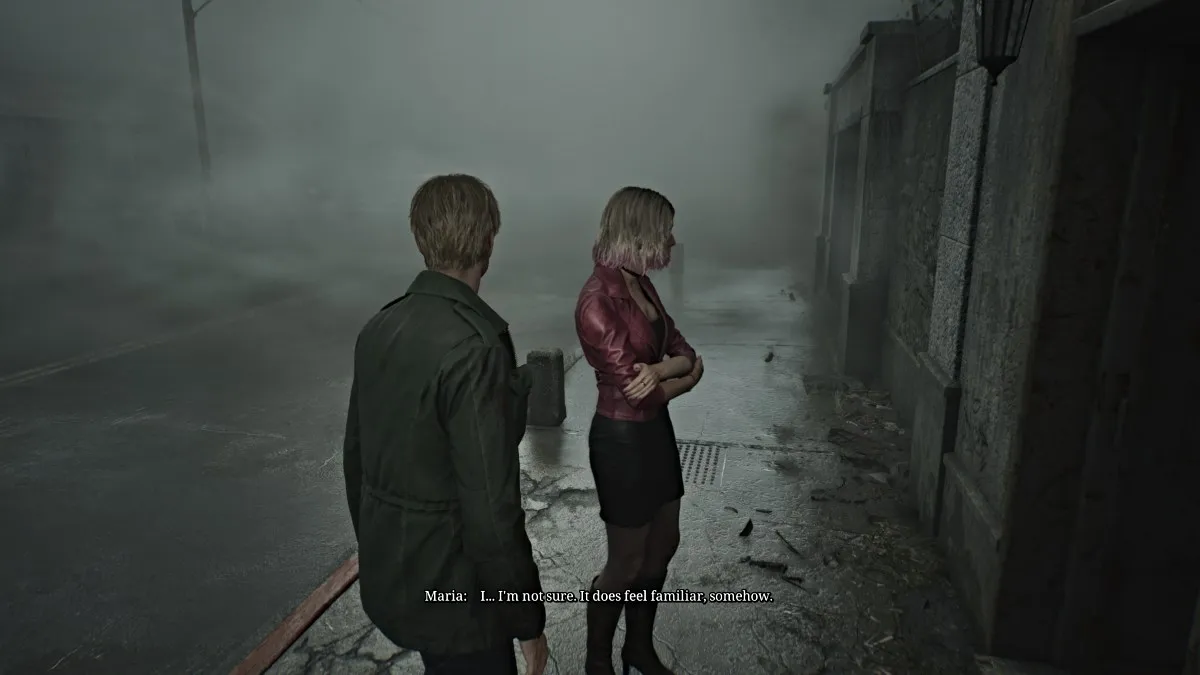
إذا انتقلت إلى اليسار أولاً ، فسوف تصادف قصر بالدوين ، وهو موقع بارز من قصة جانب اللعبة الأصلية المولودة من أمنية . لسوء الحظ ، فإن أبوابها مغلقة وسترفض ماريا حتى الذهاب إلى الفناء ، قائلة إنها بينما كانت تشعر وكأنها كانت هناك من قبل ، يبدو أنها "ذاكرة سيئة".
مع ذلك ، اتجه جنوبًا في شارع مونسون ، ثم شنق اليمين في شارع كاتز لأن حاجز آخر طويل القامة في طريقك. في نهاية المطاف ، سوف يكشف cutscene أن الطريق ينتهي بفجوة ضخمة أخرى في الأرض ، وتصر ماريا على إيجاد طريقة أخرى. يستشعر جيمس شيئًا ويجد اختصارًا زقاقًا قريبًا تمامًا كما تبدأ الوحوش في السرب وينتقل الضباب مرة أخرى ، على غرار من قبل.
بعد الوصول إلى بوابة الزقاق ، يمتد جيمس مع لوحه الخشبي لإبقاء الوحوش خارجًا ، ويبدو أن سلاحه المشاجرة الوحيد ضائع. ومع ذلك ، فإنه يتحول ويجد أنبوبًا فولاذيًا يخرج من سيارة التدخين للاستفادة من ذلك بدلاً من ذلك ، مما يمنحك ترقية في هذه العملية.
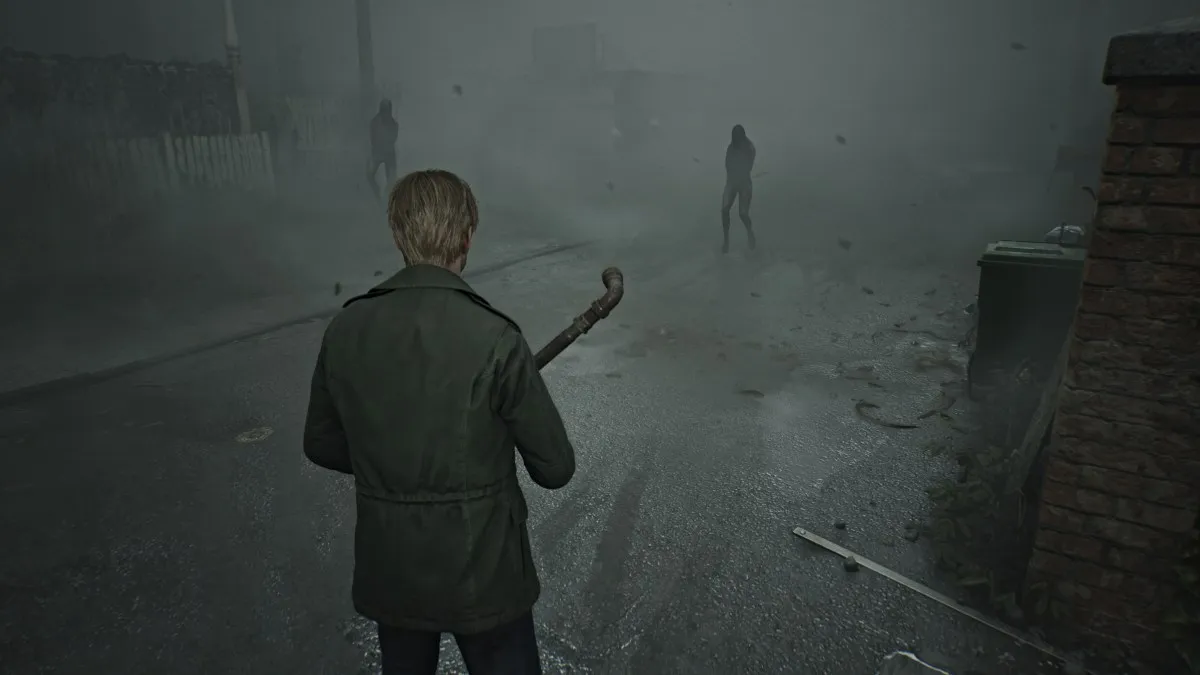
استخدم سلاح المشاجرة الجديد الخاص بك لصد الوحوش أمامك وجعل طريقًا عبر الأزقة والفناء الخلفي نحو ليلة السماء . التقط كل ذخيرة المسدس التي يمكنك على طول الطريق.
في النهاية ، سوف توجهك ماريا إلى فجوة في سياج للهروب. خذها ، وبعد قطع قصيرة ، ستجد نفسك خلف ليلة السماء . توجه إلى الباب الخلفي للمبنى ، وعلى الرغم من أن ماريا مقفلة ستفتحها لك. استكشف مساحات المطبخ وغرفة الملابس للعناصر ، بما في ذلك "جاهزة لقتله!" صورة غريبة .
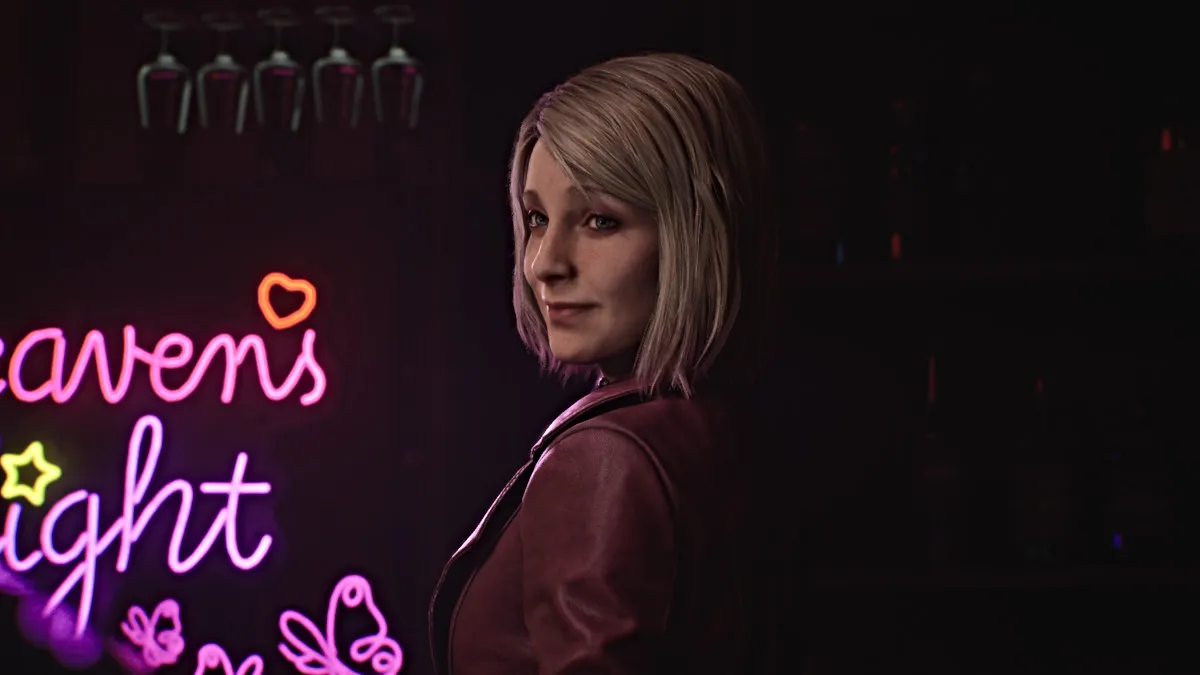
بعد ذلك ، انتقل إلى الباب المفتوح وحول منطقة الكواليس (المزيد من العناصر هنا) حتى تصل إلى منطقة تناول الطعام الأمامية والبار. سوف يلعب Cutscene المطول مع ماريا تحاول إغراء جيمس للاسترخاء وقضاء بعض الوقت هناك ، لسبب أو لآخر. إنها تصر على أن هذا لم يكن "المكان الخاص" الذي كانت تشير إليه ، وأنه كان مجرد اختصار.
في نهاية المطاف ، قرر أنه من الأفضل الاستمرار في التحرك وتوجهه ماريا إلى الخروج من الباب الأمامي وإلى "المكان الخاص" الفعلي الذي تعنيه.
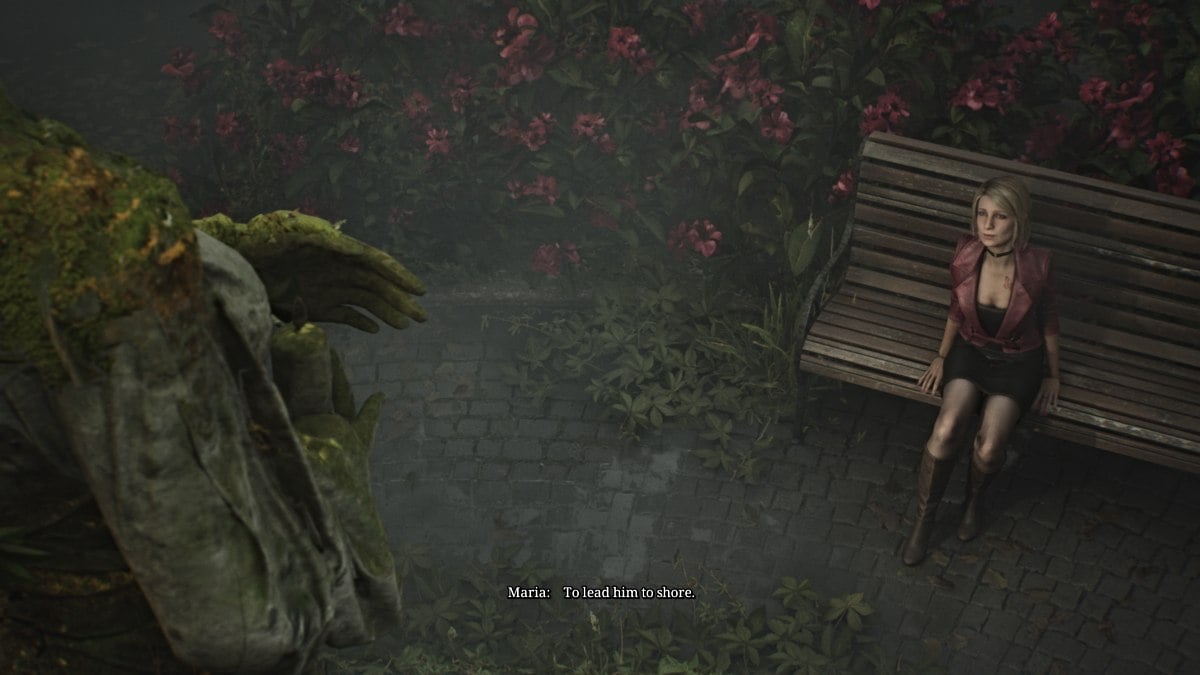
تقوم ماريا بتوجيه جيمس إلى مكان لم يكن في سايلنت هيل (وجديدًا في النسخة الجديدة) يسمى Moonlight Park . يصلون إلى فناء صغير حيث يقف تمثال لامرأة ، وخلال الطول ، تخبر ماريا جيمس عن القصة المأساوية المأساوية وراءها.
وفي الوقت نفسه ، تؤثر القصة بوضوح على جيمس ، الذي يبدأ في فقدان الأمل في أن يجد ماري بالنظر إلى الظروف. ماريا تحكمه ويصر على أنهم سيستمرون في البحث ، وفجأة تنبههم الصراخ القريب.
اتبع ماريا باتجاه الجانب الخلفي من مسرح Reverie المجاور ، حيث سيكون هناك مساحة زحف عالية لجيمس لتناسبها والتحقيق فيها. ماريا تصر على البقاء وراءها منذ أن تكره الأفلام (الجيز ، ولكن ليس البولينج؟).
بمجرد دخوله ، ستسمع قريبًا أصوات لا شيء سوى إدي ولورا ، اللذين يشاهدون فيلمًا معًا على ما يبدو ويثير إدي لورا لصرخه (الشخص الذي سمعته سابقًا).
انظر حولك وتفاعل مع الخزانة القريبة لنقلها بعيدًا عن الباب ، مما يسبب حدوث روكوس. تخيف لورا وتهرب بينما يبقى إدي. اذهب من خلال الباب وقاب قوسين أو أدنى إلى يسارك للذهاب إلى المسرح ، حيث ستلعب Cutscene آخر مع Eddie.
بعد انتهائها ، انتقل عبر الأبواب على الجانب الأيسر الأقصى إلى غرفة المسرح التالية ، حيث ستقوم لورا بمزحة جيمس عن طريق تشغيل جهاز العرض. توجه عبر الأبواب الخلفية إلى الردهة ثم أعلى درج قريب. شق طريقك خلال غرفة الإسقاط والعودة عبر الغرفة المليئة ببكارات الأفلام. سوف تضغط من خلال فجوة بين اثنين من الرفوف وجيمس على اكتشاف لورا في غرفة الإسقاط التالية التي تنفد مرة أخرى.
انتقل إلى غرفة الإسقاط الثانية وخرج من الأبواب الخلفية ، واستمر في مطاردةها على طول الأبواب الأمامية للمسرح. حفرة توقف كلا حمامات الردهة لمزيد من ذخيرة المسدس قبل أن تذهب.
الجري في الخارج وسوف تقول ماريا أنه لا يزال بإمكانها القبض عليها. اذهب إلى اليسار في الشارع وقاب قوسين أو أدنى ، وسيكشف Cutscene آخر لورا التي تمارس مستشفى بروكهافن ، وهو الموقع الرئيسي التالي في اللعبة.
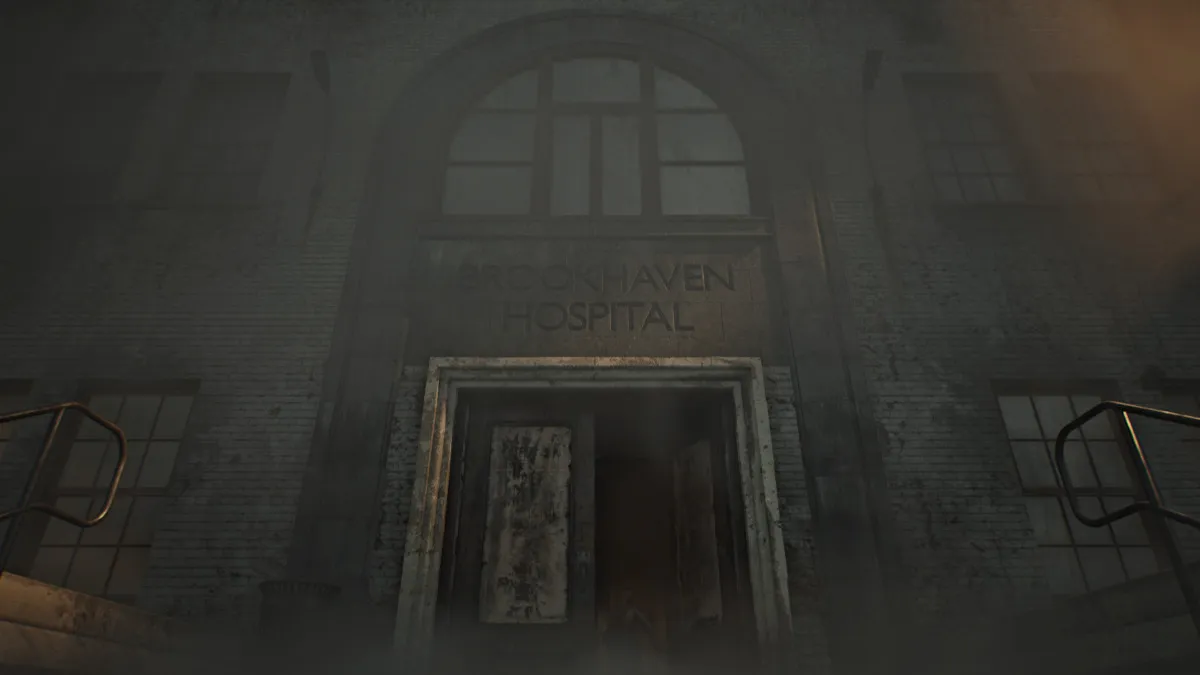
أدخل مستشفى بروكهافن واتجه مباشرة إلى مكتب الدخول . ستلاحظ خزانة بندقية مفتوحة حيث اعتادت بندقية أن تكون على الأرجح في المستشفى في مكان ما. احصل على أول دفعة من قذائف البنادق من المكتب القريب.
انتقل إلى المجموعة التالية من الأبواب وهرع للاستيلاء على خريطة مستشفى بروكهافن 1F-3F من رف المجلة تحت لوحة الإعلانات. اذهب إلى اليسار لمكتب الاستقبال والاستيلاء على الملاحظة الرئيسية الخزانة التي تذكر مجموعة القفل وغرفة الفحص 3 . هناك ذخيرة مسدس على مكتب أيضًا.
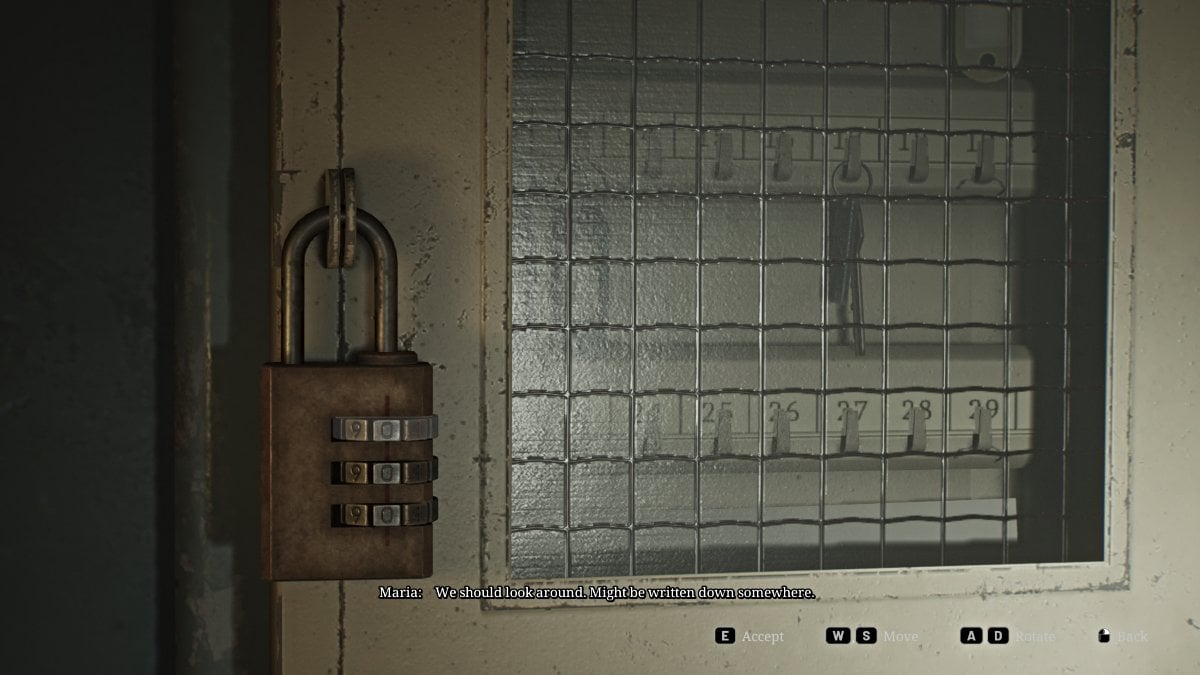
انعطف وانتقل إلى الغرفة خلف حيث تهب الرياح من خلال نافذة مفتوحة بعض المستندات حولها. استخدم نقطة حفظ RED ثم قم بتدوين المفتاح الآمن على الحائط (كما هو موضح أعلاه) مع القفل المذكور مسبقًا. المجموعة الصحيحة (الصعوبة القياسية) هي 724 ، ولكن لا يزال بإمكانك التوجه إلى غرفة الفحص 3 للحصول على مذكرة الممرضة لصالح الانتهاء ، إلى جانب محقنة وقذائف بندقية . مع فتح المربع ، استرجع مفتاح الطابق السفلي .
يتم قفل معظم الطرق الأخرى في الطابق الأول في الوقت الحالي ، لذا توجه إلى الدرج على الجانب الشرقي . سيظهر cutscene لورا ترسم على الجدران قبل اكتشاف جيمس والهروب مرة أخرى. إذا كنت تتابعها حتى الطابق الثاني ، فستجد الأبواب مغلقة في الوقت الحالي ، لذا توجه إلى الأسفل بدلاً من ذلك إلى مستوى الطابق السفلي ، نظرًا لأن لديك المفتاح. امسك مسدس ذخيرة من درج أسفل الدرج في القاع ، ثم توجه عبر الأبواب.
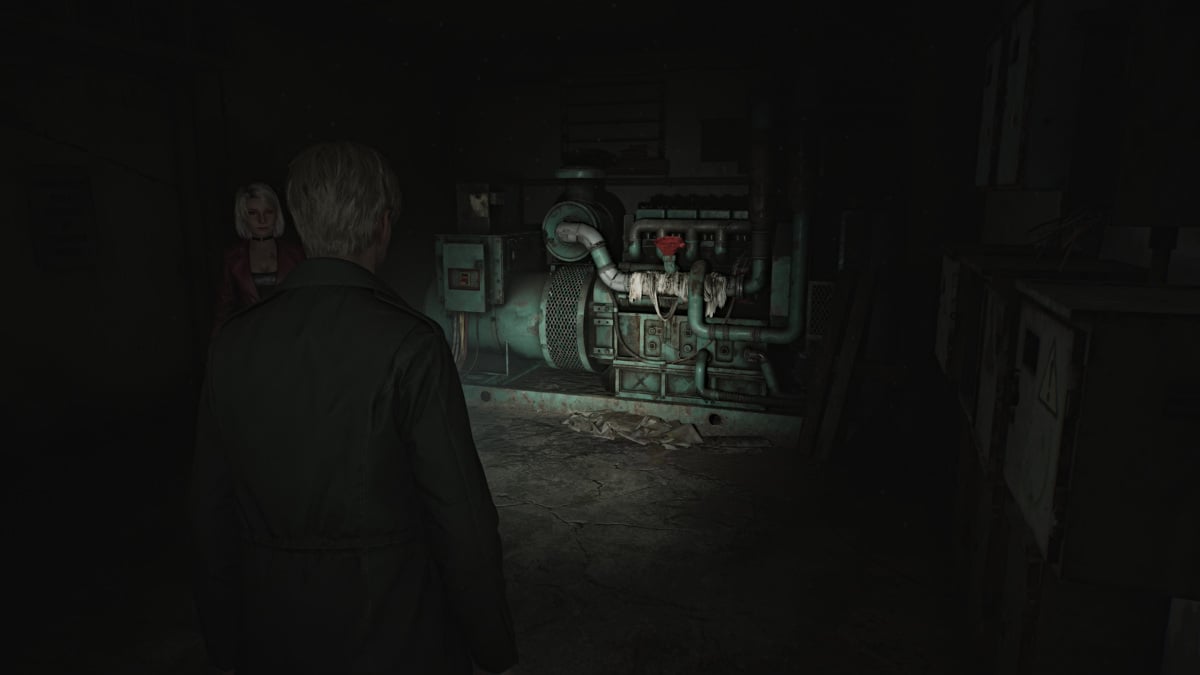
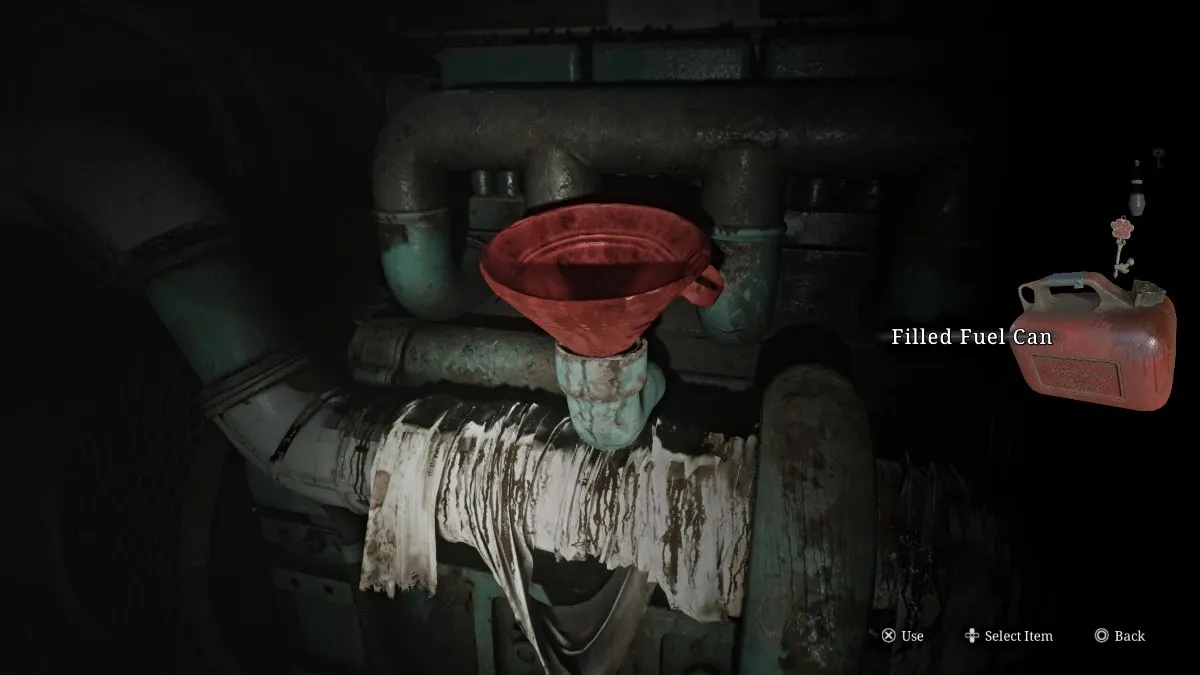
إلى الأمام مباشرة ، ستجد خريطة لقاعة مستشفى بروكهافن . احصل على محاملك ، ثم توجه شمالًا إلى غرفة المضخة ، حيث ستجد ذخيرة مسدس على حاوية على يمينك. تابع إلى غرفة المولد ، حيث سترى مولدًا ضخمًا بدون قوة. يشير القمع الأحمر فوق الخزان إلى أنه يحتاج إلى الوقود .
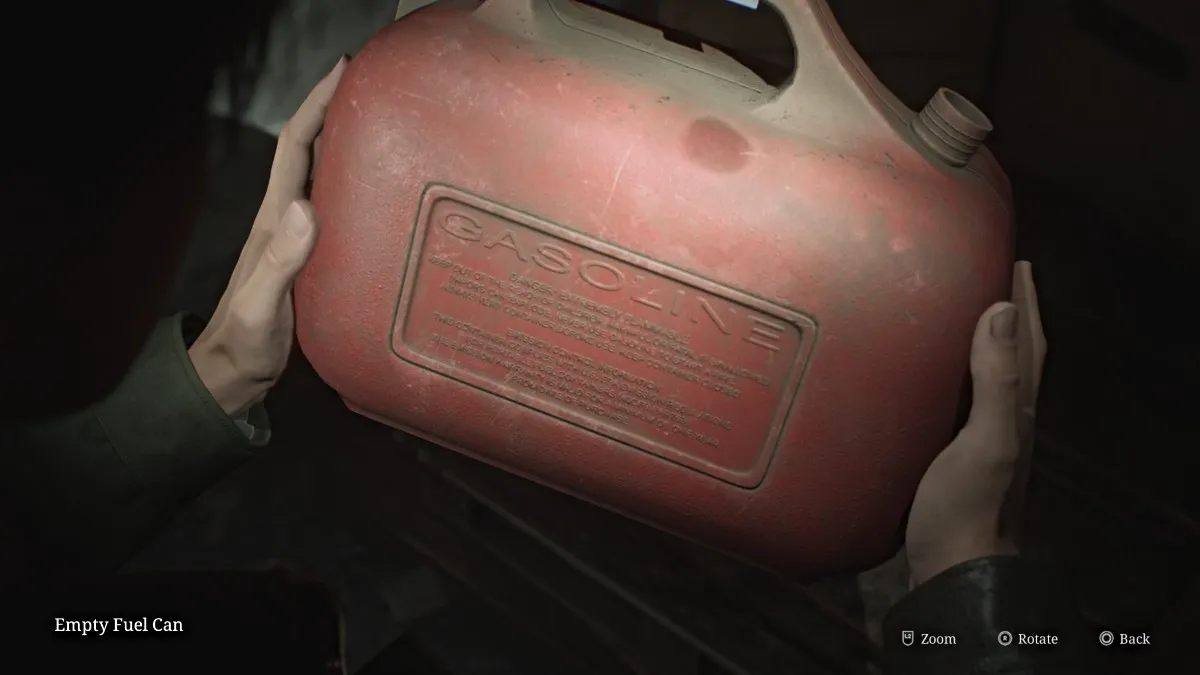
انتقل إلى منطقة غرفة الغلاية (يتكون من غرفتين) واحترس من العارضات الكبولة. احصل على بعض ذخيرة المسدس بجوار الجدار الخلفي ثم انتقل إلى غرفة الغلاية الثانية حيث ستجد علبة وقود فارغة في الزاوية الخلفية.
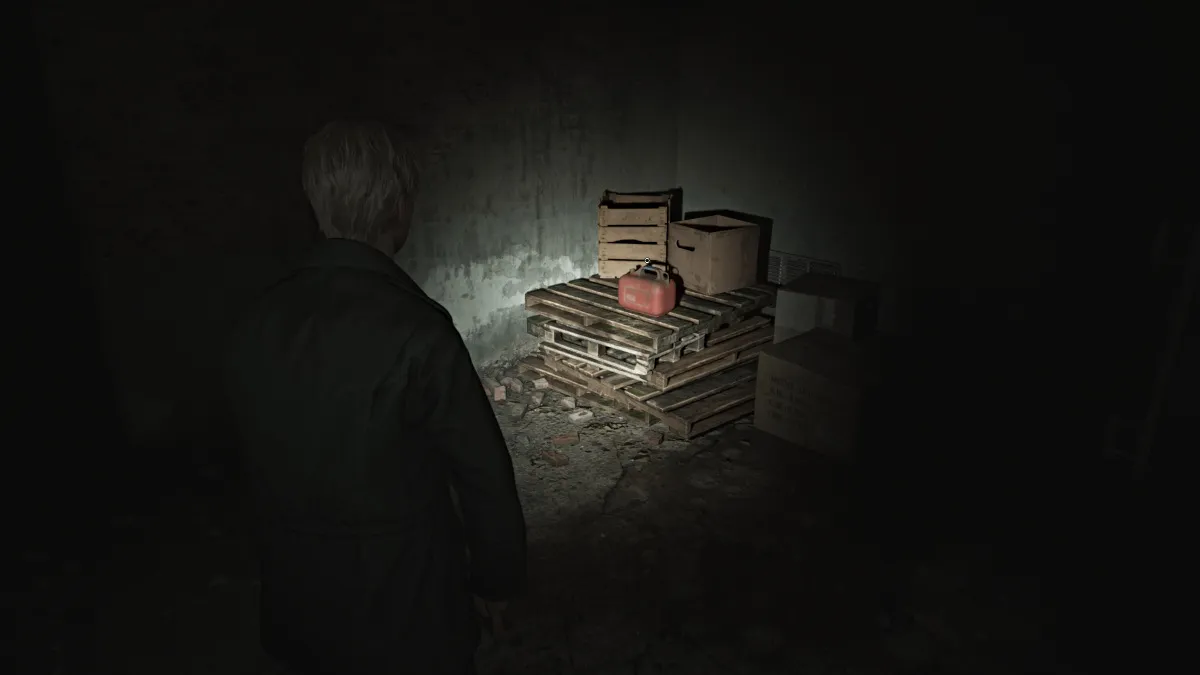
اترك غرفة الغلاية وانتقل إلى تخزين الغسيل ، حيث يوجد عربة يدوية تحتاج إلى دفع. وجهتك لها هي مساحة الزحف العالية للأمام مباشرة في الغرفة المجاورة (غرفة الغسيل). عارضة أزياء أخرى ستنصب كمينًا لك في الطريق ، لذلك قد ترغب في الاعتناء بذلك أولاً. الاستيلاء على المزيد من ذخيرة المسدس من المنطقة كذلك.
الصعود إلى غرفة التخزين ، حيث ستجد المزيد من ذخيرة المسدس ، ومحقنة ، وخزان وقود كبير حيث يمكنك ملء علبة الوقود الفارغة . بمجرد الانتهاء من ذلك ، ارفع طريقك إلى غرفة المولد . املأ المولد بالوقود الذي جمعته ثم تشغيله ، والذي سيعيد الطاقة إلى المصعد .
في طريقك إلى هناك ، توقف في غرفة التكنولوجيا لبعض ذخيرة المسدس وقذائف البندقية . اصطحب المصعد إلى الطابق الثاني ، وسوف يلعب cutscene بمجرد وصولك إلى هناك.
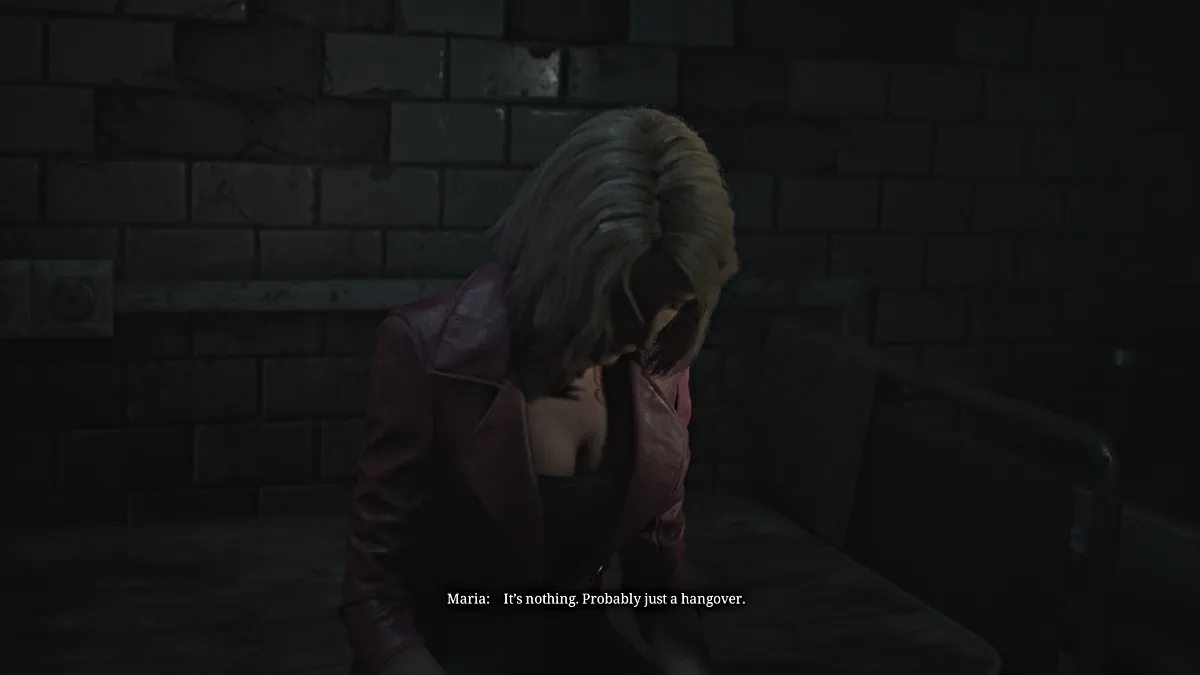
بينما يلاحظ جيمس أنه الآن مظلم ويمطر بالخارج ، فإن ماريا تغرب بشكل غريب في غرفة رعاية قريبة. يسألها جيمس ما هو الخطأ وهي تصر على أنها متعبة وتقرر التوقف والراحة ، وتتناول بعض الأدوية والاستلقاء. يختار جيمس مواصلة البحث عن لورا ويقول إنه سيعود.
الخروج من الغرفة واذهب إلى الغرفة C3 ، حيث توجد نقطة حفظ حمراء ومشروب صحي . يحتوي الحمام بجوارها على بعض ذخيرة المسدس ، وكذلك الغرفة C2 عبر الطريق. يتم قفل الأبواب المزدوجة بالقرب من مكتب المخرج في الوقت الحالي ، لذا ركض مرة أخرى إلى المدخل الشمالي وعبر تلك الأبواب ، حيث ستكون أول مواجهة مع ممرضات Bubble Head .
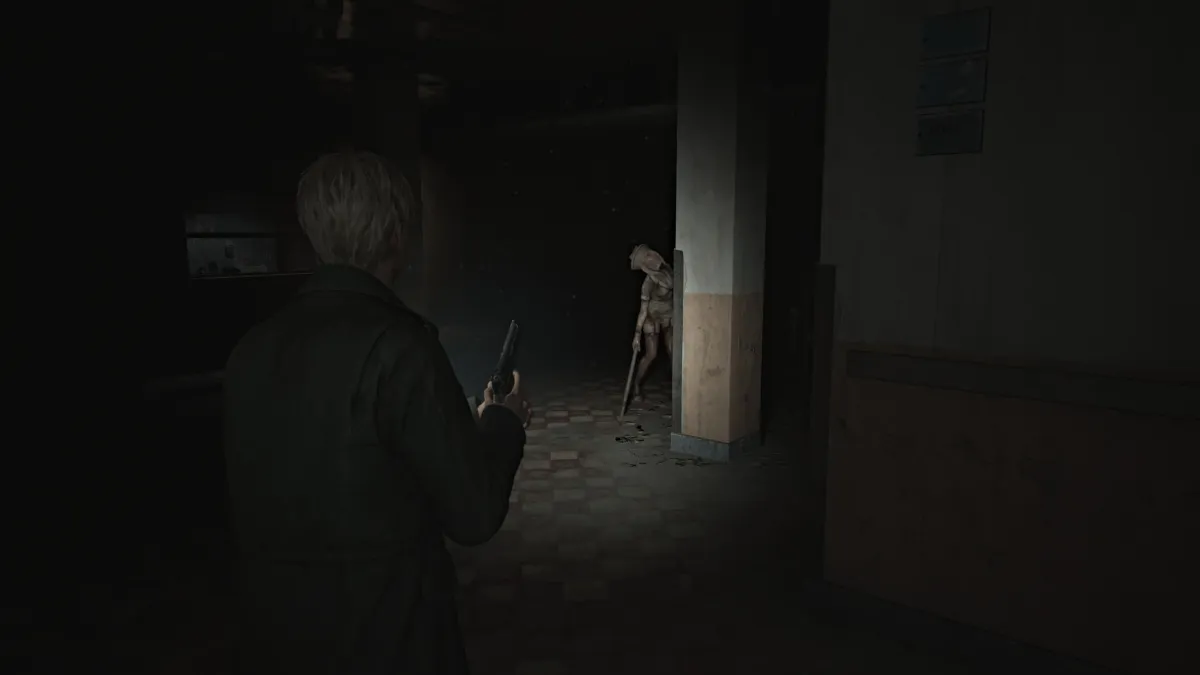
مثل العارضات ، فإن ممرضات رأس الفقاعات رشيقة ويمكنهم تفادي هجماتك ، لذا كن حذرًا. علاوة على ذلك ، يمارسون أسلحة خاصة بهم مثل الأنابيب والسكاكين ، ويمكنهم الهجوم مرارًا وتكرارًا ويمكنهم تغطية الأرض بسرعة كبيرة ، لذلك فهي بالتأكيد واحدة من أكثر الوحوش هطيفة في اللعبة. وهم في جميع أنحاء المستشفى ، لذا استخدم ذخيرةك بحكمة.
تابع القاعة حتى تصل إلى المنطقة المفتوحة بين محطة الممرضات والغرفة L3. استخدم مساحة الزحف للدخول إلى الغرفة L3 ، حيث ستجد ذخيرة مسدس ، وقذائف بندقيات ، ومشروب صحي ، و "رسوماتها" صورة غريبة في غرفة المراقبة .
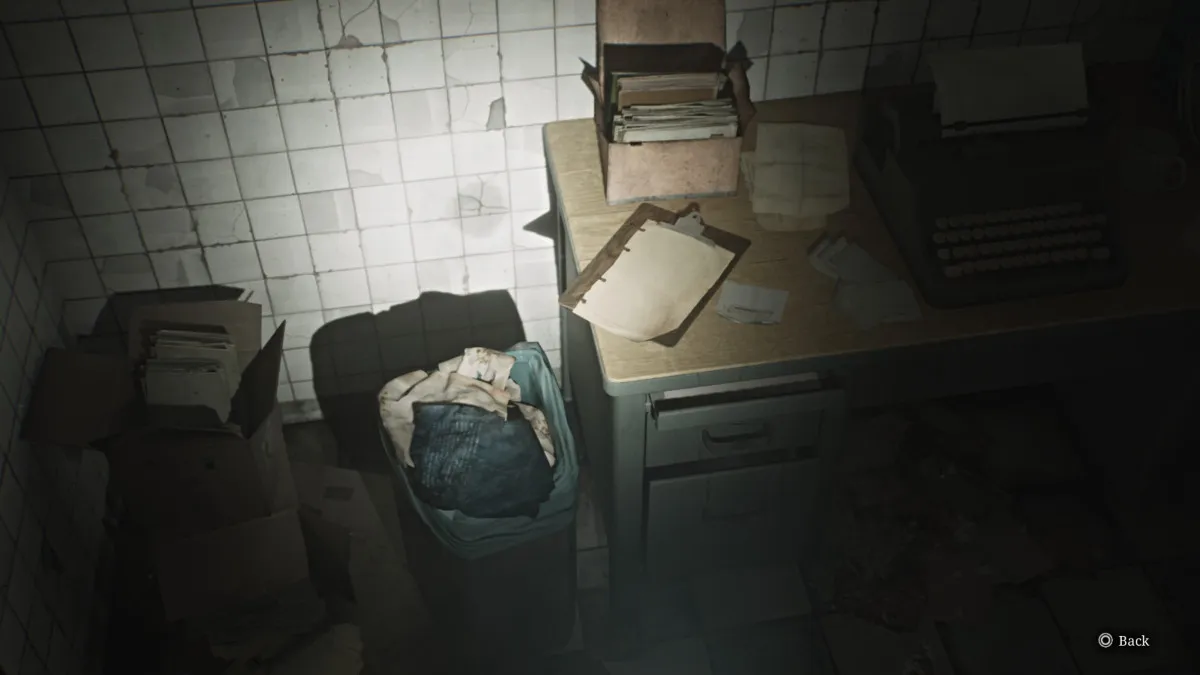
التراجع حتى تتمكن من الانتقال إلى اليسار وأخذ اختصار أسفل مدخل المركز باتجاه مكتب المخرج . على طول الطريق ، توقف في غرفة الغسيل للحصول على لمحة أخرى من الماضي في سلة المهملات (كما هو موضح أعلاه) وبعض قذائف البنادق .
خذ يسارًا آخر للذهاب أولاً إلى الغرفة C1 ، حيث يمكنك أخذ ملصق قارب من الحائط للكشف عن عين حمراء مرسومة بالدم ونص المقابلة . قم بإل استخدمه للوصول إلى الغرفة L2 ، حيث يمكنك العثور على قذائف بندقية ، وذخيرة مسدس ، ومشروب صحي ، واثنين من الوحوش.
أخيرًا ، انتقل إلى مكتب المخرج حيث ستجد نقطة حفظ حمراء ، باب مغلق ، تسجيل صوتي ، وبطاقات تقييم للمرضى #50 و #90 و #130 . أيضًا ، خلف كارة حمراء ، ستجد آمنة مع رموز غريبة ، على الرغم من أن أحدها مفقود.
علاوة على ذلك ، هناك ذراع عارضة أزياء مدعوم على المكتب يمسك المفتاح للباب المقفل المذكور أعلاه. للحصول عليها ، يحتاج الذراع إلى ثلاثة أساور للمريض الموضوعة عليها.
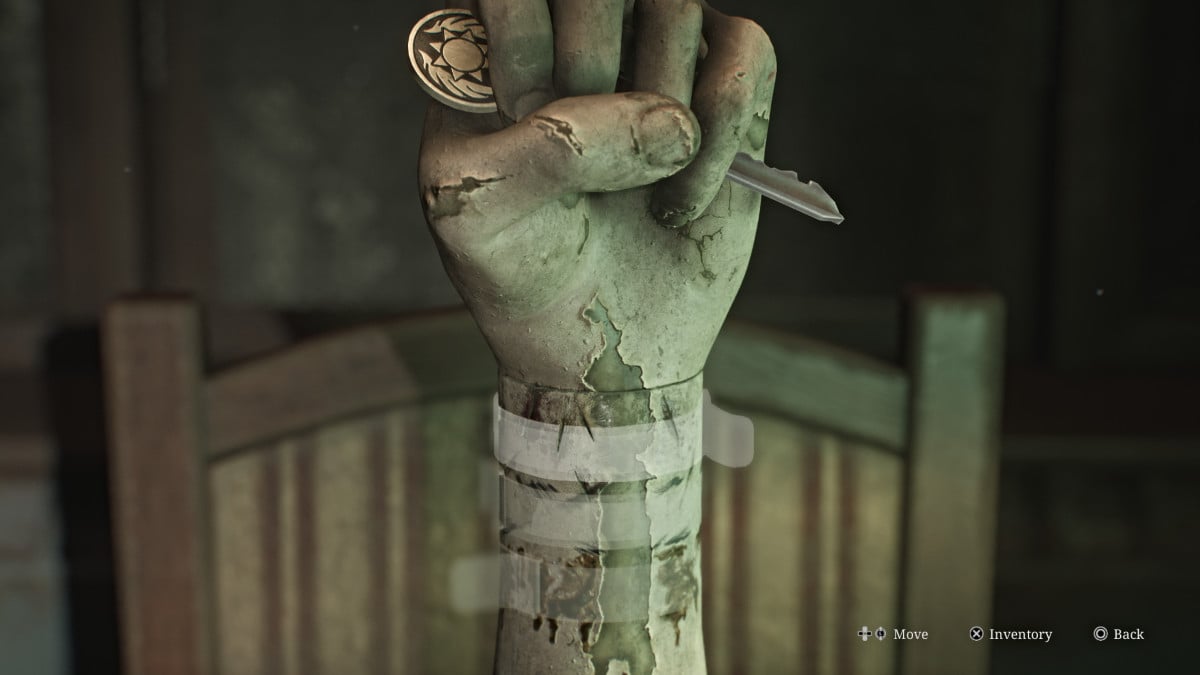
لحسن الحظ ، تمنحك بطاقات التقييم التي التقطتها بعض التلميحات حول مكان العثور عليها مع لوحة الرمز المفقودة للأمان. تحقق من خريطتك ثم اترك المكتب.
بعد التعامل مع ممرضة فقاعة أخرى ، التقط بعض ذخيرة المسدس من كل من الحمام عبر القاعة ومن الغرفة M5 . علاوة على القاعة ، ستحتوي Room M1 على قذائف بندقية ونقطة أخرى من الماضي لإلغاء القفل.
اصعد في الردهة الغربية وستلاحظ أن الباب إلى الغرفة L1 ، حيث تم نقل أحد المرضى المشهورين إليه ، تم إغلاقه من هذا الجانب. انتقل إلى غرفة خلع الملابس النسائية حيث ستجد البندقية المفقودة (Yoink) ، إلى جانب المزيد من قذائف البنادق ، وذخيرة المسدس ، وشراب صحي ، وإبرة عازمة من الدب المحشو على الكرسي.
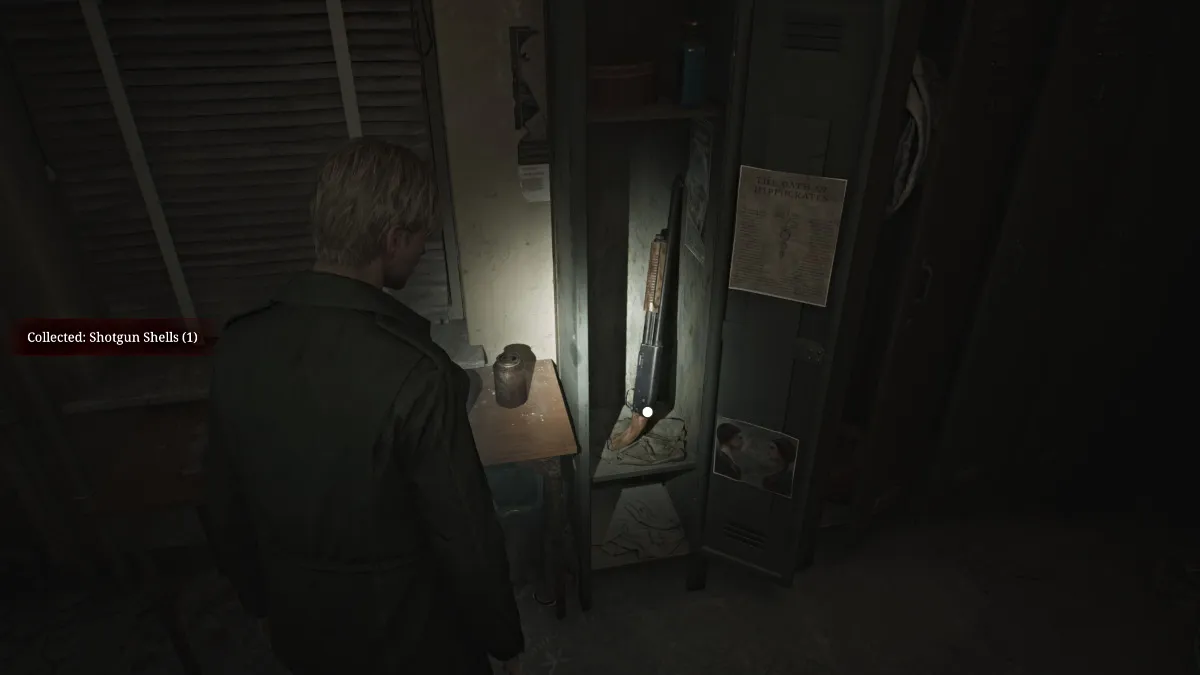
تأكد من استخدام البندقية الخاصة بك بحكمة ، حيث يصعب الوصول إلى القذائف. مع ذلك ، خرج ومواصلة الردهة إلى صالة الممرضة . في الداخل ، ستجد مفتاح غرفة L1 وممرضة فقاعة تحرسها. بعد المطالبة بذلك ، عد إلى الغرفة L1 والخروج في الداخل. الغرفة كبيرة مع كمية غير مريحة من الفوضى ، وبعض الضوضاء الغريبة القادمة من الغرفة الصغيرة في.
هناك مساحة زحف عالية يمكنك استخدامها للوصول إليها ، وعربة الدفع على مشهد الغرفة الصحيح للوصول إليها. الاستيلاء على العربة ، ولفها فوق مساحة الزحف ، والقفز إلى الداخل. على الرغم من الضوضاء ، فإن الغرفة فارغة باستثناء ملاحظة حول الفتاة الصغيرة التي اعترفت بها.
اترك الغرفة وتحقق من غرفة المرافق عبر القاعة ، حيث يهرب "شيء ما" عبر الحفرة الموجودة في الحائط. لا يوجد خيار آخر سوى متابعته ، بالطبع. بعد الانزلاق عبر الجدران ، ستجد نفسك قريبًا في الطابق الأول ، في غرفة غير مميزة. الباب الذي أمامك مغلق ، لذا انتقل عبر مساحة الزحف بجانبه الذي يقودك إلى غرفة السجلات الطبية .
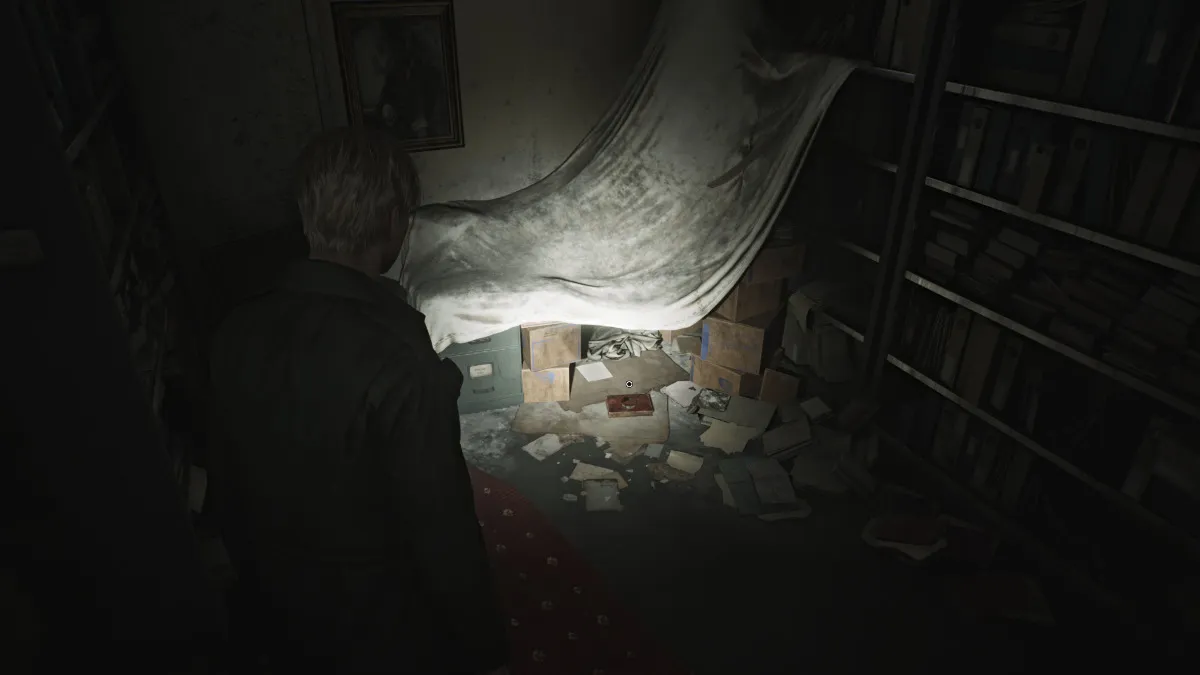
التقط الملاحظة المخربفة من الأرض أمامك ، وعلى الجانب الأيسر الخلفي البعيد ، ستجد لمحة أخرى من الماضي (كما هو موضح أدناه).
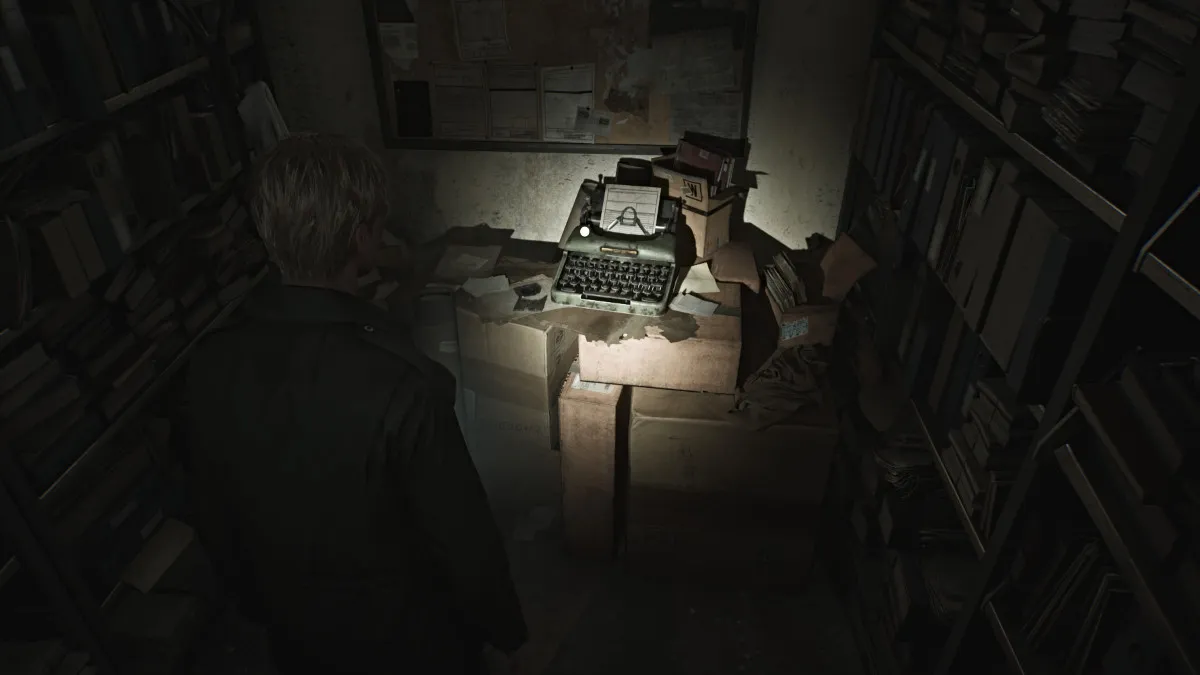
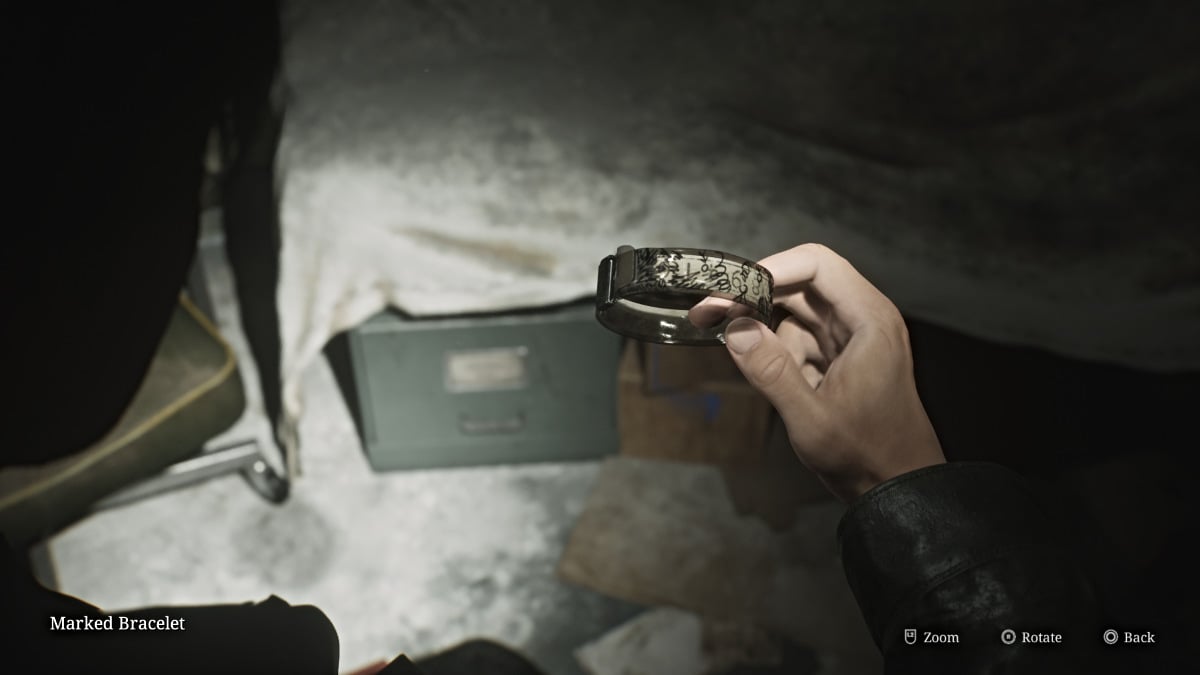
الآن توجه مباشرة إلى المكان الذي سترى فيه شيئًا يجلس تحت ورقة (كما هو موضح أعلاه) ، واتضح أنه سوار ملحوظ ، وهو الأول من بين الثلاثة التي تحتاجها. هذا يلفت انتباه عارضة أزياء ، لذلك تعامل معها بعد ذلك.
انطلق إلى الطابق الثاني ، سواء كان ذلك عبر المصعد المستعاد أو الدرج الشرقي. يمكنك اختيار إسقاط سوارك المحدد في مكتب المخرج أو التمسك به في الوقت الحالي.
في كلتا الحالتين ، ستحتاج بعد ذلك إلى التوجه إلى مكتب الممرضة ، الذي يحتوي على قفل لوحة المفاتيح . لتوفير الوقت ، فإن الكود الصحيح (الصعوبة القياسية) هو 3578 . قبل الدخول ، تحقق بسرعة من غرفة التخزين المجاورة لها للحصول على بعض قذائف البنادق .
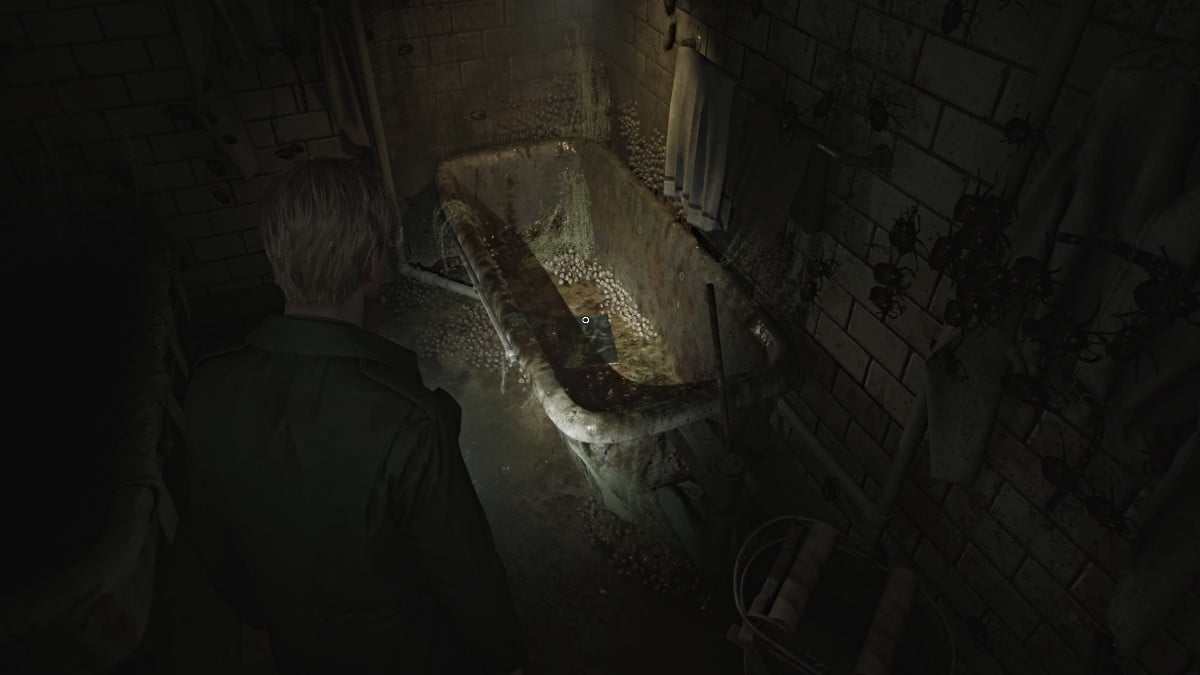
احصل على مذكرة الموظفين من نافذة مكتب الممرضة ، ثم ستجد في الداخل ذخيرة مسدس في الغرفة الأولى ، وفي غرفة العلاج خارجها ... البق ، في كل مكان. لحسن الحظ ، إنهم من النوع الذي لا يمكن أن يؤذيك. انظر في الحوض الثالث على اليمين واخترت الطباعة الحجرية منه. قبل المغادرة ، احصل على ملاحظة غرفة العلاج أيضًا.
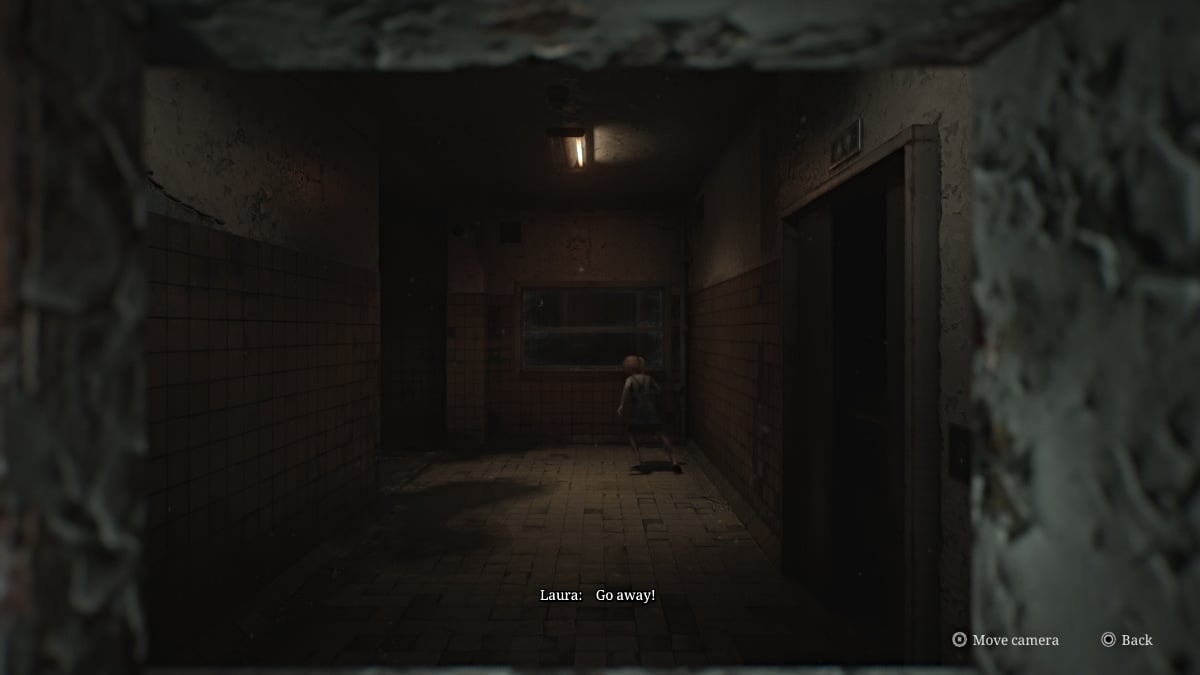
اخرج في الجوار الذي يقودك إلى الدرج الغربي. اصعد إلى الطابق الثالث وستسمع ما يبدو وكأنه فتاة صغيرة تدق والمزيد من الرسومات على الجدران. من الواضح أن لورا في مكان قريب ، واتضح أنها في المنطقة المحظورة من الأرضية التي تم حظرها بواسطة باب معدني ضخم. افتح نافذة العرض لرؤية لورا على الجانب الآخر. مرة أخرى ، تهرب قبل أن يتمكن جيمس من الحصول على كلمة.
في الوقت الحالي ، توجه إلى الغرفة D1 ، التي تحتوي على قفل مزيج عليها. عادةً ما تحتاج إلى اكتشاف الكود باستخدام الصور الراديين اللذين تجدهما على الشاشة في غرفة الأشعة السينية .
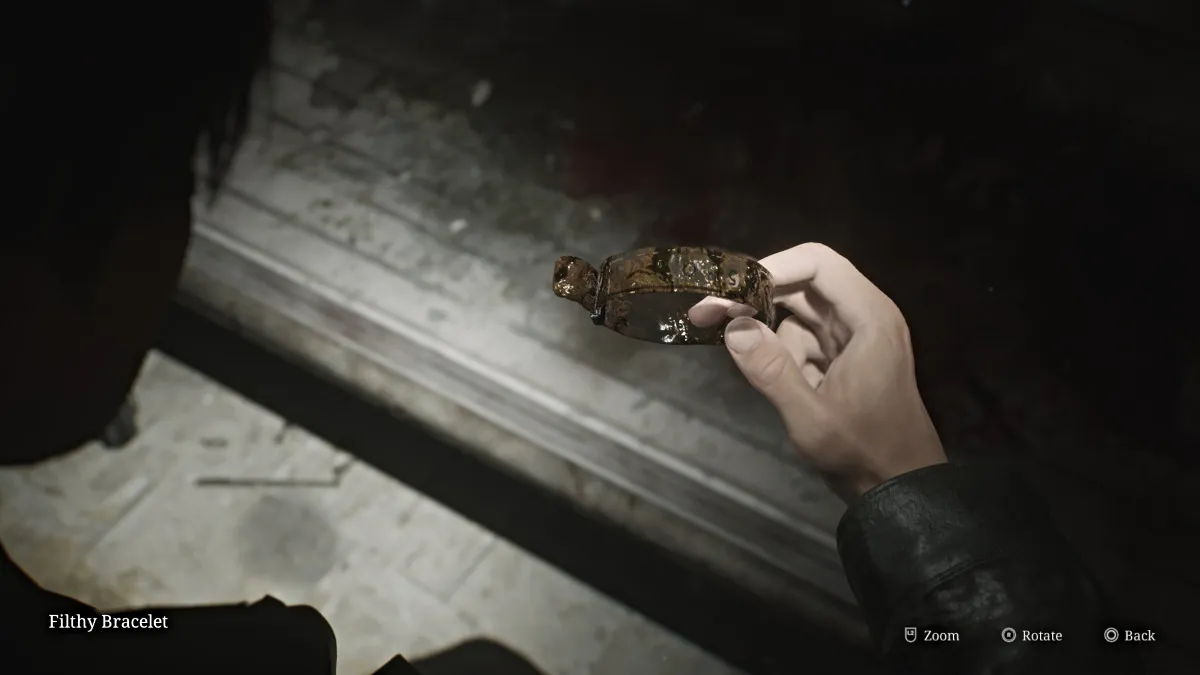
للمساعدة في توفير الوقت ، ومع ذلك ، فإن الكود الصحيح (الصعوبة القياسية) هو 04 (يمين) ، 37 (يسار) ، 12 (يمين) . بمجرد دخوله ، تتفاعل مع سرير المريض وسيقوم جيمس بتقشير البطانية لاكتشاف بقايا المريض الثاني والسوار القذرة .
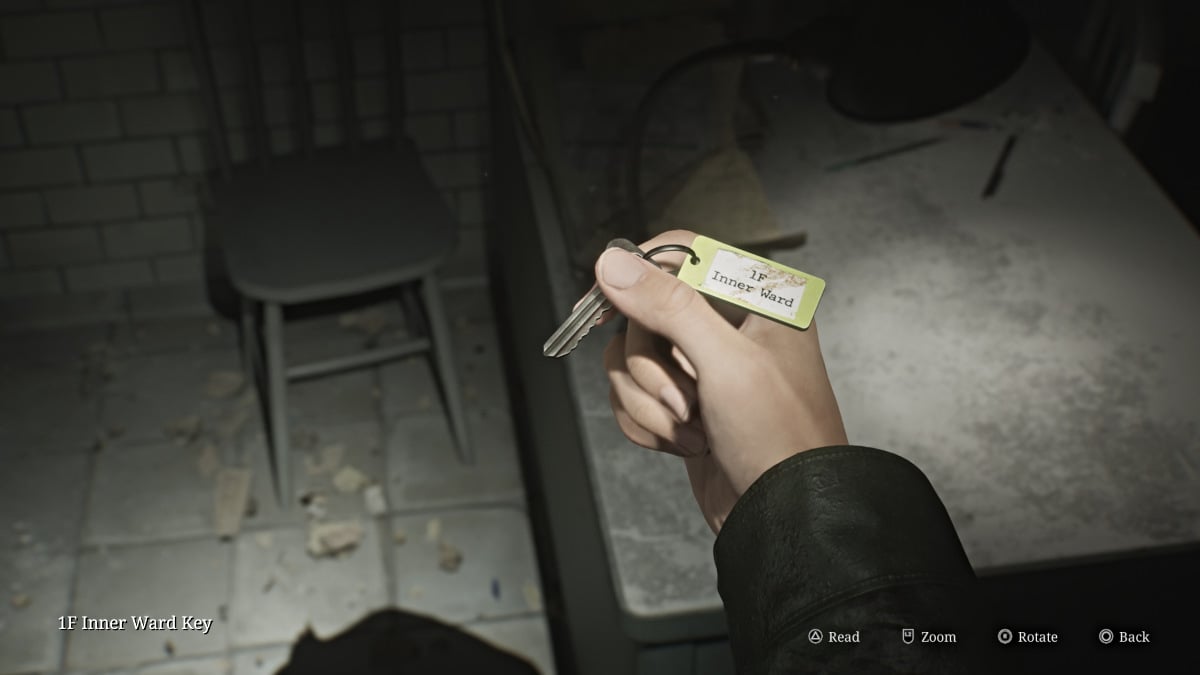
بعد ذلك ، استكشف الغرف الأخرى القريبة لمزيد من ذخيرة المسدس مشروب صحي . تحطيم النافذة للوصول إلى غرفة الامتحان 5 والمطالبة بمفتاح وارد 1F الداخلي من المكتب.
مع عدم وجود أي مكان آخر للذهاب في الطابق 3 أو أعلى الآن ، عد إلى الطابق الأول مع مفتاح Ward الخاص بك الجديد. خذ الدرج الشرقي إلى أسفل وستلاحظ أن الباب إلى غرفة الفحص 1 مفتوح الآن. اذهب إلى الداخل والتعامل مع عارضة الأزياء حتى تتمكن من المطالبة ببعض ذخيرة المسدس وصورة غريبة "على الأقل كانت هناك".
تابع أسفل الردهة أثناء مراقبة ممرضات الفقاعة المصممة على منع طريقك. اصعد إلى ممر الأوسط واستخدم مفتاح Ward Inner للوصول أخيرًا إلى بقية الأرضية. تحقق أولاً من مكتب الطبيب إلى يمينك لذخيرة المسدس وملاحظة مجموعة لوحة المفاتيح .
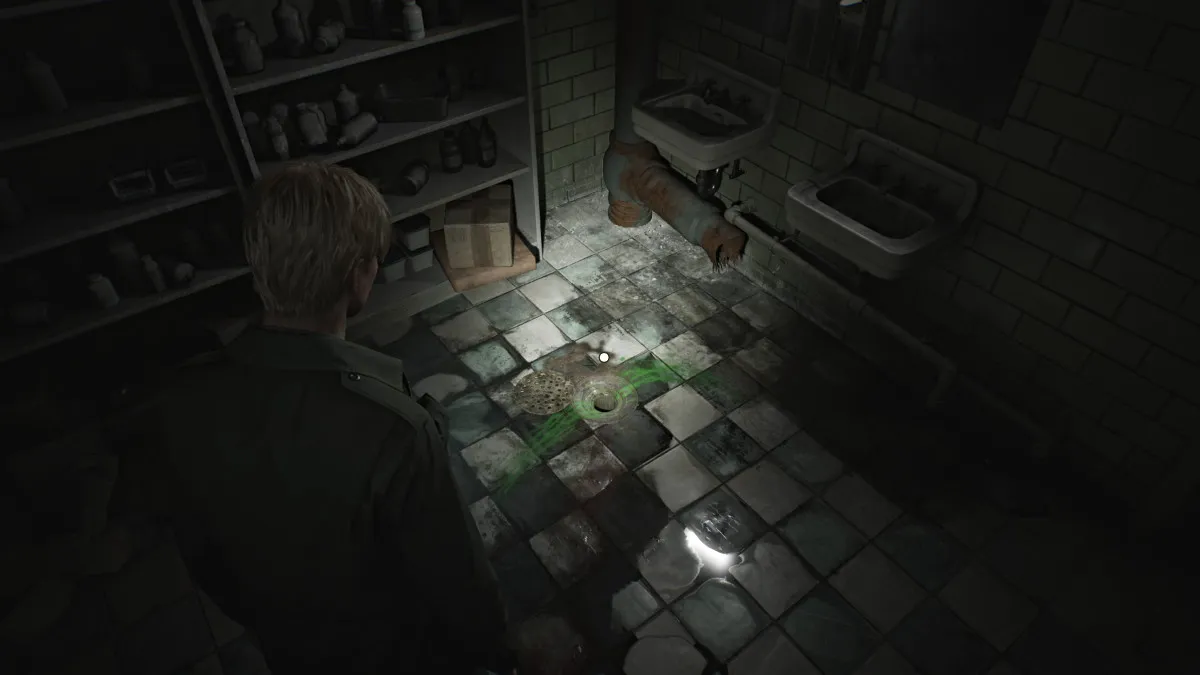
بعد ذلك ، اذهب وتحقق من غرفة النهار حيث ستجد المزيد من ذخيرة المسدس وممرضة فقاعة تكمن. بعد وفاته ، استخدم الفجوة في الجدار الأيسر للعبور إلى الصيدلية . في الداخل ، ستجد المزيد من ذخيرة المسدس ، وأنبوب مفتوح غريب في الأرض بالقرب من المصارف ، مع بقايا خضراء زاهية تتسرب منه. هناك شيء عالق داخله ، وستحتاج إلى الأداة المناسبة لإخراجها. لحسن الحظ لديك بالفعل نصفها (الإبرة العازمة).
في الوقت الحالي ، اقلب وألاحظ النافذة المفتوحة التي تؤدي إلى منطقة الحديقة . القفز من خلاله وابدأ في الاستكشاف ، ولكن كن حذرًا لأنه يزحف مع الوحوش (معظمهم من الشخصيات الكذب). انتقل إلى المراقبة على الجانب الأيسر واستخدم مساحة الزحف على الجانب الخلفي للوصول إليه. تعامل مع عارضة الأزياء في الداخل ، ثم انتزاع ذخيرة المسدس والحقنة .
شق طريقك إلى الجانب الأيمن من الحديقة ، وقم بالاستيلاء على قذائف البندقية على طاولة خشبية ، ثم أدخل الدفيئة . احصل على المزيد من ذخيرة المسدس من درج ، ثم استخدم النافذة المفتوحة للعبور في منطقة حمام السباحة .
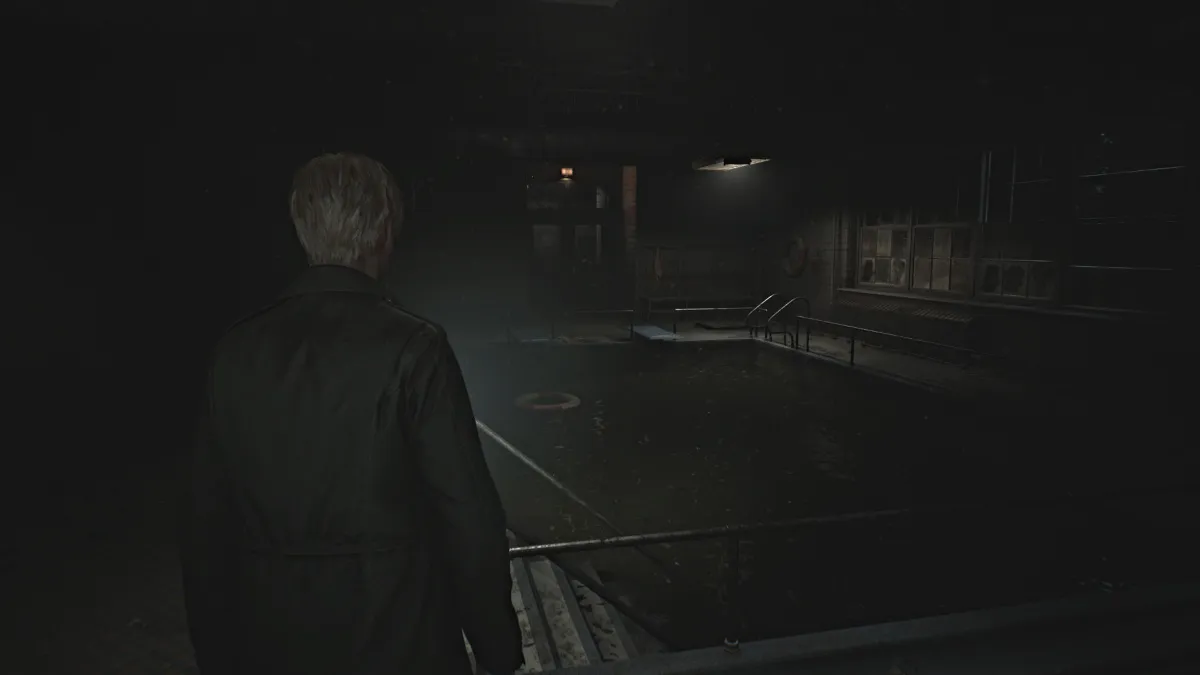
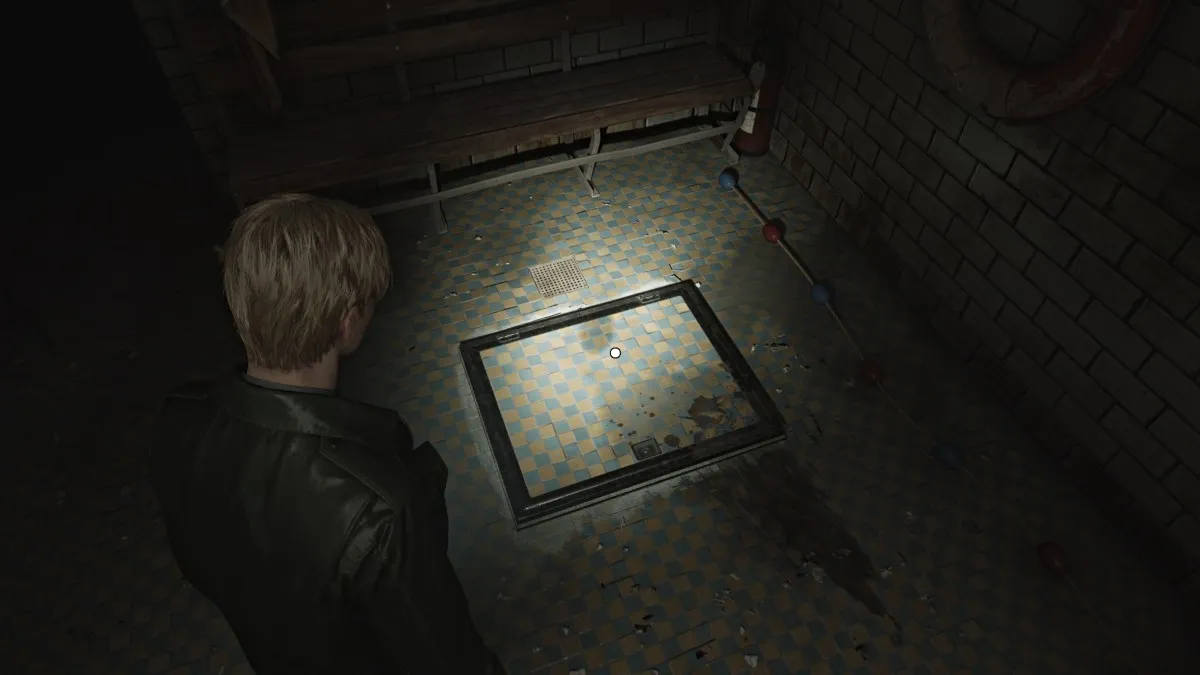
ما تحتاج إلى الحصول عليه هو داخل المسبح ، ولكن لسوء الحظ ، فهو مليء ببعض المياه السيئة للغاية وحتى جيمس لديه حدود ولن يدخل. على الجانب الآخر من المسبح ، سترى باب مزلاج في الأرض يتطلب مفتاح فتح. يتيح لك هذا الوصول إلى نظام مضخة حمام السباحة ، والذي سيسمح لك بتصريفه ، لذلك تحتاج إلى العثور على هذا المفتاح.
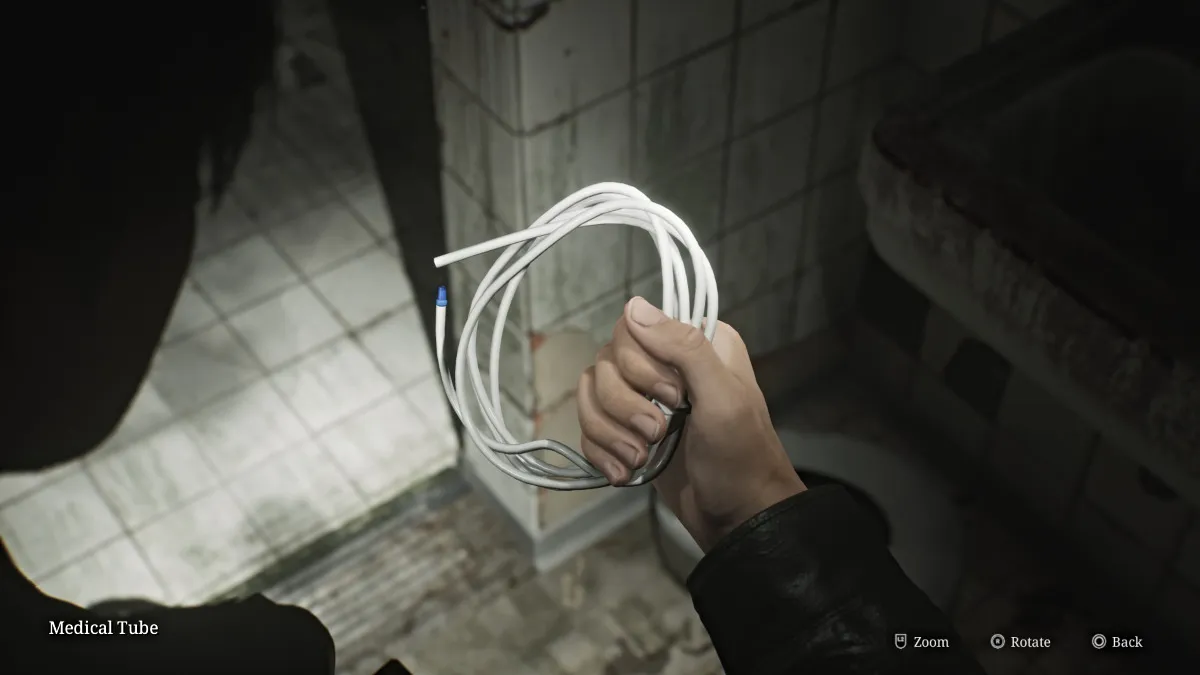
اذهب إلى غرفة الاستحمام ، تعامل مع عارضة أزياء أخرى في إحدى الأكشاك ، ثم انتقل إلى جمع ذخيرة المسدس ، وقذائف بندقيات ، ومؤثرة من الأنبوب الطبي (كما هو موضح أعلاه) جالسًا في إحدى الأحواض. التراجع عبر منطقة الحديقة إلى الصيدلية.
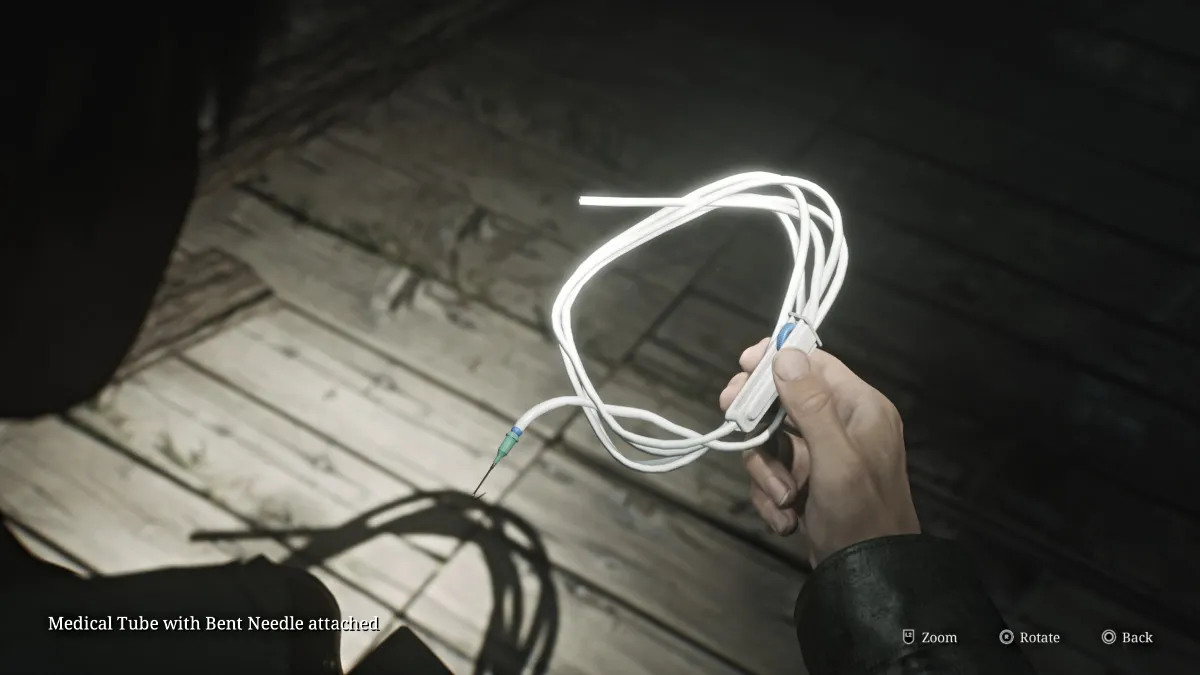
بمجرد الوصول إلى هناك ، انتقل إلى المخزون الخاص بك ودمج الإبرة المنحنية مع الأنبوب الطبي . انتقل إلى استنزاف الأنابيب واستخدم أداةك الجديدة لصيد الكائن عالقًا ، والذي تبين أنه مفتاح الصيانة للمسبح.
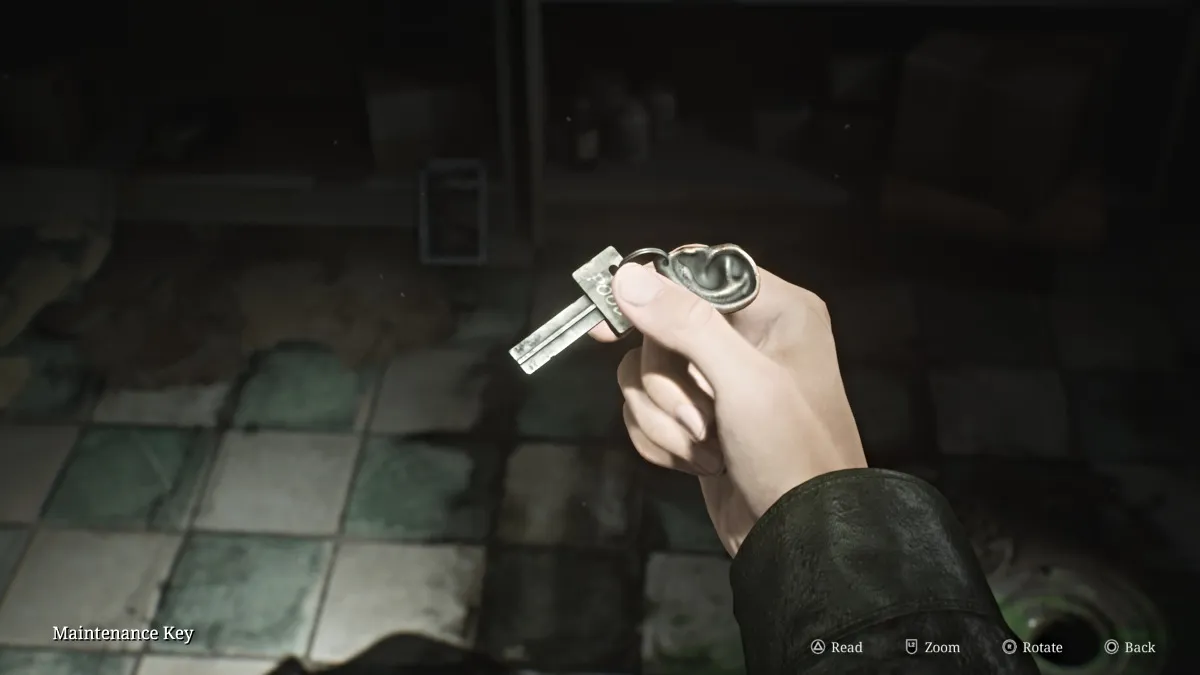
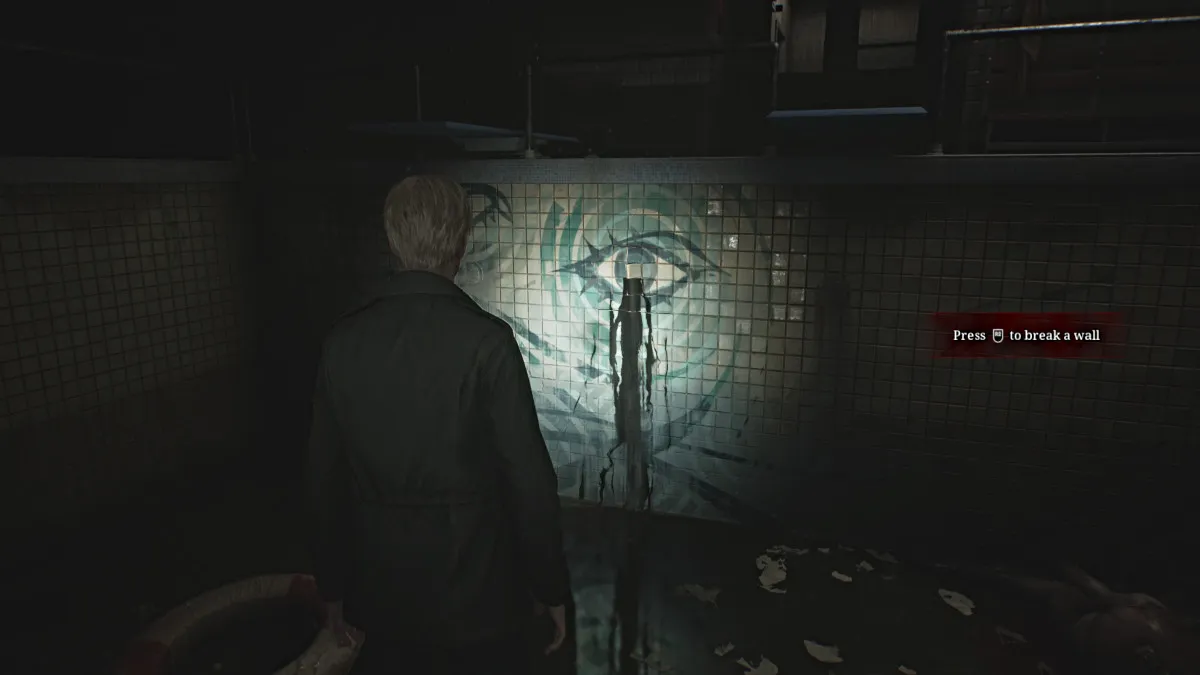
مع ذلك ، عد إلى المسبح مرة أخرى واستخدم مفتاح الصيانة على باب المزلاج للوصول إلى المضخة واستنزاف المسبح بالكامل. النزول فيه وحطم البلاط حيث تكون العين المتسربة هي الحصول على سوار ملطخ بالدماء ، والآخر والأخير الذي تحتاجه.
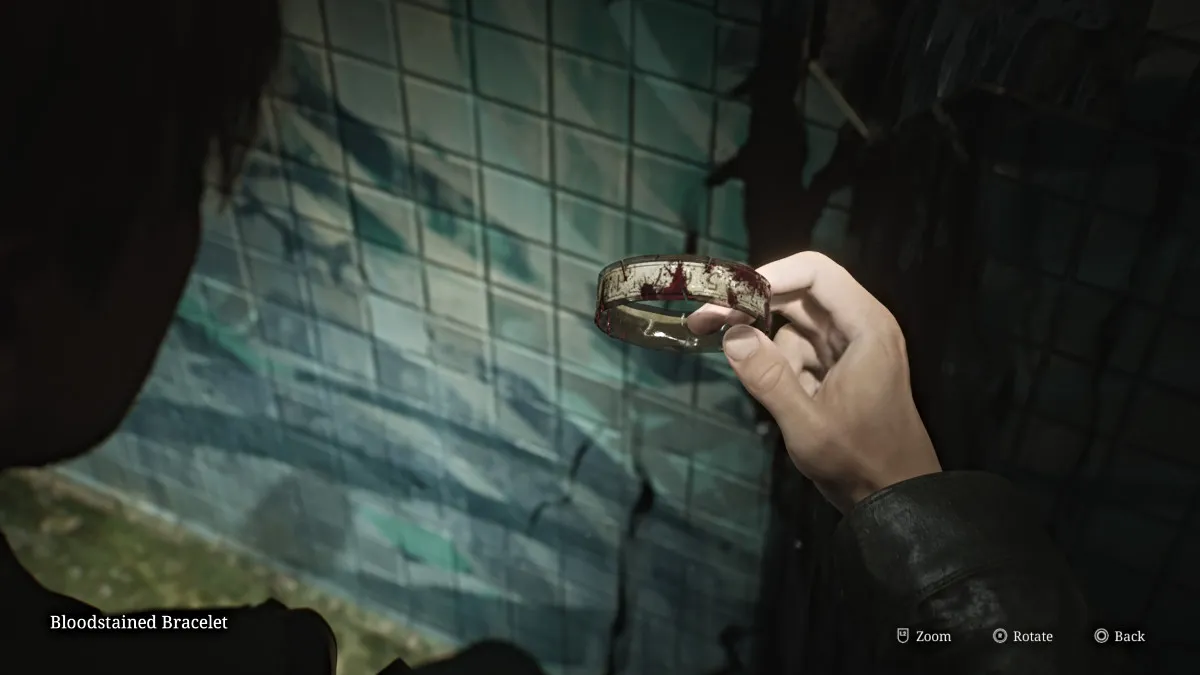
نوصي فقط بومك في طريق العودة إلى الصيدلية ، حيث أن العديد من الوحوش التي قتلتها في الحديقة في وقت سابق ، بما في ذلك تلك الموجودة في المجمع ، سوف تنعش وتهاجم ولا تريد أن تضيع الذخيرة الثمينة والصحة على ذلك .
قبل العودة إلى الطابق العلوي إلى غرفة المخرج ، تحتاج أولاً إلى الانتهاء من استكشاف بقية الجناح الداخلي على الجانب الغربي. شق طريقك عبر الصيدلية وقفل بوابة الدرج الشمالي الغربي. بعد ذلك ، توجه داخل المطبخ ، حيث يمكنك العثور على زجاجة مزيل العفن جالسة بالقرب من الفرن ، يمكنك استخدام هذا لتنظيف الطباعة الحجرية المتعفنة التي حصلت عليها مسبقًا إذا كنت لا تزال بحاجة إلى الرمز إلى قفل التحرير والسرد في الطابق 3.
لا يوجد سوى القليل لتجد جانباً من بعض ذخيرة المسدس في الحمام الصغير مقابل المطبخ ، وقذائف البنادق في منطقة الكافيتريا القريبة. بمجرد الانتهاء من الاستكشاف ، عد إلى الطابق العلوي إلى غرفة المخرج.
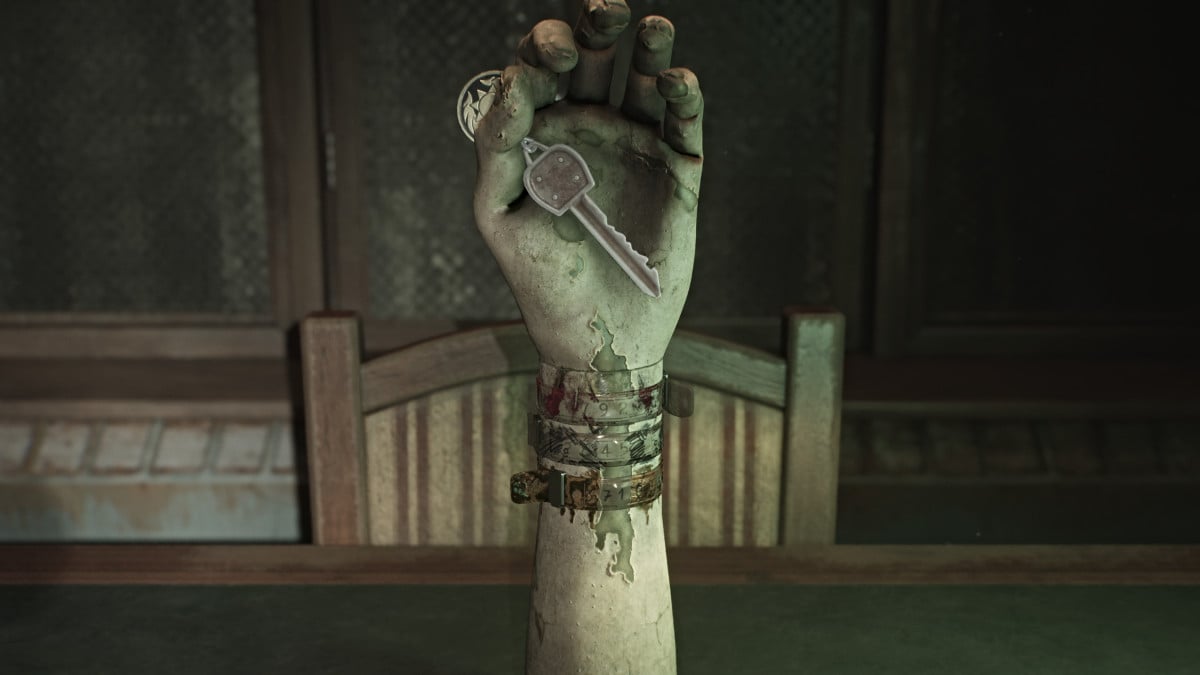
ضع بقية الأساور التي حصلت عليها على ذراع عارضة الأزياء ، وعندها تحتاج بعد ذلك إلى ترتيبها بالترتيب الصحيح و "تدويرها" بحيث تواجه مجموعات الأرقام الصحيحة. الترتيب الصحيح (الصعوبة القياسية) من الأعلى إلى الأسفل هو سوار ملطخ بالدم ، وسوار ملحوظ ، والسوار القذري بالأرقام: 92 ، 45 ، 71 من أعلى إلى أسفل.
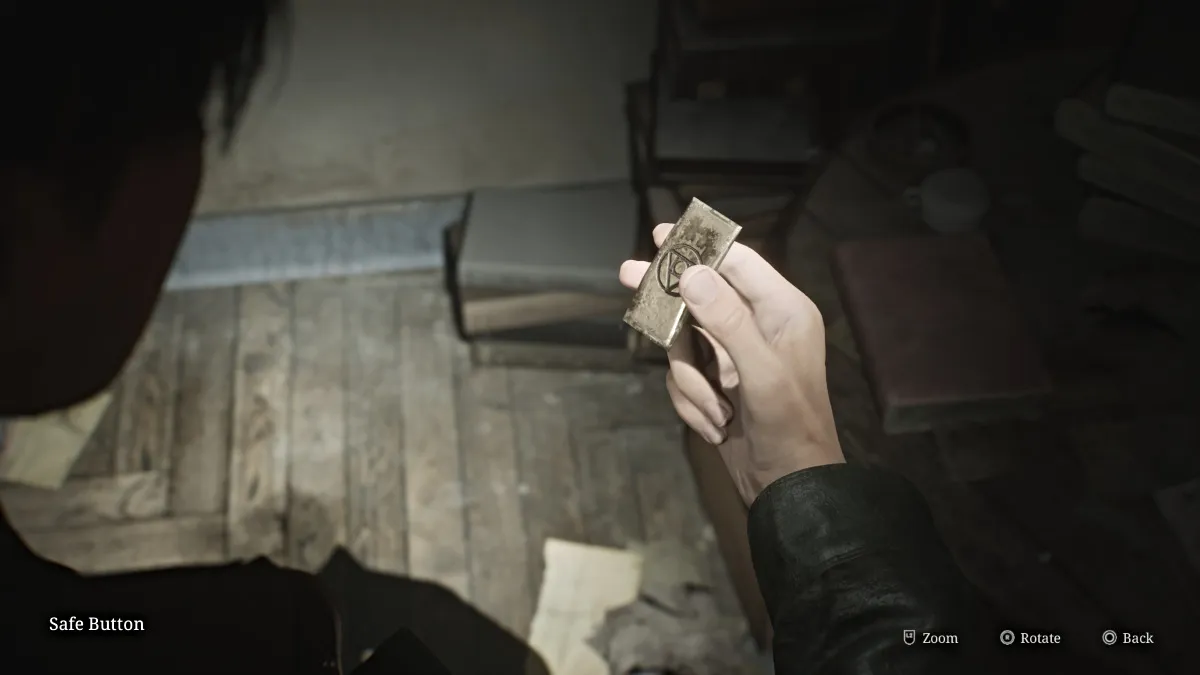
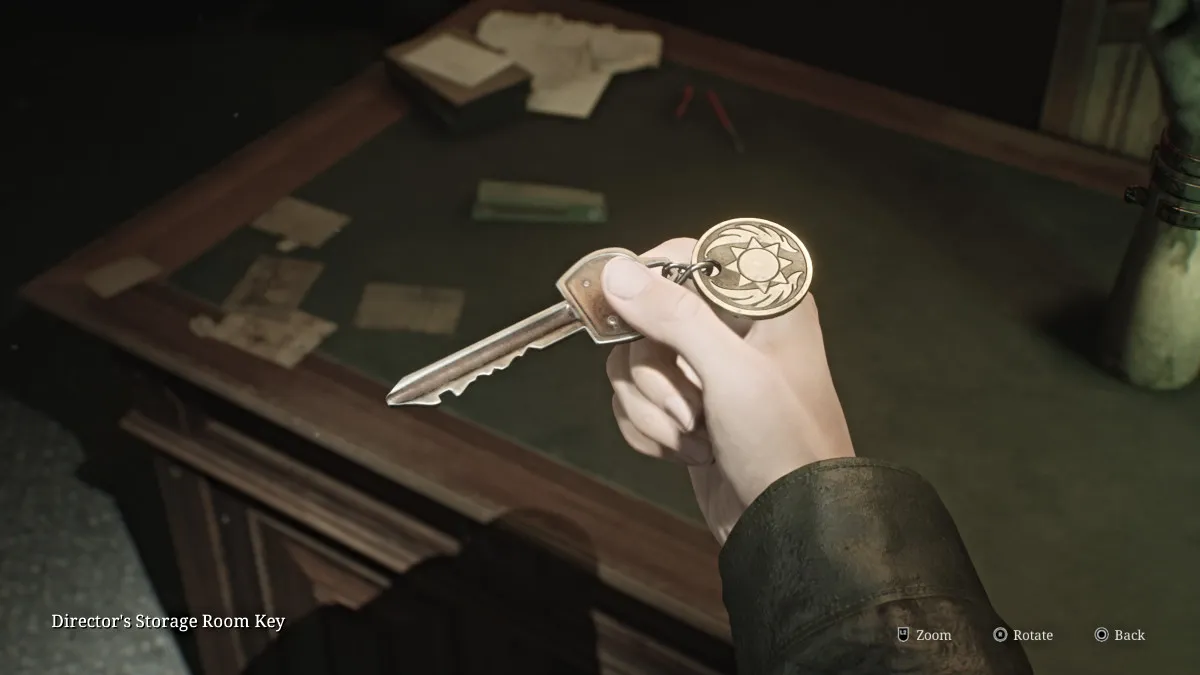
بمجرد الانتهاء ، سيتم فتح اليد لكي تأخذ مفتاح غرفة التخزين للمخرج . اذهب واستخدمه على الباب المقفل القريب والتوجه إلى الداخل. ستجد هناك الزر الآمن المفقود على مكتب وعلى الرف على الجانب الآخر منه ، لغز آخر.
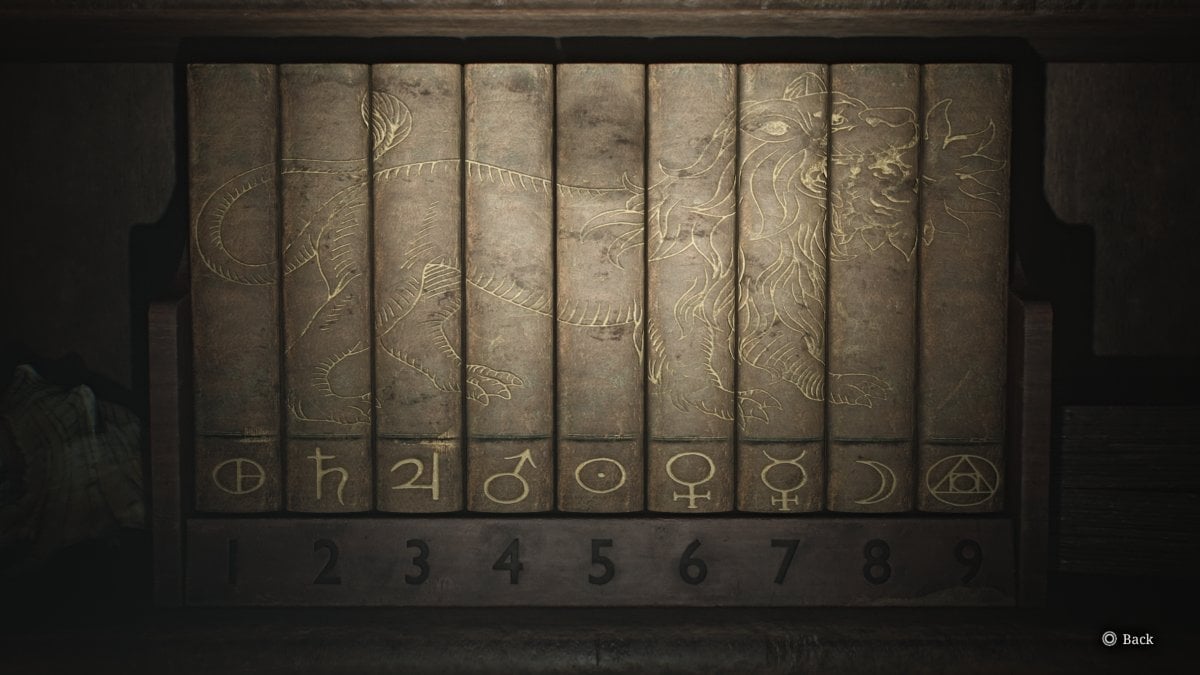
في هذه الحالة ، تحتاج إلى ترتيب الكتب التسعة بحيث تتطابق العمود الفقري وتشكل صورة أسد تنفس النار (كما هو موضح أعلاه). It may seem like there's no reward afterward, but in fact the order of the symbols at the bottom is a clue for what you need to punch into the Director's Safe. Your other clue is the set of numbers from the bracelets.
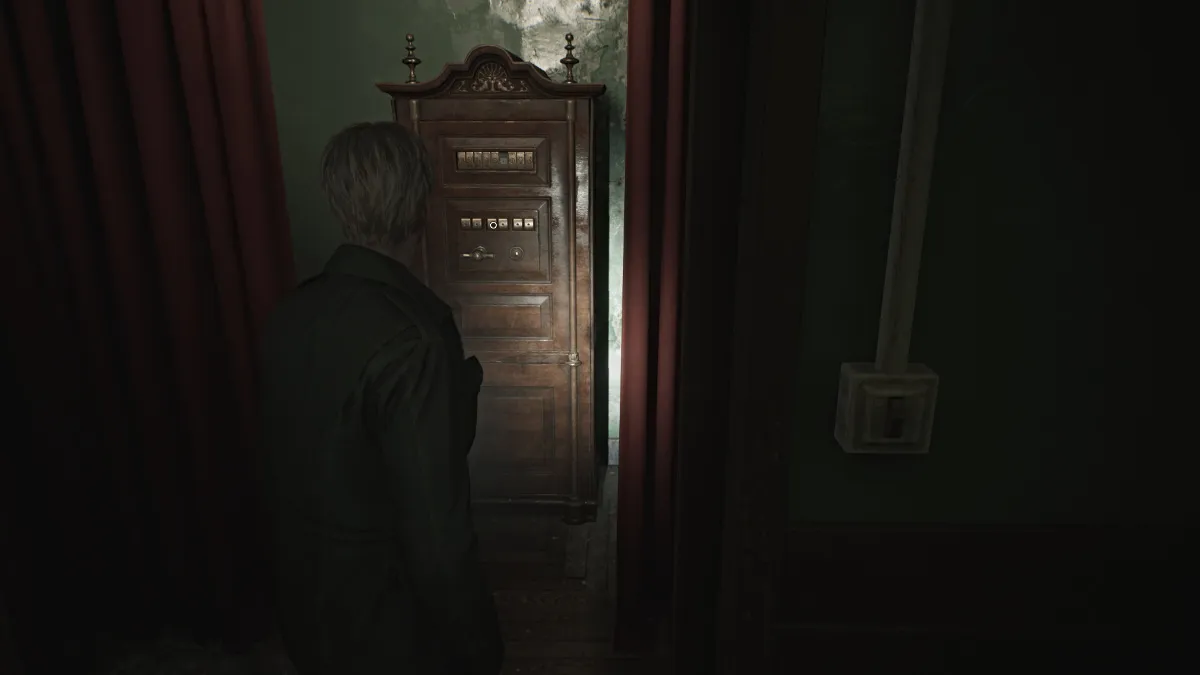
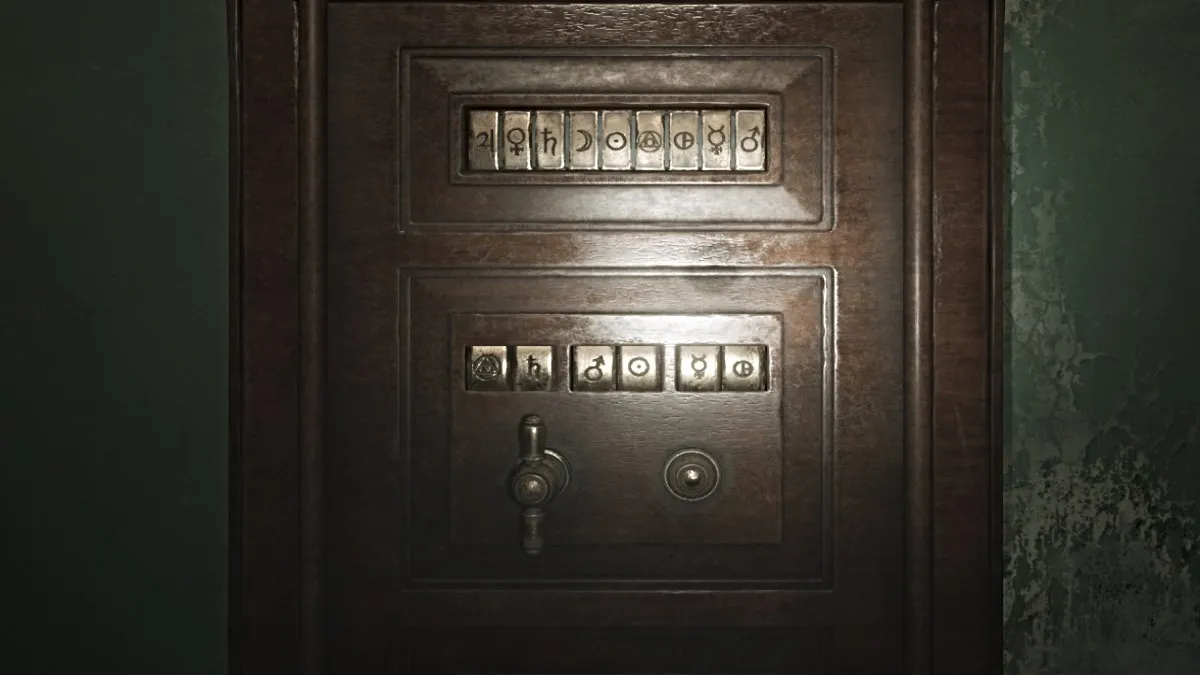
With that, go over to the safe, place the missing button you found into it, and use both your clues to figure out the correct symbol combination. Essentially, '92-45-71' from the bracelets is the numerical order of the combination, and you need to equate that to the symbol order from the book puzzle, all to form a cryptogram of sorts.
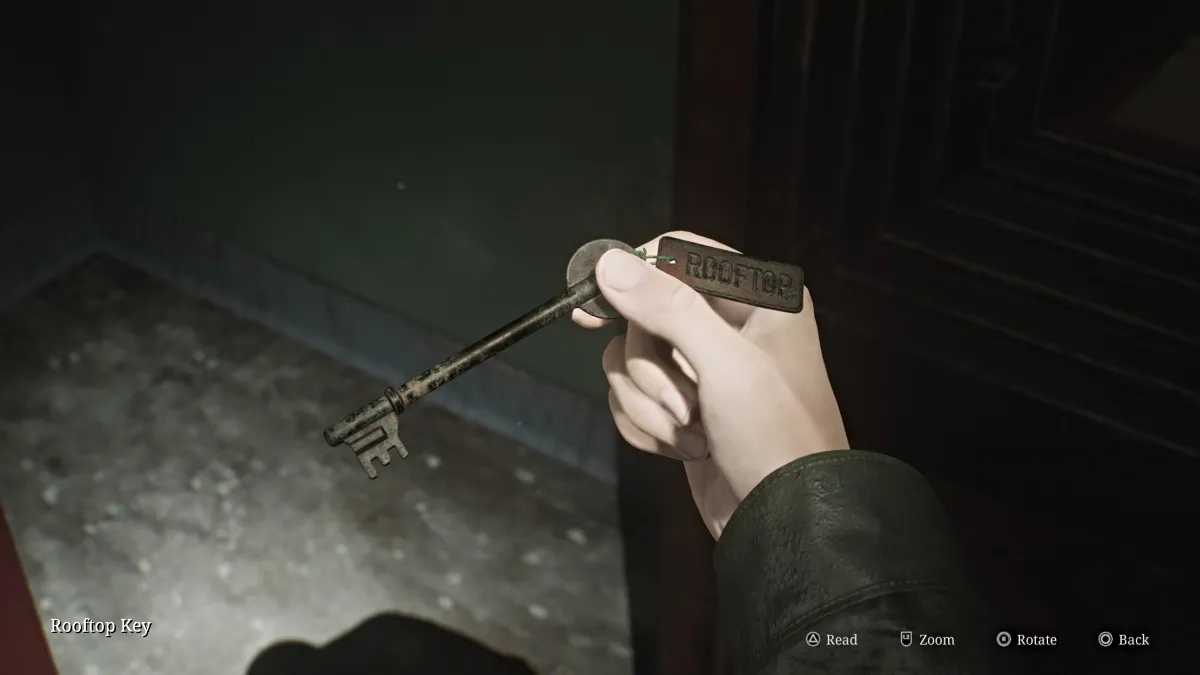
Once the correct combination is done (seen above), the safe will open and inside you can retrieve the Rooftop Key and the Safe Note , which gives some foreshadowing about the key taking James where he needs to go, and that "pain" will be involved, yay.
With that, go back and use the Red Save Point and start your journey up to the roof of Brookhaven.
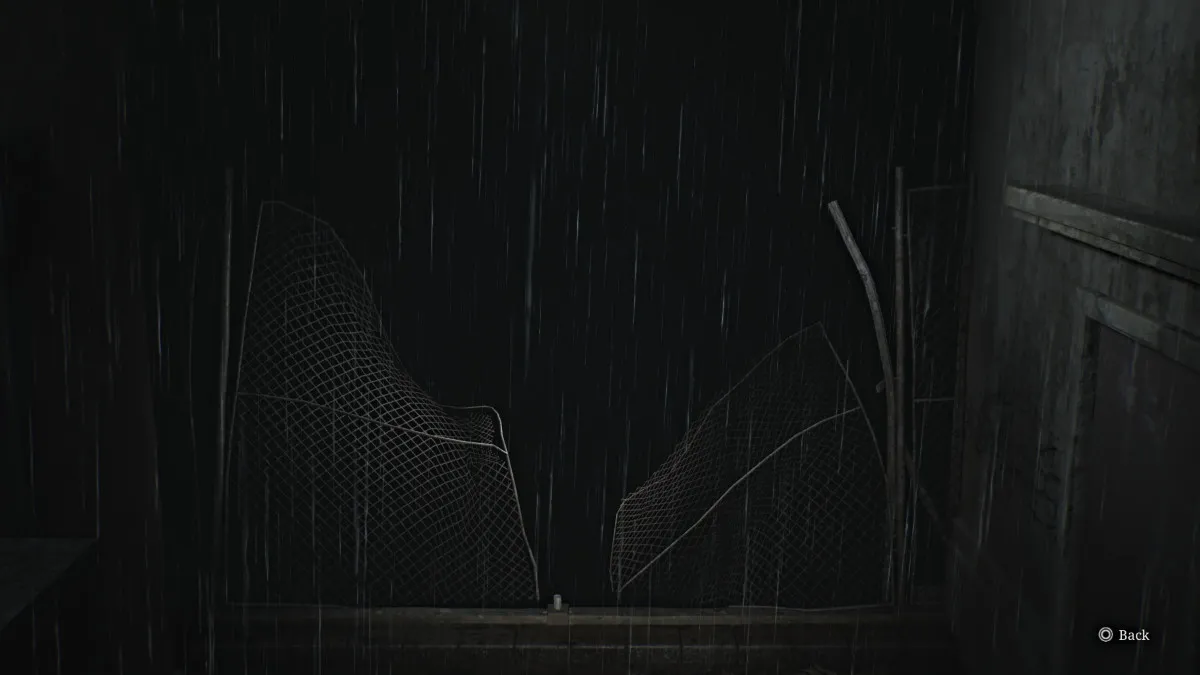
Once you arrive on the roof, first hang a right onto the nearby metal catwalk that has Shotgun Shells sitting at the end of it. Then go back to where you were and instead go straight, until you find an entrance to another metal catwalk that takes you around the left side of the roof.
At the end of it, you'll find another Glimpse of the Past (seen above) which happens to be the spot where James was shoved off the roof by Pyramid Head in the original game. However, that doesn't seem to be the case here.
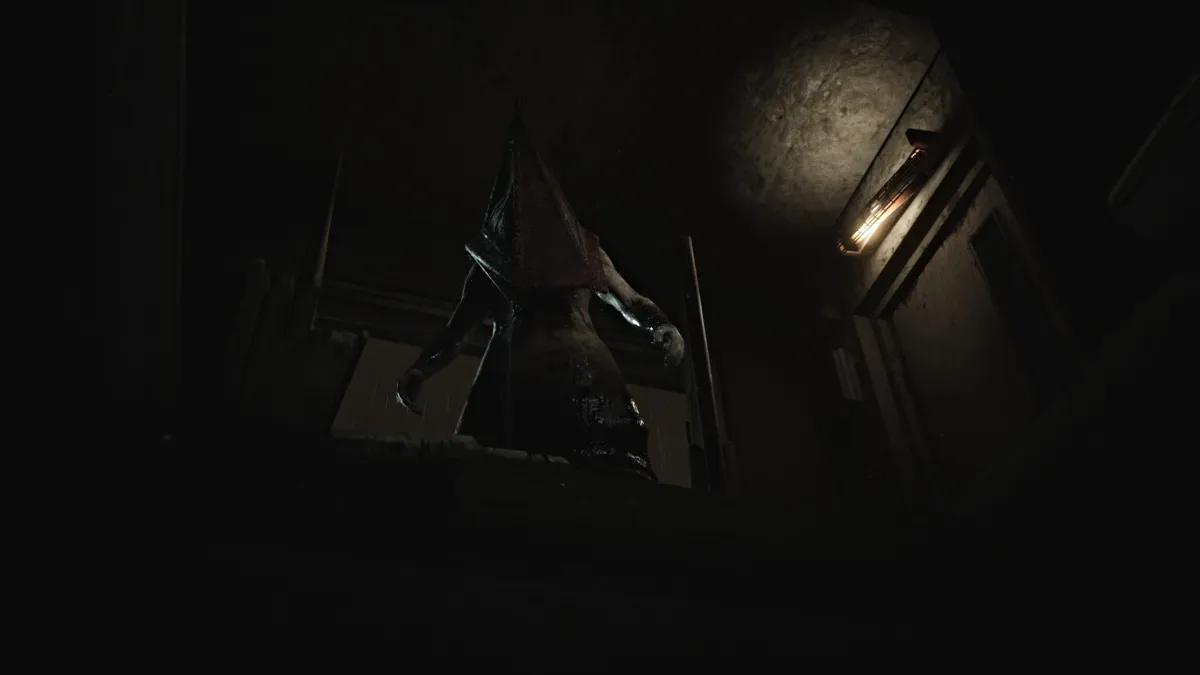
Now, go and investigate the yellow double doors that lead back inside. In what looks like the top of a wooden lift, you'll find the Page From a Diary on the floor. Pick it up, and as you try to go back through the doors, Pyramid Head will suddenly appear and grab James by the throat. This time, he shoves James down through the shaft, sending him back to the third floor.
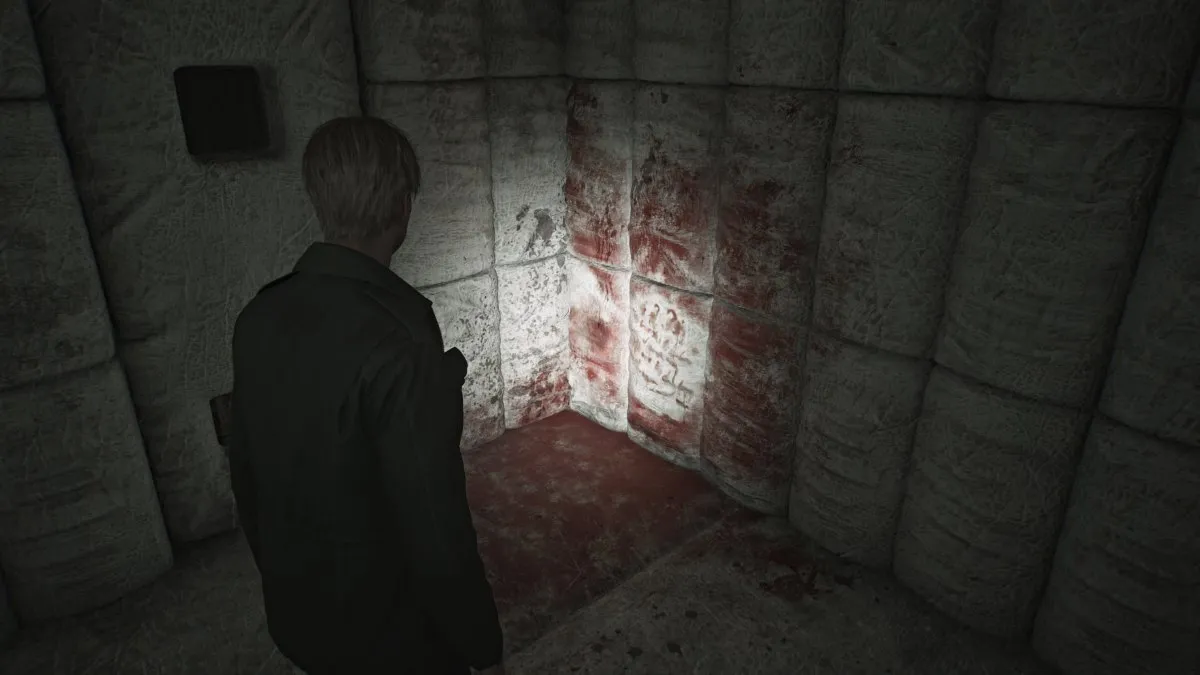
After James collects himself, you'll notice that you landed right on the opposite side of the huge 'Restricted Area' gate where Laura was last seen. First go investigate the Hydrotherapy Room , where you'll find Shotgun Shells , a Health Drink , and a Syringe . Next, when checking the padded rooms, in Room 13 you'll find another Glimpse of the Past covered in blood.
Continue on ahead and through the next set of yellow doors. Soon a cutscene will show James finally finding Laura in a room playing with teddy bears. He pleads for her to stop running and tell him how she knows about Mary. Laura seems hesitant to say much, but admits that she and Mary were friends and that they met at the hospital "last year".
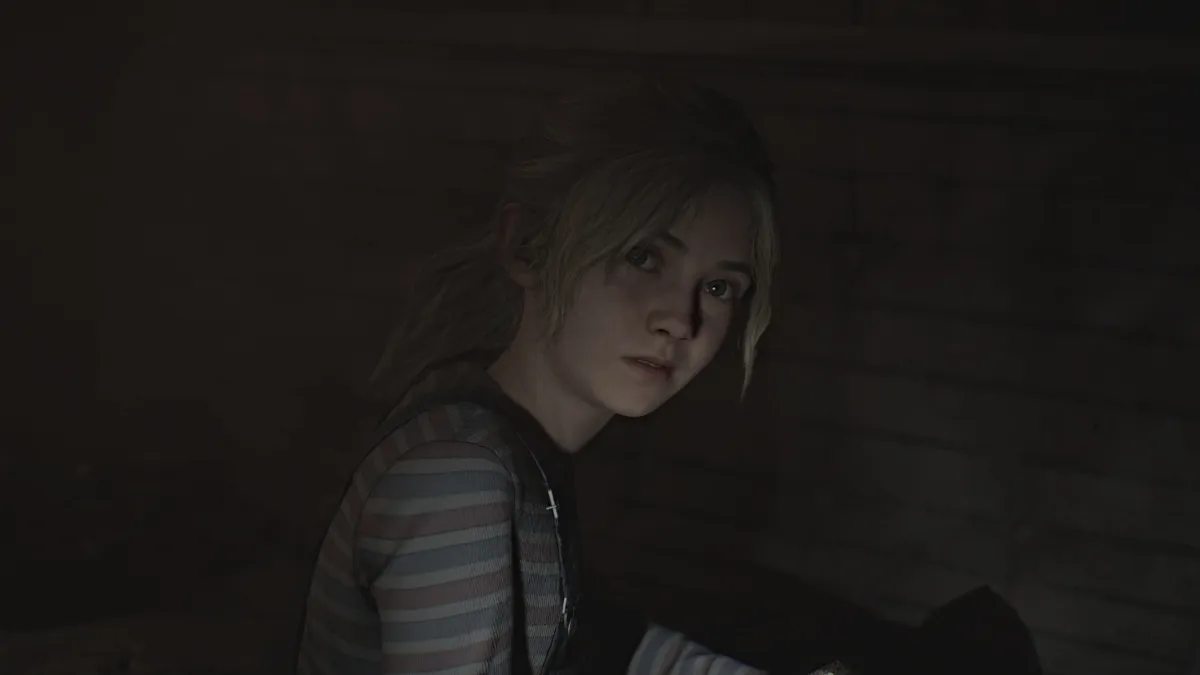
In confusion, James lashes out and calls Laura a liar, who immediately grows cold again and decides to play a trick on him. She baits him to another room nearby with the promise of another letter from Mary. The noise riles up a different kind of monster from within the walls, and now it's time for another boss fight.
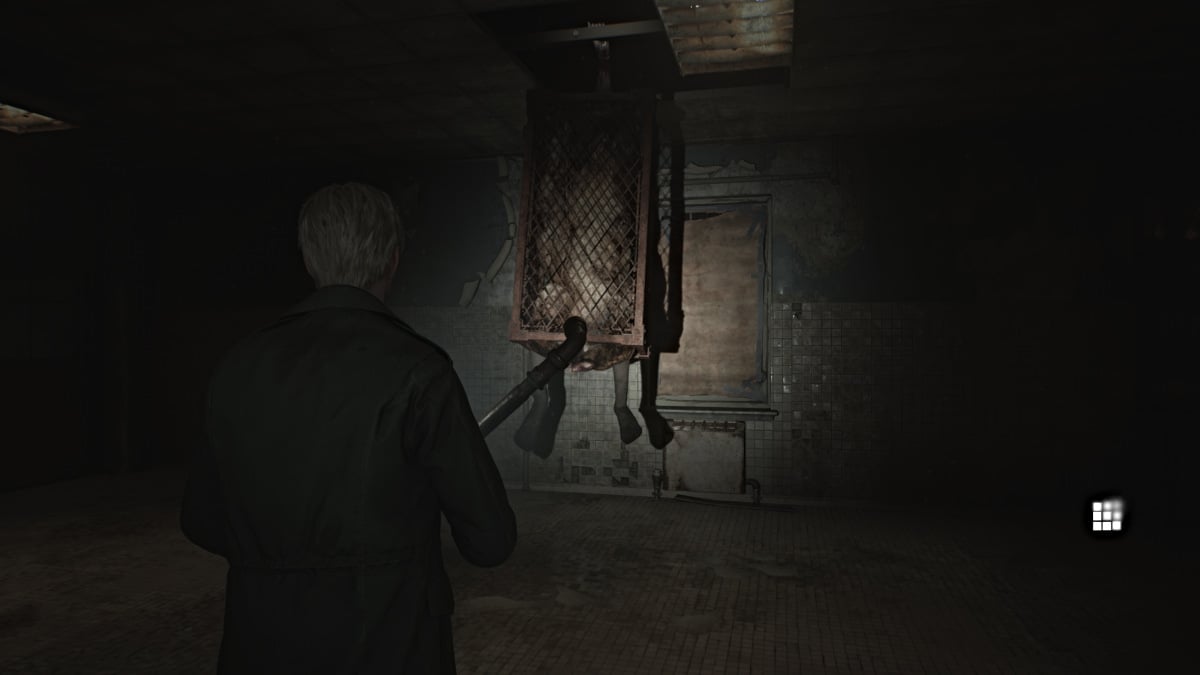
As the second boss fight in the game, Flesh Lips is as dangerous as it is disturbing to look at. Encased in a metal cage hanging from the ceiling, Flesh Lips will start the fight by essentially playing peek-a-boo with James, popping out from random places in the ceiling. Again, keeping your distance is a big priority.
While you can use both your Handgun and Shotgun to deal damage, Shotgun is king in this fight as you'll soon realize. Start by shooting its legs (shooting the cage won't do anything), and make note of the Shotgun Shells scattered around the room for your use.
The more damage you deal to it, its cage will start to come apart, allowing you to start damaging the body within as well. Eventually, this will cause Flesh Lips to take on a different form, using the metal bars from its cage like spider legs to chase you around the room.
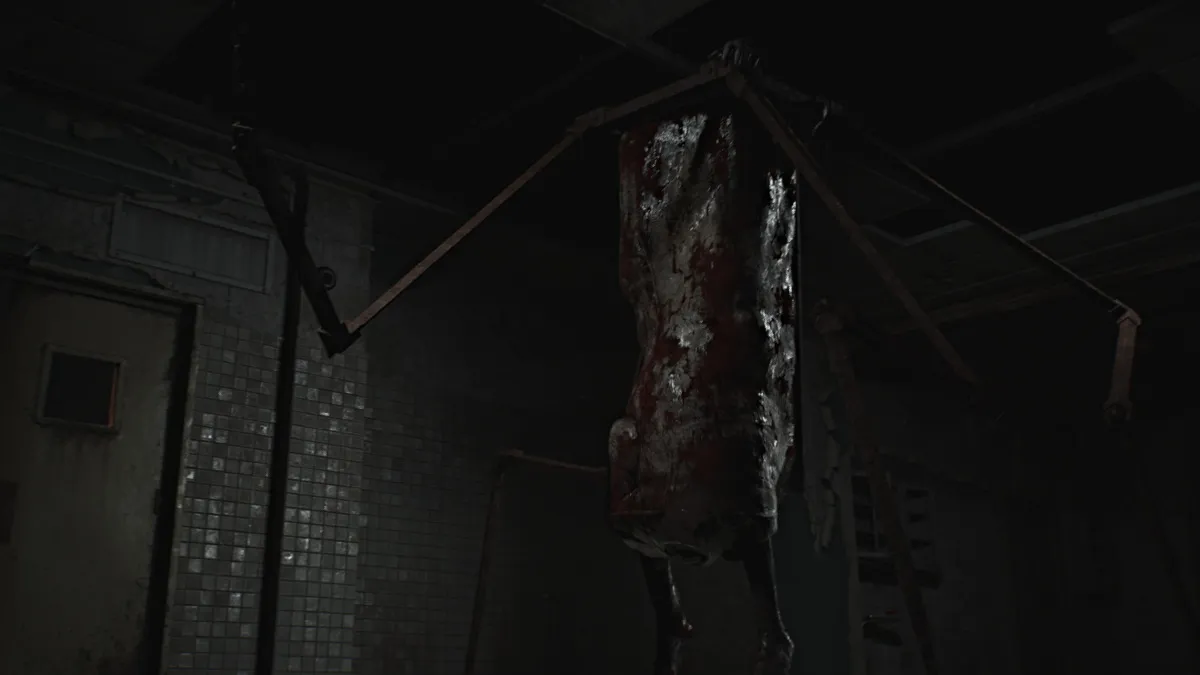
Deal damage as fast as you can, as this boss hits like a truck and you may find yourself swigging Health Drinks faster than you can blink. Occasionally it will emit a screaming attack that, while terrifying, just serves to stun you for a moment.
Eventually, Flesh Lips will collapse dead and James will go over to assess the damage. Suddenly, a second Flesh Lips monster will appear and capture James, dragging him through the ceiling and into an ominous cutscene that eventually lands us back in the Otherworld.
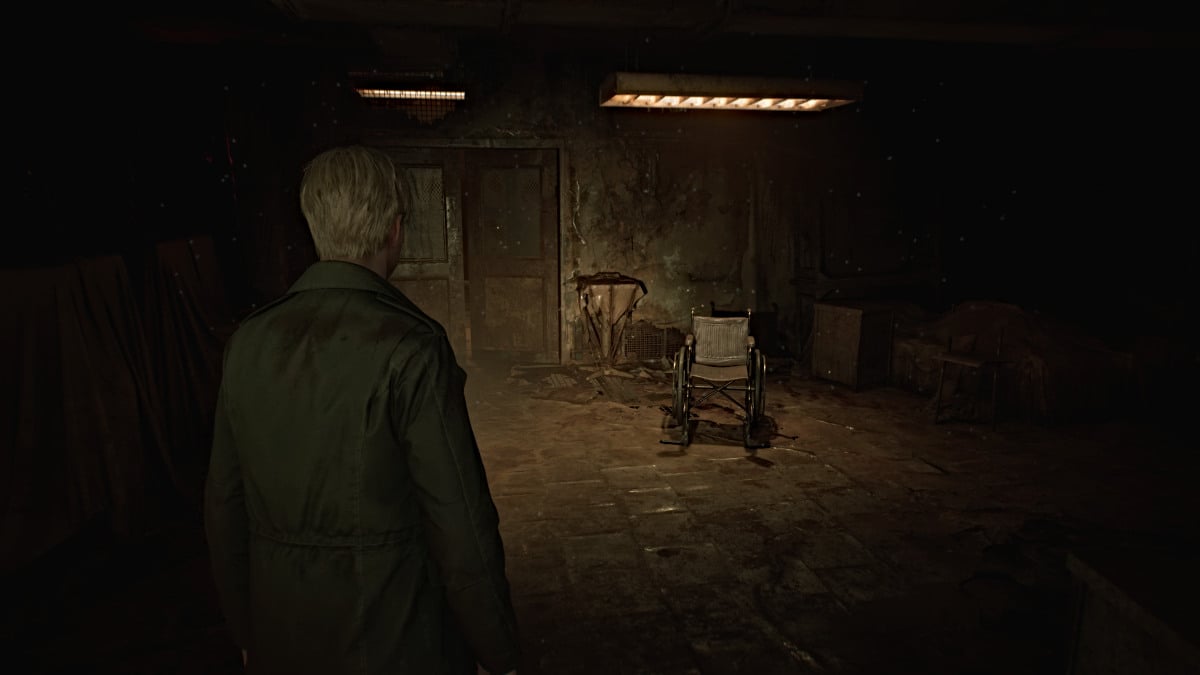
After being dropped off near the hospital's garden area, get your bearings and check your map. You'll notice that all of your markings have been wiped clean and that Brookhaven's version of the Otherworld spans every floor, including the Basement. So you've got a lot of exploring ahead of you.
Start off by going through the Dayroom and picking up some ammo there along with a Syringe and the Evaluation Card, Patient #3141 from the wheelchair in the middle of the room. Head out into the hall and use the Red Save Point to your left.
Much of the first floor is blocked off right now by large gaping holes in the floor and locked doors, so your only path is to the Elevator. Notice that it's missing the button for the Basement level , and you'll need to find it to reach there. For now head to the second floor.
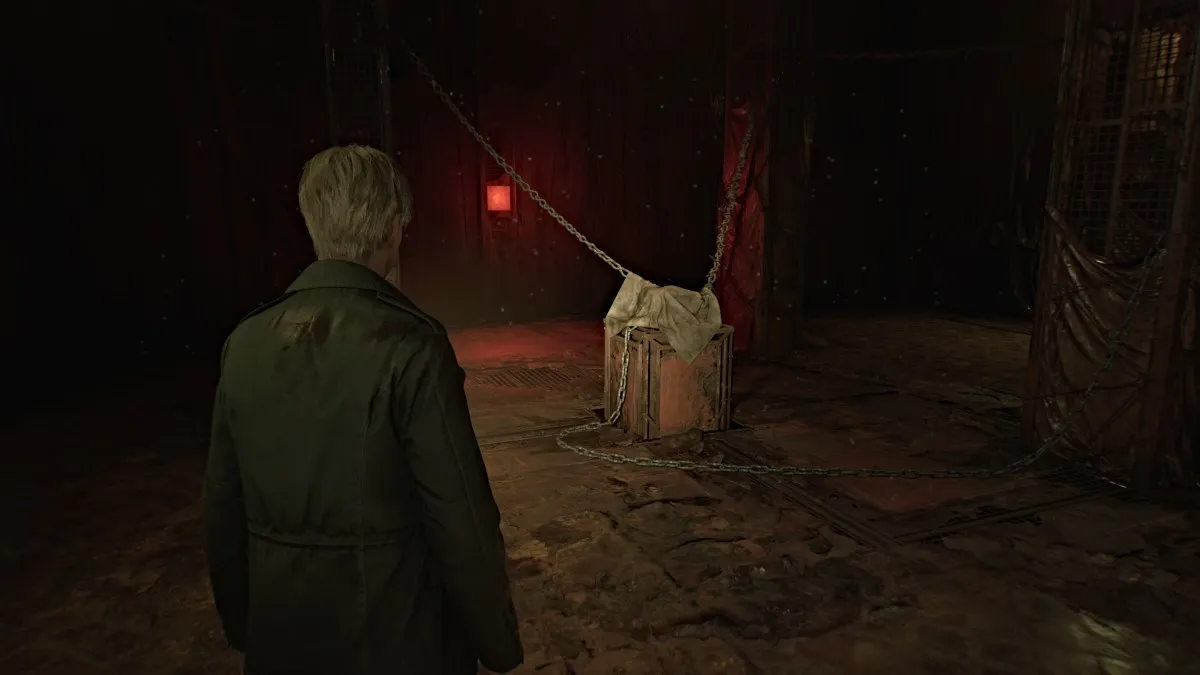
Once there, head right, and near the Nurse's Office , you'll see something sitting on top of a crate, chained and covered up (with a convenient Red Save Point behind it). Uncover it to find a lock box sealed with two numerical locks and a keyhole, meaning you'll need two codes to unlock it, as well as a key .
While we can provide you with the correct codes for the locks to help save you some legwork, before you can use those you need to find the key first. To do that, you need to get to the third floor.
First, investigate the nearby Nurse's Office for items and watch out for the Bubble Nurses who now wield knives instead of pipes. You'll find both Handgun Ammo and Shotgun Shells here, as well as a Health Drink . Cross your way over to the Treatment Room , and then take the crawlspace at the south wall into the Women's Locker Room . In there, you'll find a Syringe and more Shotgun Shells .
Circle around the hallway to the northwest stairwell, which you can take up to the third floor.
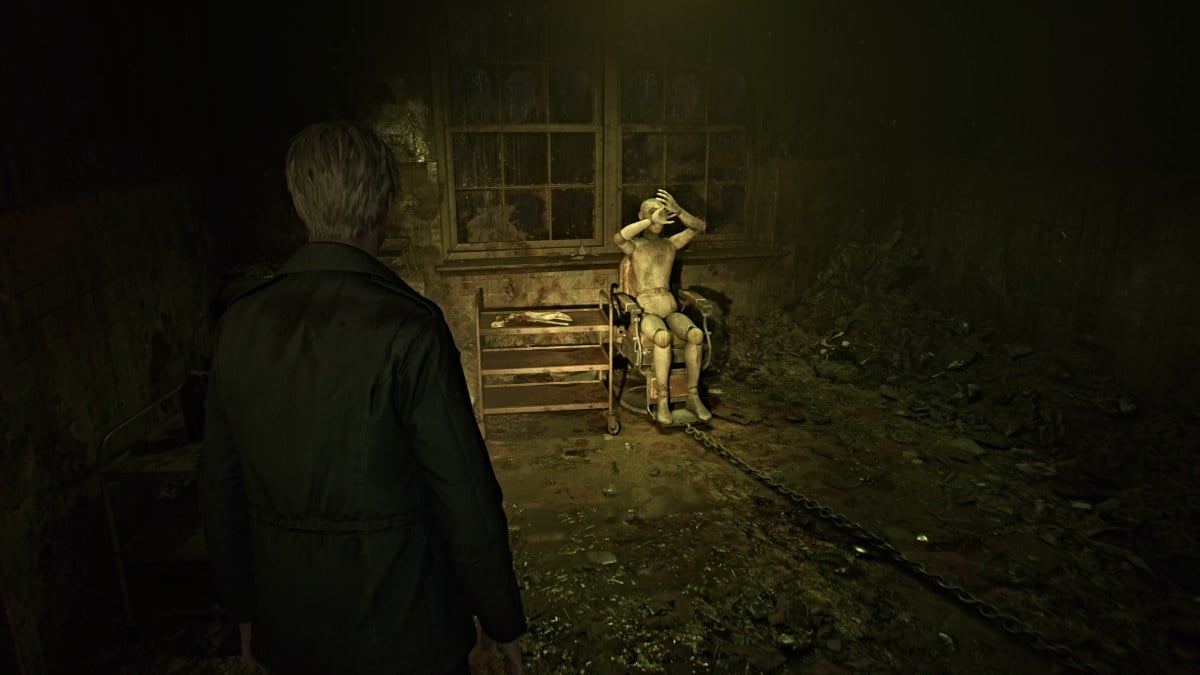
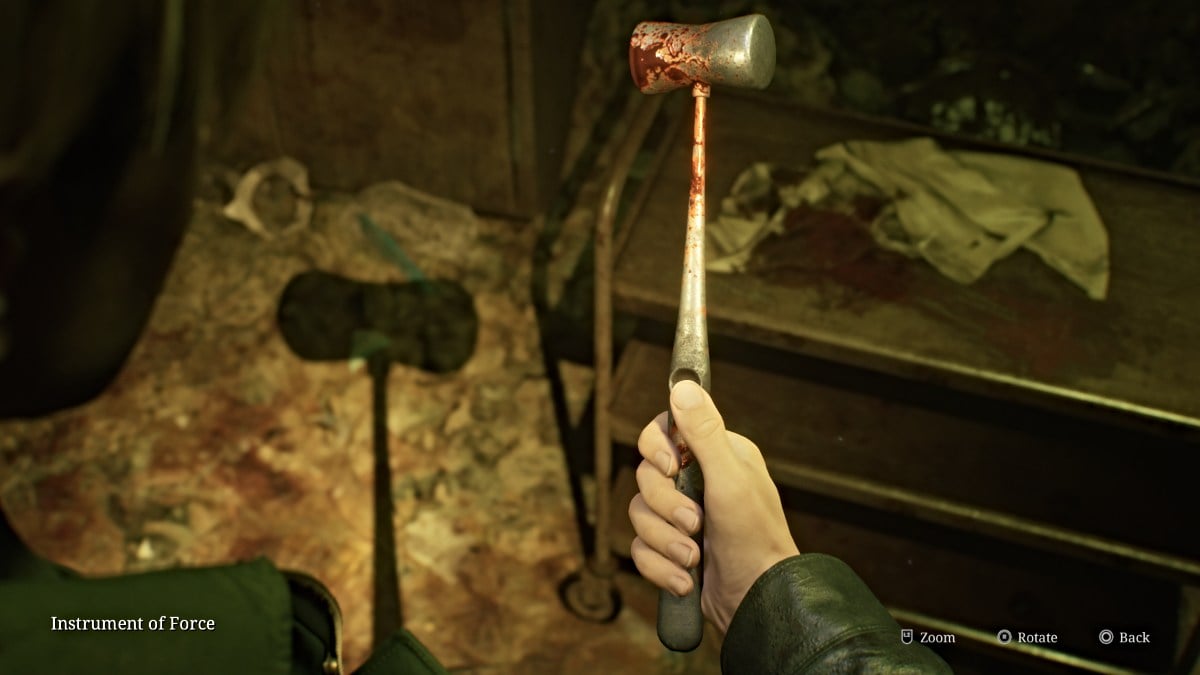
Once there, first head into the X-Ray Room and pick up The Procedure memo from the operating table. Over in Exam Room 4 you'll find a mannequin (no, not the monster) in a surgical chair with its hands in front of its face (seen above). Pick up the Instrument of Force from the tray nearby. This is one of two tools you'll need to get what's hiding inside the mannequin.
Make your way through Exam Room 5 and watch for another Bubble Nurse and Lying Figure in the hallway. Grab some Handgun Ammo from the desk tucked in the corner near Room D3 . Go in there next for Shotgun Shells and a Mannequin that sneaks off to ambush you from around the next corner. Deal with it and retrieve the Health Drink from that corner.
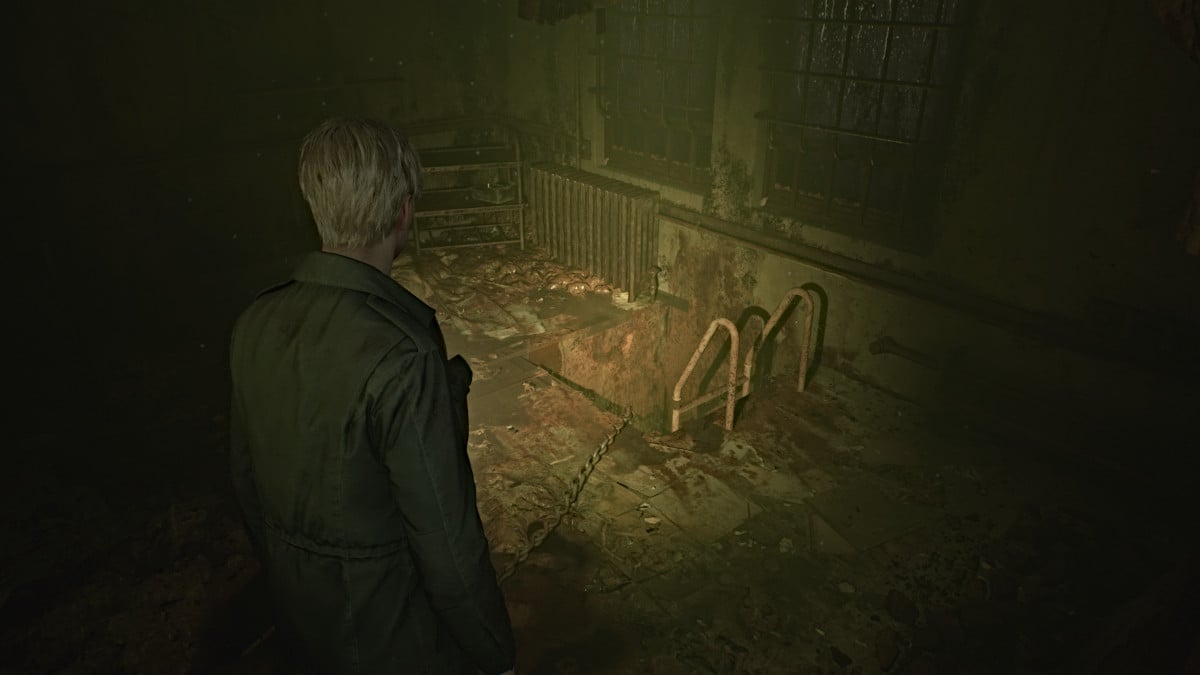
Backtrack to Room D2 and smash the wall on the north side to get in. Use it to cross over to Room D1 , where you'll find a ladder you need to climb down. This brings you down into the Kitchen on the first floor. Grab some Handgun Ammo from the Pantry area and ignore the back room behind it, as you'll only find a Mannequin in there. Explore the nearby Restrooms if you want for more Handgun Ammo and a Shotgun Shell .
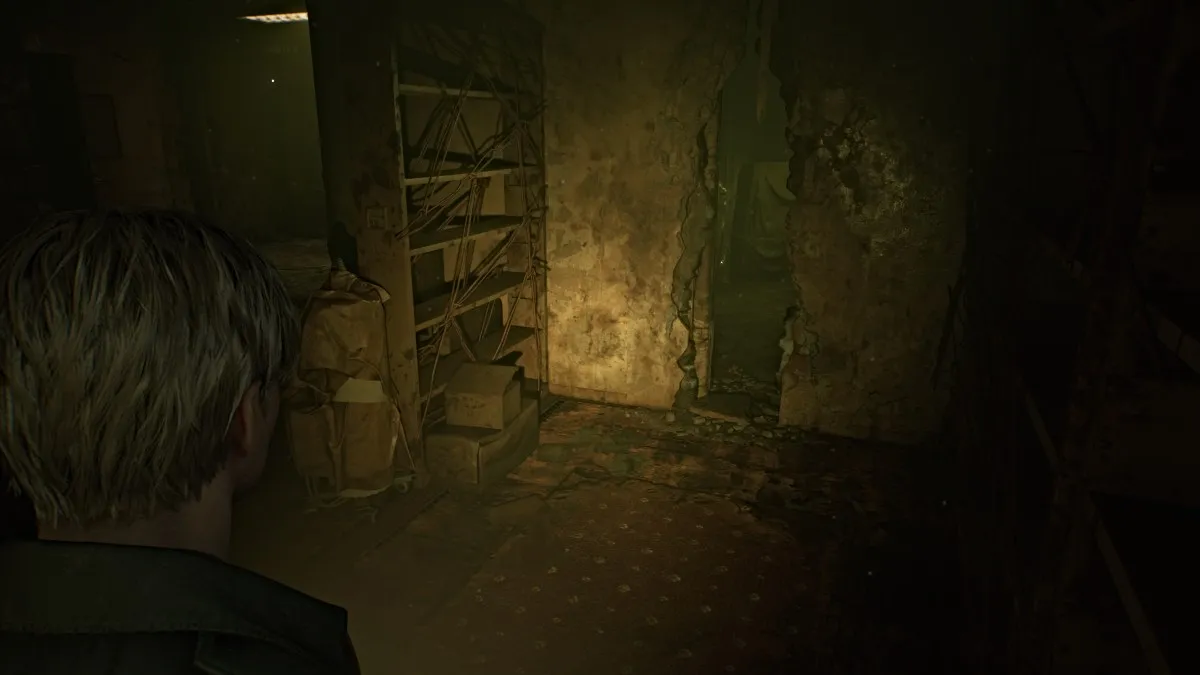
Head down the south side of the Kitchen and around to the Cafeteria . Deal with two Bubble Nurses and a Mannequin there then retrieve the Handgun Ammo on the middle table. Head into the Storage and Medical Records rooms next, where you'll find more Handgun Ammo , Shotgun Shells , and a Health Drink .
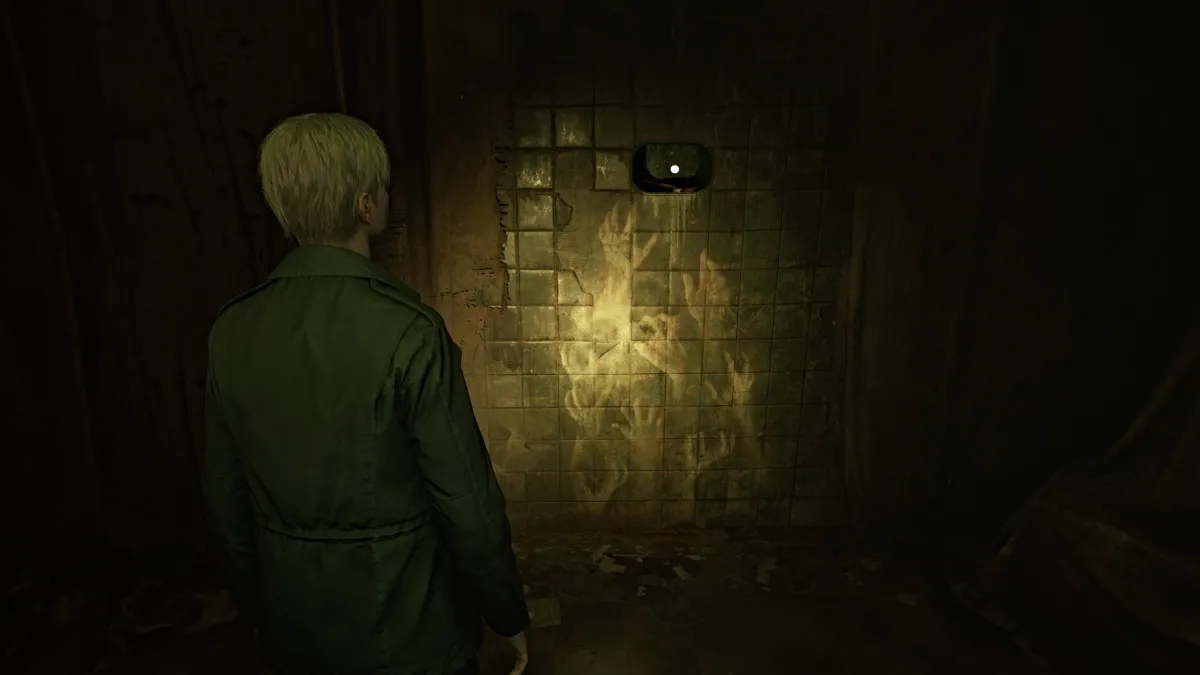
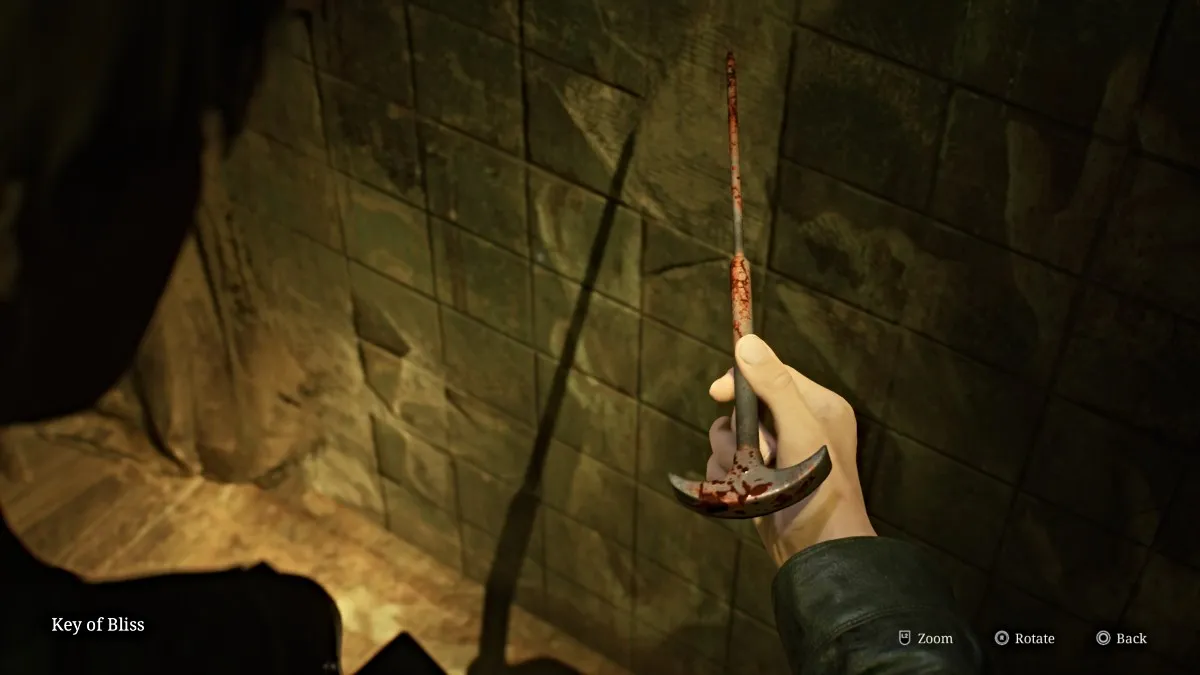
Slip through the wall crack near the back into an unmarked room, and on the wall to your right you'll see a familiar hand mural (seen above), and above it in a crevice, the Key of Bliss, the other tool you need . Take it and make your way back up the ladder in the Kitchen.
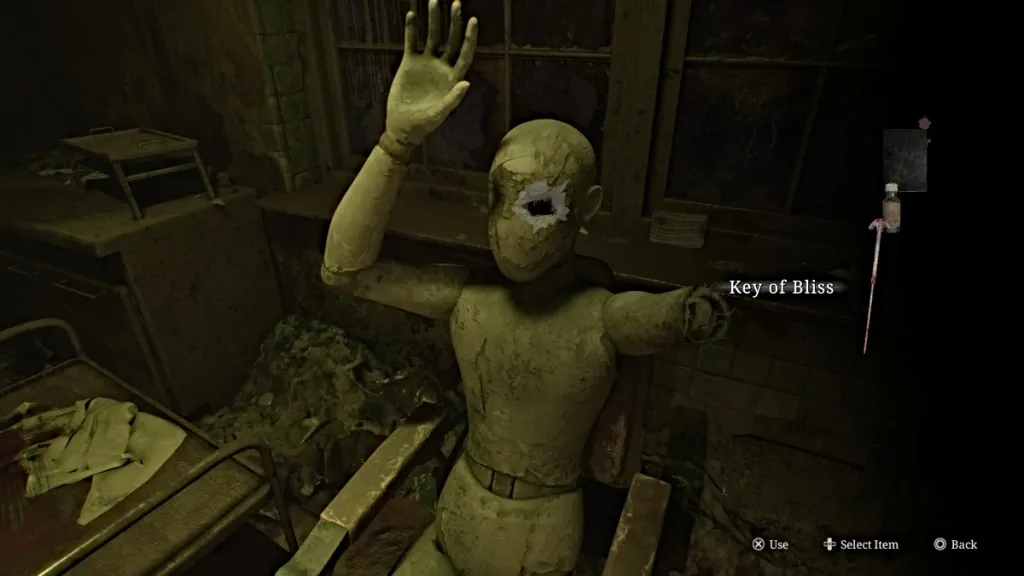
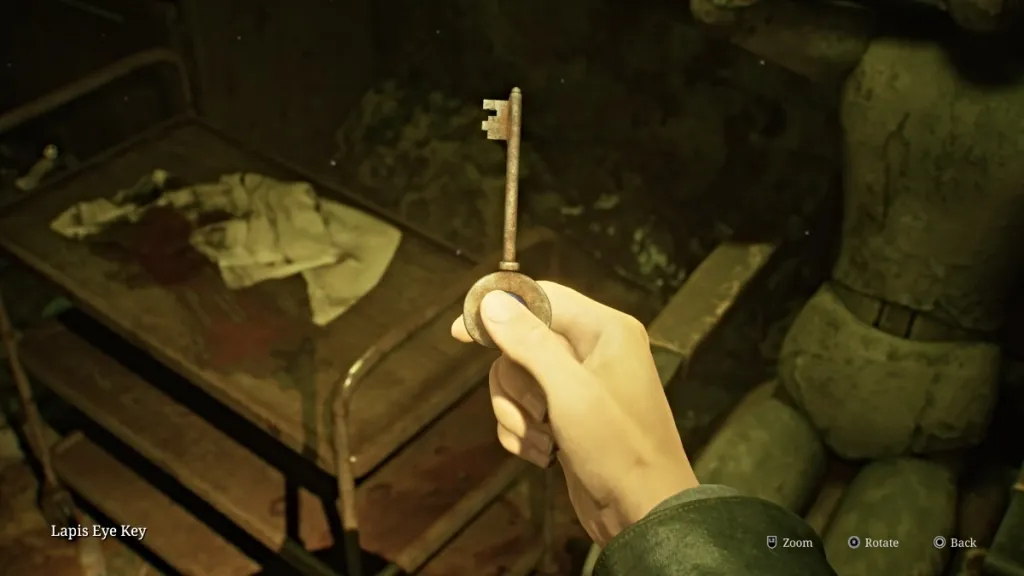
Head back to your mannequin friend in the surgical chair in Exam Room 4 . Use the Instrument of Force to break the right arm off, push the left arm away, and then use the Key of Bliss to brutally lobotomize the Lapis Eye Key from the eye socket. This is the key you need for the safe box.
With that done, make your way back down to the second floor via the stairwell.
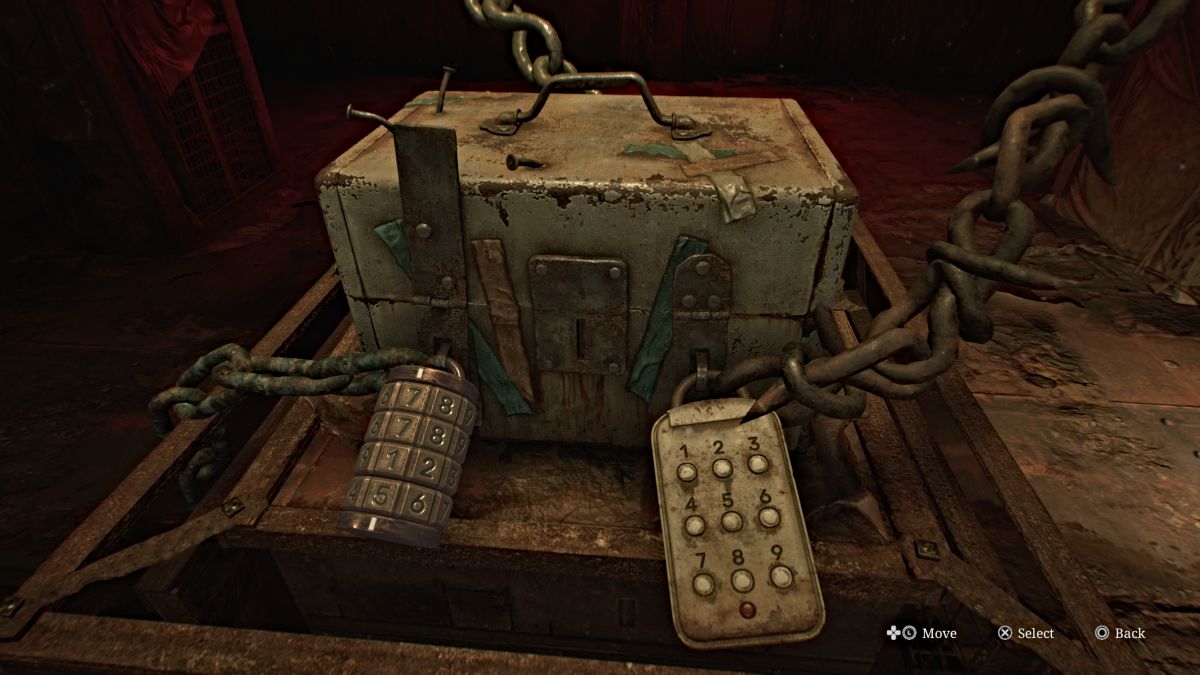
Head back to the chained box on the second floor, and first use the Red Save Point behind it. Use the Lapis Eye Key you just got on the box. This leaves the two numerical locks for you to crack. Luckily, we've got both of those codes figured out for you to save time.
If you're wanting to collect all of the memos in the game for the achievement, however, you should still visit Room M2 on the second floor for the Calendar Page , which provides the hint for the combination lock.
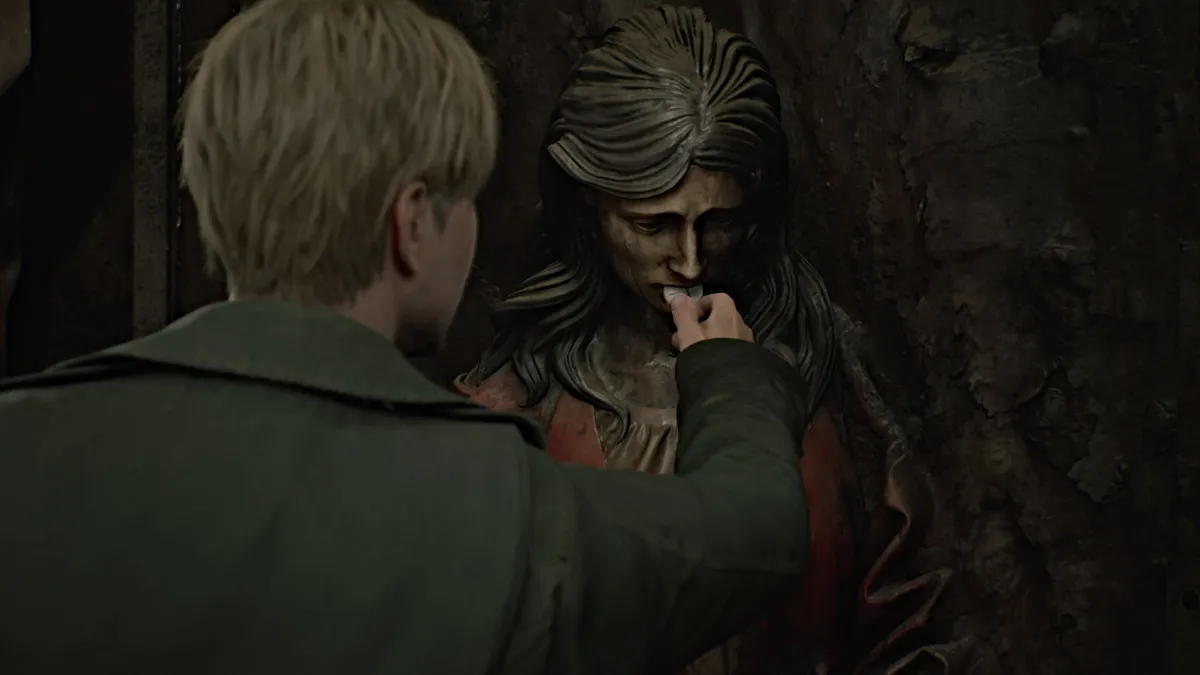
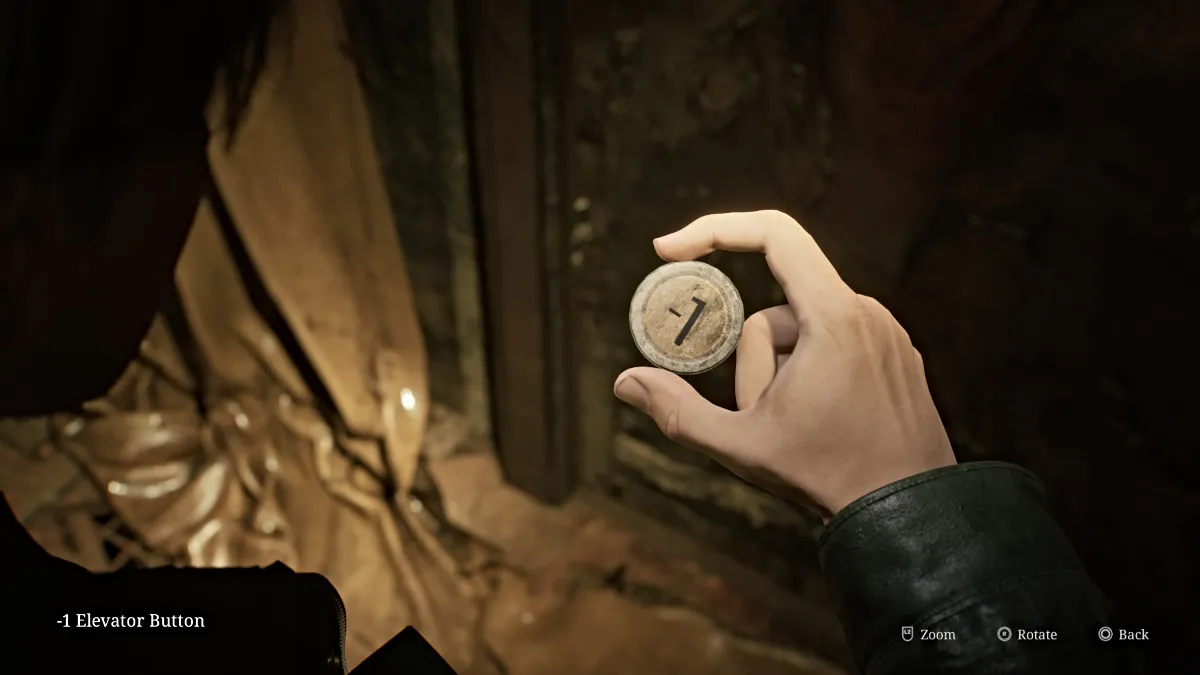
Once open, a cutscene will play where it's revealed that nothing is in the box, which leaves James dejected. However, a curtain nearby suddenly falls to reveal a strange door with a partial statue of a woman on it. James approaches it and finds the '-1' Elevator Button in its mouth, allowing you to use the elevator to reach the Basement .
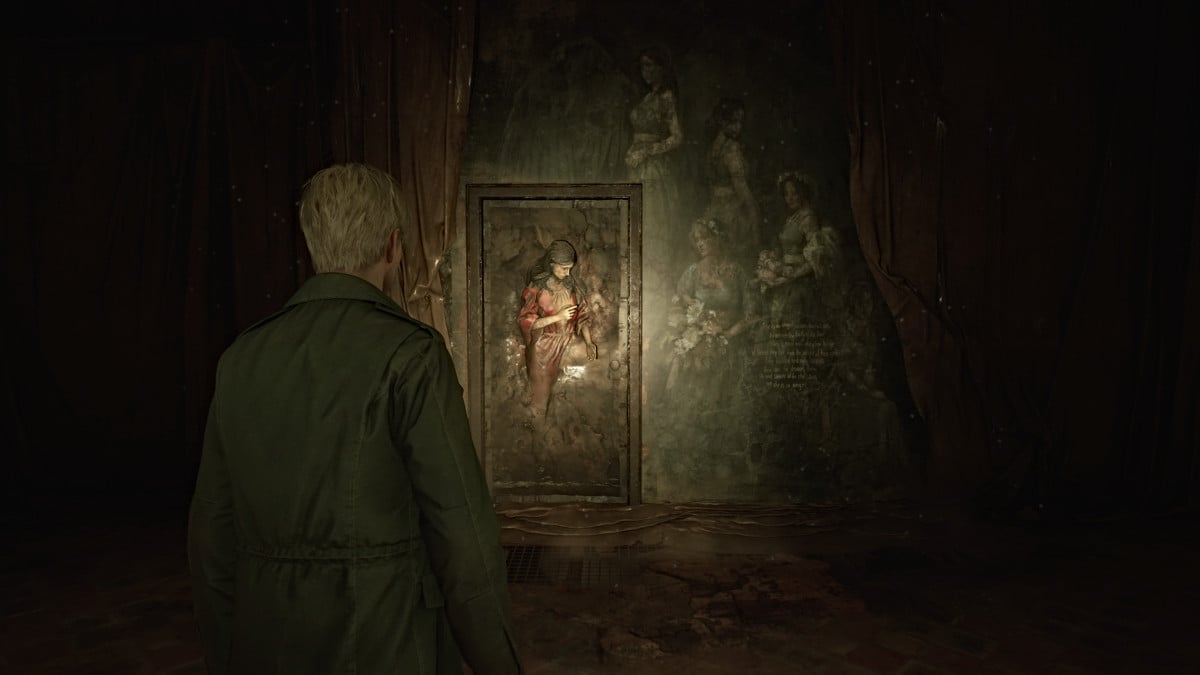
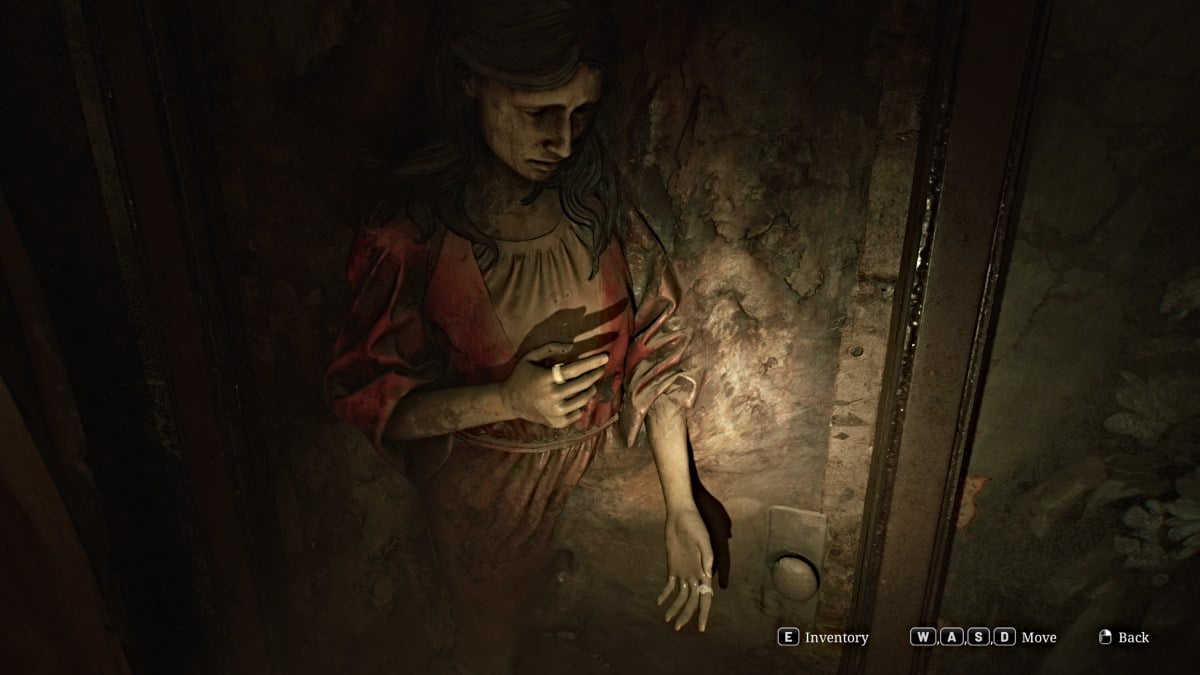
To open the Lady of the Door , you need to find the two rings missing from both her hands (seen above). To find one of them, the Basement is conveniently your next destination. Head to the Elevator and use the -1 Button to repair and take it down to the bowels of Brookhaven.
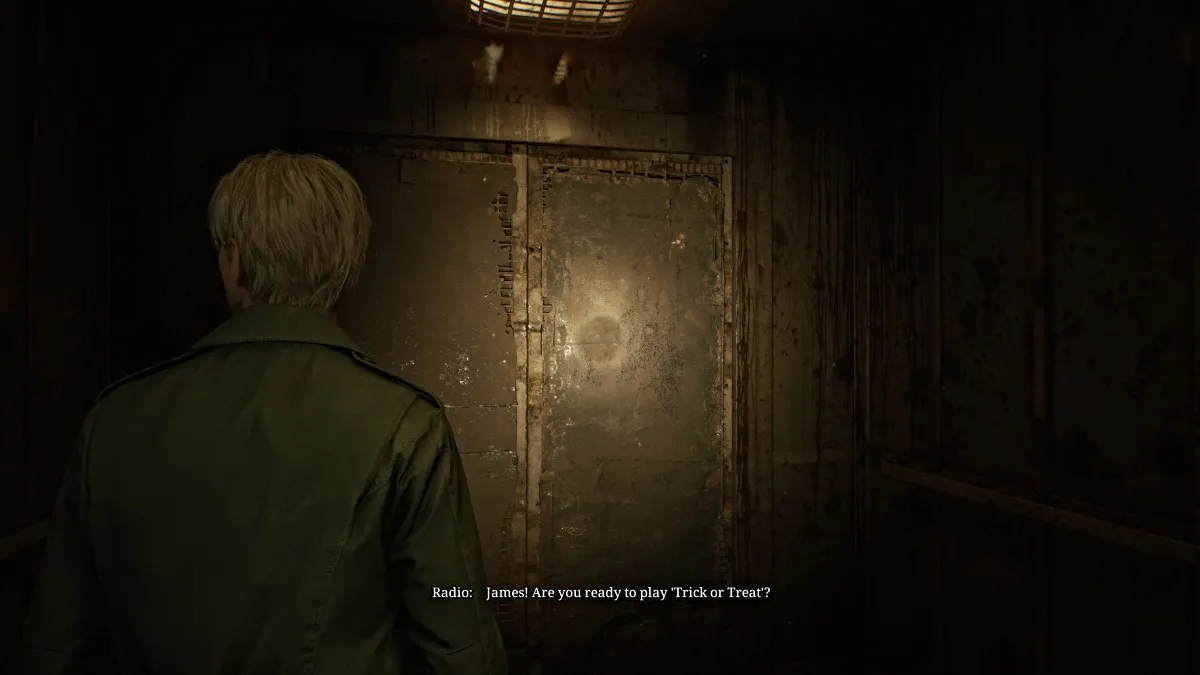
However, along the way, a mysterious voice will come over the radio system and enact a Trick or Treat game show just for James. It recites three quiz questions related to Silent Hill and its history that you'll need the right answers to when the time comes. So that you have them handy, here are the correct answers:
Soon you'll arrive in the Basement, and the right path is blocked so you'll need to navigate around on the left side of the floor. Check the Kitchen Disposal Room for some Handgun Ammo and Shotgun Shells then go through the Maintenance Room to get to the Generator Room . From there, head south into Laundry Storage where you can find Handgun Ammo then further into the Laundry Room and Storage Room which has a Health Drink .
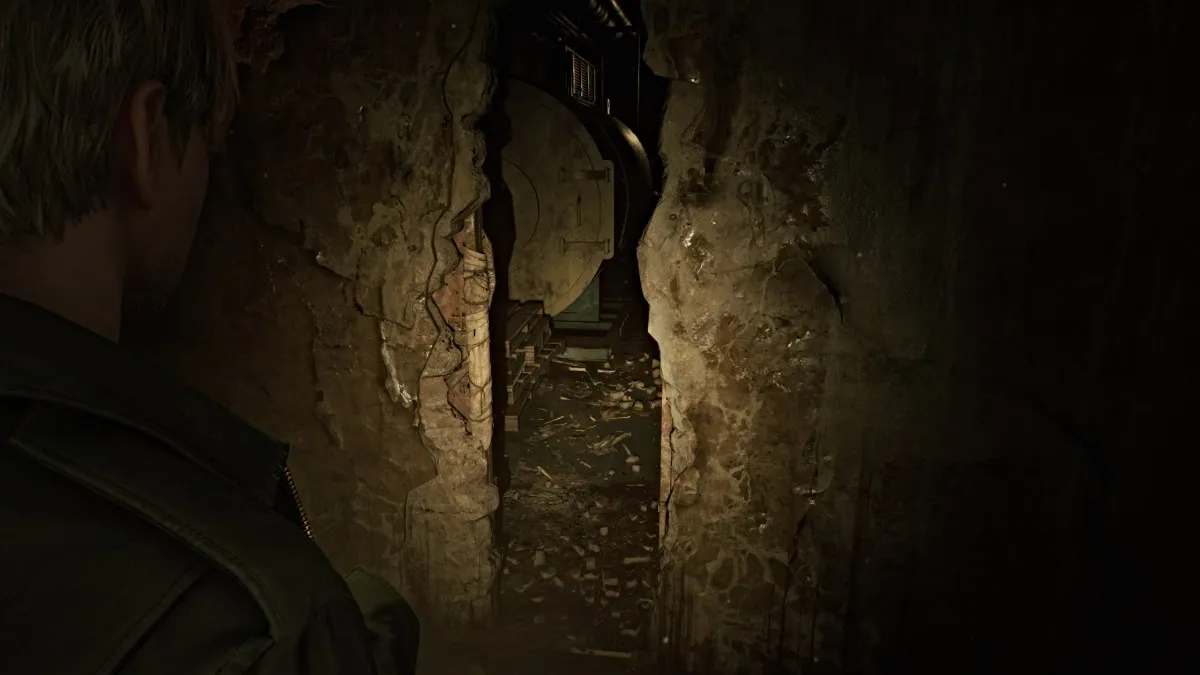
You'll come out on the other side of the huge gap in the floor, so you can continue down and around. The rest of the hallway is blocked, but a gap in the wall nearby will take you into the first Boiler Room . Cross into the second Boiler Room , deal with the Bubble Nurse patrolling the area, and then use the high crawlspace on the right side to make it out to the other side of the east hallway.
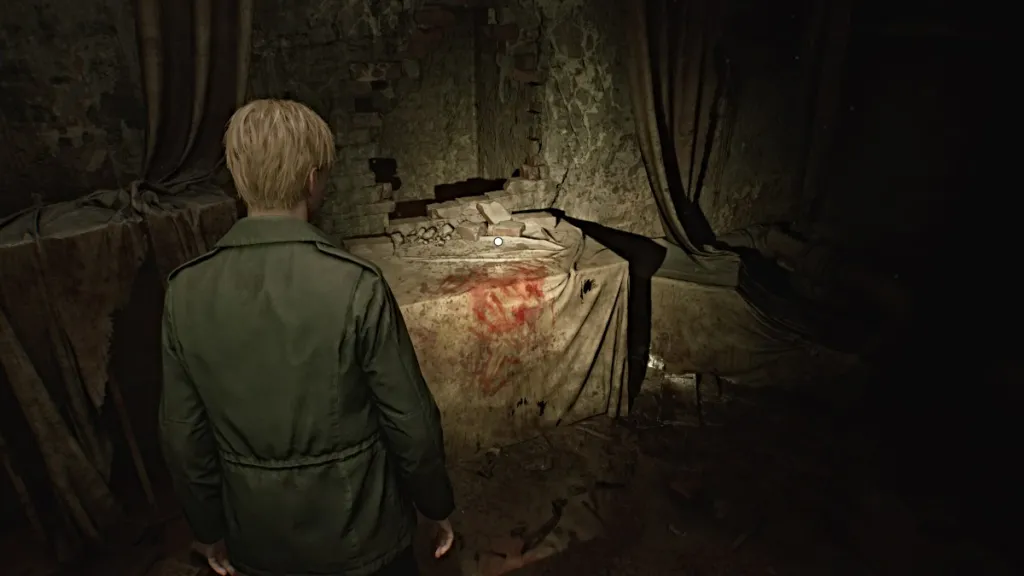
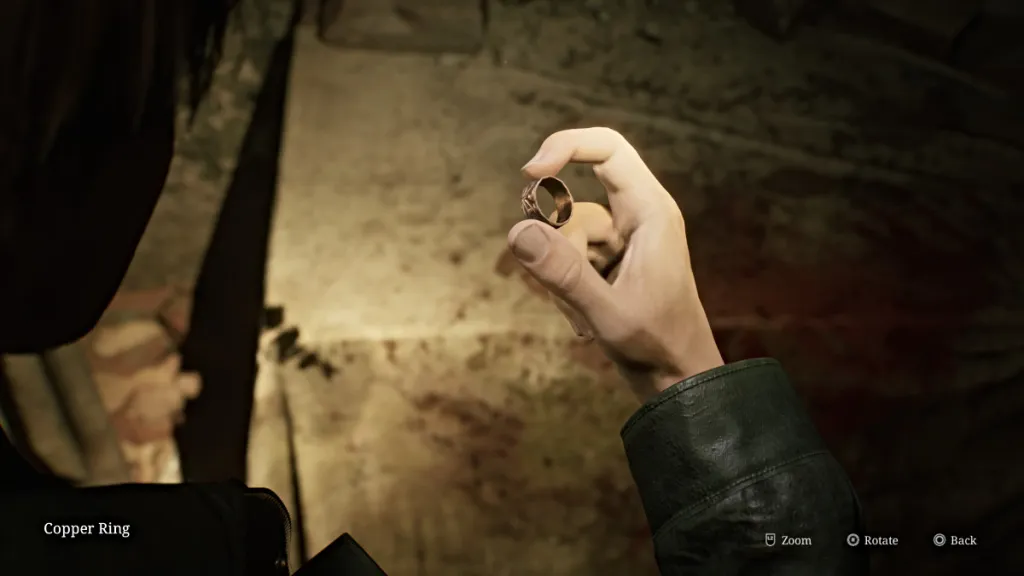
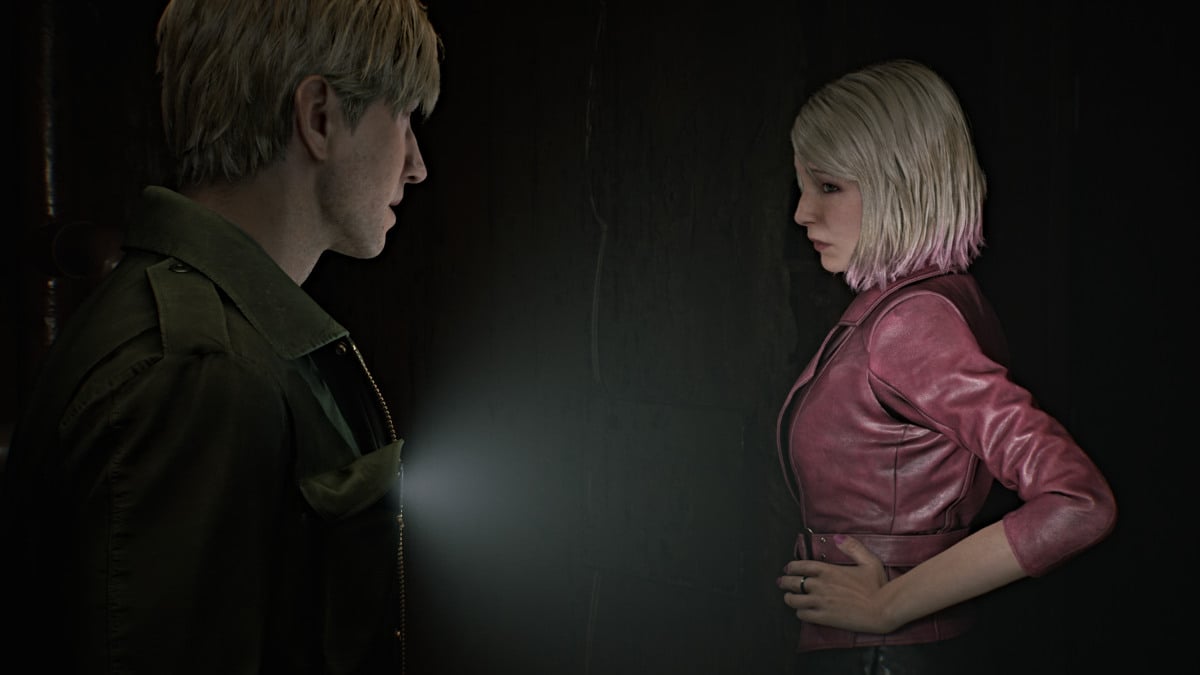
Your options are still very limited, so just go straight ahead through the next wall crack into the Pump Room . Sitting on a table to your right is the Copper Ring (seen below), the first of two that you need. As soon as you grab it a cutscene shows Maria suddenly appearing from the shadows, seemingly better than earlier.
James almost mistakes her for Mary, which of course doesn't sit well with Maria. The conversation instead turns to Laura, with whom Maria feels a strange connection that she can't explain and just insists on finding her. With that, Maria returns as your companion.
Continue through the Pump Room and back out into the hallway. The Tech Room is blocked, so the only way forward is back up to the first floor . Make your way up through the rooms on the east side, starting with Exam Room 2 . Cross into Exam Room 3 where you can find a Syringe , then cut back into the hallway.
Follow Maria as she remarks about a "stroll in the rain", strangely unbothered by the Otherworld around them. The rest of the rooms on the right side are blocked, so the path takes you instead to the Pool area. Pick up the "They musn't know" Strange Photo from a nearby bench, then make your way around the pool (now a giant gaping pit) to the Shower Room , then across the hall to the Doctor's Lounge .
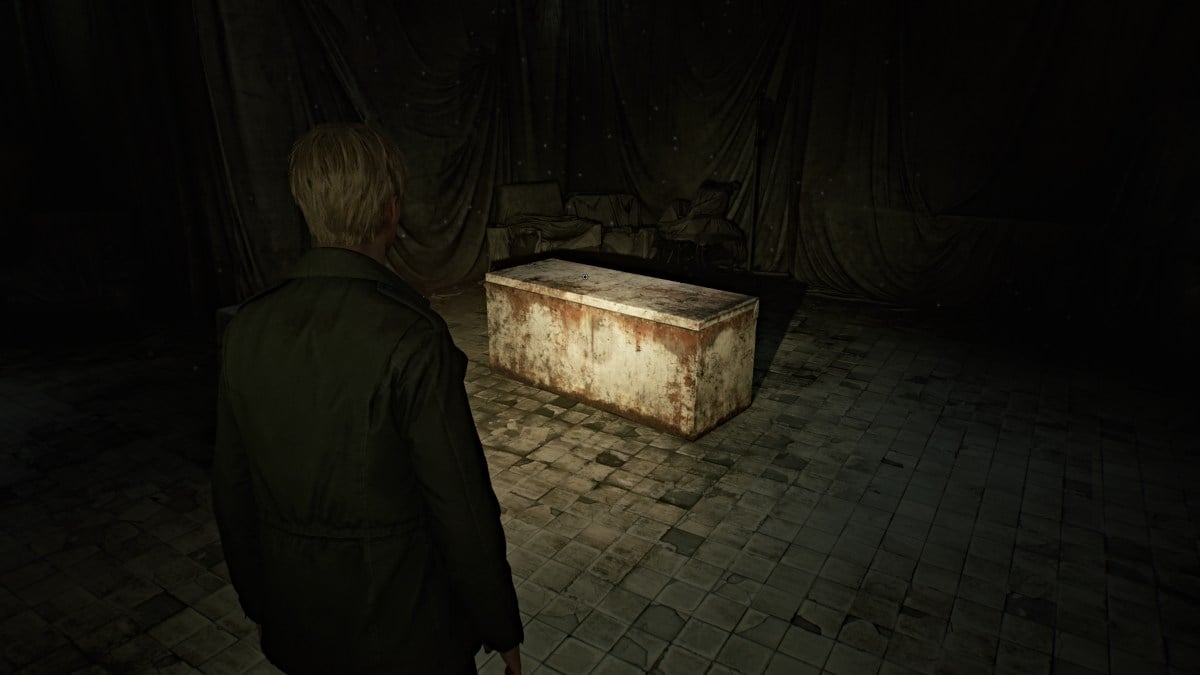
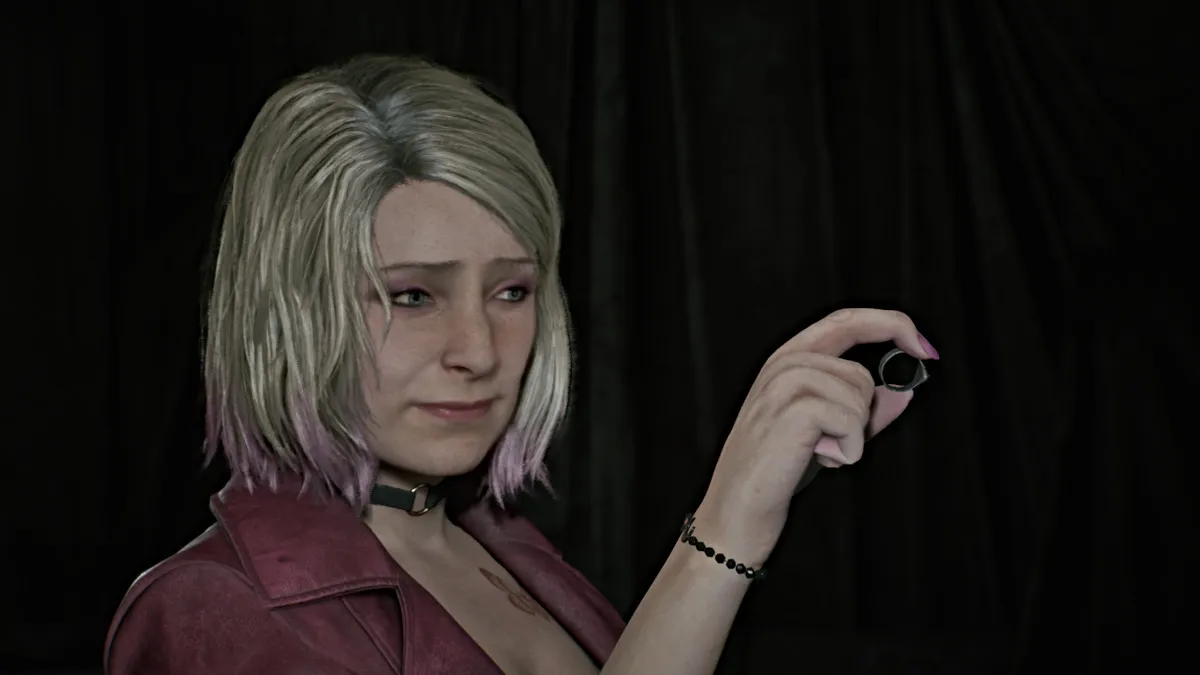
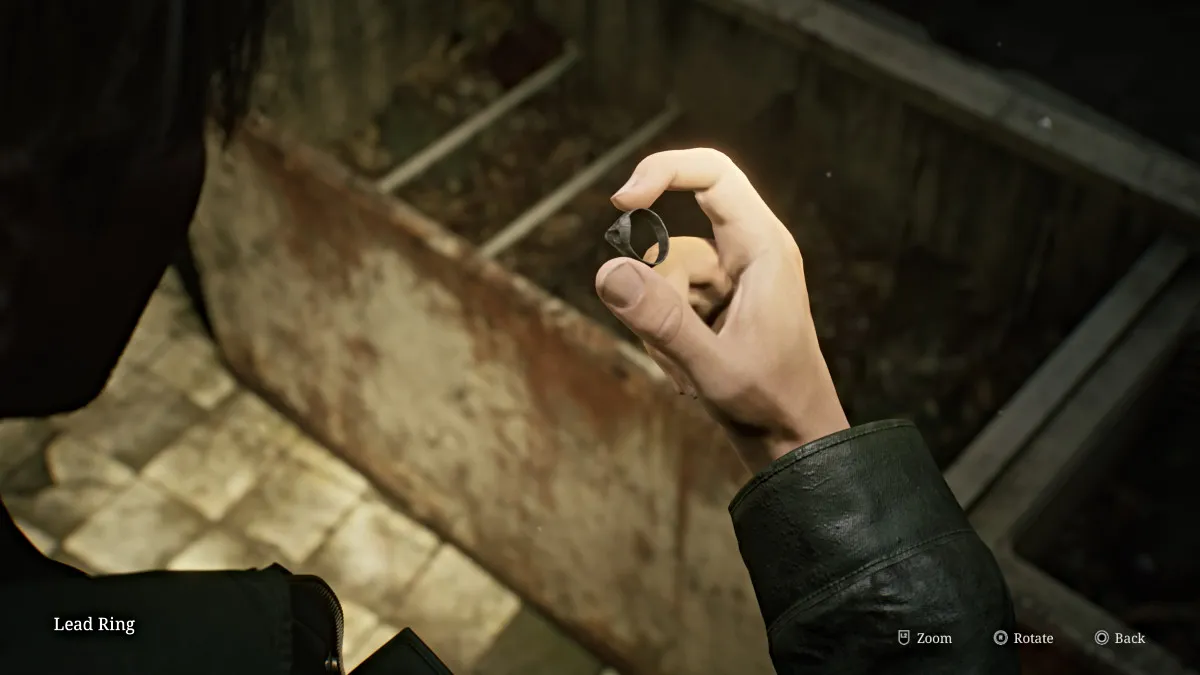
The room itself is mostly empty except for a large fridge that's been toppled over. James finds himself unable to open it alone and Maria teases him for it before offering to help with a hint of exasperation. They manage to open it together and upon peeking inside Maria finds a Lead Ring . It just so happens to be the other ring you need for the Lady of the Door.
Cross through the Locker Room to your left and pick up the Dissociated Note in there before continuing to the central hallway. Use the Red Save Point nearby before heading in the direction of the elevator. Before taking it though, head over to the Pharmacy , where you'll find an ornate box sitting on the counter.
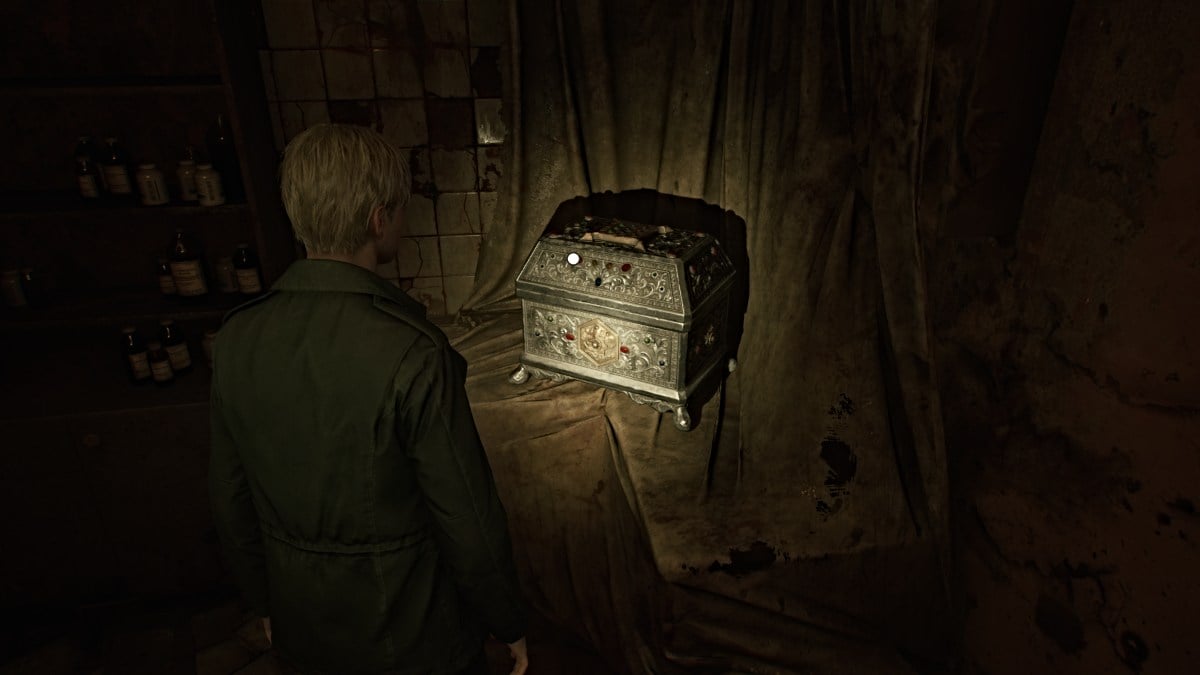
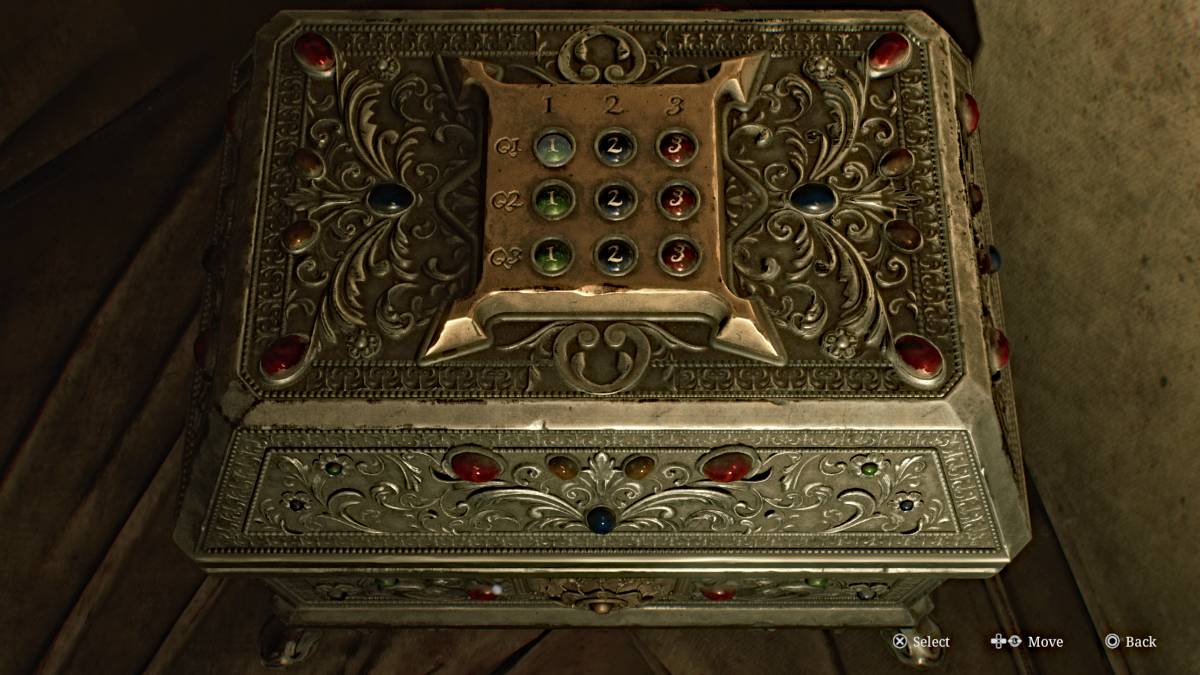
This is the "prize box" for the Trick or Treat quiz you received earlier, and you need to use the buttons on the top of it to punch in the correct answers. As mentioned earlier, the correct order is: 2,3,1.
If you punch them in correctly, you'll receive a nice reward of 5 x Shotgun Shells and 2 x Syringes . If you put the answers in wrong, you'll get pain instead, to put it lightly. When you're ready, take the elevator back to the second floor.
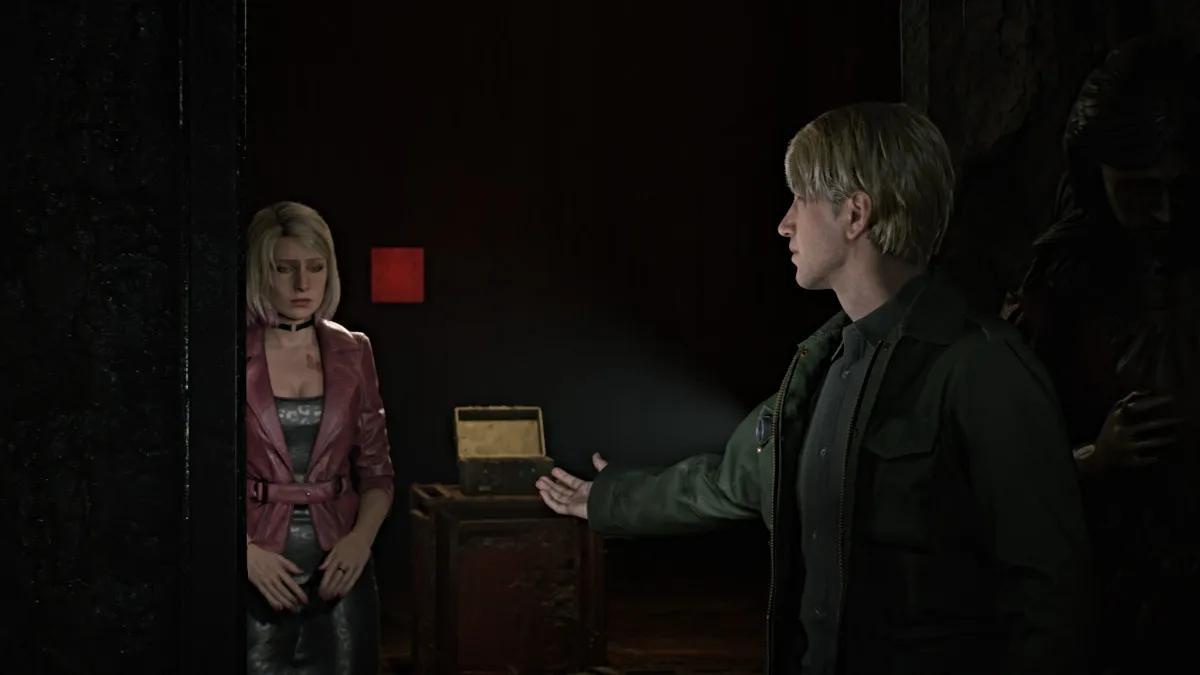
Once you're there, use the Red Save Point then go over to the Lady of the Door and place both rings on both hands. A cutscene plays as the door opens and James steps through, but Maria seems almost terrified to follow.
The path behind the door leads down a winding stairwell. Pick up the Ominous Note on the way down that reads, "It is done. Sick no more." Keep going down and there will be another Red Save Point for you to use if you haven't already. Continue down the steps and soon your map will be inaccessible, hinting that you've gone somewhere else entirely.
At the very bottom, go through the door and follow the path through the winding hallway. At a certain point, however, a cutscene triggers and James suddenly spots Pyramid Head approaching them, a spear in hand this time.
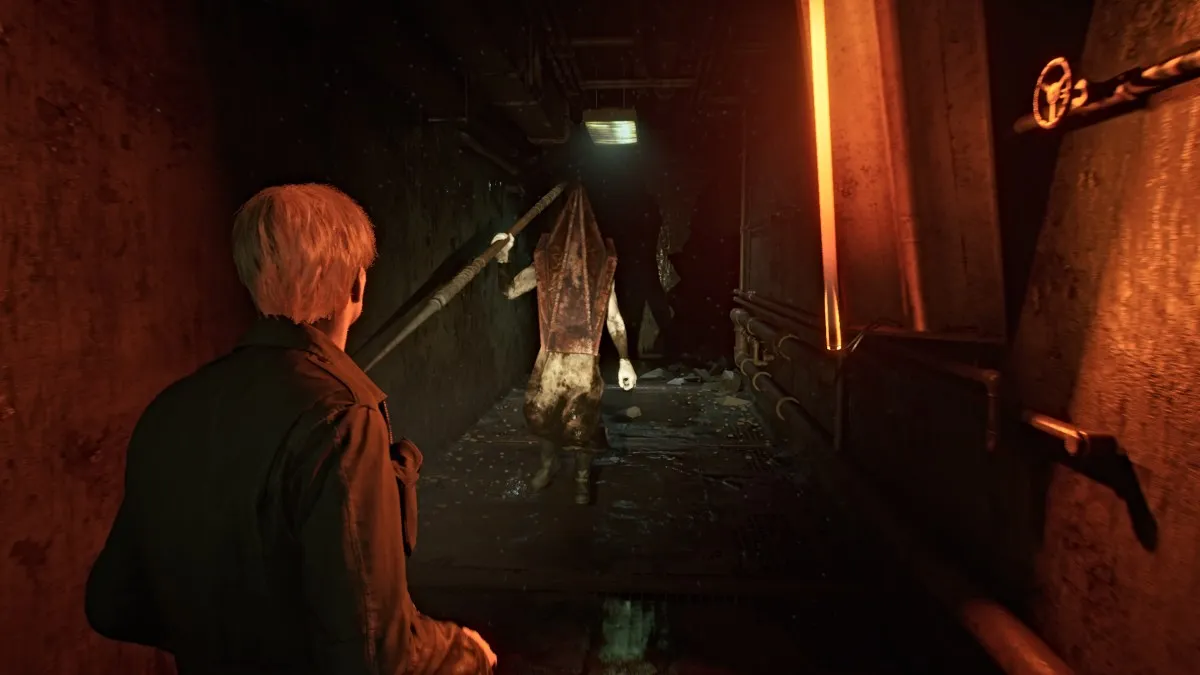
As soon as you regain control hit and hold your 'Sprint' button as Pyramid Head will be moving much faster this time, determined to catch both of you. Evade the obstacles that fall in your way and holes in the floor and keep going until you reach an elevator ahead.
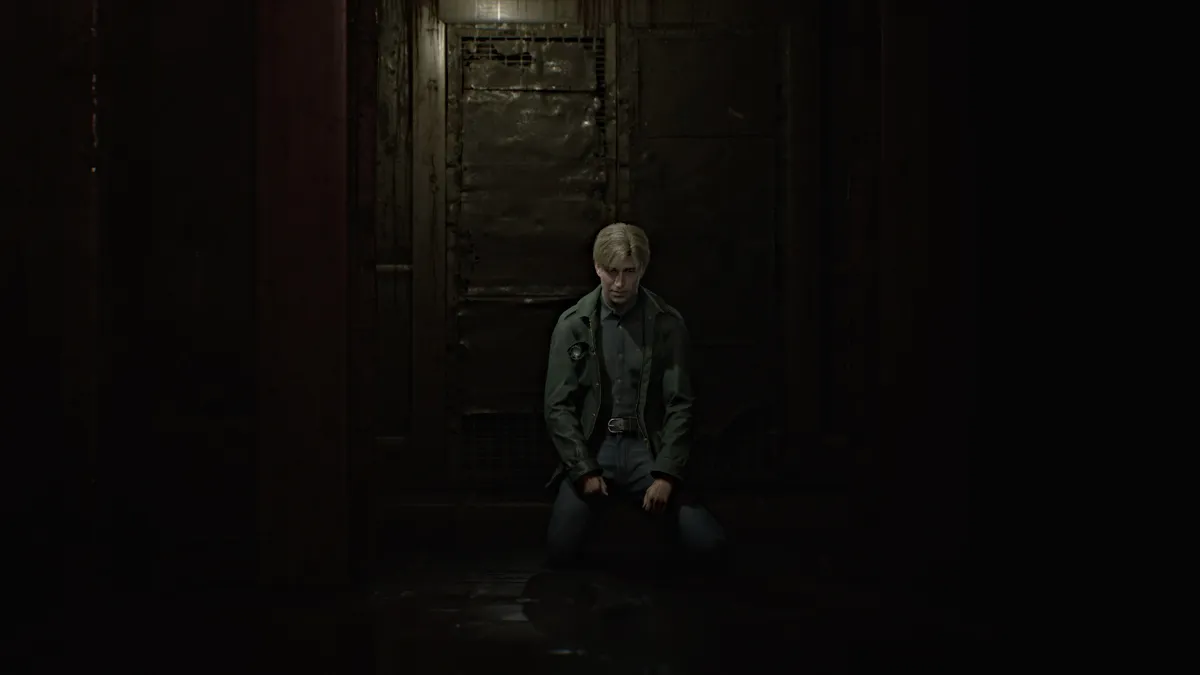
James gets in first but the elevator tries to force itself shut as Maria tries to get in. However, Pyramid Head catches up and impales Maria with his spear, killing her instantly as the elevator shuts closed.
Soon the elevator opens, bringing you back to the first floor. The music calms and the threat is gone, and no monsters are present. Make your way across to the Reception Office , and on the desk by the open window is the Hospital Entrance Key . James sees Laura run off down the street into the darkness.
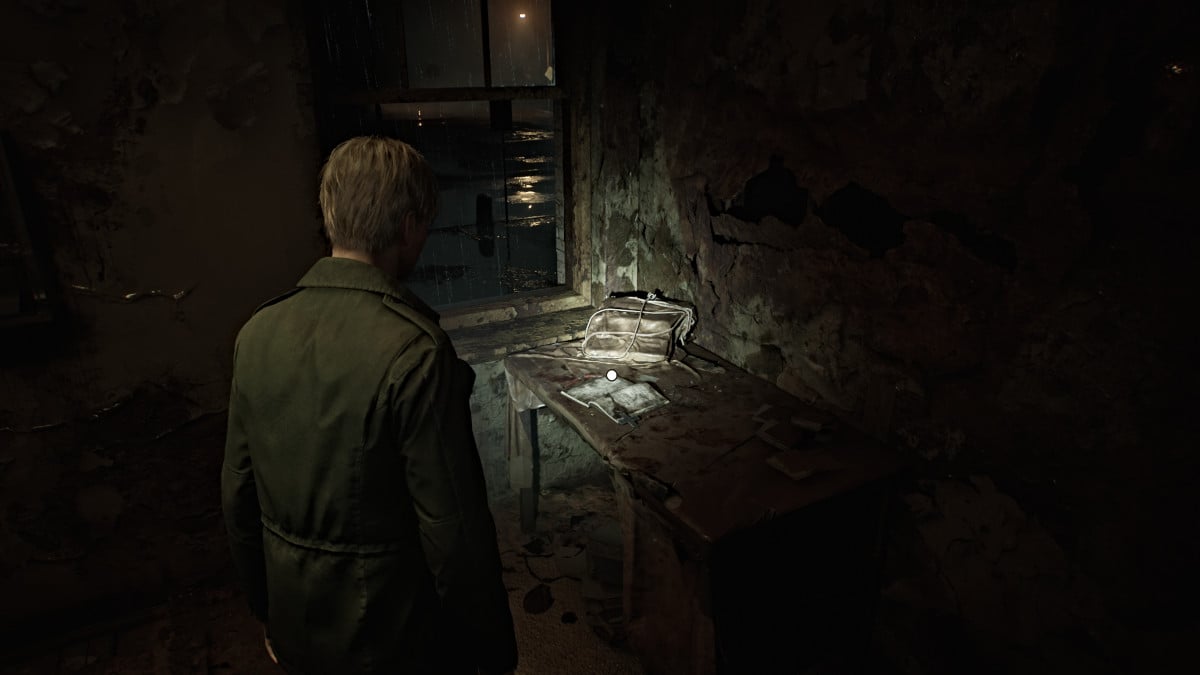

For now, make your way out of Brookhaven and into the stormy night.
Unfortunately, the Otherworld has now spilled out onto the streets and brought the monsters from the hospital with it, so tread carefully. Before you head straight to the story's next objective you can try to do some exploring in the area for items.
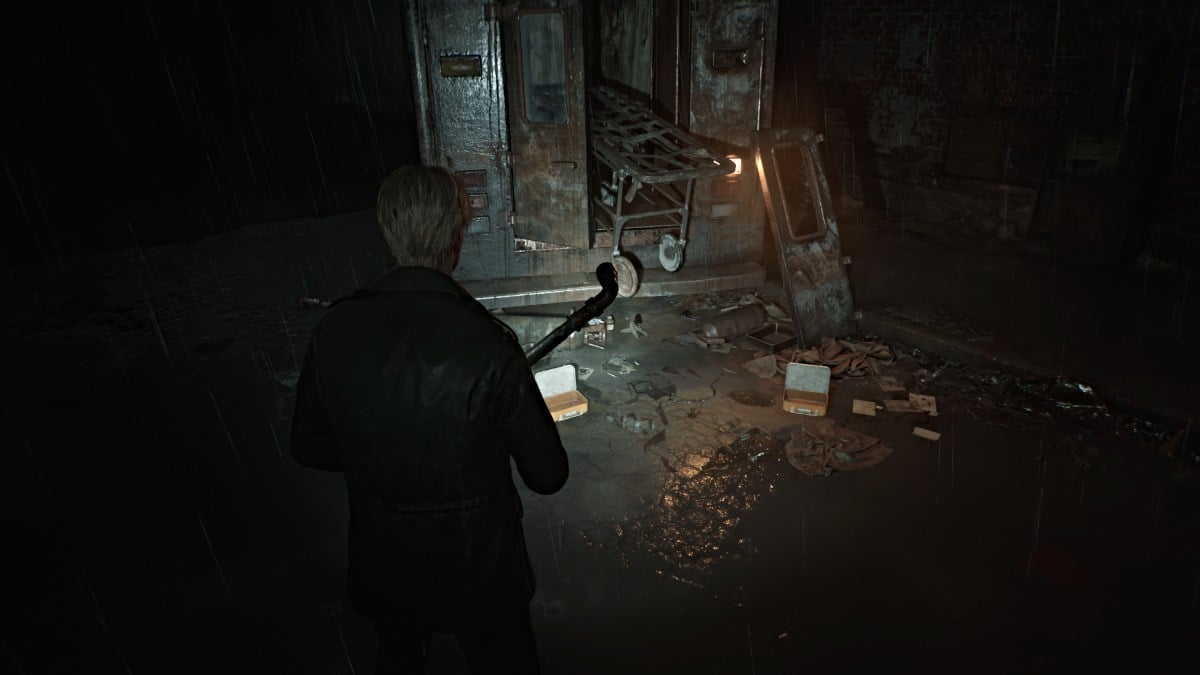
There isn't much to the left as the entire street is nothing but a chasm in that direction. There is a nearby wrecked ambulance that has a Health Drink and Syringe lying near it, if you feel up to dealing with the Bubble Nurses guarding it.
Head down the street to the right and you can find some Handgun Ammo and Shotgun Shells inside cars. Go through the door beyond a barricade near Heaven's Night and you can find more ammo in a nearby garage shed. Go all the way to the far right end of the street behind Heaven's Night where you'll see another shed area. On the right wall inside it you'll find a breakable spot, so tear it down and slip through.
Enter the Garage and grab the Syringe and Handgun Ammo , then use the Red Save Point on the wall. Head out and you'll catch Laura just beyond a gate ahead. Deal with the Bubble Nurse and Mannequin in your way first, then run to the far right corner where the door you used to get into Heaven's Night is. Some Handgun Ammo will be on the ground there.
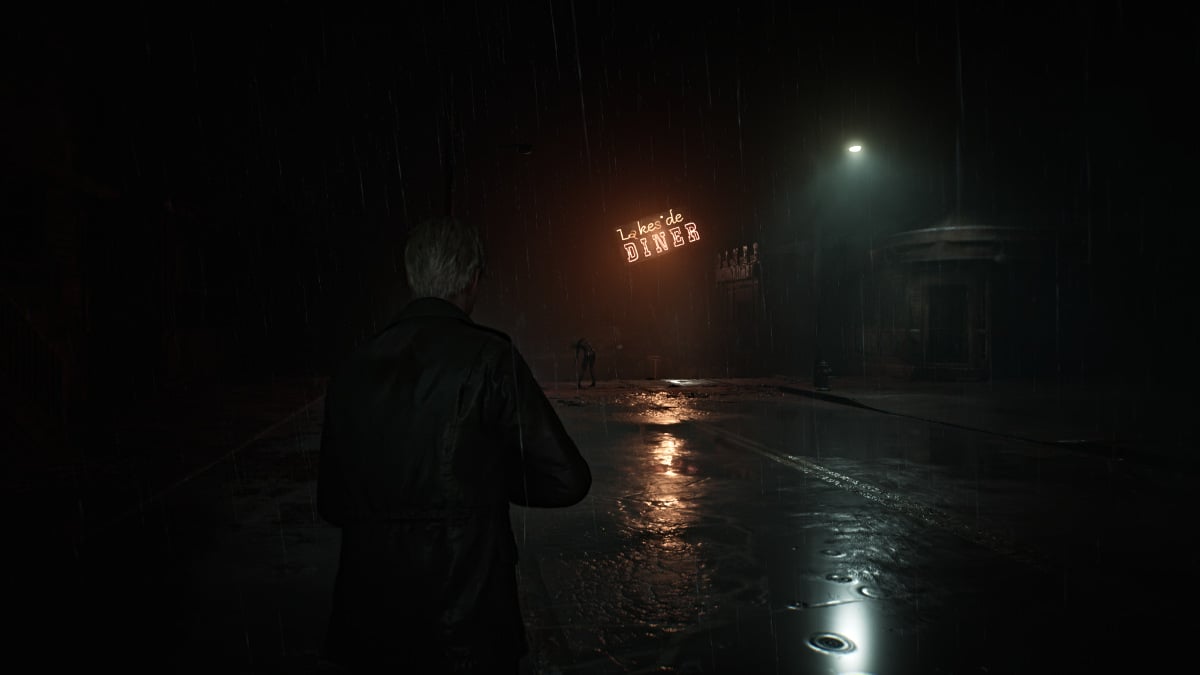
Backtrack to grab the handcart and push it in front of the gate, so you can jump over it. Soon you'll find yourself on Rendell Street and near the Lakeside Diner . First, grab Handgun Ammo sitting on the tire of a truck nearby then head towards the diner, then more on the front deck of a house on the left.
Deal with the Bubble Nurses in your way and then grab a Health Drink from one of the cars parked near the diner. Head inside and venture behind the counter for some Handgun Ammo and Shotgun Shells . Deal with more monsters in your way and use the double gate doors on the other side to leave.
Maneuver between the school bus and big rig truck, and you'll find more Handgun Ammo sitting on the bed of a pickup and Shotgun Shells on a barrel behind it. Pass through the gate back onto Rendell Street and head east. Be sure to check the front porches of the houses and cars you pass for more items.
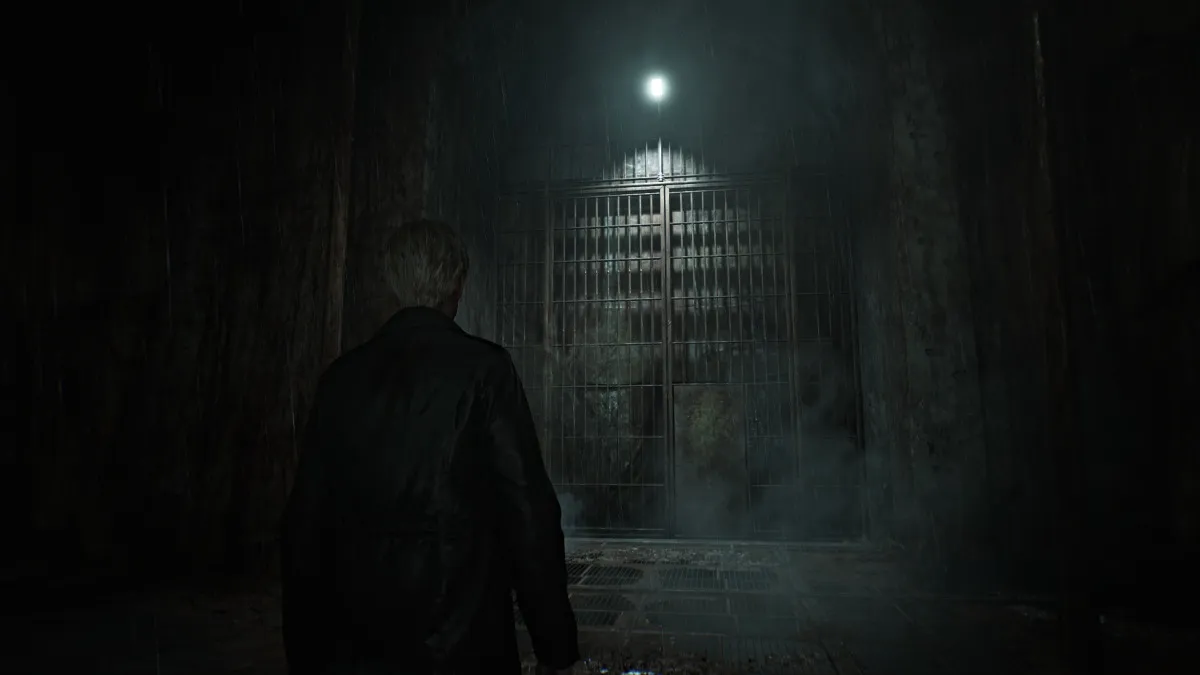
Soon you'll reach Munson Street , but there's nowhere to go but south towards the edge of your map. You'll catch another glimpse of Laura as she runs through a large gate, so follow her through. Cross the long and dark metal catwalk until you reach the other side.
Now you're back on the east side of town on Saul Street . Go into the Motor Home to your right, where you'll find a Red Save Point , Handgun Ammo , and the Note on a Map which has an ominously foreshadowing written message and a clue about where to go next for a "letter and a wrench ".
As you go further down the street, there will be a high crawlspace you can climb up and through to enter a warehouse. Navigate through it, pick up more ammo and deal with monsters along the way until you reach a breakable wall at the back of it. Slip through and continue on until you reach the other side of the chasm on Neely Street .
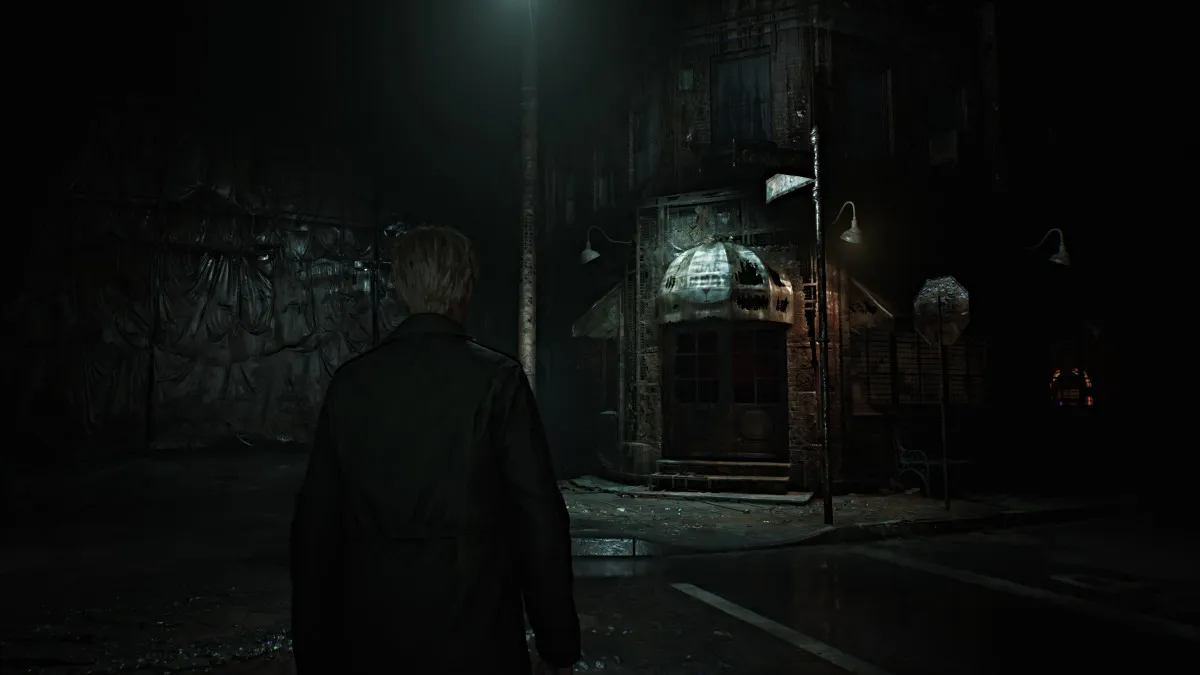
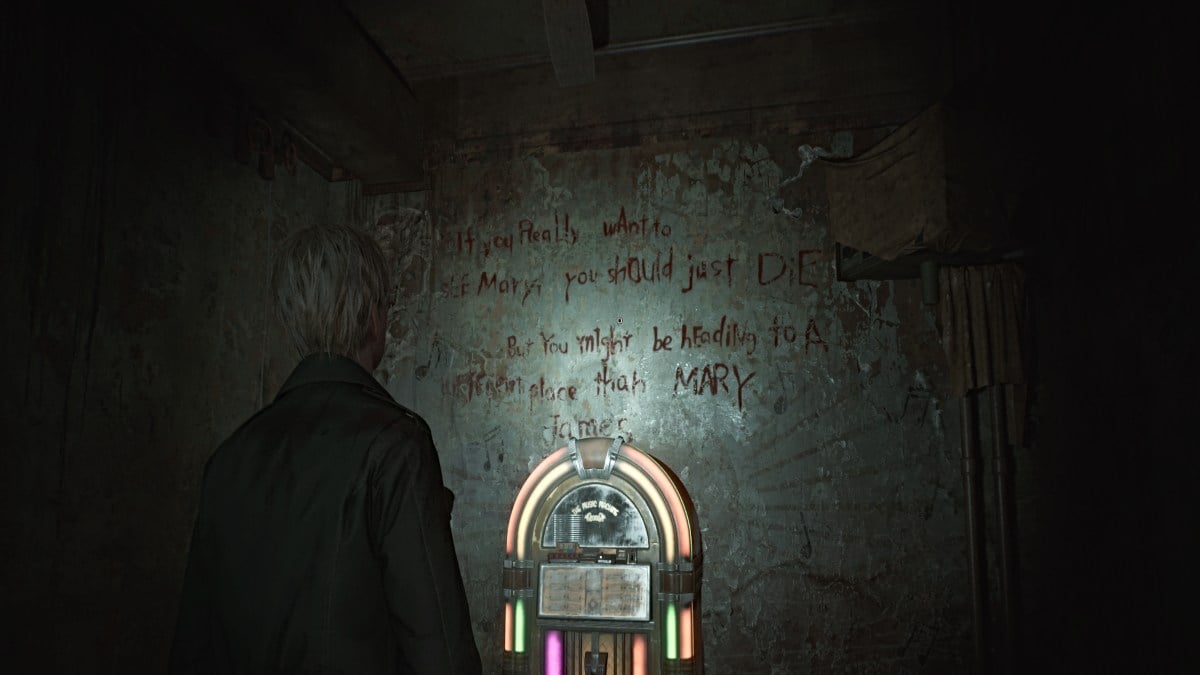
This will bring you face-to-face with Neely's Bar once again. Go inside and you'll see the jukebox is on, but rather than playing music it sounds like breathing. A threatening message on the wall behind it suggests that if he wants to see Mary "he should just die" but that he "might be going to a different place than Mary" when he does.
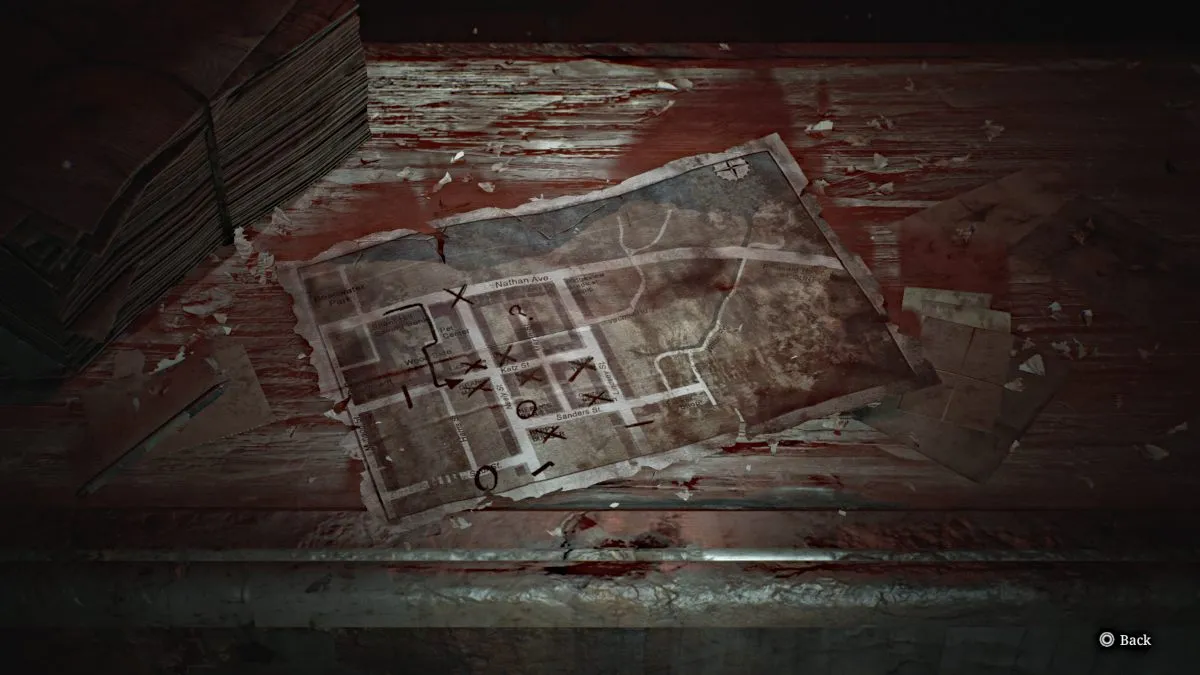
Go over to the counter to collect another Glimpse of the Past , then behind it for some ammo and a Red Save Point . Go to the door on the left that's slightly open and grab a Health Drink on your way out the back of the bar.
Go through the back alley area, grab some Handgun Ammo from a nearby car, a Health Drink on the ground near the chasm in front of you, and make your way around the corner to the back of a Laundromat . There will be a high crawlspace for you to climb up through.
Once inside, you'll hear a phone ringing somewhere nearby. Smash and grab the nearby Health Drink and deal with the two Bubble Nurses that approach you through the wall crack. Go through the crack yourself afterward, make your way through the front of the laundromat, and jump through the open window on the right to the street.
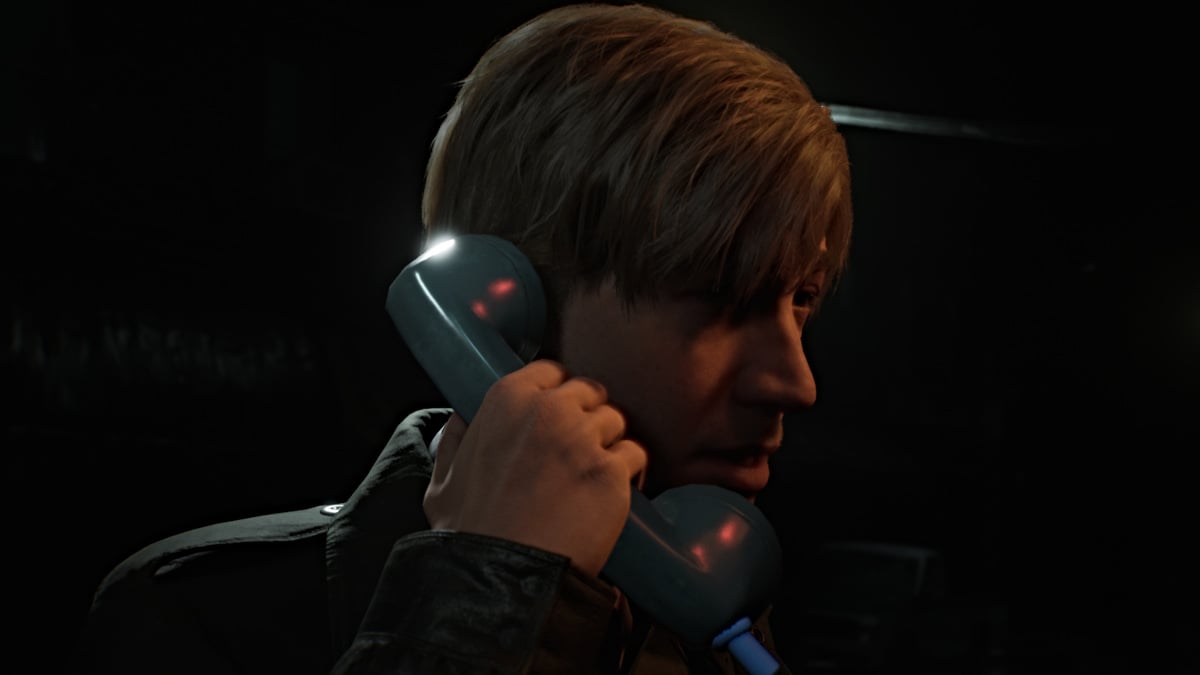
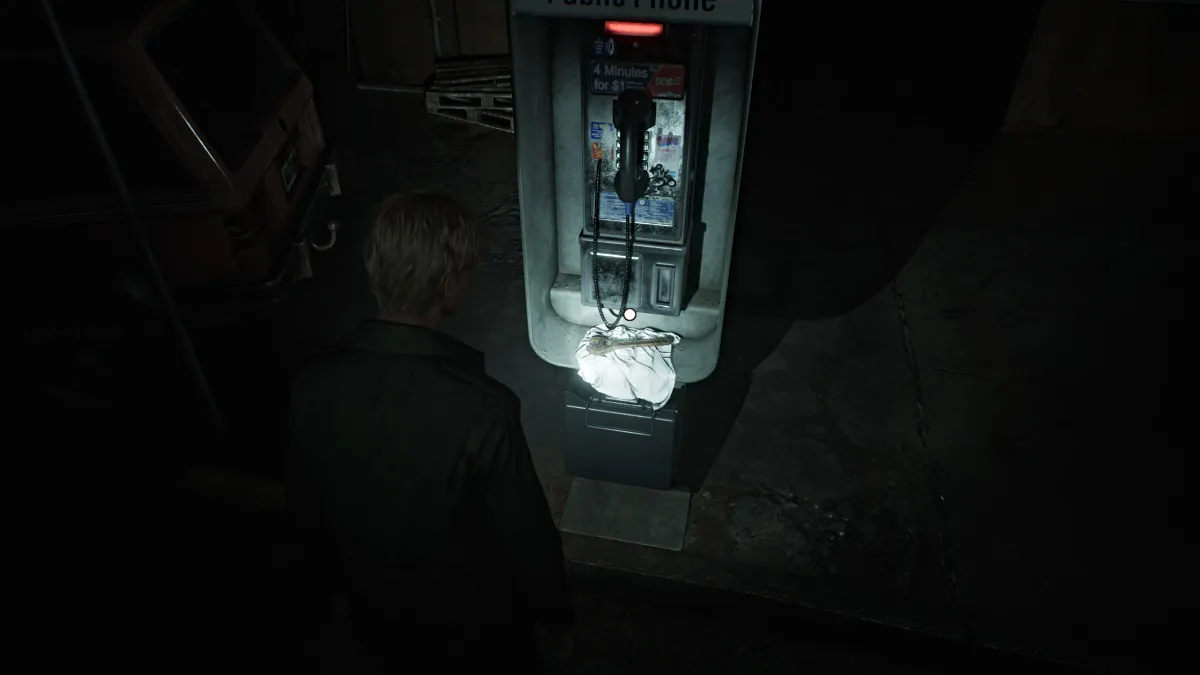
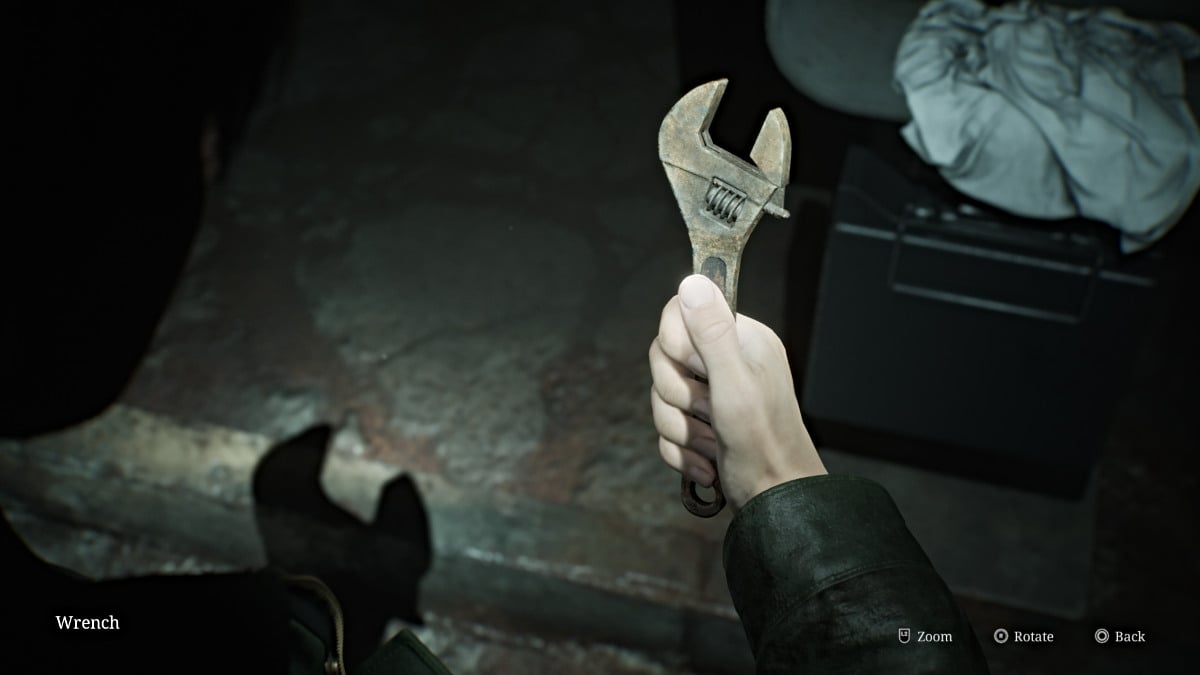
Turn left and you'll notice it's a payphone ringing. Walk over and answer it, but no one is on the other line. After James hangs up the phone, a piece of paper drops in the change slot. It reveals yet another message that implies that "the key is in the park, at the feet of the praying woman", and that "the wrench will open the gate". With that, pick up the Wrench sitting under the phone.
Now you'll need to head back north to Rosewater Park to find what you need. Head to Neely Street and run north until you reach a tall barricade with a door. Head through and you'll find another huge gate ahead. Use your Wrench to open it and pass through.
You'll find yourself going over another metal catwalk, but this time a new monster called a Mandarin is crawling beneath it. Even though it's beneath the grate, it can still attack you if too close, so keep your distance and keep running until you reach the end of the tunnel. Beyond that, you'll find yourself back in the same tunnel you used to enter Rosewater Park.
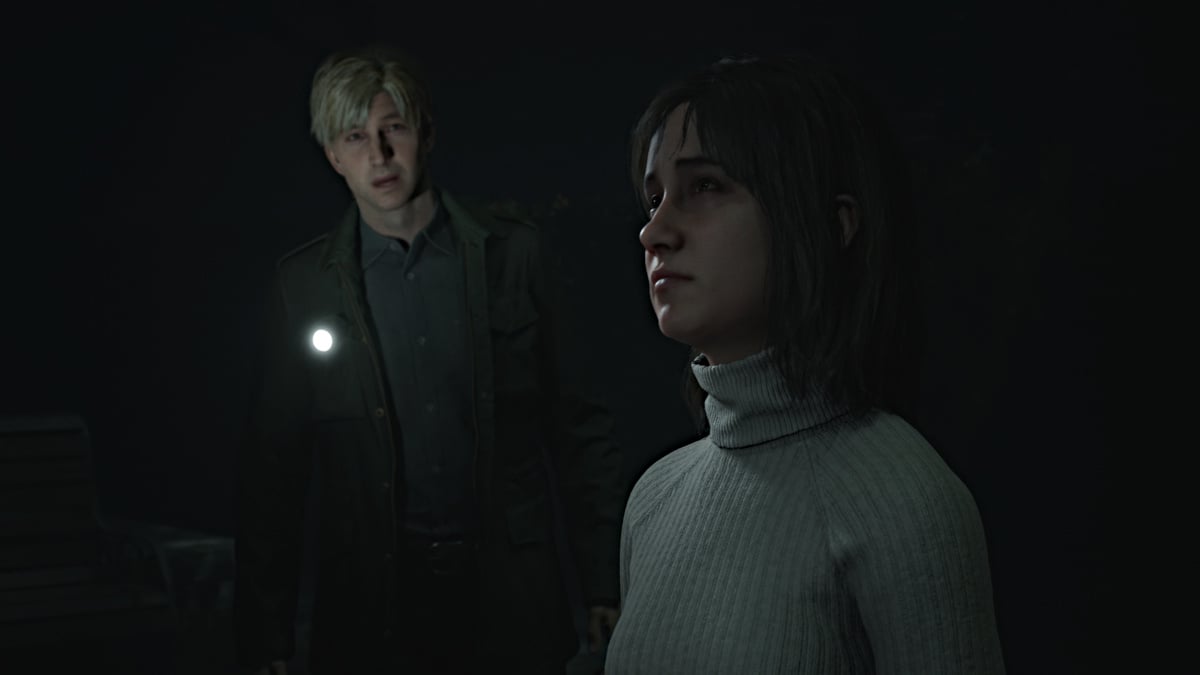
Head inside and make your way toward the west side of the entrance area. There are no items are monsters to worry about here, so just head straight for the iron gate on the west side . Follow the path straight across until you see what looks like a statue lit up ahead. Approach it and you'll notice that Angela is surprisingly there too.
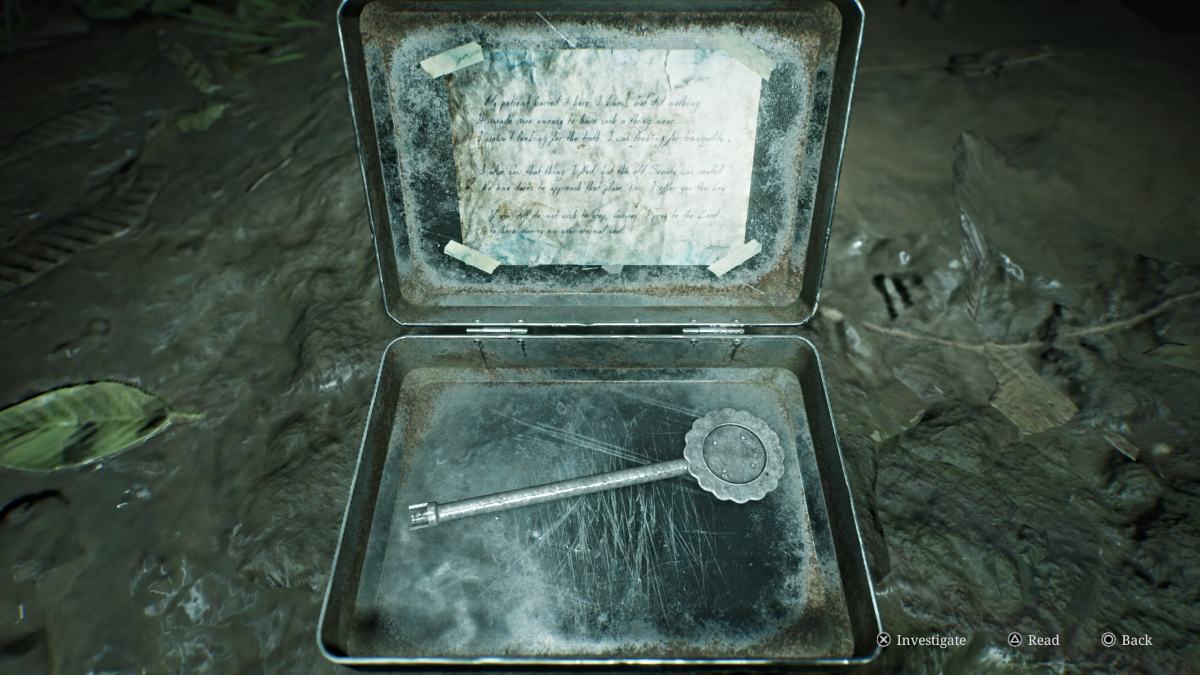
After the cutscene, interact with the praying woman statue and James will dig up a metal tin that contains the Historical Society Key . The Historical Society is located further west on Nathan Avenue , so leave the park and make your way there.
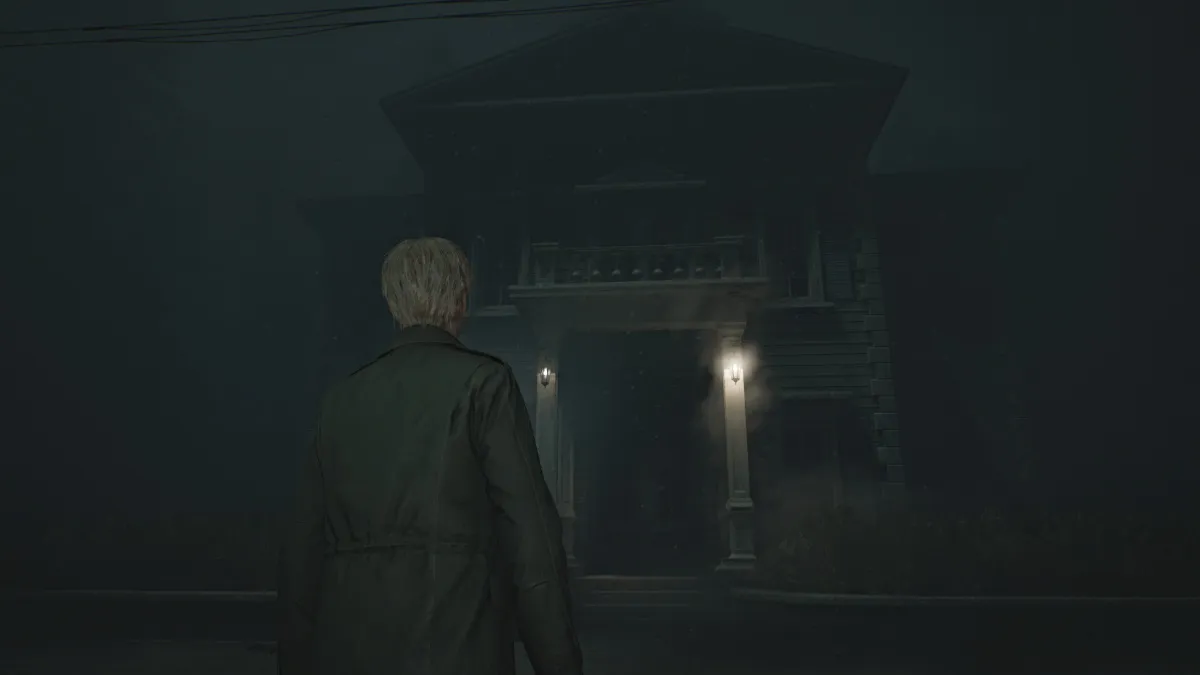
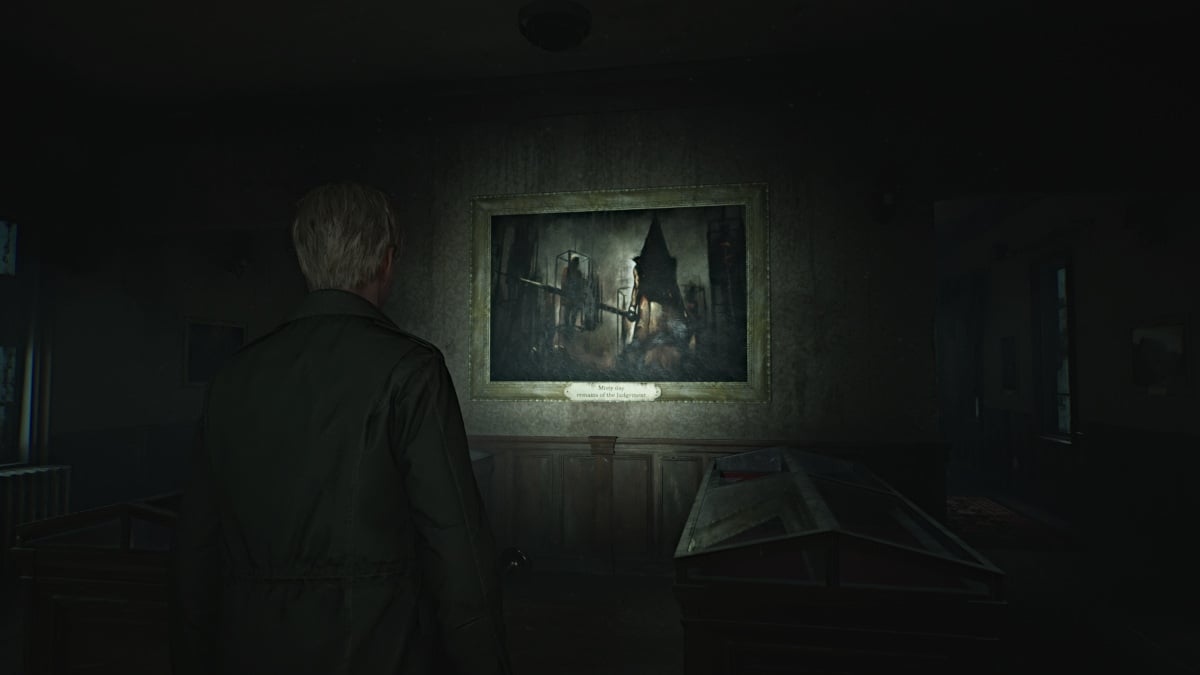
The journey along Nathan Avenue to the Silent Hill Historical Society is a somber and quiet one, as there are no monsters anywhere on the road. Soon enough you'll see the building lit up in the fog to your right. Use the Historical Society Key and head inside. Use the Red Save Point near the entrance.
As you explore, it's definitely hard to miss the portrait straight ahead that depicts Pyramid Head himself. Make your way toward the back of the museum and there will be a strange dark tunnel in the wall for you to enter. You won't be returning to the surface of Silent Hill for a while beyond this point .
The staircase you take down through the tunnel is very, very long, and the distant sound of foghorns accompanies your descent. That is a reference to the Little Baroness steamboat that sank in Toluca Lake decades earlier, of which there's a picture in the Historical Society.
This staircase seemingly takes you deep beneath the lake, but when you finally cross through a door at the bottom, you'll find yourself in Toluca Prison .
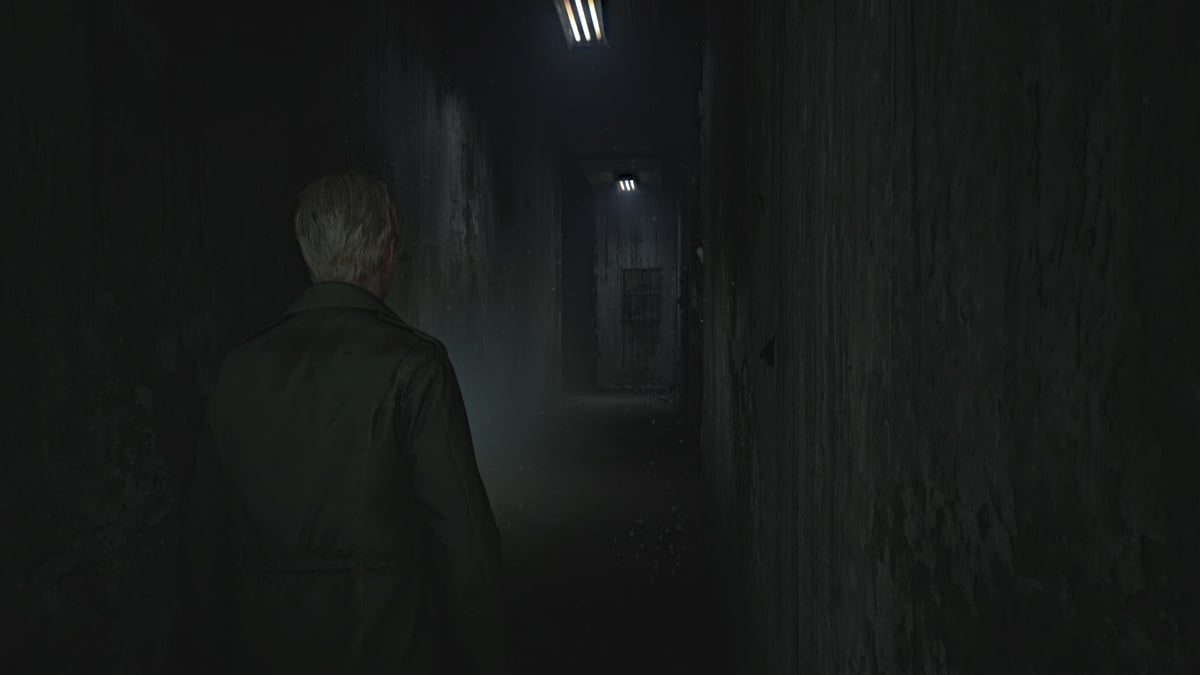
Grab the Syringe from a first aid kit on the table in the small room you pass through, then continue on through the next door. You don't have a map of this area yet, so keep an eye on your surroundings. The door to your right is locked, so head left down the hall . The path will diverge, and left is a dead end so go right .
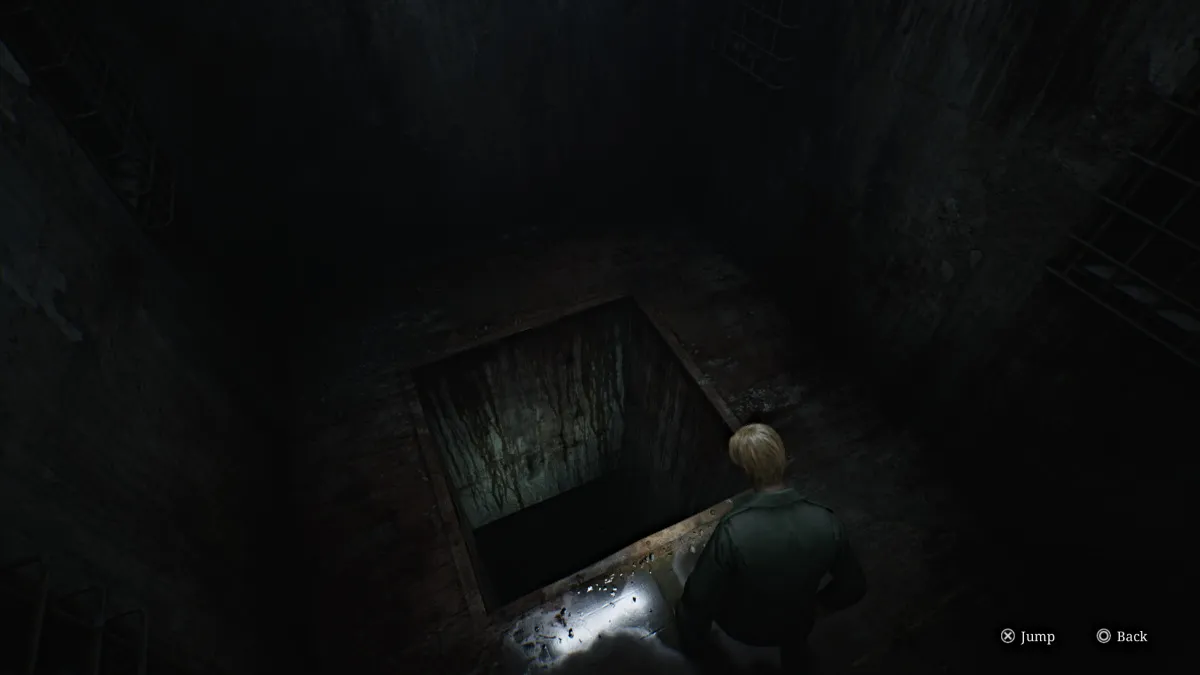
You'll soon see another door, so go through it. Inside, you'll find nowhere to go but a large dark hole in the floor, forcing you to go deeper. Interact with it twice and James will hesitantly take the plunge.
Upon reaching the bottom, you'll find yourself in what looks like a well with no visible way out. There is a way out, however, and you just need to find the right spot on the wall to break through . Keep trying different spots until one lets you out and has a door on the other side.
You're now in what seems to be a flooded area of the prison, shaped like a maze. Go right and then turn left when you can and head straight towards the door ahead of you. Deal with the Lying Figure that blocks your way and you'll then see that there are two doors. The one in front of you is locked, so take the right door .
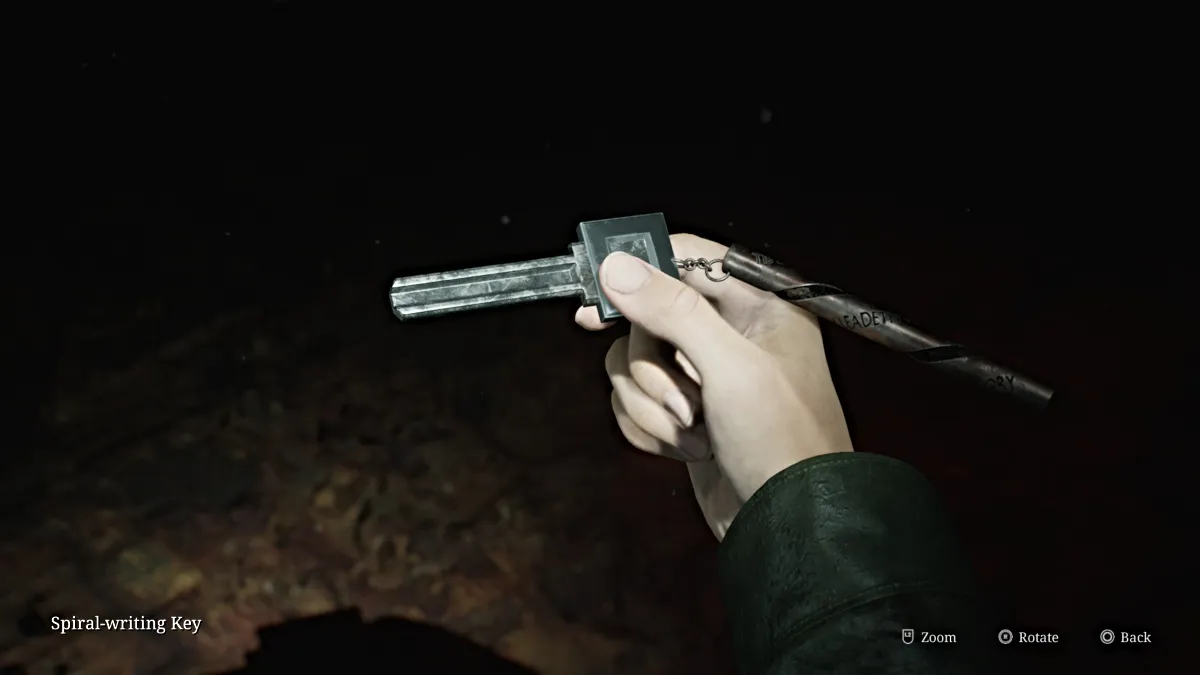
Down the hall ahead is what looks like another deep hole, but is blocked off by a locked prison gate. Backtrack a bit and go through the door on your right, where on the floor you'll find the Spiral Writing Key .
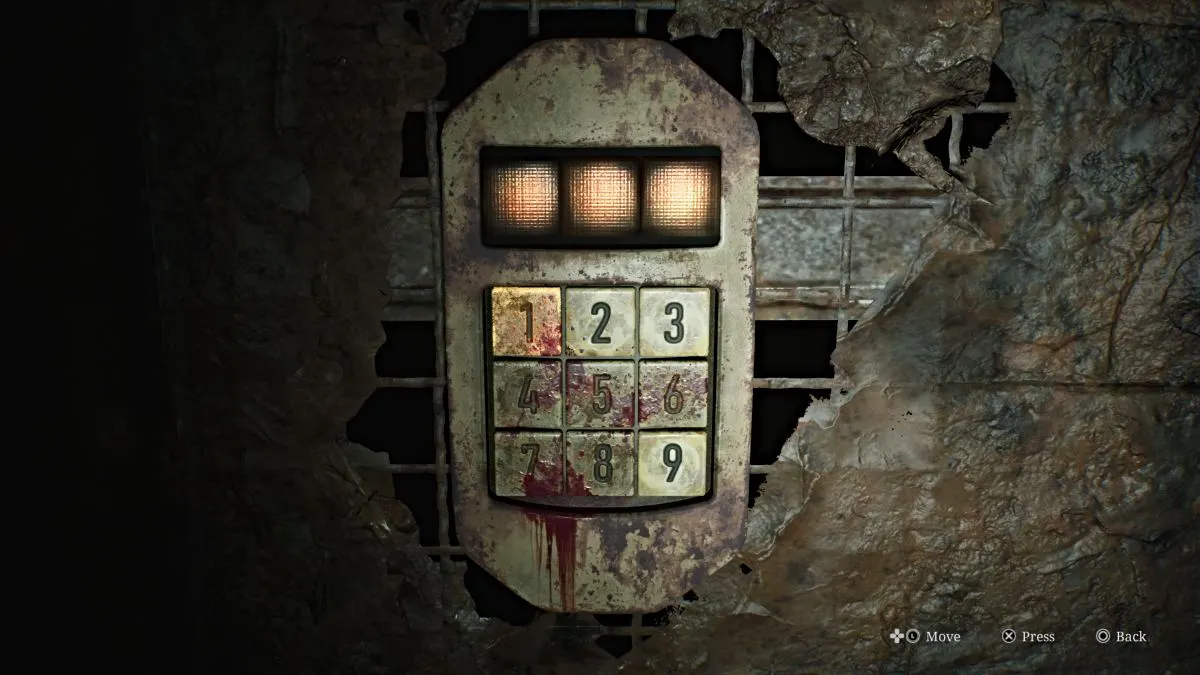
After picking it up, however, the lights will shut off and then turn back on to reveal the room suddenly covered in bugs who will bite James occasionally, causing damage.
To escape the room you need to use the keypad (seen above) and figure out the correct code, which is a random combination of the numbers 2, 3, and 9 (the only ones not covered in blood). The solution for every playthrough, regardless of difficulty, is entirely random , so it's an anxious test of trial and error. To help you out, here are all of the possible combinations for you to work through:
| 2-3-9 | 2-9-3 |
| 3-2-9 | 3-9-2 |
| 9-2-3 | 9-3-2 |
Once you break out, go back over to the locked prison gate and use the Spiral Writing Key on it, revealing the next hole for you to jump down. Interact twice to jump further into the abyss.
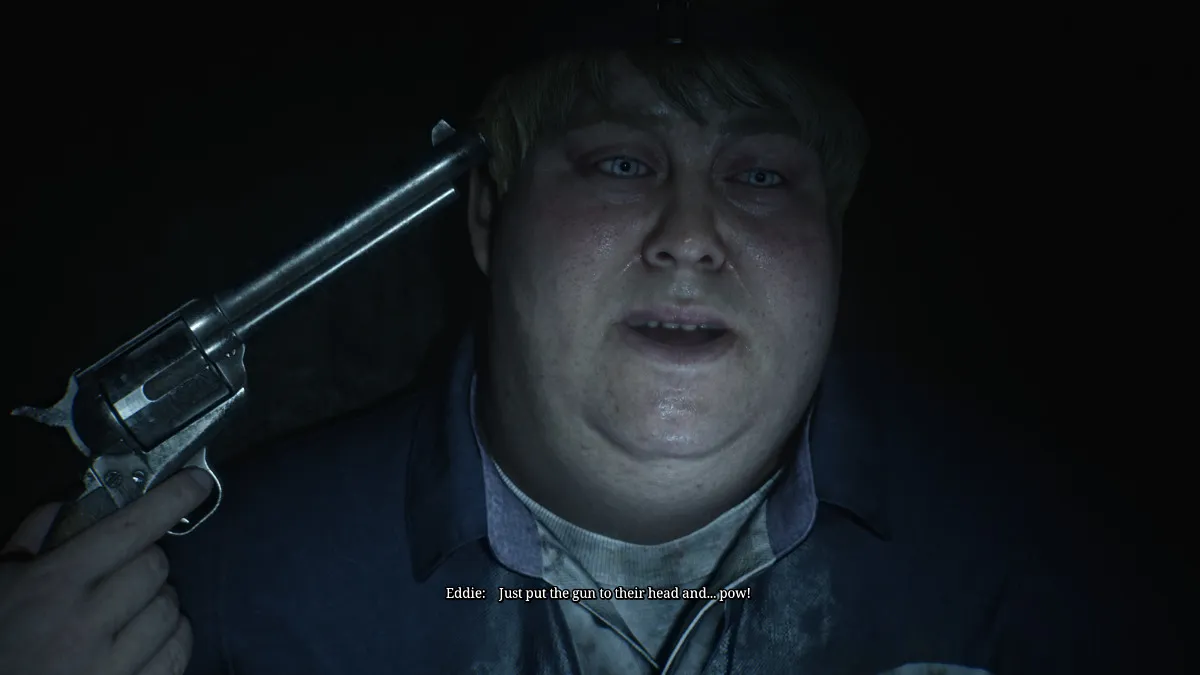
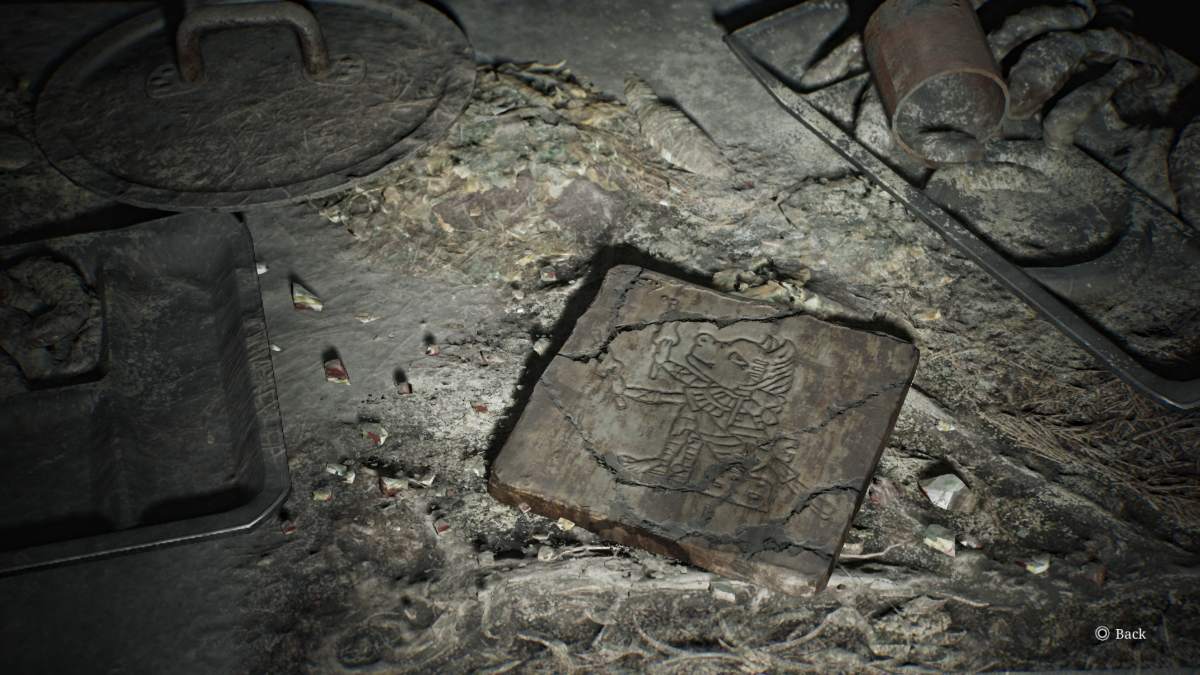
After your next fall, you'll land in the Canteen room of the prison. Grab a Health Drink from the food line at the back of the room, then explore the right side of the room to find a Glimpse of the Past on one of the tables. When you're ready, approach the body under the bright light hunched over a table, recently killed.
Eddie appears from the shadows, remarking that killing a person "ain't no big deal". James tries to understand Eddie's reasoning for what happened until it becomes clear that Eddie killed them for how they "looked at him". Eddie gets defensive when James reprimands him before opting to go off on his own.
Once he's gone, go through the same doors and ahead you'll find the prison's Armory . After using the Red Save Point , on the back wall, you can finally grab a map of the entire prison .
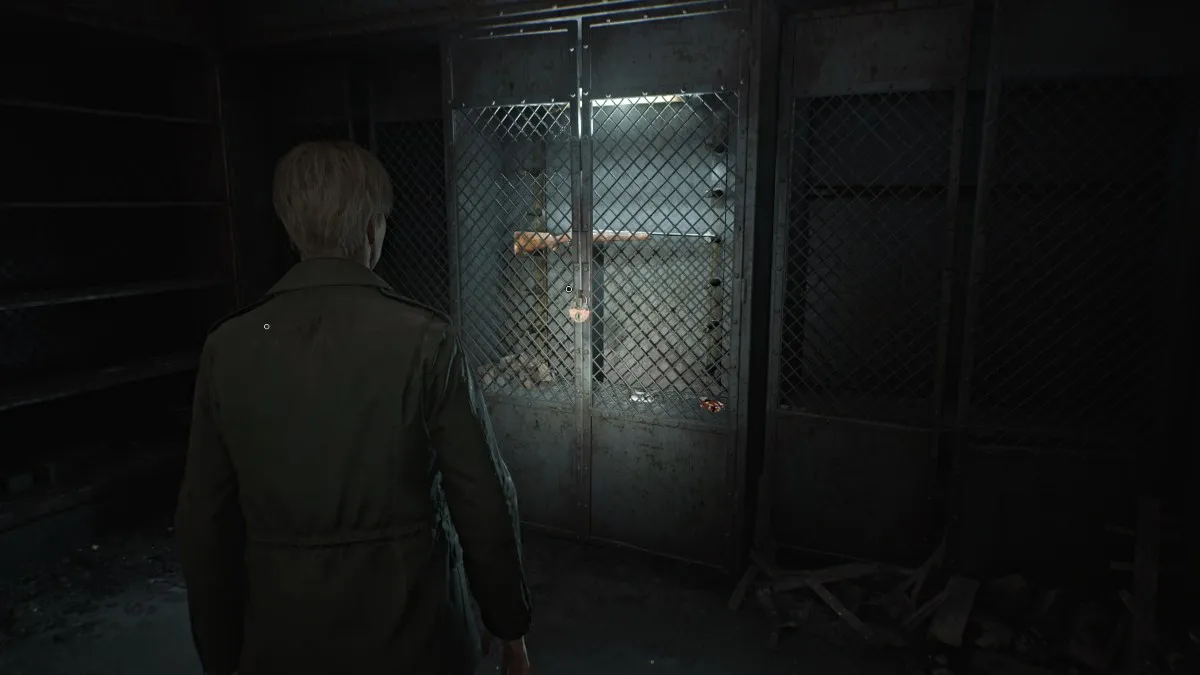
There's also Handgun Ammo , a Syringe , Rifle Ammo , and a Hunting Rifle weapon , though it's currently locked in a cabinet. You'll need to find the key for it, and thankfully there's a hint in the nearby Gun Cabinet Notice .
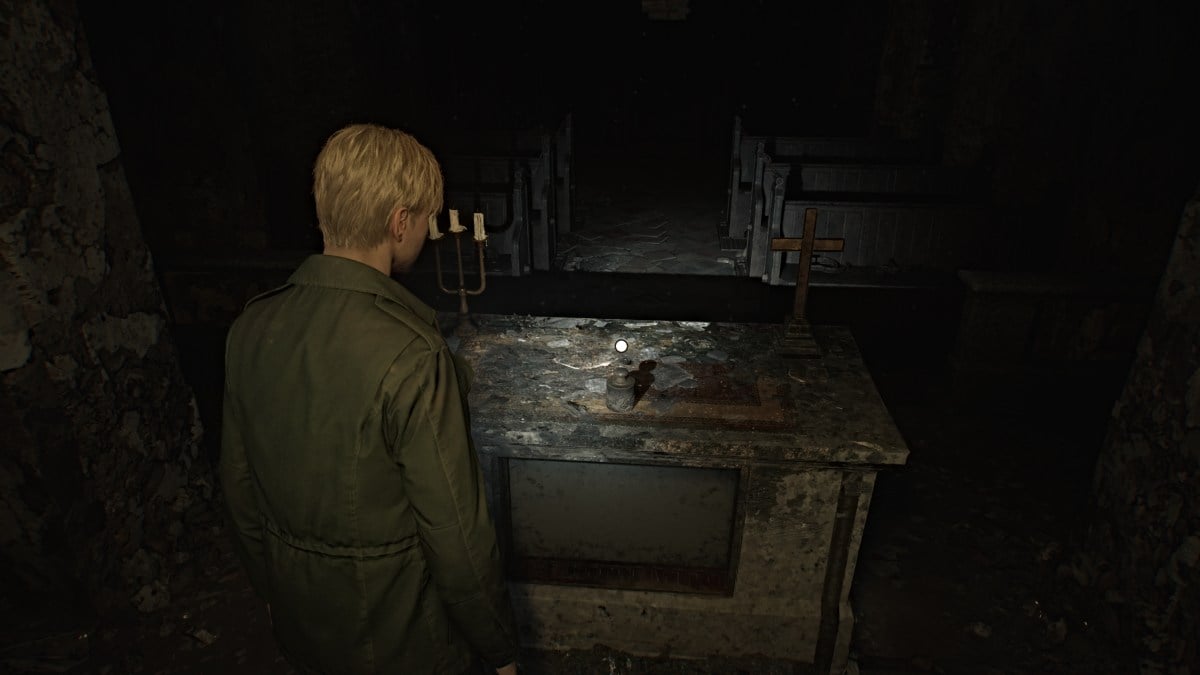
For now, start exploring the surrounding areas such as the Church to the left of the Armory. Inside you'll find an object called The Heaviest Weight up at the pulpit. Over in the Vestry you can find a Syringe .
Head next through the double doors to Block A and Block B . To your right as you enter, you'll notice a door with a Hornless Ox portrait on it. Meanwhile, over in Block B is a door with an Eyeless Boar portrait , the far end of Block A is a door with a Headless Serpent , and the door to the Basement has a Wingless Dove .
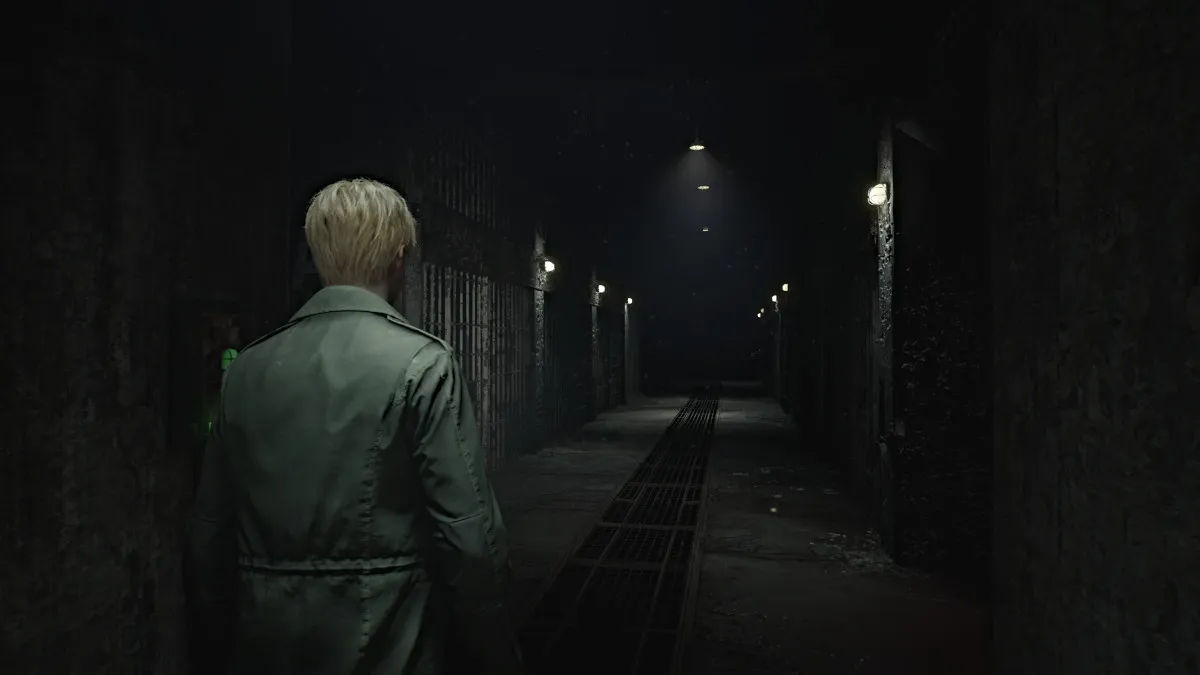
The levers on the walls can give you some temporary light in the block, as even with the flashlight it's uncomfortably dark. However, it will also send Mannequins scurrying up walls to the ceiling. Yep, you now have "Spider Mannequins" to deal with.
In Cell A3 you'll find Rifle Ammo and a Glimpse of the Past in the form of a shrine. In Cell A5 will be Handgun Ammo . Over in Cell A7 there's a crawlspace that takes you to Cell B1 , which has a Health Drink and a hiding Mannequin. Cell B3 has a breakable wall that lets you cross to Cell A9 and A8 , which has Shotgun Shells and another Mannequin.
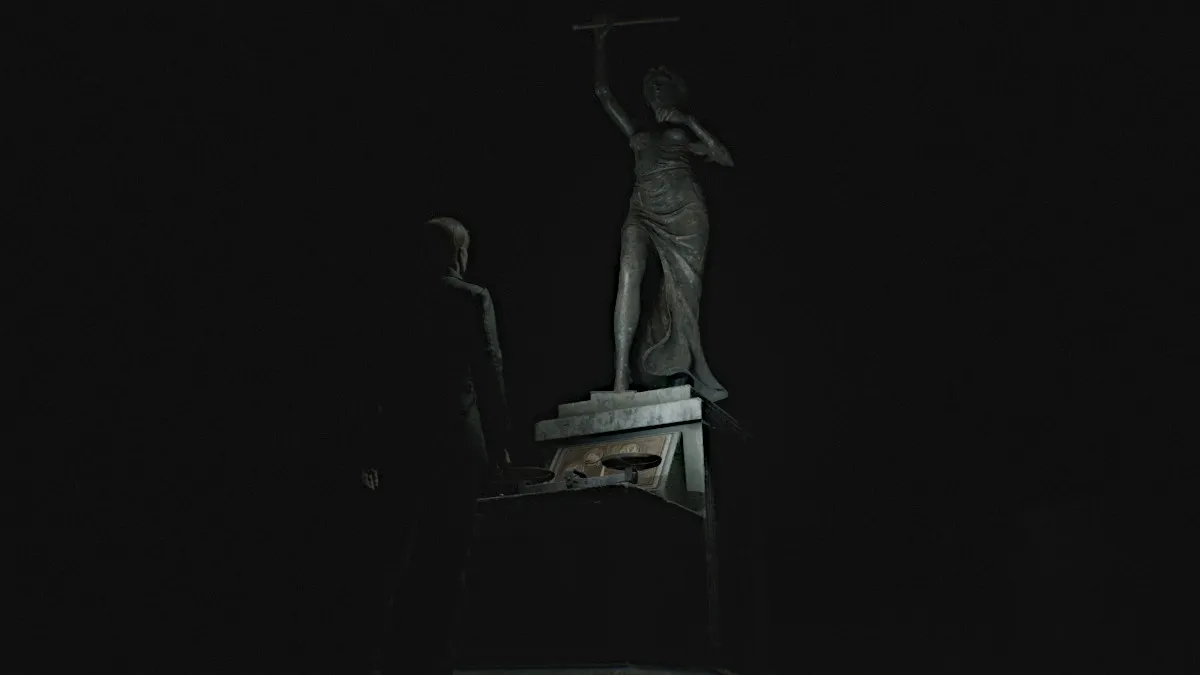
After exploring both blocks, head east down the hallway to the Yard , and use the Red Save Point to your left. This area is unbearably dark, but to keep your...bearings (aha), just run straight ahead. You'll hear a strange galloping noise circling around you, but rest assured there are no monsters in this area.
You'll soon see something ahead of you with a cover over it. Interact to pull it off, revealing a statue with a scale contraption at its base. This is where you put The Heaviest Weight to use, as you need to use it with the smaller weight already available.
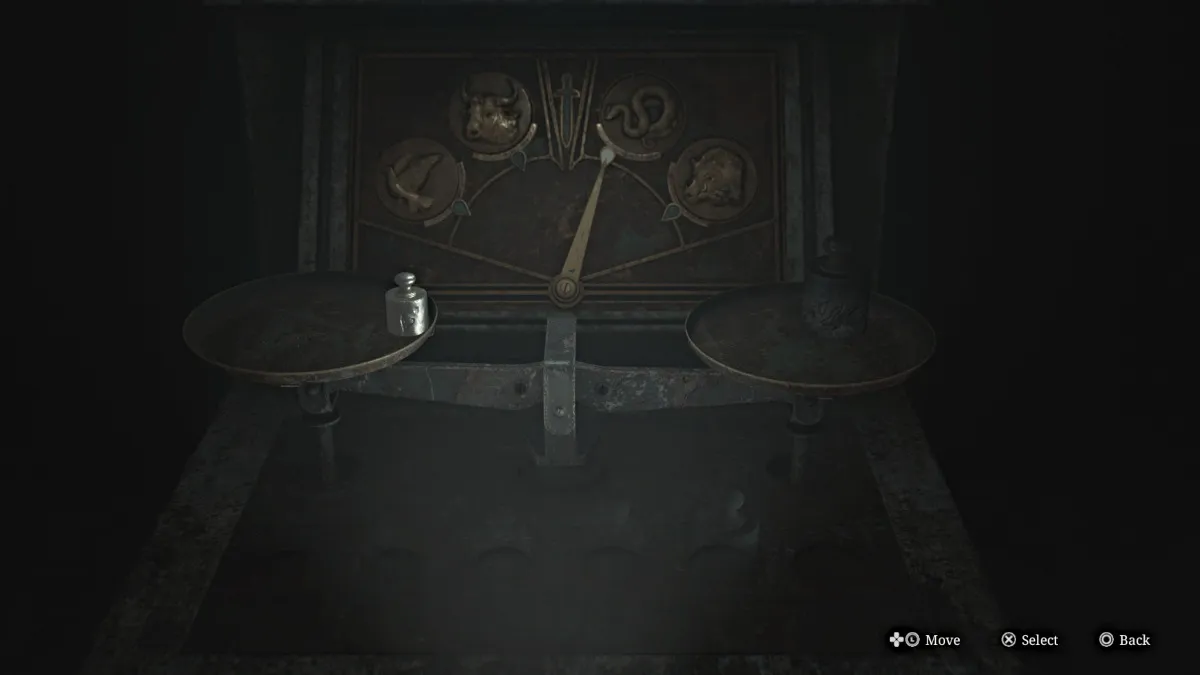
Place the smaller weight on the left scale, and the Heaviest Weight on the right scale , which will tip the arrow above it to the Serpent symbol. This means the Serpent Door within the prison has been unlocked. Head back inside.
The Serpent Door is over at the far end of Block A, to your left after returning from the Yard. Head through it and you'll pass by a lit room with an electric chair in it.
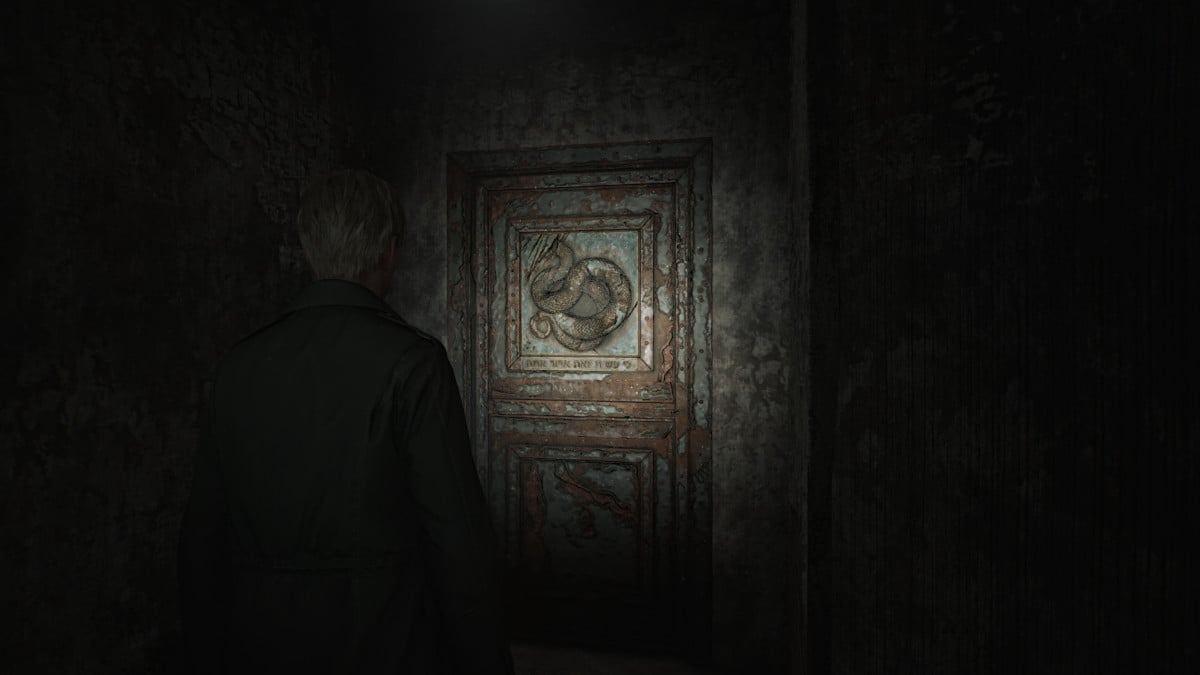
Enter the Guardroom , where you can find a Syringe , Shotgun Shells , and another wall lever you can use to light your way while keeping the spider crawling Mannequins at bay.
Make your way down the block, and in Cell E4 you can grab the Family Photo (memo). Further on, the room next to the Death Chamber has some Handgun Ammo . Now make your way across to the other side of the block, which has much higher ceilings crawling with spider Mannequins. Do your best to keep the lights on as you explore and deal with them when they jump back down to attack.
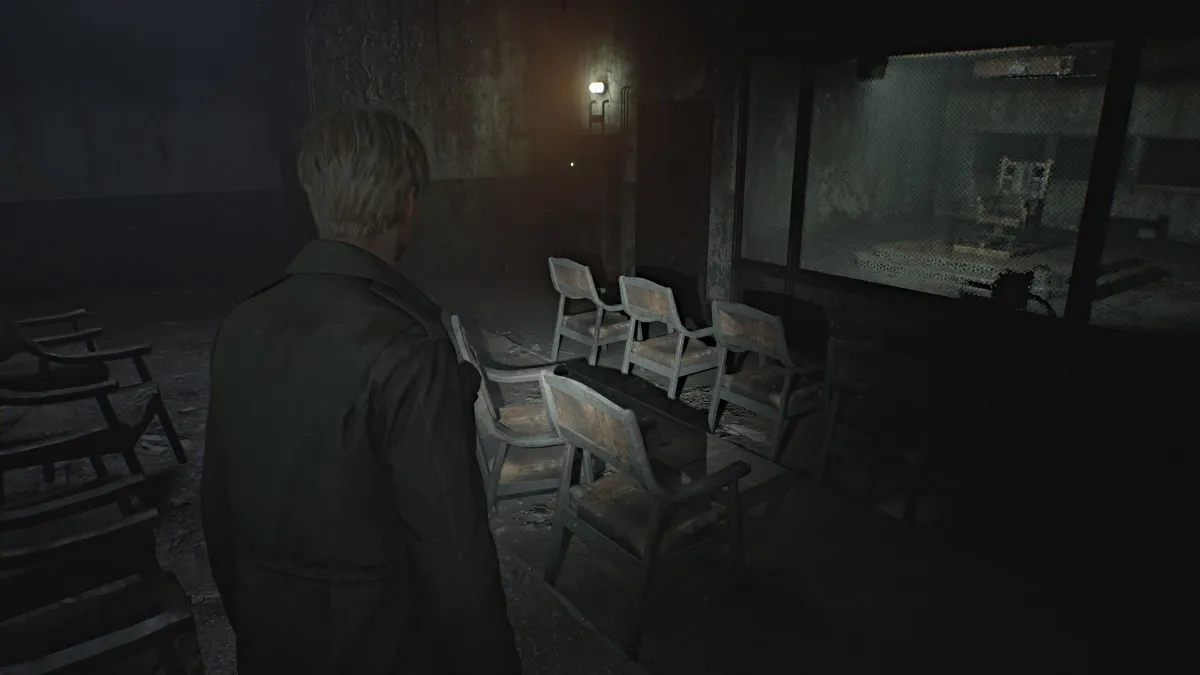
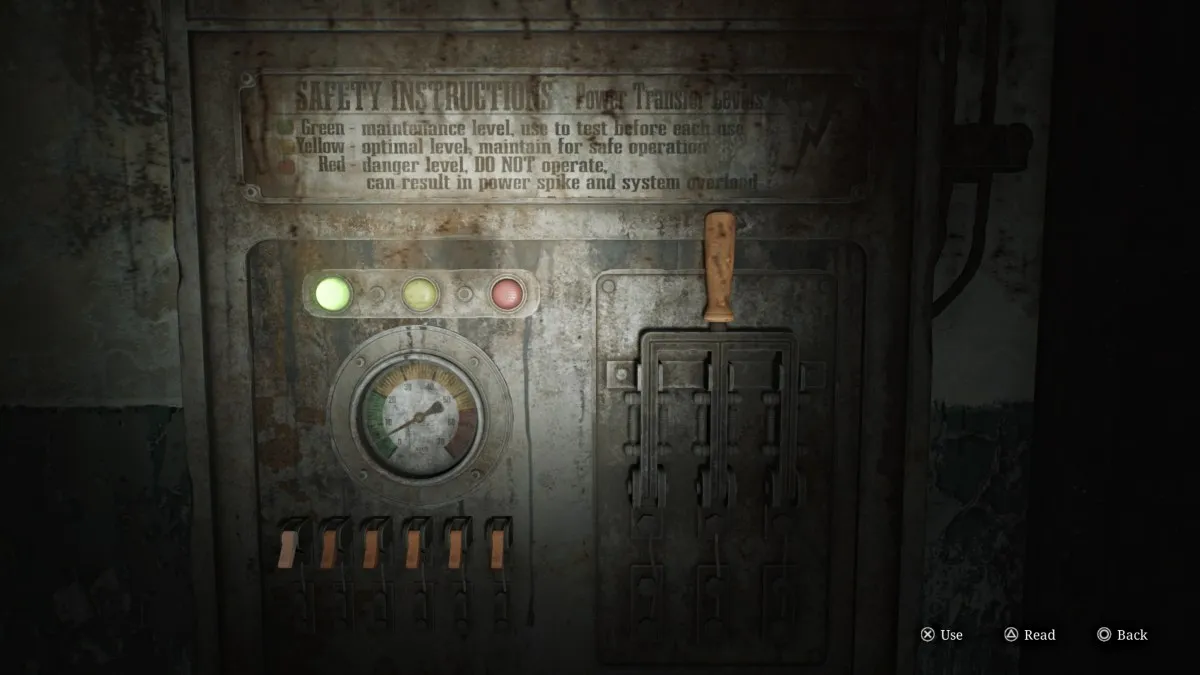
Investigate the rooms on the northeast side, including the Witness Room where you'll find, Handgun Ammo , a Red Save Point , and the machine used to operate the electric chair. Interact with it and you'll see a power gauge along with a sequence of switches and the lever to pull when ready.
The instructions note that you don't want to throw the lever when the power is in the red, but that's actually exactly what you want to do. You'll need to press the switches in the correct order to where they're all turned on at once , sending the power to maximum. Once you have, pull the lever which will overload the power system and automatically unlock all cell doors in the area.
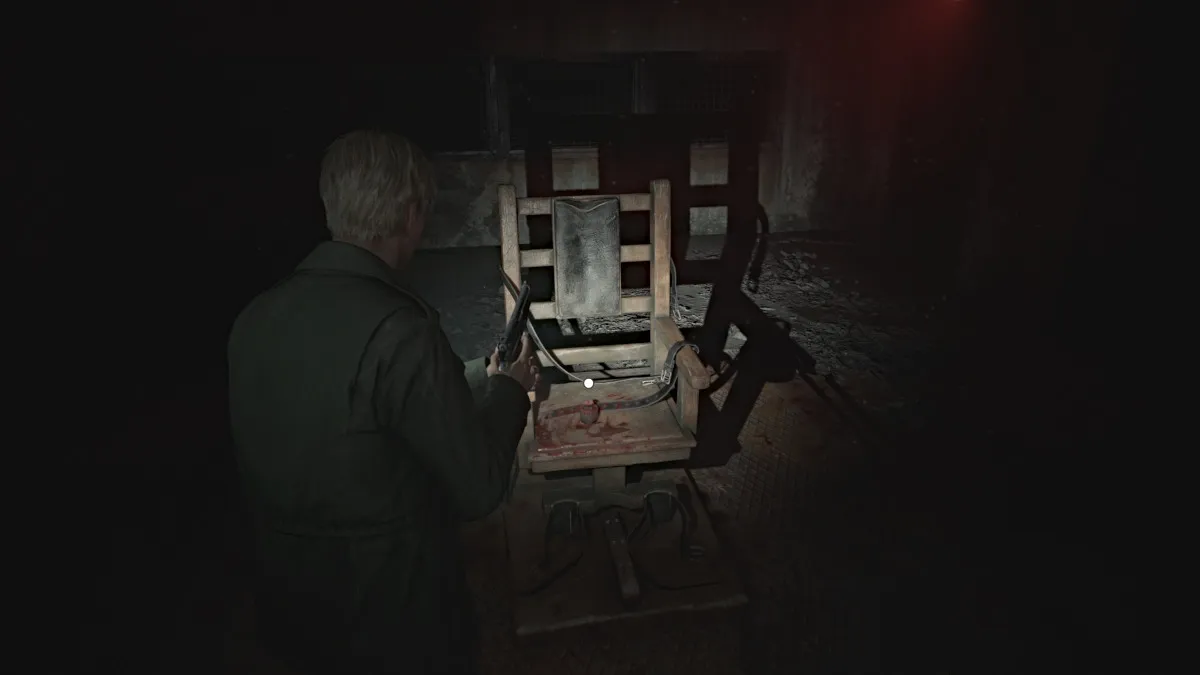
This means you can now enter the Death Chamber and claim the Medium Weight sitting on the electric chair. Now you need to focus on making it through the rest of the block alive, as the alarms have riled up all monsters in the area, and you can no longer use the lights. The path you came in is blocked so exit via the Death Chamber.
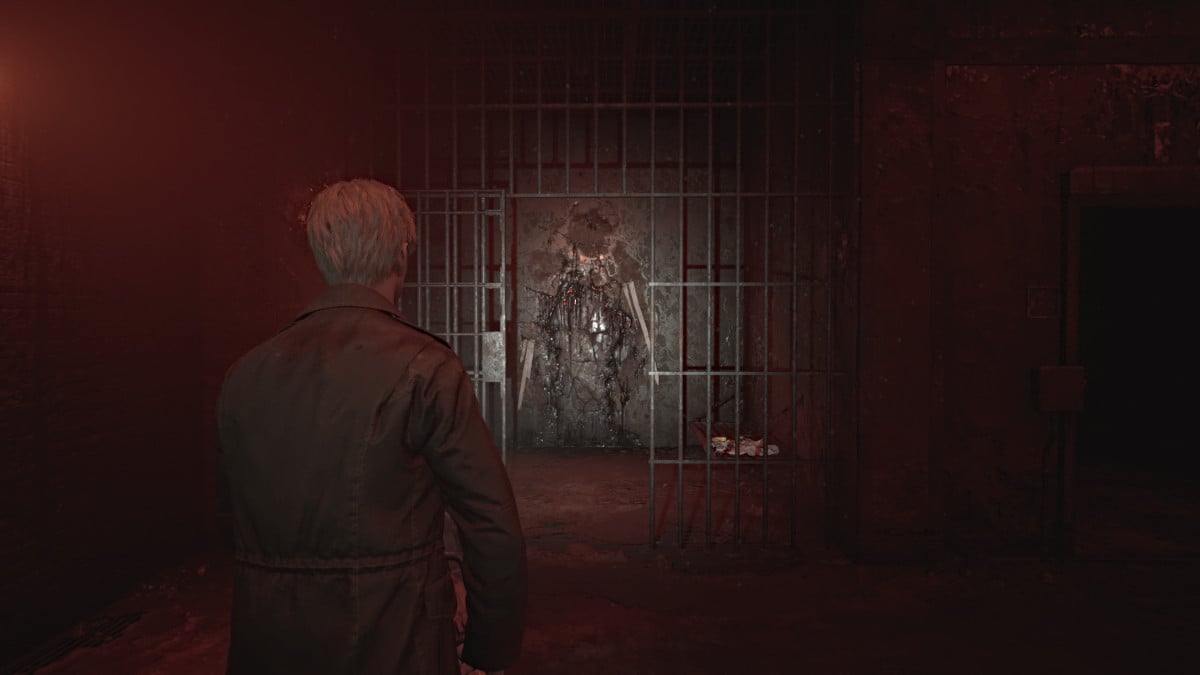
Explore the open cells to find more Handgun Ammo , Shotgun Shells , and a Health Drink . In Cell E1 near the start of the block is a breakable wall, so bash it down to get to the other side of the block. You can find several more Shotgun Shells in the cells on this side. When ready, go into Cell E10 and slide through the wall gap into the Witness Checkpoint area.
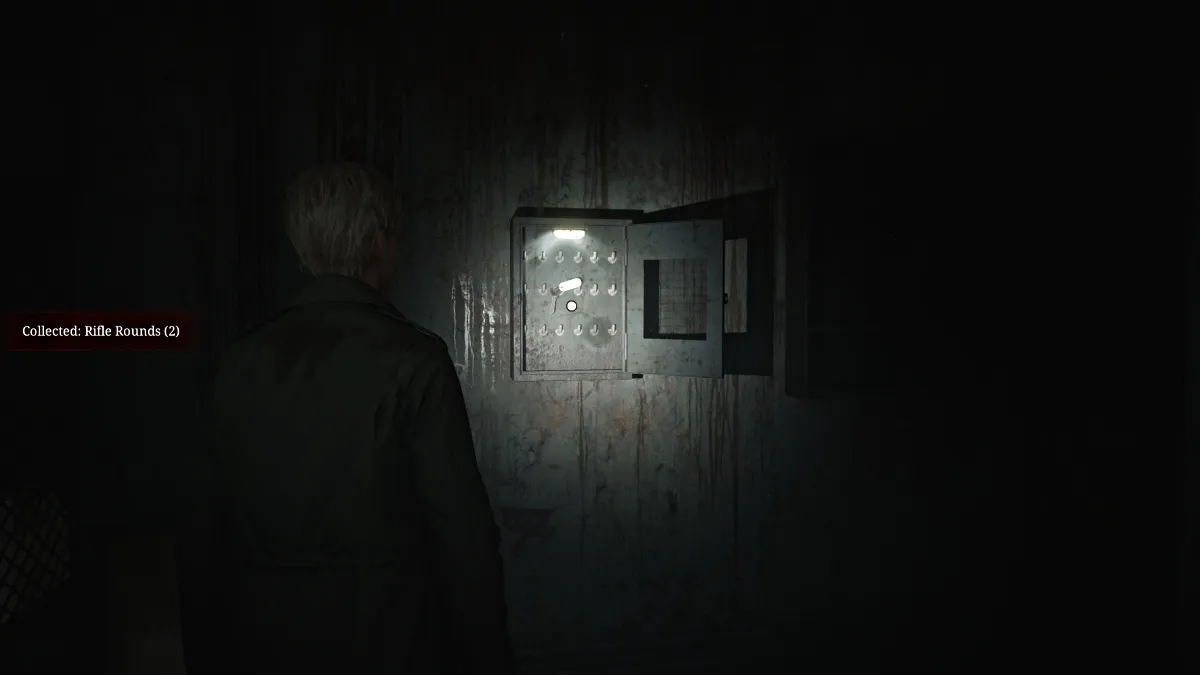
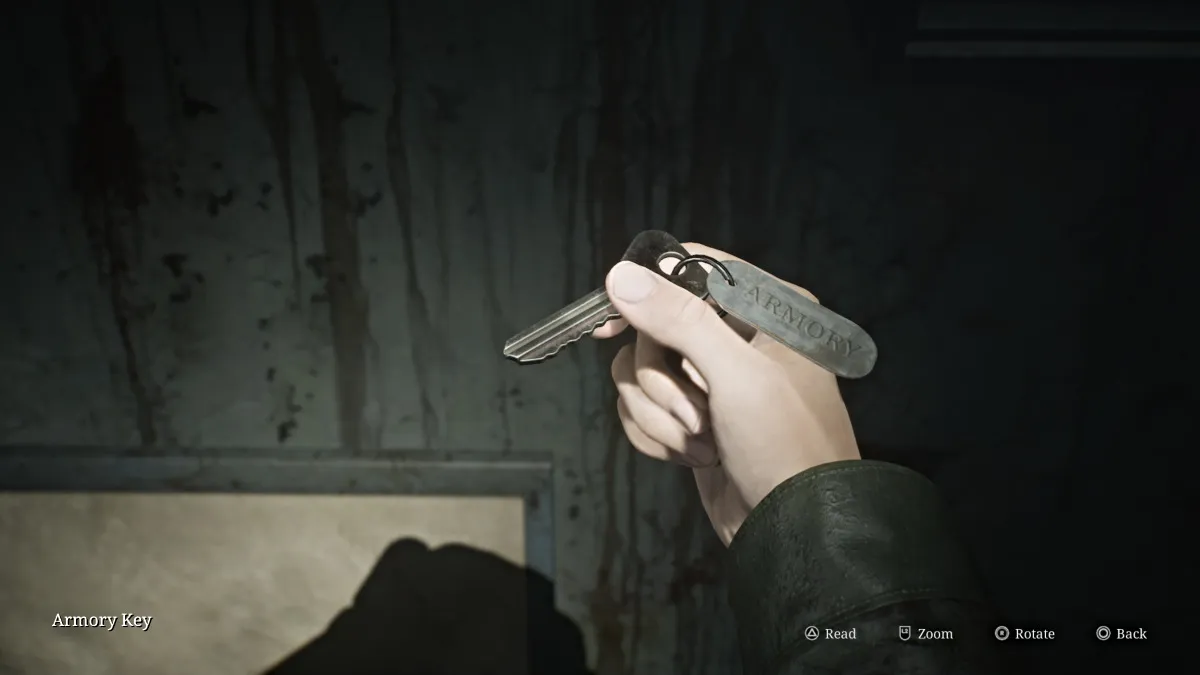
Pick up the Handgun Ammo and Health Drink you find here, as well as the Armory Key hanging in a cabinet on the wall. This will allow you to go and claim the Hunting Rifle . Head back to the Armory and do just that, then use the Red Save Point before heading back to the Scales of Justice statue in the Yard.
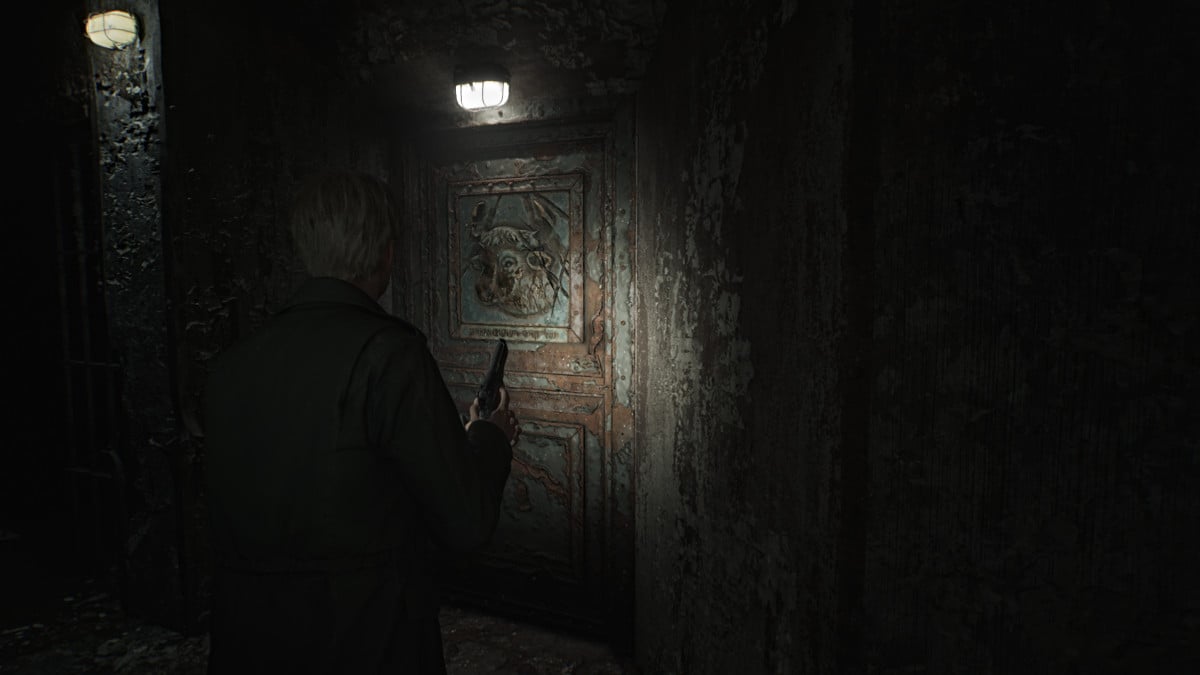
Once you return to the statue in the Yard , your next objective is to place the smallest and Heaviest Weight on the left scale, and your newly acquired Medium Weight on the right scale . Upon doing so, the Hornless Ox Door (seen above) near the entrance to the entire block will unlock.
Head back and through the new door then up the stairs to the second floor of the prison. This area is absolutely crawling with spider Mannequins, so keep your wits about you as you progress through. Go down the first row of cells on the right and use Cell C2 to cross into C3 . Cell C4 has a crawlspace but requires a key to be unlocked . Grab the Health Drink from Cell C5 then head to the Guardroom on the right side.
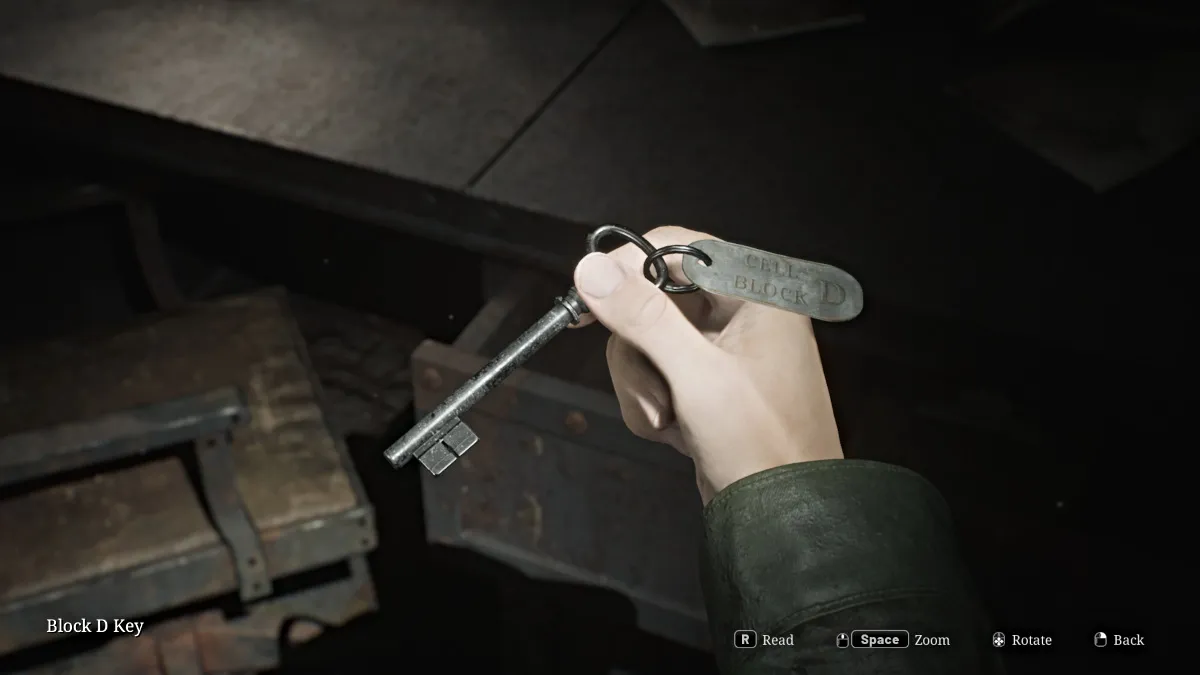
Inside you'll find the Block D Key in a desk drawer along with a Red Save Point , some Handgun Ammo , and a prison guard's notes about something important in Cell D5 . Start making your way to the other side of the block. Use the breakable wall to get into Cell C6 for a Health Drink and a Syringe . Continue down the walkway and use the Block D Key on the door ahead to get into D Block.
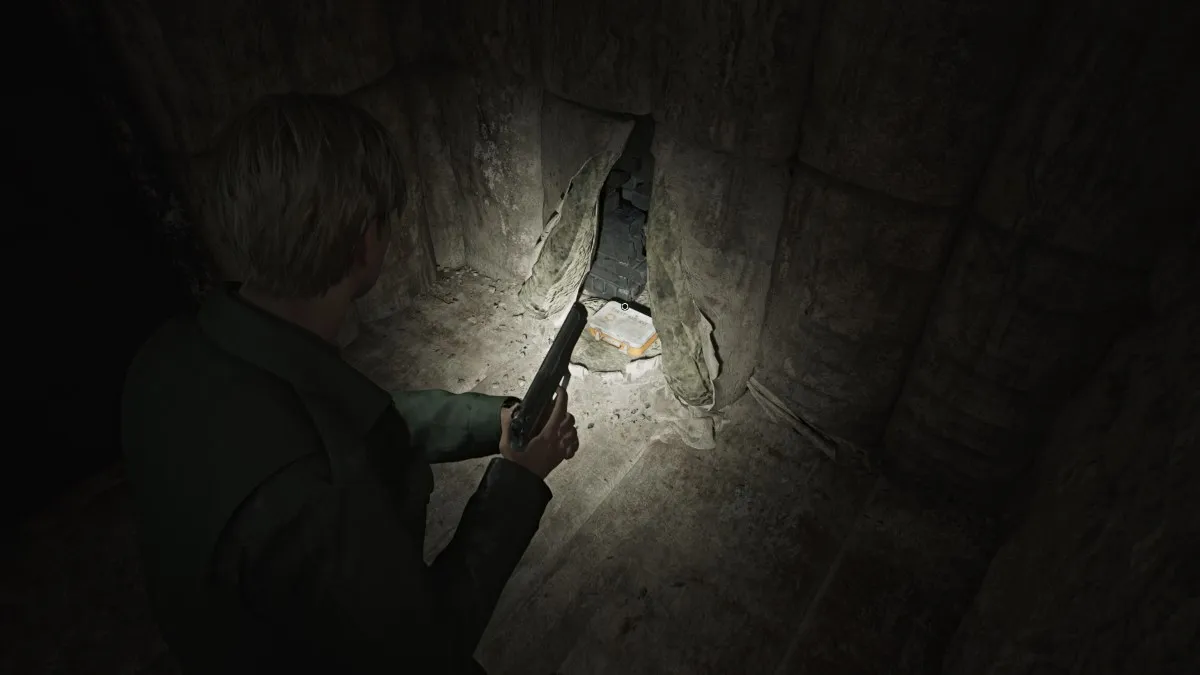
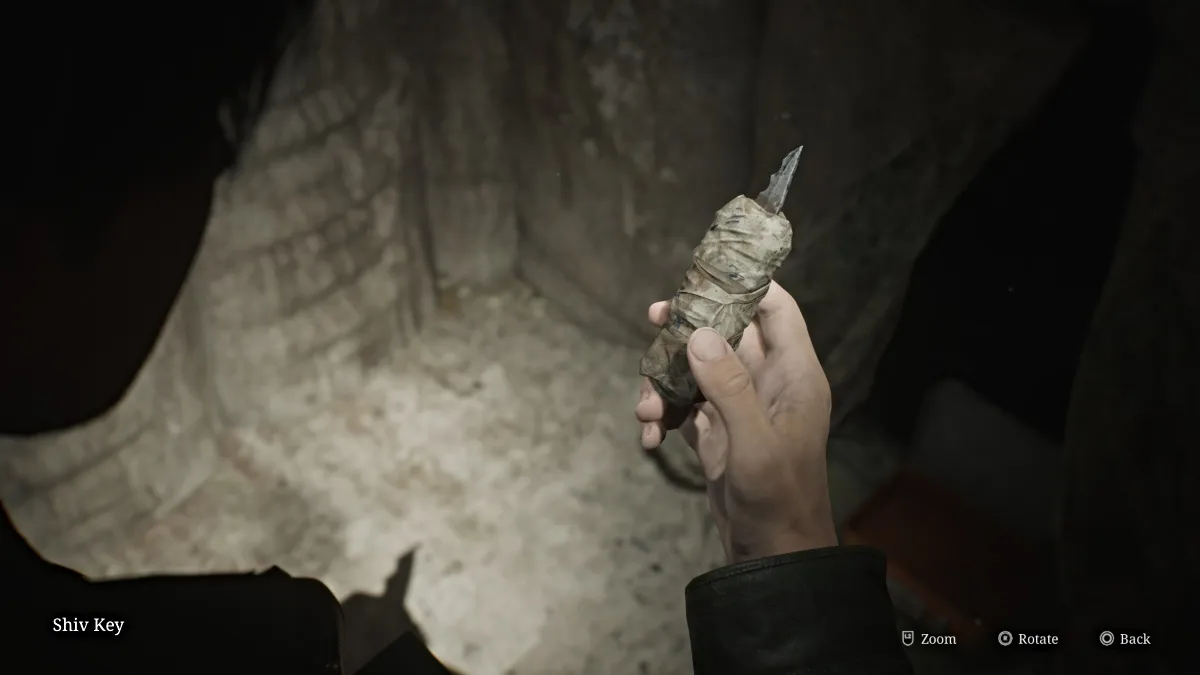
Keep the lights on as you make your way around to Cell D5 , which is a padded room. Inside a first aid kit box you'll find the Shiv Key , and the Threatening Note on the wall that says "we could both use a bath". With that, head back across to the C Block and use the Shiv Key on Cell C4 .
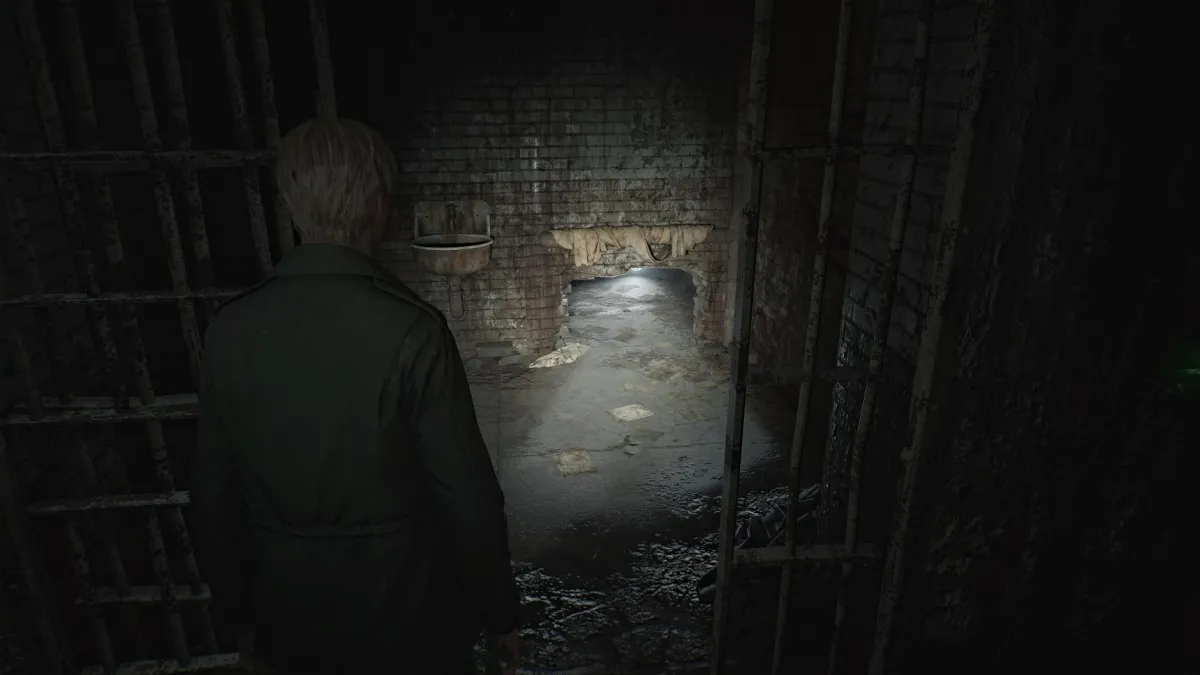
Slip through the crawlspace and grab the Paranoid Note off the pipe. Slip between the pipes on the left side, then down through another crawlspace.
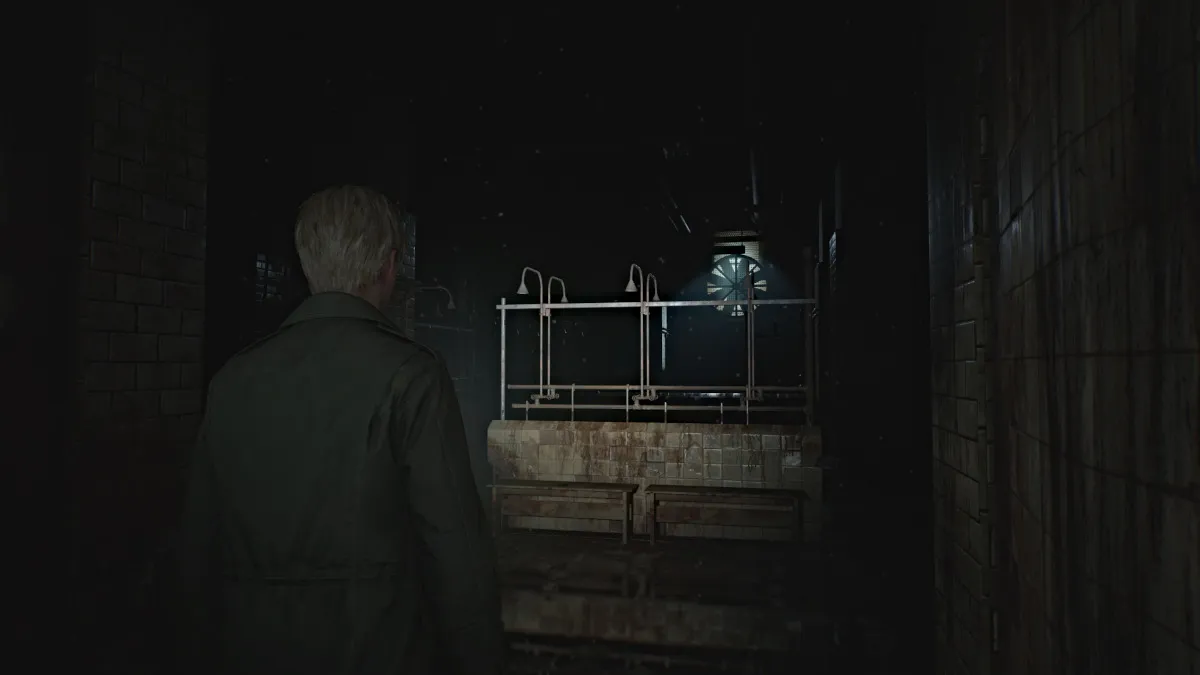
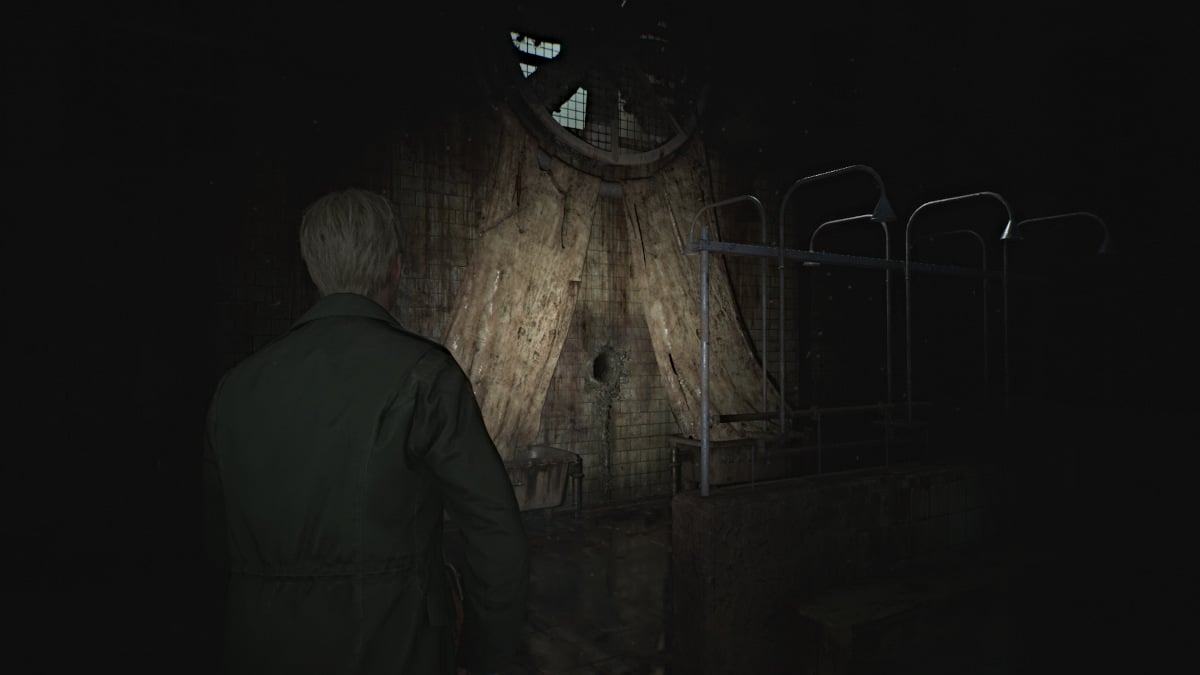
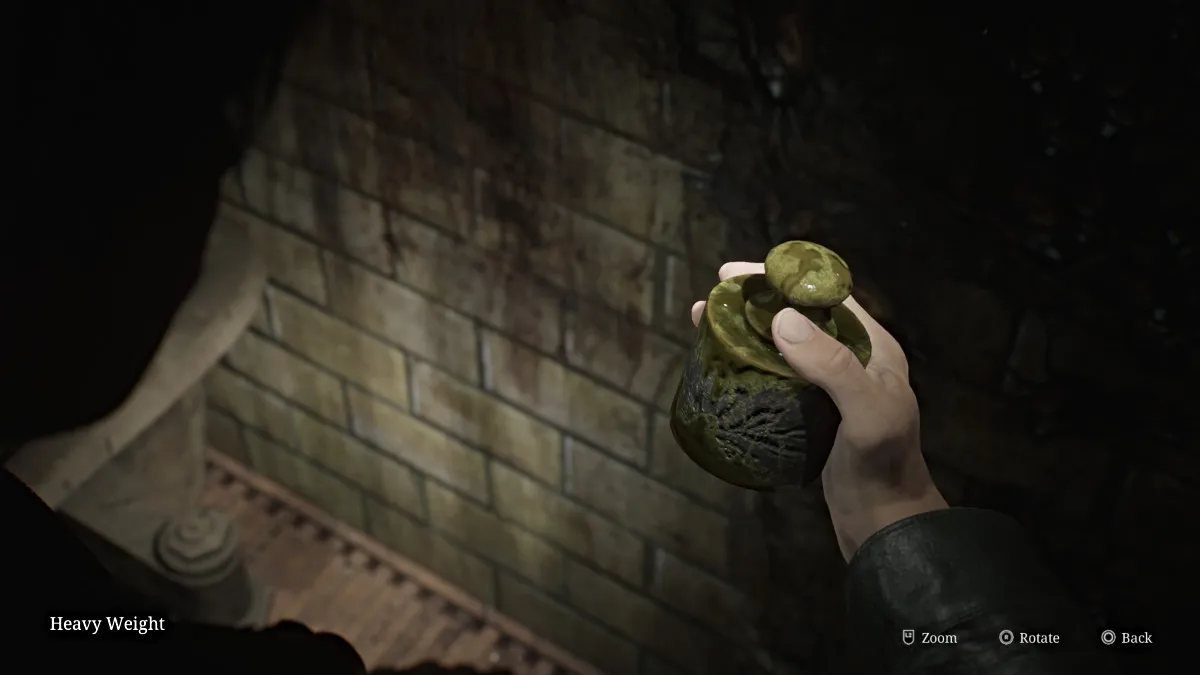
This brings you to the Toilets Room , where you can find some Handgun Ammo on a bench and a Health Drink in a stall. Head over to the Showers area next and deal with the Bubble Nurse patrolling the center of the area. Make note of all the corpses scattered everywhere too, because they won't be still for long.
Venture up the right side of the room, where you'll find another tablet-shaped Glimpse of the Past on the floor.
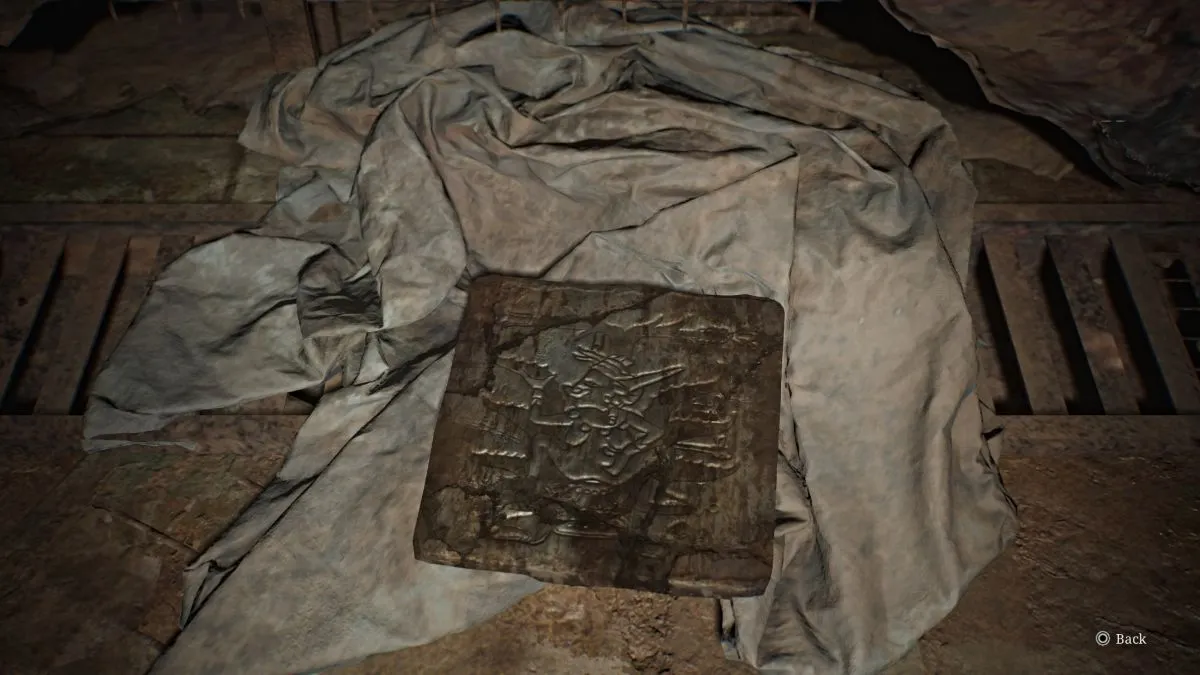
Head towards the back and underneath the rotating fan you'll find a strange "curtain" structure with a hole in the wall that obviously you'll need to have James stick his hand in. Interact with it and you'll obtain the Heavy Weight (seen above).
This will rile up several monsters in both rooms and rather than fight them all, bum rush back to the crawlspace in the Toilets Room and escape through. Make your way all the way back through the block and out the Ox Door.
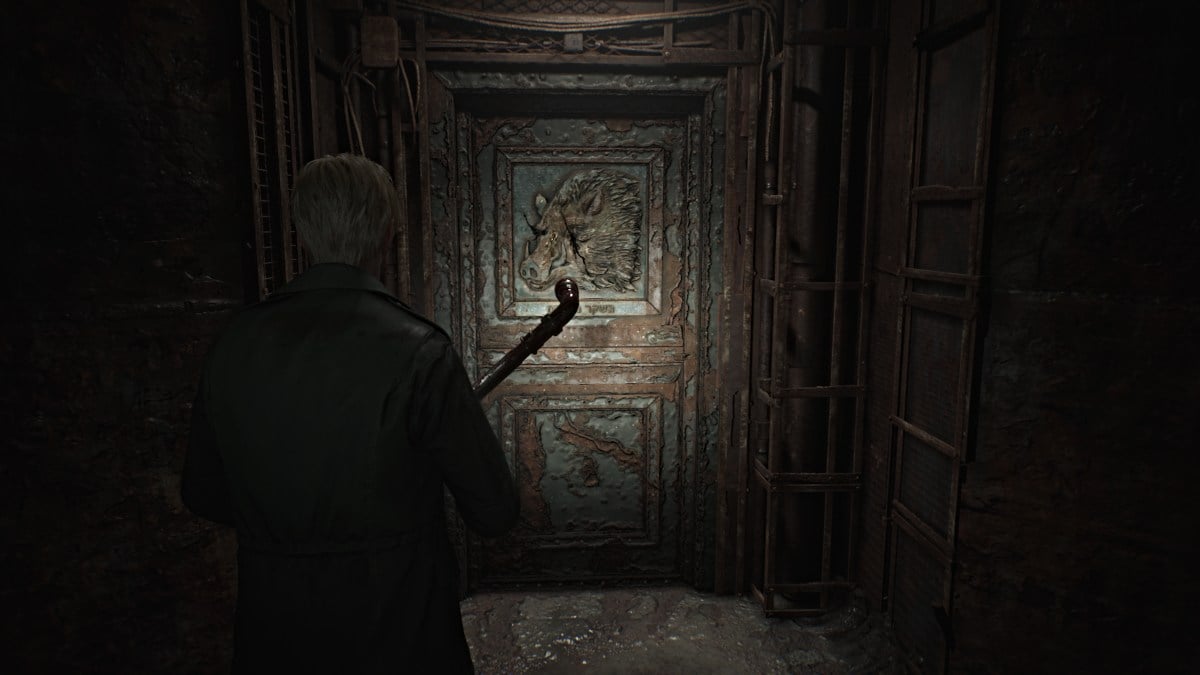
Once again, head back to the Yard to complete the next step of the Scales of Justice. This time, place all of the weights you have on the right scale, except for the smallest weight which you'll put on the left scale. This will unlock the Eyeless Boar Door next which leads to the Administrative Section of the prison. Head back inside and straight ahead to that door, which will be on your right.
Head inside and take the hallway around the Warehouse room, which you can access from the door on the left side. In there, you'll find a couple of monsters along with some ammo and the "Old Man's always prepared" Strange Photo .
Now make your way to the Visitation Room , and grab the Prisoner's Note from station 7 before backtracking to station 5 where you can jump through to the other side.
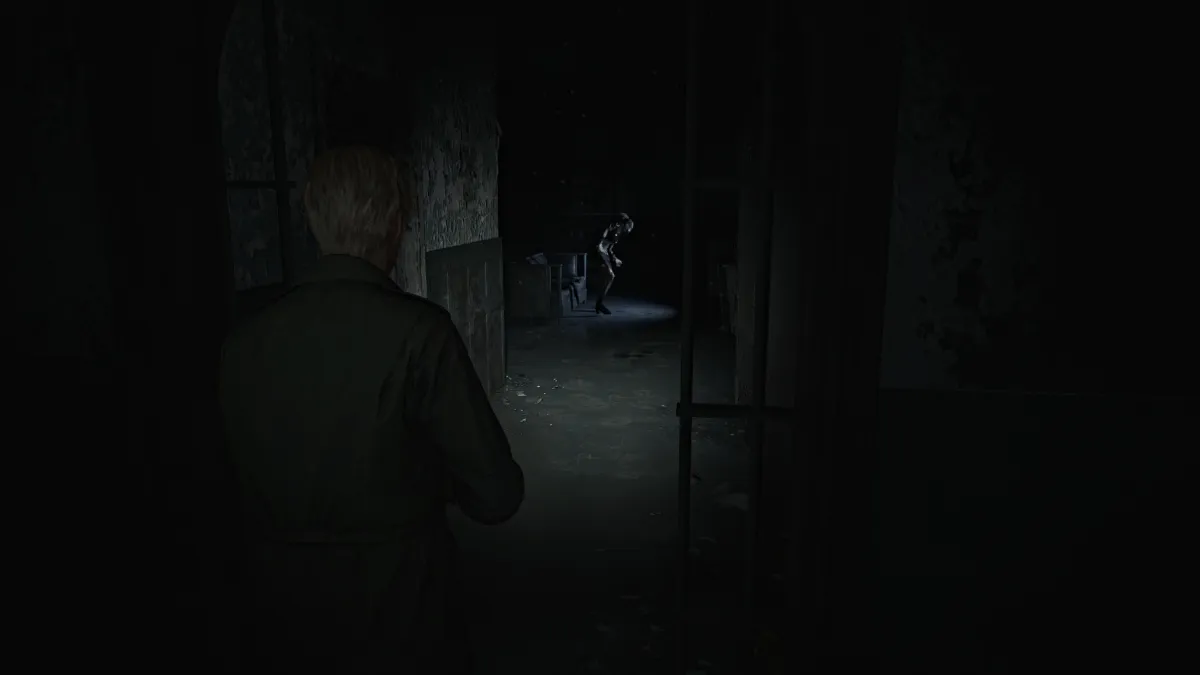
Grab the Shotgun Shells from station 7 before moving on towards the Break Room . On the way there, stop in the Women's Restroom for a Health Drink and a surprise in the last stall, then the Men's Restroom for a Red Save Point .
Cut through the Break Room , grab the Handgun Ammo that's in there, then head north to the Infirmary . As expected, there are a few Bubble Nurses to deal with in there, so fight your way through them to the very back room of the Infirmary. There you'll find Shotgun Shells , a Health Drink , and the Upper Floor Key .
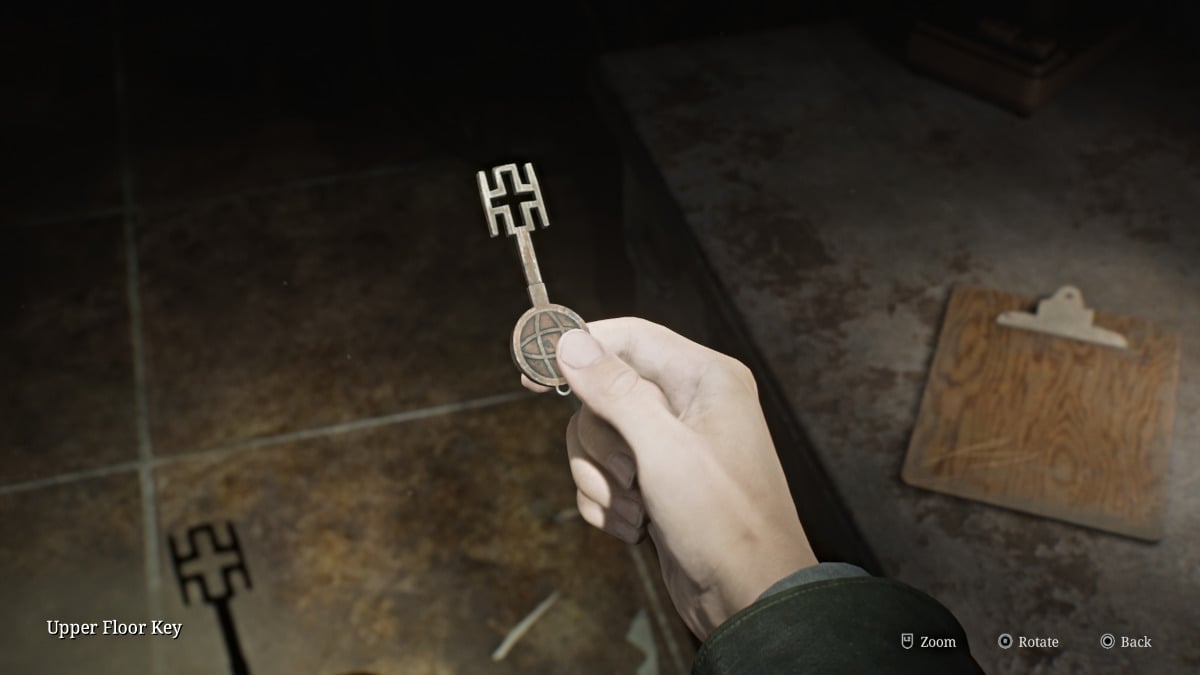
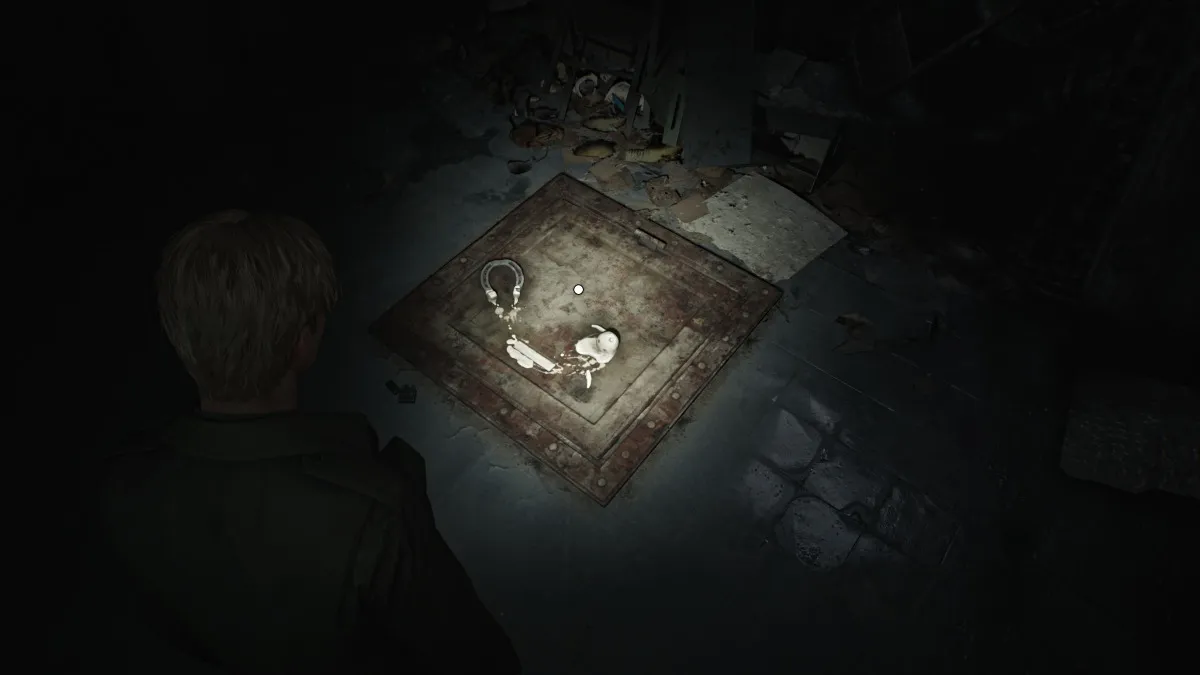
Backtrack on the other side of the Break Room to find another Glimpse of the Past on the floor in front of you, consisting of a horseshoe and a melted wax figurine.
Run back over to the Restrooms and use the Upper Floor Key on the locked gate near the Men's Restroom (by the wall that says "Reap What You Sow"). Take the stairs all the way up to the Warden's Office on the third floor, use the Red Save Point in the nearby storage room, and grab the Handgun Ammo there as well.
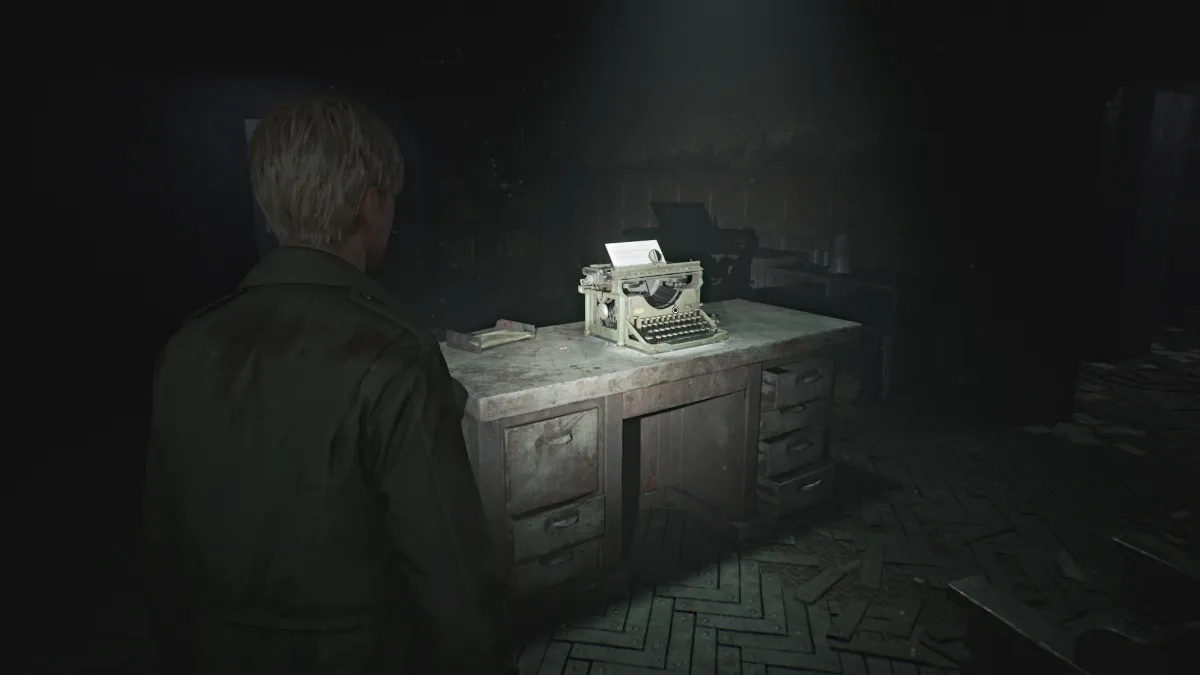
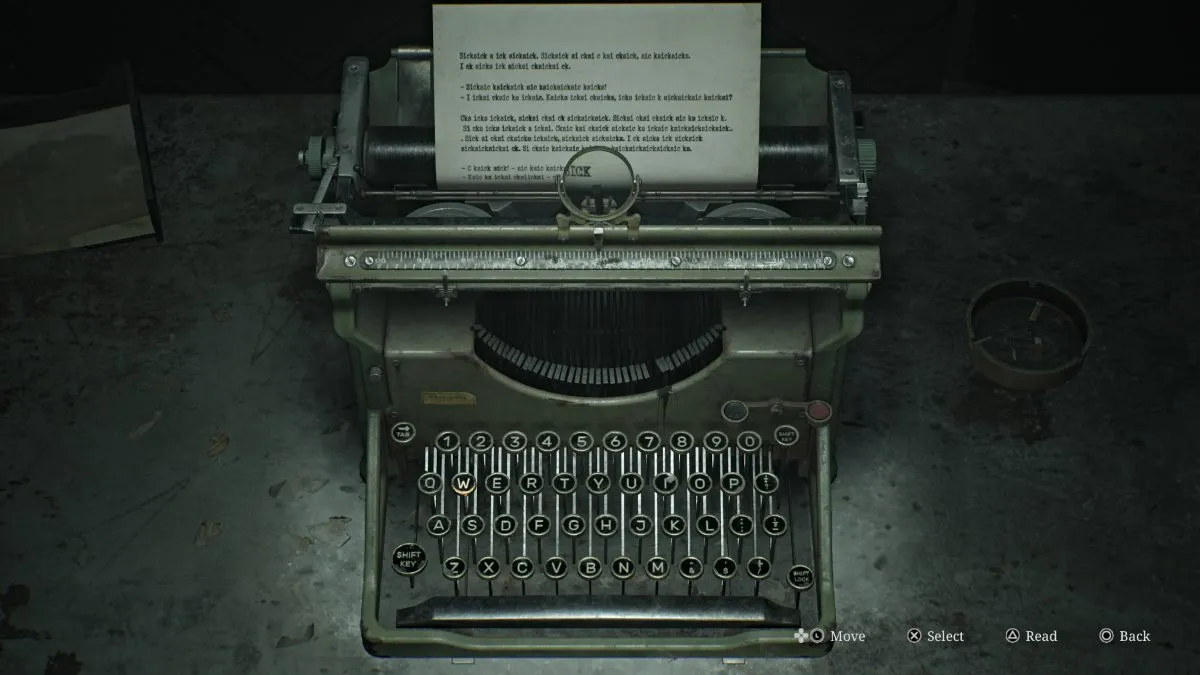
Go back into the office where there's a typewriter on the desk. The paper set in it has the word "sick" typed endlessly, and all you need to do is type repeatedly (any keys) until the desk drawer underneath opens. Inside you can claim the Light Weight . Now you need to make your way back to the Yard once again for the next step.
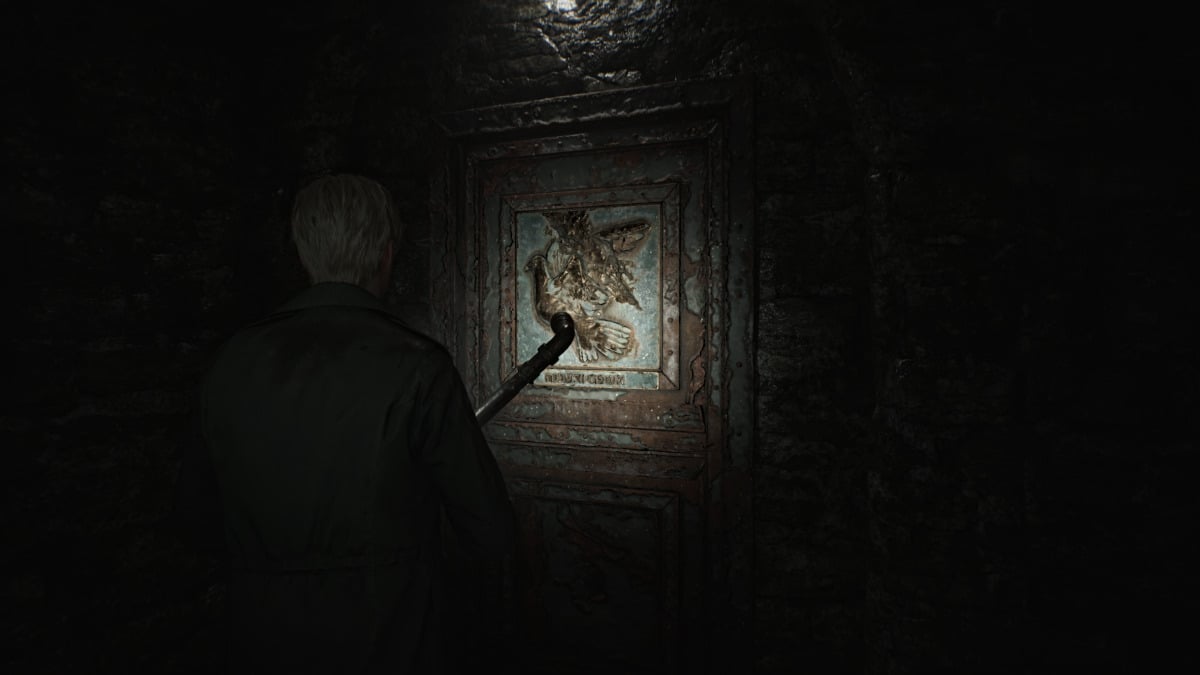
Once you're back at the Scales of Justice, this time you'll need to place every weight on the left scale, except for the Medium Weight which you put over on the right scale . This will open up the Wingless Dove Door , which leads to the Basement level . Head back inside and immediately turn left to find the door down a flight of stairs.
Once inside, start exploring the lower half of the cell block and when you look inside Cell F6 you'll notice the last weight you need sitting on a sheet. For now, go over to Cell F9 and bash through the breakable wall to get to F10 , where there's a ladder you can take up to unlock one of the doors on the first floor.
Head back down and make your way through all the sneaky Mannequins to Cell F14 and grab the Health Drink there. In F16 you'll notice piles of books and glyphs painted on the walls. If you wait long enough, you'll hear an otherworldly voice chanting something.
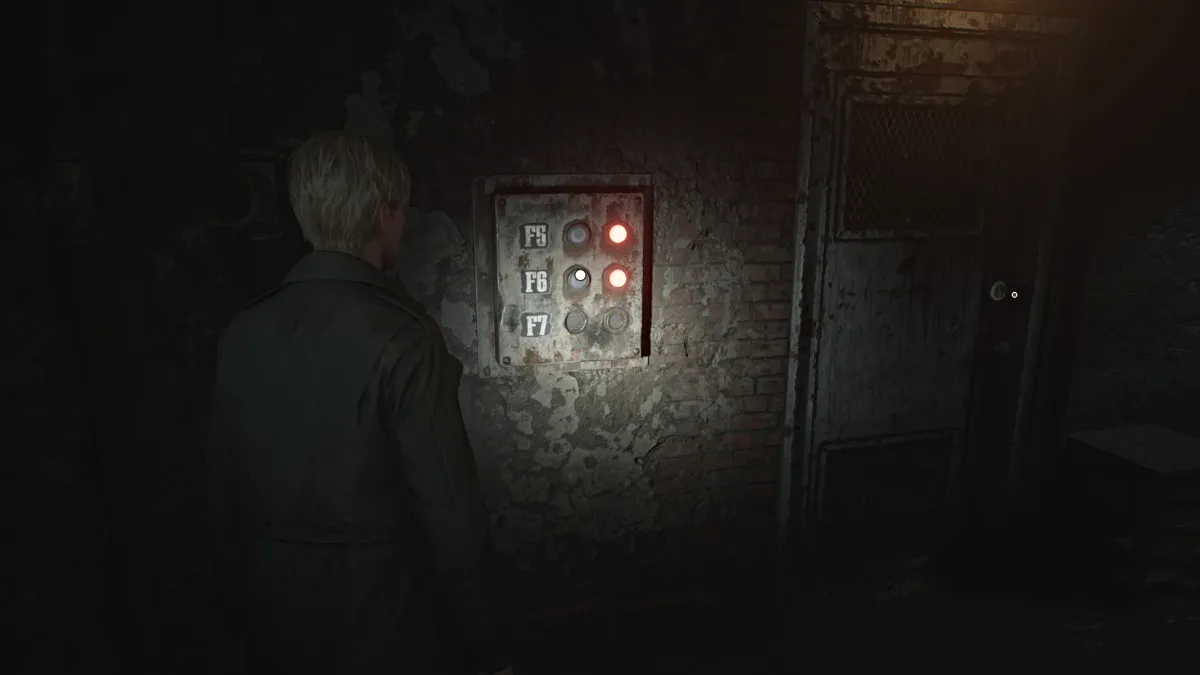
Use the crawlspace on the other side of the hall to get into the next room. Grab the Shotgun Shells from the desk, and view the note on the wall that mentions a prisoner being moved to Cell F6 , where the weight you need is. Go over to the button panel where there are options lit for Cells F5 and F6.
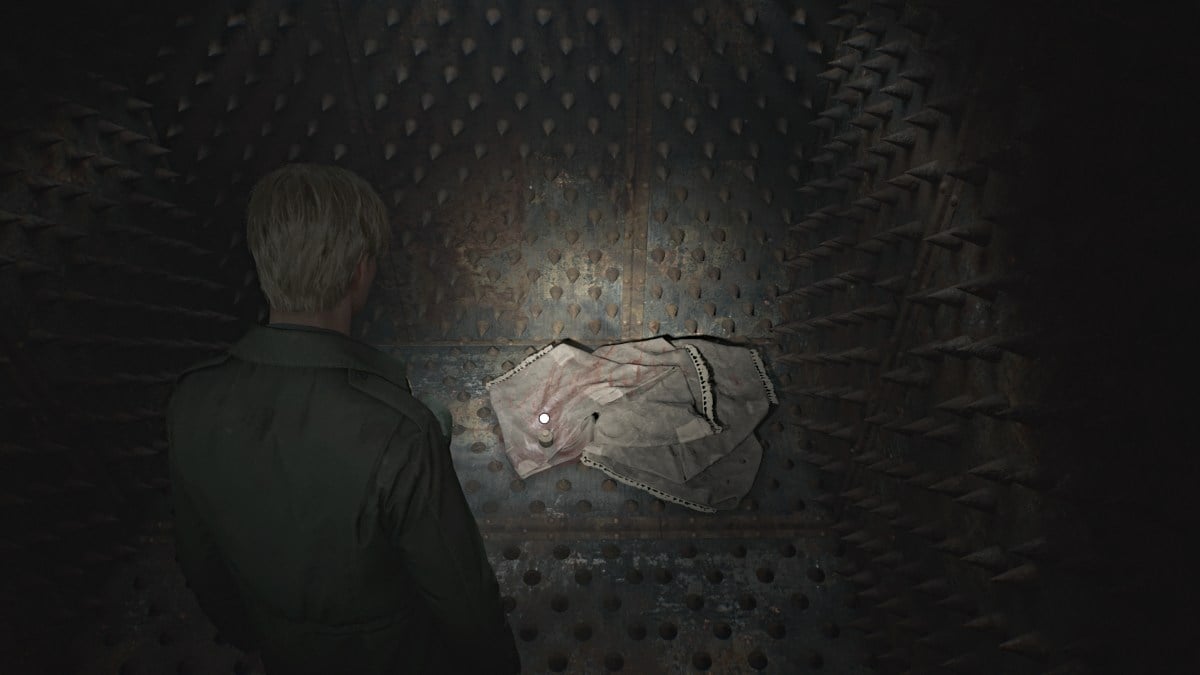
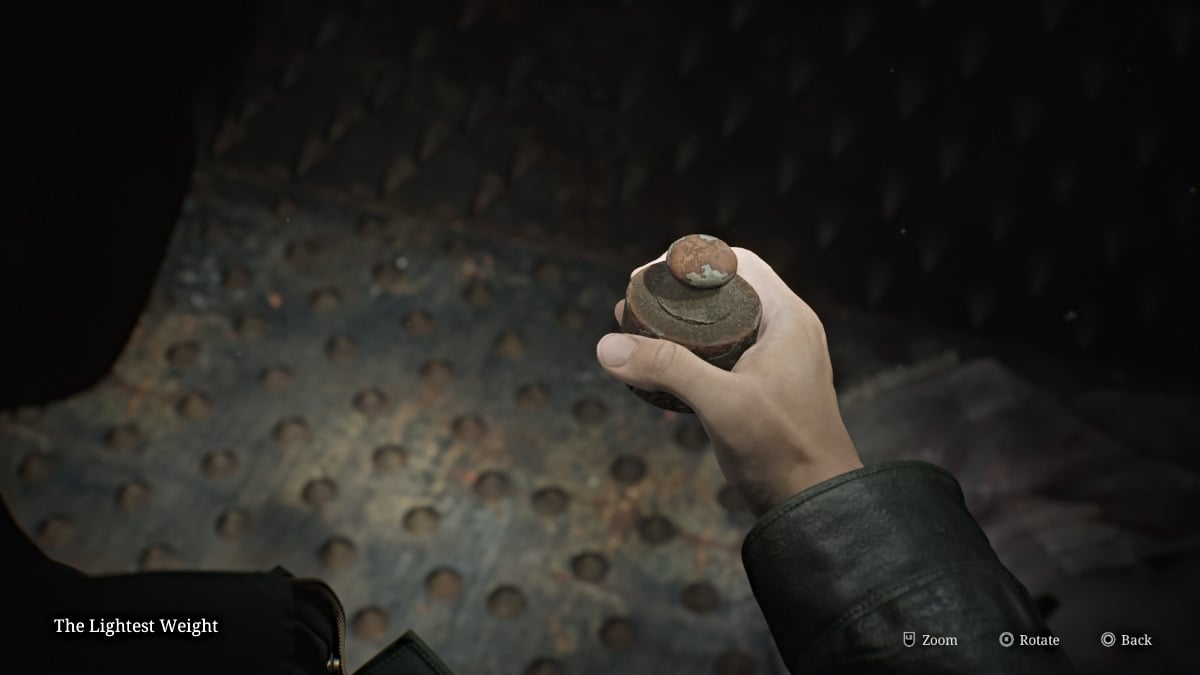
Press F6 and head over to claim the Lightest Weight from inside the cell along with the Confession memo. The door will slam shut temporarily for a nice jumpscare but you'll be able to leave soon enough. Remember to use the ladder in Cell F10 to get out since the entrance is caved in.
Time to head back to the Scales of Justice for the final time.
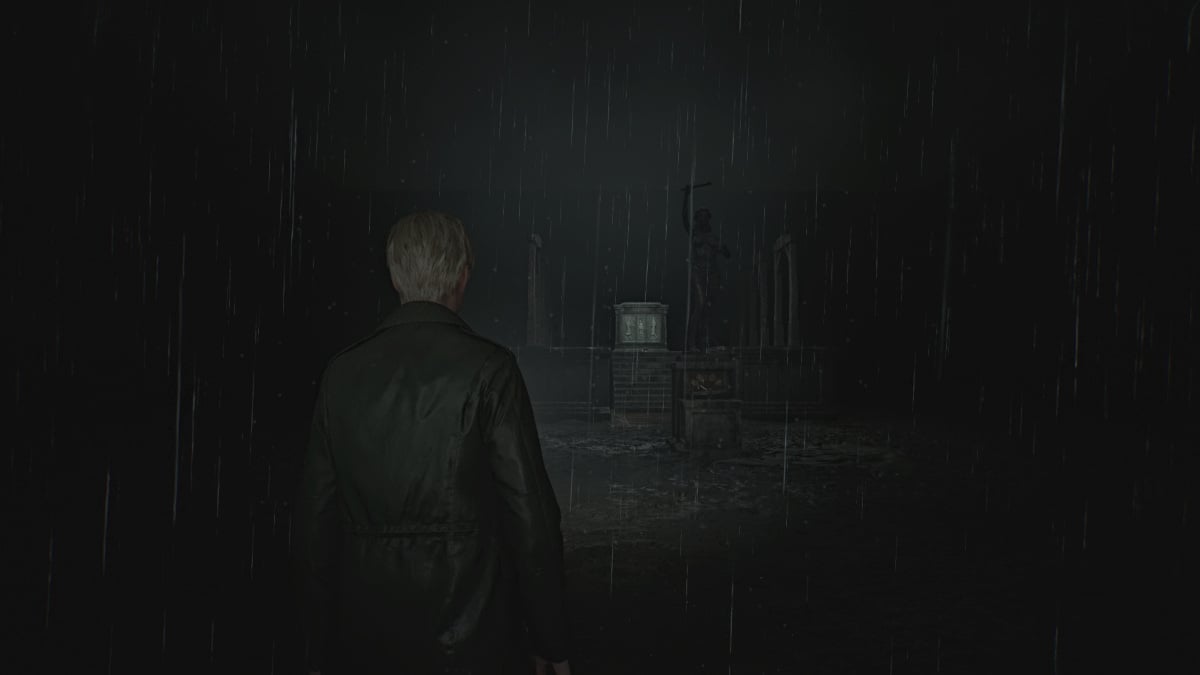
Head back out into the Yard , where it's now raining somehow (being that you're supposedly miles underground). Go over to the Scales of Justice and this time, do the following to perfectly balance the scales:
Putting all the scales back in their respective slots underneath the scale first can help you figure out which weight is which if you're having difficulty. Once the weight is balanced and the arrow centers on the sword symbol, something will fall out of the statue's hand and it's the Execution Lever . This is what you'll need for the next puzzle ahead.
For the Gallows Puzzle , place the Execution Lever in the slot on the platform between both rows of Gallows. The slab in front of you will open to reveal six criminals and their sins, and six slates depicting justifications for those sins.
You'll need to sort out which slates go with which passages regarding the sins of various criminals, and some passages can be different depending on your playthrough and difficulty. At the end, you'll need to choose which criminal was "justified" in their actions, or acting in self-defense.
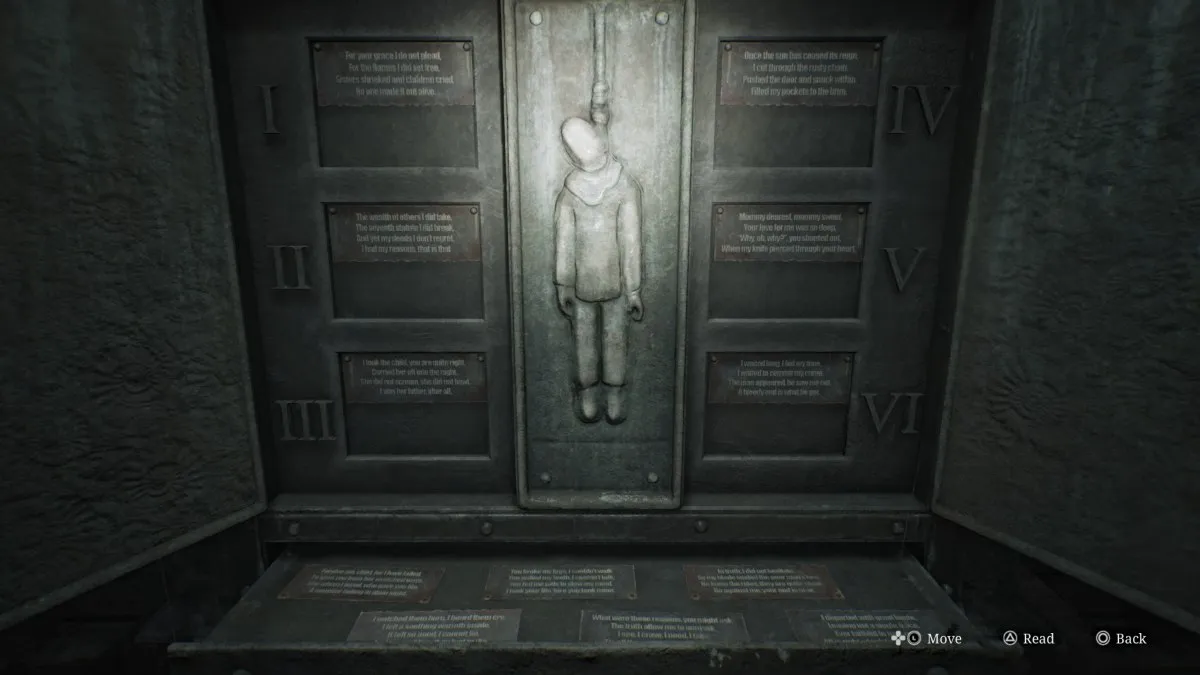
This is arguably the most difficult puzzle in the entire game, but to help you match up the slates with the correct passages, here are the possible answers for each.
| Passage No. | قصيدة | Possible Answers |
|---|---|---|
| أنا | For your grace I do not plead, For the flames I did set free, Sisters shrieked and children cried, No one made it out alive. | Answer #1 - Though the young ones' deaths I mourn, Their tormentors are no more, On young souls the nuns did prey, Took their innocence away. Answer #2 - I watched them burn, I heard them cry, I felt a soothing warmth inside, It felt so good, I cannot lie, And for my bliss, they had to die. |
| ثانيا | The wealth of others I did take, The seventh statute I did break, And yet my deeds I don't regret, I had my reasons, that is that. | Answer #1 - The reason, if I have to say, Was to survive another day, To them, it was a loaf of bread, To me, a cherished step ahead. Answer #2 - What were those reasons you might ask, The truth allow me to unmask, أرى. I crave, I need, I take, 'Tis all the sense it needs to make. |
| ثالثا | I took the child you are quite right, Carried her off into the night, She did not scream, she did not bawl, I was her father, after all. | Answer #1 - Forgive me, child, for I have failed, To save you from her wretched ways, She whom I loved, who gave you life, A monster hiding in plain sight. Answer #2 - My only daughter, joy of days, They wanted to take you away, Hush, little baby, and be still, If I can't have you, no one will. |
| رابعا | Once the sun has ceased its reign, I cut through the rusty chain, Pushed the door and snuck within, Filled my pockets to the brim. | Answer #1 - So my guilt is plain to see, I had robbed the pharmacy, Yet, I did so not for gain, But so I could ease the pain. Answer #2 - I departed with great haste, Leaving not a single trace, Ever faithful to my creed, All is right, which feeds my greed. |
| V | Mommy dearest, mommy sweet, Your love for me was so deep, "Why, oh, why?", you shouted out, When my knife pierced through your heart. | Answer #1 - You broke my legs, I couldn't walk, You pulled my teeth, I couldn't talk, You fed me pills to slow my mind, I took your life 'fore you took mine. Answer #2 - You were, oh, so kind to me, Filled my heart with joy and glee, In the end, it was for naught, "Why, oh, why?", you ask. ولم لا؟ |
| سادسا | I waited long, I bid my time, I waited to commit my crime, The man appeared, he saw me not, A bloody end is what he got. | Answer #1 - In truth, he was less man than beast, And on my flesh and soul he'd feast, My will to live he'd try to break, There is so much a man can take. Answer #2 - In truth, I did not hesitate, As my blade sealed the poor man's fate, He knew the rules, they are quite clear, Go against me, your end is near. |
For the passage(s) that has Answer #1 as their choice, that will be the one you want to choose as innocent or "justified". More than one passage may indicate innocence based on this, and you need to decide which one best describes self-defense or defense of another (such as a child).
When you've made your choice, go over to the corresponding noose and pull it down.
If you guessed correctly, you'll fall through the platform and land inside The Labyrinth . If you guessed wrong, you'll instead fall into a room with several monsters you'll need to run through and make your way back up to the Gallows and try again.
After successfully completing the Gallows Puzzle, ahead of you will be not one but two more massive holes to jump into, sending you to a depth clearly beyond reality. Afterward, you'll take a mineshaft elevator down to a floor with a Red Save Point . Use it and enter through the door ahead.
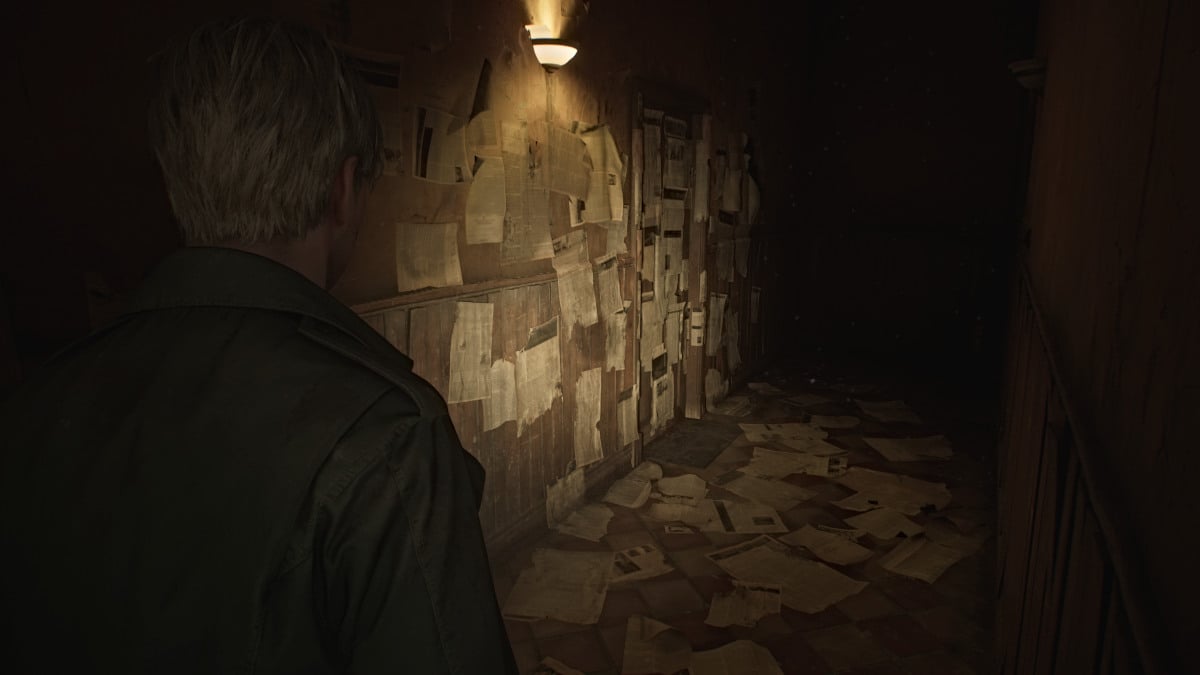
Follow the path through what resembles an apartment hallway, and you'll hear whispers behind the doors you pass. If you budge the doors, they'll hush in response. Keep going until you reach a section of the hallway decorated with newspaper clippings, including a bloodied one on the floor you can read about the murder of Thomas Orosco, Angela's father .
Suddenly, Angela's screams can be heard from behind the door ahead, alluding to a conflict with her father. Go inside, grab the Health Drink and Shotgun Shells from the kitchen area, then take a deep breath and go through the darker door on the left, where you'll see one of two more doors. The one in front of you is likely the bedroom of Angela's brother.
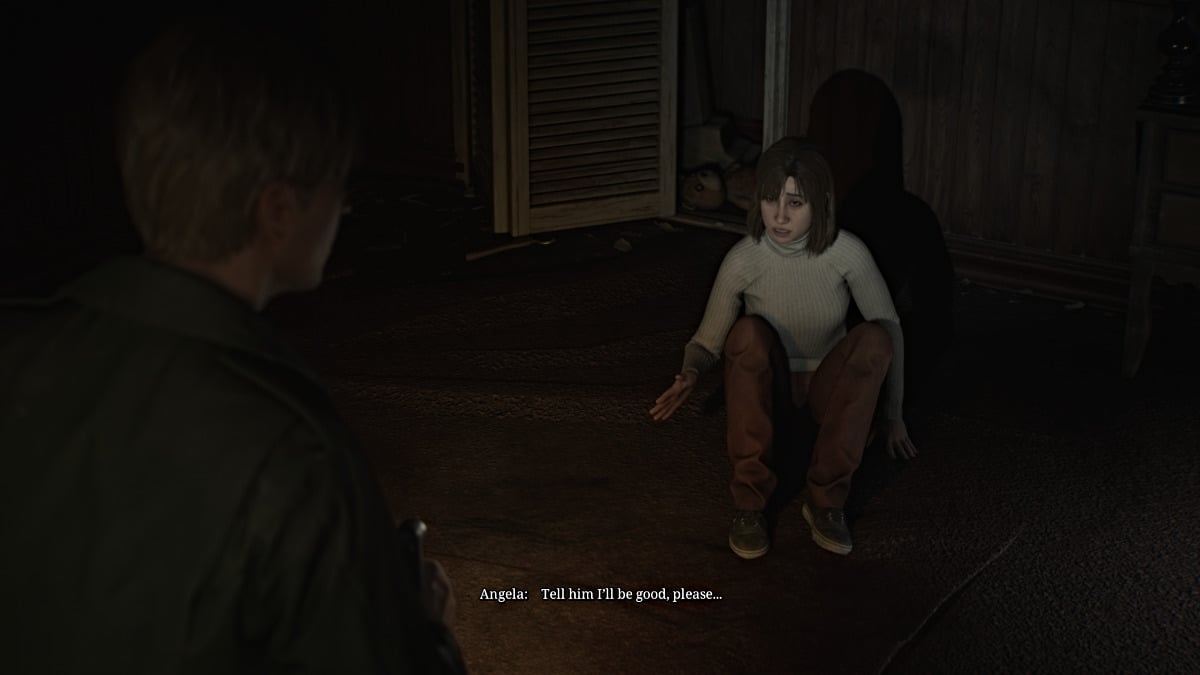
Go to the one on the left, where you'll find Angela cowering inside. Before James can figure out what's wrong, a much larger monster called the Abstract Daddy suddenly attacks and slams him through a wall. Take a deep breath and prepare for one of the most challenging and emotionally devastating fights in the game.
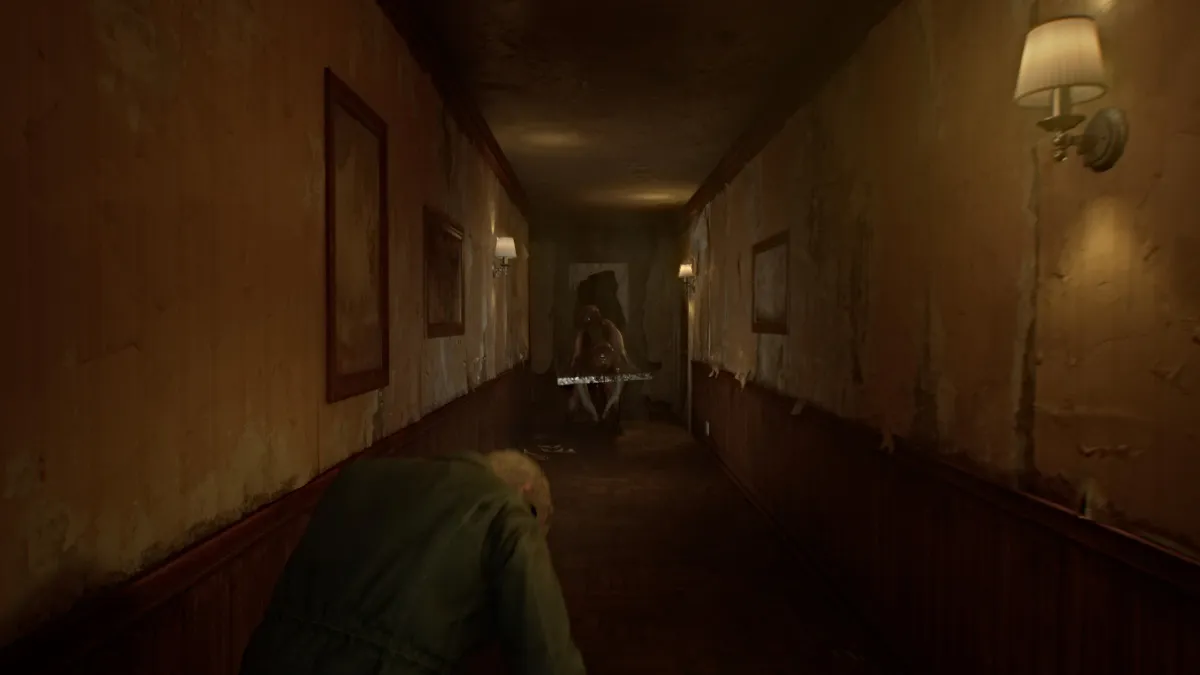
If it wasn't already obvious, Abstract Daddy is the disturbing manifestation of Angela's intense trauma from being sexually abused by her father as a child, and its physical form is meant to embody that. It makes it one of the most intense and consequential fights in the game.
The battle begins with Abstract Daddy confronting you in the hallway, and once again, keeping your distance from him is imperative. If he manages to charge and grab you, he can deal significant damage in each instance, so be sure to keep your health topped off.
You may initially think you're fighting him in tight quarters, but the "arena" has suddenly taken the form of a seemingly endless maze within Angela's home. This allows you to land hits on Abstract Daddy while constantly keeping your distance. Prioritize your Hunting Rifle and Shotgun for dealing damage, and time your shots well because he has an insane amount of health.
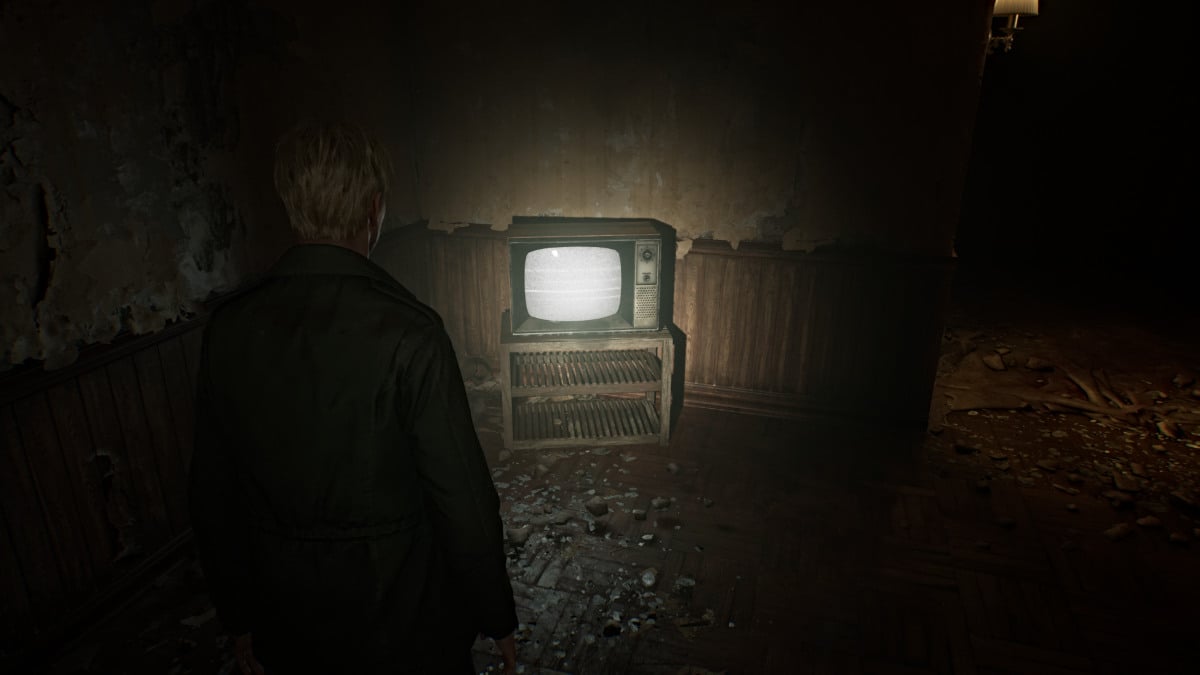
At certain junctions when you've dealt enough damage, Abstract Daddy will disappear briefly, allowing you time to recover and reload your weapons . Make sure to explore everywhere you can for extra ammo and health. As you travel through the maze, you'll see Angela fleeing in terror herself, and occasionally a scratchy recording of her father will play, further inferring his verbal abuse.
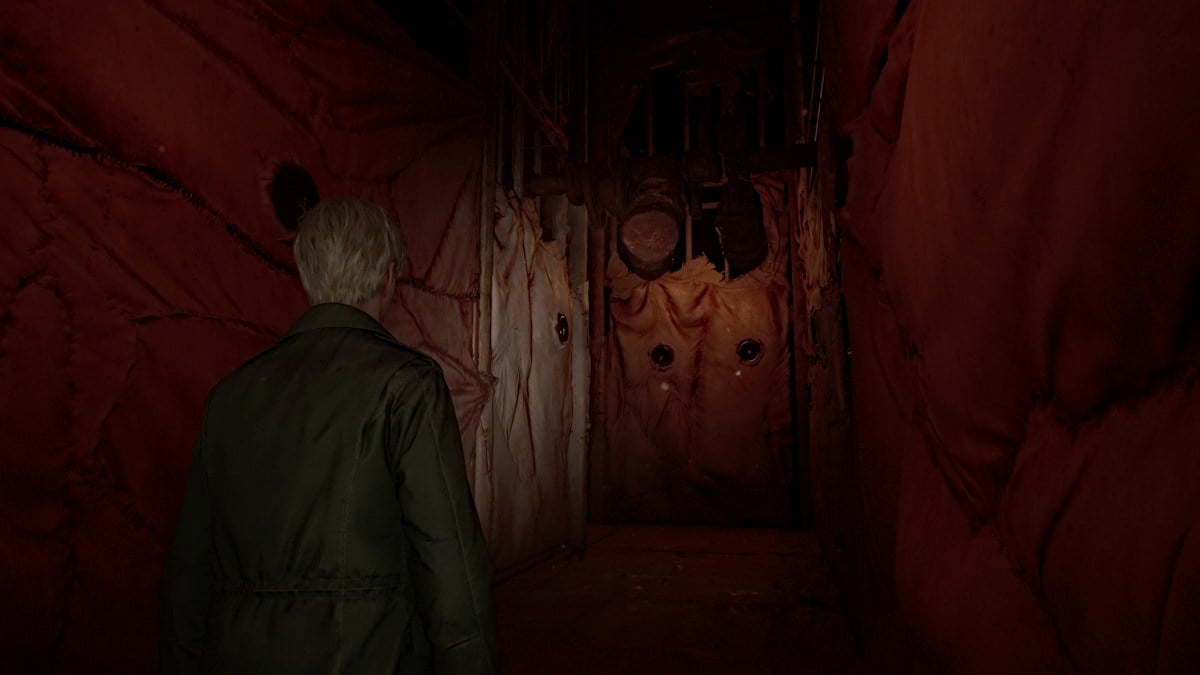
The fight occurs over multiple phases, and at least three times you'll need to trigger the next one by finding a static TV and smashing it with your pipe. The further into the fight you go, the more the environment changes into something closer to the Otherworld, and the walls turn...well, "fleshy".
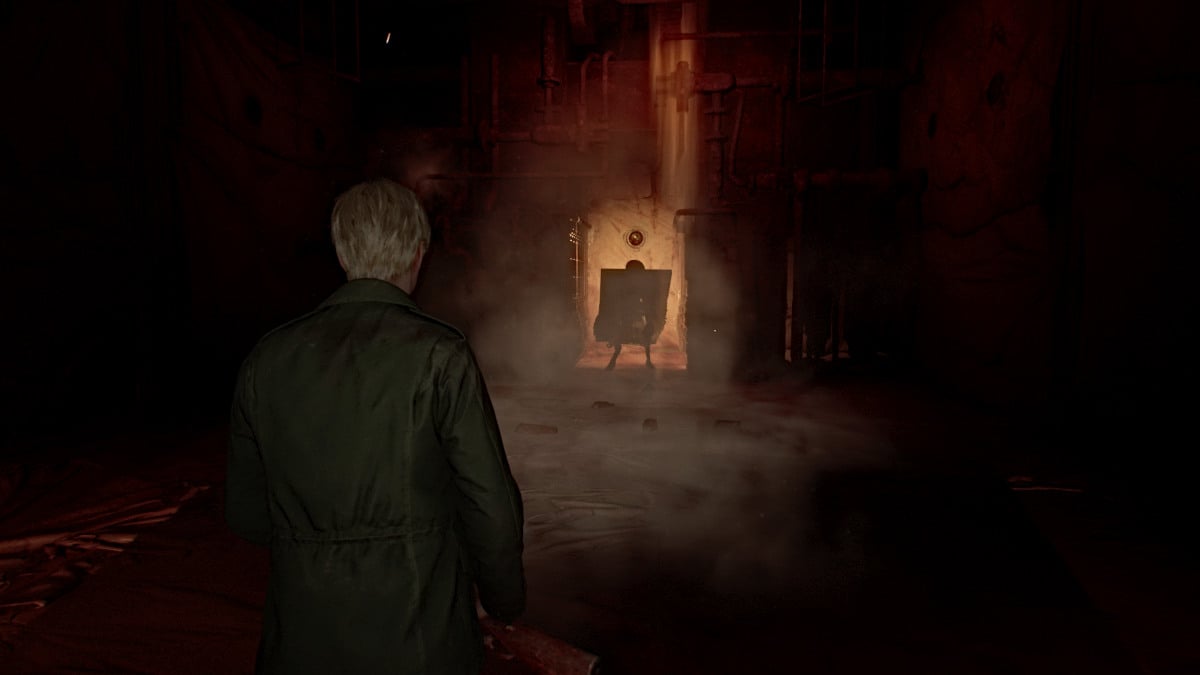
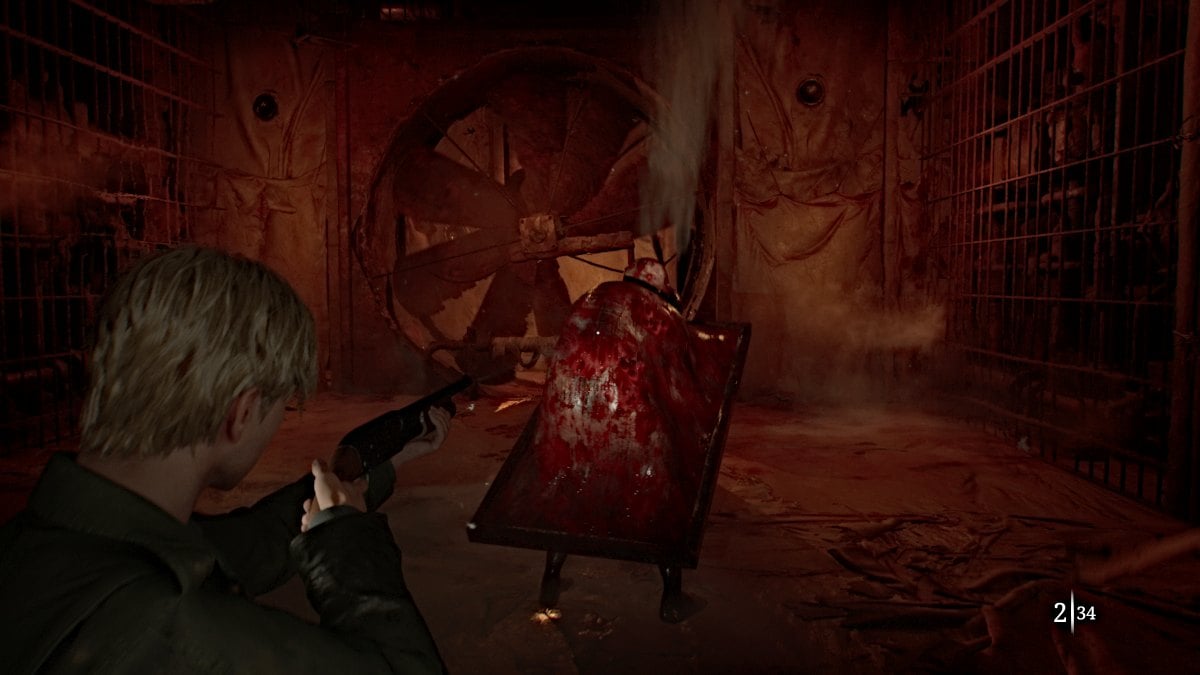
Eventually, you'll arrive at the final phase of the fight in a wide-open area. By this point, you've likely exhausted most of your ammo if not your health stores as well, so make use of the items spread around the room. Keep dealing damage, and Abstract Daddy's attacks will gradually slow down and become easier to dodge. Soon enough, he'll go down and a cutscene will follow.
Angela approaches in rage and slams a TV on top of the Abstract Daddy, killing it. The environment has also returned to the way it was before the fight began. James tries to console Angela though to little effect, and the two argue over his possessiveness of Mary and how he treated her while she was sick.
Soon enough, Angela will retreat and now you're free to explore the rest of the Labyrinth.
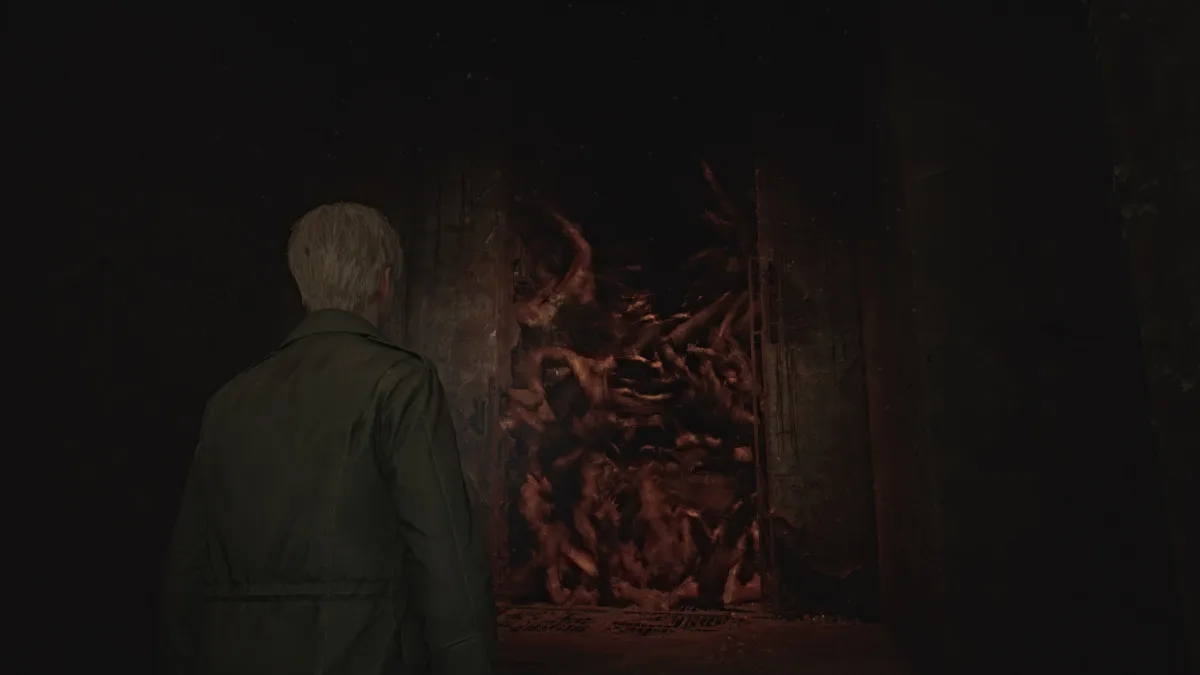
After you move on from "Angela's apartment", you'll soon find yourself in a strange, maze-like area, and in front of you a barrier made of what looks like monsters from Silent Hill. If you try to cross through it, James will feel nauseous and back off, so you need to find a way to remove it. James will call it the "Strange Wall" on your map.
For now, head right and use the Red Save Point along the way. Go all the way across (the door to your right is locked) and down the stairwell and through the door ahead. On the other side is something, or rather someone, that James definitely didn't expect to see.
Maria is "alive" and well, sitting in a cell, and chides James for seeming to think she had been killed by Pyramid Head "in that long hallway". She laughs and muses about how he was "always so forgetful". She eerily sounds like Mary, which James notices and mentions. However, she rebuffs that she's not "his Mary", and insists that she's all he needs since she's "real".
Grappling with the situation, James starts to walk away and says with some hesitation that he'll find a way to get her out of the cell.
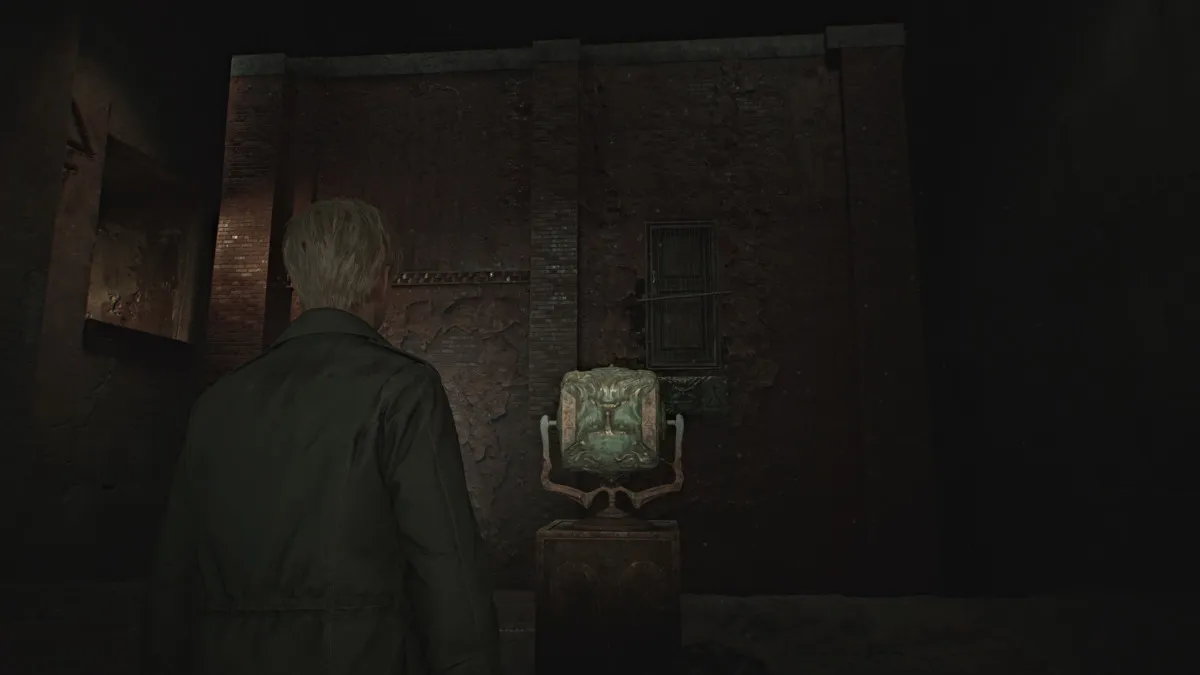
Head back up the stairs to the path you walked before, and now you'll find the Rotating Cube Puzzle contraption in the center of it, along with what looks like an entire building in the chasm next to you. The rotating cube features different faces on each side, along with different symbols.
Depending on how you turn it, the building in front of you will rotate as well and reveal new paths and three other main areas for you to explore. Those areas include: the Rotten Area, the Desolate Area , and the Ruined Area .
This puzzle serves as the focal point of the Labyrinth, and your goal here is to use it to access each of those different areas one by one. For easy reference, here are the symbols required for each area:
| رمز | Area Unlocked |
|---|---|
| Upward-facing triangle with a cross underneath | Rotten Area |
| Infinity symbol with a vertical line above crossed through twice | Desolate Area |
| Downward-facing triangle with a cross underneath | Ruined Area |
| None (side axis of the cube) | خياري؛ Find the "Your best buddy!" Strange Photo inside the cube itself. |
So for now, you'll want to start with accessing the Rotten Area . Turn the cube in the proper direction, then go into the building and take the stairs that lead up to the path on the left side. Go down the hallway and at the end there will be three doors, for each of the three areas. Go through the Green Door on your left to enter the Rotten Area.
You'll start in a hallway completely covered in bugs, so move through carefully and watch out for where the floors switch to metal grates, as Mandarins will be lurking beneath. Remember that all of your maps for the Labyrinth are hand-drawn, so you have to learn the area as you go.
After that first metal grate path, turn left and find some Handgun Ammo on a dresser (which you're probably starved for after Abstract Daddy) at a dead end. Backtrack to the main hallway and continue on until you see a door ahead. Go through it and you'll enter a room with a Suspended Cage high up, three other different doors, and a Red Save Point .
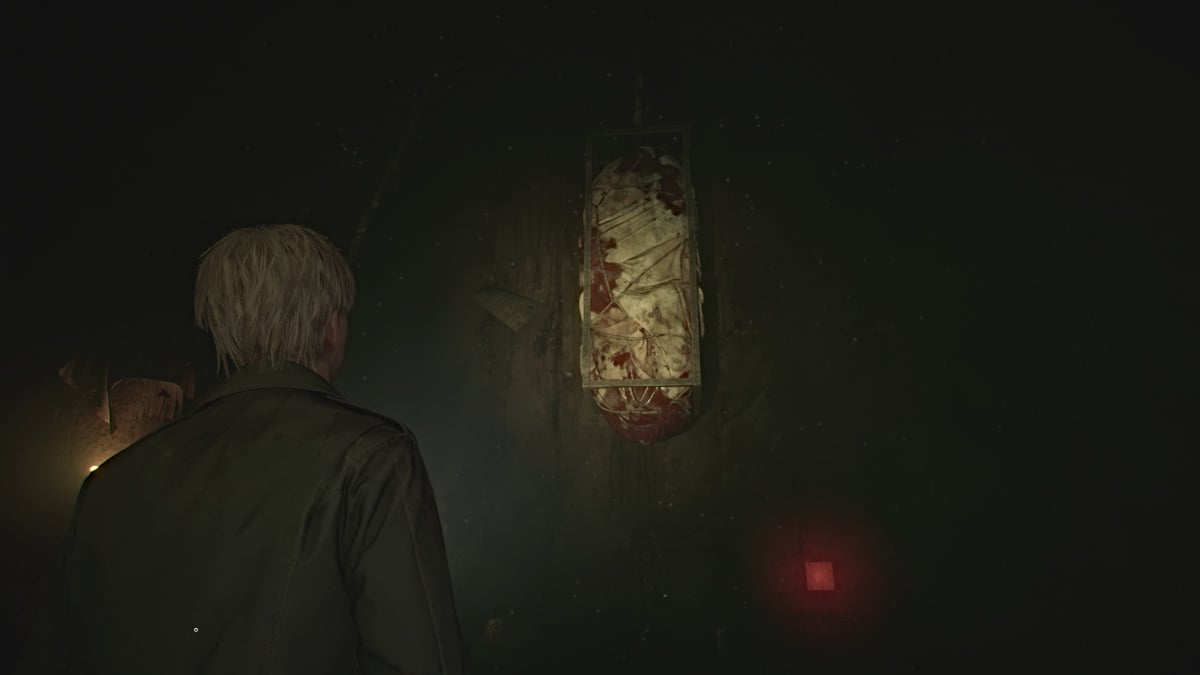
To bring down the Suspended Cage you'll need something to cut its tether, so for now head through the door to your left.
Go down the hall, grab Rifle Ammo from a small cabinet on your right, and continue straight to the open door at the end. Be extra careful here as not only are there bugs everywhere, but the floor of the entire main hallway area is metal grating, so Mandarins will be patrolling.
Keep your distance from them (these seem to be invincible so don't waste your ammo) and make your way down the hall until you reach the second left. Take it and follow the next hallway until you find another door. Inside the floor will be normal, so you get a breather. Deal with a couple of Mannequins lurking there and claim a Syringe and Handgun Ammo .
Take the pushcart in the room over to the high crawlspace near the door, and climb up and through to the next room over. Inside you'll notice the fridge in the kitchen shaking nonstop. Approach it and through all the lovely muck that pours out from it, James will find a small can of Lighter Gas . Grab the Handgun Ammo and Health Drink nearby as well.
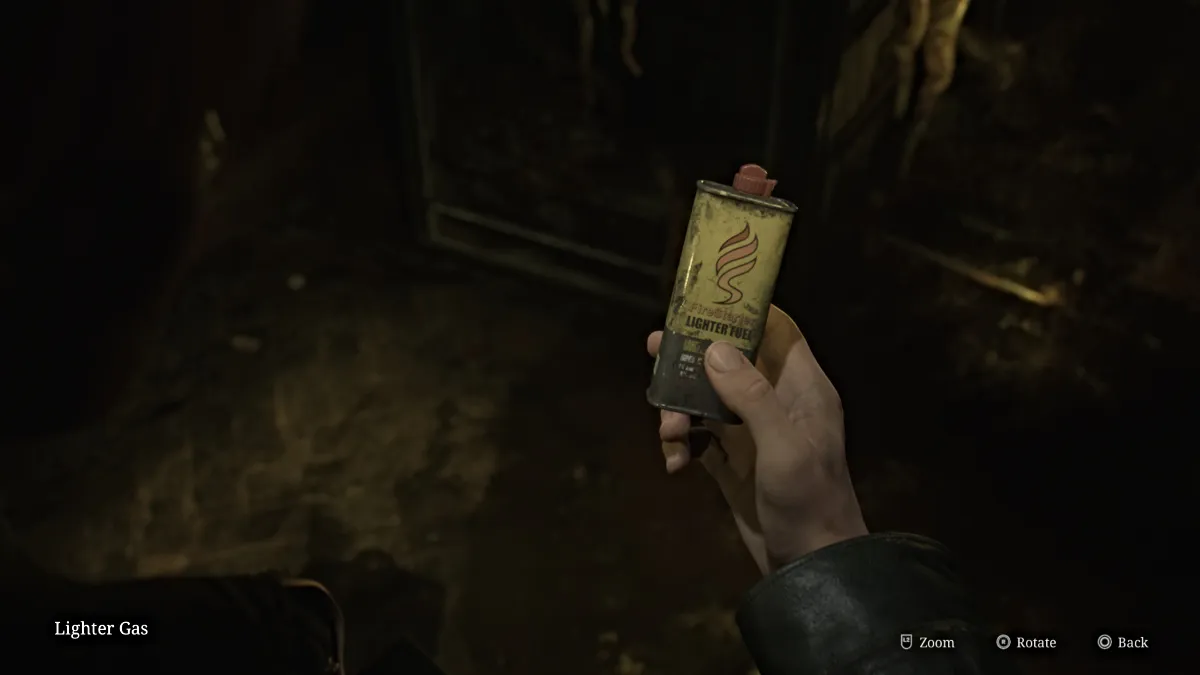
Carefully make your way back out into the main hallway and bum rush your way back to the Suspended Cage Room.
Now take the door to the south and sprint across the grated hallway all the way south until you can leapfrog over a box and find a set of double doors ahead of you. Go through them and grab a Health Drink on your way through the next door ahead. Watch out for a Mannequin in the dark and grab Shotgun Shells from a small cabinet.
In the next room you'll find a bed that's been brutally split in half (could venture a guess who did that) and on the wall behind it a hole oozing blood. James knows the deal by now, so go over and interact with it until you pull out the Lighter Wick .
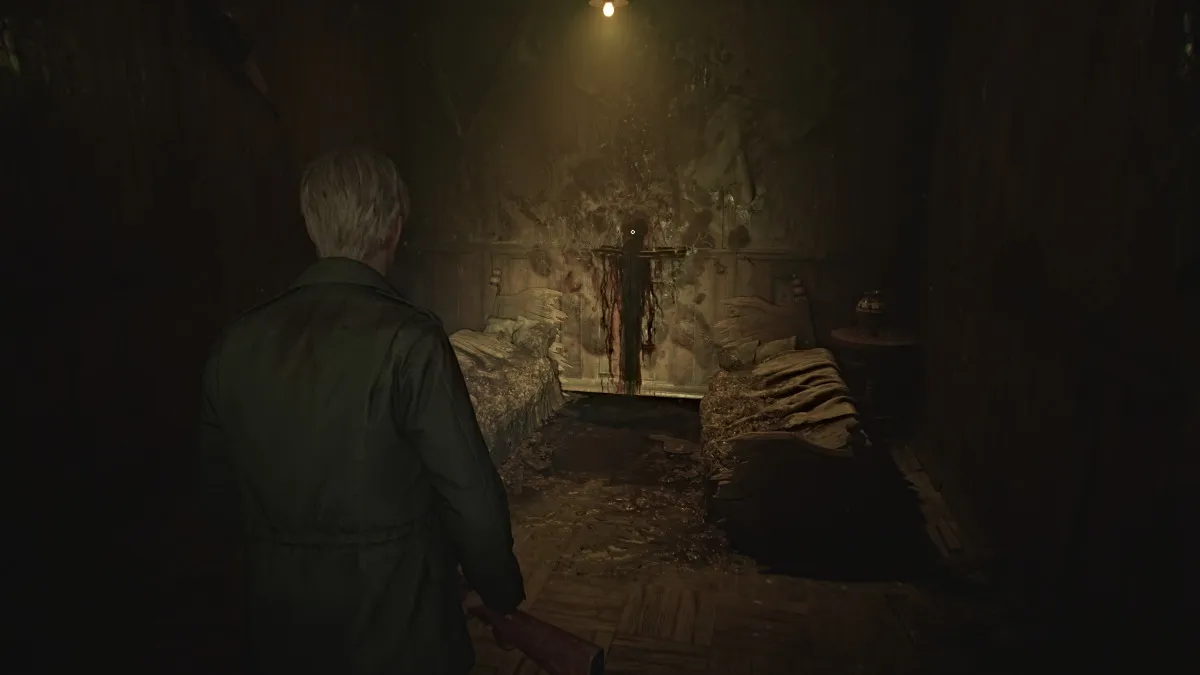
Now, before you go back to the Suspended Cage room, exit through the door beyond the bedroom, and run down the hallway until you can turn right and follow the path to another door. Go through and inside is just one huge room with a desk right in the center. Deal with the Bubble Nurse patrolling it and then check the drawer to claim the Iron Key .
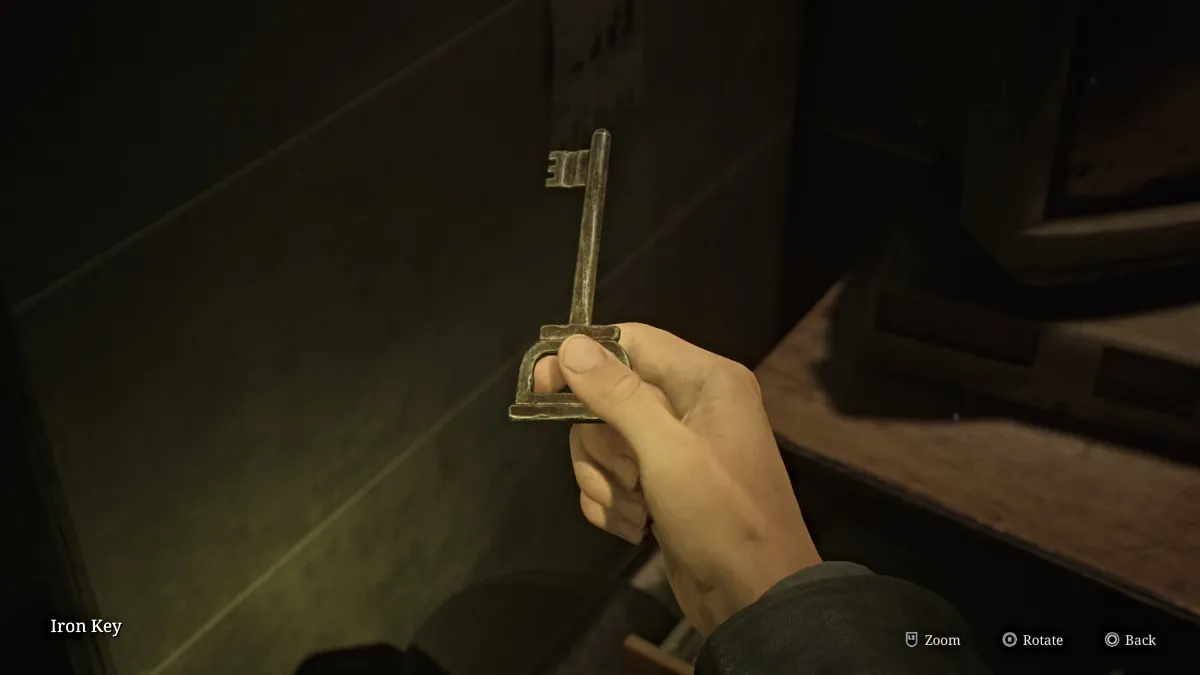
Now make your way back to the Suspended Cage Room and go back through the first door you went through where you found a locked door requiring a key. Use the Iron Key to unlock it and you'll find a bathroom inside. Interact with the nearby bathtub and James will quickly learn that the liquid bubbling inside it is too acidic for him to touch. This means you need to drain it somehow.
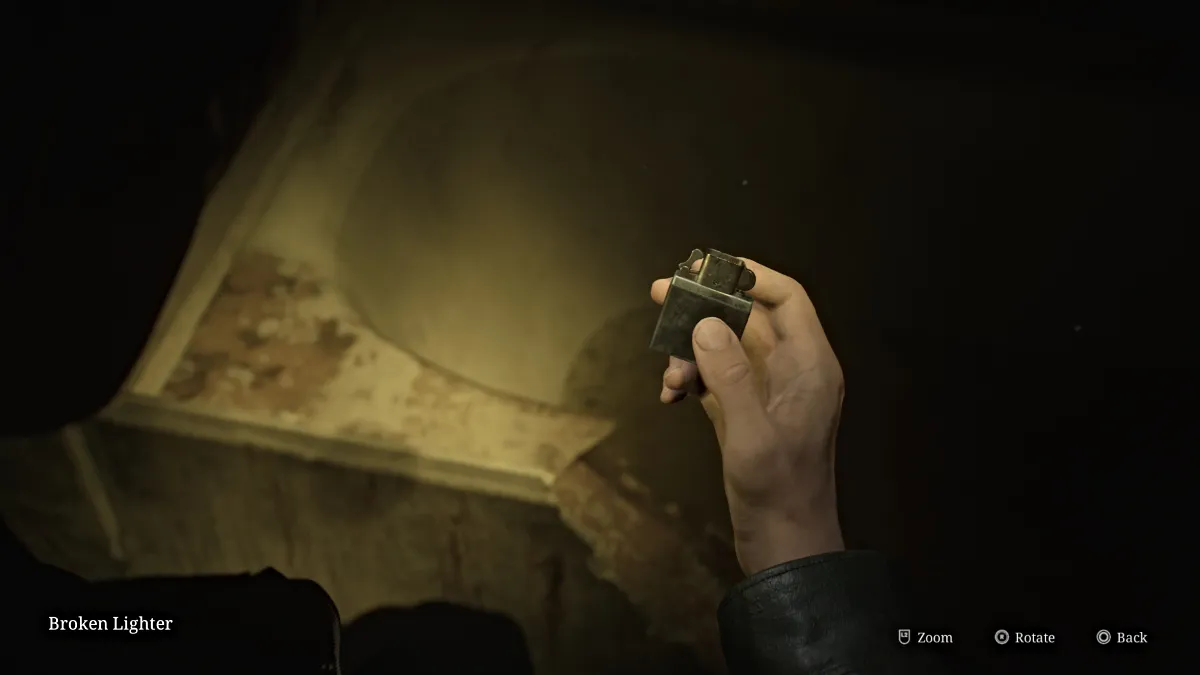
Go through the nearby gap in the wall and follow the narrow hallway all the way down until you reach a bug-filled room with a red crank. Turn it until the pipes burst and the tub breaks open, draining all of the bad stuff out so you can reach your prize. Return to it to claim the Broken Lighter .
Return to the Suspended Cage room and combine the Broken Lighter with the Lighter Gas and the Lighter Wick to make an actual Lighter . Use it on the tether holding up the cage and soon the entire thing will fall and break through the floor, leaving a large hole behind, perfect for you to jump through. Use the nearby Red Save Point and then do just that.
This brings you back to the Labyrinth Center with the Rotating Cube Puzzle, and now it's time to move on to the next area. Turn the cube to the appropriate direction (as seen in the table above) to unlock the Desolate Area next. Run through the building and back up to the left-side path, and this time take the door straight ahead.
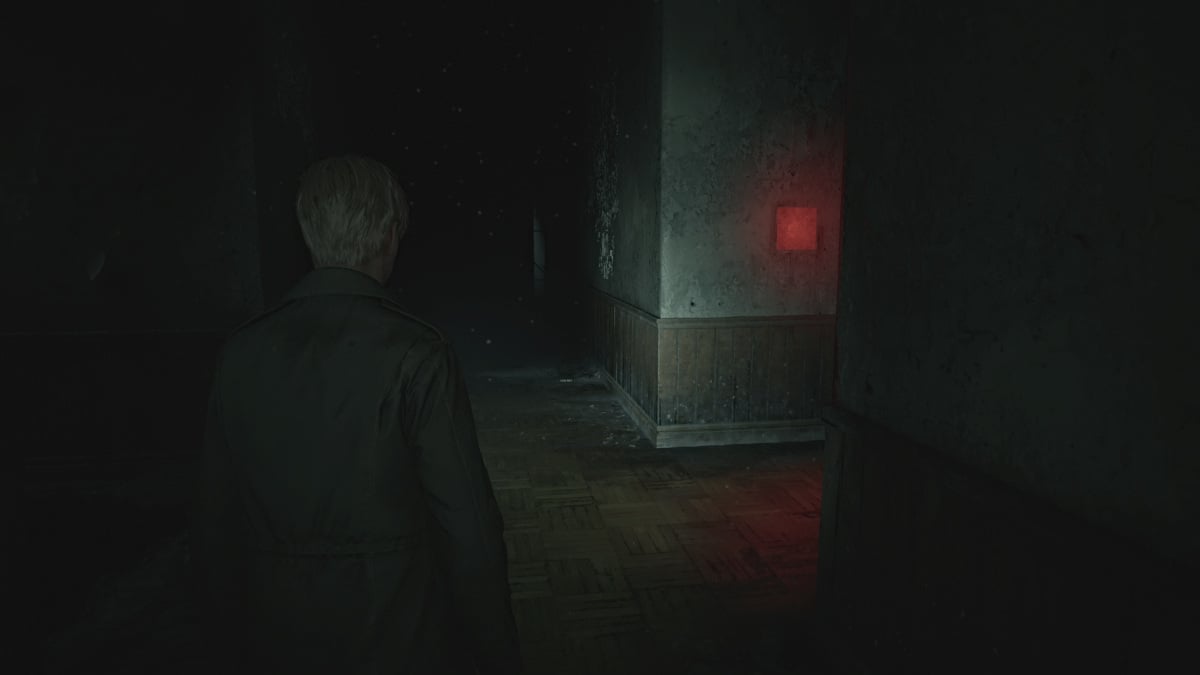
Upon entering the Desolate Area , use the nearby Red Save Point and make note of the locked door to your right, and the ladder to your left. Continue straight ahead and find the second door on your right and go through it. There will be a wall crack by a closet for you to take to the room adjacent, where you'll find some Rifle Ammo , Shotgun Ammo , and a Mannequin hiding behind a bookshelf.
Backtrack to the small bedroom where you find a Health Drink and Ladder II . Go down it to reach the Flooded Level , and follow the path until you find a hole you can peek through to see a key (which you will need).
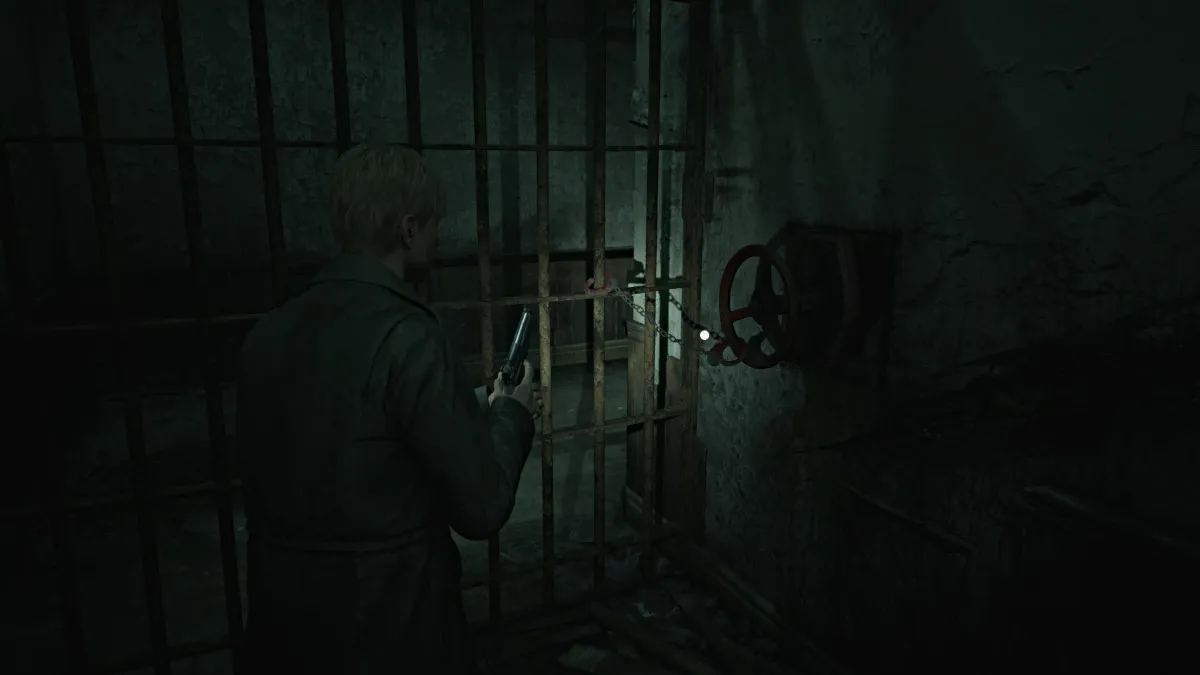
Keep going and you'll see that the door to that room is locked. Make your way south until you find Ladder I and climb up, where ahead of you will be the Handcuffed Gate (seen above). You'll need a certain key you already saw to unlock it, but for now, go through the door to your left.
Follow the hallway until you can make two rights to find another ladder that will take you back down to a cave area. Follow it until it brings you to the room where you spotted the key. Pick up the Small Key and head back to Ladder I to use it on the Handcuffed Gate . Now you can access the rest of the Desolate Area.
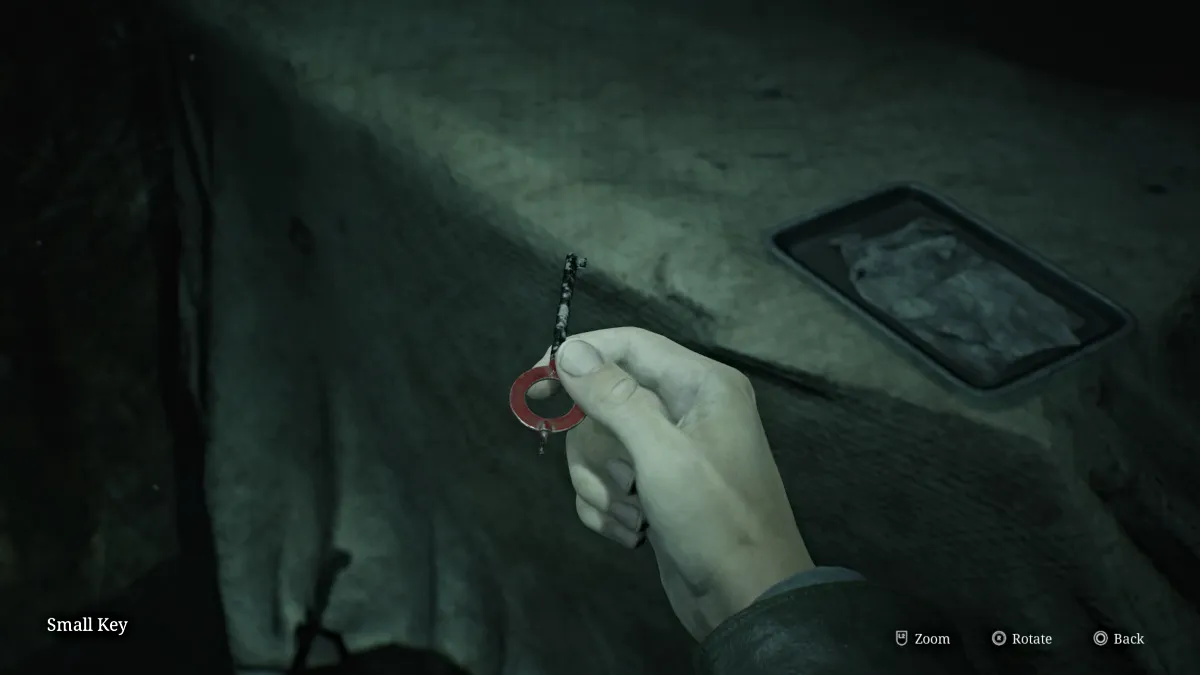
Follow the corridor to the next room and look for a pushcart you can use to reach a high crawlspace. Climb up and through and continue until you find Ladder IV to take back down to the Flooded Level . Another crawlspace ahead will bring you to a Wire Barrier that prohibits you from going forward. You'll need something to help get rid of those wires.
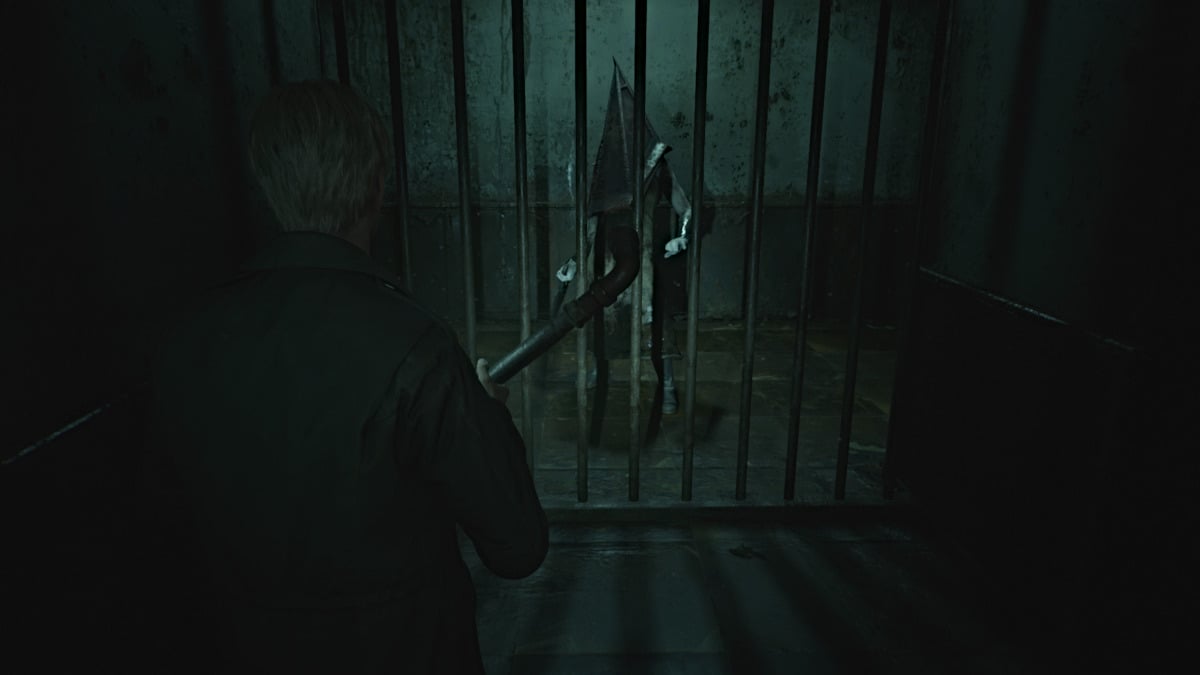
Go through the next hallway on the right, full of bugs of course, and suddenly Pyramid Head will appear and start giving chase. This is not a boss fight, you're simply in his domain now and need to avoid him at all costs while completing your objectives.
Go up Ladder V and follow the long hallway up until you can turn left, but quickly go right for some Handgun Ammo in a dresser at the dead end. Backtrack and go left through the wide open door to the room where you can remove a set of Wirecutters from a broken fuse box.
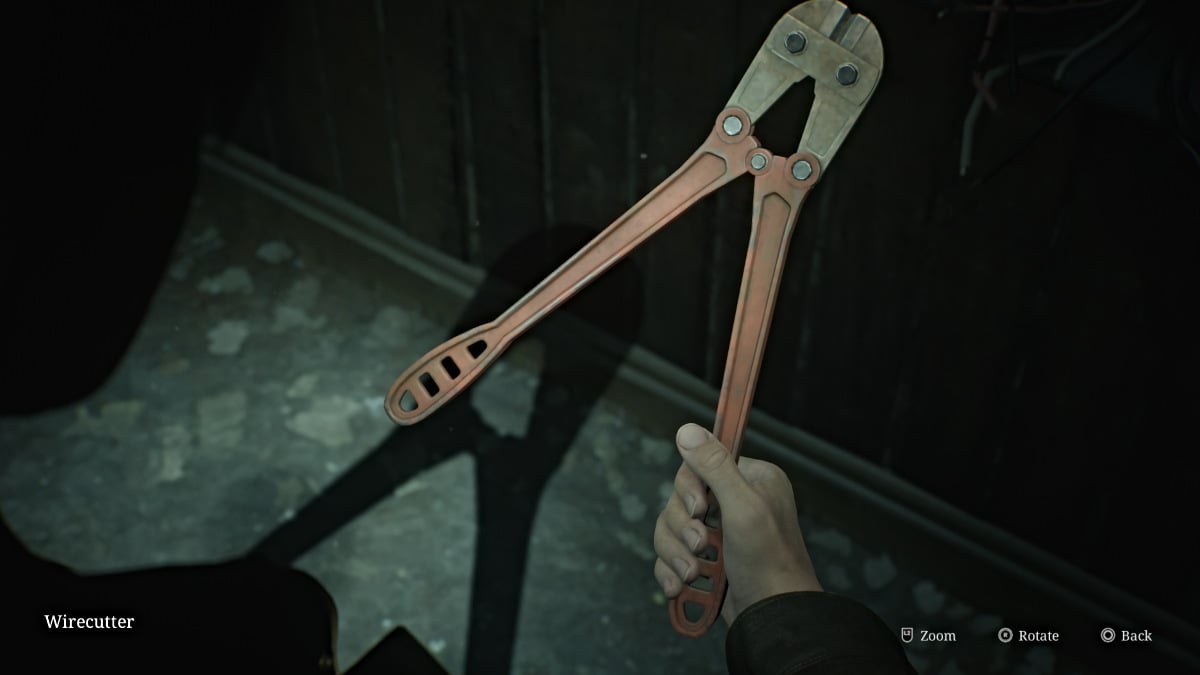
As tempting as it might be, do NOT take the south corridor past the fuse box as that will bring you back to the tunnel with the crawlspace that caved in after passing through, meaning you'll have to backtrack much further around the map.
Instead, go back down Ladder V to the area where Pyramid Head was, but he'll no longer be there. Instead, you'll have to deal with Mandarins and other monsters in your way.
For some extra items and a Strange Photo you can make your way to and up the ladder you initially passed while evading Pyramid Head. Otherwise, head back to the tunnel with the barrier of Wires and use the Wirecutters to get through. Go down the next ladder ahead, and grab a nearby Health Drink before dropping down another hole that brings you back to the Rotating Cube Puzzle once more.
Be sure to use the Red Save Point nearby to save all your recent progress. Now it's time to turn the cube in the appropriate direction for the Ruined Area . Remember, the symbol is an upside-down triangle with a cross underneath . Cross through the building and up the path to where you can now take the red door to the right.
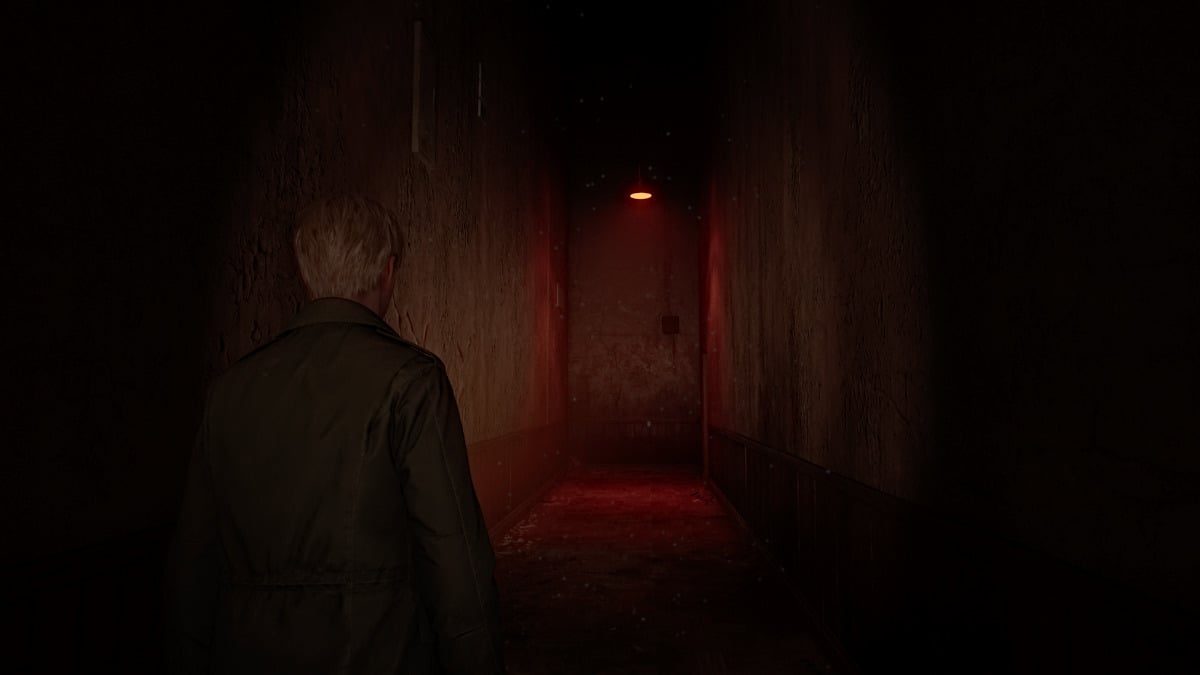
The Ruined Area of the Labyrinth is quite different from the other areas in that it's essentially a monster gauntlet. You'll enter different areas where you need to defeat various monsters to progress forward. Make sure to gather all of the ammo and health items in the areas first, then go interact with the red door at the back for the alarm to go off and the monsters to come alive .
In the first two areas, it'll be mostly regular monsters such as Lying Figures, Mannequins, and Bubble Nurses. The third area will be full of bugs and you'll need to kill Mandarins crawling beneath the floors. The Shotgun and Hunting Rifle are best for those.
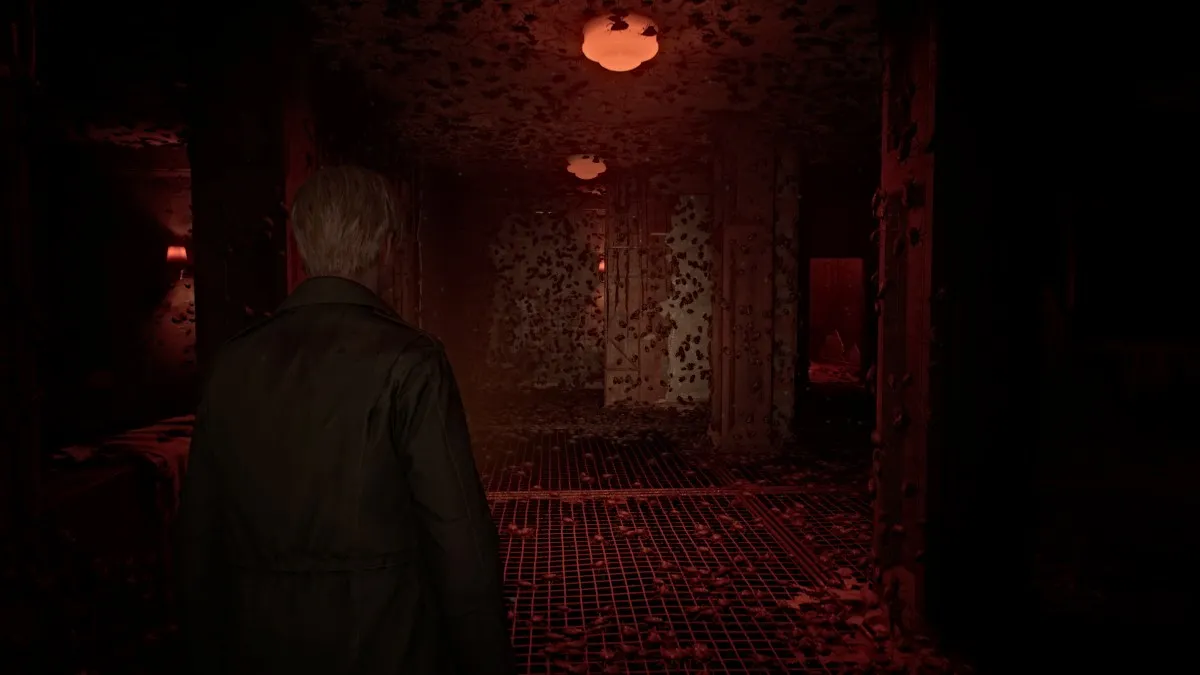
At the end of it all, you'll get a gracious Red Save Point , which we recommend because soon after you'll run into Pyramid Head yet again. He'll give chase and you need to run in the other direction until you reach a familiar-looking barrier made of monsters. This time, however, you're able to get through before Pyramid Head catches you. Continue on into the next room, where you'll find Maria at last, but it seems it's too late once again.
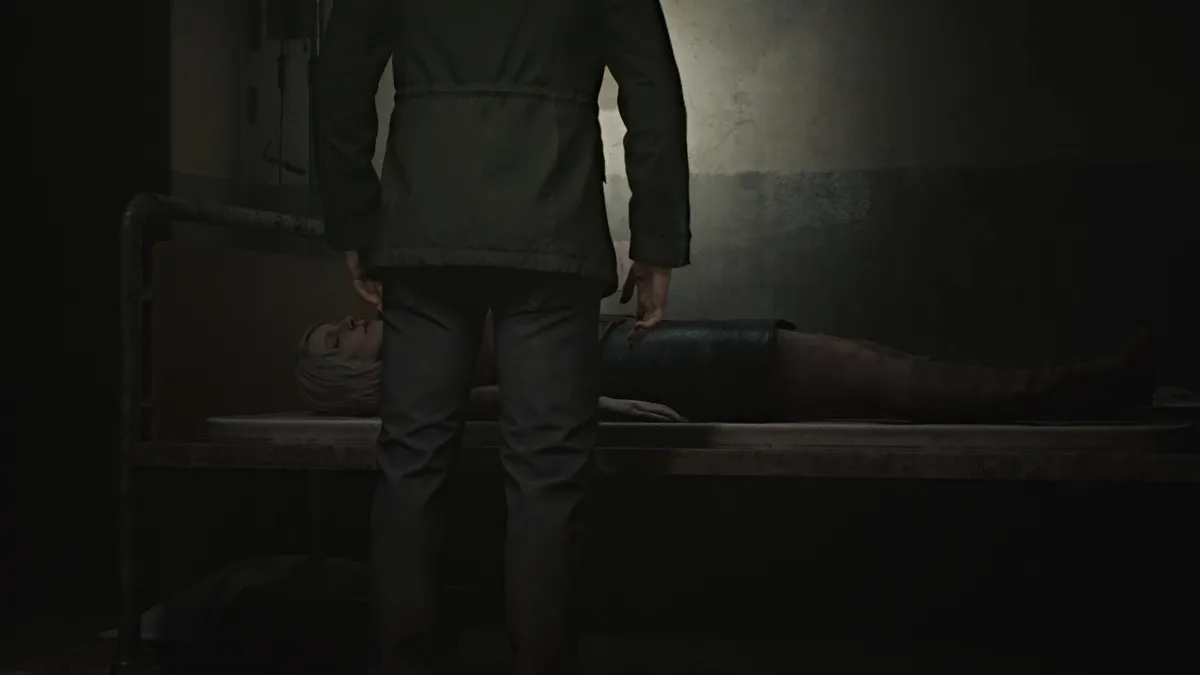
James finds himself overcome with grief at the sight of Maria clearly dead and murdered (likely by the same culprit), and him unable to help her in time. Likely a similar grief to the loss of Mary, he whispers her name and leaves, powerless to do anything else.
Once you leave the room, head up the stairs to where the Rotating Cube Puzzle normally is, but now it's been brutally destroyed, and among the rubble is the Great Knife , Pyramid Head's main weapon.
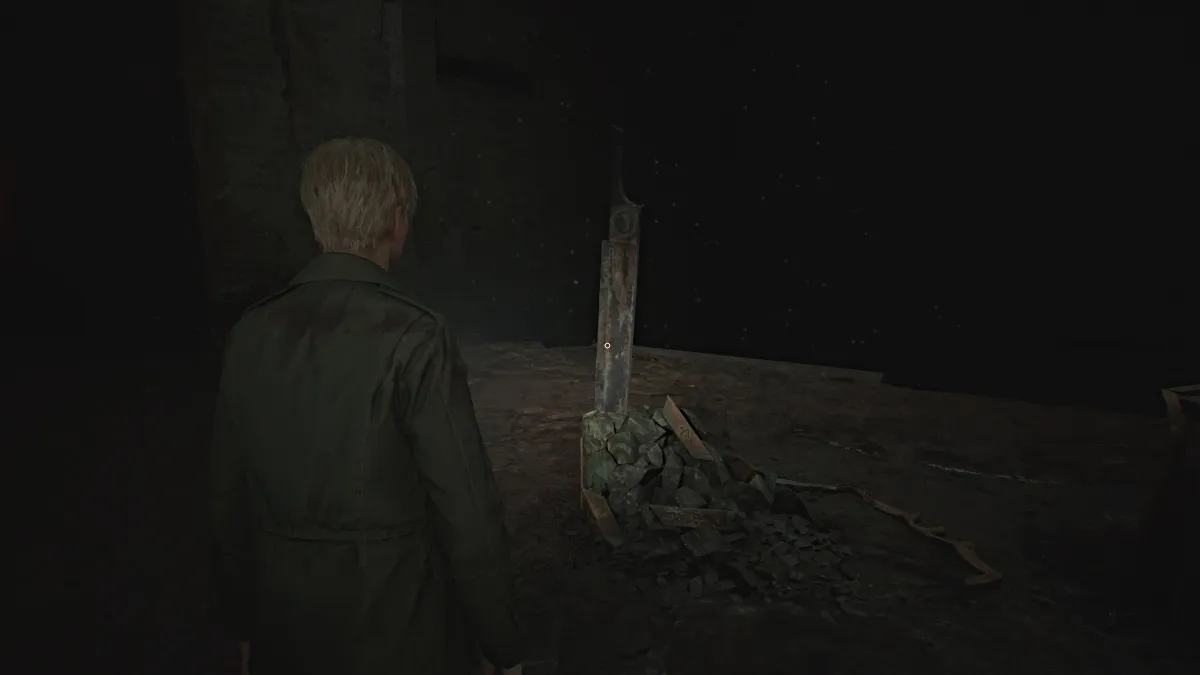
Interact with the Great Knife and James will pry it loose, allowing you to wield it, sort of. Drag it left toward the Strange Barrier and you'll now be able to pass through it. Drag the Great Knife all the way until you're completely through the barrier with a ladder ahead of you. You can now drop it and continue on (sorry, you can't keep it in your inventory this time).
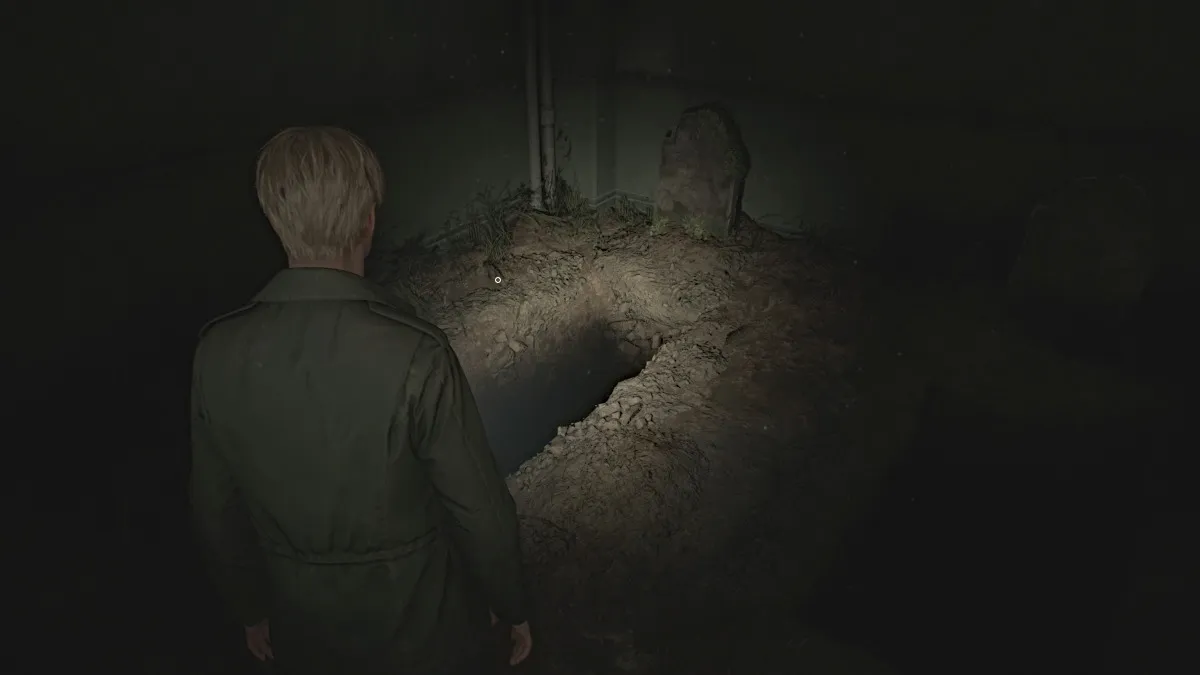
After climbing the ladder, follow the hallway until you can climb back down another ladder, which leads you to a small cemetery area. You can salvage some Shotgun Shells and a Health Drink here. Among the gravestones you'll find three that are of particular importance: Angela Orosco, Eddie Dombrowski, and James Sunderland.
To progress onward, you'll need to jump down into the hole that is your grave. When you're ready, take the plunge to the deepest reaches of the abyss, where your final adversary of the Labyrinth will be waiting. Follow the long hallway ahead of you, and at the end will be a freezer door soaked in blood. Go through it, and Eddie will be on the other side.
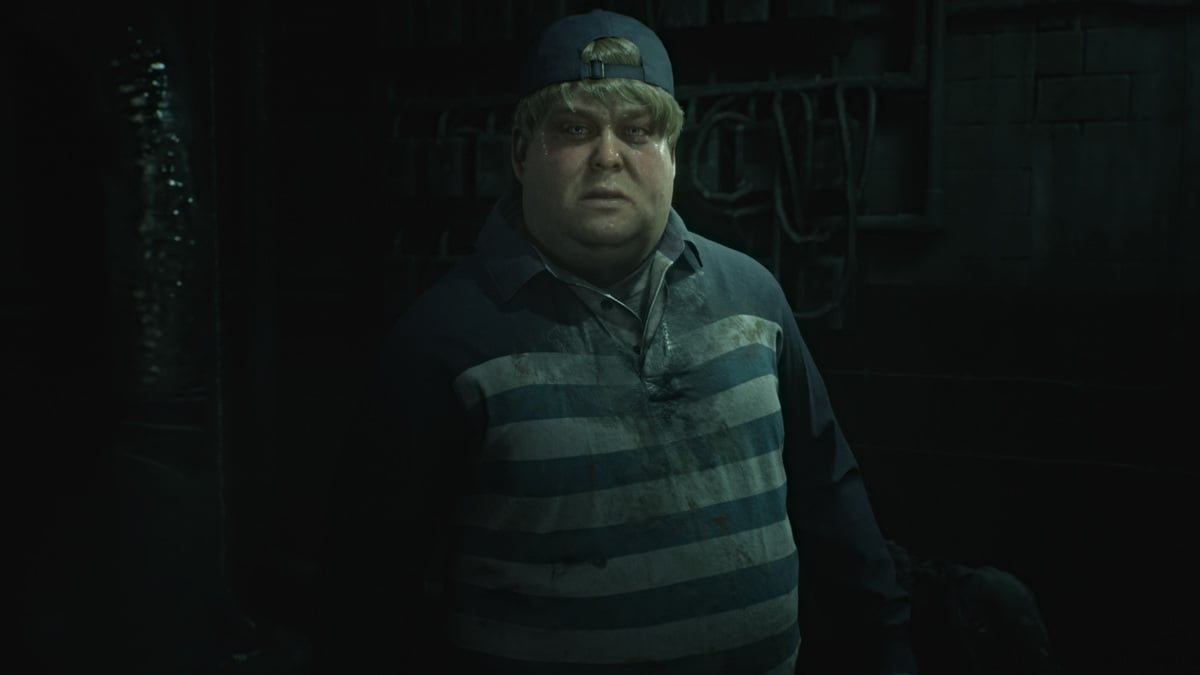
Clearly having lost himself, Eddie claims the corpse in front of him has been following him the whole time, laughing and insulting him. He then accuses James of doing the same, and that Silent Hill called them both because they're "not like other people". Determined to punish James the same way, he coerces him to the meat freezer for a fight.
Grab the Health Drinks on both sides of the room, make sure your guns are reloaded, and then follow Eddie through the same door.
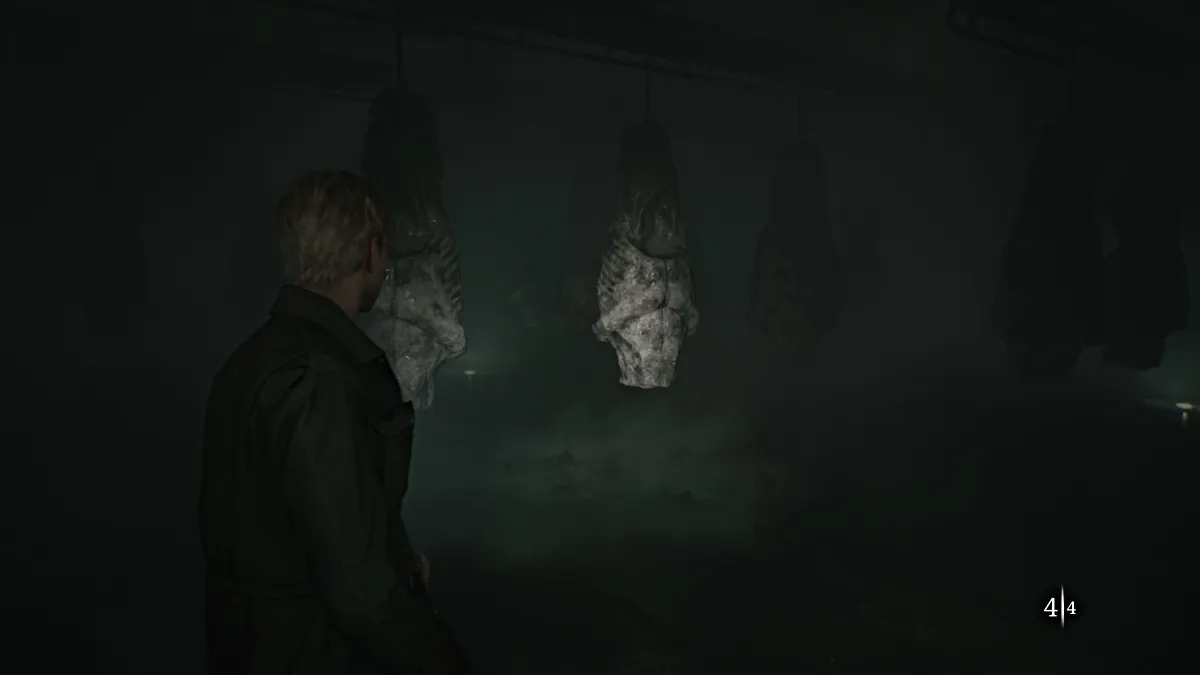
Make your way into the freezer and Eddie will officially engage you in a fight, and you'll want to avoid getting shot by him as much as possible because even just one shot from his gun hurts a lot .
Use the hanging sacks of meat for cover as Eddie circles around for sneak attacks. Do your best to keep him in your sights, or at least a sense of where he is, at all times. There will be some extra Shotgun Shells scattered around the walls of the room.
Shoot him enough times and he'll shoot a gas pipe that fills the room with fog, making it harder to spot where he is. Do your best to keep your back to a wall while waiting for him to approach. After a few more shots, the conveyors of meat will start to rotate, and you'll need to be wary of being caught in the open.
Be extra vigilant as Eddie will get more aggressive now with more gunshots and will attempt to sneak behind you for a pistol whip. Keep damaging him as much as possible and soon he'll succumb to his wounds and collapse, dead.
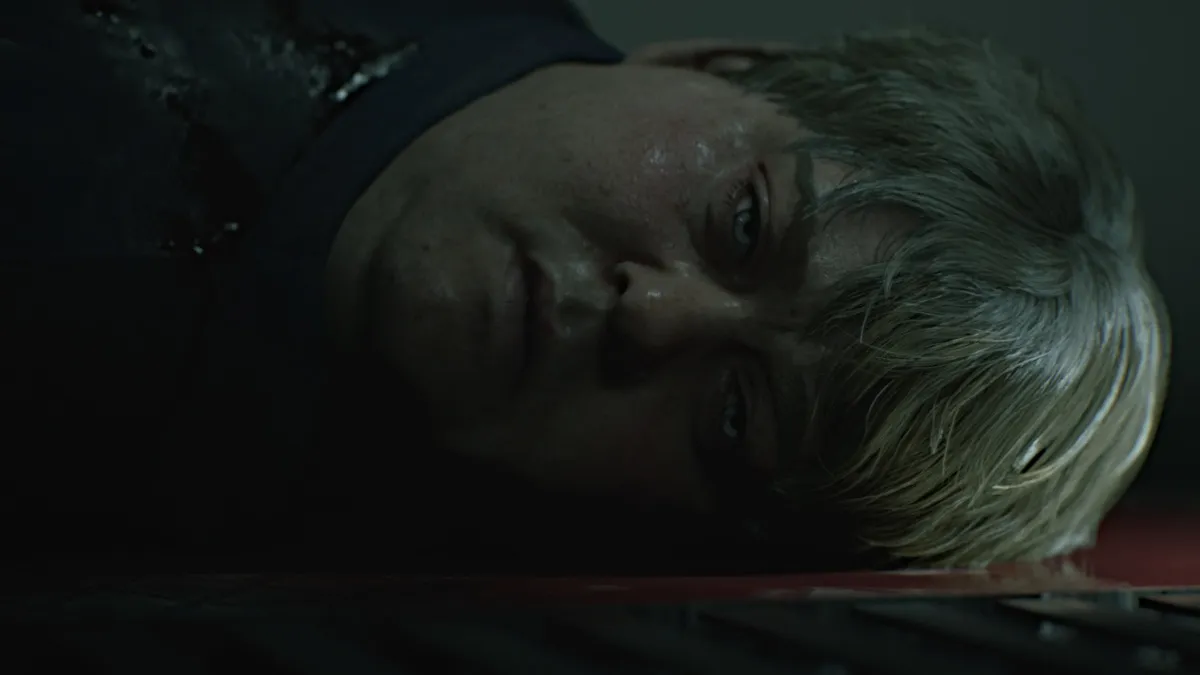
There's nothing left to do, so find the black double doors and open them to find your way out. Go through one more door, and you'll find yourself somehow back outside at the edge of Toluca Lake.
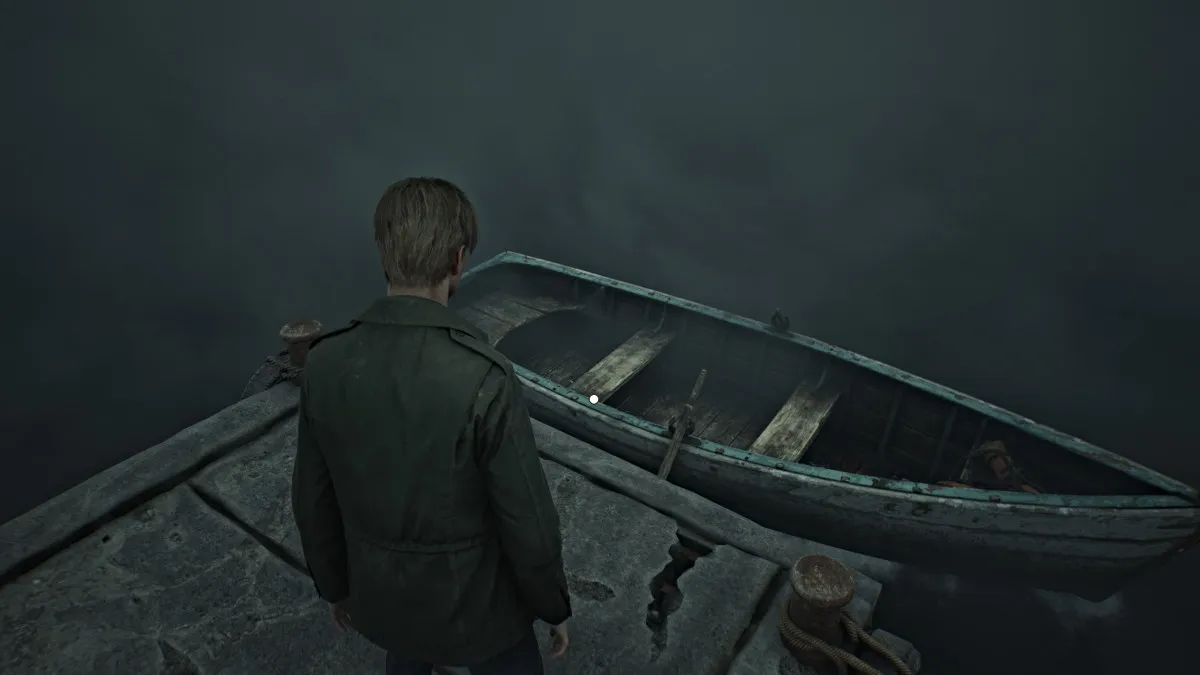
With all that James has experienced so far, it's now time to go to the one other "special place" Mary could be, which is the Lakeview Hotel . To get there though, you'll need to get across Toluca Lake, meaning you'll need a boat of some kind. Walk down the pier after using the Red Save Point and a small rowboat will be waiting for you.
After James climbs in and starts rowing, you'll soon need to take over yourself. You can control both oars separately (to turn if you veer off-course) with the appropriate controls or together at the same time to row straight.
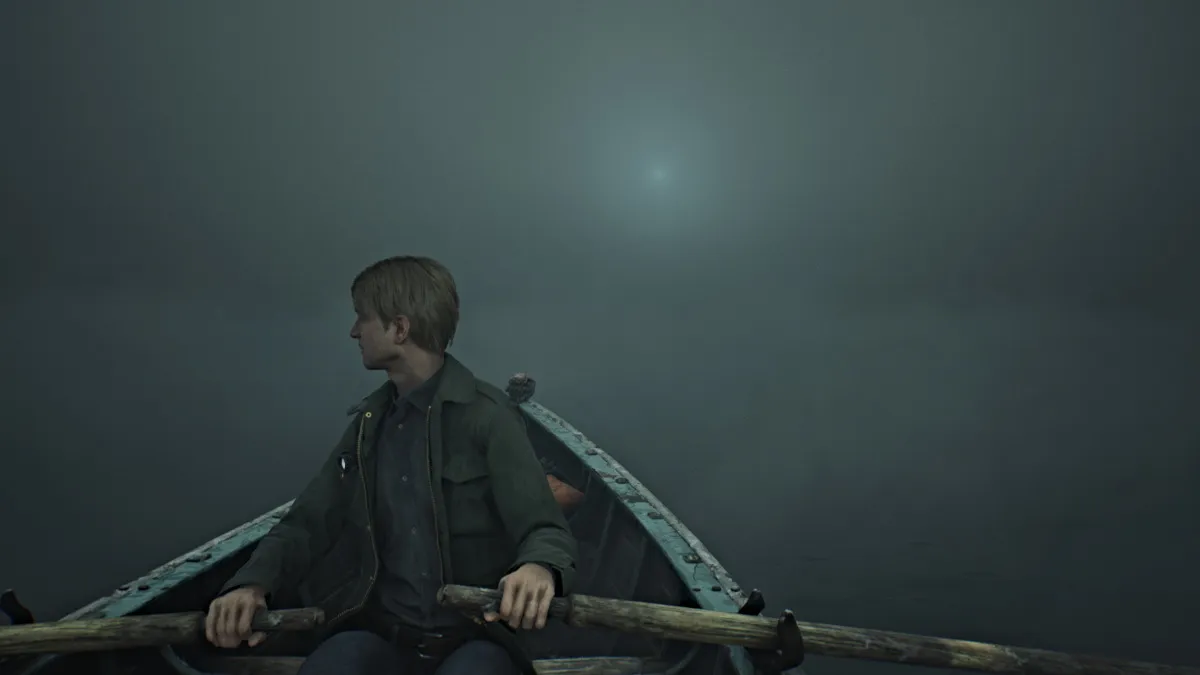
Your goal is to follow the light in the distance, which is coming from Lakeview Hotel. As you get closer, the light will grow bigger and brighter, so follow it until James reaches the pier in front of the hotel.
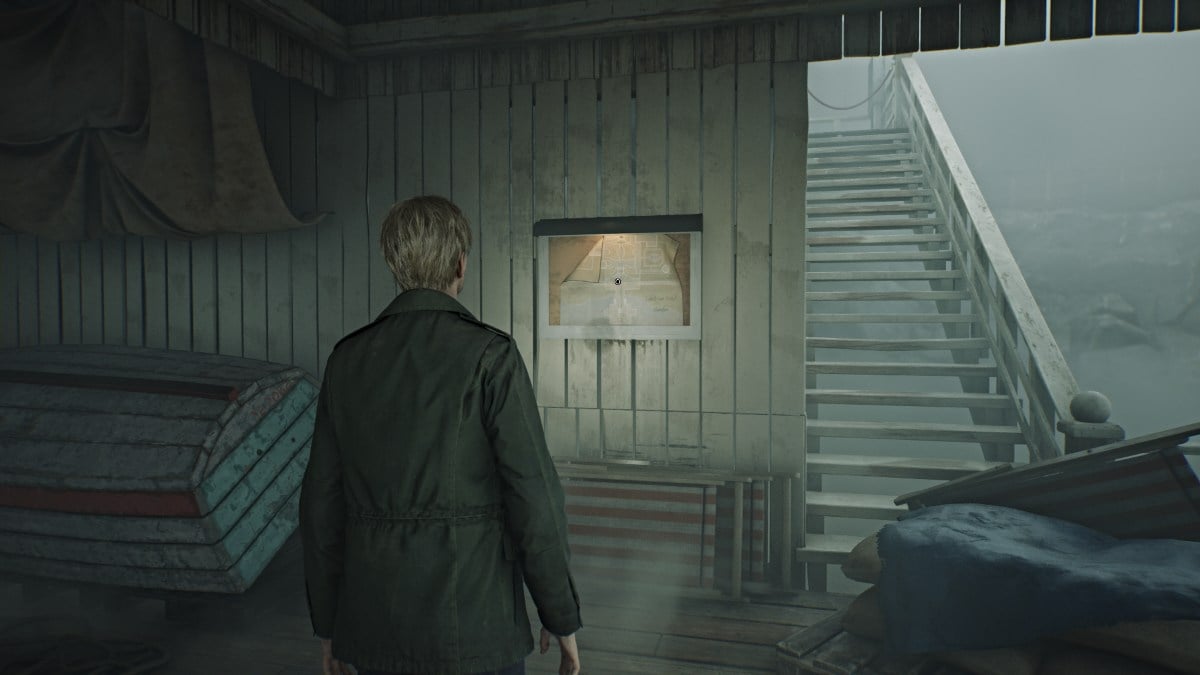
After another brief cutscene, you'll find yourself at the Lakeview pier. Go immediately to your right where you should spot the Lakeview Hotel Garden Map posted on a wall. Take it to get a look at where you are, which is the massive front entrance to the hotel.
For now, head up the central stairs and north in the direction of the garden area. Go up the next set of stairs and head left to find some Handgun Ammo in a gazebo. Now run to the far right side and on a small bench will be the Rotten Apple . Take it and make your way up the east side of the garden. Inside the Fish Fountain, you'll find a Glimpse of the Past in the form of a broken music box.
There's nothing else of note outside for now, so head to the hotel's entrance where you'll hear a piano being played inside.
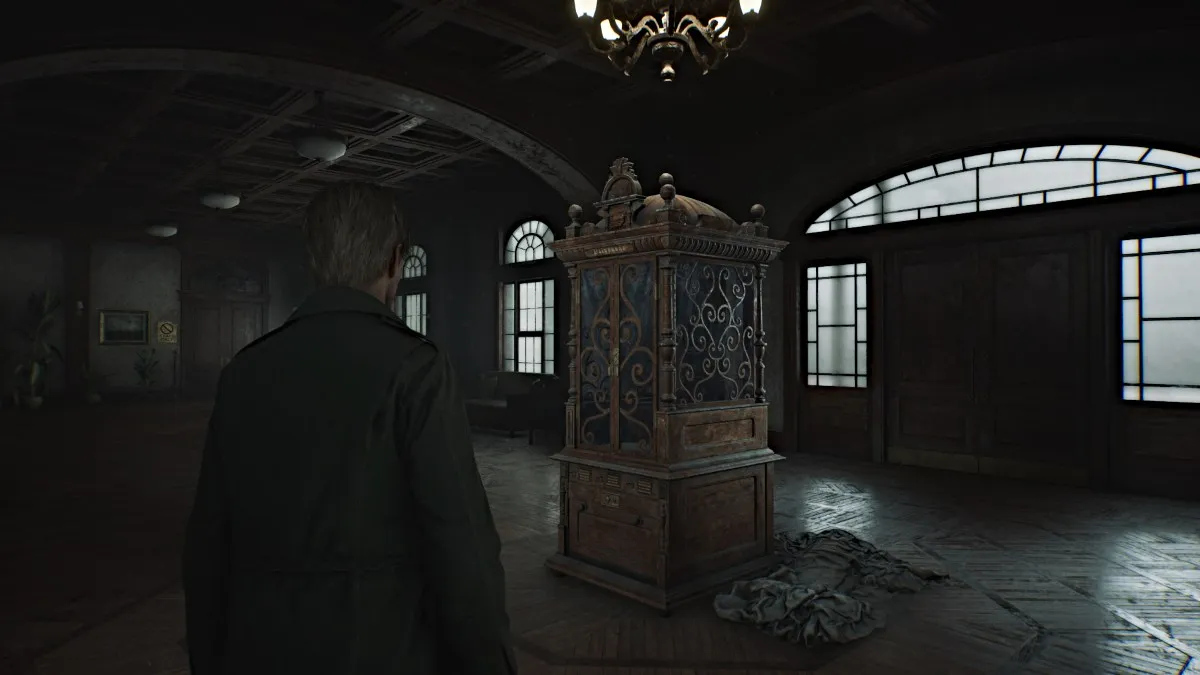
Go through the double doors and head right to collect the Lakeview Hotel 1F-3F Map , which also shows a map for the Venus Tears Bar in the Basement. Now, circle around to the front of the lobby, where you'll see a large and ornate Music Box (seen above) that requires a special key to open it.
Backtrack a bit and go inside the Check-In Room on the right to find a Red Save Point , a keyring that contains both the Room 312 Key and the Ornamental Key , and the Receptionist Memo that mentions the videotape James and Mary left now being kept in the Employee Section of the first floor .
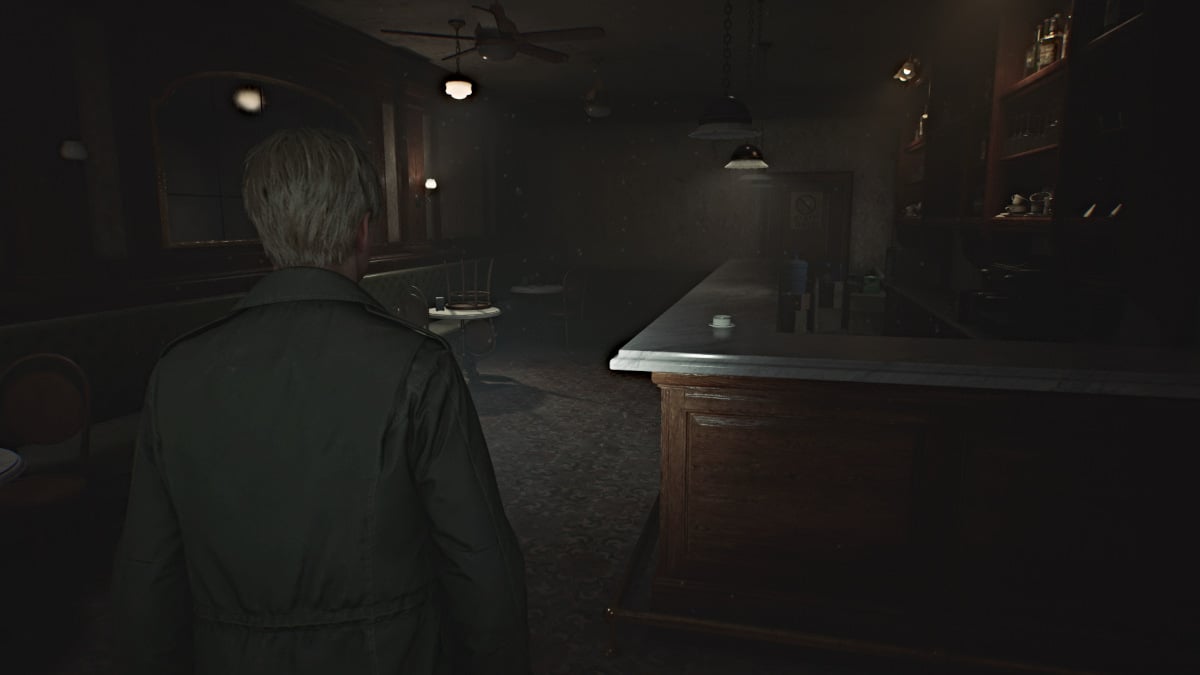
Go check out the far right side of the lobby for some Handgun Ammo and head into Cafe Toluca . Grab a Health Drink from one of the tables, then go behind the bar to find the Room 102 Key at the far end. Go around the corner to find a breakable spot in the wall, letting you through to the Lost and Found Room. There you'll find more Handgun Ammo and the Lost and Found Note .
Go back to the Music Box machine and use the Ornamental Key to open it. Inside you'll see that three figurines are required to play the music reels. For now, head down the left side of the lobby and through the open door on the left, where the piano tunes are coming from.
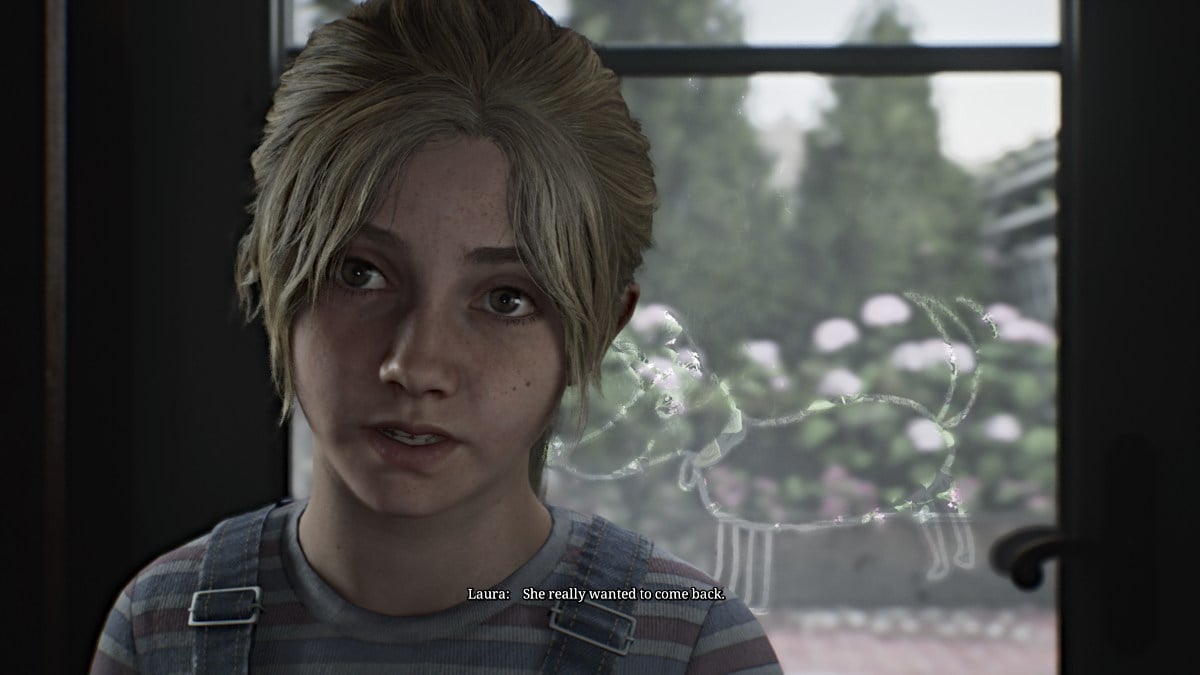
While looking around in the Lake Shore Restaurant , James gets startled by Laura hiding near the piano. The two of them talk about Mary and how they both want to find her for very similar reasons. In a letter from Mary addressed to Laura, it's revealed that Mary cared deeply for her and even hinted at adoption, if things had been different and she wasn't sick.
After James reads the letter which ends with Mary wishing Laura a happy eighth birthday, he asks her how old she is. Laura reveals that she turned eight "last week". That would mean that James' timeline of events has completely crumbled, as Mary didn't die three years ago after all, or even last year. If that letter is real, then Mary died only days ago.
Before James realizes that, however, Laura says that there was a second letter for James. She hands the envelope to him, but somehow it's empty. For now, she runs off to look for it.
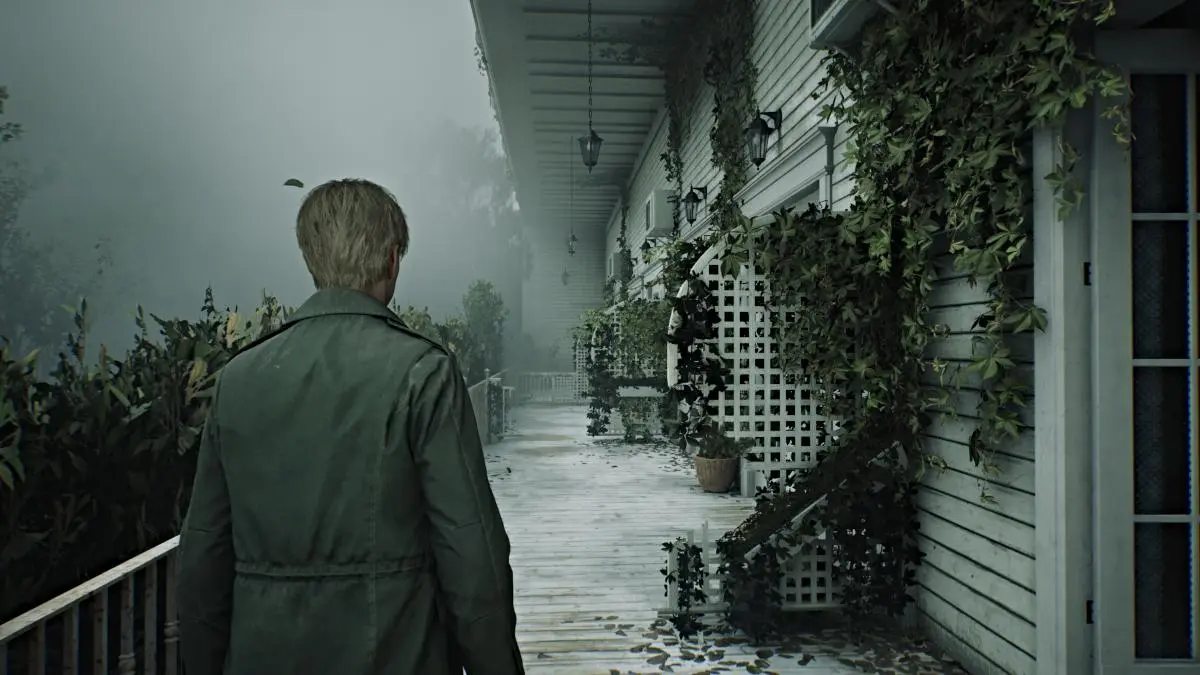
After leaving the Restaurant, follow Laura to the hotel rooms on the east side of the floor . As soon as you go through the parlor doors, however, you'll see that monsters are dwelling in the halls. Deal with the ones in your way and check the small cabinet outside Room 101 for some Handgun Ammo . There's nothing of note in that room, so go to Room 102 .
Use the key to get in, and inside you'll find a nice trove of useful items, including a Syringe , Health Drink , Shotgun Ammo , and Rifle Ammo .
Leave the room, and right across from the door, there's a crawlspace that leads into Room 103 . Slip through and grab the Health Drink from the bedside table before heading out to the patio. To the right, you'll notice that you can go all the way across to the other side. Every other room along the way is locked from the patio side, except for Room 106 at the very end.
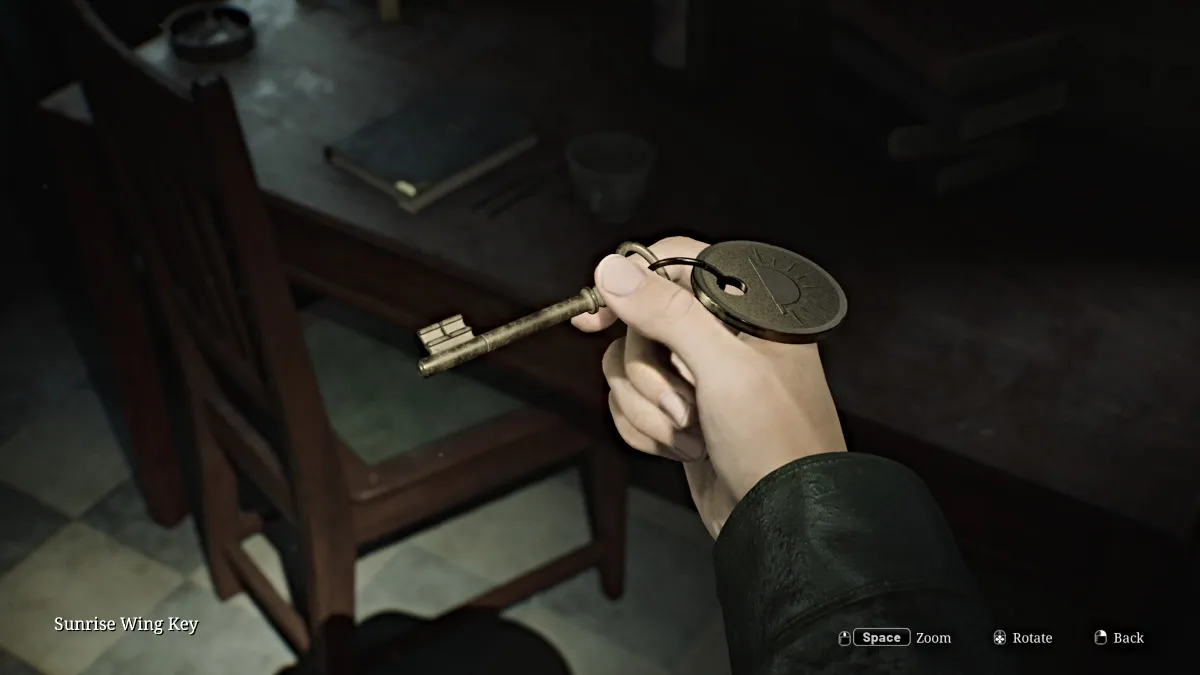
Go inside and check the bedside table for some Handgun Ammo , then go out into the hallway. A couple of Mannequins will ambush you in the dark, so take care of them first. Go check Room 104 , the only other accessible room on that side for the "aftermath..." Strange Photo and some Rifle Ammo .
Room 107 at the far south end requires a key to get in, so for now check the Utility Room nearby. Inside there's some Handgun Ammo and the Sunrise Wing Key , which unlocks an area of the second floor. Afterward, go unlock the door nearby that leads back to the front entrance area, if you want.
For now, make your way back to the lobby and up to the hotel's second floor.
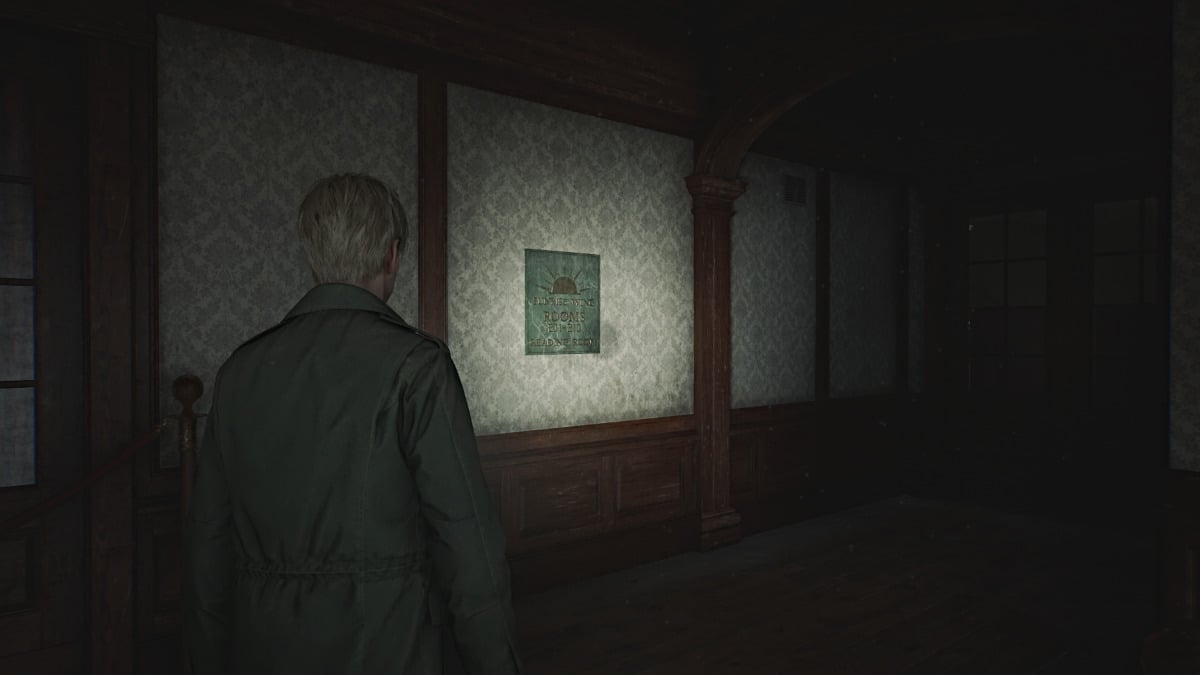
Upon reaching the second floor, you'll notice that the west half of the floor is locked off. So for now, go to the east side, which happens to be the Sunrise Wing where you can use the key you just got. Head inside and watch out for more lovely spider Mannequins crawling the walls and ceilings.
Before you investigate the Reading Room, duck into the Cloakroom on your left, which gives you access to the Hall room next door. Go in there and grab the Room 202 Key from a couch on the left side, then deal with a couple of Mannequins to get to the back of the room where you'll find the Ripe Apple (yum).
The patio is accessible and leads to the west side of the floor, but hold off on that for now.
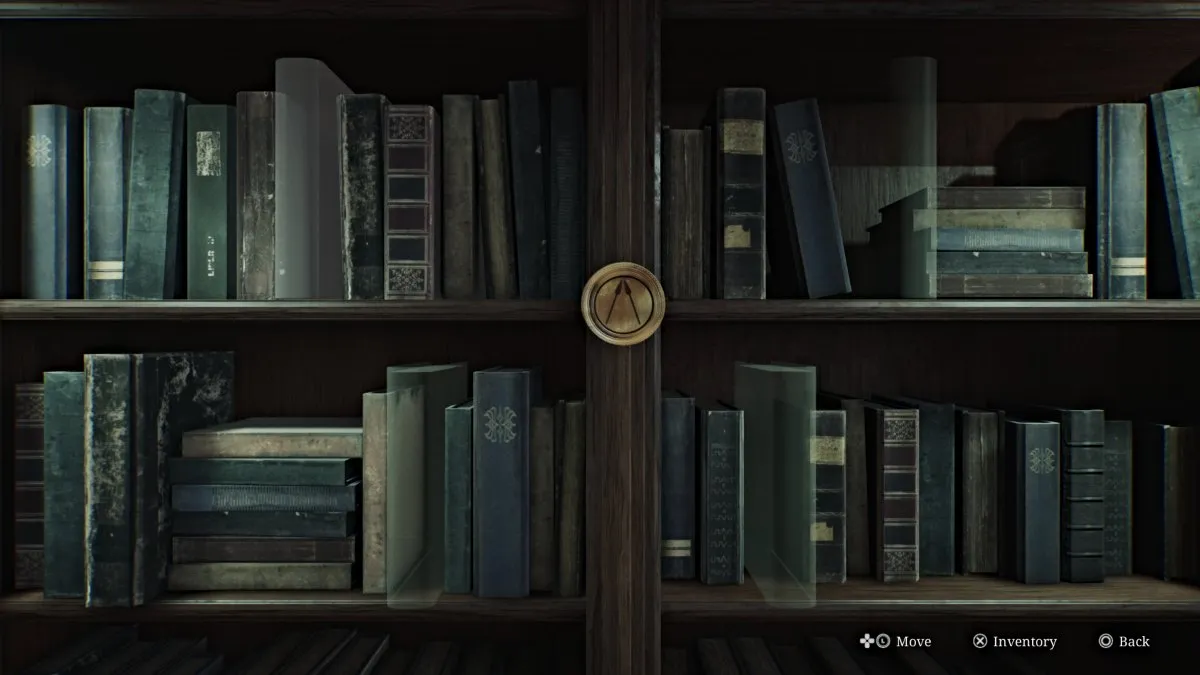
Now head into the Reading Room on your right, which James has marked on the map. Inside will be a Red Save Point along with four books you can pick up, including:
You'll need to place these books in the correct spots on the nearby bookshelf with a bronze emblem marked with two spears. Notice that the spine of each book has a different gold symbol, including an Eagle, Angel, Lion, and a Bull .
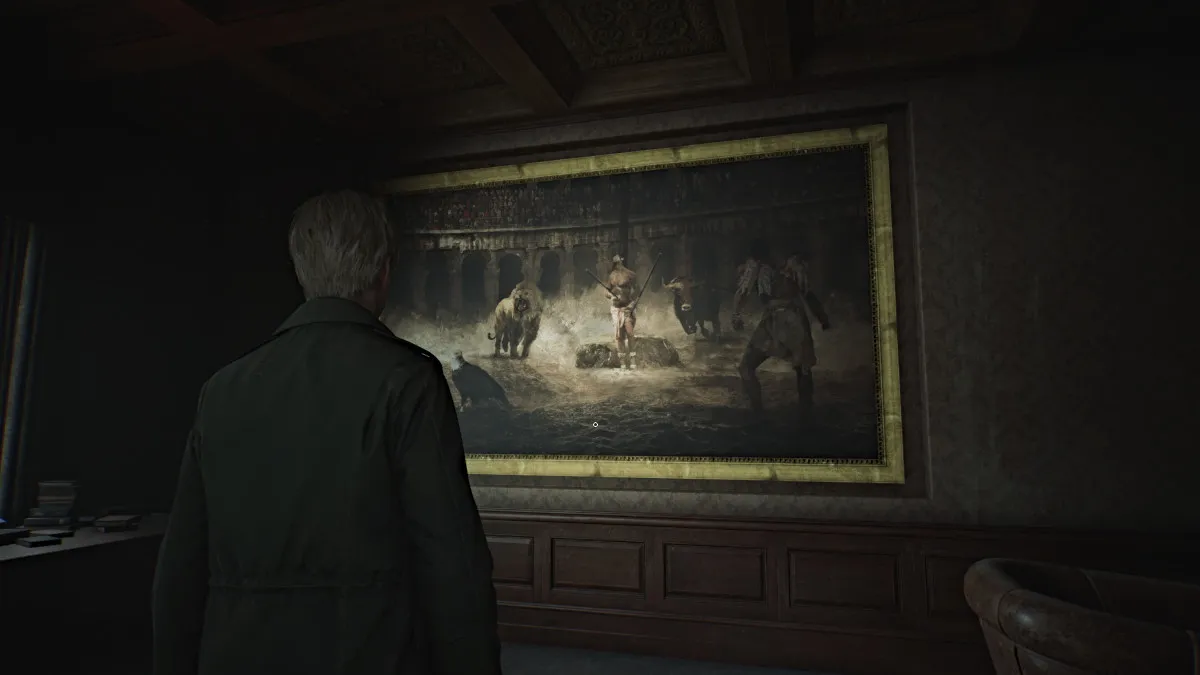
Next, look at the huge painting on the opposite wall, and you'll notice that it contains all of the aforementioned symbols as painted subjects. Two are in the background while the other two are in the foreground . Based on that, the books need to go on the shelf in the following order:
| كتاب | موقع |
|---|---|
| The One Who Soared (Eagle) | Top Right Slot |
| Revelations: A New Understanding (Angel) | Top Left Slot |
| Stalwart to the End (Bull) | Bottom Left Slot |
| Pride Before the Fall (Lion) | Bottom Right Slot |
Once done, the bookshelf will slide back to reveal a secret room that also connects to Room 205. Go inside where you'll find a series of Photos (#1-3) in the room along with a Briefcase that requires a letter-based combination to open.
Normally, to figure out the code you would need to replace the broken light bulb in the nearby Vanity Mirror with a new one. To do that you need to find the Paint Can (Room 318), the Can Opener (fallen book in Lake Shore Restaurant), and the new Lightbulb (locked left side of Garden area; use Boltcutters to access).
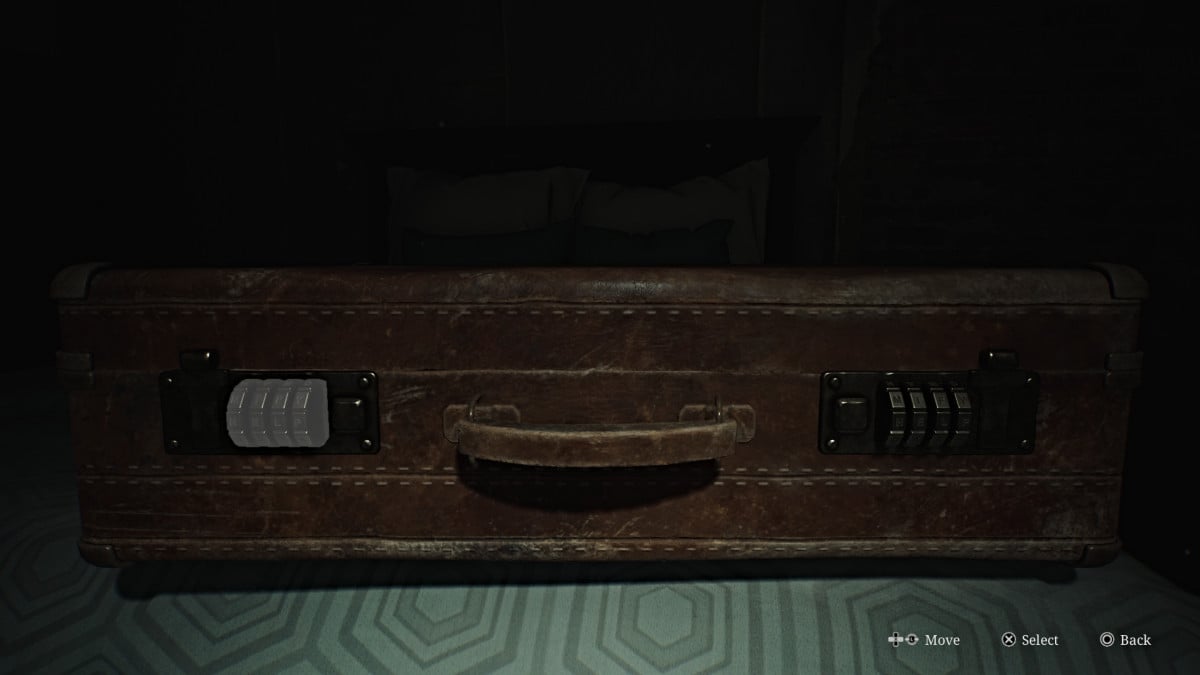
However, if you'd rather save time, the correct combination (Standard Difficulty) is "DEED DONE" . So input "DEED" on the left combination lock and "DONE" on the right one. Inside the Briefcase will be the Employee Elevator Key .
Up top, only Room 209 is accessible but has nothing valuable (only a Mannequin to jumpscare you). Head south and into Room 206 , where you can use a crawlspace to enter 207 and claim some Rifle Ammo . Double back out to the hall and Room 204 will have a Health Drink and Handgun Ammo for the taking.
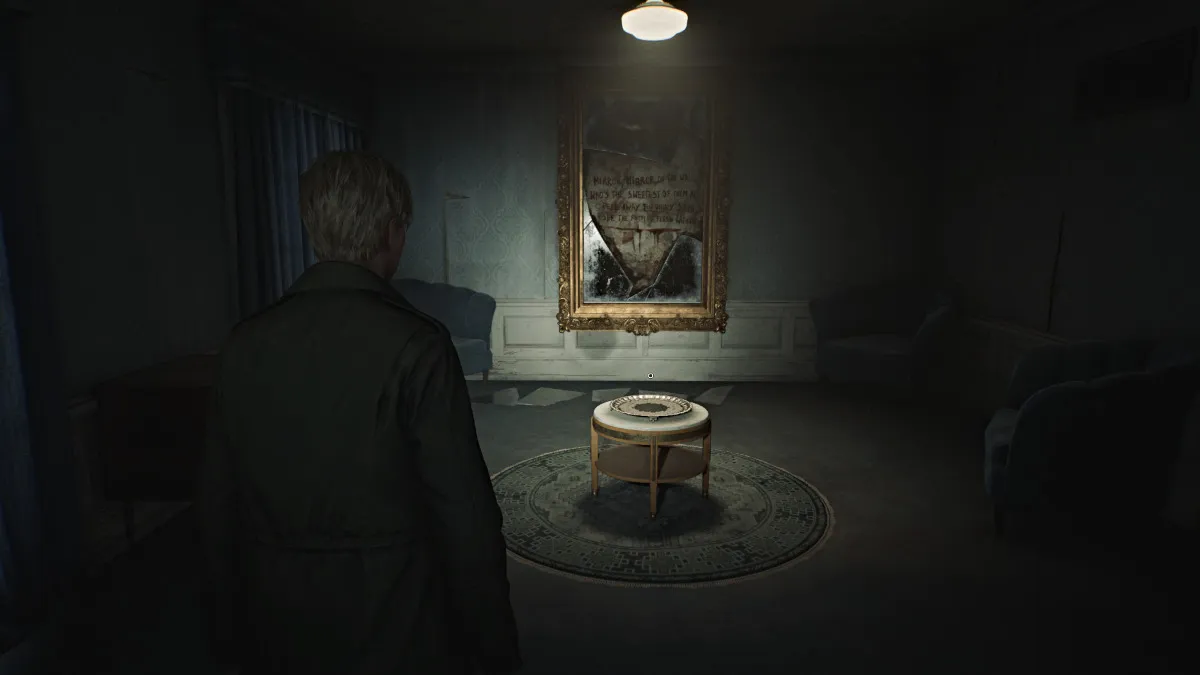
Finally, go to Room 202 and use the key you got to enter. Inside you'll find an ominous room with a small table and a platter on top of it. On the wall behind it is a broken mirror with words inside written in blood. "Mirror, Mirror, on the wall, Who's the sweetest of them all, Peel away the shiny skin, See the rotting flesh within."
On the floor beneath the mirror are five broken shards . A sixth one can be found in the bedroom on the opposite side; grab it before you start the puzzle. When ready, you first need to place either the Ripe Apple or Rotten Apple on the platter. For the sake of completing the puzzle, your choice doesn't matter.
Next, you'll be required to place each of the broken shards on the floor back into the mirror in the correct spots . The last one will be the one you took from the bedroom.
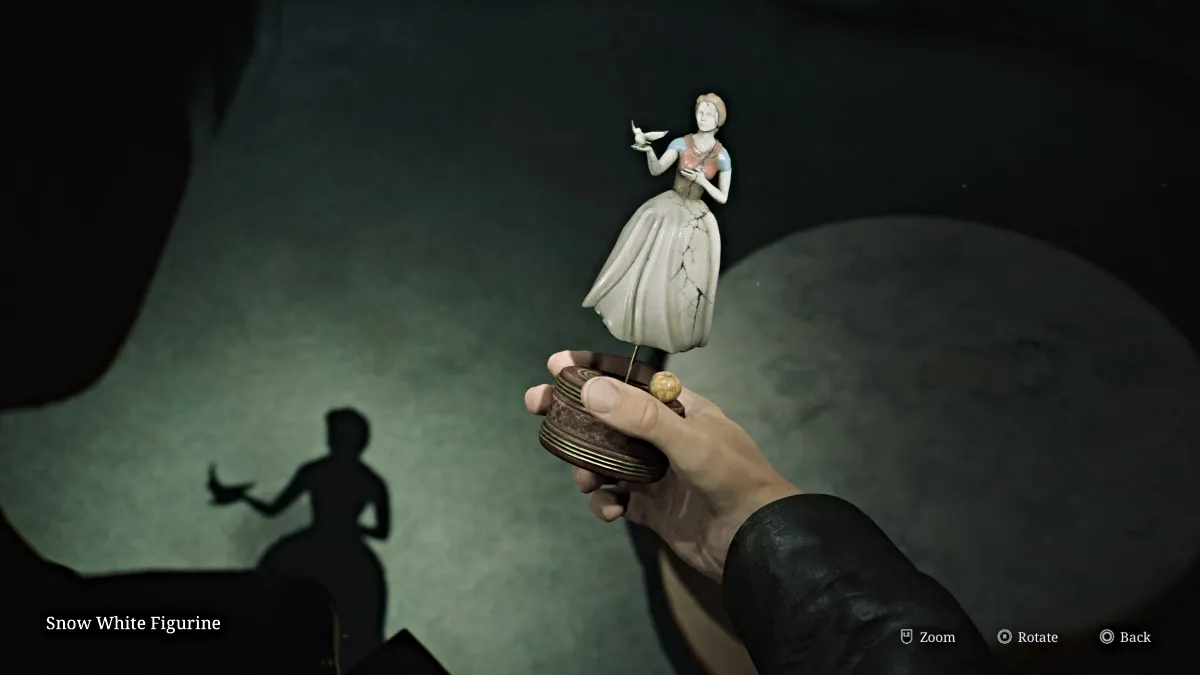
Once done, the mirror will reform and you'll then want to head to Room 201 next door to claim your reward, the Snow White Figurine .
Now make your way back through all of the spider Mannequins to the Cloakroom , and cut through the Hall room to the extended patio outside. Use it to reach the Nurse's Office on the left side of the floor, where you'll find a Bubble Nurse and a medical record sitting on a desk with the initials "MSS". Mary's perhaps?
Go out to the hallway and unlock the double doors to your left to make the Sunset Wing on the west side accessible. Go straight and around the corner to get some Shotgun Shells from a drawer. Bypass the Employee Elevator Room for now (for a specific reason) and explore the rest of the rooms on the floor first.
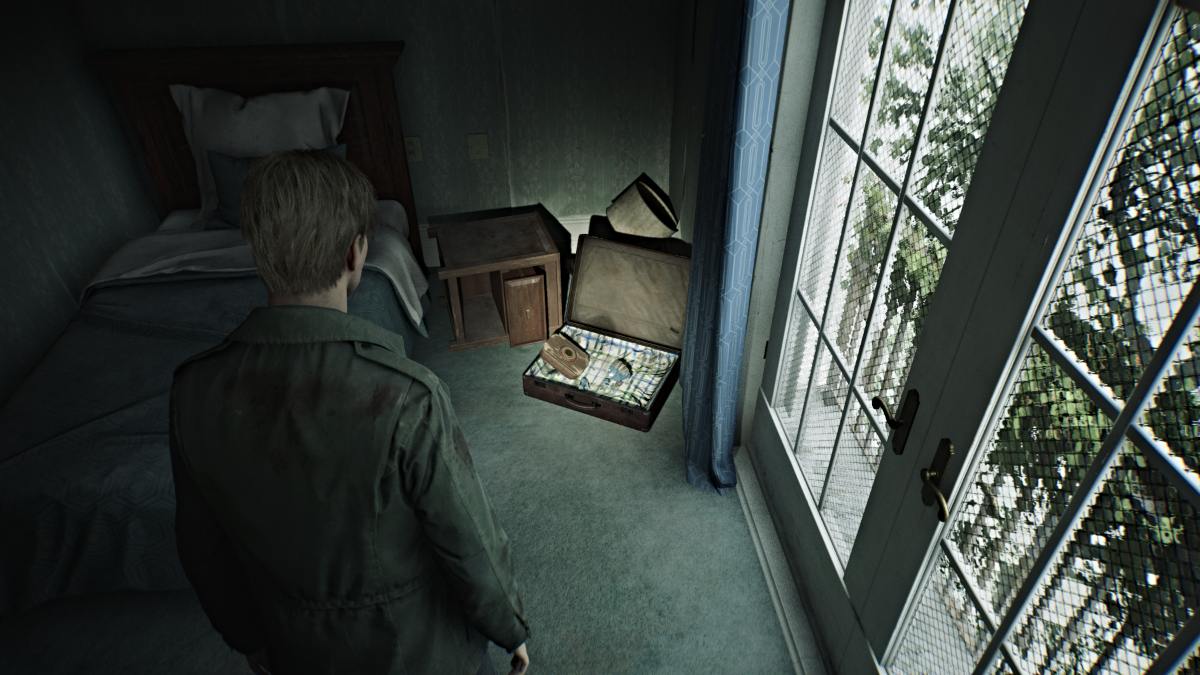
Note that the third floor is accessible from this side . Grab some Shotgun Shells from the drawer near Room 214. Go straight up the hall to the window at the far north end, where a Mannequin will be hiding and some Rifle Ammo on a table. Double back and turn right to find more Rifle Ammo at the end of that hall.
Inside Room 212 you'll find another Glimpse of the Past in an open briefcase. Leave and now head up to the third floor.
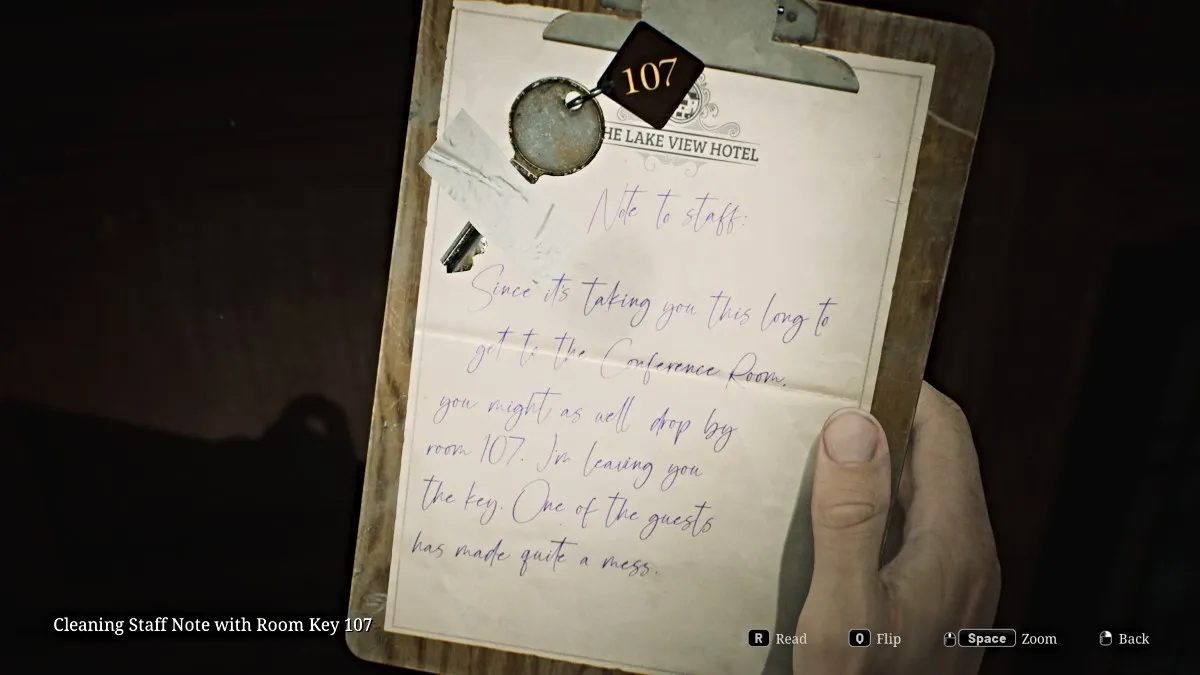
Go up the stairs to the third floor and first head into the Conference Room in front of you. Go across the room and pick up the Cleaning Staff Note With Room 107 Key off the fireplace. Now interact with the fireplace itself, and you'll notice one of the Music Box Figurines is stuck inside it . You'll need something to unlock the fireplace first.
For now, run back out into the hallway, and you'll notice double doors locked by an iron gate. If you approach it, Mary's voice will suddenly shout for James, surprising him. You'll need a key to access that part of the floor, however. For now, go check the Utility Room around the corner, where you'll find Handgun Ammo , Shotgun Ammo , and a set of Boltcutters (used to unlock the outside Garden's left side).
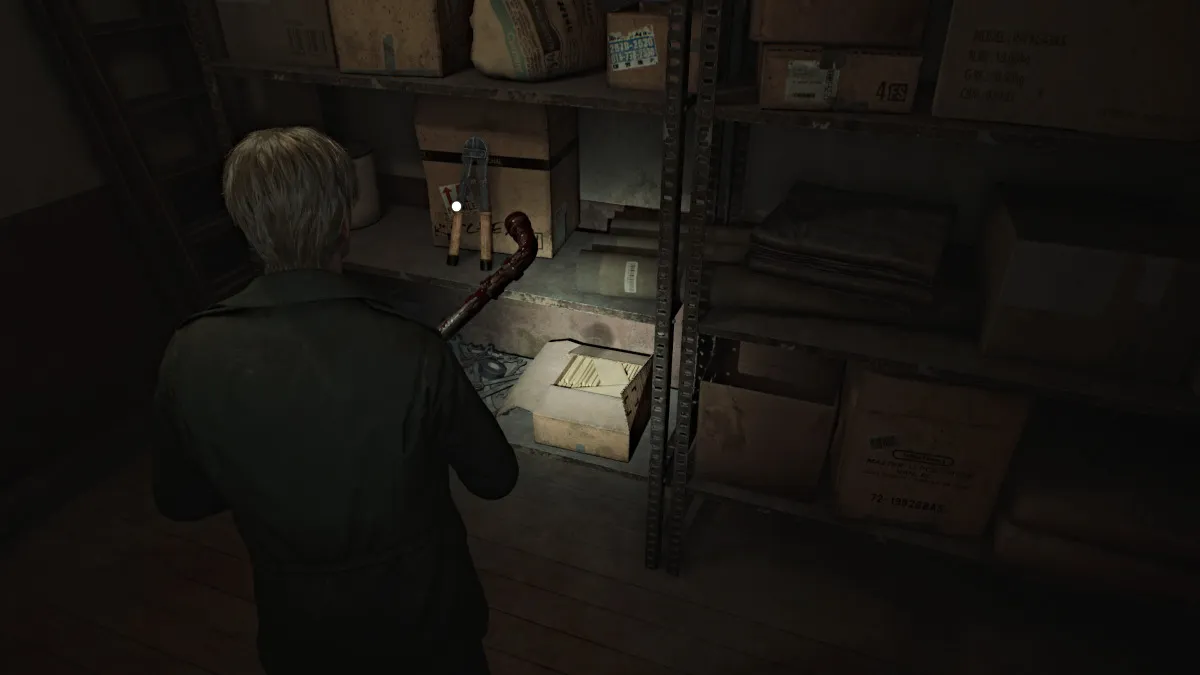
Double back around the hallway to where you see a bright red 'Exit' sign. This will take you outside and down a stairwell (grab the ammo from the table on the way down) to the second floor, into the southeast corner you couldn't access before.
First go into Room 215 , where you'll find a breakable wall that will take you to 214 . Unlock the door in there, and you now have a handy shortcut to the other side of the Sunset Wing.
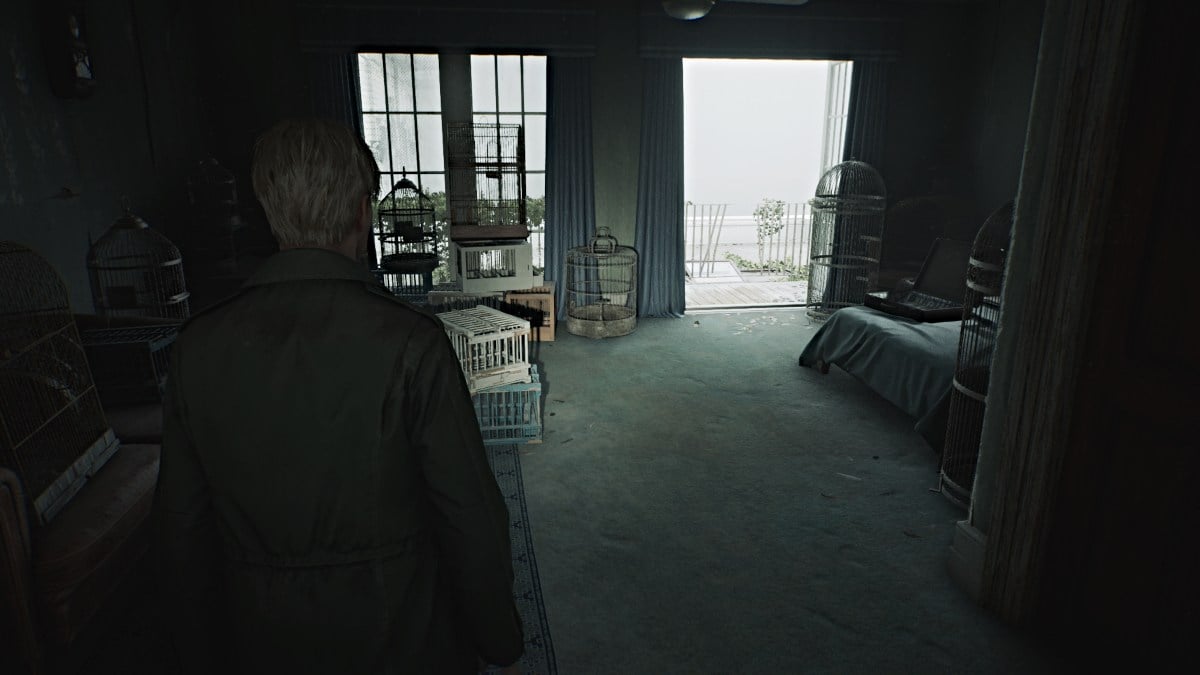
Now double back to Room 217 , a room full of bird cages where the patio doors will blow open, making another path for you. Grab the ammo from the suitcase on the bed and go look outside, where you'll see another red book lying on the glass ceiling across the way. Use your Handgun to shoot the cracked glass plate underneath it, so it falls into the Lake Shore Restaurant below.
Use your new shortcut and head all the way back down to the first floor and to the restaurant, where the book will be lying on top of a box. Interact with it, and it will open to reveal the Can Opener (for the Paint Can, if you're uncovering the briefcase code yourself). Take it and then head to Room 107 , now that you have the key for it.
Unlock it and go inside. First, pick up the Cleaning Staff Note #3 from the nearby table, then a Health Drink from the bathroom, and then head outside to the patio area.
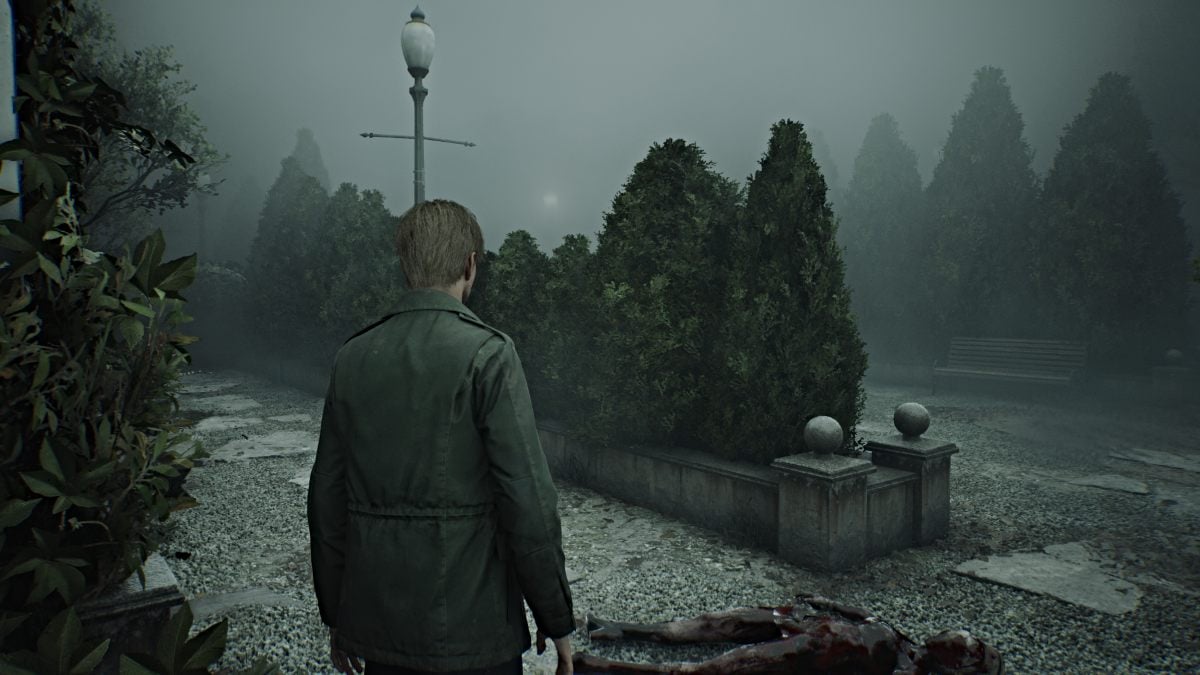
Turns out that this leads to the east side of the Garden area that you couldn't access initially. Grab Shotgun Shells from the table near the doors then start exploring the area. Deal with the monsters patrolling the grounds and make your way to the gazebo in the back corner. Inspect the overturned cleaning bucket and you'll get the Fireplace Key .
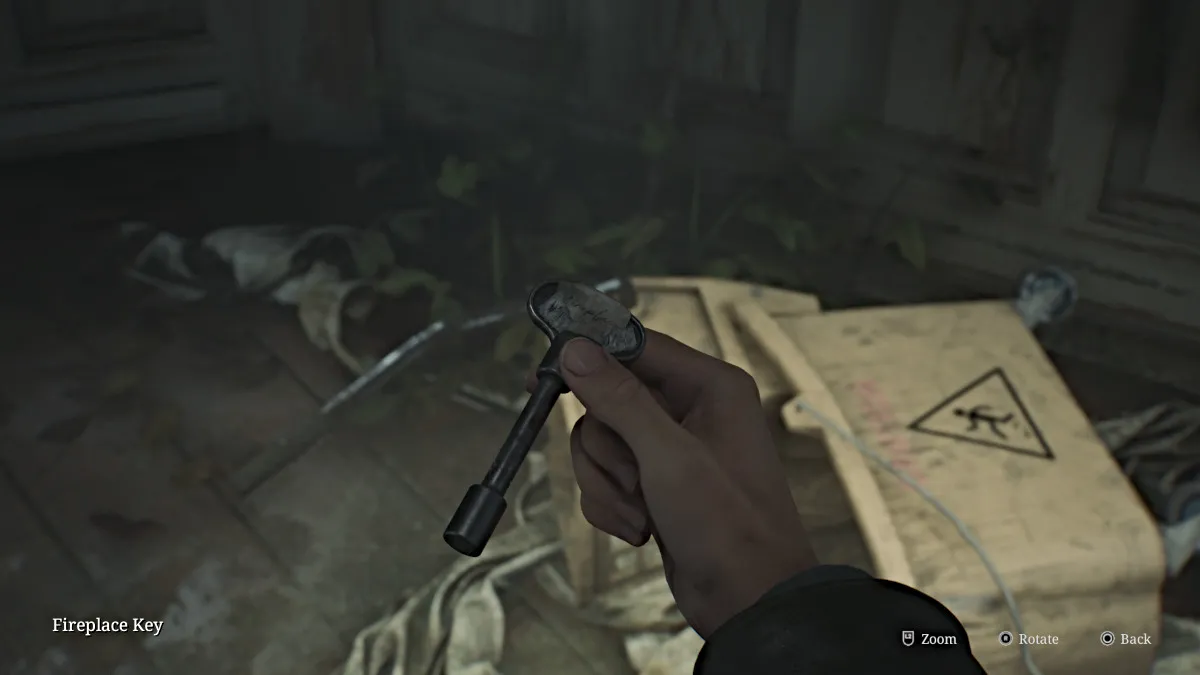
Now you can head back up to the third floor to put that key to good use.
Make your way back up to the third floor of the hotel (notice that some walls and windows are starting to wither) and go into the Conference Room . Run over to the fireplace and use the Fireplace Key to unlock it and retrieve the Cinderella Figurine .

A cutscene follows that shows a huge Mandarin enemy burst through the side of the room and attack James. While it may look like it at first, this isn't a boss fight. Just unload some Shotgun Shells (or whatever you have) into it until it dies.
Go into the side room the monster came from and grab a Health Drink and ammo from the phone table, then turn your attention to the shelf ahead. Push it out of the way to reveal a breakable wall. Bust through it to get into Room 317 . The wall behind you will collapse, so the only way forward is outside.
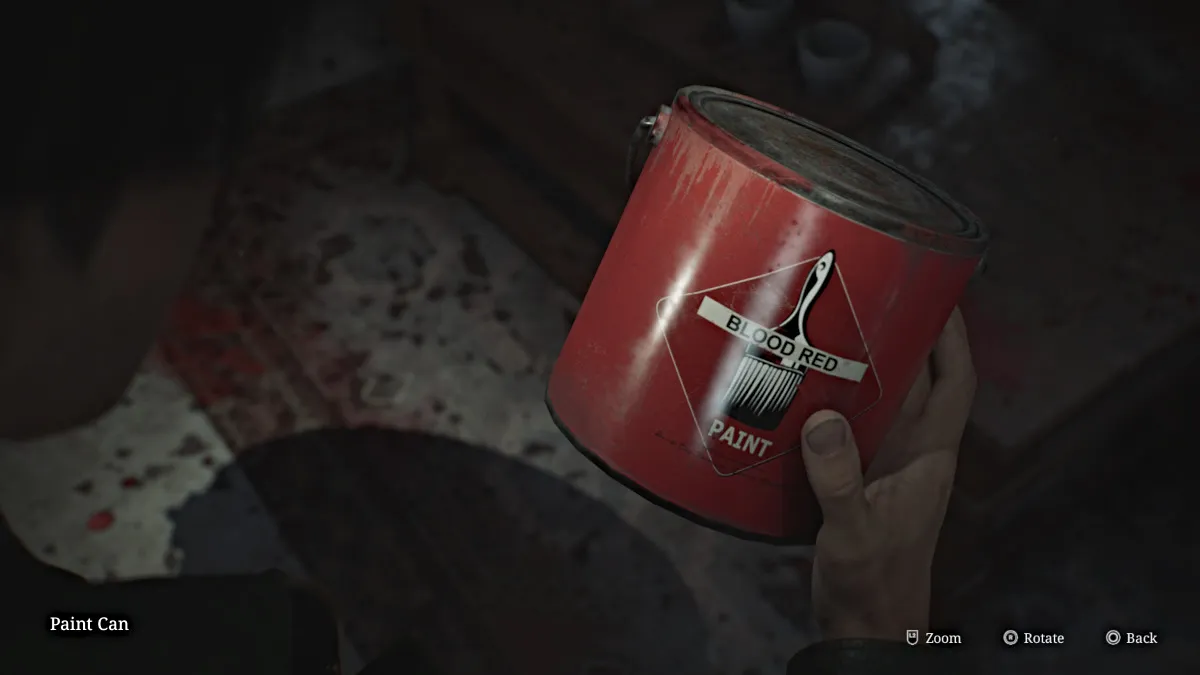
Hop across the low fence to the patio of Room 318 and go inside to see what looks like a catastrophic mess of blood on every surface, but it turns out to be red paint. There's an unopened Paint Can for you to claim, and you can combine it with the Can Opener to open it. You just need a Lightbulb to dip in the paint itself, which is at the fish statue in the Garden area.
You can take all those items back to Room 205 behind the Reading Room and use them on the Vanity Mirror to reveal the aforementioned code.
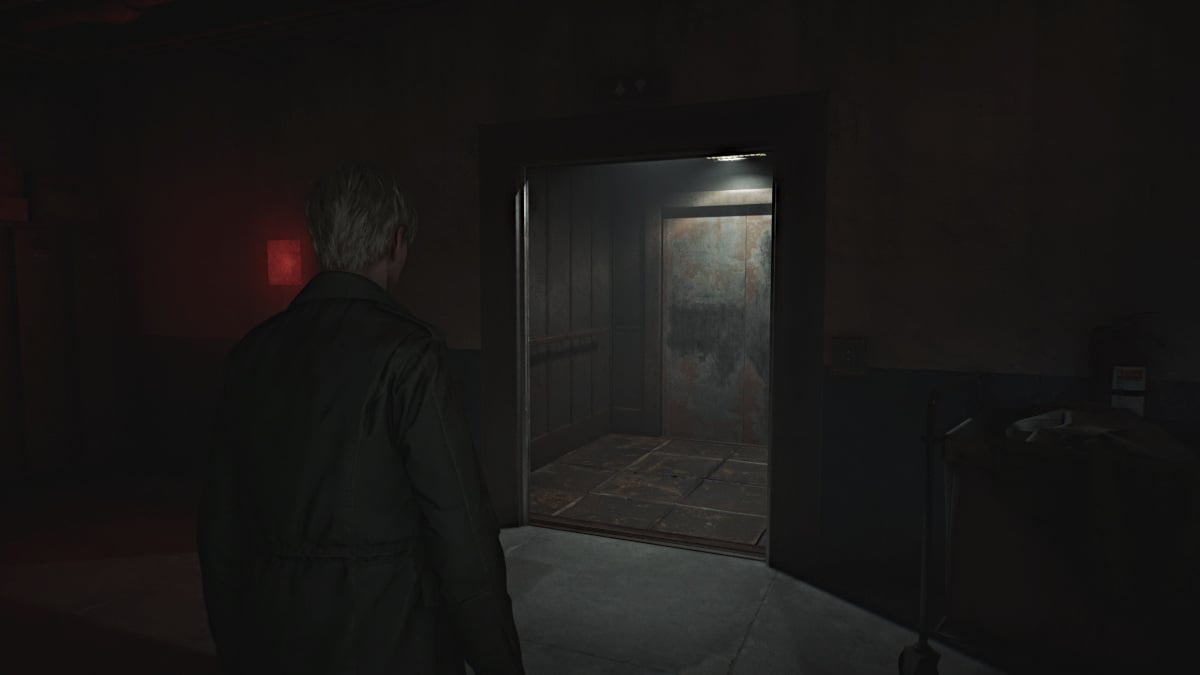
Once you've taken care of everything mentioned up to this point, it's now time to head back to the Employee Elevator Room on the second floor. If you attempt to go into the elevator immediately, you'll notice a loud alarm go off, meaning there's too much weight present.
In other words, you're going to need to offload everything you're carrying. Your weapons, your healing items, your flashlight, your key items, everything.
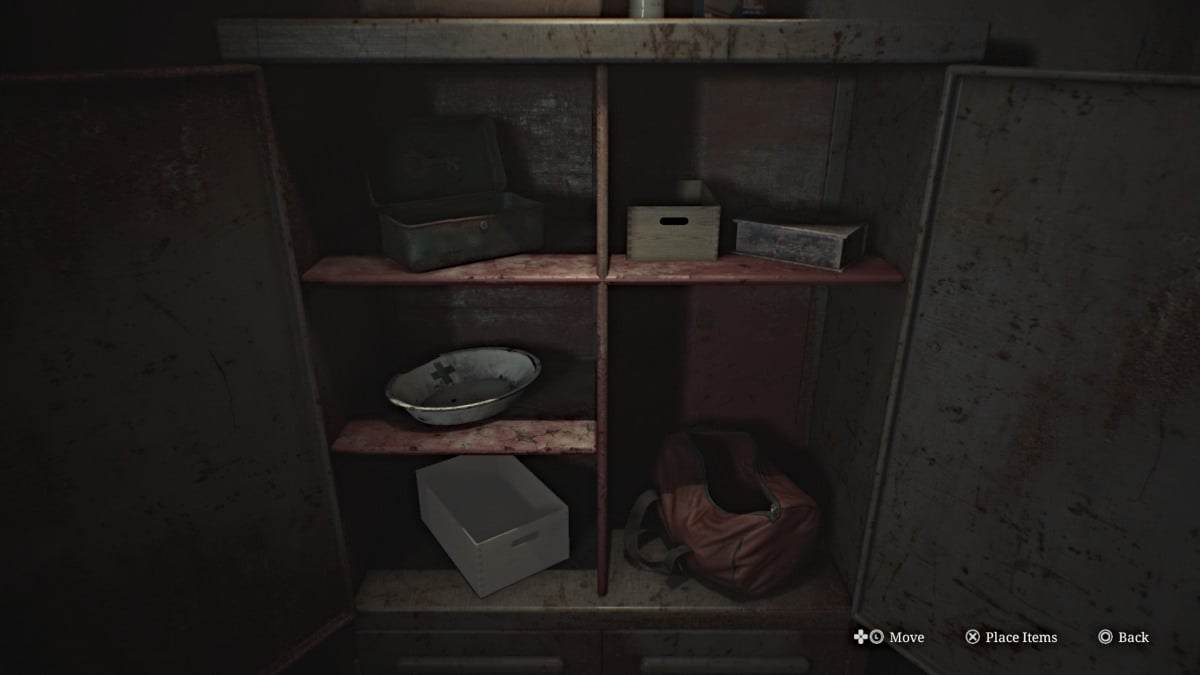
Use the Red Save Point inside, and then interact with the nearby cabinet. Inside, you'll see containers for each type of item you're carrying. Start dumping everything you have into them, however, you're oddly allowed to keep your photo of Mary , her letter (which if you look is now strangely blank), her handkerchief, and Angela's Knife .
Now you can enter the elevator and take it to the first floor , the only place you can go. Be forewarned, there are Mandarins patrolling these areas, and you will need to do your best to sneak around and avoid them since you have no means of killing them. If you walk quietly and keep your distance, they won't detect you.
Jump into the Break Room across the hall in front of you first, and grab the map for the Employee Section of the hotel(since you had to leave your other map behind). Now go to the Break Room Safe on the other side of the room.
The safe requires a keypad code to unlock it, and normally to figure it out you would need to solve the Gem Box Puzzle located in the Manager's Office and find all of the gems around the floor to do so.
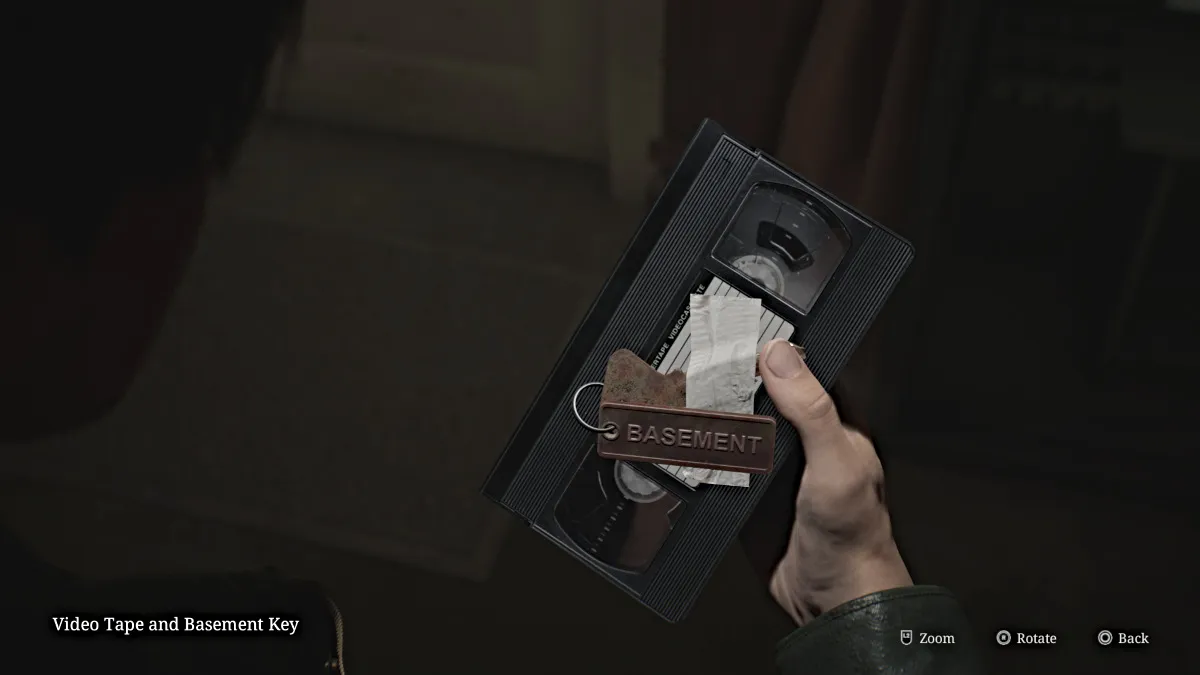
However, since this area is especially dangerous, we have the code for you to help save both time and your health. The correct code for the Break Room Safe is 7414. Inside you'll find the Video Tape and Basement Key , which will allow you to go to the Basement level of the Employee Section.
Tiptoe past the Mandarins and unlock the door to the stairwell that will take you down there.
Upon reaching the Basement level, check your map and carefully make your way south to the Maintenance Room first, avoiding the one patrolling Mandarin as you go. Once there, pick up the blue Pump Valve sitting on a table.
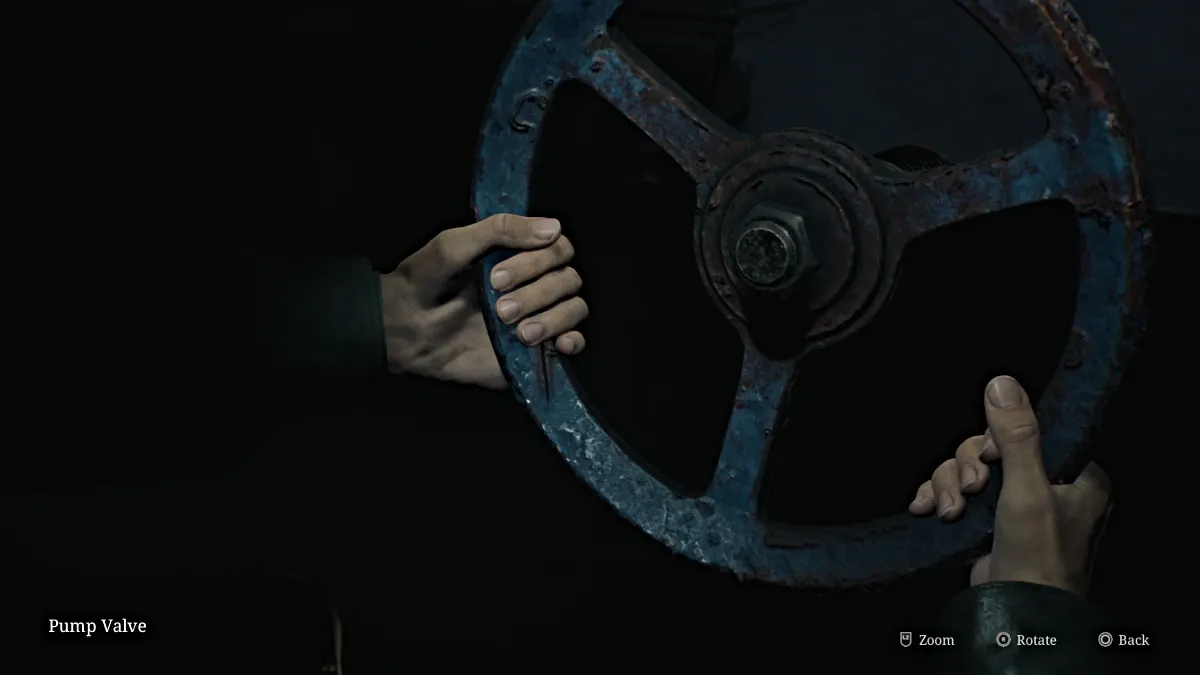
Exit the room via the gap in the wall to save yourself time on the Mandarin's patrol route (we recommend tailing it and then shortcutting up the middle once it's passed back around) and now head for the Liquor Storage Room .
Go inside, slide through another gap in the wall on the left side (wait for the Mandarin to pass before you do), and use the Pump Valve to cut off pressure from a nearby steam valve that's blocking access to the Boiler Room . Once done, go into the Boiler Room and grab the Venus Tears Bar Key hanging on a pipe by the boiler.
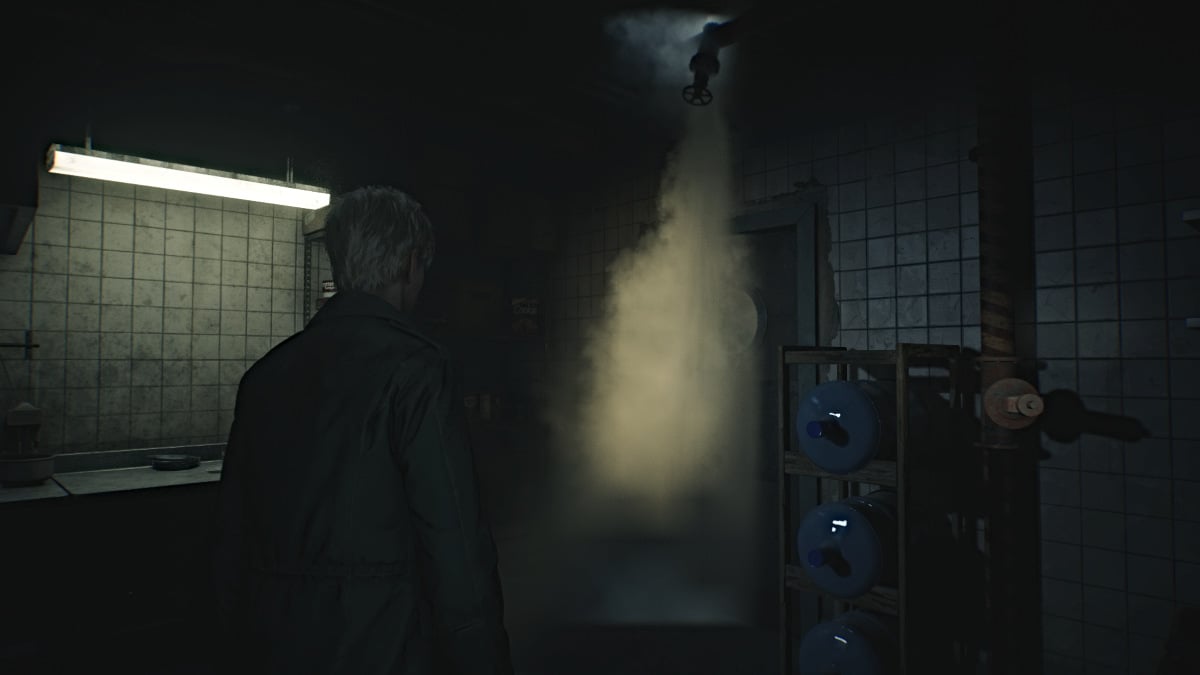
Leave the room and grab your Pump Valve because you'll need it one more time. Use the key to unlock the door to your left to the Venus Tears Bar Kitchen and go in. There will be one more spewing steam pipe that you need to depressurize, so use the Pump Valve nearby to do so.
Go through the next door to the bar itself, where you'll find a broken jukebox underneath a shattered aquarium that's flooded the room. Grab the "Better leave..." Strange Photo behind the bar, then go over and pick up the Little Mermaid Figurine off the floor, then use the Red Save Point nearby.
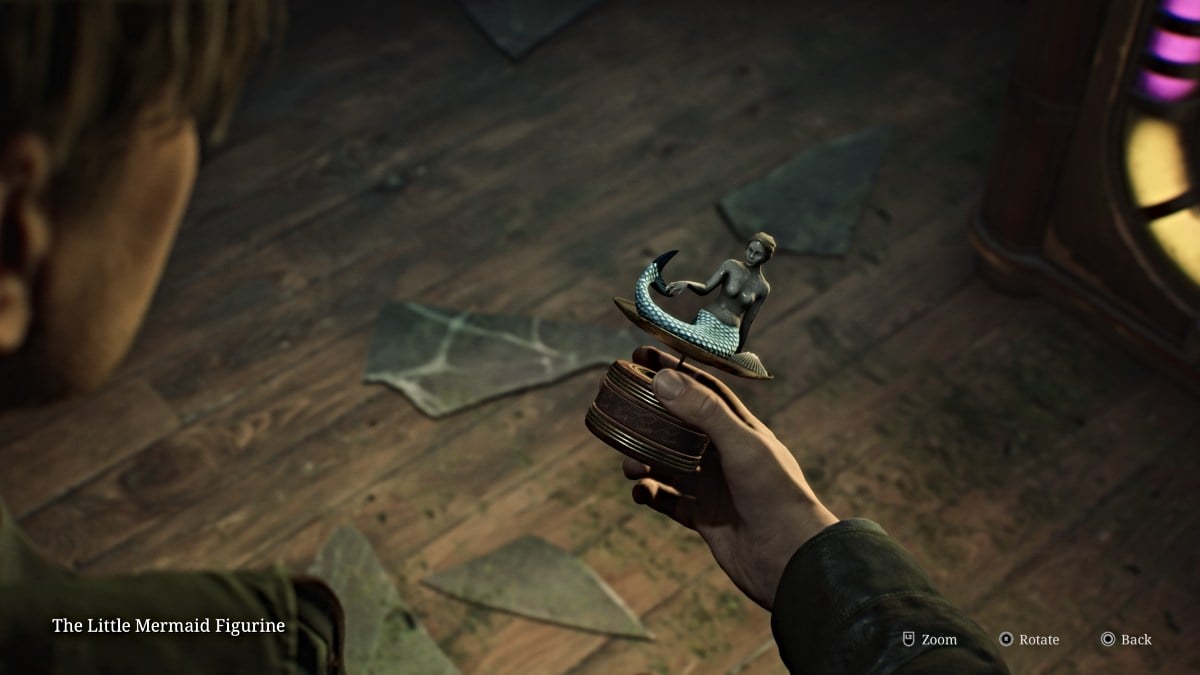
Leave the Venus Tears Bar through the front entrance and now make your way back up to the second floor to quickly reclaim your items from the Employee Elevator Room. Once that's done, head back down to the first floor where the Music Box is, now that you have everything you need.
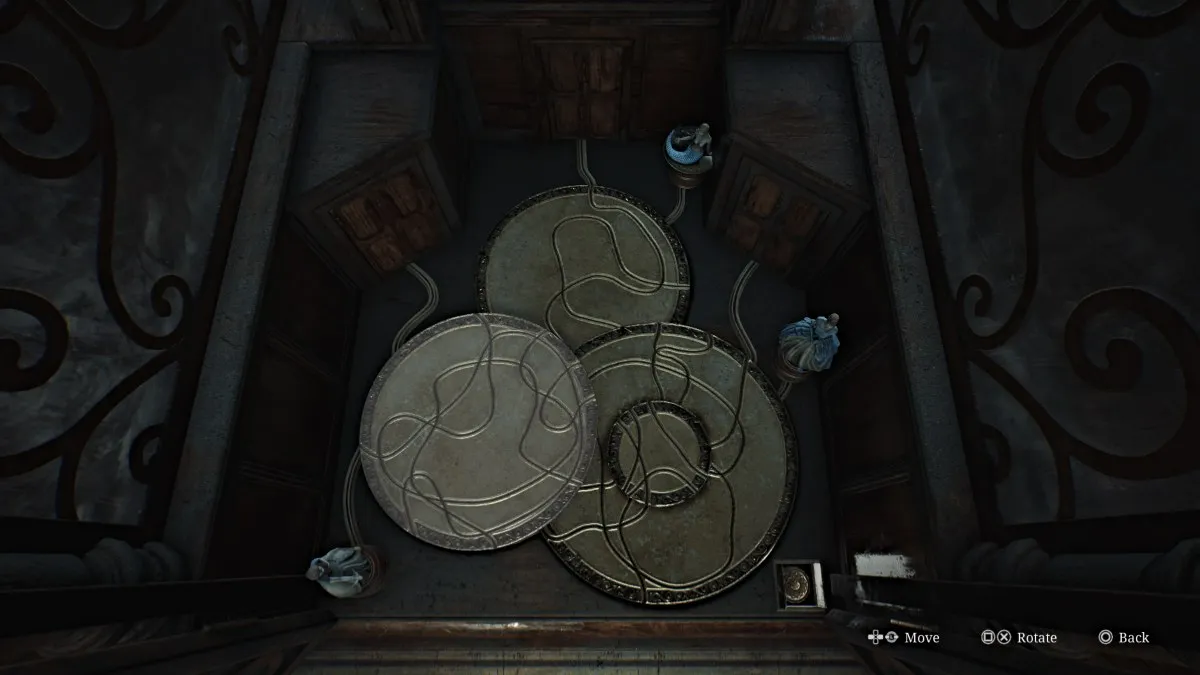
Approach the Music Box and look inside to place the three figurines you've collected in their respective spots. Your goal is to send those figurines along the correct track etched into the discs to their correct doors.
To do that, you need to rotate the discs inside the machine until they form the correct paths to the correct doors. The solution for all three figurines is:
Once you've aligned the tracks, press the button at the bottom right and the machine will prepare the sequence. However, there's one more step to complete.
You can now view the poems for the respective princesses on the facade of the machine, and there is a key above each passage (seen below). Your goal here is to turn each key the correct number of times, according to the numbers mentioned in each passage.
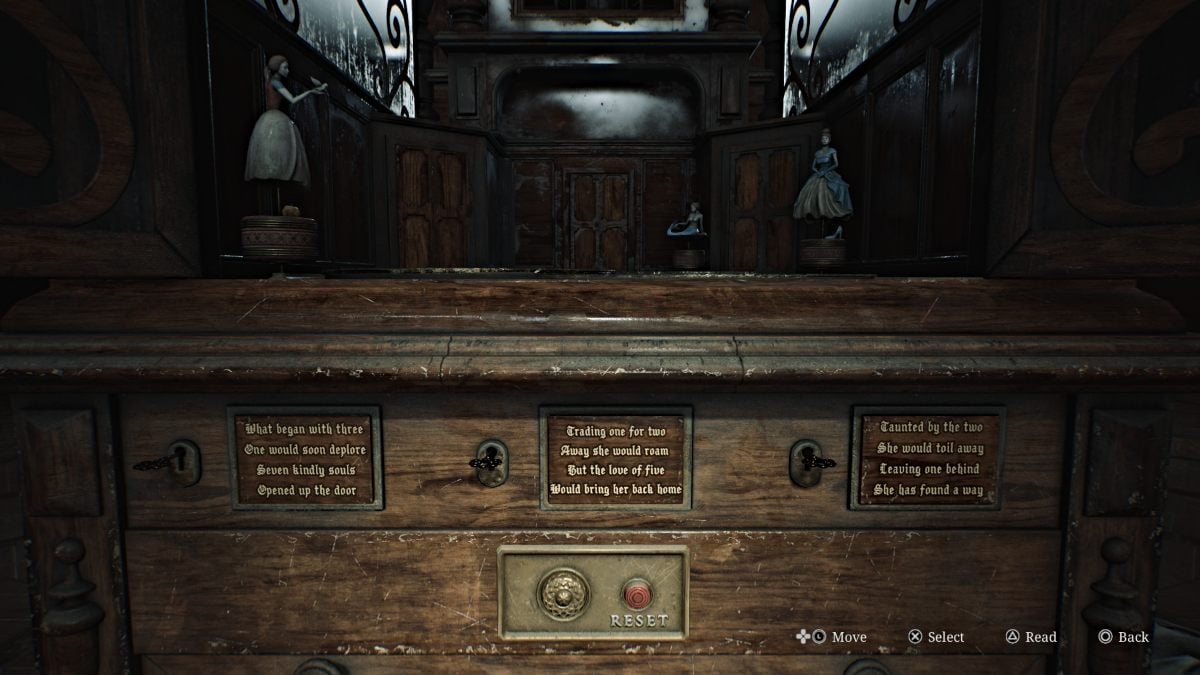
For Snow White, turn her key seven times. For Little Mermaid, turn her key five times. Finally, for Cinderella, turn her key one time.
Once you do, a familiar tune will play for James and he'll receive the 3F Corridor Key . This will unlock the gated hallway on the third floor, where you heard Mary's voice.
It's now time to face the music, literally?
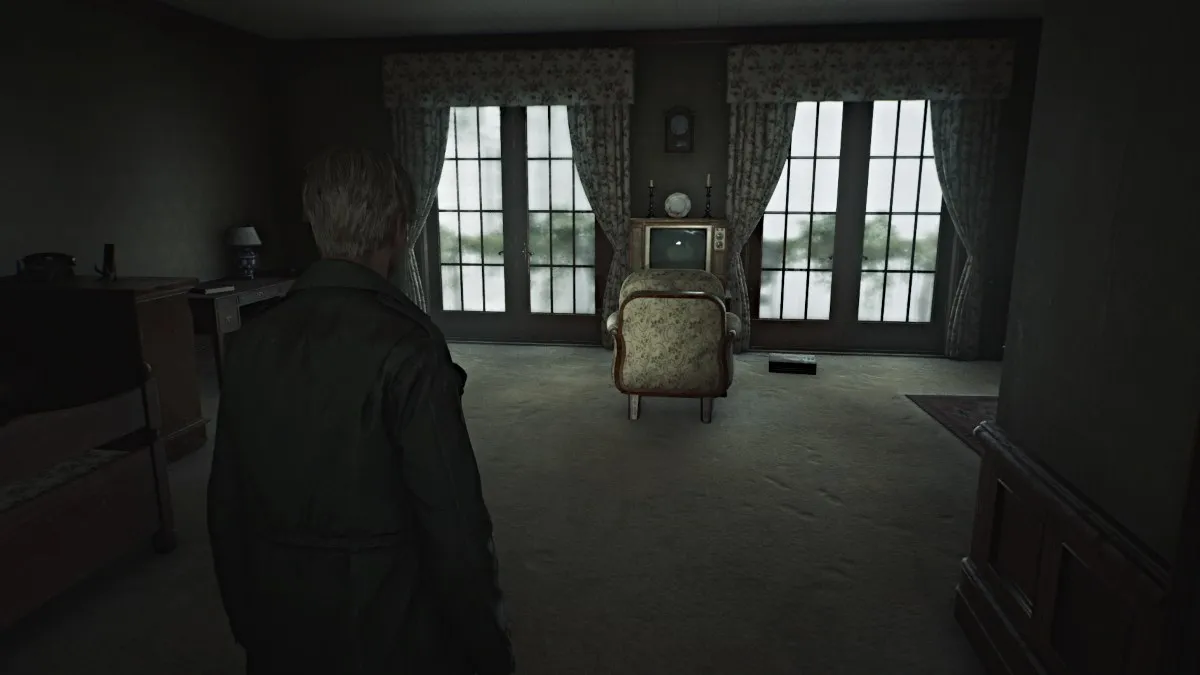
Go all the way up to the third floor and use the 3F Corridor Key on the gate. Go down the hall to the last room on the right and use the Room 312 Key to enter.
As you'll recall, this is the room where James and Mary stayed during their last visit to Silent Hill. Despite his assumption, Mary doesn't seem to be here either, but there's a TV with a VCR for your use. Go over and put the Video Tape you got from the Basement inside the VCR.
During the cutscene, the tape begins with the final moments of their visit to the town, and Mary asking James to bring them back one day. At one point she coughs, and the tape devolves into a mess of static and unstable images. However, among them a sequence plays of James approaching Mary in her bed and suddenly suffocating her with a pillow, revealing that he actually killed her.
James sits in silence, at last faced with the actual truth that he's subconsciously denied this entire time, to the point of believing Mary was dead for three years yet actually still alive (in fact it was only days, thanks to Laura's information).
After an emotional scene with Laura, the room transforms, though not into the usual version of the Otherworld. Instead, everything in the room is burnt and drenched in water, as if in the aftermath of a fire. Mary's voice suddenly calls out to James on his radio.
Once you have control, leave the room.
With the truth now known, the rest of the hotel appears to also be burnt, soaked, and falling apart. Go into Room 314 and grab Handgun Ammo from the bedside table, then go into the bathroom and through the wall gap to the hallway. There's more Handgun Ammo inside a table drawer to your right.
Also, be aware that there are NO monsters in Lakeview's Otherworld, so you can travel freely without having to worry.
The only way forward is south down the hall, so head that way and duck through the debris. You'll notice there's a high crawlspace to your left as you pass. Go down the hall and to the left where there's a pushcart for you to use. Crawl into the room ahead first where there's an ominous message scratched on the wall and a Syringe on a table.
Take the pushcart down the hall to the crawlspace, but it quickly collapses through the floor, ruining that plan. Instead, jump down the hole that's been made, bringing you to the second floor. Go down the hall and grab a Health Drink from Room 207 before going into the nearby Restroom .
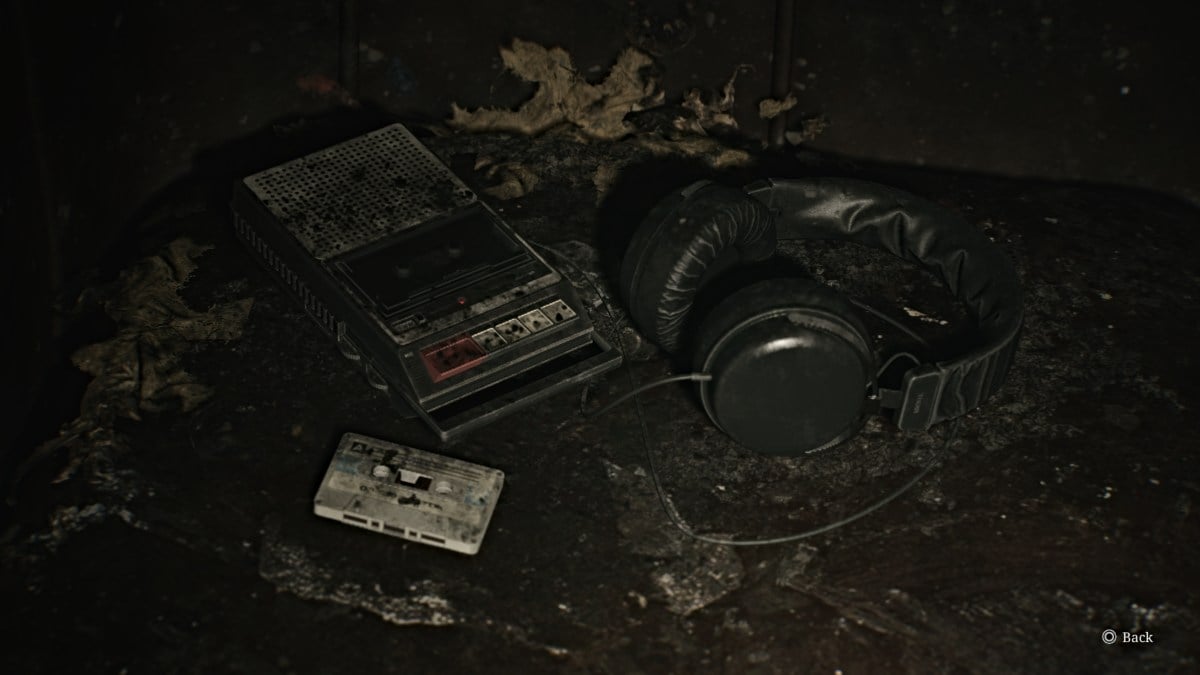
Use it to cross over into the Reading Room , and you'll find a Glimpse of the Past (seen above) sitting on a nearby couch. Use the Red Save Point then leave the room through the double doors. Go across to the Cloakroom and into the Hall. In the back left corner, you'll see the lit Elevator through a hole in the wall, which you need to get to.
To do that, go to the right side of the Hall and look up to spot a crawlspace. Use the shelf under it to climb through to the Nurse's Office . Make your way around through the office, listen to an ominous tape recording on the table if you wish, and then continue through the wall crack to the hallway. Follow it all the way to the Elevator and take it down to the Basement .
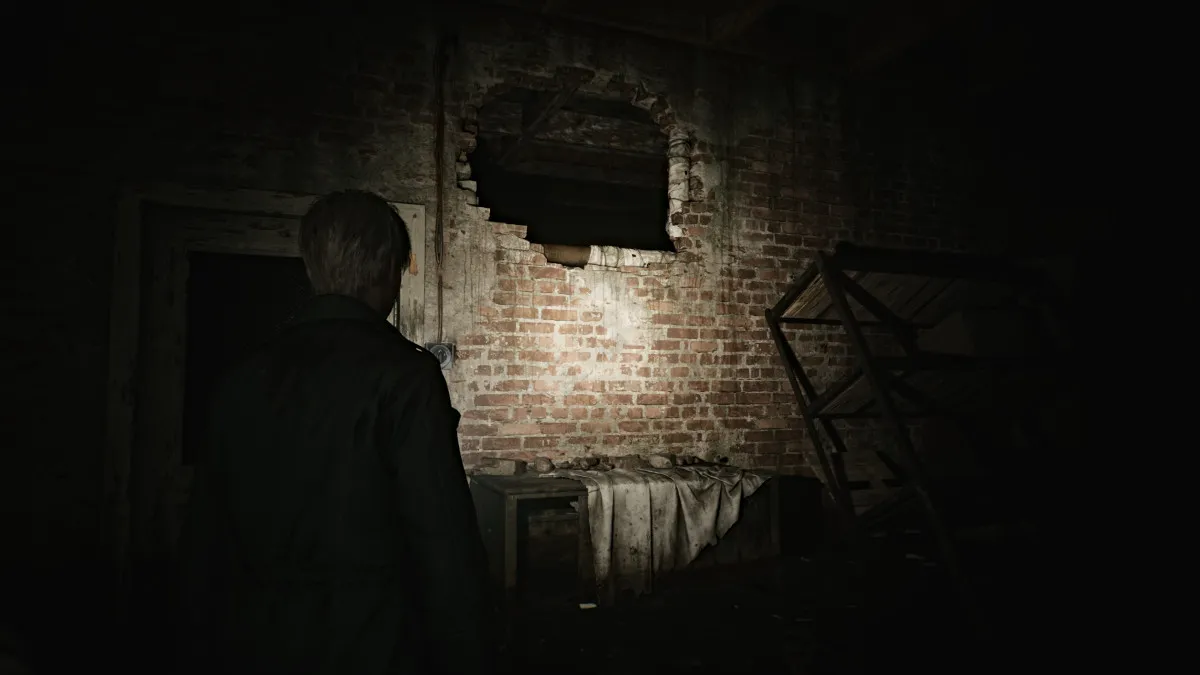
Once you exit the elevator, make your way through the flood to the Venus Tears Bar . Use the Red Save Point behind the bar and then head through the kitchen area and then to Liquor Storage . Grab the Rifle Ammo that's in there and then use the high crawlspace in the wall beside the locked door to get out.
Ahead of you will be a door that's glowing strangely bright from the other side. Head over and go inside, where a cutscene will play with Angela standing on a fiery stairwell.
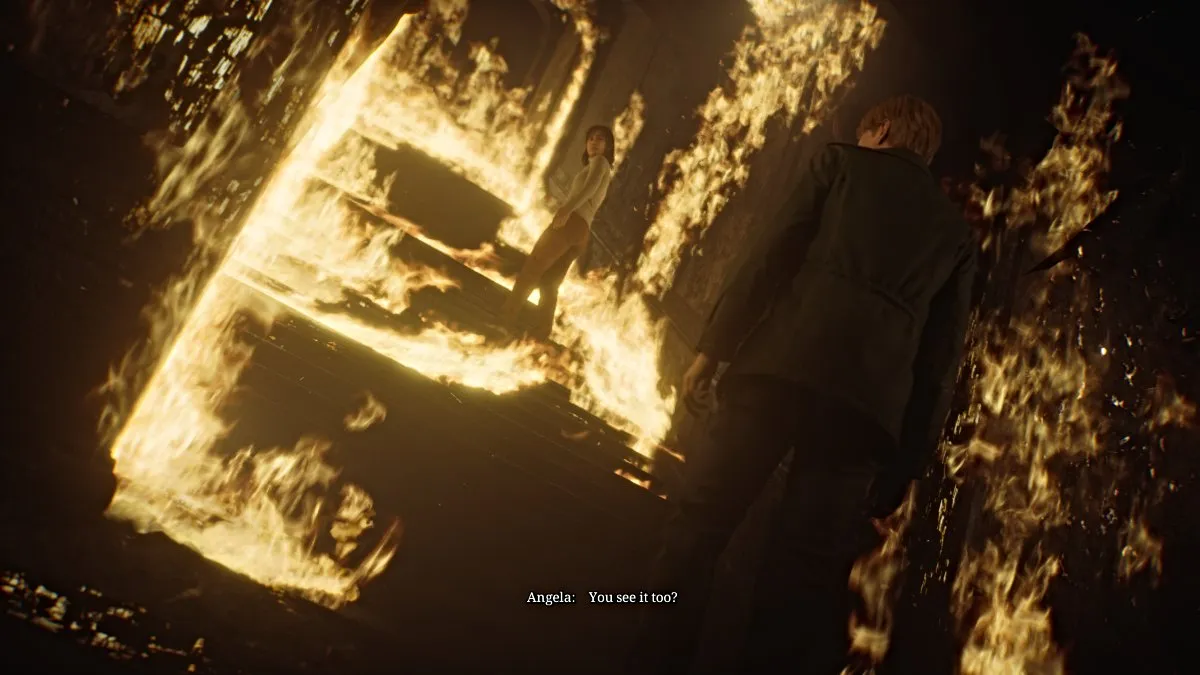
This serves as Angela's final farewell as she goes up the stairs, her fate unknown but hinted. James leaves to continue on.
Make your way through the rest of the Basement, where you'll notice there are now some monsters but they will not attack James . They're entirely passive, so just leave them be and save your ammo . Go into the Manager's Office, cross into the TV Room, and follow a hall that leads off the map.
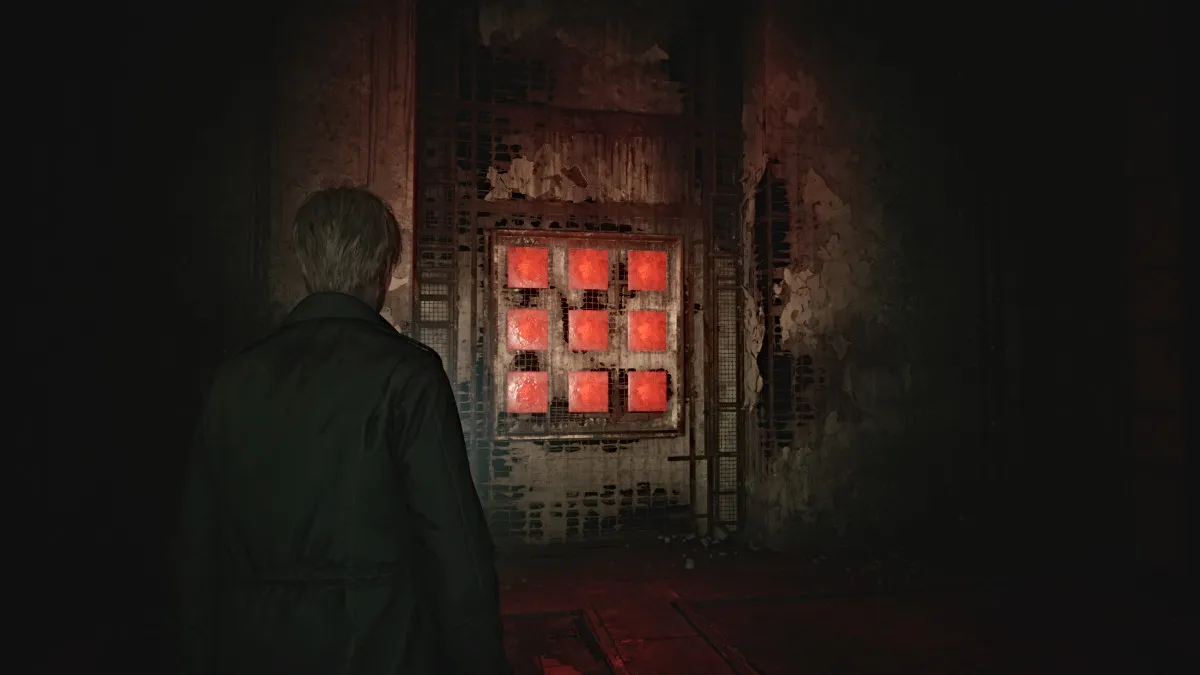
Continue until you come across a set of nine Red Save Points . The game obviously insists that you save here, so do so. With that, take a deep breath and go through the double doors ahead.
Inside is a seemingly dark and empty room, but suddenly Mary...or rather, Maria's voice yells for James. Once again she's "alive" but held captive now by two Pyramid Heads. Despite James' pleas, they proceed to stab Maria dead once again, and he yells in frustration.
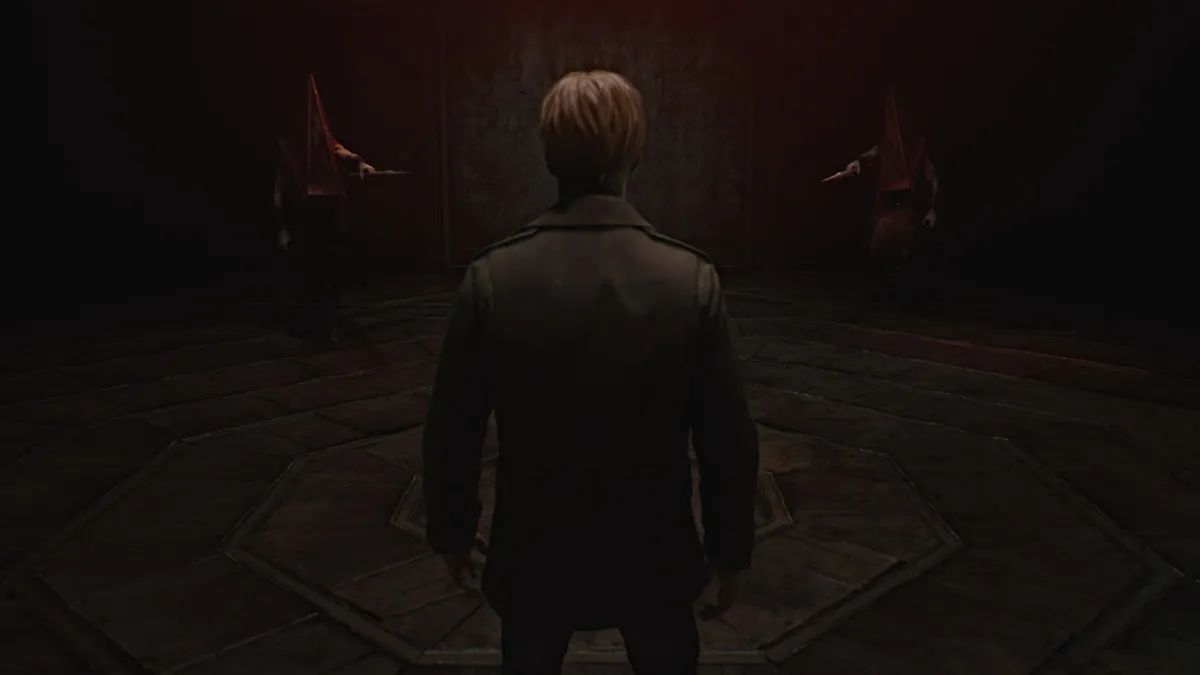
He finally makes his confession of needing Maria, an alluring shadow of his deceased wife, to soothe his pain and at the same time punish him for what he's done. That punishment has clearly been dealt, and James declares, "I don't need you anymore", likely referring to both Maria and Pyramid Head.
With that, they both approach James with spears in hand, ready to test that declaration.
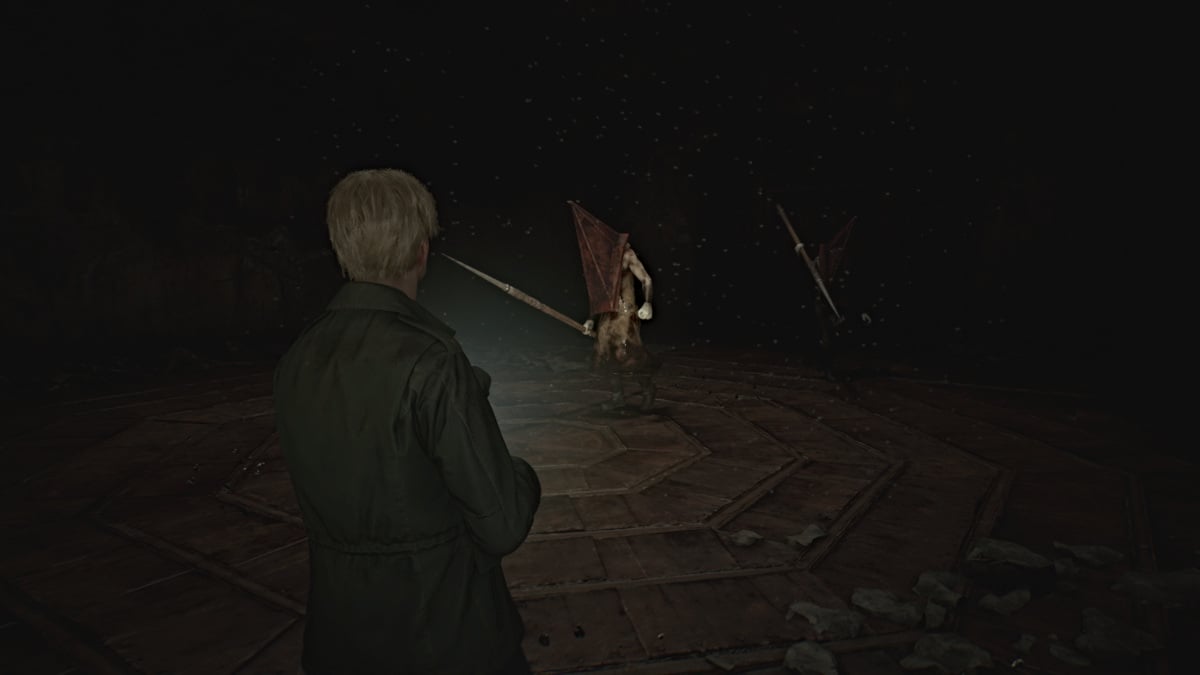
As soon as James says, "I'm ready", the battle begins. Both Pyramid Heads will quickly advance toward you with their spears, and your goal here is to deal as much damage as possible to both of them. You'll need every bullet you've got, and if you need more, there are plenty of ammo boxes and Health Drinks scattered around the room .
Starting with the Hunting Rifle is optimal, as it has the best range with the most damage dealt. After that, you can interchange between the Handgun and Shotgun as needed. Keep your distance as they'll both attempt various lunge and stabbing attacks with their spears. Kite them around the room while unloading as many shots as possible, and eventually, a cutscene will trigger.
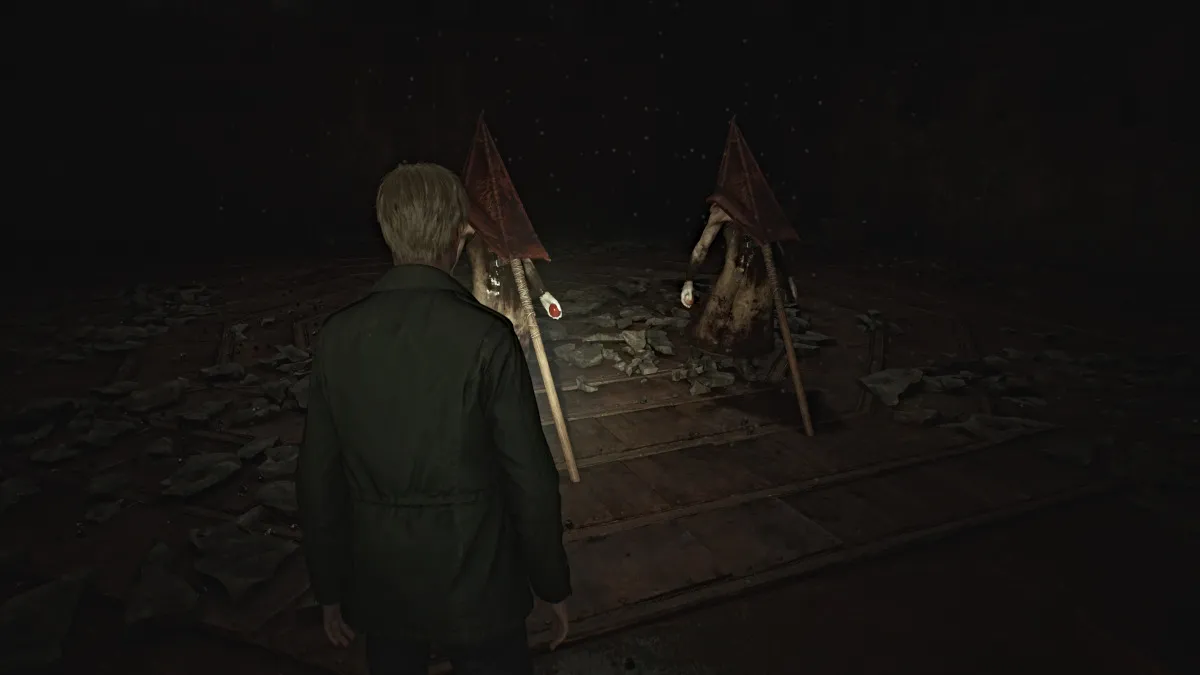
Both Pyramid Heads will go to the center of the room and ceremoniously impale themselves with their own spears. Their judgment has been made, so their presence is no longer needed.
Approach them and take the Scarlet Egg and Rust-colored Egg from their hands. Use these to unlock the doors that lead out.
You'll arrive back outside on a metal walkway, where there are several more ammo cartridges to pick up, along with a Syringe and the "SHAPE FORCES THE MIND" Strange Photo at the back right corner.
Reload all your weapons, top off your health, and head all the way up the stairs until you reach the top of the building. From here, a cutscene with Mary will play that's influenced by your decisions up to that point in the game. How you treated Maria, whether you looked at certain items often, whether you kept your health high or low, etc. They will all affect the subsequent ending as well.
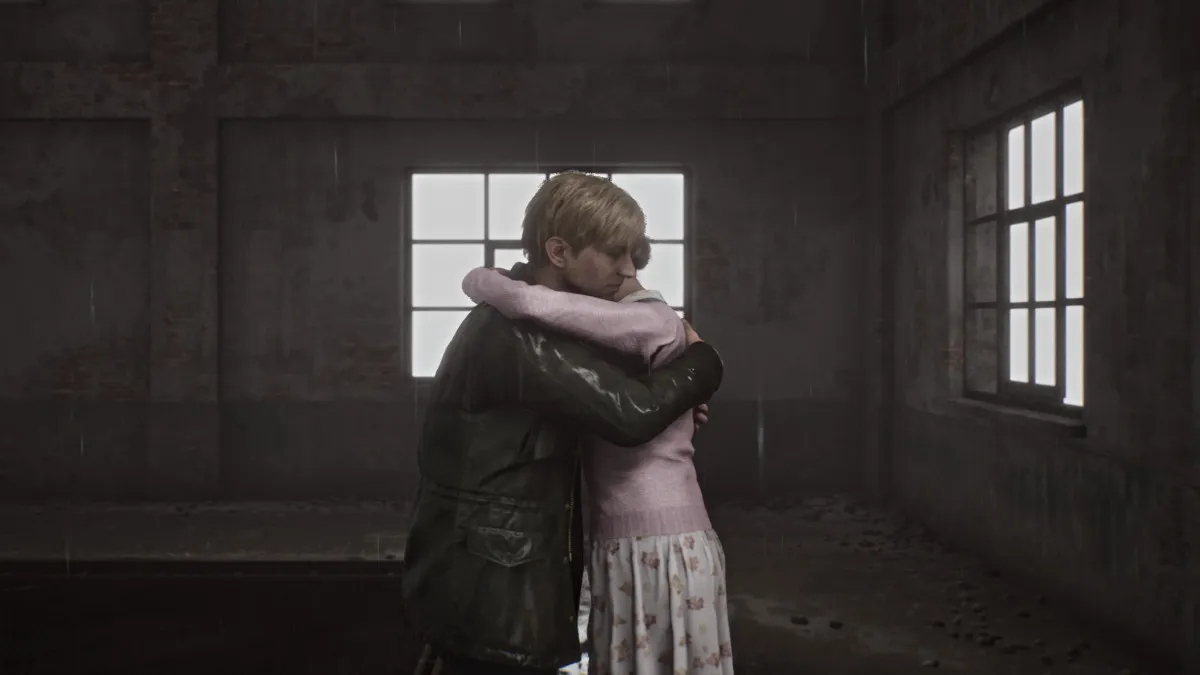
Once Mary (or Maria) succumbs to her turmoil and transforms into a monstrous version of herself, you'll be forced to fight her to ultimately bring peace or at least some sort of finality.
Like the Flesh Lips boss much earlier in the game, she'll be encased in a floating cage, and you'll need to keep your distance and deal damage, preferably with either your Hunting Rifle or Handgun . She also uses flocks of moths to chase and deal ranged damage to James, while also using a tentacle appendage to deal brutal stabbing attacks.
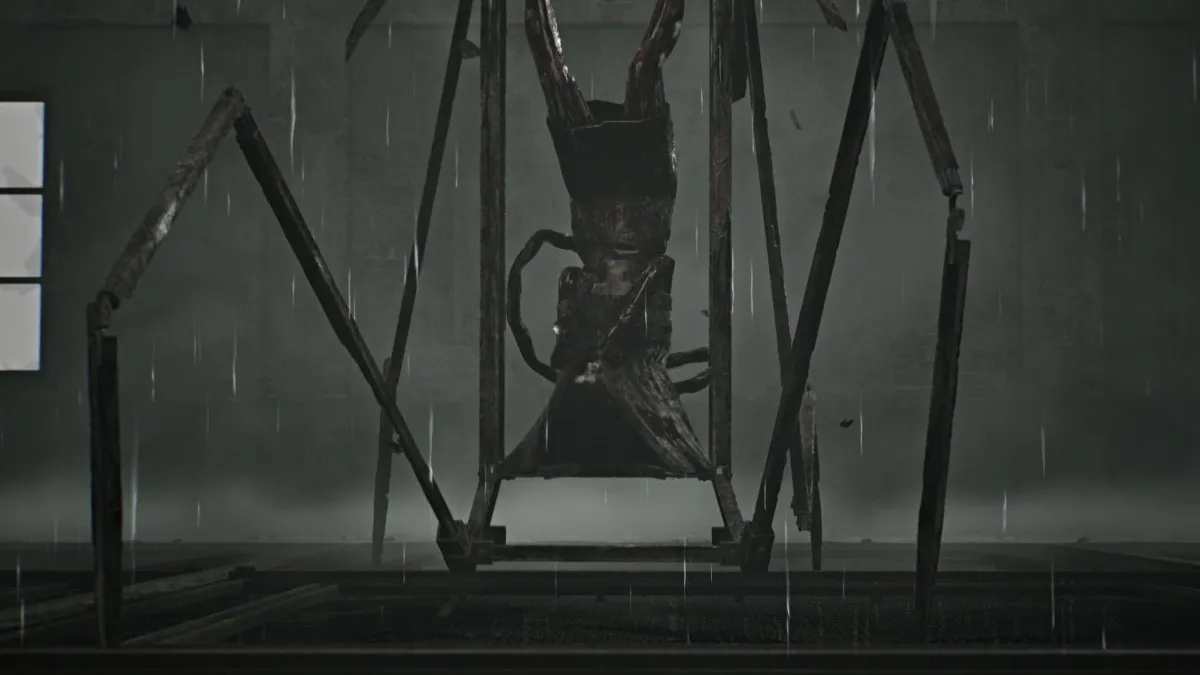
Once you deal enough damage, the cage surrounding Mary will morph into something akin to a spider, also similar to Flesh Lips' second form. She'll force James down into a dark passage area right underneath the metal platform, and you'll need to do damage whenever she appears from above.
The final phase of the fight will collapse the entire area, and you'll need to keep shooting while dodging her charge and swing attacks with her metal "legs". Her attacks hit hard, so be sure to stay topped off as much as possible. This is the final boss of the game, so make use of everything you have.
Eventually, her cage will collapse, leaving her unable to move and mumbling James' name. Go over and shoot one last time to end the fight.
Afterward, your designated ending will play out, again depending on your actions up to now. تهانينا!
Below we've listed all 43 unlockable achievements/trophies in Silent Hill 2 Remake, including 31 hidden ones. Unlocking all of them will require multiple playthroughs.
| Achievement/Trophy | How to Unlock |
|---|---|
| لقد جعلتني سعيدا | Collect all other trophies/achievements في اللعبة. |
| لا عودة إلى الوراء الآن | Try to leave Silent Hill in the Observation area. (Walk down the opposite direction on the road at the start of the game until James turns back.) |
| استمتع بإقامتك | الوصول إلى سايلنت هيل. |
| لطيف ومريح | الوصول إلى شقق Wood Side. |
| Let's NOT Party! | Shoot all the balloons in Wood Side Apartments. (Shoot all balloons in the "Welcome Home" apartment; recommend saving before doing so to recover the bullets used.) |
| عالم آخر | أدخل العالم الآخر لأول مرة. |
| اجتاز | Made your way out of Blue Creek Apartments. |
| غريب | تعرف على ماريا. |
| يبدو أن كل شيء في النظام | اكتشف سر الغرفة 106. |
| بقايا الطعام | Find the pizza in Pete's Bowl-O-Rama |
| اعترف | الوصول إلى مستشفى بروكهافن. |
| كابوس الوقود | هزيمة شفة اللحم. |
| Alone Again. | Survive the Chase in Brookhaven Hospital. |
| إلى الهاوية | الوصول إلى نهاية الدرج الطويل. |
| لا يغتفر | Defeat the Abstract Daddy. |
| الحرم الداخلي | Find His Room. (When Pyramid Head first chases you in the Desolate Area of the Labyrinth, run left past a ladder and through double doors to find his lair. Quickly exit after to avoid getting caught by him.) |
| إنسان | اقتل إيدي. |
| بصيص الأمل | الوصول إلى فندق ليك فيو. |
| آفة بحيرة تولوكا | اقضِ 10 دقائق في بحيرة تولوكا. |
| خاص حقًا | عفا عليه الزمن |
| It's Bread. | التفاعل مع الخبز. |
| Obselete | Destroy what you don't need. |
| That Part of Me. | اهزمها. |
| حطاب | ابحث عن المنشار. |
| بلا رحمة | قم بالقضاء على 50 عدوًا بهجوم الدوس. |
| لا صفقة كبيرة | اقتل 75 عدوًا بأسلحة بعيدة المدى. |
| صدمة القوة الحادة | اقتل 75 عدوًا بأسلحة مشاجرة. |
| You Never Know... | حاول فتح الأبواب المغلقة 50 مرة. |
| تحطمت | تدمير 50 نافذة. |
| صنع السلام | Reach the "Leave" ending |
| الحلقة المفرغة | Reach the "Maria" ending |
| المخرج الوحيد | Reach the "In Water" ending |
| تحدي حتى الموت | Reach the "Rebirth" ending |
| احلى بوي | Reach the "Dog" ending |
| قبعة البربون | Reach the "UFO" ending |
| رأيت تلك المدينة | أكمل New Game Plus على أي صعوبة. |
| صمت الراديو | أكمل اللعبة دون استخدام الراديو. |
| James of All Trades | Kill at least one enemy with Wooden Plank, Steel Pipe, Handgun, Shotgun and Rifle in a single playthrough. |
| قطع غير مرتبة | اجمع كل الصور الغريبة في جولة لعب واحدة. |
| أمين المحفوظات | اجمع كل المذكرات في جولة لعب واحدة. |
| أسرع من الضباب | Complete the game in under 10 hours. |
| As Close as You Like | قم بإنهاء اللعبة دون قتل الأعداء باستخدام أسلحة بعيدة المدى. |
| حفلة كأنها عام 2001 | شاهد جميع النهايات الكلاسيكية (Leave، Maria، In Water، Rebirth، Dog). |
| أصداء | شاهد كل لمحات الماضي في جولة لعب واحدة. |
There are a total of eight possible endings in Silent Hill 2 Remake, and each has its own requirements to be unlocked. Only three specific endings ("Leave", "Maria", and "In Water") can be obtained during your first playthrough, while the rest can be unlocked during New Game Plus.
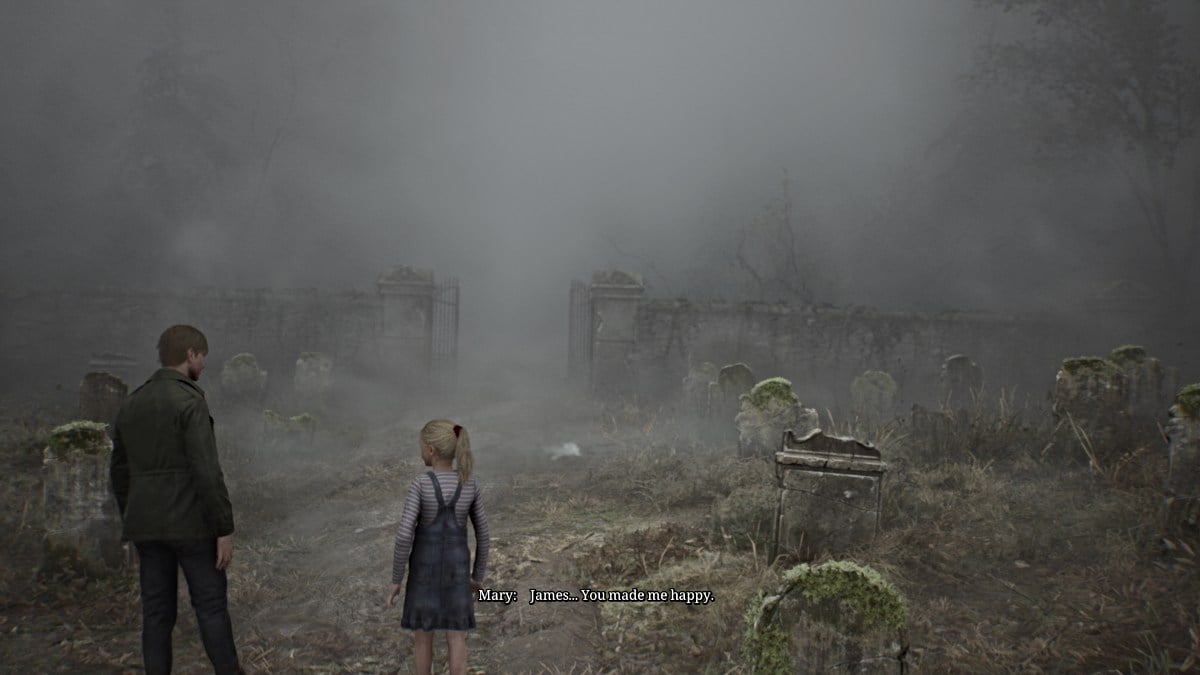
This is the "Best" ending for Silent Hill 2 Remake, as the story ends with James leaving Silent Hill with Laura in tow, having received forgiveness from Mary and realizing that he's allowed to move on. He and Laura leave Silent Hill together, and it's assumed that James adopts her as his daughter, since Mary wasn't able to.
Requirements for this ending:
Getting this ending also unlocks the 'Making Peace' achievement .
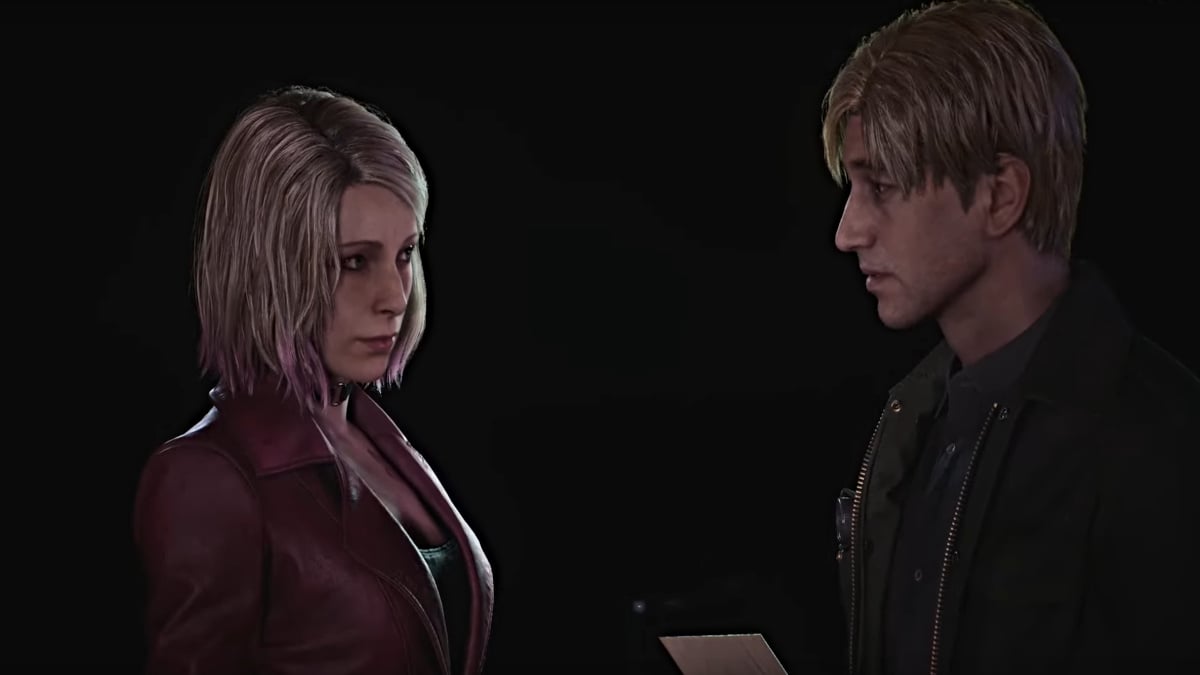
This is the designated "Bad" ending, as James instead leaves Silent Hill with Maria, having chosen her over Mary. At one point, Maria lets out a coughing fit and James acts annoyed, telling her to do something about it. He's learned nothing from his journey and Maria is likely doomed to succumb to the same illness that took Mary, the cycle beginning all over again.
Requirements for this ending:
Getting this ending also unlocks the 'Vicious Circle' achievement .
Debatably another "bad" ending, this is absolutely the most tragic ending in Silent Hill 2 Remake. After everything, James finds himself unable to move on from Mary's death and confesses that he simply can't live without her in his life. James drives his car into the depths of Toluca Lake in an attempt to reunite with Mary in death.
Requirements for this ending:
Getting this ending also unlocks the 'Only Way Out' achievement .
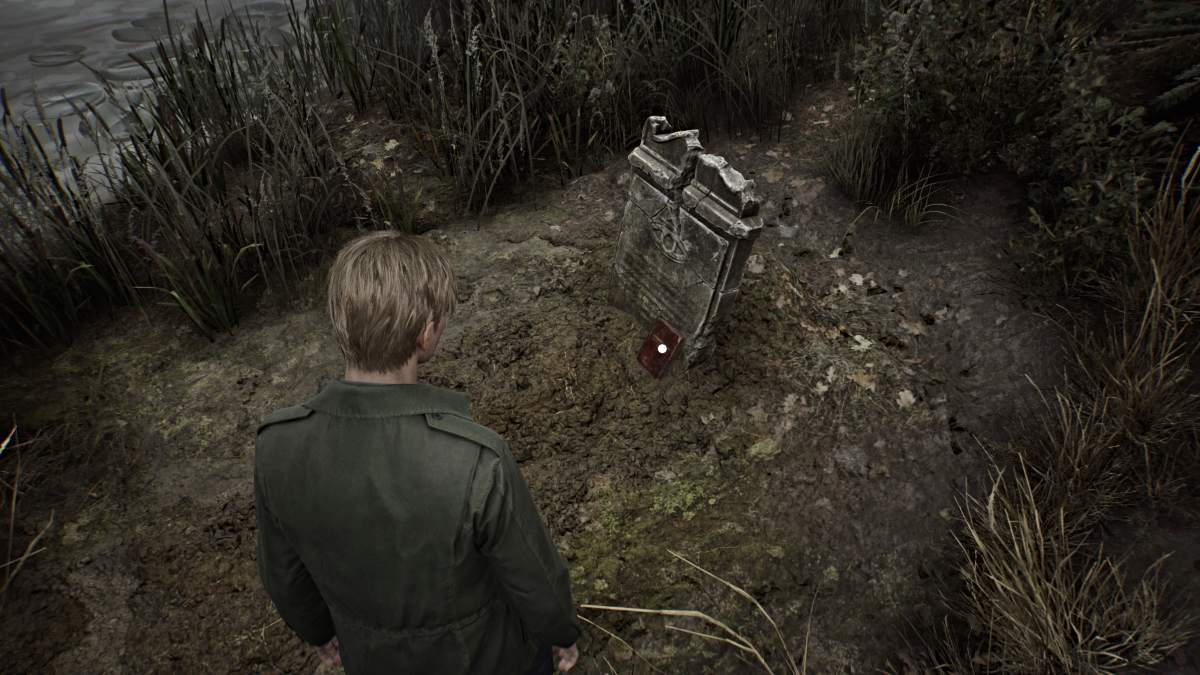
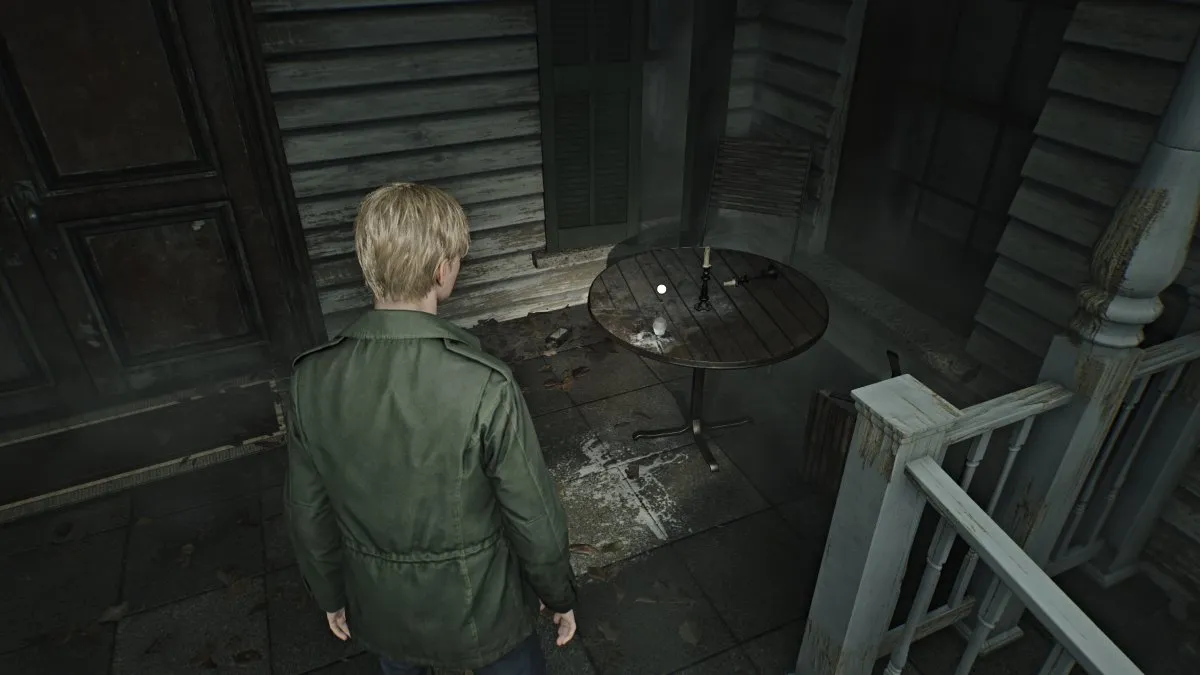
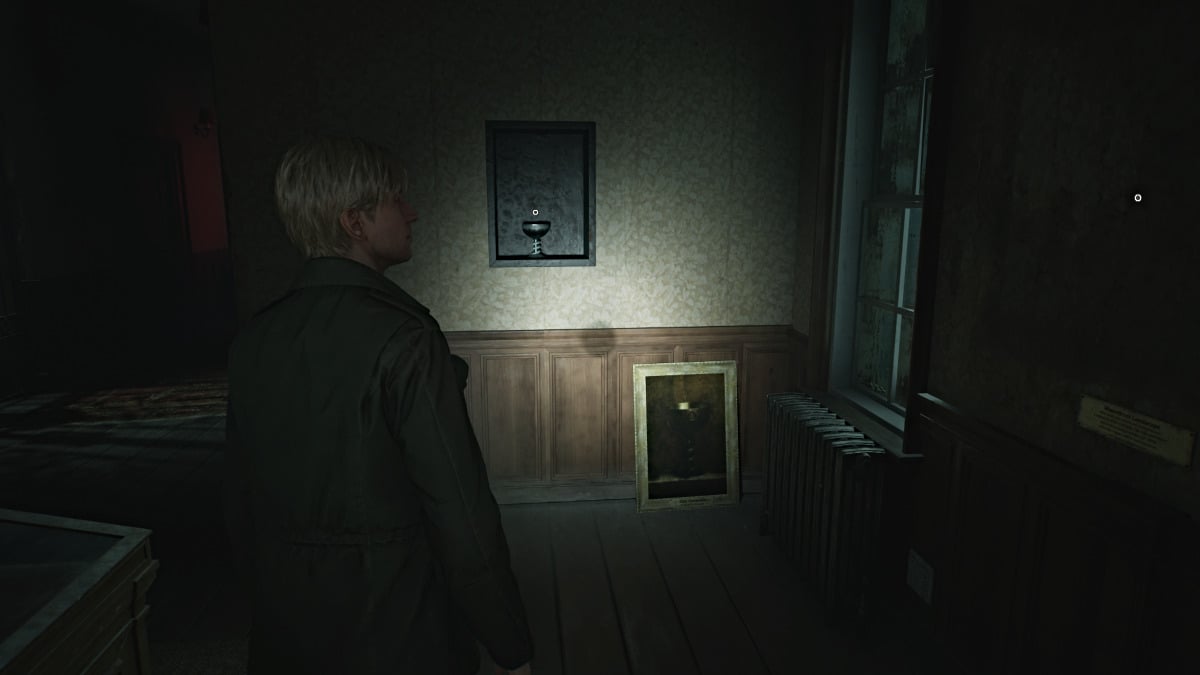
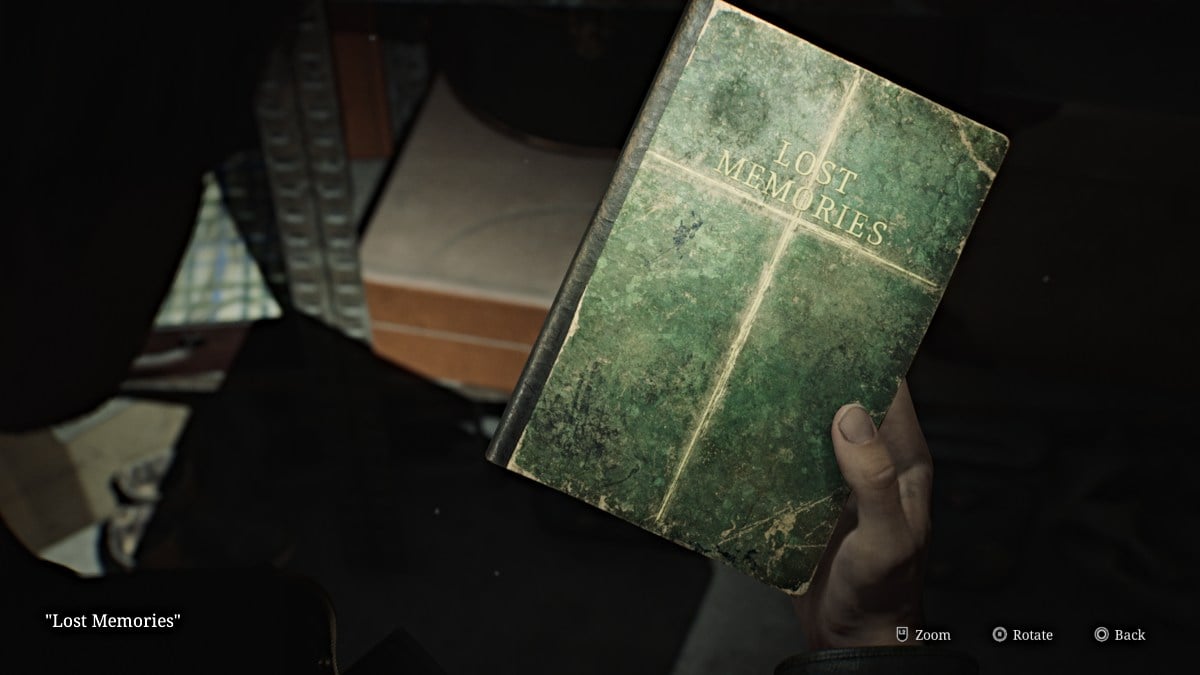
In this ending, after obtaining all the necessary ritual items James takes Mary's body and rows out to the island in the middle of Toluca Lake, where an old church is located. While its history is shrouded in mystery, James is determined to revive Mary using a strange ritual there, and we never know if it actually works.
Requirements for this ending:
Getting this ending also unlocks the 'Defy Even Death' achievement .
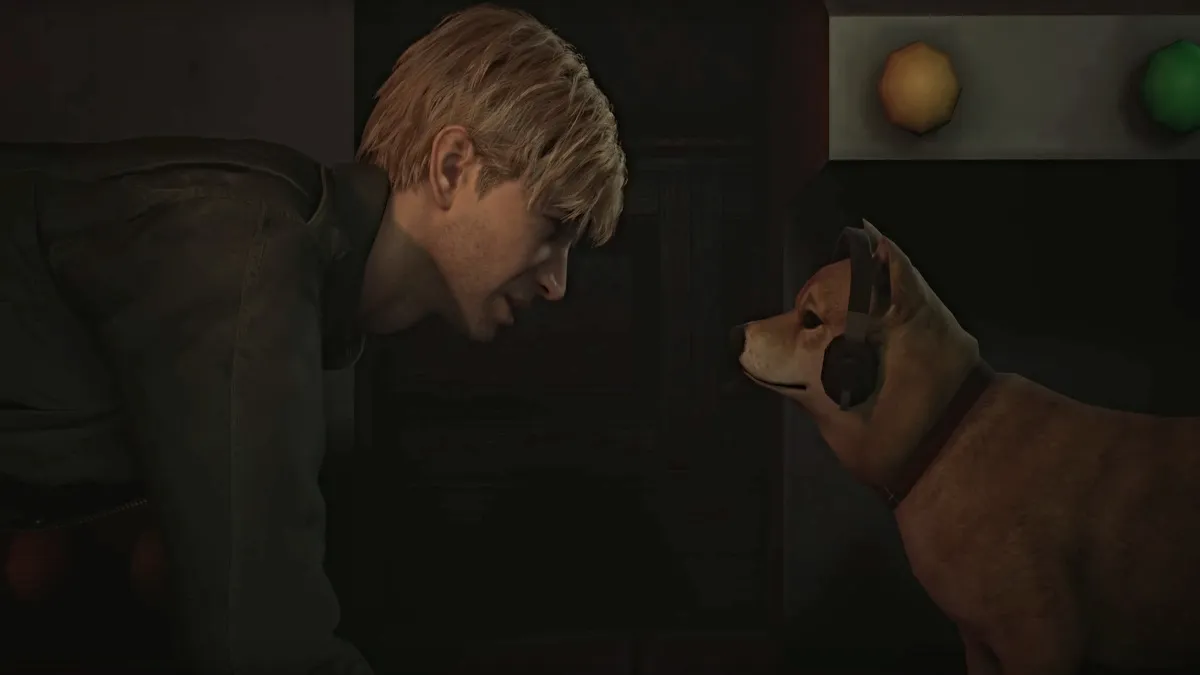
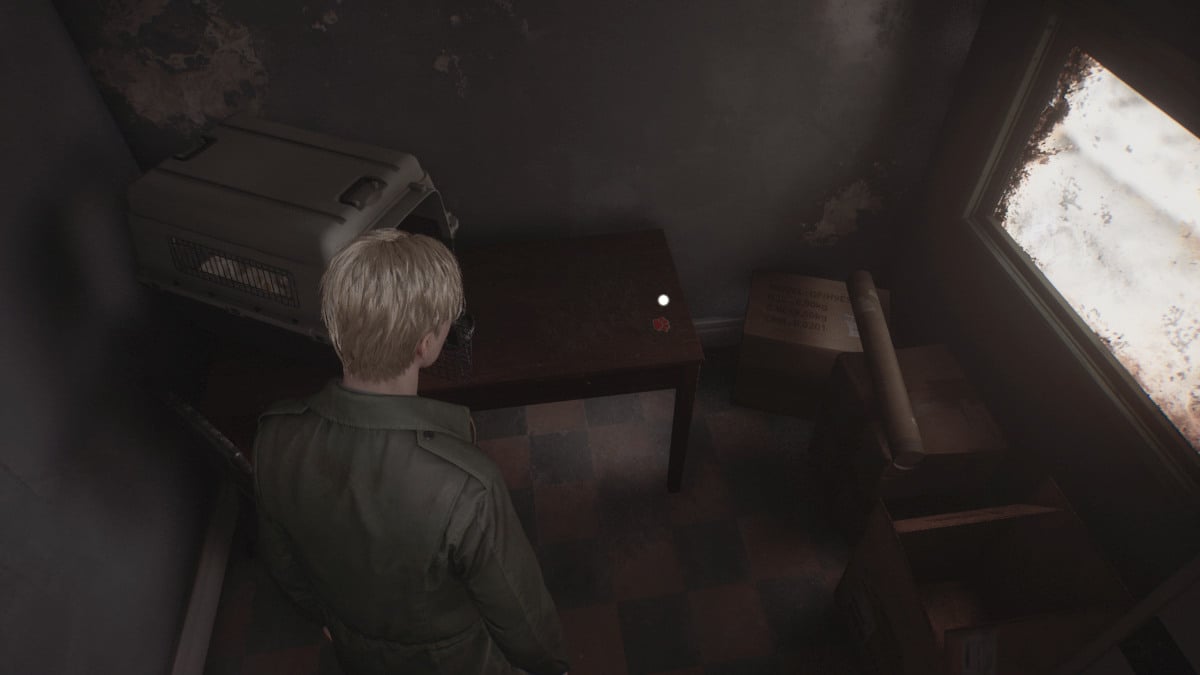
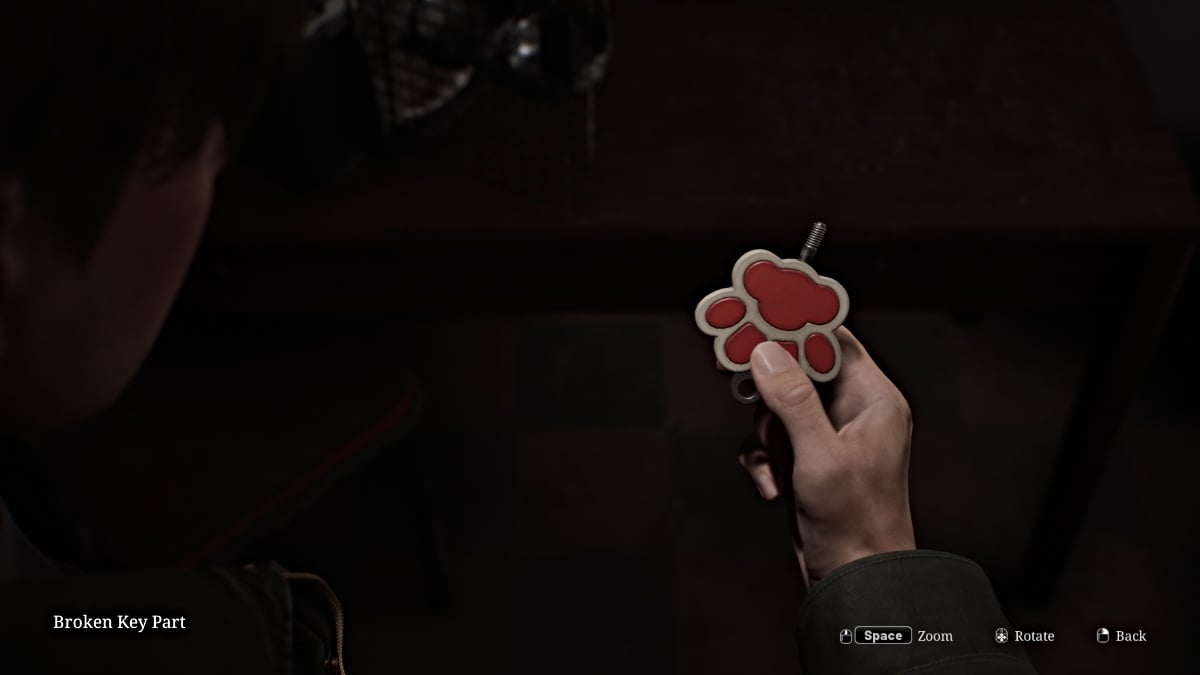
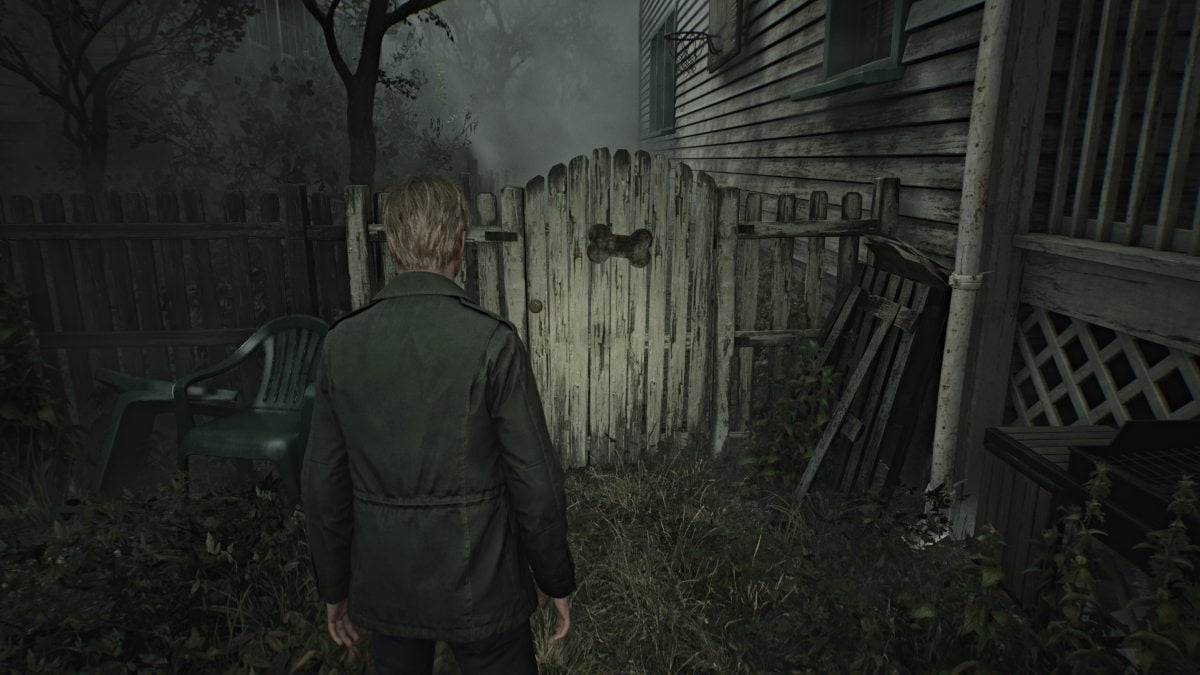
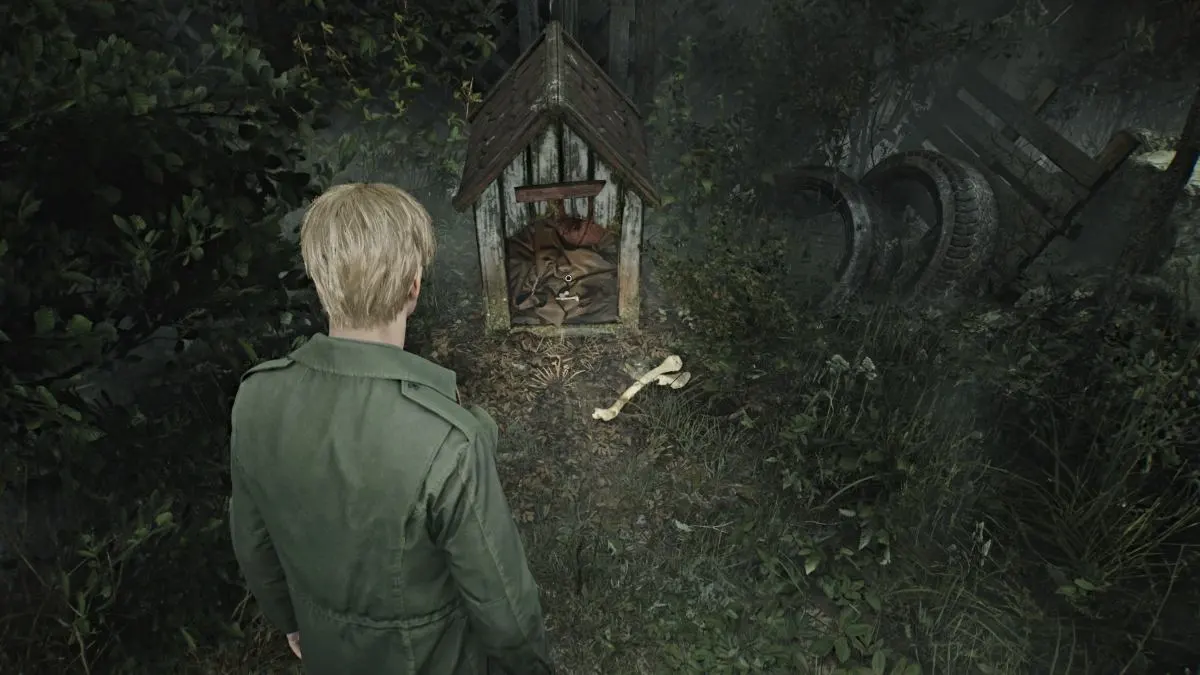
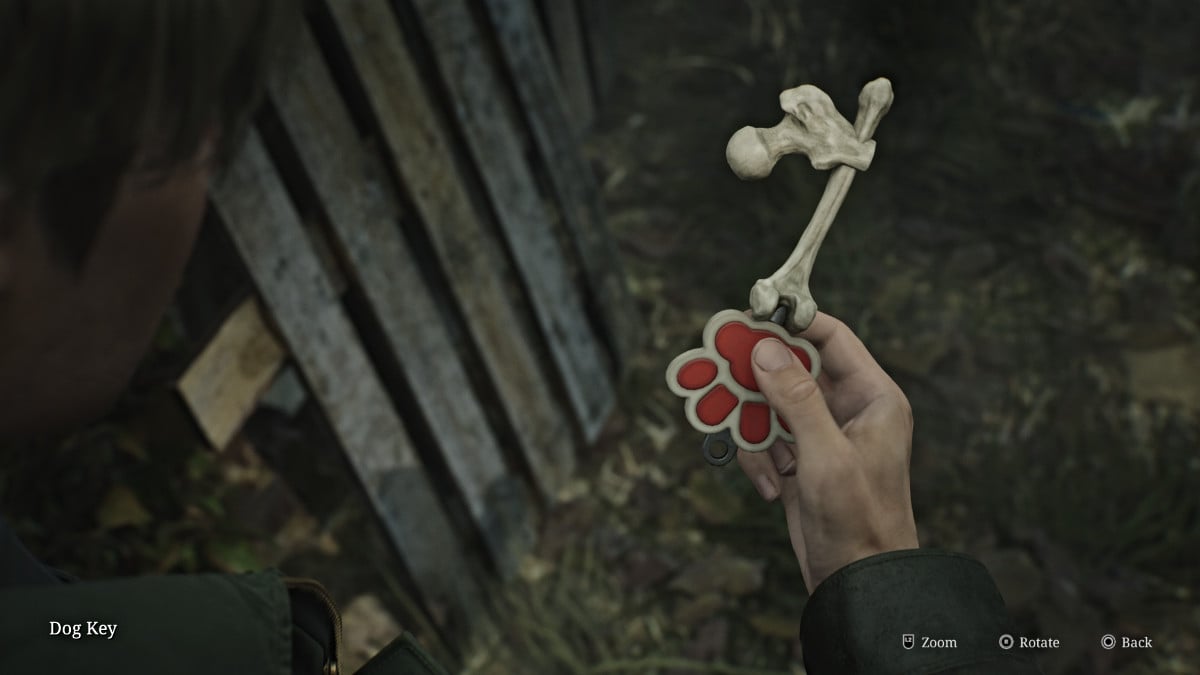
This is one of the game's two comical endings, and probably its most infamous. It has James open a door at the Lakeview Hotel to reveal a Shiba Inu dog named Mira sitting at a big computer console, controlling everything that's happened in Silent Hill up to that point.
Requirements for this ending:
Getting this ending also unlocks the 'The Goodest Boi' achievement .
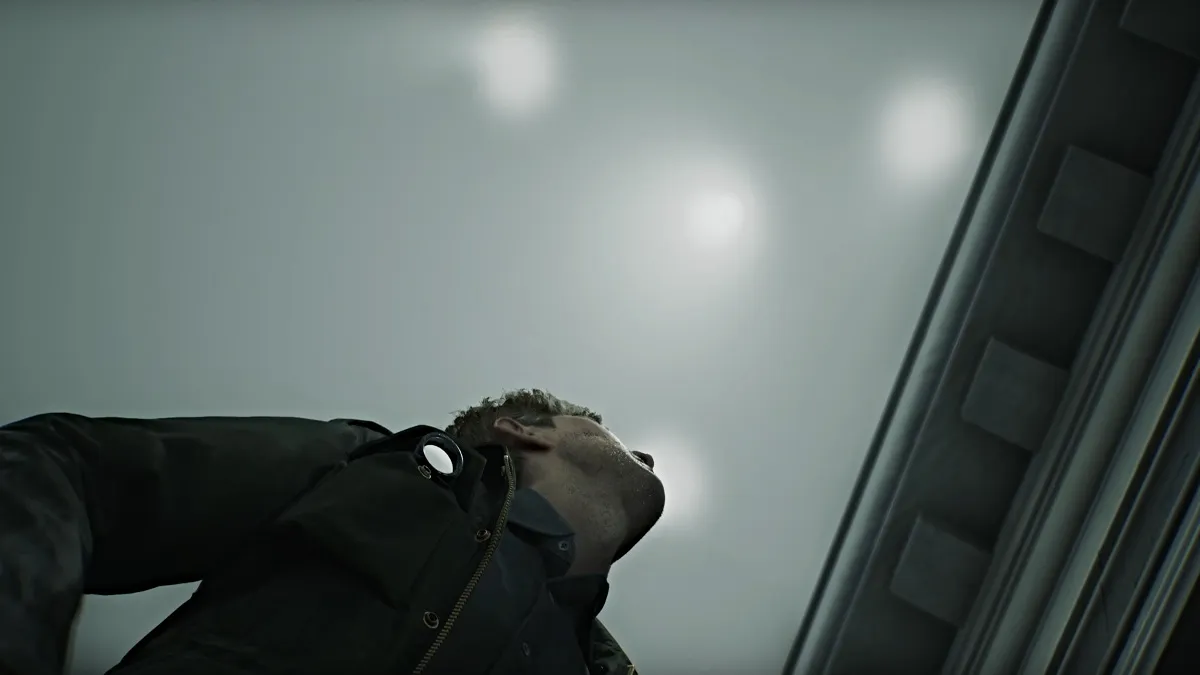
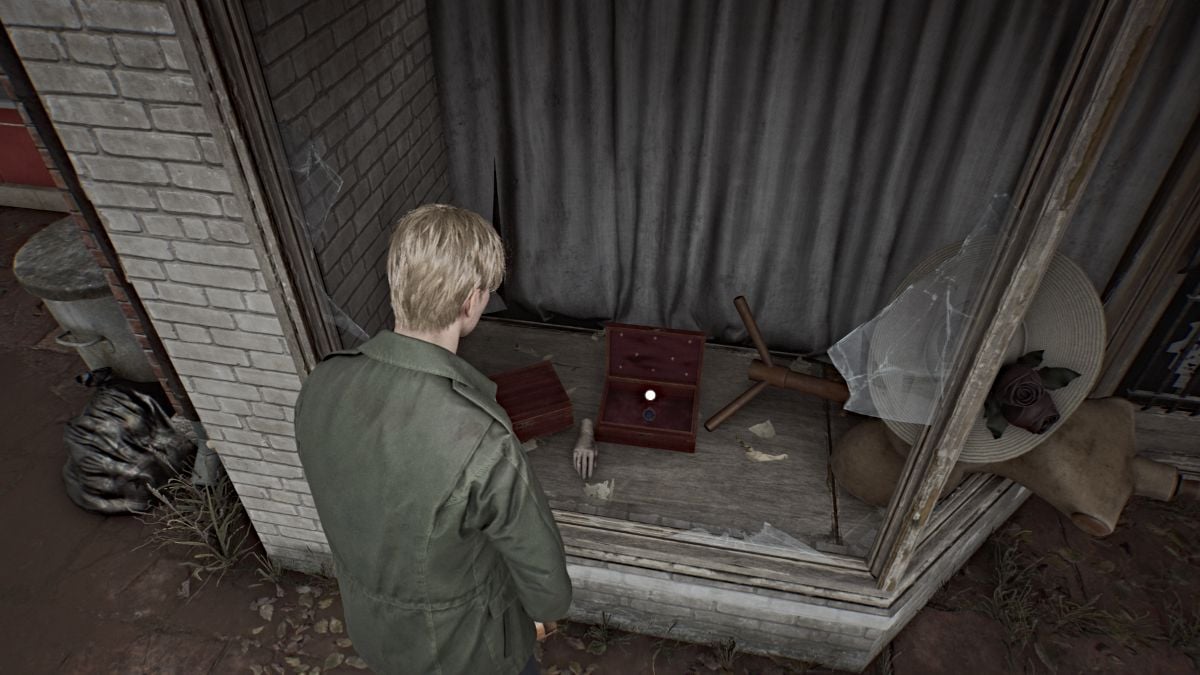
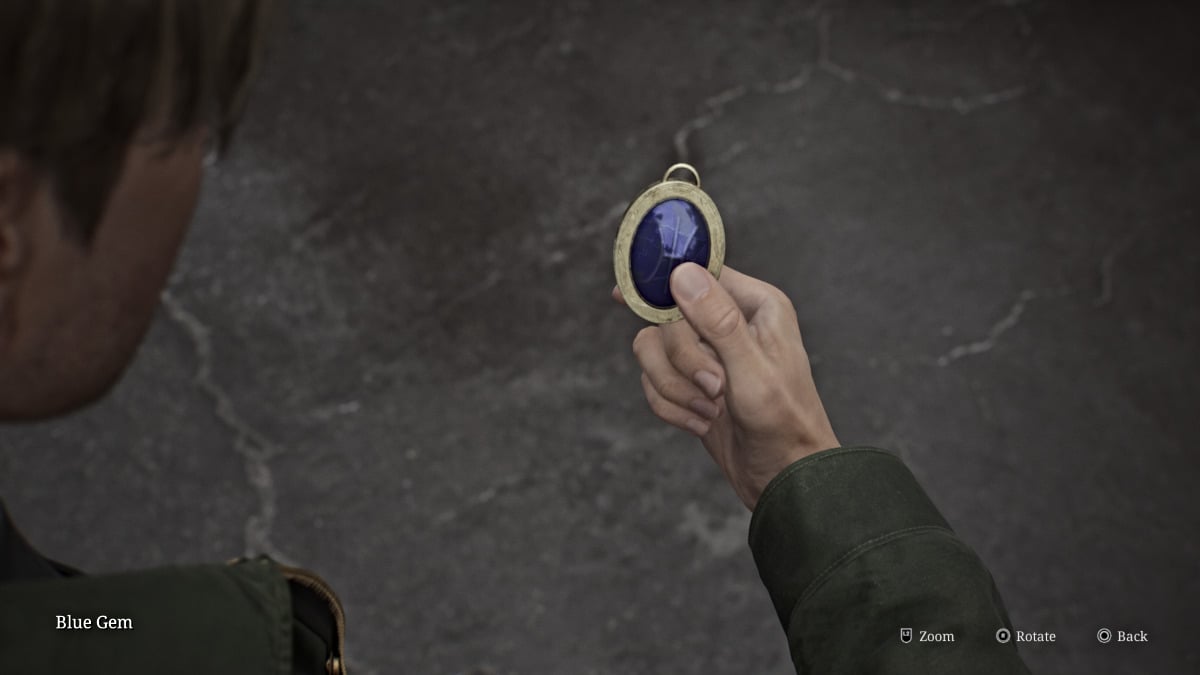
The second comical ending, presented as a silent film sequence, also takes place at the Lakeview Hotel and sees aliens actually visit James along with a hilarious cameo of a character from the original game.
Requirements for this ending:
Getting this ending also unlocks the 'Tinfoil Hat' achievement .
This is the first of two new endings added in Silent Hill 2 Remake, and it acts as a sort of expansion of the "In Water" ending. As James expresses that he simply can't live without Mary, in this version she appears next to him in the car, soothing him with her touch and voice.
James asks if she'll wait for him, and Mary insists that she's "always been waiting for him". The scene ends there, likely meaning that James chooses to live instead.
Requirements for this ending:
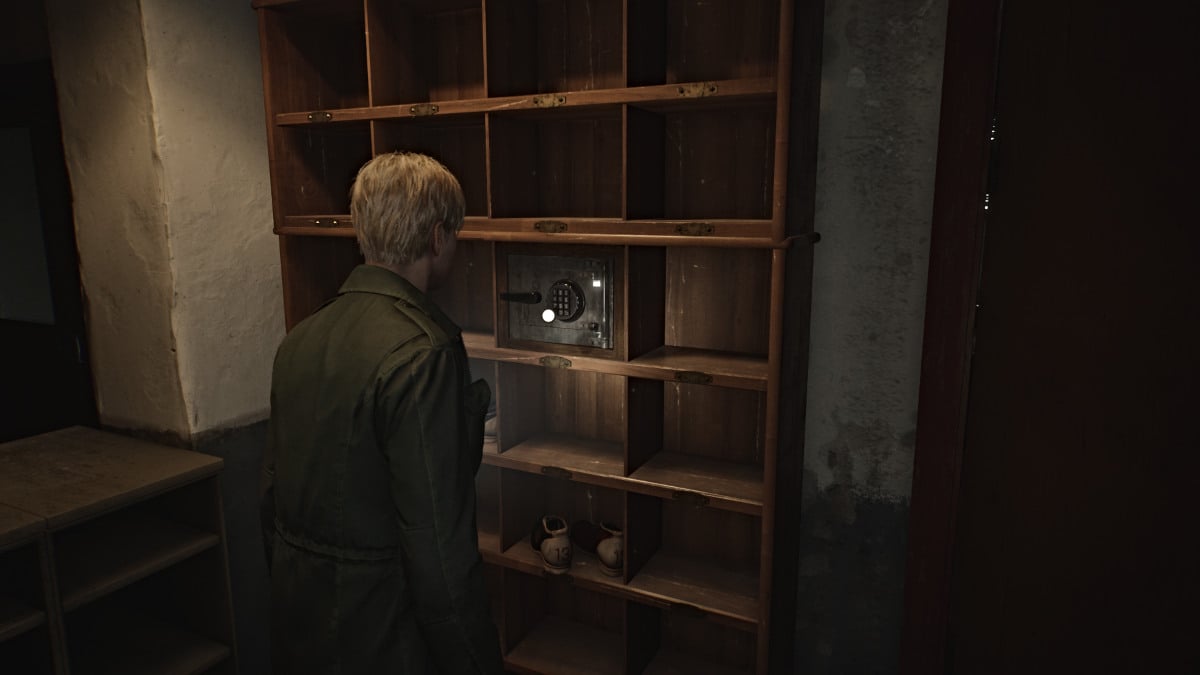
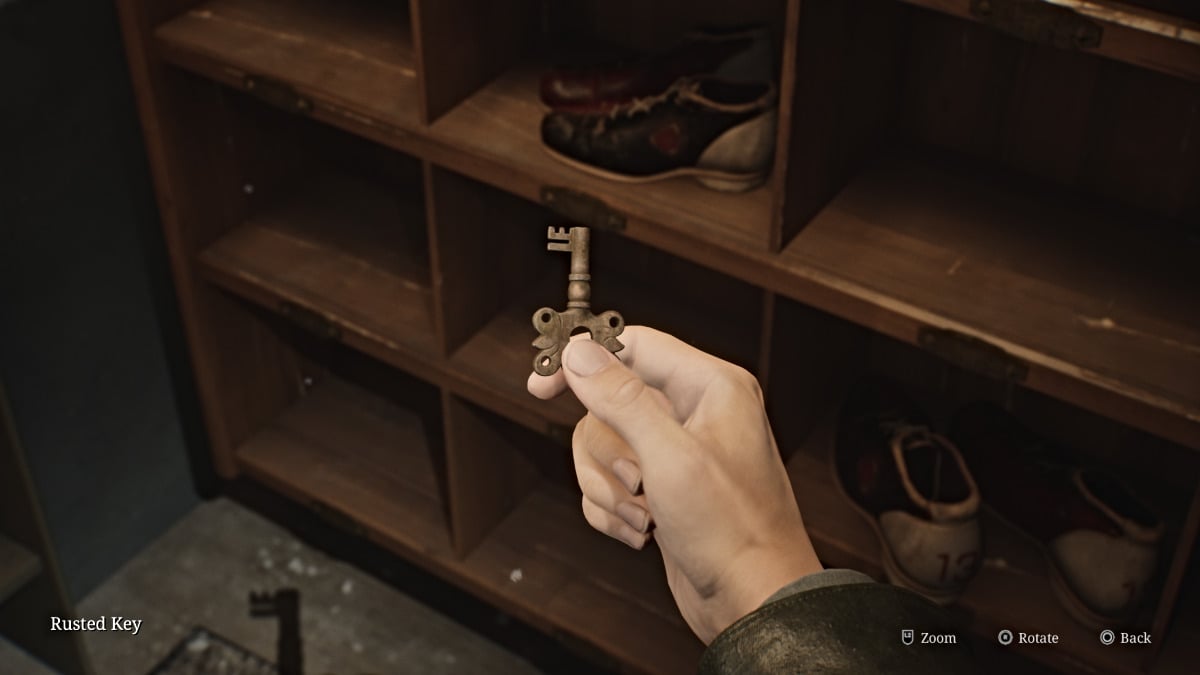
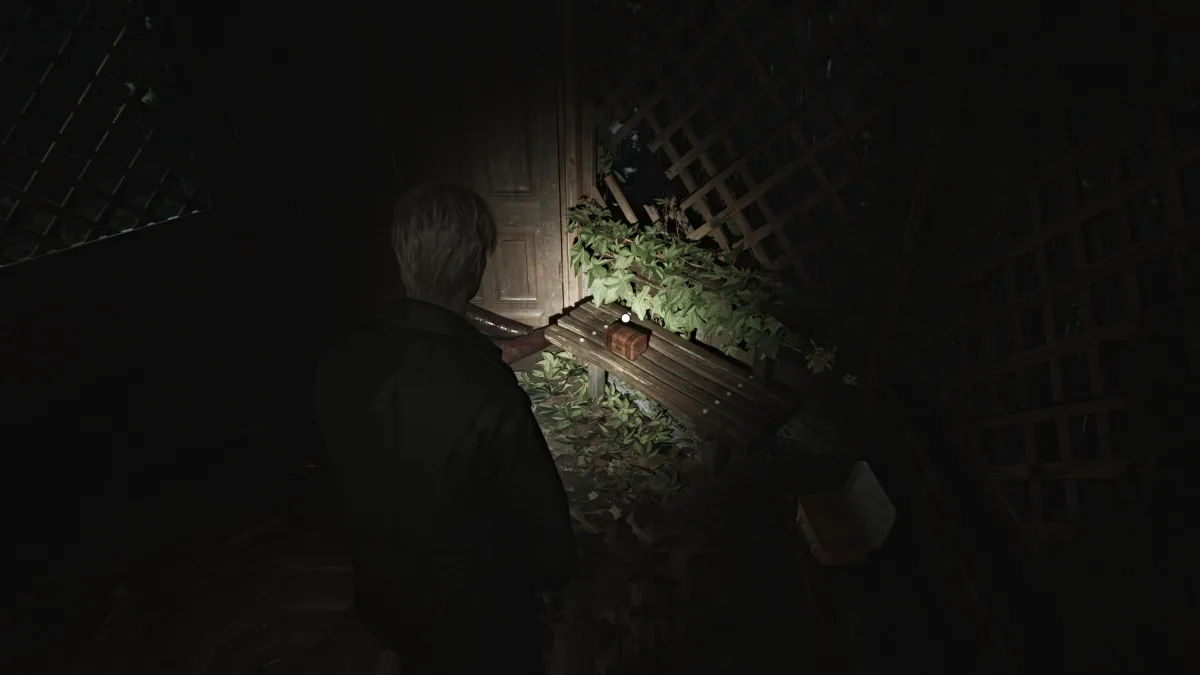
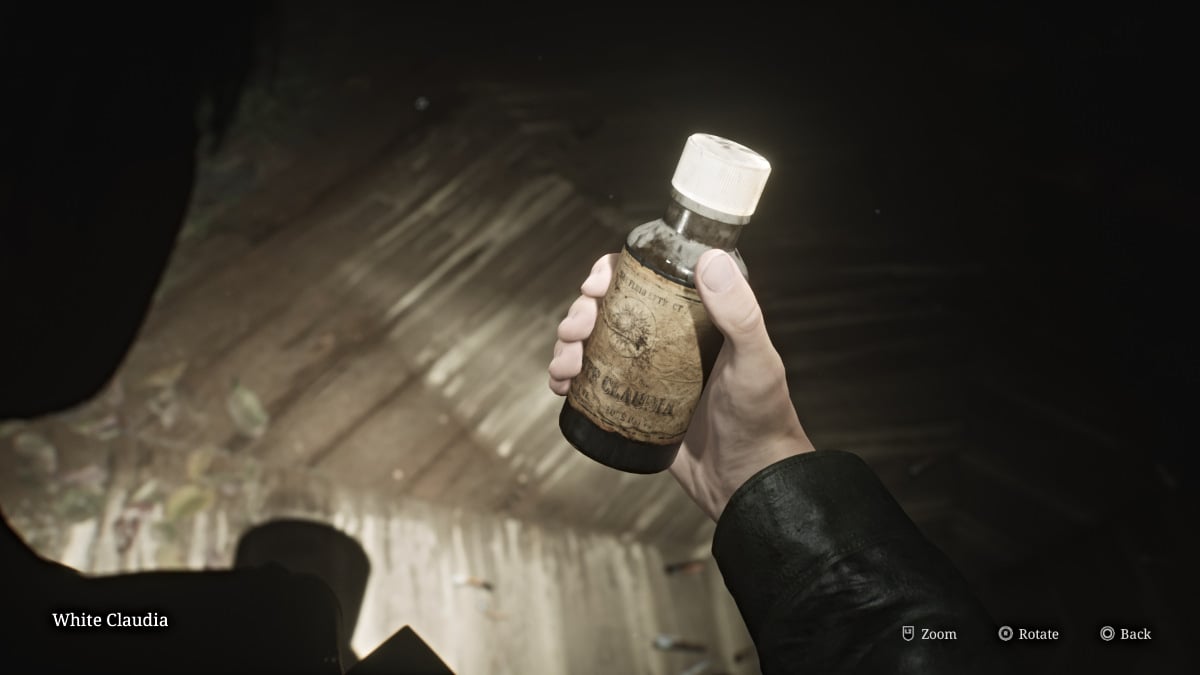
This is the second of two new endings added in Silent Hill 2 Remake, and it essentially presents the tape scene in the Lakeview Hotel much differently. Instead of the tape showing Mary's visible symptoms of illness and her death, James stays behind the camera in their hotel room and eventually puts it down as they continue packing. He promises to bring her back to Silent Hill, and the tape ends.
In the present, James is no longer sitting in the chair, seemingly gone. It alludes that because of the change in events on the tape, Mary was never sick and thus was never killed, meaning that the events of Silent Hill 2, at least for James, never happened.
Requirements for this ending:
Be sure to check out all of our latest gaming guides and news for the Silent Hill franchise here at Pro Game Guides, such as Silent Hill the Short Message walkthrough.