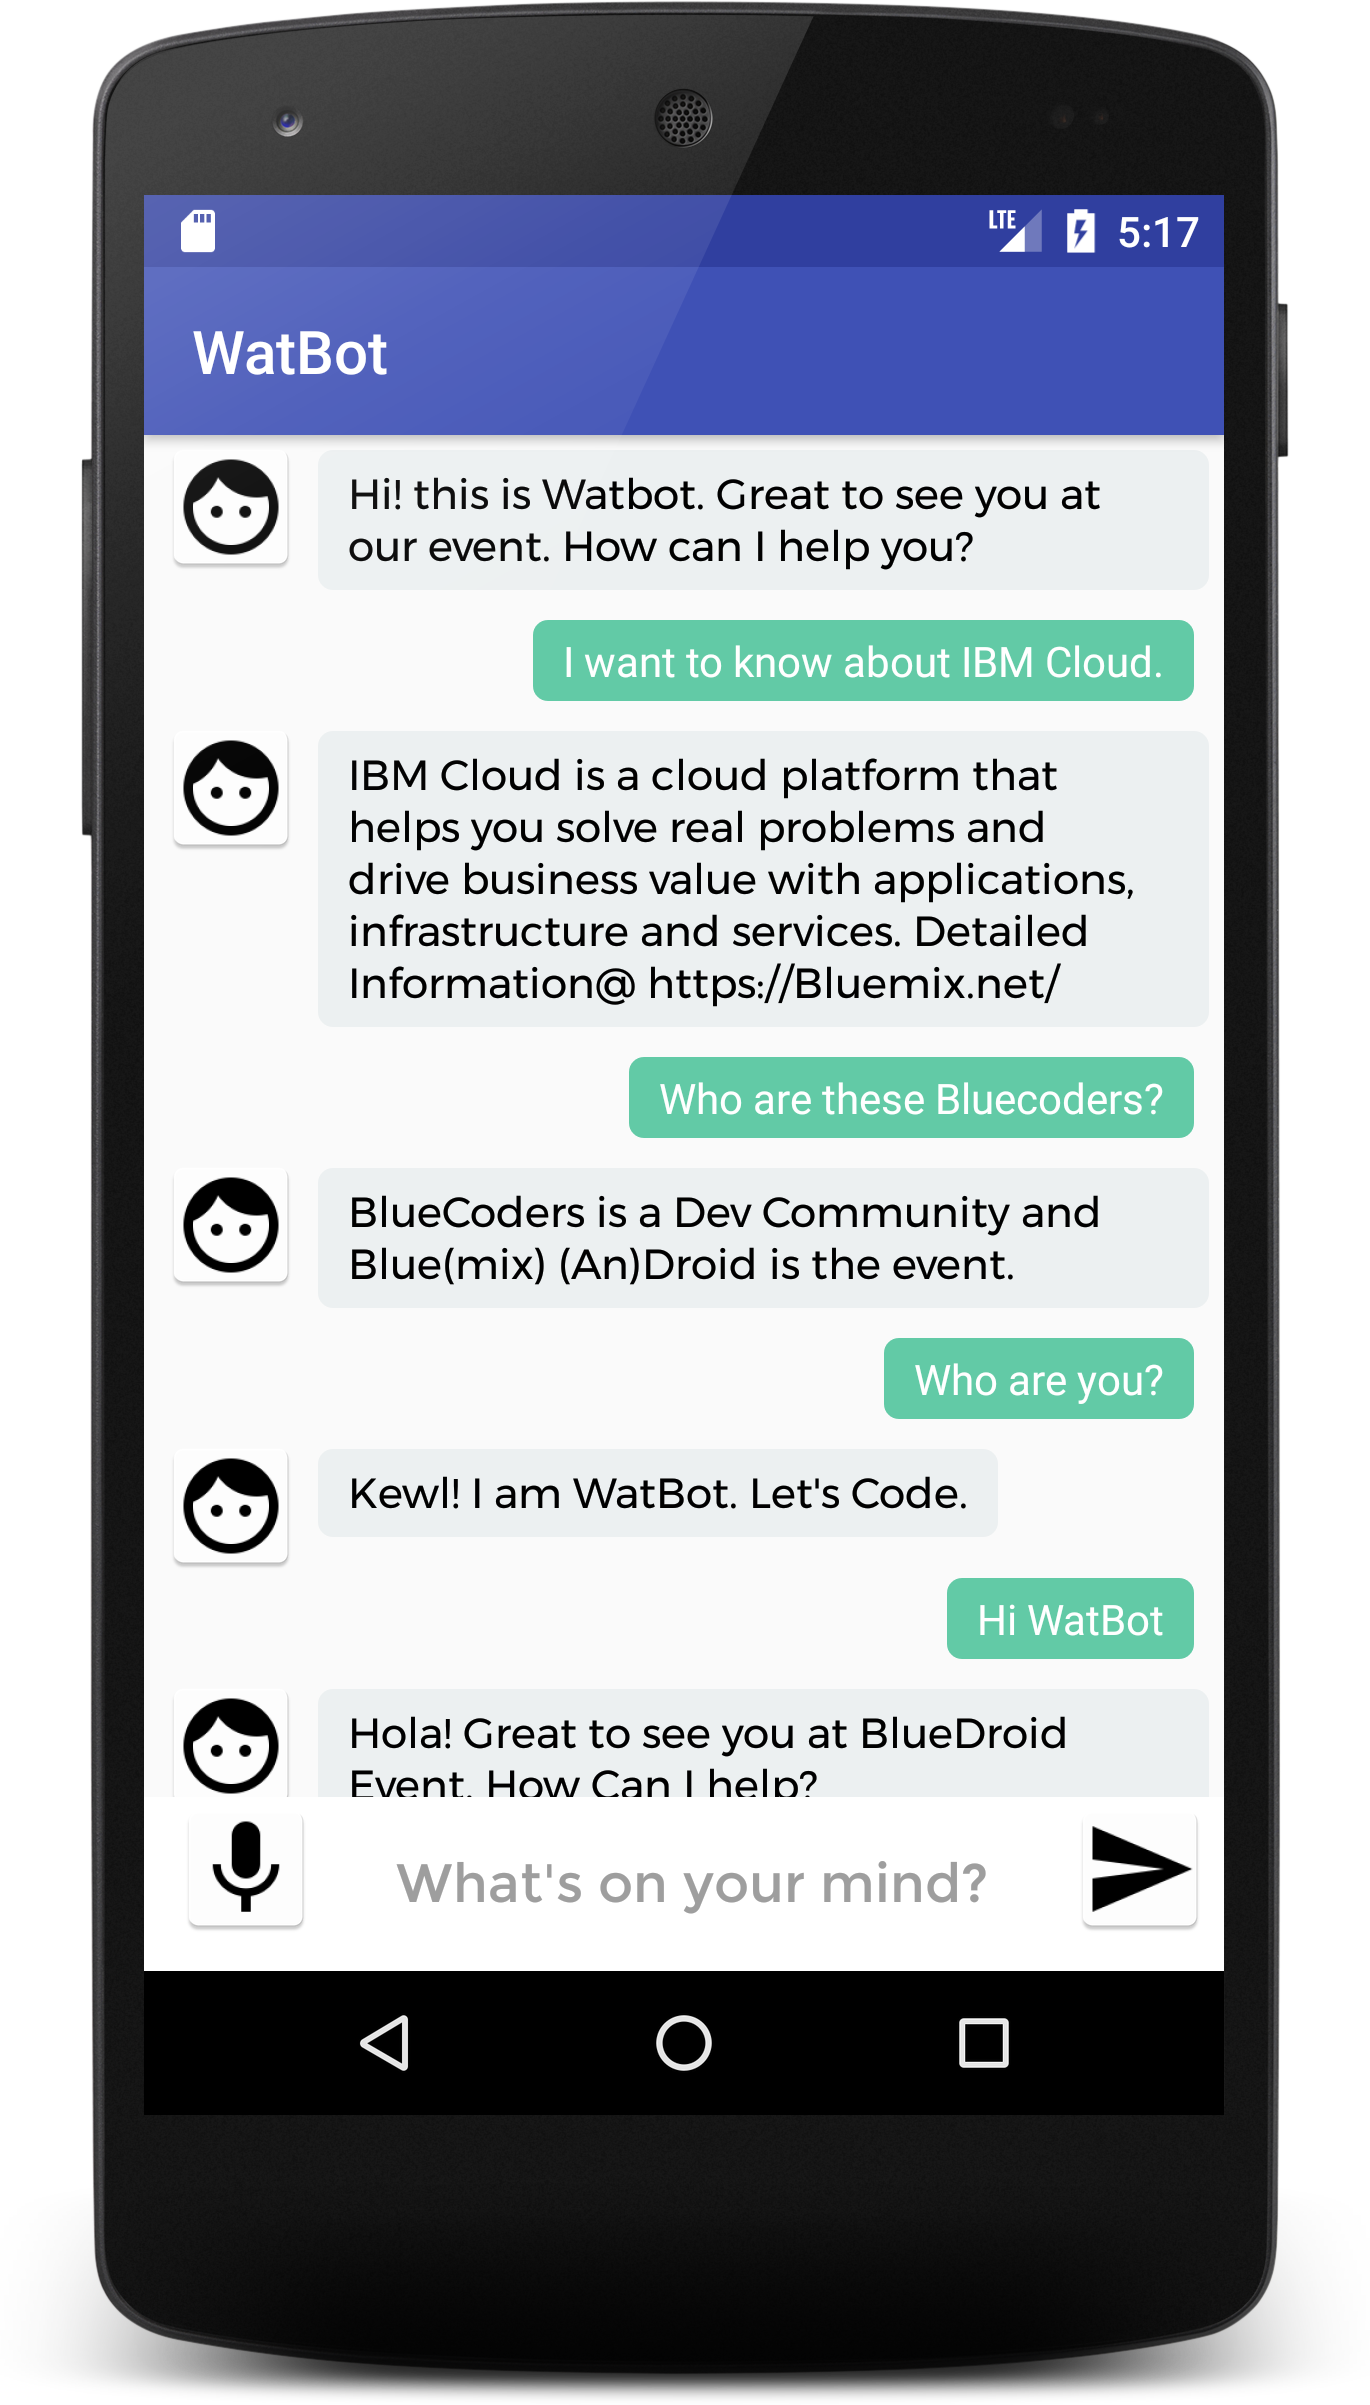
WatBot is an IBM Watson powered ChatBot running on Android and using Watson Assistant service on IBM Cloud (an open standards, cloud platform for building, running, and managing apps and services).

Note: This app uses Watson Assistant V1 API
Clone the repo and import the code in Android Studio,
git clone https://github.com/VidyasagarMSC/WatBot.git
Check this blog post for step-by-step and up-to-date instructions.
To configure the App you need to get the Watson Assistant service's Password, URL and Workspace ID
In the MainActivity class locate the method named sendMessage(). On the Manage tab of the Assistant service you created, click Launch tool > Skills > Click the three vertical dots next to the Skill > View API Details > You can find the Workspace ID, Username and password. If you wish to use API Key directly read the TODO, uncomment the code and replace the Placeholder with the API Key value.
You can find the API Key and URL on the Manage tab or under service credentials.
    Assistant assistantservice = new Assistant("2018-02-16");
     //If you like to use USERNAME AND PASSWORD
     //Your Username: "apikey", password: "<APIKEY_VALUE>"
     assistantservice.setUsernameAndPassword("apikey", "<API_KEY_VALUE>");

     //TODO: Uncomment this line if you want to use API KEY
     //assistantservice.setApiKey("<API_KEY_VALUE>");

     //Set endpoint which is the URL. Default value: https://gateway.watsonplatform.net/assistant/api
     assistantservice.setEndPoint("<ASSISTANT_URL>");
     InputData input = new InputData.Builder(inputmessage).build();
     //WORKSPACES are now SKILLS
     MessageOptions options = new MessageOptions.Builder().workspaceId("<WORKSPACE_ID>").input(input).context(context).build();
     MessageResponse response = assistantservice.message(options).execute();
assistantservice.setUsernameAndPassword("apikey", "<ASSISTANT_PASSWORD>");
Get the Workspace ID: and add it in the below code,
MessageOptions options = new MessageOptions.Builder("<Workspace_ID>").input(input).context(context).build();
Gradle Entry
compile 'com.ibm.watson.developer_cloud:assistant:6.11.0'
On Line 95 of MainActivity.java, replace the password and URL placeholders with the TTS service credentials
    textService.setUsernameAndPassword("apikey", "<TEXT_TO_SPEECH_APIKEY>");
    textService.setEndPoint("<TEXT_TO_SPEECH_URL>");
Now when you TAP on any message, the text will be heard via a Voice (Voice.EN_US_LISAVOICE). You can change the voice formats in the code (Line 120 0f MainActivity.java)
Note: The required gradle entries for TTS is already included in the build.gradle file
  compile 'com.ibm.watson.developer_cloud:text-to-speech:6.11.0'
  compile 'com.ibm.watson.developer_cloud:android-sdk:0.5.0'
Note: The required gradle entries for STT is already included in the build.gradle file
     compile 'com.ibm.watson.developer_cloud:speech-to-text:6.11.0'
     compile 'com.ibm.watson.developer_cloud:android-sdk:0.5.0'
If you have followed all the above instructions, you should be happily chatting with your Wat(son)Bot.
** Remember your bot will be talking to your Watson Assistant service (Intents, Entities and Dialog).**
Speaker labels
Note: The speaker labels feature is beta functionality that is available for US English, Japanese, and Spanish.
Speaker labels identify which individuals spoke which words in a multi-participant exchange. (Labeling who spoke and when is sometimes referred to as speaker diarization.) You can use the information to develop a person-by-person transcript of an audio stream, such as contact to a call center. Or you can use it to animate an exchange with a conversational robot or avatar. For best performance, use audio that is at least a minute long.
To enable, Click TODO on the bottom tab of Android Studio or search for TODO in MainActivity.java file and uncomment the lines. You should see the output in the logcat as shown below
SPEECHRESULTS: {
      "confidence": 0.5,
      "final": false,
      "from": 1.59,
      "speaker": 0,
      "to": 1.82
    }