PersonalAIserver
1.0.0
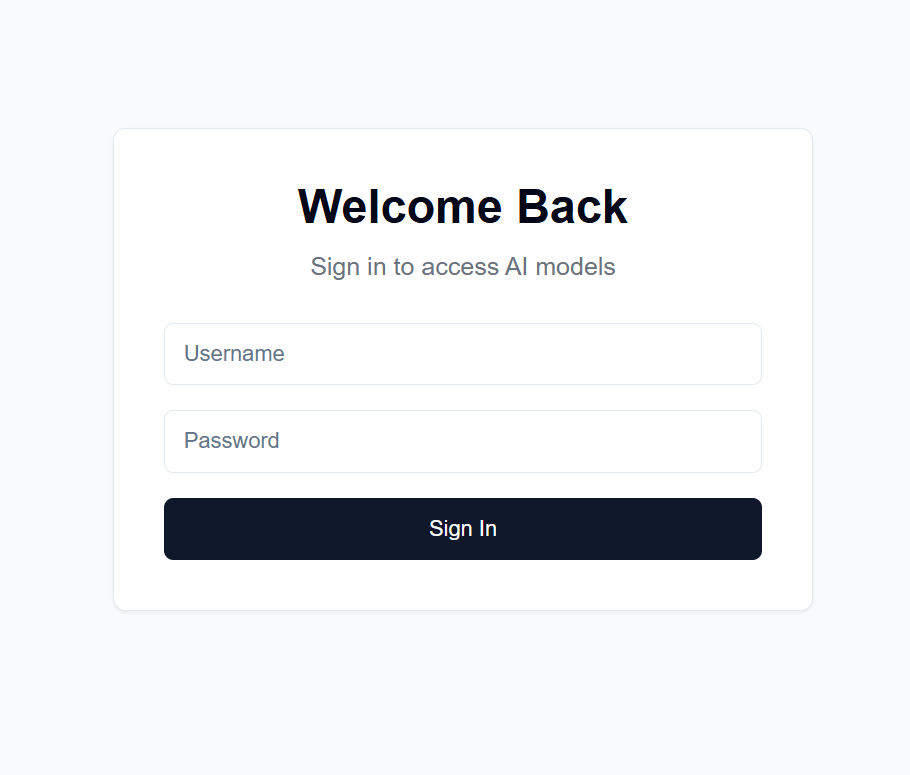
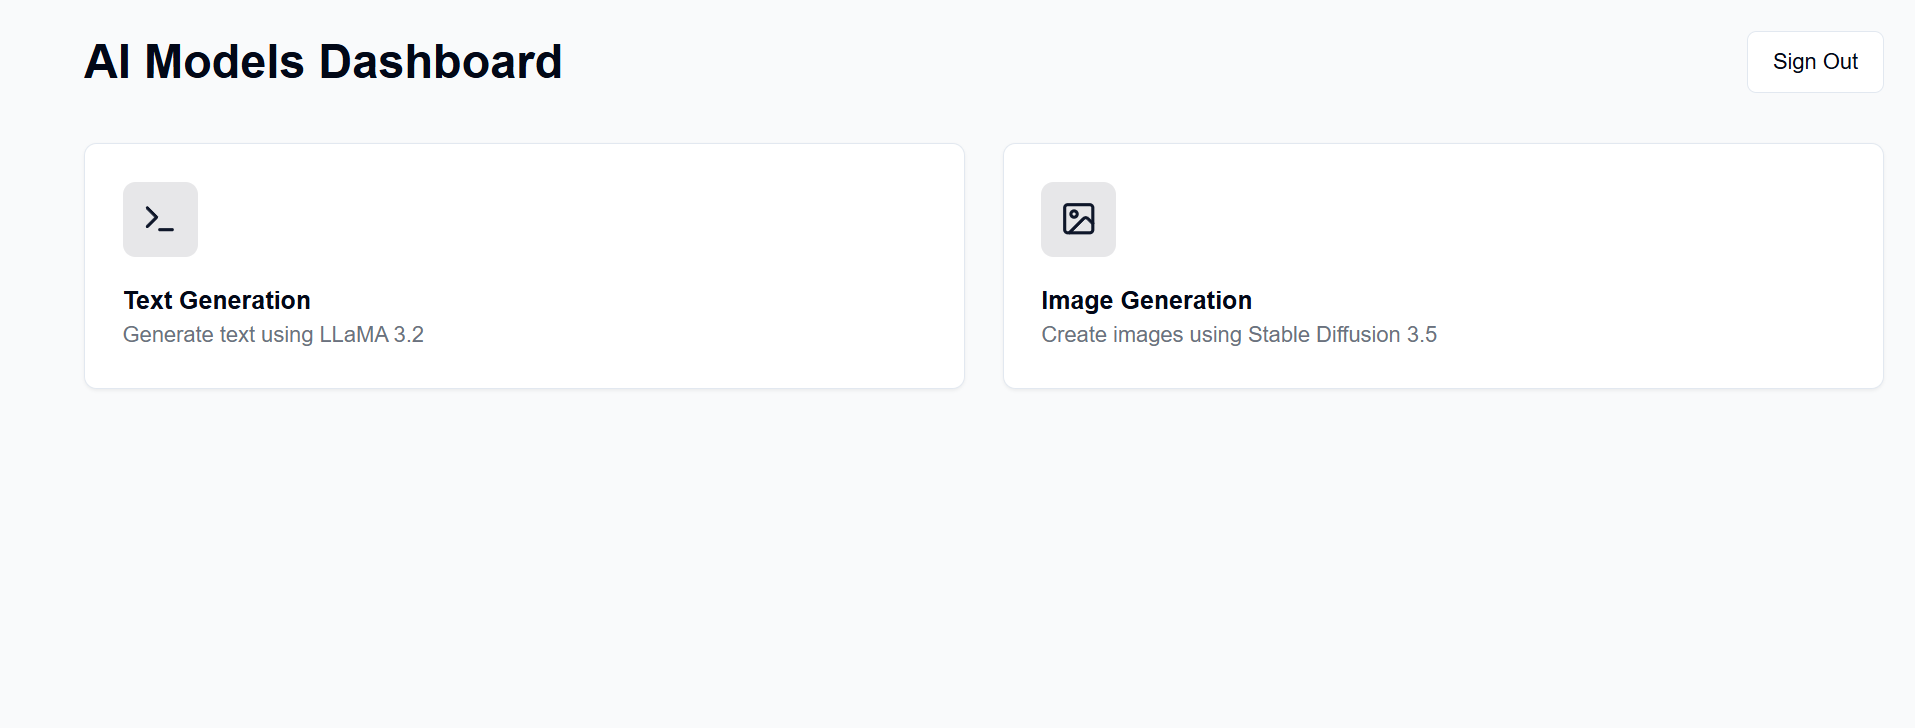
Stand up a GenAI server on your own available hardware. This project provides a web interface to interact with LLaMA and Stable Diffusion models (among others)for text, image, video, and 3D generation.
Many people have a nice GPU on hand and are willing to use that instead of pay for subscriptions from OpenAI, Anthropic, etc. Here, you can host your own AI models, albeit with many limitations as compared to those great services. Then, you can access it from anywhere with a web browser, like your phone or another computer.
The frontend for this is hosted on GitHub Pages, while the backend is hosted on your available server machine.
After setup, the frontend will be available at https://[username].github.io/PersonalAIserver. Follow the instructions below to set up the backend.
For the frontend, only a GitHub action needs to be setup to build the project page.
In your forked repository, navigate to Settings -> Pages -> Source, and set it to "GitHub Actions".
The build will automatically run when you push to the repository, thanks to the .github/workflows/main.yml file.
In case you want to run the frontend locally, follow the instructions below. Requires Node.js, installable from node version manager (nvm).
nvm install 20
npm install -D @shadcn/ui
npx shadcn@latest init # Select default style, any color, and dont use css variables.
npx shadcn@latest add alert button card input textarea # Accept defaults
npm install lucide-react
npm install -D @tailwindcss/typography
npm install clsx tailwind-merge
npm install
npm install sharp
npm run dev
This should serve the frontend at http://localhost:3000, which you can access with a web browser.
This uses conda for package management, but feel free to use any other package manager.
In your terminal at the backend directory, run the following commands:
conda create -n personalai python=3.11
conda activate personalai
pip install torch torchvision torchaudio --index-url https://download.pytorch.org/whl/cu124
pip install -r requirements.txt
users.json file in the backend directory with the following format:{
"username1": {
"username": "username1",
"password": "password1",
"disabled": false
},
"username2": {
"username": "username2",
"password": "password2",
"disabled": false
}
...
}
.secret file in the backend directory with a random string of your choosing. This is used to encrypt the JWT token. I recommend generating one with:import secrets
secret_key = secrets.token_hex(32)
print(secret_key)
and then copying the output.
Settings -> Secrets and variables -> Actions in your forked repositoryNEXT_PUBLIC_API_URL and the value being the URL of the backend server (more details below). Example: https://api.example.com.backend/backend.py, adjust the CORSMiddleware near line 40 to include the URLs of your frontend.huggingface-cli login and use your personal access token created above as the password.python backend/backend.py --public, or remove --public if you want to run the server on localhost only. Localhost requires you run the frontend locally as well.Many options exist for hosting the backend at a public URL, but I recommend using Cloudflare Tunnel. Cloudflare Tunnel routes traffic from the internet to your server without exposing a port or your local IP. It also supports HTTPS, SSL encryption, and DDoS protection, among other security features you would otherwise need to setup and maintain yourself.
Other options include:
For Cloudflare Tunnel, you will need a domain name and Cloudflare account.
cloudflared tunnel login. This step opens a browser window to log in with your Cloudflare account.cloudflared tunnel create genai-api. This step generates a tunnel ID, note this for next steps.tunnel: <your-tunnel-id>
credentials-file: /home/user/.cloudflared/<tunnel-id>.json
ingress:
- hostname: <your-api-url>
service: http://localhost:8000
- service: http_status:404
The <your-api-url> should be the domain name you have registered with Cloudflare's nameservers, and can be a subdomain. For example, if you own example.com, you could use genai.example.com or api.example.com.
5. Create DNS record cloudflared tunnel route dns <tunnel-id> <your-api-url>. This creates the tunnel for Cloudflare to route traffic from the internet to your server without exposing a port or your local IP.
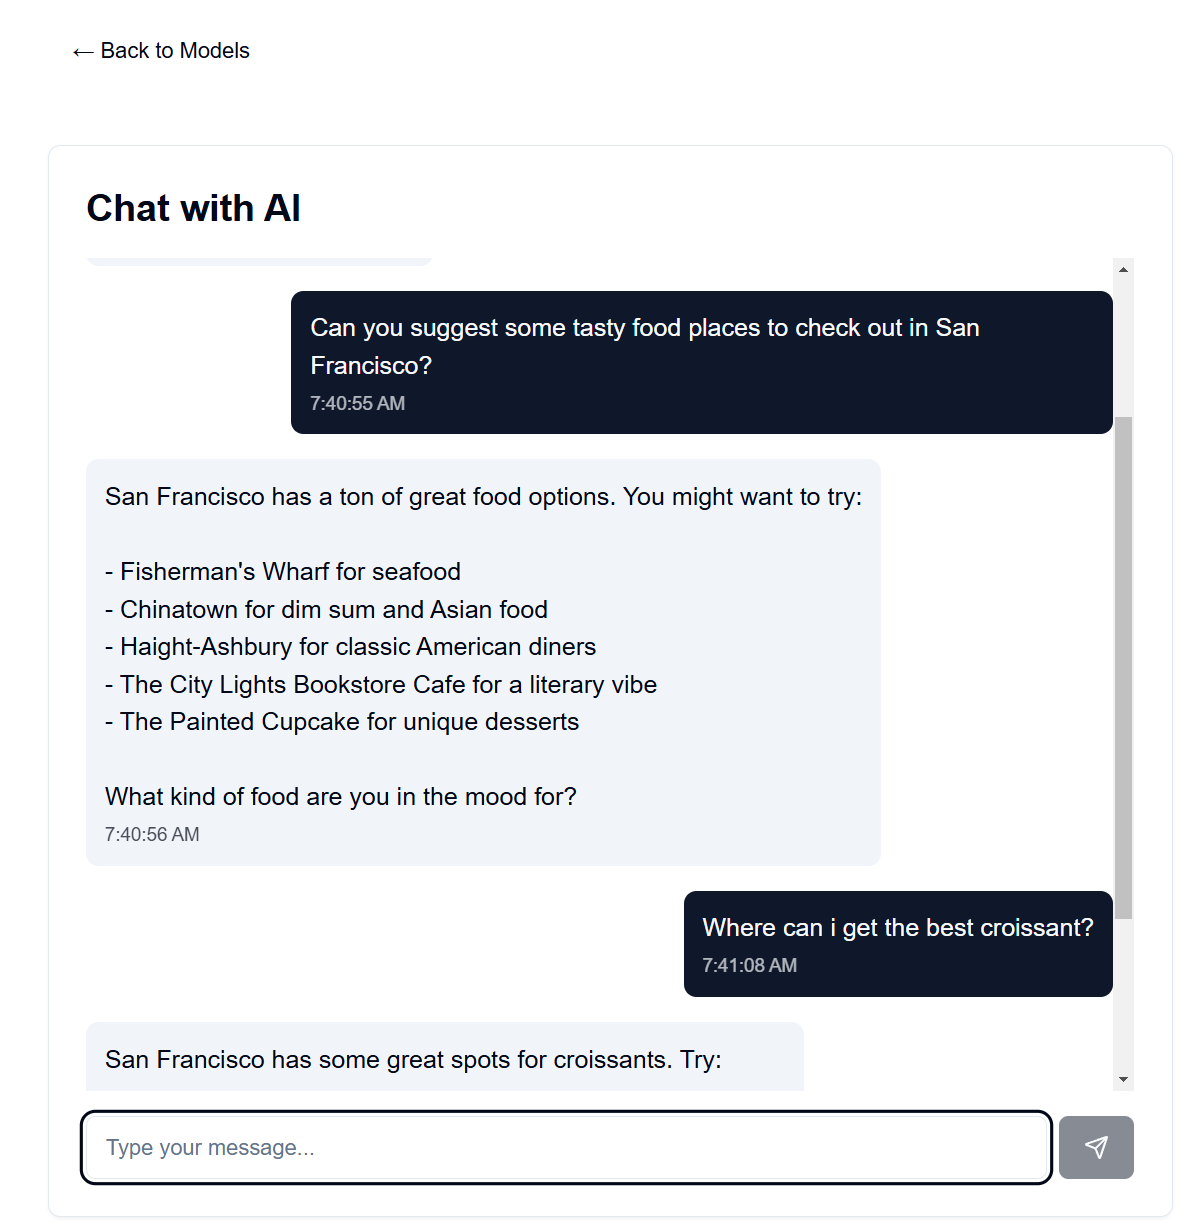
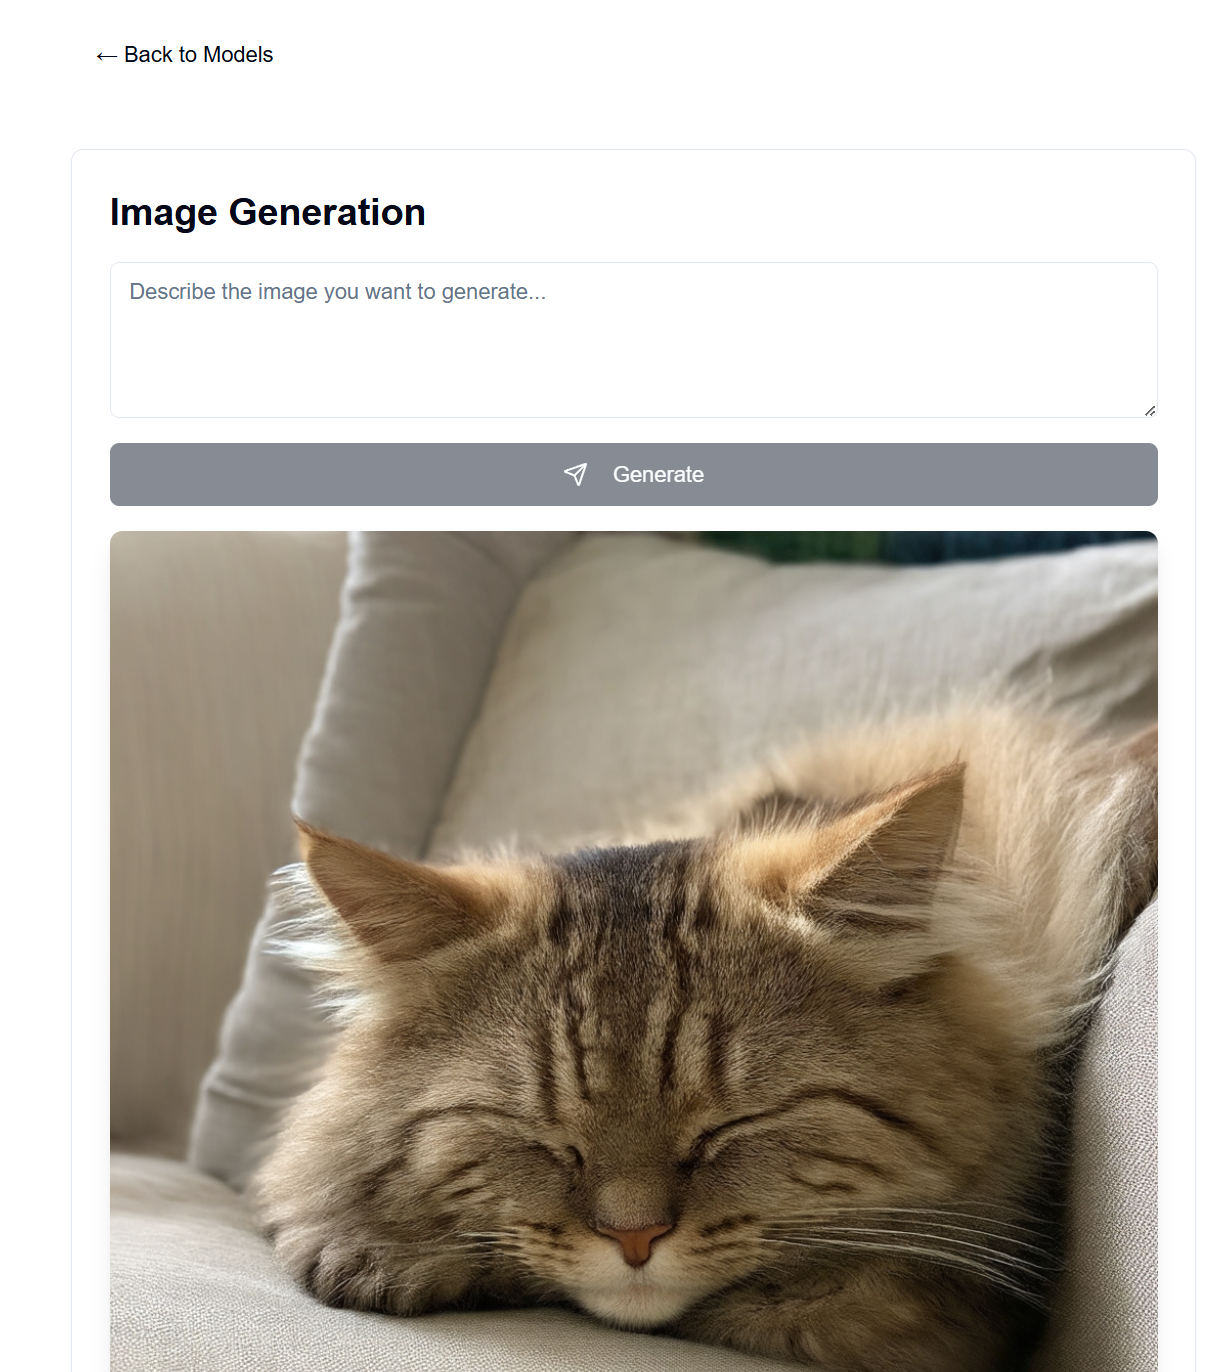
In backend/backend.py, you may change the models used. Find the model on Hugging Face you'd like to use for text/image generation, and adjust the ModelManager model configs (line ~127). By default, this uses the LLaMA 3.2-1B-Instruct model for text generation and the Stable Diffusion 3.5 medium model for image generation.
Below are the VRAM requirements for each model tested with.
| Model Type | Model Name | VRAM Usage (GB) | Notes |
|---|---|---|---|
| Text | meta-llama/Llama-3.2-1B-Instruct | ~8 | Base model for text generation |
| Image | stabilityai/stable-diffusion-3.5-medium | ~13 | Works well on RTX 4090 |
| Image | stabilityai/stable-diffusion-3.5-large | ~20-30 | Exceeds 4090 VRAM for long prompts |
Note: VRAM usage may vary depending on image resolution, length of text prompts, and other parameters. Values shown are approximate for default settings.
Quantized transformer models are supported to further reduce VRAM usage, but are not used by default (see backend/backend.py lines 178-192).
The large stable diffusion model can barely fit in my 4090's VRAM with quantization.
Chatbot speeds are extremely quick on my 4090, with image generation taking up to 30sec for 100 steps for 1024x1024 images.
The system prompt for the language model can be found in backend/system_prompt.txt.
At the moment, it is a spin on Anthropic's Claude 3.5 Sonnet model, released on October 22, 2024. https://docs.anthropic.com/en/release-notes/system-prompts#claude-3-5-sonnet


