
This experimental Ghidra plugin allows you to easily deal with native pcode emulation. No scripts are needed anymore, just use it directly from Ghidra. It can be particularly useful for working with a variety of exotic processors that are not supported by common emulators.
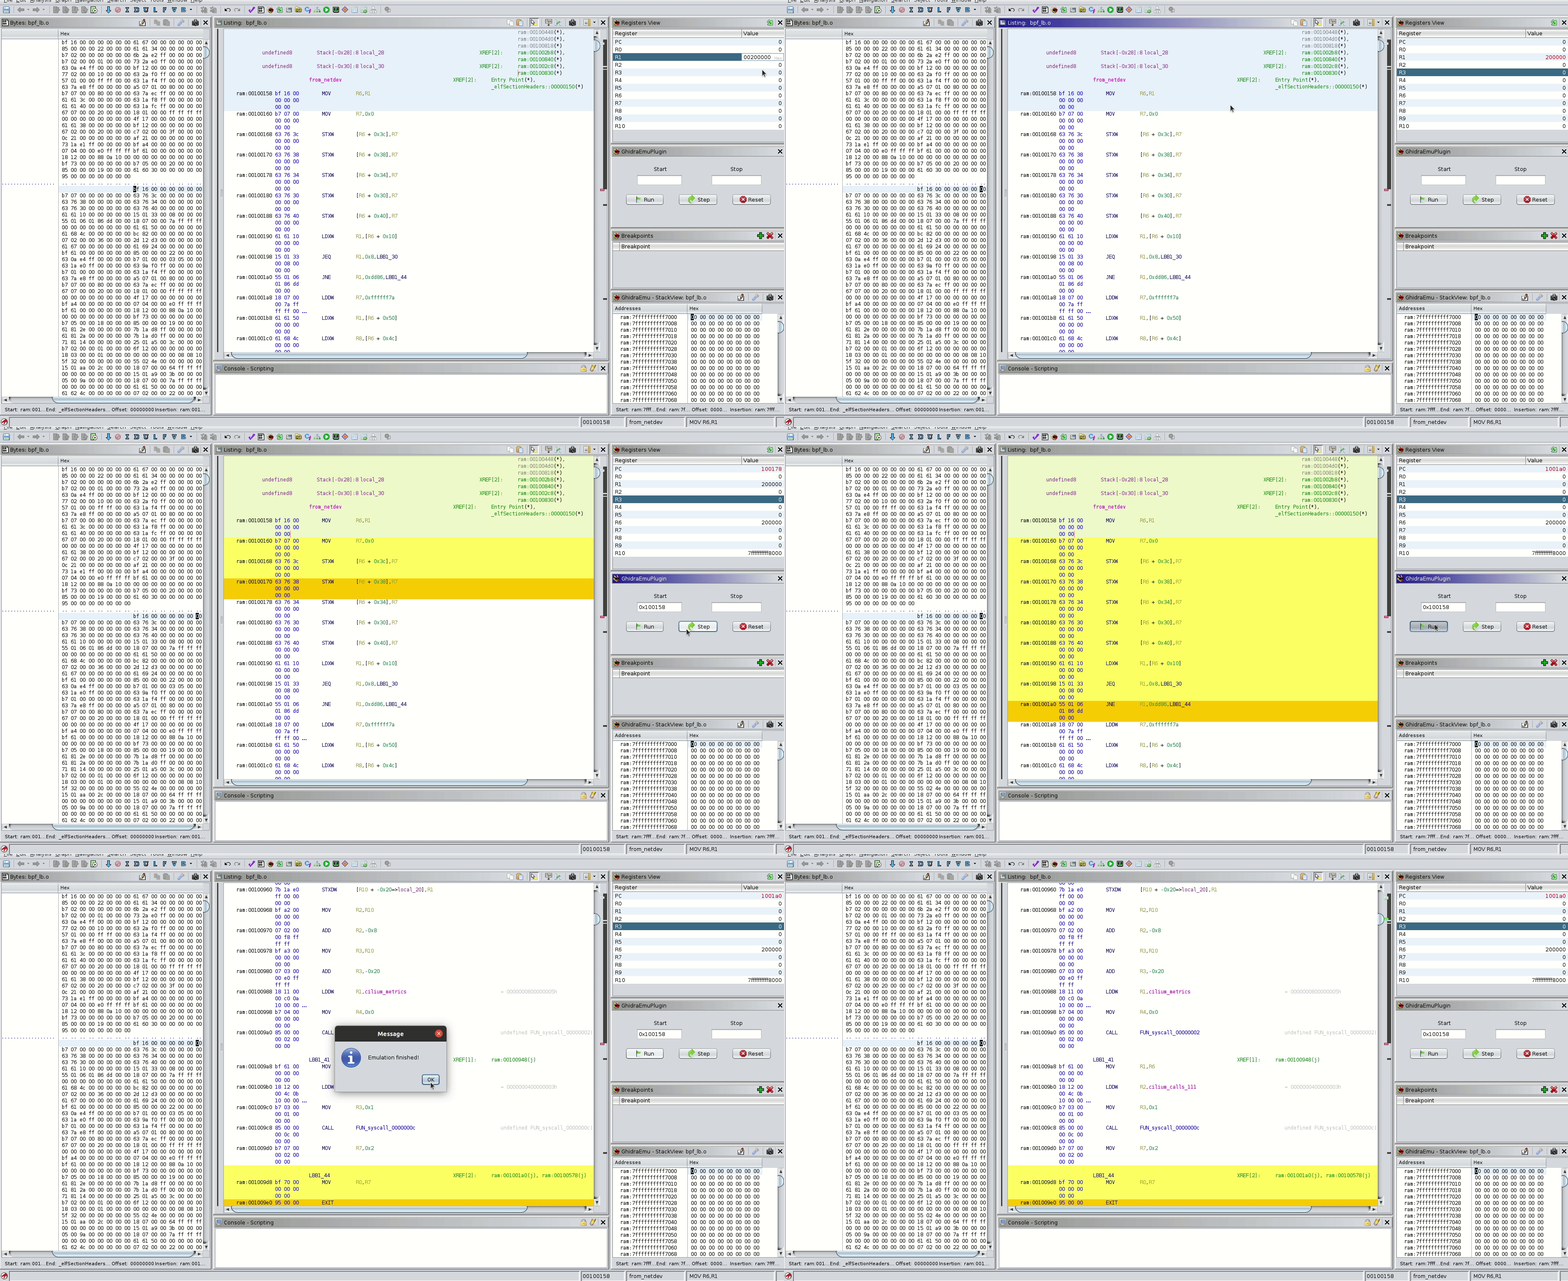
If the processor/vm is supported by Ghidra for reverse engineering, it can be emulated! For example, eBPF instructions emulation is demonstrated below:
In essence, the plugin is an extended wrapper around the classes inside the ghidra.app.emulator package. Here is what has been implemented:
Although PCode emulation ideally implies unification, most processors need their own approach. Feel free to report any issues you encounter. I would really like to test all of processors, but it's hardly possible.
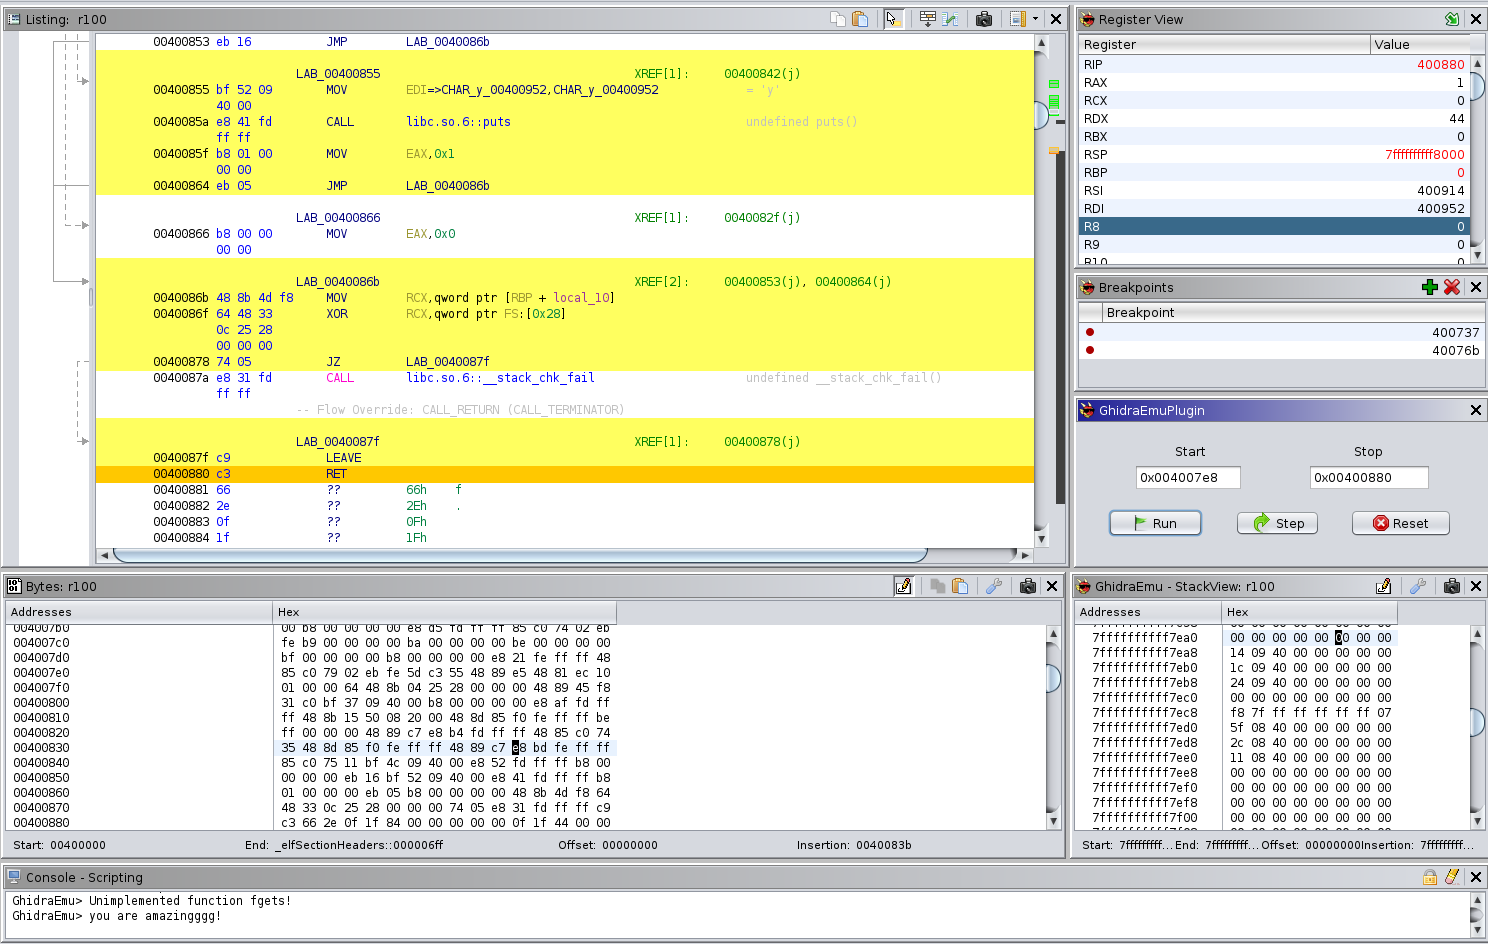
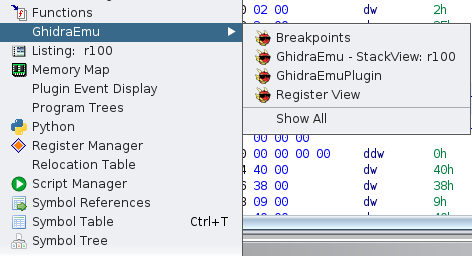
Contains all plugin windows: Stack view, Registers, Breakpoints view, and Main Window.
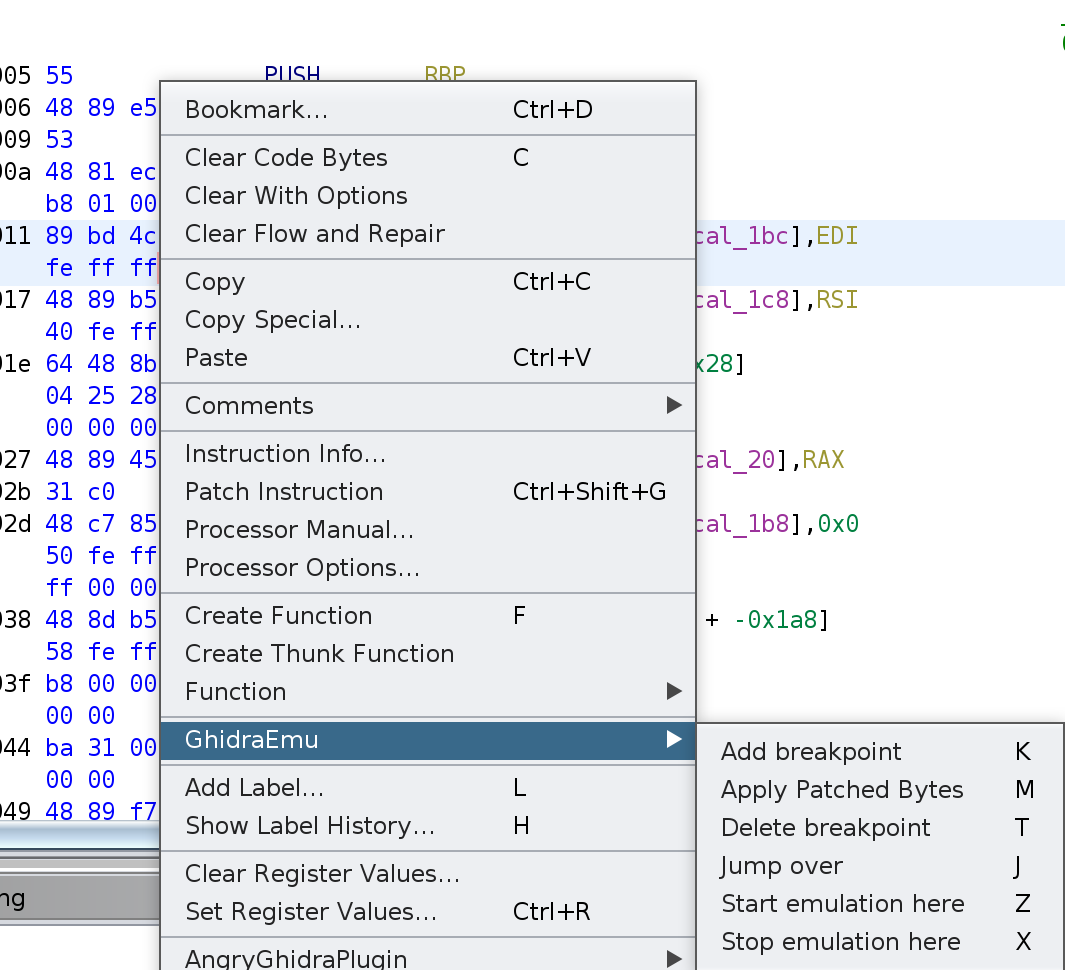
Contains hotkeys for setting the start and end of emulation, breakpoints, and applying changed bytes to the emulator state.
Change registers as you want. Setting the link register (green arrow) will help the emulator understand which register contains the return address. The plugin knows how it works via the stack, lr register, AARCH64, and MIPS registers. If you have an exotic one, select the link register and press the button.
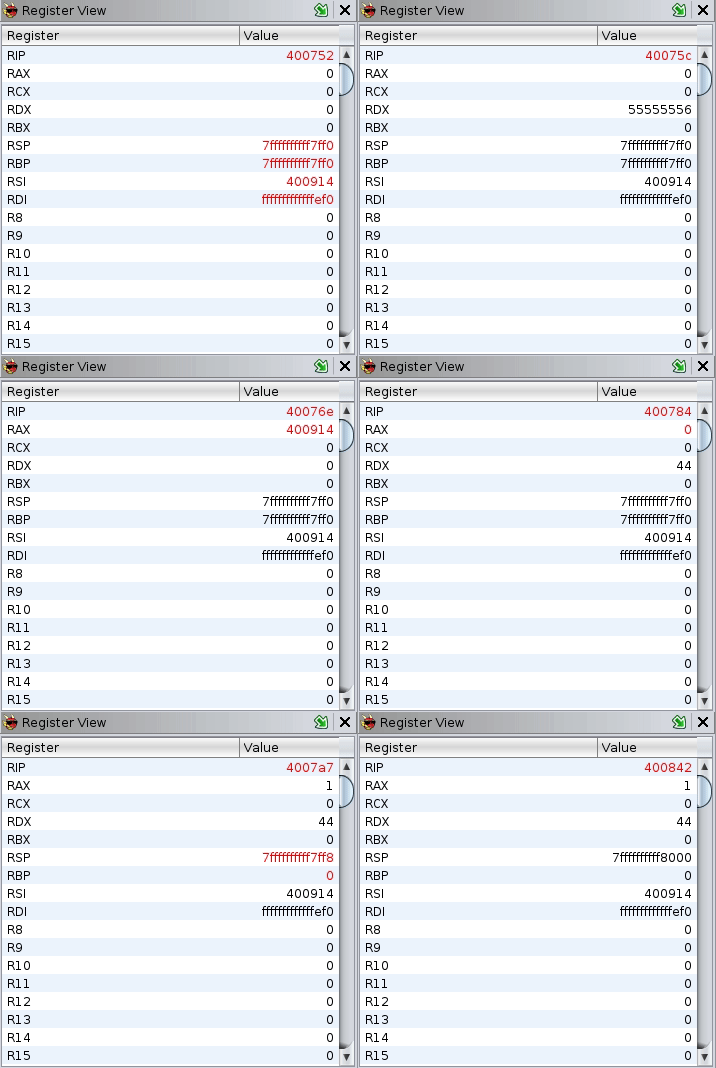
When you open your program in the СodeBrowser GhidraEmu will map the stack space automatically. The stack pointer will be set in the middle of the stack range. This allows you to set values at the top or bottom of stack frames. Scroll it if you experience freezes on updating or resetting. During the emulation process, if the program needs more space for the stack, the plugin will allocate it automatically.
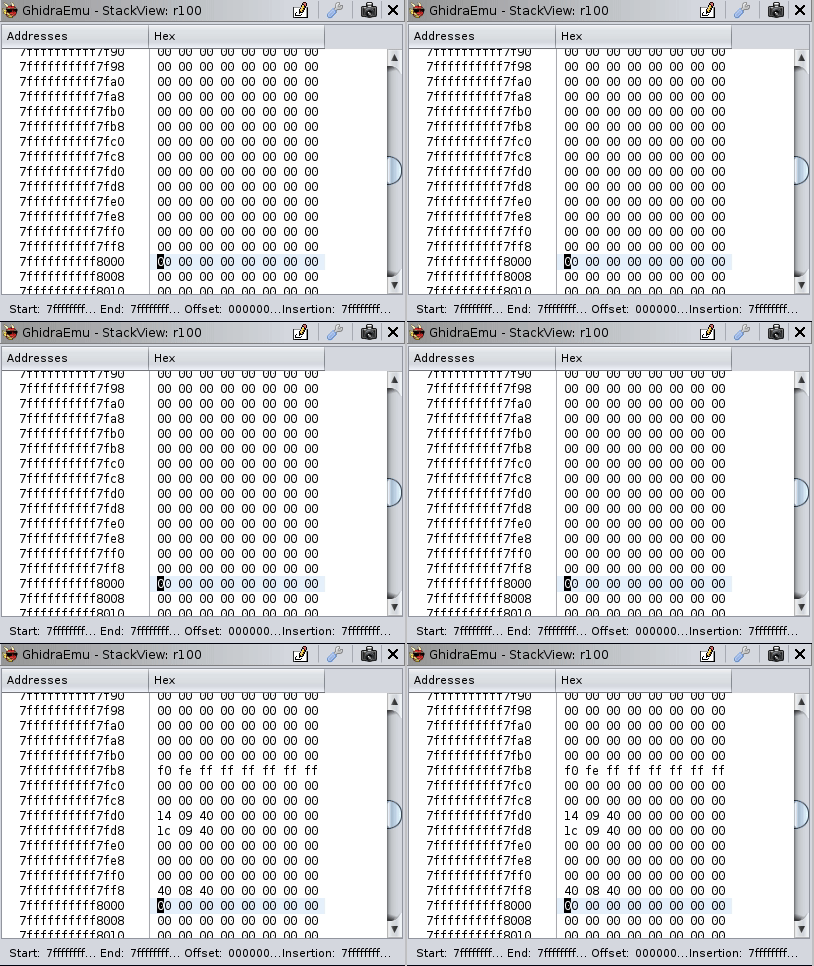

If any bytes change during the emulation, you will see them in the classic ByteViewer. Don't worry, they will be reset to their original values after pressing the "Reset" button.

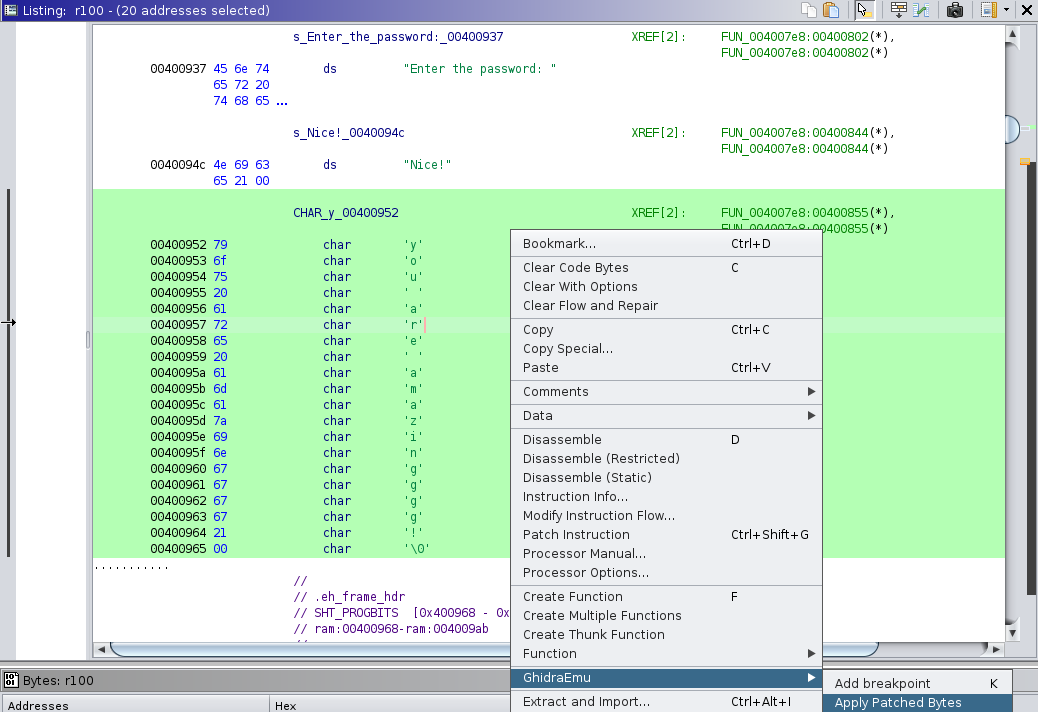
If you made changes, let the emulator know about changed bytes (stack updates automatically -- no need for it). After changing, select them (they will be green), and press this option (or use the hotkey "M").
Here plugin prints output information. For example, emulation error messages like this:

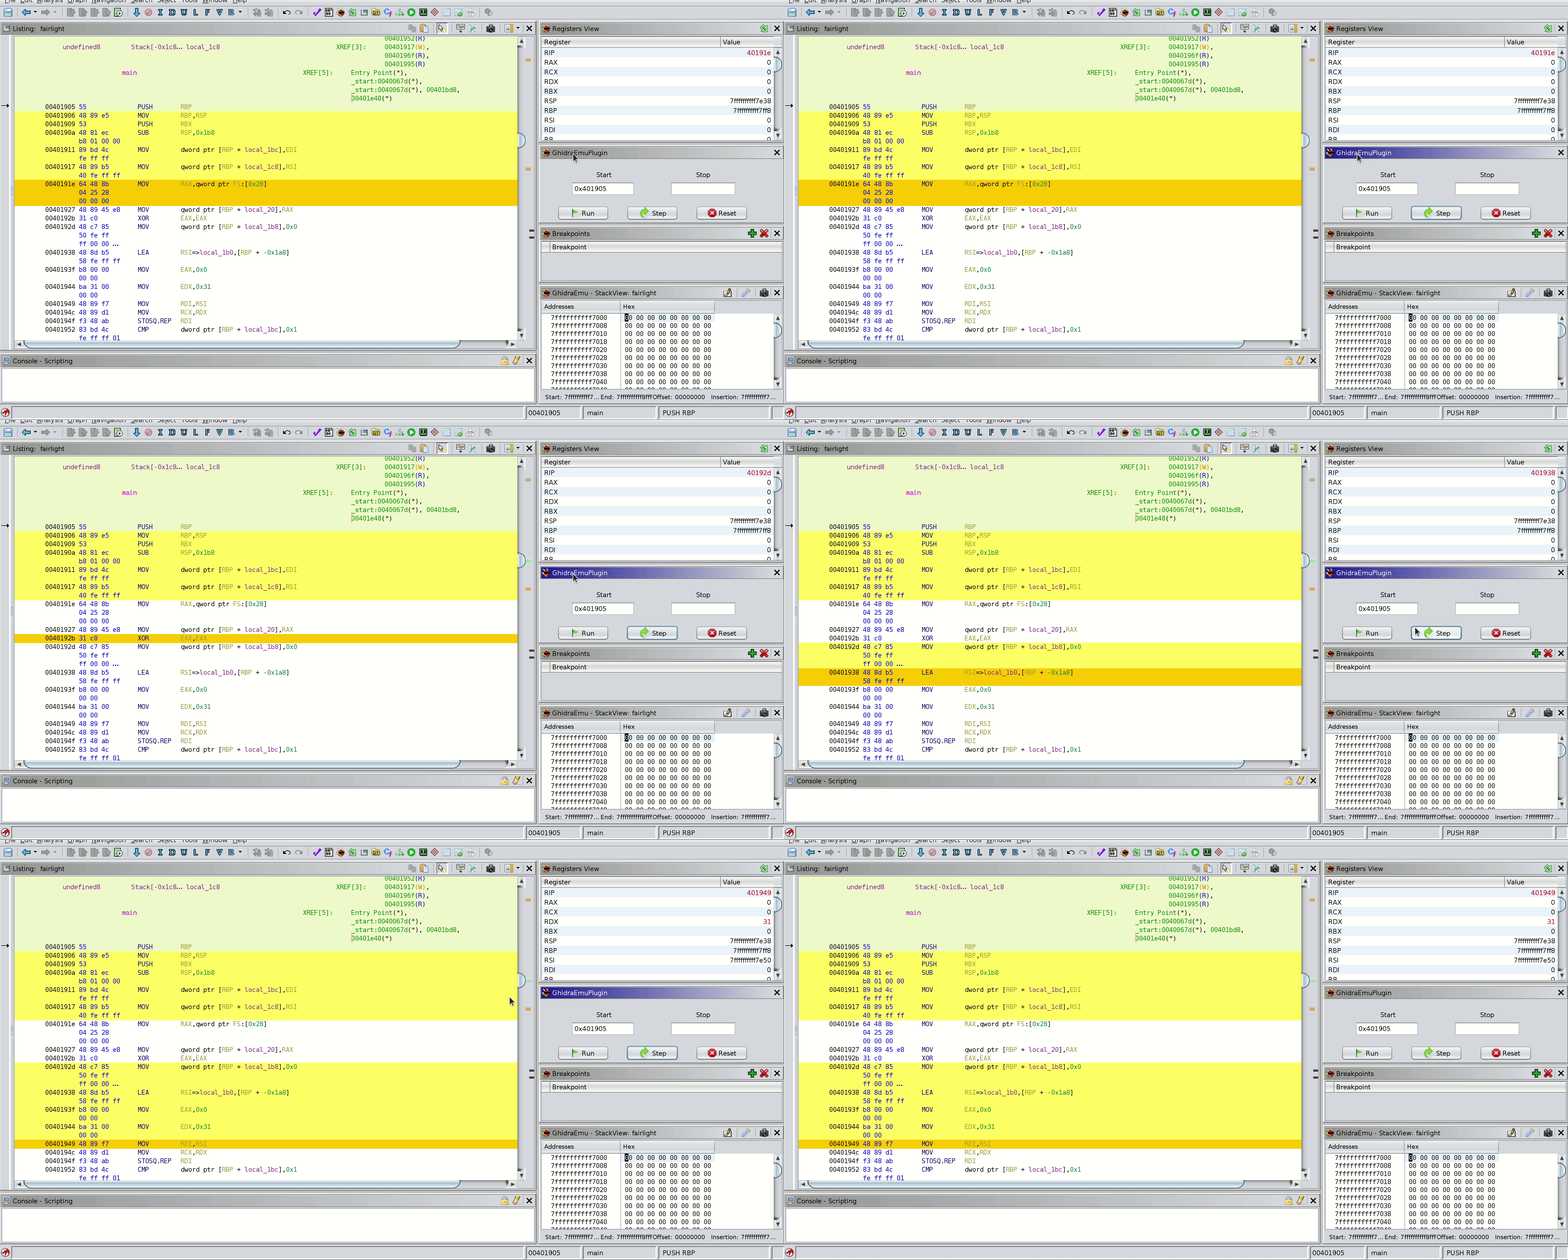
The "Jump Over" feature allows you to jump ahead one instruction if you don't want to emulate the current one for some reason. Since the emulation process will be aborted if an attempt to read uninitialized memory is detected, this feature allows you to bypass it. Look at an example. Here's one of the first instructions in many x86_64 programs, canary stack saving:
MOV RAX, qword ptr FS:[0x28]
We'll just try to cheat a little and jump over it by increasing the PC value. To do this, stop at the instruction you don't want to emulate and press J hotkey. Otherwise, stepping further would result in an uninitialized memory read error.
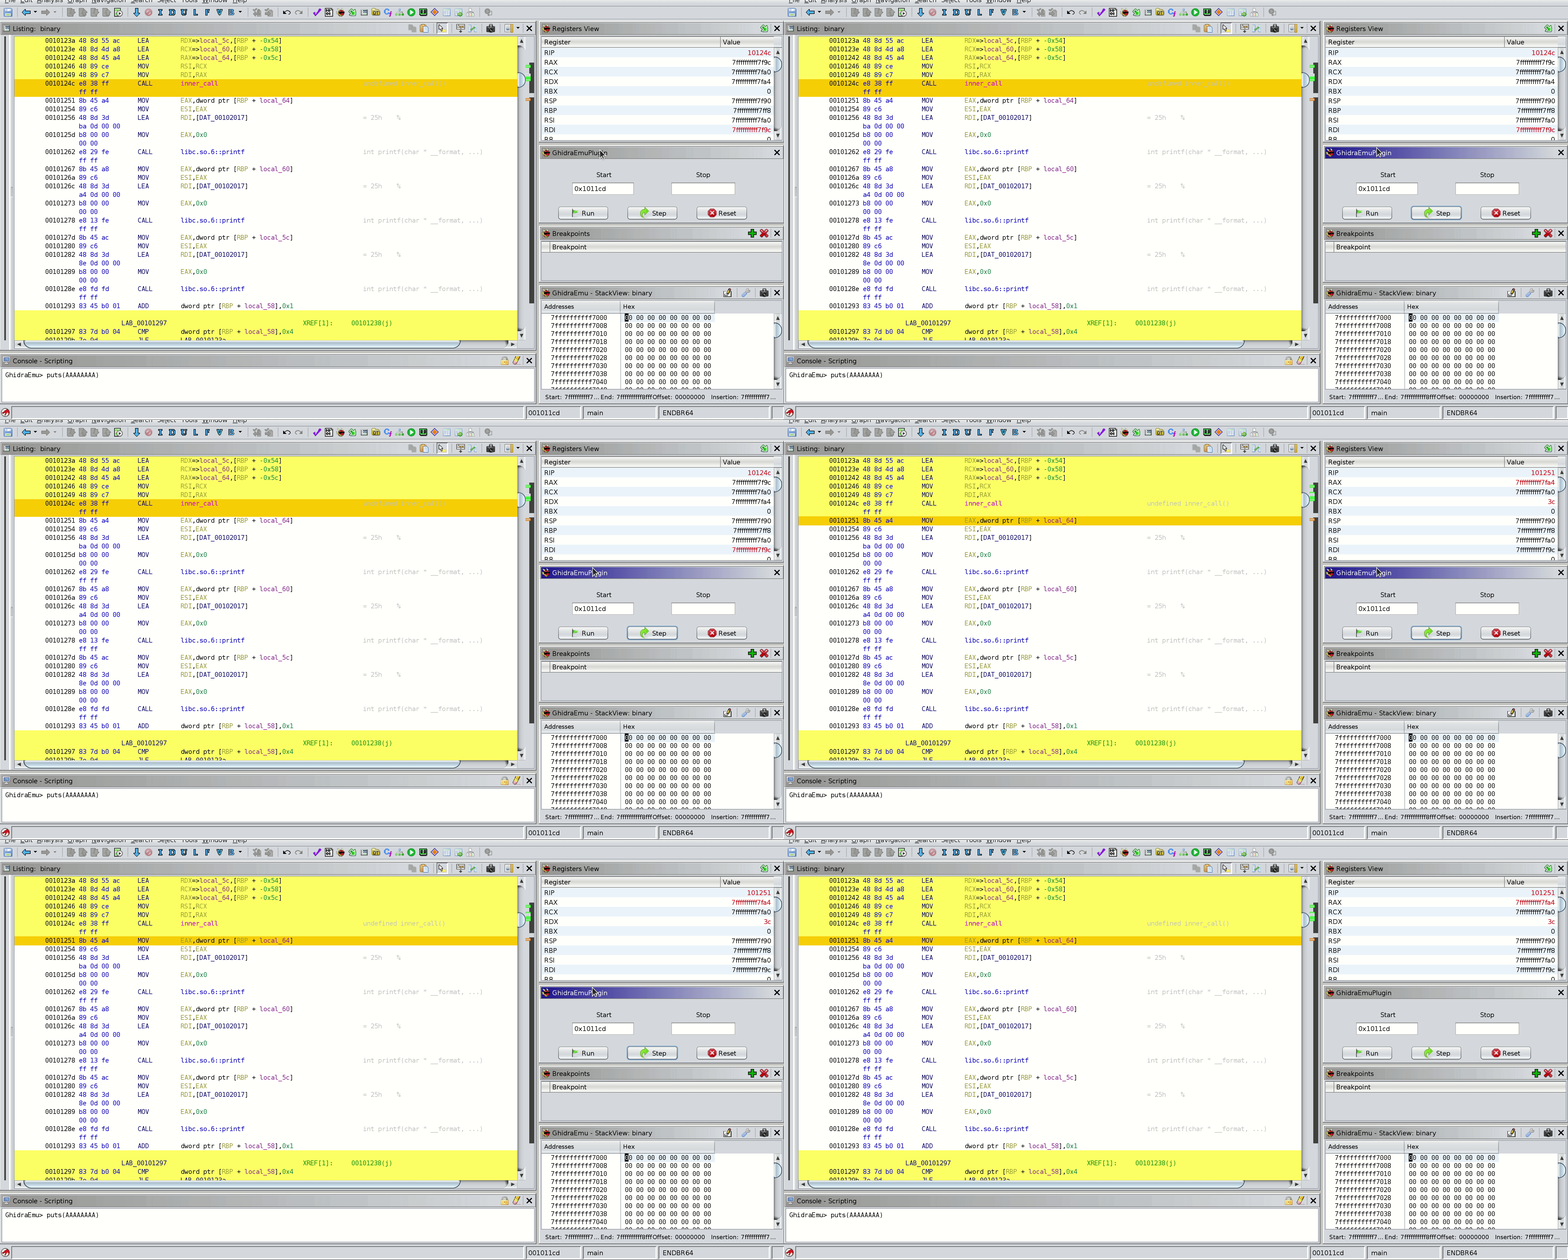
If you stop at an instruction that leads to a subroutine (internal call) and you want to emulate everything up to the next instruction (classic "step over"), press the F6 hotkey, and it will certainly happen:
A few important points to consider:
Use gradle to build the extension: GHIDRA_INSTALL_DIR=${GHIDRA_HOME} gradle and use Ghidra to install it: File → Install Extensions...
In the CodeBrowser, go to File → Configure → Miscellaneous and select the checkbox for GhidraEmu plugin.
Encountered any bugs while using the plugin or have ideas for improvements? Don't be shy to open new issue and I'll figure out.
EmulatorHelper restrictions don't allow using program space in another. So your external shared library, for example, will never know about program memory space and vice versa. So you can't emulate it as one process with one memory space. Let me know if I'm missing something here.