Implementación de varios modelos de Segmentación de Imágenes Profundas en keras.
Enlace a la publicación completa del blog con tutorial: https://divamgupta.com/image-segmentation/2019/06/06/deep-learning-semantic-segmentation-keras.html
También puedes entrenar modelos de segmentación en tu computadora con https://liner.ai
| Tren | Inferencia / Exportación |
|---|---|
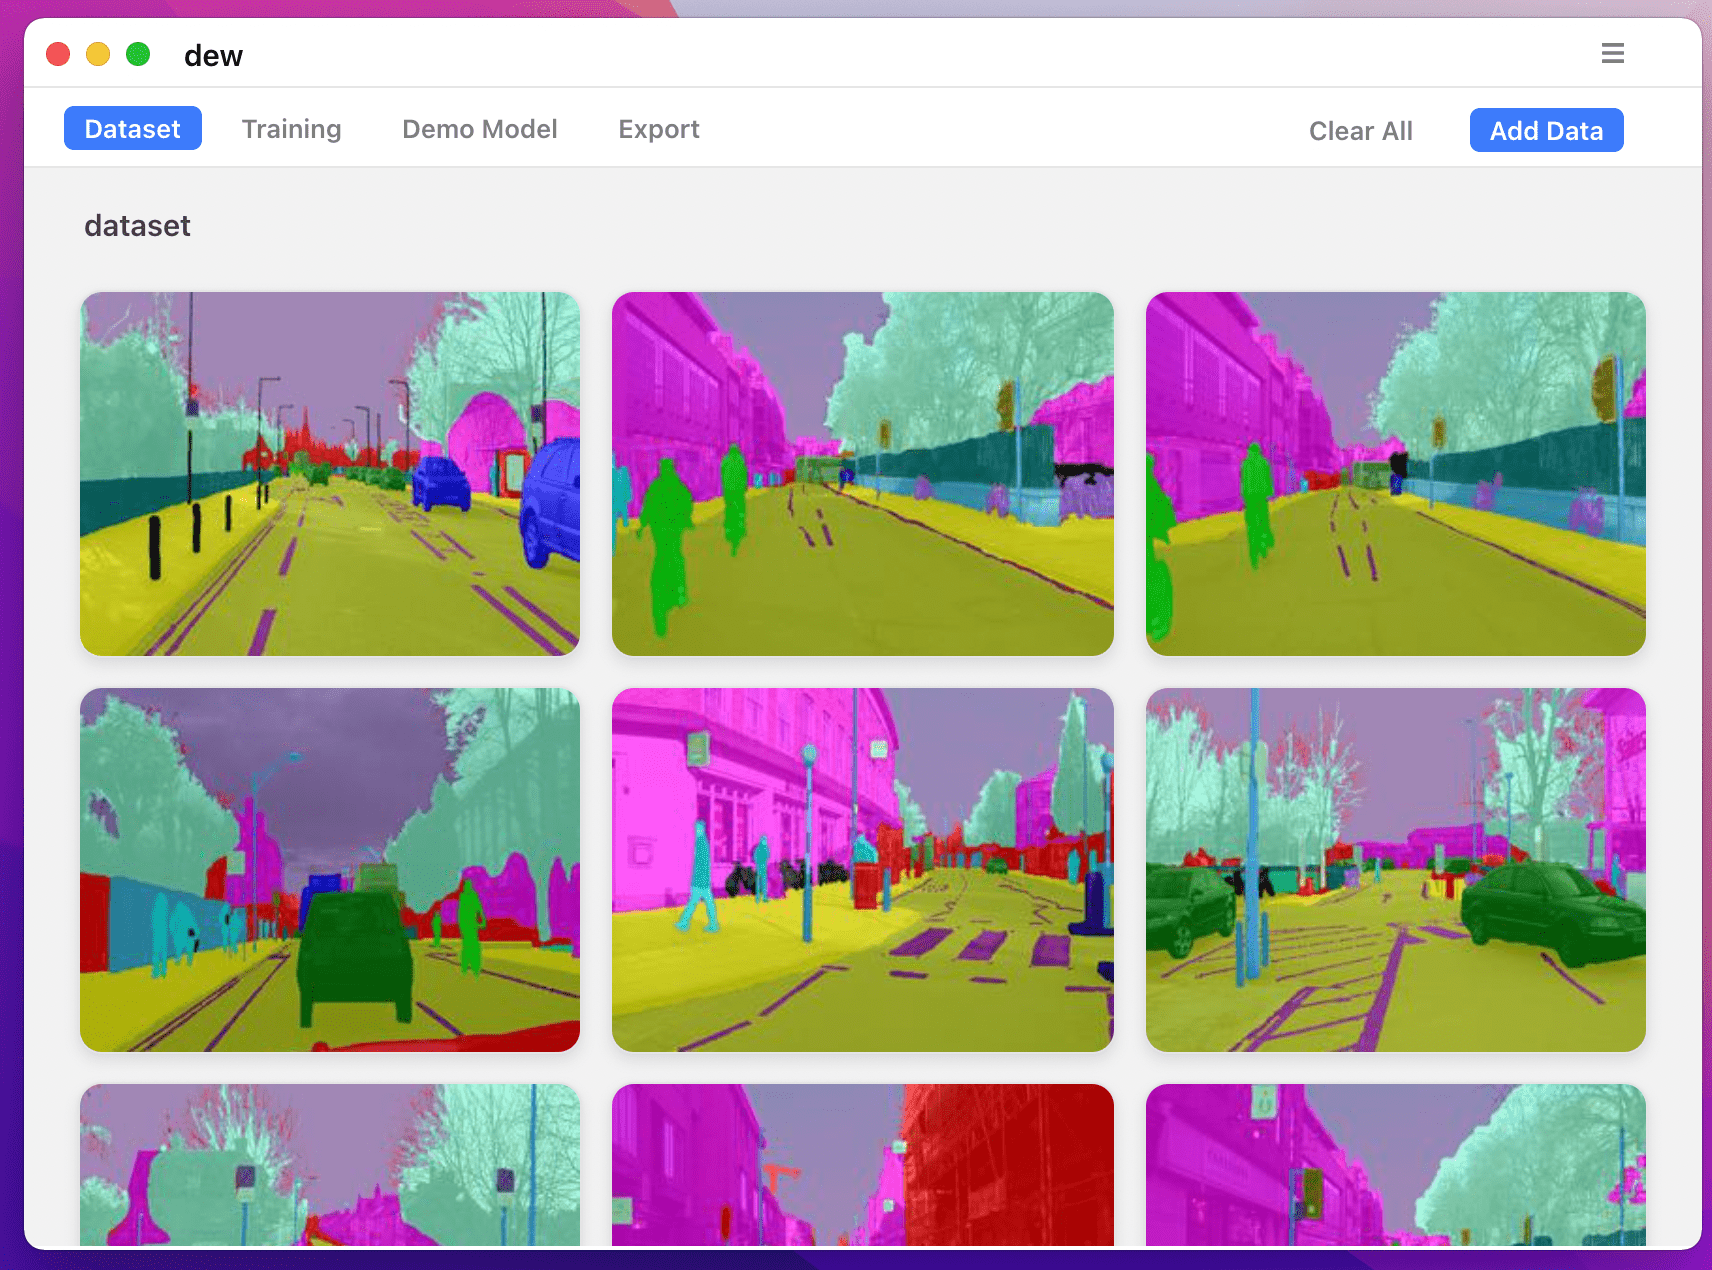 | 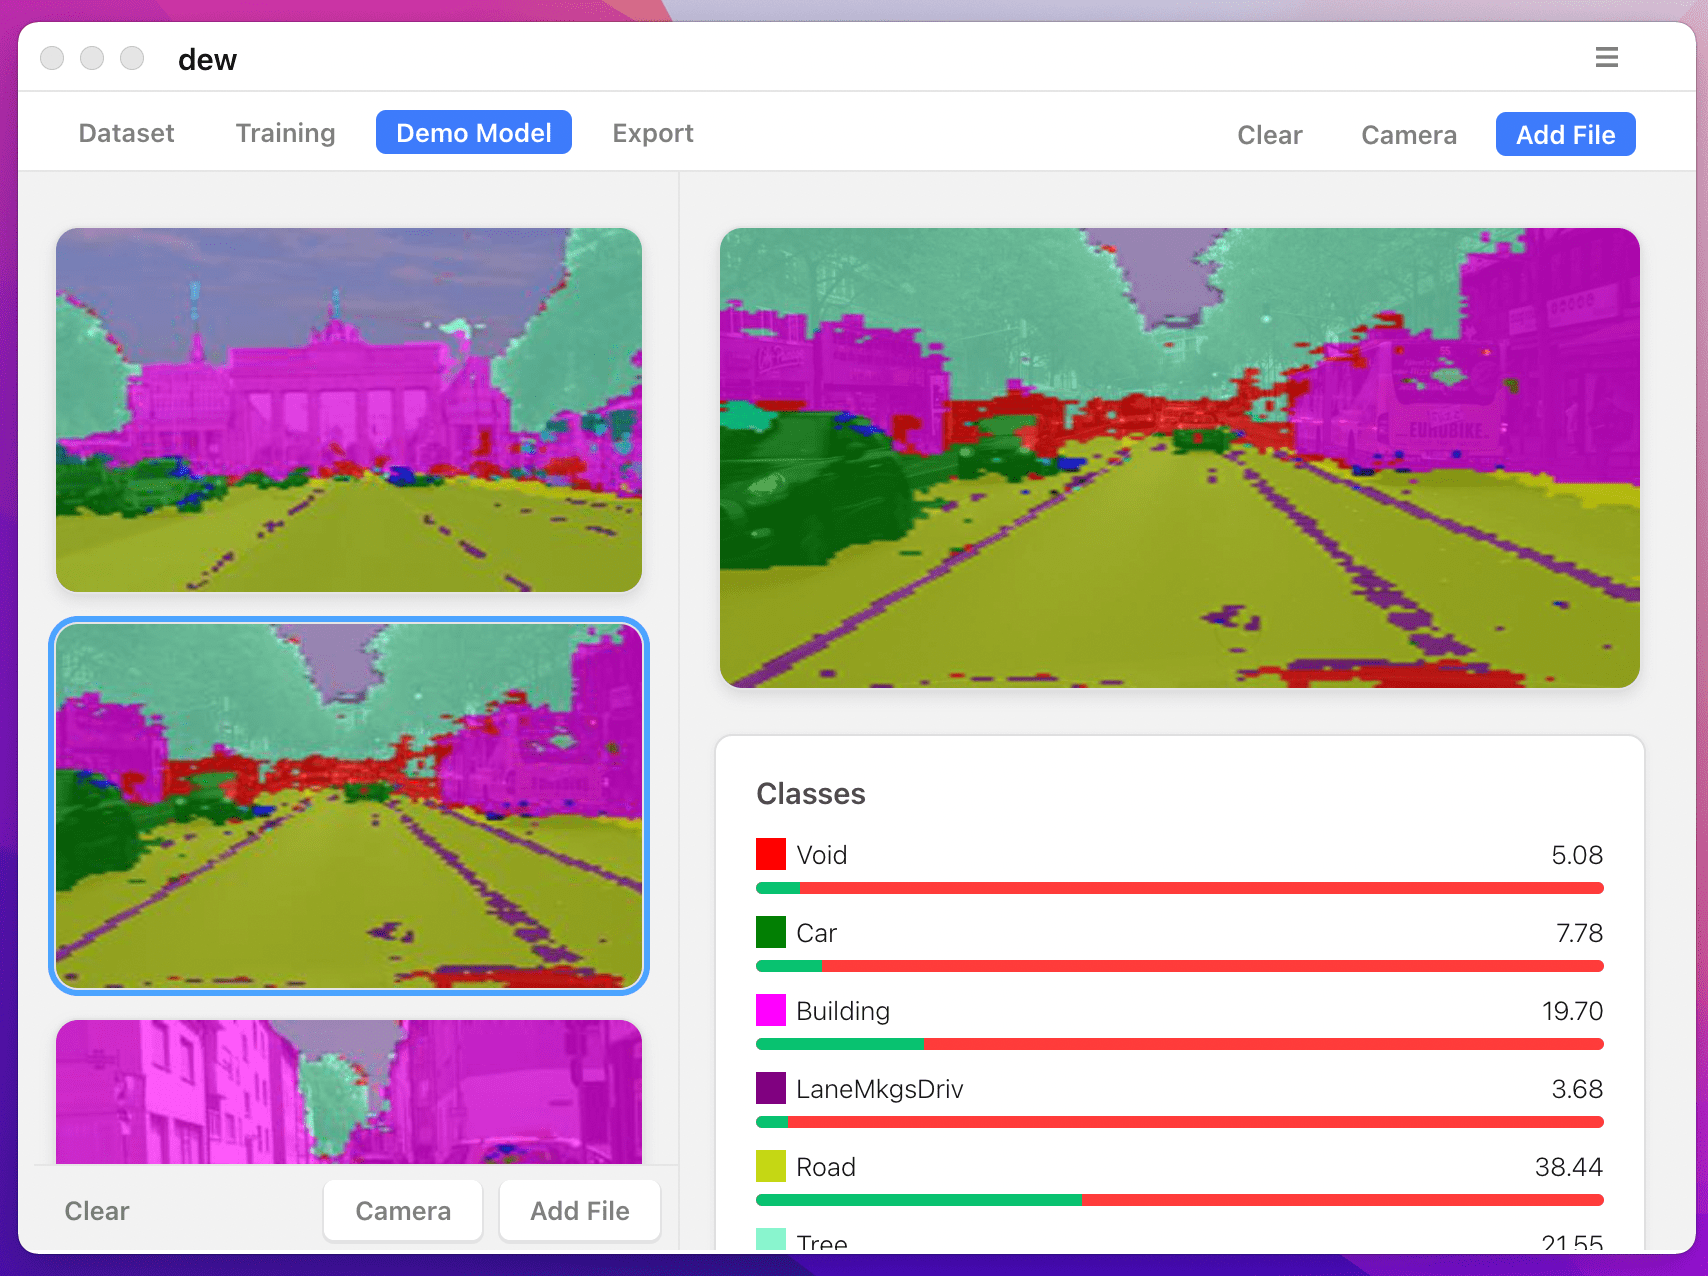 |
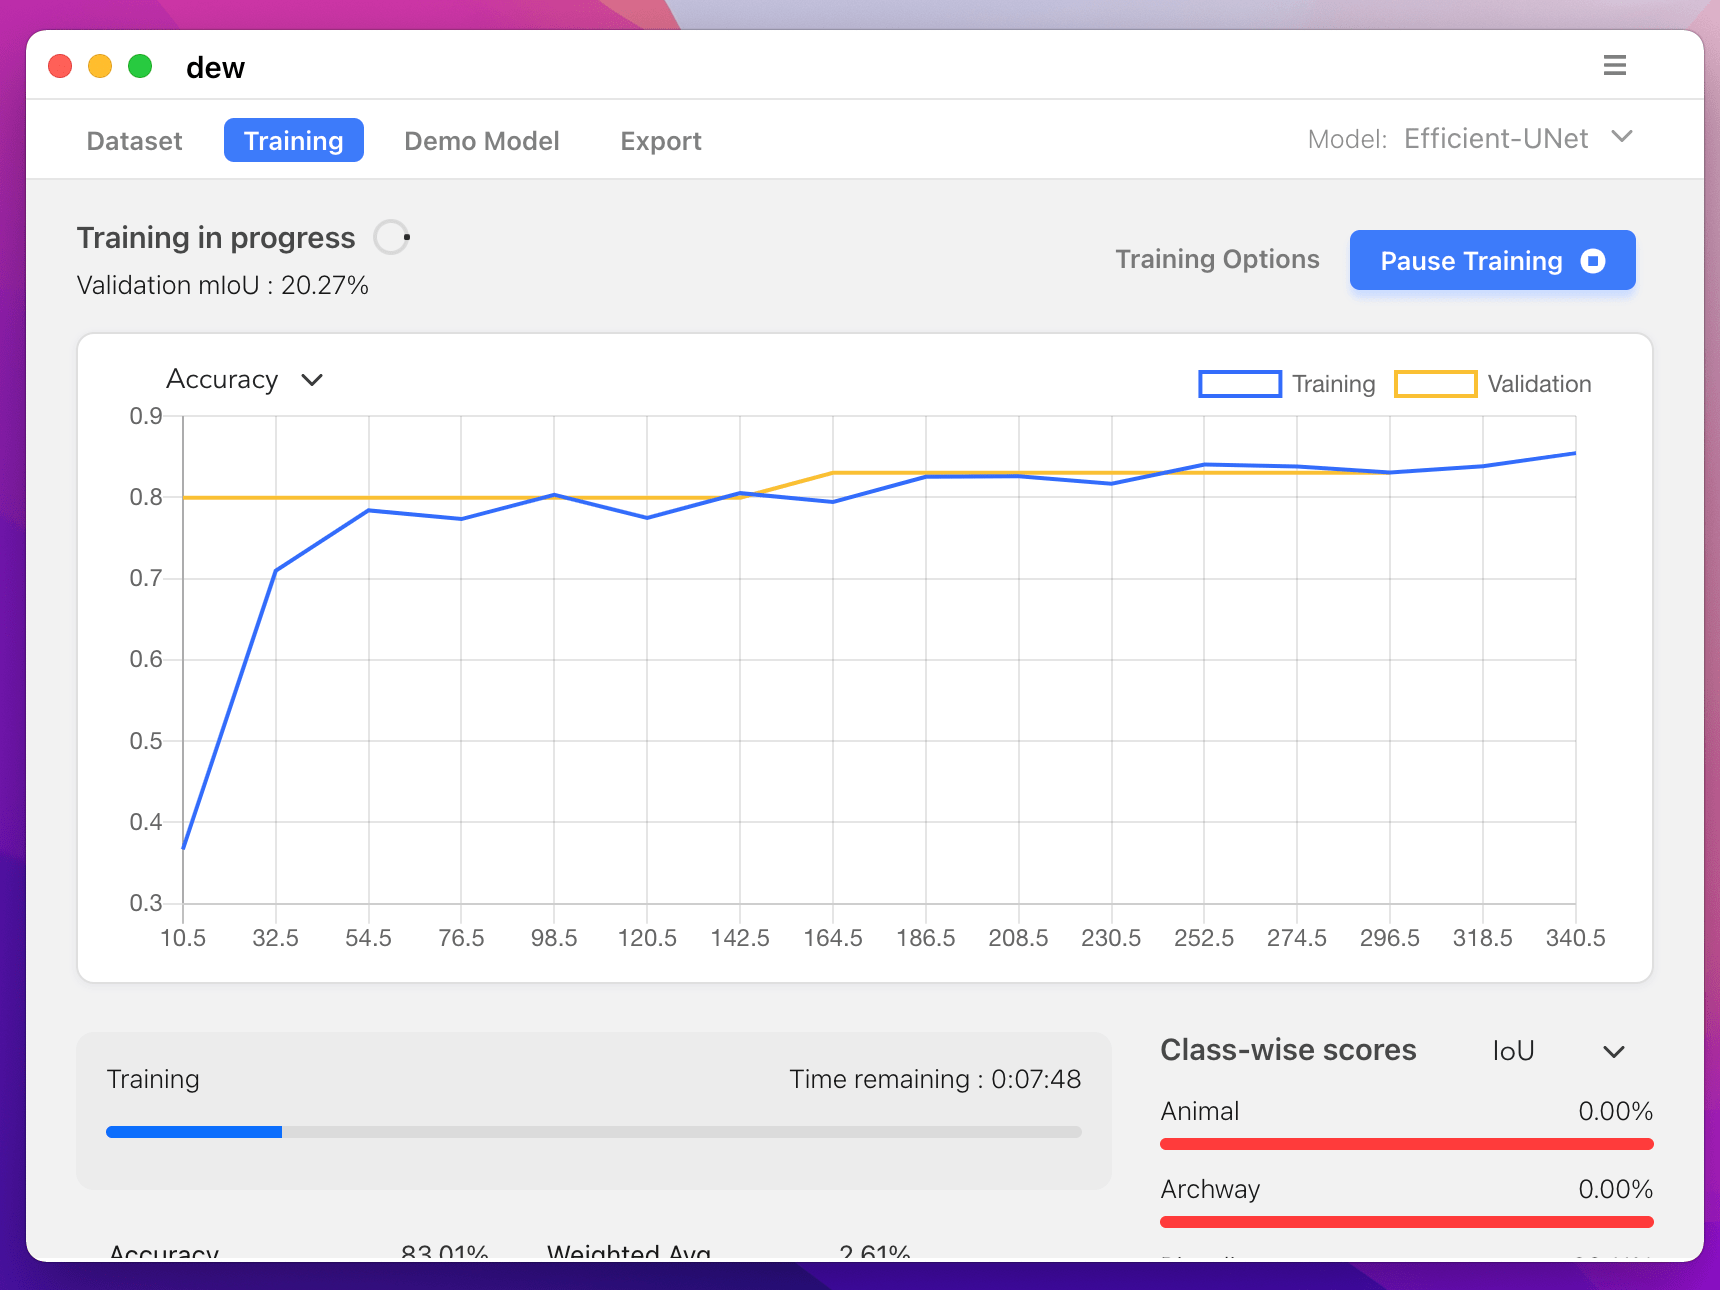 | 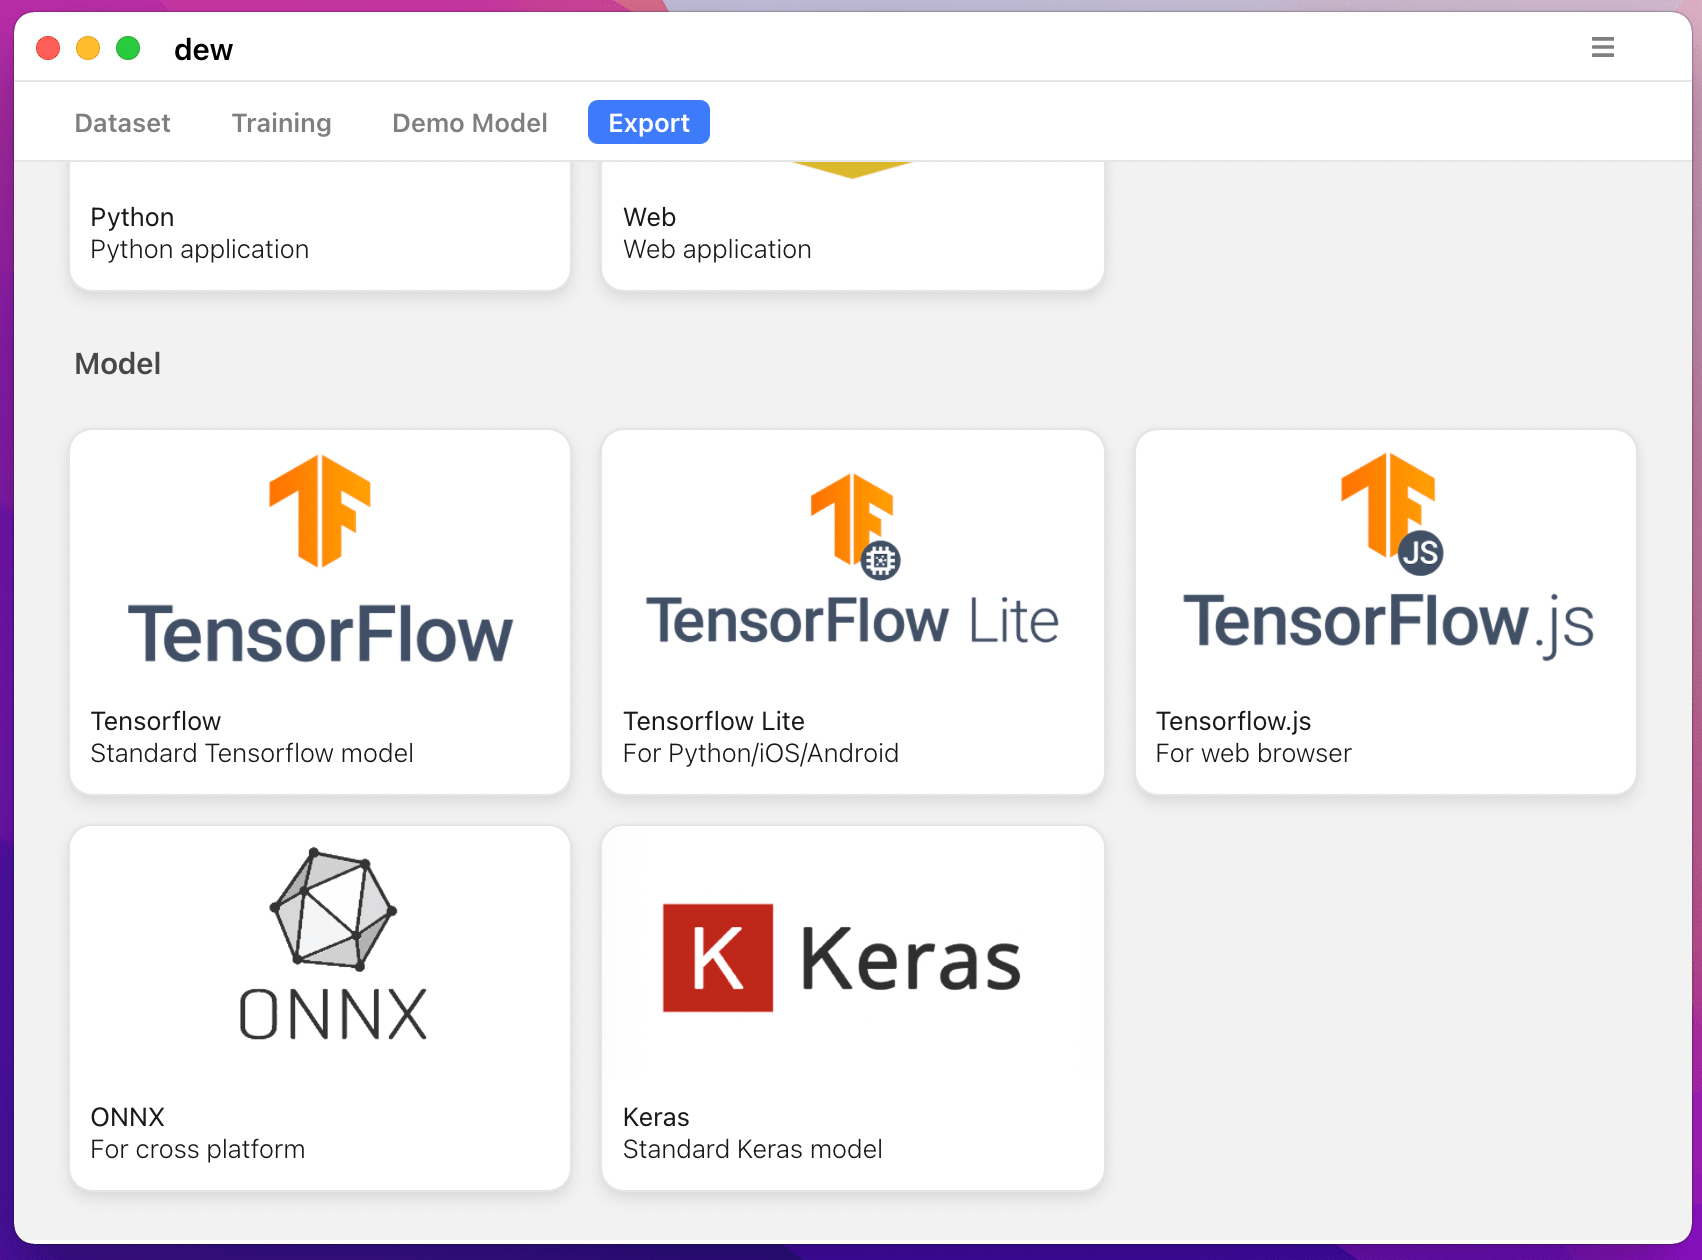 |
Se admiten los siguientes modelos:
| nombre_modelo | Modelo básico | Modelo de segmentación |
|---|---|---|
| fcn_8 | vainilla cnn | FCN8 |
| fcn_32 | vainilla cnn | FCN8 |
| fcn_8_vgg | VGG 16 | FCN8 |
| fcn_32_vgg | VGG 16 | FCN32 |
| fcn_8_resnet50 | Resnet-50 | FCN32 |
| fcn_32_resnet50 | Resnet-50 | FCN32 |
| fcn_8_mobilenet | red móvil | FCN32 |
| fcn_32_mobilenet | red móvil | FCN32 |
| pspnet | vainilla cnn | PSPNet |
| pspnet_50 | vainilla cnn | PSPNet |
| pspnet_101 | vainilla cnn | PSPNet |
| vgg_pspnet | VGG 16 | PSPnet |
| resnet50_pspnet | Resnet-50 | PSPnet |
| unet_mini | Vainilla Mini CNN | U-Net |
| unet | vainilla cnn | U-Net |
| vgg_unet | VGG 16 | U-Net |
| resnet50_unet | Resnet-50 | U-Net |
| mobilenet_unet | red móvil | U-Net |
| segno | vainilla cnn | Segnet |
| vgg_segnet | VGG 16 | Segnet |
| resnet50_segnet | Resnet-50 | Segnet |
| mobilenet_segnet | red móvil | Segnet |
Resultados de ejemplo para los modelos previamente entrenados proporcionados:
| Imagen de entrada | Imagen de segmentación de salida |
|---|---|
 | 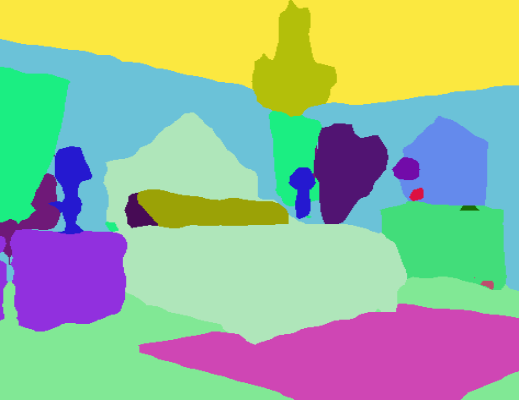 |
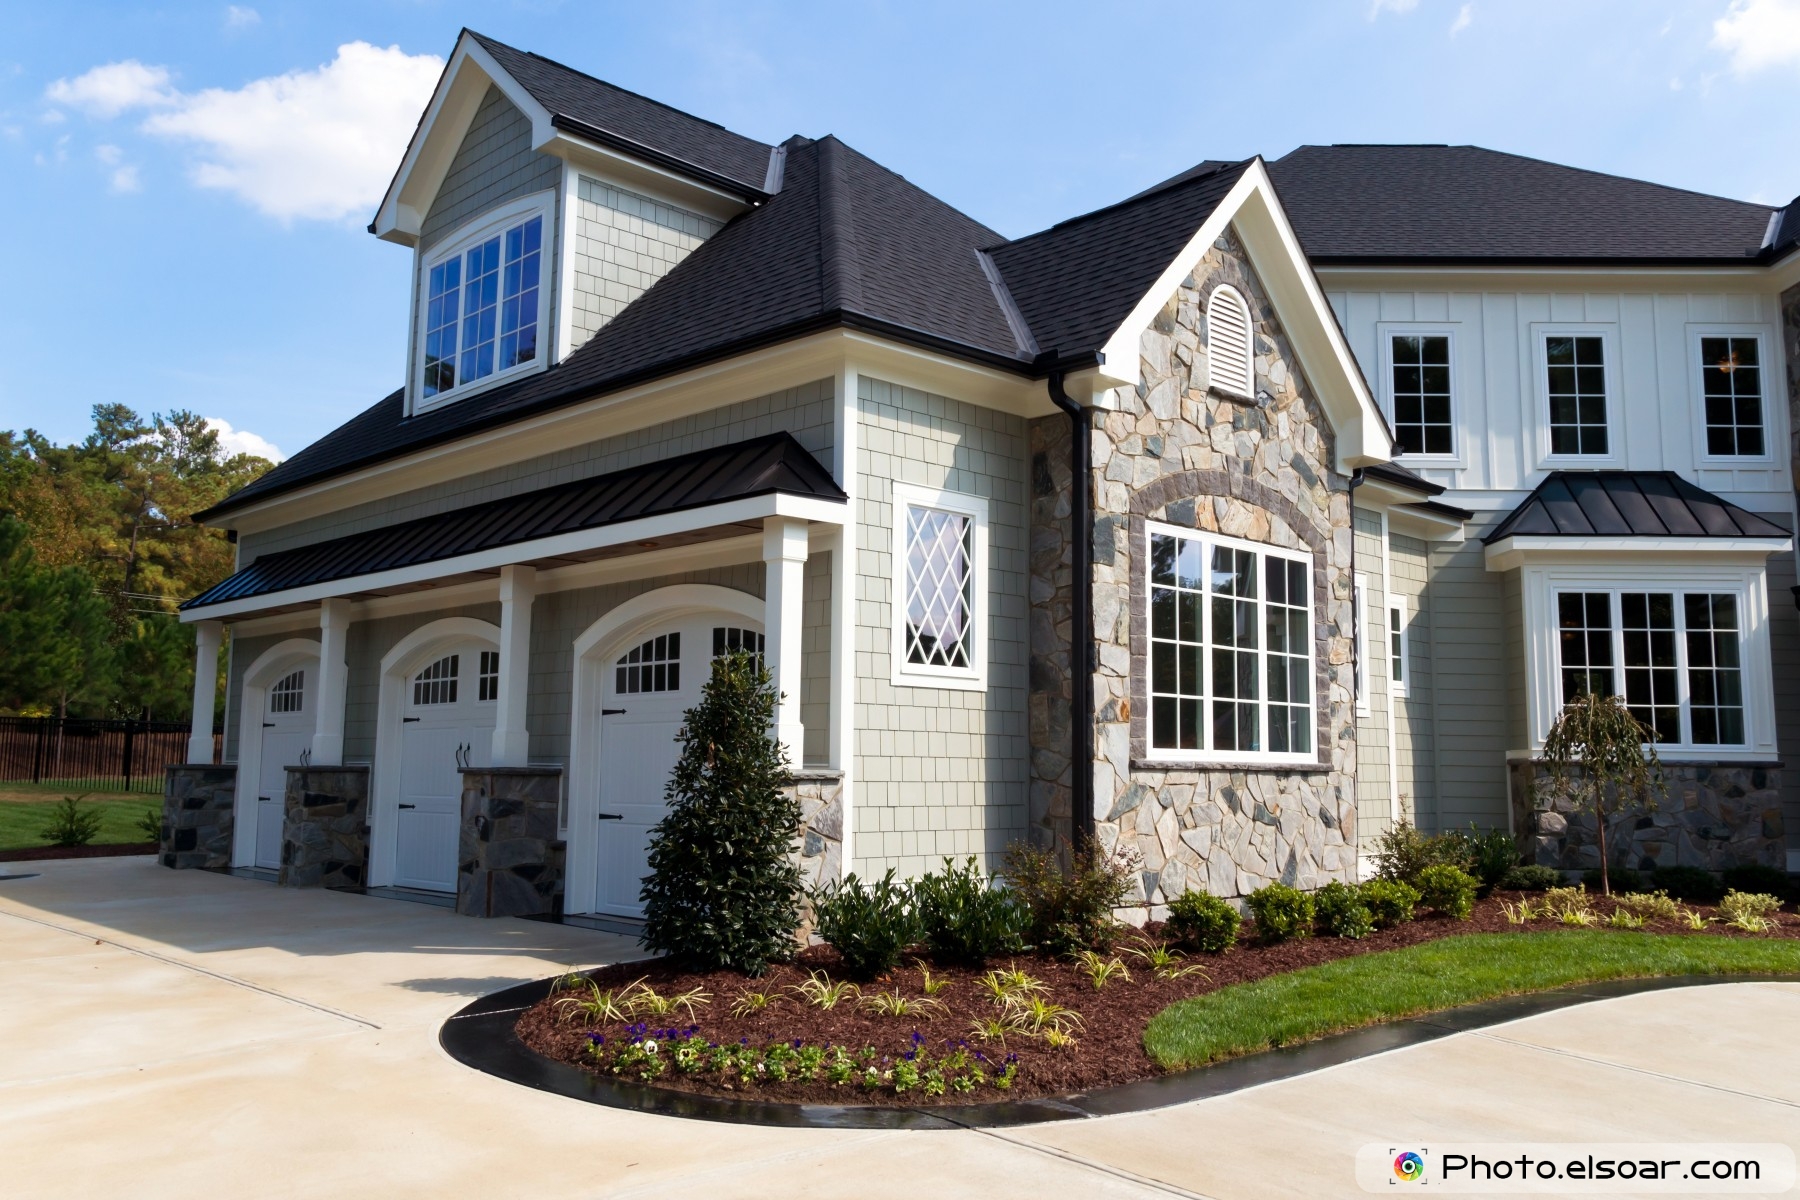 |  |
Si está utilizando esta biblioteca, cítela usando:
 @article{gupta2023image,
  title={Image segmentation keras: Implementation of segnet, fcn, unet, pspnet and other models in keras},
  author={Gupta, Divam},
  journal={arXiv preprint arXiv:2307.13215},
  year={2023}
}
apt-get install -y libsm6 libxext6 libxrender-dev
pip install opencv-pythonInstalar el módulo
Manera recomendada:
pip install --upgrade git+https://github.com/divamgupta/image-segmentation-keraspip install keras-segmentationgit clone https://github.com/divamgupta/image-segmentation-keras
cd image-segmentation-keras
python setup.py install from keras_segmentation . pretrained import pspnet_50_ADE_20K , pspnet_101_cityscapes , pspnet_101_voc12
model = pspnet_50_ADE_20K () # load the pretrained model trained on ADE20k dataset
model = pspnet_101_cityscapes () # load the pretrained model trained on Cityscapes dataset
model = pspnet_101_voc12 () # load the pretrained model trained on Pascal VOC 2012 dataset
# load any of the 3 pretrained models
out = model . predict_segmentation (
inp = "input_image.jpg" ,
out_fname = "out.png"
)Necesitas hacer dos carpetas.
Los nombres de archivo de las imágenes de anotación deben ser los mismos que los nombres de archivo de las imágenes RGB.
El tamaño de la imagen de anotación para la imagen RGB correspondiente debe ser el mismo.
Para cada píxel de la imagen RGB, la etiqueta de clase de ese píxel en la imagen de anotación sería el valor del píxel azul.
Código de ejemplo para generar imágenes de anotaciones:
 import cv2
import numpy as np

ann_img = np . zeros (( 30 , 30 , 3 )). astype ( 'uint8' )
ann_img [ 3 , 4 ] = 1 # this would set the label of pixel 3,4 as 1

cv2 . imwrite ( "ann_1.png" , ann_img )
Utilice únicamente formato bmp o png para las imágenes de anotaciones.
Descargue y extraiga lo siguiente:
https://drive.google.com/file/d/0B0d9ZiqAgFkiOHR1NTJhWVJMNEU/view?usp=sharing
Obtendrá una carpeta llamada dataset1/
Puede importar keras_segmentation en su script de Python y usar la API
 from keras_segmentation . models . unet import vgg_unet

model = vgg_unet ( n_classes = 51 ,  input_height = 416 , input_width = 608  )

model . train (
    train_images =  "dataset1/images_prepped_train/" ,
    train_annotations = "dataset1/annotations_prepped_train/" ,
    checkpoints_path = "/tmp/vgg_unet_1" , epochs = 5
)

out = model . predict_segmentation (
    inp = "dataset1/images_prepped_test/0016E5_07965.png" ,
    out_fname = "/tmp/out.png"
)

import matplotlib . pyplot as plt
plt . imshow ( out )

# evaluating the model
print ( model . evaluate_segmentation ( inp_images_dir = "dataset1/images_prepped_test/" , annotations_dir = "dataset1/annotations_prepped_test/" ) )También puedes usar la herramienta simplemente usando la línea de comando.
También puede visualizar sus anotaciones preparadas para verificar los datos preparados.
python -m keras_segmentation verify_dataset
 --images_path= " dataset1/images_prepped_train/ "
 --segs_path= " dataset1/annotations_prepped_train/ "
 --n_classes=50
python -m keras_segmentation visualize_dataset
--images_path= " dataset1/images_prepped_train/ "
--segs_path= " dataset1/annotations_prepped_train/ "
--n_classes=50Para entrenar el modelo ejecute el siguiente comando:
python -m keras_segmentation train
 --checkpoints_path= " path_to_checkpoints "
 --train_images= " dataset1/images_prepped_train/ "
 --train_annotations= " dataset1/annotations_prepped_train/ "
 --val_images= " dataset1/images_prepped_test/ "
 --val_annotations= " dataset1/annotations_prepped_test/ "
 --n_classes=50
 --input_height=320
 --input_width=640
 --model_name= " vgg_unet "
Elija model_name de la tabla de arriba
Para obtener las predicciones de un modelo entrenado.
python -m keras_segmentation predict
 --checkpoints_path= " path_to_checkpoints "
 --input_path= " dataset1/images_prepped_test/ "
 --output_path= " path_to_predictions "
Para obtener predicciones de un vídeo
python -m keras_segmentation predict_video
 --checkpoints_path= " path_to_checkpoints "
 --input= " path_to_video "
 --output_file= " path_for_save_inferenced_video "
 --display
Si desea hacer predicciones en su cámara web, no use --input ni pase el número de su dispositivo: --input 0
--display abre una ventana con el vídeo previsto. Elimine este argumento cuando utilice un sistema sin cabeza.
Para obtener las puntuaciones de IoU
python -m keras_segmentation evaluate_model
 --checkpoints_path= " path_to_checkpoints "
 --images_path= " dataset1/images_prepped_test/ "
--segs_path= " dataset1/annotations_prepped_test/ " El siguiente ejemplo muestra cómo ajustar un modelo con 10 clases.
 from keras_segmentation . models . model_utils import transfer_weights
from keras_segmentation . pretrained import pspnet_50_ADE_20K
from keras_segmentation . models . pspnet import pspnet_50

pretrained_model = pspnet_50_ADE_20K ()

new_model = pspnet_50 ( n_classes = 51 )

transfer_weights ( pretrained_model , new_model  ) # transfer weights from pre-trained model to your model

new_model . train (
    train_images =  "dataset1/images_prepped_train/" ,
    train_annotations = "dataset1/annotations_prepped_train/" ,
    checkpoints_path = "/tmp/vgg_unet_1" , epochs = 5
)
El siguiente ejemplo muestra la transferencia de conocimiento de un modelo más grande (y más preciso) a un modelo más pequeño. En la mayoría de los casos, el modelo más pequeño entrenado mediante destilación de conocimientos es más preciso en comparación con el mismo modelo entrenado mediante aprendizaje supervisado básico.
 from keras_segmentation . predict import model_from_checkpoint_path
from keras_segmentation . models . unet import unet_mini
from keras_segmentation . model_compression import perform_distilation

model_large = model_from_checkpoint_path ( "/checkpoints/path/of/trained/model" )
model_small = unet_mini ( n_classes = 51 , input_height = 300 , input_width = 400  )

perform_distilation ( data_path = "/path/to/large_image_set/" , checkpoints_path = "path/to/save/checkpoints" ,
teacher_model = model_large , student_model = model_small , distilation_loss = 'kl' , feats_distilation_loss = 'pa' )El siguiente ejemplo muestra cómo definir una función de aumento personalizada para el entrenamiento.
 from keras_segmentation . models . unet import vgg_unet
from imgaug import augmenters as iaa

def custom_augmentation ():
    return  iaa . Sequential (
        [
            # apply the following augmenters to most images
            iaa . Fliplr ( 0.5 ),  # horizontally flip 50% of all images
            iaa . Flipud ( 0.5 ), # horizontally flip 50% of all images
        ])

model = vgg_unet ( n_classes = 51 ,  input_height = 416 , input_width = 608 )

model . train (
    train_images =  "dataset1/images_prepped_train/" ,
    train_annotations = "dataset1/annotations_prepped_train/" ,
    checkpoints_path = "/tmp/vgg_unet_1" , epochs = 5 ,
    do_augment = True , # enable augmentation
    custom_augmentation = custom_augmentation # sets the augmention function to use
)El siguiente ejemplo muestra cómo configurar el número de canales de entrada.
 from keras_segmentation . models . unet import vgg_unet

model = vgg_unet ( n_classes = 51 ,  input_height = 416 , input_width = 608 ,
                 channels = 1 # Sets the number of input channels
                 )

model . train (
    train_images =  "dataset1/images_prepped_train/" ,
    train_annotations = "dataset1/annotations_prepped_train/" ,
    checkpoints_path = "/tmp/vgg_unet_1" , epochs = 5 ,
    read_image_type = 0  # Sets how opencv will read the images
                       # cv2.IMREAD_COLOR = 1 (rgb),
                       # cv2.IMREAD_GRAYSCALE = 0,
                       # cv2.IMREAD_UNCHANGED = -1 (4 channels like RGBA)
)El siguiente ejemplo muestra cómo configurar una función de preprocesamiento de imágenes personalizada.
 from keras_segmentation . models . unet import vgg_unet

def image_preprocessing ( image ):
    return image + 1

model = vgg_unet ( n_classes = 51 ,  input_height = 416 , input_width = 608 )

model . train (
    train_images =  "dataset1/images_prepped_train/" ,
    train_annotations = "dataset1/annotations_prepped_train/" ,
    checkpoints_path = "/tmp/vgg_unet_1" , epochs = 5 ,
    preprocessing = image_preprocessing # Sets the preprocessing function
)El siguiente ejemplo muestra cómo configurar devoluciones de llamadas personalizadas para el entrenamiento del modelo.
 from keras_segmentation . models . unet import vgg_unet
from keras . callbacks import ModelCheckpoint , EarlyStopping

model = vgg_unet ( n_classes = 51 ,  input_height = 416 , input_width = 608 )

# When using custom callbacks, the default checkpoint saver is removed
callbacks = [
    ModelCheckpoint (
                filepath = "checkpoints/" + model . name + ".{epoch:05d}" ,
                save_weights_only = True ,
                verbose = True
            ),
    EarlyStopping ()
]

model . train (
    train_images =  "dataset1/images_prepped_train/" ,
    train_annotations = "dataset1/annotations_prepped_train/" ,
    checkpoints_path = "/tmp/vgg_unet_1" , epochs = 5 ,
    callbacks = callbacks
)El siguiente ejemplo muestra cómo agregar entradas de imágenes adicionales para modelos.
 from keras_segmentation . models . unet import vgg_unet

model = vgg_unet ( n_classes = 51 ,  input_height = 416 , input_width = 608 )

model . train (
    train_images =  "dataset1/images_prepped_train/" ,
    train_annotations = "dataset1/annotations_prepped_train/" ,
    checkpoints_path = "/tmp/vgg_unet_1" , epochs = 5 ,
    other_inputs_paths = [
        "/path/to/other/directory"
    ],


#     Ability to add preprocessing
    preprocessing = [ lambda x : x + 1 , lambda x : x + 2 , lambda x : x + 3 ], # Different prepocessing for each input
#     OR
    preprocessing = lambda x : x + 1 , # Same preprocessing for each input
)Aquí hay algunos proyectos que utilizan nuestra biblioteca:
Si utiliza nuestro código en un proyecto disponible públicamente, agregue el enlace aquí (publicando un problema o creando un PR)