Implémentation de divers modèles de segmentation d'images profondes dans keras.
Lien vers l'article de blog complet avec tutoriel : https://divamgupta.com/image-segmentation/2019/06/06/deep-learning-semantic-segmentation-keras.html
Vous pouvez également entraîner des modèles de segmentation sur votre ordinateur avec https://liner.ai
| Former | Inférence / Exportation |
|---|---|
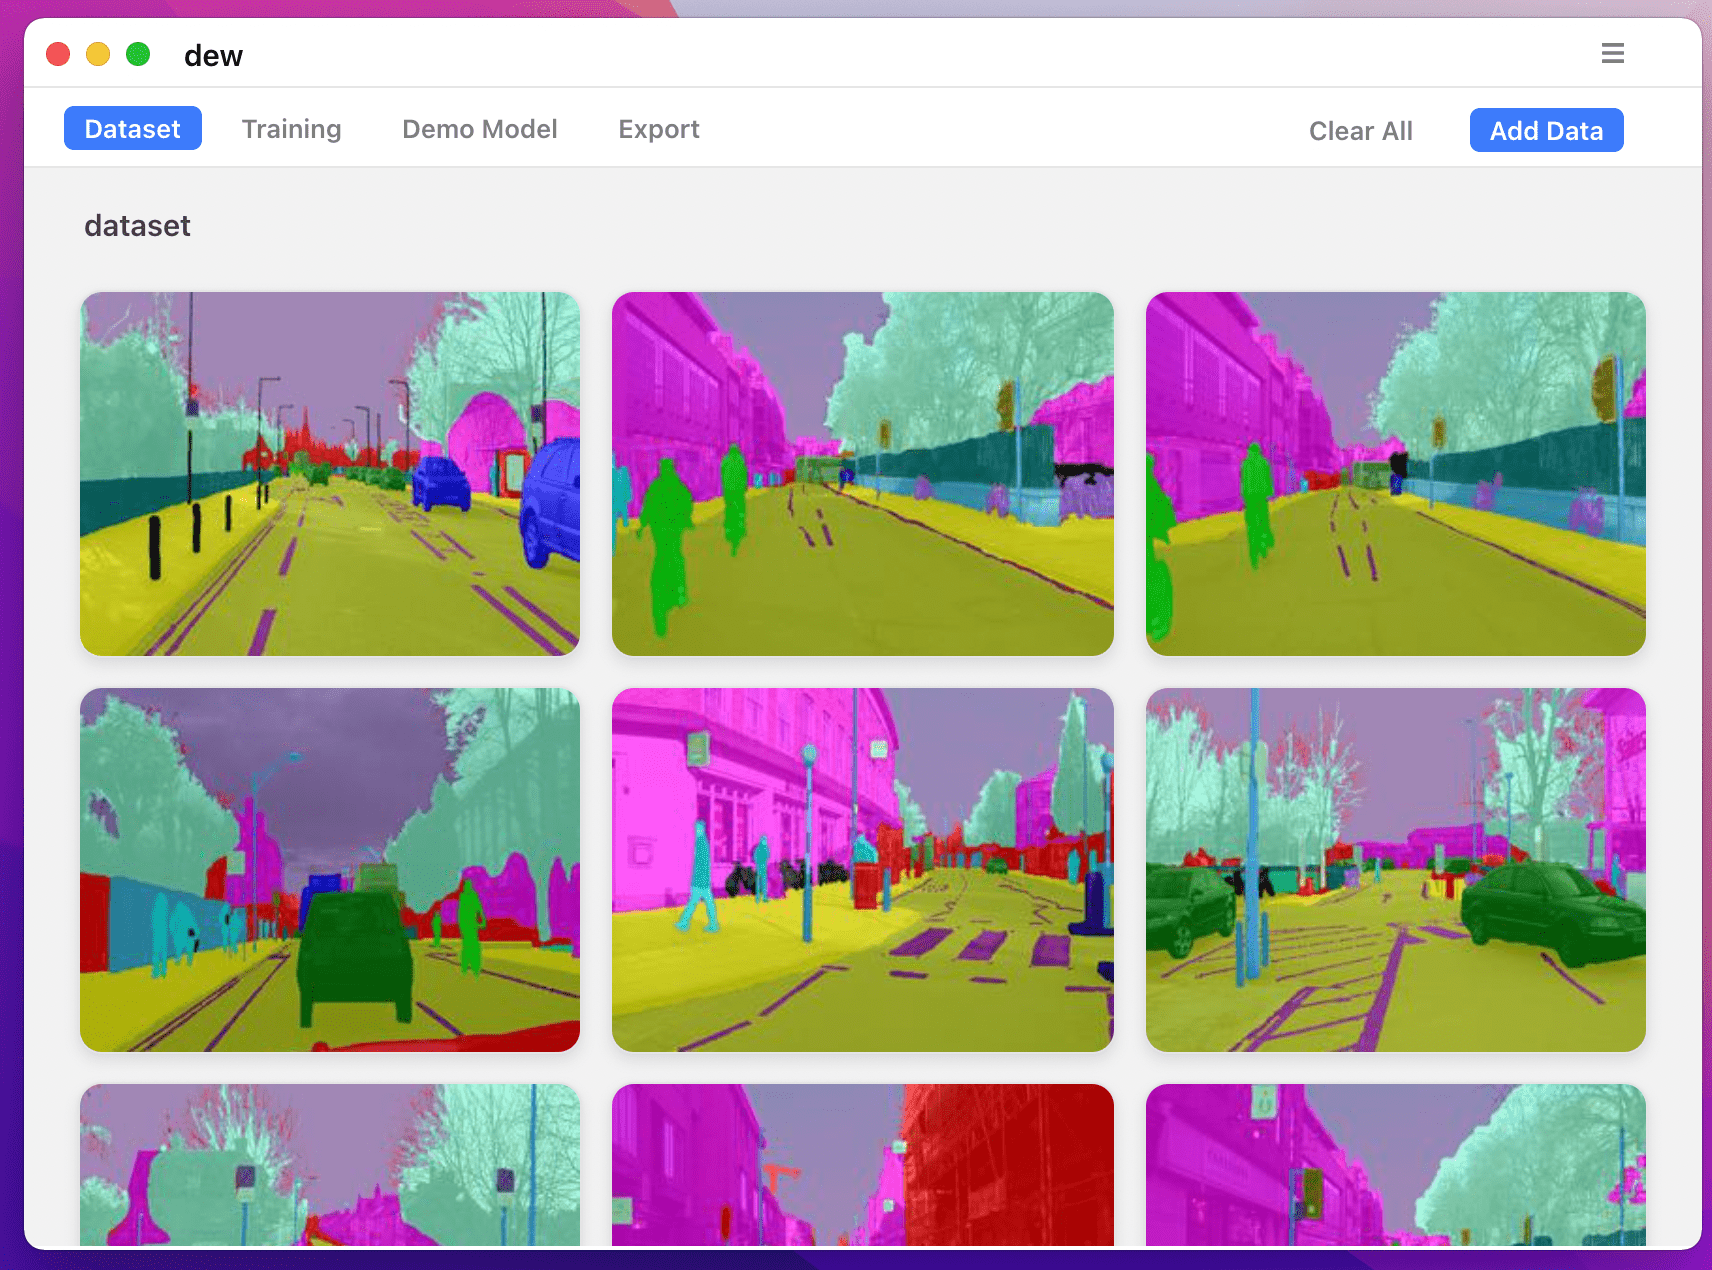 | 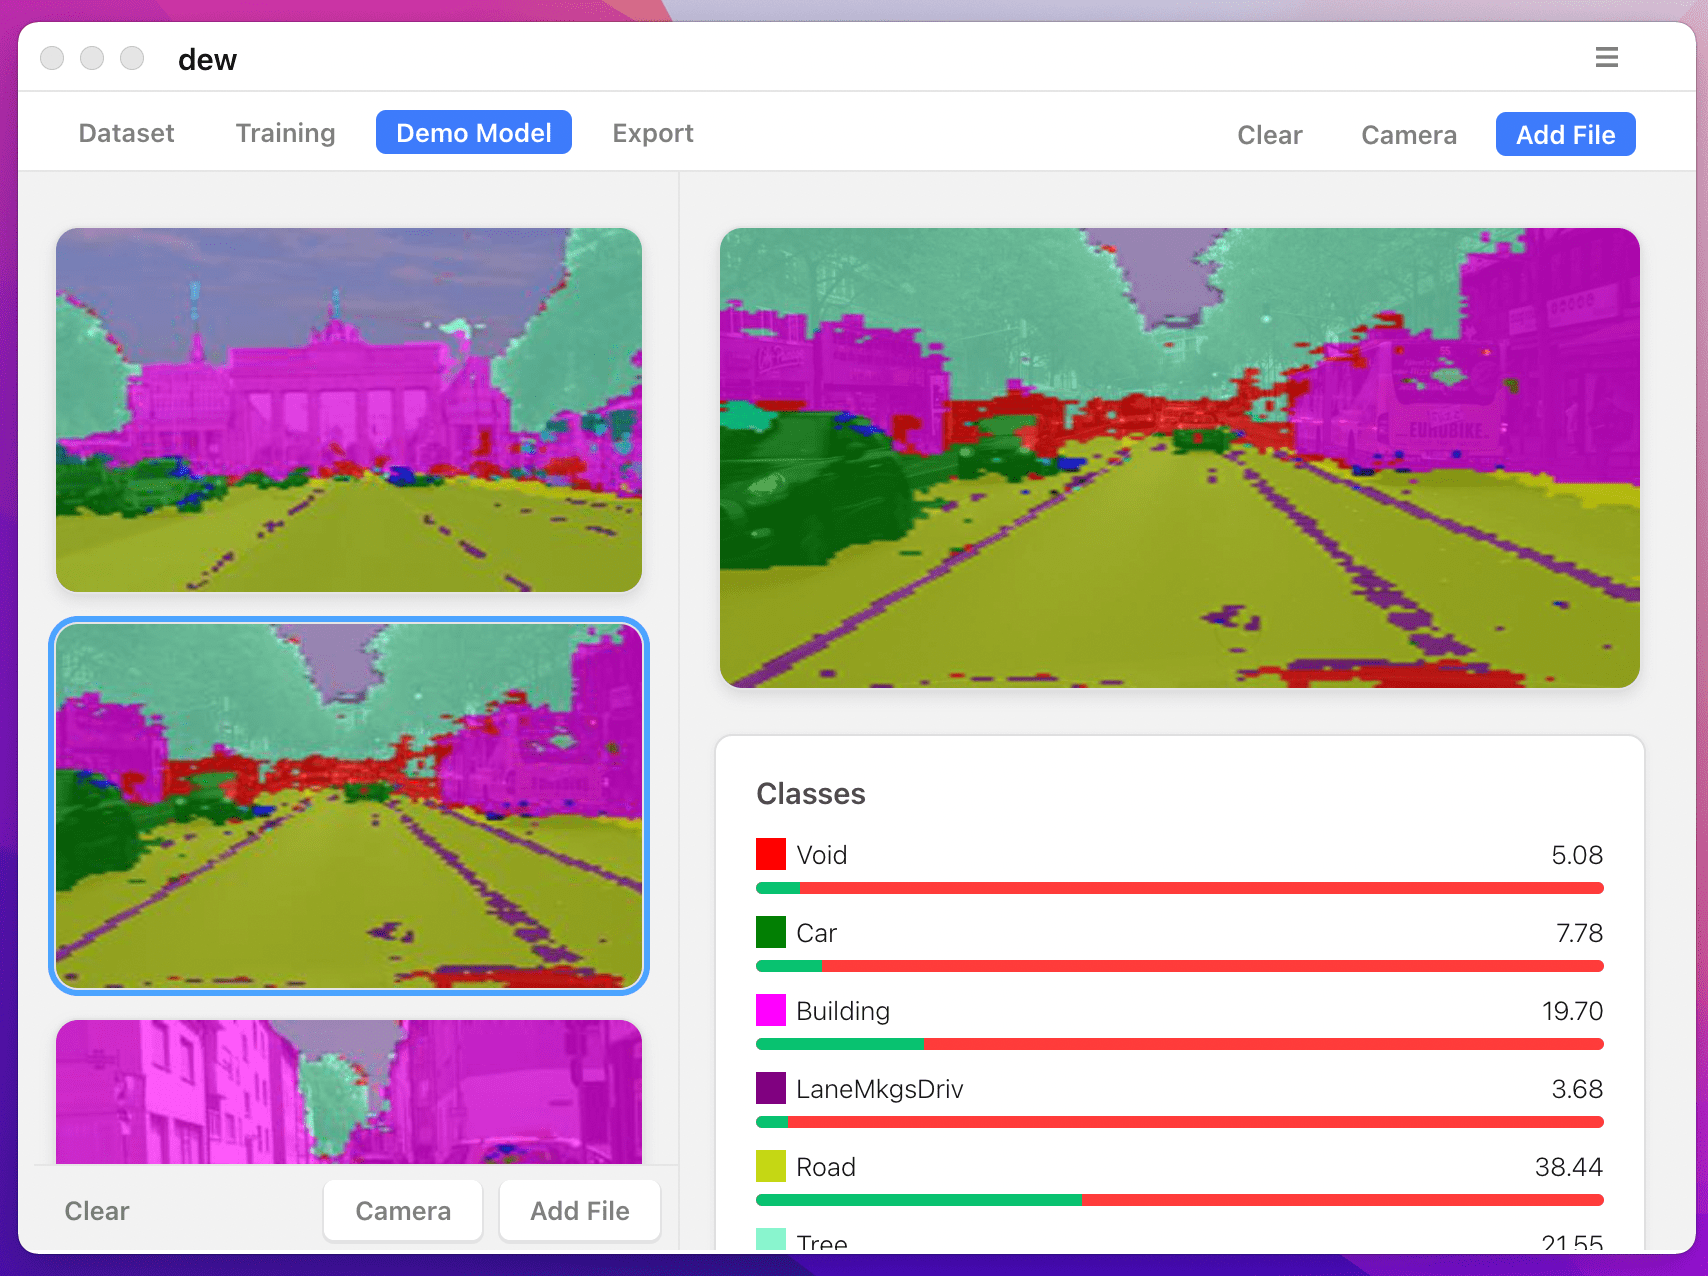 |
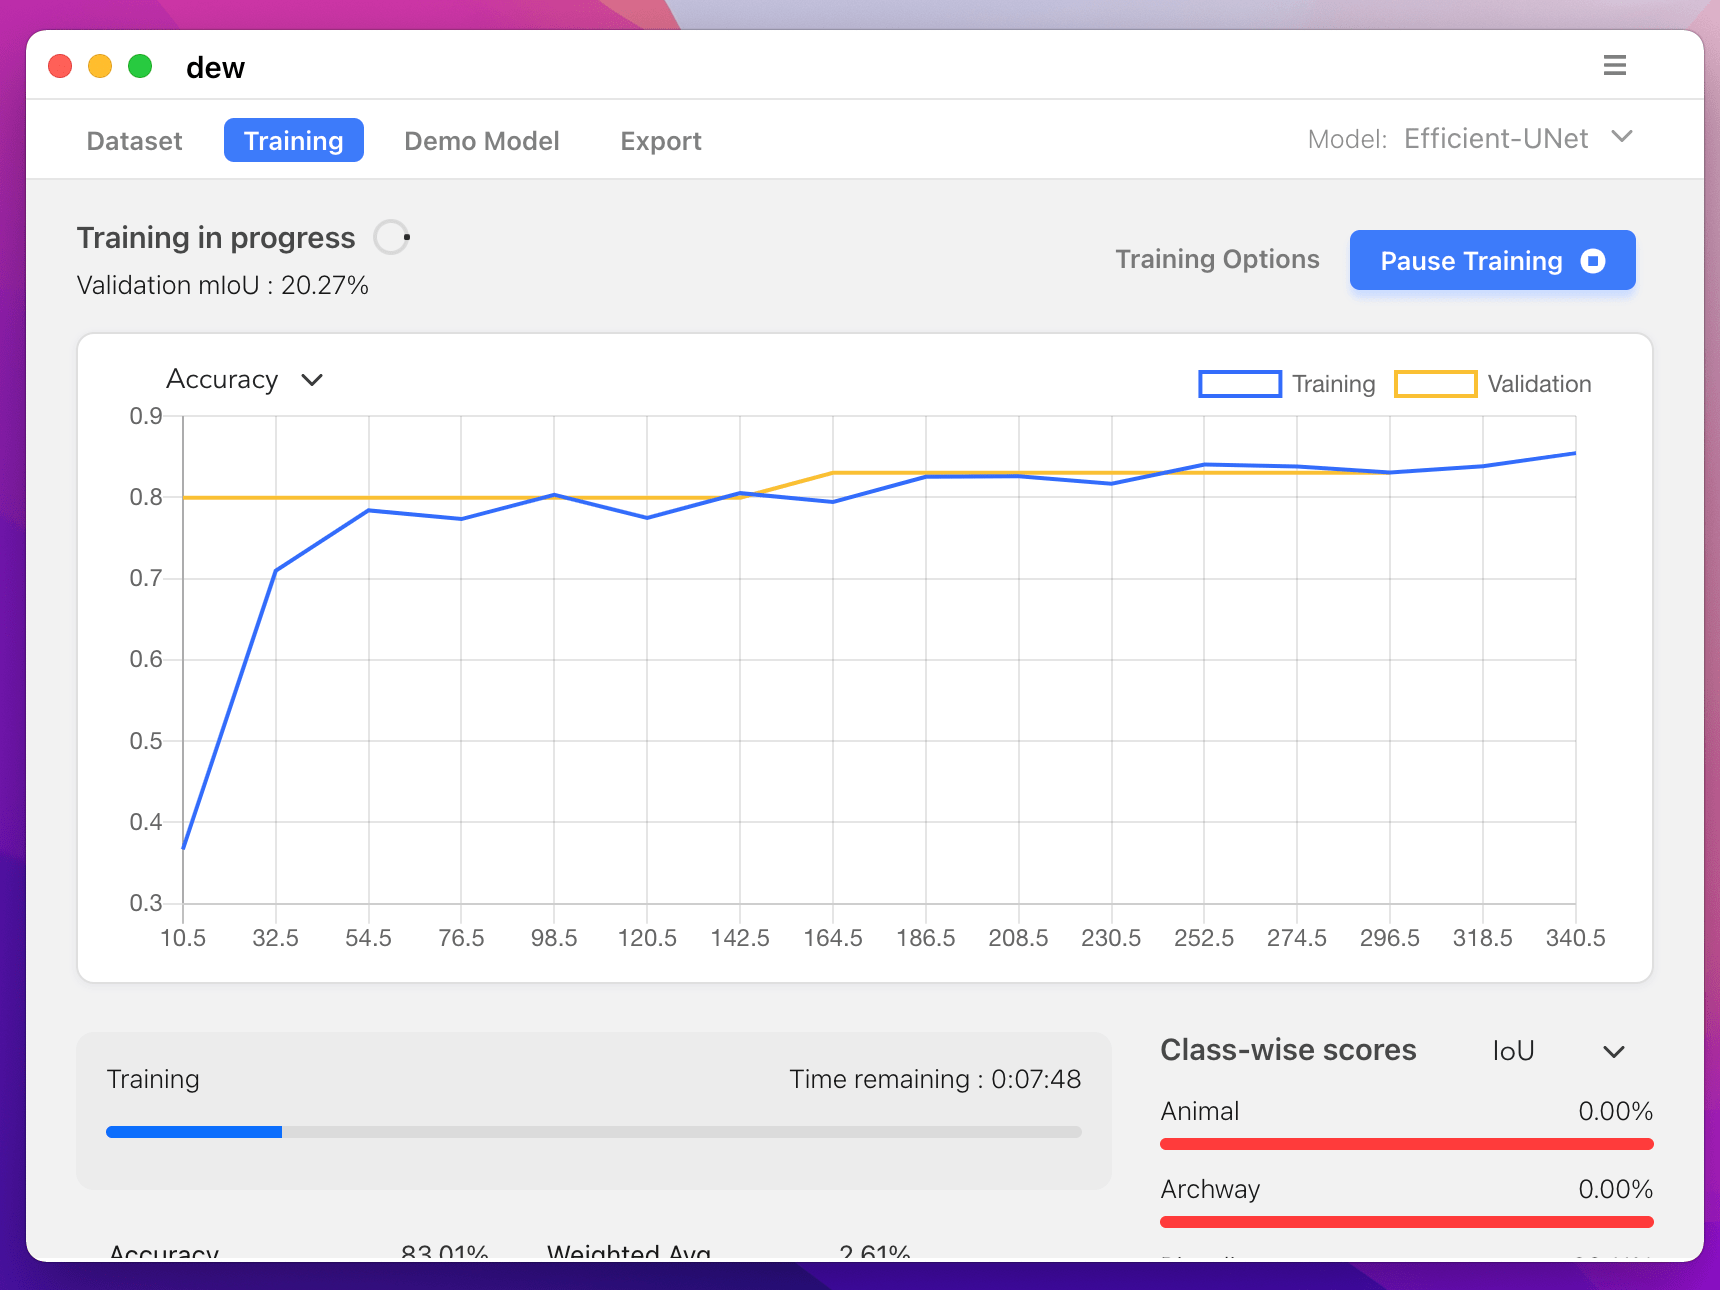 | 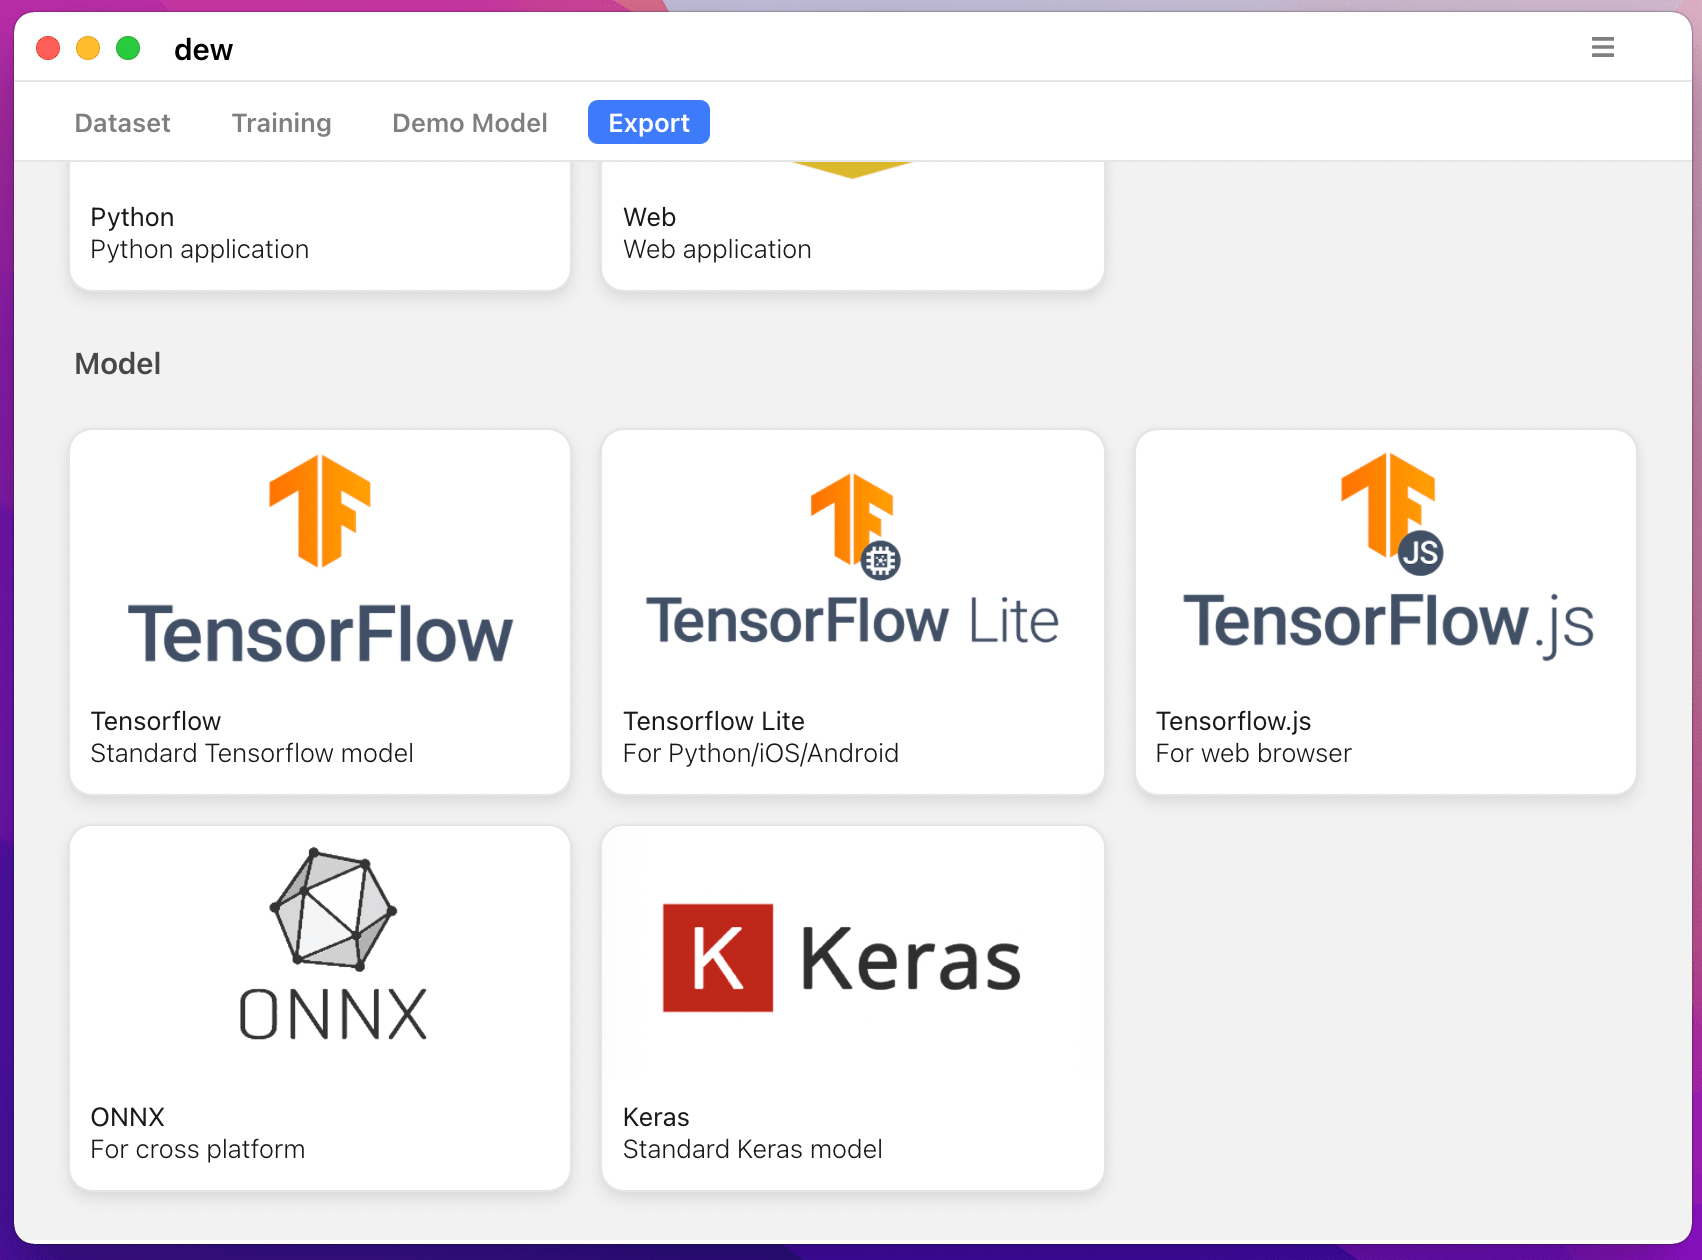 |
Les modèles suivants sont pris en charge :
| nom_modèle | Modèle de base | Modèle de segmentation |
|---|---|---|
| fcn_8 | Vanille CNN | FCN8 |
| fcn_32 | Vanille CNN | FCN8 |
| fcn_8_vgg | VGG 16 | FCN8 |
| fcn_32_vgg | VGG 16 | FCN32 |
| fcn_8_resnet50 | Resnet-50 | FCN32 |
| fcn_32_resnet50 | Resnet-50 | FCN32 |
| fcn_8_mobilenet | MobileNet | FCN32 |
| fcn_32_mobilenet | MobileNet | FCN32 |
| pspnet | Vanille CNN | PSPNet |
| pspnet_50 | Vanille CNN | PSPNet |
| pspnet_101 | Vanille CNN | PSPNet |
| vgg_pspnet | VGG 16 | PSPNet |
| resnet50_pspnet | Resnet-50 | PSPNet |
| unet_mini | Vanille Mini CNN | U-Net |
| unet | Vanille CNN | U-Net |
| vgg_unet | VGG 16 | U-Net |
| resnet50_unet | Resnet-50 | U-Net |
| mobilenet_unet | MobileNet | U-Net |
| segnet | Vanille CNN | Segnet |
| vgg_segnet | VGG 16 | Segnet |
| resnet50_segnet | Resnet-50 | Segnet |
| mobilenet_segnet | MobileNet | Segnet |
Exemples de résultats pour les modèles pré-entraînés fournis :
| Image d'entrée | Image de segmentation de sortie |
|---|---|
 | 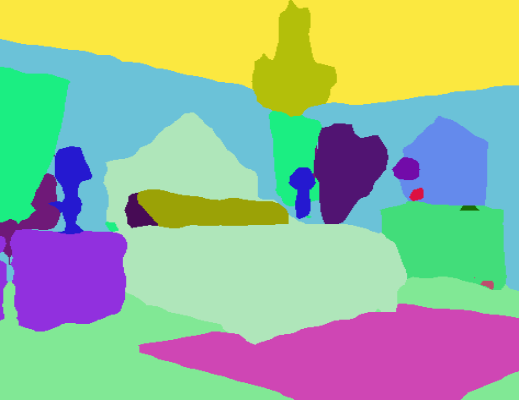 |
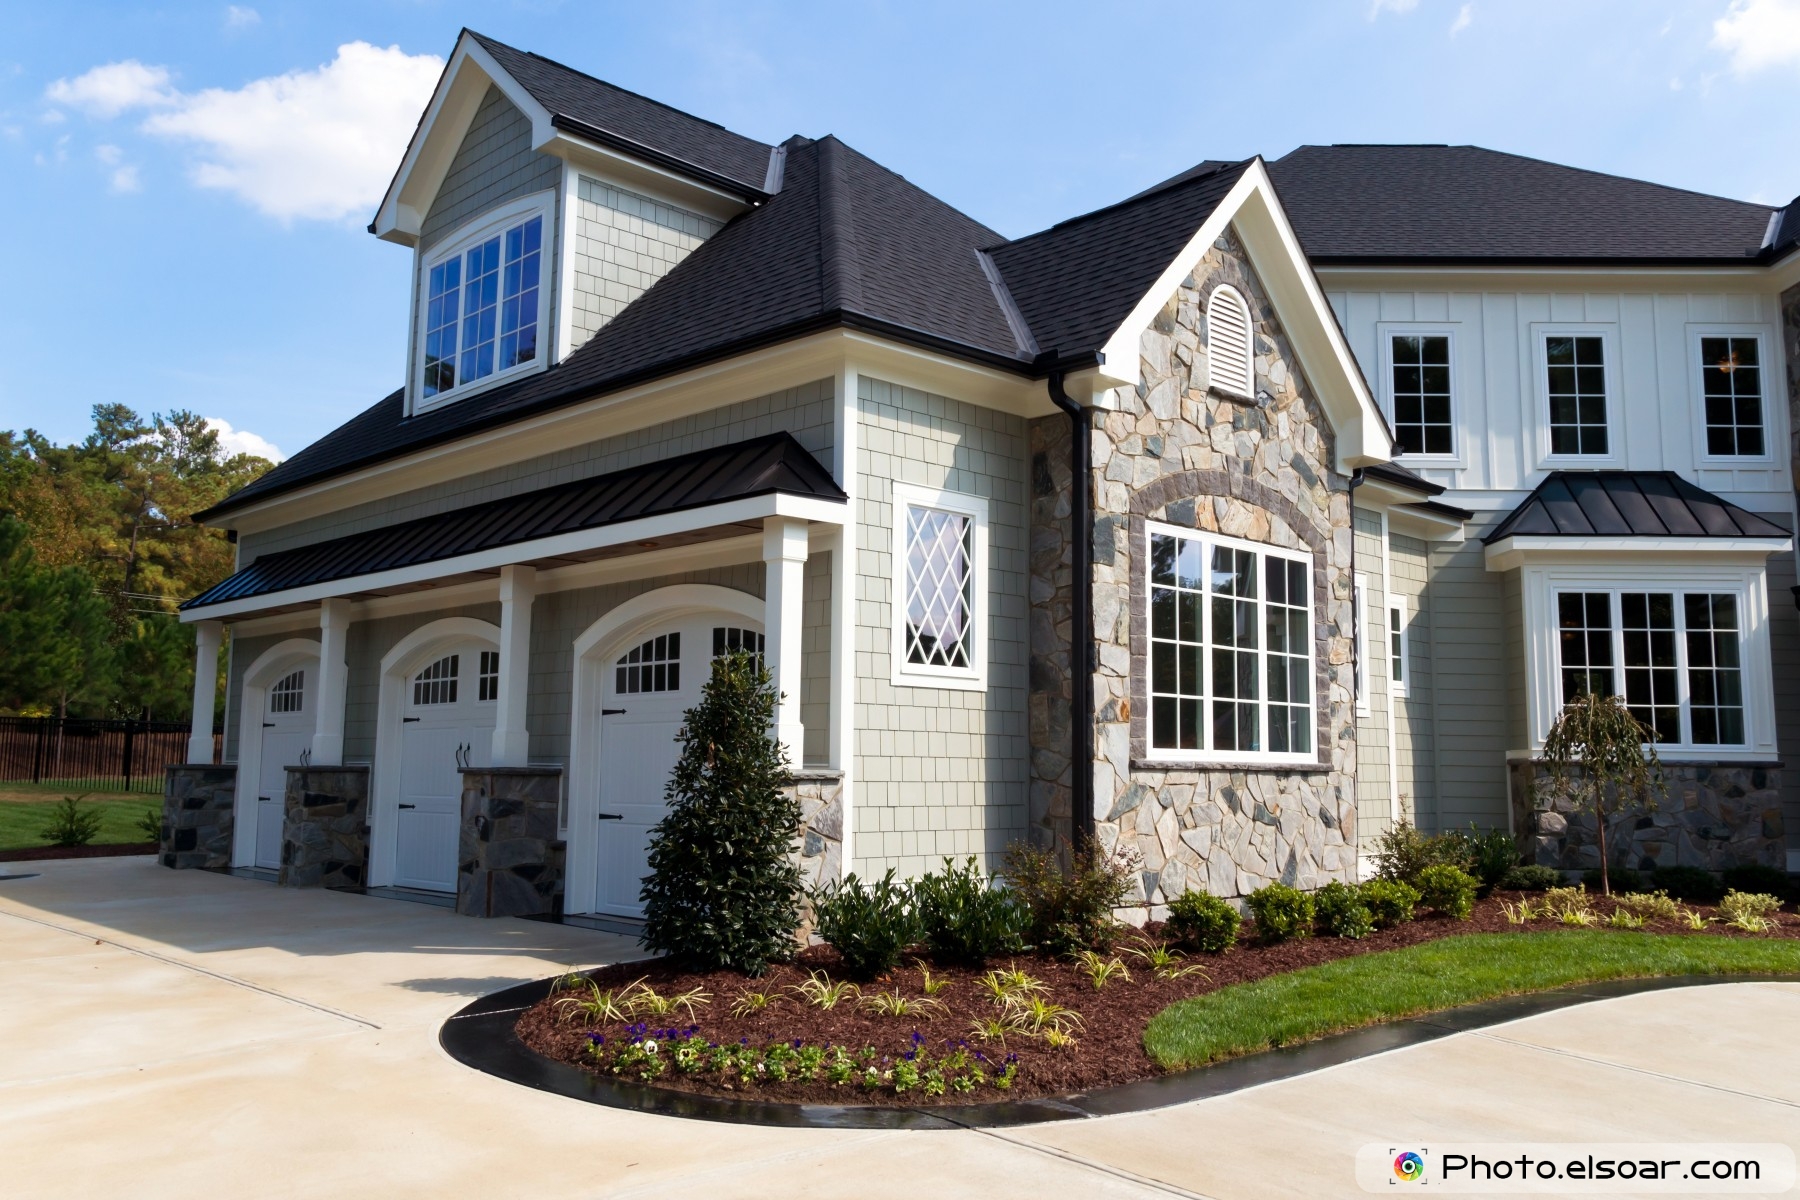 |  |
Si vous utilisez cette bibliothèque, veuillez citer en utilisant :
 @article{gupta2023image,
  title={Image segmentation keras: Implementation of segnet, fcn, unet, pspnet and other models in keras},
  author={Gupta, Divam},
  journal={arXiv preprint arXiv:2307.13215},
  year={2023}
}
apt-get install -y libsm6 libxext6 libxrender-dev
pip install opencv-pythonInstaller le module
Méthode recommandée :
pip install --upgrade git+https://github.com/divamgupta/image-segmentation-keraspip install keras-segmentationgit clone https://github.com/divamgupta/image-segmentation-keras
cd image-segmentation-keras
python setup.py install from keras_segmentation . pretrained import pspnet_50_ADE_20K , pspnet_101_cityscapes , pspnet_101_voc12
model = pspnet_50_ADE_20K () # load the pretrained model trained on ADE20k dataset
model = pspnet_101_cityscapes () # load the pretrained model trained on Cityscapes dataset
model = pspnet_101_voc12 () # load the pretrained model trained on Pascal VOC 2012 dataset
# load any of the 3 pretrained models
out = model . predict_segmentation (
inp = "input_image.jpg" ,
out_fname = "out.png"
)Vous devez créer deux dossiers
Les noms de fichiers des images d'annotation doivent être identiques à ceux des images RVB.
La taille de l'image d'annotation pour l'image RVB correspondante doit être la même.
Pour chaque pixel de l'image RVB, l'étiquette de classe de ce pixel dans l'image d'annotation serait la valeur du pixel bleu.
Exemple de code pour générer des images d'annotation :
 import cv2
import numpy as np

ann_img = np . zeros (( 30 , 30 , 3 )). astype ( 'uint8' )
ann_img [ 3 , 4 ] = 1 # this would set the label of pixel 3,4 as 1

cv2 . imwrite ( "ann_1.png" , ann_img )
Utilisez uniquement le format bmp ou png pour les images d'annotation.
Téléchargez et extrayez les éléments suivants :
https://drive.google.com/file/d/0B0d9ZiqAgFkiOHR1NTJhWVJMNEU/view?usp=sharing
Vous obtiendrez un dossier nommé dataset1/
Vous pouvez importer keras_segmentation dans votre script python et utiliser l'API
 from keras_segmentation . models . unet import vgg_unet

model = vgg_unet ( n_classes = 51 ,  input_height = 416 , input_width = 608  )

model . train (
    train_images =  "dataset1/images_prepped_train/" ,
    train_annotations = "dataset1/annotations_prepped_train/" ,
    checkpoints_path = "/tmp/vgg_unet_1" , epochs = 5
)

out = model . predict_segmentation (
    inp = "dataset1/images_prepped_test/0016E5_07965.png" ,
    out_fname = "/tmp/out.png"
)

import matplotlib . pyplot as plt
plt . imshow ( out )

# evaluating the model
print ( model . evaluate_segmentation ( inp_images_dir = "dataset1/images_prepped_test/" , annotations_dir = "dataset1/annotations_prepped_test/" ) )Vous pouvez également utiliser l'outil simplement en utilisant la ligne de commande
Vous pouvez également visualiser vos annotations préparées pour vérifier les données préparées.
python -m keras_segmentation verify_dataset
 --images_path= " dataset1/images_prepped_train/ "
 --segs_path= " dataset1/annotations_prepped_train/ "
 --n_classes=50
python -m keras_segmentation visualize_dataset
--images_path= " dataset1/images_prepped_train/ "
--segs_path= " dataset1/annotations_prepped_train/ "
--n_classes=50Pour entraîner le modèle, exécutez la commande suivante :
python -m keras_segmentation train
 --checkpoints_path= " path_to_checkpoints "
 --train_images= " dataset1/images_prepped_train/ "
 --train_annotations= " dataset1/annotations_prepped_train/ "
 --val_images= " dataset1/images_prepped_test/ "
 --val_annotations= " dataset1/annotations_prepped_test/ "
 --n_classes=50
 --input_height=320
 --input_width=640
 --model_name= " vgg_unet "
Choisissez model_name dans le tableau ci-dessus
Pour obtenir les prédictions d'un modèle entraîné
python -m keras_segmentation predict
 --checkpoints_path= " path_to_checkpoints "
 --input_path= " dataset1/images_prepped_test/ "
 --output_path= " path_to_predictions "
Pour obtenir les prédictions d'une vidéo
python -m keras_segmentation predict_video
 --checkpoints_path= " path_to_checkpoints "
 --input= " path_to_video "
 --output_file= " path_for_save_inferenced_video "
 --display
Si vous souhaitez faire des prédictions sur votre webcam, n'utilisez pas --input , et ne transmettez pas votre numéro d'appareil : --input 0
--display ouvre une fenêtre avec la vidéo prédite. Supprimez cet argument lorsque vous utilisez un système sans tête.
Pour obtenir les scores IoU
python -m keras_segmentation evaluate_model
 --checkpoints_path= " path_to_checkpoints "
 --images_path= " dataset1/images_prepped_test/ "
--segs_path= " dataset1/annotations_prepped_test/ " L'exemple suivant montre comment affiner un modèle avec 10 classes .
 from keras_segmentation . models . model_utils import transfer_weights
from keras_segmentation . pretrained import pspnet_50_ADE_20K
from keras_segmentation . models . pspnet import pspnet_50

pretrained_model = pspnet_50_ADE_20K ()

new_model = pspnet_50 ( n_classes = 51 )

transfer_weights ( pretrained_model , new_model  ) # transfer weights from pre-trained model to your model

new_model . train (
    train_images =  "dataset1/images_prepped_train/" ,
    train_annotations = "dataset1/annotations_prepped_train/" ,
    checkpoints_path = "/tmp/vgg_unet_1" , epochs = 5
)
L'exemple suivant montre le transfert des connaissances d'un modèle plus grand (et plus précis) vers un modèle plus petit. Dans la plupart des cas, le modèle plus petit formé via la distillation des connaissances est plus précis que le même modèle formé via l'apprentissage supervisé Vanilla.
 from keras_segmentation . predict import model_from_checkpoint_path
from keras_segmentation . models . unet import unet_mini
from keras_segmentation . model_compression import perform_distilation

model_large = model_from_checkpoint_path ( "/checkpoints/path/of/trained/model" )
model_small = unet_mini ( n_classes = 51 , input_height = 300 , input_width = 400  )

perform_distilation ( data_path = "/path/to/large_image_set/" , checkpoints_path = "path/to/save/checkpoints" ,
teacher_model = model_large , student_model = model_small , distilation_loss = 'kl' , feats_distilation_loss = 'pa' )L'exemple suivant montre comment définir une fonction d'augmentation personnalisée pour la formation.
 from keras_segmentation . models . unet import vgg_unet
from imgaug import augmenters as iaa

def custom_augmentation ():
    return  iaa . Sequential (
        [
            # apply the following augmenters to most images
            iaa . Fliplr ( 0.5 ),  # horizontally flip 50% of all images
            iaa . Flipud ( 0.5 ), # horizontally flip 50% of all images
        ])

model = vgg_unet ( n_classes = 51 ,  input_height = 416 , input_width = 608 )

model . train (
    train_images =  "dataset1/images_prepped_train/" ,
    train_annotations = "dataset1/annotations_prepped_train/" ,
    checkpoints_path = "/tmp/vgg_unet_1" , epochs = 5 ,
    do_augment = True , # enable augmentation
    custom_augmentation = custom_augmentation # sets the augmention function to use
)L'exemple suivant montre comment définir le nombre de canaux d'entrée.
 from keras_segmentation . models . unet import vgg_unet

model = vgg_unet ( n_classes = 51 ,  input_height = 416 , input_width = 608 ,
                 channels = 1 # Sets the number of input channels
                 )

model . train (
    train_images =  "dataset1/images_prepped_train/" ,
    train_annotations = "dataset1/annotations_prepped_train/" ,
    checkpoints_path = "/tmp/vgg_unet_1" , epochs = 5 ,
    read_image_type = 0  # Sets how opencv will read the images
                       # cv2.IMREAD_COLOR = 1 (rgb),
                       # cv2.IMREAD_GRAYSCALE = 0,
                       # cv2.IMREAD_UNCHANGED = -1 (4 channels like RGBA)
)L'exemple suivant montre comment définir une fonction de prétraitement d'image personnalisée.
 from keras_segmentation . models . unet import vgg_unet

def image_preprocessing ( image ):
    return image + 1

model = vgg_unet ( n_classes = 51 ,  input_height = 416 , input_width = 608 )

model . train (
    train_images =  "dataset1/images_prepped_train/" ,
    train_annotations = "dataset1/annotations_prepped_train/" ,
    checkpoints_path = "/tmp/vgg_unet_1" , epochs = 5 ,
    preprocessing = image_preprocessing # Sets the preprocessing function
)L'exemple suivant montre comment définir des rappels personnalisés pour la formation du modèle.
 from keras_segmentation . models . unet import vgg_unet
from keras . callbacks import ModelCheckpoint , EarlyStopping

model = vgg_unet ( n_classes = 51 ,  input_height = 416 , input_width = 608 )

# When using custom callbacks, the default checkpoint saver is removed
callbacks = [
    ModelCheckpoint (
                filepath = "checkpoints/" + model . name + ".{epoch:05d}" ,
                save_weights_only = True ,
                verbose = True
            ),
    EarlyStopping ()
]

model . train (
    train_images =  "dataset1/images_prepped_train/" ,
    train_annotations = "dataset1/annotations_prepped_train/" ,
    checkpoints_path = "/tmp/vgg_unet_1" , epochs = 5 ,
    callbacks = callbacks
)L'exemple suivant montre comment ajouter des entrées d'image supplémentaires pour les modèles.
 from keras_segmentation . models . unet import vgg_unet

model = vgg_unet ( n_classes = 51 ,  input_height = 416 , input_width = 608 )

model . train (
    train_images =  "dataset1/images_prepped_train/" ,
    train_annotations = "dataset1/annotations_prepped_train/" ,
    checkpoints_path = "/tmp/vgg_unet_1" , epochs = 5 ,
    other_inputs_paths = [
        "/path/to/other/directory"
    ],


#     Ability to add preprocessing
    preprocessing = [ lambda x : x + 1 , lambda x : x + 2 , lambda x : x + 3 ], # Different prepocessing for each input
#     OR
    preprocessing = lambda x : x + 1 , # Same preprocessing for each input
)Voici quelques projets qui utilisent notre bibliothèque :
Si vous utilisez notre code dans un projet accessible au public, veuillez ajouter le lien ici (en publiant un problème ou en créant un PR)