voice overlay ios
1.0.0
La superposition vocale vous aide à transformer la voix de votre utilisateur en texte , offrant une UX raffinée tout en gérant pour vous les autorisations nécessaires .
Il utilise en interne le SFSpeechRecognizer natif afin d'effectuer la conversion parole en texte.
Vous pouvez cloner et exécuter le projet de démonstration en effectuant pod install , puis en exécutant le projet.
Le Swift Package Manager est un outil de gestion de la distribution du code Swift. Il est intégré au système de build Swift pour automatiser le processus de téléchargement, de compilation et de liaison des dépendances.
Pour utiliser SwiftPM, vous devez utiliser Xcode 11+ pour ouvrir votre projet. Cliquez sur File -> Swift Packages -> Add Package Dependency , entrez l'URL du dépôt InstantSearch VoiceOverlay.
Si vous êtes un auteur de framework et utilisez VoiceOverlay comme dépendance, mettez à jour votre fichier Package.swift :
 let package = Package (
    // 1.1.0 ..< 2.0.0
    dependencies : [
        . package ( url : " https://github.com/algolia/voice-overlay-ios " , from : " 1.1.0 " )
    ] ,
    // ...
) InstantSearchVoiceOverlay est disponible via CocoaPods. Pour l'installer, ajoutez la ligne suivante à votre Podfile :
pod 'InstantSearchVoiceOverlay' , '~> 1.1.0'Carthage est un gestionnaire de dépendances simple et décentralisé pour Cocoa.
Pour installer InstantSearchVoiceOverlay, ajoutez la ligne suivante à votre Cartfile :
github "algolia/voice-overlay-ios" ~> 1.1 . 0Info.plist , ajoutez ces 2 propriétés de chaîne avec la descriptionPrivacy - Microphone Usage Description avec une description telle que : Need the mic for audio to textPrivacy - Speech Recognition Usage Description une description telle que : Need the speech recognition capabilities for searching tags 
import InstantSearchVoiceOverlay

class ViewController : UIViewController {

    let voiceOverlayController = VoiceOverlayController ( )

    @ objc func voiceButtonTapped ( ) {

        voiceOverlayController . start ( on : self , textHandler : { ( text , final ) in
            print ( " voice output: ( String ( describing : text ) ) " )
            print ( " voice output: is it final? ( String ( describing : final ) ) " )
        } , errorHandler : { ( error ) in
            print ( " voice output: error ( String ( describing : error ) ) " )
        } )
    }
Vous pouvez personnaliser votre superposition vocale en modifiant la propriété settings du voiceOverlayController :
/// Specifies whether the overlay directly starts recording (true),
/// or if it requires the user to click the mic (false). Defaults to true.
voiceOverlayController . settings . autoStart = true
/// Specifies whether the overlay stops recording after the user stops talking for `autoStopTimeout`
/// seconds (true), or if it requires the user to click the mic (false). Defaults to true.
voiceOverlayController . settings . autoStop = true
/// When autoStop is set to true, autoStopTimeout determines the amount of
/// silence time of the user that causes the recording to stop. Defaults to 2.
voiceOverlayController . settings . autoStopTimeout = 2
/// The layout and style of all screens of the voice overlay.
voiceOverlayController . settings . layout . < someScreen > . < someConstant >
// Use XCode autocomplete to see all possible screens and constants that are customisable.
// Examples:
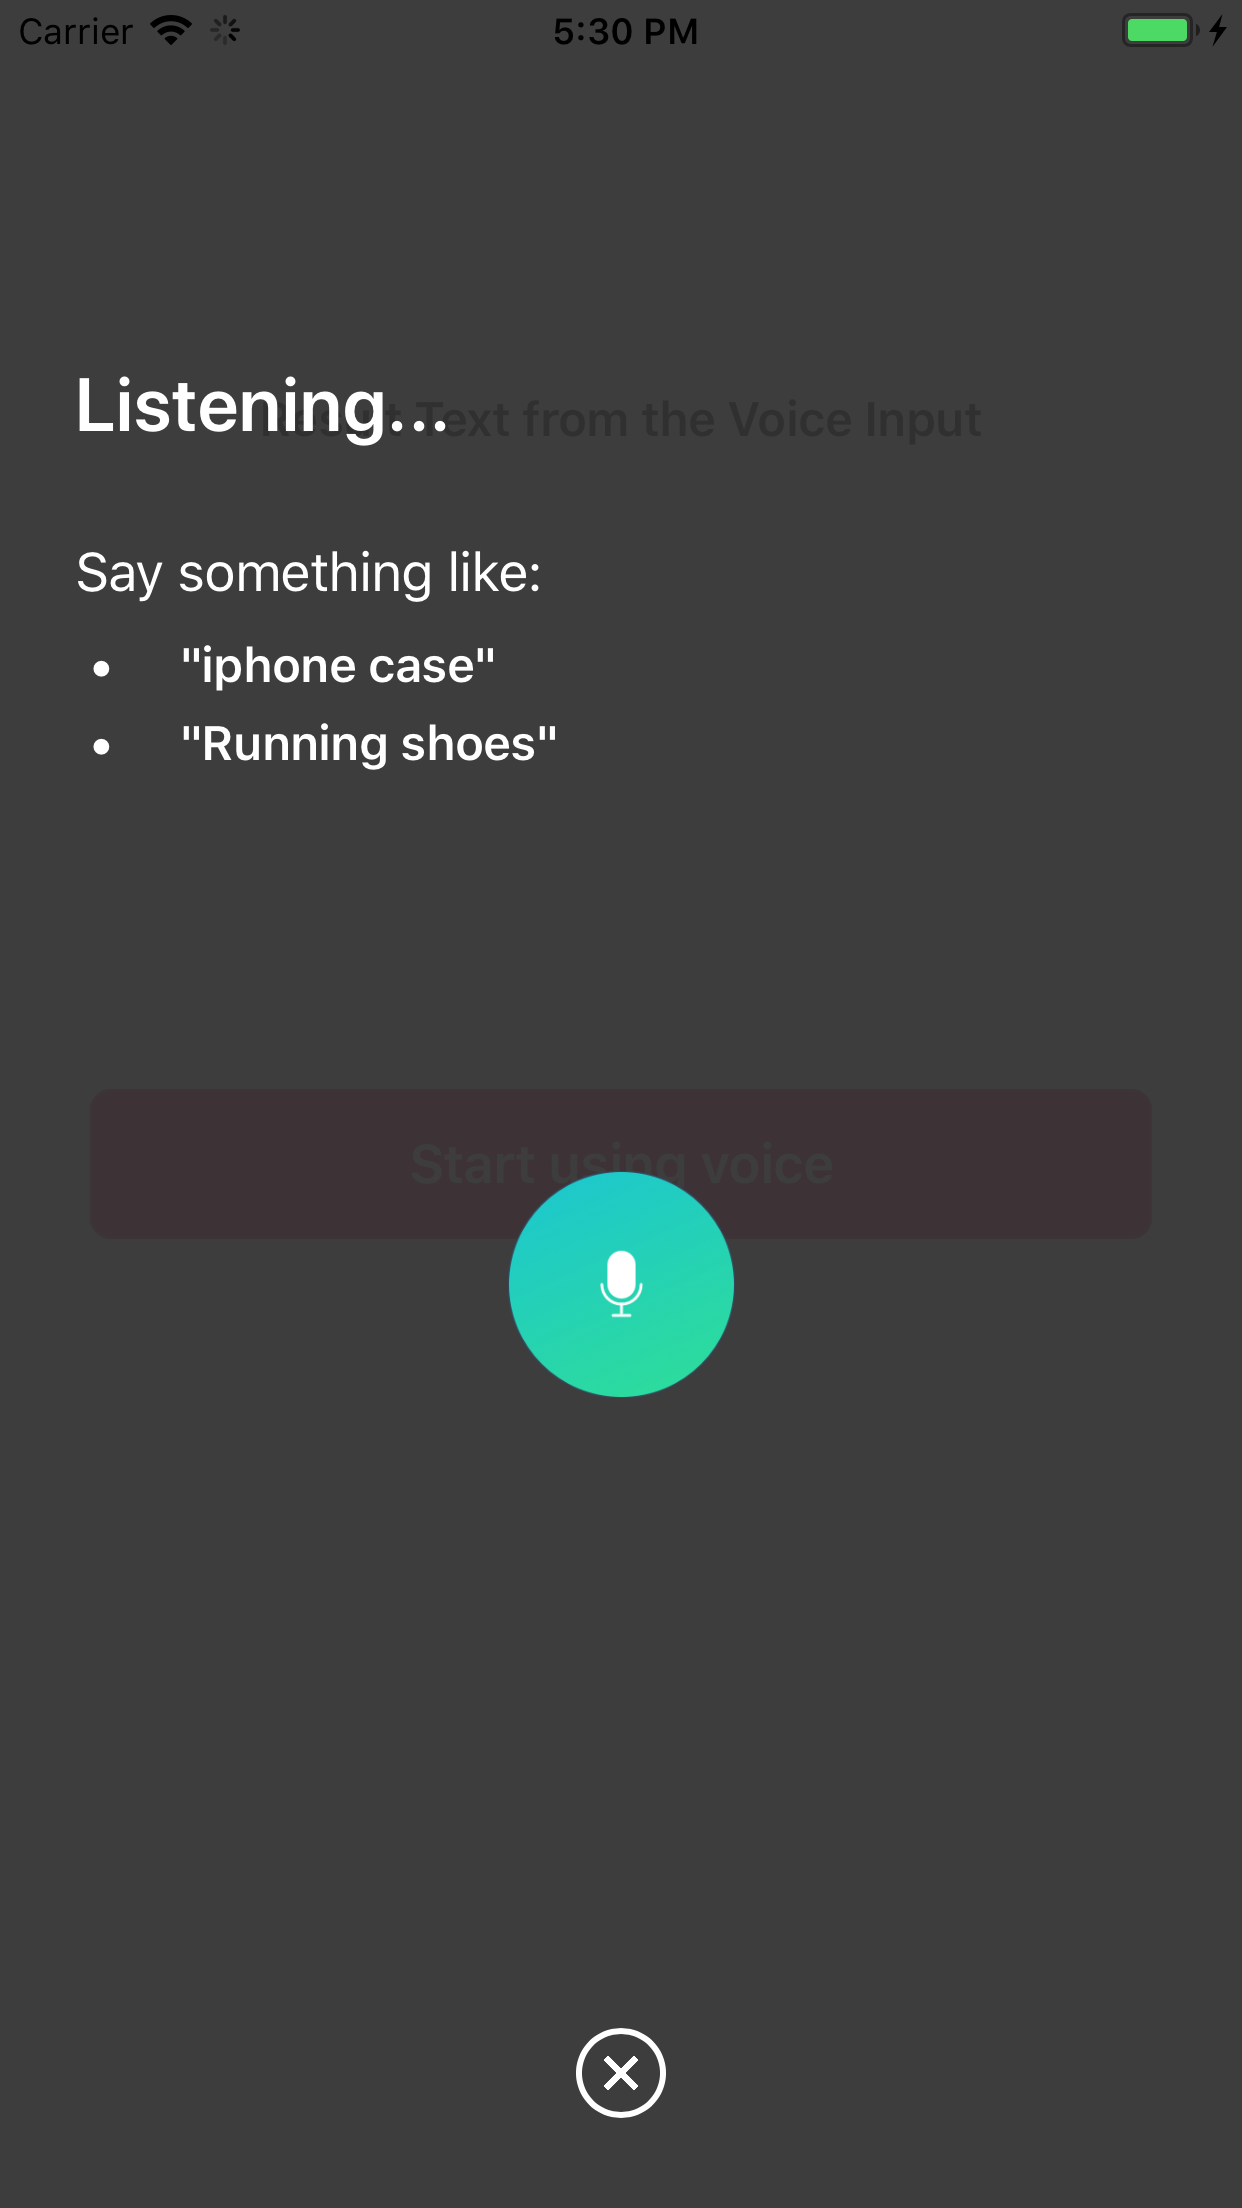
/// The voice suggestions that appear in bullet points
voiceOverlayController . settings . layout . inputScreen . subtitleBulletList = [ " Suggestion1 " , " Sug2 " ]
/// Change the title of the input screen when the recording is ongoing.
voiceOverlayController . settings . layout . inputScreen . titleListening = " my custom title "
/// Change the background color of the permission screen.
voiceOverlayController . settings . layout . permissionScreen . backgroundColor = UIColor . red
/// And many more...Vous pouvez modifier les paramètres régionaux ou SpeechController lors de l'initialisation de votre voiceOverlayController comme suit :
lazy var voiceOverlayController : VoiceOverlayController = {
  let recordableHandler = {
    return SpeechController ( locale : Locale ( identifier : " en_US " ) )
  }
  return VoiceOverlayController ( speechControllerHandler : recordableHandler )
} ( )
Vous pouvez créer votre propre classe SpeechController personnalisée en implémentant le protocole Recordable .
Notez que dans Swift 4, vous pouvez utiliser Locale.current.languageCode pour obtenir les paramètres régionaux actuels.
Facultativement, pour écouter le texte et les événements d'erreur, vous pouvez vous conformer à la méthode du protocole VoiceOverlayDelegate .
// Second way to listen to recording through delegate
func recording ( text : String ? , final : Bool ? , error : Error ? ) {
if let error = error {
print ( " delegate: error ( error ) " )
}
if error == nil {
print ( " delegate: text ( text ) " )
}
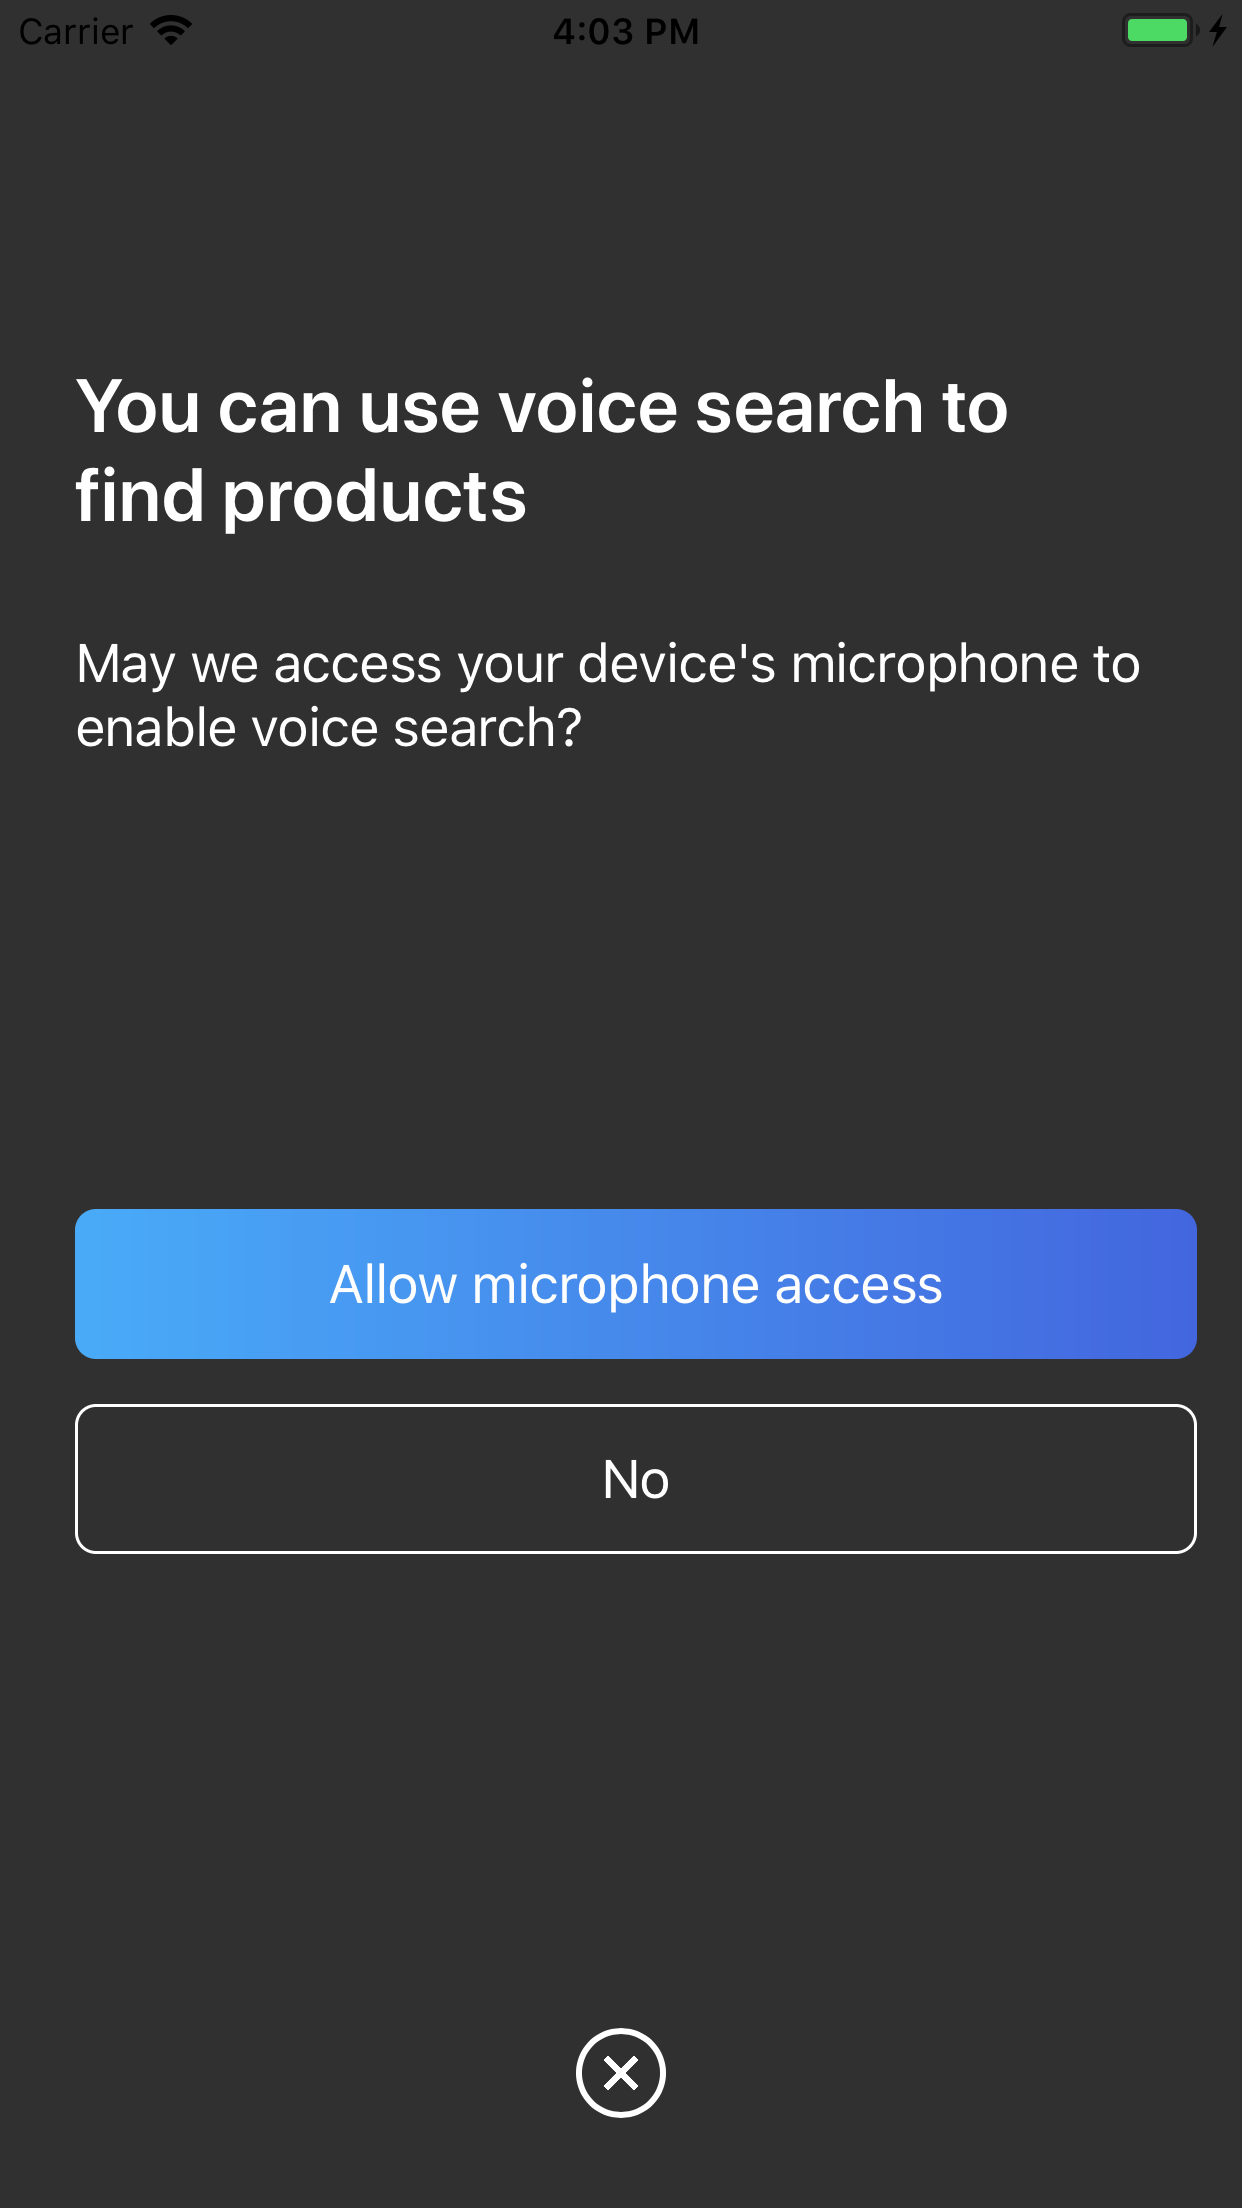
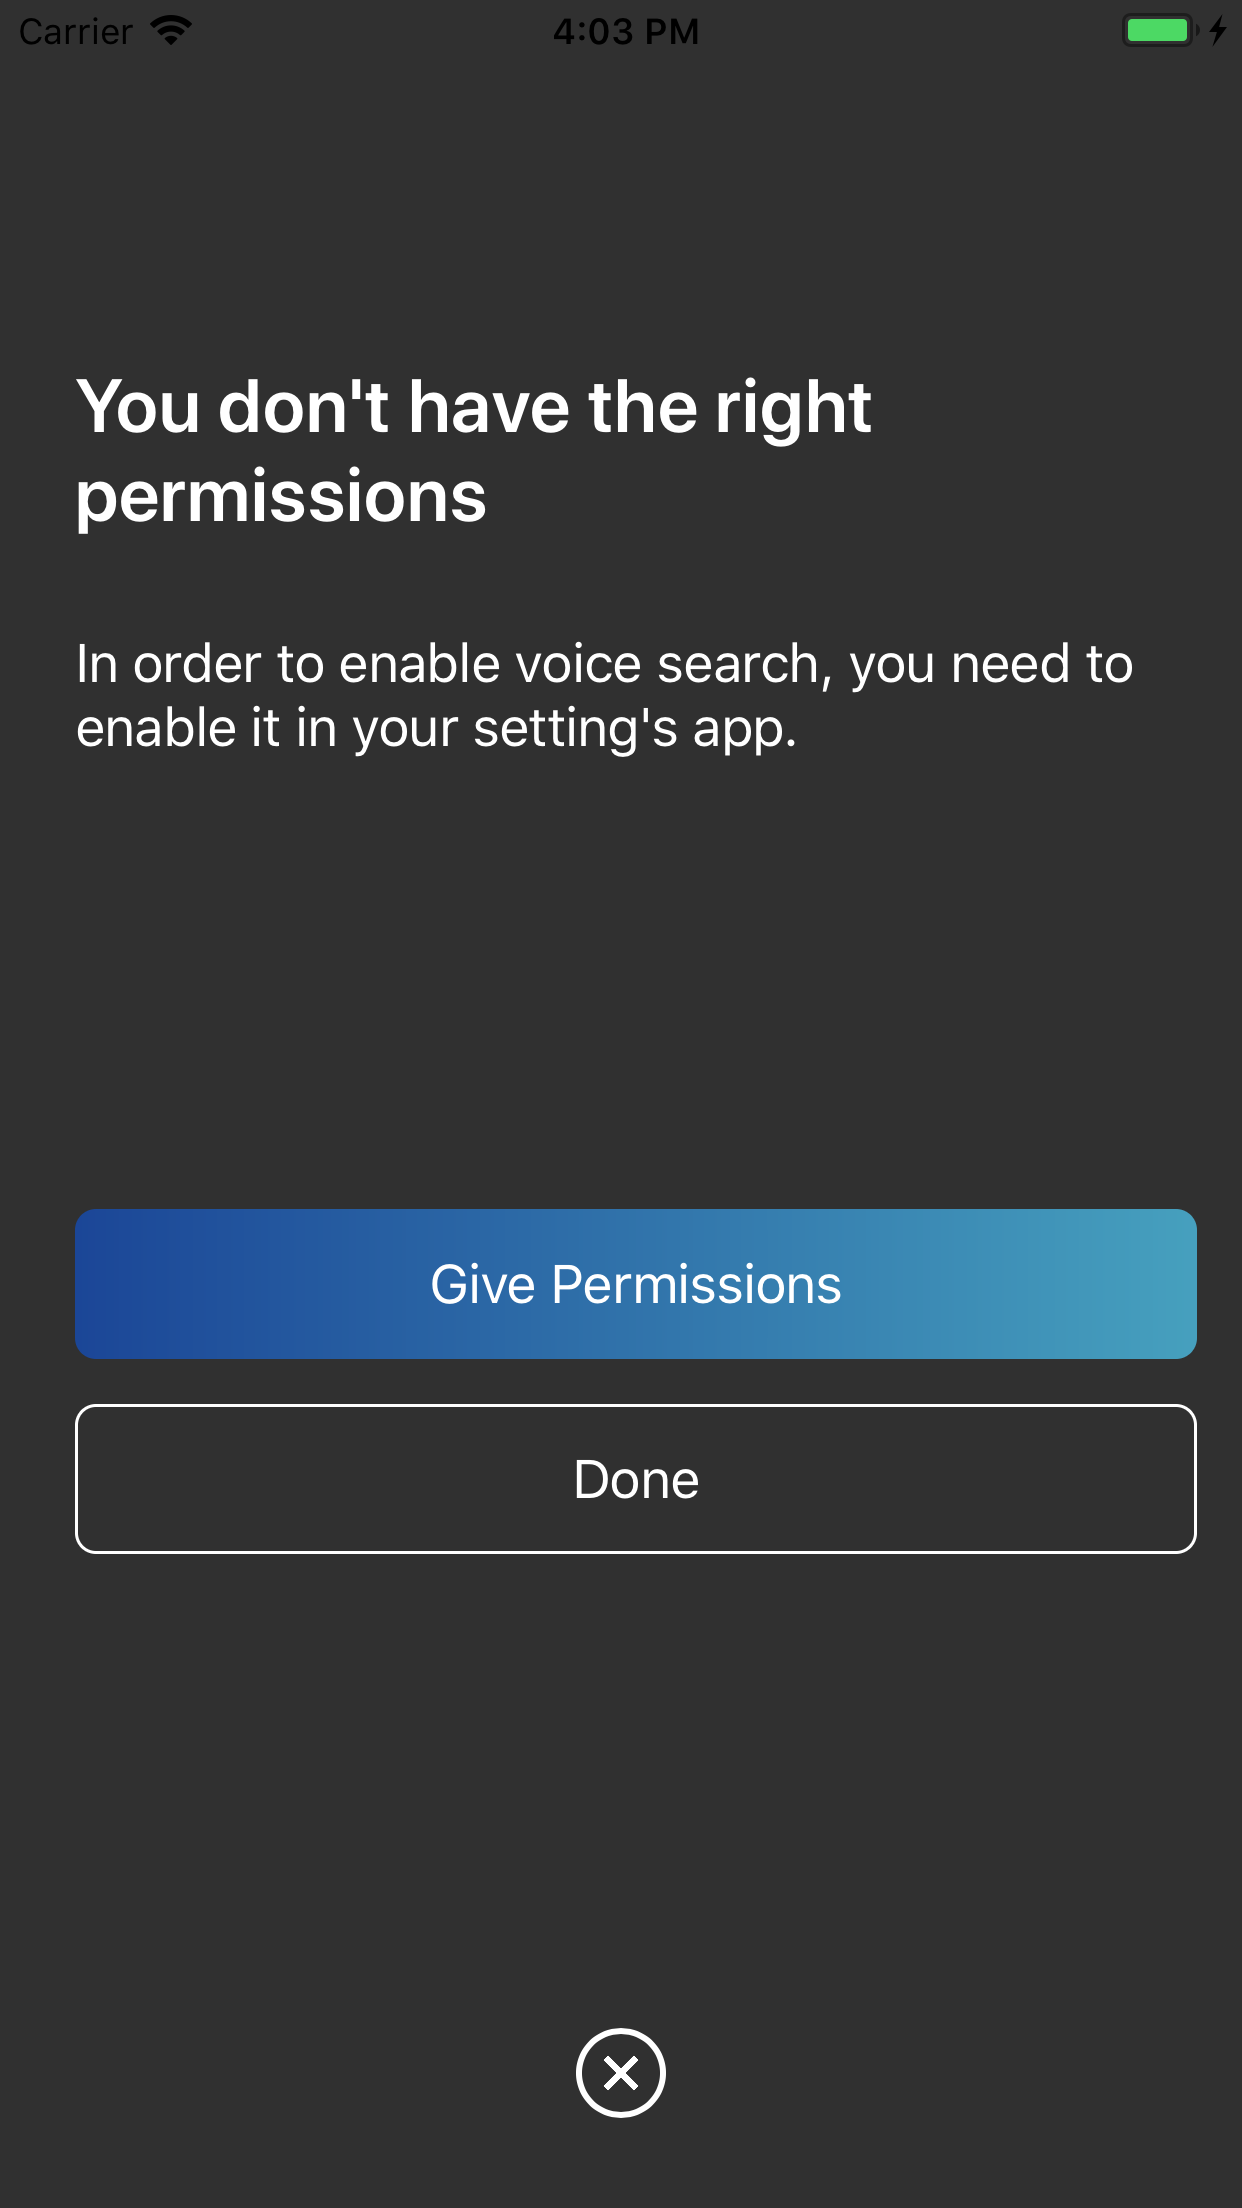
} Lorsqu'il manque des autorisations, la superposition vocale guidera l'utilisateur vers la bonne section de l'application des paramètres.
L'écran de résultat apparaît lorsque showResultScreen est défini sur true.
 /// Whether or not to show a result screen after the recording is finished.
voiceOverlayController . settings . showResultScreen = true

/// Timeout for showing the result screen in case no resultScreenText is provided on time.
voiceOverlayController . settings . showResultScreenTimeout = 2

/// Time for showing the result screen with the provided resultScreenText.
voiceOverlayController . settings . showResultScreenTime = 4

/// The processed result screen text that should be appear in the result screen.
voiceOverlayController . settings . resultScreenText = NSAttributedString ( string : myString , attributes : myAttributes )
Le widget fournit un resultScreenHandler lorsque l'écran de résultats est fermé (à condition que le bouton « Recommencer » ne soit pas cliqué). Le gestionnaire fournit le texte qui a été défini au préalable dans resultScreenText .
voiceOverlayController . start ( on : self , textHandler : { ( text , final ) in
    print ( " getting ( String ( describing : text ) ) " )
    print ( " is it final? ( String ( describing : final ) ) " )

    if final {
        // Process the result to post in the result screen.
        // The timer here simulates a network processing call that took 1.5 seconds.
        Timer . scheduledTimer ( withTimeInterval : 1.5 , repeats : false , block : { ( _ ) in
            let myString = text
            let myAttribute = [ NSAttributedString . Key . foregroundColor : UIColor . red ]
            let myAttrString = NSAttributedString ( string : myString , attributes : myAttribute )

            self . voiceOverlayController . settings . resultScreenText = myAttrString
        } )
    }
} , errorHandler : { ( error ) in
    print ( " error ( String ( describing : error ) ) " )
} , resultScreenHandler : { ( text ) in
    print ( " Result Screen: ( text ) " )
} ) InstantSearchVoiceOverlay est disponible sous la licence MIT. Voir le fichier LICENSE pour plus d'informations.


