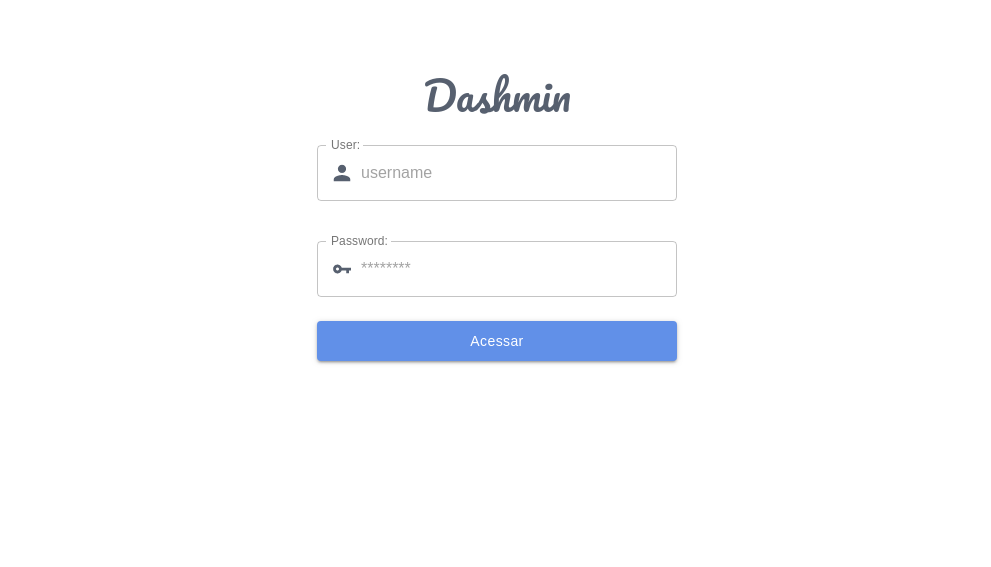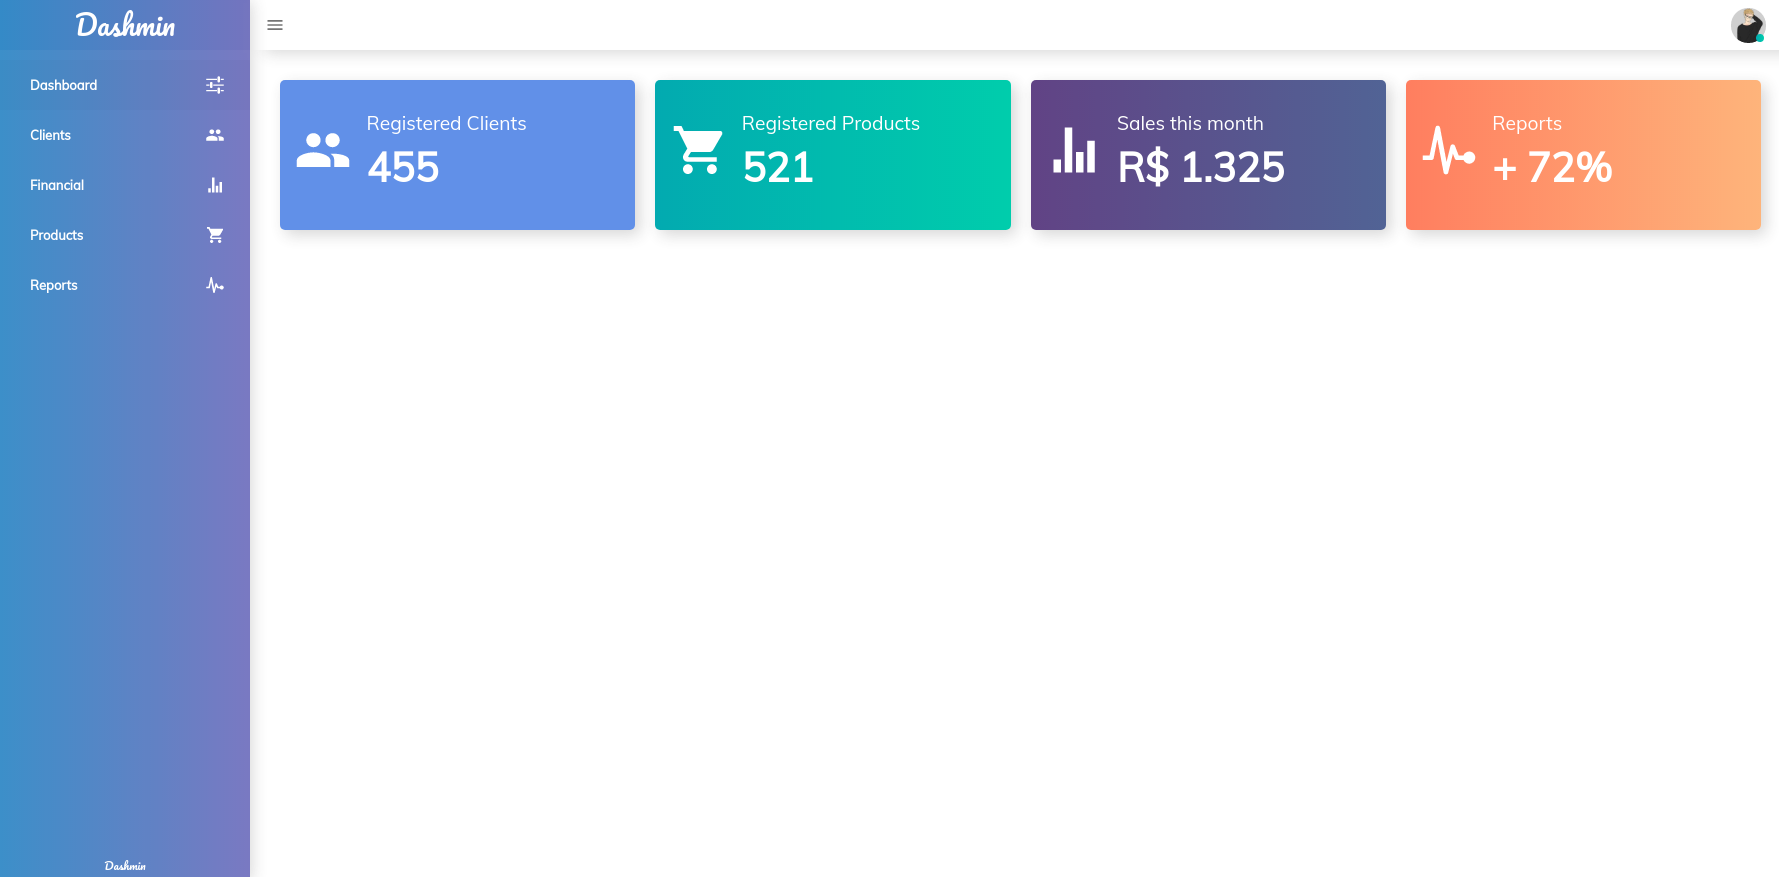
こんにちは、開発者です。Dashmin です!これは、管理システムの開発に役立つ、シンプルかつエレガントな基盤にすぎません。まだコンポーネントは多くありませんが、マテリアル UI や Reactstrap などの有名なライブラリがすでに統合されているため、それらのいずれかを知っていればページを簡単に作成できます。ぜひ図書館をご利用ください。お好みに合わせて。それでは始めましょう。
DASHmin を使用して管理者を作成する場合は、以下のインストール チュートリアルに従ってください。
├── assets
│   ├── logo.png
│   ├── login.png
│   ├── dashmin.png
├── node_modules
├── public
├── src
│   ├── components
│   ├── helpers
│   ├── routes
│   ├── services
│   ├── store
│   ├── views
│   ├── App.js
│   ├── index.js
├── .editorconfig
├── .env
├── .gitignore
├── .travis.yml
├── package.json
├── README.md
└── LICENSE.mdユーザー:ダッシュミンパス: 123
ライブデモ


このプロジェクトを実行するには、マシンにNode.jsがインストールされている必要があります。お持ちでない場合は、Web サイト https://nodejs.org/en/ にアクセスし、ドキュメントの説明に従ってダウンロードしてインストールしてください。
リポジトリのクローンを開始し、以下のコマンドを使用して依存関係をインストールします。
git clone https://github.com/hiukky/dashmin-react.git -b master nameOfYourProject
cd nameOfYourProject
yarn install
npm install
そうです。すべての依存関係をインストールした後、アプリケーションを実行して、すべてが正しく動作しているかどうかを確認できます。
yarn run start
npm run start
準備ができて!!すべてがうまくいったら、ブラウザ http://127.0.0.1:3000/ でアプリケーションを確認してください。
Dashmin はすでにすべてセットアップされているため、まずsrc/views/YourViewにビューを作成し、それをroutesのルート ファイルで使用できます。
viewsディレクトリ内に、レンダリングするビュー コンポーネントを作成します。
 // Imports
import React from 'react' ;

// Products
const Example01 = ( ) => (
  < div >
    < h1 > Example01 </ h1 >
  </ div >
) ;

export default Example01 ; // Imports
import React from 'react' ;
// Products
const Example02 = ( ) => (
< div >
< h1 > Example02 </ h1 >
</ div >
) ;
export default Example02 ; ビューを作成したら、 routes/index.jsに移動し、作成したビューをインポートします。
 // Views
import Example01 from 'pages/example01' ;
import Example02 from 'pages/example02' ;
ルートを定義します。
 // Routes
const Routes = {
  example01 : '/example01' ,
  example02 : '/example02' ,
} ;
ルートを定義した後、定義プロパティを渡して const Dashmin定義します。 Dashmin には、 navbar 、 sidebar 、 contentの情報が必要です。したがって、彼らに知らせることが重要です。
 const Dashmin = {
  // navbar
  navbar : {

  }

  // sidebar
  sidebar : {

  }

  // Content
  content : [

  ]
} navbarでは、 userとbuttonsオブジェクトを含むドロップダウンオブジェクトを入力する必要があります。
 // Serices
import { logout }  from 'services/auth' ;

const Dashmin = {
  // navbar
  navbar : {
    // Dropdown
    dropdown : {
      // User Profile
      user : {
        avatar : 'https://i.imgur.com/NpICPSl.jpg' ,
        name : 'R o m u l l o' ,
        jobRole : 'Administrator' ,
      } ,

      // Buttons events
      buttons : {
        settings : ( ) => { } ,
        profile : ( ) => { } ,
        logout : ( ) => {
          logout ( ) ;
          document . location . reload ( ) ;
        }
      }
    }
  } ,
} sidebarの場合は、 brandとbuttonsを渡す必要があります。 brandの場合は、フルネームmaxと省略形minを入力して、組織名のみを渡す必要があります。 buttonsの場合は、 name 、 icon 、およびrouteが必要です。
すべての OS アイコン .. o Dashmin usa o React icons 、簡単な操作で OS アイコンをインポートし、使用できるコンポーネントやコンポーネント アイコンを表示します。
 // Icons
import {
  IoMdOptions ,
  IoMdPeople ,
} from 'react-icons/io' ;

const Dashmin = {
  // sidebar
  sidebar : {
    // brand
    brand : {
      max : 'D A S H M I N' ,
      min : 'dmin'
    } ,

    // buttons
    buttons : [
      {
        name : 'Example01' ,
        icon : < IoMdOptions /> ,
        route : Routes . example01 ,
      } ,
      {
        name : 'Example02' ,
        icon : < IoMdOptions />
        route : Routes . example02 ,
      } ,
    ]
  }
} 最後に内容部分です。 routeと視覚化コンポーネントを含むオブジェクトの配列を引き換えてviewするために渡す必要があるためです。
 // Views
import Example01 from 'pages/example01' ;
import Example02 from 'pages/example02' ;

const Dashmin = {
  // content
  content : [
    {
      route : Routes . example01 ,
      view : Example01
    } ,
    {
      route : Routes . example02 ,
      view : Example02
    } ,
  ]
}上記の設定を含む Route ファイル。
 // React
import React from 'react' ;

// Views
import Example01 from 'views/example01' ;
import Example02 from 'views/example02' ;

// Icons
import {
  IoMdOptions ,
  IoMdPeople ,
} from 'react-icons/io' ;

// Routes
const Routes = {
  example01 : '/example01' ,
  example02 : '/example02' ,
} ;

// Dashmin
const Dashmin = {
  // Navbar
  navbar : {
    // Dropdown
    dropdown : {
      // User Profile
      user : {
        avatar : 'https://i.imgur.com/NpICPSl.jpg' ,
        name : 'R o m u l l o' ,
        jobRole : 'Administrator' ,
      } ,

      // Buttons events
      buttons : {
        settings : ( ) => { } ,
        profile : ( ) => { } ,
        logout : ( ) => {
          logout ( ) ;
          document . location . reload ( ) ;
        }
      }
    }
  } ,

  // Sidebar
  sidebar : {
    // brand
    brand : {
      max : 'D A S H M I N' ,
      min : 'dmin'
    } ,

    // buttons
    buttons : [
      {
        name : 'Example01' ,
        icon : < IoMdOptions /> ,
        route : Routes . example01 ,
      } ,
      {
        name : 'Example02' ,
        icon : < IoMdOptions />
        route : Routes . example02 ,
      } ,
    ]
  } ,

  // Content
  content : [
    {
      route : Routes . example01 ,
      view : Example01
    } ,
    {
      route : Routes . example02 ,
      view : Example02
    } ,
  ]
} ;

export default Dashmin ;上記の手順に従った後、これまでにアプリを実行したことがない場合は、以下のコマンドのいずれかを使用してアプリをテストできるようになります。
yarn run start
npm run start
準備ができて!!すべてがうまくいったら、ブラウザ http://127.0.0.1:3000/ でアプリケーションを確認してください。
?マテリアルUI
?リアクトストラップ
?アイコンに反応する
? ReactルーターDom
?リダックス
?スタイル付きコンポーネント