How to get to the Windy Desert of Elves and the Will of Fireflies? Some friends may not be sure about this yet, so let’s take a look at the detailed graphic guide of the Stormy Desert. I hope it will be useful to you.
Return to the base and first talk to Moki next to the skill merchant to advance the "Hand to Hand" branch.

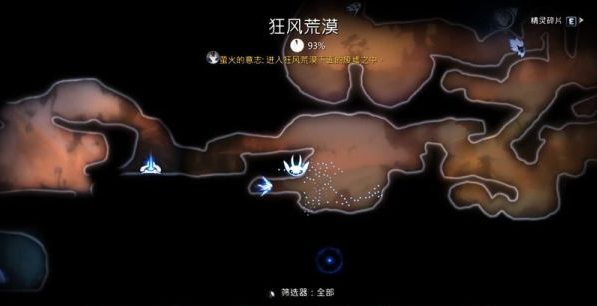
After advancing the branch line, you will come to the transfer point of "Quiet Forest". Go all the way to the right to go to "Wind Desert".
However, you have to pass through a very empty scene first, with two roads up and down, and you can find a battle temple below.
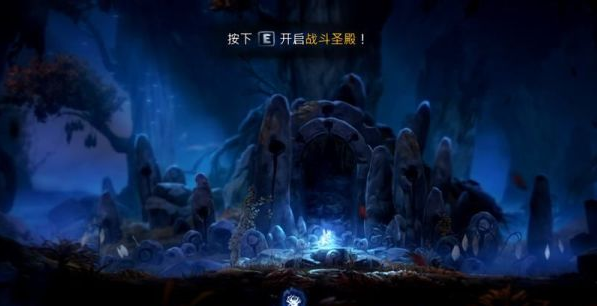
Use the light spear three times, five times and two times to easily solve the battle and receive the skill bar reward. Continue walking to the right and you will see a large wallet.

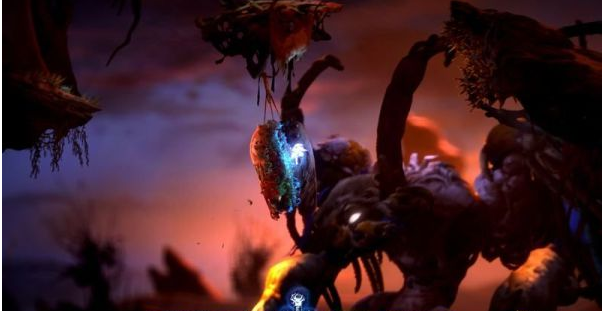
After completing the temple challenge, return to the top and go straight to trigger the plot to avoid the big bird. Here we need to go to the right and hook the blue flower to hide.

While hooking the blue flower, observe that there is a red cloth on the right. Use the feathers to glide up and avoid it.

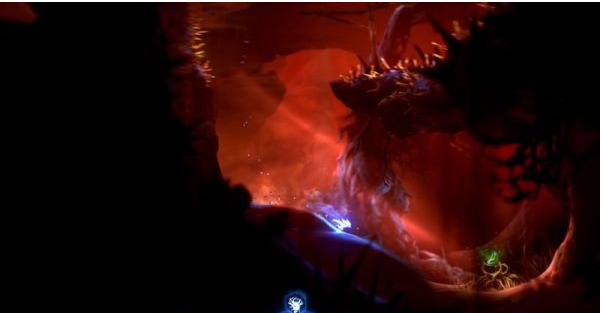
After arriving at the red cloth, quickly run to the left until you see the blue wallflower in the picture, climb up and stick to the wall to avoid it.
Finally, climb up the wall directly from the left, and then quickly run to the right. You must be fast and keep running.

Successfully entering the hole means running successfully. Keep jumping down and you will encounter a teleportation point below.

After the break, continue moving forward. When you reach this scene, you can come up and pick up a wallet, then go down and continue walking.

Next, you will encounter sand and gravel that disappear at the touch of your feet. There is a "Gluk Ore" on the right side of this sandstone bridge.

Continue forward to the lowest level. Before climbing up, you can go through the left wall to the upper left corner and pick up a "Life Core Fragment".

After picking up the pieces, bounce on the cauldron via the fireball and continue forward until you reach this scene, where there is a large wallet in the lower left corner.


After picking up the wallet, go up to the bridge and go right. Continue down through the Hook Piranha. There is a "Life Core Fragment" at the bottom.

After coming up from below, continue to the right and go to the end. You will see a large wooden wheel with a giant wallet on the left side of the wooden wheel.

Before returning to the bridge, you will see a road sign. You can go down here and open the shortcut on the left to facilitate communication between the left and right.

Then go back to the bridge and jump up. Go to the end on the right and there is a mechanism that can open the upward path.


After coming up, there is a puzzle. In fact, you just need to step on the sand pillars from left to right in order, and let the energy ball on the left hit the wall on the right.

The skill inside is "Last Fight", which is quite satisfactory. Personally, I don't think it's worth wasting an equipment slot to install this.

After picking up the skill, come down, walk left through a bunch of piranha flowers, and step on the cobblestones to get to it.

After coming up and continuing forward, you will get a skill "dig". You can then sprint in the sand. Some places in front also require this to enter.

After getting the skills, come down and get the wallets on the left and right sides respectively. Pay attention! The small wallets in the sand that look like mines will also affect the completion of 100% progress.

After taking the wallet, continue digging to the left. Sprint through the sand on the left to reach the top and activate the "Elf Trial".

When you come down after starting the trial, you will see this scene. The sand and gravel above can also be drilled. Be careful to maintain a vertical angle when drilling from bottom to top.

After drilling above, you can buy a map for 300 yuan, so that all maps of the area will be displayed.

After buying the map, go back to where you came from. Go down and to the left and dig into the sand to pick up a large wallet.

After picking up the wallet, return here and sprint up the sand bridge to continue moving forward.
When you come up, you will see a giant wallet. Pick it up and go up to get an "Energy Core Fragment".


Pick up the pieces and move forward. Just before entering the next sand, go to the upper right corner to get another giant wallet.

After entering the sand, pay attention to the left side, where there will be a recessed sand layer. If you enter, you can get a "Life Core Fragment".

Continuing down, you will see a fork in the road. Go to the right and go to the end to open the transfer point and accept the branch line "Pure Jade".

Walk to the left to return to the place where you picked up the "Water Carrying Skill". You can pick up a giant wallet by drilling through the sand.

Then go back and go all the way to the cauldron. Sprint up and you can pick up a large wallet inside.

There is also a sand area in the lower left corner of the cauldron. If you drill into it, you can get an "Energy Core Fragment".

After getting the core, continue to the left and you will see this scene. Go into the sand under the shovel in the lower left corner to get the mission item of Uncut Jade.

Looking at the map, there is an unexplored area on the left, and there is an Elf Trial starting point below to the right of the transfer point.
Here, drill into the sand and bring up the missile in the lower left corner to destroy the purple barrier wall. Inside is a giant wallet.

Continue to look back and see the portal. There is a "Gluk Ore" on the right side of the portal.

On the left side of the portal, go down through the sand. You can see a hidden path on the right. If you go in, you can pick up a giant wallet.

Finally, return to the base and talk to the skill merchant to complete the "Uncut Jade" side mission and obtain the skill "Secret".

Return to the teleport point in the Windy Desert, go up to the right through the sand and destroy the obstacles here to pick up a "Gluk Ore".

After you get to the top, you will see this scene. Under the bridge is the first keystone. Pick it up and drill up again.

After continuing forward and getting into the sand on the left, you will see two forked roads. Take the left to enter. You need to step on the thorns to go up.

Go to the top and you can pick up a new skill "Chaos", which is necessary for making money.

Pick up the skill and continue forward to the upper left corner, where you will get the second keystone.

Pick up two keystones and go through the sand in the middle to the right. There is a large hidden purse here.

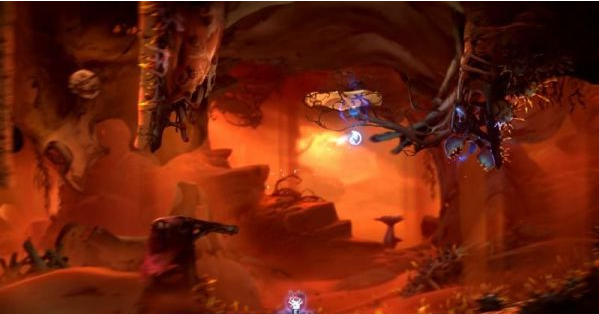
Finally, open the keystone door and continue moving forward. You will see a big monster. Bounce the fireball to it and pick up an "Energy Core Fragment".

Since there are obstacles blocking the way, we guide the missile to the lower left corner to destroy it. Be careful to walk faster when the missile first comes out, otherwise the missile will lock directly.

Continue to move forward and follow the thorn until here. There is a hidden wallet in the sand layer below. After picking it up, we continue to open the mechanism upwards.

After turning on the mechanism, guide the missile to blast away the obstacle. Use the laser to go below to pick up a "Life Core Fragment".

After picking up the pieces, go up and use the fireball bounce to see a large wallet hidden above your head.

Finally, you need to pass a rotating laser disk before you can continue forward. Quickly come to the left here to hide and pick up the wallet.

Go to the lower left corner and you can pick up a wallet. After that, come up. It's still the same principle. Find a place to hide along the left.

Escape from the laser turntable to the top and go to the right to open a new transfer point. Note that there are two monsters in the middle.

Come to a destroyed pot and bounce the missiles in the sand layer or bounce your own fireball to it.

After going up there, you can pick up a "Gluk Ore" in the upper left corner and a "Mysterious Seed" in the upper right corner.


Continue forward until the plot is triggered, and the door to "Windstriked Ruins" is opened and entered.
