영어 | 简体中文 | 繁체중국어
Go에서 웹사이트 개발을 시작하고 gin 프레임워크를 사용했을 때 gin에 라이브 다시 로드 기능이 없다는 점이 아쉬웠습니다. 그래서 여기저기 찾아보고 새로 시도해 봤는데 별로 유연하지 않은 것 같아서 좀 더 잘 다시 작성하려고 했습니다. 드디어 Air가 탄생했습니다. 게다가 필루 덕분에 신선하지 않고 공기도 없어요 :)
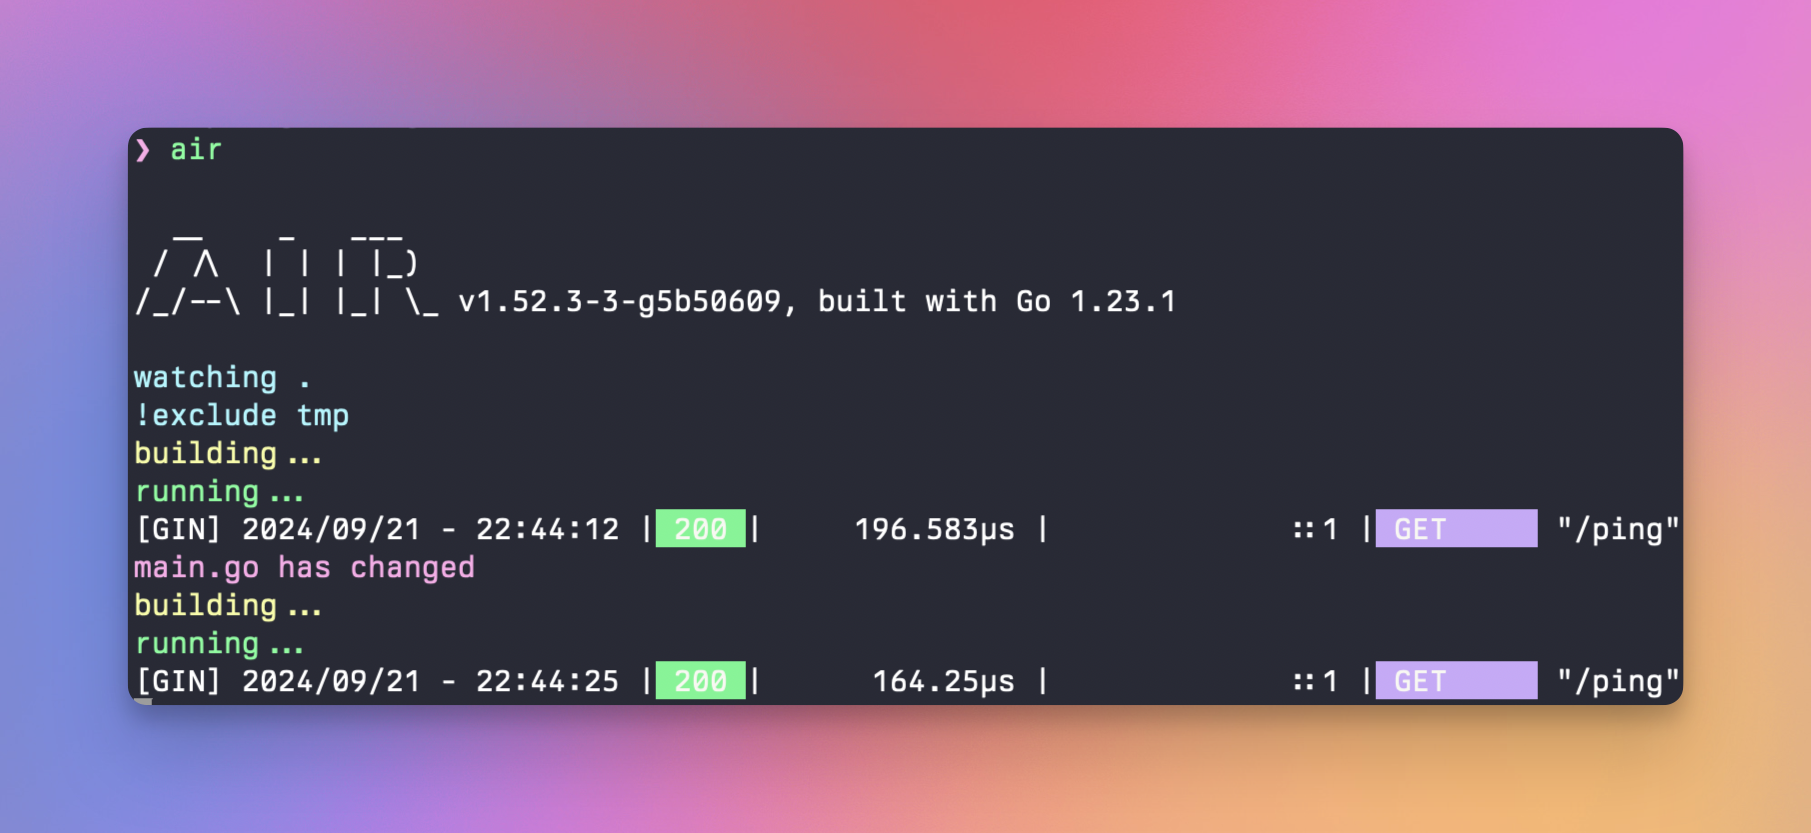
Air는 Go 애플리케이션 개발을 위한 또 다른 실시간 재로드 명령줄 유틸리티입니다. 프로젝트 루트 디렉터리에서 air 실행하고 그대로 두고 코드에 집중하세요.
참고: 이 도구는 프로덕션용 핫 배포와 관련이 없습니다.
공기 구성 필드를 인수로 지원합니다.
빌드 명령을 구성하고 명령을 실행하려면 구성 파일 없이 다음 명령과 같이 사용할 수 있습니다.
air --build.cmd " go build -o bin/api cmd/run.go " --build.bin " ./bin/api "목록을 입력으로 사용하는 인수의 항목을 구분하려면 쉼표를 사용하세요.
air --build.cmd " go build -o bin/api cmd/run.go " --build.bin " ./bin/api " --build.exclude_dir " templates,build " go install 통해(권장)Go 1.23 이상:
go install github.com/air-verse/air@latest # binary will be $(go env GOPATH)/bin/air
curl -sSfL https://raw.githubusercontent.com/air-verse/air/master/install.sh | sh -s -- -b $( go env GOPATH ) /bin
# or install it into ./bin/
curl -sSfL https://raw.githubusercontent.com/air-verse/air/master/install.sh | sh -s
air -v # binary will be /usr/local/bin/air
curl -sSfL https://goblin.run/github.com/air-verse/air | sh
# to put to a custom path
curl -sSfL https://goblin.run/github.com/air-verse/air | PREFIX=/tmp sh이 Docker 이미지 comtrek/air를 가져오세요.
docker/podman run -it --rm
    -w " <PROJECT> "
    -e " air_wd=<PROJECT> "
    -v $( pwd ) : < PROJECT >
    -p < PORT > : < APP SERVER PORT >
    cosmtrek/air
-c < CONF > 일반 앱처럼 air를 지속적으로 사용하고 싶다면 ${SHELL}rc(Bash, Zsh 등...)에 함수를 생성하면 됩니다.
 air () {
  podman/docker run -it --rm
    -w " $PWD " -v " $PWD " : " $PWD "
    -p " $AIR_PORT " : " $AIR_PORT "
    docker.io/cosmtrek/air " $@ "
}
<PROJECT> 는 컨테이너의 프로젝트 경로입니다. 예: /go/example 컨테이너에 들어가려면 --entrypoint=bash를 추가하세요.
내 프로젝트 중 하나가 Docker에서 실행됩니다.
docker run -it --rm
  -w " /go/src/github.com/cosmtrek/hub "
  -v $( pwd ) :/go/src/github.com/cosmtrek/hub
  -p 9090:9090
  cosmtrek/air
또 다른 예:
 cd /go/src/github.com/cosmtrek/hub
AIR_PORT=8080 air -c " config.toml "
이는 $PWD 현재 디렉토리로 대체합니다. $AIR_PORT 게시할 포트이고 $@ 응용 프로그램 자체의 인수를 허용하는 것입니다(예: -c).
타이핑을 줄이기 위해 .bashrc 또는 .zshrc 에 alias air='~/.air' 추가할 수 있습니다.
먼저 프로젝트에 들어가십시오.
cd /path/to/your_project가장 간단한 사용법이 실행됩니다.
 # firstly find `.air.toml` in current directory, if not found, use defaults
air -c .air.toml
다음 명령을 실행하면 기본 설정을 사용하여 .air.toml 구성 파일을 현재 디렉터리로 초기화할 수 있습니다.
air init 그런 다음 추가 인수 없이 air 명령을 실행하면 구성에 .air.toml 파일이 사용됩니다.
air구성을 수정하려면 air_example.toml 파일을 참조하세요.
air 명령 뒤에 인수를 추가하여 빌드된 바이너리를 실행하기 위한 인수를 전달할 수 있습니다.
 # Will run ./tmp/main bench
air bench

# Will run ./tmp/main server --port 8080
air server --port 8080
-- 인수를 사용하여 air 명령에 대해 전달된 인수와 빌드된 바이너리를 분리할 수 있습니다.
 # Will run ./tmp/main -h
air -- -h

# Will run air with custom config and pass -h argument to the built binary
air -c .air.toml -- -h services :
my-project-with-air :
image : cosmtrek/air
# working_dir value has to be the same of mapped volume
working_dir : /project-package
ports :
- <any>:<any>
environment :
- ENV_A=${ENV_A}
- ENV_B=${ENV_B}
- ENV_C=${ENV_C}
volumes :
- ./project-relative-path/:/project-package/ air -d 모든 로그를 인쇄합니다.
Dockerfile
 # Choose whatever you want, version >= 1.16
FROM golang:1.23-alpine

WORKDIR /app

RUN go install github.com/air-verse/air@latest

COPY go.mod go.sum ./
RUN go mod download

CMD [ "air" , "-c" , ".air.toml" ]
docker-compose.yaml
 version : " 3.8 "
services :
  web :
    build :
      context : .
      # Correct the path to your Dockerfile
      dockerfile : Dockerfile
    ports :
      - 8080:3000
    # Important to bind/mount your codebase dir to /app dir for live reload
    volumes :
- ./:/app export GOPATH= $HOME /xxxxx
export PATH= $PATH : $GOROOT /bin: $GOPATH /bin
export PATH= $PATH : $( go env GOPATH ) /bin # Confirm this line in your .profile and make sure to source the .profile if you add it!!! 빈에서 `'를 탈출하려면 사용해야 합니다. 관련 문제: #305
#365
[ build ]
cmd = " /usr/bin/true "자세한 내용은 문제 #512를 참조하세요.
include_dir , include_ext 또는 include_file 에 정적 파일이 있는지 확인하세요.</body> 태그가 있는지 확인하세요.[ proxy ]
enabled = true
proxy_port = < air proxy port>
app_port = < your server port> 종속성을 관리하기 위해 go mod 사용하므로 Go 1.16 이상이 필요합니다.
 # Fork this project

# Clone it
mkdir -p $GOPATH /src/github.com/cosmtrek
cd $GOPATH /src/github.com/cosmtrek
git clone [email protected]: < YOUR USERNAME > /air.git

# Install dependencies
cd air
make ci

# Explore it and happy hacking!
make install
풀 요청을 환영합니다.
 # Checkout to master
git checkout master

# Add the version that needs to be released
git tag v1.xx.x

# Push to remote
git push origin v1.xx.x

# The CI will process and release a new version. Wait about 5 min, and you can fetch the latest version 많은 서포터님들께 깊은 감사를 드립니다. 나는 항상 당신의 친절을 기억하고 있습니다.
GNU 일반 공중 라이선스 v3.0