??중국어 |

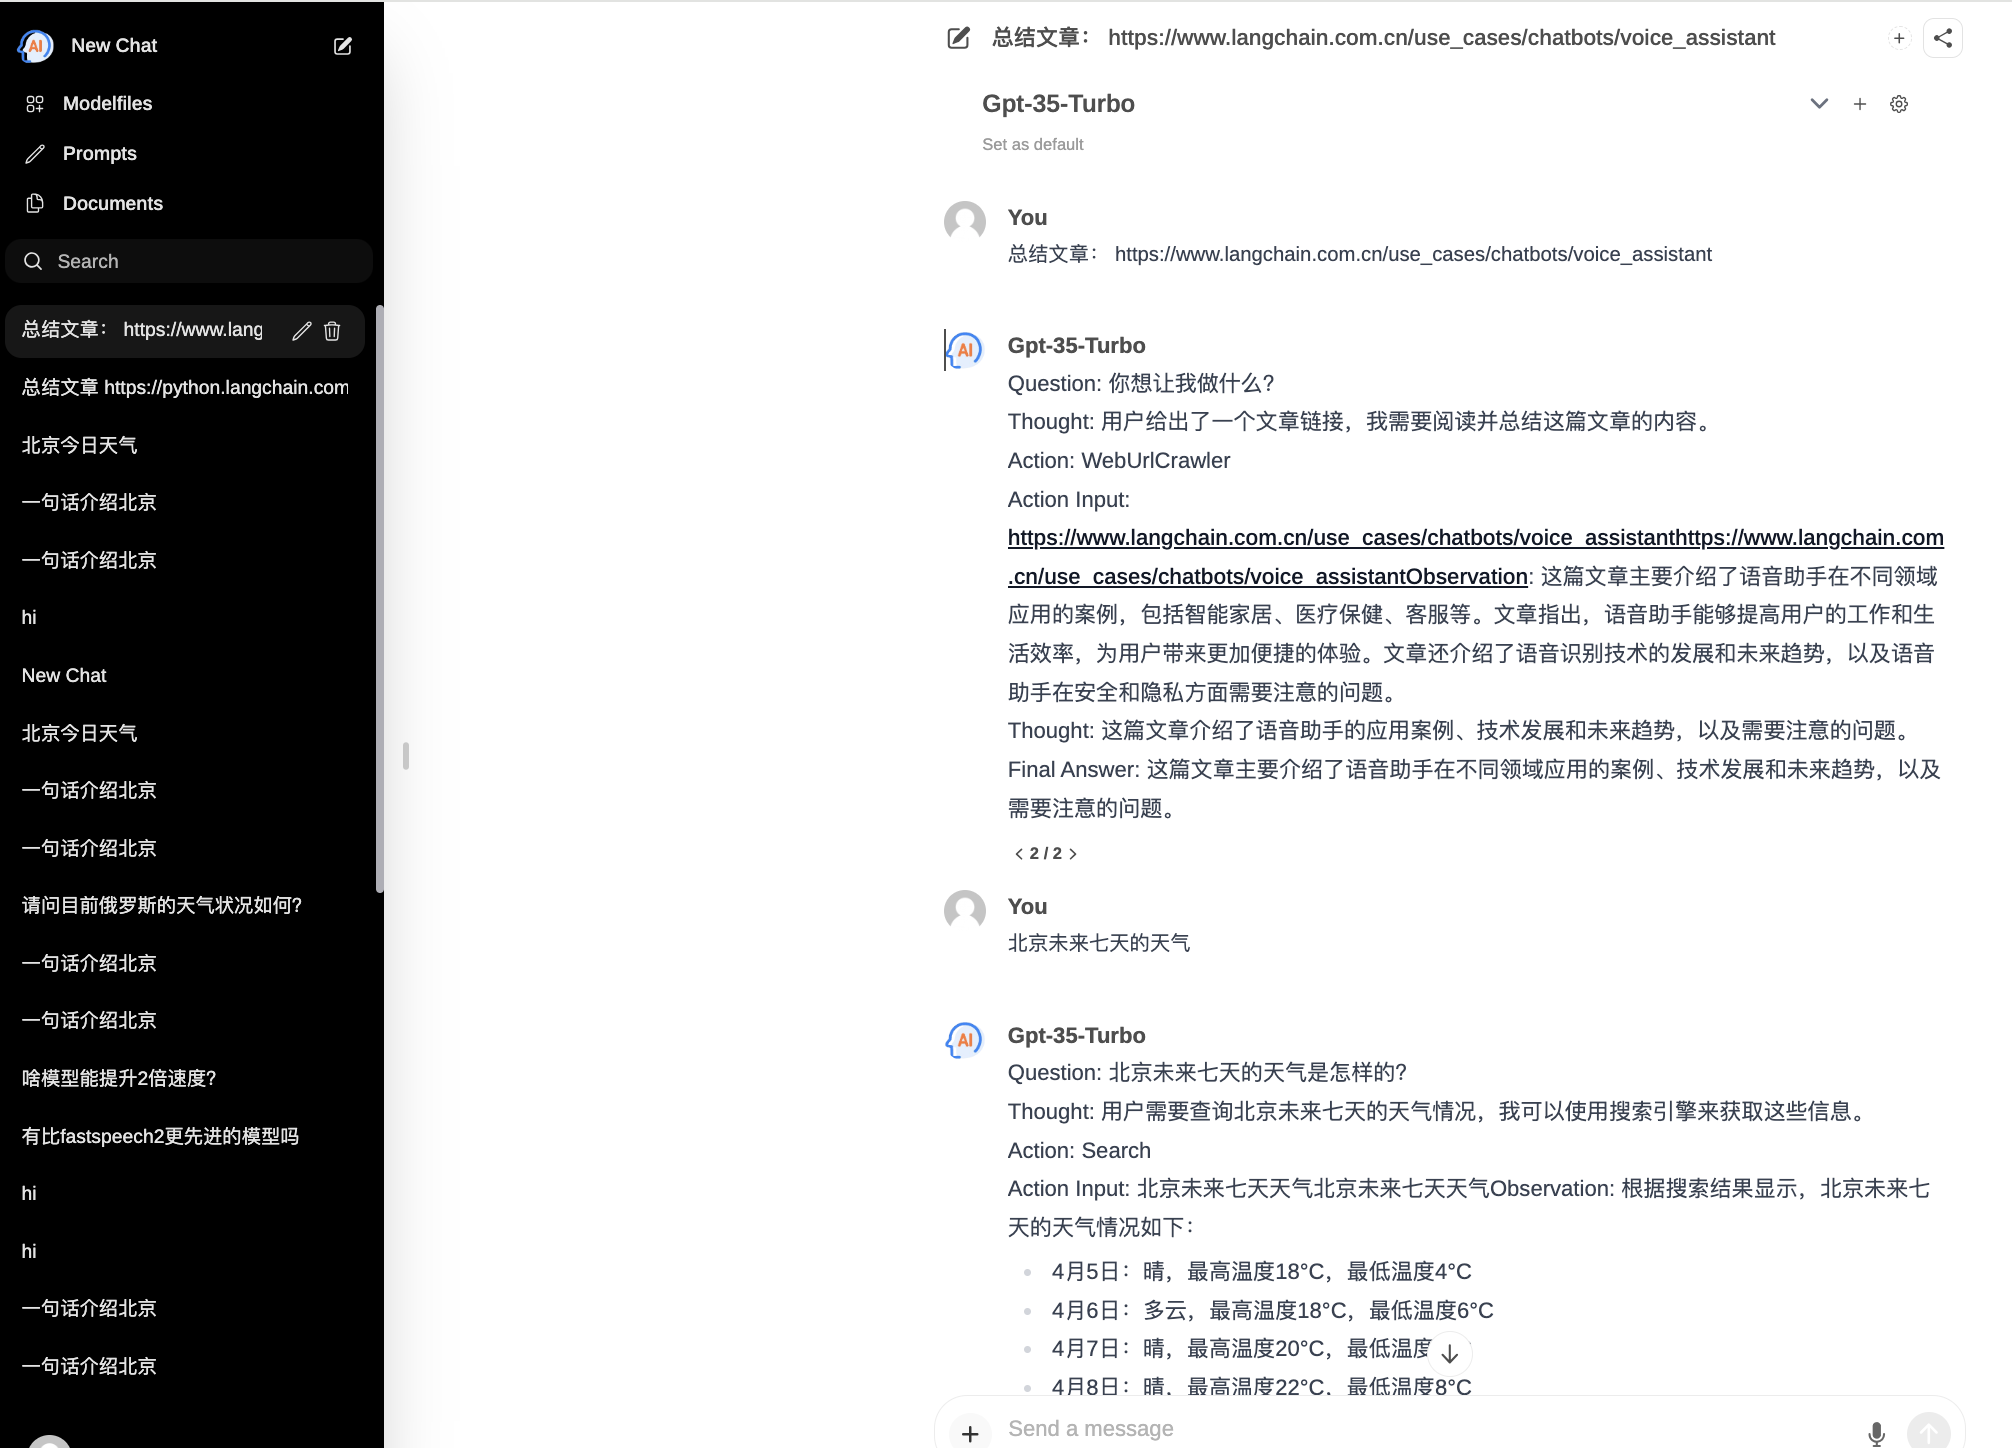
ChatPilot : Chat Agent WebUI, AgentChat 대화 구현, Google 검색 지원, 파일 URL 대화(RAG), 코드 해석기 기능, Kimi Chat(파일, 드래그인, URL, 보내기) 재현, OpenAI/Azure API 지원.
공식 데모: https://chat.mulanai.com

 export OPENAI_API_KEY=sk-xxx
export OPENAI_BASE_URL=https://xxx/v1

docker run -it
 -e OPENAI_API_KEY= $WORKSPACE_BASE
 -e OPENAI_BASE_URL= $OPENAI_BASE_URL
 -e RAG_EMBEDDING_MODEL= " text-embedding-ada-002 "
 -p 8080:8080 --name chatpilot- $( date +%Y%m%d%H%M%S ) shibing624/chatpilot:0.0.1
http://0.0.0.0:8080에서 ChatPilot이 실행되는 것을 볼 수 있습니다.
git clone https://github.com/shibing624/ChatPilot.git
cd ChatPilot
pip install -r requirements.txt

# Copying required .env file, and fill in the LLM api key
cp .env.example .env

bash start.sh
좋습니다. 이제 애플리케이션이 실행됩니다. http://0.0.0.0:8080 즐겨보세요!
프런트엔드를 구축하는 두 가지 방법:
git clone https://github.com/shibing624/ChatPilot.git
cd ChatPilot/

# Building Frontend Using Node.js >= 20.10
cd web
npm install
npm run build
출력: 프로젝트 web 디렉터리는 프런트 엔드 컴파일 출력 파일이 포함된 build 폴더를 출력합니다.
 export OPENAI_API_KEY=xxx
export OPENAI_BASE_URL=https://api.openai.com/v1
export MODEL_TYPE= " openai " export AZURE_OPENAI_API_KEY=
export AZURE_OPENAI_API_VERSION=
export AZURE_OPENAI_ENDPOINT=
export MODEL_TYPE= " azure " ollama serve 로 ollama 서비스를 시작한 다음 OLLAMA_API_URL 구성합니다. export OLLAMA_API_URL=http://localhost:11413
litellm 패키지를 설치합니다: pip install litellm -U chatpilot 의 기본 litellm 구성 파일은 ~/.cache/chatpilot/data/litellm/config.yaml 에 있습니다.
내용을 다음과 같이 수정합니다.
 model_list :
#  - model_name: moonshot-v1-auto # show model name in the UI
#    litellm_params: # all params accepted by litellm.completion() - https://docs.litellm.ai/docs/completion/input
#      model: openai/moonshot-v1-auto # MODEL NAME sent to `litellm.completion()` #
#      api_base: https://api.moonshot.cn/v1
#      api_key: sk-xx
#      rpm: 500      # [OPTIONAL] Rate limit for this deployment: in requests per minute (rpm)

  - model_name : deepseek-ai/DeepSeek-Coder # show model name in the UI
    litellm_params : # all params accepted by litellm.completion() - https://docs.litellm.ai/docs/completion/input
      model : openai/deepseek-coder # MODEL NAME sent to `litellm.completion()` #
      api_base : https://api.deepseek.com/v1
      api_key : sk-xx
      rpm : 500
  - model_name : openai/o1-mini # show model name in the UI
    litellm_params : # all params accepted by litellm.completion() - https://docs.litellm.ai/docs/completion/input
      model : o1-mini # MODEL NAME sent to `litellm.completion()` #
      api_base : https://api.61798.cn/v1
      api_key : sk-xxx
      rpm : 500
litellm_settings : # module level litellm settings - https://github.com/BerriAI/litellm/blob/main/litellm/__init__.py
  drop_params : True
set_verbose : False 
연구에 ChatPilot을 사용하는 경우 다음 형식으로 인용해 주세요.
아파:
Xu, M. ChatPilot: LLM agent toolkit (Version 0.0.2) [Computer software]. https://github.com/shibing624/ChatPilotBibTeX:
@misc{ChatPilot,
  author = {Ming Xu},
  title = {ChatPilot: llm agent},
  year = {2024},
  publisher = {GitHub},
  journal = {GitHub repository},
  howpublished = { url {https://github.com/shibing624/ChatPilot}},
}라이센스 계약은 상업용으로 무료로 제공되는 Apache 라이센스 2.0입니다. 제품 설명에 ChatPilot 링크와 라이선스 계약을 첨부해 주세요.
프로젝트 코드는 아직 매우 미숙합니다. 코드에 개선 사항이 있으면 제출하기 전에 다음 두 가지 사항에 주의하시기 바랍니다.
tests 에 해당 단위 테스트 추가python -m pytest -v 사용하여 모든 단위 테스트를 실행하여 모든 단위 테스트가 통과하는지 확인하세요.그런 다음 PR을 제출할 수 있습니다.