
여기에서 패키지를 다운로드하여 프로젝트 클래스 경로에 추가하거나 Maven 저장소를 사용하세요.
그래들:
' com.ramotion.foldingcell:folding-cell:1.2.3 'SBT:
libraryDependencies += " com.ramotion.foldingcell " % " folding-cell " % " 1.2.3 "메이븐:
< dependency >
	< groupId >com.ramotion.foldingcell</ groupId >
	< artifactId >folding-cell</ artifactId >
	< version >1.2.3</ version >
</ dependency >
com.ramotion.foldingcell.FoldingCell 추가하세요. < com .ramotion.foldingcell.FoldingCell
xmlns : android = " http://schemas.android.com/apk/res/android "
android : id = " @+id/folding_cell "
android : layout_width = " match_parent "
android : layout_height = " wrap_content " >
</ com .ramotion.foldingcell.FoldingCell> 2. 셀에 정확히 두 개의 하위 요소를 추가합니다. 첫 번째 하위 항목( content view )은 항상 펼쳐진 상태 레이아웃을 나타내고 두 번째 하위 항목( title view )은 접힌 상태 레이아웃을 나타냅니다. 물론 이러한 레이아웃에는 여러 하위 요소가 포함될 수 있고 복잡할 수 있지만 올바르게 작동하려면 몇 가지 제한 사항이 있습니다. 콘텐츠 보기 높이는 제목 보기 높이 보다 최소 2배 이상 커야 하며 각 요소의 높이는 해당 레이아웃은 android:layout_height="wrap_content" 로 설정되어야 합니다. dp 에서 정확한 높이를 설정하려면 콘텐츠 보기 또는 제목 보기 내 레이아웃에서 하위 요소의 높이를 설정할 수 있습니다. 또한 android:visibility="gone" 사용하여 콘텐츠 뷰 레이아웃을 숨겨야 합니다.
< com .ramotion.foldingcell.FoldingCell
xmlns : android = " http://schemas.android.com/apk/res/android "
android : id = " @+id/folding_cell "
android : layout_width = " match_parent "
android : layout_height = " wrap_content " >
< FrameLayout
android : id = " @+id/cell_content_view "
android : layout_width = " match_parent "
android : layout_height = " wrap_content "
android : background = " @android:color/holo_green_dark "
android : visibility = " gone " >
< TextView
android : layout_width = " match_parent "
android : layout_height = " 250dp " />
</ FrameLayout >
< FrameLayout
android : id = " @+id/cell_title_view "
android : layout_width = " match_parent "
android : layout_height = " wrap_content " >
< TextView
android : layout_width = " match_parent "
android : layout_height = " 100dp "
android : background = " @android:color/holo_blue_dark " />
</ FrameLayout >
</ com .ramotion.foldingcell.FoldingCell> 3. 거의 다 끝났어요! 두 단계 남았습니다! 올바른 애니메이션을 위해서는 접는 셀의 루트 요소에 두 가지 속성을 설정해야 합니다.
android:clipChildren="false"
android:clipToPadding="false" 4. 마지막 단계! 애니메이션을 전환하려면 MainActivity.java 의 접는 셀에 onClickListener를 추가하세요.
@ Override
protected void onCreate ( Bundle savedInstanceState ) {
super . onCreate ( savedInstanceState );
setContentView ( R . layout . activity_main );
// get our folding cell
final FoldingCell fc = ( FoldingCell ) findViewById ( R . id . folding_cell );
// attach click listener to folding cell
fc . setOnClickListener ( new View . OnClickListener () {
@ Override
public void onClick ( View v ) {
fc . toggle ( false );
}
});
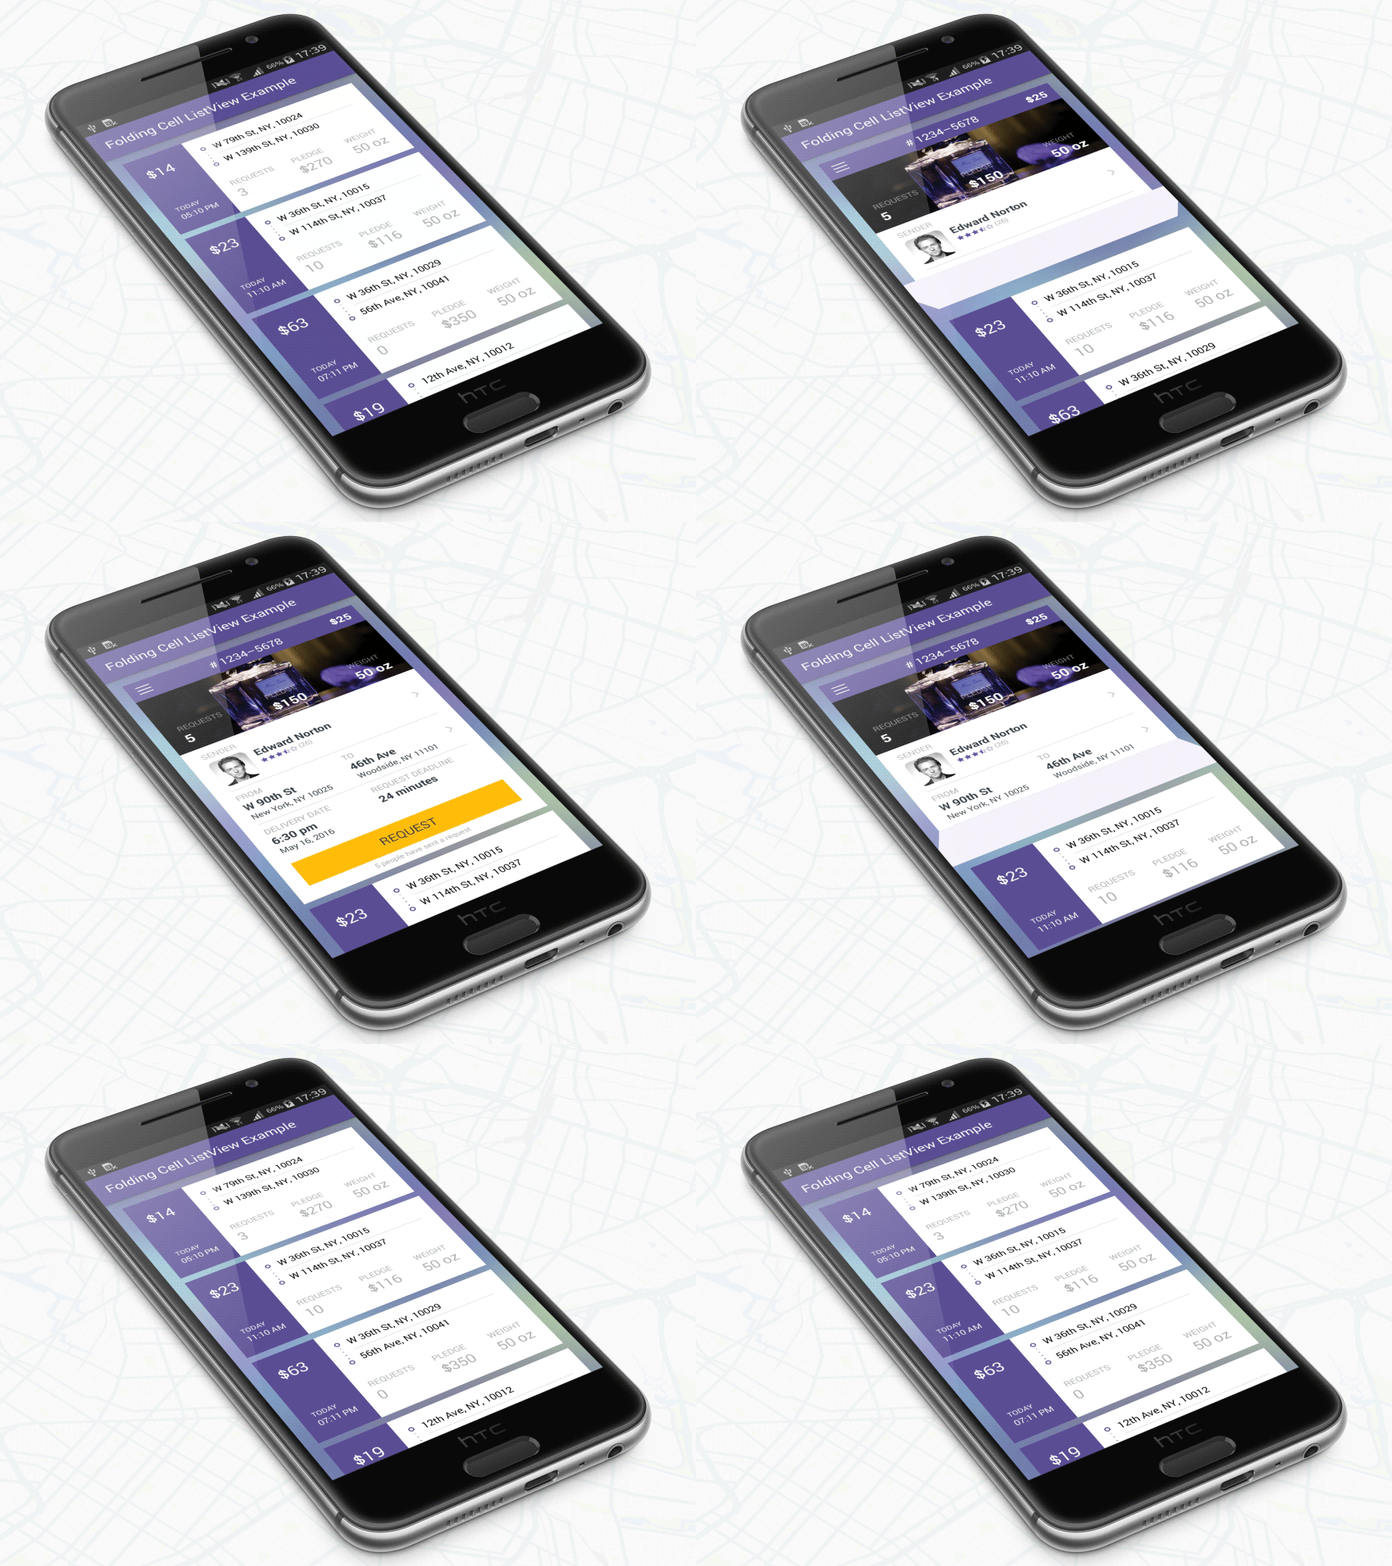
} 5. 추가 단계 - 셀 설정을 사용자 정의합니다. 현재로서는 애니메이션 시간, 뒷면 색상, 추가 뒤집기 횟수 등 세 가지 주요 매개변수가 있습니다. 처음 두 가지가 질문을 유발하지 않으면 세 번째는 설명이 필요합니다. 첫 번째(메인) 뒤집기 이후 실행될 뒤집기 횟수입니다. 기본값은 0 (자동 선택)입니다. 또한 네 번째 추가 매개변수인 카메라 높이가 있으며, 3D 효과의 수준(깊이)을 제어합니다. 셀 설정을 변경하는 방법에는 두 가지가 있습니다. res-auto 네임스페이스가 있는 xml 레이아웃 파일에서 xmlns:folding-cell="http://schemas.android.com/apk/res-auto" :
folding-cell:animationDuration="1000"
folding-cell:backSideColor="@color/bgBackSideColor"
folding-cell:additionalFlipsCount="2"
folding-cell:cameraHeight="30"
또는 코드에서:
 // get our folding cell
final FoldingCell fc = ( FoldingCell ) findViewById ( R . id . folding_cell );
// set custom parameters
fc . initialize ( 1000 , Color . DKGRAY , 2 );
// or with camera height parameter
fc . initialize ( 30 , 1000 , Color . DKGRAY , 2 ); 이 저장소에서 이 예제와 더 복잡한 다른 예제를 찾을 수 있습니다.

Folding Cell은 MIT 라이센스에 따라 출시됩니다. 자세한 내용은 라이센스를 참조하세요.
이 라이브러리는 최고의 UI 오픈 소스 프로젝트 선택 의 일부입니다.
프로젝트에서 오픈 소스 라이브러리를 사용하는 경우 출처를 밝히고 www.ramotion.com으로 백링크하세요.
Android 앱에서 이 UI 구성요소 등을 사용해 보세요. 관심이 있으시면 저희에게 연락하십시오.