EasyAdapter
v2.0.5
RecyclerView는 Android 프로젝트에서 주로 Android 위젯으로 사용됩니다. 이를 위해서는 뷰에 대한 항목을 제공하는 어댑터를 구현해야 합니다. 대부분의 경우 동일한 기본 논리가 필요하지만 모든 것을 계속해서 작성해야 하므로 여기에 대한 해결책이 있습니다.
앱 > build.gradle
implementation ' com.github.mkrupal09:EasyAdapter:v2.0.5 '루트 > build.gradle, 모든 프로젝트> 저장소에 jitpack.io maven url 추가
allprojects {
		repositories {
			.. .
			maven { url ' https://jitpack.io ' }
		}
}앱 build.gradle 내부에 buildFeatures 블록을 추가하고(그렇지 않은 경우) 아래 언급된 대로 dataBinding 플래그를 추가합니다.
android {
    buildFeatures {
        dataBinding true
    }
} adapter = new EasyAdapter < Category , InflaterCategoryBinding >( R . layout . inflater_category ) {
@ Override
public void onBind ( @ NonNull InflaterCategoryBinding binding , @ NonNull Category model ) {
binding . tvName . setText ( model . name );
}
}
 class CategoryAdapter () :EasyAdapter<Category, InflaterCategoryBinding>( R .layout.inflater_category) {
    override fun onBind ( binding : InflaterCategoryBinding , model : Category ) {
        binding. apply {
            tvName.text = model.name
            cbCategory.isChecked = model.isSelected
        }
    }
}
###자바
     public CategoryAdapter () {
        super ( R . layout . inflater_category );
    }

    @ Override
    public void onBind ( @ NonNull InflaterCategoryBinding binding , @ NonNull Category model ) {
        binding . tvName . setText ( model . name );
} // Override in Adapter
override fun onCreatingHolder ( binding : InflaterCategoryBinding , easyHolder : EasyHolder ) {
super .onCreatingHolder(binding, easyHolder)
binding.root.setOnClickListener(easyHolder.clickListener)
}adapter.setRecyclerViewItemClick { itemView, model ->
// Perform Operation here
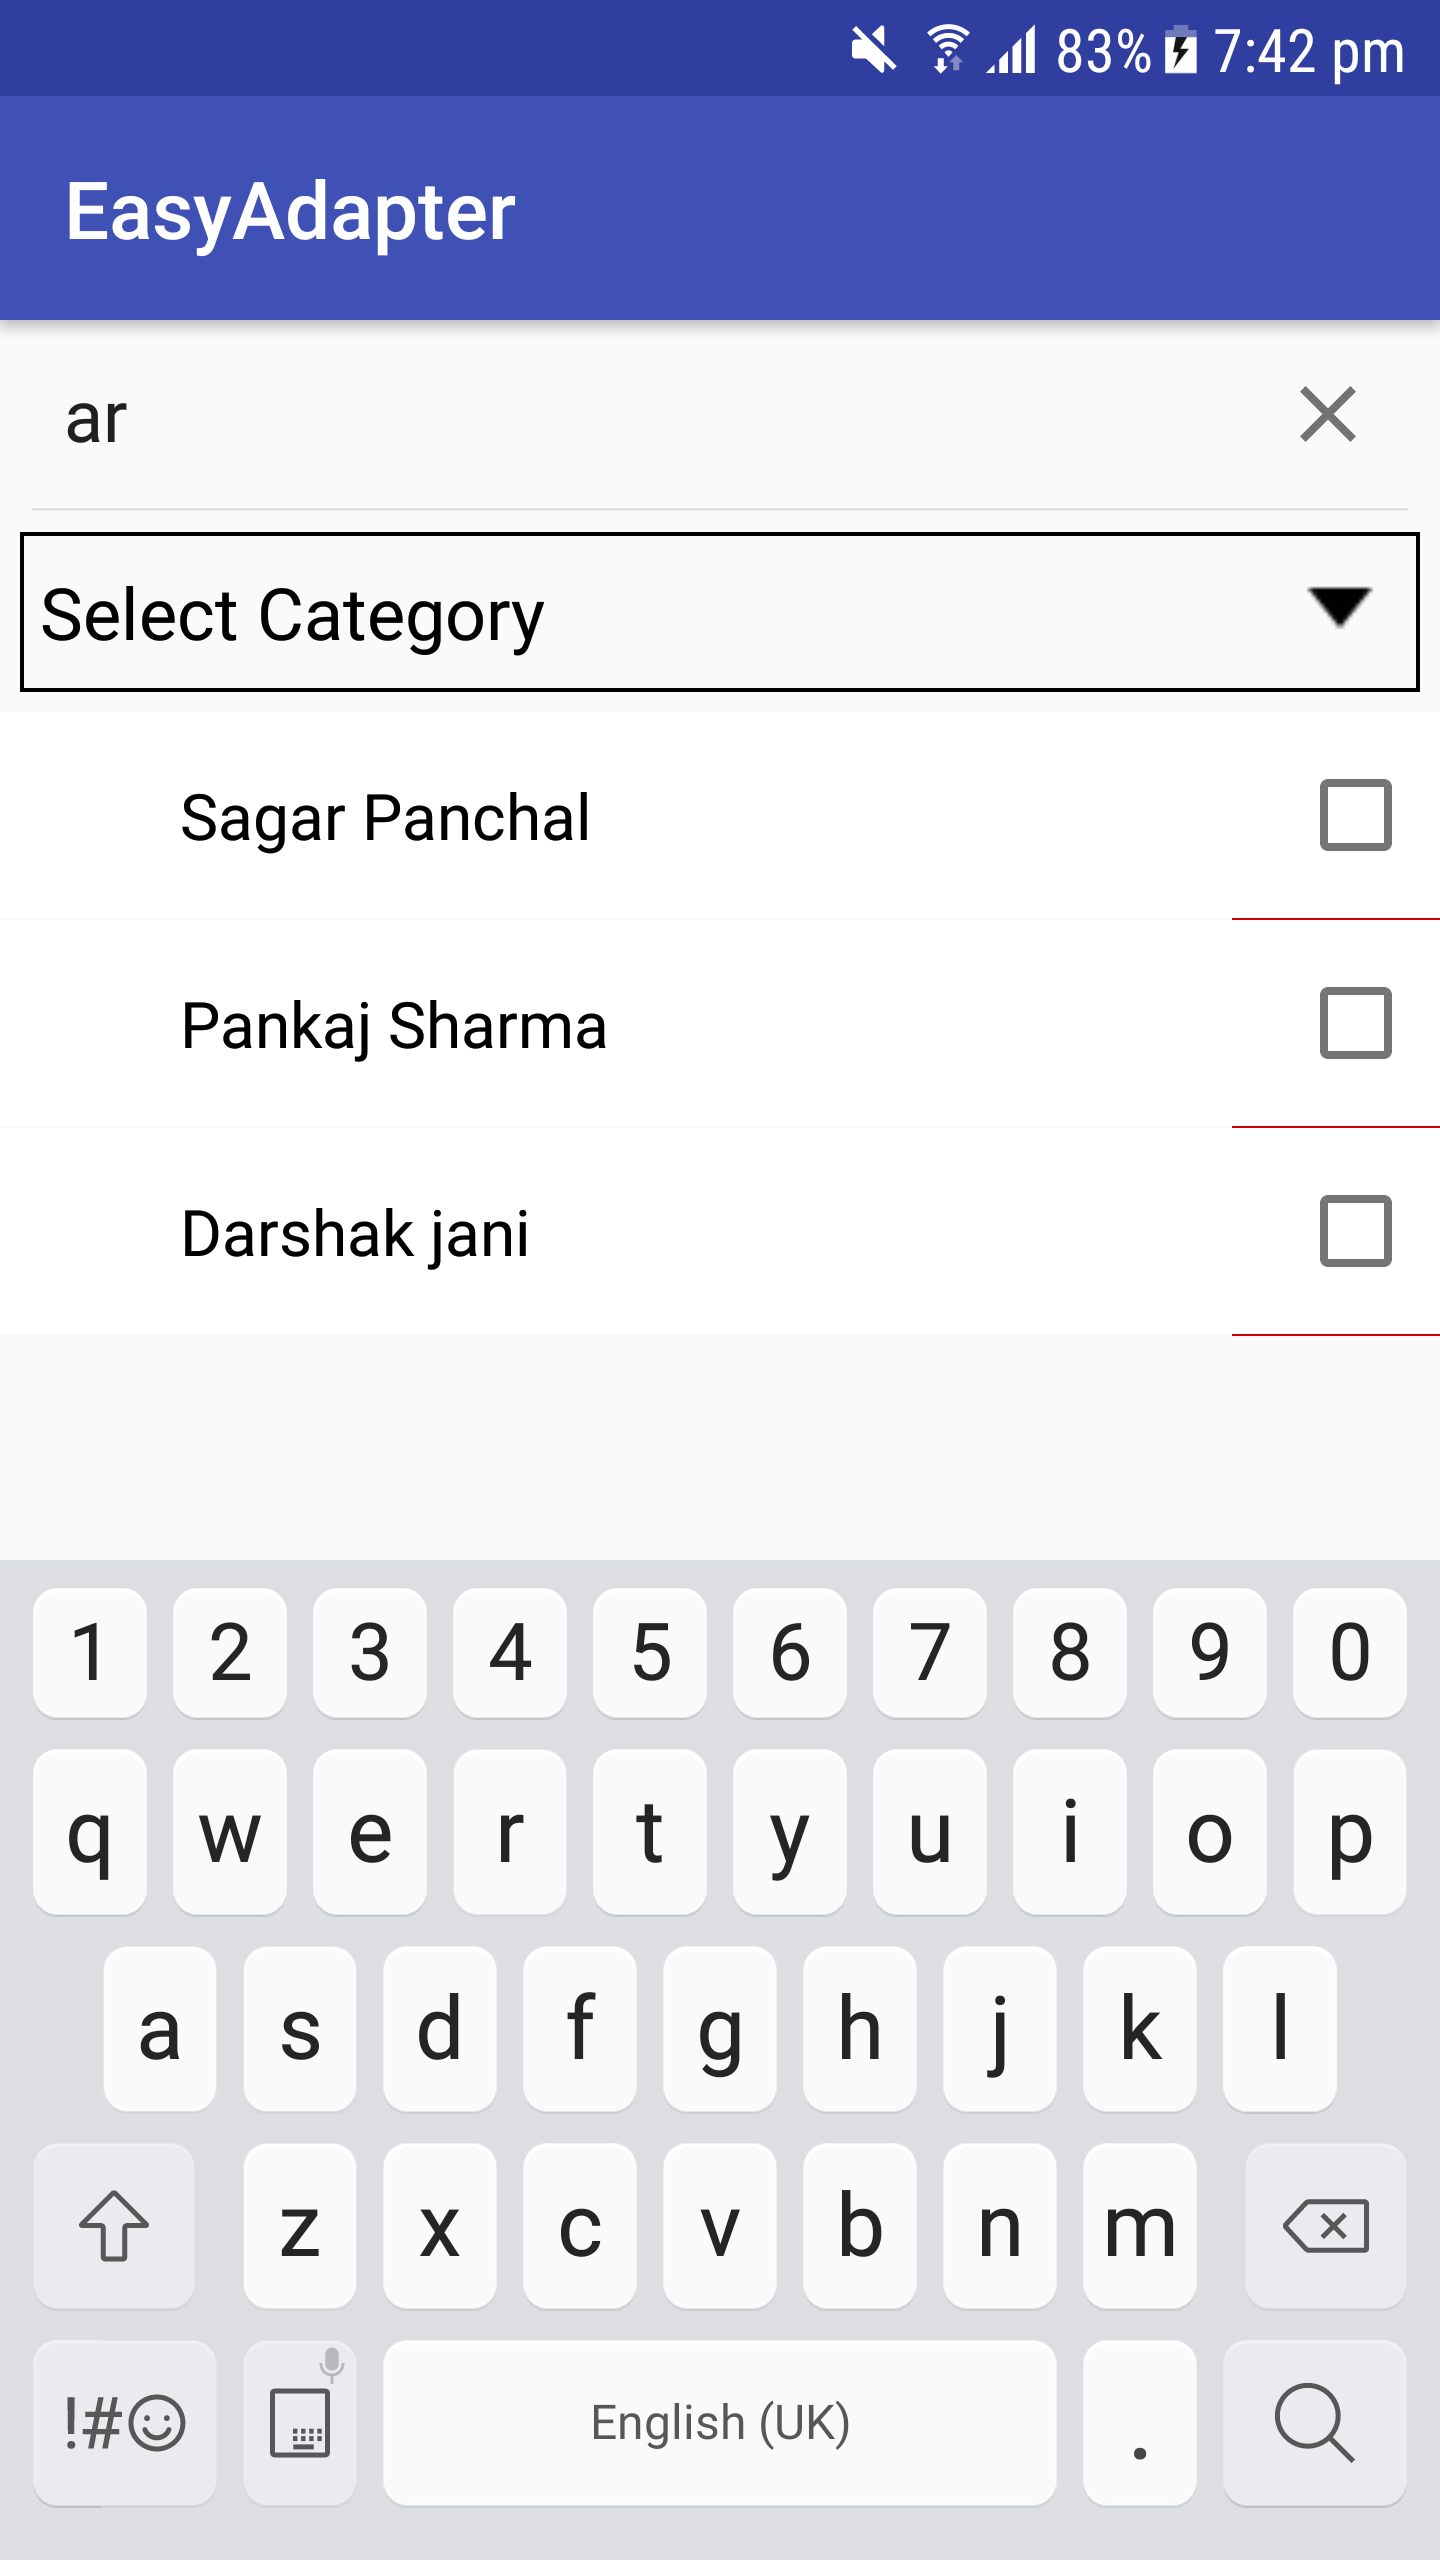
}adapter.performFilter(newText,filter)
val filter = object : EasyAdapter . OnFilter < Category > {
override fun onFilterApply ( filter : Any , model : Category ): Boolean {
return model.name.toLowerCase().contains(filter.toString().toLowerCase())
}
override fun onFilterResult ( filteredList : ArrayList < Category > ? ) {
adapter.clear( false )
adapter.addAll(filteredList, false )
adapter.notifyDataSetChanged()
}
}
adapter.setLoadMoreRes( R .layout.layout_progress)
adapter.setOnLoadMoreListener(binding.recyclerView, EasyAdapter . OnLoadMoreListener {
            if (paging != - 1 ) {
                requestLoadMore() // Your Method
                return @OnLoadMoreListener true // Returns True if you have more data
            }
            return @OnLoadMoreListener false // Return false if you don't have more data
        })
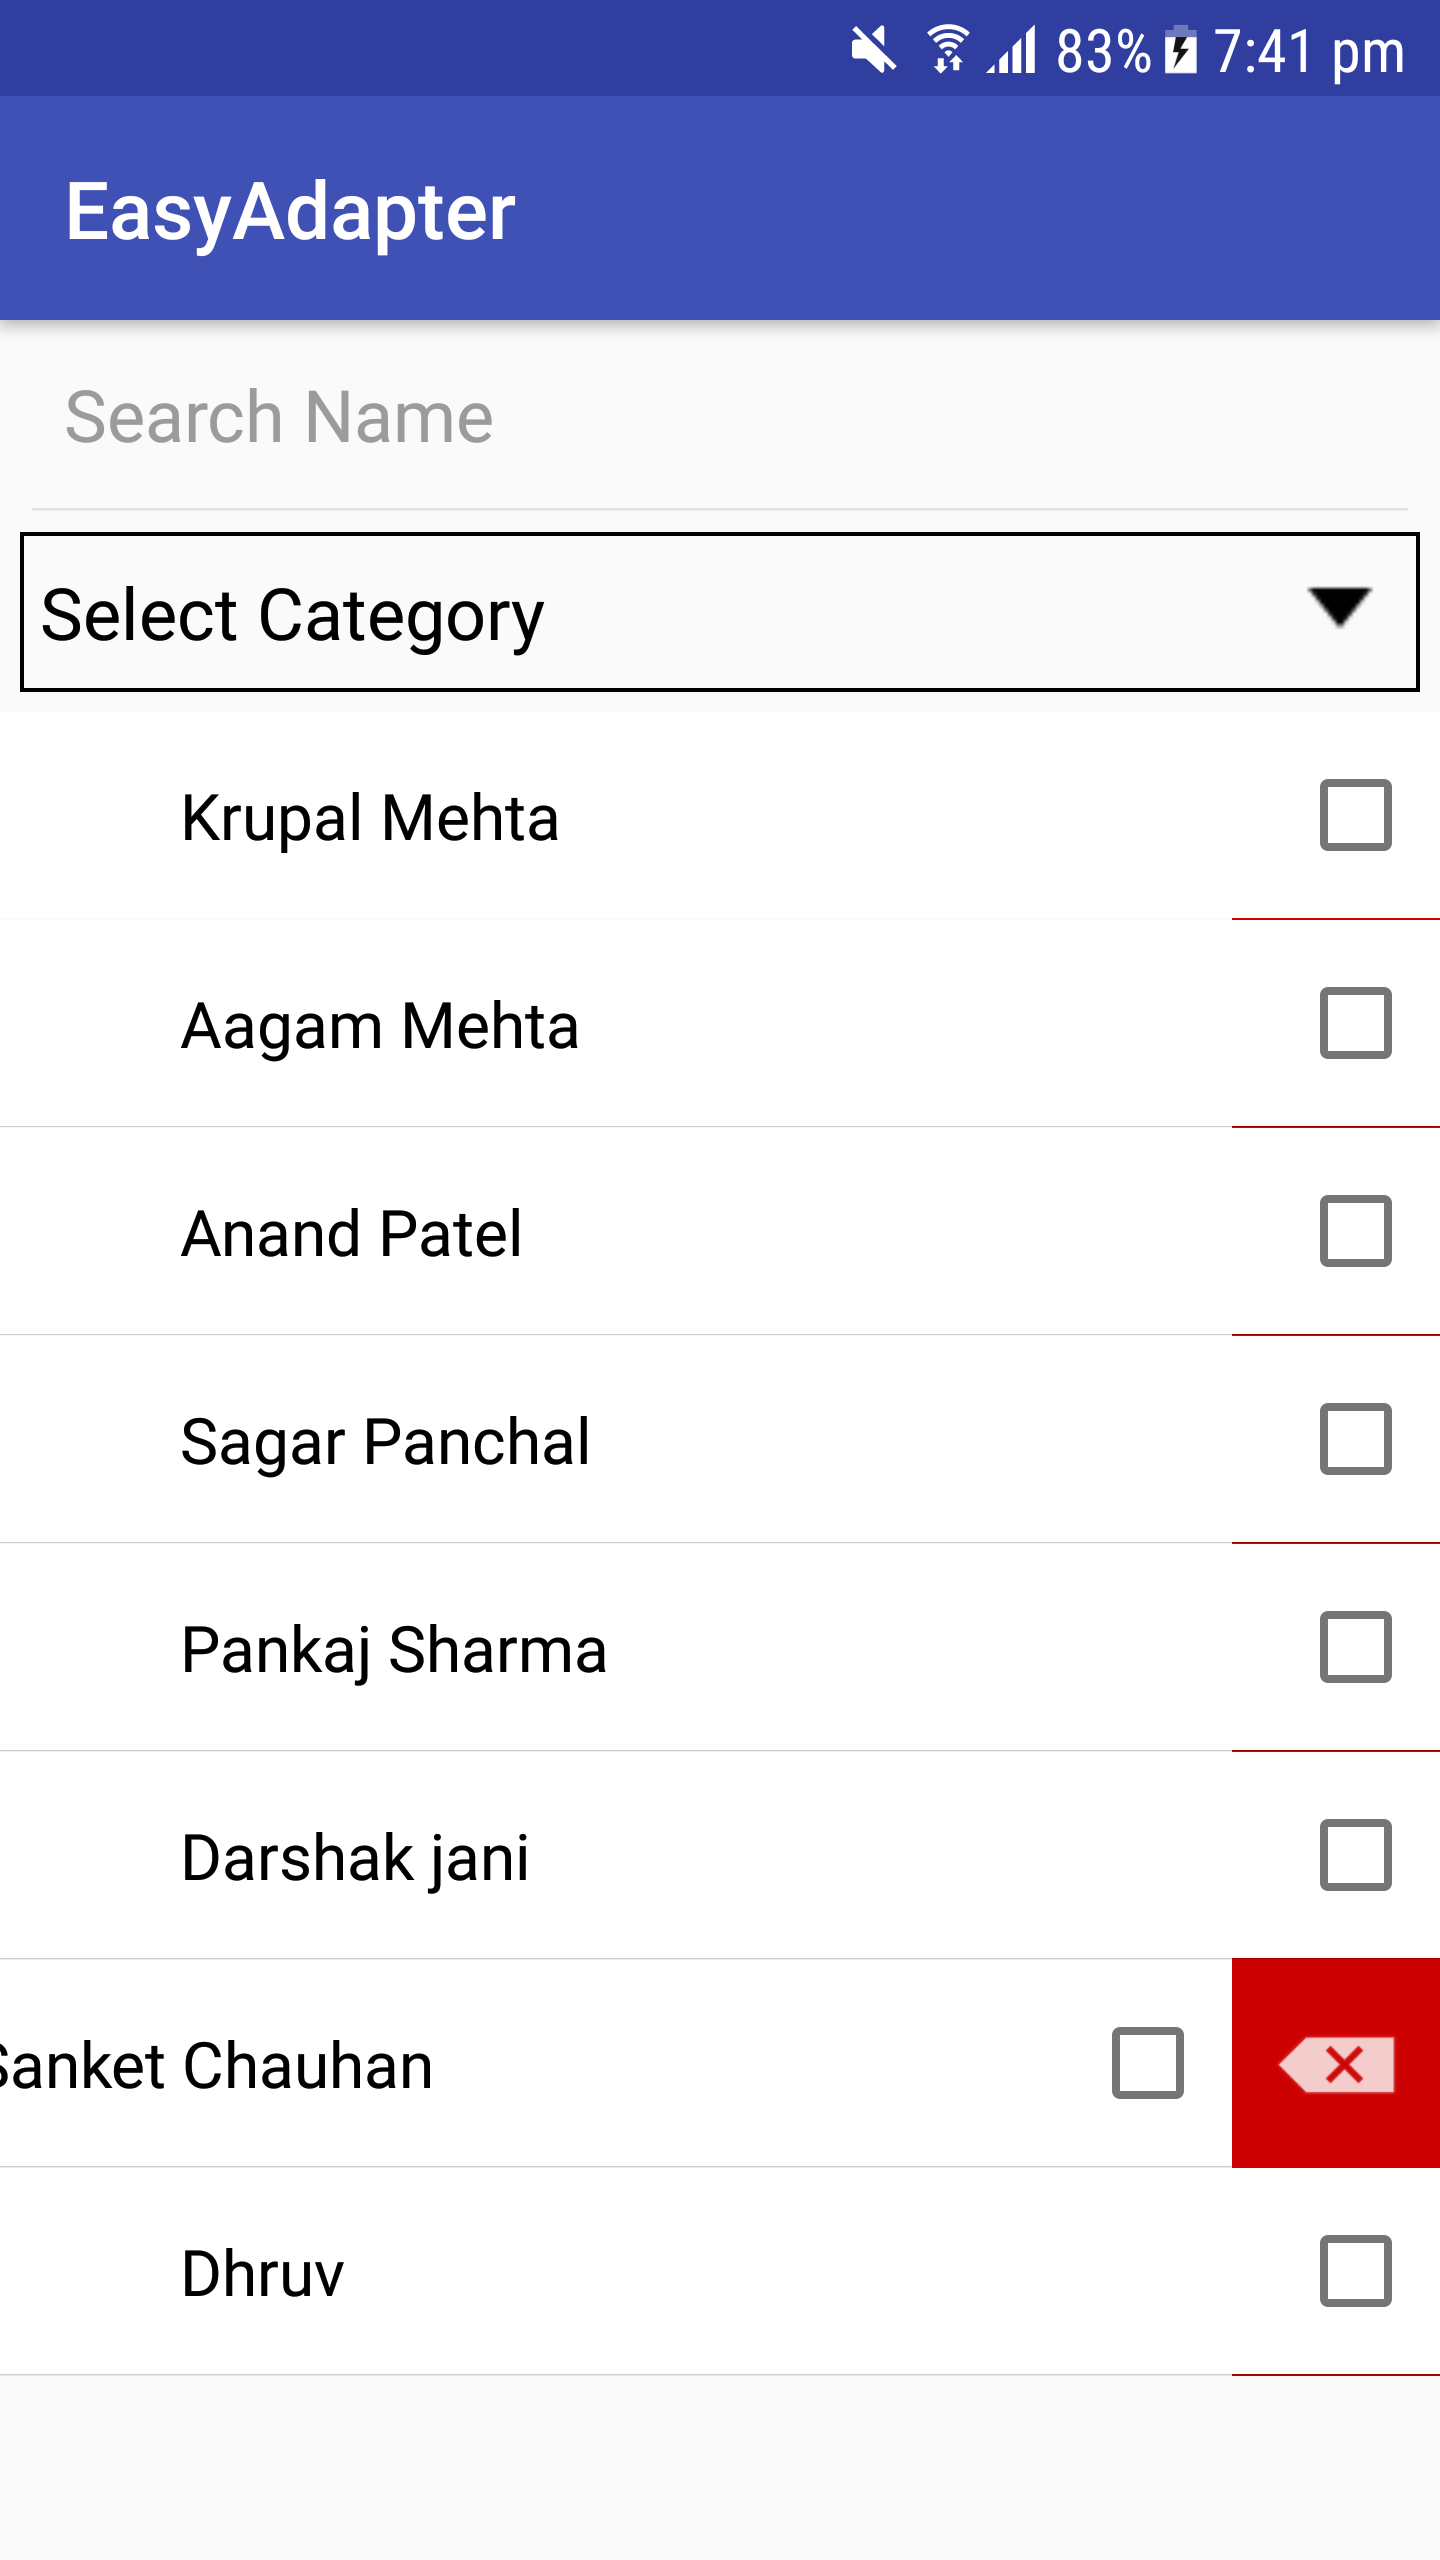
adapter.enableSwipeAction(binding.recyclerView) override fun onCreatingHolder ( binding : InflaterCategoryBinding , easyHolder : EasyHolder ) {
binding.llDelete.post {
easyHolder.setEnableSwipeToDelete(binding.llCategory, 0 , binding.llDelete.measuredWidth)
}
}
 < FrameLayout
        android : layout_width = " match_parent "
        android : layout_height = " wrap_content " >

        //Swipe Reveal Layout
        < LinearLayout
            android : id = " @+id/llDelete "
            android : padding = " 10dp "
            android : layout_gravity = " end "
            android : background = " @android:color/holo_red_dark "
            android : layout_width = " wrap_content "
            android : layout_height = " match_parent " >

            < ImageView
                android : layout_width = " wrap_content "
                android : layout_height = " wrap_content "
                android : src = " @android:drawable/ic_input_delete " />
        </ LinearLayout >

        //Your container
        < LinearLayout
            android : background = " @android:color/white "
            android : id = " @+id/llCategory "
            android : layout_width = " match_parent "
            android : layout_height = " wrap_content "
            android : gravity = " center_vertical "
            android : orientation = " horizontal "
            android : padding = " 5dp " />

</ FrameLayout >adapter.setOnDataUpdateListener {
if (it.size <= 0 ) {
Toast .makeText( this @MainActivity, " No Data Found " , Toast . LENGTH_SHORT ).show()
}
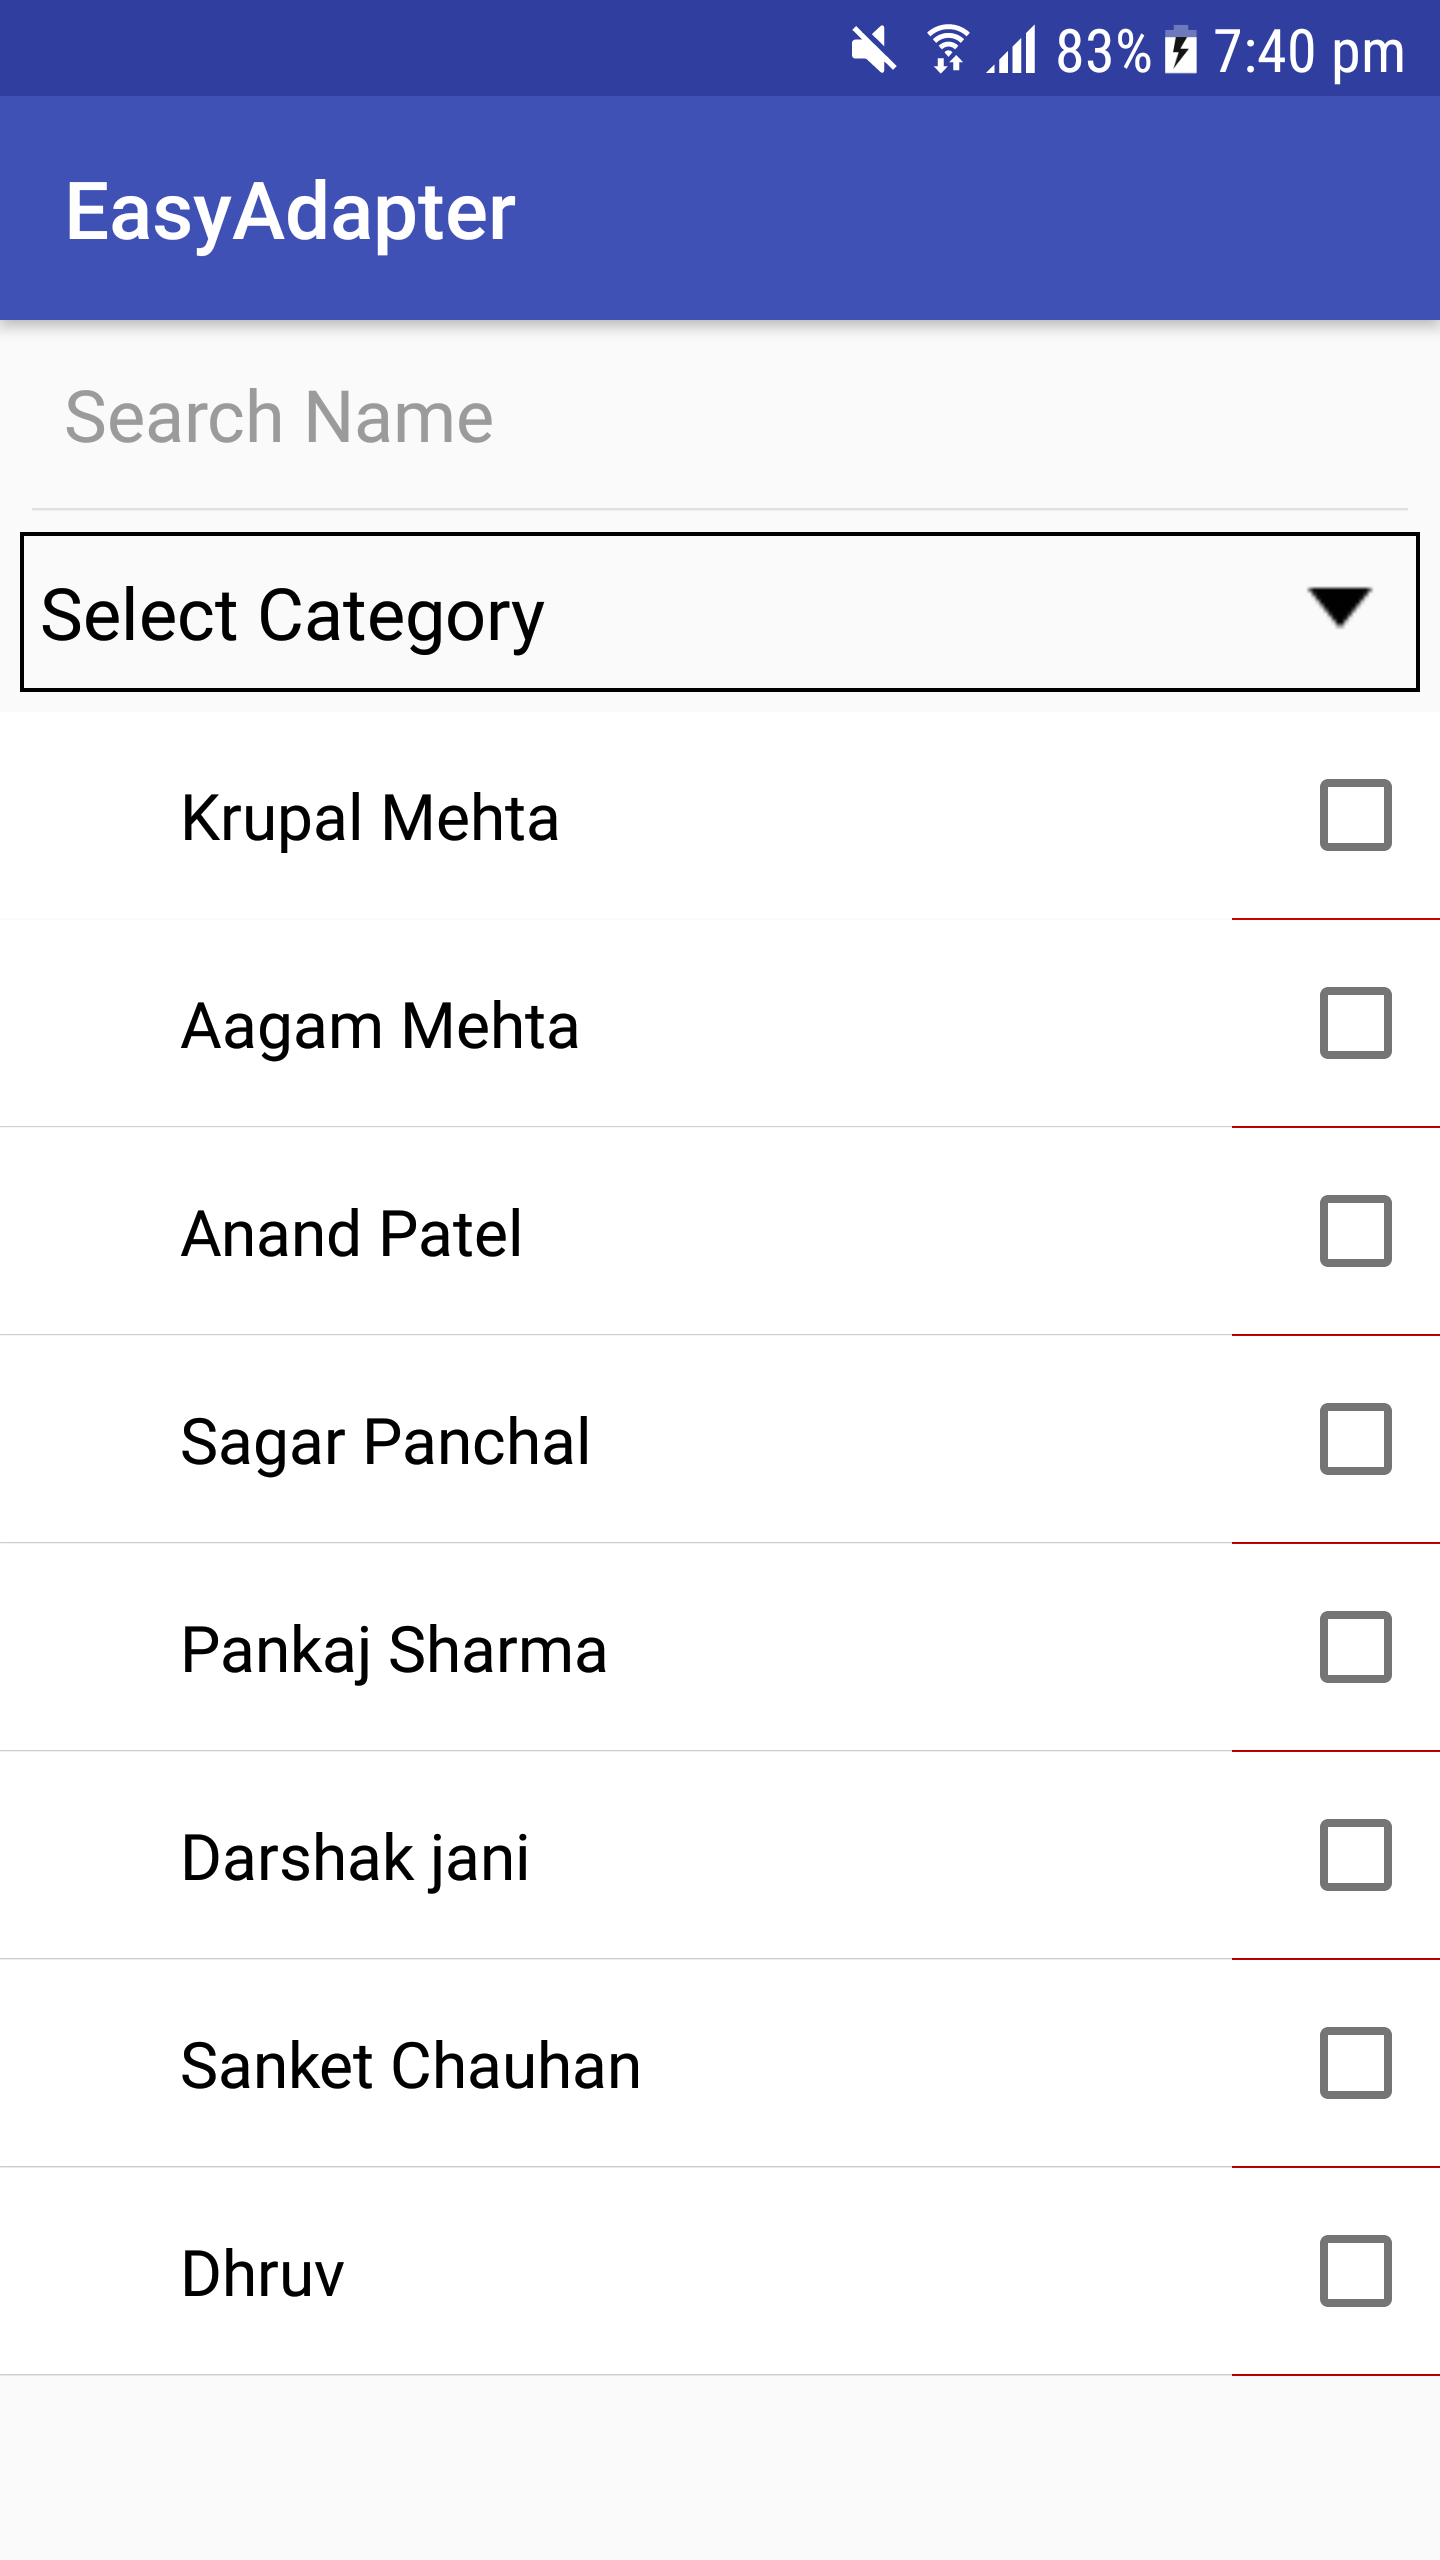
} EasyAdapter를 사용할 수 있는 EasySpinner를 만들었습니다.
ArrayAdapter 또는 CustomArrayAdapter를 작성할 필요가 없으며 EasyAdapter의 많은 기능을 사용할 수 있습니다.
  < easyadapter .dc.com.library.EasySpinner
            android : background = " @drawable/rect_background "
            android : id = " @+id/easyspinner "
            android : layout_width = " 220dp "
            android : layout_height = " wrap_content "
            android : textColor = " @android:color/black "
            android : drawableRight = " @android:drawable/arrow_down_float "
            android : textColorHint = " @android:color/black "
            android : padding = " 10dp "
            android : hint = " Select Name " />
EasySpinner에 어댑터 설정
binding.easyspinner.setAdapter(adapter)다음을 사용하여 스피너를 자동 완성 텍스트 뷰로 사용할 수 있습니다.
 binding.easyspinner.enableAutoCompleteMode { easySpinner, text ->
            adapter.performFilter(text, filter)
}
그게 다입니다... 스피너 어댑터가 있습니다.
레이아웃 미리보기에 도구 속성을 사용하므로 항상 애플리케이션을 실행할 필요가 없습니다.
재활용 보기
tools:listitem="@layout/inflater_category"
tools:itemCount="5"
tools:orientation="horizontal"
app:layoutManager="android.support.v7.widget.GridLayoutManager"
공들여 나열한 것
tools:text="Sample Text"
tools:visibility="VISIBLE"
tools:background="@color/colorPrimary"
안드로이드는 샘플 데이터를 미리 정의합니다
 tools:text="@tools:sample/cities,first_names,us_phones,lorem,lorem/random"
 tools:background="@tools:sample/backgrounds/scenic"
 tools:src="@tools/avatars"
맞춤 샘플 데이터
 To create your fake/sample data folder,
just right click on the “app” folder then “new > Sample Data directory” <br />
create new file with "filename" and write each text by new lines

file contains -

Georgia <br />
Illinois <br />
Paris <br />
London <br />

so it will randomly pick names and display in layout by
tools:text="@sample/filename" 변경 내역
https://github.com/alex-townsend/SwipeOpenItemTouchHelper
이 사람이 없으면 recyclerview에서 스와이프 작업을 수행할 수 없습니다.
https://android.jlelse.eu/android-tools-attributes-listitem-sample-data-rocks-bbf49aaa9f07
Android 도구 속성에 대한 지식을 공유하기 위해
나에게 맥주를 사주세요. ?
 Copyright 2013 DC, Inc.

Licensed under the Apache License, Version 2.0 (the "License");
you may not use this file except in compliance with the License.
You may obtain a copy of the License at

   http://www.apache.org/licenses/LICENSE-2.0

Unless required by applicable law or agreed to in writing, software
distributed under the License is distributed on an "AS IS" BASIS,
WITHOUT WARRANTIES OR CONDITIONS OF ANY KIND, either express or implied.
See the License for the specific language governing permissions and
limitations under the License.


