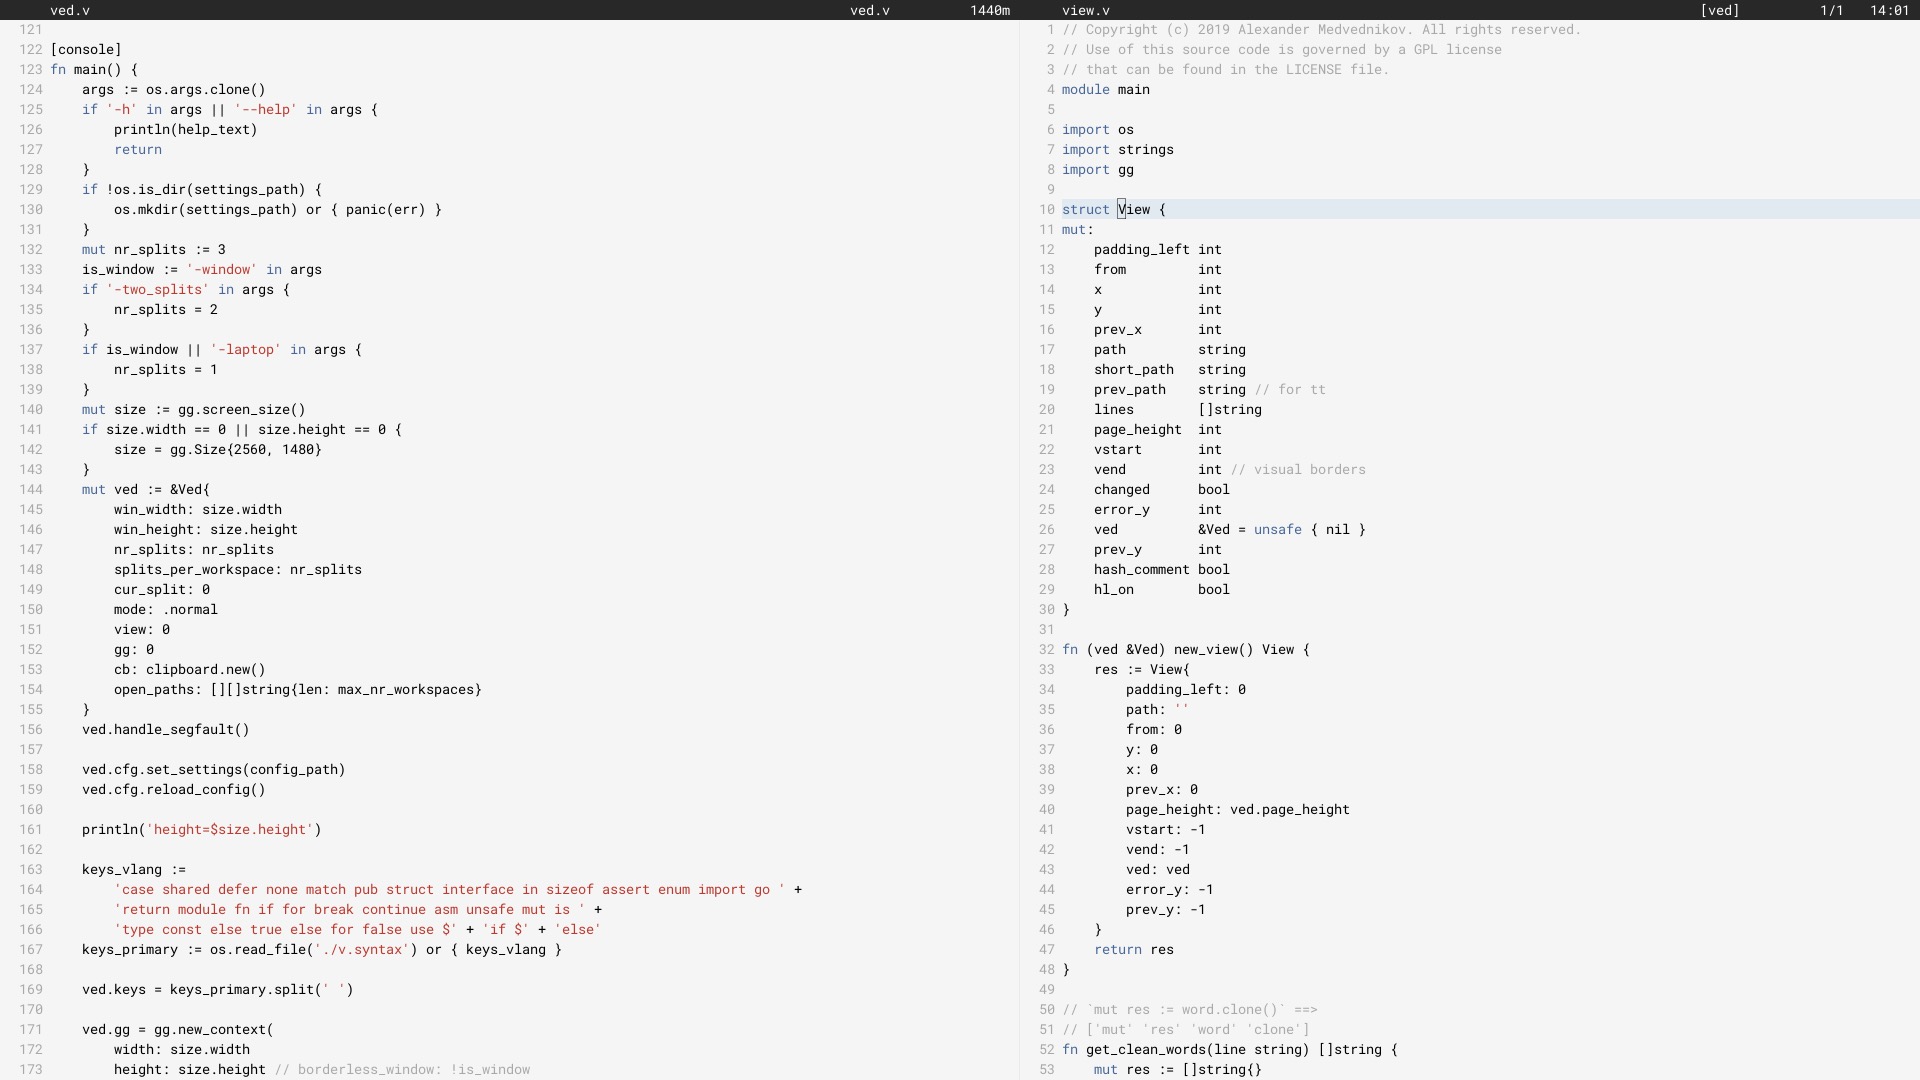
저는 2017년 6월부터 Ved를 메인 편집자로 사용해 왔습니다(2018년 6월 V에서 다시 작성되었습니다).
모든 사람에게 효과가 없을 수도 있습니다. 현재 해결해야 할 제한사항이 있습니다. 우리는 Ved 안정성과 사용자 경험을 천천히 개선하기 위해 노력하고 있습니다.
편집기를 구성하려면 구성 섹션을 참조하세요.
Linux에서는 Ved가 그래픽 애플리케이션이므로 X11 라이브러리를 사용하는 데 필요한 일부 패키지를 설치해야 합니다. macos와 windows에서는 건너뛸 수 있습니다. 그런 다음 V를 설치하고 ved를 컴파일하십시오. 몇 초 정도 걸립니다.
 git clone https://github.com/vlang/ved
cd ved
v .
./ved
Ved는 1초 이내에 구축되어야 합니다.
기본적으로 V의 내장 글꼴 렌더링이 사용되지만 일부 사용자에게 더 나은 렌더링을 제공할 수 있는 freetype을 사용하는 옵션이 있습니다.
v -d use_freetype .
freetype을 사용하려면 먼저 시스템에 freetype을 설치해야 합니다. 아래 플랫폼에 맞는 단계를 따르세요.
우분투:
sudo apt install libfreetype6-dev libx11-dev libxrandr-dev mesa-common-dev libxi-dev libxcursor-dev
페도라:
sudo dnf install freetype-devel libXcursor-devel libXi-devel
아치:
pacman -S freetype2
맥OS:
brew install freetype
윈도우:
v setup-freetype
Discord(기본 커뮤니티): https://discord.gg/vlang. #ved 채널에 참여하세요.
Ved는 $HOME/.ved 에 작업 공간, 세션, 작업 및 구성 파일을 저장하는 설정 디렉터리를 만듭니다. 구성 파일은 단순히 conf.toml 이라는 TOML 파일입니다. 일부 기본 설정과 편집기 색상을 변경하는 방법을 제공합니다.
구성 파일을 건드리고 싶지 않다면 절대 건드릴 필요가 없습니다! Ved는 자체적으로 이를 생성하지 않으며 시작하는 데 적합한 기본값을 제공합니다. 좀 더 모험적이라면 가능한 모든 설정이 포함된 구성 파일의 예는 다음과 같습니다.
 # To get started, create a file called "conf.toml" in $HOME/.ved
# Most of the settings are contained inside this "editor" table.
[ editor ]
dark_mode = false       # Ved comes with a light and dark mode built-in.
cursor = ' variable '     # Ved has three variants: Variable, block, and beam. You are probably used to "variable" or "beam".
text_size = 18          # ┌───────────────────────────────────────────────────┐
line_height = 20        # │ These *can* be edited, but you probably shouldn't │
char_width = 8          # └───────────────────────────────────────────────────┘
tab_size = 4            # Ved uses tab characters (t). This settings changes how many spaces a tab should be displayed as
backspace_go_up = true  # If set to true, hitting the backspace doesn't do anything when you reach the beginning of the line

# If you do not like ved's default colorscheme, or you just want
# something new, edit the "colors" table. Ved uses a form of base16
# to control syntax and editor highlighting. Please note that due
# to ved's very minimal highlighting, base16 themes copied off of
# the internet are not going to look like very much like their
# screenshots.
[ colors ]
base00 = " efecf4 "
base01 = " e2dfe7 "
base02 = " 8b8792 "
base03 = " 7e7887 "
base04 = " 655f6d "
base05 = " 585260 "
base06 = " 26232a "
base07 = " 19171c "
base08 = " be4678 "
base09 = " aa573c "
base0A = " a06e3b "
base0B = " 2a9292 "
base0C = " 398bc6 "
base0D = " 576ddb "
base0E = " 955ae7 "
base0F = " bf40bf " Ved는 작업 공간(코드가 있는 디렉토리)에서 가장 잘 작동합니다. 여러 개의 작업 공간을 갖고 C [ 및 C ] 사용하여 작업 공간 간을 빠르게 전환할 수 있습니다.
여러 작업 공간을 열려면 다음을 실행하세요.
ved path/to/project1 path/to/project2
키 바인딩:
C macOS에서 ⌘ 이고, 다른 모든 시스템에서는 Ctrl 입니다.
 C q q  exit the editor
C o    open a file
C s    save
C r    reload current file
C p    open ctrlp (fuzzy search)
/      search in current file
C g    copy current file's path to clipboard
t      go to the previous file
gd     go to definition

C c    git commit -am
C -    git diff
?      git grep (search across all files in current workspace)

C u    build current project (build instructions must be located in "build")
C y    alternative build of the current project (build instructions must be located in "build2")
C 1    switch to Ved from any other application (only on macOS for now)

C d    go to the previous split
C e    go to the next split
C [    go to the previous workspace
C ]    go to the next workspace

C a    start a new task
C t    show the Timer/Pomodoro window
지원되는 vim 바인딩:
 j k h l         down, up, left, right (moves cursor)
C-F C-B         page down, page up
L H             go to top/bottom of the page
w b             next/previous word
dw de cw ce     delete word
di ci           smart delete
A I             go to start/end of line, insert mode
o O             new line below/above, insert mode
v               selection mode
zz              center current line
y d p J         yank, delete, paste, join lines
.               repeat last action
< >             indent right/left
/ * n           search, search for word under cursor, next occurence
gg G            go to the beginning/end of the file
x r             delete/replace character under cursor
C-n             autocomplete
+y              yank and copy to system clipboard