Silent Hill 2 Remake é a releitura completa da obra-prima de terror original da Bloober Team, e há muitos mistérios e terrores novos e familiares para descobrir durante a jornada de James pelo abismo de Silent Hill. Aqui está nosso passo a passo detalhado para ajudá-lo com os muitos objetivos, quebra-cabeças e outros segredos enigmáticos do jogo.
O passo a passo a seguir é feito com ambos os tipos de dificuldade (ou seja, Combate e Quebra-cabeças) definidos como Padrão , portanto, se você estiver jogando em uma dificuldade diferente, pode haver uma diferença na localização e/ou disponibilidade de certos itens, como bebidas saudáveis e munição. As soluções para quebra-cabeças também podem variar.
Após a icônica cena de abertura, oriente-se com os movimentos e interações de James e pegue seu primeiro mapa no banco do motorista do carro dele.
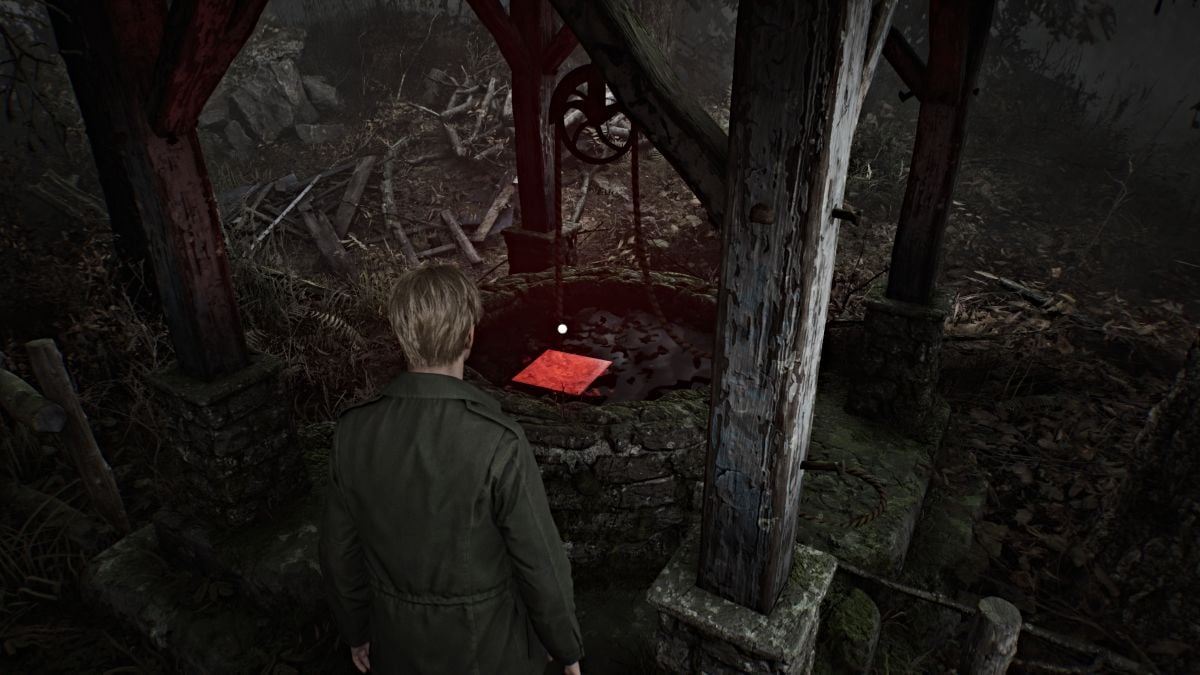
Desça as escadas no final da Área de Observação e comece sua longa caminhada cheia de neblina em direção a Silent Hill. A certa altura, você encontrará um poço com uma luz vermelha emitida. Vá até lá; dentro há um quadrado vermelho brilhante que significa seu primeiro ponto de salvamento manual (vamos nos referir a eles de agora em diante como "pontos de salvamento vermelhos" ). Encontre e use o máximo possível durante o jogo.
Continue pelo caminho principal até chegar a uma igreja com cemitério, onde conheceu Angela Orosco . Ela afirma estar procurando a mãe junto com o pai e o irmão, mas pouco revela mais. Após a cena, fique à vontade para explorar a área, mas saiba que não há itens para pegar aqui. Você também pode falar com Angela mais algumas vezes para um diálogo mais exclusivo, se desejar.
Saia do cemitério e continue caminhando pelo mesmo caminho principal, que passa pela área do Silent Hill Ranch.
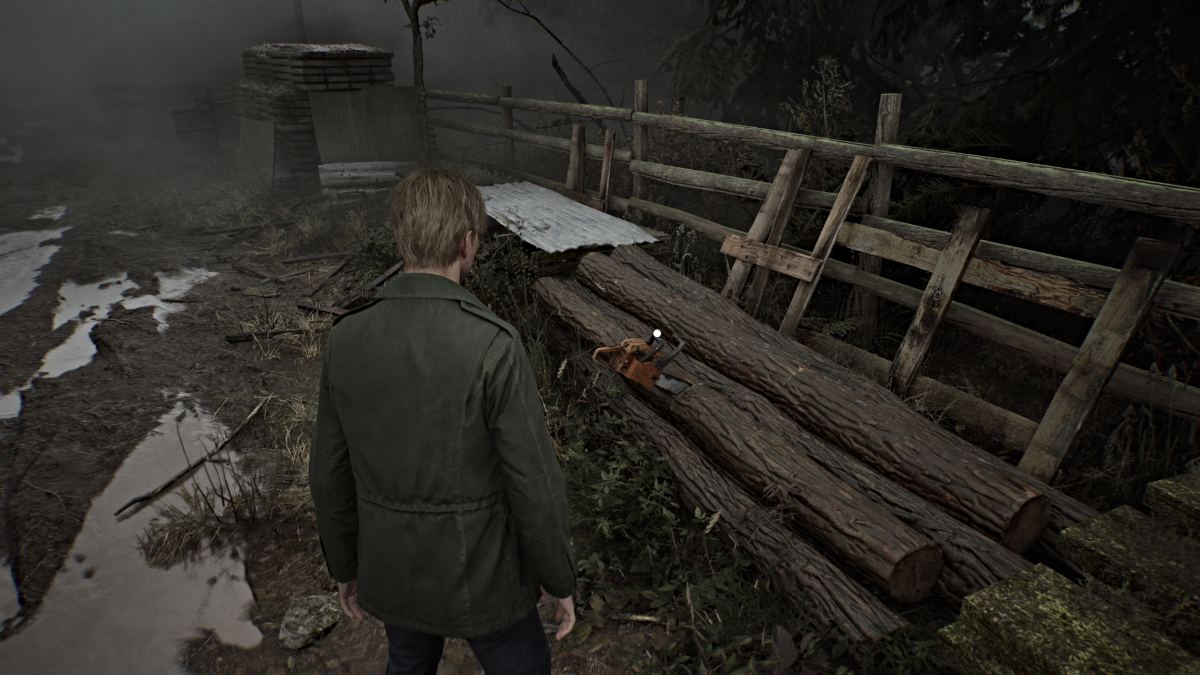
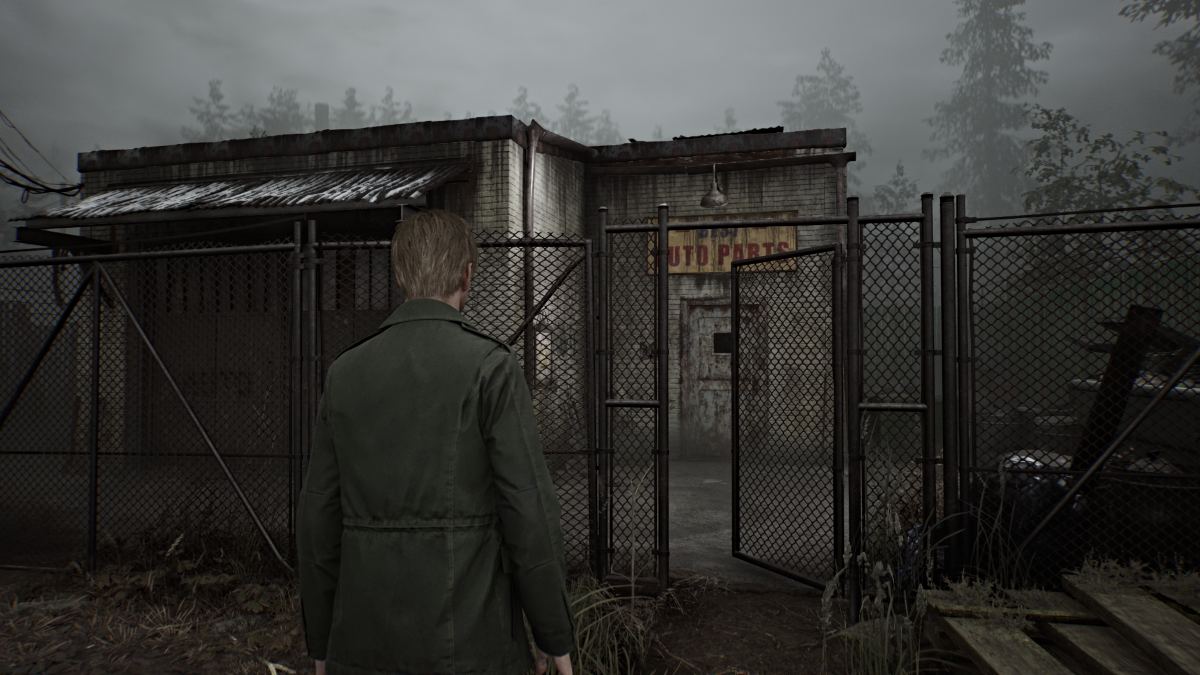
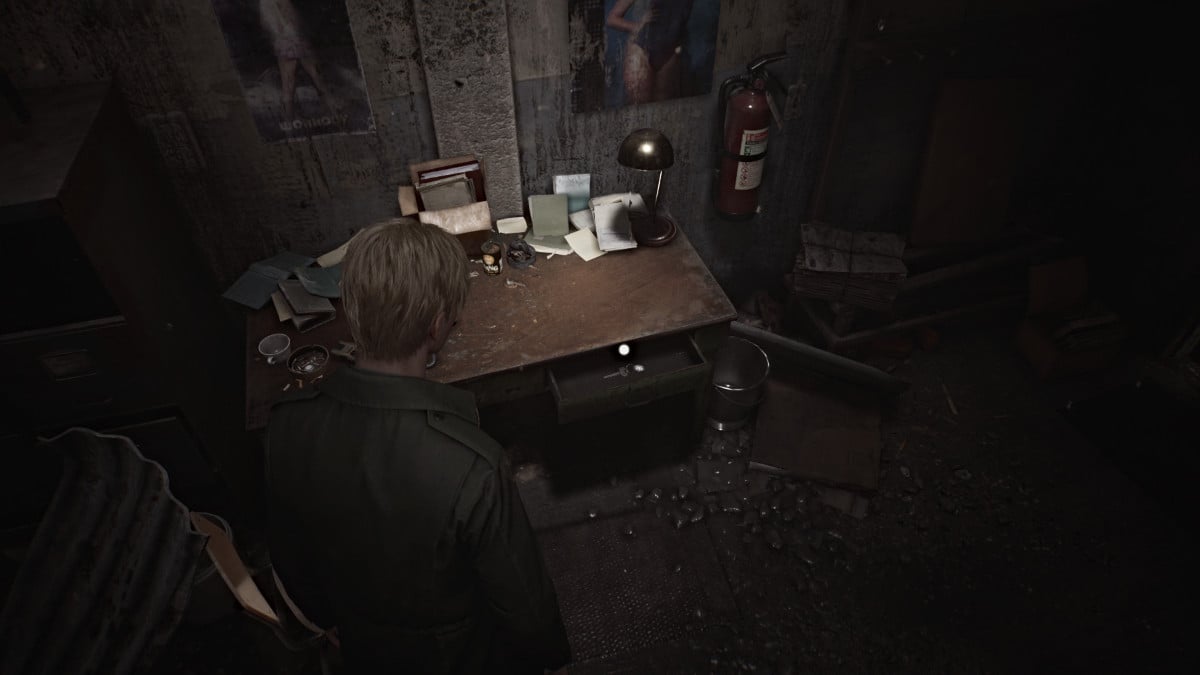
Continue até chegar a uma grande barricada na estrada com uma pequena porta trancada. Procure uma pequena loja de peças de automóveis próxima à sua esquerda com o portão aberto. Entre nas instalações e vire à esquerda ao redor do prédio onde você pode pular por uma janela aberta. Procure uma mesa iluminada dentro, e dentro da gaveta estará a chave de peças automotivas que destranca a porta externa bloqueando seu caminho.
Continue seguindo o caminho direto até chegar a um local familiar (se você jogou o original) sob um viaduto cheio de cercas e tábuas quebradas. Embora não seja possível entrar, você pode interagir com o local, pois é um ovo de páscoa Glimpse of the Past .
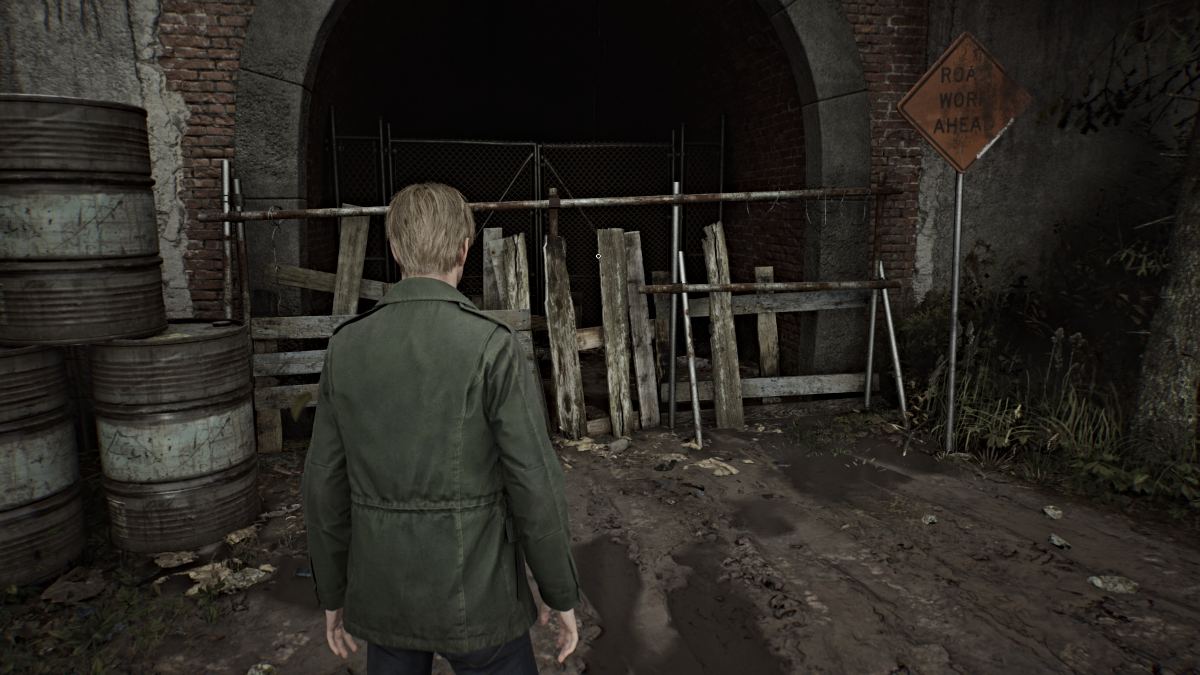
Vire à esquerda sob uma área aberta do viaduto e passe pelo portão à frente, que o levará à Witse Road (de acordo com seu mapa) e à cidade de Silent Hill.
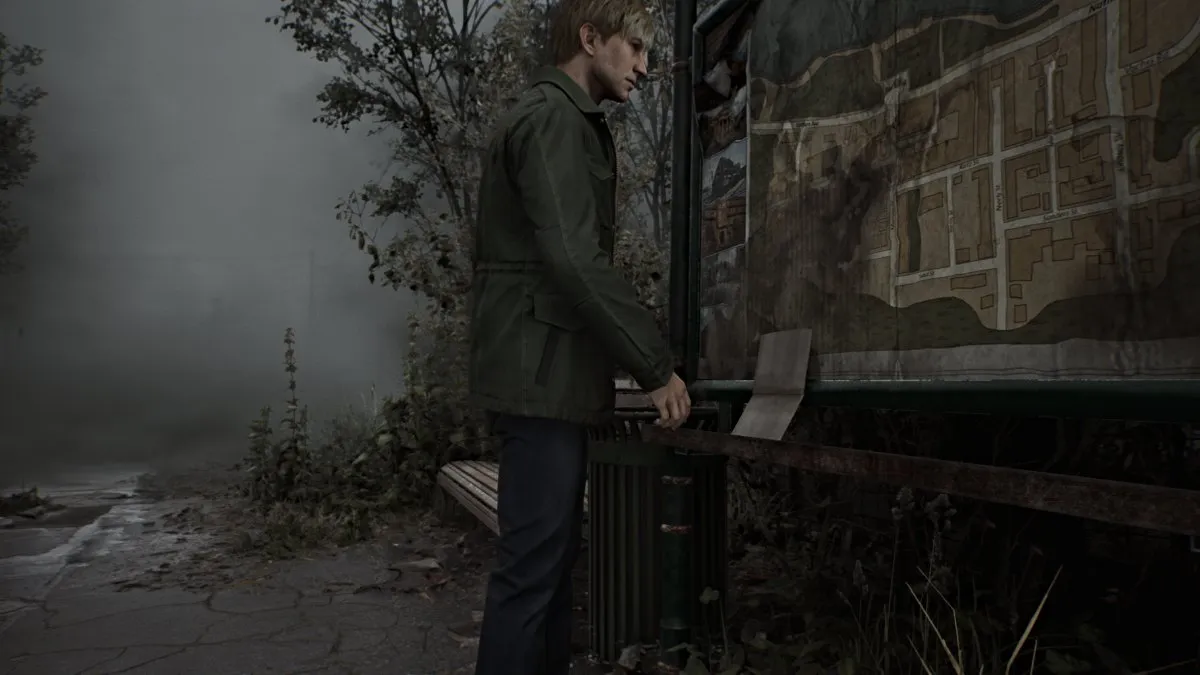
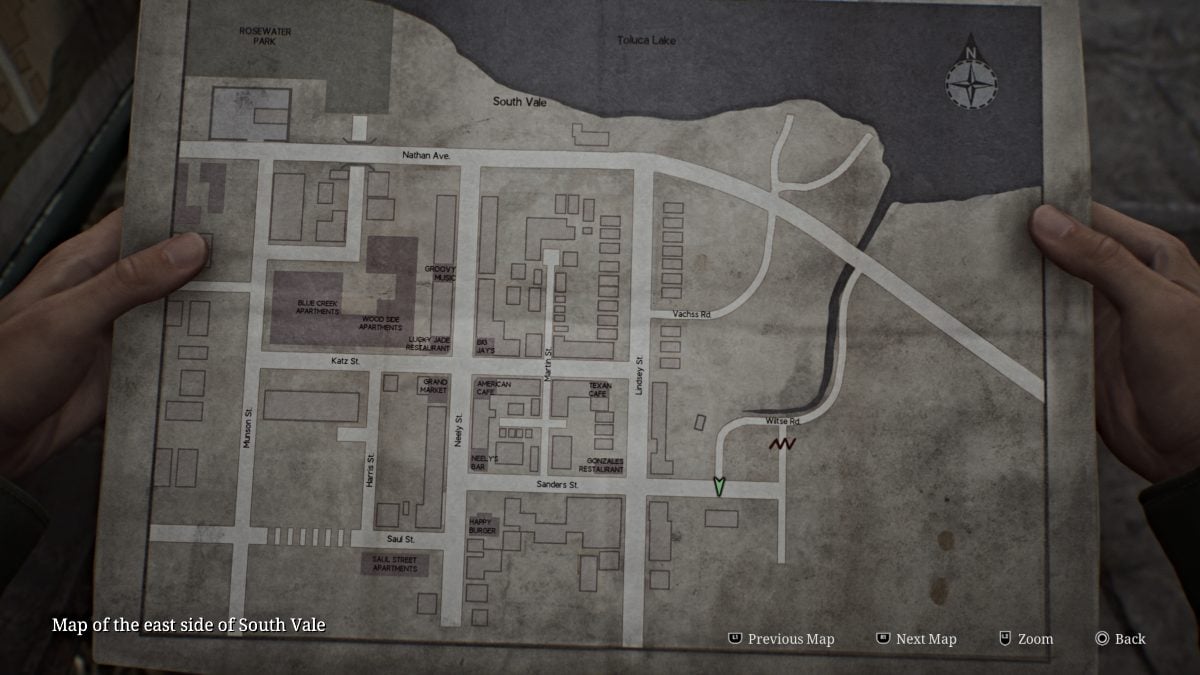
Ao chegar à Sanders Street, uma cena será exibida onde James encontra outro mapa mais expandido da cidade embaixo de uma placa. Isso permite que você observe os lados oeste e leste do mapa da cidade e todos os principais pontos de referência de cima.
Primeiro, vá até a Floricultura próxima e pegue a Mensagem da Floricultura (memorando) no balcão da frente.
Além de uma mancha de sangue no chão próximo que James pode ver, não há mais nada para encontrar dentro, então volte e desça a Sanders Street até ver uma trilha de sangue muito maior que leva ao norte até a Lindsey Street. Todos os outros caminhos estão bloqueados por enormes barricadas por enquanto, então siga a trilha.
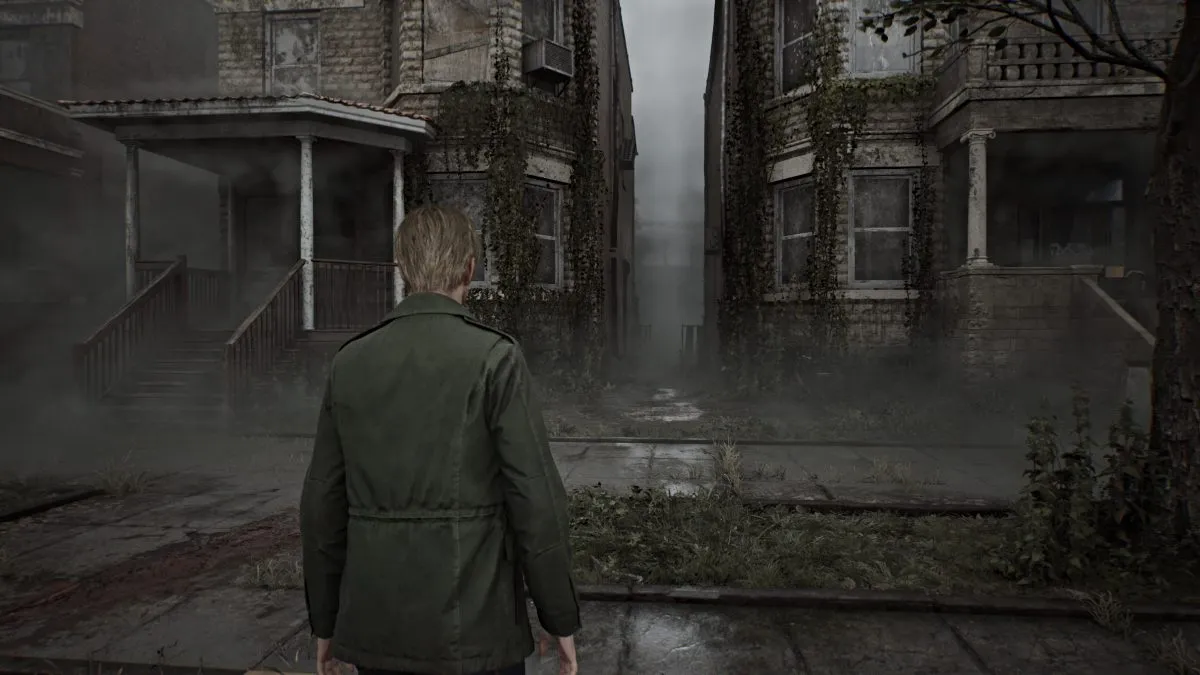
Outra cena revela uma figura estranha caminhando à frente de James, e você vai querer segui-la. Mantenha-se em frente e os respingos de sangue o levarão a um desvio misterioso no lado esquerdo da estrada entre dois edifícios (visto acima).
Antes de passar pelo beco, gire e corra pela Vachss Road até chegar a um portão 'Não entre'. Interaja com ele para obter outro vislumbre do passado .
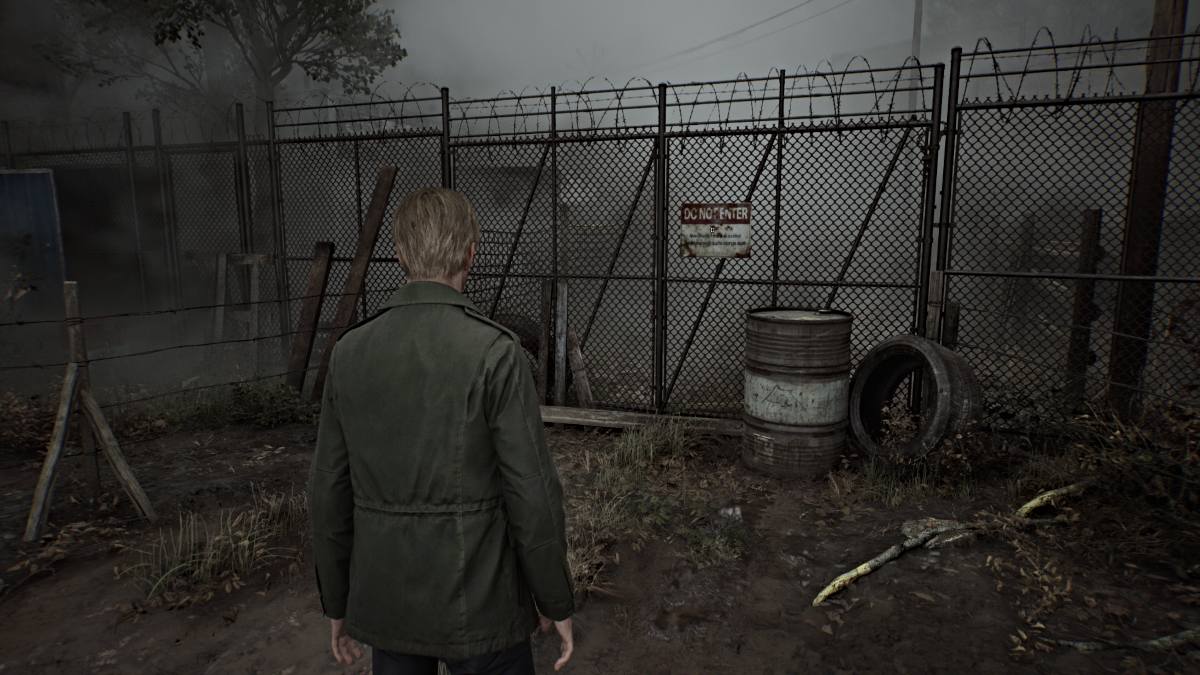
Agora, passe pelo beco e siga os ruídos estranhos pelo beco até chegar a uma garagem com um buraco quebrado na parte inferior da porta. Rasteje por ele para entrar na casa.
Use o Red Save Point na parede próxima e vá direto para a cozinha. Pegue uma bebida saudável em uma das gavetas e continue até a porta à sua esquerda. Siga o que parece ser estática de rádio pelo corredor até poder entrar em uma porta à sua direita. Dentro da sala, um Rádio estará sentado em uma poltrona.
Agarre-o e uma cena acontecerá onde James confronta a mesma figura de antes, que acaba sendo um monstro (conhecido como Figura Mentirosa ).
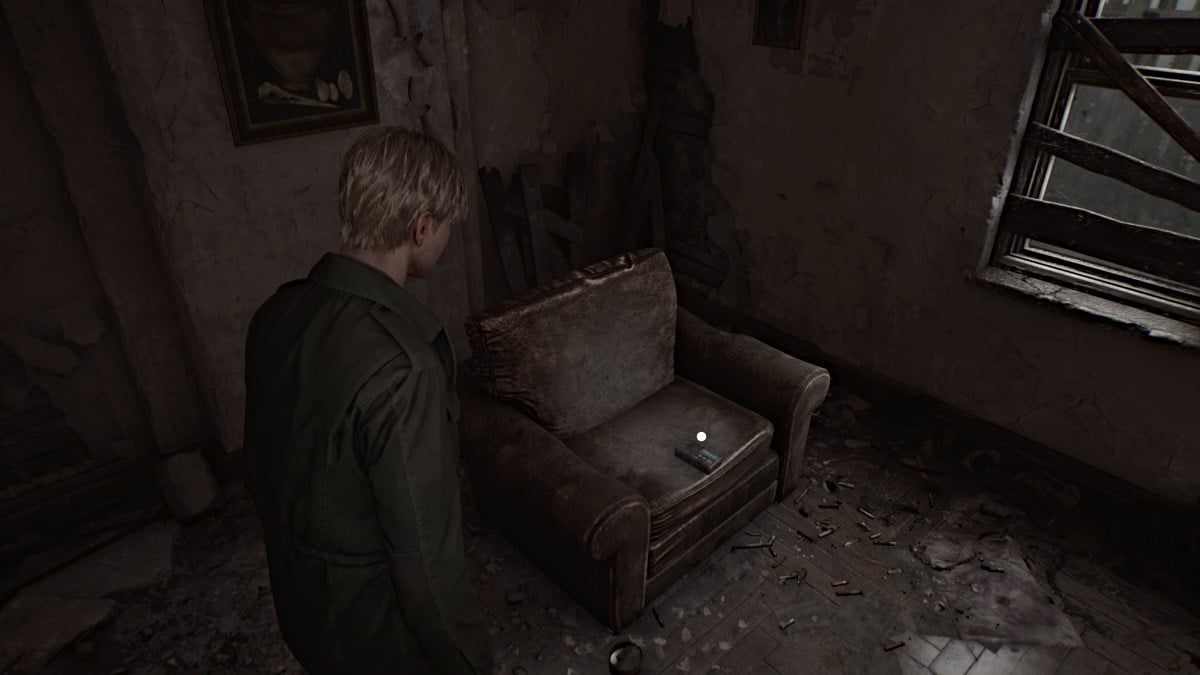
Esta é a sua primeira introdução ao sistema de combate do jogo, que permite atacar e esquivar (usando os botões apropriados). Use a prancha de madeira que James agarra na janela para acertar golpes na Figura Mentirosa enquanto observa seus ataques físicos e ácidos. Mantenha pressão sobre ele até que ele caia no chão e use o mesmo botão de Ataque para pisoteá-lo até morrer.
Continue pela casa até encontrar uma lacuna quebrada na parede para passar. Abra o kit de primeiros socorros na mesa à sua direita para pegar uma seringa (item de saúde forte) e então quebre a janela em frente com sua prancha para escapar da casa. Após uma cena, você pode continuar pela Martin Street.
No ponto mais ao norte da Martin Street, você encontrará outro Vislumbre do Passado perto de uma cerca branca (vista abaixo).
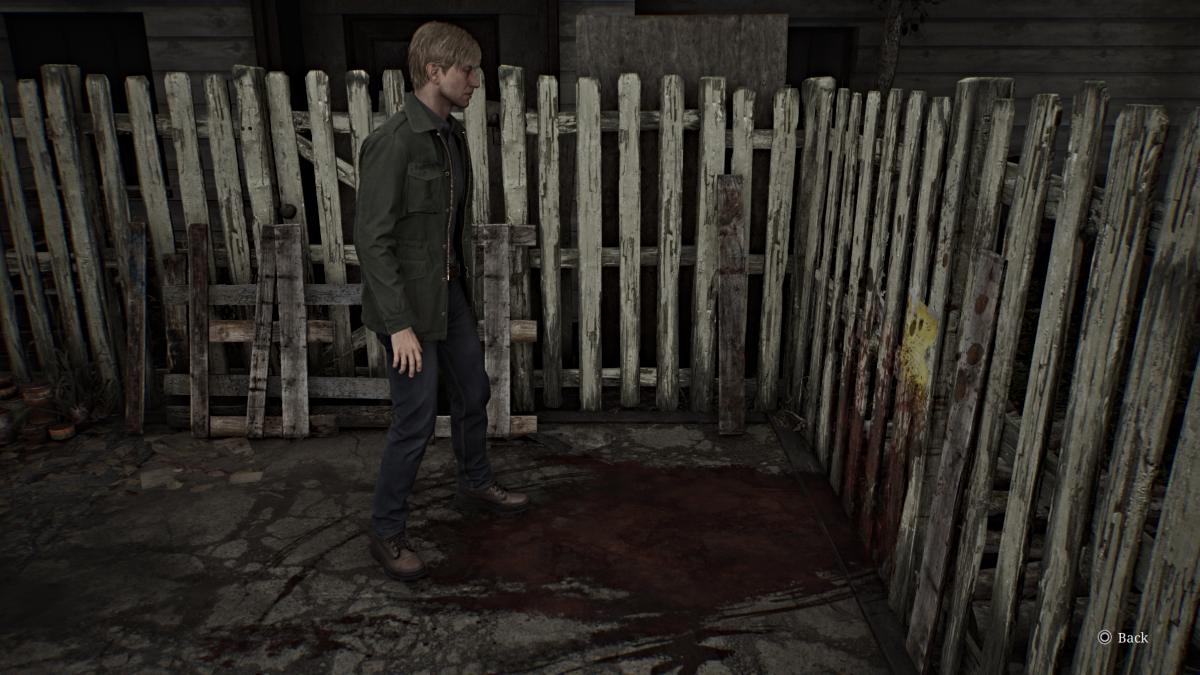
Agora corra para o sul e interaja com o cadáver ensanguentado na calçada à frente para pegar uma caixa de fósforos no Neely's Bar , um de seus próximos destinos. Além disso, pegue o Martin Street Note alguns metros à frente do cadáver.
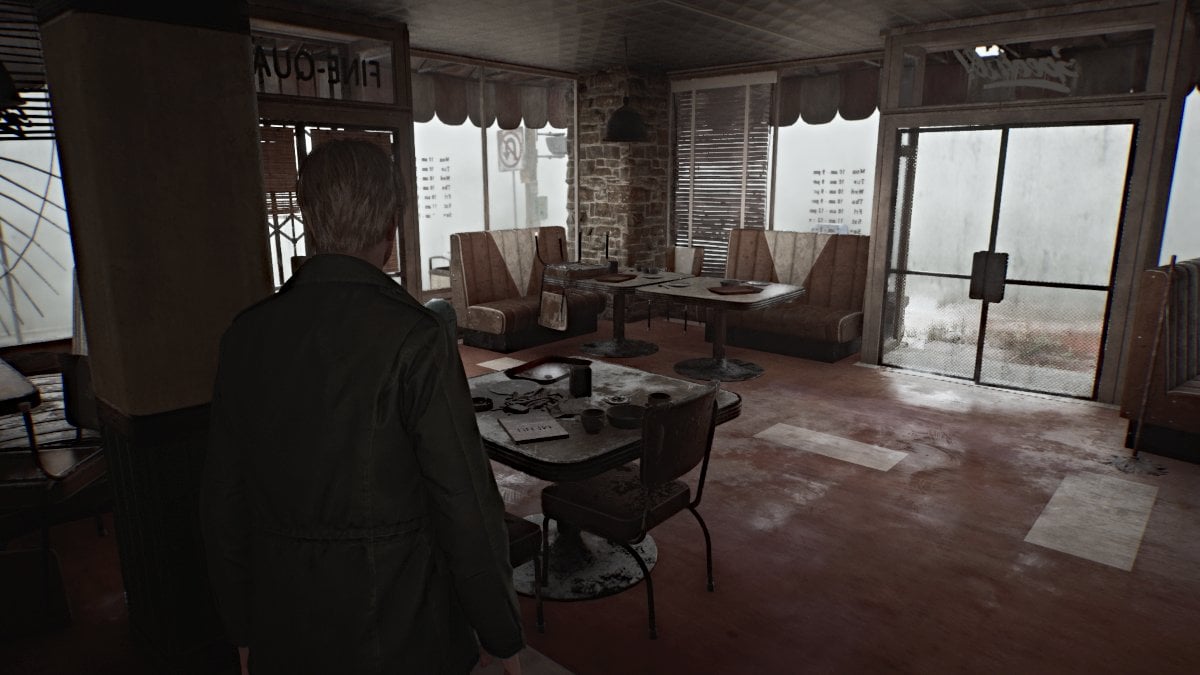
Vários monstros agora estarão ativos em vários lugares ao redor de Silent Hill, então tome cuidado, escolha suas batalhas e use seus itens de saúde com sabedoria.
Continue pela Katz St até encontrar a porta dos fundos do café Big Jay . Entre e tome cuidado com a Figura Mentirosa escondida lá dentro. Lide com isso e vá para a frente do café para encontrar o Big Jay's Note em uma das mesas. Uma Health Drink estará em outra mesa na área do estande. Saia da entrada principal do café para a Neely Street.
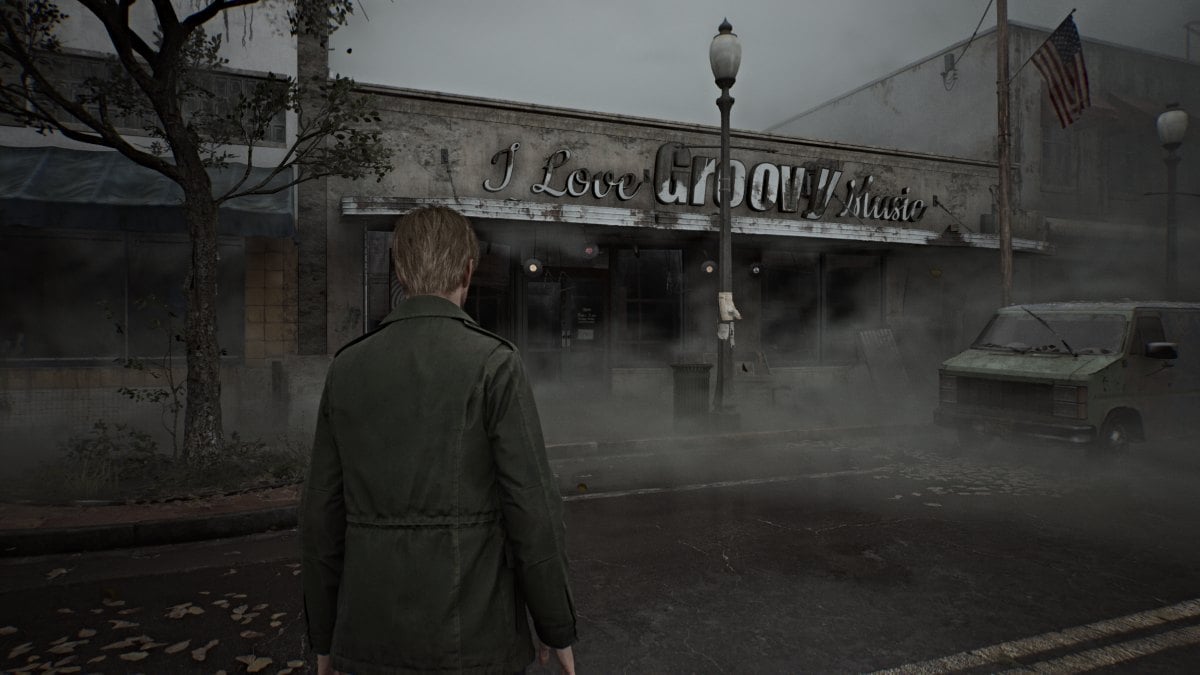
Primeiro, vá para o norte na Neely e quebre as janelas do carro da polícia próximo para pegar seu primeiro lote de balas de pistola , que serão úteis mais tarde. Quando você chegar à I Love Groovy Music Shop (fácil de localizar pelos sinos de vento), primeiro desvie para o beco em frente para tomar uma bebida saudável em uma mesa.
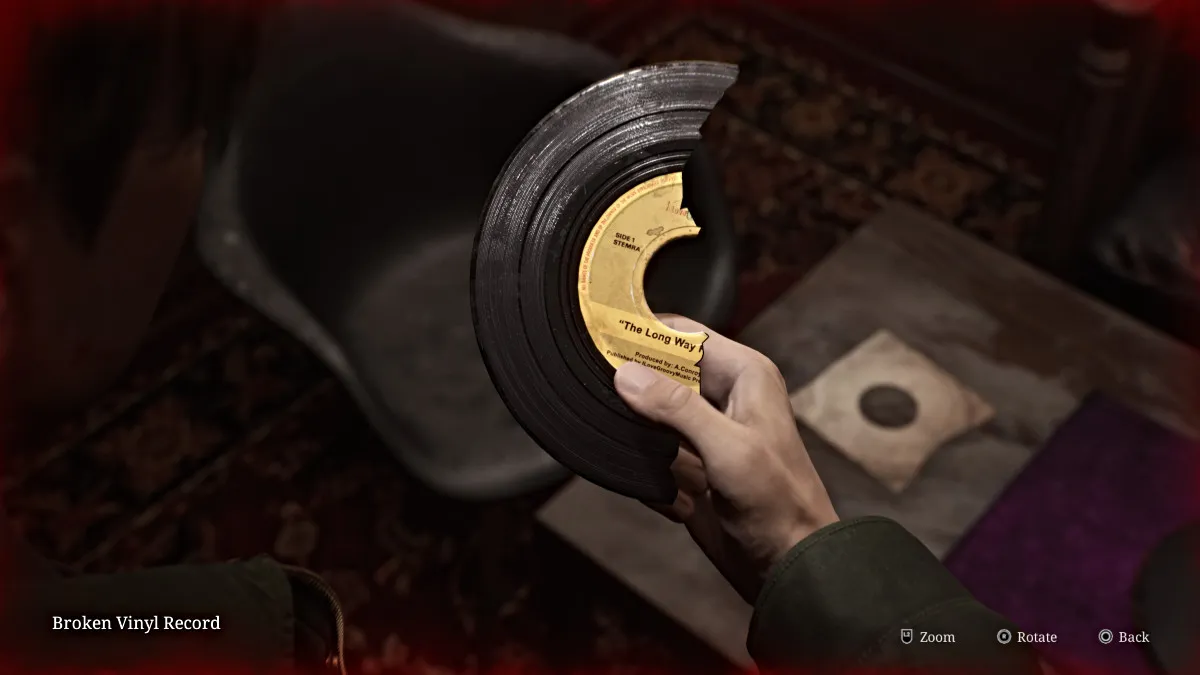
Volte para a Loja de Música e entre, onde duas Figuras Mentirosas estarão esperando. Faça o possível para lidar com eles um de cada vez, pois você só tem uma prancha para se defender no momento. Uma vez feito isso, pegue a Nota da Loja de Discos do balcão e depois vá para os fundos e quebre uma das grandes janelas para entrar na sala de discos. Na mesa baixa do centro estarão Cola de Vinil e um Disco de Vinil Quebrado .
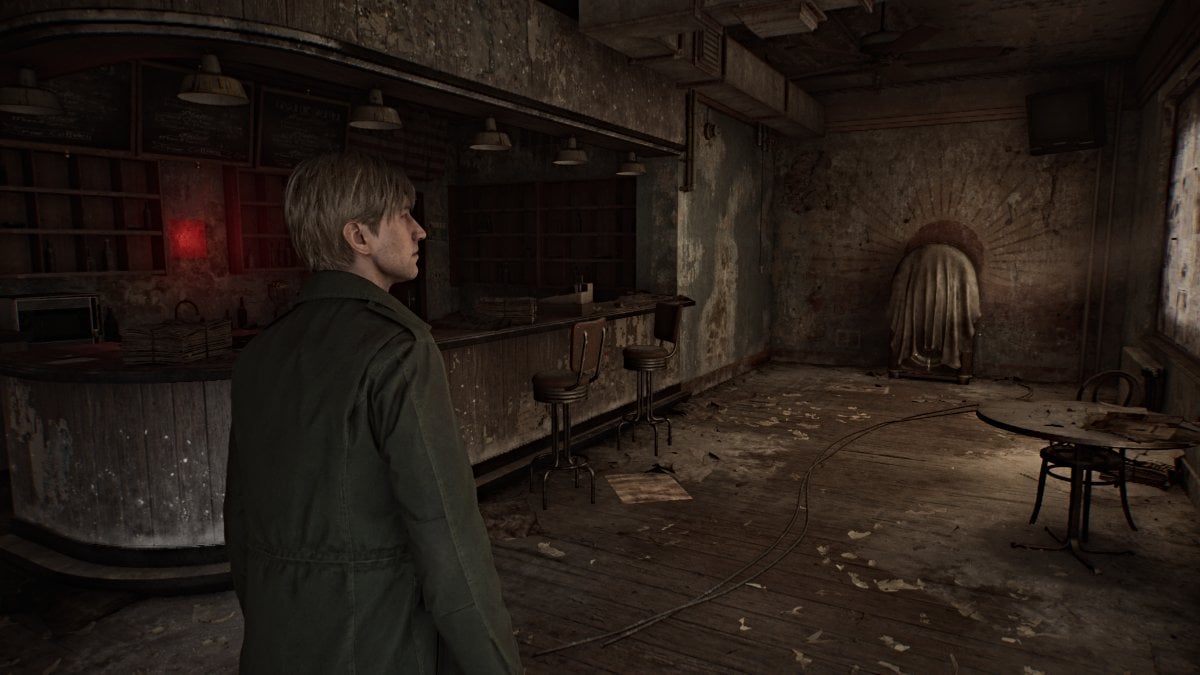
Saia da loja e finalmente siga em direção ao Neely's Bar . Dentro dele haverá outro Red Save Point na parede à sua esquerda, Neely's Bar Note no balcão e uma porta trancada que requer um chave especial. Em uma das janelas há uma mensagem perturbadora que diz "Havia um BURACO aqui. Agora desapareceu". . Na parede do fundo há uma jukebox quebrada que serve como o primeiro quebra-cabeça do jogo.
Dentro dele há metade de um disco de vinil quebrado em uma faixa esperando para ser tocado. Interaja com ele para removê-lo da máquina, adicionando-o ao seu inventário. Agora, use a cola de vinil e a outra metade do disco de vinil quebrado para combinar as duas peças. Isso lhe dará o disco de vinil colado , intitulado "The Long Way Home" .
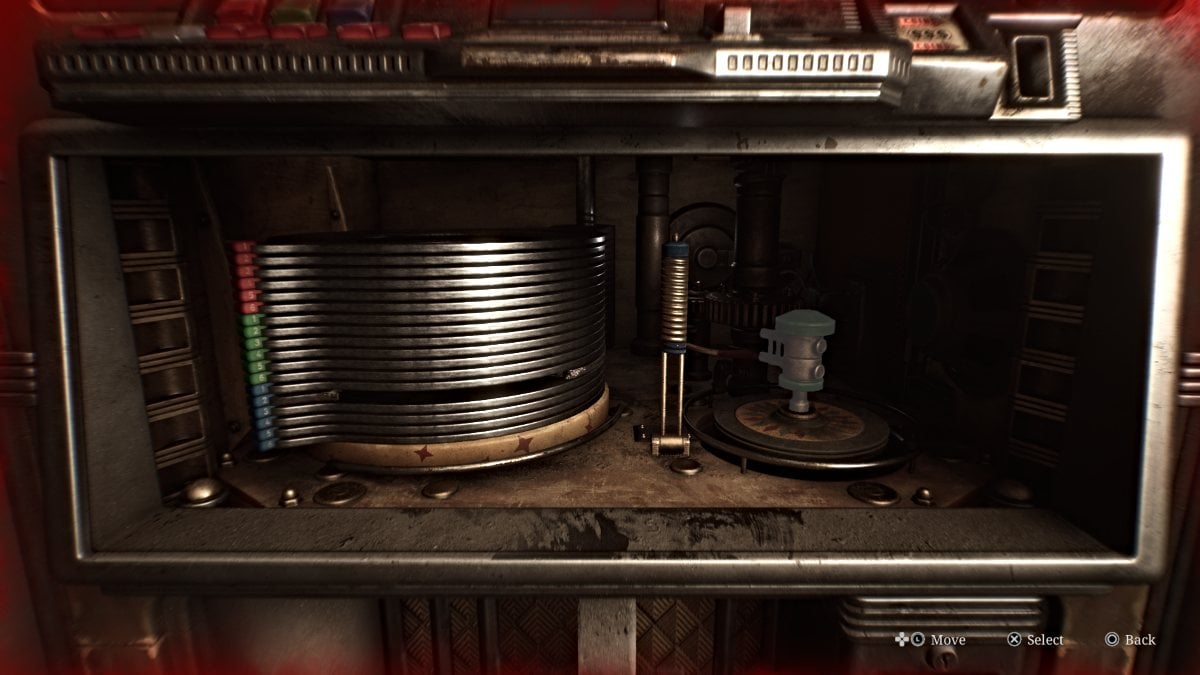
Em seguida, você precisa preparar a máquina para tocar o disco, e há três partes internas que você pode mover, coloridas em azul, vermelho e verde . Seu primeiro objetivo é conectar a parte vermelha à parte verde para que ela possa se mover para trás e sair do caminho da parte azul, que você precisa empurrar para baixo.
Depois de fazer isso, pressione a parte verde até que ela empurre a pista para você colocar o disco de vinil colado. O mecanismo da trilha será então levantado, onde você precisará pressionar os botões corretos para reproduzir o disco. No entanto, o botão '2' que você precisa está faltando e você também precisa de uma moeda . Então deixe a jukebox por enquanto.
A nota do Neely's Bar indica que um homem fugiu com o botão e metade da ficha (que você já consertou) e que mora no apartamento 9 da rua Saul, perto da farmácia. Os Saul Street Apartments estarão circulados em seu mapa.
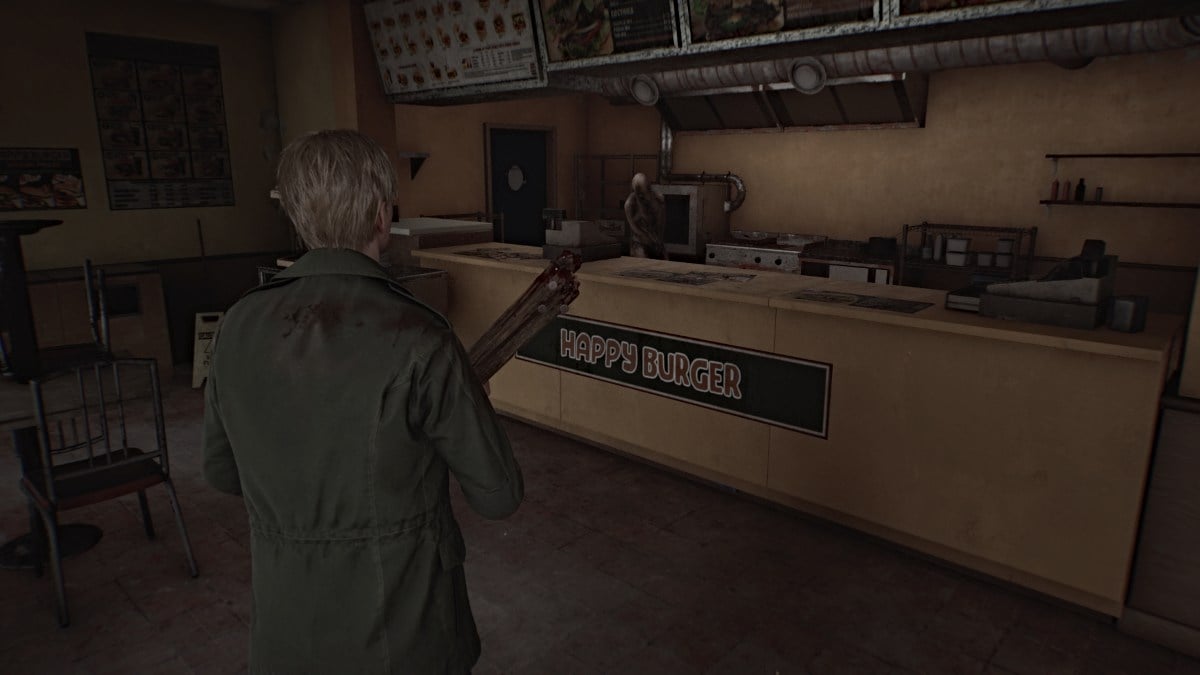
Siga em direção aos Saul Street Apartments . Você pode conferir o Happy Burger ao longo do caminho, se quiser, mas há três Figuras Mentirosas à espreita dentro e ao redor dele. Tudo o que há dentro é uma bebida saudável (na mesa ao lado da janela pela qual você pula) e uma seringa (área da cozinha) que é guardada por um dos monstros.
A menos que você se considere confiante o suficiente para lutar ou ultrapassá-lo, recomendamos apenas pegar a bebida saudável por enquanto e continuar.
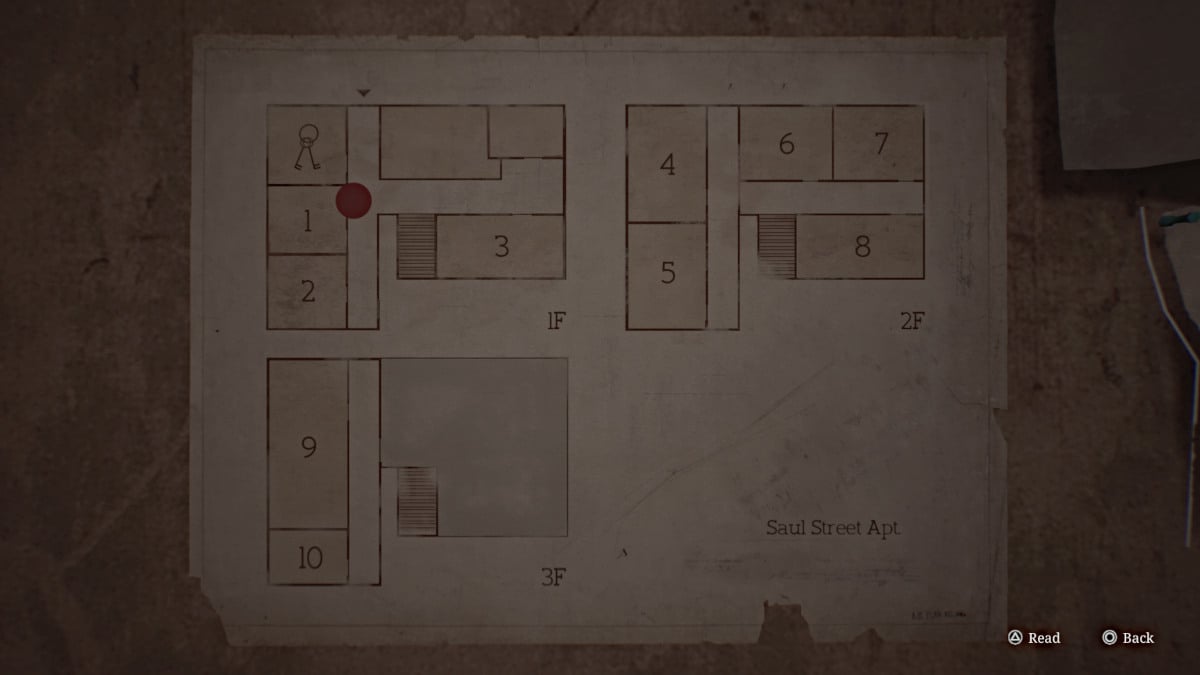
Entre nos Saul Street Apartments e anote o escritório imediatamente à sua direita. A porta está trancada, mas você ainda pode entrar indo mais adiante no corredor até a próxima porta à direita (Apartamento 1), onde você pode empurrar uma cômoda para fora do caminho. Dentro do escritório, você encontrará a chave do apartamento 5 e uma pequena nota sobre um vazamento também. Além disso, anote o mapa do edifício na parede do corredor (visto abaixo) para encontrar o caminho para o apartamento certo.
Antes de ir para lá, vire à esquerda depois da escada e passe pela porta quebrada à sua esquerda e em frente ao Apartamento 3, que leva à Farmácia Verde . Uma seringa estará em um kit de primeiros socorros em uma mesa à sua direita quando você entrar.
Agora volte para a escada que leva ao segundo andar de apartamentos e vá para a direita até ver um forro próximo ao Apartamento 7 . Passe por ele e dentro você encontrará a Nota do Inquilino . Volte pelo forro ou pela porta que você pode destrancar e agora vá para o Apartamento 5. Use a chave para entrar e procure uma lacuna na parede que leva você ao Apartamento 4 . Durante uma cena, o barulho que James causa causará um distúrbio no terceiro andar acima, no Apartamento 9, para onde você precisa chegar. Diversão.
Não há itens para coletar aqui, então passe pela próxima abertura na parede que leva ao outro lado do corredor bloqueado por escombros. Passe pela janela aberta para a varanda e suba as escadas de incêndio até encontrar outra janela aberta no canto superior direito. Assim que você pular pelas saídas de incêndio, não há como voltar atrás.
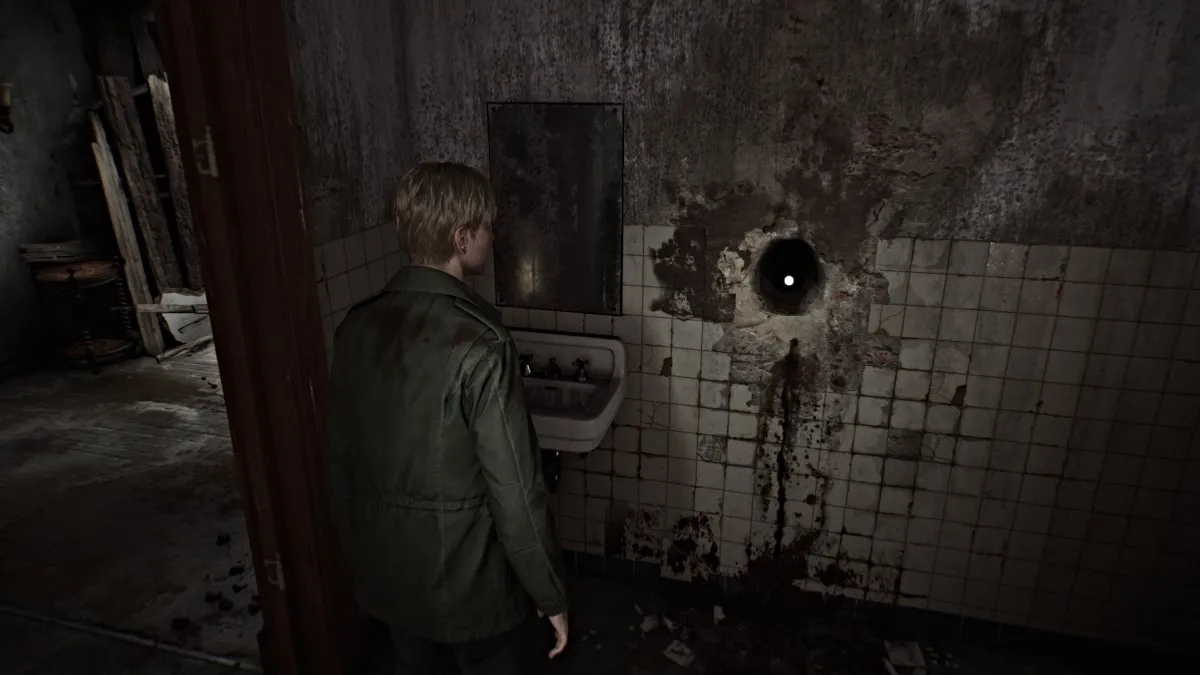
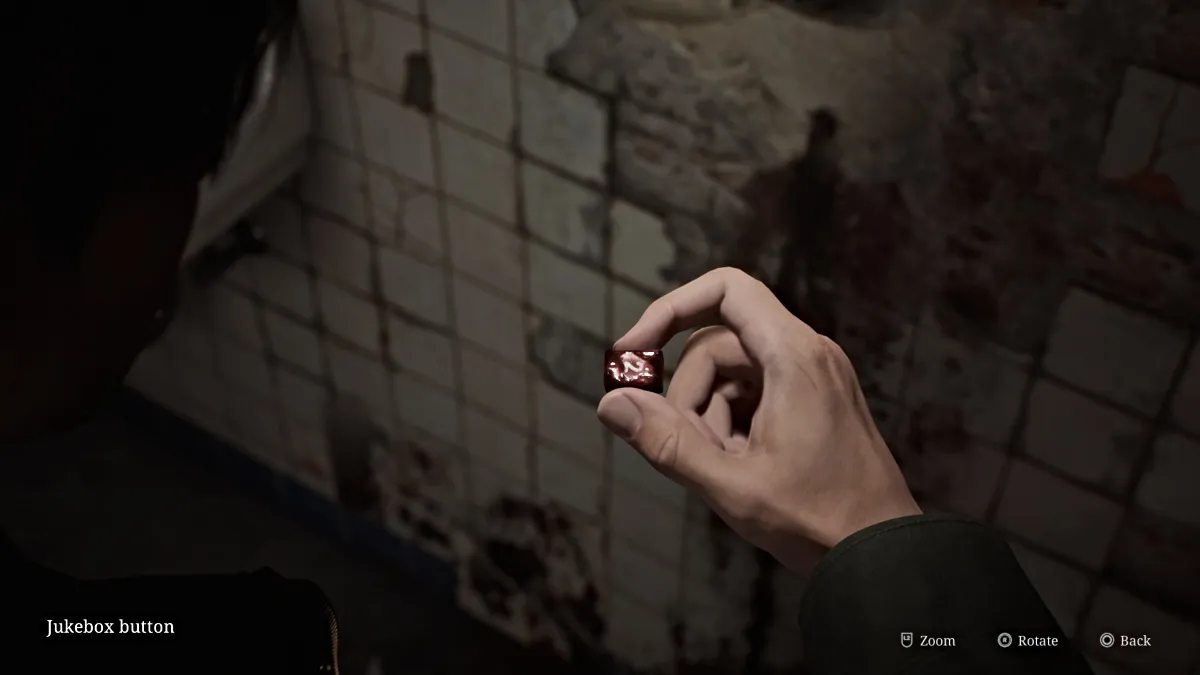
Vá até a porta ao lado do banheiro e uma cena será exibida onde James tenta abrir a porta apenas para encontrá-la acorrentada, um cheiro horrível vindo de dentro e a mão na maçaneta manchada com uma substância preta. Agora vá para o banheiro próximo onde haverá um grande buraco na parede (visto acima). Interaja com ele para 'procurá-lo' (sons adoráveis incluídos) até que James puxe o botão '2' que falta para a jukebox .
Agora vá para o telhado pela porta próxima e você verá uma escada à sua frente.
A porta à sua direita leva a outra escada interna, mas está completamente destruída, então essa não é uma opção. Desça a escada e você chegará à área de lixo do prédio. Saia pela porta que estava trancada do outro lado.
Você pode continuar pela Saul Street, e à esquerda haverá um Motor Home atrás de um portão aberto. Uma figura deitada perto dele se aproximará de você, então lide com isso e entre. Pegue o Motor Home Note e uma Health Drink , depois o Saul Street Note no chão quando você sair que diz: "Eles podem ser mortos. Apenas certifique-se de que eles permaneçam no chão" .
Além disso, certifique-se de pegar o Mapa Antigo (outro memorando) que está na rua perto do Motor Home.
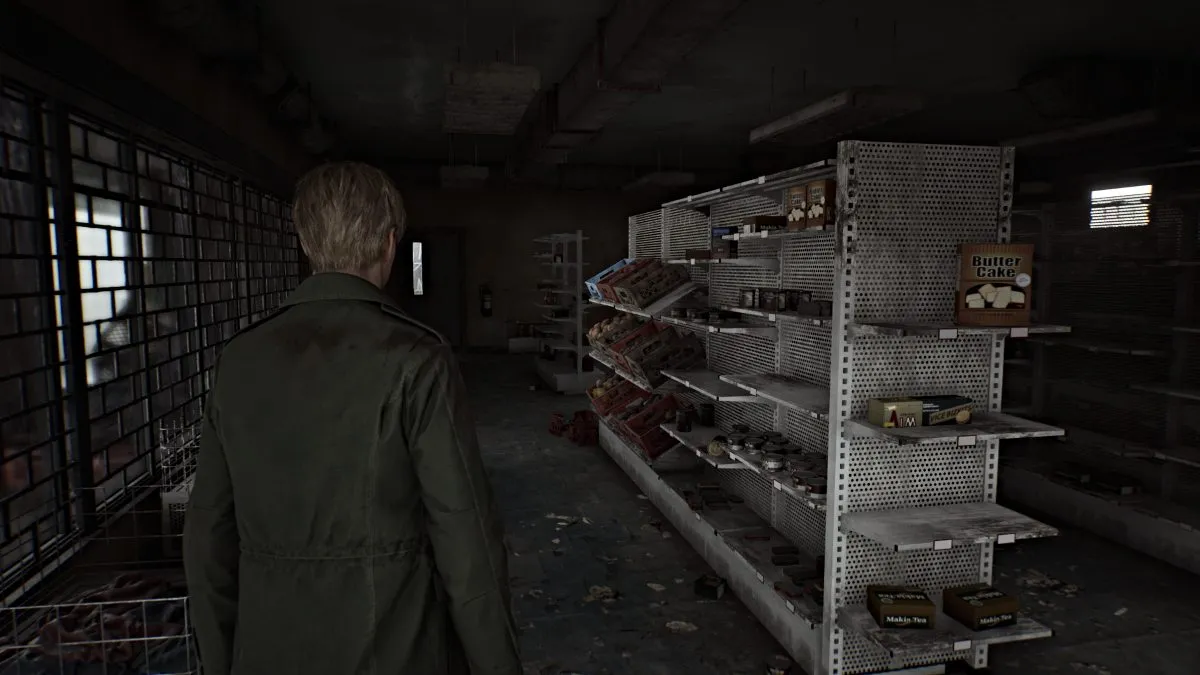
Você ainda precisa da moeda para tocar o disco na jukebox, então não volte ao Neely's Bar ainda. Primeiro, passe pela Neely Street até encontrar um beco aberto com uma porta nos fundos para o Grand Market . Você precisa de um código para destrancar a porta, e a Nota de Código encontrada perto de um caminhão na Sanders Street lhe dará uma dica.
Essencialmente, a pessoa que tentou pela última vez chegou ao número ‘4439’ e sentiu que estava “tão perto agora”. Isso significa que você pode digitar os números subsequentes até acertar, mas para economizar tempo, o código é '4444' (dificuldade do quebra-cabeça padrão). Dentro, você encontrará quatro bebidas saudáveis e duas caixas de munição de pistola , então o pit stop vale a pena.
Vire à direita na Rua Katz e corra até o Texan Cafe no final, perto da grande barricada. Passe pela porta lateral destrancada até a caixa registradora atrás do balcão. Use a chave que já está dentro da caixa registradora e o botão na parte inferior para abrir a gaveta e recuperar uma Moeda Bar Neely . Cuidado com a Figura Mentirosa que emboscará você depois.
Agora é hora de voltar ao Neely's Bar, mas antes de fazer isso, certifique-se de pegar o Sanders Street Note do cadáver caído perto de um grande caminhão no meio da Sanders Street.
Insira a moeda Neely's Bar na jukebox e pressione os botões 'C' e '2' para finalmente reproduzir o disco. Uma música familiar toca enquanto James experimenta um flashback desconexo. Depois de terminar (ou melhor, quebrar), a jukebox cospe a Neely's Bar Key , que você pode usar na porta trancada próxima.
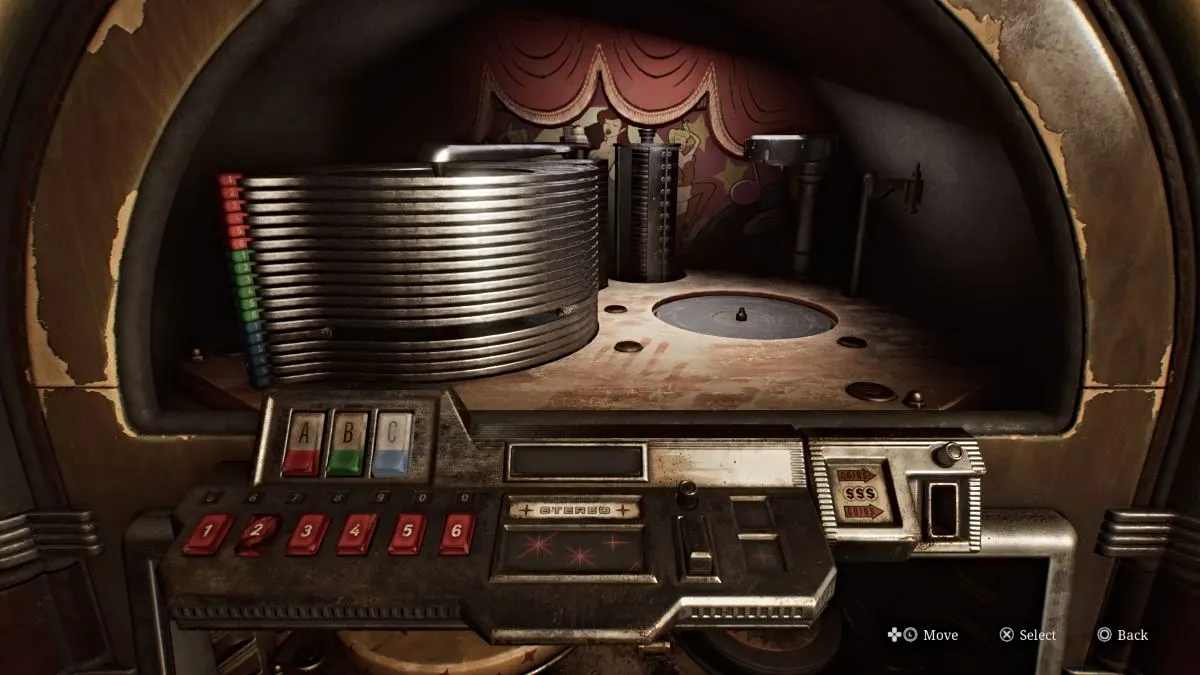
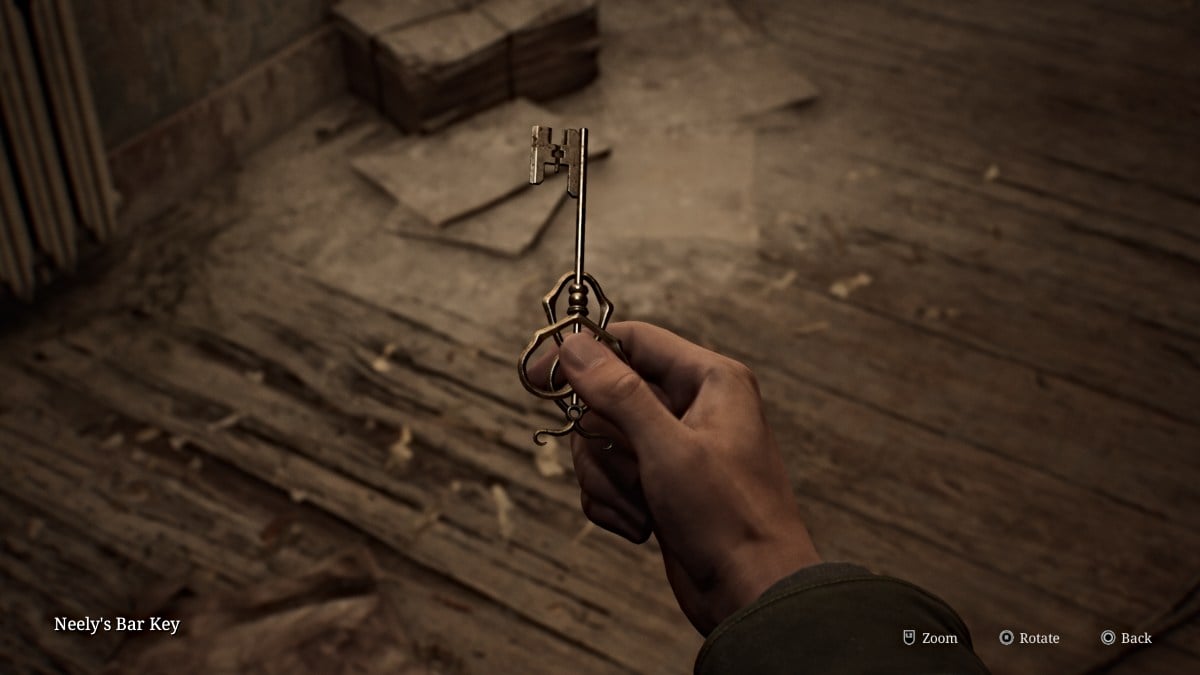
Passe pela porta e olhe imediatamente para a direita. Um forro pode ser visto no alto da parede, e você precisará usar o carrinho que bloqueia o caminho para alcançá-lo. Empurre-o em direção à parede e suba e passe.
Pegue a bebida saudável do armário de primeiros socorros na parede e depois vá para a próxima sala e pegue a carta da sala dos fundos na mesa, indicando que você precisa encontrar um carro verde-azul com uma placa terminando em '06' fechar por. Deixe de fora a porta dos fundos que leva a outro beco cheio de carros.
O único carro na área que tem alguma coisa é o carro verde brilhante à sua direita, no cruzamento com a Martin Street. Uma bebida saudável estará no banco do motorista. Volte e continue direto em direção ao ponto de interrogação no mapa que James desenhou. Passe pela porta da barricada e o carro verde-azul abandonado estará à sua direita, com uma pilha de roupas ensanguentadas ao lado.
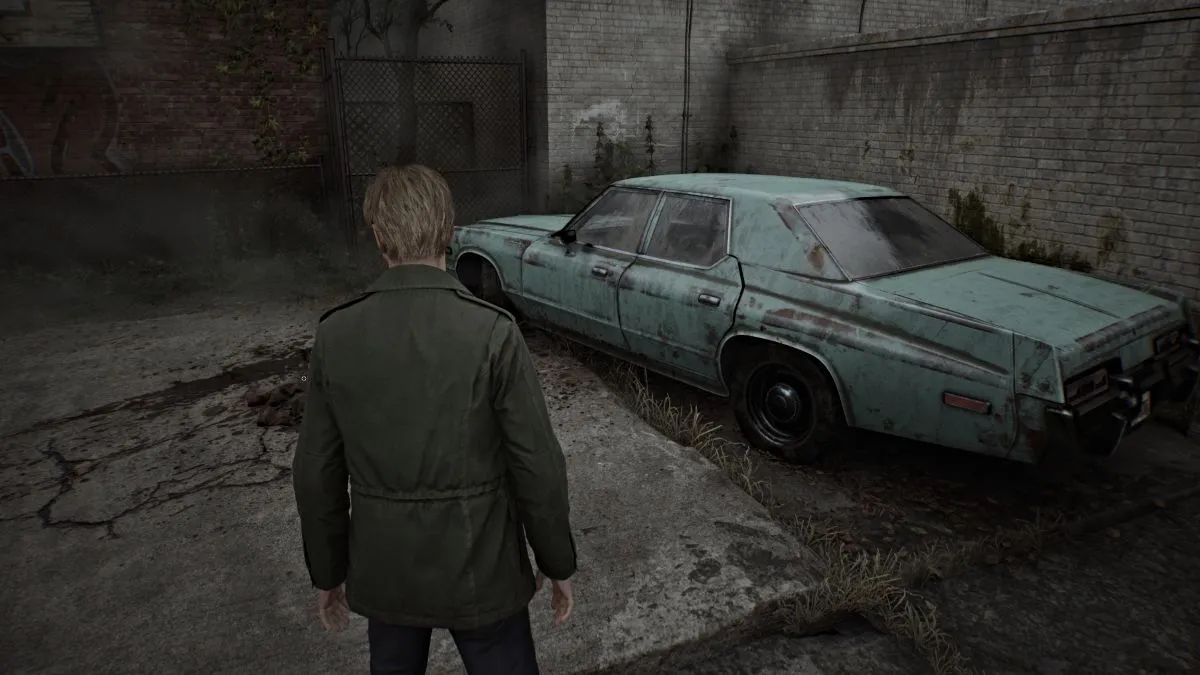
Interaja com ele e James puxará a chave do Wood Side Apartments antes de ser emboscado por várias figuras mentirosas. Você não pode lutar contra todos eles, então procure uma fuga por um beco próximo (a porta pela qual você passou estará trancada, então não tente). O beco o levará de volta à Katz Street, que agora também está cheia de Lying Figures que você precisa evitar para preservar sua saúde.
Primeiro, corra para oeste até a Katz Street até chegar à enorme barreira. Pegue o memorando da Nota de Barreira que está no chão e procure uma lacuna na barreira onde você pode ver uma frase escrita com sangue (vista abaixo) para outro Vislumbre do Passado .
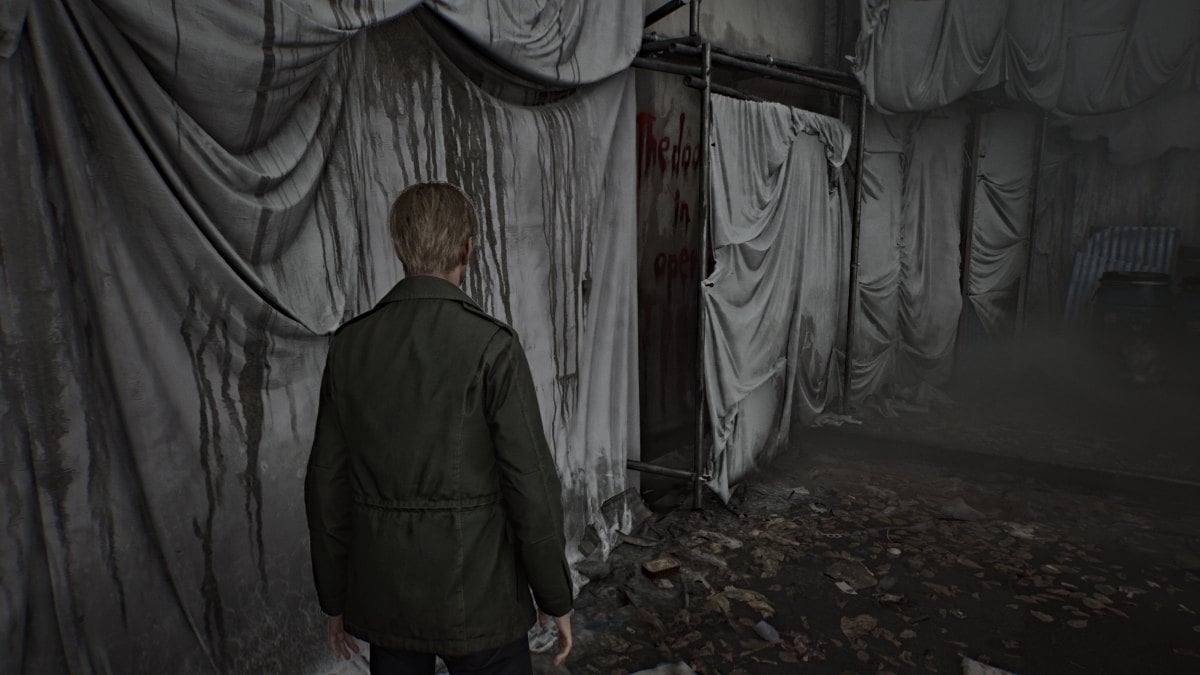
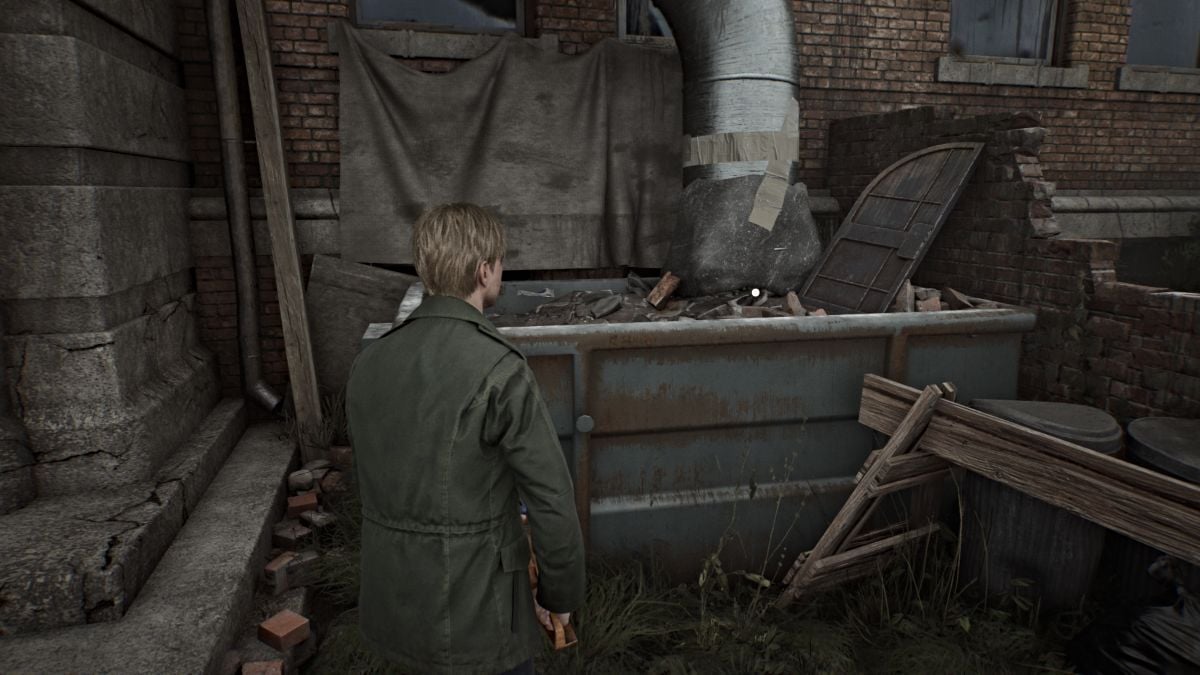
Agora volte até ver a entrada dos Wood Side Apartments à sua esquerda. Antes de entrar, corra até a lixeira à direita da entrada (vista acima) e interaja com ela para mais um Vislumbre do Passado . Pegue o memorando Texan Cafe Flyer no quadro próximo e use a chave para entrar.
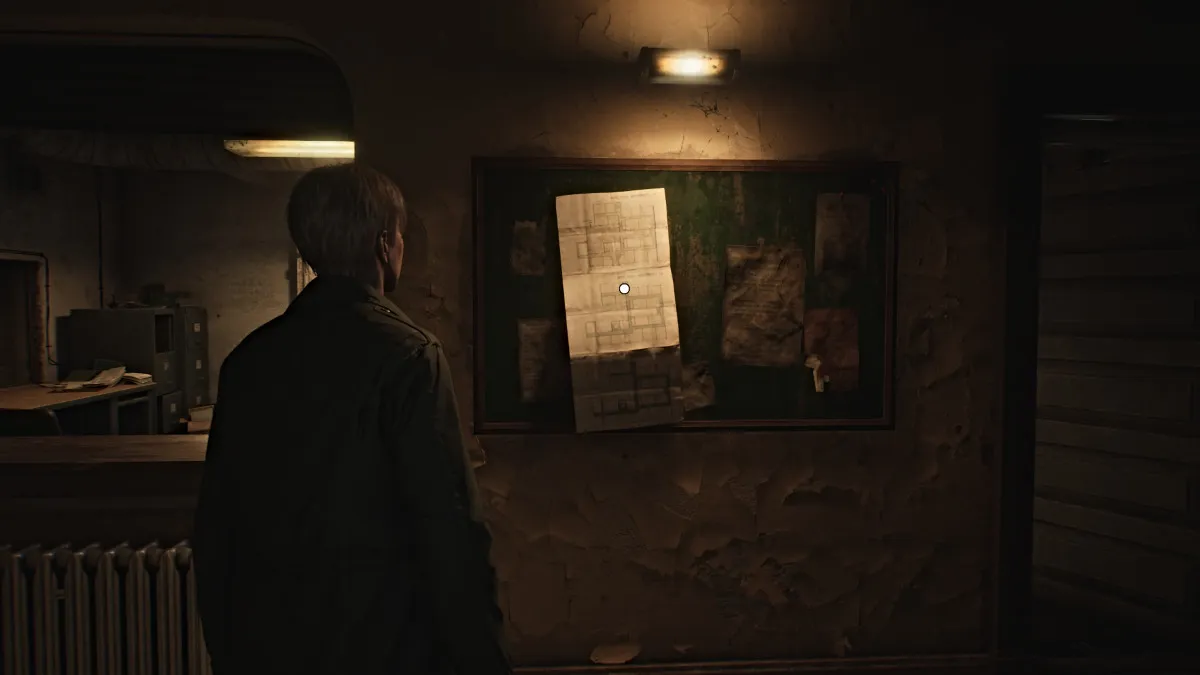
Vá para o saguão e pegue o mapa do prédio no quadro de avisos na parede. Ele mostrará o layout dos Wood Side Apartments 1F-3F e você poderá percorrer cada andar usando o botão apropriado. Em seguida, entre no lobby e use o Red Save Point à sua esquerda. Vá para a sala além dela e abra o armário à sua direita para pegar Munição de Revólver .
Sob um lençol do outro lado da sala, James descobrirá um estranho armário que serve como o próximo quebra-cabeça para você resolver. Você precisará encontrar moedas especiais para colocar nas reentrâncias, então voltaremos a isso mais tarde.
Verifique o banheiro da limpeza à direita do escritório para mais munição de pistola . As outras portas daquele lado estão trancadas por enquanto, então volte para o lado esquerdo do chão. Vá para a parte traseira esquerda, onde está uma prateleira cheia de pastas de documentos e pegue o memorando da Nota da Administração , que fala sobre tiros vindos do Apartamento 217 . Além disso, pegue outra bebida saudável sentada embaixo da escada.
Todas as outras portas do primeiro andar estão trancadas, então por enquanto suba as escadas para o 2F.
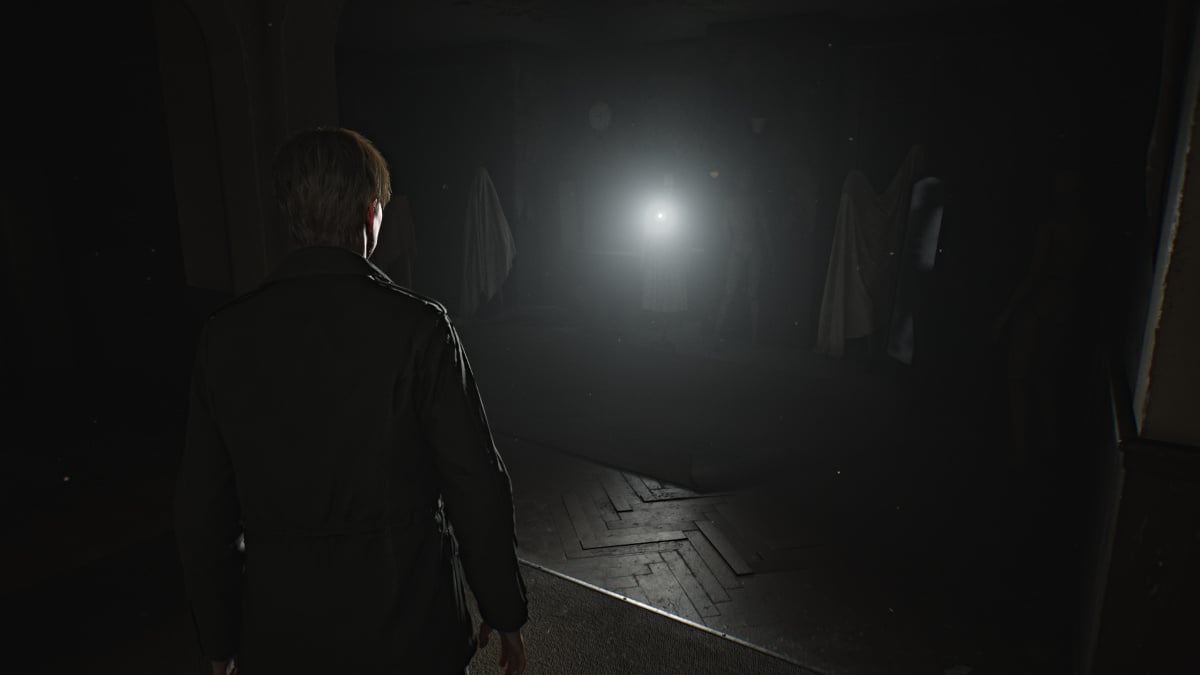
Grande parte do segundo andar está atualmente inacessível, exceto os apartamentos à sua direita. A porta do apartamento 202 está aberta, então entre. Uma luz incomumente brilhante pode ser vista na sala de estar, e é um manequim vestindo a roupa de Mary, com uma lanterna enfiada nele. Antes de pegá-lo, vá até a área da cozinha e pegue uma bebida saudável em um dos armários.
Agora vá até lá e pegue a Lanterna, o que será muito benéfico no futuro. Um novo tipo de monstro escondido atrás dele, chamado Manequim, irá emboscá-lo, então, após o breve QTE, use sua prancha para derrubá-lo. Embora não cuspa ácido como as Figuras Mentirosas fazem, seus golpes físicos são brutais, então tome cuidado. Eles também preferem ataques furtivos e às vezes podem até enganar seu rádio ficando parados .
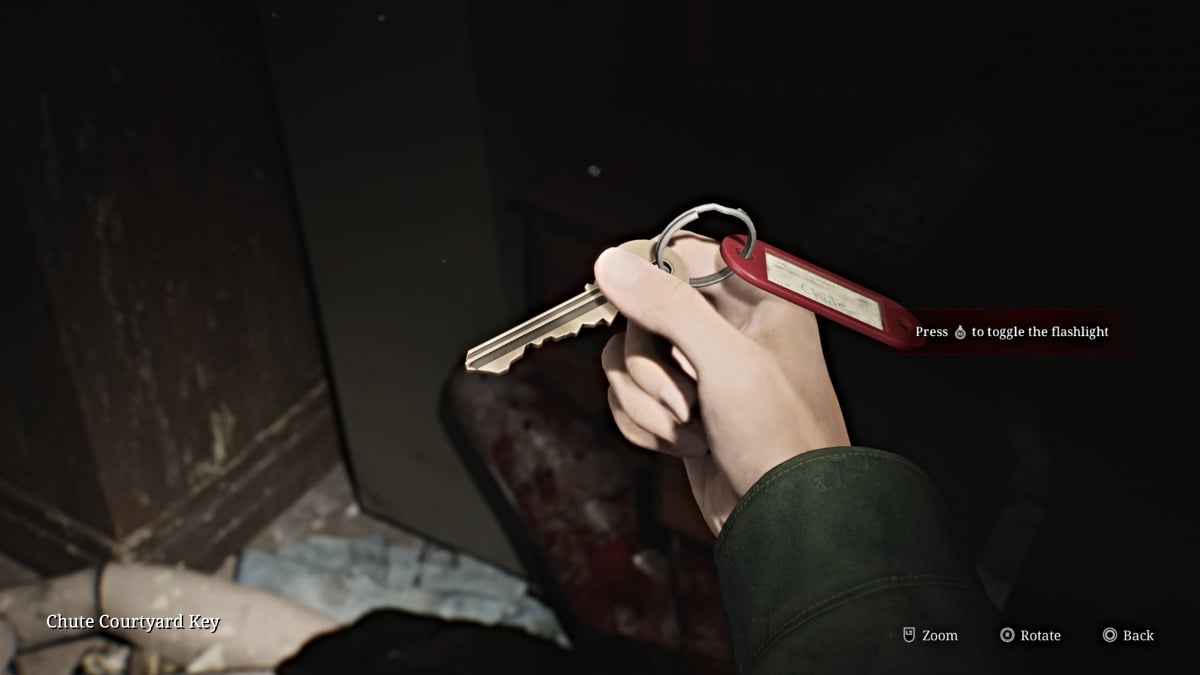
Depois, pegue a Chute Courtyard Key na cômoda próxima e saia do apartamento.
Suba as escadas passando pelo terceiro andar (atualmente trancado) até chegar a um beco sem saída. Mais munição de pistola estará em uma pequena mesa aqui. Corra de volta até o primeiro andar.
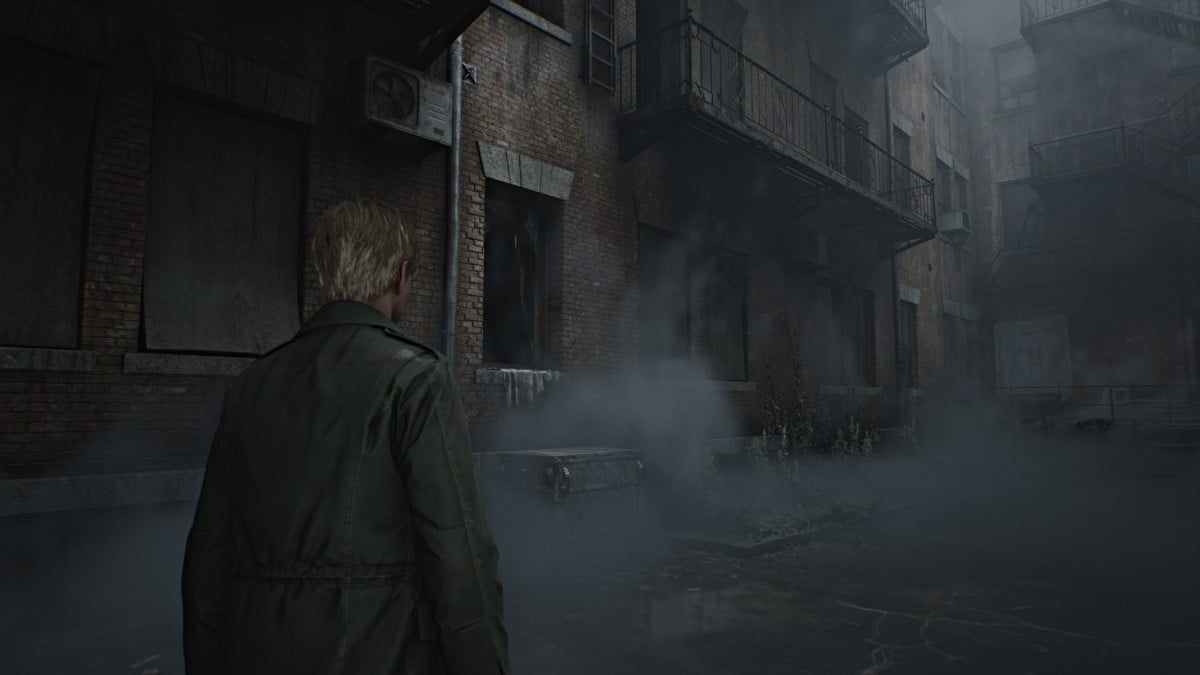
Use a Chute Courtyard Key na porta à esquerda do banheiro da zeladoria, que o levará para fora, para um pátio interno onde fica a rampa de lixo principal do prédio. Observe uma janela aberta à direita da rampa e puxe o carrinho de mão próximo em direção a ela para entrar no Apartamento 112 .
Na sala imediatamente à esquerda, encontre Munição de Revólver em uma gaveta da cômoda. Em uma mesa da cozinha à direita está uma notícia local sobre o assassino condenado Walter Sullivan. Saia do apartamento e siga pelo corredor até o apartamento 109 .
Um manequim estará escondido debaixo da mesa da sala, então prepare-se para combatê-lo. Depois, pegue munição de arma de fogo no quarto próximo e saia do apartamento. Continue pelo corredor para destrancar uma porta à sua direita que leva ao lado oposto do Chute Courtyard. Depois continue em frente para ver uma chave no chão bloqueada por algumas barras. Interaja com ele para iniciar uma cena.
Depois que a jovem chutar a chave e sair correndo, pegue o atalho pelo pátio de volta ao saguão. Você notará que ambos os lados do primeiro andar estão agora totalmente acessíveis e cheios de monstros, então tenha cuidado. Desça primeiro pelo lado direito, pois é de onde você precisa pegar a chave.
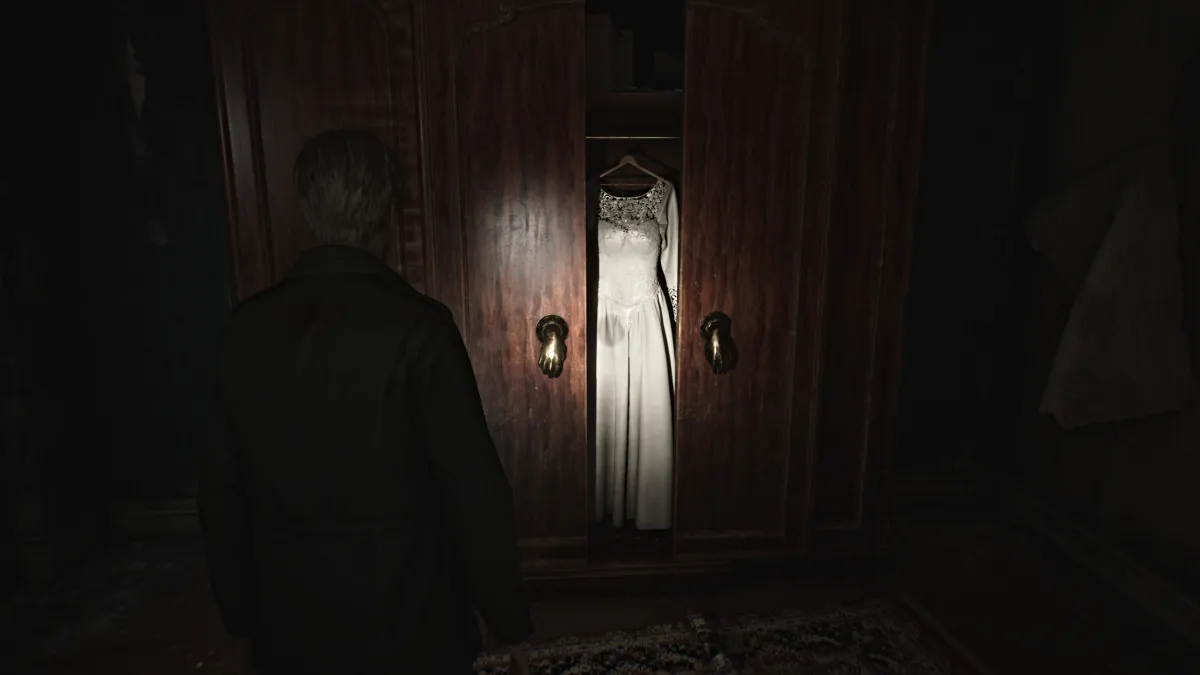
Passe pelo apartamento 108 e vá até o grande guarda-roupa do quarto com estranhos puxadores em formato de mão (visto acima). Interaja com a mão esquerda para que ela vire para baixo e derrube o cabo da maçã dourada . Pegue e saia do apartamento. Continue pelo corredor para pegar a chave do corredor 2F perto das barras. Corra rapidamente para o apartamento 107 em frente a ele e pegue uma bebida saudável na cômoda do quarto e saia.
A porta do apartamento 106 está agora aberta com uma figura mentirosa bloqueando seu caminho. Derrote-o e corra para o apartamento para pegar um pouco de munição de arma de fogo em um armário na sala. Continue de volta para o lado esquerdo do edifício.
Depois de lidar com mais figuras mentirosas, entre no apartamento 102 e pegue uma foto estranha perto de uma TV chamada "Dia dos Namorados" .
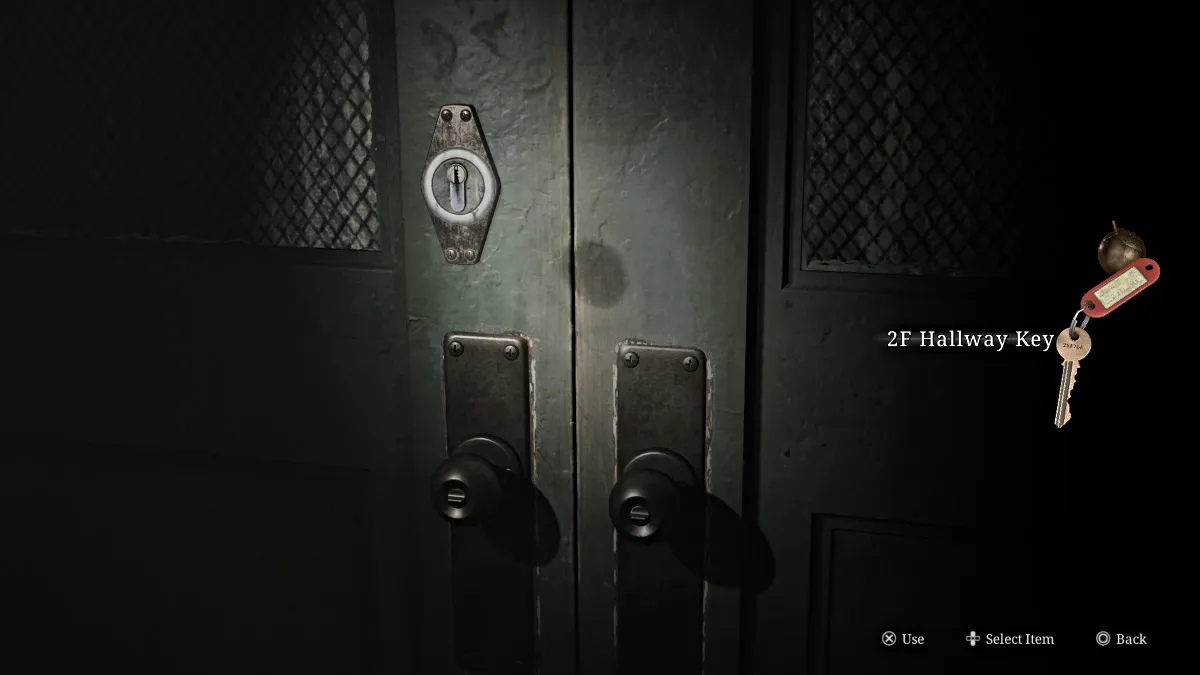
Volte para o segundo andar com sua nova chave e destranque as portas duplas verdes à sua esquerda, tornando o resto do andar acessível. Conforme você segue pelo corredor, uma abertura em uma janela à sua esquerda revela um carrinho de bebê sentado em uma piscina vazia do lado de fora do prédio. Você vai querer se lembrar disso.
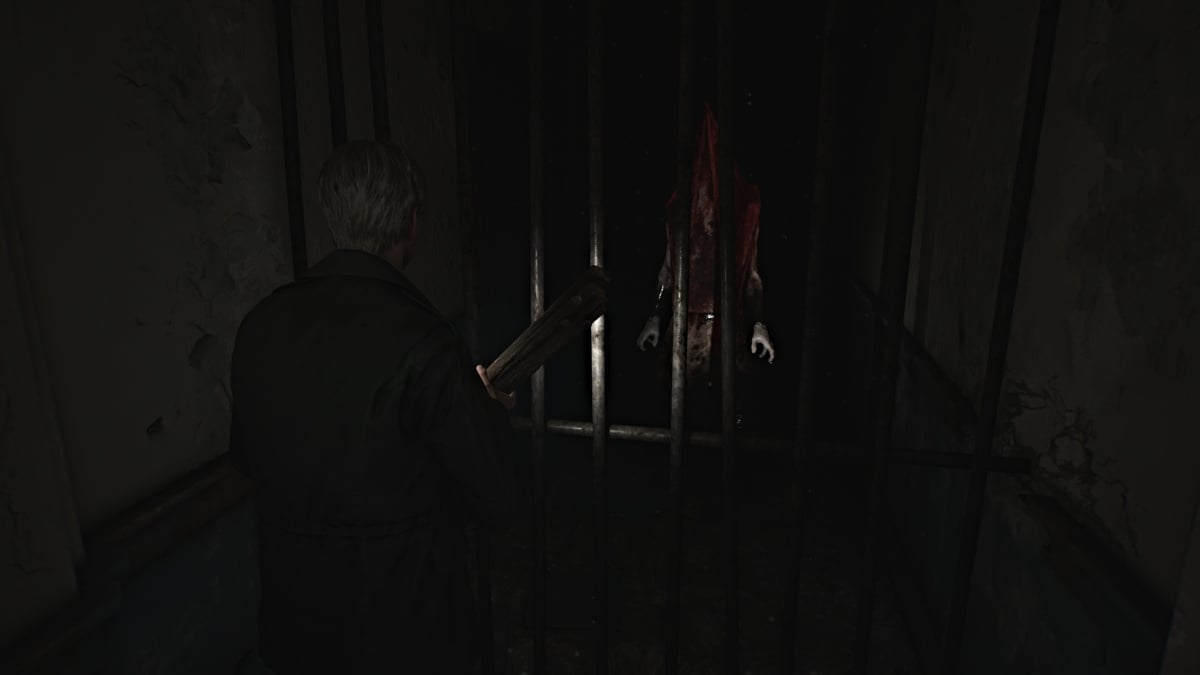
Continue pelo corredor e vire à direita até ver algo vermelho brilhando à distância. Aproxime-se dele e descubra que não é outro senão Pyramid Head , olhando para James por trás de outro conjunto de grades. Por mais perturbador que seja, ele não faz nada (por enquanto), então volte um pouco para o Apartamento 213 .
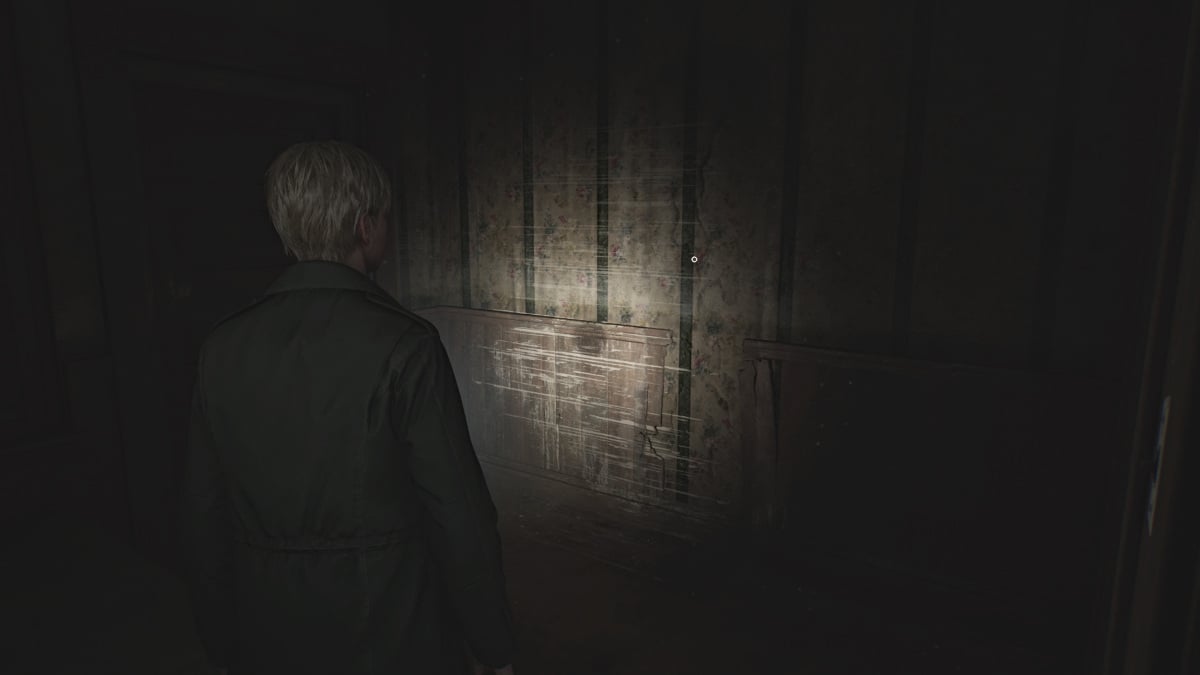
Lá dentro, procure outro ponto de Vislumbre do Passado na parede do quarto (visto acima), então vá para uma lacuna na parede perto da cozinha que leva ao outro lado do corredor bloqueado por uma porta quebrada. Vá até o apartamento 217 no final.
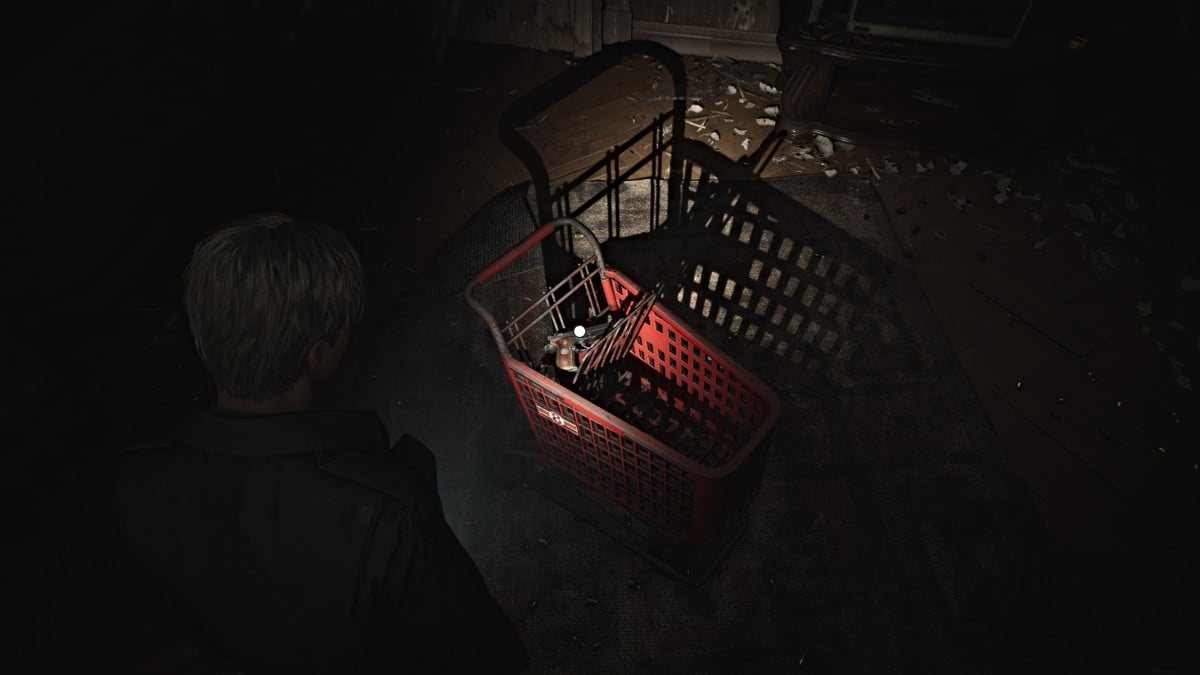
Entre e veja uma sala cheia de buracos de bala e cartuchos, com um carrinho de compras vermelho no meio. Olhe dentro dele e você será recompensado com uma pistola , sua segunda arma até agora. Além disso, como seria de esperar, o apartamento está cheio de munição de pistola para reivindicar, então verifique em todos os lugares. Se você foi diligente em coletar munição até agora, você deve ter pelo menos 20 cartuchos ou mais.
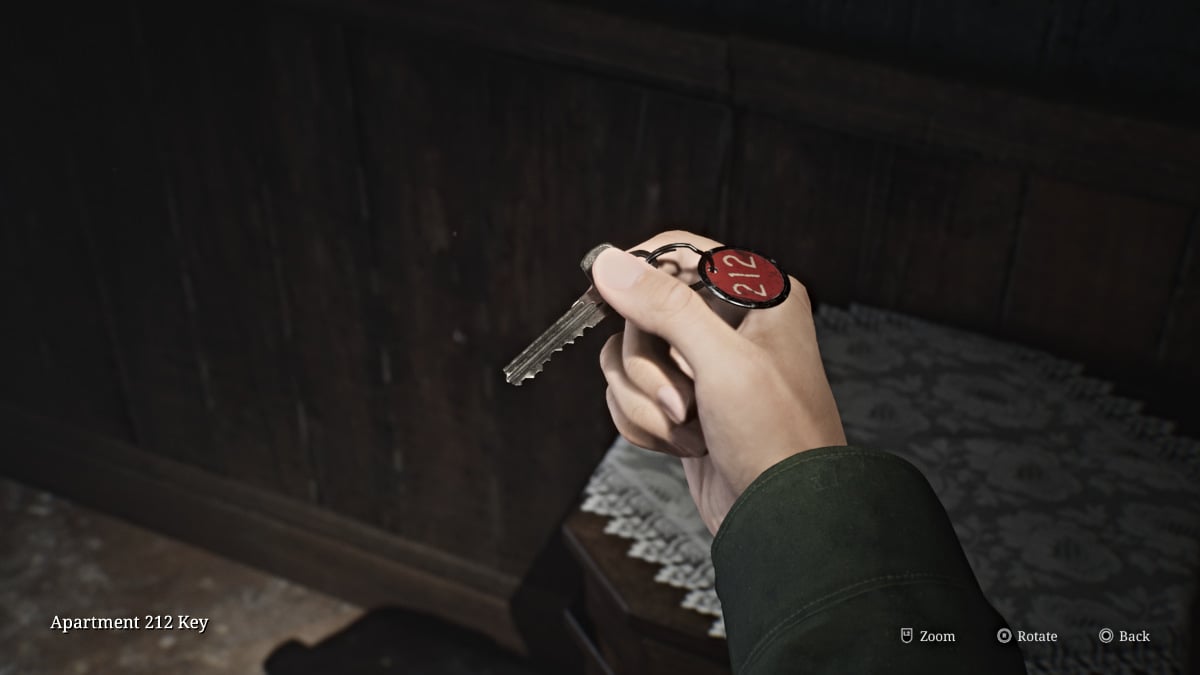
Saia do apartamento e volte pela abertura na parede para o 213, onde uma figura misteriosa coberta e encharcada de sangue está sentada em frente a uma TV estática. Interaja com ele para uma breve cena e, em seguida, pegue a chave do apartamento 212 na cômoda próxima. Saia do apartamento e você notará que Pyramid Head desapareceu. Use a chave para entrar no outro apartamento.
Pegue uma bebida saudável na cozinha e passe pela porta aberta para a varanda. Atravesse até o apartamento do outro lado, onde você encontrará um manequim junto com algumas munições de pistola na geladeira aberta. Saia do apartamento e siga pelo corredor até o lado sudeste do andar. Ao longo do caminho, saia para outra varanda e puxe a alavanca próxima para abaixar a escada de incêndio até o nível do solo para outro atalho.
Entre no apartamento 207 , onde você encontrará uma figura mentirosa, um manequim escondido no banheiro e munição de pistola .
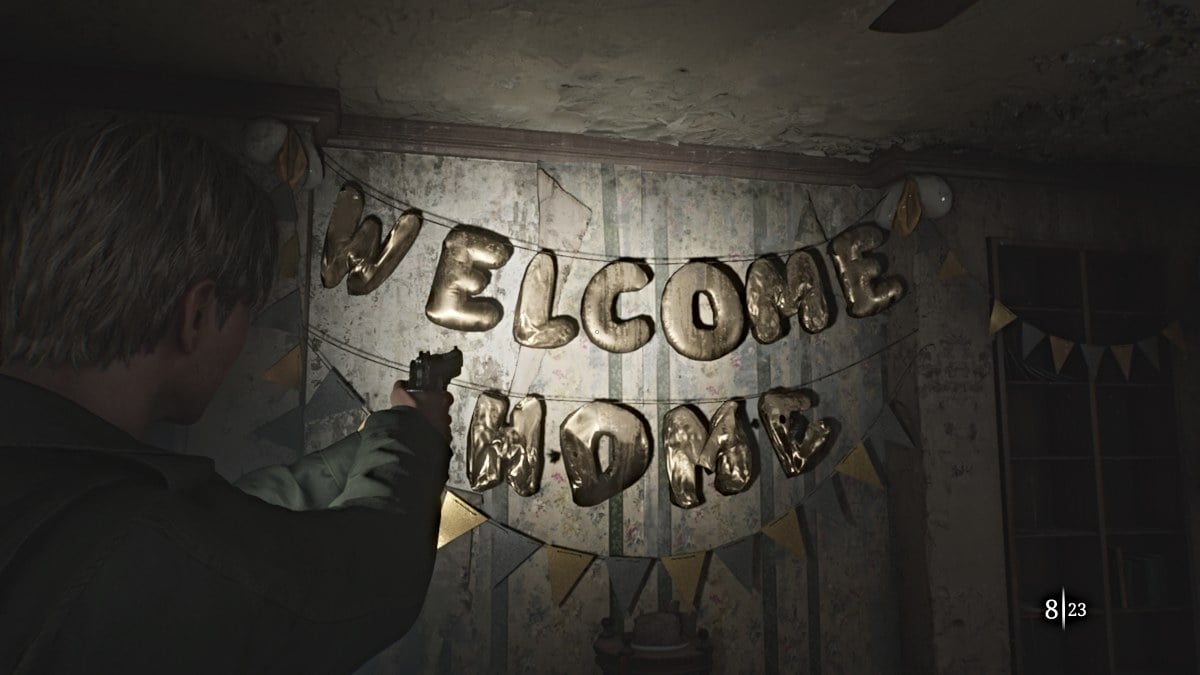
205 está bloqueado na varanda, então volte para o corredor e vá para o apartamento 208 .
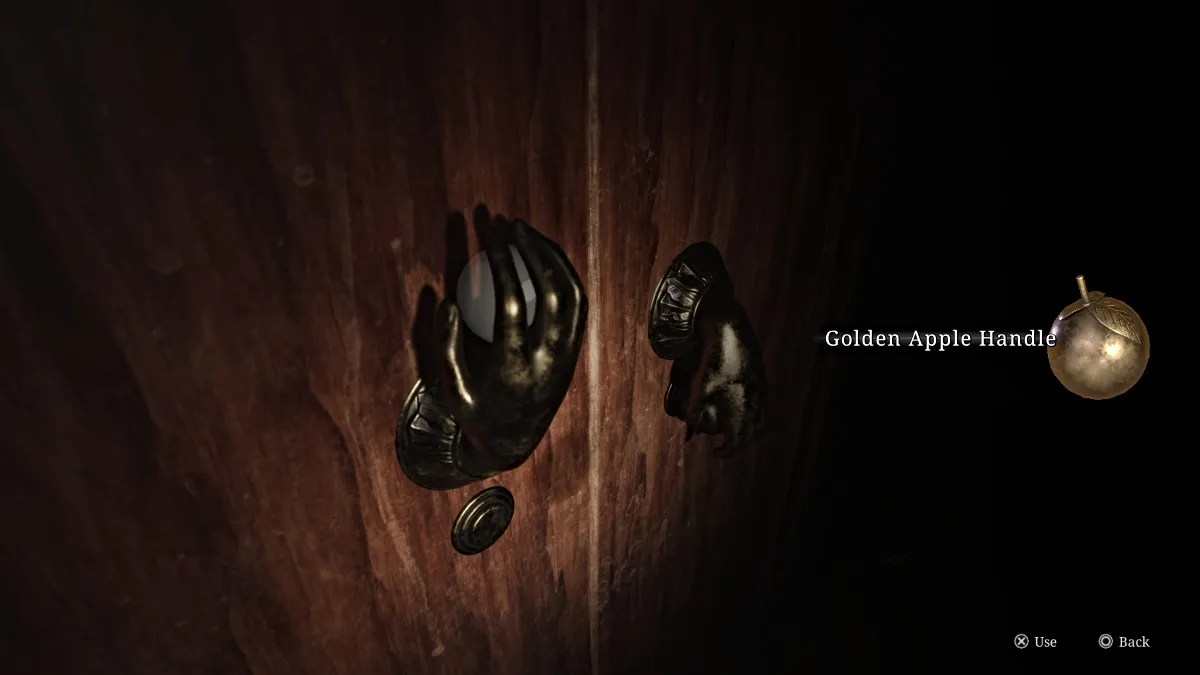
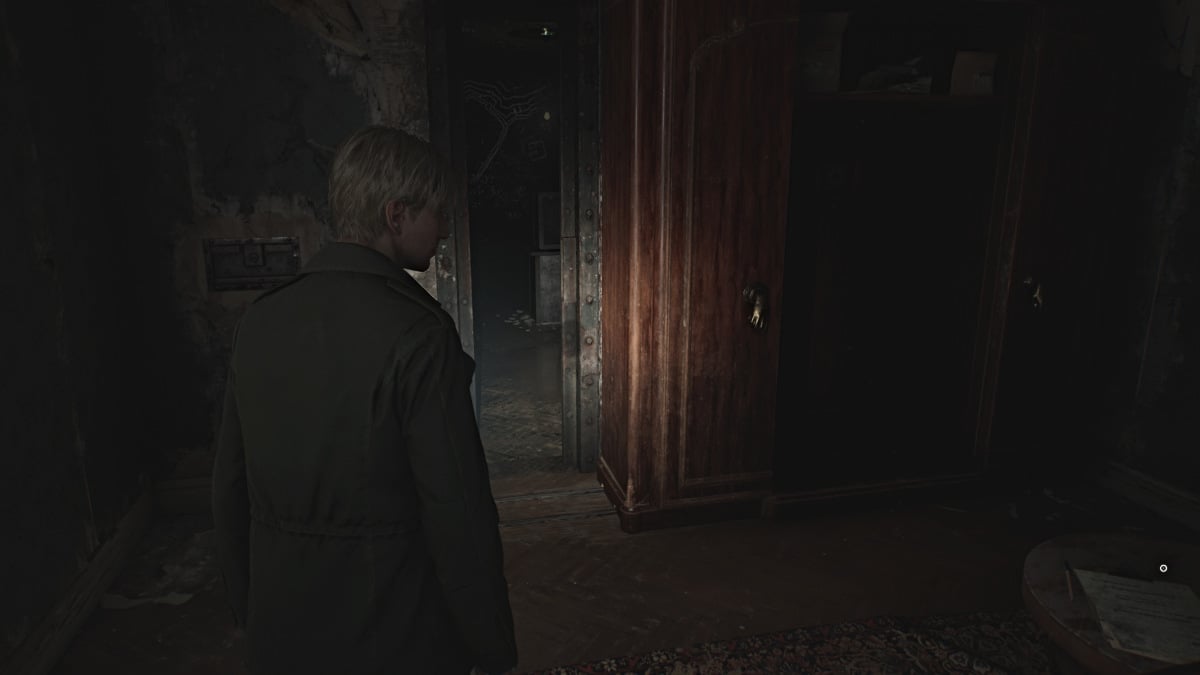
Dentro você encontrará outro grande guarda-roupa com ponteiros dourados. Vá até ele e use o Golden Apple Handle que você obteve anteriormente para destravar o guarda-roupa. Vá para a esquerda e interaja para empurrá-lo e revelar uma sala secreta com escritos nas paredes e um cofre trancado no centro. Assim que você entrar, a porta será fechada atrás de você.
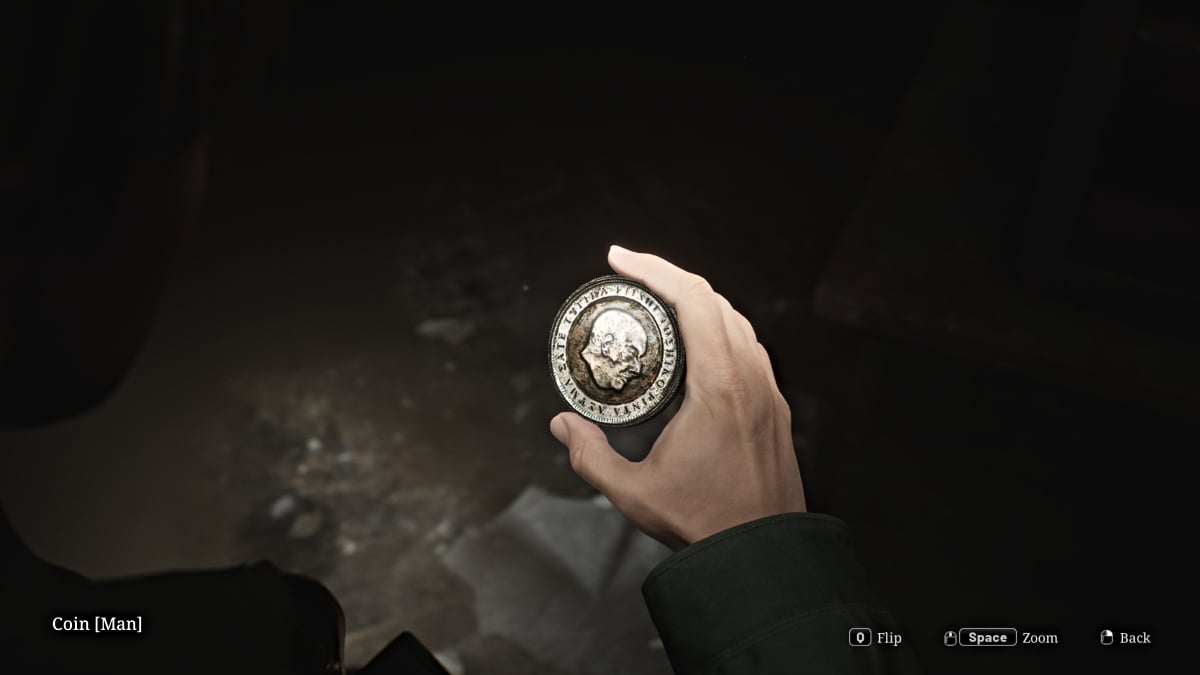
Para abrir o cofre, você precisa inserir a combinação correta, e a única dica que você obtém vem da passagem escrita na parede perto de onde você entrou. A combinação correta (dificuldade do quebra-cabeça padrão) é 'direita 13', 'esquerda 7, depois 'direita 11' . O cofre será aberto, revelando a Moeda do Homem (para o quebra-cabeça da Moeda no andar de baixo) e uma Chave de Aço para usar na porta do outro lado da sala (com quadrados brancos desenhados nela).
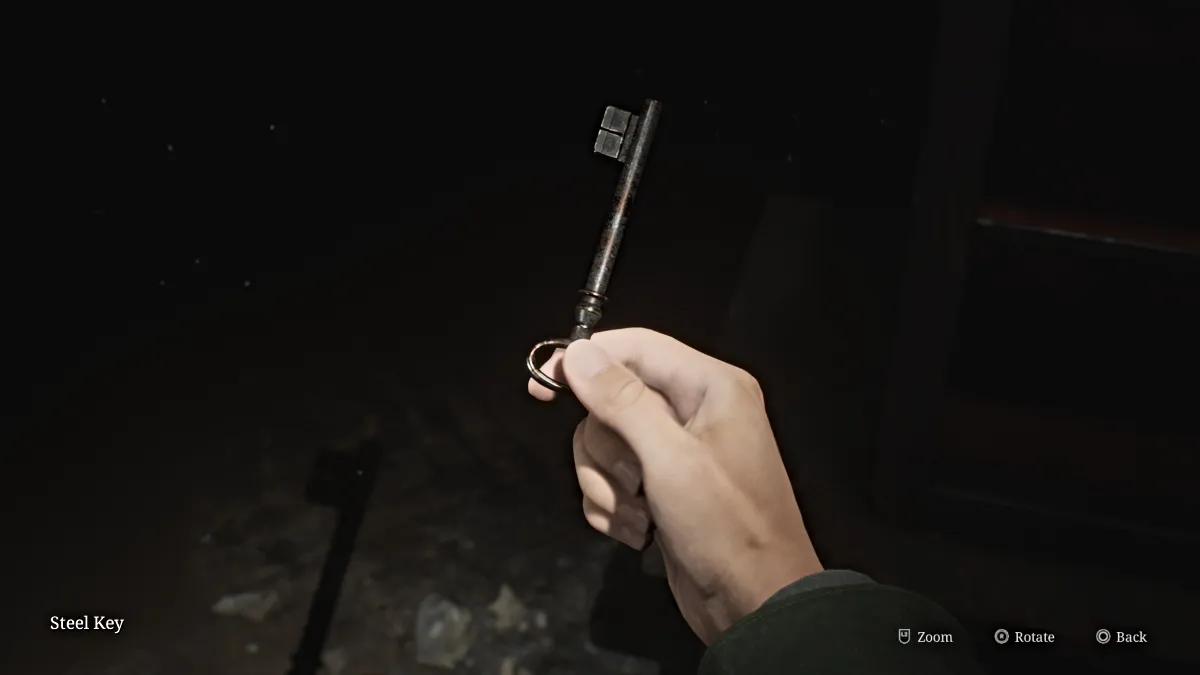
Fuja da sala e você estará de volta ao corredor onde a porta do apartamento 205 está aberta. Entre, onde você encontrará alguns monstros Bug junto com uma bebida saudável em uma lata de remédios, munição de pistola na cozinha e a chave pequena da escada 2F na cadeira no meio da sala.
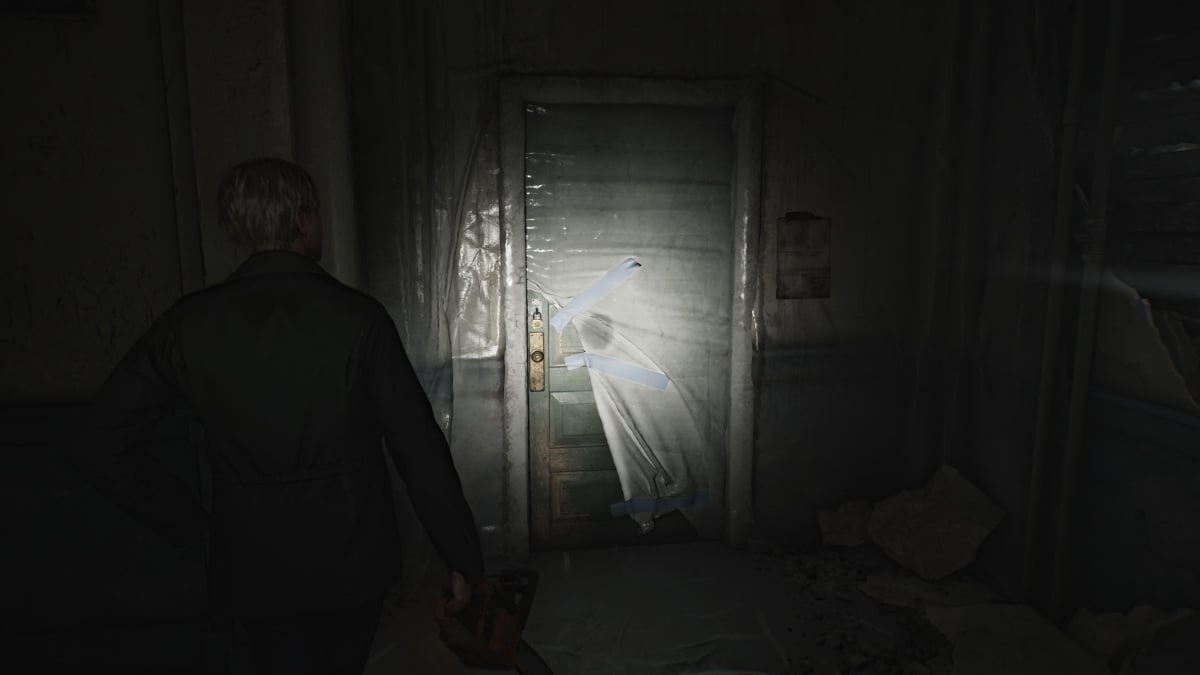
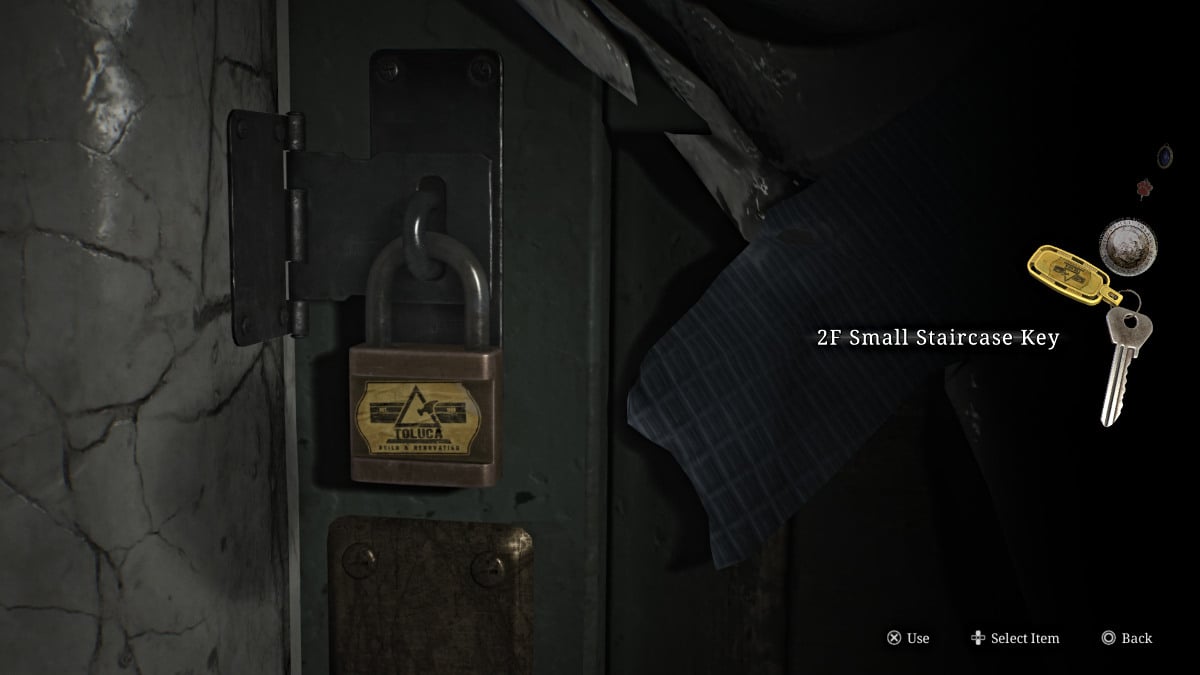
Com isso em mãos, volte até a escada no lado norte do chão, que está coberta de plástico. Use a 2F Small Staircase Key para finalmente acessá-lo. Use o Red Save Point dentro e vá até o terceiro andar.
Uma vez no terceiro andar, vá direto pelo corredor primeiro para pegar um pouco de munição de pistola que está em uma poltrona no beco sem saída. Em seguida, volte e siga para a direita até chegar a outro beco sem saída e uma abertura na parede que leva você ao Apartamento 311 (visto abaixo). Cuidado com dois manequins esperando para emboscar você nas proximidades.
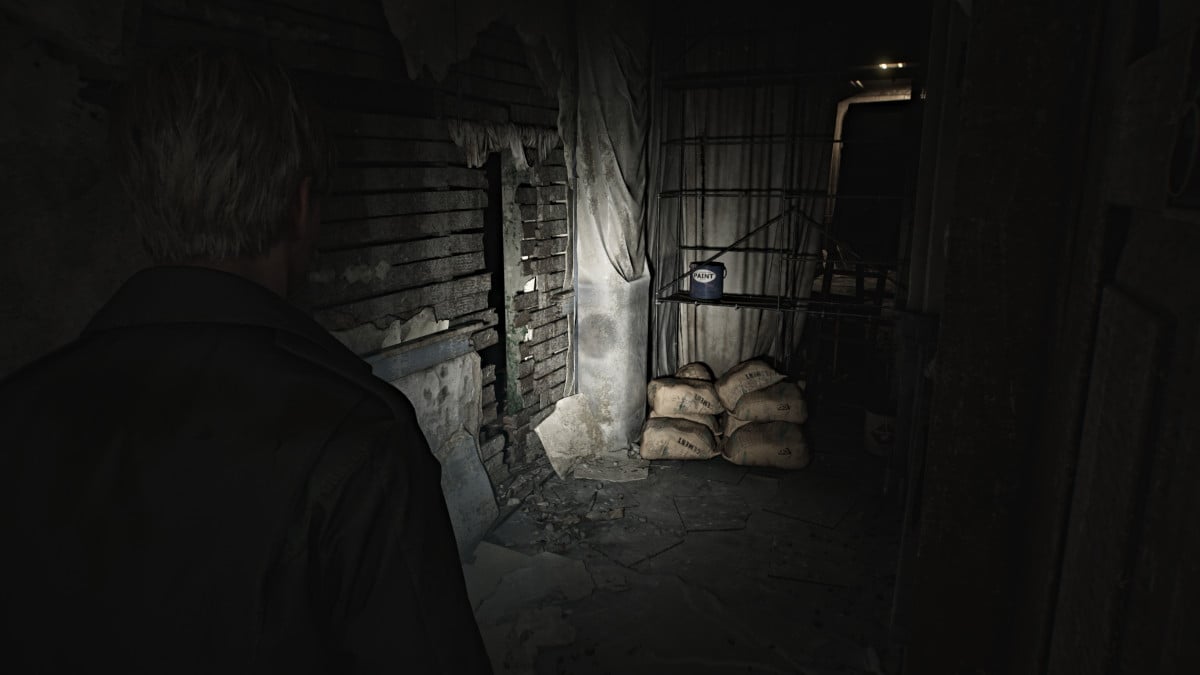
Faça o seu caminho e atravesse para o Apartamento 309 , depois volte brevemente para o corredor e passe por outra abertura para o Apartamento 310 . Este apartamento está dividido ao meio, por isso certifique-se de verificar os dois lados. A lateral do corredor terá o Strange Note para você pegar em uma mesa e um pouco de munição de pistola em um contêiner de primeiros socorros.
Fique atento para mais manequins de emboscada e use a varanda para entrar no apartamento 312 , onde você encontrará uma seringa em um kit de primeiros socorros, uma bebida saudável e o memorando Nota Sinistra pendurado na parede.
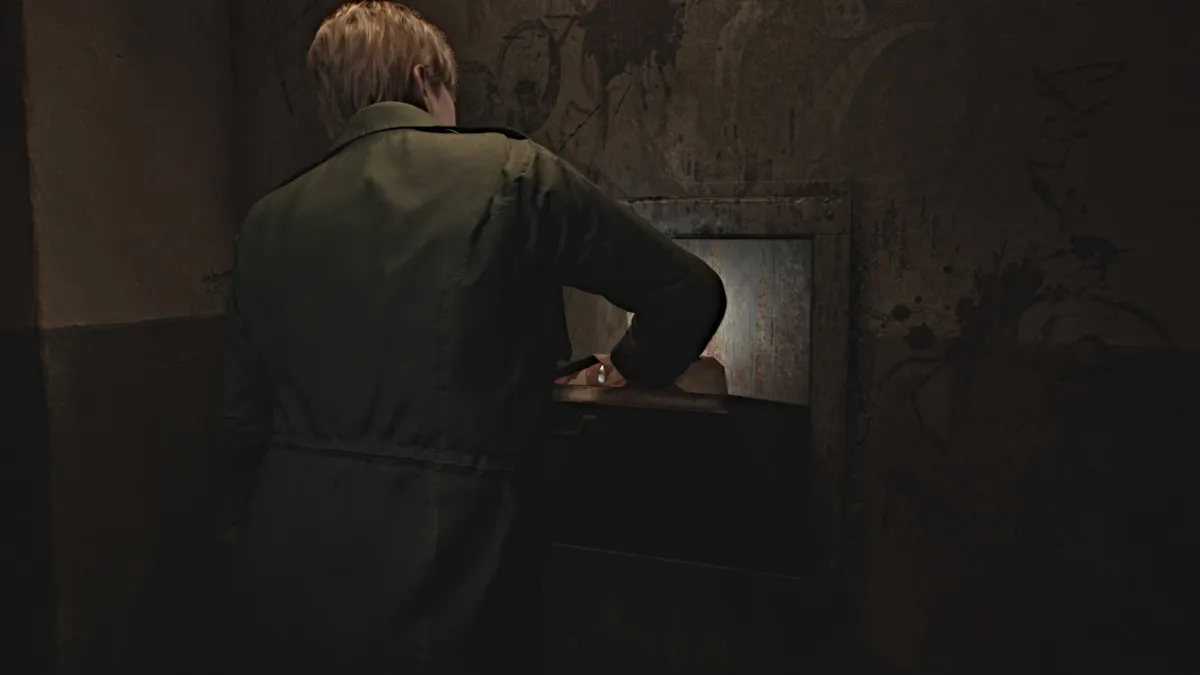
No lado esquerdo do apartamento, há um forro com resíduo preto. Rasteje por ele e você sairá na lavanderia . Pegue o pacote de suco enlatado da mesa e leve-o para a rampa próxima para soltá-lo. O peso fará com que um monte de lixo caia no pátio da rampa , incluindo outra moeda . Pegue mais munição de pistola em uma máquina de lavar ao sair.
Pegue a escada norte até o primeiro andar e pegue mais munição de pistola em uma caixa na parte inferior. Saia para o corredor e você ouvirá sons de vômito vindos da direita. Siga-os até o apartamento 116 no final, onde um cadáver está em uma geladeira aberta e alguém está vomitando no banheiro próximo.
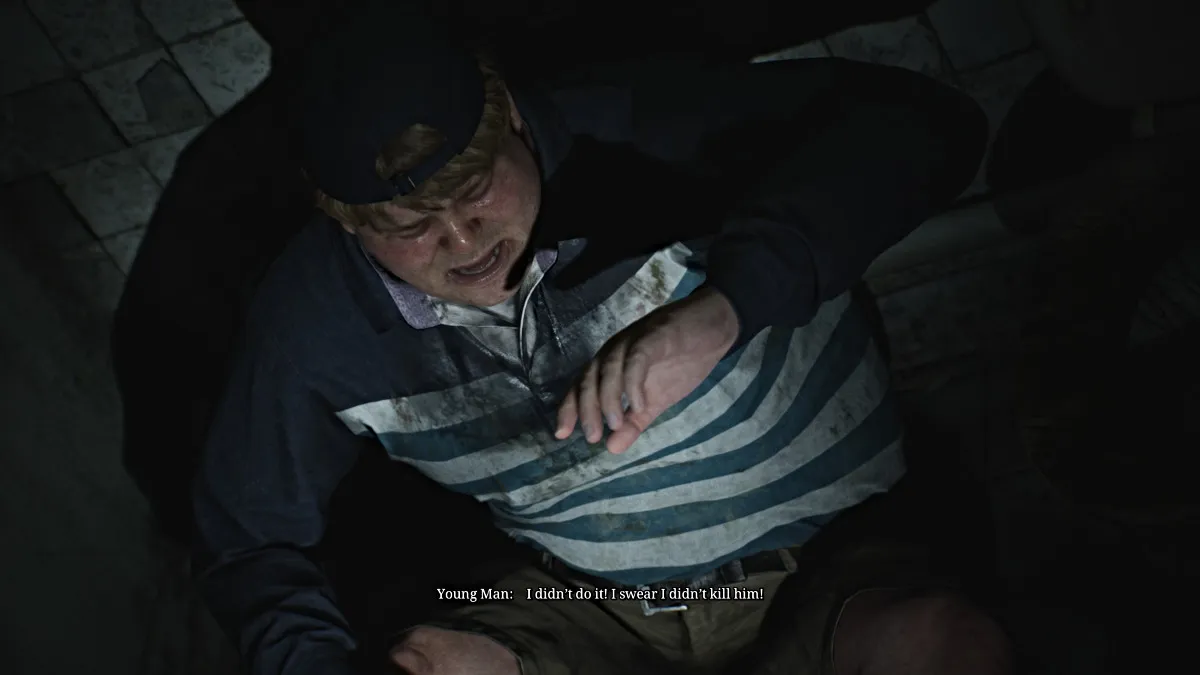
Aproxime-se dele e uma cena apresenta James a Eddie Dombrowski , que parece estranhamente arisco e claramente indisposto. Ele parece ansioso para deixar a cidade e pede a James que o acompanhe, que recusa educadamente. Após a cena, procure por itens no apartamento e antes de ir para a área da piscina, que está repleta de Lying Figures, então você precisará navegar com cuidado.
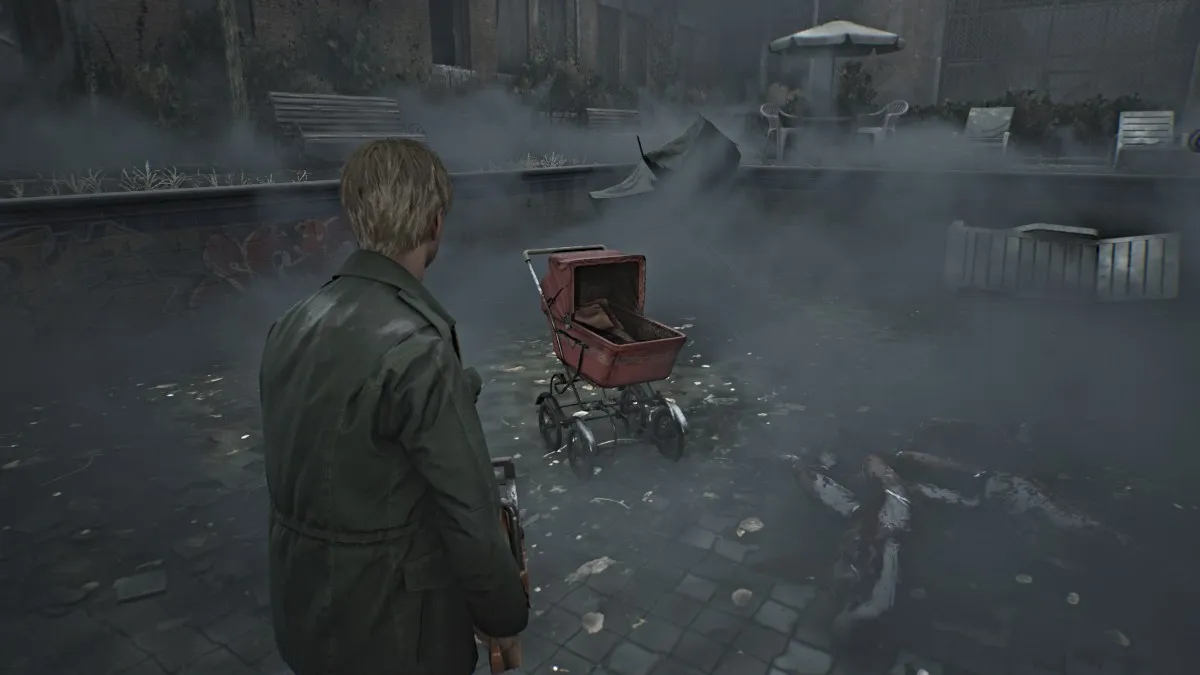
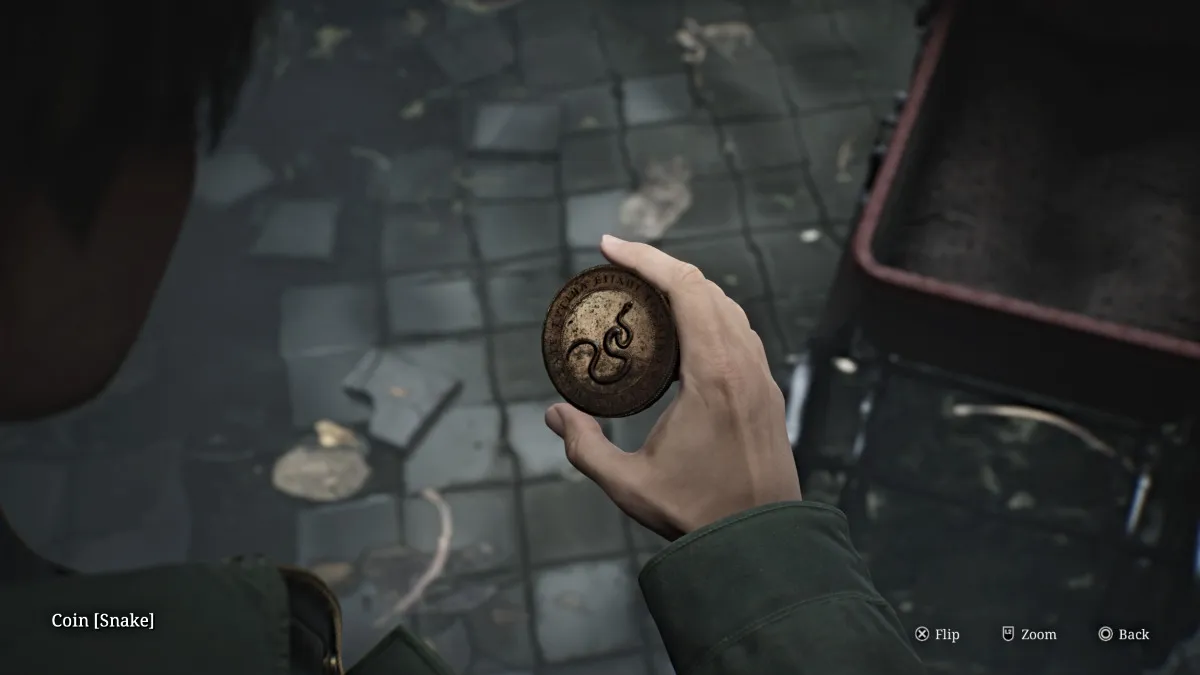
Mate apenas o que você precisa e vá até o carrinho de bebê na piscina que contém a Snake Coin .
Fuja da área por onde você veio e saia do apartamento, depois siga para as portas duplas que levam de volta ao Chute Courtyard.
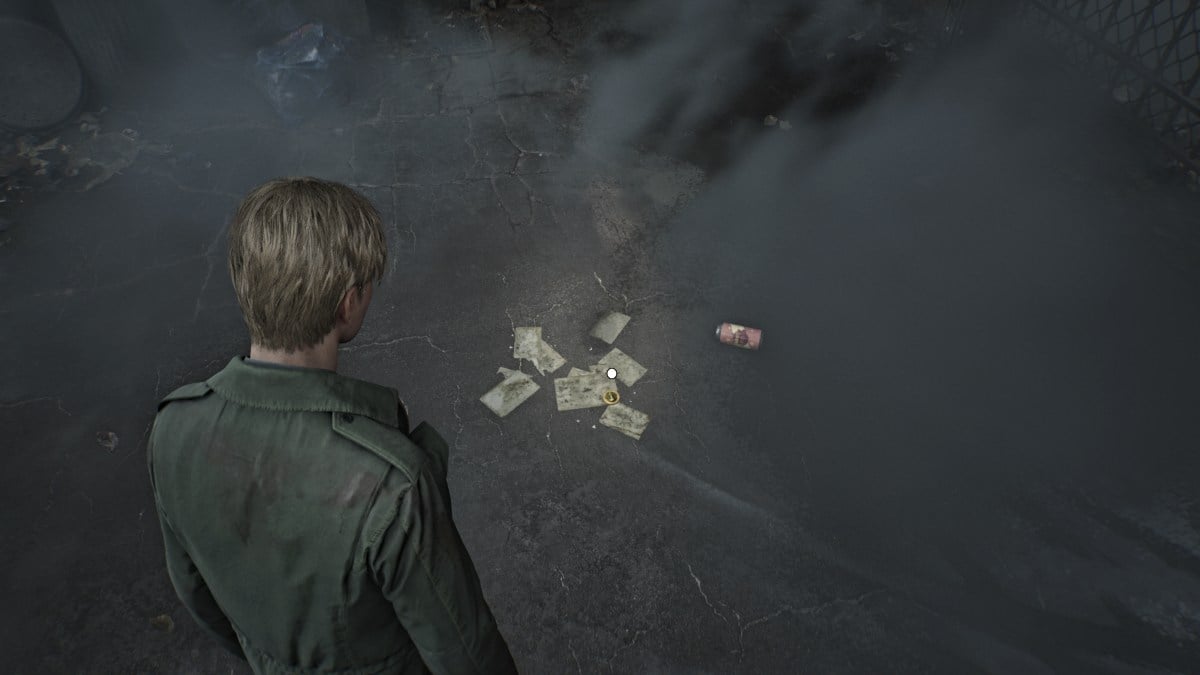
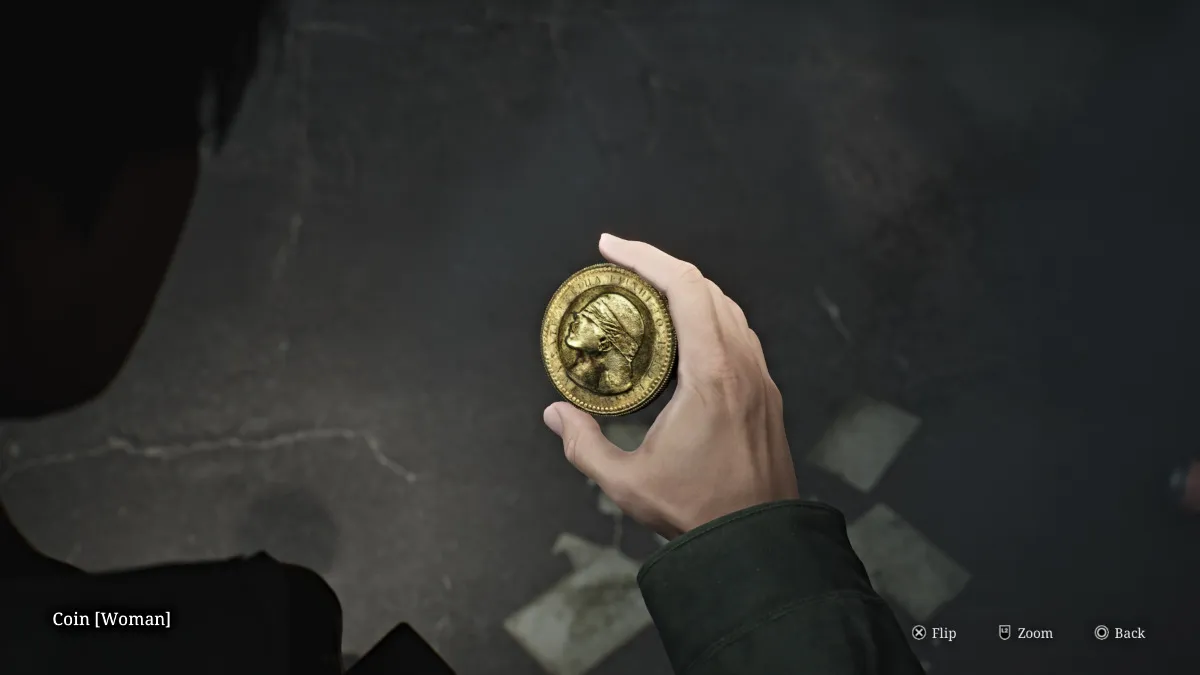
Procure com cuidado no chão a Moeda da Mulher , que estará perto de uma das latas de suco (vista acima). Agora você tem todas as moedas necessárias, então volte para o lobby para finalmente completar o quebra-cabeça.
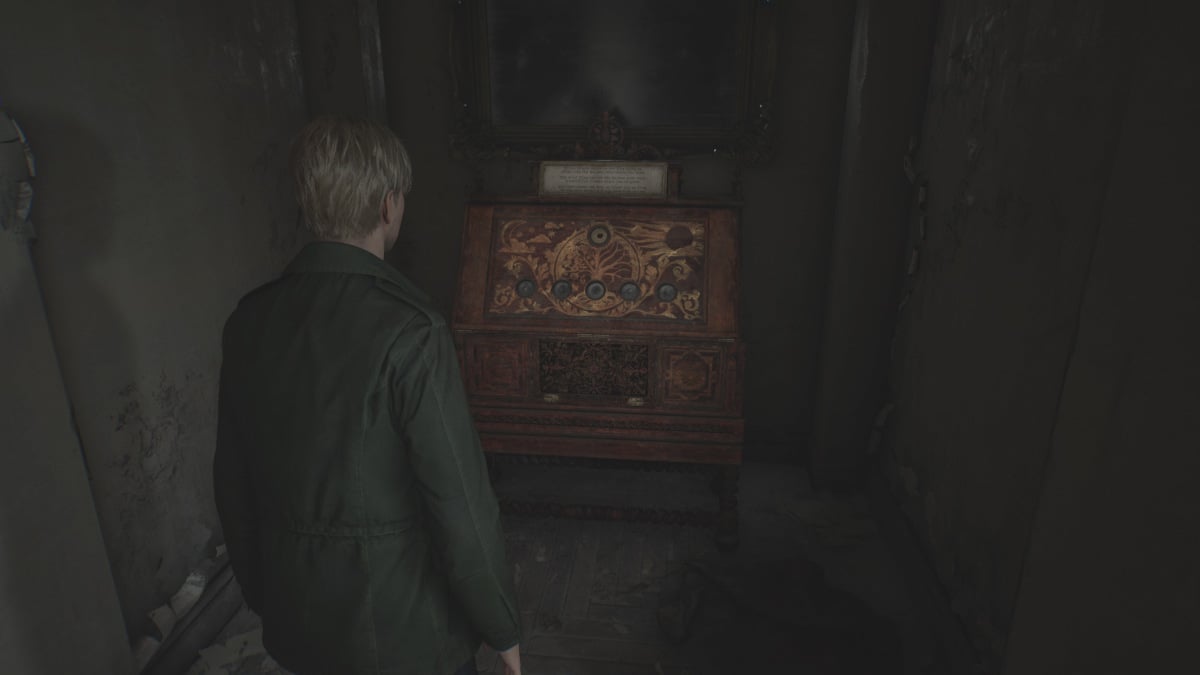
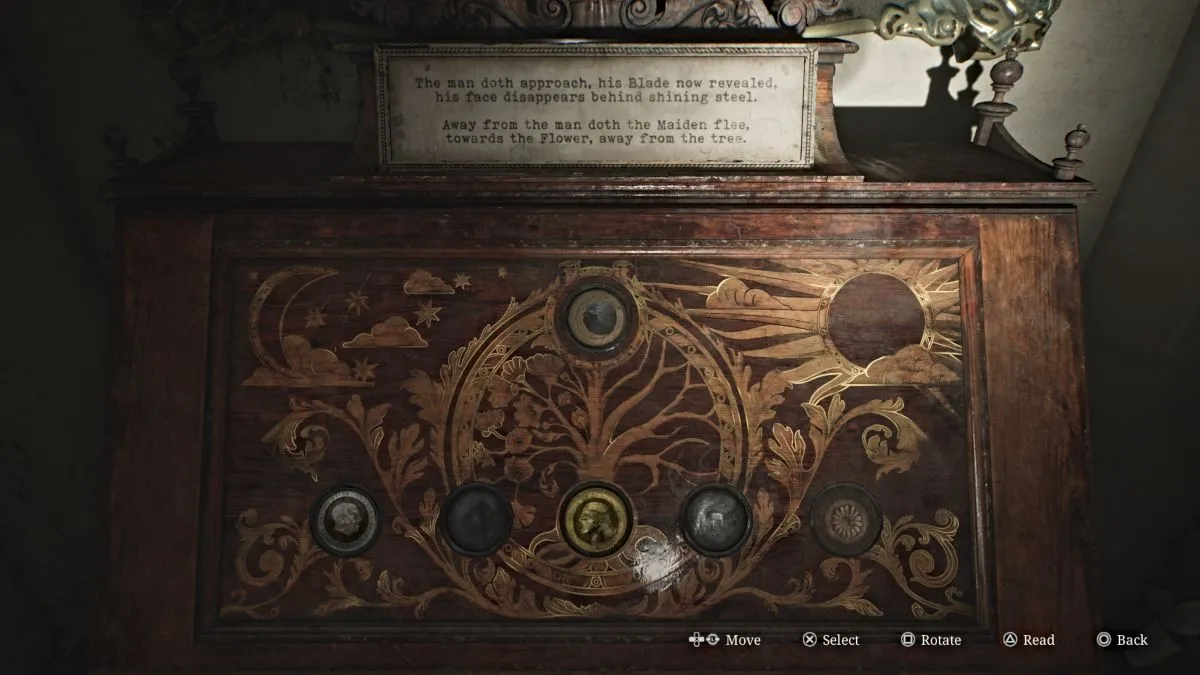
Para abrir o armário ornamentado do lobby, você precisa colocar três moedas (e suas variantes) nos slots corretos de acordo com o poema indicado acima, que mudará conforme você completa cada etapa. Aqui está a solução completa para o quebra-cabeça (dificuldade padrão), com as etapas listadas em ordem:
Com isso, o quebra-cabeça tem uma última etapa, que exige que você escolha qual moeda “culpar” (Homem, Mulher ou Cobra). Embora não haja resposta errada, sua escolha afetará o final obtido . Você também receberá a chave do apartamento 201 por seus esforços.
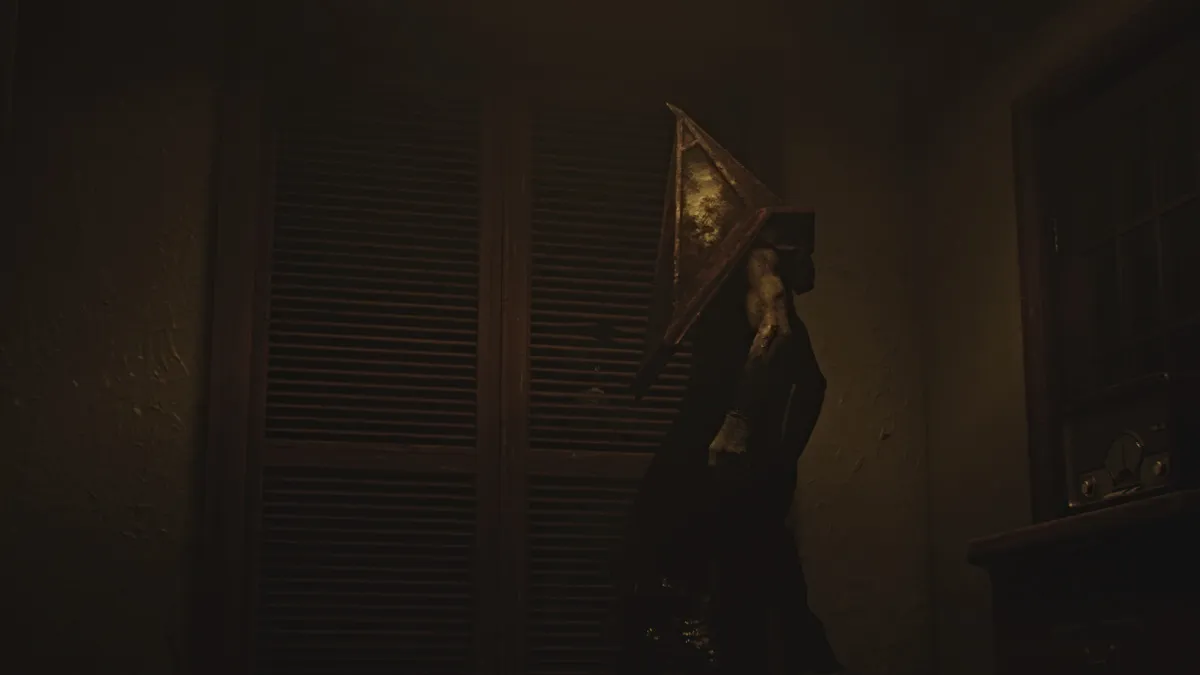
Use a escadaria do lobby principal para voltar ao segundo andar e vire à direita para entrar no Apartamento 201 . Explore até encontrar um lenço em uma escrivaninha, que dará início a uma cena infame com Pyramid Head e alguns manequins.
Depois que ele sair, volte para a mesa e pegue o Lenço , então aproxime-se da porta vermelha brilhante do outro lado para outra cena onde James deve literalmente atravessar de um prédio para outro. Embora sejam tecnicamente os Blue Creek Apartments , é uma versão que está presa no Outro Mundo .
No Outro Mundo, um ambiente normal parece significativamente diferente; mais dilapidado, enferrujado e muitas vezes reduzido a um esqueleto industrial sujo. Oriente-se, pois você ainda não tem acesso a um mapa, e passe pela porta azul próxima. Pegue a munição de pistola da poltrona à sua direita, depois siga para a esquerda e siga o corredor até obter um mapa de Blue Creek Apts 2F-3F .
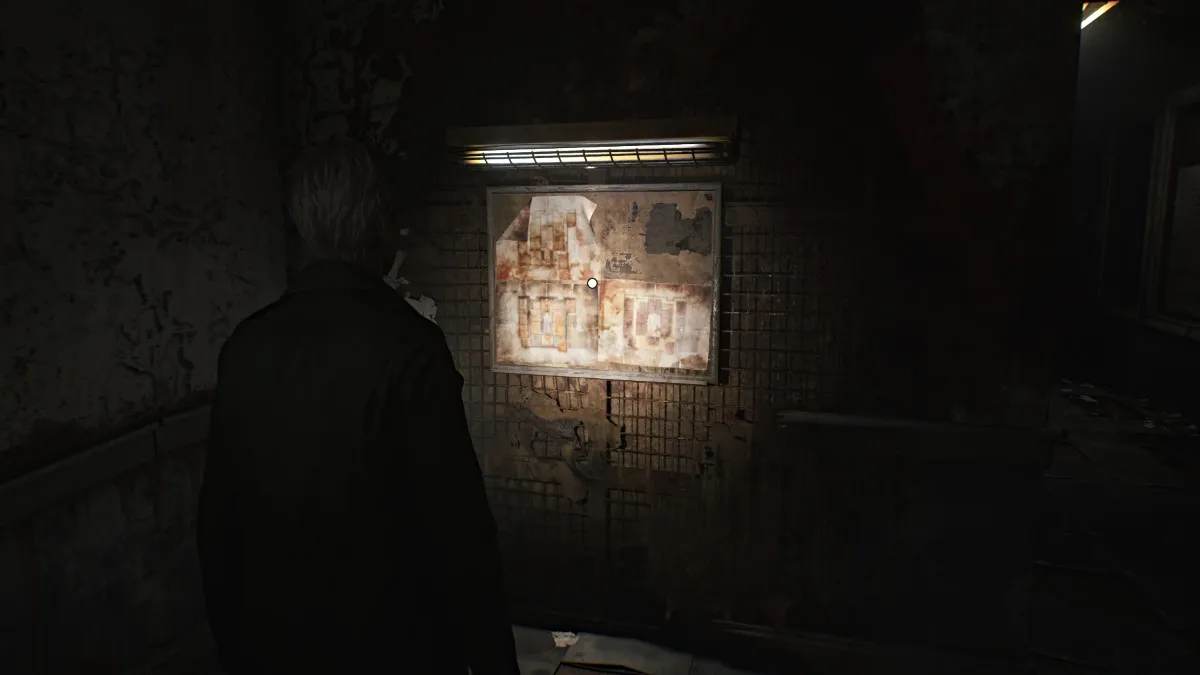
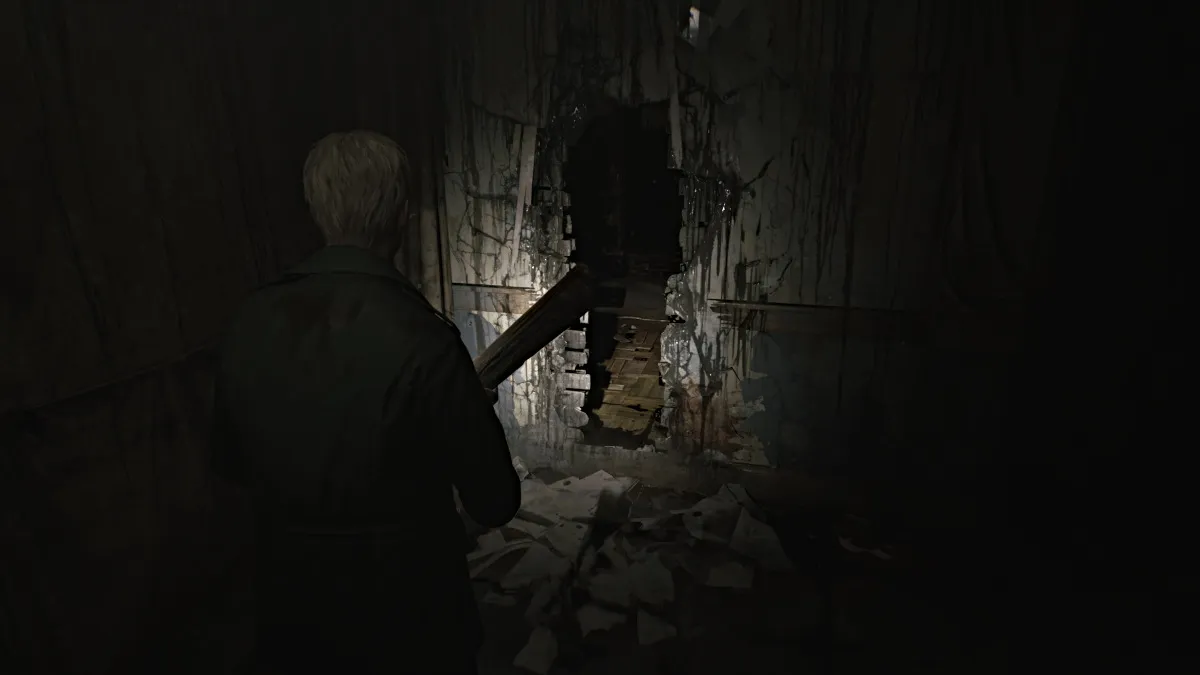
Continue pelo corredor até chegar ao que parece ser uma parede quebrável . Use sua prancha de madeira para quebrá-la e passar. Colete munição de pistola em uma gaveta próxima e vá com cuidado para o outro lado do apartamento. Cuide dos monstros e pegue mais munição de pistola na área da cozinha antes de sair para o corredor.
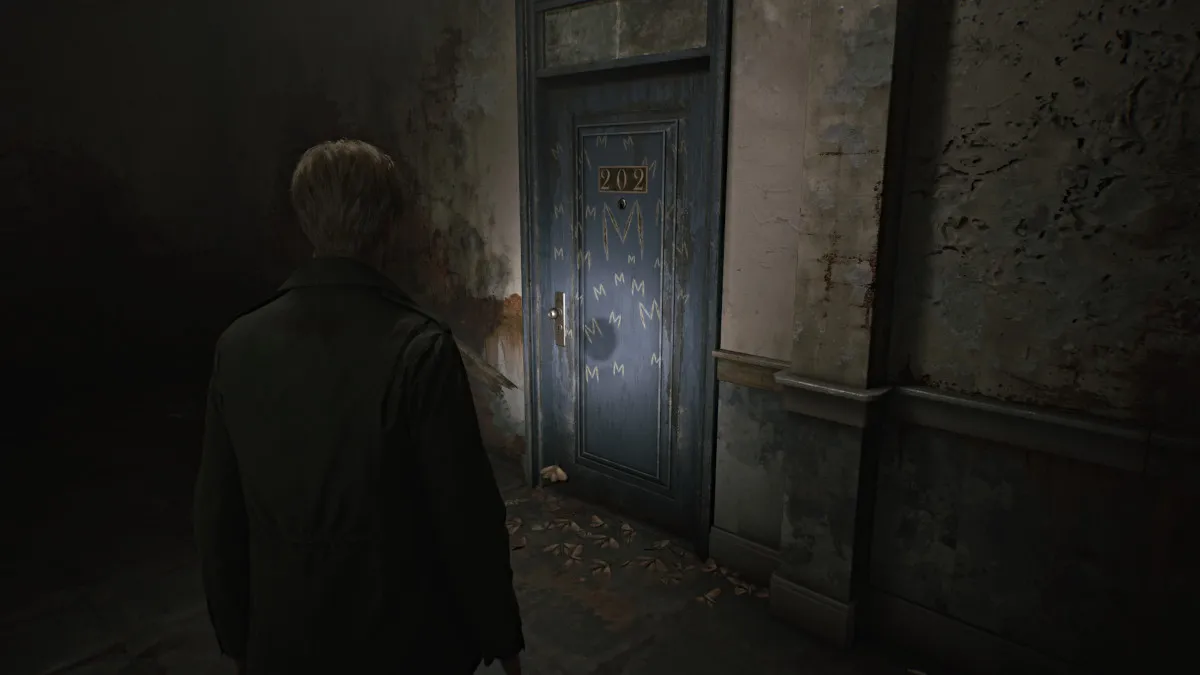
A certa altura, você passará pela porta azul do apartamento 202 , que tem um 'M' gravado repetidamente e várias mariposas mortas na frente dela. Você retornará a ele mais tarde.
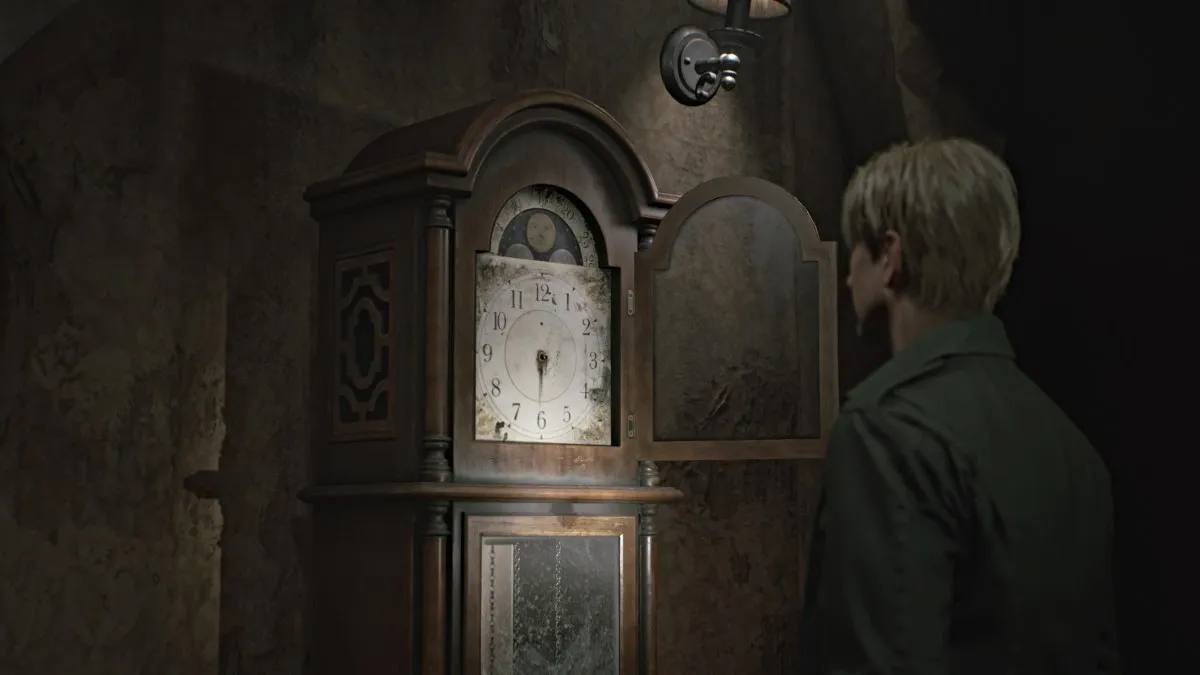
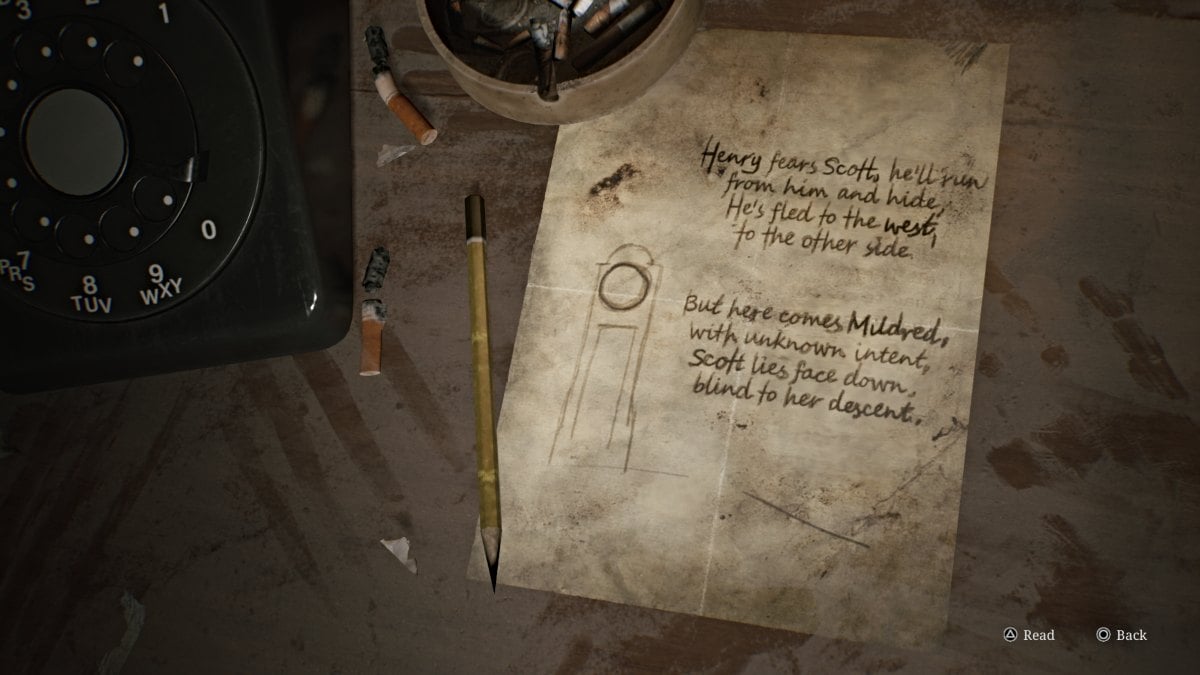
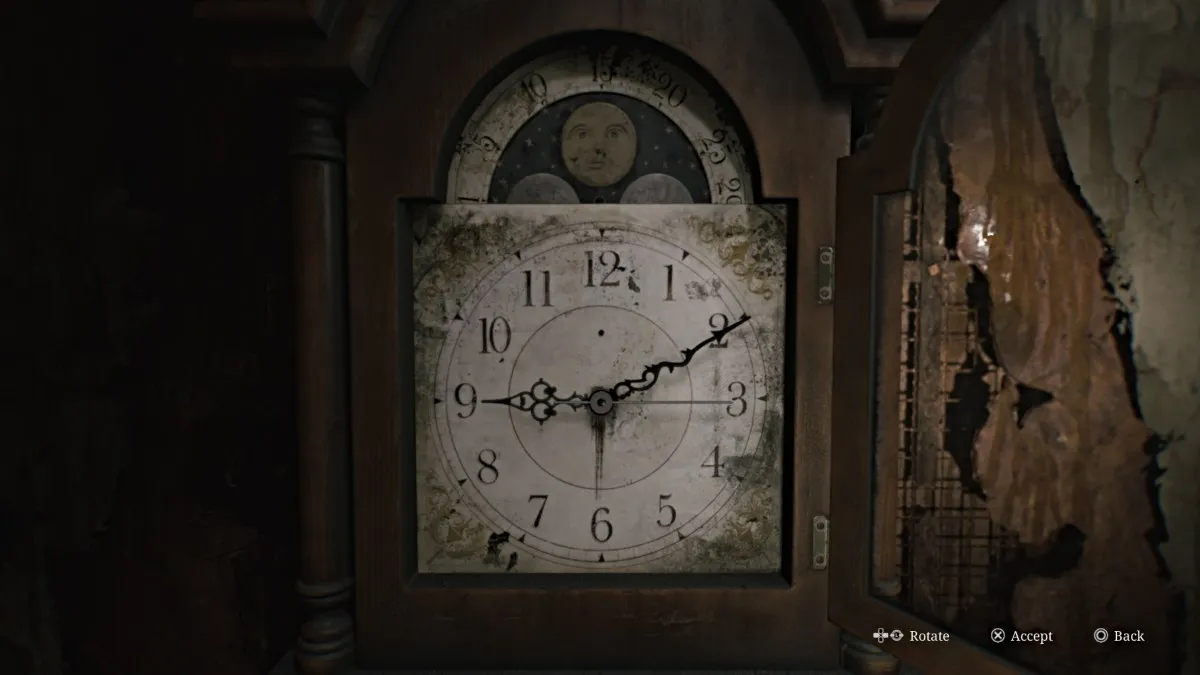
Por enquanto, entre no Apartamento 212 , onde você encontrará um Red Save Point e um Grandfather Clock que na verdade é um quebra-cabeça. Para completá-lo, no entanto, você precisará encontrar primeiro os ponteiros das horas, minutos e segundos que faltam .
Há também uma nota manuscrita na mesa em frente ao relógio que fornece algumas dicas sobre em que direções esses ponteiros precisam ser colocados.
Vá para a varanda, onde há uma proverbial bifurcação na estrada. À direita está uma porta laranja com um grande 'H' riscado , mas você não pode abri-la ainda. Em vez disso, vá para a esquerda e entre no apartamento 203 . Pegue a seringa dentro da cozinha e derrube a parede para entrar no 205 .
Colete a munição de pistola do berço do outro lado e siga até chegar a outra janela aberta para outra varanda. Pegue mais munição de pistola no banheiro próximo antes de ir. Pegue a escada até o terceiro andar e suba pelo forro para pousar no Apartamento 303 .
Primeiro, vá até a área da cozinha, onde há outra parede quebrável. Depois disso, você chegará à despensa, onde encontrará munição de arma e uma bebida saudável .
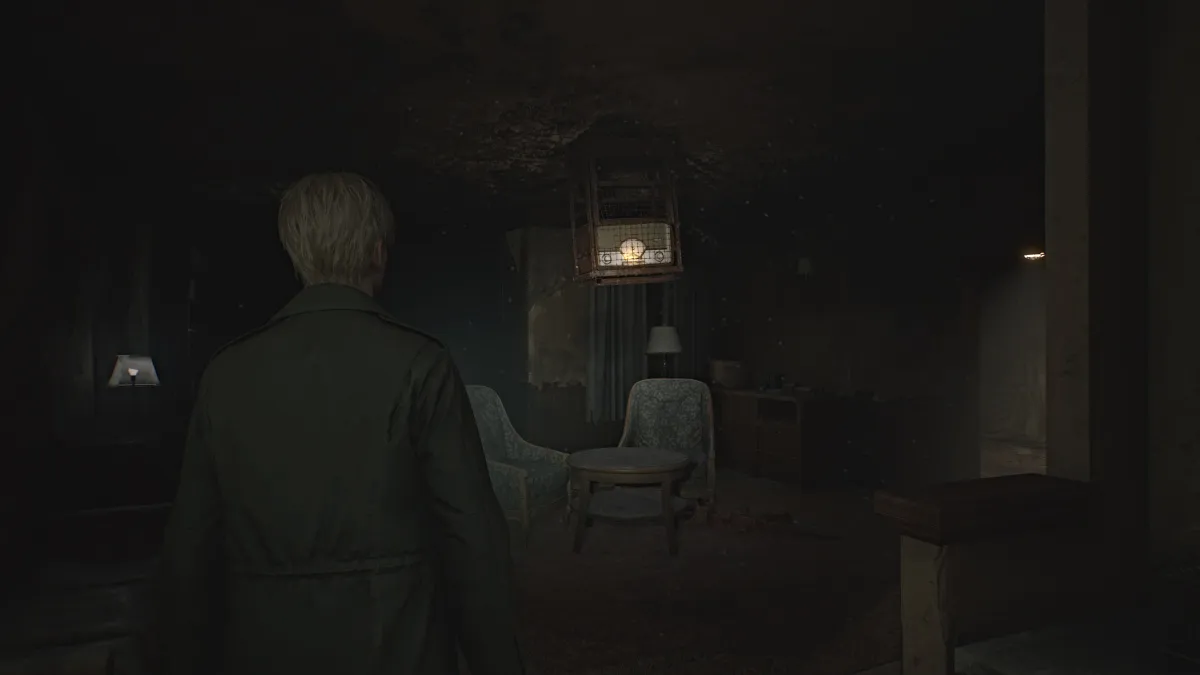
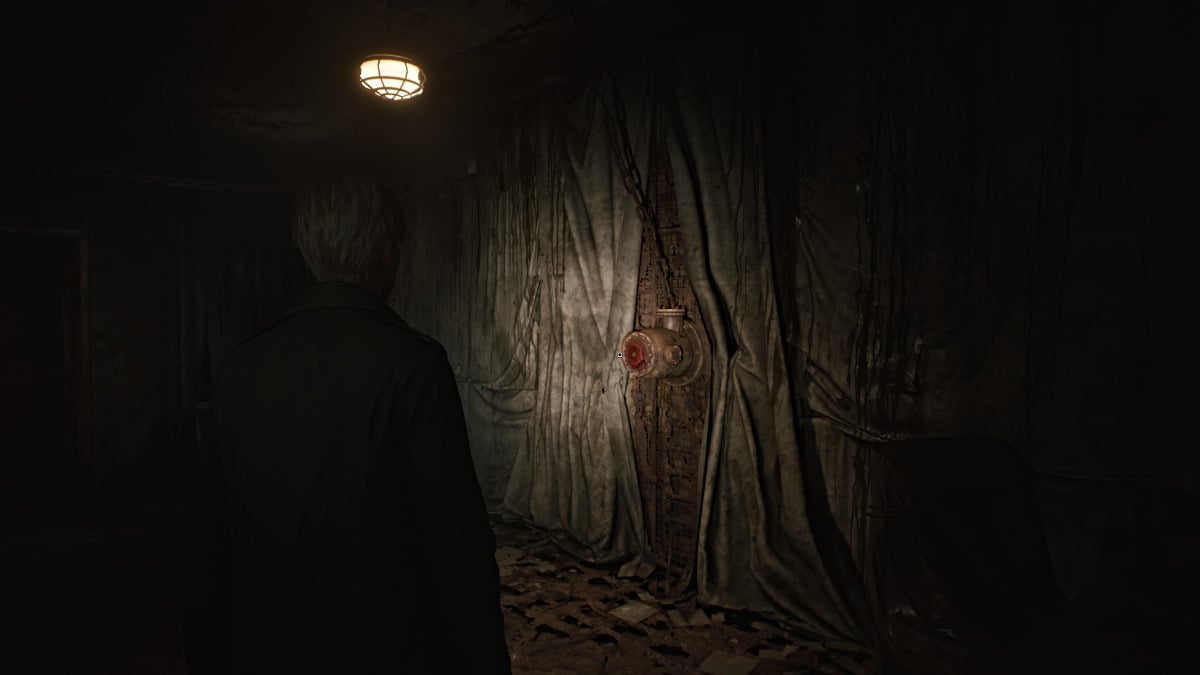
Saia para o corredor e vá para o apartamento 307 , onde você verá um grande rádio preso até o teto tocando música. Depois de coletar mais Munição de Revólver, vá para a sala à direita com uma Manivela Vermelha na parede que está sem uma válvula .
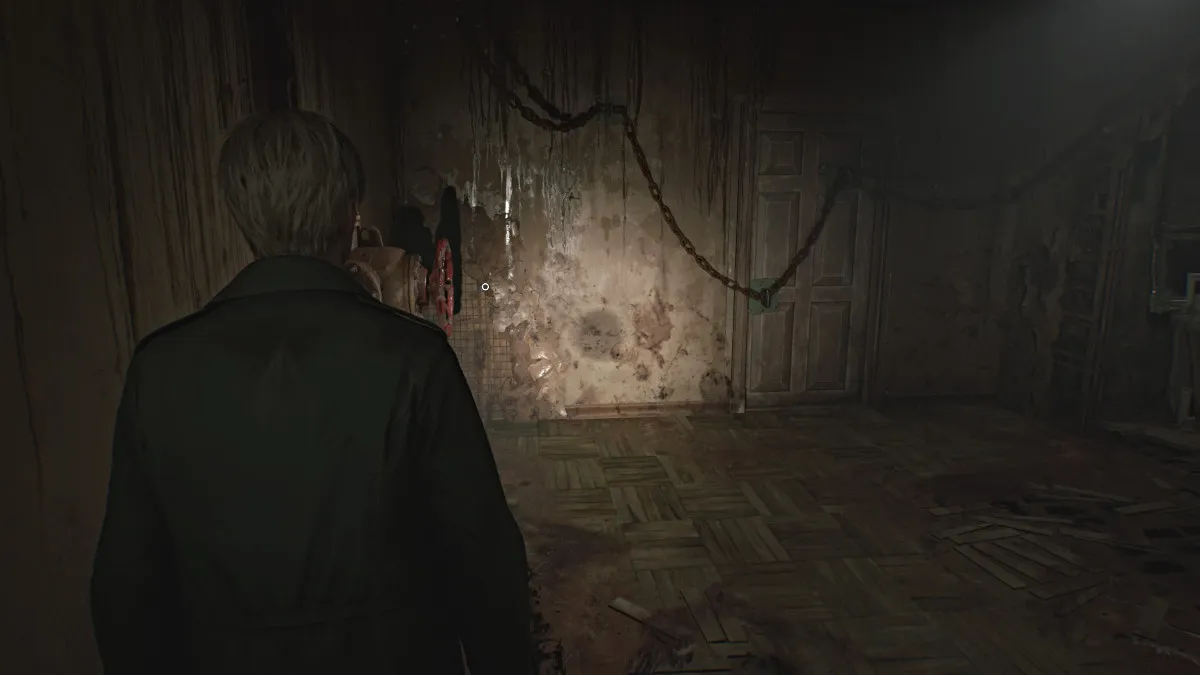
Primeiro, passe pela outra porta da sala que o levará para outra varanda e de volta ao apartamento 305. A janela será selada atrás de você, e você precisará arrombar a porta acorrentada próxima usando a outra manivela vermelha na parede (vista acima). Duas Figuras Mentirosas atacarão rapidamente, então descarte-as. Certifique-se de pegar a chave do apartamento 306 da mesa antes de sair.
Vá até o apartamento 306 e explore e colete todas as munições de pistola e bebidas saudáveis que puder. Na sala, você verá outro Red Crank .
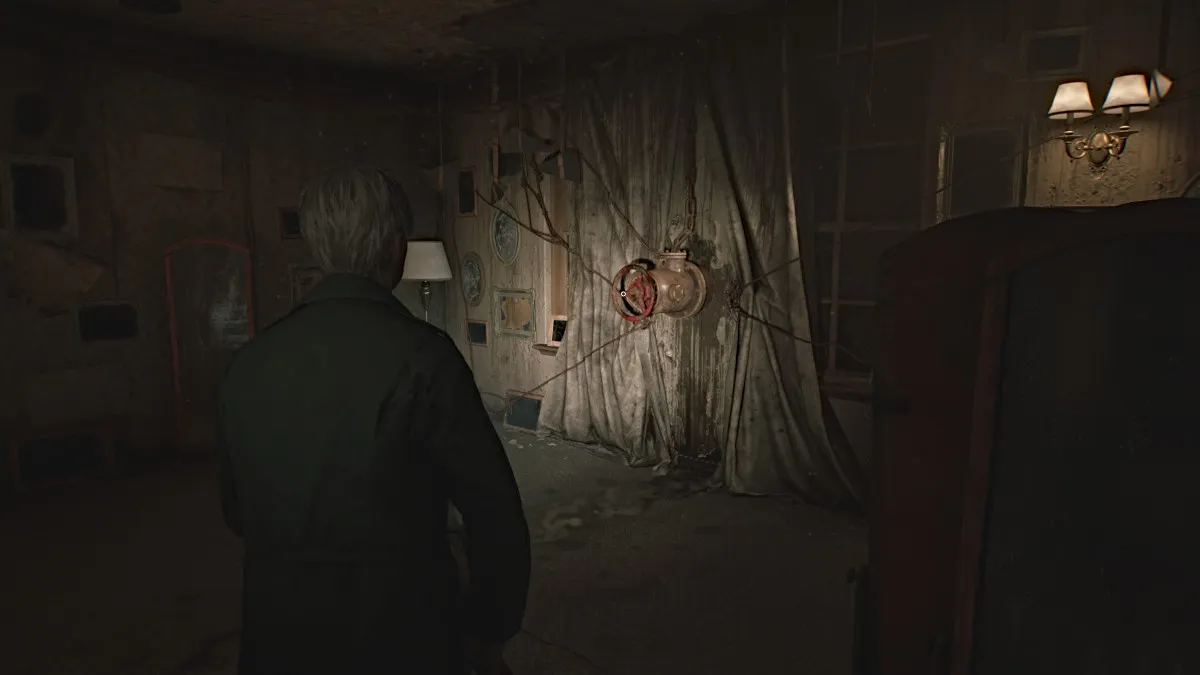
Gire-o para abrir a porta do outro lado da sala e recupere a válvula que quebrou depois. Agora volte para o apartamento 307 e use a válvula na manivela da parede para derrubar o rádio enjaulado.
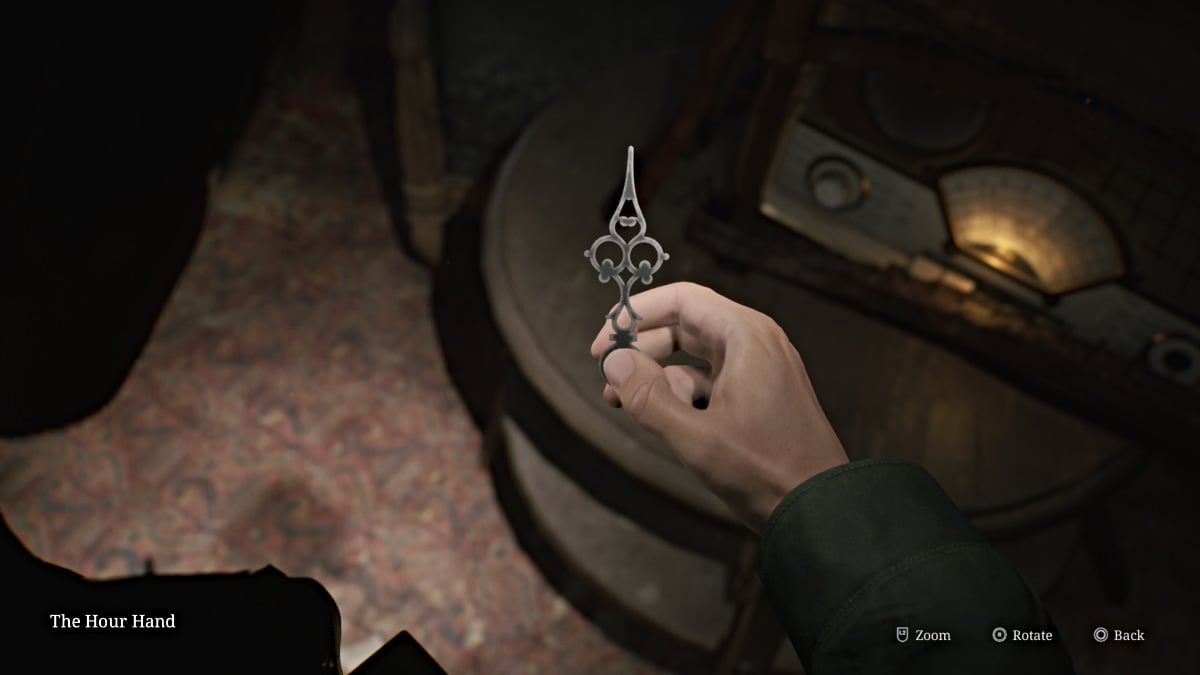
Aproxime-se dele depois para obter o ponteiro das horas para o relógio de pêndulo. Com isso, desça pela escada de incêndio (use a alavanca na parede para descer as escadas até o segundo andar) até o apartamento 212 e coloque o ponteiro das horas no relógio para iniciar o primeiro quebra-cabeça do relógio.
Neste caso, gire o ponteiro das horas para '9' no relógio e a porta laranja 'H' próxima será finalmente destravada. Vá até a porta 'H' pela varanda e ela o levará ao Apartamento 210. Lá dentro, você notará que há um tema de pássaros em tudo. Uma pequena "gangorra" (como James o chama) na sala precisa de um objeto em forma de pássaro para pesar-o, e uma porta trancada nas proximidades requer uma chave para sua fechadura em forma de pássaro.
Vá até a cozinha, pegue a munição de pistola do balcão e quebre a parede nas proximidades para acessar o banheiro. Entre e a única área pesquisável é (é claro) o banheiro cheio de ... bem, "Goop". 'Pesquise' até James puxar o minuto para o relógio.
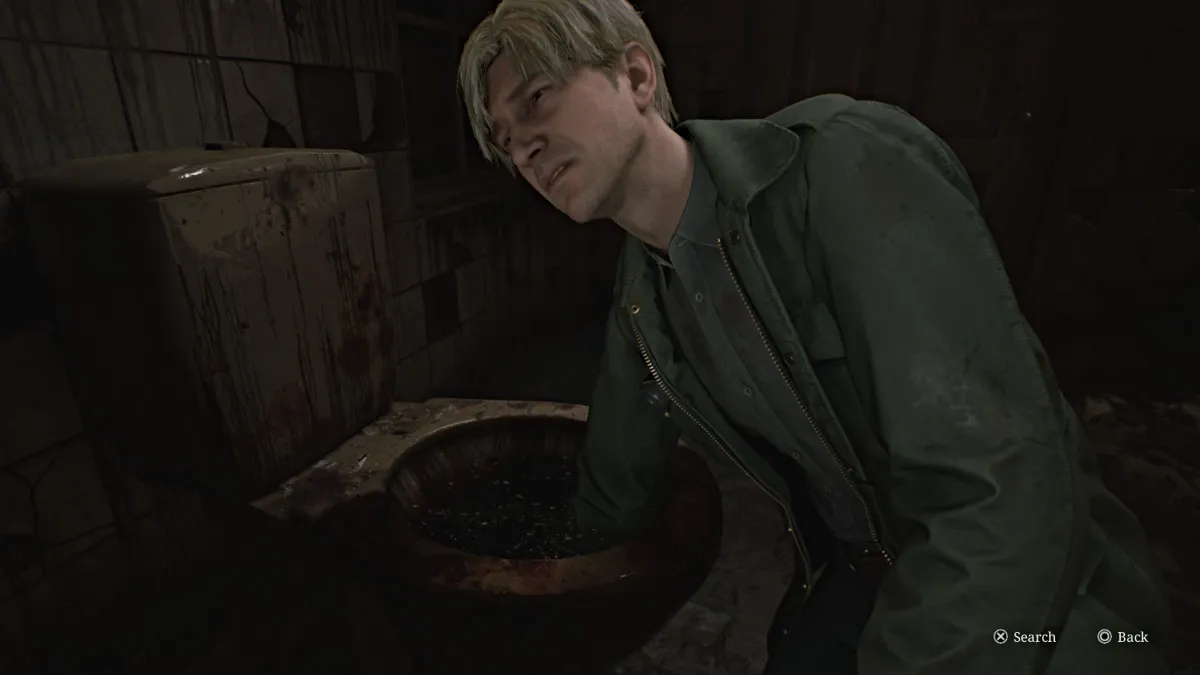
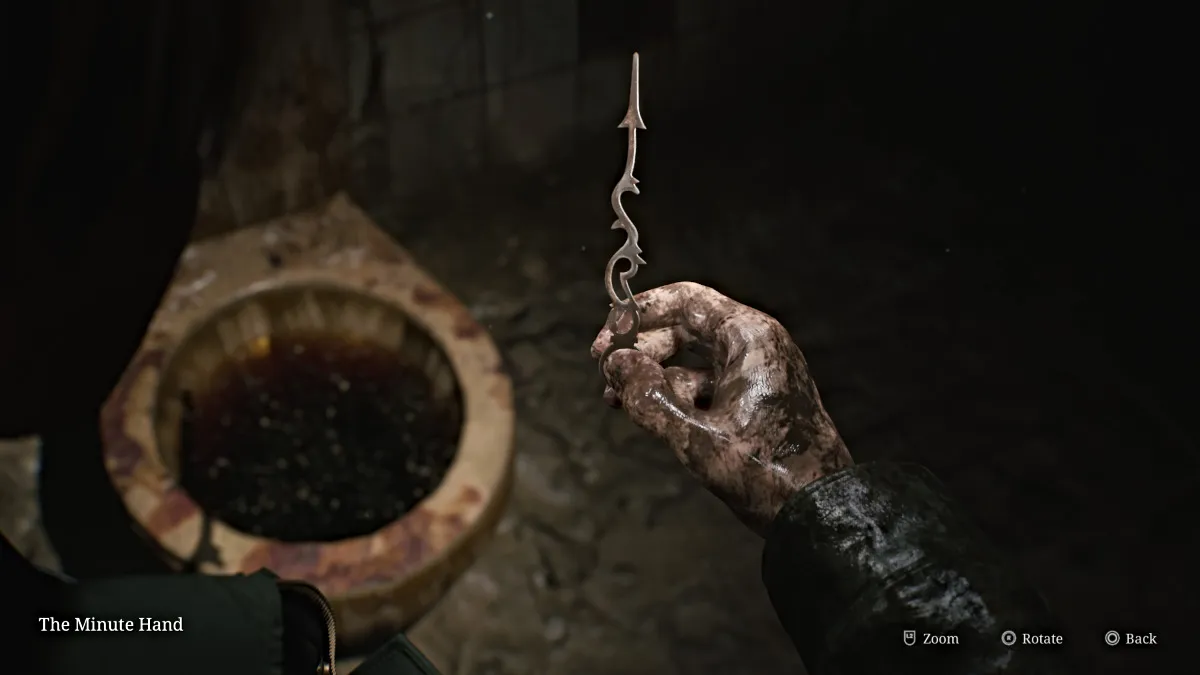
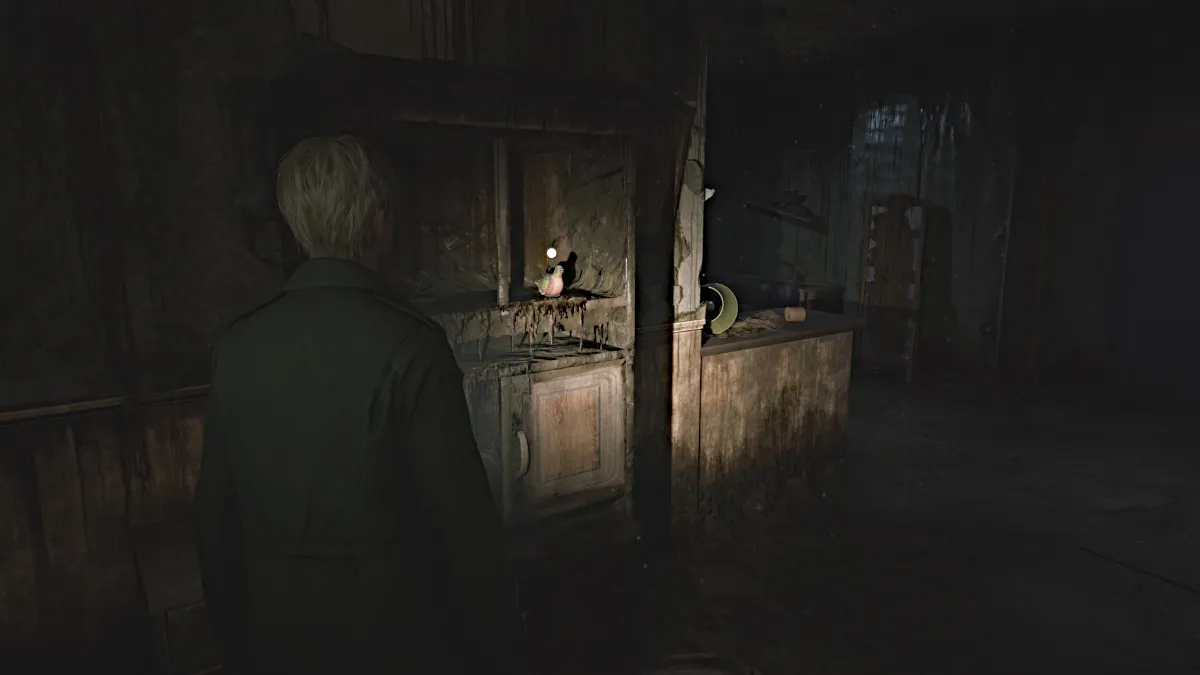
No entanto, ao fazê -lo, o ambiente em torno de James muda de repente e você precisará encontrar uma saída diferente. Deixe o banheiro e pegue a estatueta do pombo na prateleira próxima (vista abaixo). Depois de lidar com a figura mentira em que as cargas (lembre -se de que explodem depois de morrerem no outro mundo), coloque a figura do pombo no lado esquerdo da gangorra . Agora você precisa encontrar a outra figura para equilibrá -la.
Saia e desça o corredor até o apartamento 209 , onde de repente você ouvirá alguns sussurros estranhos (reminiscência ao original). Passe pelo quarto para chegar ao banheiro e quebre a porta do chuveiro para obter a parte da estatueta malformada (vista abaixo).
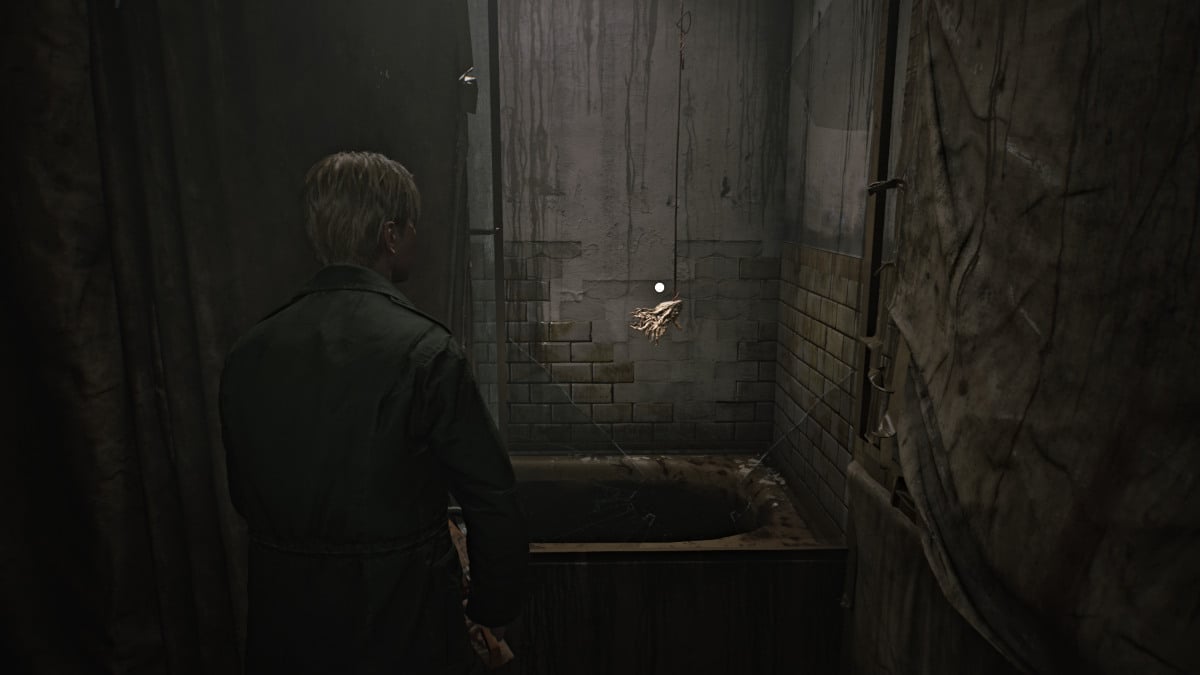
Cuidado com uma figura mentirosa ao sair, pegue munição de pistola do beco sem saída para a esquerda e agora vá até o apartamento 211 . Você pode entrar pela parede quebrada ou pela porta real, e uma bebida saudável estará sentada perto da porta.
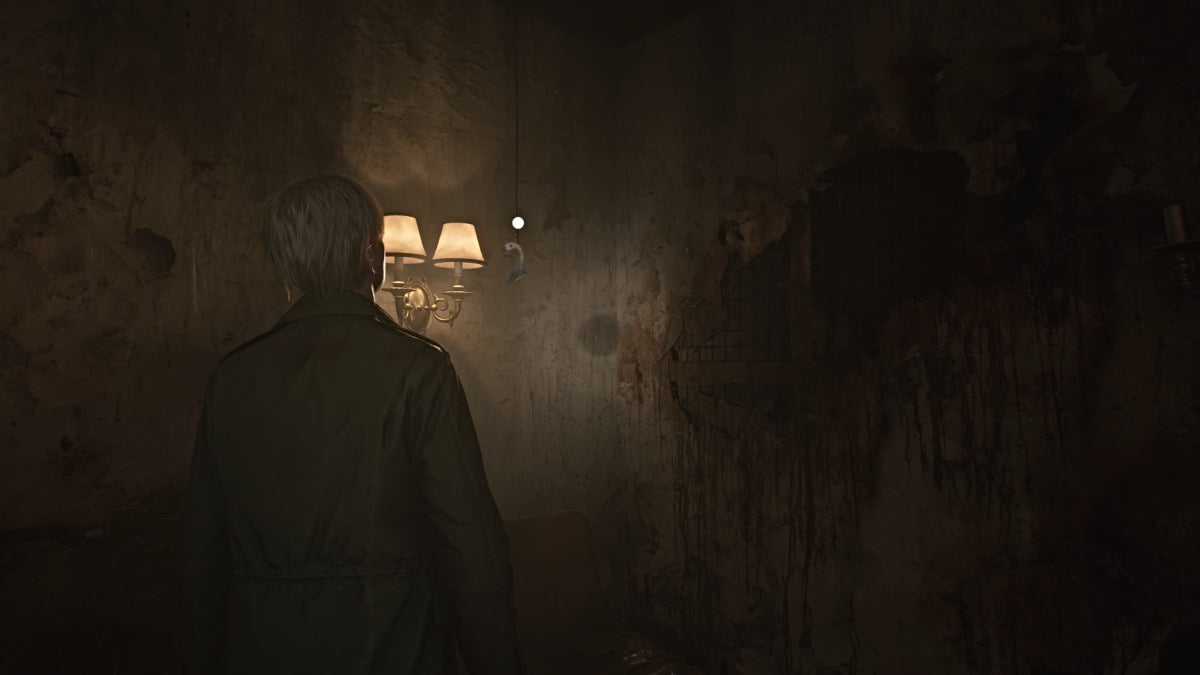
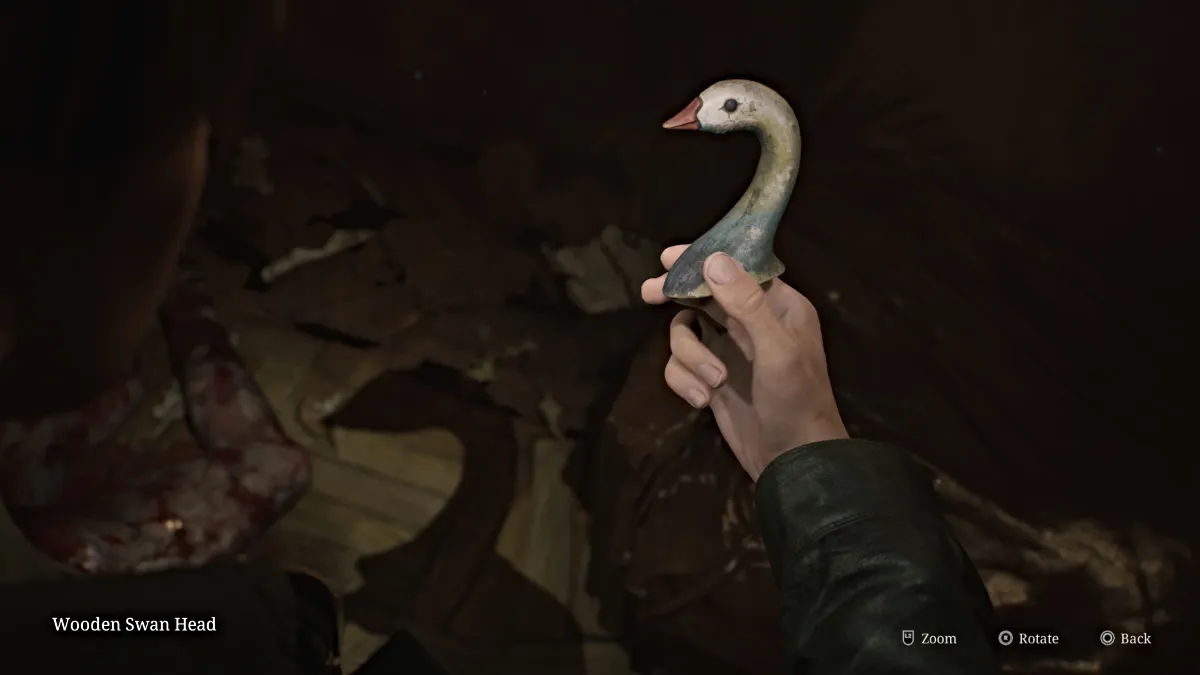
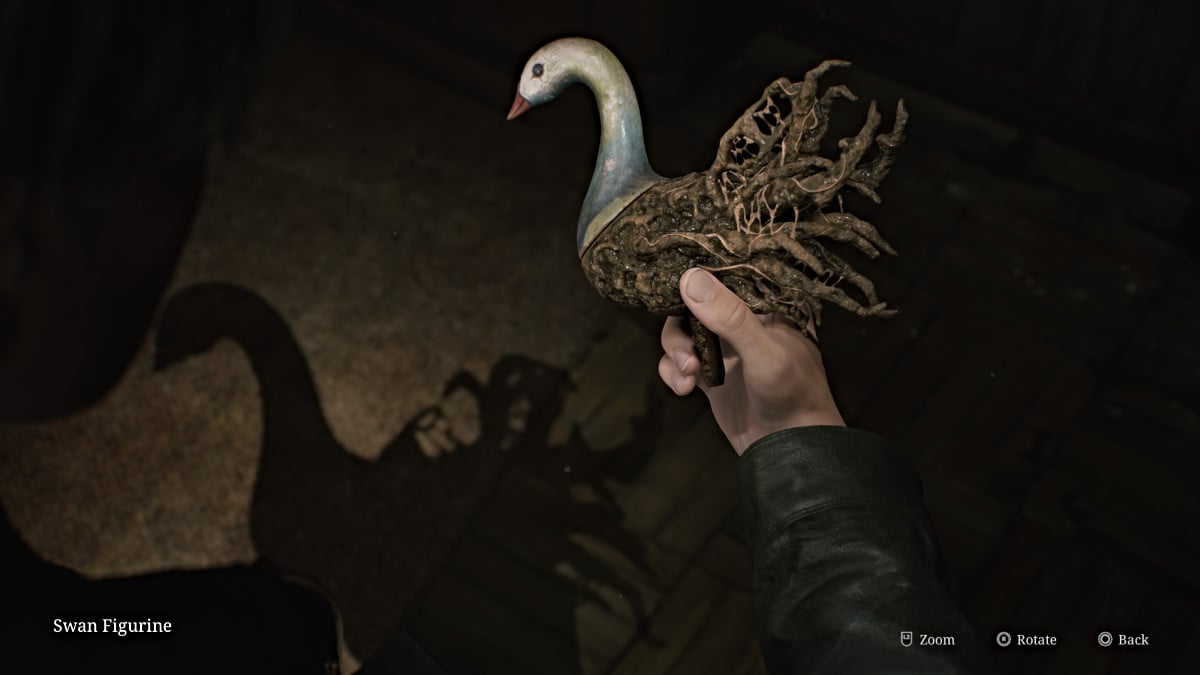
Entre e lide com os dois manequins tentando obter a queda em você. Na mesma sala à direita, você notará uma sombra estranha na parede dos fundos. Olhe em volta e a cabeça de cisne de madeira (vista acima) estará pendurada em uma corda perto de uma luz. Pegue -o e, em seguida, combine -o em seu inventário com a parte da estatueta malformada para fazer a estatueta do cisne. Pegue mais munição de pistola da cozinha ao sair e volte para o apartamento 210.
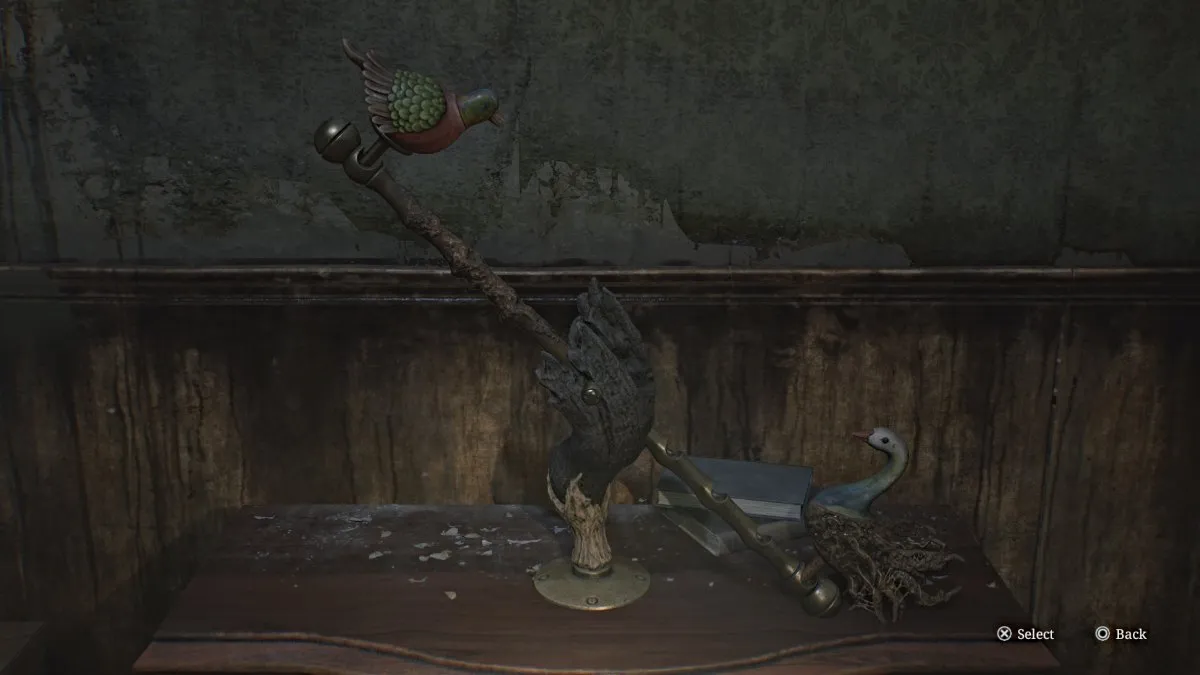
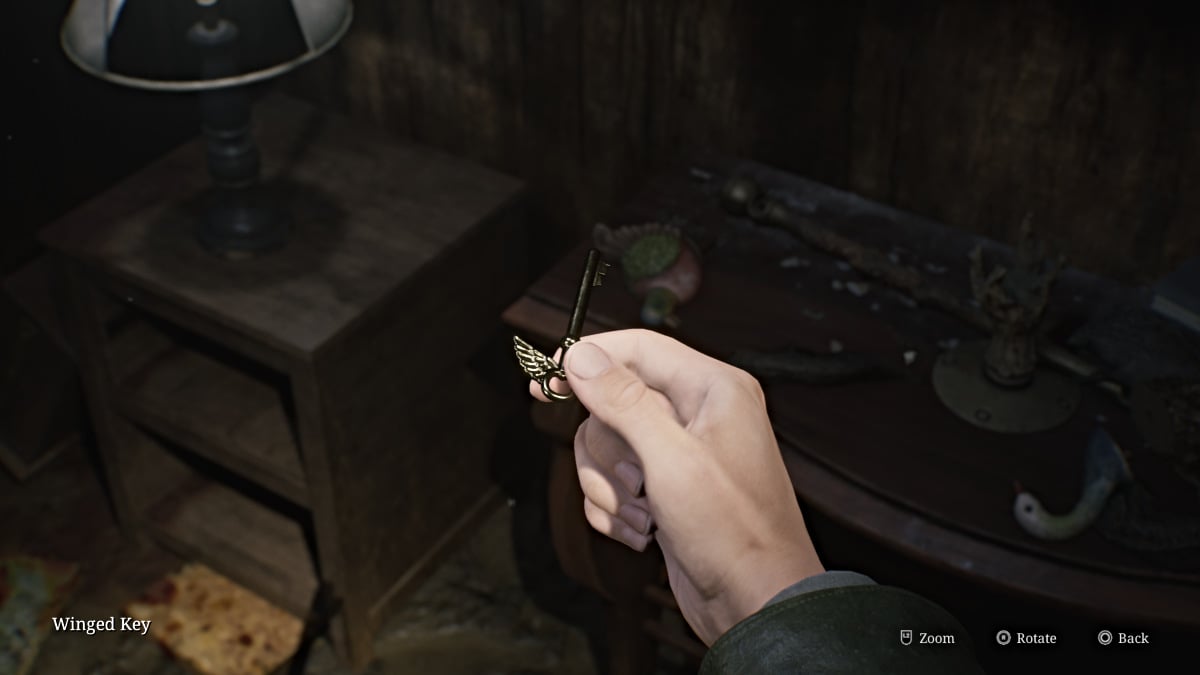
Coloque a estatueta do cisne na gangorra e ajuste ao segundo slot do centro para equilibrar a gangorra. O ponto de apoio da madeira quebrará, revelando a chave alada . Pegue -o e use -o na porta trancada próxima. Entre e você verá um buraco no chão que precisará pular. Isso leva você ao primeiro andar dos apartamentos de Blue Creek.
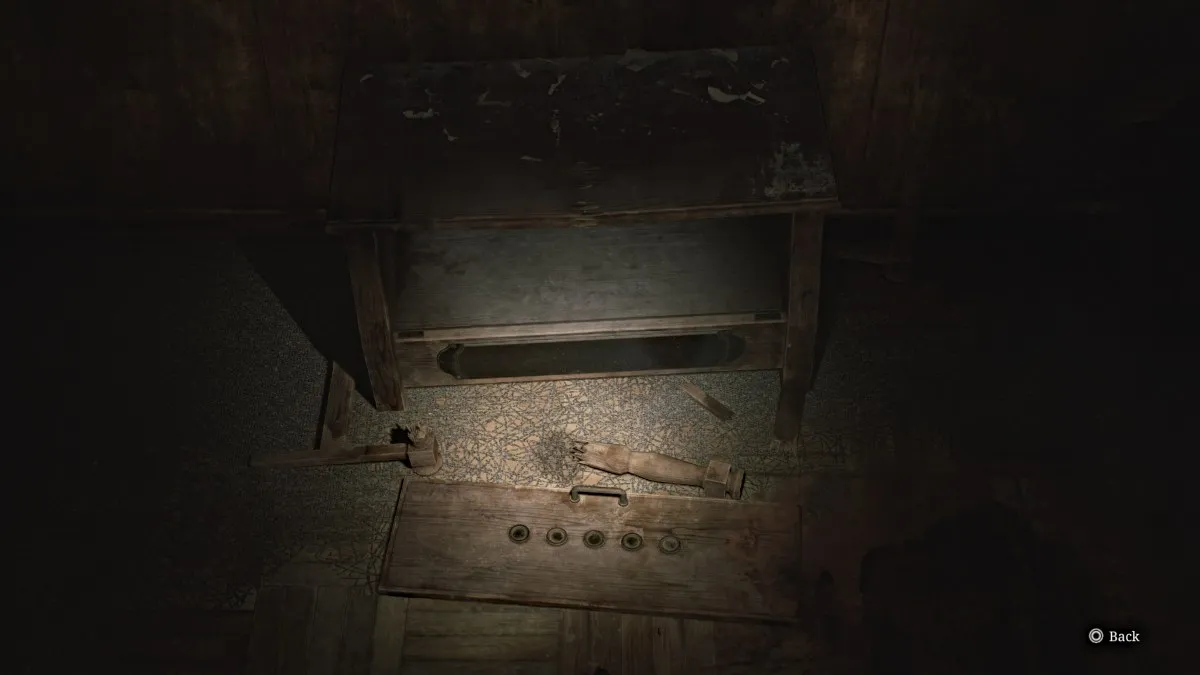
Abra o mapa e você se encontrará no apartamento 110 no primeiro andar. Faça o seu caminho e você encontrará outro vislumbre do passado (visto acima), que é o gabinete de quebra -cabeça do jogo original. Continue e saia através da lacuna na parede enquanto a porta de entrada estiver trancada. Siga para o norte no corredor e você notará que o ambiente parece diferente desse lado, menos quebrado.
Entre no apartamento muito mais limpo 109 e pela porta branca à frente. Uma cena jogará com Angela, que parece mais perdida do que antes.
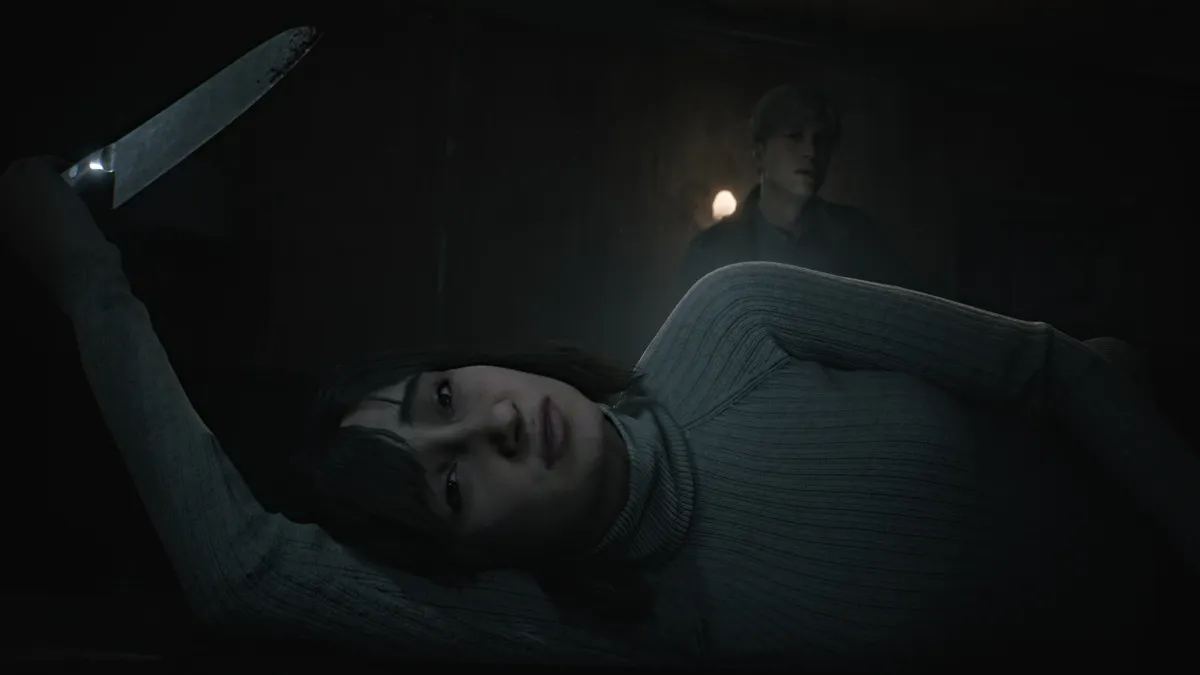
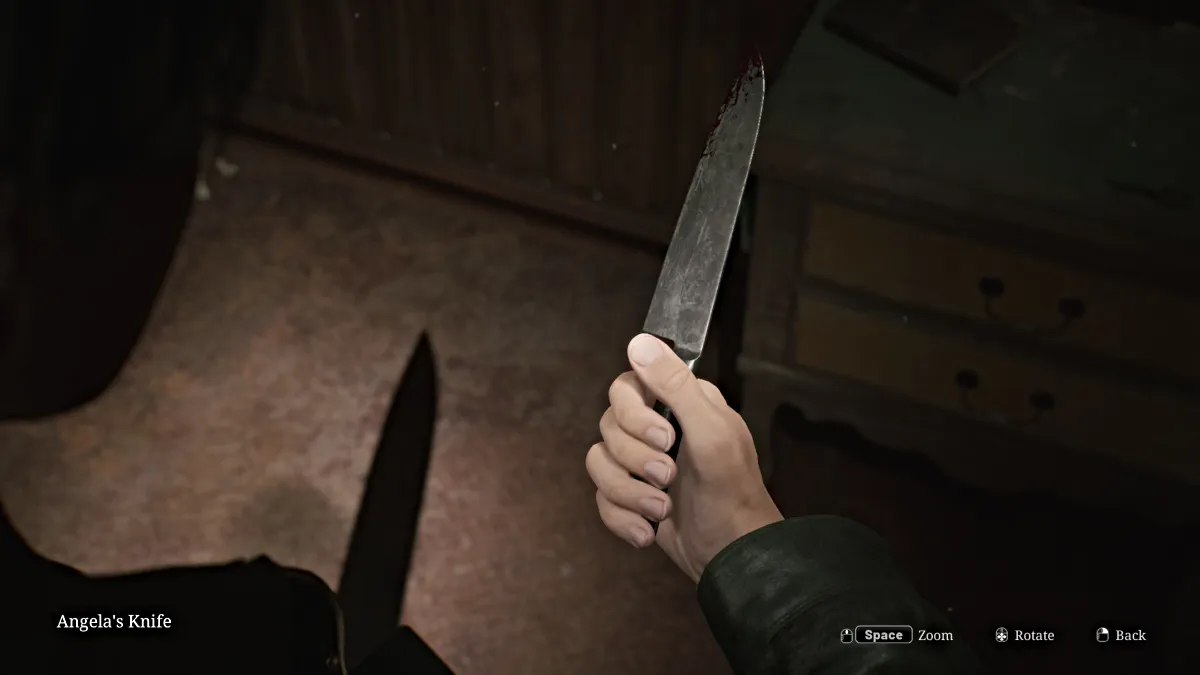
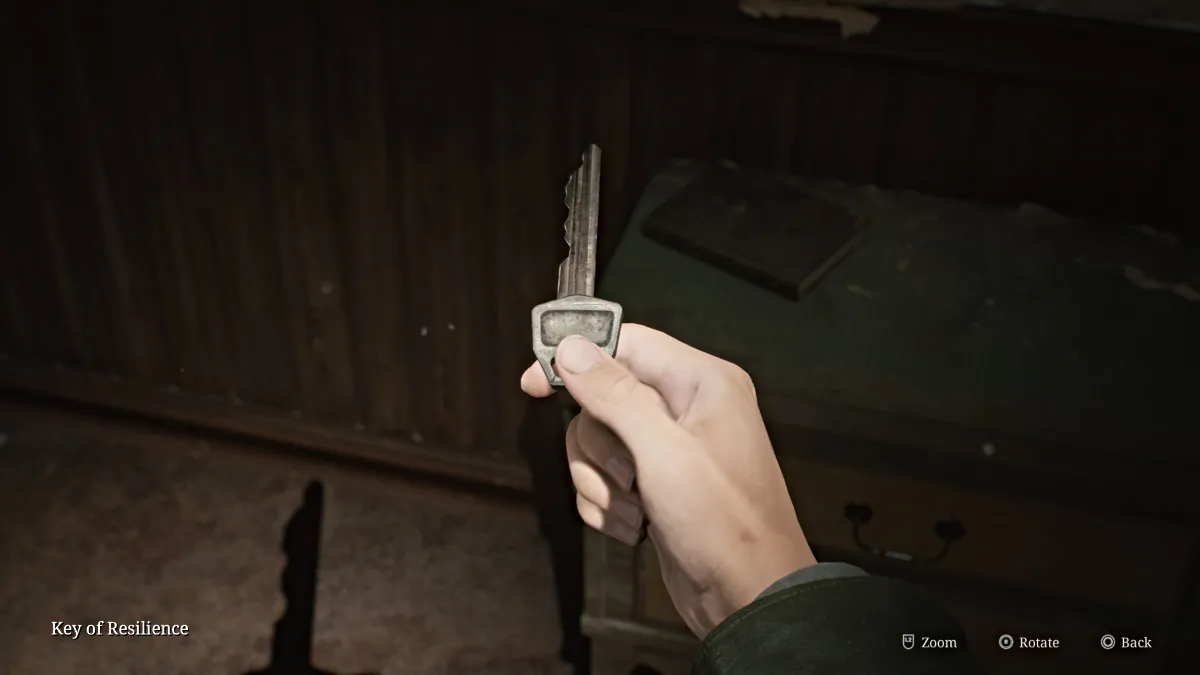
Quando a cena termina e ela deixa a faca para trás, James o levará para seu inventário (visto acima).
Pegue a chave de resiliência que também está sobre a mesa e depois deixe o apartamento. Use a chave de resiliência na porta mais ao sul que leva a uma área de vestíbulo e portas duplas gravadas com a letra (vista abaixo). Está trancado, no entanto, você precisará encontrar outra maneira.
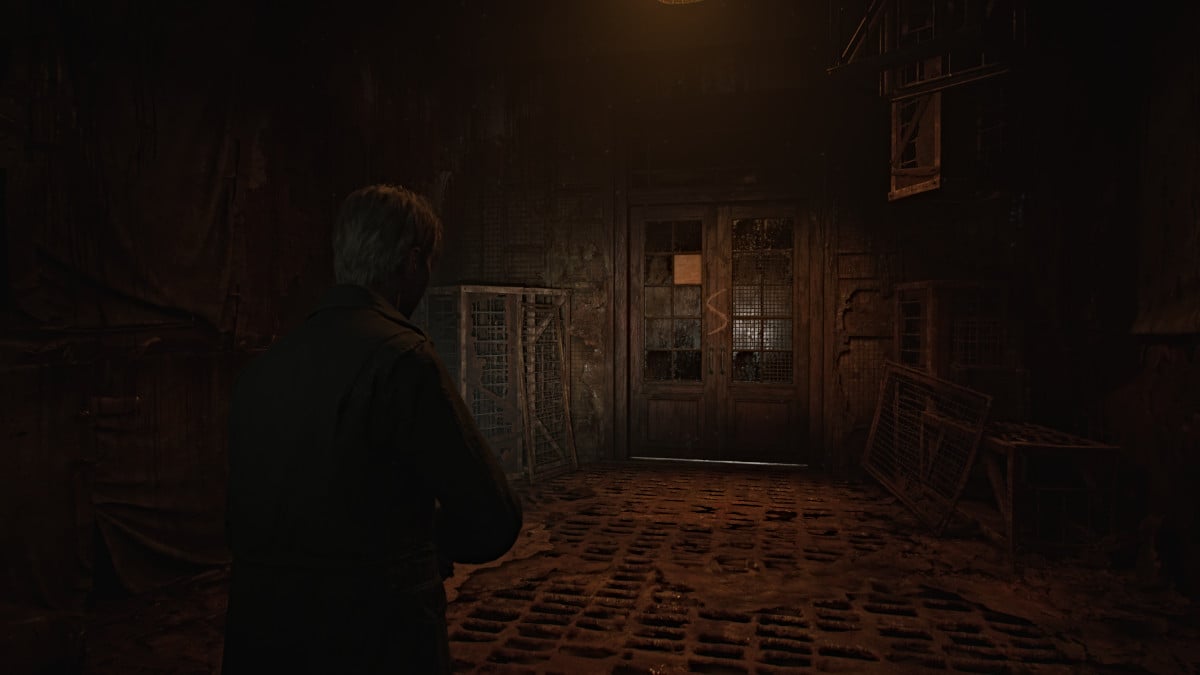
Passe pelo hall de entrada para o apartamento 101 , junte a munição e a seringa da pistola a partir daí e use -a para ignorar uma barreira no corredor, e isso leva à sala da escada . Entre, onde um manequim o emboscará. Mate -o, para que você possa obter a imagem "Juntos para sempre" (foto estranha) dela.
Suba as escadas (não, ele não está esperando por você lá) e pela porta de volta para o segundo andar. Volte para a sala do relógio (212), já que você tem a mão minuciosa e coloque -a no relógio. Vire -o para '2' e acerte 'aceite' para resolver a próxima parte do quebra -cabeça. Isso desbloqueará a sala 'M' no segundo andar que você encontrou há um tempo atrás.
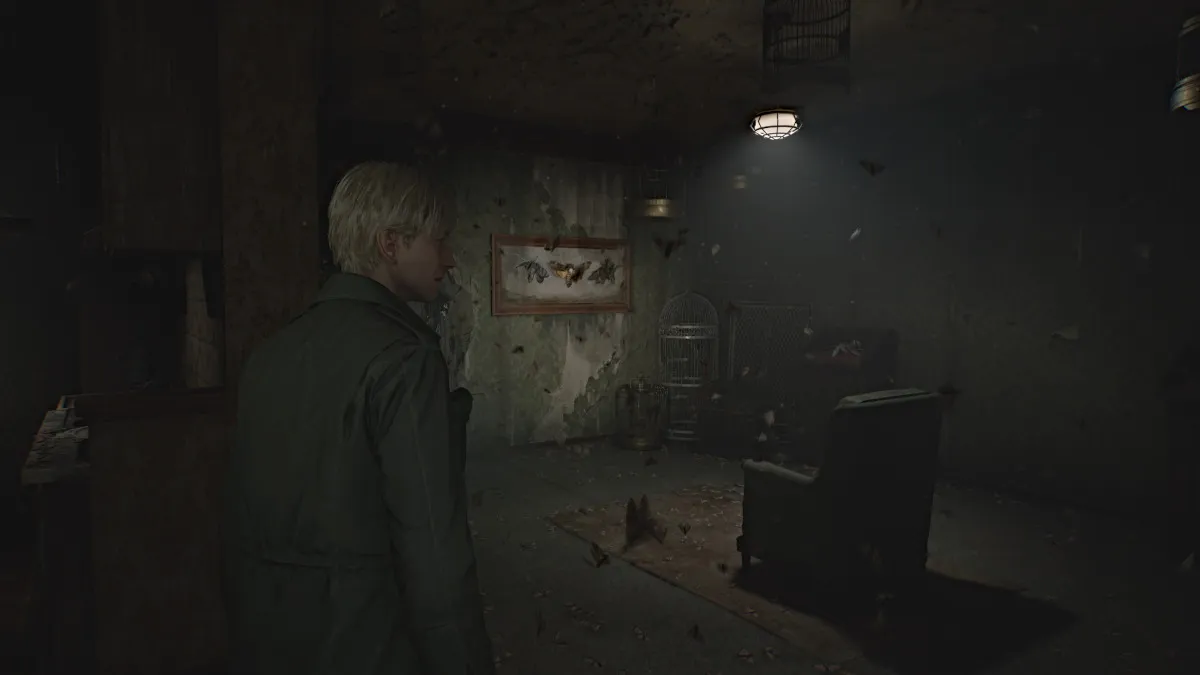
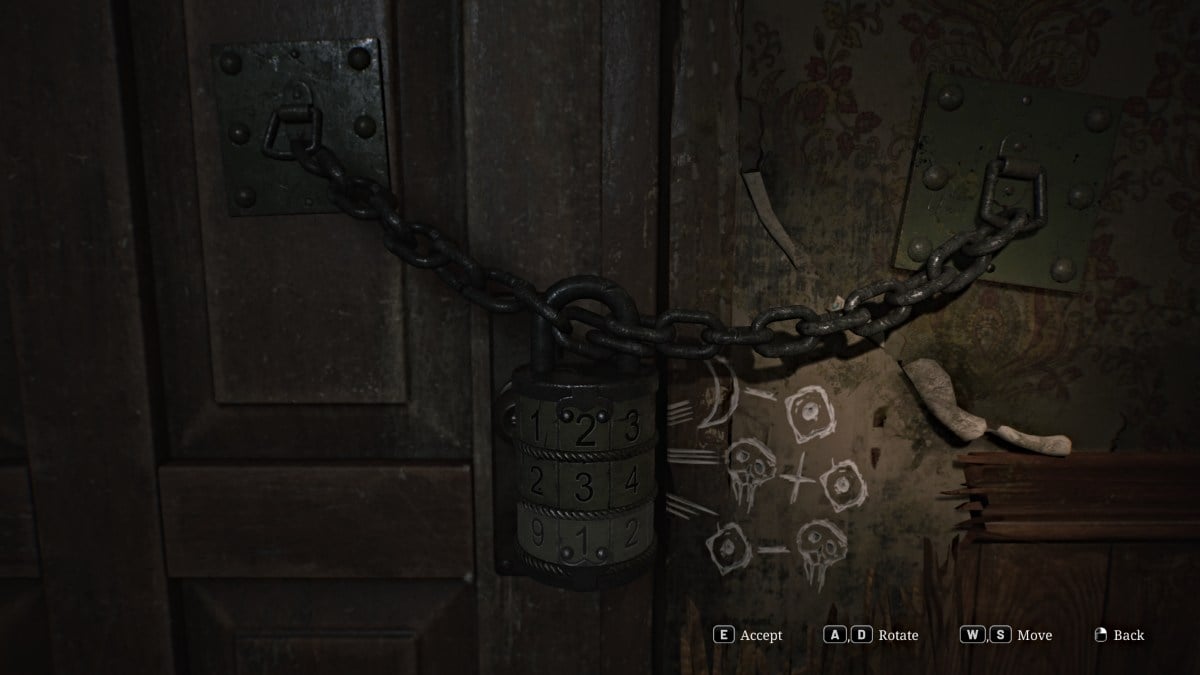
Desça o corredor até a sala M (ou o apartamento 202 ) e entre para outro quebra -cabeça. Todo o local está cheio de mariposas e você notará várias exibições de taxidermia na mariposa na sala principal. Atrás da poltrona está outra porta acorrentada com uma grande fechadura de combinação que você precisa resolver para quebrá -la.
Essencialmente, para obter a combinação correta, você precisa contar com todas as mariposas exibidas em todo o apartamento (incluindo as ocultas por trás da parede quebrável) e os símbolos em suas asas. Você os considera os problemas de matemática simbólicos ao lado da fechadura e, uma vez resolvidos, terá os números.
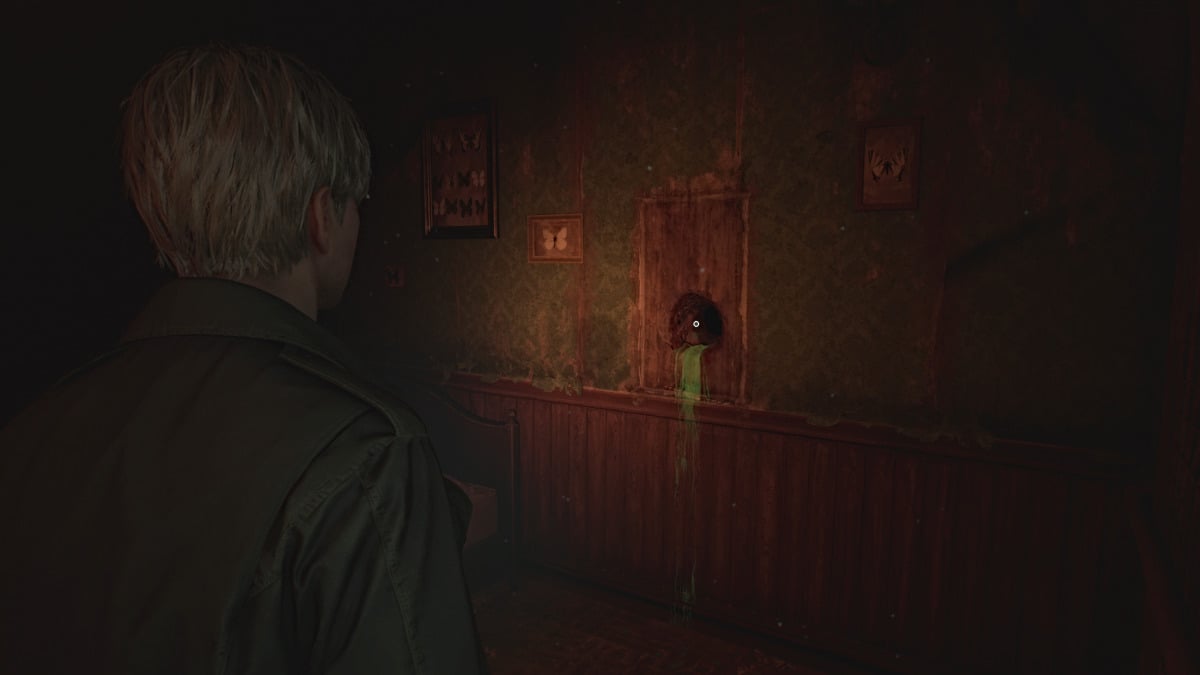
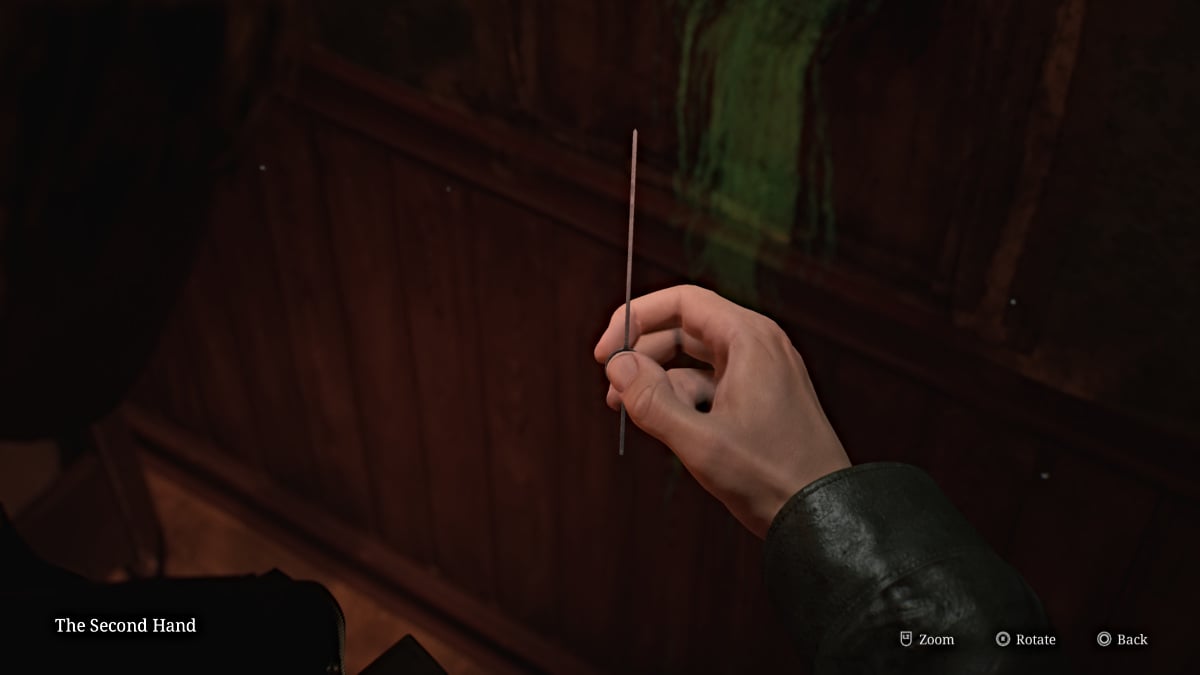
Para economizar tempo, no entanto, o código correto para o bloqueio (dificuldade padrão) é 373 . Depois de terminar, entre onde você verá outro buraco incrivelmente convidativo em uma parede para James enfiar a mão. 'Pesquise' o suficiente e recuperará a segunda mão para o relógio. Deixe o apartamento depois.
Volte para a sala do relógio e coloque a segunda mão dentro do relógio. Para completar a terceira e última parte do quebra -cabeça, gire -o para '3' e isso desbloqueará o quarto de ameaçador de volta no primeiro andar. Antes de sair da sala do relógio, certifique -se de pegar a munição de pistola na sala vizinha e a foto estranha "como o tempo voa".
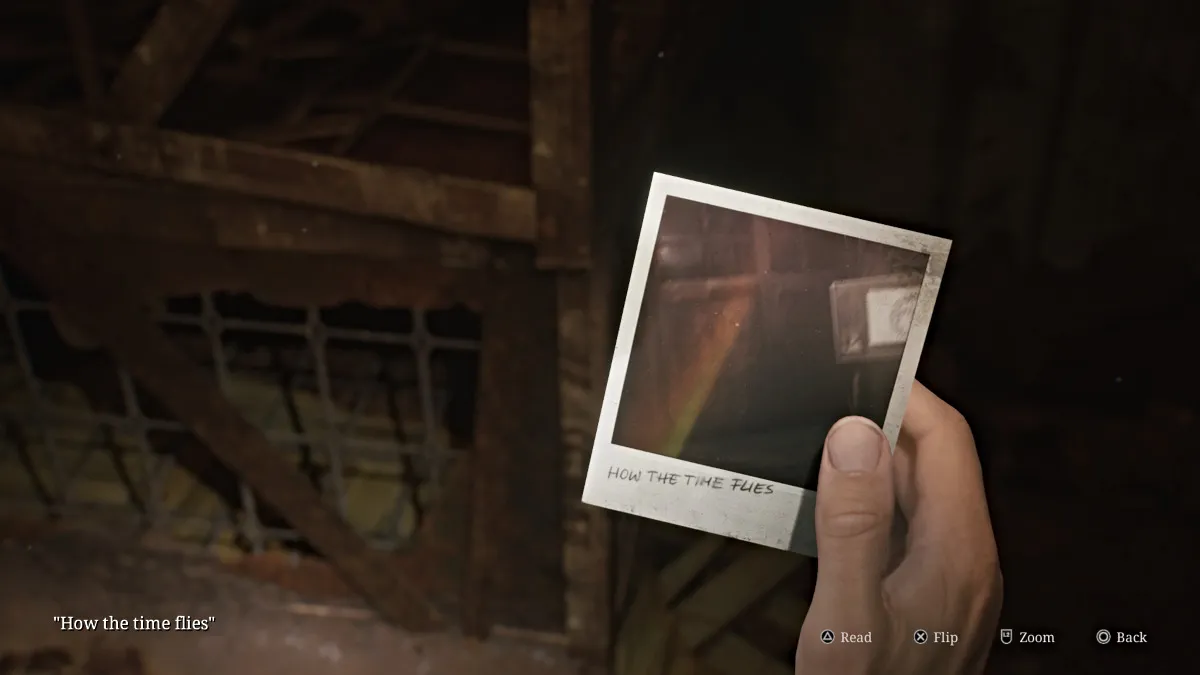
Também certifique -se de explorar em qualquer outro lugar que você deseja nos apartamentos de Blue Creek antes de progredir, pois a sala S é o ponto sem retorno para esta área .
Se você estiver pronto, leve a escada do lado oeste do segundo andar até o primeiro andar. Ao longo do caminho, você pode notar cortes frescos nos pisos e paredes, indicando que alguém com uma enorme lâmina está perseguindo a área. Volte para a área do vestíbulo onde está a sala S, respire fundo e entre.
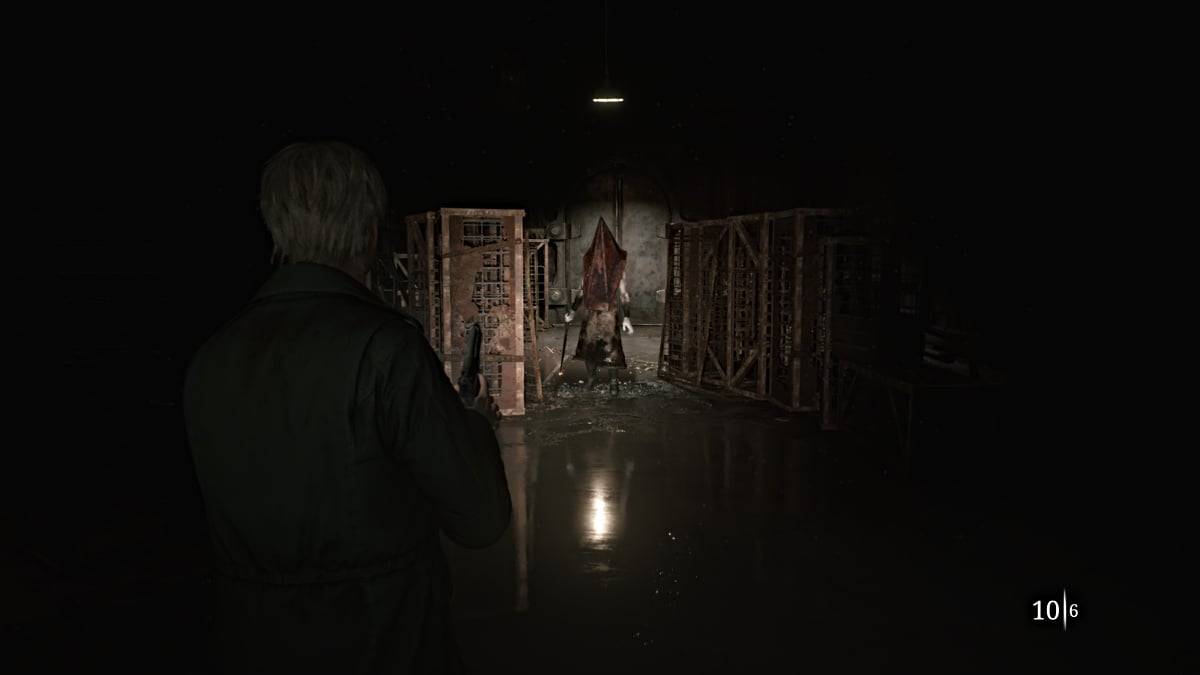
O quarto S abriga ninguém menos que a própria pirâmide , que está à espreita e esperando sua chegada. Assim que ele se vira para enfrentá -lo, a luta começa.
Em vez disso, é sua luta permanecer viva por tempo suficiente, porque, como você percebe rapidamente, a cabeça da pirâmide leva pouco para danificar . A única arma que você deseja usar aqui é a sua arma, porque manter a distância dele é a principal prioridade. Se você tentar um ataque corpo a corpo, um balanço de sua grande faca irá danificar gravemente ou matá -lo.
Felizmente, a sala está repleta de caixas de munição de arma, então use essas pessoas enquanto fazia círculos ao redor da sala. Continue disparando balas nele (evite o capacete) e, a certa altura, ele se tornará mais agressivo enquanto a sala começa a inundar.
Continue a mesma estratégia até que finalmente, as sirenes comecem a estridente e a cabeça da pirâmide imediatamente interrompe seu ataque. Uma cena o mostrará saindo, terminando completamente a luta. Depois de ter controle, verifique a sala para qualquer munição de pistola que você possa ter perdido e depois saia das mesmas portas, o que o levará para fora, de volta às ruas da cidade, o outro mundo agora desapareceu.
Bata no Red Save Point do lado de fora após a luta para salvar seu progresso e verifique o carro ao lado dele para uma bebida saudável . Verifique seu mapa e agora você se encontrará na área de West South Vale, em Silent Hill. Você verá que o Rosewater Park no norte está circulando, o que significa que esse é o seu próximo objetivo principal.
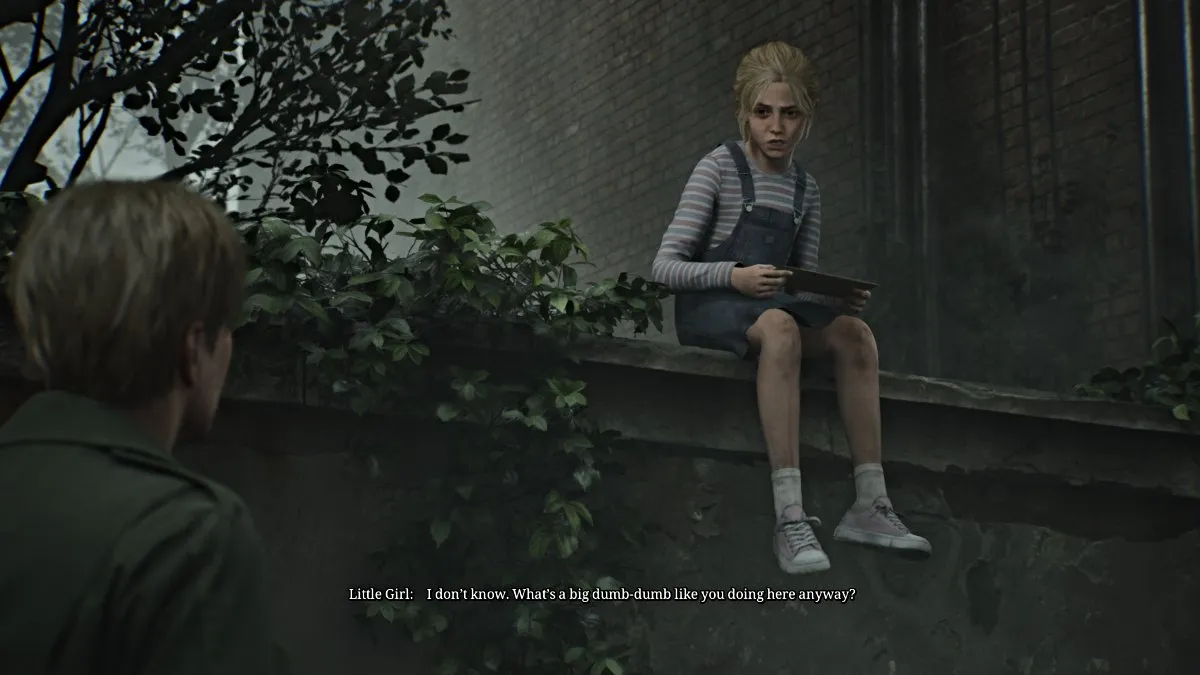
Gire a esquina e verifique o carro verde à direita para obter munição no banco do motorista. Continue e outra cena jogará onde James corre para a jovem de antes (chamada Laura, mas ela não o revela até mais tarde). Ela parece estar segurando uma carta, mas se recusa a dizer a James o que é, dizendo que ele "não amava Mary de qualquer maneira" e decolando novamente. A cena termina com James confuso que alguém também está aqui para Maria.
Continue através do túnel que o leva diretamente ao Rosewater Park. Pegue a primeira esquerda em direção à área do banco , onde você pode encontrar uma seringa ao lado de uma jaqueta. Em seguida, pegue a pequena ponte do outro lado da qual diverge. Pegue o caminho certo e siga -o, pois haverá alguma munição de pistola para salvar desse lado.
Continue direto e embaixo da placa 'Rosewater Park', que leva você a uma área de píer do lago Toluca.
Pegue o longo caminho central até um mirante, onde você verá uma figura feminina no nevoeiro.
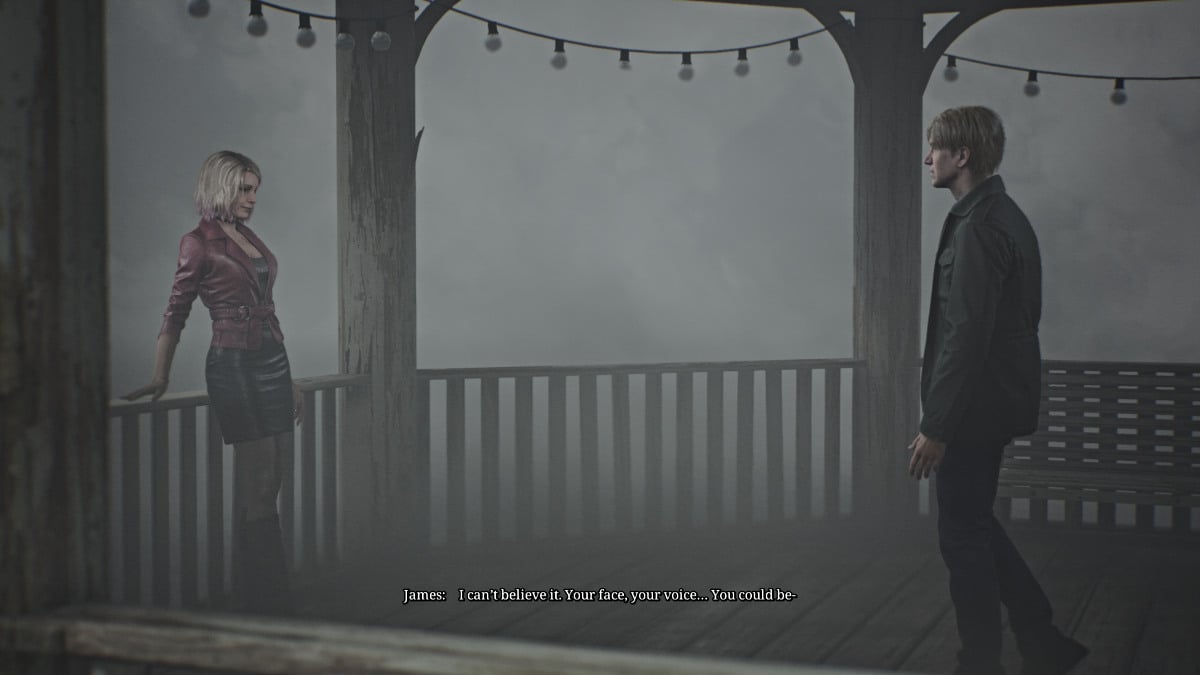
Uma cena revela que é uma mulher que se assemelha estranhamente a Mary, mas com um visivelmente mais vêm para aqui. Ela se revela como Maria .
Enquanto James fica visivelmente decepcionado e confuso, Maria se oferece para levá -lo a outro possível "lugar especial", Mary pode estar. Apesar de sua preferência por ir sozinha, Maria insiste em vir com ele com "todos os monstros ao redor". Ele concorda com relutância e agora sua jornada inclui Maria como sua companheira.
Circule para baixo e ao redor do lado esquerdo do parque, onde você encontrará a foto "tão longe de casa" em uma área de estar, um pouco mais de munição de pistola em uma mesa de xadrez e uma bebida saudável em uma área de banheira pública . Deixe o Rosewater Park sair da saída oeste e na Avenida Nathan.
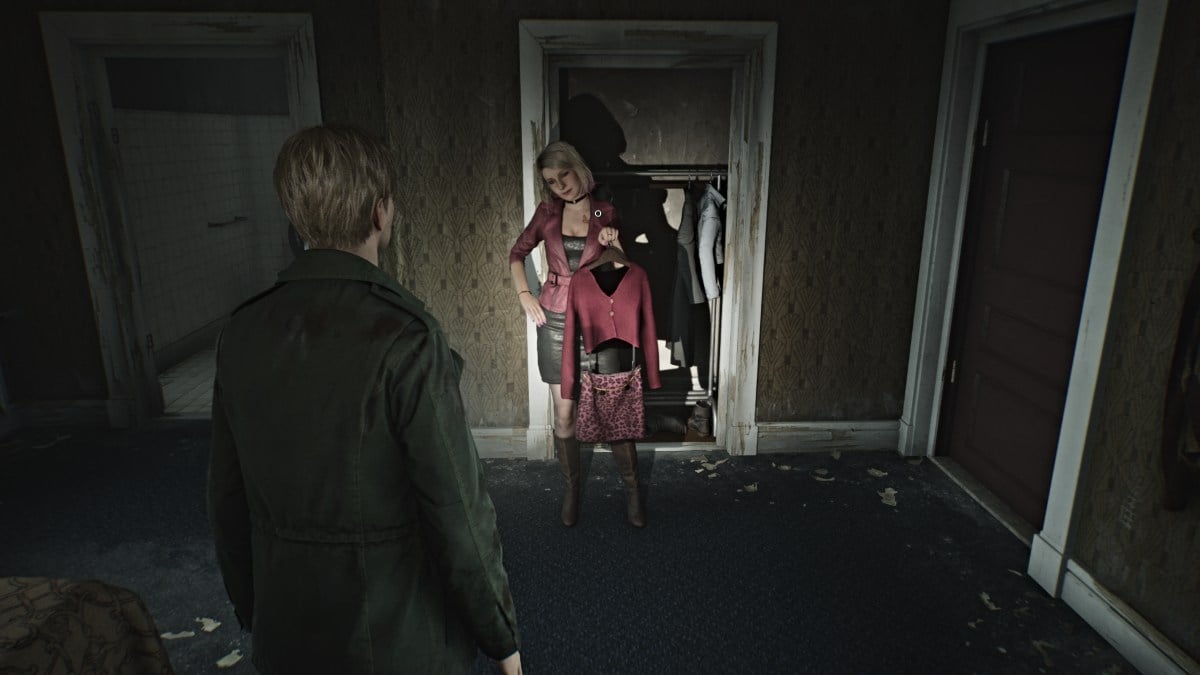
Maria diz a James para atravessar a estalagem de Jack para chegar ao seu destino, então vá para lá do outro lado da rua. Vá para o escritório do motel primeiro, que pode ser acessado da porta na parte de trás. Há um pequeno cofre abaixo do balcão que exige que um código seja aberto. Pegue a nota da recepção no quadro de avisos, que sugere na sala 107 . Você o encontrará no prédio elevado em direção à parte de trás do motel, mas precisará quebrar a janela da sala 108 para chegar lá.
Uma vez, quebre a parede conectada à sala 107 e, no quarto, você encontrará o memorando da caixa de ferramentas , o que oferece o seguinte enigma:
Ao fazer a matemática apropriada, você receberá o código 0451 . Enquanto você está pronto para sair da sala, Maria o provocará com uma roupa que encontrou no armário, perguntando se ficaria bem nela.
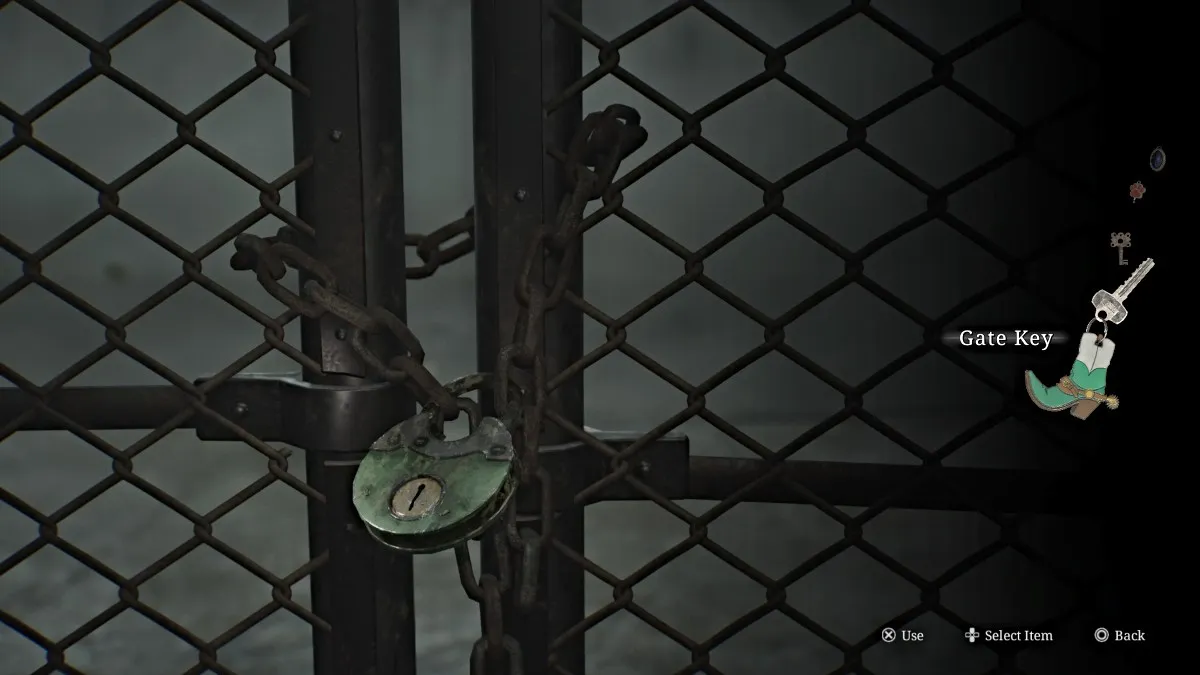
Volte ao escritório do Motel, use o código e, dentro do cofre, você encontrará a tecla Gate . Você não tem muito tempo para olhar para isso, pois um manequim de repente embosca Maria. Um tiro vai derrubar.
Depois de usar o ponto de salvamento vermelho no porta -malas de um carro, agora é a hora de explorar outros lugares da região antes de continuar a história, pois você não poderá voltar por um tempo e será noturno (e mais perigoso) quando você faz .
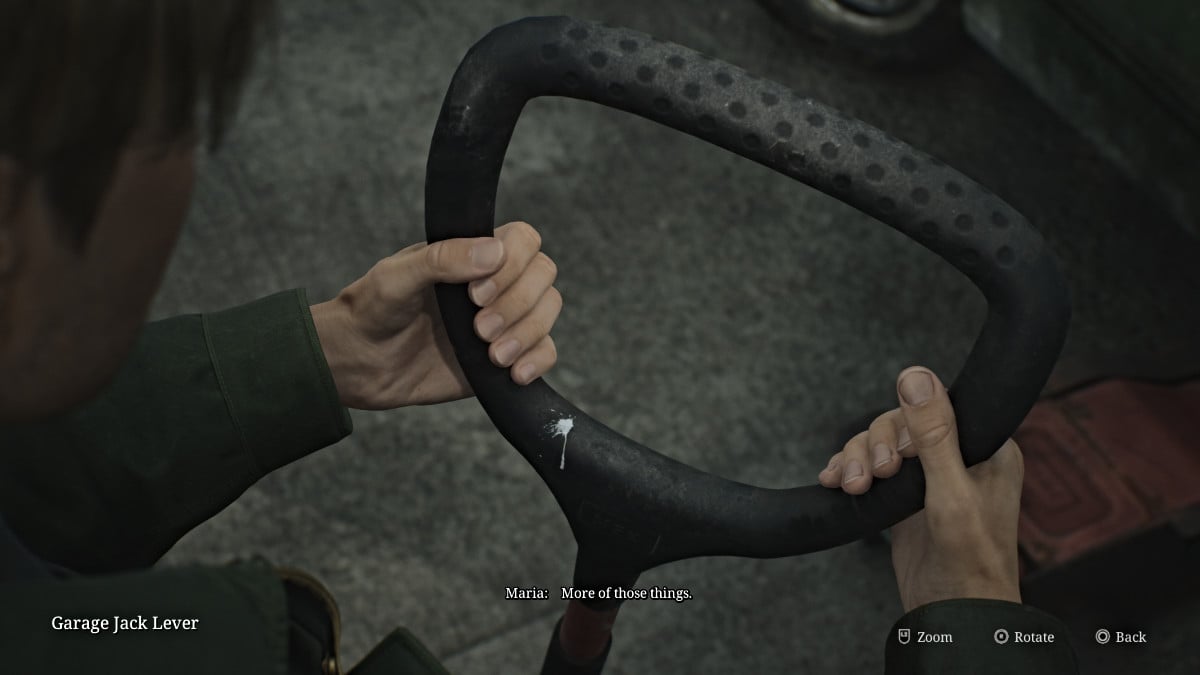
De onde você entrou em Jack's Inn, siga para a esquerda na Avenida Nathan até chegar a Octanis combustíveis . Ao chegar, Maria dirá que você está seguindo o caminho errado e saiba que ignorar seus conselhos e deixá -la ser atacada por monstros ao longo do jogo influenciará seu final.
Vá até a parte de trás de Octanis Fuels, onde você encontrará um carro levantado por um conector de garagem . Vá e pegue a alavanca da garagem , mas o barulho acordará vários monstros no processo. Cuide das figuras e insetos mentirosos que vêm correndo.
Além disso, enquanto você está lá, vá pela Carroll Street até o Bowl-O-Rama de Pete e vá explorar por dentro. Enquanto estava no jogo original que você tropeçaria em Eddie e Laura aqui, esse não é o caso do remake. O local está completamente vazio, mas você pode encontrar um ponto de salvamento vermelho , uma munição de pistola e bebidas saudáveis de pistola, juntamente com uma pizza quase comida perto das pistas de boliche.
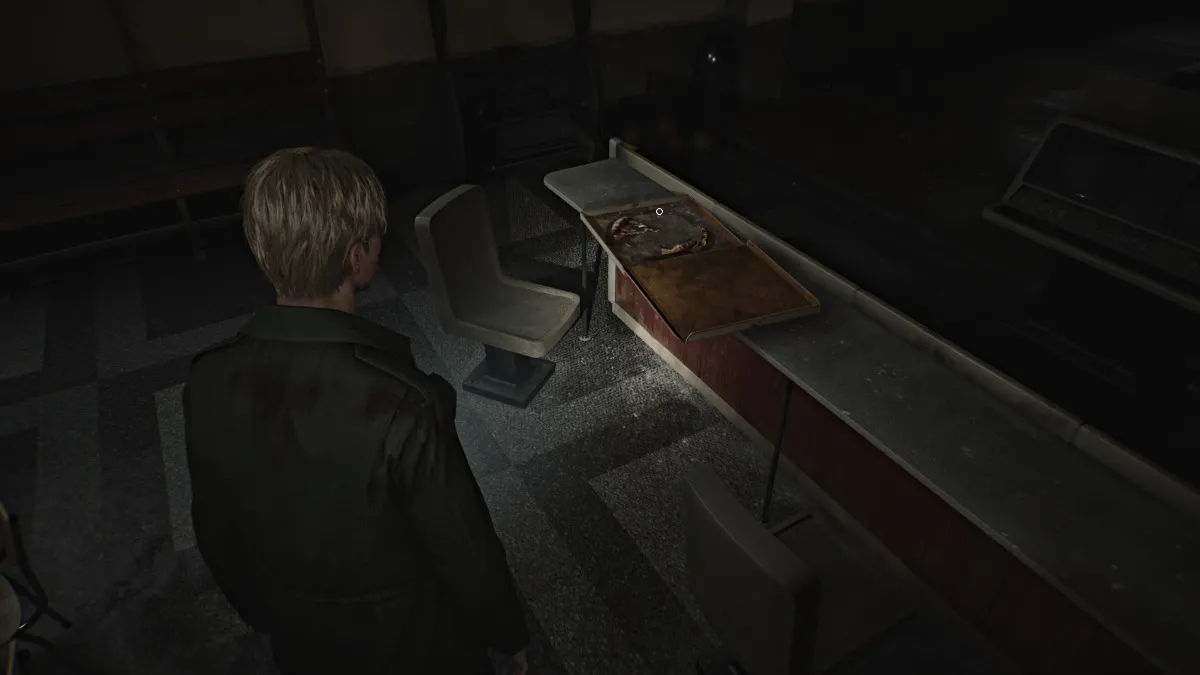
Interaja com ele para ter outro vislumbre do passado , e James comentará "Este lugar está cheio de monstros, como alguém pode sentar aqui e comer pizza?". É um aceno divertido para uma das cenas mais icônicas do jogo original, e Eddie pode muito bem ainda estar aqui.
Deixe o Pete's quando estiver pronto e voltar até a Avenida Nathan em direção ao Rosewater Park. Esteja atento aos monstros agora espalhados pela rua. Depois de voltar, vá especificamente para o estacionamento do lado de fora do Rosewater Park . Um dos carros estacionados dentro, ele terá uma munição de pistola , então esmaga e agarra.
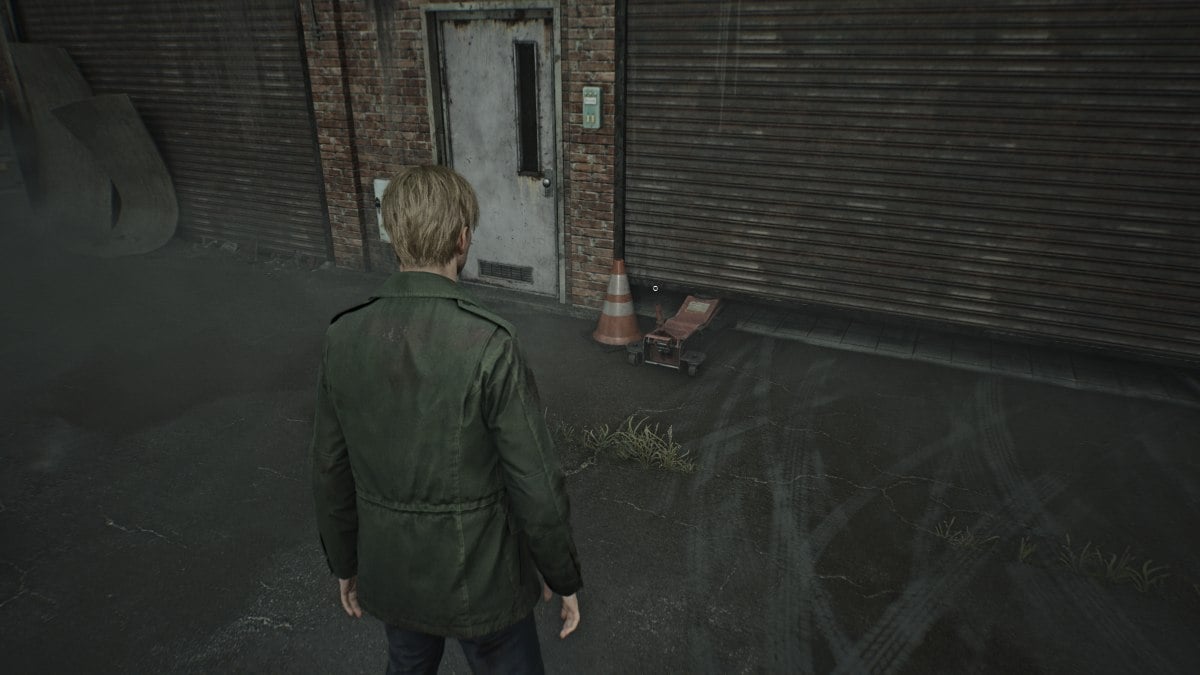
Corra para a parte de trás da garagem no estacionamento, onde você verá um portão sendo mantido aberto por um macaco de garagem , embora com falta de sua alavanca. Use o que você recuperou e poderá abrir o portão completamente. Lá dentro, você encontrará um tesouro de itens úteis, incluindo:
Com isso, você abordou muito de tudo o que precisará explorar na área por enquanto. Então volte pelo estacionamento do Jack's Inn, use o Red Save Point lá novamente e use a chave do portão que você adquiriu anteriormente para desbloquear o West Side Gate e obter acesso ao resto do West South Vale.
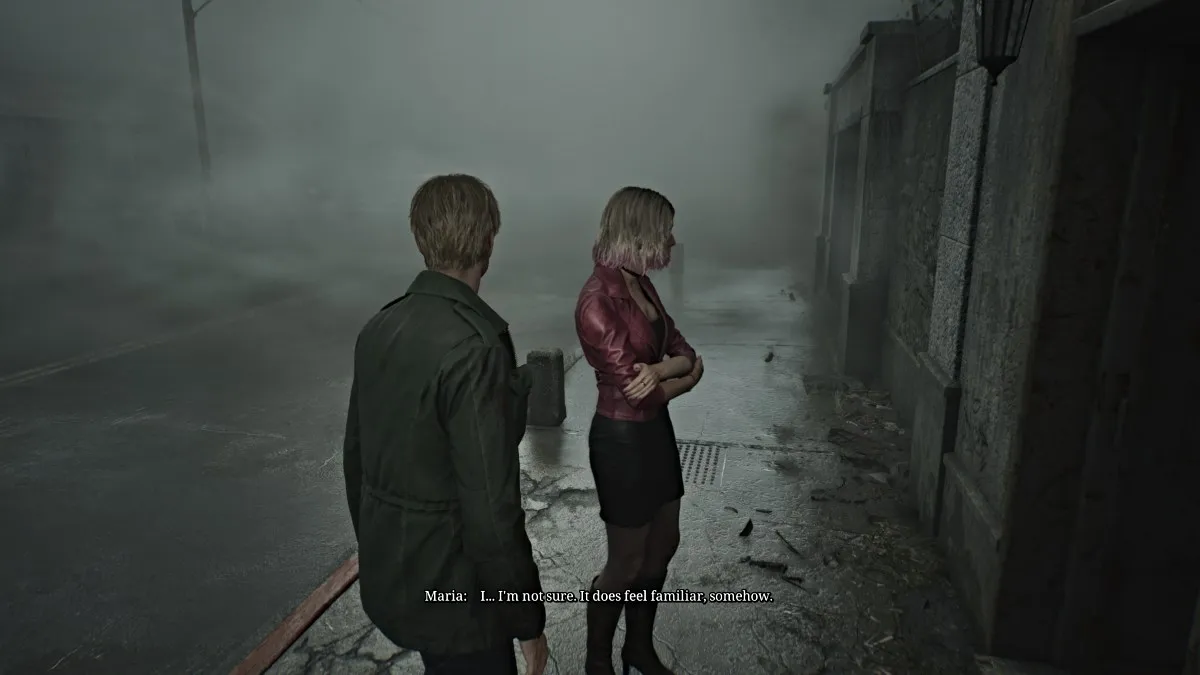
Se você se desviar da esquerda primeiro, encontrará a Mansão Baldwin , um local proeminente da história lateral do jogo original nascida de um desejo . Infelizmente, suas portas estão trancadas e Maria se recusará a entrar no pátio, dizendo que, embora ela sinta que já esteve lá antes, parece ser uma "memória ruim".
Com isso, siga para o sul da rua Munson e depois pendure à direita na Katz Street, já que outra barricada alta está no seu caminho. Eventualmente, uma cena revelará que a estrada termina com outra enorme lacuna no chão, e Maria insiste em encontrar outra maneira. James sente algo e encontra um atalho de beco por perto, quando os monstros começam a enxamear e o nevoeiro se levanta novamente, semelhante a antes.
Depois de atravessar o portão do beco, James o barricade com sua prancha de madeira para manter os monstros afastados, sua única arma corpo a corpo aparentemente perdida. No entanto, ele se vira e encontra um tubo de aço saindo de um carro para fumar, em vez disso, dando a você uma atualização no processo.
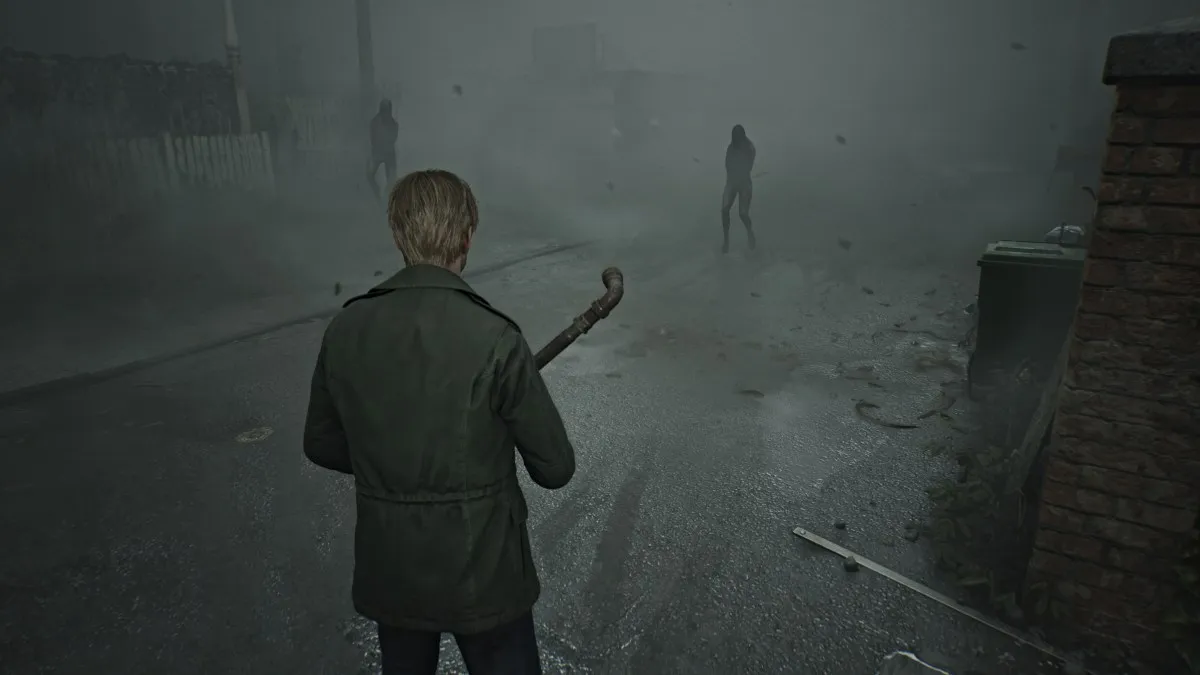
Use sua nova arma corpo a corpo para afastar os monstros à sua frente e faça um caminho através dos becos e metros de trás para a noite do céu . Pegue toda a munição de arma que você pode ao longo do caminho.
Eventualmente, Maria o direcionará para uma lacuna em uma cerca para escapar. Pegue -o e, depois de uma breve cena, você se encontrará logo atrás da noite do céu . Vá para a porta dos fundos do prédio e, apesar de estar trancada, Maria abriá -la para você. Explore a cozinha e as áreas do camarim para itens, incluindo o "Pronto para matá -lo!" Foto estranha .
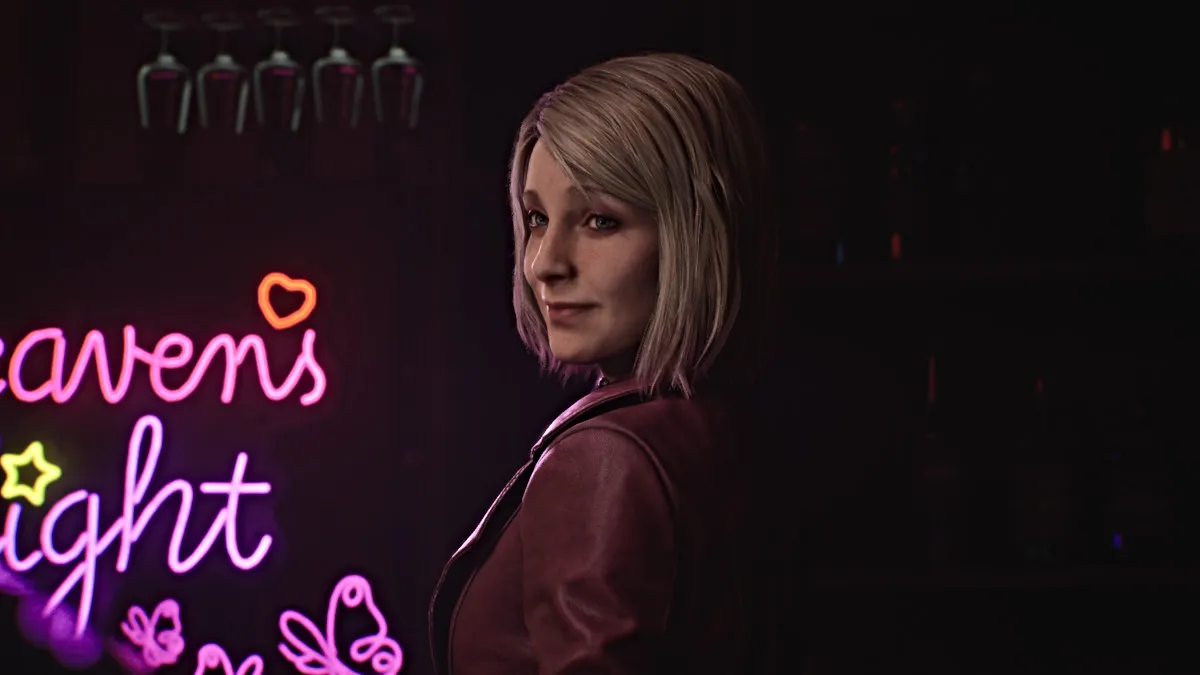
Depois, passe pela porta aberta e ao redor da área dos bastidores (mais itens aqui) até chegar à área de jantar e bar da frente. Uma longa cena acontecerá com Maria tentando atrair James a relaxar e que eles passem algum tempo lá, por um motivo ou outro. Ela insiste que este não era o "lugar especial" ao qual estava se referindo, que era apenas um atalho.
Por fim, ele decide que é melhor continuar se movendo e Maria o leva pela porta da frente e ao "lugar especial" real que ela quis dizer.
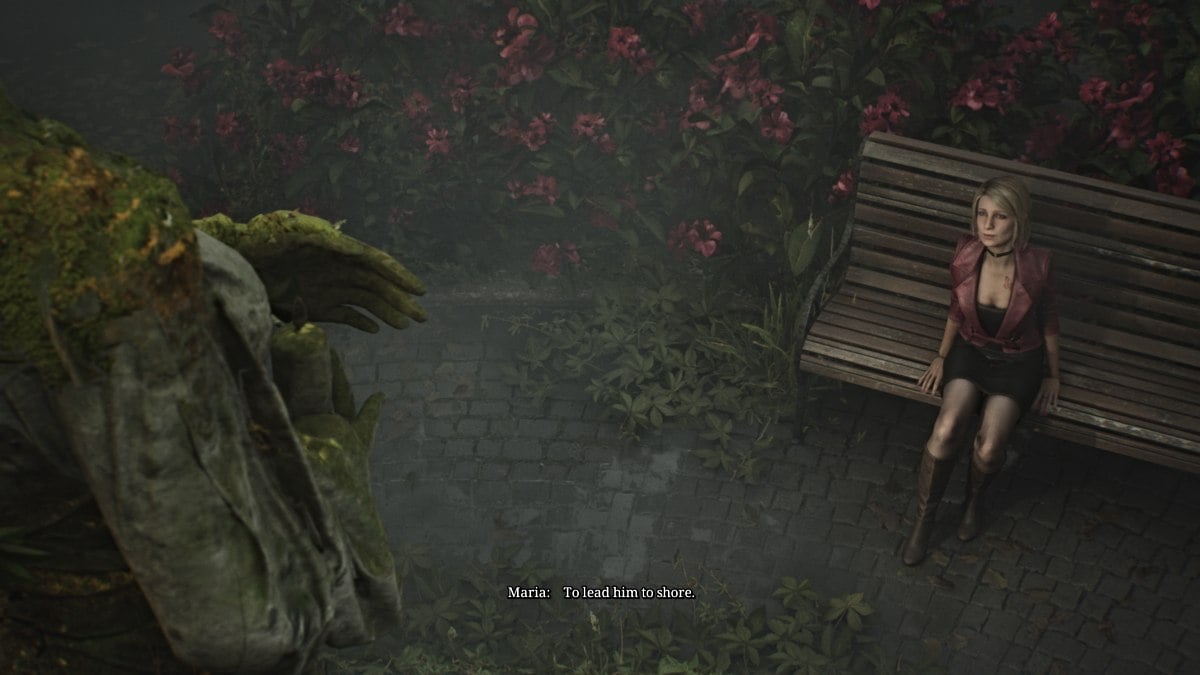
Maria guia James para um lugar em que ele nunca esteve em Silent Hill (e novo no remake) chamado Moonlight Park . Eles chegam a um pequeno pátio onde está uma estátua de uma mulher e, durante uma cena de comprimento, Maria conta a James sobre a história apaixonada e trágica por trás dela.
Enquanto isso, a história afeta claramente James, que começa a perder a esperança de que ele encontre Mary dadas as circunstâncias. Maria o consola e insiste que eles continuarão olhando, e de repente um grito próximo os alerta.
Siga Maria em direção à parte de trás do Reverie Theatre ao lado, onde haverá um espaço de rastreamento no alto para James se encaixar e investigar. Maria insiste em ficar para trás, pois odeia filmes (geez, mas não jogando boliche?).
Uma vez lá dentro, você logo ouvirá as vozes de ninguém menos que Eddie e Laura , que aparentemente estão assistindo a um filme juntos e Eddie provoca Laura por gritar (o que você ouviu anteriormente).
Olhe em volta e interaja com o gabinete próximo para movê -lo para fora do caminho de uma porta, o que causa um tumulto. Laura fica assustada e foge enquanto Eddie fica. Passe pela porta e vista para a esquina para a esquerda para entrar no teatro, onde outra cena acontecerá com Eddie.
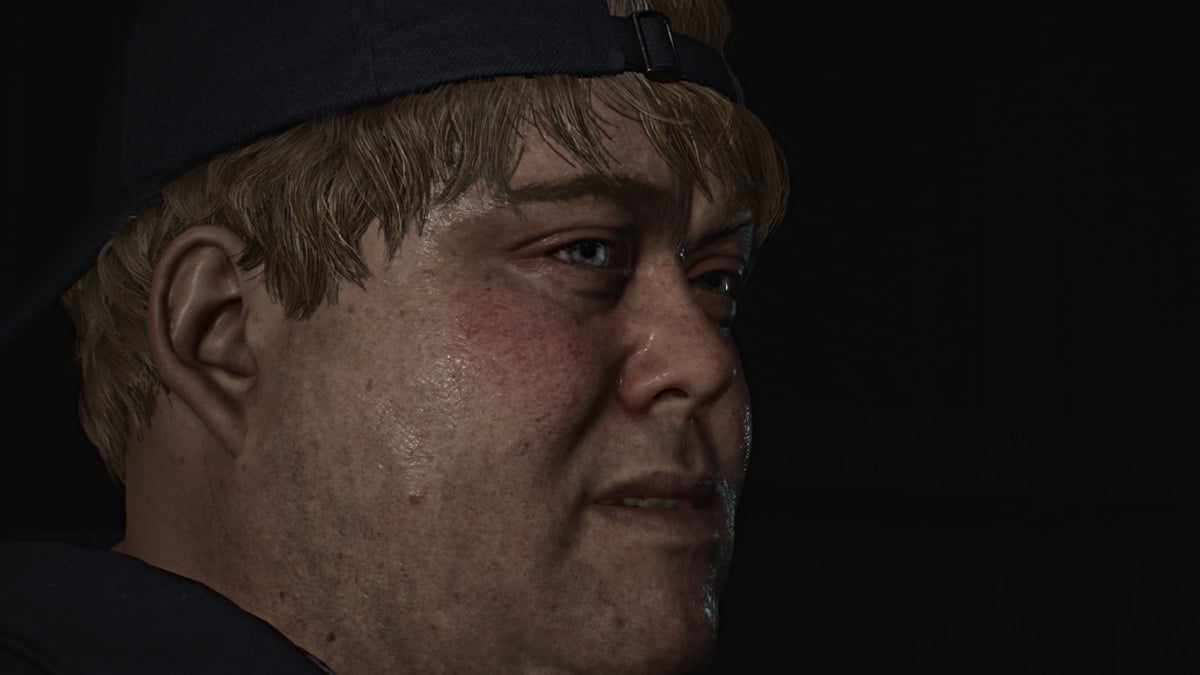
Depois de terminar, passe pelas portas do lado esquerdo da próxima sala de teatro, onde Laura branqueá James ligando o projetor. Siga pelas portas traseiras até o corredor e depois suba uma escada próxima. Faça o seu caminho pela sala de projeção e volte pela sala cheia de bobinas de filme. Esprema através de uma lacuna entre duas prateleiras e James avisará Laura na próxima sala de projeção que foge novamente.
Passe pela segunda sala de projeção e saia pelas portas traseiras, e continue perseguindo -a por todo o caminho pelas portas da frente do teatro. Pit Stop os dois banheiros de lobby para mais munição de pistola antes de ir.
Corra para fora e Maria dirá que ainda pode pegá -la. Vá para a esquerda na rua e ao virar da esquina, e outra cena revelará Laura que encontra o Hospital Brookhaven , o próximo principal local do jogo.
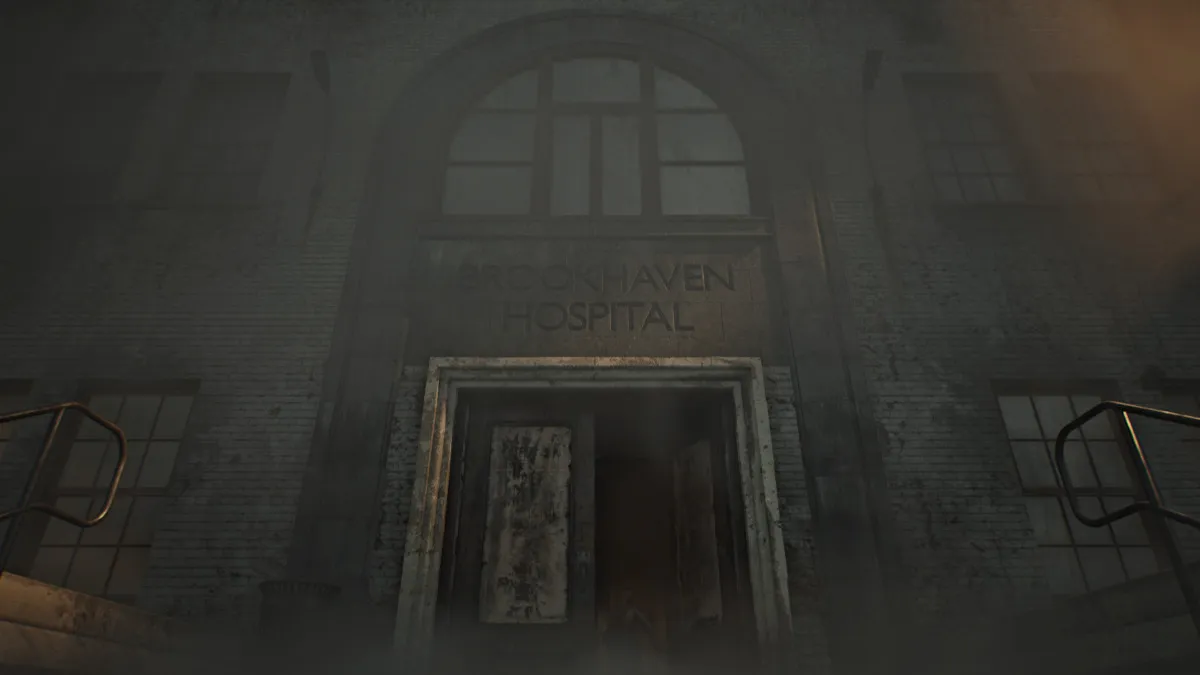
Entre no Brookhaven Hospital e imediatamente vire à direita no escritório de entrada . Você notará um armário de armas aberto onde uma espingarda costumava estar, sugerindo que provavelmente ainda está no hospital em algum lugar. Pegue seu primeiro lote de conchas de espingarda da mesa próxima.
Passe pelo próximo conjunto de portas e corra para pegar o mapa do hospital Brookhaven 1F-3F do rack de revista sob o quadro de avisos. Vá para a esquerda para o escritório de recepção e pegue a nota principal do armário que menciona uma combinação de cadeado e sala de exame 3 . Há munição de pistola em uma mesa também.
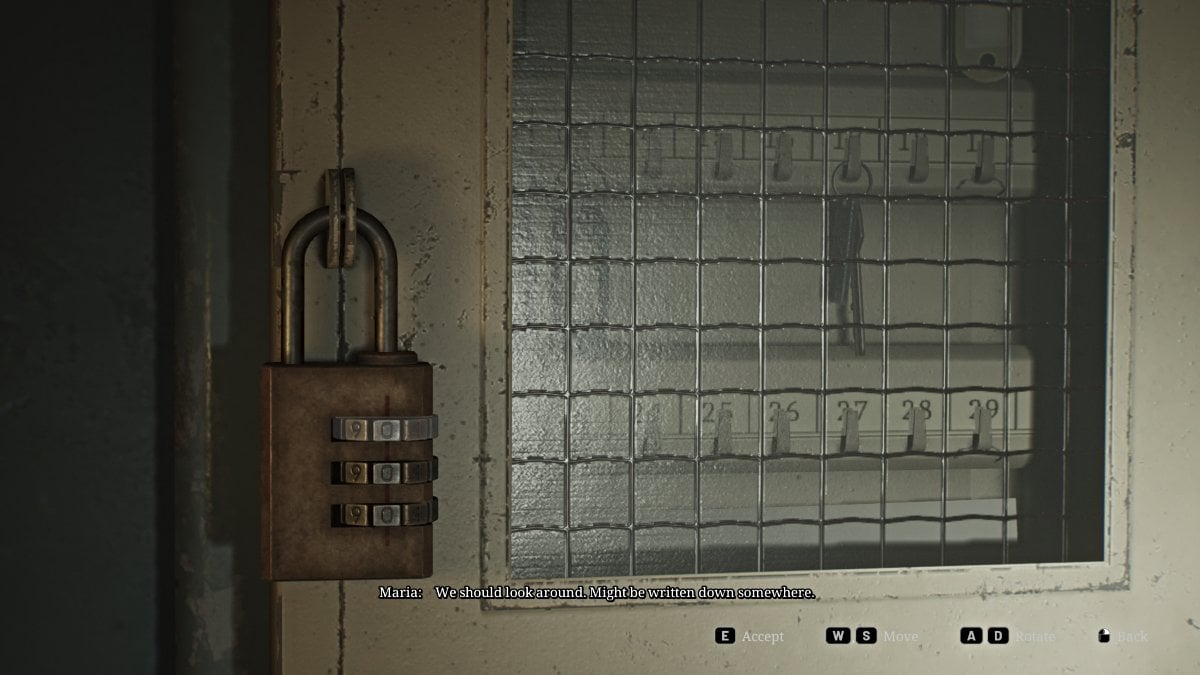
Vire e entre na sala atrás, onde o vento através de uma janela aberta sopra alguns documentos. Use o ponto de salvamento vermelho e anote a chave segura na parede (vista acima) com o cadeado mencionado anteriormente. A combinação correta (dificuldade padrão) é 724 , mas você ainda pode ir à sala de exame 3 para obter o memorando da enfermeira para conclusão, juntamente com uma seringa e conchas de espingarda . Com a caixa aberta, recupere a chave do porão .
A maioria das outras rotas no primeiro andar está trancada por enquanto, então vá para as escadas no lado leste . Uma cena mostrará Laura desenhando nas paredes antes de avistar James e fugir novamente. Se você a seguir até o segundo andar, encontrará as portas trancadas por enquanto, então volte para o nível do porão , já que você tem a chave. Pegue munição de pistola de uma gaveta sob as escadas na parte inferior e depois entre nas portas.
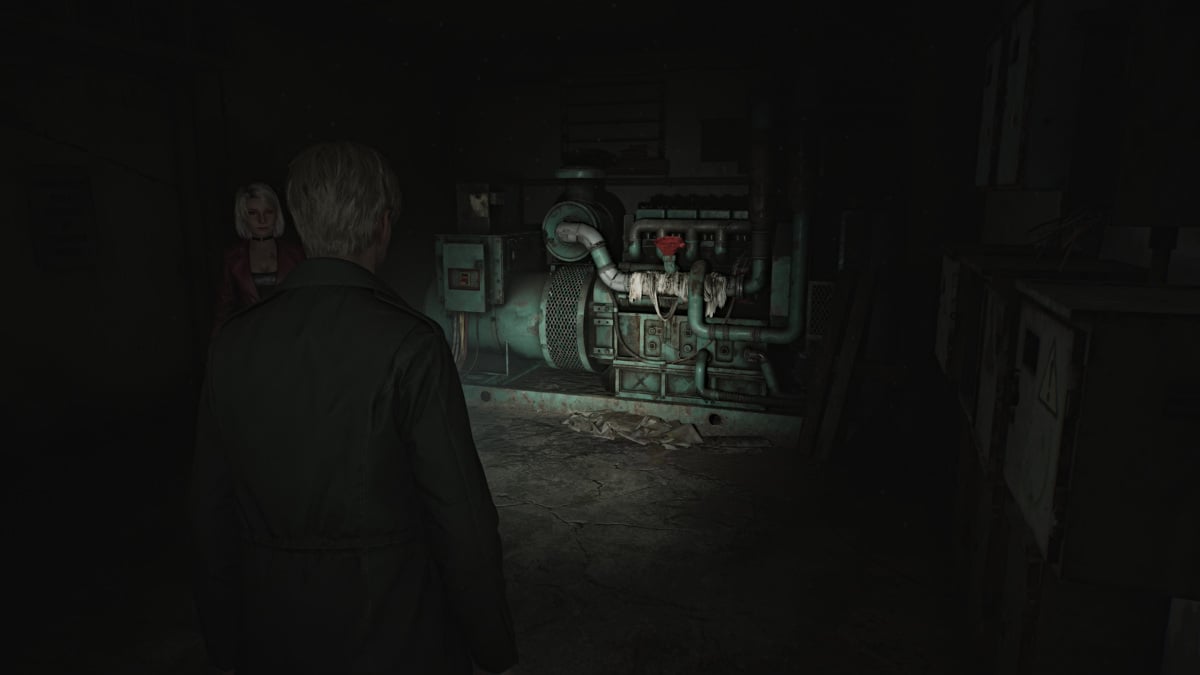
Em frente, você encontrará um mapa para o porão do Brookhaven Hospital . Pegue seus rolamentos e depois siga para o norte para a sala de bombas , onde você encontrará munição de pistola em um recipiente à sua direita. Continue até a sala do gerador, onde você verá um grande gerador que está atualmente sem energia. Um funil vermelho sobre o tanque indica que precisa de combustível .
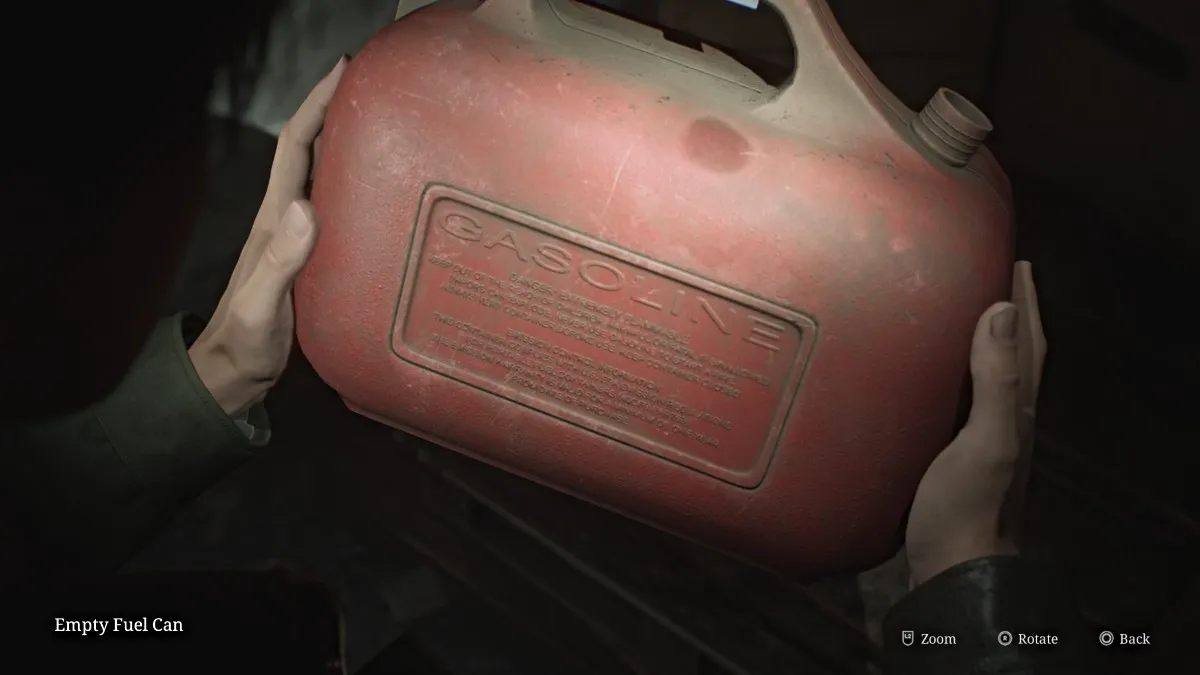
Vá até a área da sala da caldeira (consiste em dois quartos) e atire em mannequins emboscados. Pegue uma munição de pistola na parede traseira e entre na segunda sala da caldeira, onde você encontrará uma lata de combustível vazia no canto traseiro.
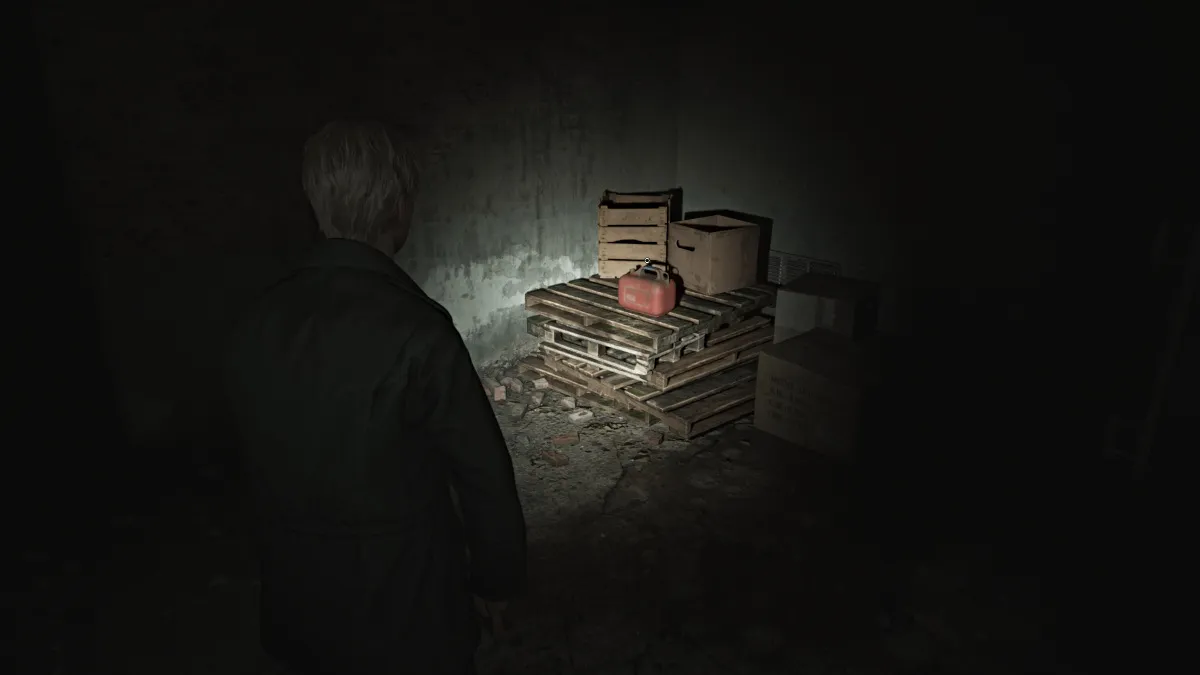
Deixe a sala da caldeira e vá até o armazenamento de lavanderia , onde há um carrinho de mão que precisa de empurrar. Seu destino para ele é o espaço de rastreamento alto em frente na próxima sala (lavanderia). Outro manequim o emboscará no caminho, então você pode cuidar disso primeiro. Pegue mais munição de pistola na área também.
Suba na sala de armazenamento , onde você encontrará mais munição de pistola , uma seringa e um grande tanque de combustível onde pode preencher sua lata de combustível vazia . Uma vez feito, volte para a sala do gerador . Encha o gerador com o combustível que você coletou e depois lige -o, que restaurará a energia ao elevador .
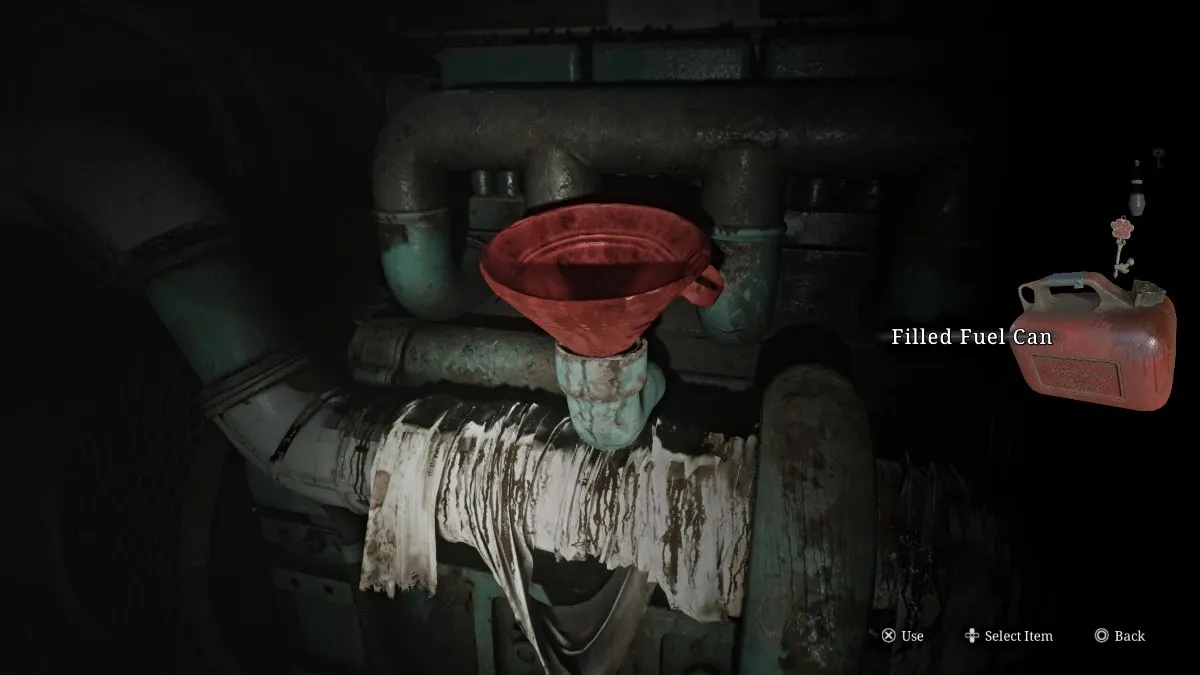
No caminho para lá, pare na sala de tecnologia para uma munição e conchas de espingarda de pistola . Leve o elevador até o segundo andar, e uma cena jogará quando você chegar lá.
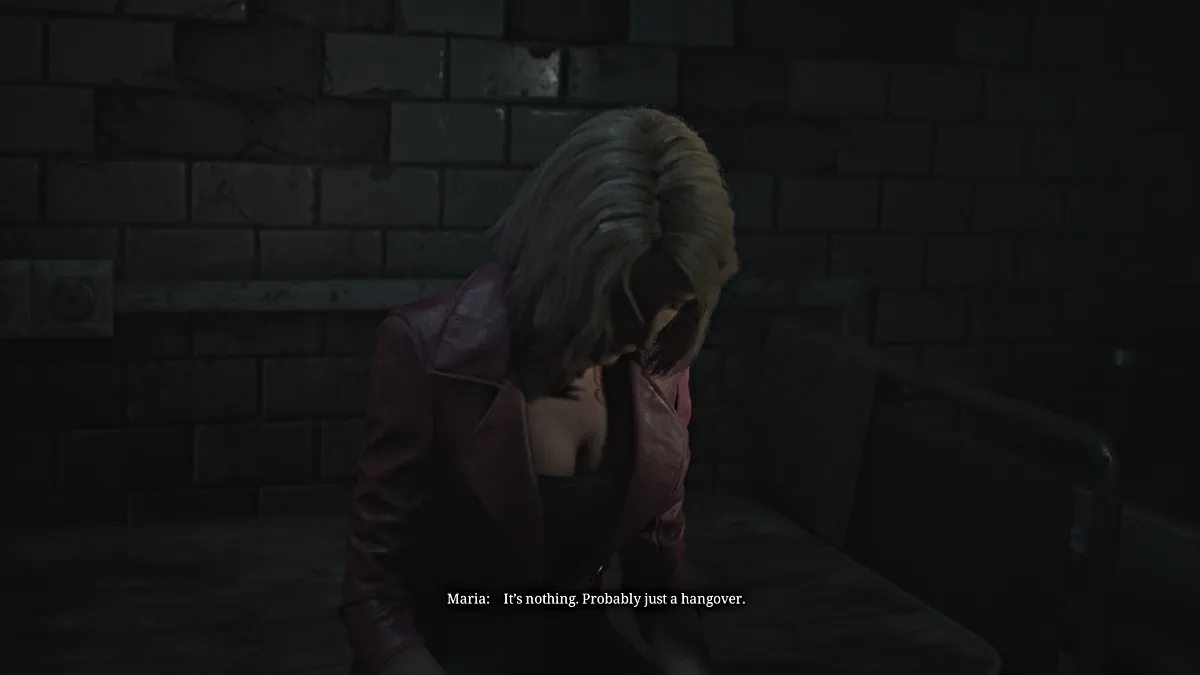
Enquanto James percebe que agora está escuro e chovendo lá fora, Maria estranhamente se abaixa em uma sala de atendimento próxima. James pergunta o que está errado e ela insiste que está cansada e decide parar e descansar, tomando algum remédio e deitado. James opta por continuar procurando Laura e diz que estará de volta.
Saia da sala e entre na sala C3 , onde há um ponto de salvamento vermelho e uma bebida saudável . O banheiro ao lado dele tem uma munição de arma , bem como a sala C2 do outro lado do caminho. As portas duplas próximas ao escritório do diretor estão trancadas por enquanto, então corra de volta ao corredor norte e através dessas portas, onde será seu primeiro encontro com as enfermeiras da Bubble Head .
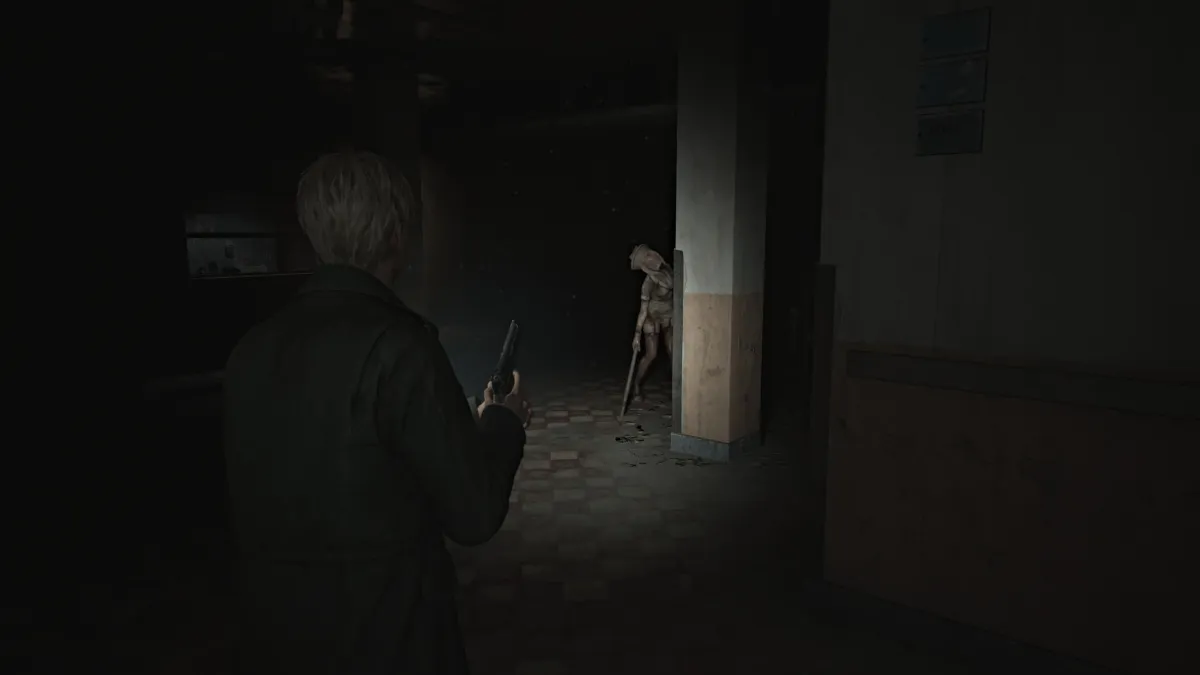
Como os manequins, os enfermeiros de chefe de bolhas são ágeis e podem evitar seus ataques, portanto, tenha cuidado. Além disso, eles exercem armas próprias, como tubos e facas, podem atacar repetidamente e cobrir o chão muito rapidamente, então eles são definitivamente um dos monstros mais formidáveis do jogo. E eles estão em todo o hospital, então use sua munição com sabedoria.
Continue no corredor até chegar à área aberta entre a estação de enfermagem e a sala L3. Use o espaço de rastreamento para entrar na sala L3 , onde você encontrará munição de arma, conchas de espingarda, uma bebida saudável e a foto estranha de "seus desenhos" na sala de observação .
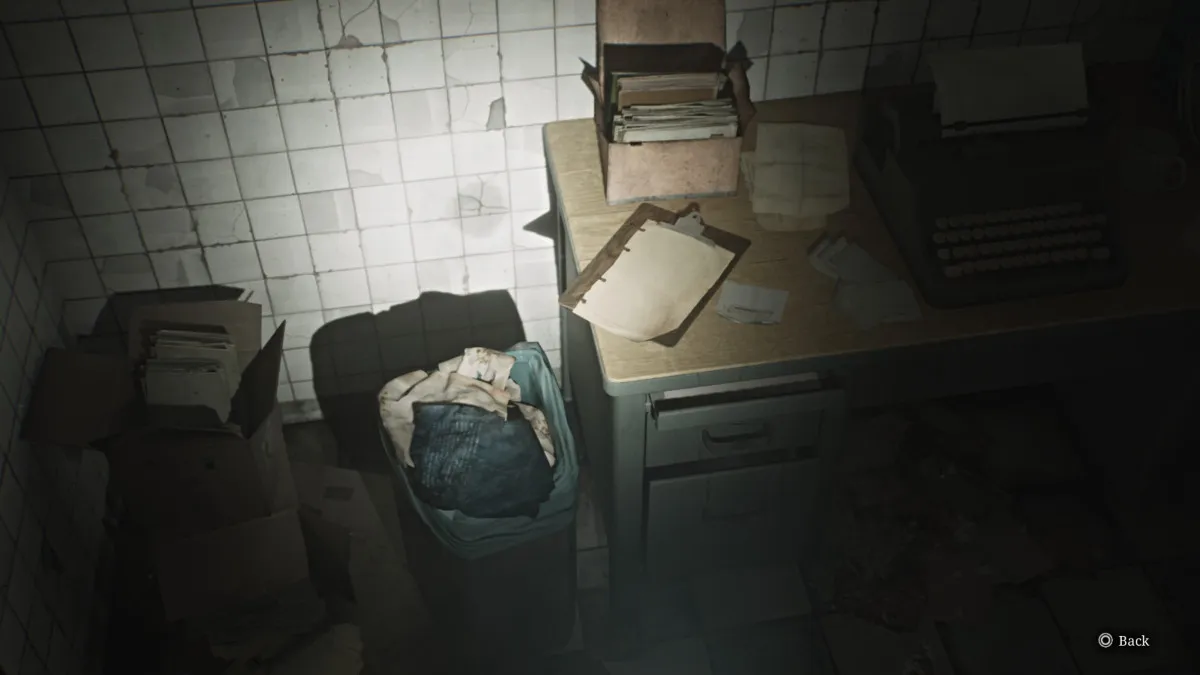
Volte até que você possa virar à esquerda e levar um atalho no corredor central em direção ao escritório do diretor . Ao longo do caminho, pare na lavanderia para outro vislumbre do passado em uma lata de lixo (vista acima) e algumas conchas de espingarda .
Leve outra esquerda para primeiro entrar na sala C1 , onde você pode tirar um pôster de barco da parede para revelar um olho vermelho de sangue e a transcrição da entrevista . Desbloqueie as portas duplas que você não pôde abrir antes e depois atravesse o corredor até a sala de banho , que tem munição de arma e um manequim esperando para atacar. Use -o para atingir a sala L2 , onde você pode encontrar conchas de espingarda , munição de arma , uma bebida saudável e mais dois monstros.
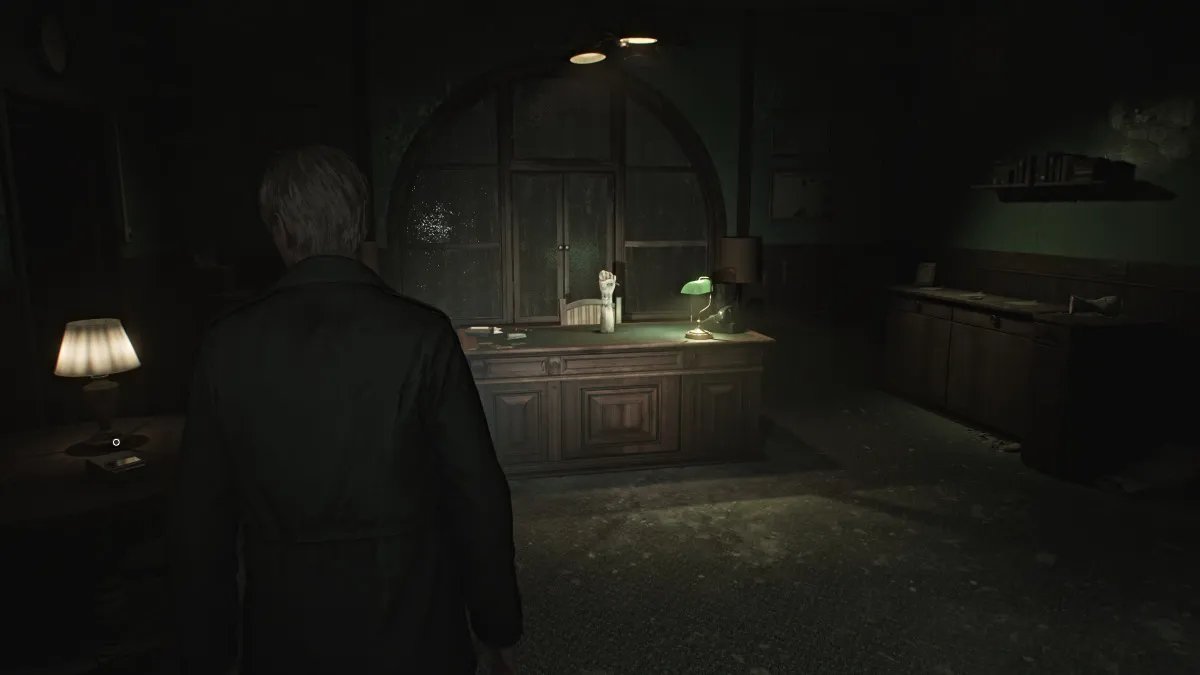
Por fim, entre no escritório do diretor , onde você encontrará um ponto de salvamento vermelho , uma porta trancada, uma gravação de áudio e cartões de avaliação para os pacientes nº 50, #90 e #130 . Além disso, atrás de uma cortina vermelha, você encontrará um cofre com símbolos estranhos, embora um deles esteja faltando.
Além de tudo isso, há um braço de manequim apoiado na mesa segurando a chave da porta trancada mencionada acima. Para obtê -lo, o braço precisa de três pulseiras de pacientes colocadas nele.
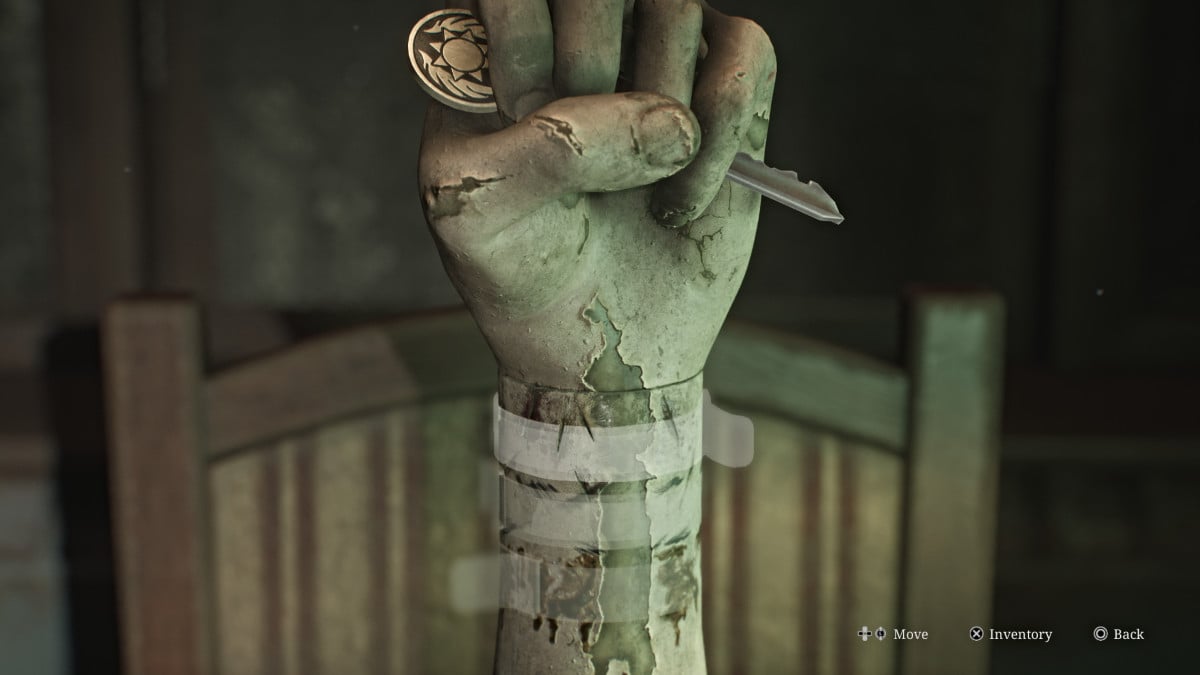
Felizmente, os cartões de avaliação que você pegou dão algumas dicas sobre onde encontrá -las junto com a placa de símbolo ausente para o cofre. Verifique seu mapa e deixe o escritório.
Depois de lidar com outra enfermeira de bolha, pegue uma munição de pistola do banheiro do outro lado do corredor e da sala M5 . Mais adiante no corredor, o quarto M1 terá conchas de espingarda e outro vislumbre do passado para desbloquear.
Suba o corredor oeste e você notará que a porta da sala L1 , para onde um dos pacientes notáveis foi movido, está trancado daquele lado. Entre no vestiário feminino , onde você encontrará a espingarda desaparecida (Yoink), junto com mais conchas de espingarda , munição de pistola , uma bebida saudável e uma agulha dobrada do urso recheado na cadeira.
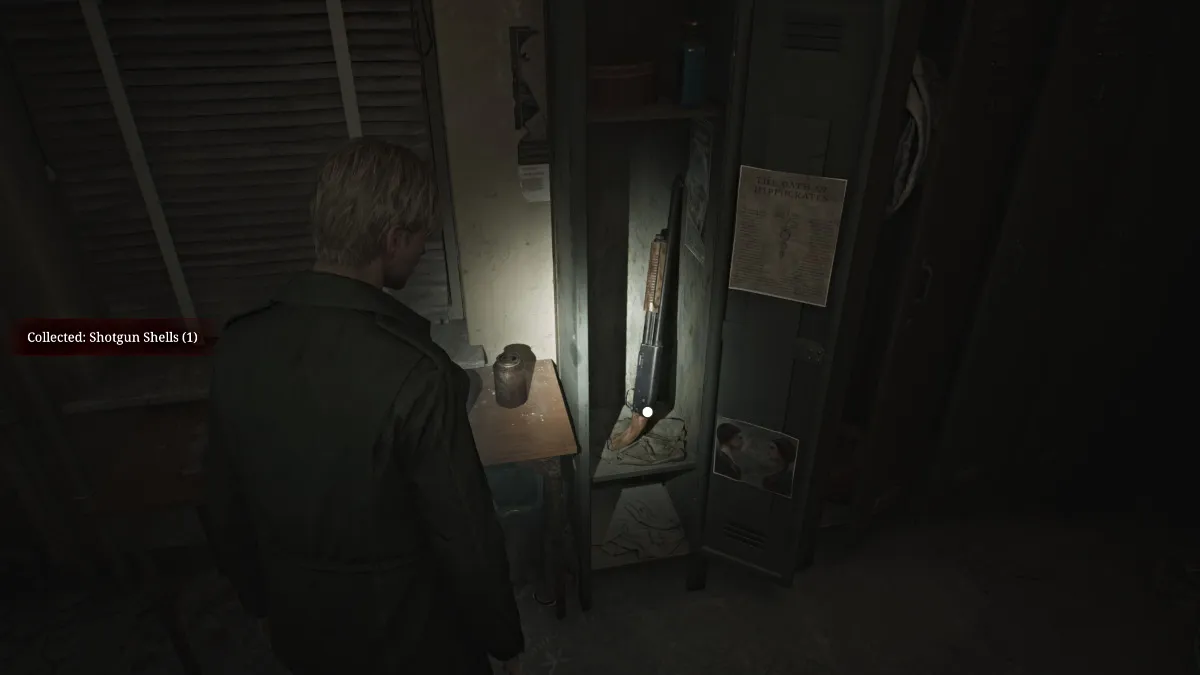
Certifique -se de usar sua espingarda com sabedoria, pois as conchas são mais difíceis de encontrar. Com isso, saia e continue subindo o corredor até o lounge da enfermeira . No interior, você encontrará a chave da sala L1 e uma enfermeira de bolha que a guardando. Depois de reivindicá -lo, volte para a sala L1 e aventura -se dentro. A sala é grande, com uma quantidade desconfortável de desordem e alguns ruídos estranhos que vêm da pequena sala.
Há um espaço de rastreamento alto que você pode usar para entrar nele, e um carrinho de empurrar na visão direita da sala para alcançá -lo. Pegue o carrinho, role -o embaixo do espaço de rastreamento e pule para dentro. Apesar dos barulhos, o quarto está vazio, exceto por uma nota sobre a jovem admitida.
Deixe a sala e verifique a sala de utilidade do outro lado do corredor, onde "algo" escapa pelo buraco na parede. Nenhuma outra escolha a não ser segui -lo, é claro. Depois de deslizar pelas paredes, você logo se encontrará de volta ao primeiro andar, em uma sala não marcada. A única porta à sua frente está trancada, então passe pelo espaço de rastreamento ao lado dela, o que o leva à sala de registros médicos .
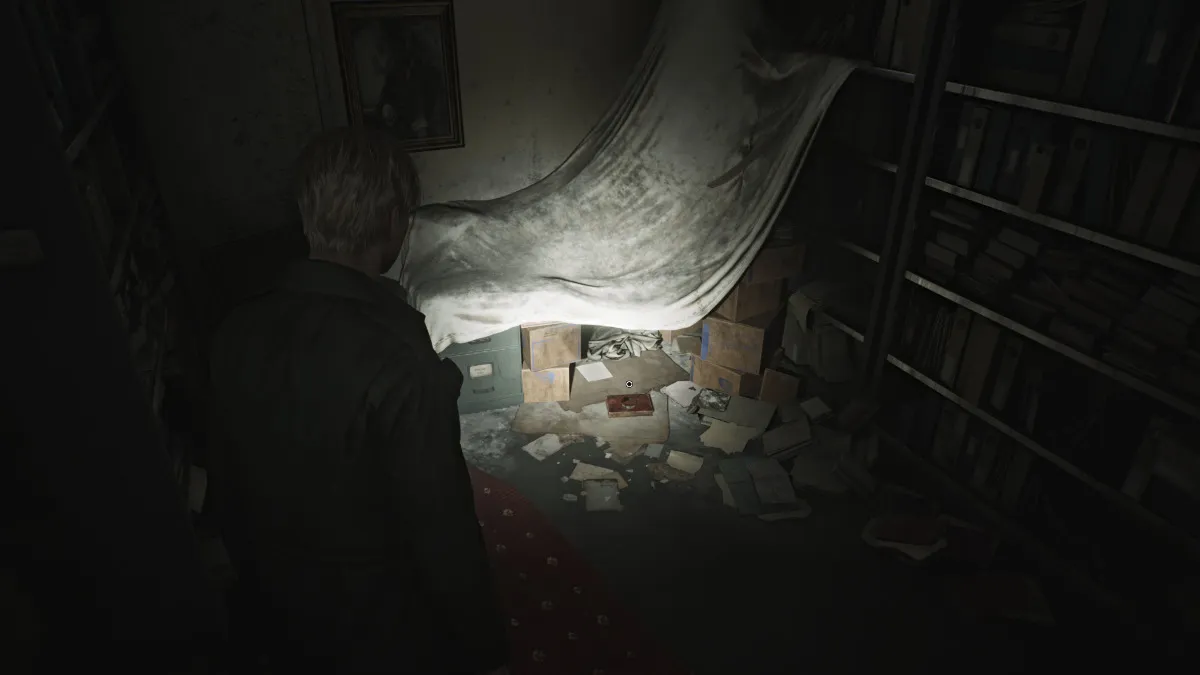
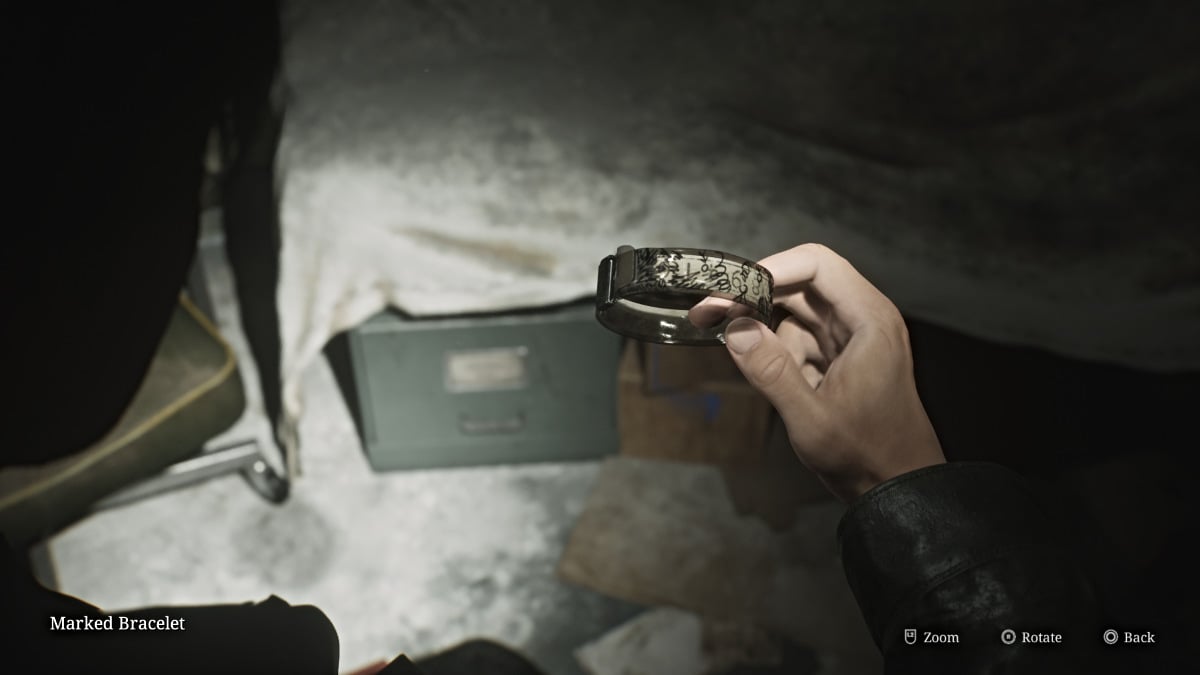
Pegue a nota rabiscada do chão à sua frente e, no lado esquerdo mais atrás, você encontrará outro vislumbre do passado (visto abaixo).
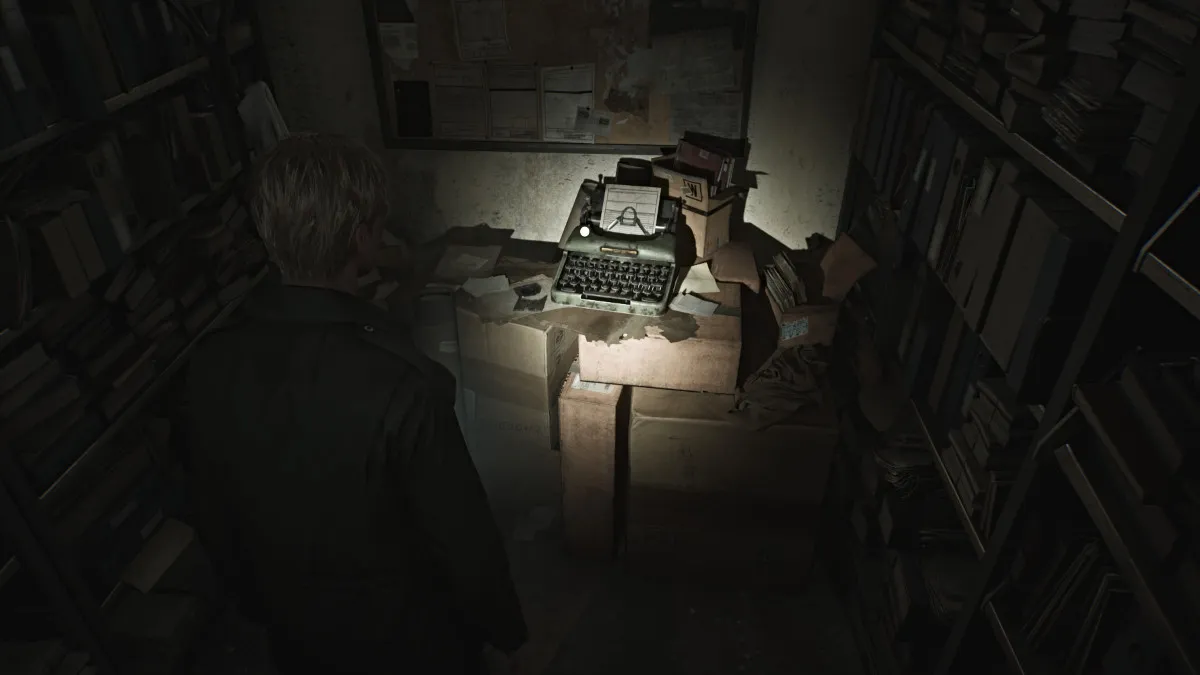
Agora, siga bem onde você verá algo sentado embaixo de uma folha (visto acima) e acaba sendo uma pulseira marcada , a primeira de três que você precisa. Isso chama a atenção de um manequim, então lide com isso depois.
Volte para o segundo andar, seja através do elevador restaurado ou das escadas leste. Você pode optar por deixar sua pulseira marcada no escritório do diretor ou segurá -la por enquanto.
De qualquer maneira, em seguida, você vai querer ir ao escritório da enfermeira , que tem um traje de teclado . Para economizar tempo, o código correto (dificuldade padrão) é 3578 . Antes de entrar, verifique rapidamente a sala de armazenamento ao lado dele para algumas conchas de espingarda .
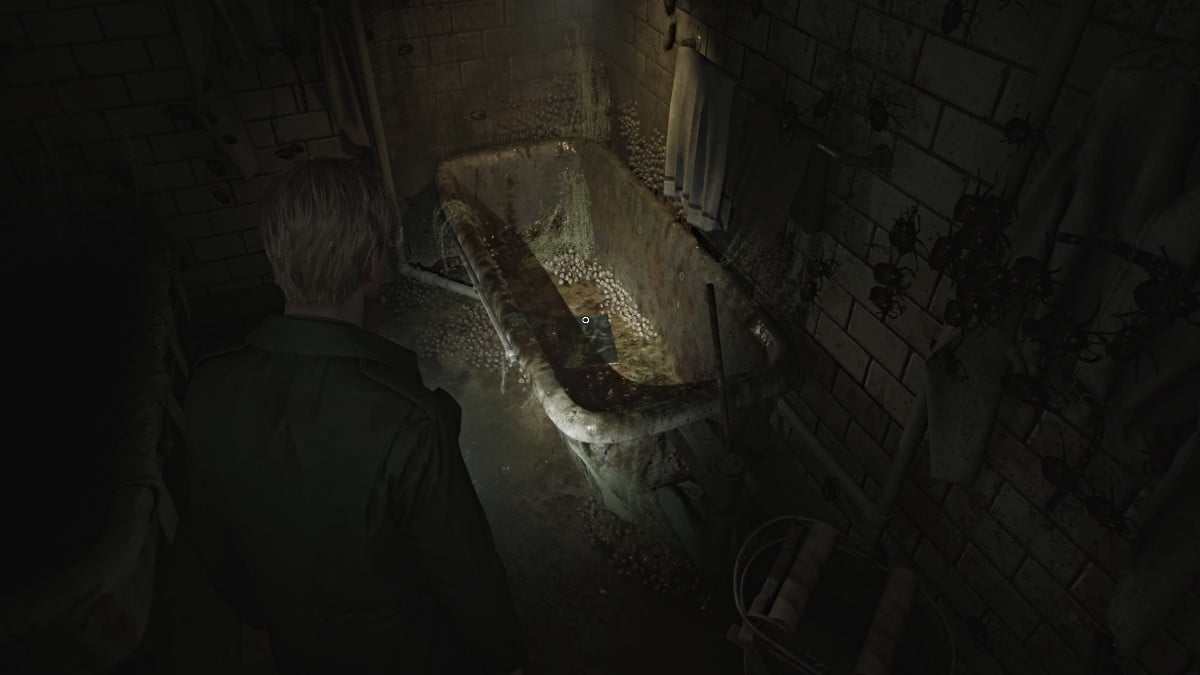
Pegue o memorando da equipe da janela do escritório da enfermeira e, em seguida, você encontrará munição de arma na primeira sala e na sala de tratamento além dela ... insetos, em todos os lugares. Felizmente, eles são do tipo que não podem machucá -lo. Olhe na terceira banheira à direita e pegue a litografia mofada dele. Antes de sair, pegue a nota da sala de tratamento também.
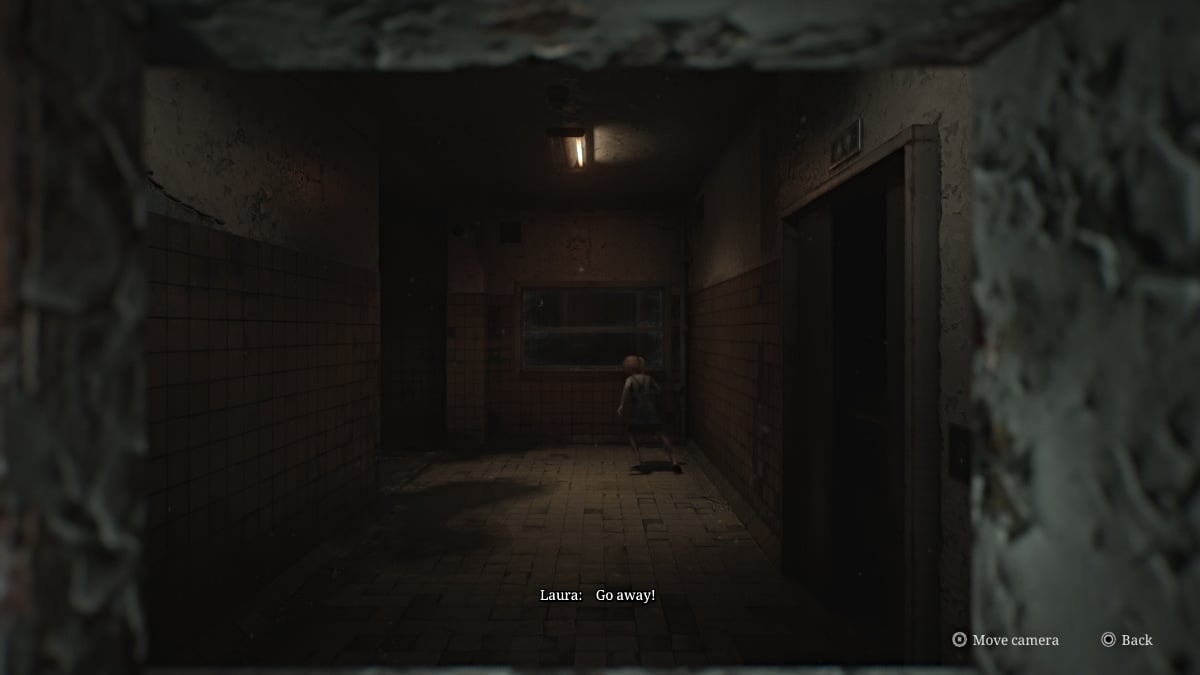
Saia da porta ao lado, o que o leva para a escada oeste. Vá até o terceiro andar e você ouvirá o que parece ser uma jovem cantarolando e mais desenhos nas paredes. Laura está claramente por perto, e acontece que ela está na área restrita do piso bloqueada por uma enorme porta de metal. Abra a janela de exibição para ver Laura do outro lado. Mais uma vez, ela foge antes que James possa receber uma palavra.
Por enquanto, vá para a sala D1 , que tem uma combinação de bloqueio. Normalmente, você precisa descobrir o código usando as duas radiografias encontradas na tela na sala de raios-X .
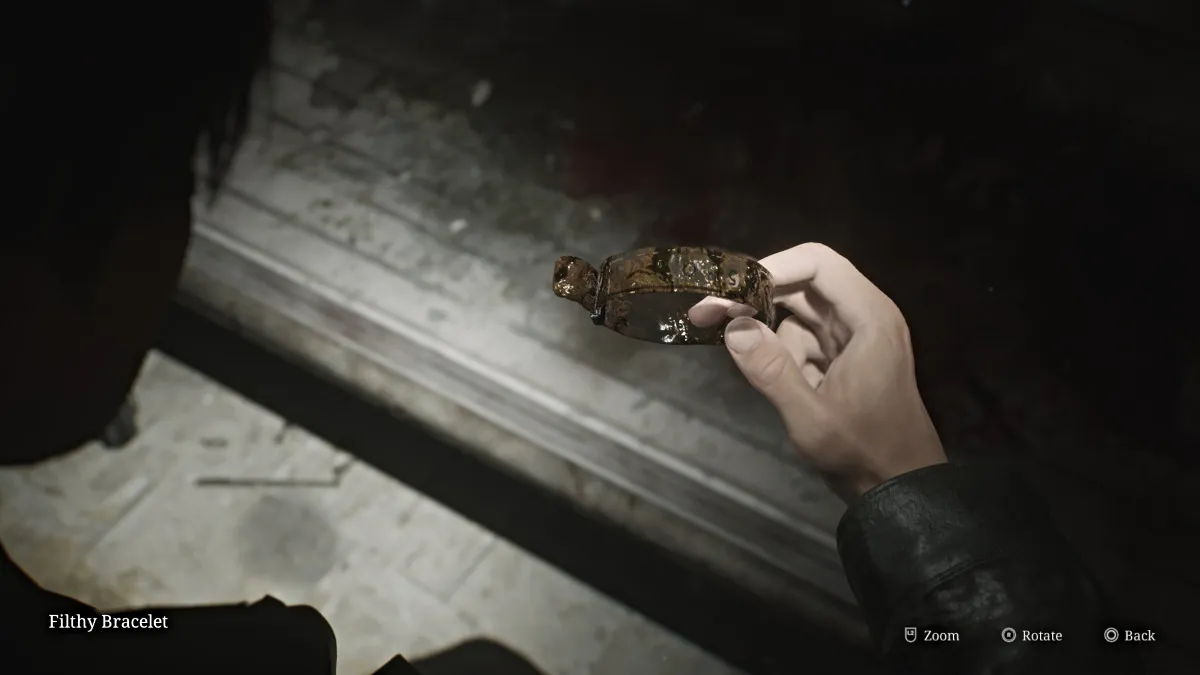
Para ajudar a economizar tempo, no entanto, o código correto (dificuldade padrão) é 04 (direita), 37 (esquerda), 12 (direita) . Uma vez lá dentro, interaja com o leito do paciente e James descascará o cobertor para descobrir os restos sangrentos do segundo paciente e a pulseira suja .
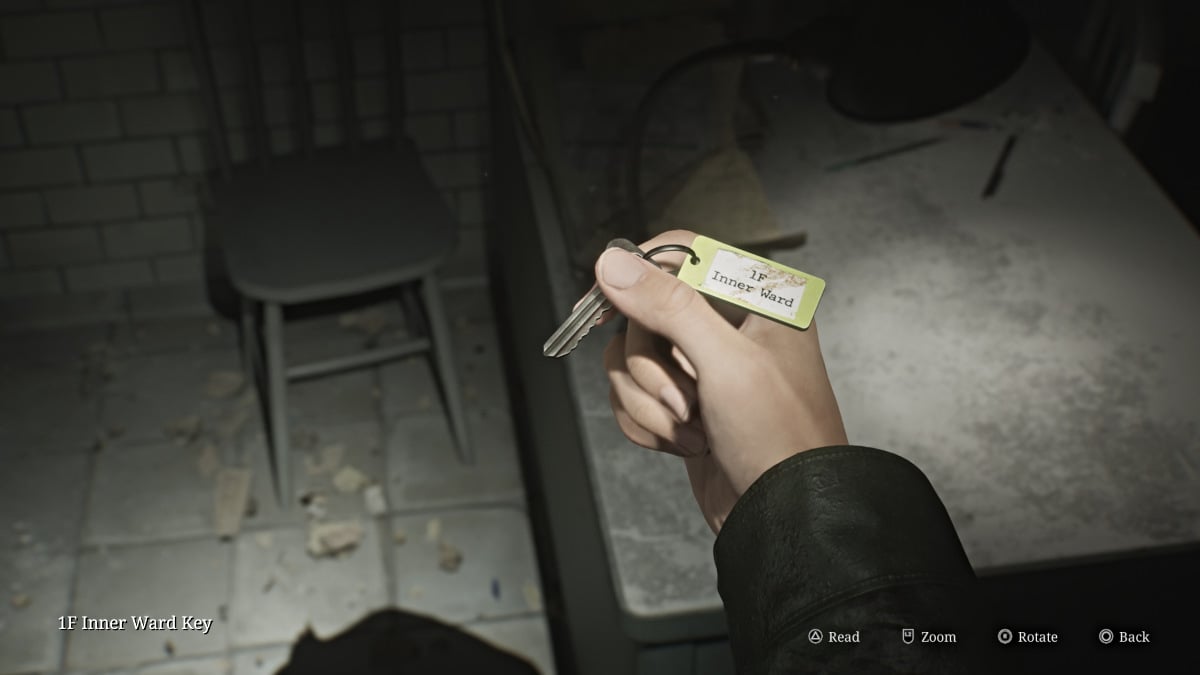
Depois disso, explore os outros quartos próximos para mais uma munição de arma de fogo . Esmague a janela para entrar na sala de exames 5 e reivindicar a chave da ala interna 1F da mesa.
Sem nenhum outro lugar para ir ao andar 3 ou acima por enquanto, volte para o primeiro andar com sua nova chave interna da enfermaria . Suba as escadas leste e você notará que a porta da sala de exames 1 está aberta agora. Entre e lide com o manequim para poder reivindicar uma munição de pistola e a foto estranha "pelo menos ela estava lá".
Continue no corredor enquanto cuidam das enfermeiras de bolhas determinadas a bloquear seu caminho. Suba o corredor central e use a chave da enfermaria interna para finalmente ter acesso ao resto do chão. Primeiro, confira o consultório médico à sua direita para munição de arma e a nota de combinação do teclado .
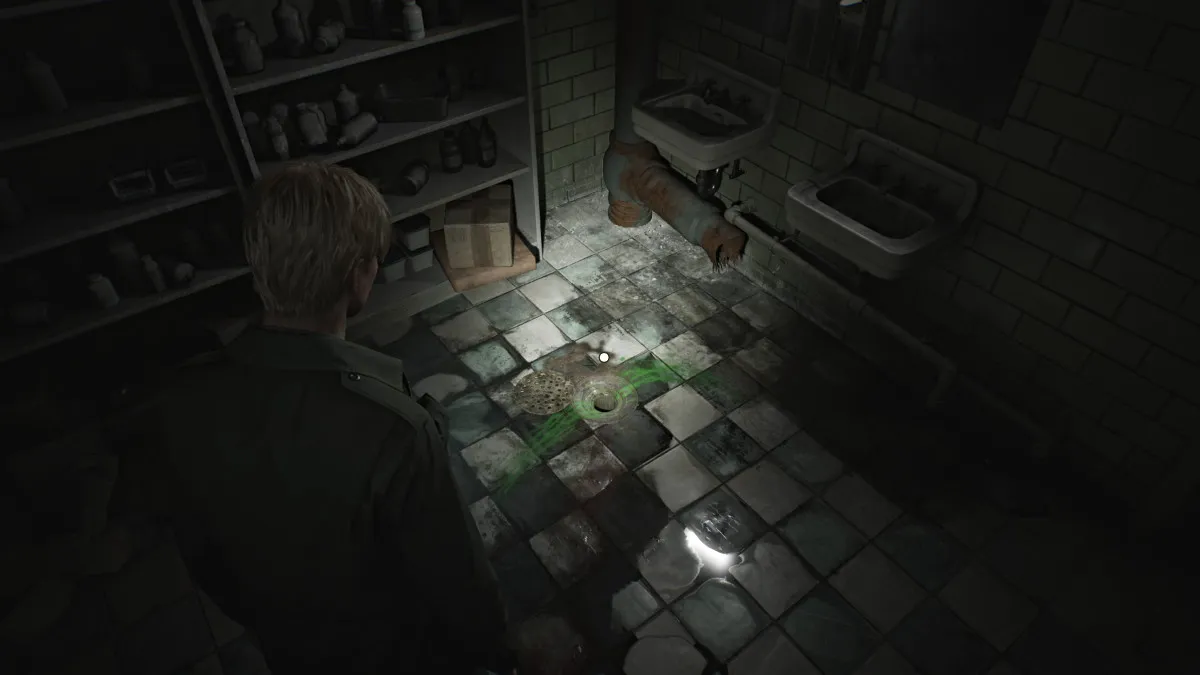
Em seguida, vá e verifique a sala de um dia em que você encontrará mais munição de pistola e uma enfermeira bolha à espreita. Depois de morto, use a lacuna na parede esquerda para atravessar a farmácia . Lá dentro, você encontrará mais munição de pistola e um cano aberto estranho no chão perto das pias, com resíduos verdes brilhantes. Há algo preso dentro dele, e você precisará da ferramenta certa para divulgá -la. Felizmente, você já tem metade (a agulha dobrada).
Por enquanto, vire e observe a janela aberta que leva à área do jardim . Pule por ele e comece a explorar, mas tenha cuidado, pois está rastejando com monstros (principalmente figuras mentindo). Vá para o gazebo no lado esquerdo e use o espaço de rastreamento na parte de trás para entrar nele. Lide com o manequim dentro e depois pegue a munição e a seringa da pistola.
Vá para o lado direito do jardim, pegue as conchas de espingarda em uma mesa de madeira e entre na estufa . Pegue mais munição de pistola de uma gaveta e use a janela aberta para atravessar a área da piscina .
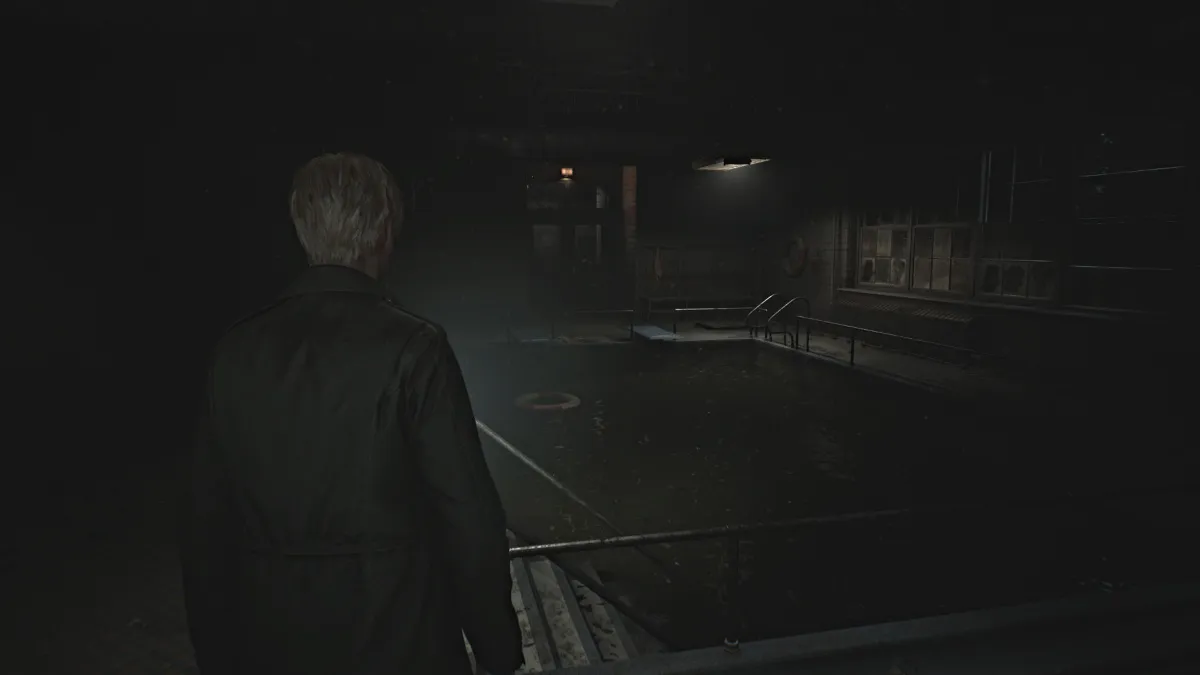
O que você precisa obter é dentro da piscina, mas, infelizmente, está cheio de água muito desagradável e até James tem limites e não entra. Do outro lado da piscina, você verá uma porta de trava no chão Isso requer uma chave para abrir. Isso fornece acesso ao sistema de bomba da piscina, o que permitirá que você o drene, então você precisa encontrar essa chave.
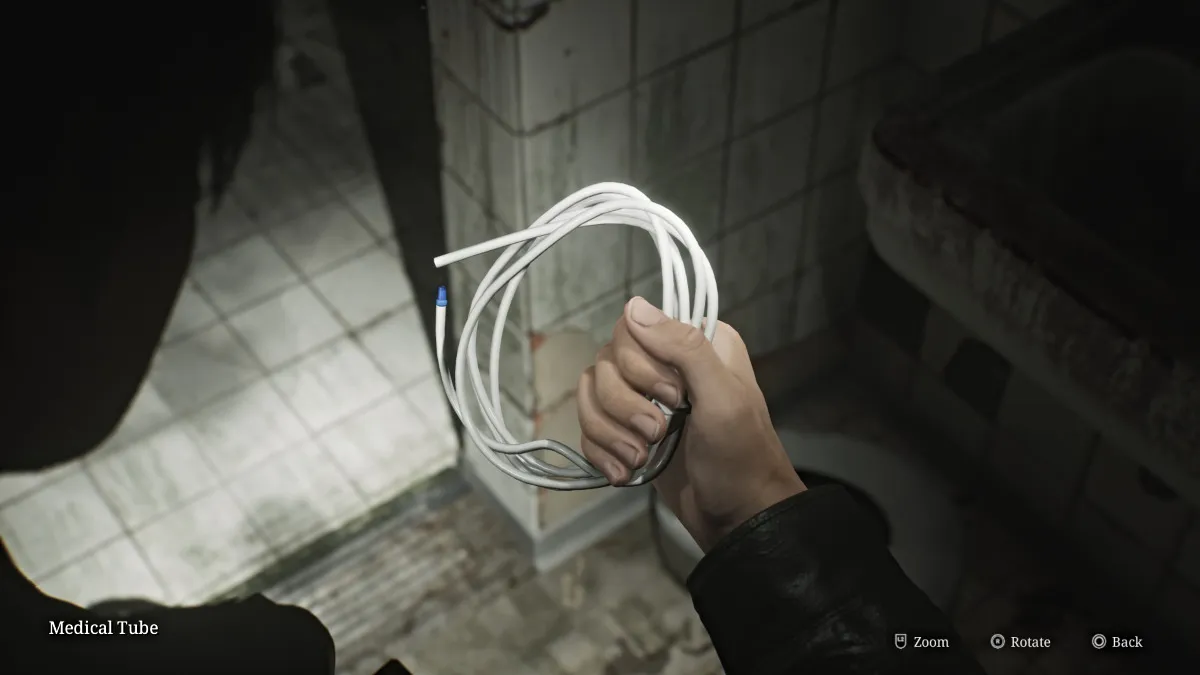
Entre na sala do banho , lide com outro manequim em uma das barracas e depois colete a munição de arma , conchas de espingarda e um carretel de tubo médico (visto acima) sentado em uma das pias. Volte pela área do jardim até a farmácia.
Uma vez lá, entre no seu inventário e misture a agulha dobrada com o tubo médico . Vá até o dreno do tubo e use sua nova ferramenta para pescar o objeto preso, que acaba sendo a chave de manutenção da piscina.
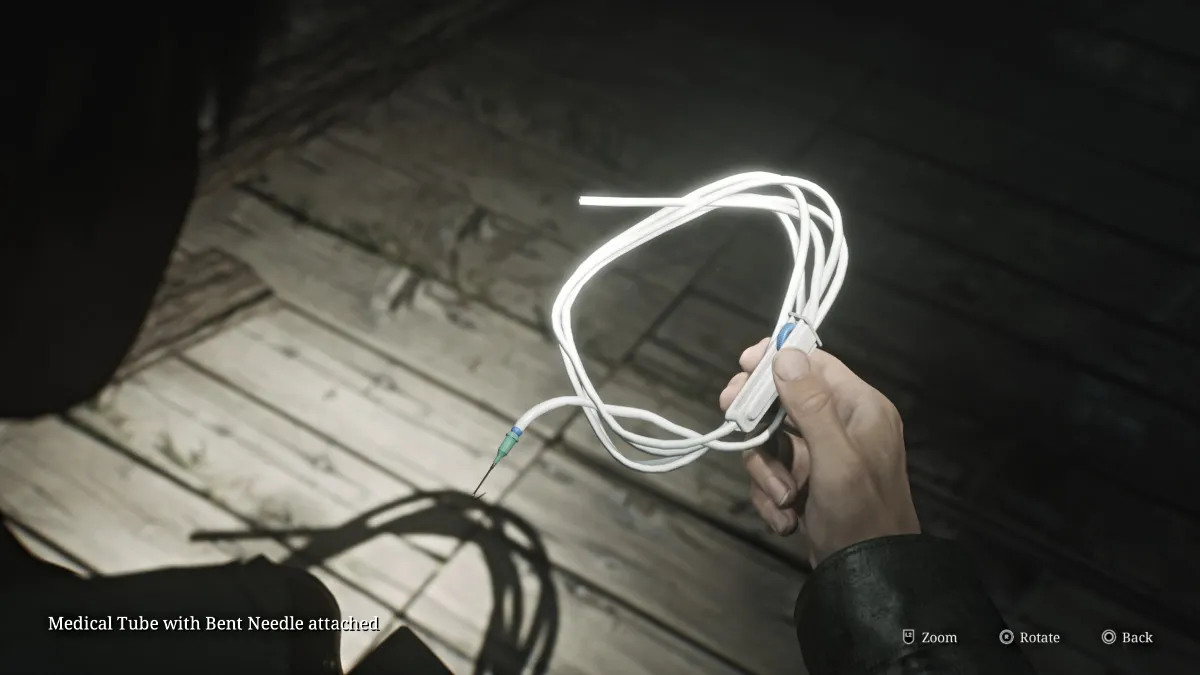
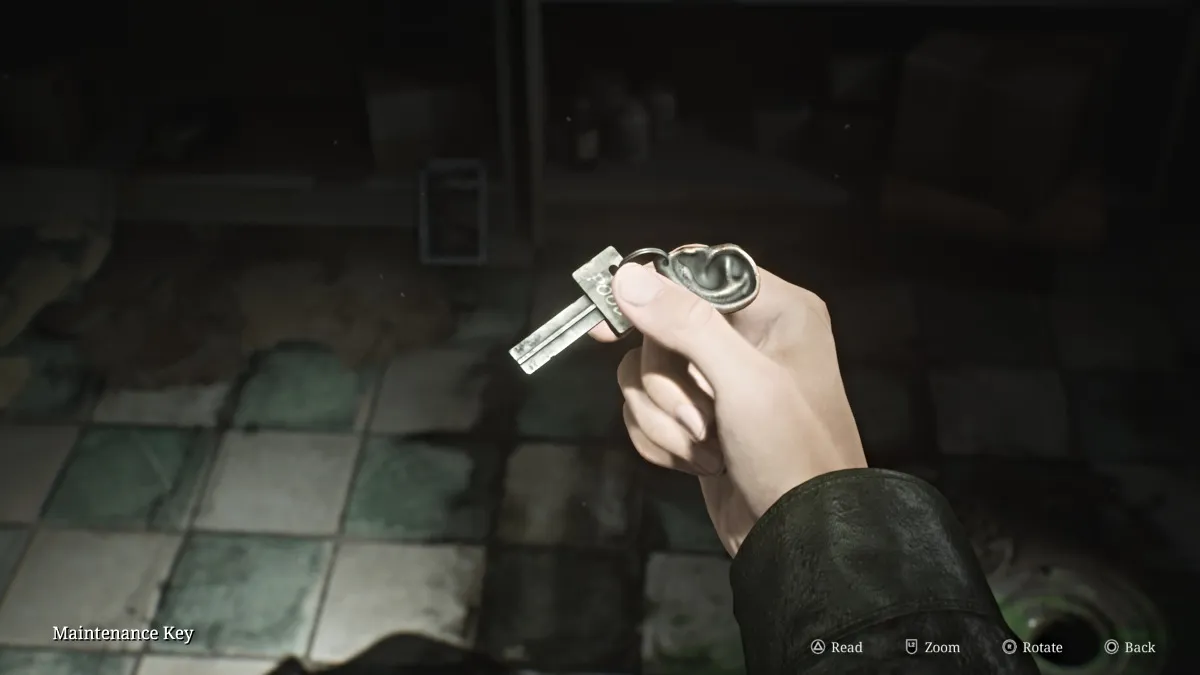
Com isso, volte para a piscina novamente e use a chave de manutenção na porta da trava para acessar a bomba e escorrer completamente a piscina. Desça nele e esmaga os ladrilhos onde o olho vazando é obter a pulseira manchada de sangue , a terceira e a última que você precisa.
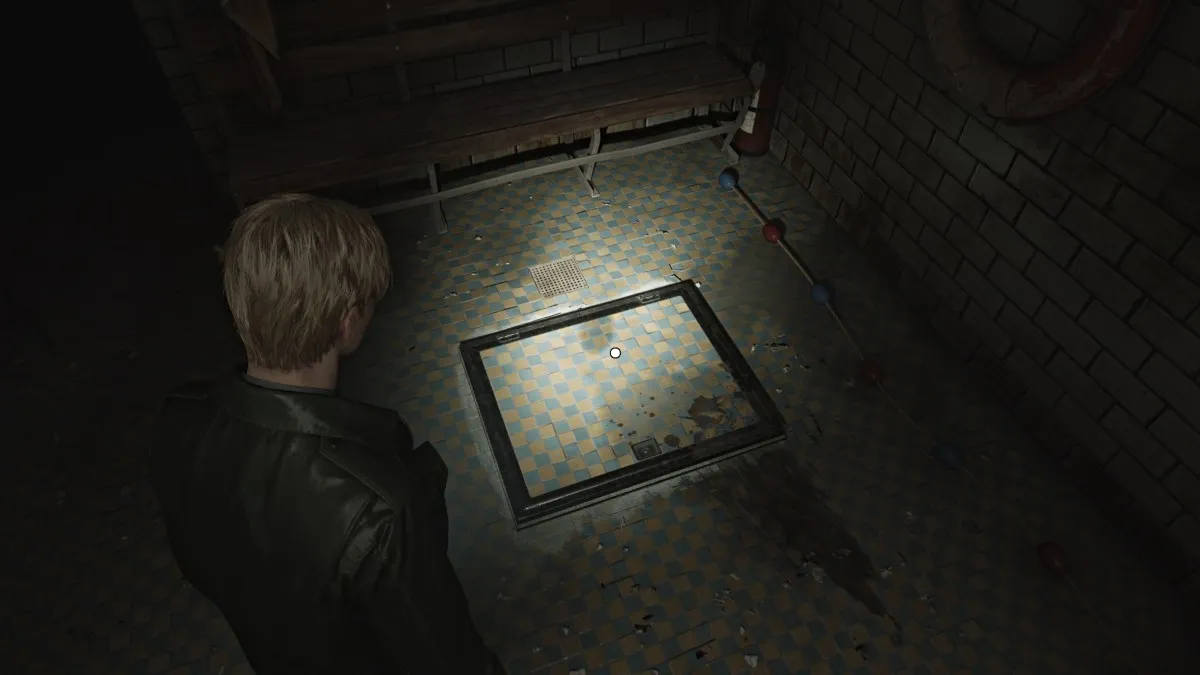
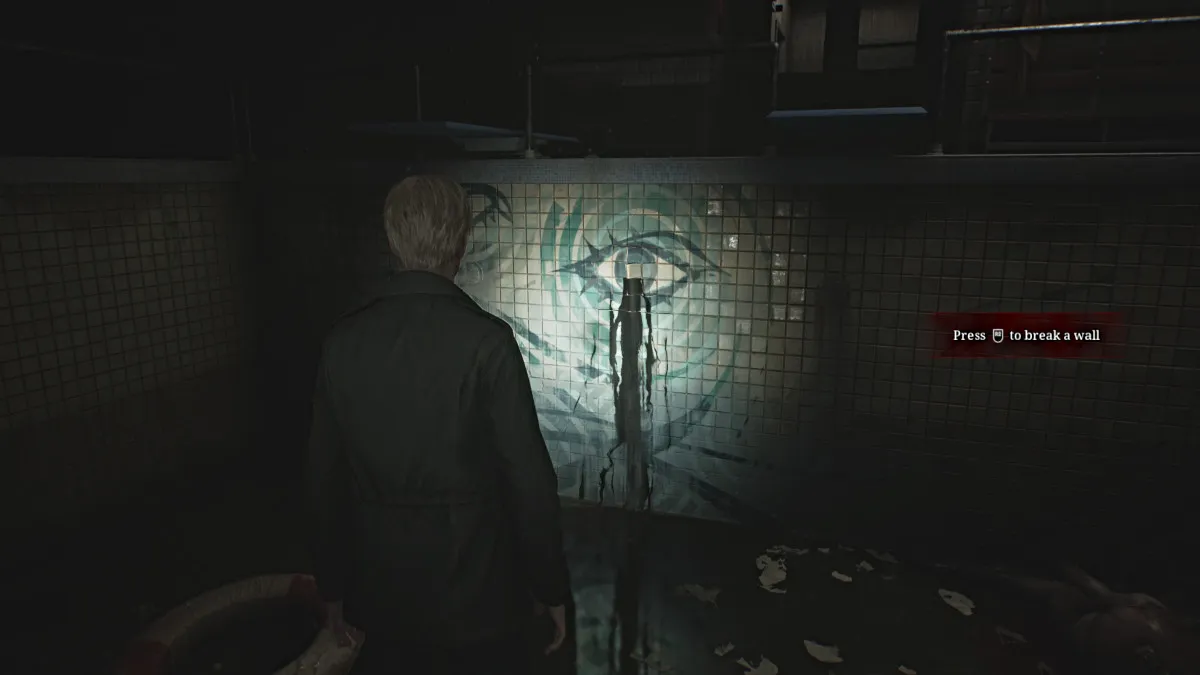
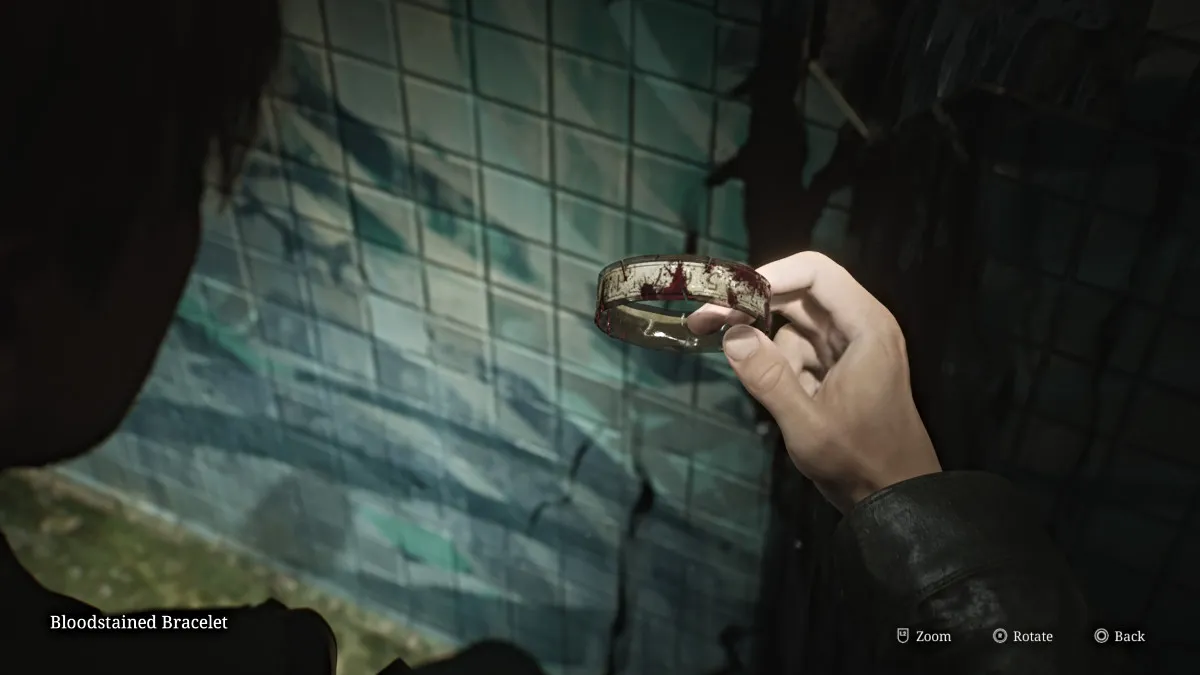
Recomendamos que basta voltar à farmácia, pois muitos dos monstros que você matou no jardim mais cedo, incluindo os da piscina, reviverão e atacam e você não deseja desperdiçar munição preciosa e saúde nisso .
Antes de voltar para o andar de cima para o quarto do diretor, primeiro você precisa terminar de explorar o resto da ala interna no lado oeste. Passe pela farmácia e desbloqueie o portão para a escada noroeste. Em seguida, entre na cozinha , onde você pode encontrar uma garrafa de removedor de molde sentado perto do forno, você pode usá -lo para limpar a litografia mofada que obteve anteriormente se ainda precisar do código para o bloqueio combinado no piso 3.
Há pouco mais para encontrar uma munição de pistola na pequena banheira em frente à cozinha, e conchas de espingarda na área de cafeteria próxima. Quando terminar de explorar, volte para o andar de cima para o quarto do diretor.
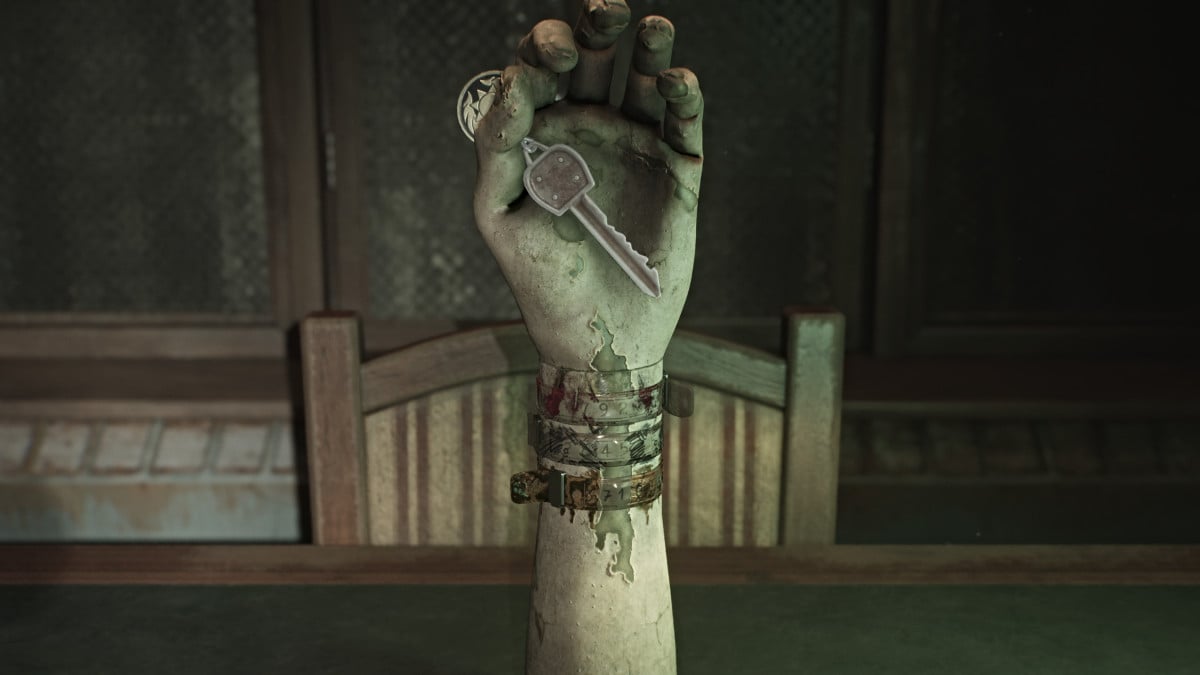
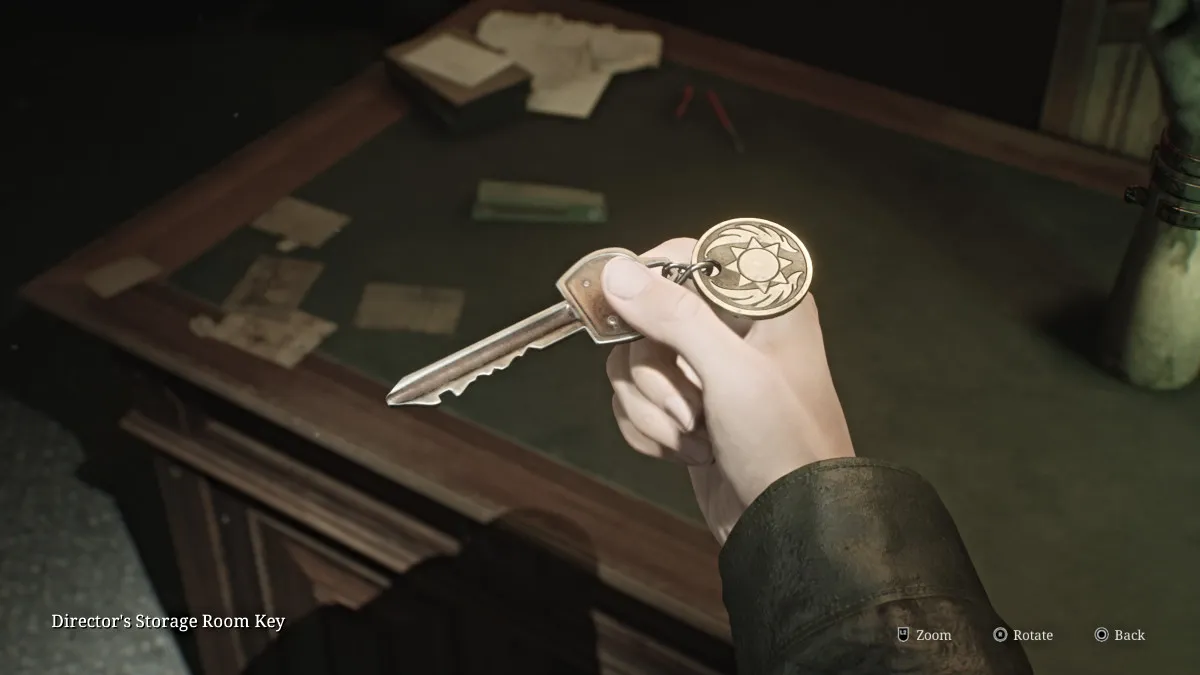
Coloque o restante das pulseiras que você obteve no braço do manequim; nesse momento, você precisa organizá -las na ordem correta e 'girar' para que os conjuntos corretos de números estejam voltados. A ordem correta (dificuldade padrão) de cima para baixo é a pulseira manchada de sangue, a pulseira marcada e a pulseira suja com os números: 92, 45, 71 alinhados de cima para baixo.
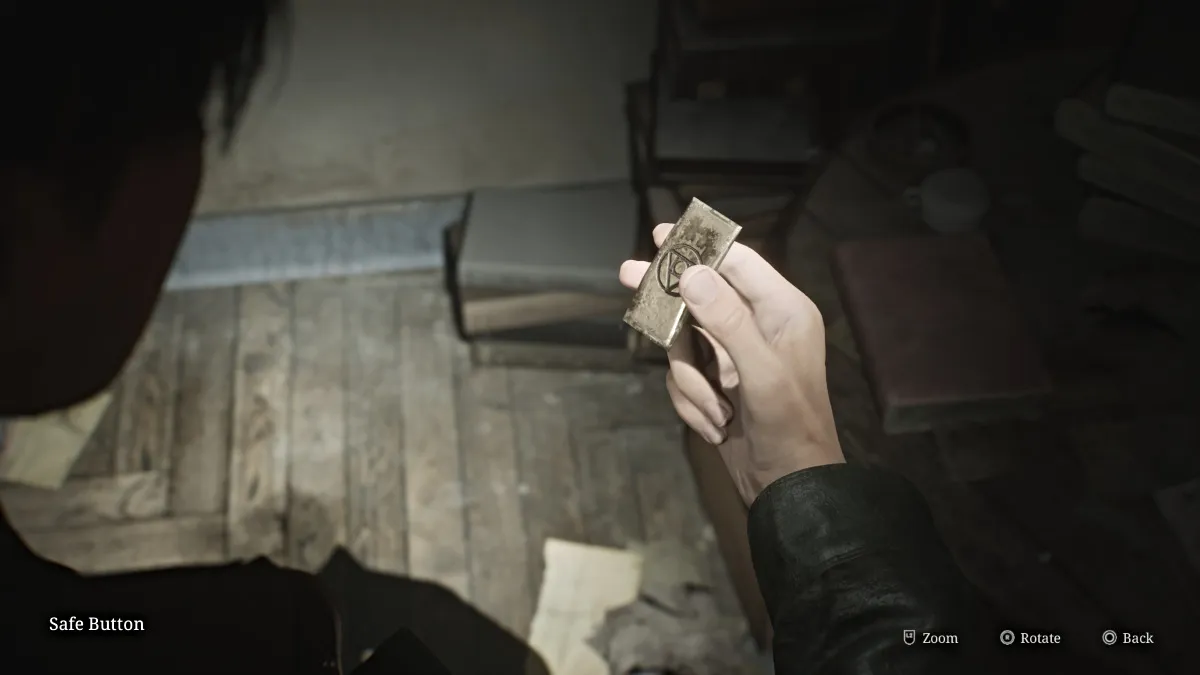
Uma vez feito, a mão será aberta para você pegar a chave da sala de armazenamento do diretor . Vá e use -o na porta trancada próxima e entre. Lá você encontrará o botão seguro em uma mesa e na prateleira em frente, outro quebra -cabeça.
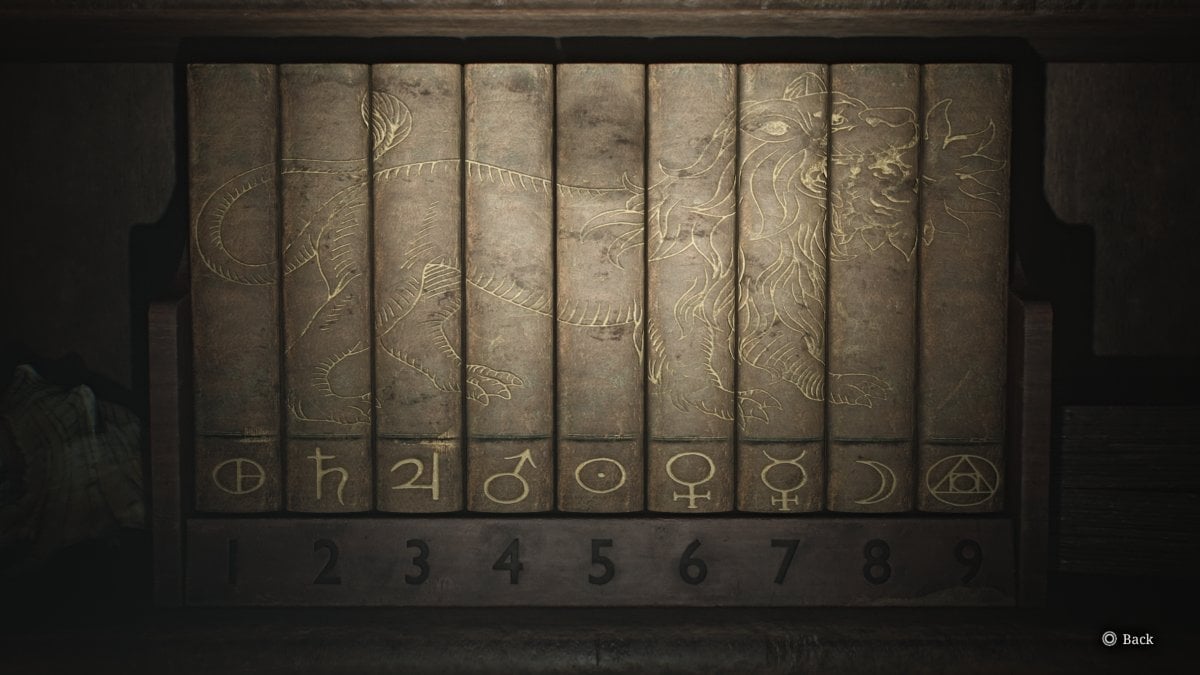
Nesse caso, você precisa organizar os nove livros para que seus espinhos correspondam e forme a imagem de um leão que respira fogo (como visto acima). It may seem like there's no reward afterward, but in fact the order of the symbols at the bottom is a clue for what you need to punch into the Director's Safe. Your other clue is the set of numbers from the bracelets.
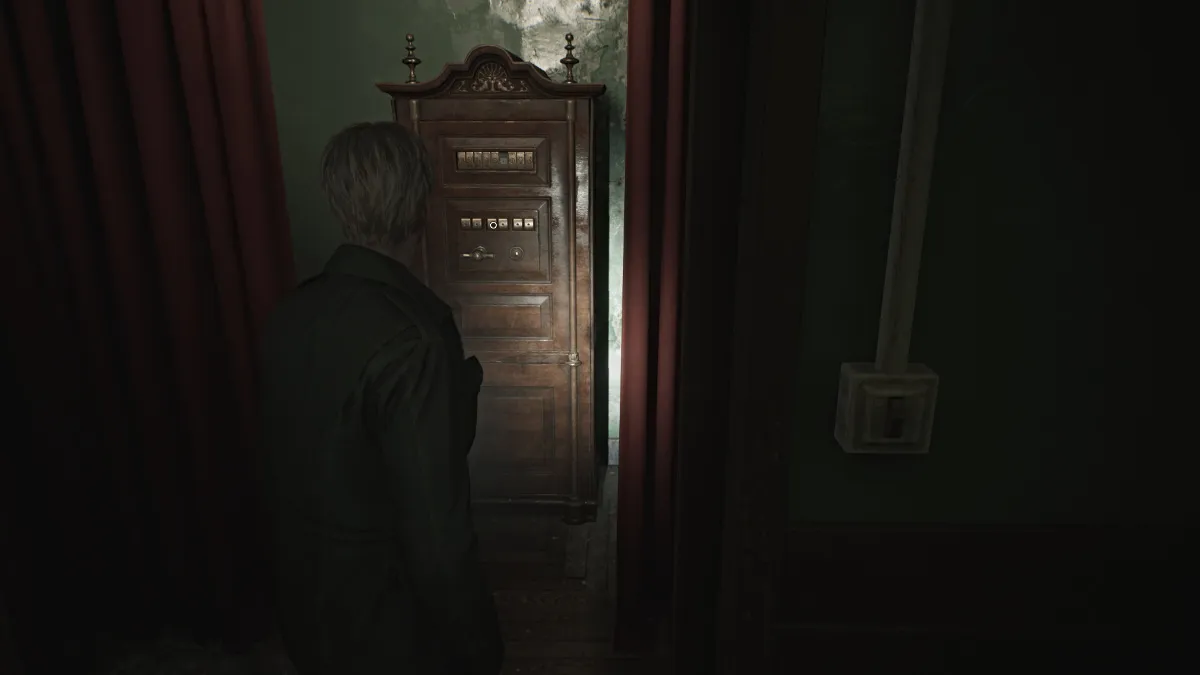
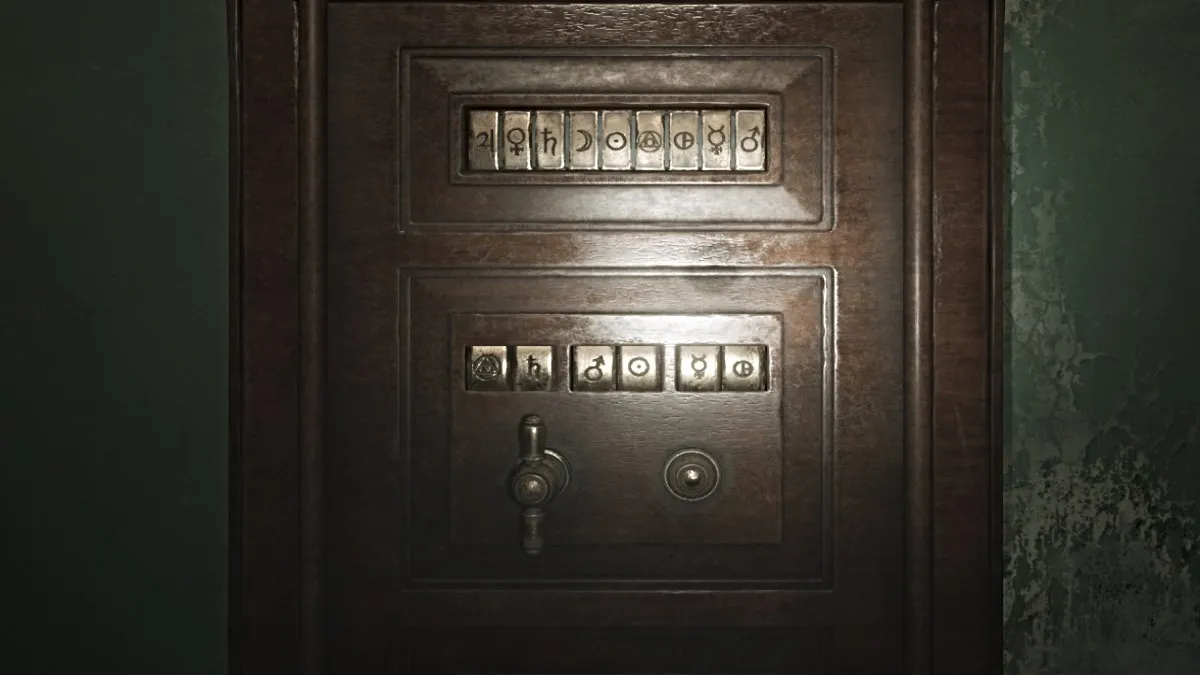
With that, go over to the safe, place the missing button you found into it, and use both your clues to figure out the correct symbol combination. Essentially, '92-45-71' from the bracelets is the numerical order of the combination, and you need to equate that to the symbol order from the book puzzle, all to form a cryptogram of sorts.
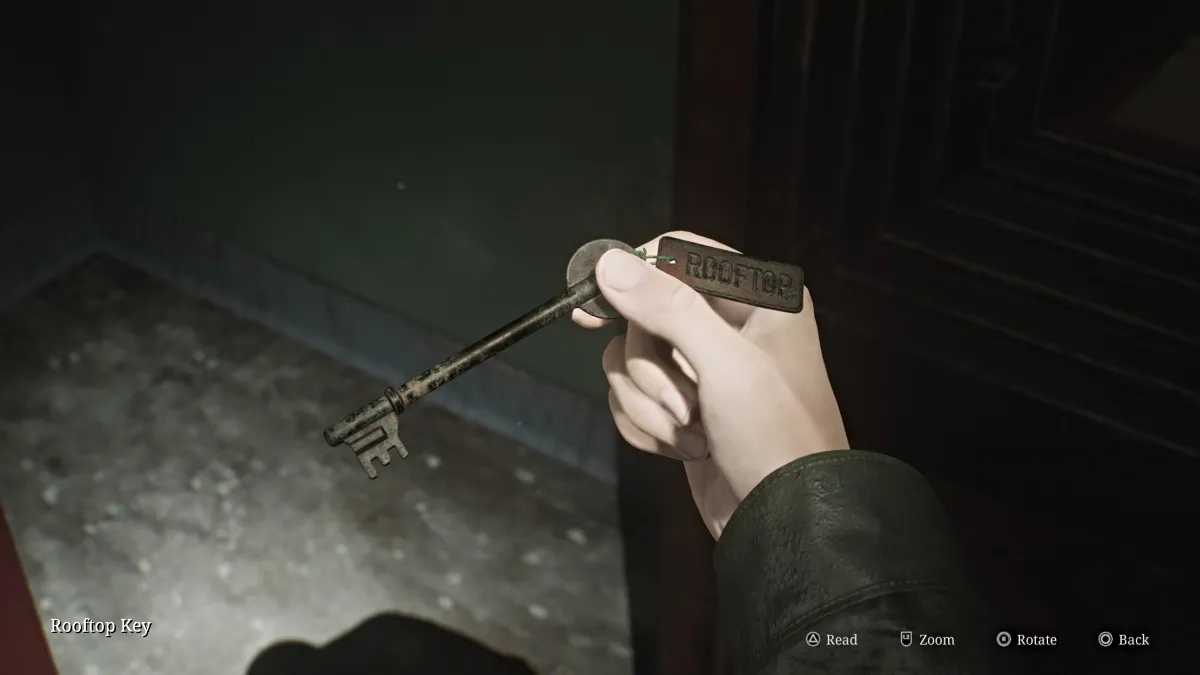
Once the correct combination is done (seen above), the safe will open and inside you can retrieve the Rooftop Key and the Safe Note , which gives some foreshadowing about the key taking James where he needs to go, and that "pain" will be involved, yay.
With that, go back and use the Red Save Point and start your journey up to the roof of Brookhaven.
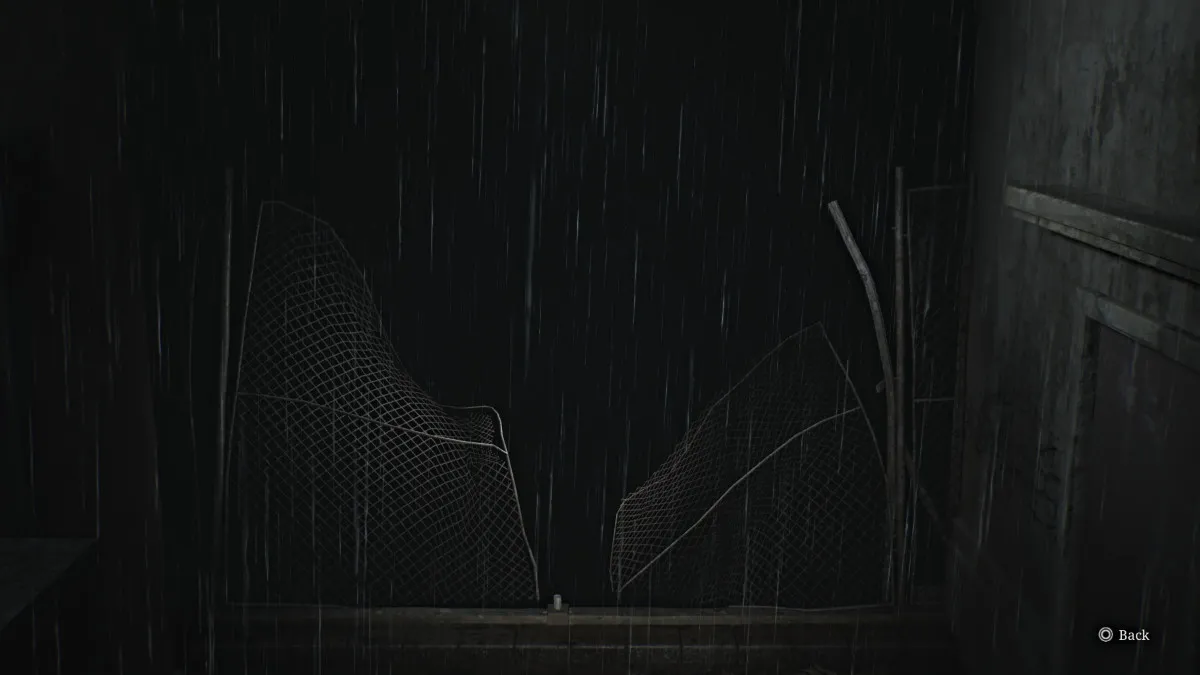
Once you arrive on the roof, first hang a right onto the nearby metal catwalk that has Shotgun Shells sitting at the end of it. Then go back to where you were and instead go straight, until you find an entrance to another metal catwalk that takes you around the left side of the roof.
At the end of it, you'll find another Glimpse of the Past (seen above) which happens to be the spot where James was shoved off the roof by Pyramid Head in the original game. However, that doesn't seem to be the case here.
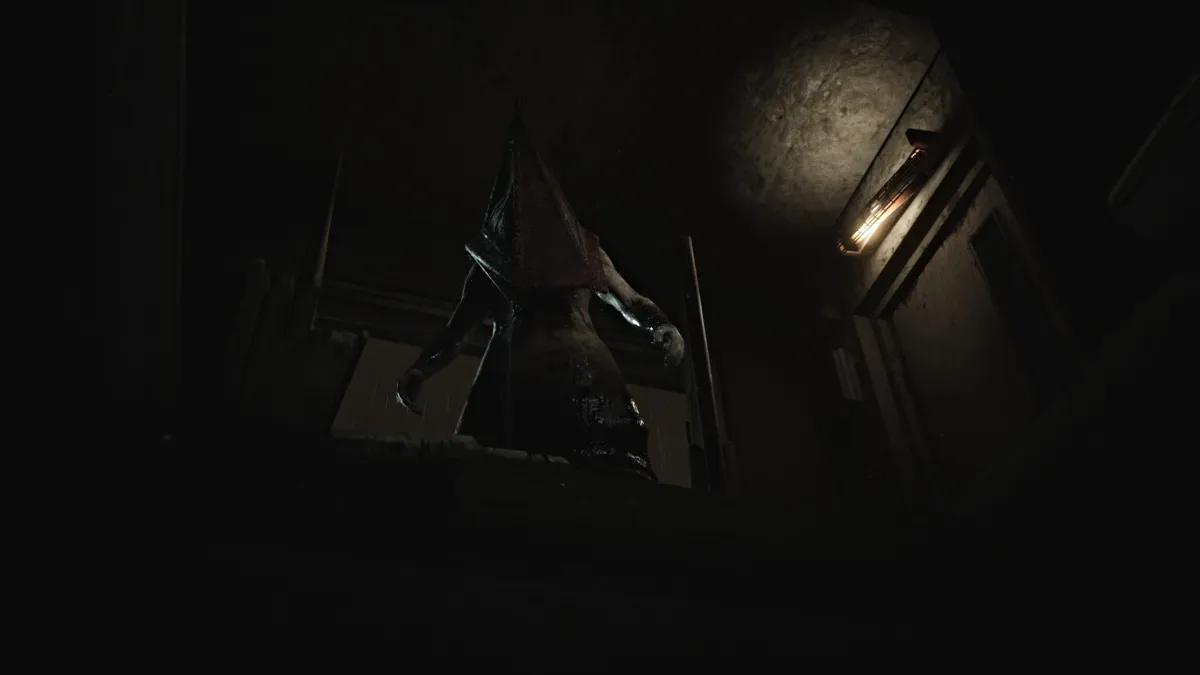
Now, go and investigate the yellow double doors that lead back inside. In what looks like the top of a wooden lift, you'll find the Page From a Diary on the floor. Pick it up, and as you try to go back through the doors, Pyramid Head will suddenly appear and grab James by the throat. This time, he shoves James down through the shaft, sending him back to the third floor.
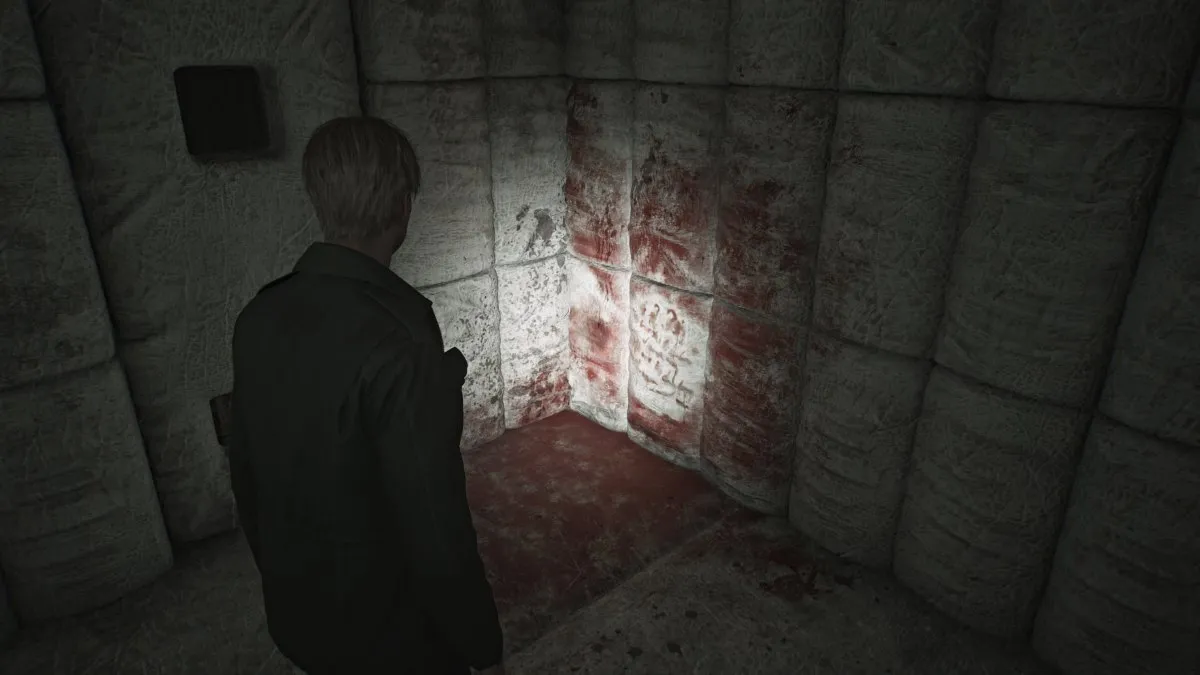
After James collects himself, you'll notice that you landed right on the opposite side of the huge 'Restricted Area' gate where Laura was last seen. First go investigate the Hydrotherapy Room , where you'll find Shotgun Shells , a Health Drink , and a Syringe . Next, when checking the padded rooms, in Room 13 you'll find another Glimpse of the Past covered in blood.
Continue on ahead and through the next set of yellow doors. Soon a cutscene will show James finally finding Laura in a room playing with teddy bears. He pleads for her to stop running and tell him how she knows about Mary. Laura seems hesitant to say much, but admits that she and Mary were friends and that they met at the hospital "last year".
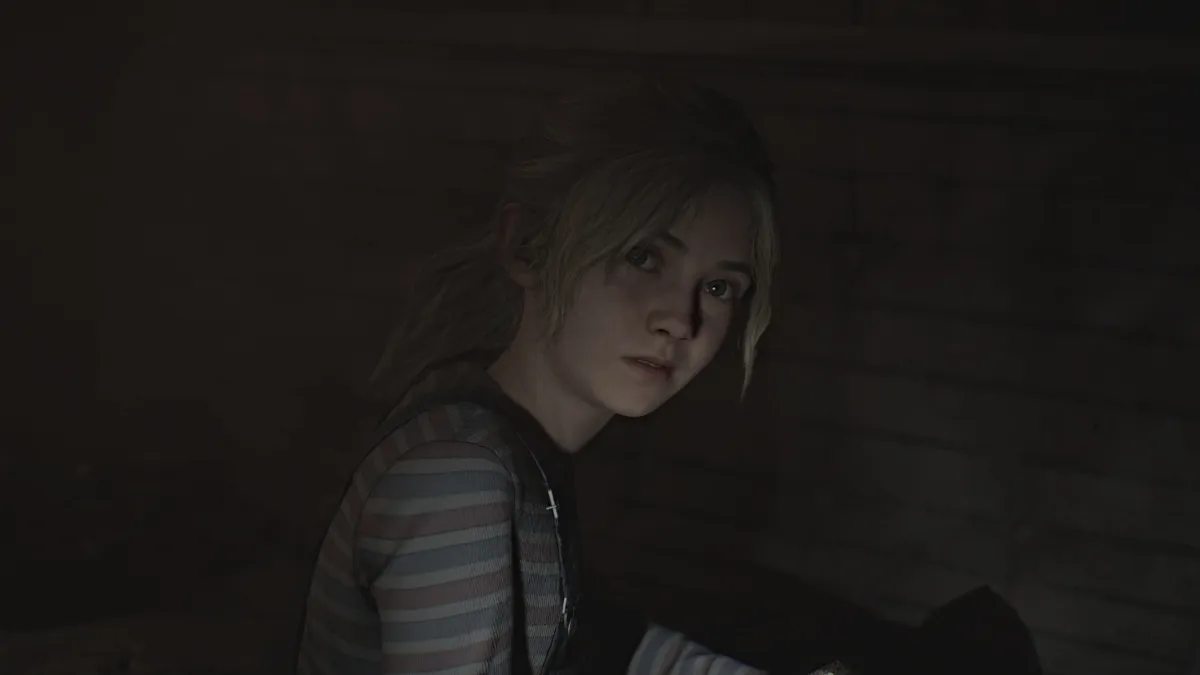
In confusion, James lashes out and calls Laura a liar, who immediately grows cold again and decides to play a trick on him. She baits him to another room nearby with the promise of another letter from Mary. The noise riles up a different kind of monster from within the walls, and now it's time for another boss fight.
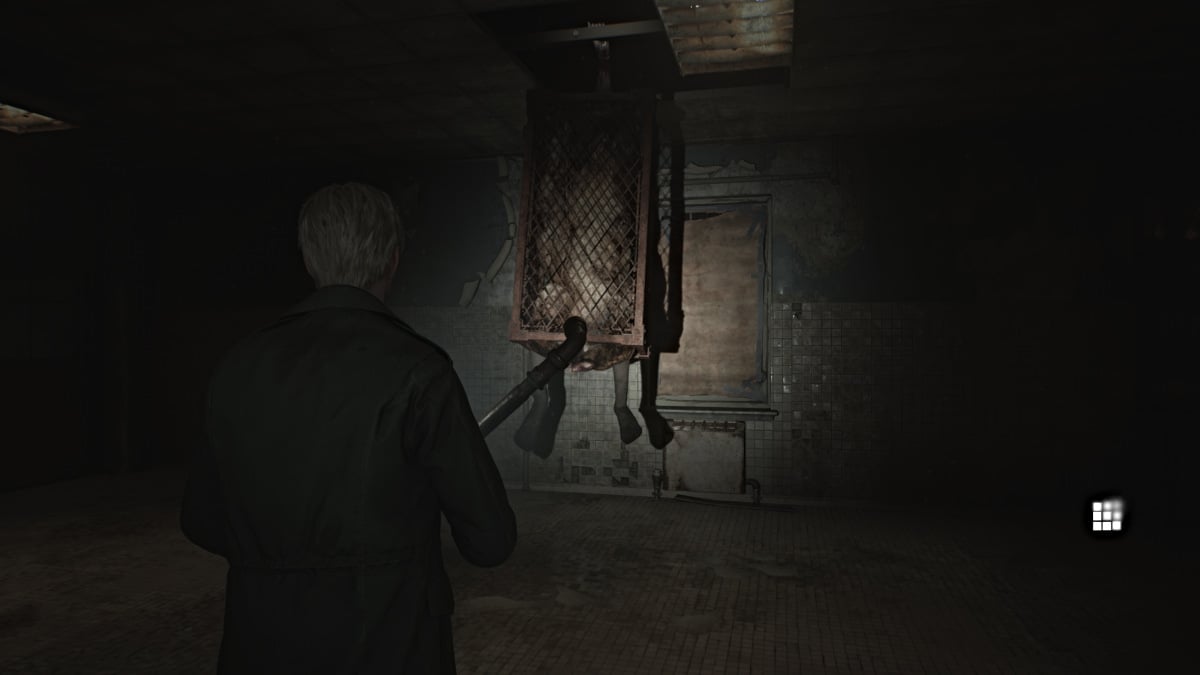
As the second boss fight in the game, Flesh Lips is as dangerous as it is disturbing to look at. Encased in a metal cage hanging from the ceiling, Flesh Lips will start the fight by essentially playing peek-a-boo with James, popping out from random places in the ceiling. Again, keeping your distance is a big priority.
While you can use both your Handgun and Shotgun to deal damage, Shotgun is king in this fight as you'll soon realize. Start by shooting its legs (shooting the cage won't do anything), and make note of the Shotgun Shells scattered around the room for your use.
The more damage you deal to it, its cage will start to come apart, allowing you to start damaging the body within as well. Eventually, this will cause Flesh Lips to take on a different form, using the metal bars from its cage like spider legs to chase you around the room.
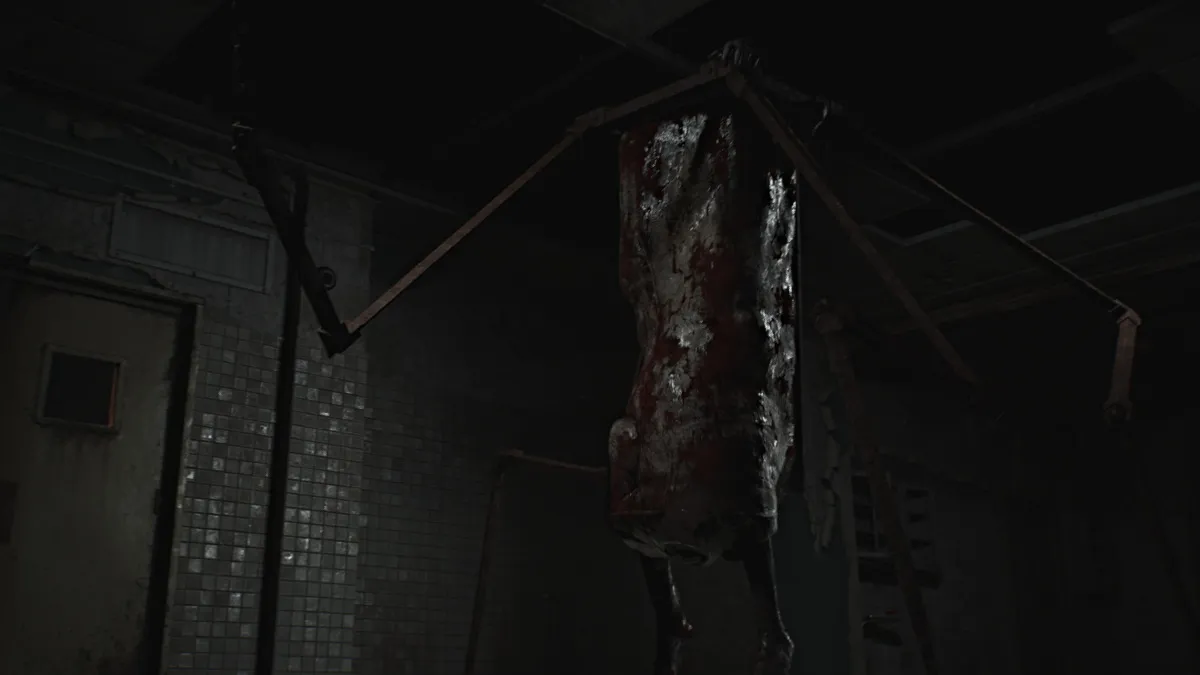
Deal damage as fast as you can, as this boss hits like a truck and you may find yourself swigging Health Drinks faster than you can blink. Occasionally it will emit a screaming attack that, while terrifying, just serves to stun you for a moment.
Eventually, Flesh Lips will collapse dead and James will go over to assess the damage. Suddenly, a second Flesh Lips monster will appear and capture James, dragging him through the ceiling and into an ominous cutscene that eventually lands us back in the Otherworld.
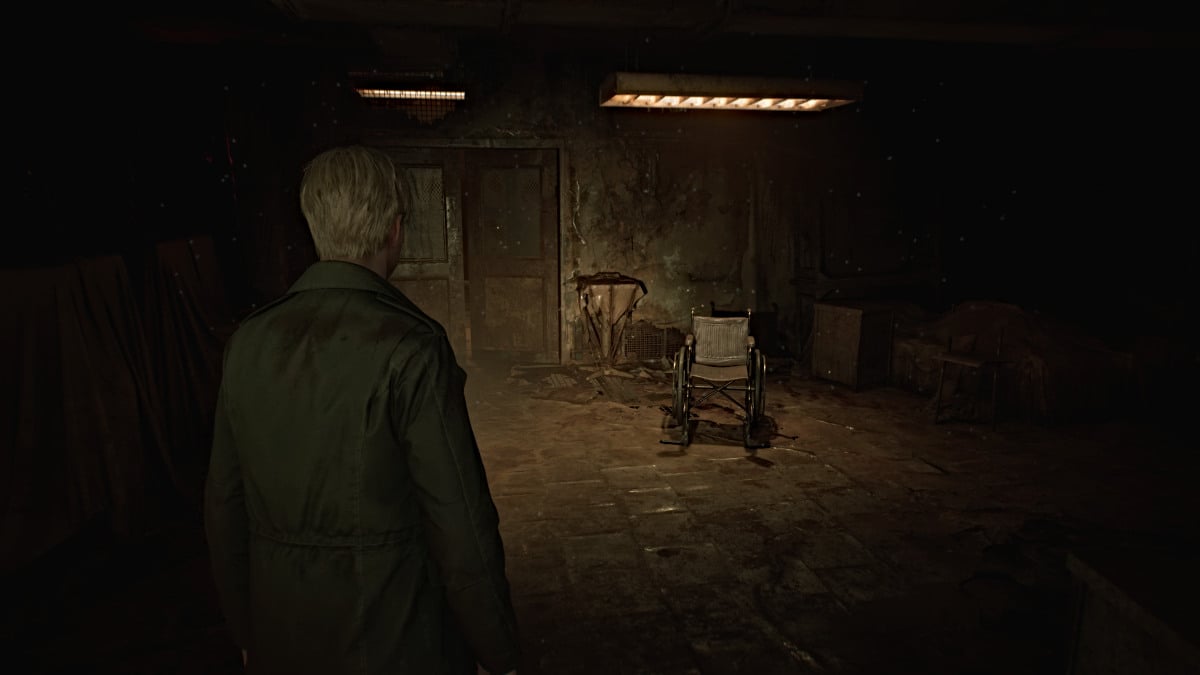
After being dropped off near the hospital's garden area, get your bearings and check your map. You'll notice that all of your markings have been wiped clean and that Brookhaven's version of the Otherworld spans every floor, including the Basement. So you've got a lot of exploring ahead of you.
Start off by going through the Dayroom and picking up some ammo there along with a Syringe and the Evaluation Card, Patient #3141 from the wheelchair in the middle of the room. Head out into the hall and use the Red Save Point to your left.
Much of the first floor is blocked off right now by large gaping holes in the floor and locked doors, so your only path is to the Elevator. Notice that it's missing the button for the Basement level , and you'll need to find it to reach there. For now head to the second floor.
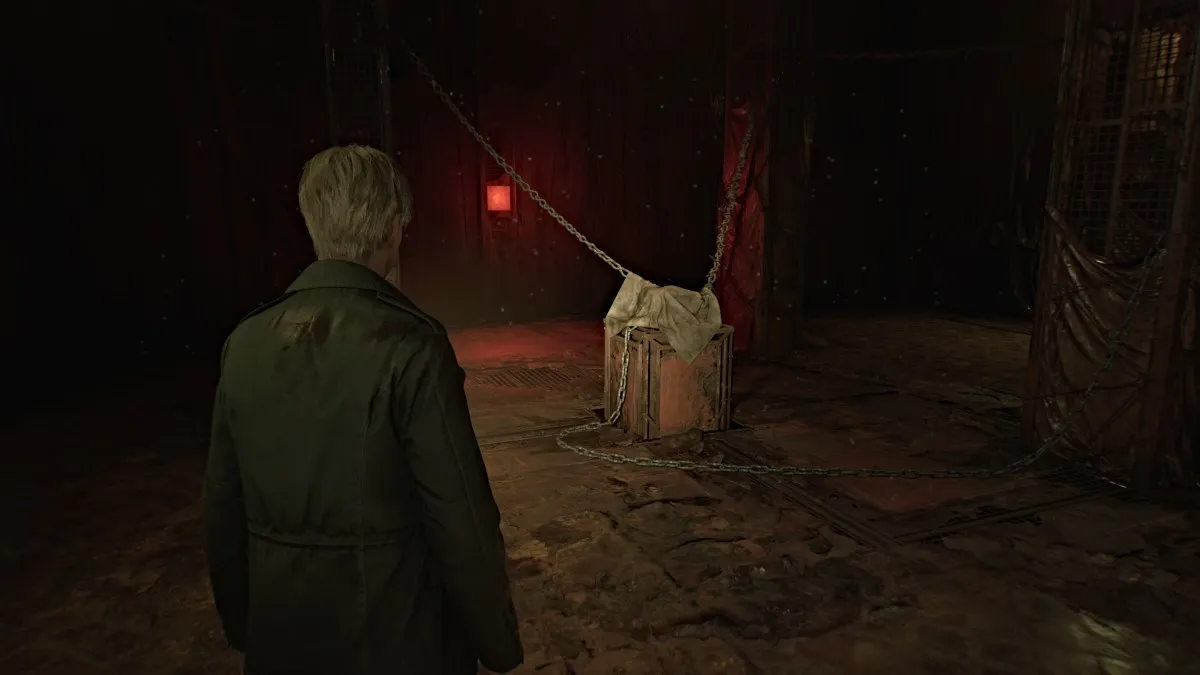
Once there, head right, and near the Nurse's Office , you'll see something sitting on top of a crate, chained and covered up (with a convenient Red Save Point behind it). Uncover it to find a lock box sealed with two numerical locks and a keyhole, meaning you'll need two codes to unlock it, as well as a key .
While we can provide you with the correct codes for the locks to help save you some legwork, before you can use those you need to find the key first. To do that, you need to get to the third floor.
First, investigate the nearby Nurse's Office for items and watch out for the Bubble Nurses who now wield knives instead of pipes. You'll find both Handgun Ammo and Shotgun Shells here, as well as a Health Drink . Cross your way over to the Treatment Room , and then take the crawlspace at the south wall into the Women's Locker Room . In there, you'll find a Syringe and more Shotgun Shells .
Circle around the hallway to the northwest stairwell, which you can take up to the third floor.
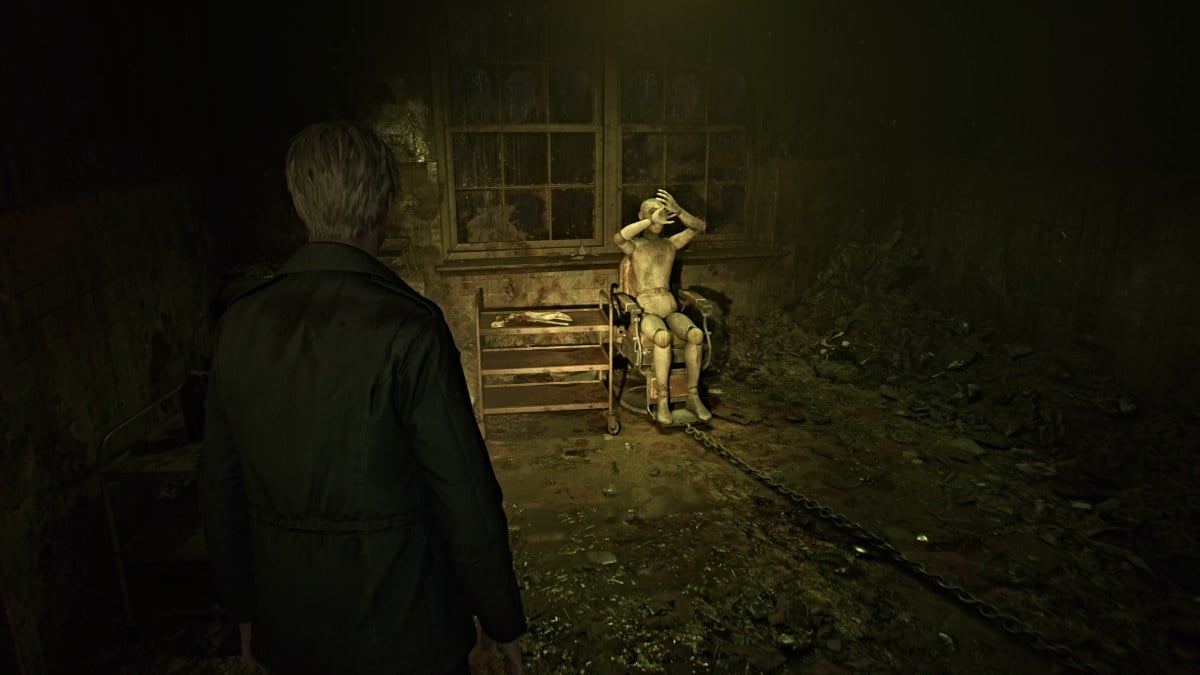
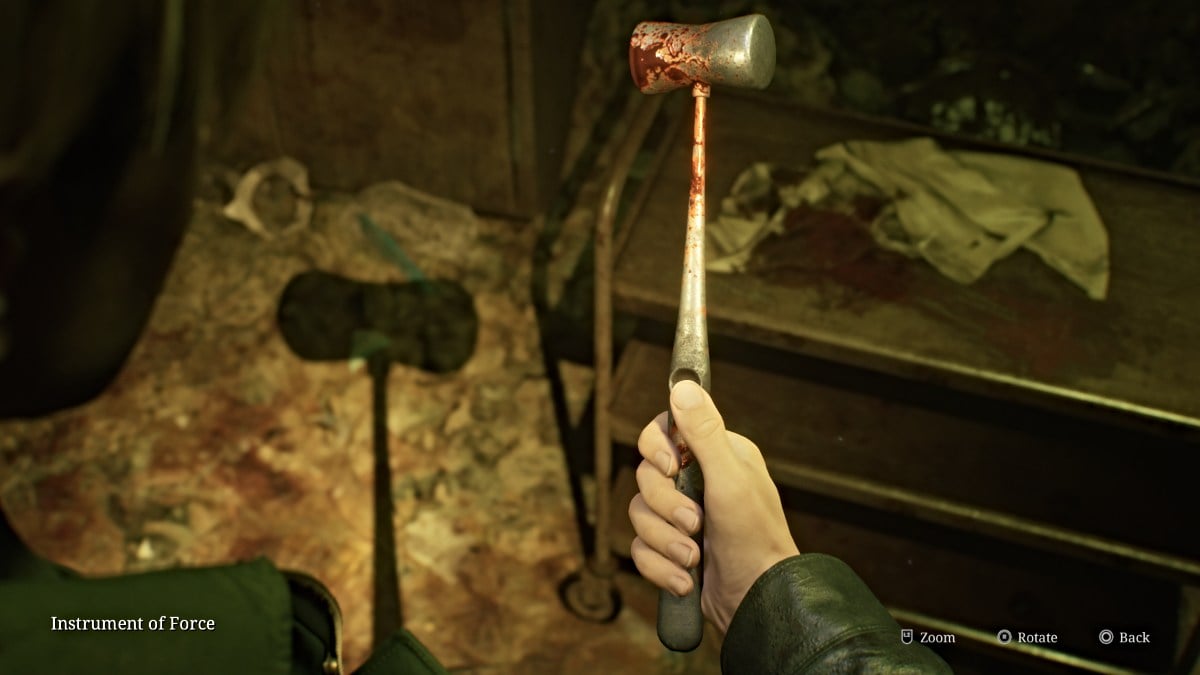
Once there, first head into the X-Ray Room and pick up The Procedure memo from the operating table. Over in Exam Room 4 you'll find a mannequin (no, not the monster) in a surgical chair with its hands in front of its face (seen above). Pick up the Instrument of Force from the tray nearby. This is one of two tools you'll need to get what's hiding inside the mannequin.
Make your way through Exam Room 5 and watch for another Bubble Nurse and Lying Figure in the hallway. Grab some Handgun Ammo from the desk tucked in the corner near Room D3 . Go in there next for Shotgun Shells and a Mannequin that sneaks off to ambush you from around the next corner. Deal with it and retrieve the Health Drink from that corner.
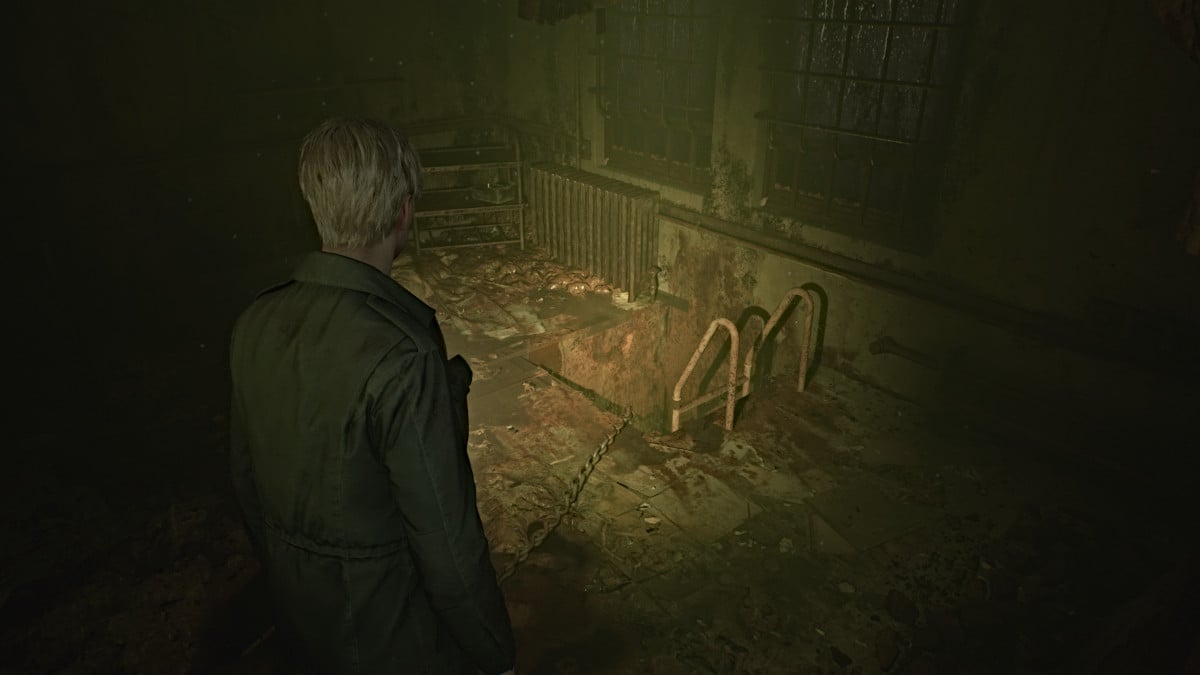
Backtrack to Room D2 and smash the wall on the north side to get in. Use it to cross over to Room D1 , where you'll find a ladder you need to climb down. This brings you down into the Kitchen on the first floor. Grab some Handgun Ammo from the Pantry area and ignore the back room behind it, as you'll only find a Mannequin in there. Explore the nearby Restrooms if you want for more Handgun Ammo and a Shotgun Shell .
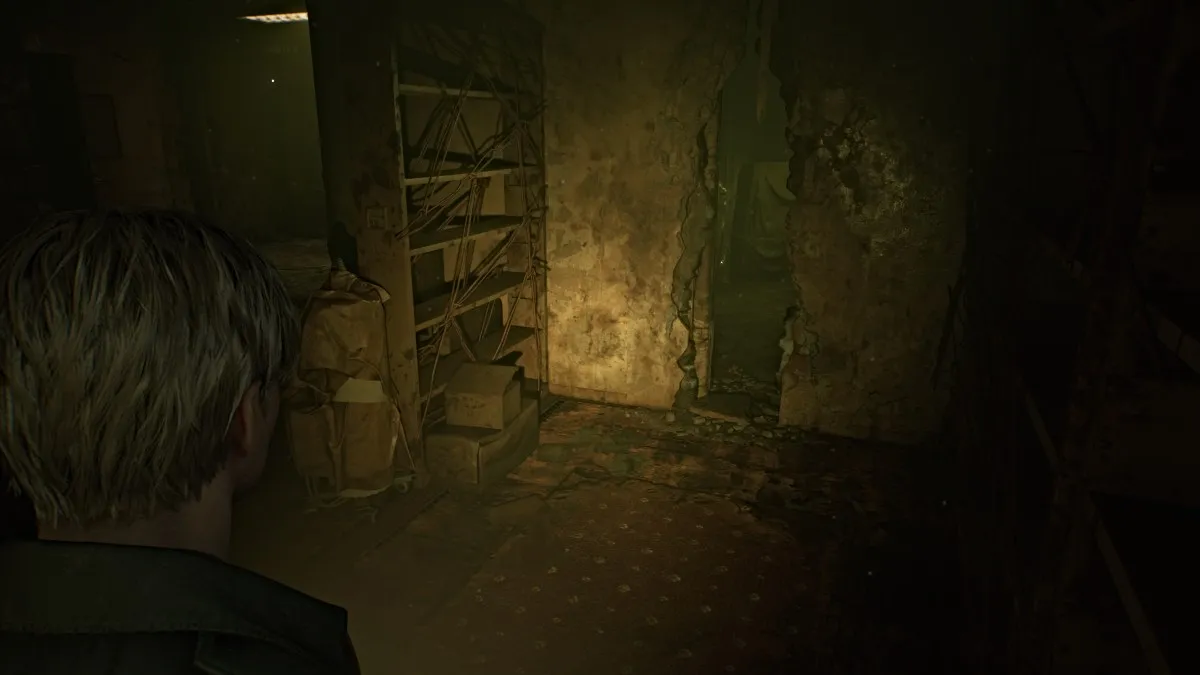
Head down the south side of the Kitchen and around to the Cafeteria . Deal with two Bubble Nurses and a Mannequin there then retrieve the Handgun Ammo on the middle table. Head into the Storage and Medical Records rooms next, where you'll find more Handgun Ammo , Shotgun Shells , and a Health Drink .
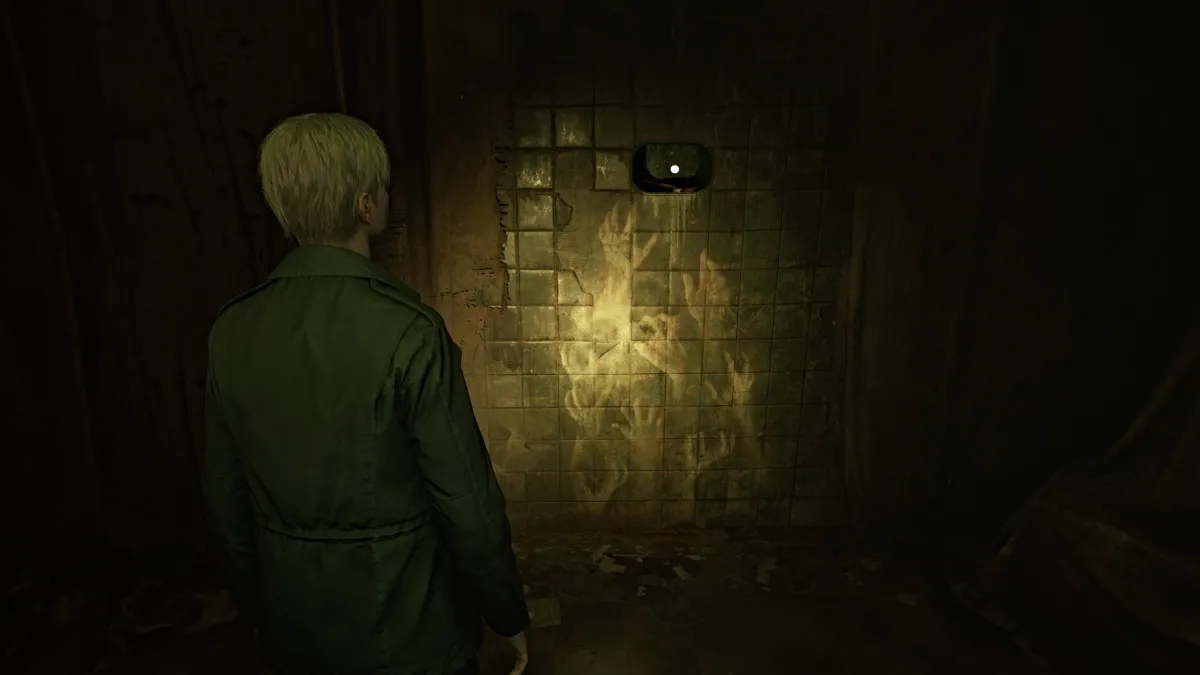
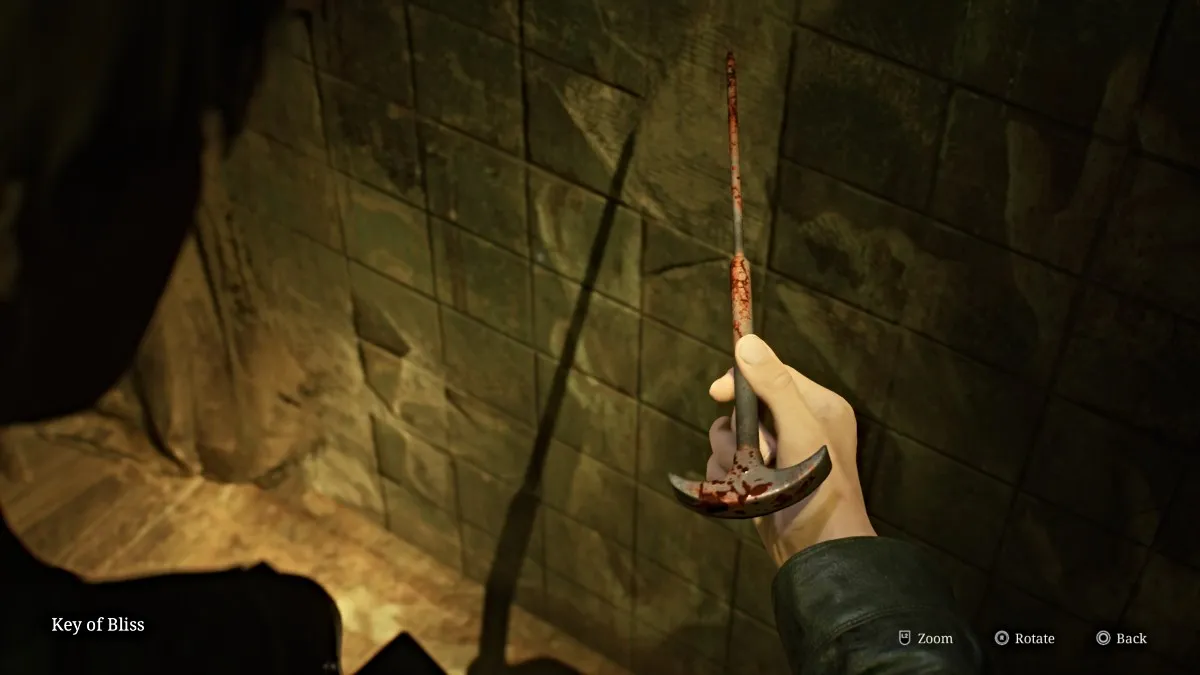
Slip through the wall crack near the back into an unmarked room, and on the wall to your right you'll see a familiar hand mural (seen above), and above it in a crevice, the Key of Bliss, the other tool you need . Take it and make your way back up the ladder in the Kitchen.
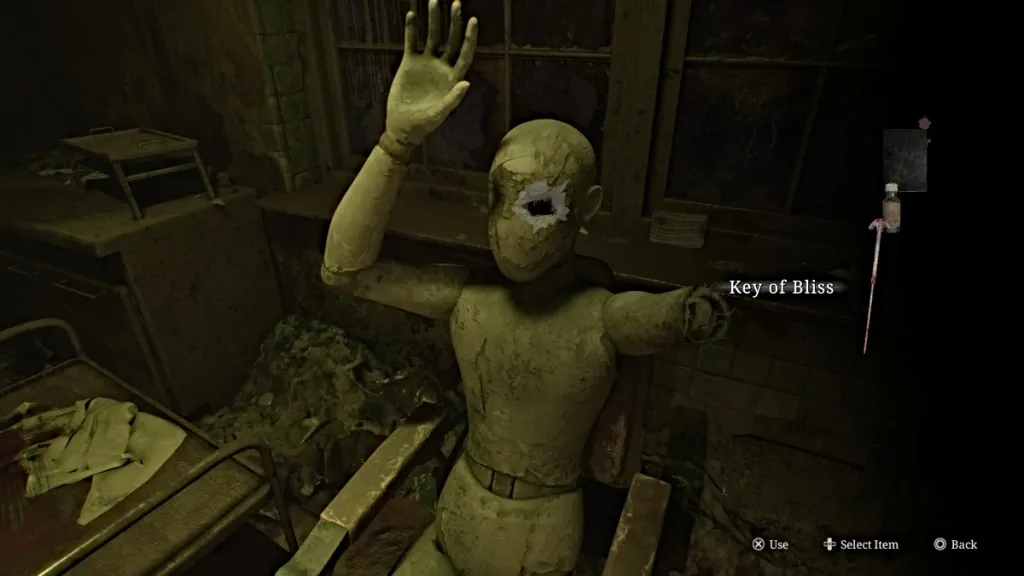
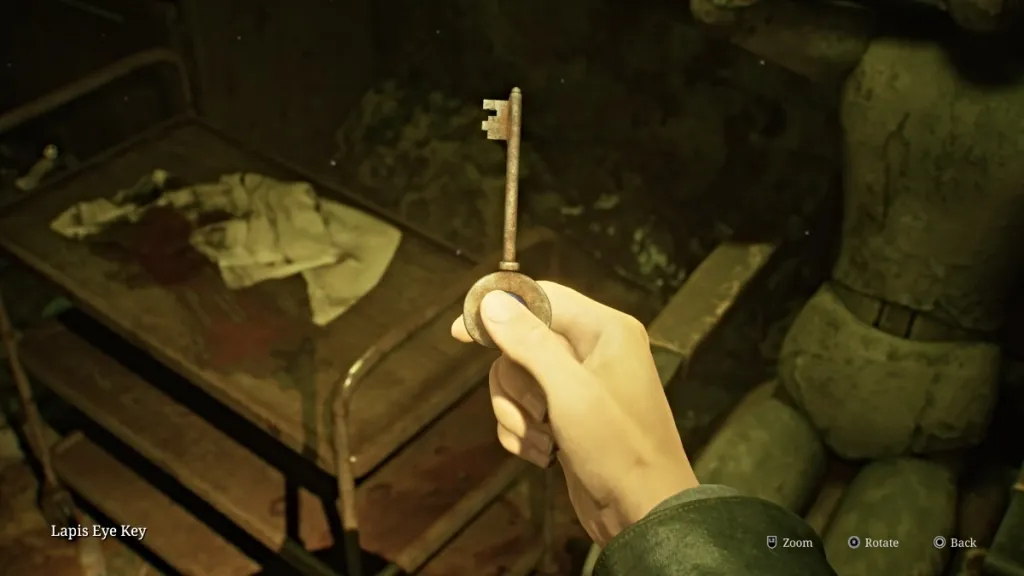
Head back to your mannequin friend in the surgical chair in Exam Room 4 . Use the Instrument of Force to break the right arm off, push the left arm away, and then use the Key of Bliss to brutally lobotomize the Lapis Eye Key from the eye socket. This is the key you need for the safe box.
With that done, make your way back down to the second floor via the stairwell.
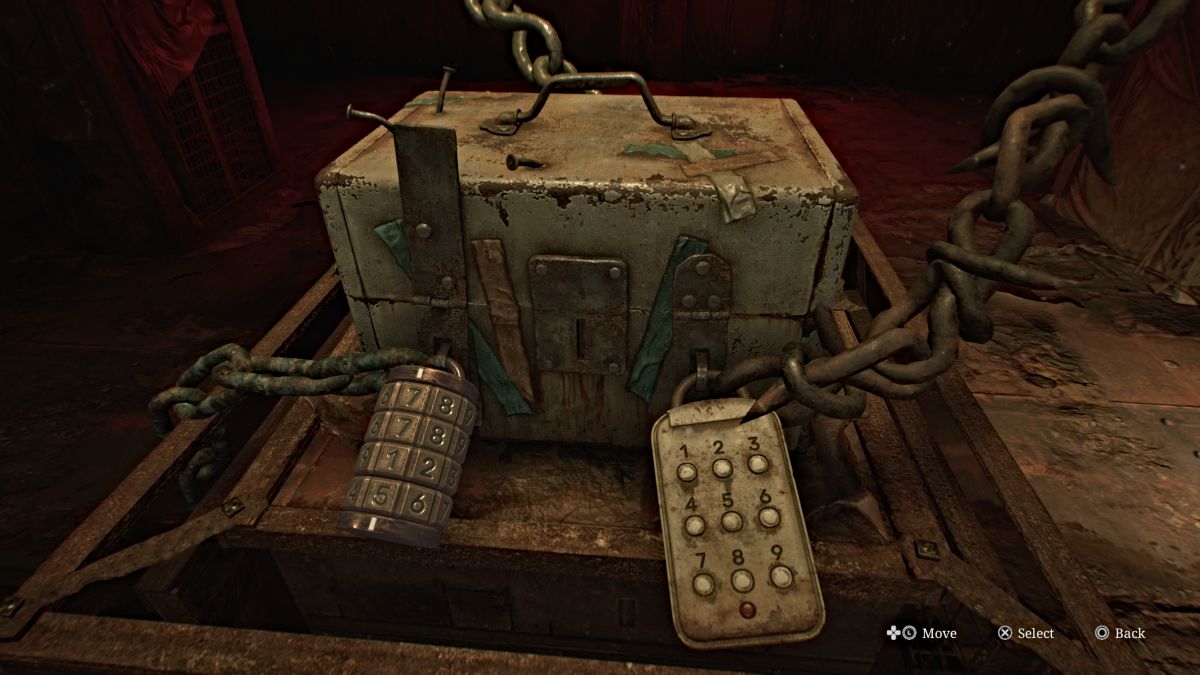
Head back to the chained box on the second floor, and first use the Red Save Point behind it. Use the Lapis Eye Key you just got on the box. This leaves the two numerical locks for you to crack. Luckily, we've got both of those codes figured out for you to save time.
If you're wanting to collect all of the memos in the game for the achievement, however, you should still visit Room M2 on the second floor for the Calendar Page , which provides the hint for the combination lock.
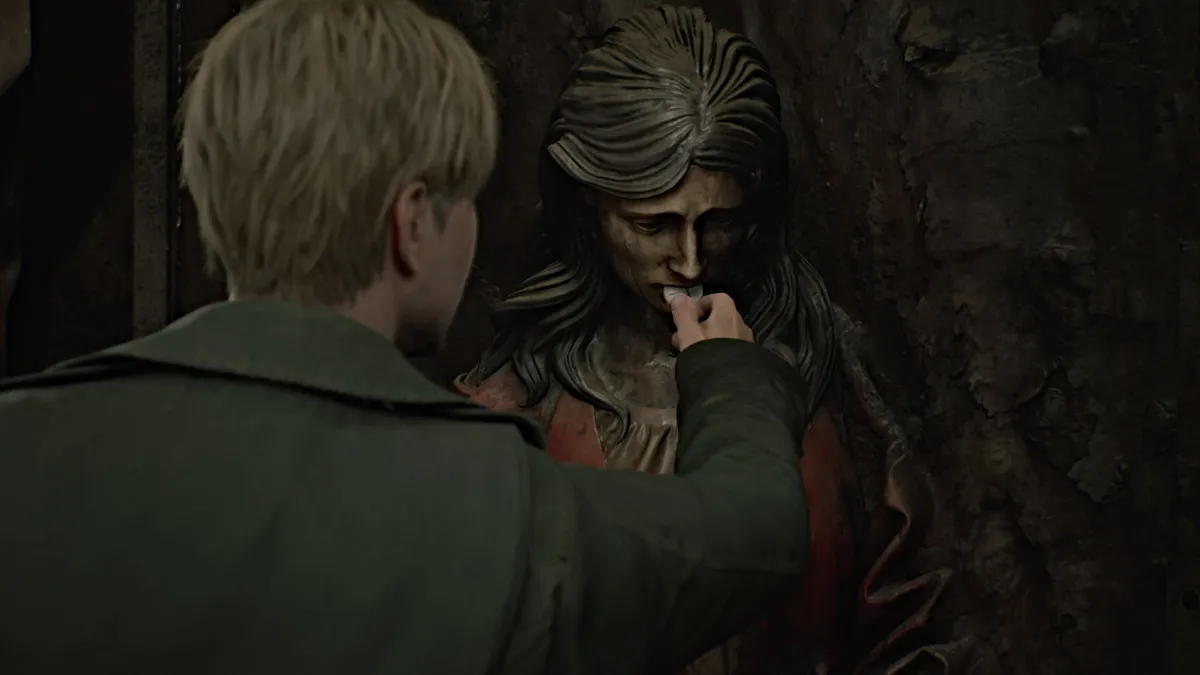
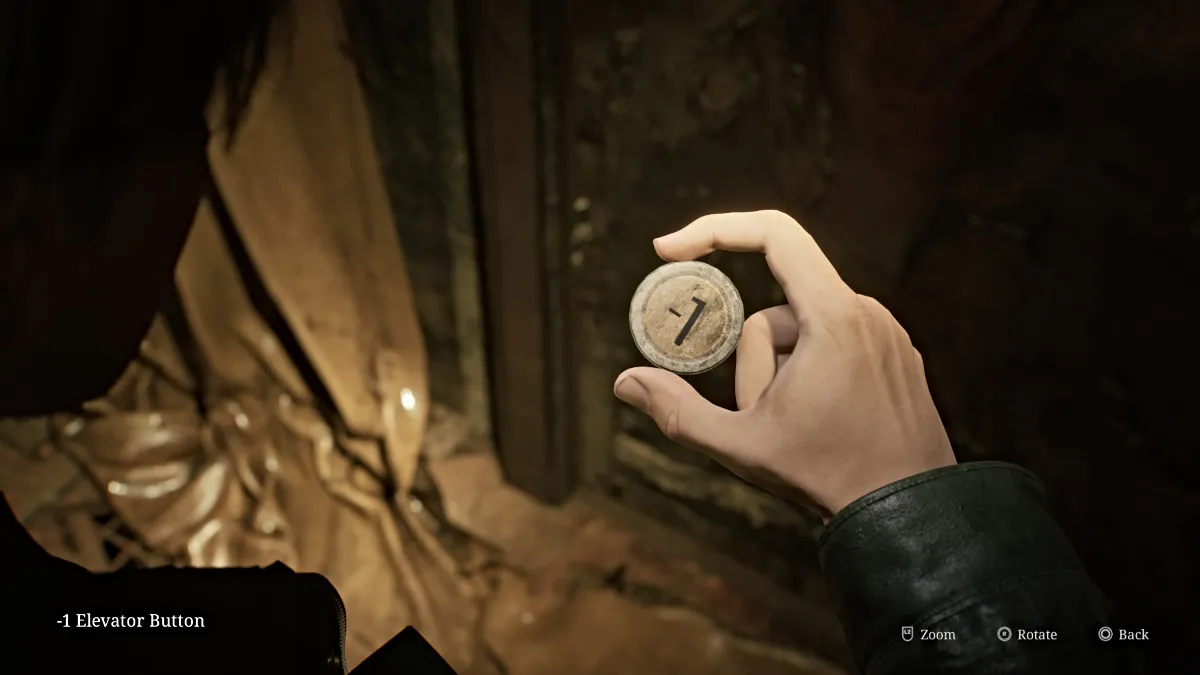
Once open, a cutscene will play where it's revealed that nothing is in the box, which leaves James dejected. However, a curtain nearby suddenly falls to reveal a strange door with a partial statue of a woman on it. James approaches it and finds the '-1' Elevator Button in its mouth, allowing you to use the elevator to reach the Basement .
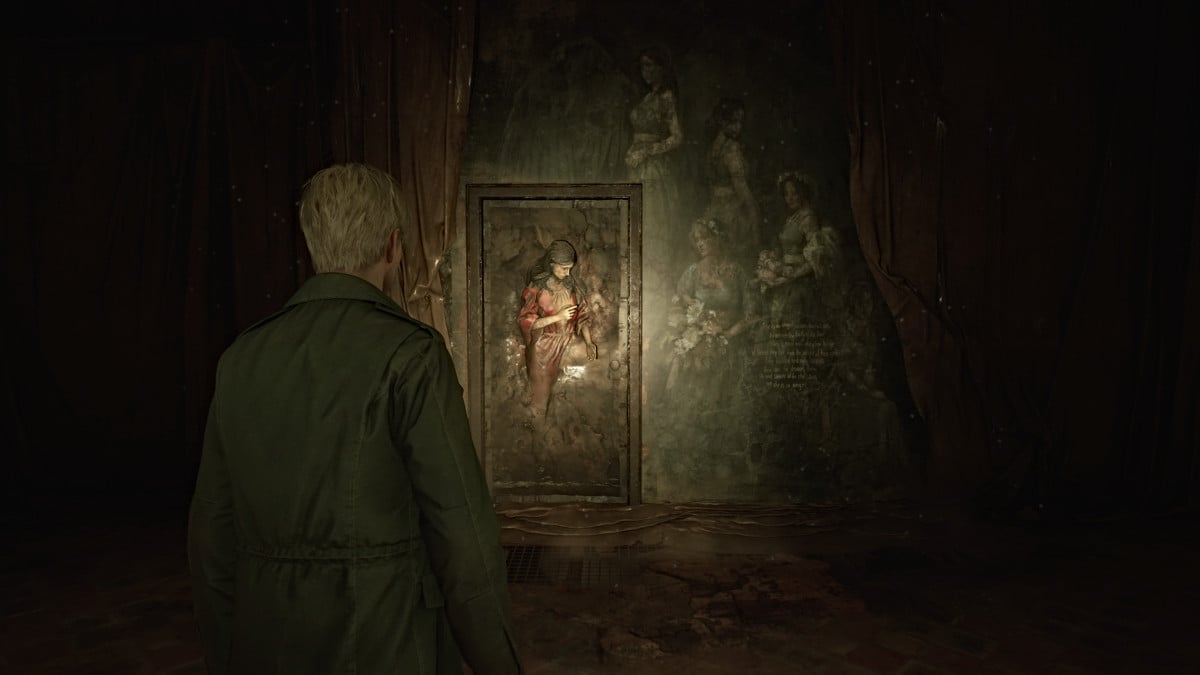
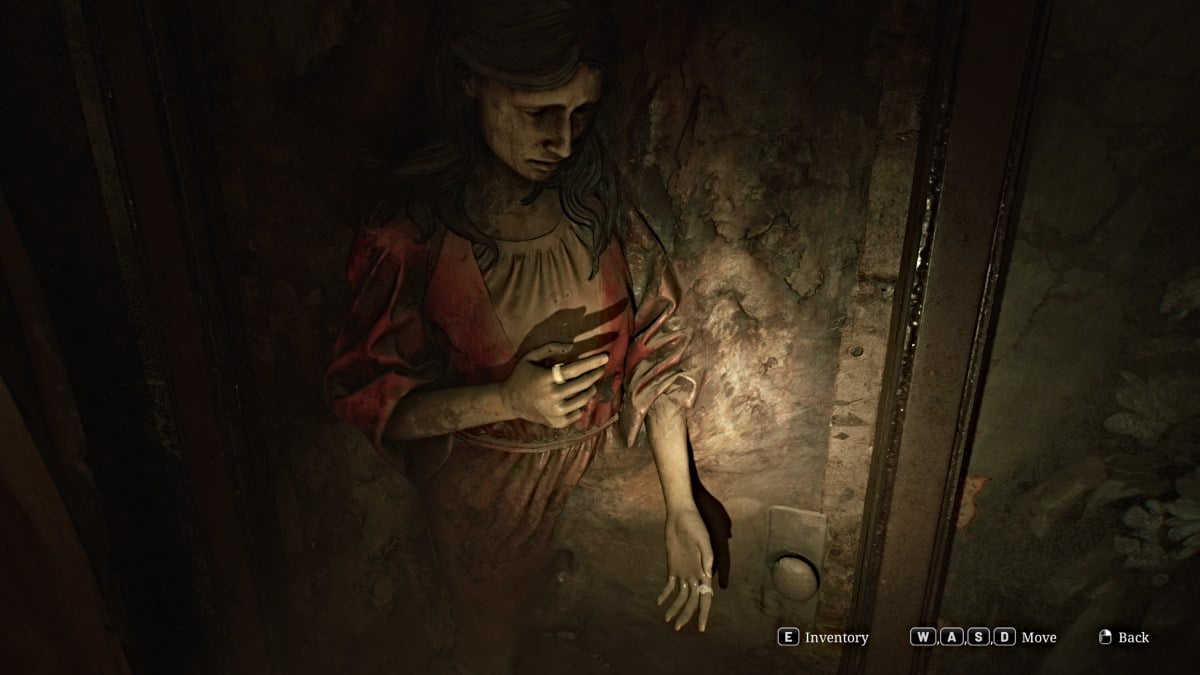
To open the Lady of the Door , you need to find the two rings missing from both her hands (seen above). To find one of them, the Basement is conveniently your next destination. Head to the Elevator and use the -1 Button to repair and take it down to the bowels of Brookhaven.
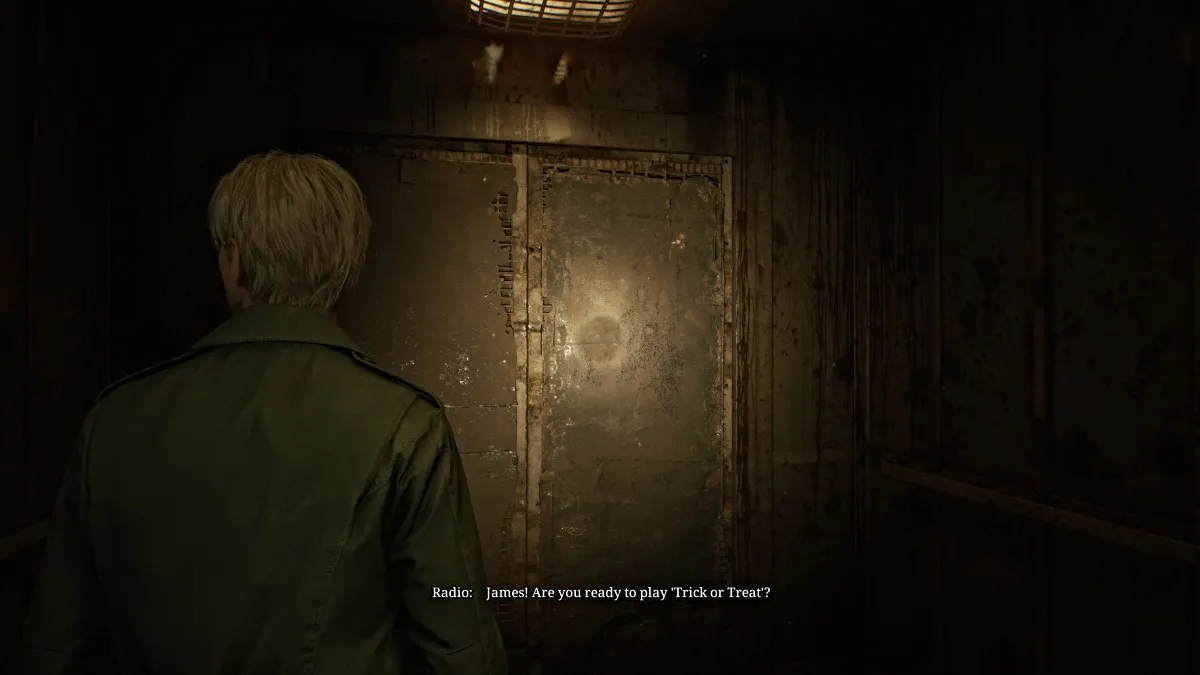
However, along the way, a mysterious voice will come over the radio system and enact a Trick or Treat game show just for James. It recites three quiz questions related to Silent Hill and its history that you'll need the right answers to when the time comes. So that you have them handy, here are the correct answers:
Soon you'll arrive in the Basement, and the right path is blocked so you'll need to navigate around on the left side of the floor. Check the Kitchen Disposal Room for some Handgun Ammo and Shotgun Shells then go through the Maintenance Room to get to the Generator Room . From there, head south into Laundry Storage where you can find Handgun Ammo then further into the Laundry Room and Storage Room which has a Health Drink .
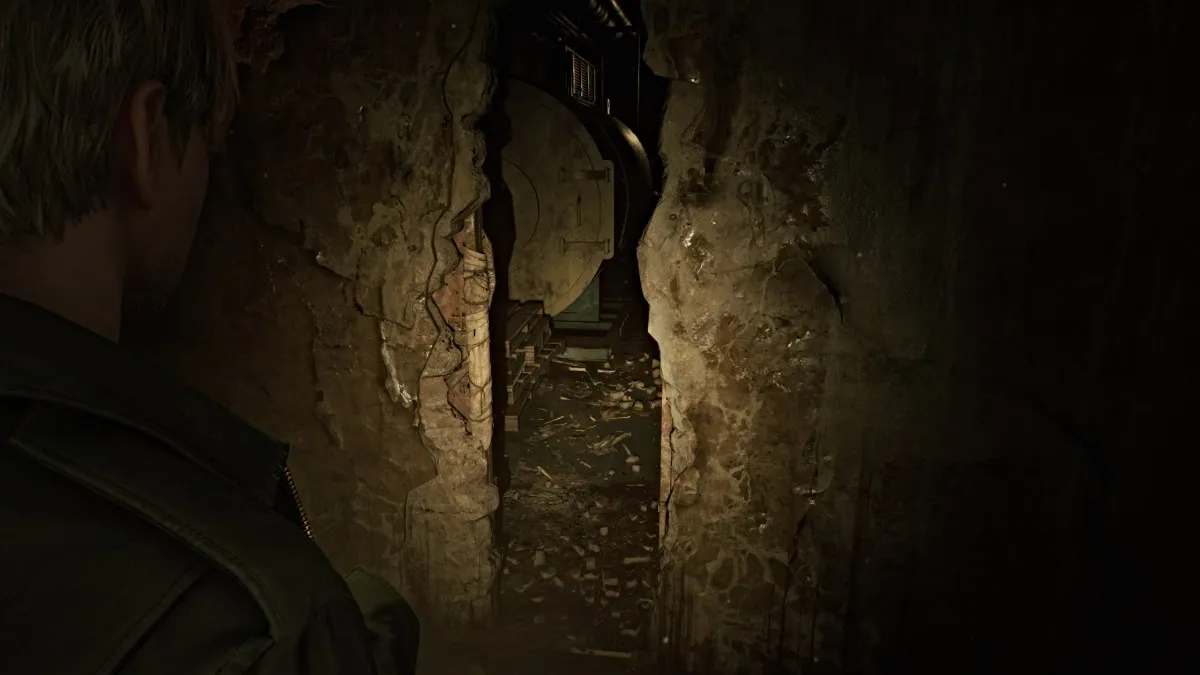
You'll come out on the other side of the huge gap in the floor, so you can continue down and around. The rest of the hallway is blocked, but a gap in the wall nearby will take you into the first Boiler Room . Cross into the second Boiler Room , deal with the Bubble Nurse patrolling the area, and then use the high crawlspace on the right side to make it out to the other side of the east hallway.
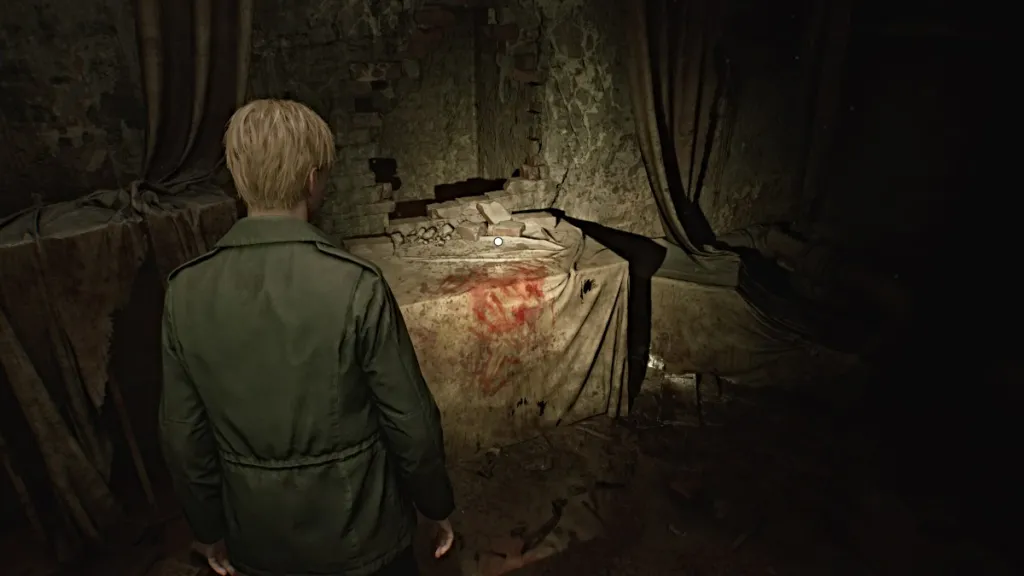
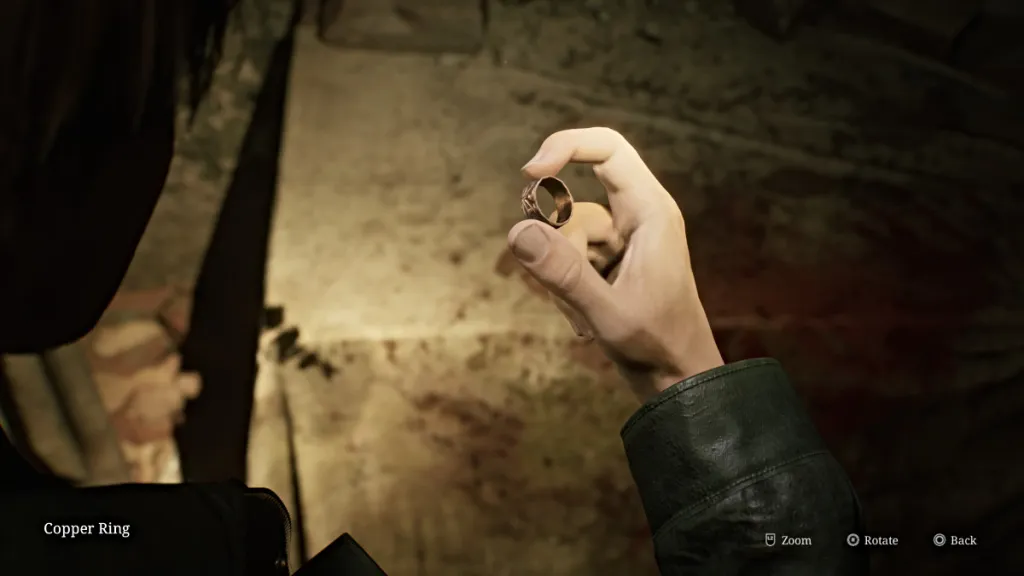
Your options are still very limited, so just go straight ahead through the next wall crack into the Pump Room . Sitting on a table to your right is the Copper Ring (seen below), the first of two that you need. As soon as you grab it a cutscene shows Maria suddenly appearing from the shadows, seemingly better than earlier.
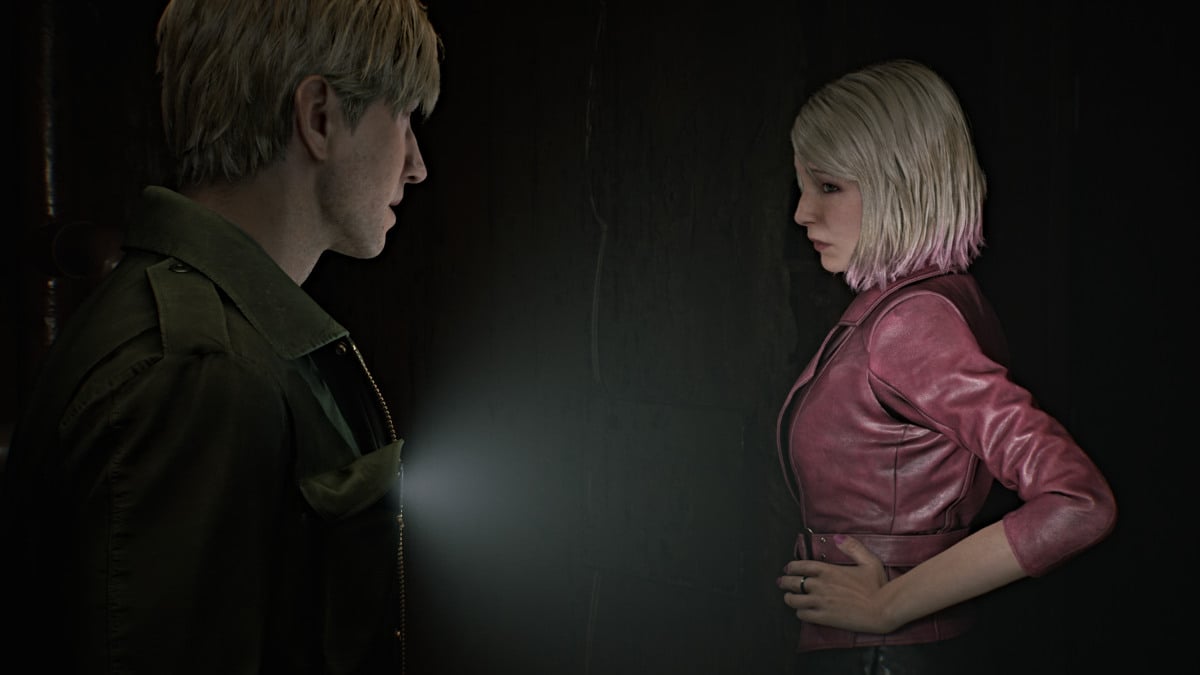
James almost mistakes her for Mary, which of course doesn't sit well with Maria. The conversation instead turns to Laura, with whom Maria feels a strange connection that she can't explain and just insists on finding her. With that, Maria returns as your companion.
Continue through the Pump Room and back out into the hallway. The Tech Room is blocked, so the only way forward is back up to the first floor . Make your way up through the rooms on the east side, starting with Exam Room 2 . Cross into Exam Room 3 where you can find a Syringe , then cut back into the hallway.
Follow Maria as she remarks about a "stroll in the rain", strangely unbothered by the Otherworld around them. The rest of the rooms on the right side are blocked, so the path takes you instead to the Pool area. Pick up the "They musn't know" Strange Photo from a nearby bench, then make your way around the pool (now a giant gaping pit) to the Shower Room , then across the hall to the Doctor's Lounge .
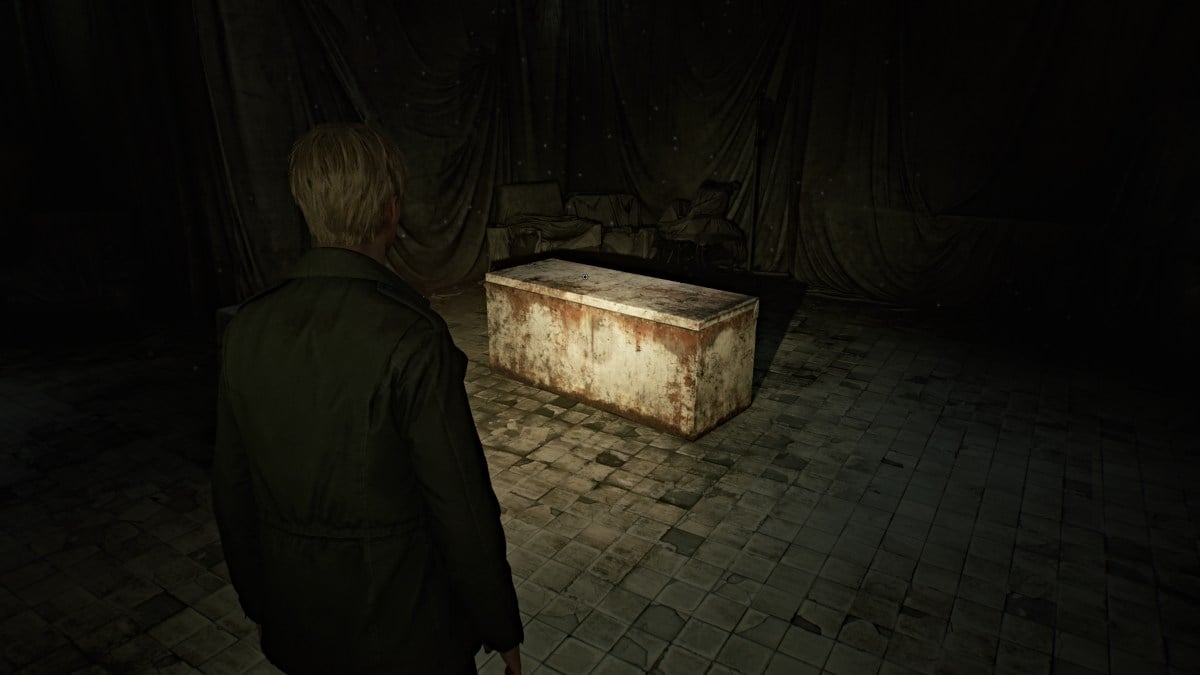
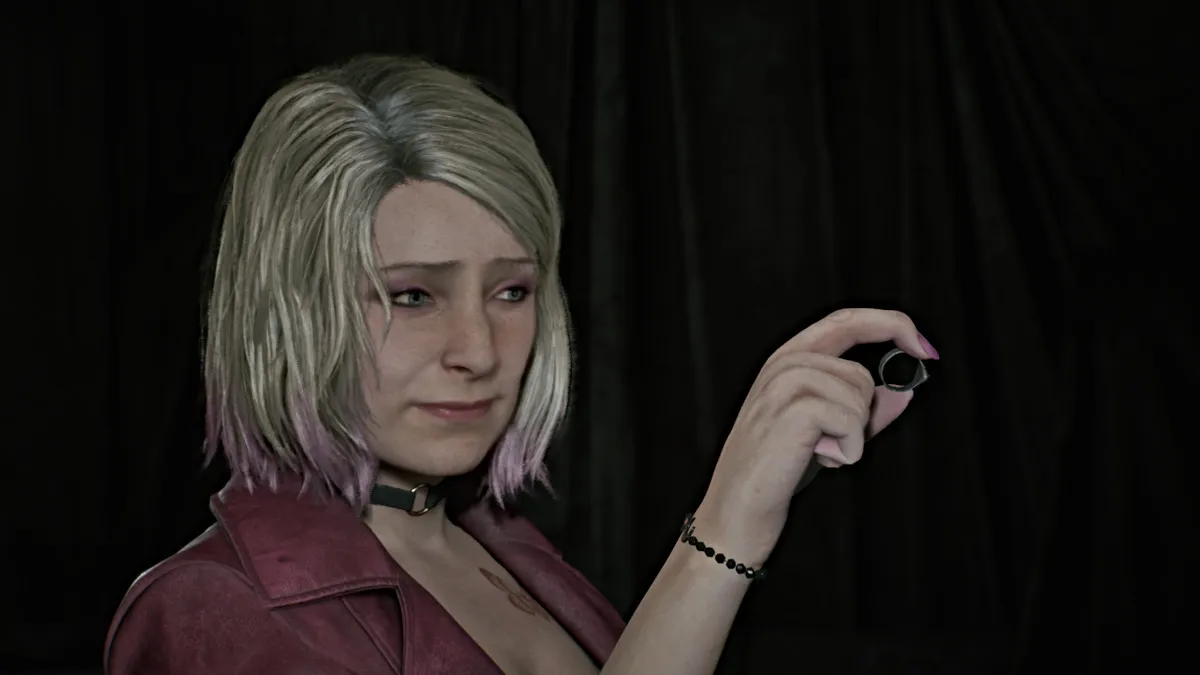
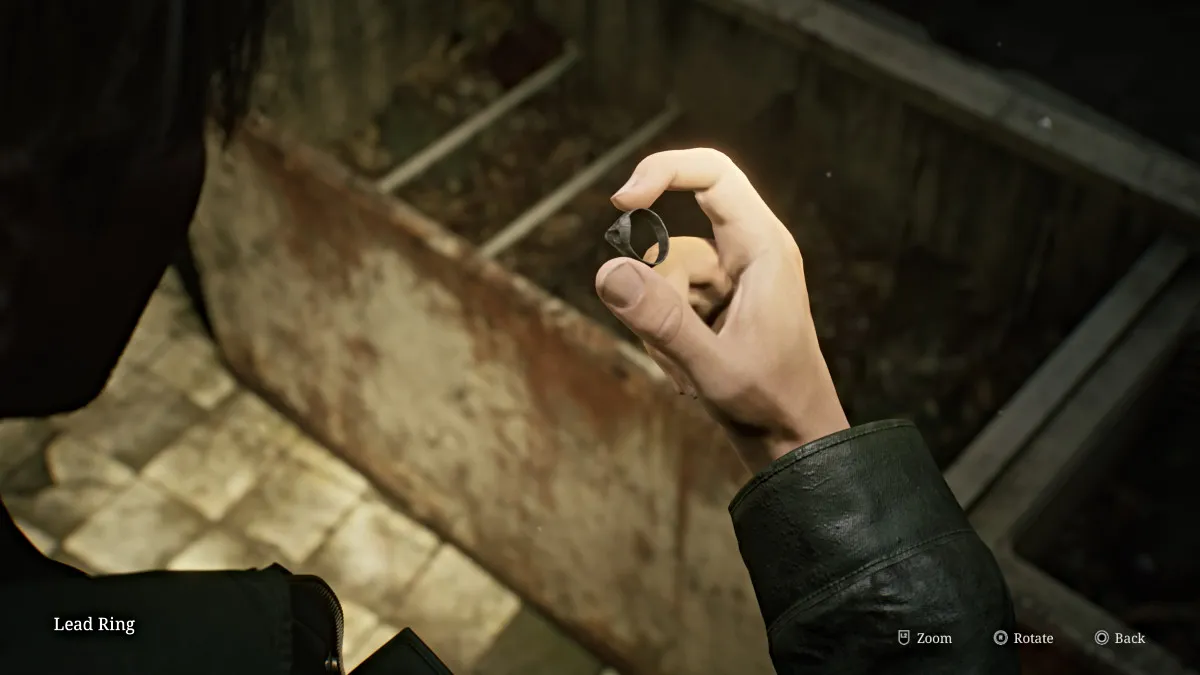
The room itself is mostly empty except for a large fridge that's been toppled over. James finds himself unable to open it alone and Maria teases him for it before offering to help with a hint of exasperation. They manage to open it together and upon peeking inside Maria finds a Lead Ring . It just so happens to be the other ring you need for the Lady of the Door.
Cross through the Locker Room to your left and pick up the Dissociated Note in there before continuing to the central hallway. Use the Red Save Point nearby before heading in the direction of the elevator. Before taking it though, head over to the Pharmacy , where you'll find an ornate box sitting on the counter.
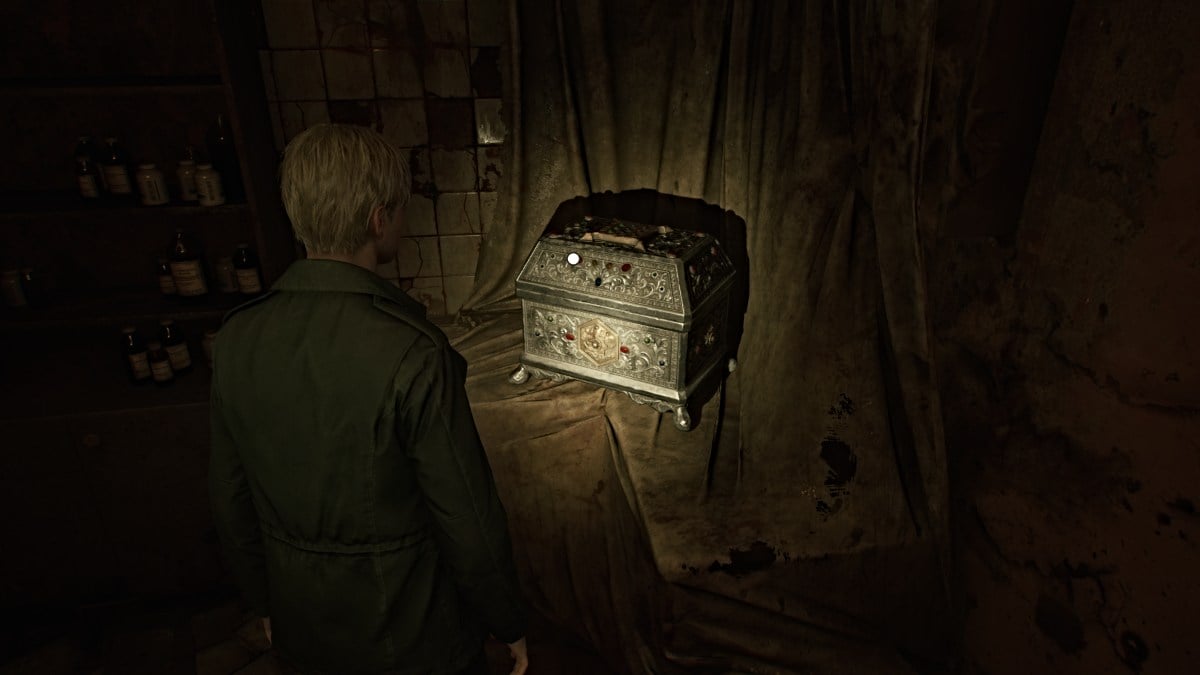
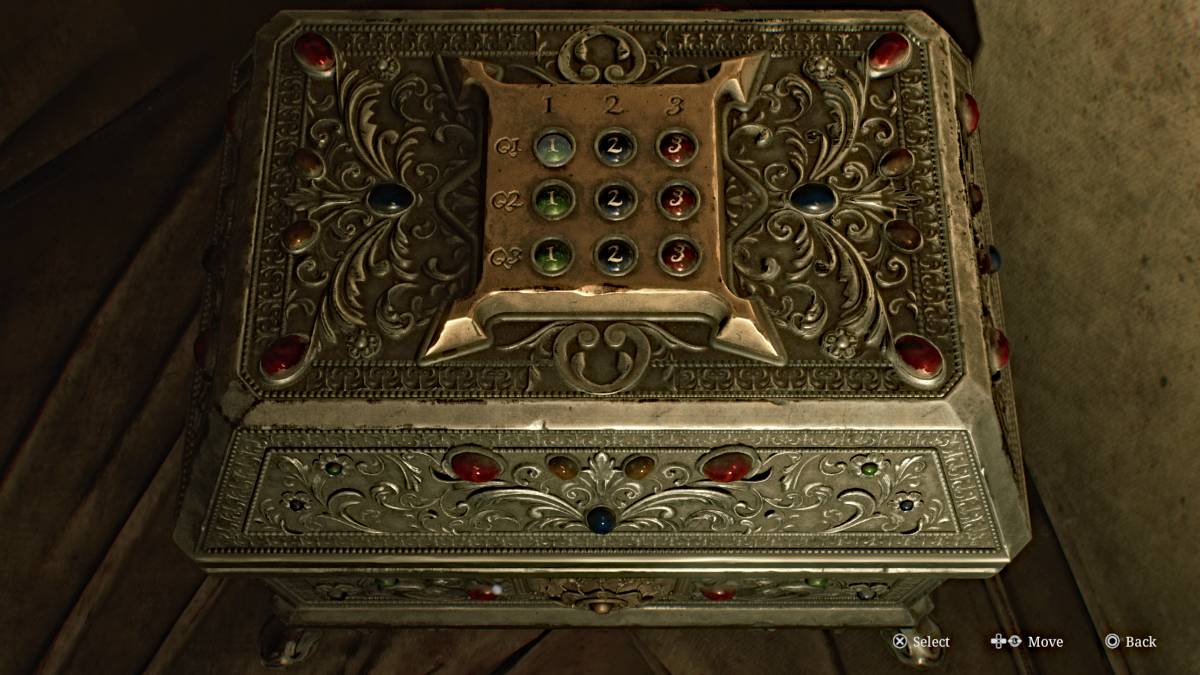
This is the "prize box" for the Trick or Treat quiz you received earlier, and you need to use the buttons on the top of it to punch in the correct answers. As mentioned earlier, the correct order is: 2,3,1.
If you punch them in correctly, you'll receive a nice reward of 5 x Shotgun Shells and 2 x Syringes . If you put the answers in wrong, you'll get pain instead, to put it lightly. When you're ready, take the elevator back to the second floor.
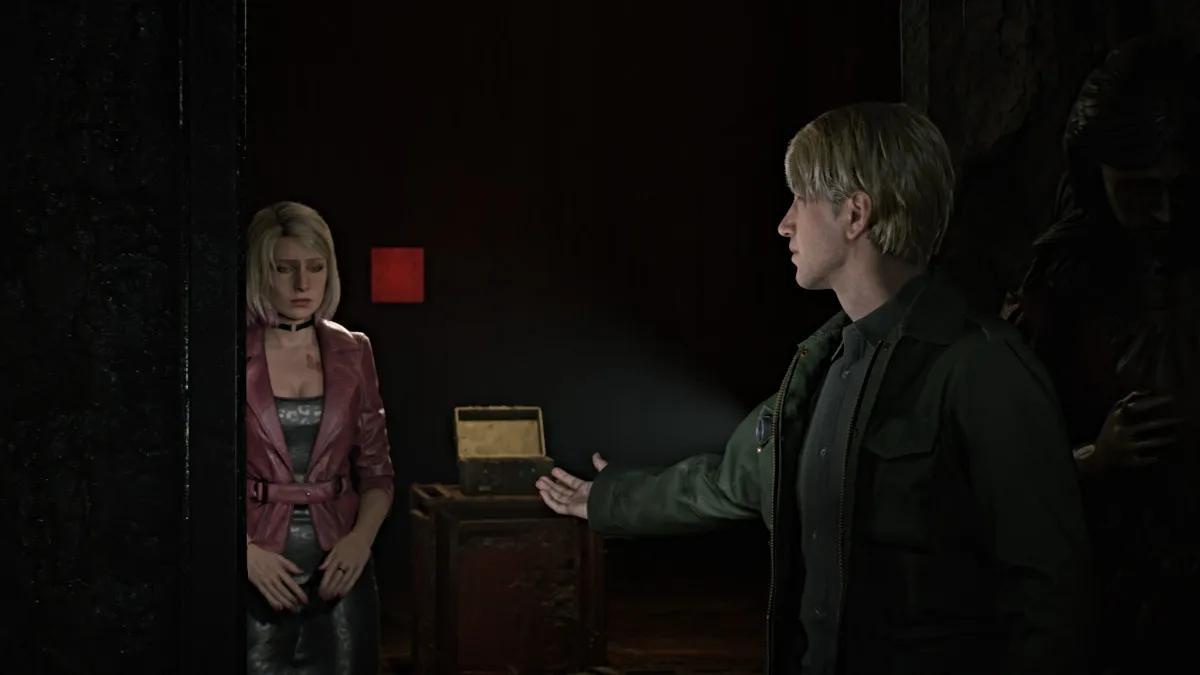
Once you're there, use the Red Save Point then go over to the Lady of the Door and place both rings on both hands. A cutscene plays as the door opens and James steps through, but Maria seems almost terrified to follow.
The path behind the door leads down a winding stairwell. Pick up the Ominous Note on the way down that reads, "It is done. Sick no more." Keep going down and there will be another Red Save Point for you to use if you haven't already. Continue down the steps and soon your map will be inaccessible, hinting that you've gone somewhere else entirely.
At the very bottom, go through the door and follow the path through the winding hallway. At a certain point, however, a cutscene triggers and James suddenly spots Pyramid Head approaching them, a spear in hand this time.
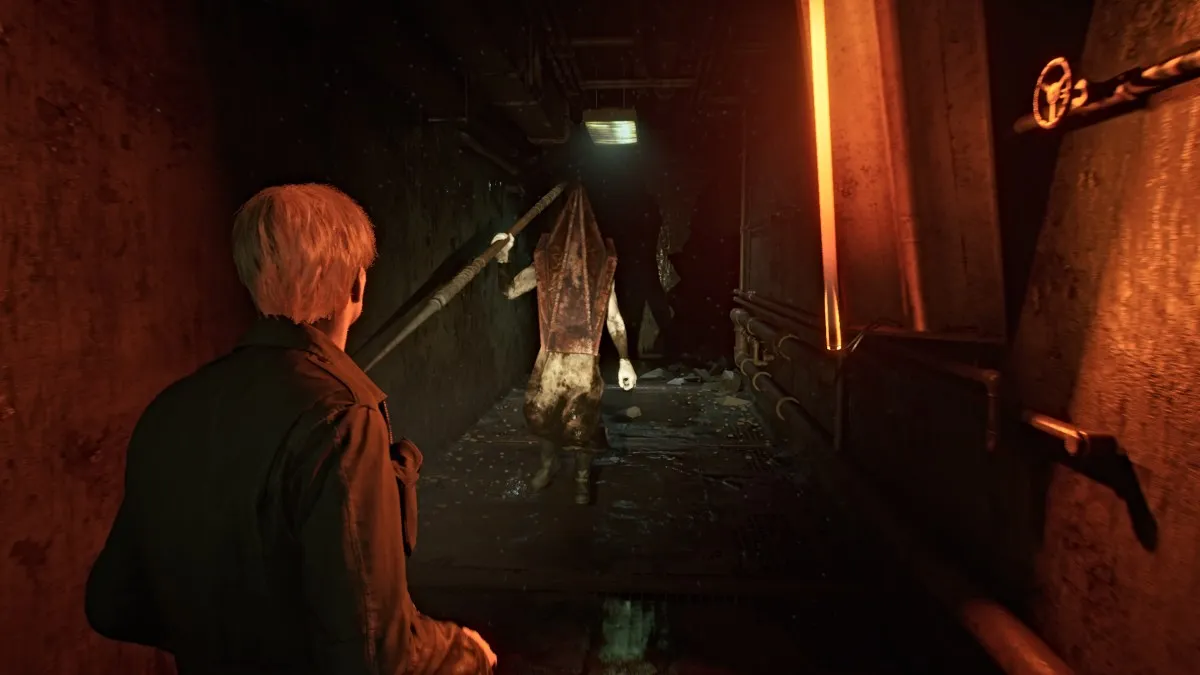
As soon as you regain control hit and hold your 'Sprint' button as Pyramid Head will be moving much faster this time, determined to catch both of you. Evade the obstacles that fall in your way and holes in the floor and keep going until you reach an elevator ahead.
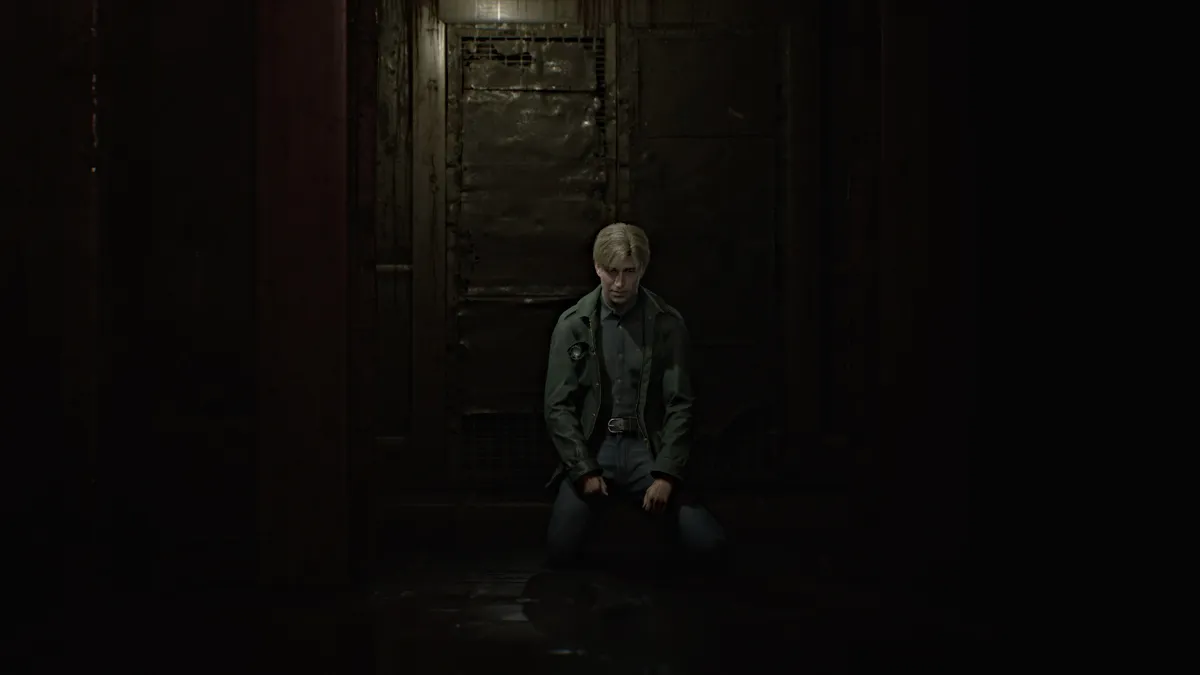
James gets in first but the elevator tries to force itself shut as Maria tries to get in. However, Pyramid Head catches up and impales Maria with his spear, killing her instantly as the elevator shuts closed.
Soon the elevator opens, bringing you back to the first floor. The music calms and the threat is gone, and no monsters are present. Make your way across to the Reception Office , and on the desk by the open window is the Hospital Entrance Key . James sees Laura run off down the street into the darkness.
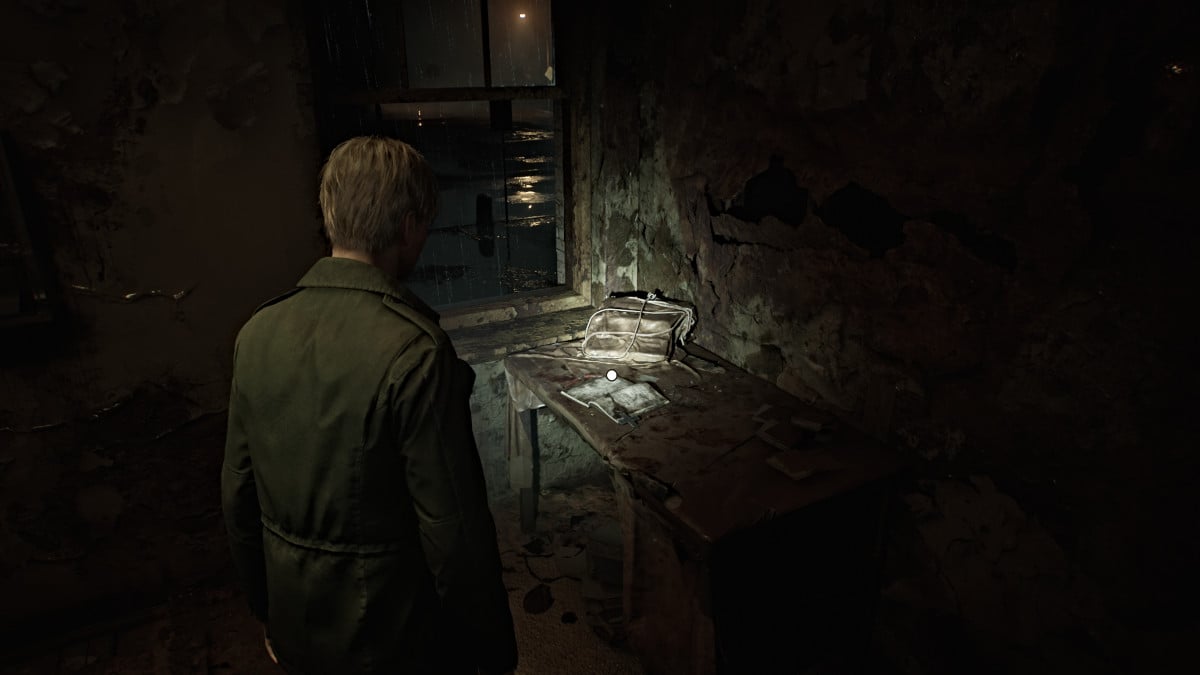

For now, make your way out of Brookhaven and into the stormy night.
Unfortunately, the Otherworld has now spilled out onto the streets and brought the monsters from the hospital with it, so tread carefully. Before you head straight to the story's next objective you can try to do some exploring in the area for items.
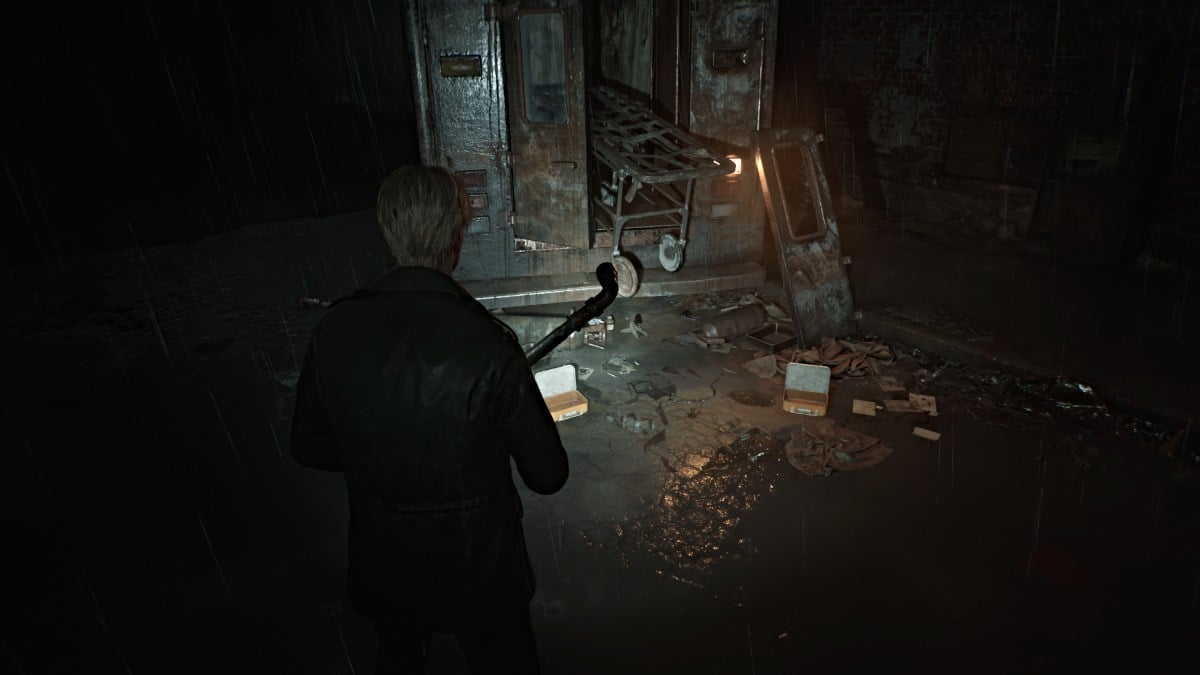
There isn't much to the left as the entire street is nothing but a chasm in that direction. There is a nearby wrecked ambulance that has a Health Drink and Syringe lying near it, if you feel up to dealing with the Bubble Nurses guarding it.
Head down the street to the right and you can find some Handgun Ammo and Shotgun Shells inside cars. Go through the door beyond a barricade near Heaven's Night and you can find more ammo in a nearby garage shed. Go all the way to the far right end of the street behind Heaven's Night where you'll see another shed area. On the right wall inside it you'll find a breakable spot, so tear it down and slip through.
Enter the Garage and grab the Syringe and Handgun Ammo , then use the Red Save Point on the wall. Head out and you'll catch Laura just beyond a gate ahead. Deal with the Bubble Nurse and Mannequin in your way first, then run to the far right corner where the door you used to get into Heaven's Night is. Some Handgun Ammo will be on the ground there.
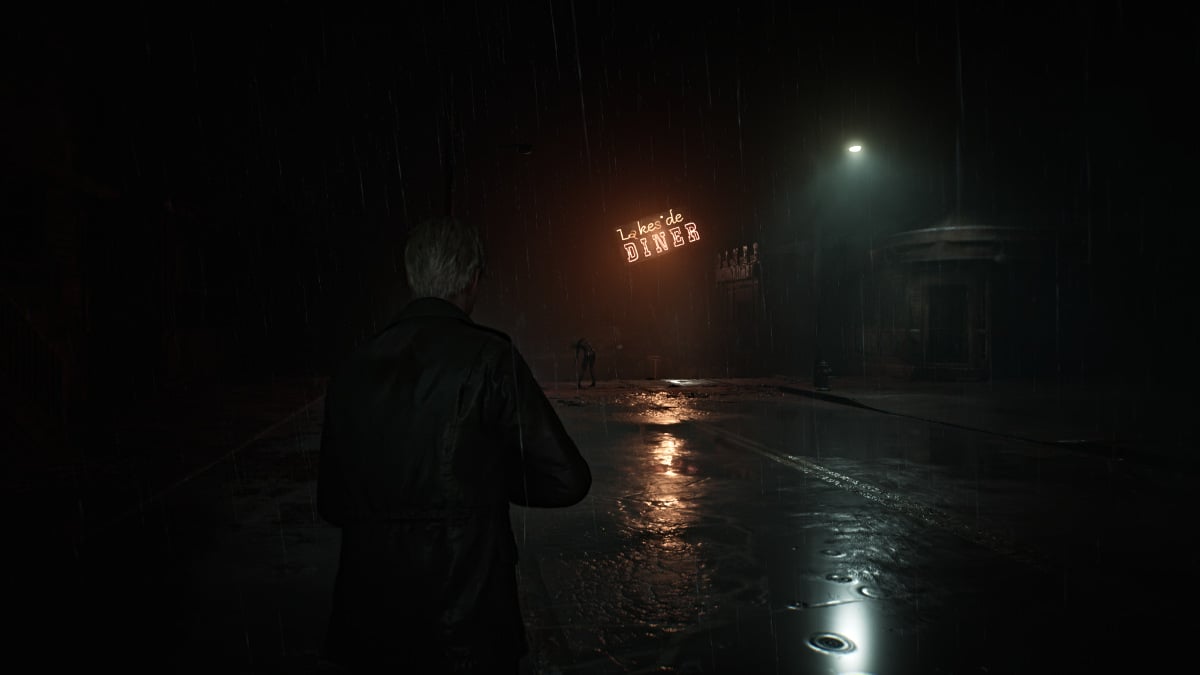
Backtrack to grab the handcart and push it in front of the gate, so you can jump over it. Soon you'll find yourself on Rendell Street and near the Lakeside Diner . First, grab Handgun Ammo sitting on the tire of a truck nearby then head towards the diner, then more on the front deck of a house on the left.
Deal with the Bubble Nurses in your way and then grab a Health Drink from one of the cars parked near the diner. Head inside and venture behind the counter for some Handgun Ammo and Shotgun Shells . Deal with more monsters in your way and use the double gate doors on the other side to leave.
Maneuver between the school bus and big rig truck, and you'll find more Handgun Ammo sitting on the bed of a pickup and Shotgun Shells on a barrel behind it. Pass through the gate back onto Rendell Street and head east. Be sure to check the front porches of the houses and cars you pass for more items.
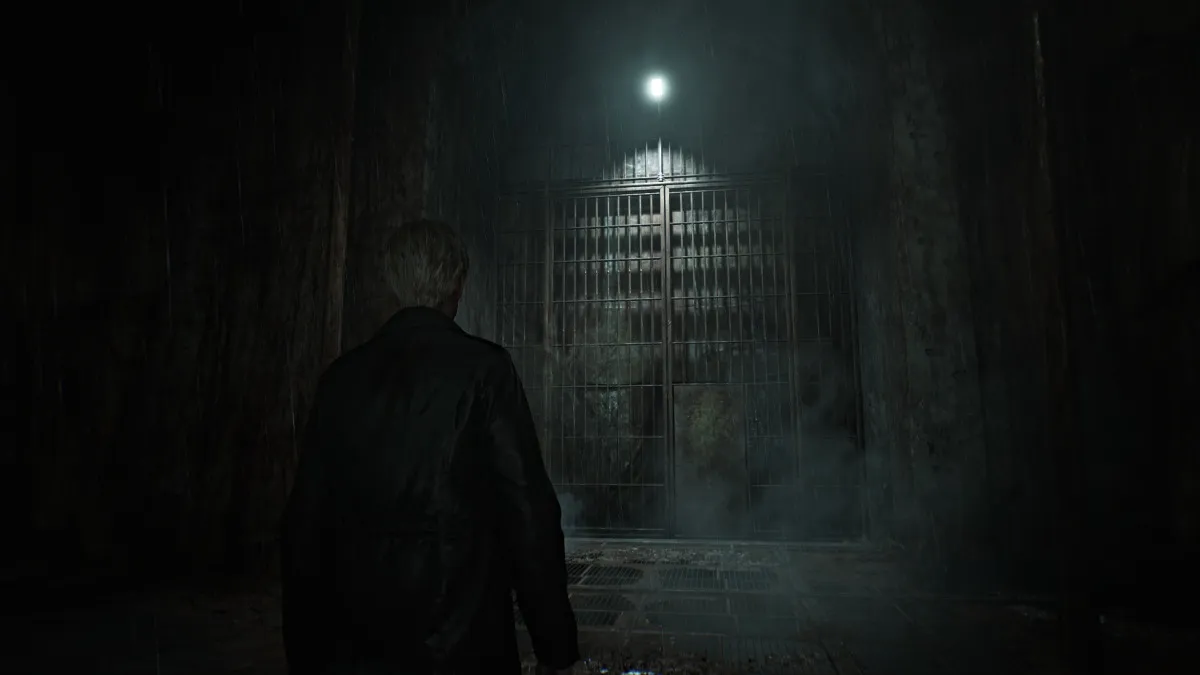
Soon you'll reach Munson Street , but there's nowhere to go but south towards the edge of your map. You'll catch another glimpse of Laura as she runs through a large gate, so follow her through. Cross the long and dark metal catwalk until you reach the other side.
Now you're back on the east side of town on Saul Street . Go into the Motor Home to your right, where you'll find a Red Save Point , Handgun Ammo , and the Note on a Map which has an ominously foreshadowing written message and a clue about where to go next for a "letter and a wrench ".
As you go further down the street, there will be a high crawlspace you can climb up and through to enter a warehouse. Navigate through it, pick up more ammo and deal with monsters along the way until you reach a breakable wall at the back of it. Slip through and continue on until you reach the other side of the chasm on Neely Street .
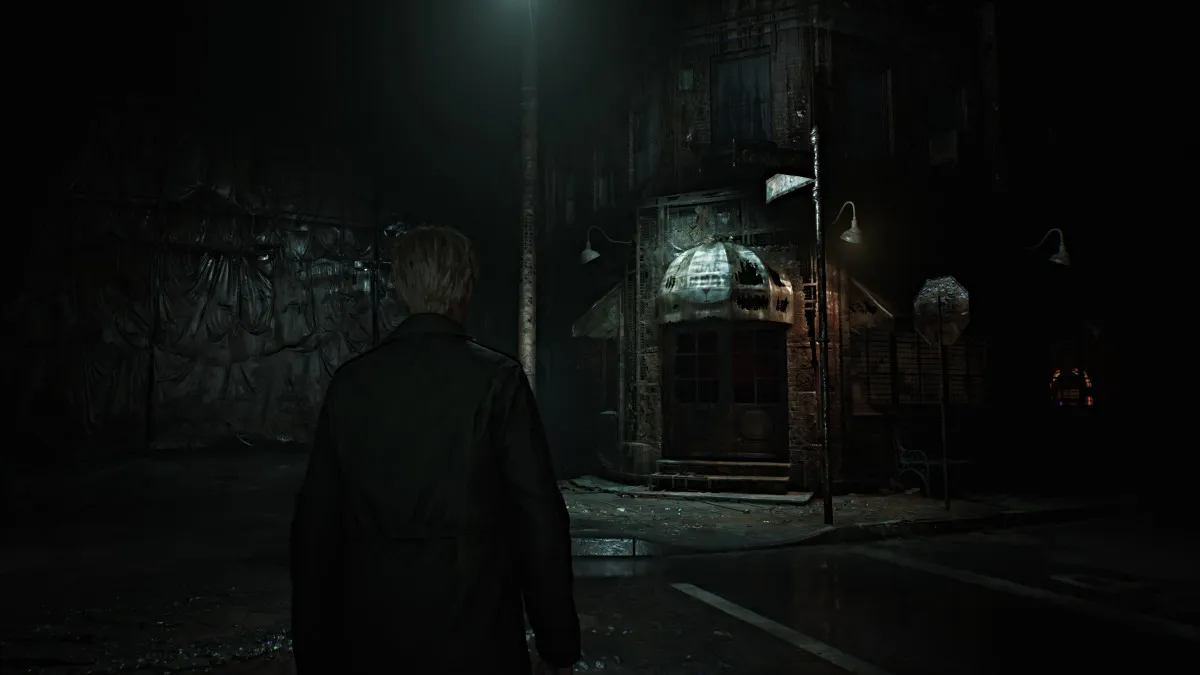
This will bring you face-to-face with Neely's Bar once again. Go inside and you'll see the jukebox is on, but rather than playing music it sounds like breathing. A threatening message on the wall behind it suggests that if he wants to see Mary "he should just die" but that he "might be going to a different place than Mary" when he does.
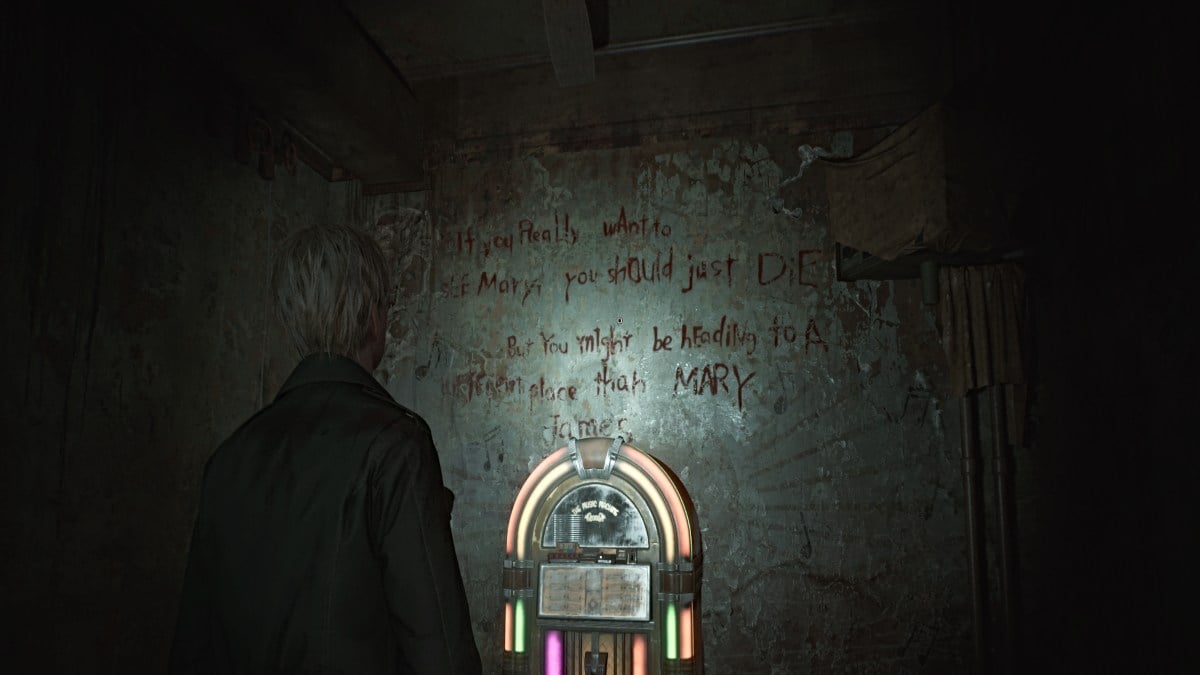
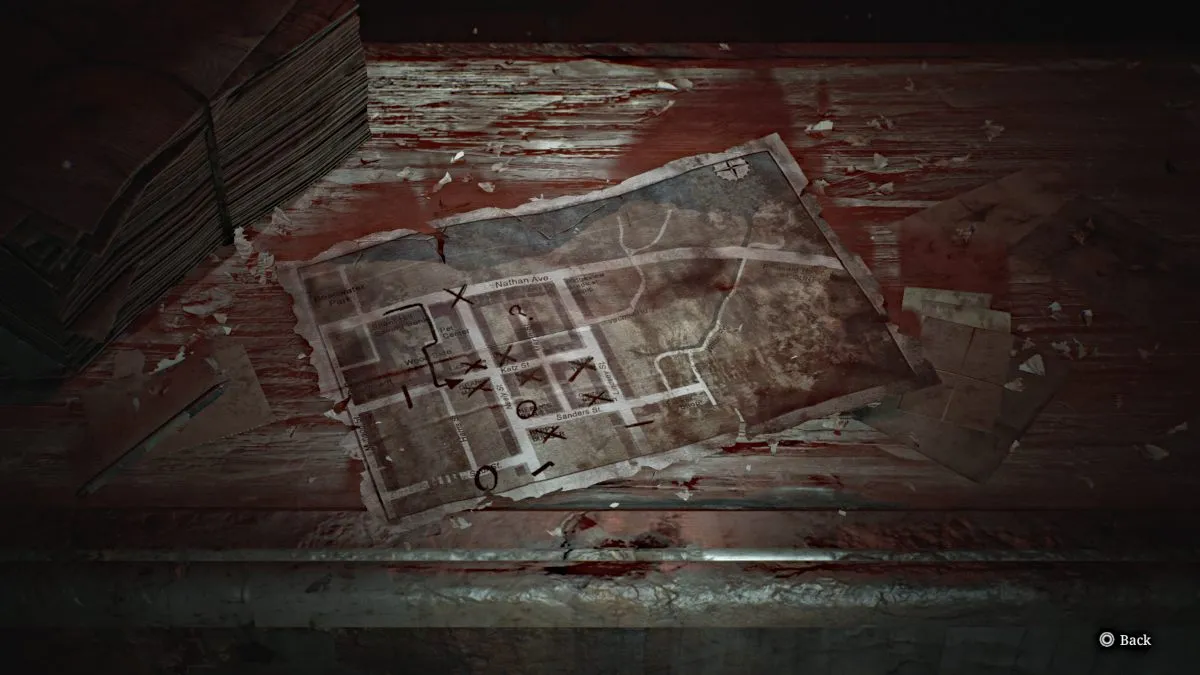
Go over to the counter to collect another Glimpse of the Past , then behind it for some ammo and a Red Save Point . Go to the door on the left that's slightly open and grab a Health Drink on your way out the back of the bar.
Go through the back alley area, grab some Handgun Ammo from a nearby car, a Health Drink on the ground near the chasm in front of you, and make your way around the corner to the back of a Laundromat . There will be a high crawlspace for you to climb up through.
Once inside, you'll hear a phone ringing somewhere nearby. Smash and grab the nearby Health Drink and deal with the two Bubble Nurses that approach you through the wall crack. Go through the crack yourself afterward, make your way through the front of the laundromat, and jump through the open window on the right to the street.
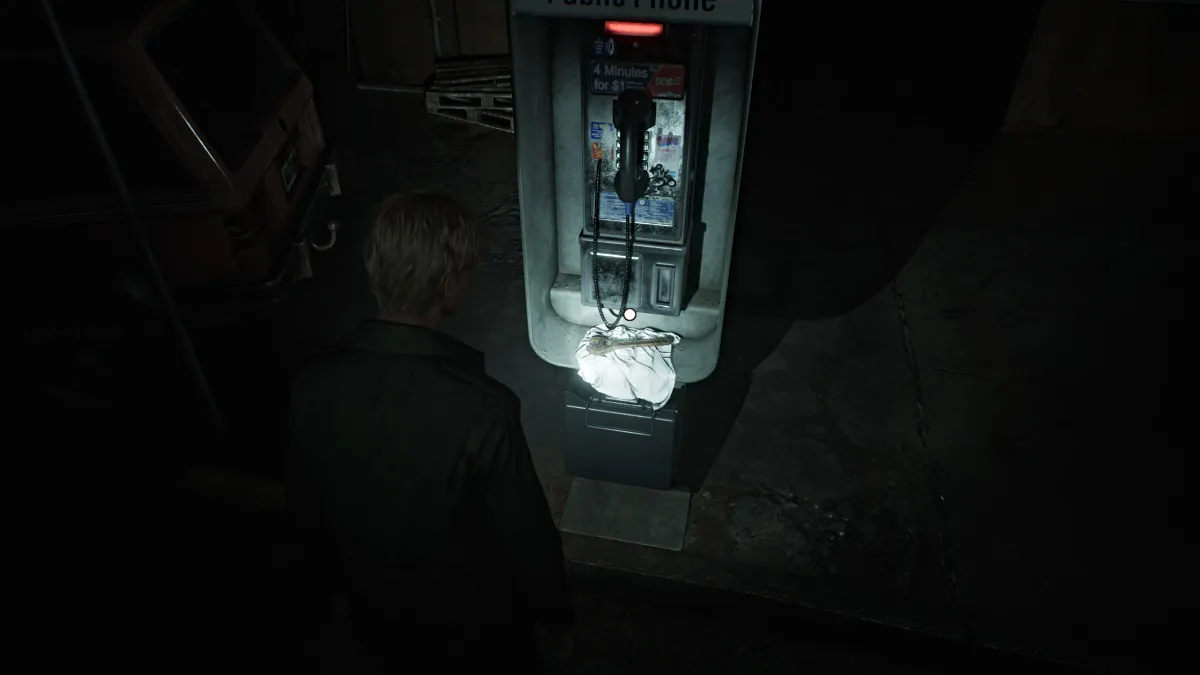
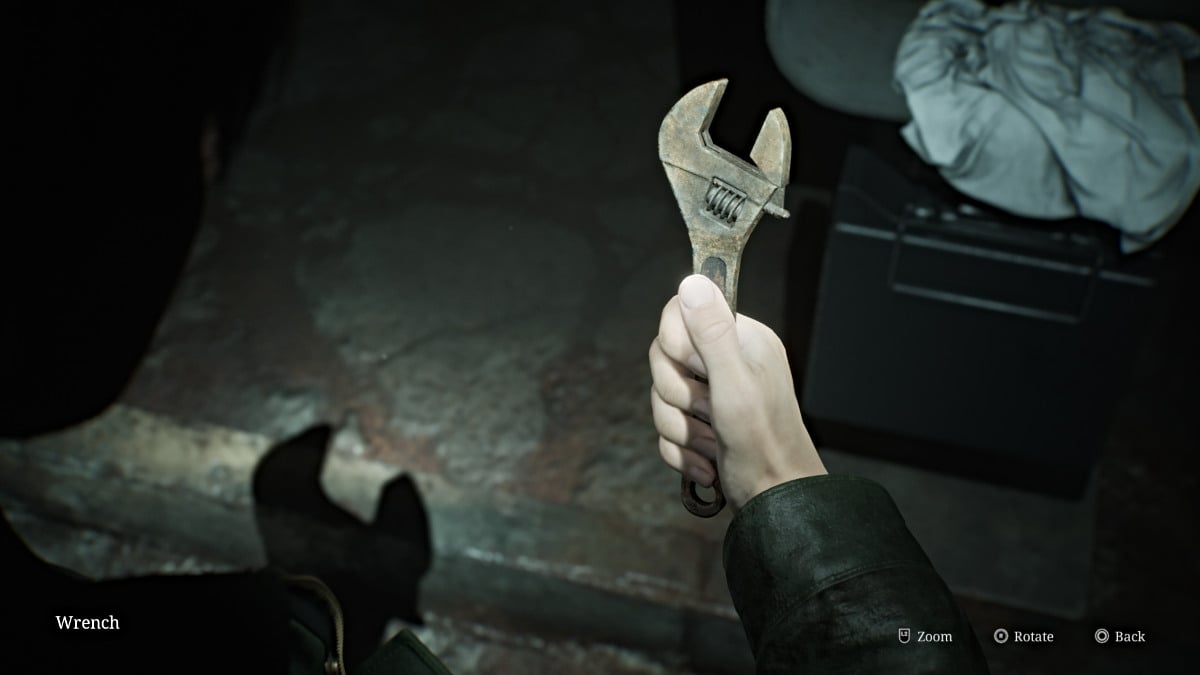
Turn left and you'll notice it's a payphone ringing. Walk over and answer it, but no one is on the other line. After James hangs up the phone, a piece of paper drops in the change slot. It reveals yet another message that implies that "the key is in the park, at the feet of the praying woman", and that "the wrench will open the gate". With that, pick up the Wrench sitting under the phone.
Now you'll need to head back north to Rosewater Park to find what you need. Head to Neely Street and run north until you reach a tall barricade with a door. Head through and you'll find another huge gate ahead. Use your Wrench to open it and pass through.
You'll find yourself going over another metal catwalk, but this time a new monster called a Mandarin is crawling beneath it. Even though it's beneath the grate, it can still attack you if too close, so keep your distance and keep running until you reach the end of the tunnel. Beyond that, you'll find yourself back in the same tunnel you used to enter Rosewater Park.
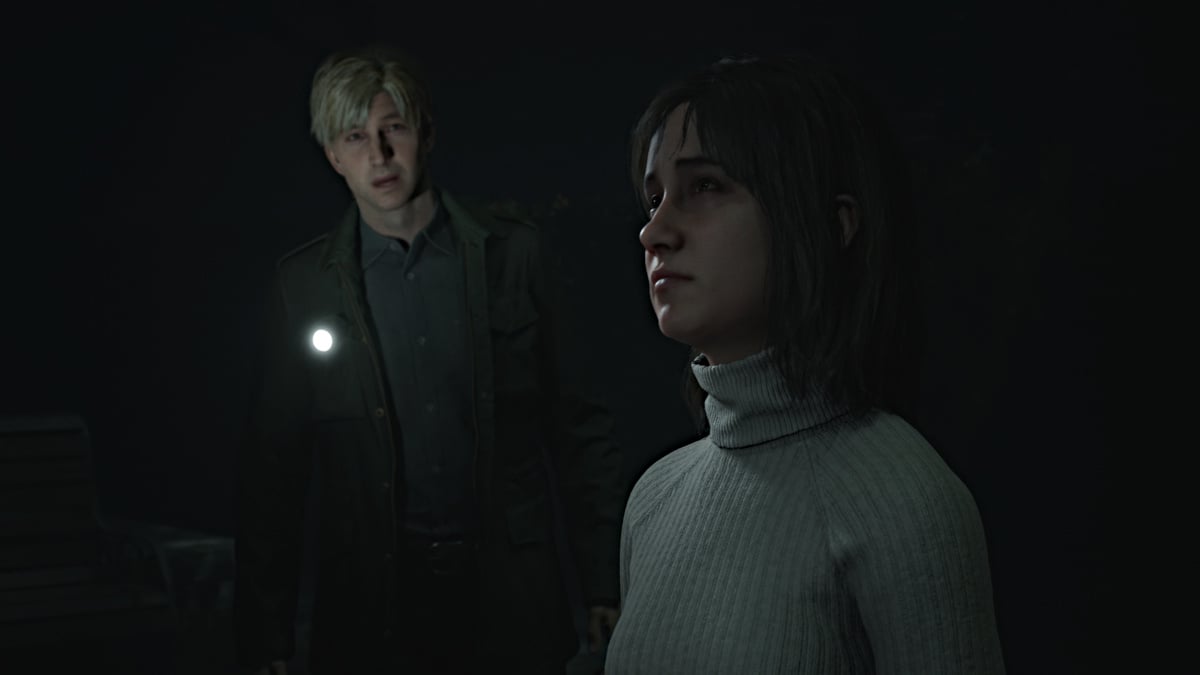
Head inside and make your way toward the west side of the entrance area. There are no items are monsters to worry about here, so just head straight for the iron gate on the west side . Follow the path straight across until you see what looks like a statue lit up ahead. Approach it and you'll notice that Angela is surprisingly there too.
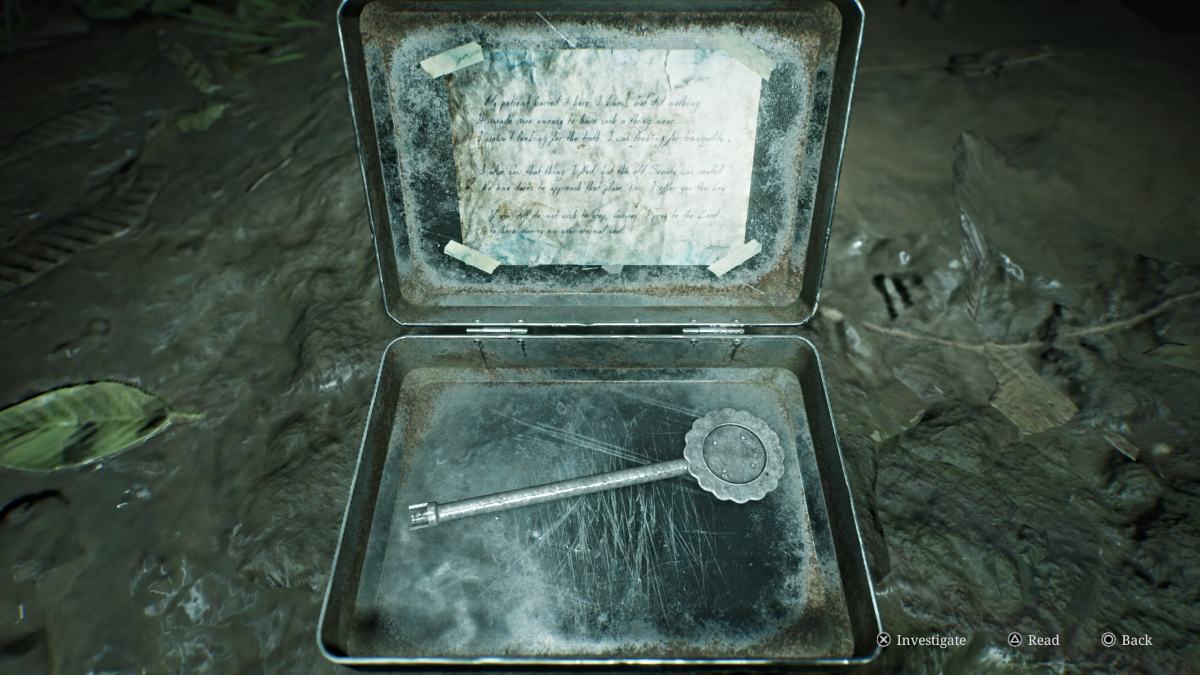
After the cutscene, interact with the praying woman statue and James will dig up a metal tin that contains the Historical Society Key . The Historical Society is located further west on Nathan Avenue , so leave the park and make your way there.
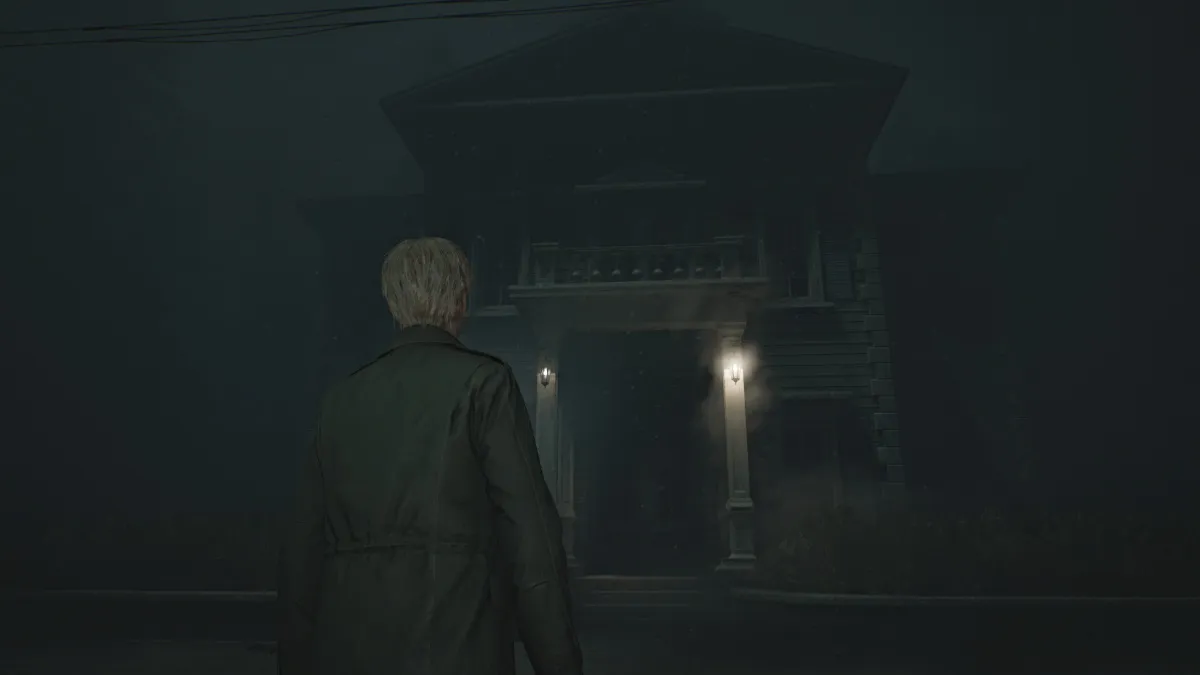
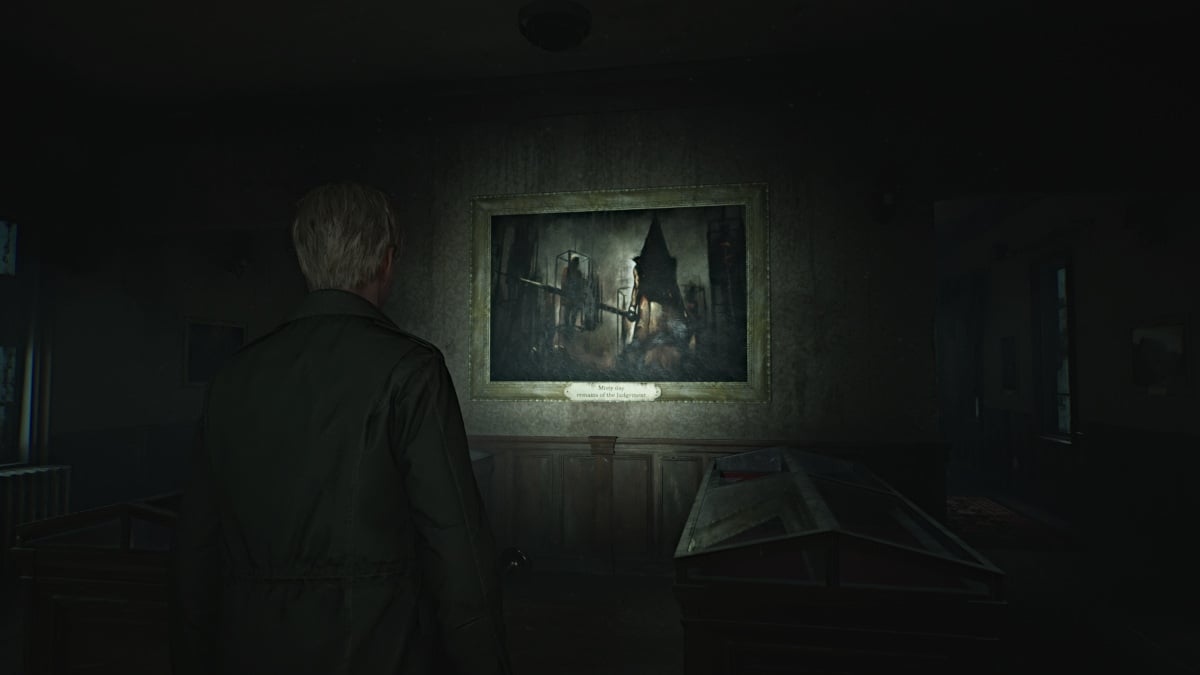
The journey along Nathan Avenue to the Silent Hill Historical Society is a somber and quiet one, as there are no monsters anywhere on the road. Soon enough you'll see the building lit up in the fog to your right. Use the Historical Society Key and head inside. Use the Red Save Point near the entrance.
As you explore, it's definitely hard to miss the portrait straight ahead that depicts Pyramid Head himself. Make your way toward the back of the museum and there will be a strange dark tunnel in the wall for you to enter. You won't be returning to the surface of Silent Hill for a while beyond this point .
The staircase you take down through the tunnel is very, very long, and the distant sound of foghorns accompanies your descent. That is a reference to the Little Baroness steamboat that sank in Toluca Lake decades earlier, of which there's a picture in the Historical Society.
This staircase seemingly takes you deep beneath the lake, but when you finally cross through a door at the bottom, you'll find yourself in Toluca Prison .
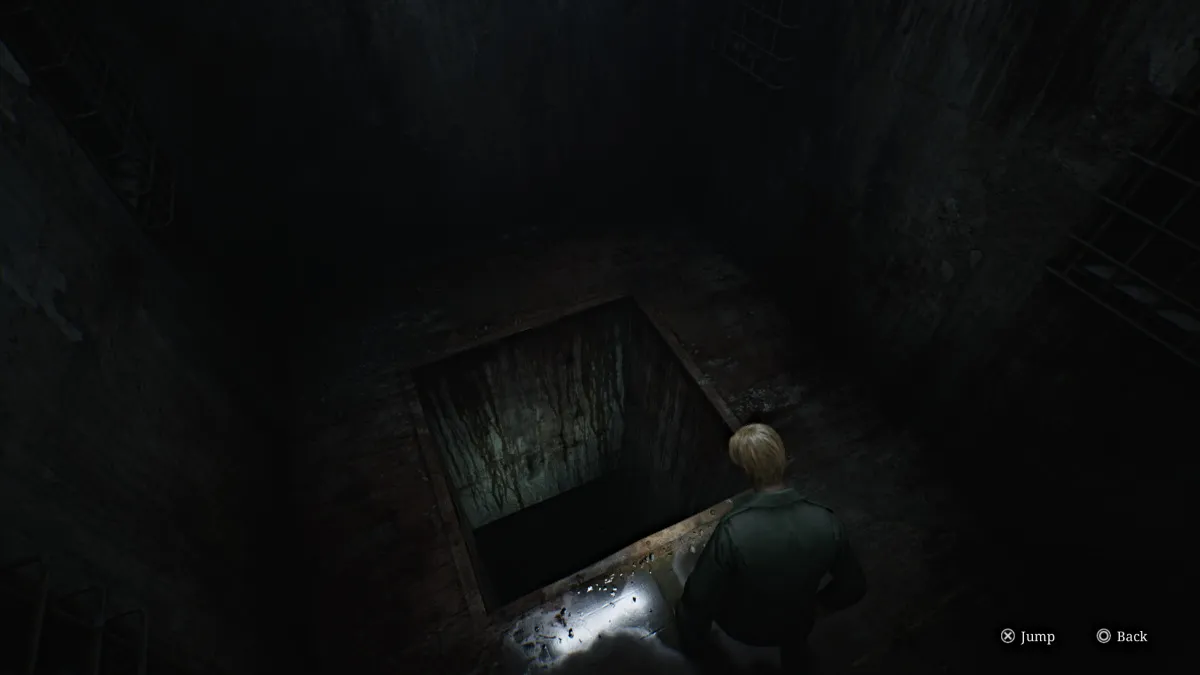
Grab the Syringe from a first aid kit on the table in the small room you pass through, then continue on through the next door. You don't have a map of this area yet, so keep an eye on your surroundings. The door to your right is locked, so head left down the hall . The path will diverge, and left is a dead end so go right .
You'll soon see another door, so go through it. Inside, you'll find nowhere to go but a large dark hole in the floor, forcing you to go deeper. Interact with it twice and James will hesitantly take the plunge.
Upon reaching the bottom, you'll find yourself in what looks like a well with no visible way out. There is a way out, however, and you just need to find the right spot on the wall to break through . Keep trying different spots until one lets you out and has a door on the other side.
You're now in what seems to be a flooded area of the prison, shaped like a maze. Go right and then turn left when you can and head straight towards the door ahead of you. Deal with the Lying Figure that blocks your way and you'll then see that there are two doors. The one in front of you is locked, so take the right door .
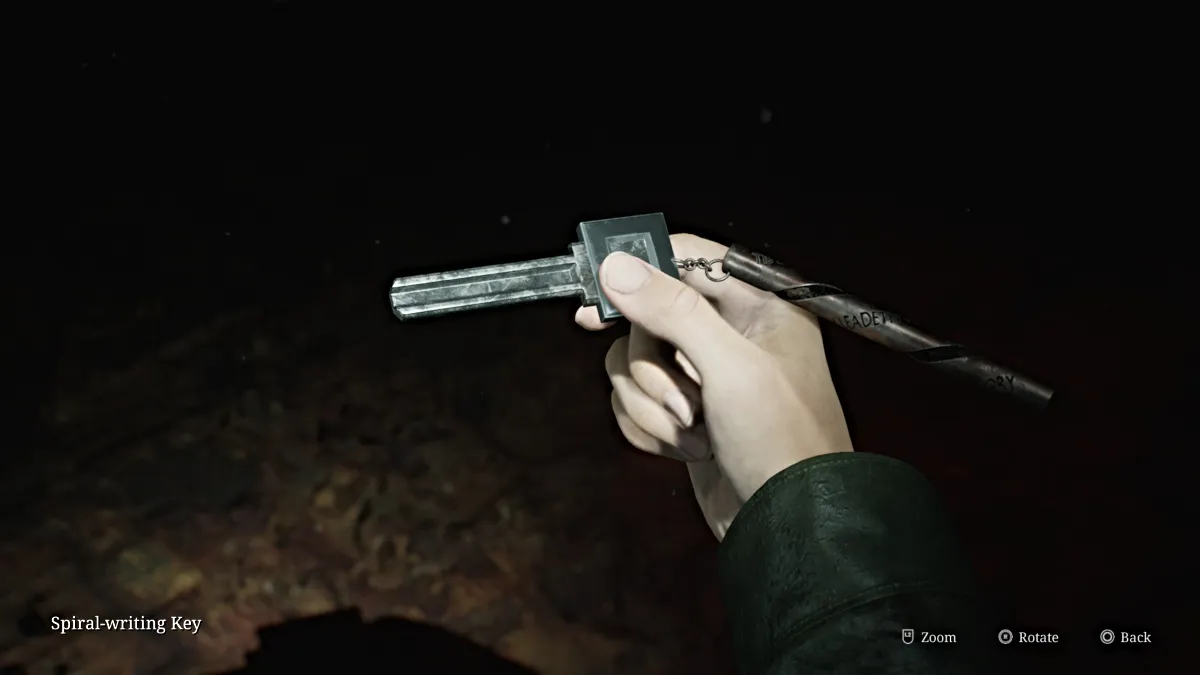
Down the hall ahead is what looks like another deep hole, but is blocked off by a locked prison gate. Backtrack a bit and go through the door on your right, where on the floor you'll find the Spiral Writing Key .
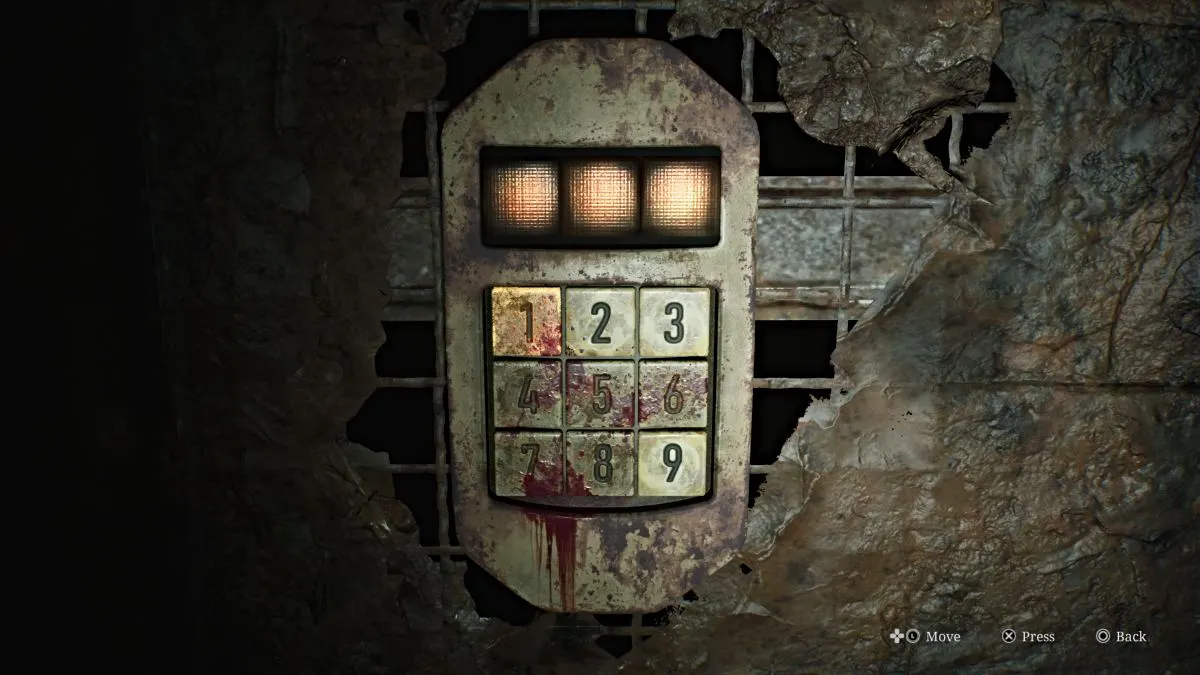
After picking it up, however, the lights will shut off and then turn back on to reveal the room suddenly covered in bugs who will bite James occasionally, causing damage.
To escape the room you need to use the keypad (seen above) and figure out the correct code, which is a random combination of the numbers 2, 3, and 9 (the only ones not covered in blood). The solution for every playthrough, regardless of difficulty, is entirely random , so it's an anxious test of trial and error. To help you out, here are all of the possible combinations for you to work through:
| 2-3-9 | 2-9-3 |
| 3-2-9 | 3-9-2 |
| 9-2-3 | 9-3-2 |
Once you break out, go back over to the locked prison gate and use the Spiral Writing Key on it, revealing the next hole for you to jump down. Interact twice to jump further into the abyss.
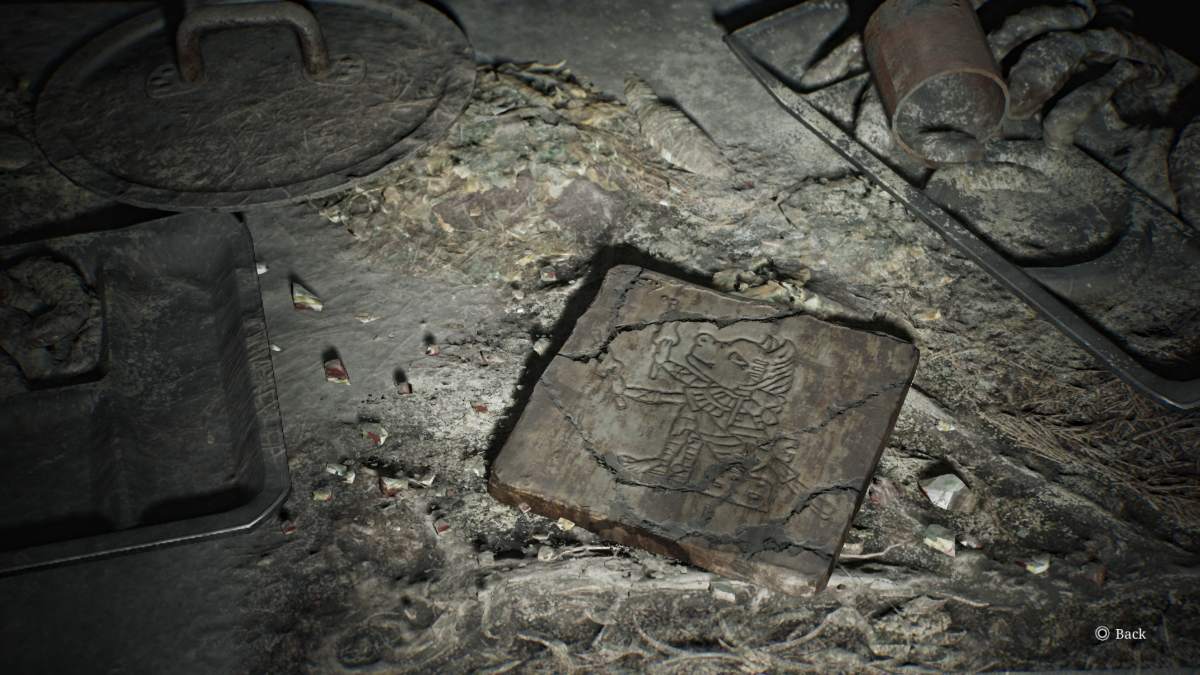
After your next fall, you'll land in the Canteen room of the prison. Grab a Health Drink from the food line at the back of the room, then explore the right side of the room to find a Glimpse of the Past on one of the tables. When you're ready, approach the body under the bright light hunched over a table, recently killed.
Eddie appears from the shadows, remarking that killing a person "ain't no big deal". James tries to understand Eddie's reasoning for what happened until it becomes clear that Eddie killed them for how they "looked at him". Eddie gets defensive when James reprimands him before opting to go off on his own.
Once he's gone, go through the same doors and ahead you'll find the prison's Armory . After using the Red Save Point , on the back wall, you can finally grab a map of the entire prison .
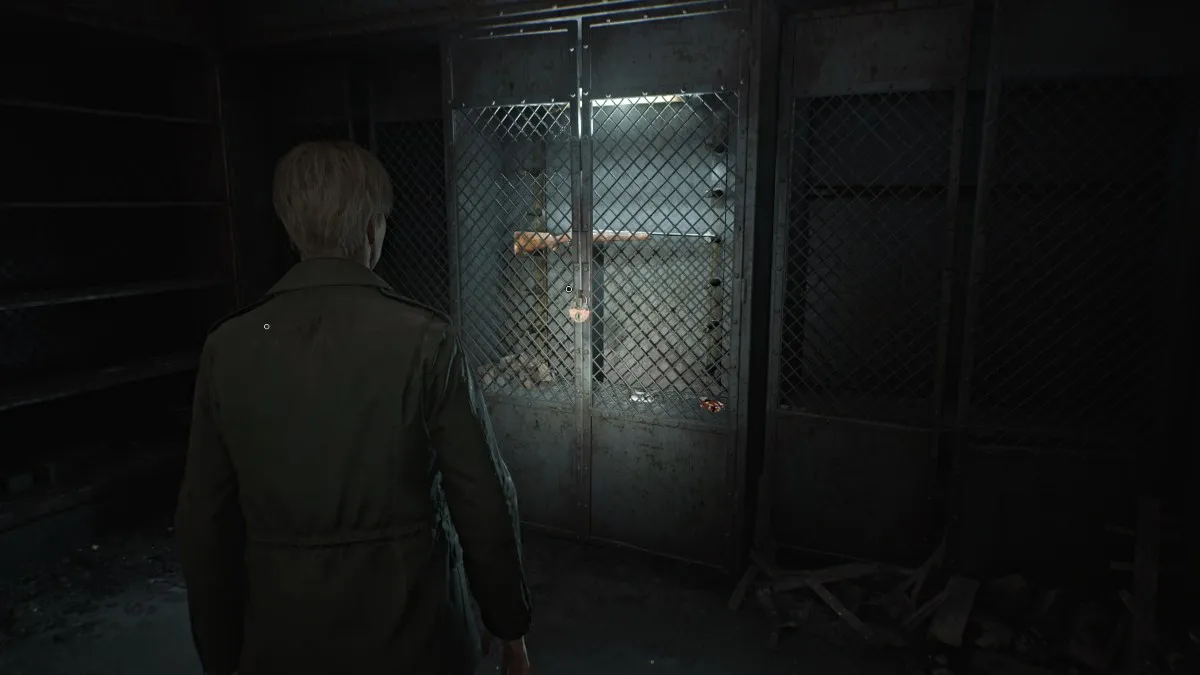
There's also Handgun Ammo , a Syringe , Rifle Ammo , and a Hunting Rifle weapon , though it's currently locked in a cabinet. You'll need to find the key for it, and thankfully there's a hint in the nearby Gun Cabinet Notice .
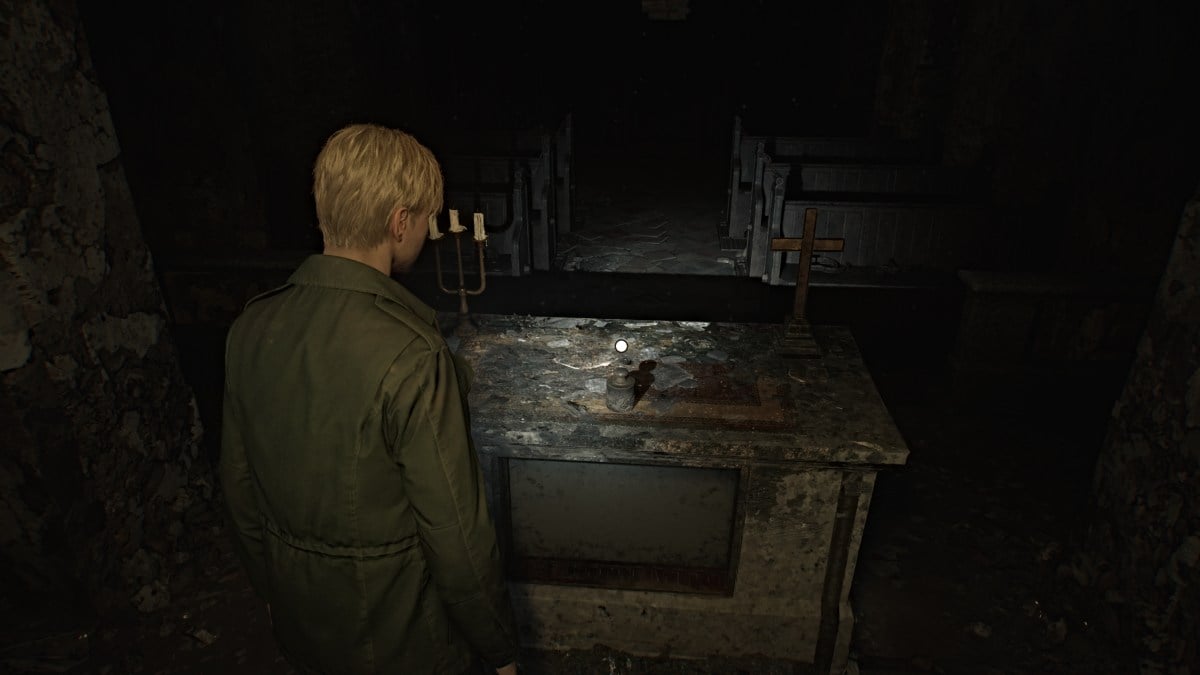
For now, start exploring the surrounding areas such as the Church to the left of the Armory. Inside you'll find an object called The Heaviest Weight up at the pulpit. Over in the Vestry you can find a Syringe .
Head next through the double doors to Block A and Block B . To your right as you enter, you'll notice a door with a Hornless Ox portrait on it. Meanwhile, over in Block B is a door with an Eyeless Boar portrait , the far end of Block A is a door with a Headless Serpent , and the door to the Basement has a Wingless Dove .
The levers on the walls can give you some temporary light in the block, as even with the flashlight it's uncomfortably dark. However, it will also send Mannequins scurrying up walls to the ceiling. Yep, you now have "Spider Mannequins" to deal with.
In Cell A3 you'll find Rifle Ammo and a Glimpse of the Past in the form of a shrine. In Cell A5 will be Handgun Ammo . Over in Cell A7 there's a crawlspace that takes you to Cell B1 , which has a Health Drink and a hiding Mannequin. Cell B3 has a breakable wall that lets you cross to Cell A9 and A8 , which has Shotgun Shells and another Mannequin.
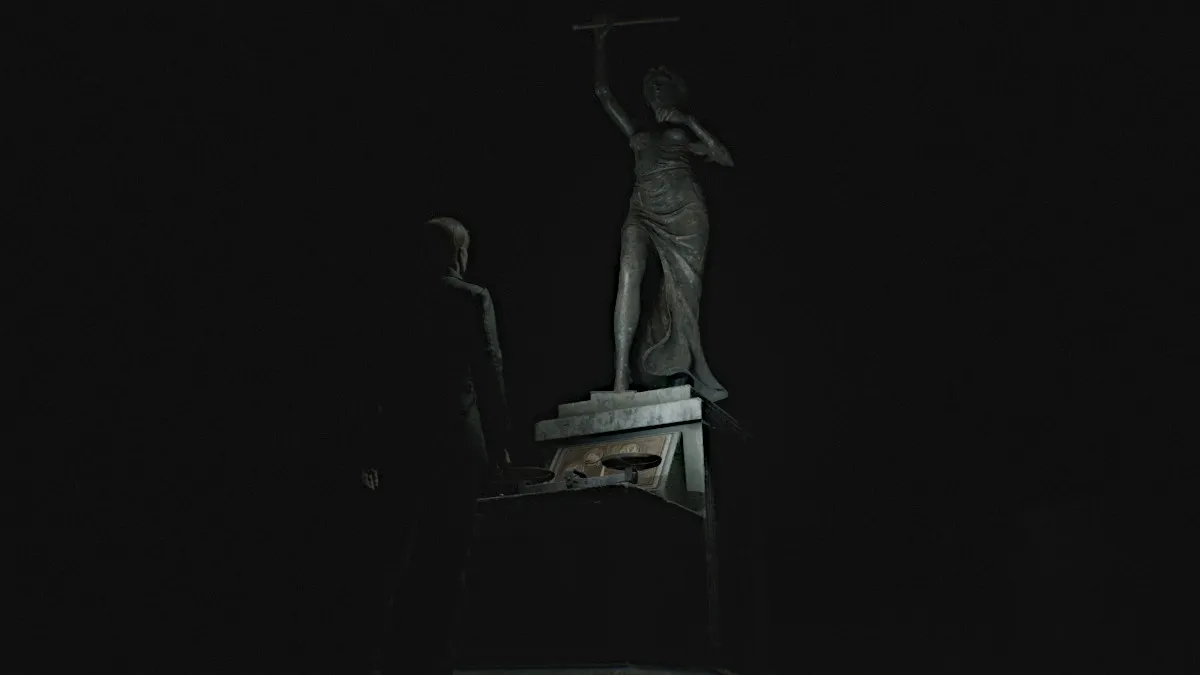
After exploring both blocks, head east down the hallway to the Yard , and use the Red Save Point to your left. This area is unbearably dark, but to keep your...bearings (aha), just run straight ahead. You'll hear a strange galloping noise circling around you, but rest assured there are no monsters in this area.
You'll soon see something ahead of you with a cover over it. Interact to pull it off, revealing a statue with a scale contraption at its base. This is where you put The Heaviest Weight to use, as you need to use it with the smaller weight already available.
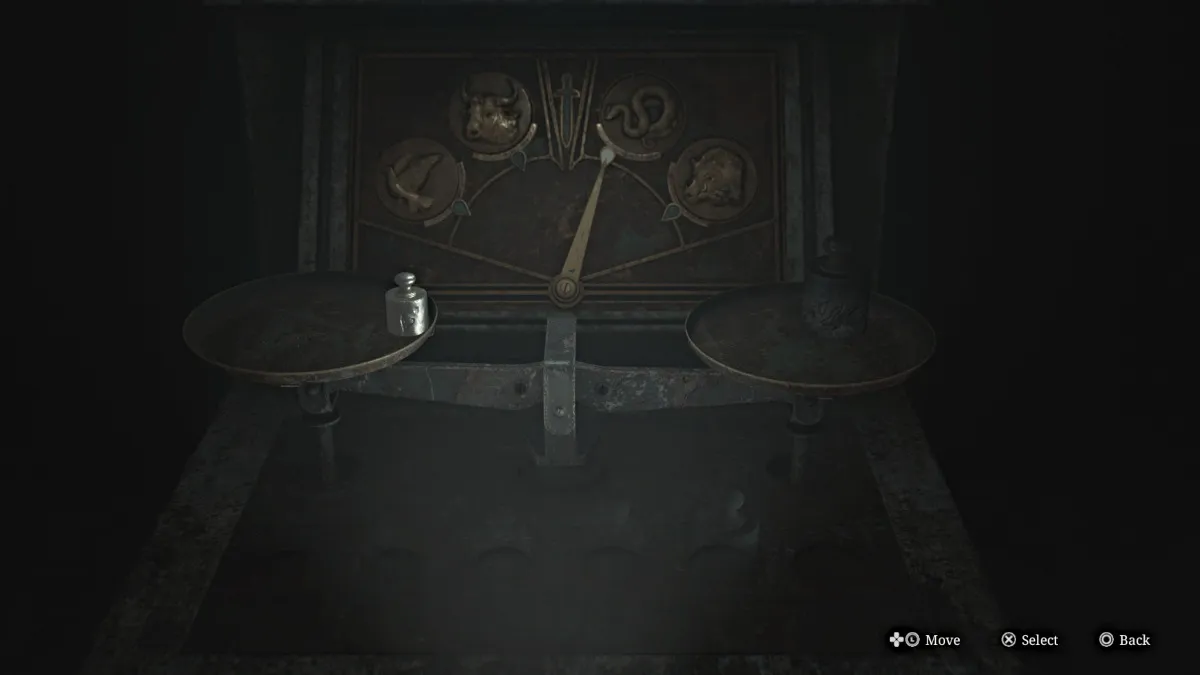
Place the smaller weight on the left scale, and the Heaviest Weight on the right scale , which will tip the arrow above it to the Serpent symbol. This means the Serpent Door within the prison has been unlocked. Head back inside.
The Serpent Door is over at the far end of Block A, to your left after returning from the Yard. Head through it and you'll pass by a lit room with an electric chair in it.
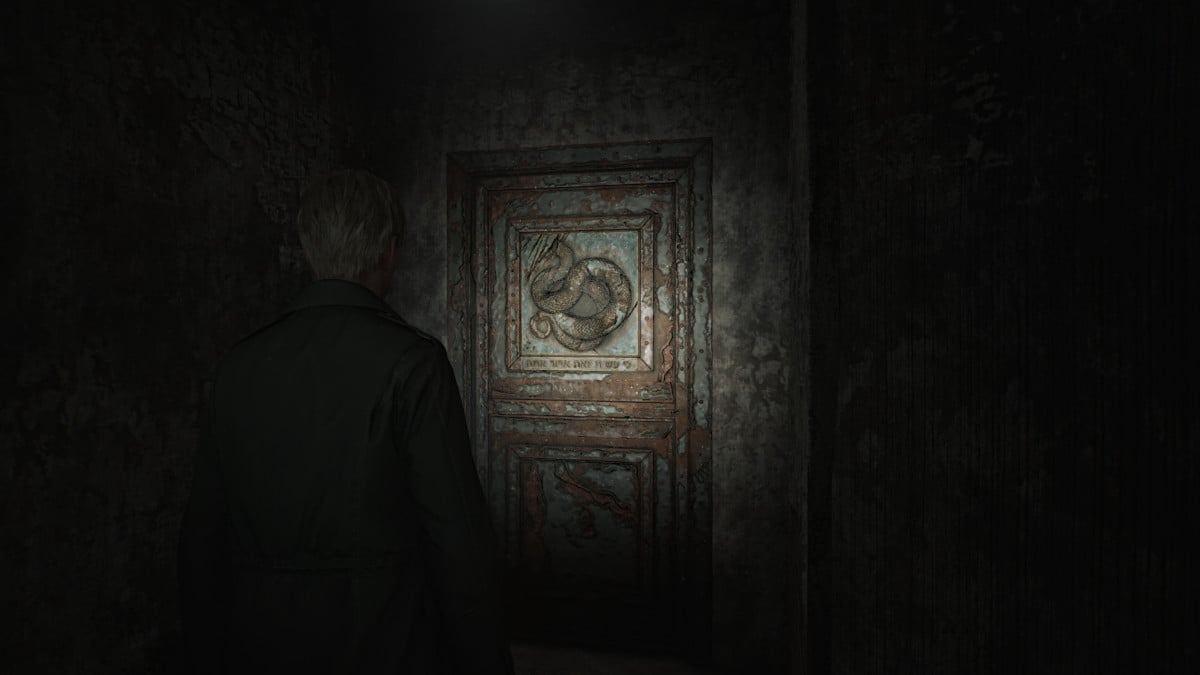
Enter the Guardroom , where you can find a Syringe , Shotgun Shells , and another wall lever you can use to light your way while keeping the spider crawling Mannequins at bay.
Make your way down the block, and in Cell E4 you can grab the Family Photo (memo). Further on, the room next to the Death Chamber has some Handgun Ammo . Now make your way across to the other side of the block, which has much higher ceilings crawling with spider Mannequins. Do your best to keep the lights on as you explore and deal with them when they jump back down to attack.
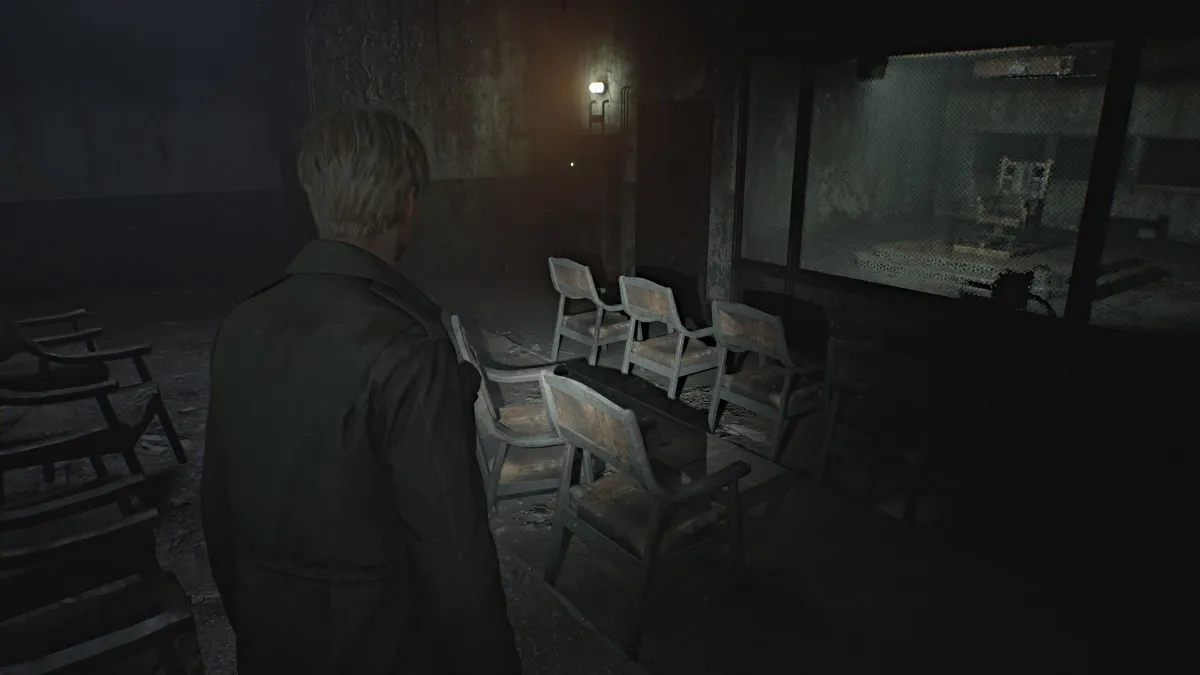
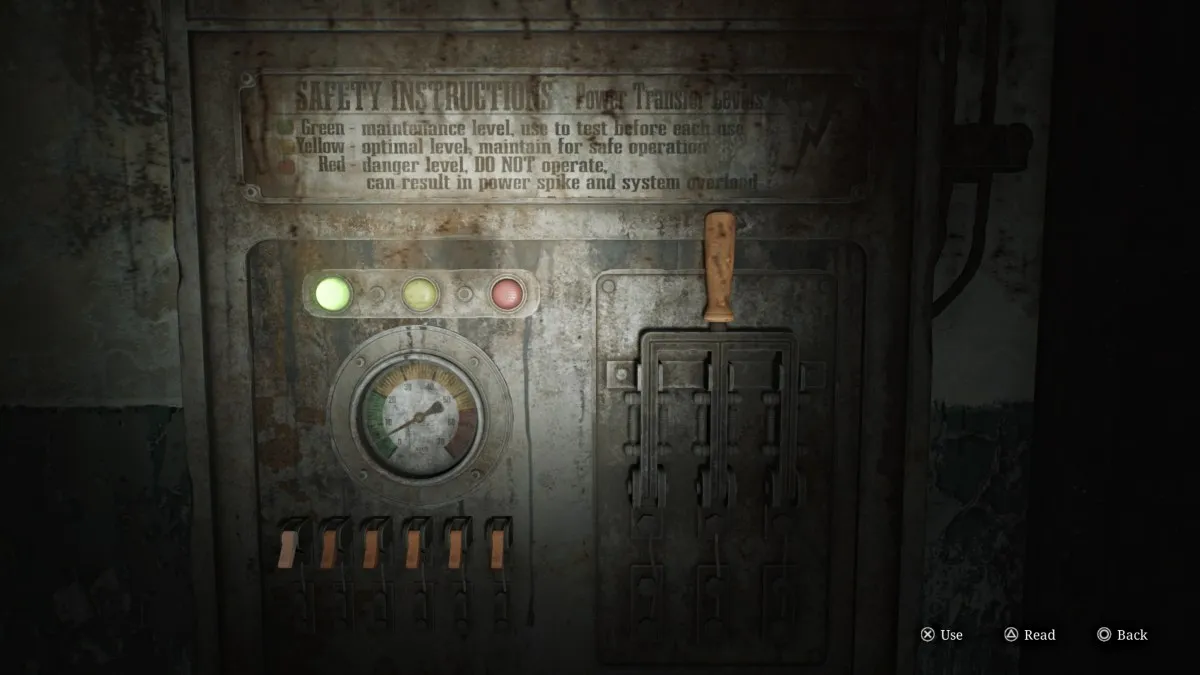
Investigate the rooms on the northeast side, including the Witness Room where you'll find, Handgun Ammo , a Red Save Point , and the machine used to operate the electric chair. Interact with it and you'll see a power gauge along with a sequence of switches and the lever to pull when ready.
The instructions note that you don't want to throw the lever when the power is in the red, but that's actually exactly what you want to do. You'll need to press the switches in the correct order to where they're all turned on at once , sending the power to maximum. Once you have, pull the lever which will overload the power system and automatically unlock all cell doors in the area.
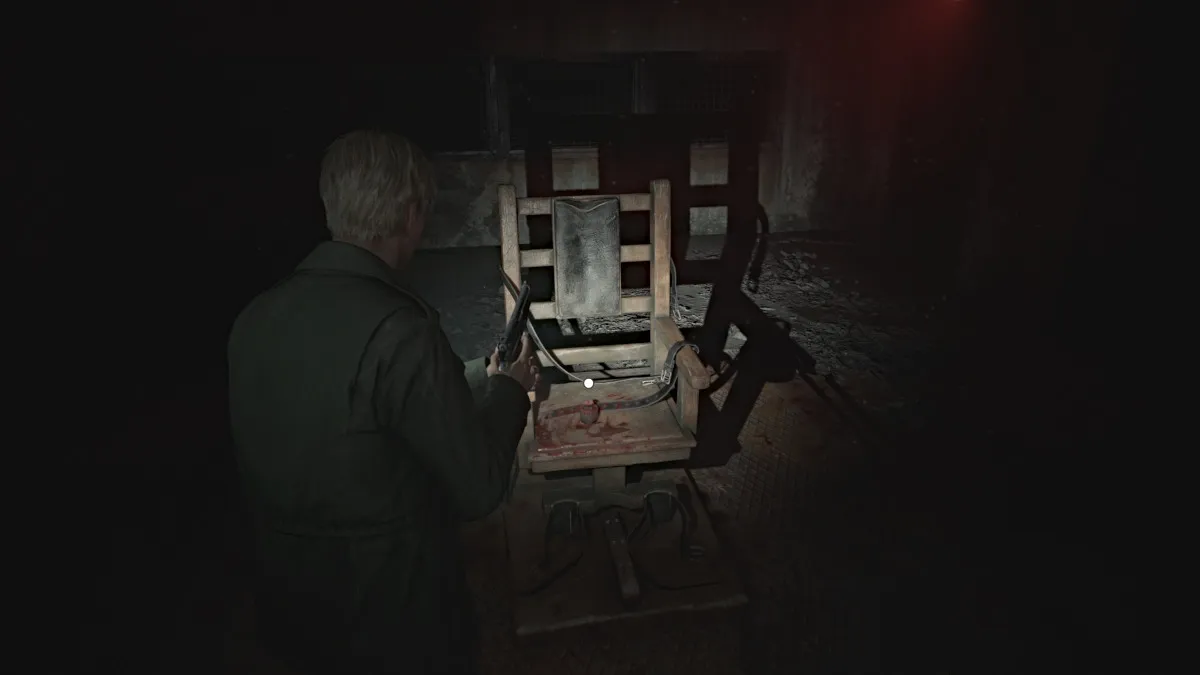
This means you can now enter the Death Chamber and claim the Medium Weight sitting on the electric chair. Now you need to focus on making it through the rest of the block alive, as the alarms have riled up all monsters in the area, and you can no longer use the lights. The path you came in is blocked so exit via the Death Chamber.
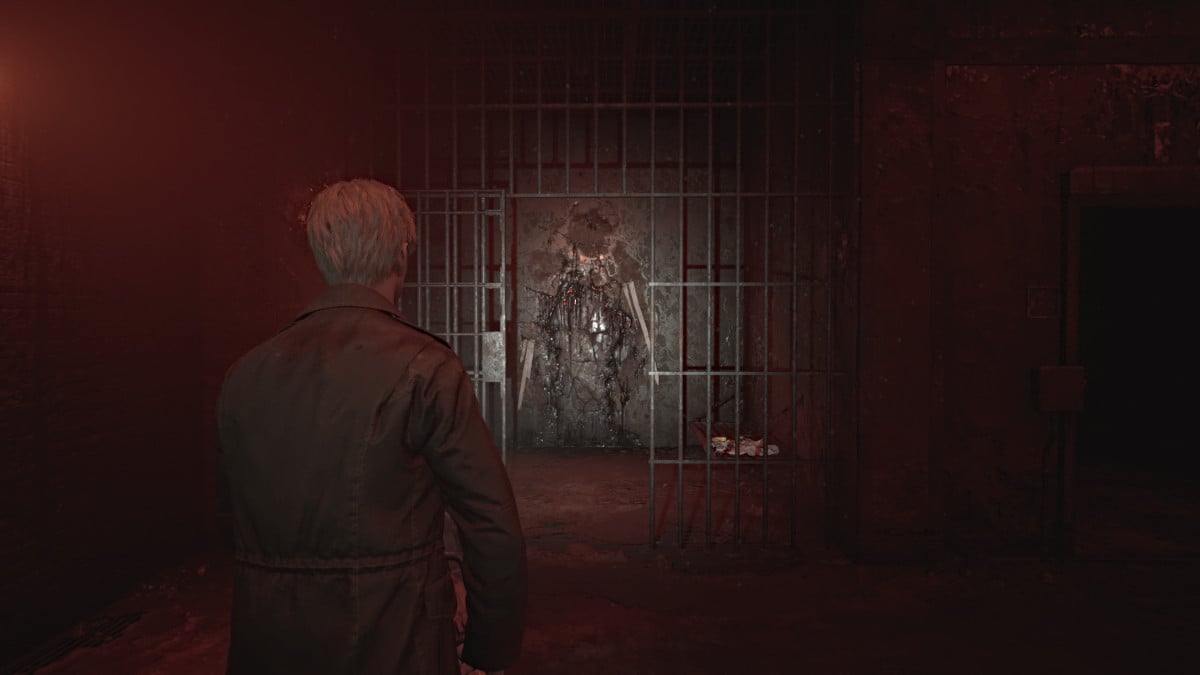
Explore the open cells to find more Handgun Ammo , Shotgun Shells , and a Health Drink . In Cell E1 near the start of the block is a breakable wall, so bash it down to get to the other side of the block. You can find several more Shotgun Shells in the cells on this side. When ready, go into Cell E10 and slide through the wall gap into the Witness Checkpoint area.
Pick up the Handgun Ammo and Health Drink you find here, as well as the Armory Key hanging in a cabinet on the wall. This will allow you to go and claim the Hunting Rifle . Head back to the Armory and do just that, then use the Red Save Point before heading back to the Scales of Justice statue in the Yard.
Once you return to the statue in the Yard , your next objective is to place the smallest and Heaviest Weight on the left scale, and your newly acquired Medium Weight on the right scale . Upon doing so, the Hornless Ox Door (seen above) near the entrance to the entire block will unlock.
Head back and through the new door then up the stairs to the second floor of the prison. This area is absolutely crawling with spider Mannequins, so keep your wits about you as you progress through. Go down the first row of cells on the right and use Cell C2 to cross into C3 . Cell C4 has a crawlspace but requires a key to be unlocked . Grab the Health Drink from Cell C5 then head to the Guardroom on the right side.
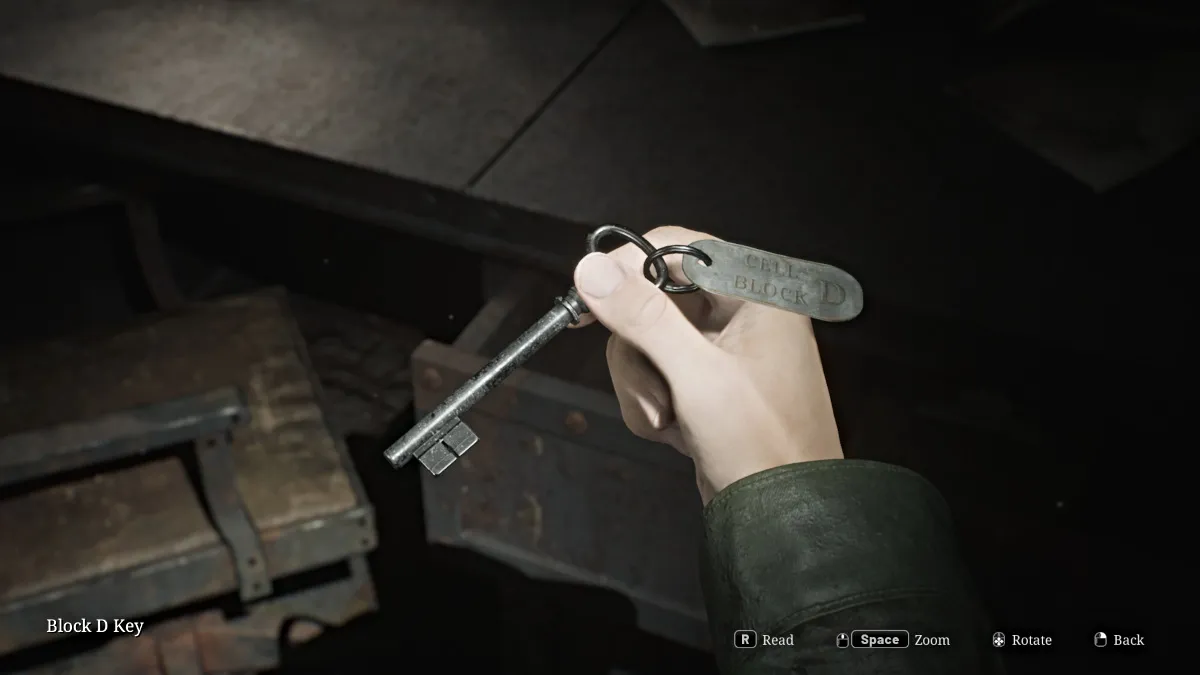
Inside you'll find the Block D Key in a desk drawer along with a Red Save Point , some Handgun Ammo , and a prison guard's notes about something important in Cell D5 . Start making your way to the other side of the block. Use the breakable wall to get into Cell C6 for a Health Drink and a Syringe . Continue down the walkway and use the Block D Key on the door ahead to get into D Block.
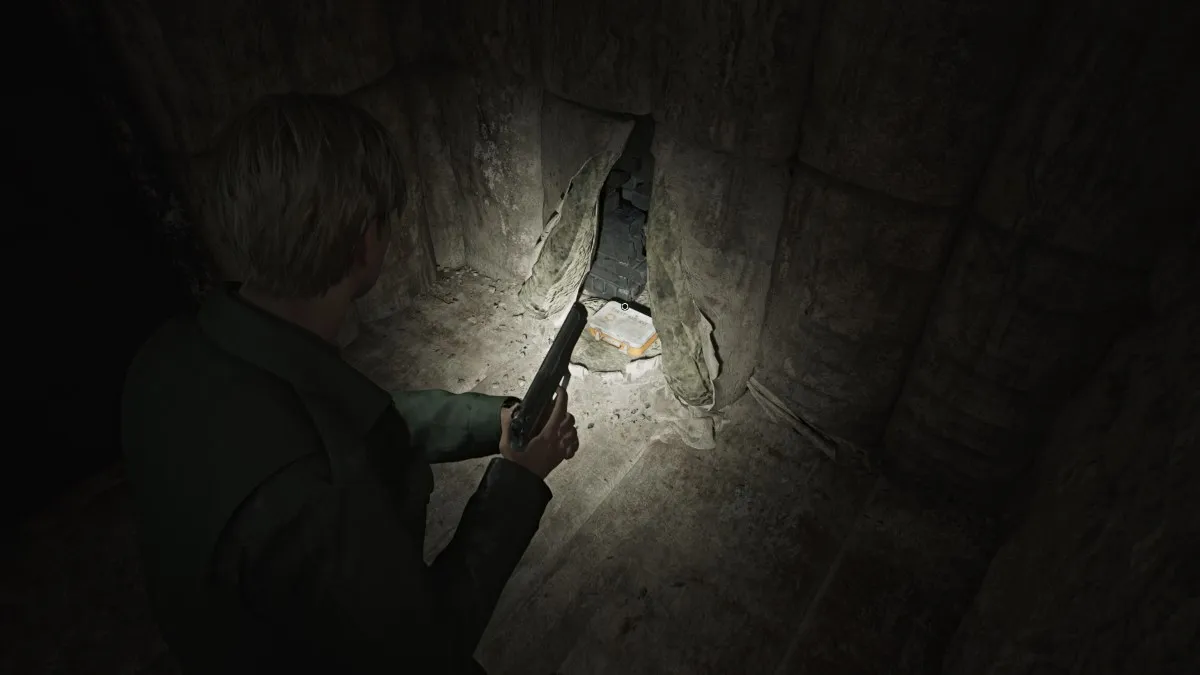
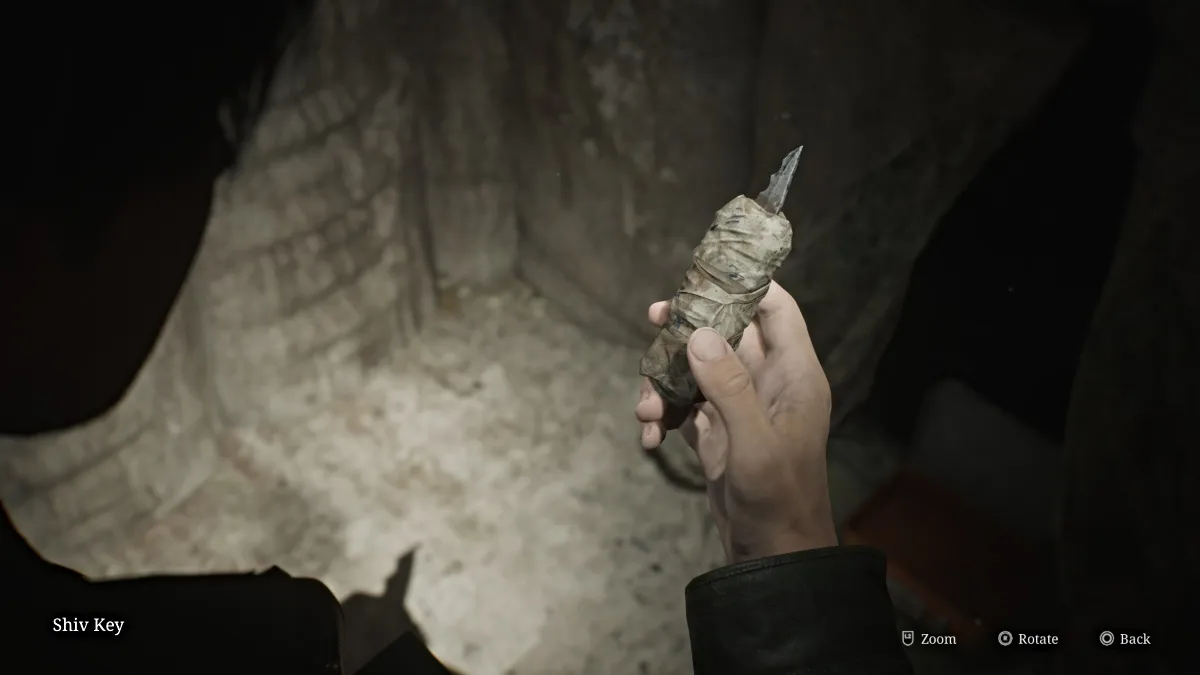
Keep the lights on as you make your way around to Cell D5 , which is a padded room. Inside a first aid kit box you'll find the Shiv Key , and the Threatening Note on the wall that says "we could both use a bath". With that, head back across to the C Block and use the Shiv Key on Cell C4 .
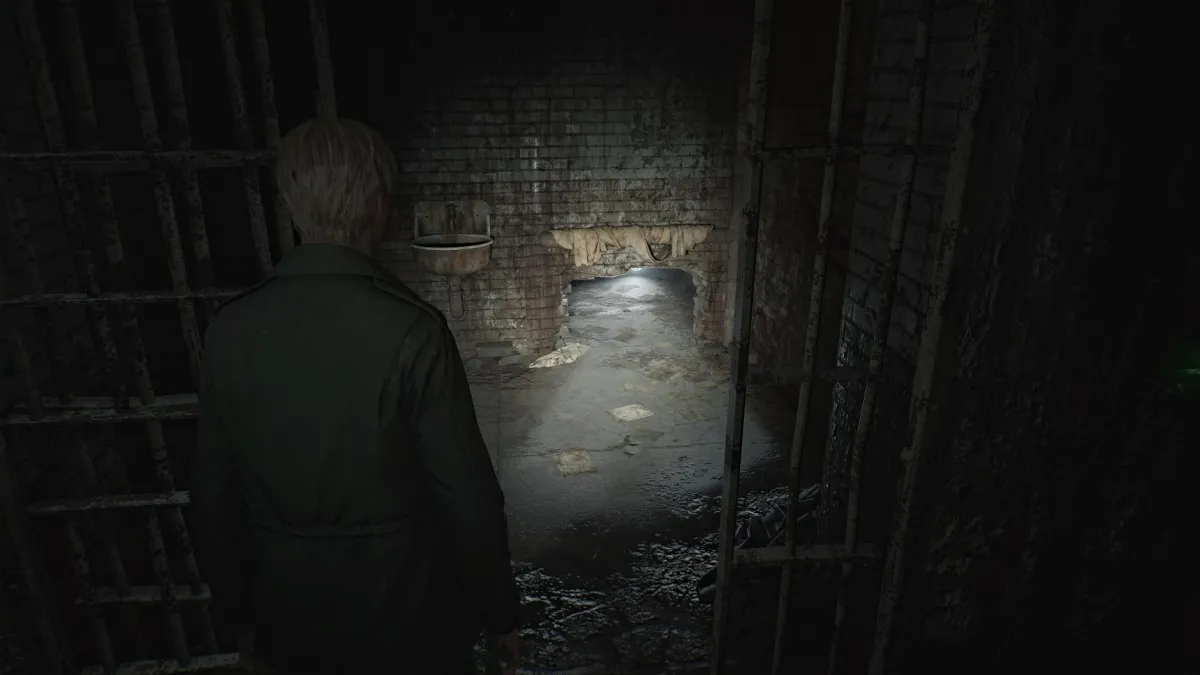
Slip through the crawlspace and grab the Paranoid Note off the pipe. Slip between the pipes on the left side, then down through another crawlspace.
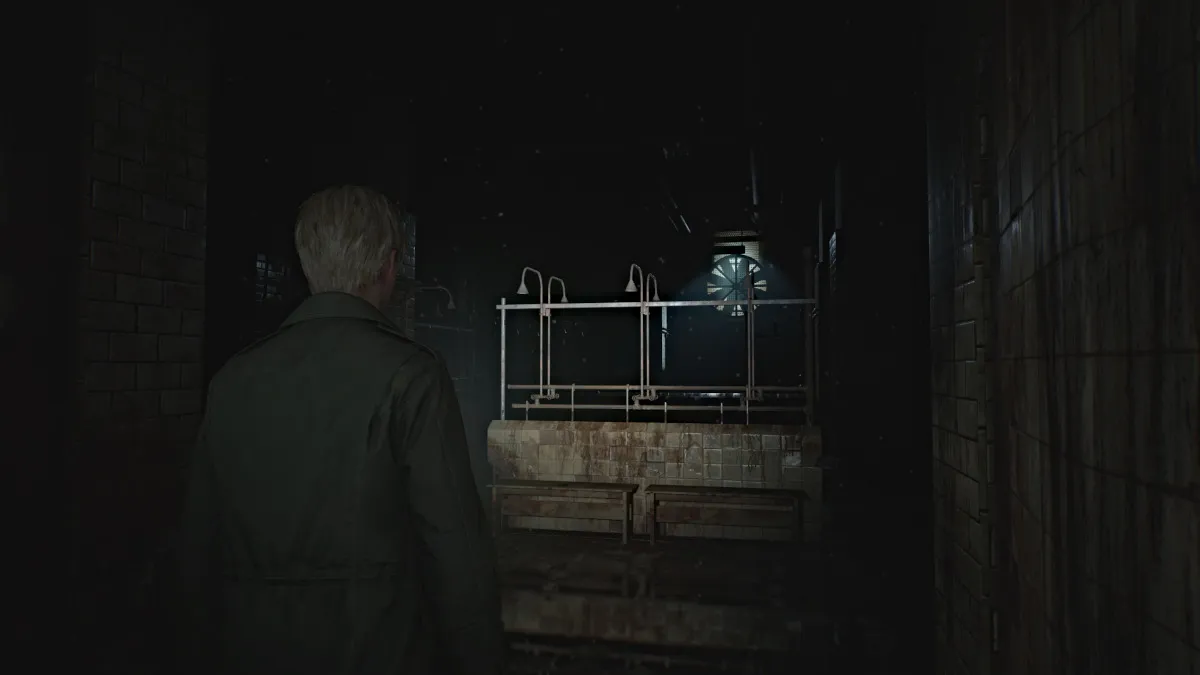
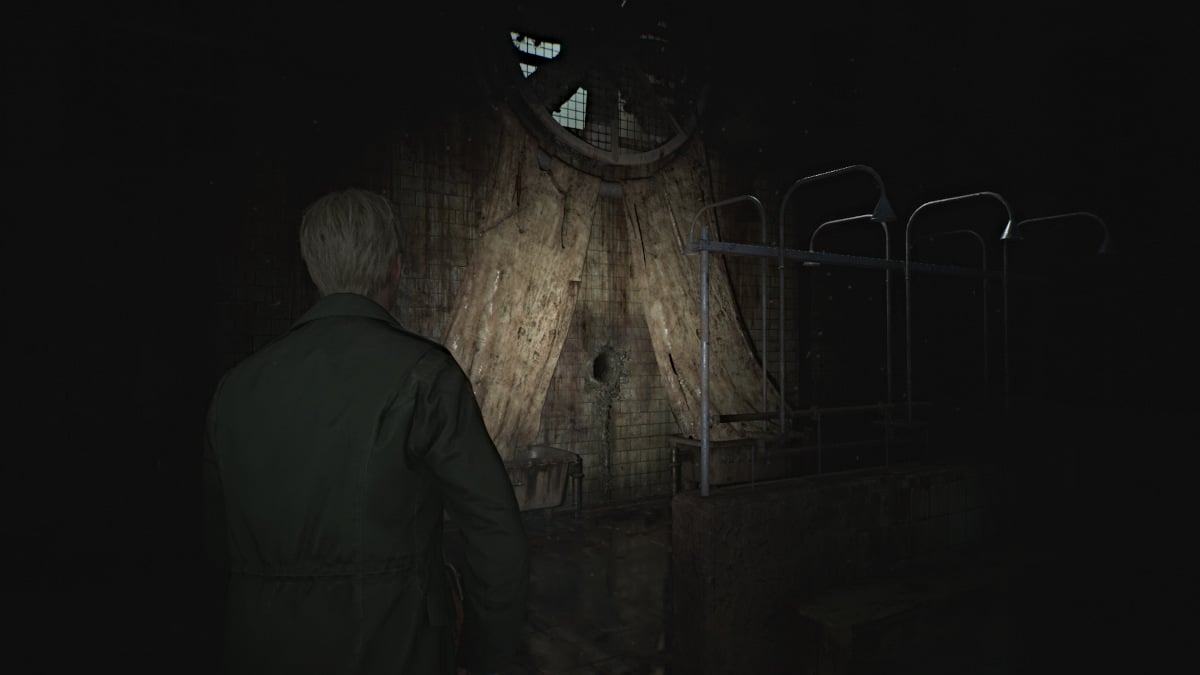
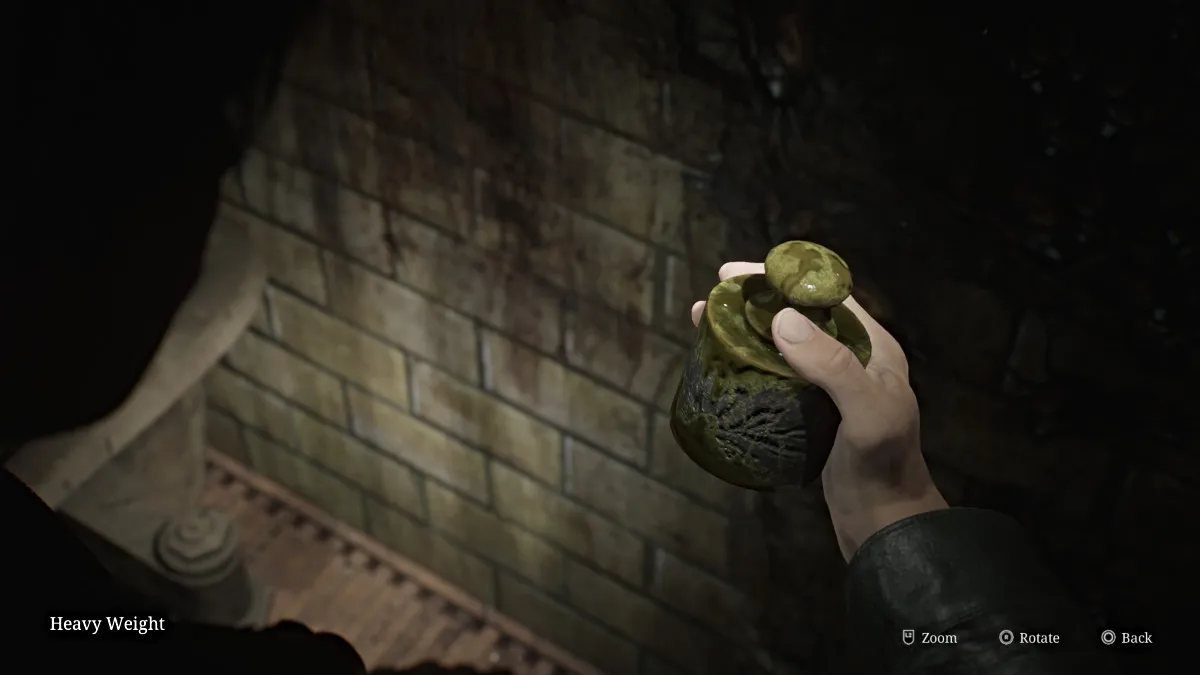
This brings you to the Toilets Room , where you can find some Handgun Ammo on a bench and a Health Drink in a stall. Head over to the Showers area next and deal with the Bubble Nurse patrolling the center of the area. Make note of all the corpses scattered everywhere too, because they won't be still for long.
Venture up the right side of the room, where you'll find another tablet-shaped Glimpse of the Past on the floor.
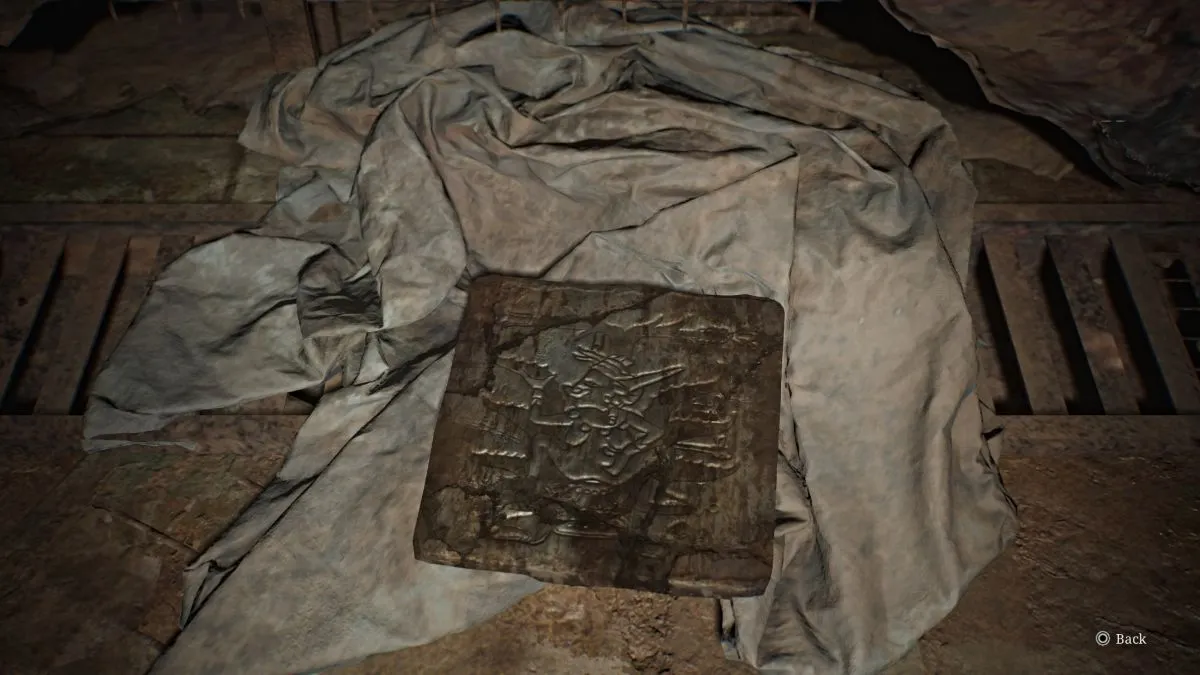
Head towards the back and underneath the rotating fan you'll find a strange "curtain" structure with a hole in the wall that obviously you'll need to have James stick his hand in. Interact with it and you'll obtain the Heavy Weight (seen above).
This will rile up several monsters in both rooms and rather than fight them all, bum rush back to the crawlspace in the Toilets Room and escape through. Make your way all the way back through the block and out the Ox Door.
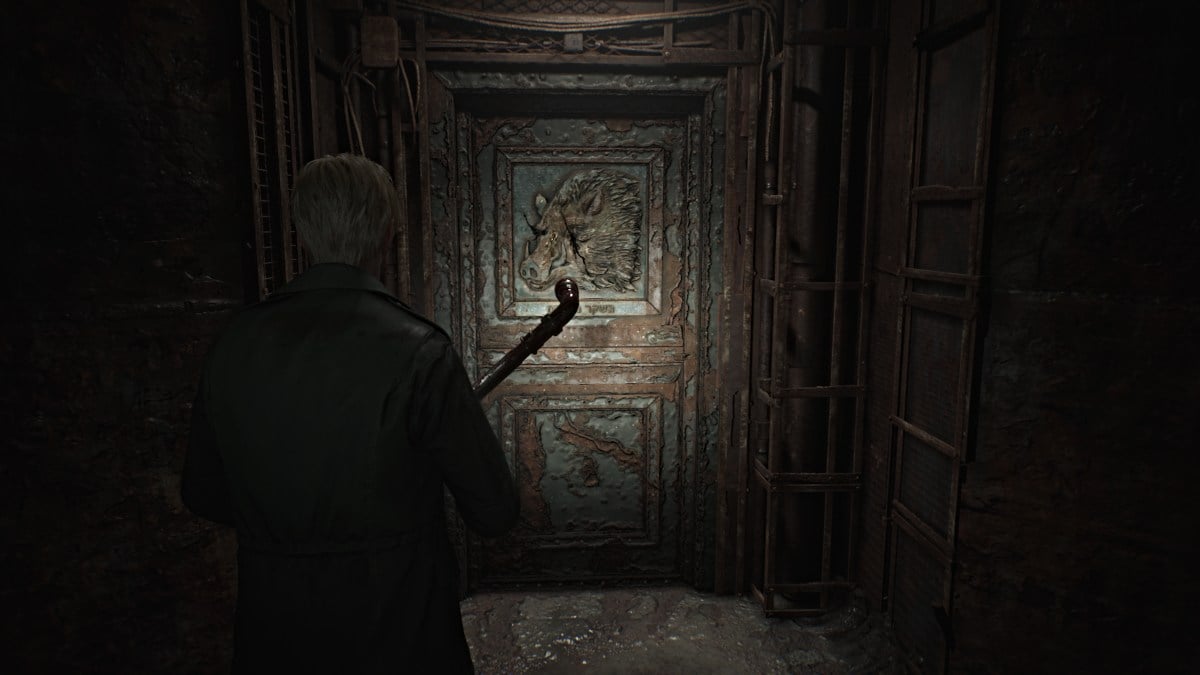
Once again, head back to the Yard to complete the next step of the Scales of Justice. This time, place all of the weights you have on the right scale, except for the smallest weight which you'll put on the left scale. This will unlock the Eyeless Boar Door next which leads to the Administrative Section of the prison. Head back inside and straight ahead to that door, which will be on your right.
Head inside and take the hallway around the Warehouse room, which you can access from the door on the left side. In there, you'll find a couple of monsters along with some ammo and the "Old Man's always prepared" Strange Photo .
Now make your way to the Visitation Room , and grab the Prisoner's Note from station 7 before backtracking to station 5 where you can jump through to the other side.
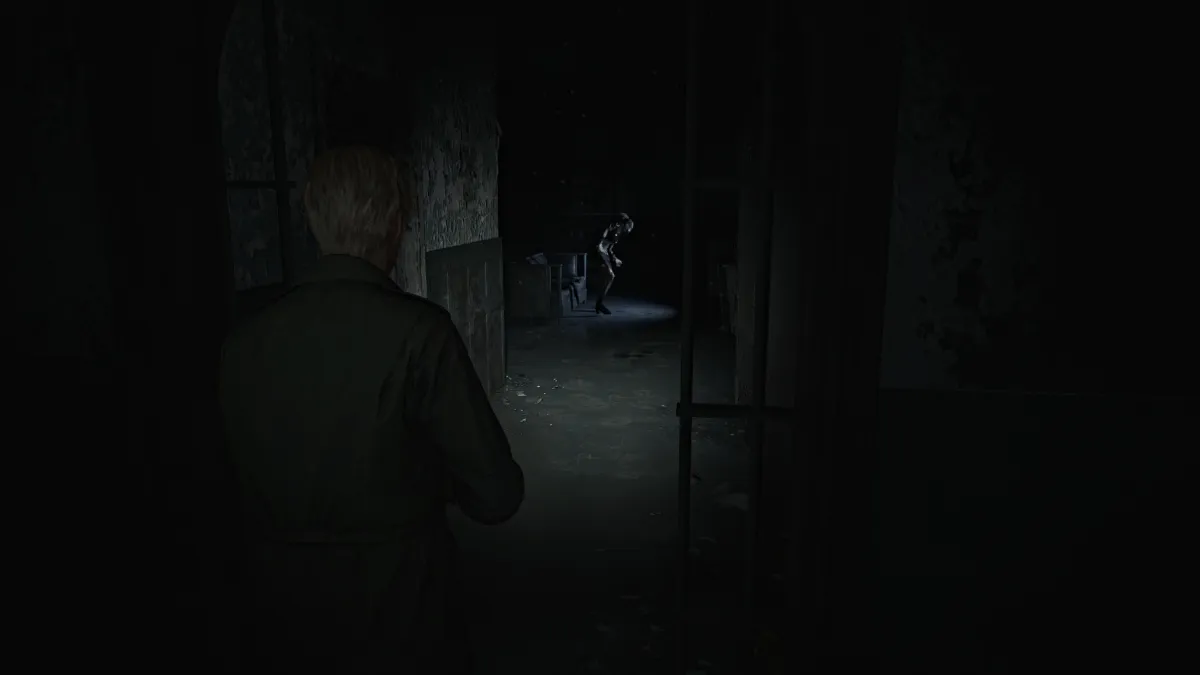
Grab the Shotgun Shells from station 7 before moving on towards the Break Room . On the way there, stop in the Women's Restroom for a Health Drink and a surprise in the last stall, then the Men's Restroom for a Red Save Point .
Cut through the Break Room , grab the Handgun Ammo that's in there, then head north to the Infirmary . As expected, there are a few Bubble Nurses to deal with in there, so fight your way through them to the very back room of the Infirmary. There you'll find Shotgun Shells , a Health Drink , and the Upper Floor Key .
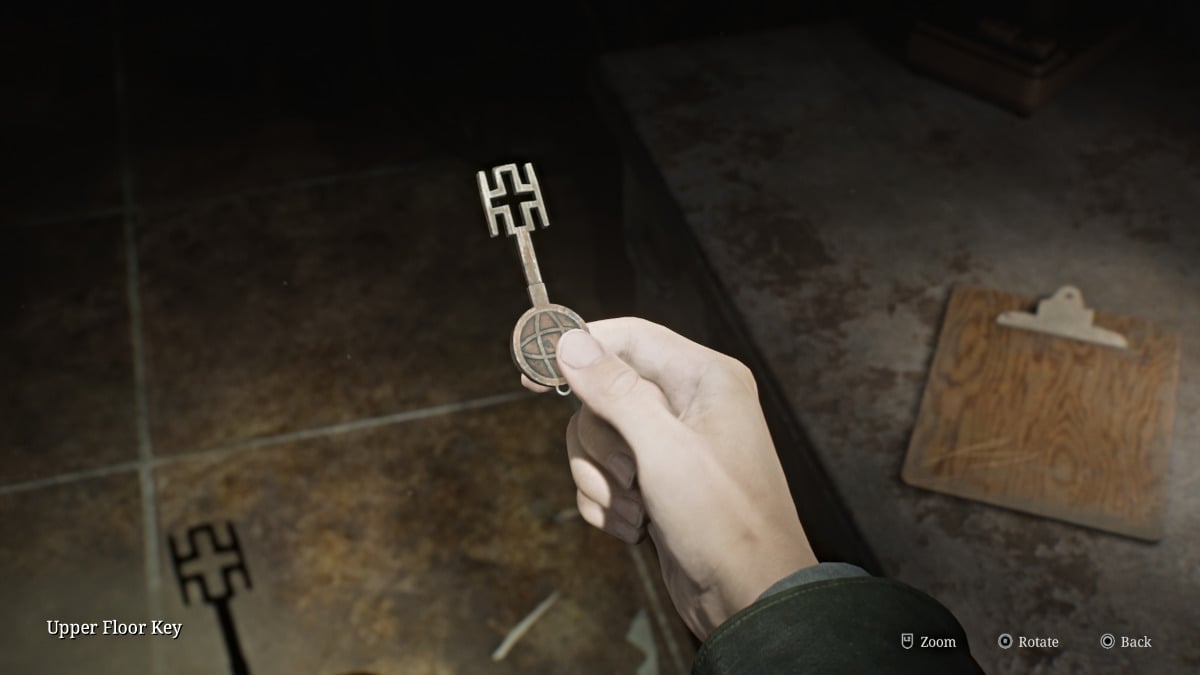
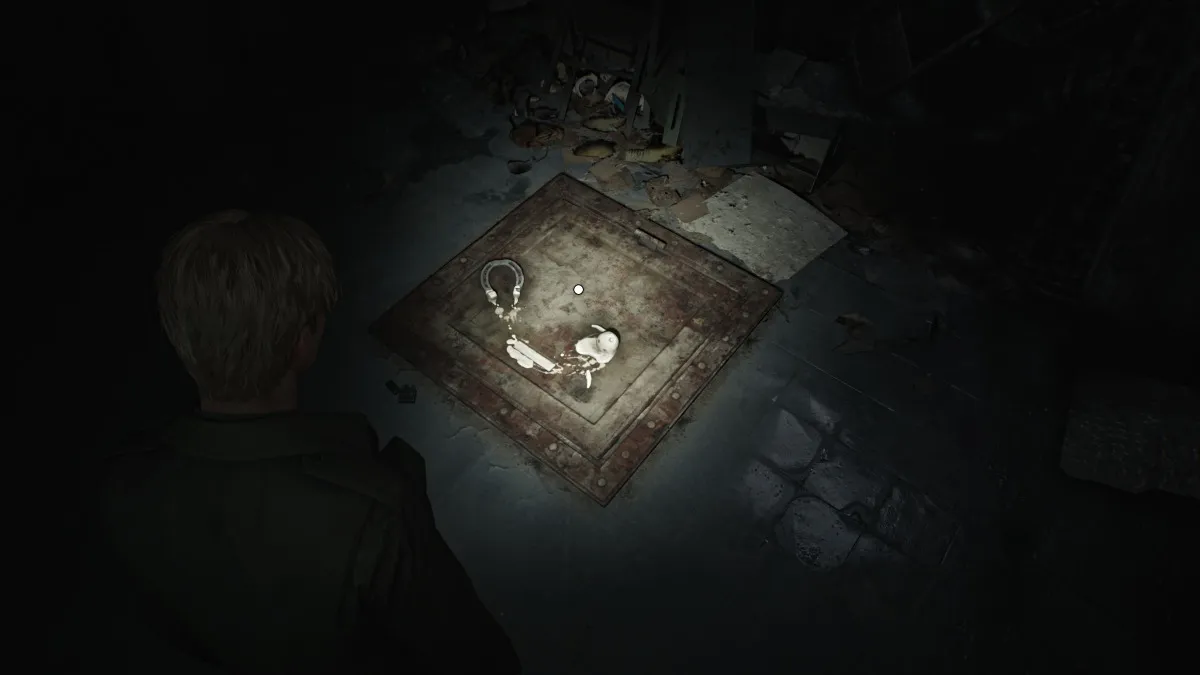
Backtrack on the other side of the Break Room to find another Glimpse of the Past on the floor in front of you, consisting of a horseshoe and a melted wax figurine.
Run back over to the Restrooms and use the Upper Floor Key on the locked gate near the Men's Restroom (by the wall that says "Reap What You Sow"). Take the stairs all the way up to the Warden's Office on the third floor, use the Red Save Point in the nearby storage room, and grab the Handgun Ammo there as well.
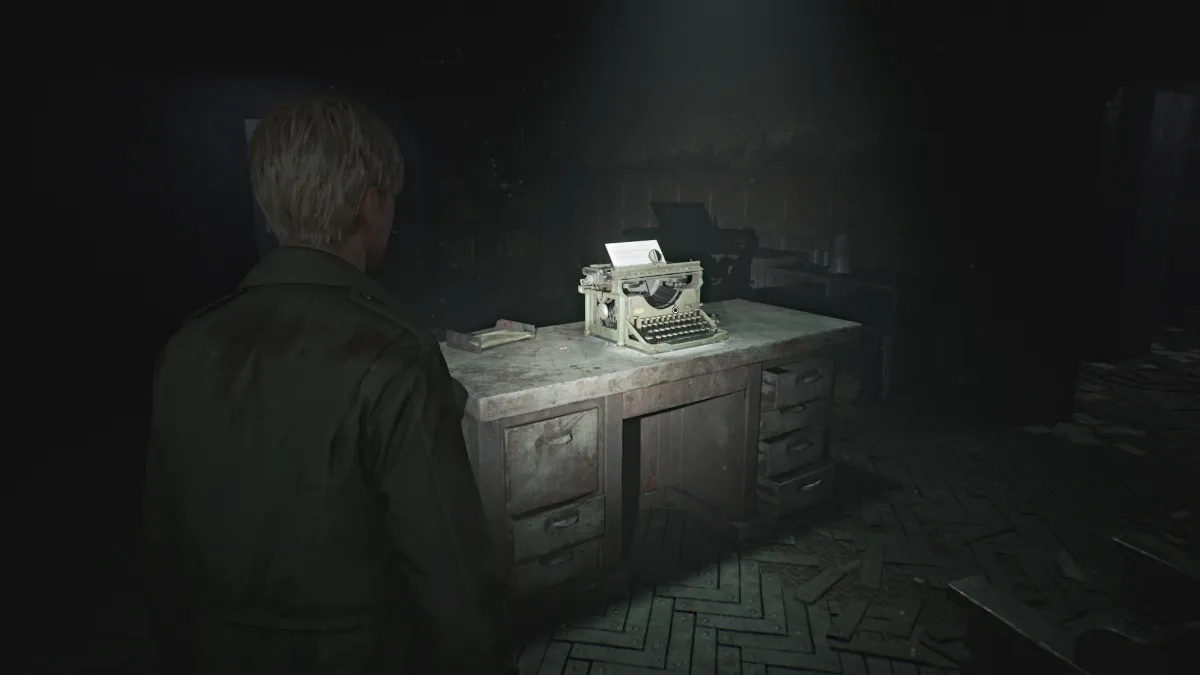
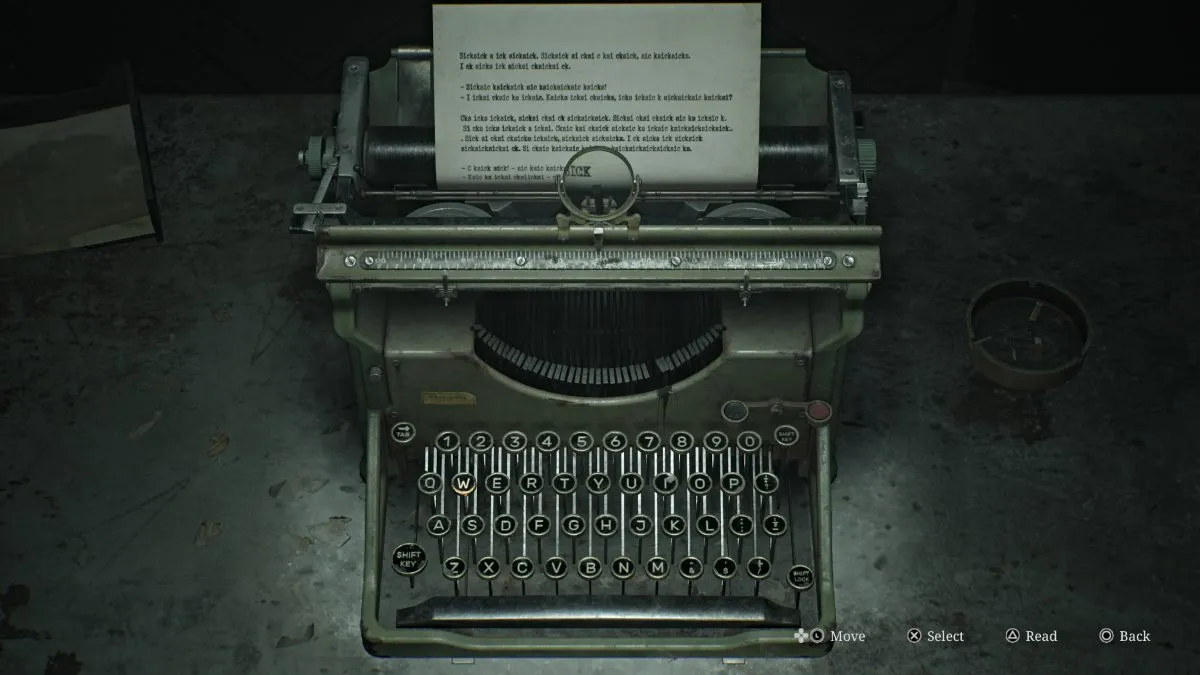
Go back into the office where there's a typewriter on the desk. The paper set in it has the word "sick" typed endlessly, and all you need to do is type repeatedly (any keys) until the desk drawer underneath opens. Inside you can claim the Light Weight . Now you need to make your way back to the Yard once again for the next step.
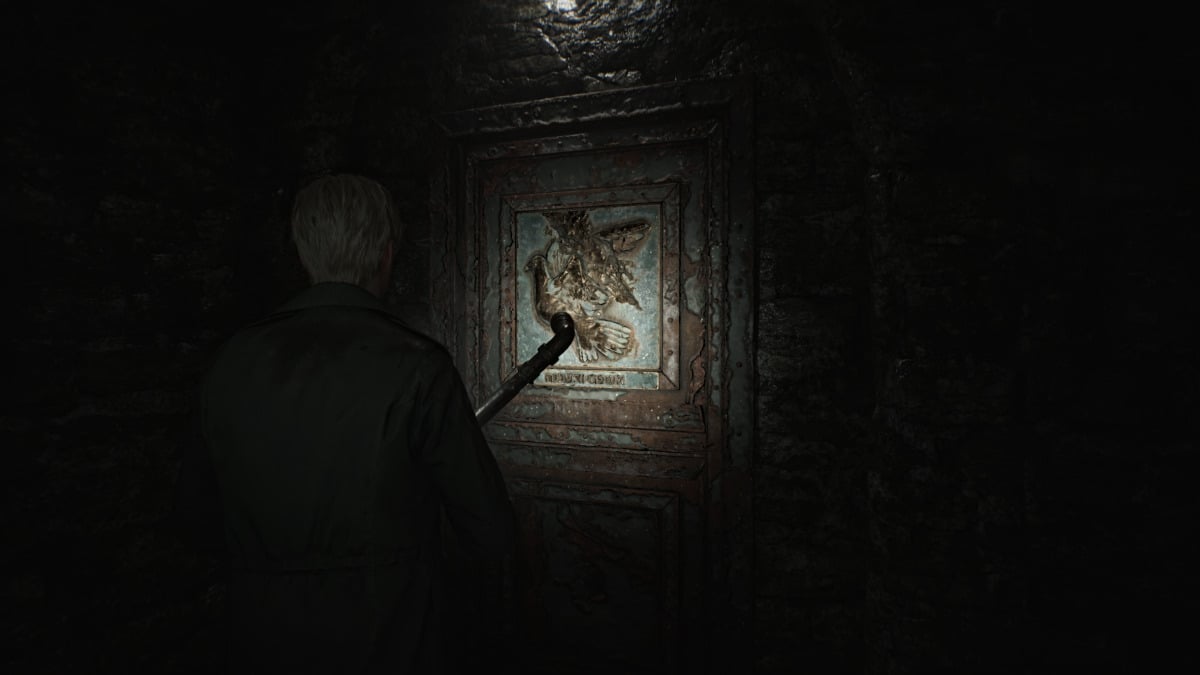
Once you're back at the Scales of Justice, this time you'll need to place every weight on the left scale, except for the Medium Weight which you put over on the right scale . This will open up the Wingless Dove Door , which leads to the Basement level . Head back inside and immediately turn left to find the door down a flight of stairs.
Once inside, start exploring the lower half of the cell block and when you look inside Cell F6 you'll notice the last weight you need sitting on a sheet. For now, go over to Cell F9 and bash through the breakable wall to get to F10 , where there's a ladder you can take up to unlock one of the doors on the first floor.
Head back down and make your way through all the sneaky Mannequins to Cell F14 and grab the Health Drink there. In F16 you'll notice piles of books and glyphs painted on the walls. If you wait long enough, you'll hear an otherworldly voice chanting something.
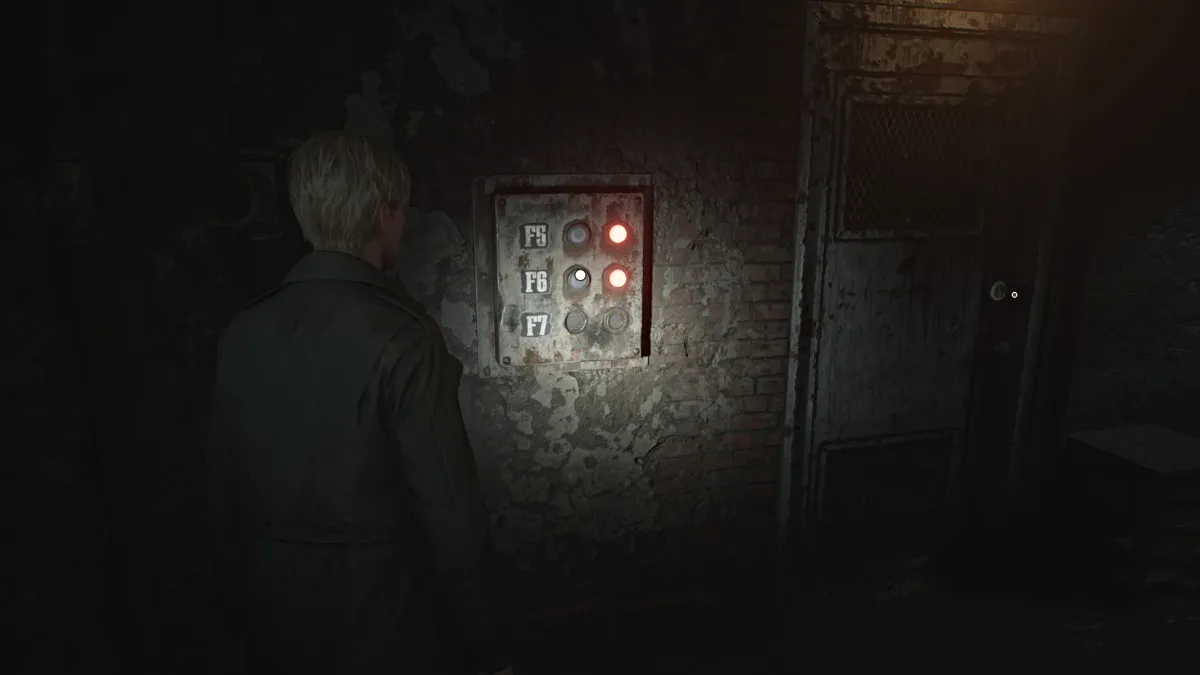
Use the crawlspace on the other side of the hall to get into the next room. Grab the Shotgun Shells from the desk, and view the note on the wall that mentions a prisoner being moved to Cell F6 , where the weight you need is. Go over to the button panel where there are options lit for Cells F5 and F6.
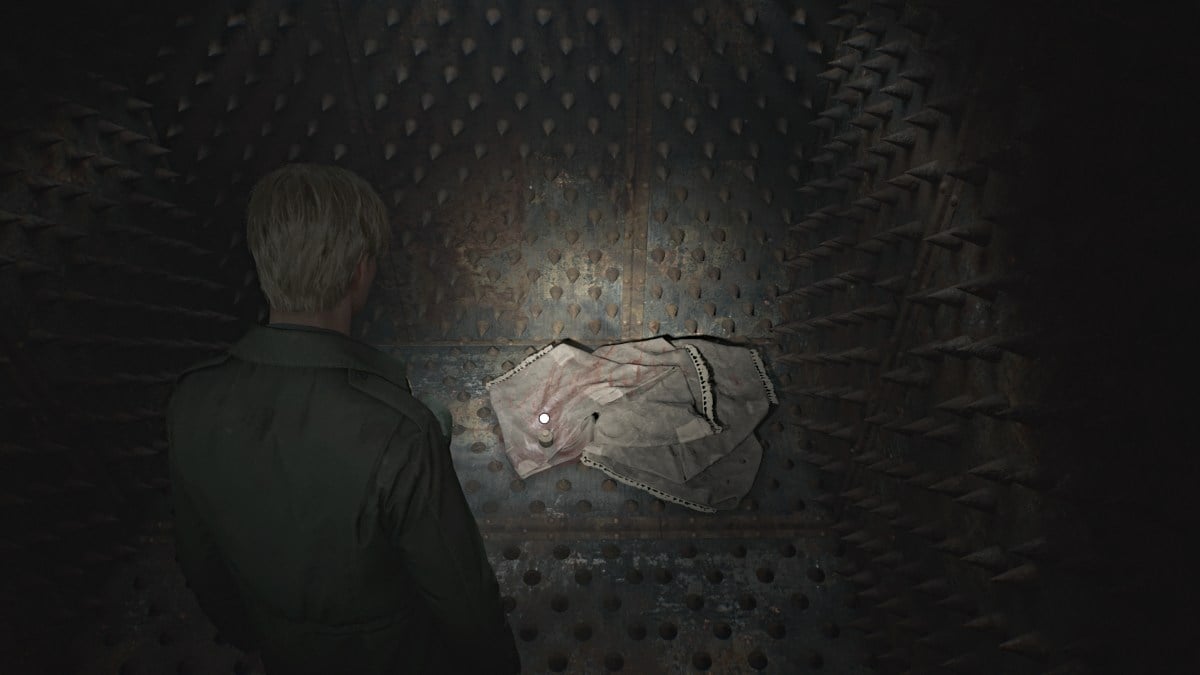
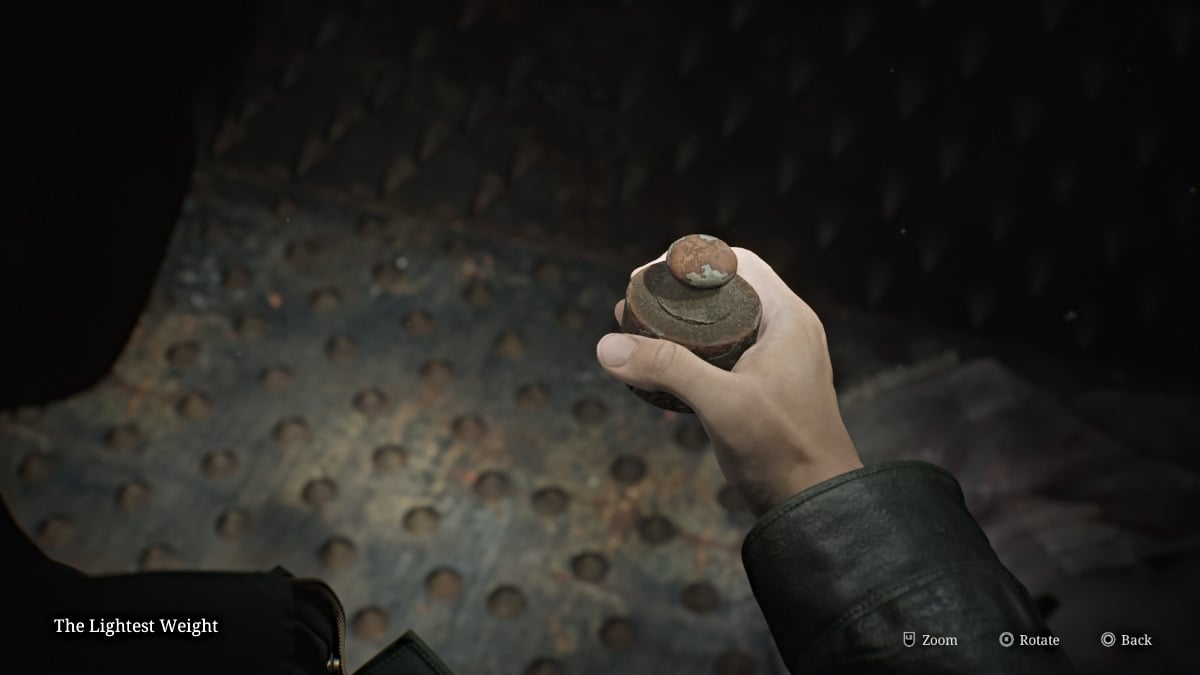
Press F6 and head over to claim the Lightest Weight from inside the cell along with the Confession memo. The door will slam shut temporarily for a nice jumpscare but you'll be able to leave soon enough. Remember to use the ladder in Cell F10 to get out since the entrance is caved in.
Time to head back to the Scales of Justice for the final time.
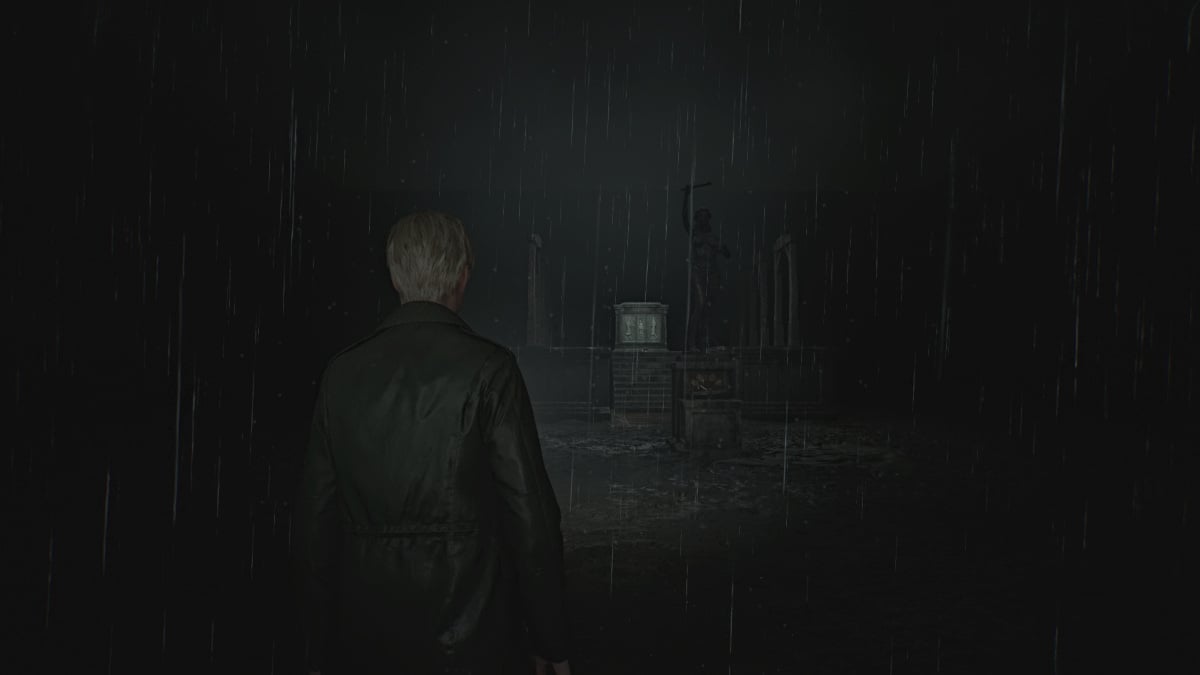
Head back out into the Yard , where it's now raining somehow (being that you're supposedly miles underground). Go over to the Scales of Justice and this time, do the following to perfectly balance the scales:
Putting all the scales back in their respective slots underneath the scale first can help you figure out which weight is which if you're having difficulty. Once the weight is balanced and the arrow centers on the sword symbol, something will fall out of the statue's hand and it's the Execution Lever . This is what you'll need for the next puzzle ahead.
For the Gallows Puzzle , place the Execution Lever in the slot on the platform between both rows of Gallows. The slab in front of you will open to reveal six criminals and their sins, and six slates depicting justifications for those sins.
You'll need to sort out which slates go with which passages regarding the sins of various criminals, and some passages can be different depending on your playthrough and difficulty. At the end, you'll need to choose which criminal was "justified" in their actions, or acting in self-defense.
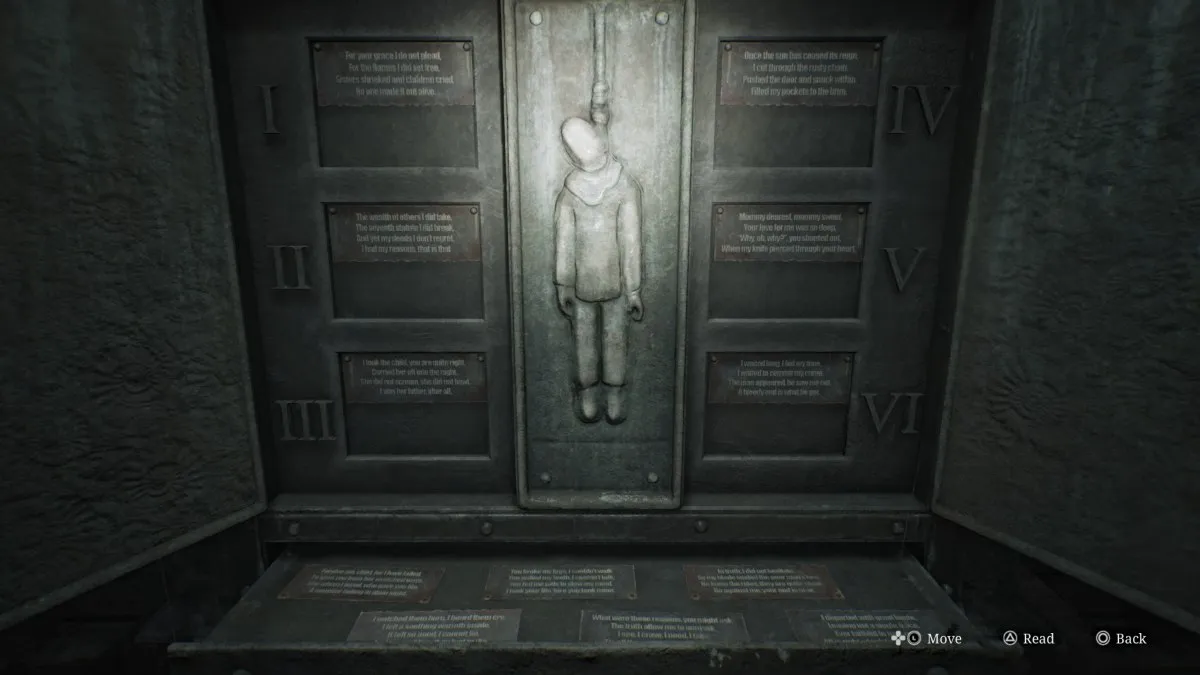
This is arguably the most difficult puzzle in the entire game, but to help you match up the slates with the correct passages, here are the possible answers for each.
| Passage No. | Poema | Possible Answers |
|---|---|---|
| EU | For your grace I do not plead, For the flames I did set free, Sisters shrieked and children cried, No one made it out alive. | Answer #1 - Though the young ones' deaths I mourn, Their tormentors are no more, On young souls the nuns did prey, Took their innocence away. Answer #2 - I watched them burn, I heard them cry, I felt a soothing warmth inside, It felt so good, I cannot lie, And for my bliss, they had to die. |
| II | The wealth of others I did take, The seventh statute I did break, And yet my deeds I don't regret, I had my reasons, that is that. | Answer #1 - The reason, if I have to say, Was to survive another day, To them, it was a loaf of bread, To me, a cherished step ahead. Answer #2 - What were those reasons you might ask, The truth allow me to unmask, Eu vejo. I crave, I need, I take, 'Tis all the sense it needs to make. |
| III | I took the child you are quite right, Carried her off into the night, She did not scream, she did not bawl, I was her father, after all. | Answer #1 - Forgive me, child, for I have failed, To save you from her wretched ways, She whom I loved, who gave you life, A monster hiding in plain sight. Answer #2 - My only daughter, joy of days, They wanted to take you away, Hush, little baby, and be still, If I can't have you, no one will. |
| 4 | Once the sun has ceased its reign, I cut through the rusty chain, Pushed the door and snuck within, Filled my pockets to the brim. | Answer #1 - So my guilt is plain to see, I had robbed the pharmacy, Yet, I did so not for gain, But so I could ease the pain. Answer #2 - I departed with great haste, Leaving not a single trace, Ever faithful to my creed, All is right, which feeds my greed. |
| V | Mommy dearest, mommy sweet, Your love for me was so deep, "Why, oh, why?", you shouted out, When my knife pierced through your heart. | Answer #1 - You broke my legs, I couldn't walk, You pulled my teeth, I couldn't talk, You fed me pills to slow my mind, I took your life 'fore you took mine. Answer #2 - You were, oh, so kind to me, Filled my heart with joy and glee, In the end, it was for naught, "Why, oh, why?", you ask. Por que não? |
| VI | I waited long, I bid my time, I waited to commit my crime, The man appeared, he saw me not, A bloody end is what he got. | Answer #1 - In truth, he was less man than beast, And on my flesh and soul he'd feast, My will to live he'd try to break, There is so much a man can take. Answer #2 - In truth, I did not hesitate, As my blade sealed the poor man's fate, He knew the rules, they are quite clear, Go against me, your end is near. |
For the passage(s) that has Answer #1 as their choice, that will be the one you want to choose as innocent or "justified". More than one passage may indicate innocence based on this, and you need to decide which one best describes self-defense or defense of another (such as a child).
When you've made your choice, go over to the corresponding noose and pull it down.
If you guessed correctly, you'll fall through the platform and land inside The Labyrinth . If you guessed wrong, you'll instead fall into a room with several monsters you'll need to run through and make your way back up to the Gallows and try again.
After successfully completing the Gallows Puzzle, ahead of you will be not one but two more massive holes to jump into, sending you to a depth clearly beyond reality. Afterward, you'll take a mineshaft elevator down to a floor with a Red Save Point . Use it and enter through the door ahead.
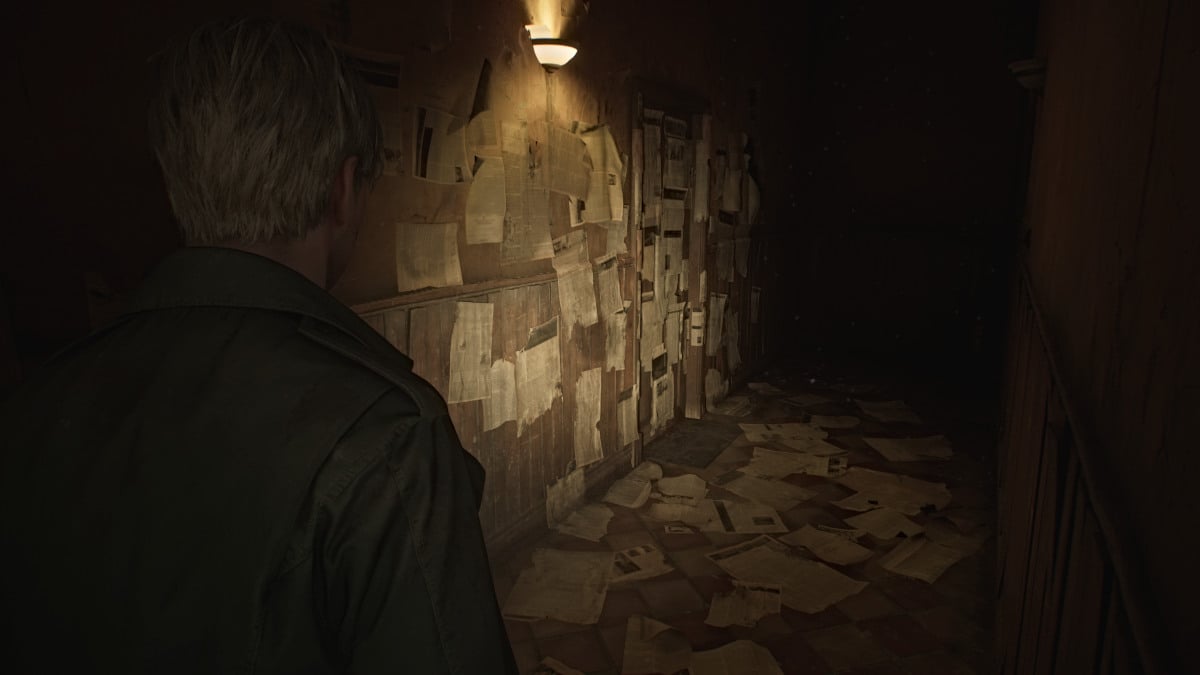
Follow the path through what resembles an apartment hallway, and you'll hear whispers behind the doors you pass. If you budge the doors, they'll hush in response. Keep going until you reach a section of the hallway decorated with newspaper clippings, including a bloodied one on the floor you can read about the murder of Thomas Orosco, Angela's father .
Suddenly, Angela's screams can be heard from behind the door ahead, alluding to a conflict with her father. Go inside, grab the Health Drink and Shotgun Shells from the kitchen area, then take a deep breath and go through the darker door on the left, where you'll see one of two more doors. The one in front of you is likely the bedroom of Angela's brother.
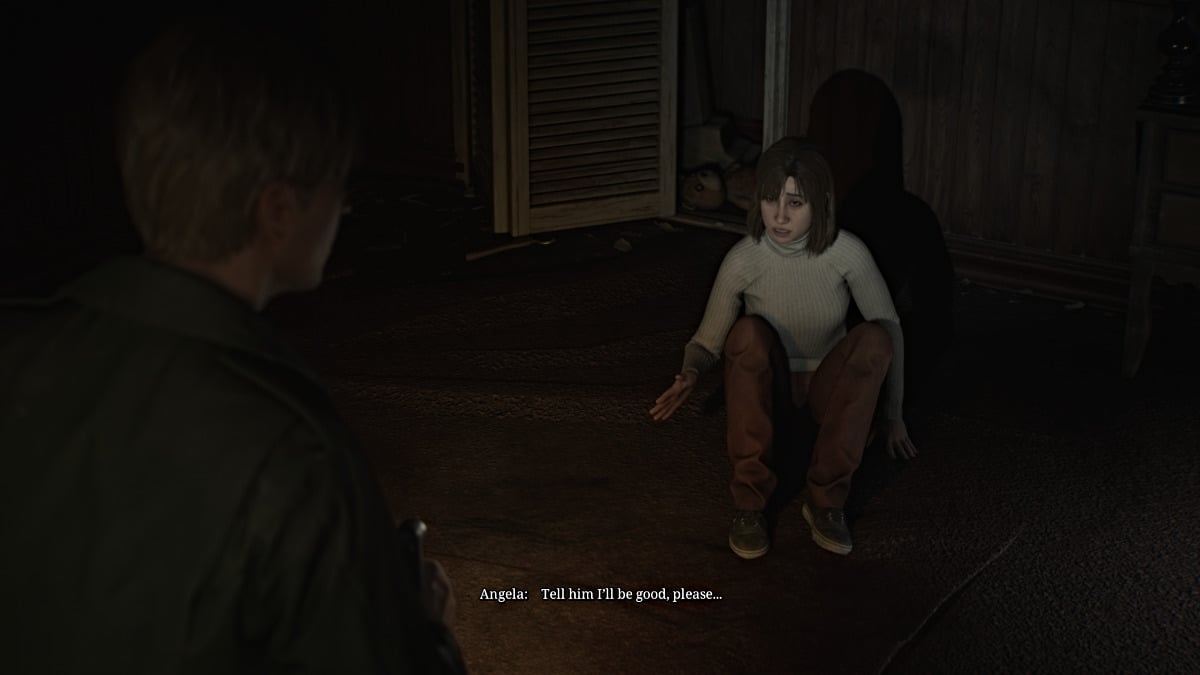
Go to the one on the left, where you'll find Angela cowering inside. Before James can figure out what's wrong, a much larger monster called the Abstract Daddy suddenly attacks and slams him through a wall. Take a deep breath and prepare for one of the most challenging and emotionally devastating fights in the game.
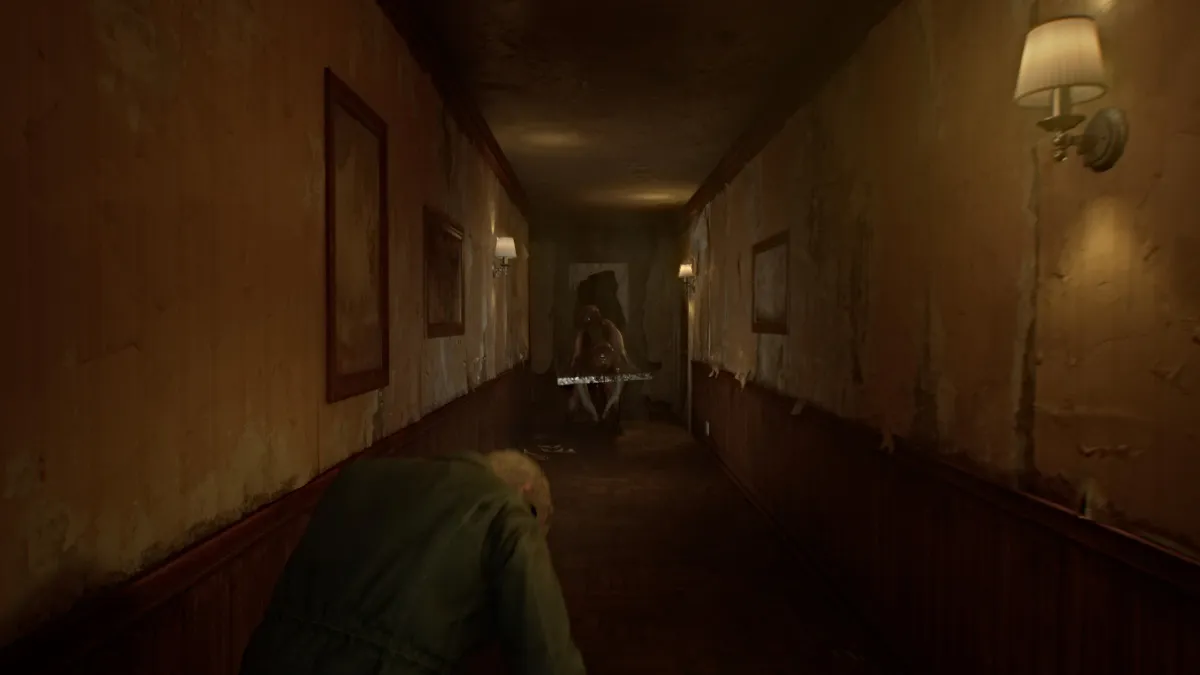
If it wasn't already obvious, Abstract Daddy is the disturbing manifestation of Angela's intense trauma from being sexually abused by her father as a child, and its physical form is meant to embody that. It makes it one of the most intense and consequential fights in the game.
The battle begins with Abstract Daddy confronting you in the hallway, and once again, keeping your distance from him is imperative. If he manages to charge and grab you, he can deal significant damage in each instance, so be sure to keep your health topped off.
You may initially think you're fighting him in tight quarters, but the "arena" has suddenly taken the form of a seemingly endless maze within Angela's home. This allows you to land hits on Abstract Daddy while constantly keeping your distance. Prioritize your Hunting Rifle and Shotgun for dealing damage, and time your shots well because he has an insane amount of health.
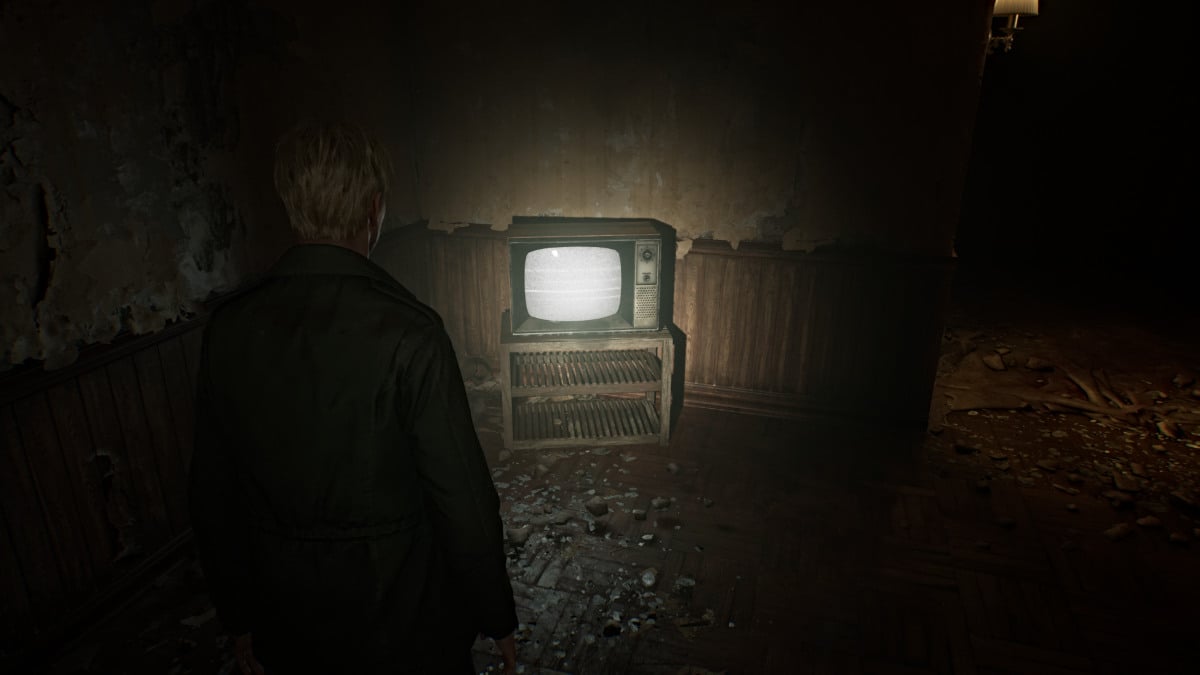
At certain junctions when you've dealt enough damage, Abstract Daddy will disappear briefly, allowing you time to recover and reload your weapons . Make sure to explore everywhere you can for extra ammo and health. As you travel through the maze, you'll see Angela fleeing in terror herself, and occasionally a scratchy recording of her father will play, further inferring his verbal abuse.
The fight occurs over multiple phases, and at least three times you'll need to trigger the next one by finding a static TV and smashing it with your pipe. The further into the fight you go, the more the environment changes into something closer to the Otherworld, and the walls turn...well, "fleshy".
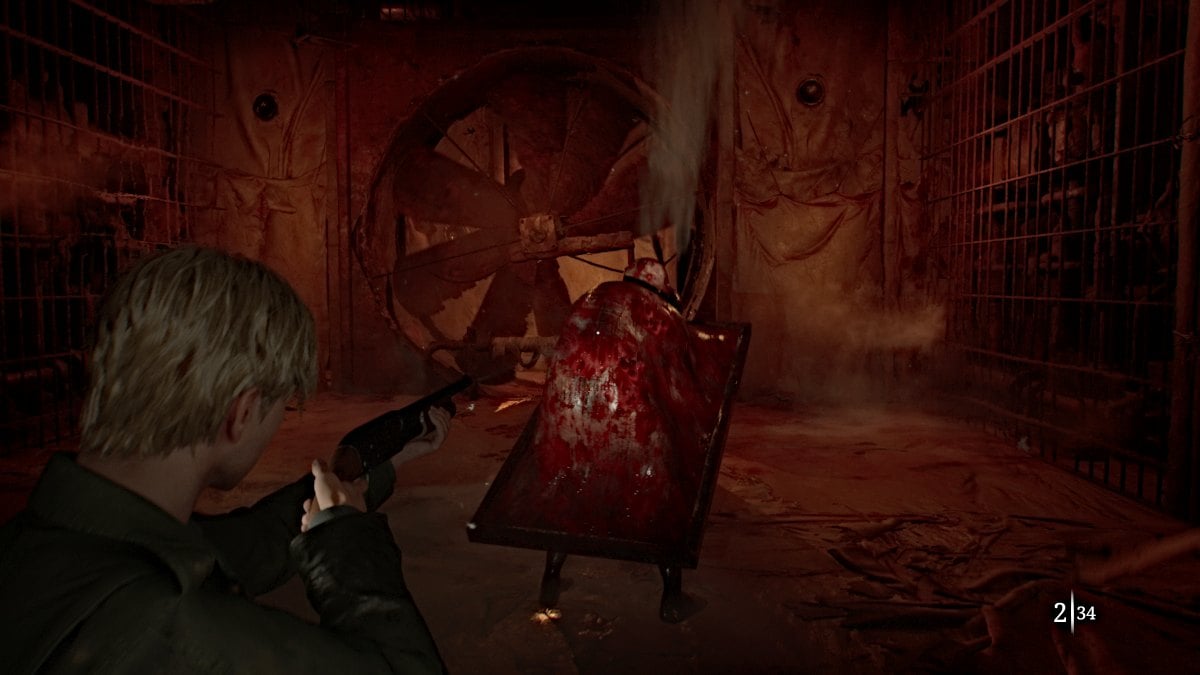
Eventually, you'll arrive at the final phase of the fight in a wide-open area. By this point, you've likely exhausted most of your ammo if not your health stores as well, so make use of the items spread around the room. Keep dealing damage, and Abstract Daddy's attacks will gradually slow down and become easier to dodge. Soon enough, he'll go down and a cutscene will follow.
Angela approaches in rage and slams a TV on top of the Abstract Daddy, killing it. The environment has also returned to the way it was before the fight began. James tries to console Angela though to little effect, and the two argue over his possessiveness of Mary and how he treated her while she was sick.
Soon enough, Angela will retreat and now you're free to explore the rest of the Labyrinth.
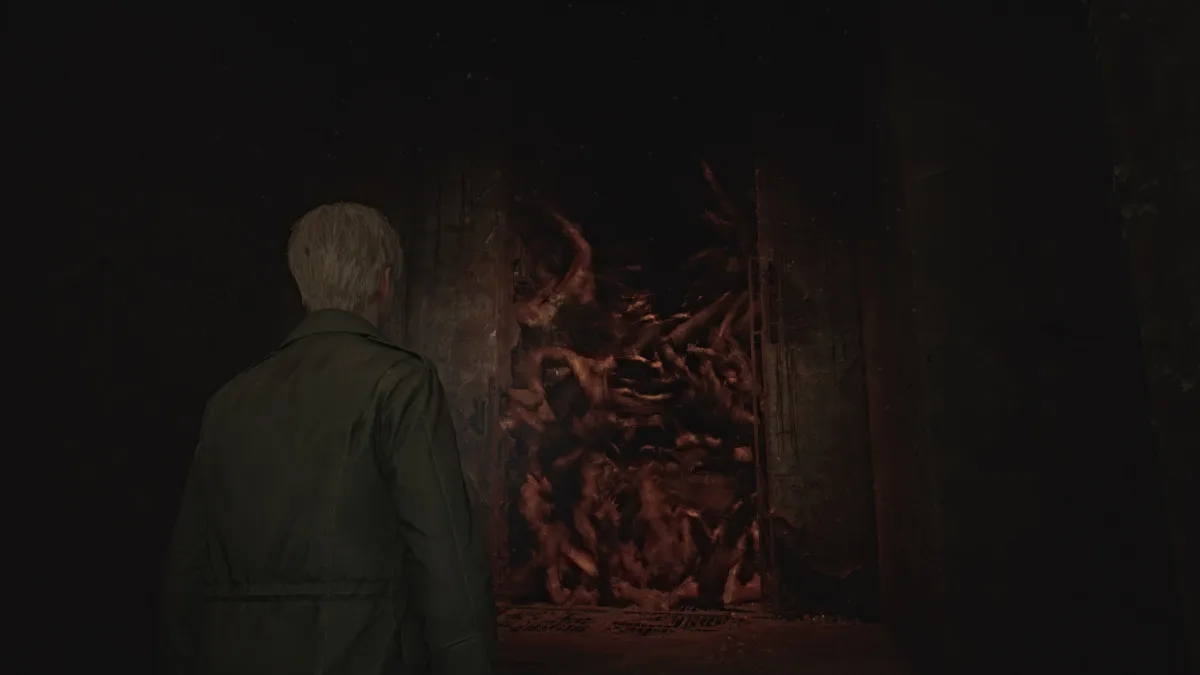
After you move on from "Angela's apartment", you'll soon find yourself in a strange, maze-like area, and in front of you a barrier made of what looks like monsters from Silent Hill. If you try to cross through it, James will feel nauseous and back off, so you need to find a way to remove it. James will call it the "Strange Wall" on your map.
For now, head right and use the Red Save Point along the way. Go all the way across (the door to your right is locked) and down the stairwell and through the door ahead. On the other side is something, or rather someone, that James definitely didn't expect to see.
Maria is "alive" and well, sitting in a cell, and chides James for seeming to think she had been killed by Pyramid Head "in that long hallway". She laughs and muses about how he was "always so forgetful". She eerily sounds like Mary, which James notices and mentions. However, she rebuffs that she's not "his Mary", and insists that she's all he needs since she's "real".
Grappling with the situation, James starts to walk away and says with some hesitation that he'll find a way to get her out of the cell.
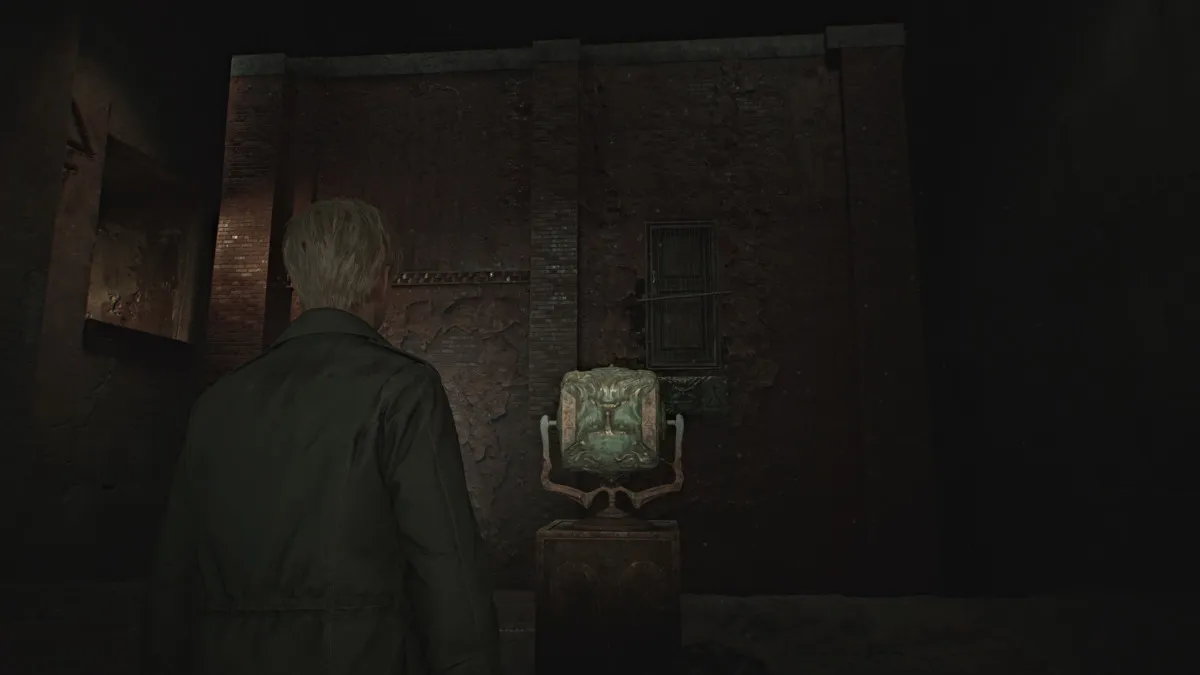
Head back up the stairs to the path you walked before, and now you'll find the Rotating Cube Puzzle contraption in the center of it, along with what looks like an entire building in the chasm next to you. The rotating cube features different faces on each side, along with different symbols.
Depending on how you turn it, the building in front of you will rotate as well and reveal new paths and three other main areas for you to explore. Those areas include: the Rotten Area, the Desolate Area , and the Ruined Area .
This puzzle serves as the focal point of the Labyrinth, and your goal here is to use it to access each of those different areas one by one. For easy reference, here are the symbols required for each area:
| Símbolo | Area Unlocked |
|---|---|
| Upward-facing triangle with a cross underneath | Rotten Area |
| Infinity symbol with a vertical line above crossed through twice | Desolate Area |
| Downward-facing triangle with a cross underneath | Ruined Area |
| None (side axis of the cube) | Opcional; Find the "Your best buddy!" Strange Photo inside the cube itself. |
So for now, you'll want to start with accessing the Rotten Area . Turn the cube in the proper direction, then go into the building and take the stairs that lead up to the path on the left side. Go down the hallway and at the end there will be three doors, for each of the three areas. Go through the Green Door on your left to enter the Rotten Area.
You'll start in a hallway completely covered in bugs, so move through carefully and watch out for where the floors switch to metal grates, as Mandarins will be lurking beneath. Remember that all of your maps for the Labyrinth are hand-drawn, so you have to learn the area as you go.
After that first metal grate path, turn left and find some Handgun Ammo on a dresser (which you're probably starved for after Abstract Daddy) at a dead end. Backtrack to the main hallway and continue on until you see a door ahead. Go through it and you'll enter a room with a Suspended Cage high up, three other different doors, and a Red Save Point .
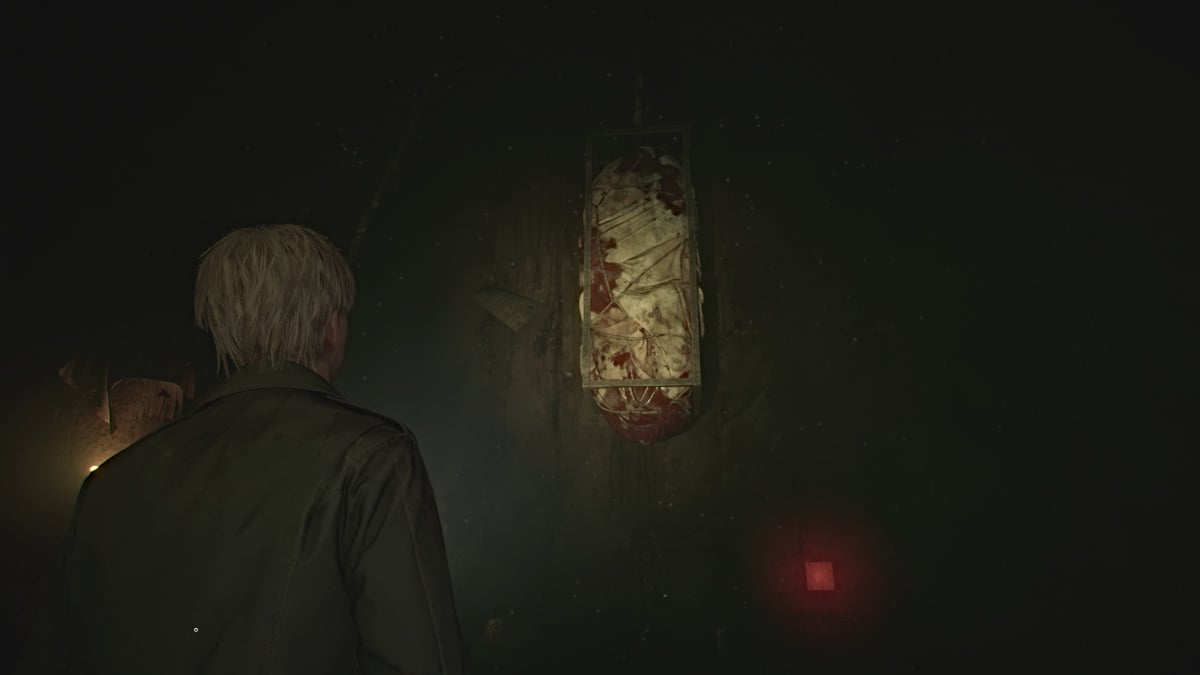
To bring down the Suspended Cage you'll need something to cut its tether, so for now head through the door to your left.
Go down the hall, grab Rifle Ammo from a small cabinet on your right, and continue straight to the open door at the end. Be extra careful here as not only are there bugs everywhere, but the floor of the entire main hallway area is metal grating, so Mandarins will be patrolling.
Keep your distance from them (these seem to be invincible so don't waste your ammo) and make your way down the hall until you reach the second left. Take it and follow the next hallway until you find another door. Inside the floor will be normal, so you get a breather. Deal with a couple of Mannequins lurking there and claim a Syringe and Handgun Ammo .
Take the pushcart in the room over to the high crawlspace near the door, and climb up and through to the next room over. Inside you'll notice the fridge in the kitchen shaking nonstop. Approach it and through all the lovely muck that pours out from it, James will find a small can of Lighter Gas . Grab the Handgun Ammo and Health Drink nearby as well.
Carefully make your way back out into the main hallway and bum rush your way back to the Suspended Cage Room.
Now take the door to the south and sprint across the grated hallway all the way south until you can leapfrog over a box and find a set of double doors ahead of you. Go through them and grab a Health Drink on your way through the next door ahead. Watch out for a Mannequin in the dark and grab Shotgun Shells from a small cabinet.
In the next room you'll find a bed that's been brutally split in half (could venture a guess who did that) and on the wall behind it a hole oozing blood. James knows the deal by now, so go over and interact with it until you pull out the Lighter Wick .
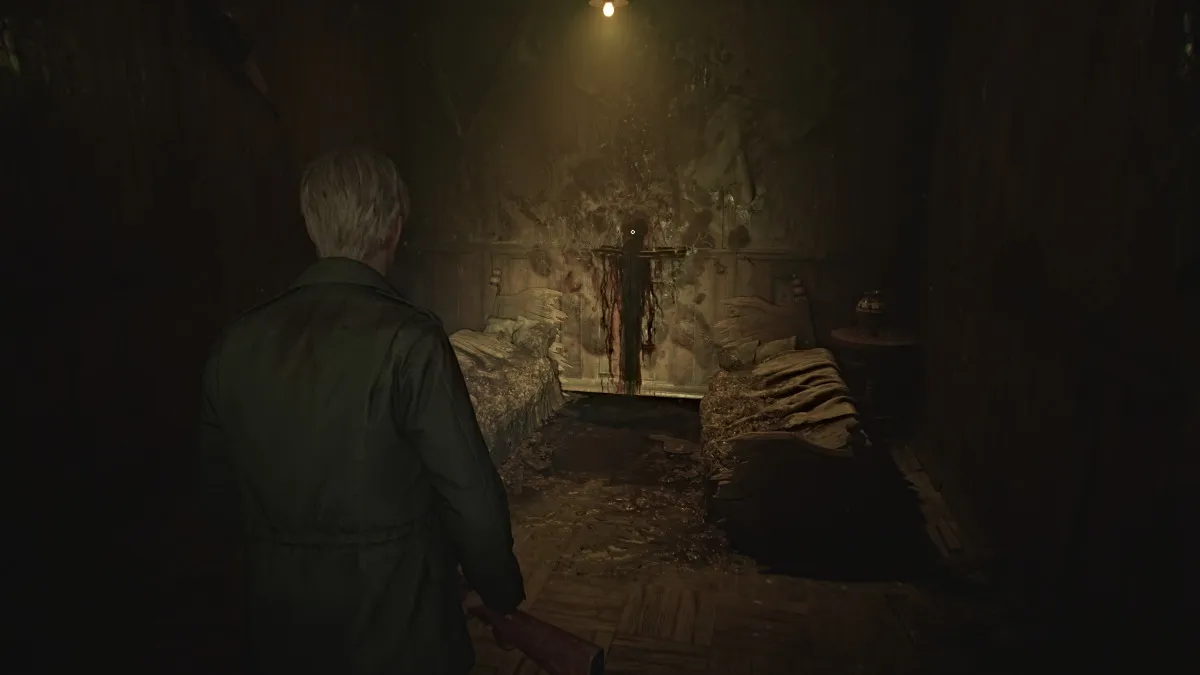
Now, before you go back to the Suspended Cage room, exit through the door beyond the bedroom, and run down the hallway until you can turn right and follow the path to another door. Go through and inside is just one huge room with a desk right in the center. Deal with the Bubble Nurse patrolling it and then check the drawer to claim the Iron Key .
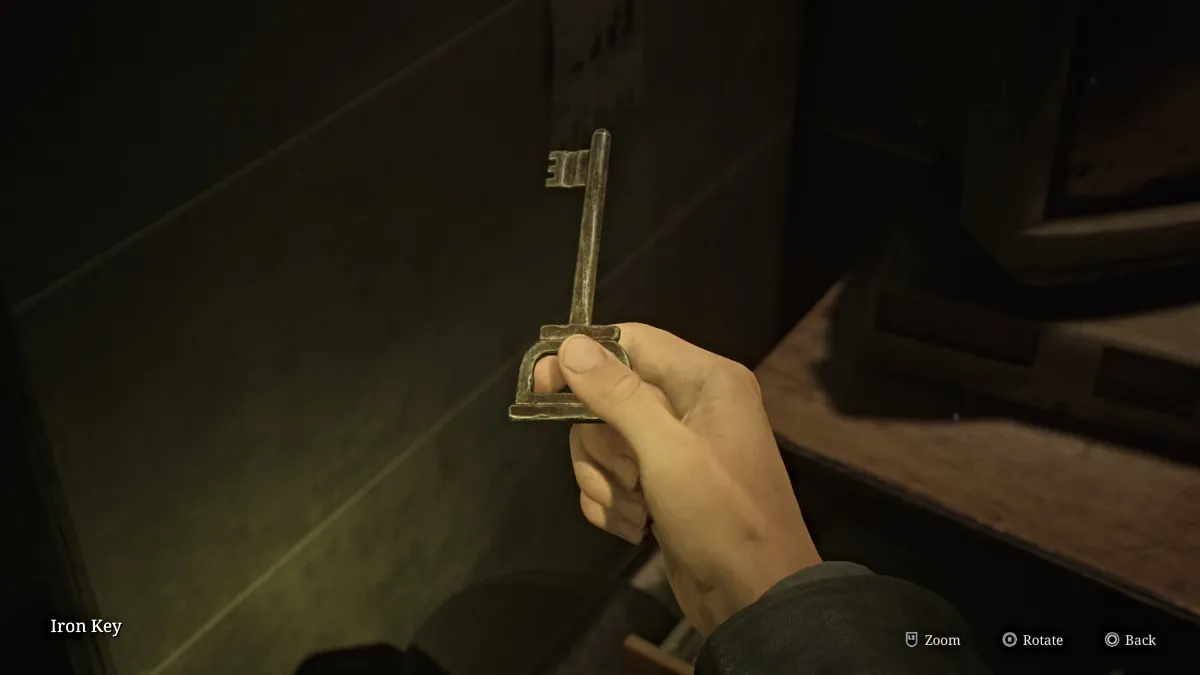
Now make your way back to the Suspended Cage Room and go back through the first door you went through where you found a locked door requiring a key. Use the Iron Key to unlock it and you'll find a bathroom inside. Interact with the nearby bathtub and James will quickly learn that the liquid bubbling inside it is too acidic for him to touch. This means you need to drain it somehow.
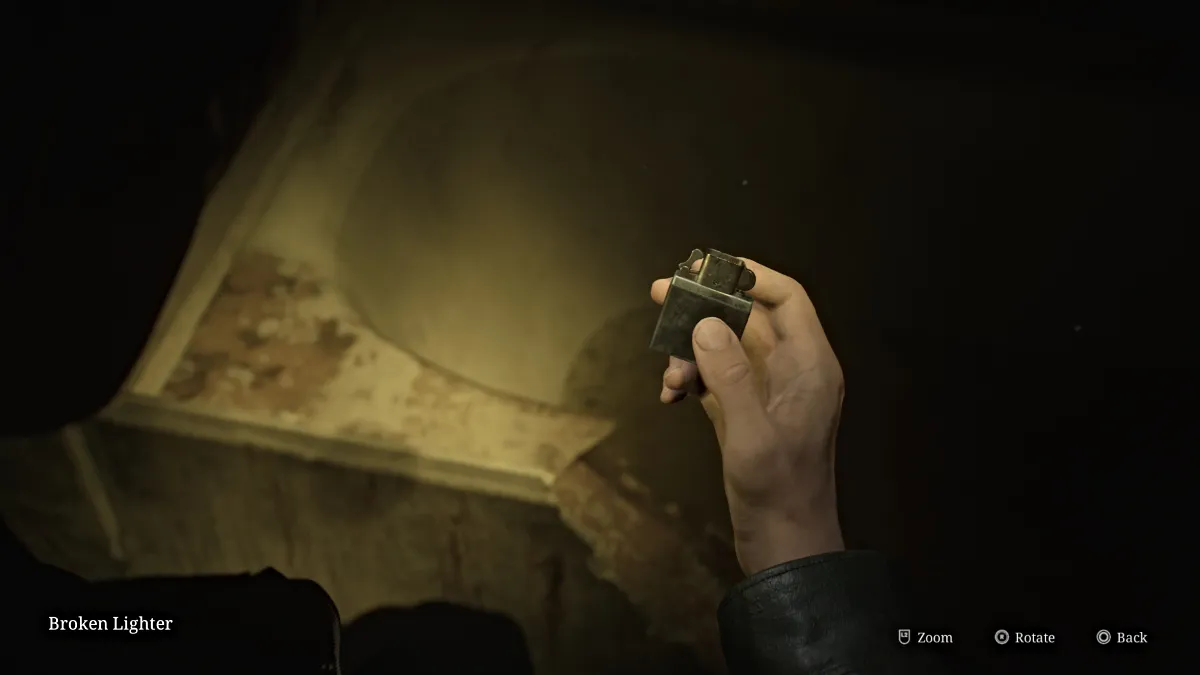
Go through the nearby gap in the wall and follow the narrow hallway all the way down until you reach a bug-filled room with a red crank. Turn it until the pipes burst and the tub breaks open, draining all of the bad stuff out so you can reach your prize. Return to it to claim the Broken Lighter .
Return to the Suspended Cage room and combine the Broken Lighter with the Lighter Gas and the Lighter Wick to make an actual Lighter . Use it on the tether holding up the cage and soon the entire thing will fall and break through the floor, leaving a large hole behind, perfect for you to jump through. Use the nearby Red Save Point and then do just that.
This brings you back to the Labyrinth Center with the Rotating Cube Puzzle, and now it's time to move on to the next area. Turn the cube to the appropriate direction (as seen in the table above) to unlock the Desolate Area next. Run through the building and back up to the left-side path, and this time take the door straight ahead.
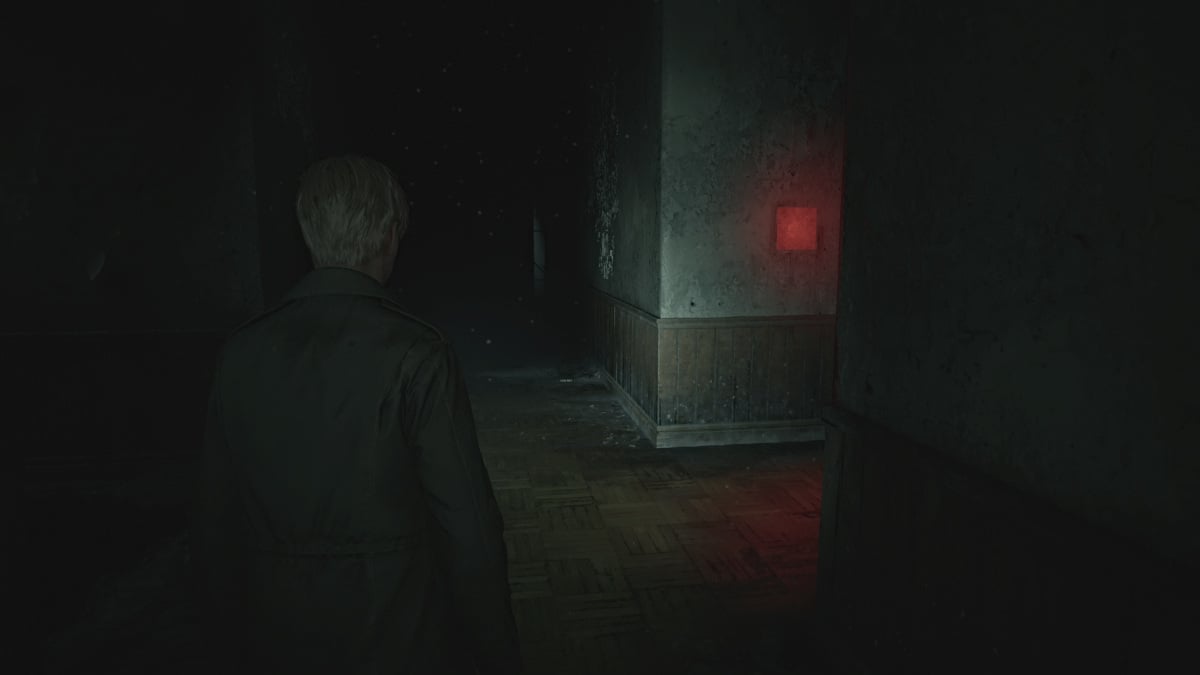
Upon entering the Desolate Area , use the nearby Red Save Point and make note of the locked door to your right, and the ladder to your left. Continue straight ahead and find the second door on your right and go through it. There will be a wall crack by a closet for you to take to the room adjacent, where you'll find some Rifle Ammo , Shotgun Ammo , and a Mannequin hiding behind a bookshelf.
Backtrack to the small bedroom where you find a Health Drink and Ladder II . Go down it to reach the Flooded Level , and follow the path until you find a hole you can peek through to see a key (which you will need).
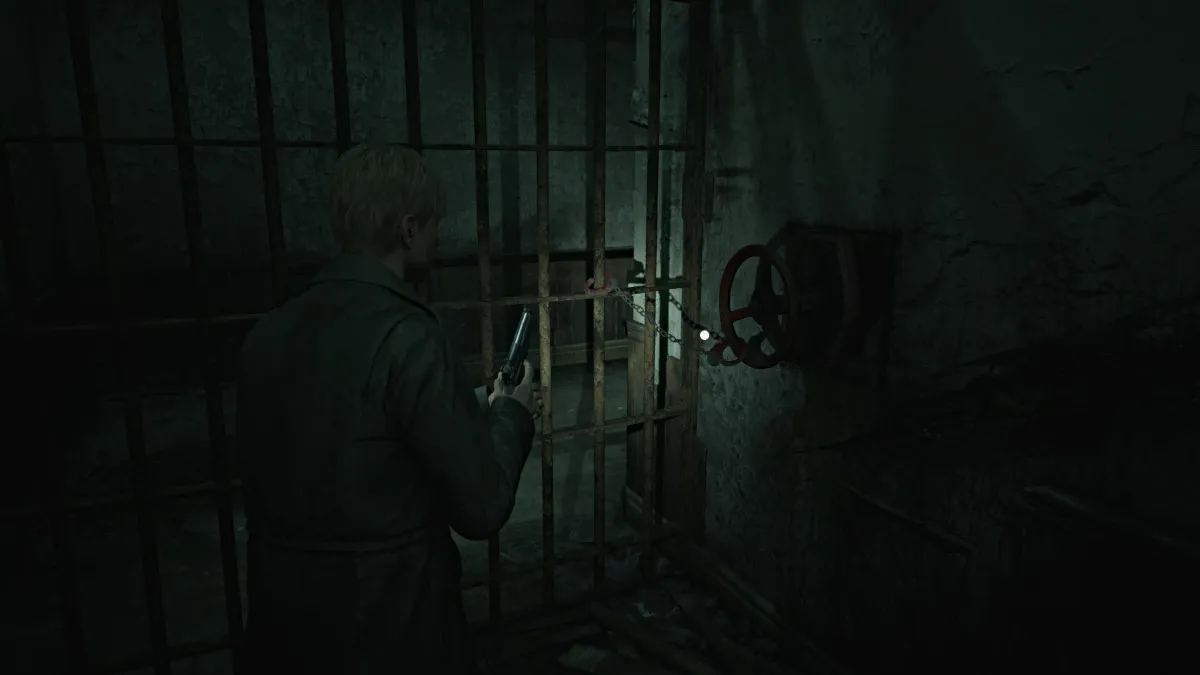
Keep going and you'll see that the door to that room is locked. Make your way south until you find Ladder I and climb up, where ahead of you will be the Handcuffed Gate (seen above). You'll need a certain key you already saw to unlock it, but for now, go through the door to your left.
Follow the hallway until you can make two rights to find another ladder that will take you back down to a cave area. Follow it until it brings you to the room where you spotted the key. Pick up the Small Key and head back to Ladder I to use it on the Handcuffed Gate . Now you can access the rest of the Desolate Area.
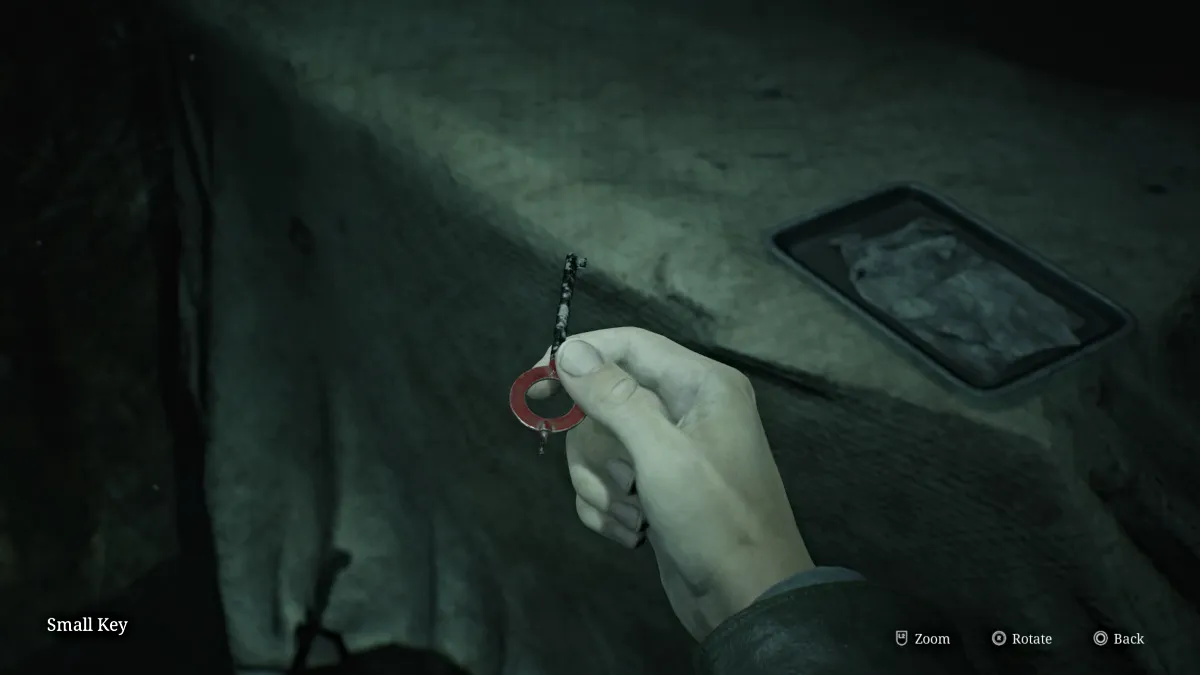
Follow the corridor to the next room and look for a pushcart you can use to reach a high crawlspace. Climb up and through and continue until you find Ladder IV to take back down to the Flooded Level . Another crawlspace ahead will bring you to a Wire Barrier that prohibits you from going forward. You'll need something to help get rid of those wires.
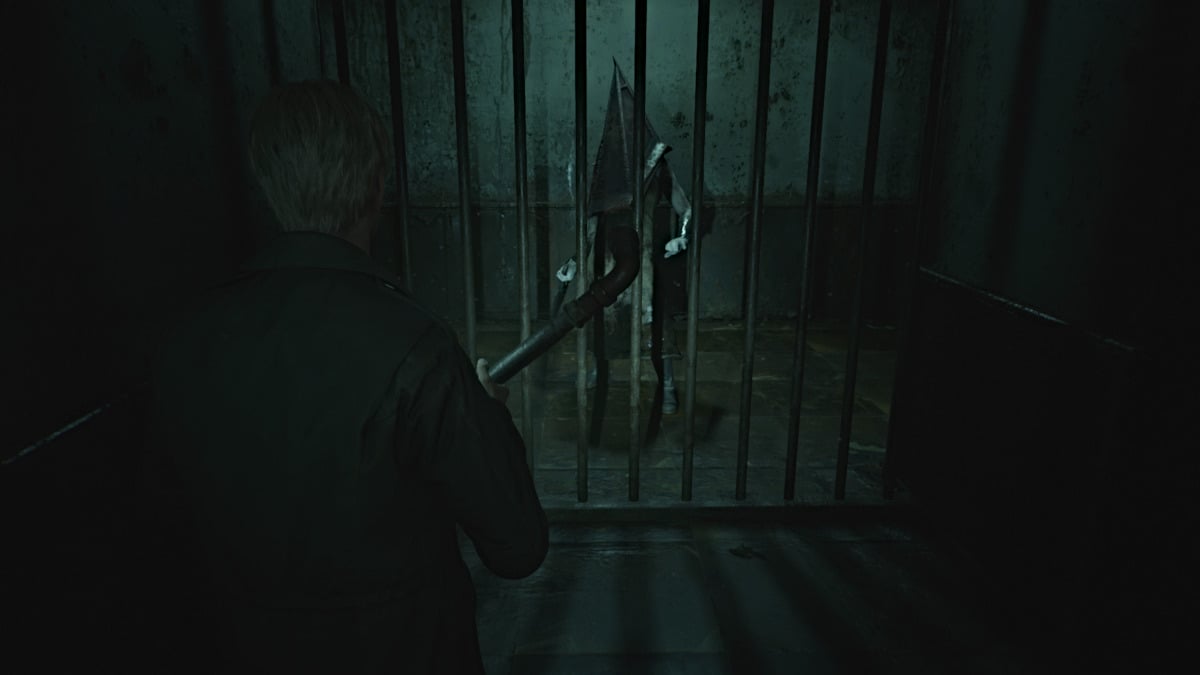
Go through the next hallway on the right, full of bugs of course, and suddenly Pyramid Head will appear and start giving chase. This is not a boss fight, you're simply in his domain now and need to avoid him at all costs while completing your objectives.
Go up Ladder V and follow the long hallway up until you can turn left, but quickly go right for some Handgun Ammo in a dresser at the dead end. Backtrack and go left through the wide open door to the room where you can remove a set of Wirecutters from a broken fuse box.
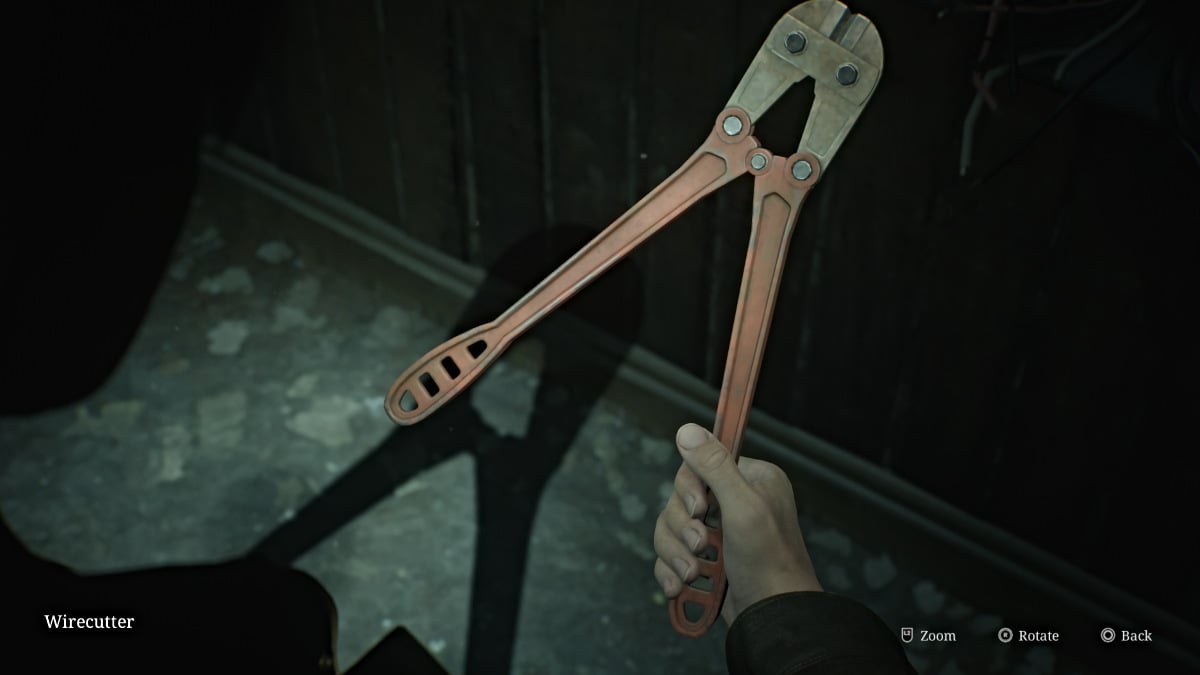
As tempting as it might be, do NOT take the south corridor past the fuse box as that will bring you back to the tunnel with the crawlspace that caved in after passing through, meaning you'll have to backtrack much further around the map.
Instead, go back down Ladder V to the area where Pyramid Head was, but he'll no longer be there. Instead, you'll have to deal with Mandarins and other monsters in your way.
For some extra items and a Strange Photo you can make your way to and up the ladder you initially passed while evading Pyramid Head. Otherwise, head back to the tunnel with the barrier of Wires and use the Wirecutters to get through. Go down the next ladder ahead, and grab a nearby Health Drink before dropping down another hole that brings you back to the Rotating Cube Puzzle once more.
Be sure to use the Red Save Point nearby to save all your recent progress. Now it's time to turn the cube in the appropriate direction for the Ruined Area . Remember, the symbol is an upside-down triangle with a cross underneath . Cross through the building and up the path to where you can now take the red door to the right.
The Ruined Area of the Labyrinth is quite different from the other areas in that it's essentially a monster gauntlet. You'll enter different areas where you need to defeat various monsters to progress forward. Make sure to gather all of the ammo and health items in the areas first, then go interact with the red door at the back for the alarm to go off and the monsters to come alive .
In the first two areas, it'll be mostly regular monsters such as Lying Figures, Mannequins, and Bubble Nurses. The third area will be full of bugs and you'll need to kill Mandarins crawling beneath the floors. The Shotgun and Hunting Rifle are best for those.
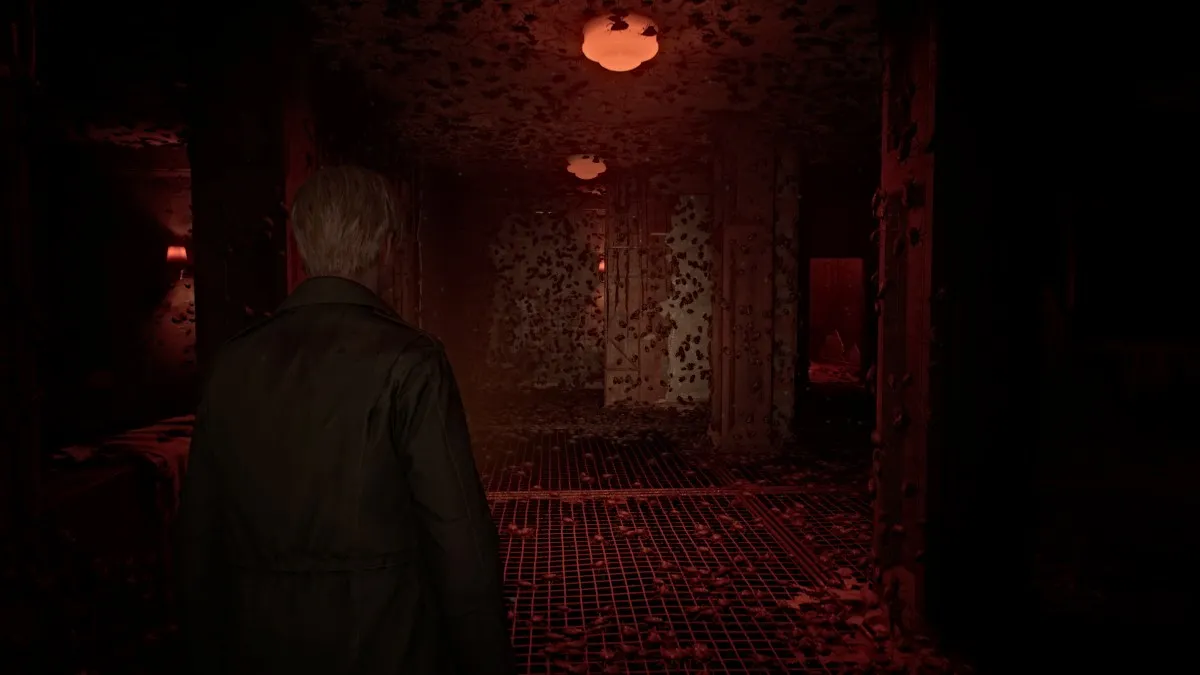
At the end of it all, you'll get a gracious Red Save Point , which we recommend because soon after you'll run into Pyramid Head yet again. He'll give chase and you need to run in the other direction until you reach a familiar-looking barrier made of monsters. This time, however, you're able to get through before Pyramid Head catches you. Continue on into the next room, where you'll find Maria at last, but it seems it's too late once again.
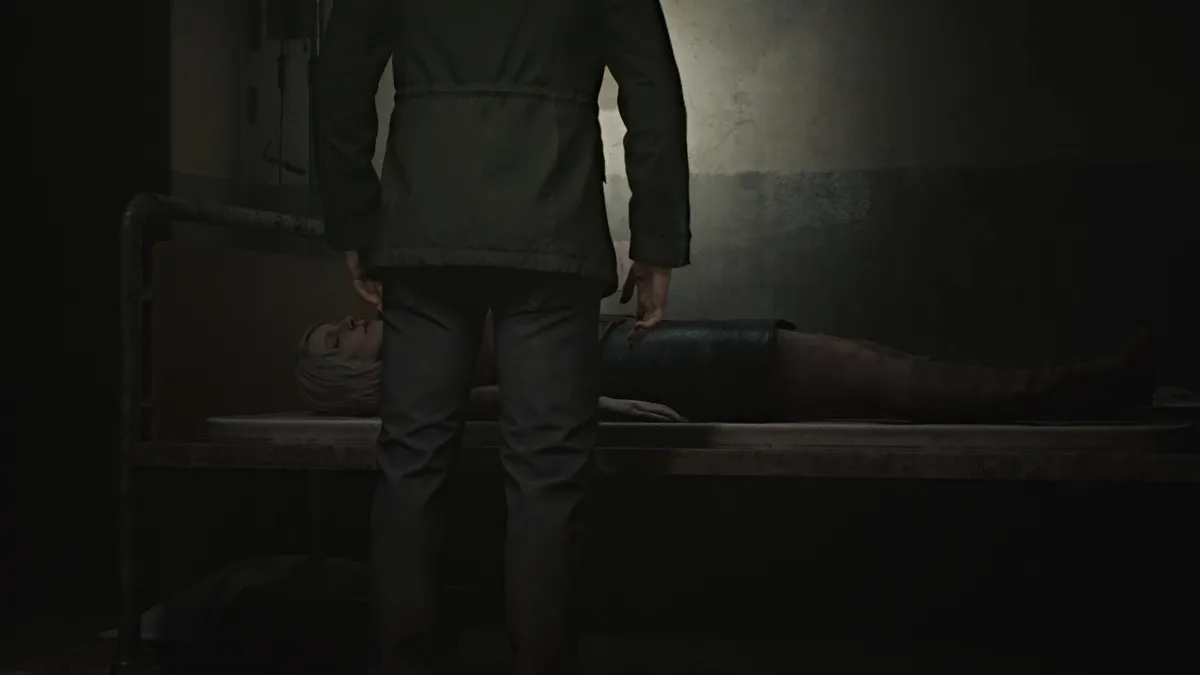
James finds himself overcome with grief at the sight of Maria clearly dead and murdered (likely by the same culprit), and him unable to help her in time. Likely a similar grief to the loss of Mary, he whispers her name and leaves, powerless to do anything else.
Once you leave the room, head up the stairs to where the Rotating Cube Puzzle normally is, but now it's been brutally destroyed, and among the rubble is the Great Knife , Pyramid Head's main weapon.
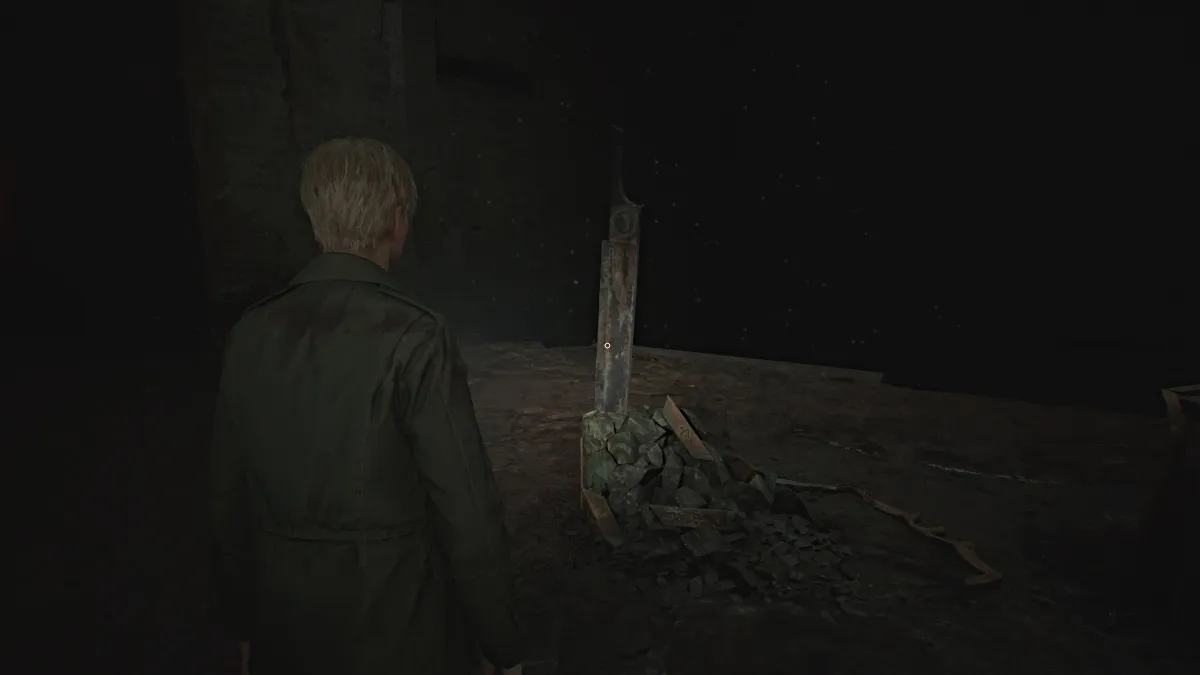
Interact with the Great Knife and James will pry it loose, allowing you to wield it, sort of. Drag it left toward the Strange Barrier and you'll now be able to pass through it. Drag the Great Knife all the way until you're completely through the barrier with a ladder ahead of you. You can now drop it and continue on (sorry, you can't keep it in your inventory this time).
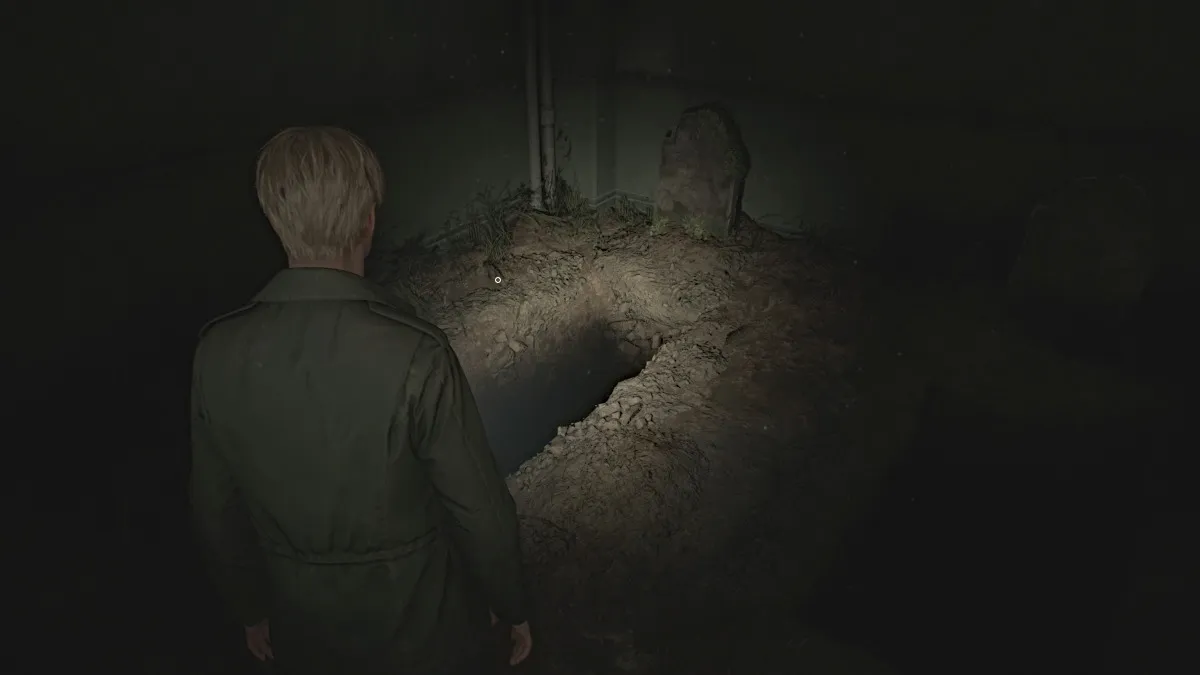
After climbing the ladder, follow the hallway until you can climb back down another ladder, which leads you to a small cemetery area. You can salvage some Shotgun Shells and a Health Drink here. Among the gravestones you'll find three that are of particular importance: Angela Orosco, Eddie Dombrowski, and James Sunderland.
To progress onward, you'll need to jump down into the hole that is your grave. When you're ready, take the plunge to the deepest reaches of the abyss, where your final adversary of the Labyrinth will be waiting. Follow the long hallway ahead of you, and at the end will be a freezer door soaked in blood. Go through it, and Eddie will be on the other side.
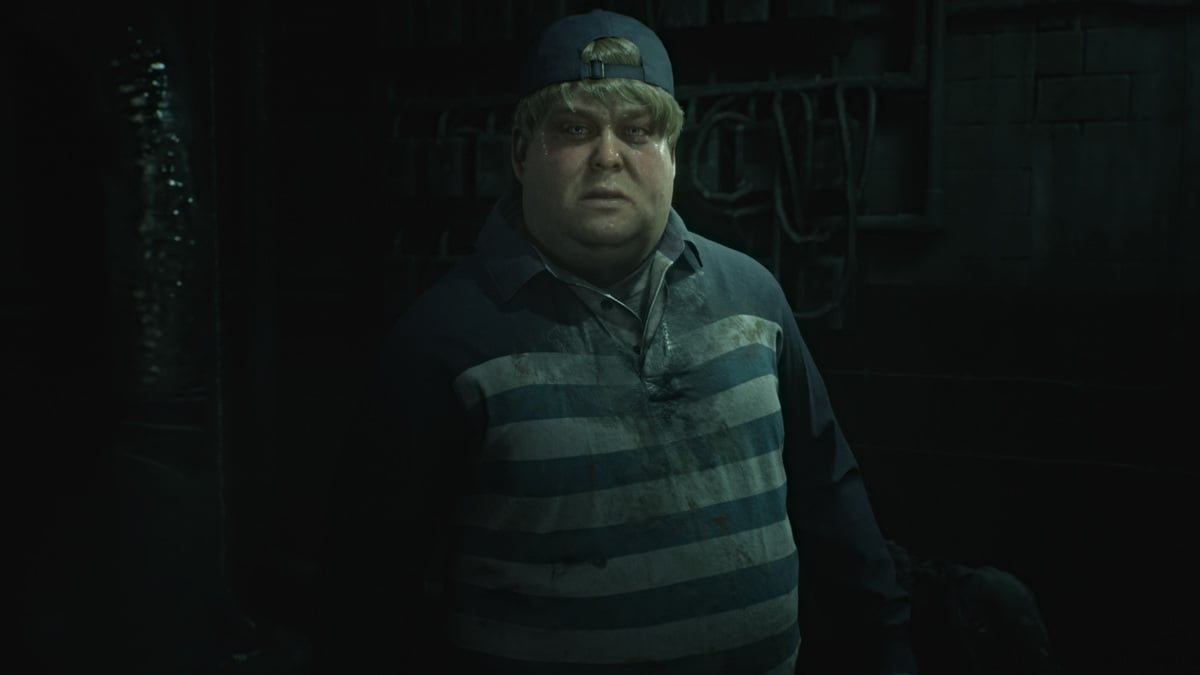
Clearly having lost himself, Eddie claims the corpse in front of him has been following him the whole time, laughing and insulting him. He then accuses James of doing the same, and that Silent Hill called them both because they're "not like other people". Determined to punish James the same way, he coerces him to the meat freezer for a fight.
Grab the Health Drinks on both sides of the room, make sure your guns are reloaded, and then follow Eddie through the same door.
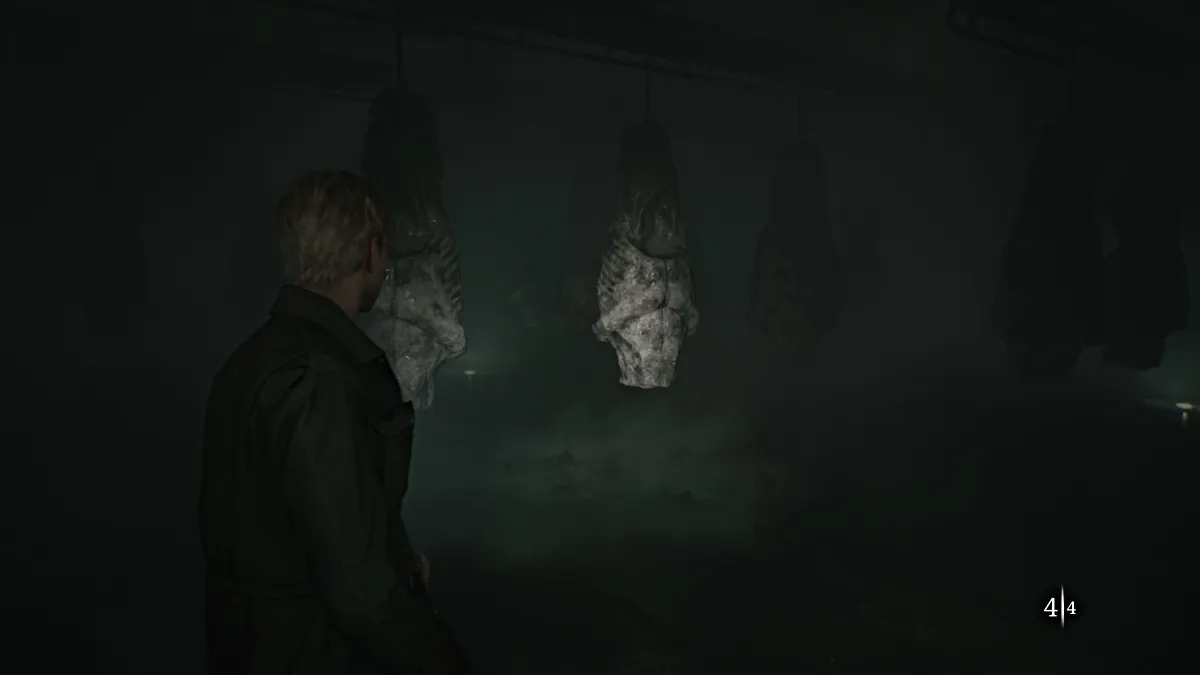
Make your way into the freezer and Eddie will officially engage you in a fight, and you'll want to avoid getting shot by him as much as possible because even just one shot from his gun hurts a lot .
Use the hanging sacks of meat for cover as Eddie circles around for sneak attacks. Do your best to keep him in your sights, or at least a sense of where he is, at all times. There will be some extra Shotgun Shells scattered around the walls of the room.
Shoot him enough times and he'll shoot a gas pipe that fills the room with fog, making it harder to spot where he is. Do your best to keep your back to a wall while waiting for him to approach. After a few more shots, the conveyors of meat will start to rotate, and you'll need to be wary of being caught in the open.
Be extra vigilant as Eddie will get more aggressive now with more gunshots and will attempt to sneak behind you for a pistol whip. Keep damaging him as much as possible and soon he'll succumb to his wounds and collapse, dead.
There's nothing left to do, so find the black double doors and open them to find your way out. Go through one more door, and you'll find yourself somehow back outside at the edge of Toluca Lake.
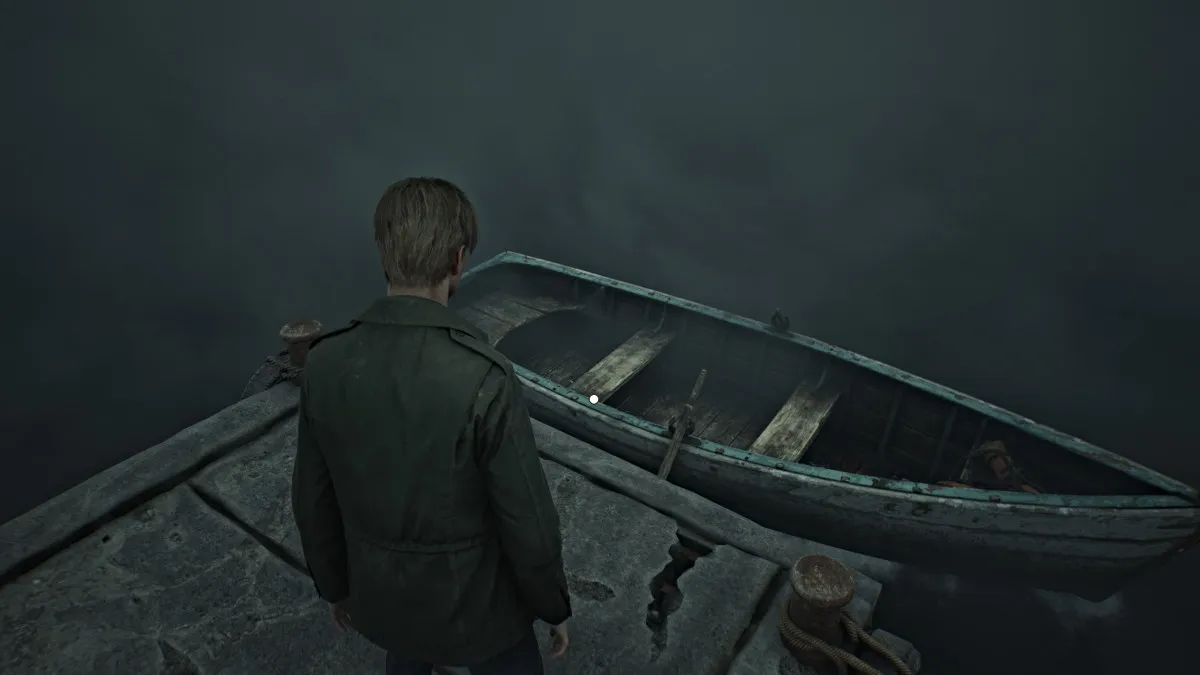
With all that James has experienced so far, it's now time to go to the one other "special place" Mary could be, which is the Lakeview Hotel . To get there though, you'll need to get across Toluca Lake, meaning you'll need a boat of some kind. Walk down the pier after using the Red Save Point and a small rowboat will be waiting for you.
After James climbs in and starts rowing, you'll soon need to take over yourself. You can control both oars separately (to turn if you veer off-course) with the appropriate controls or together at the same time to row straight.
Your goal is to follow the light in the distance, which is coming from Lakeview Hotel. As you get closer, the light will grow bigger and brighter, so follow it until James reaches the pier in front of the hotel.
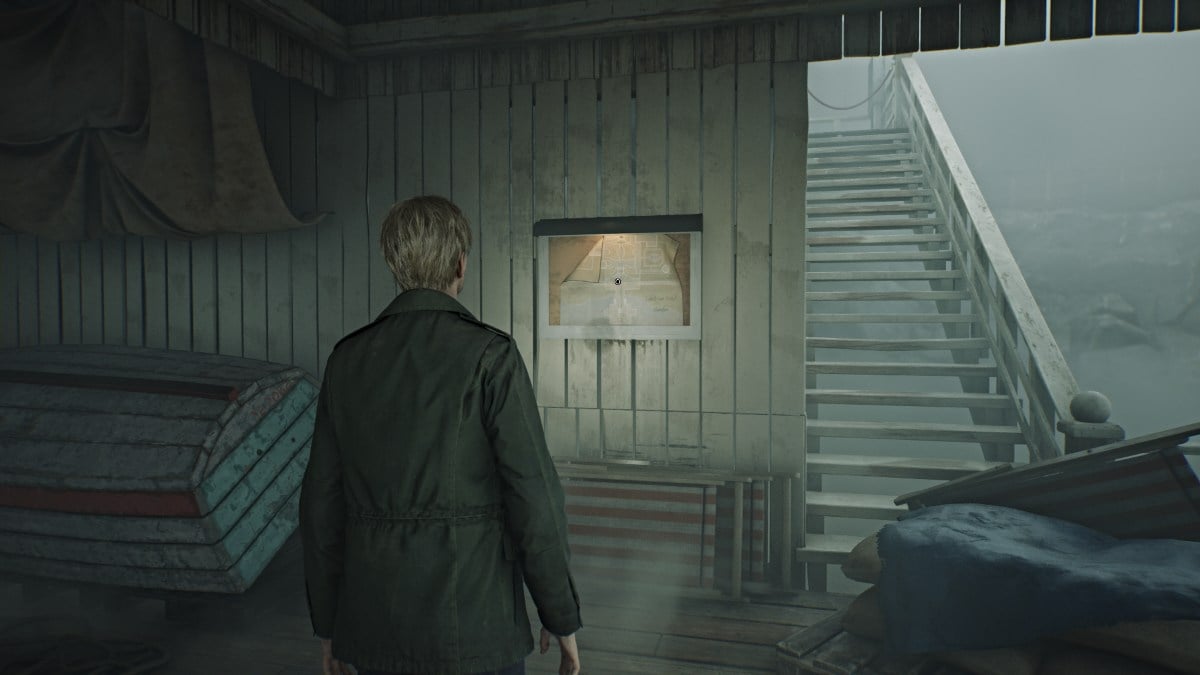
After another brief cutscene, you'll find yourself at the Lakeview pier. Go immediately to your right where you should spot the Lakeview Hotel Garden Map posted on a wall. Take it to get a look at where you are, which is the massive front entrance to the hotel.
For now, head up the central stairs and north in the direction of the garden area. Go up the next set of stairs and head left to find some Handgun Ammo in a gazebo. Now run to the far right side and on a small bench will be the Rotten Apple . Take it and make your way up the east side of the garden. Inside the Fish Fountain, you'll find a Glimpse of the Past in the form of a broken music box.
There's nothing else of note outside for now, so head to the hotel's entrance where you'll hear a piano being played inside.
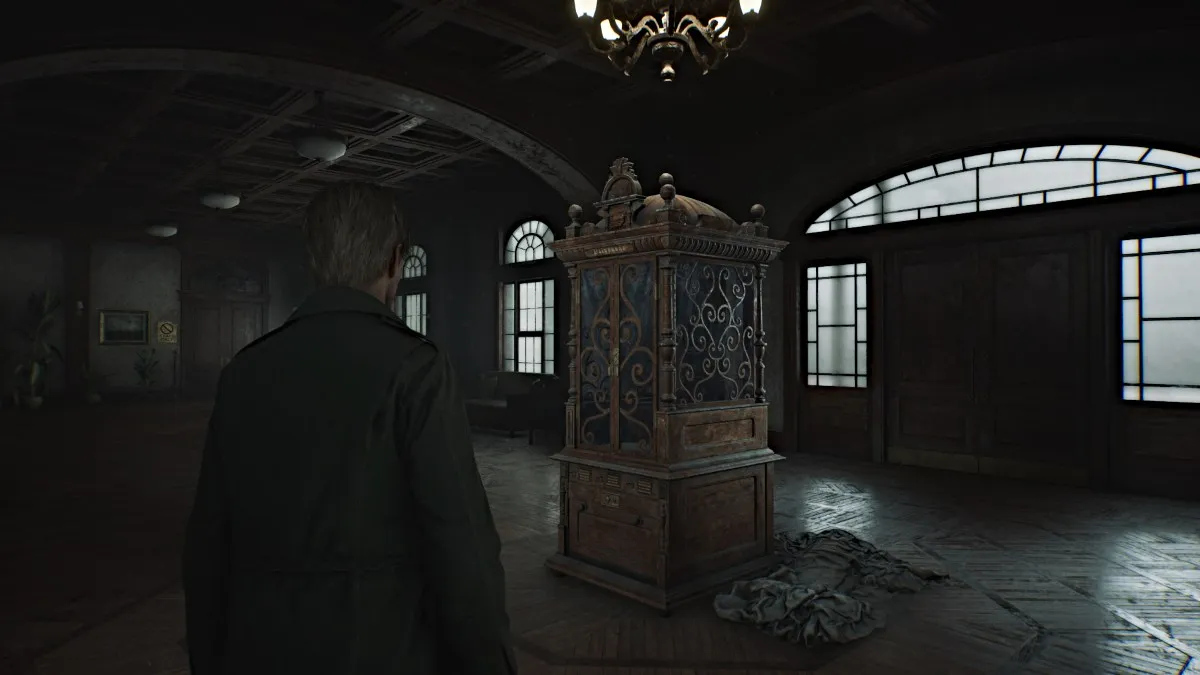
Go through the double doors and head right to collect the Lakeview Hotel 1F-3F Map , which also shows a map for the Venus Tears Bar in the Basement. Now, circle around to the front of the lobby, where you'll see a large and ornate Music Box (seen above) that requires a special key to open it.
Backtrack a bit and go inside the Check-In Room on the right to find a Red Save Point , a keyring that contains both the Room 312 Key and the Ornamental Key , and the Receptionist Memo that mentions the videotape James and Mary left now being kept in the Employee Section of the first floor .
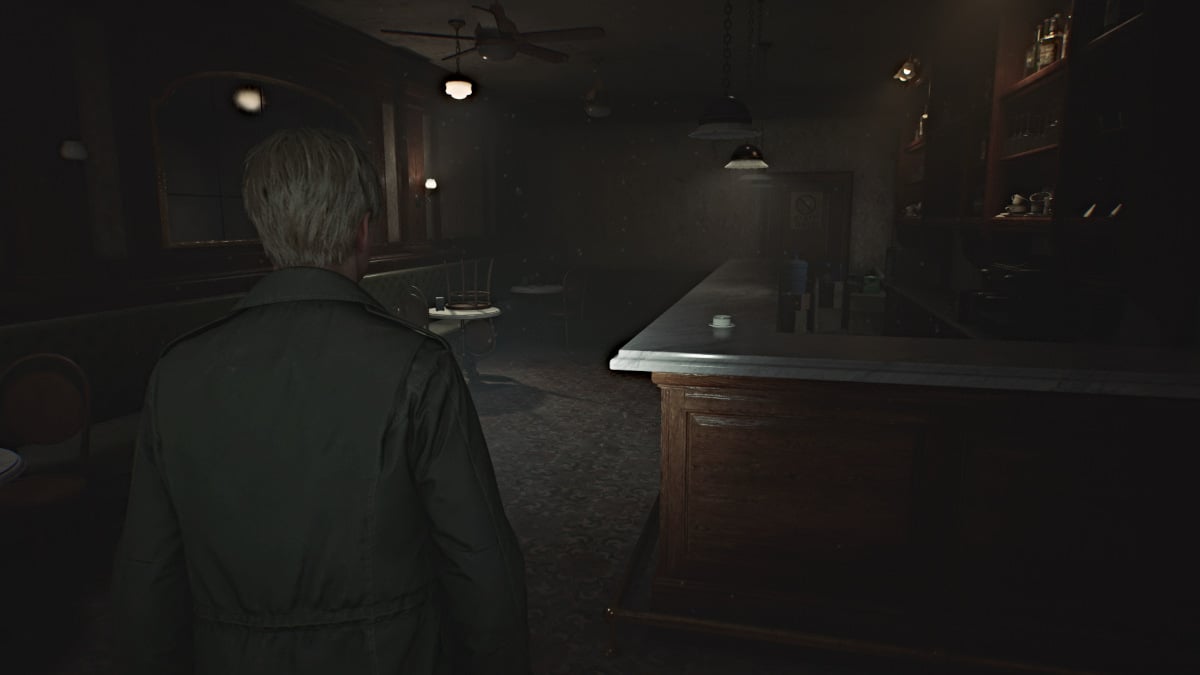
Go check out the far right side of the lobby for some Handgun Ammo and head into Cafe Toluca . Grab a Health Drink from one of the tables, then go behind the bar to find the Room 102 Key at the far end. Go around the corner to find a breakable spot in the wall, letting you through to the Lost and Found Room. There you'll find more Handgun Ammo and the Lost and Found Note .
Go back to the Music Box machine and use the Ornamental Key to open it. Inside you'll see that three figurines are required to play the music reels. For now, head down the left side of the lobby and through the open door on the left, where the piano tunes are coming from.
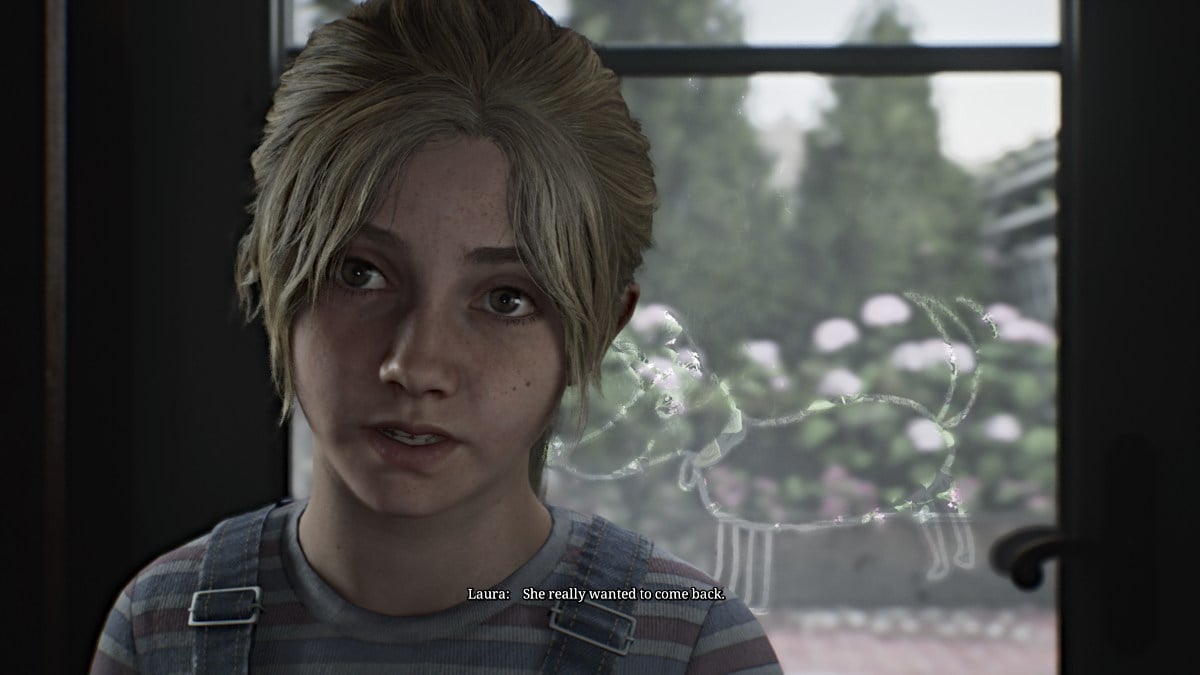
While looking around in the Lake Shore Restaurant , James gets startled by Laura hiding near the piano. The two of them talk about Mary and how they both want to find her for very similar reasons. In a letter from Mary addressed to Laura, it's revealed that Mary cared deeply for her and even hinted at adoption, if things had been different and she wasn't sick.
After James reads the letter which ends with Mary wishing Laura a happy eighth birthday, he asks her how old she is. Laura reveals that she turned eight "last week". That would mean that James' timeline of events has completely crumbled, as Mary didn't die three years ago after all, or even last year. If that letter is real, then Mary died only days ago.
Before James realizes that, however, Laura says that there was a second letter for James. She hands the envelope to him, but somehow it's empty. For now, she runs off to look for it.
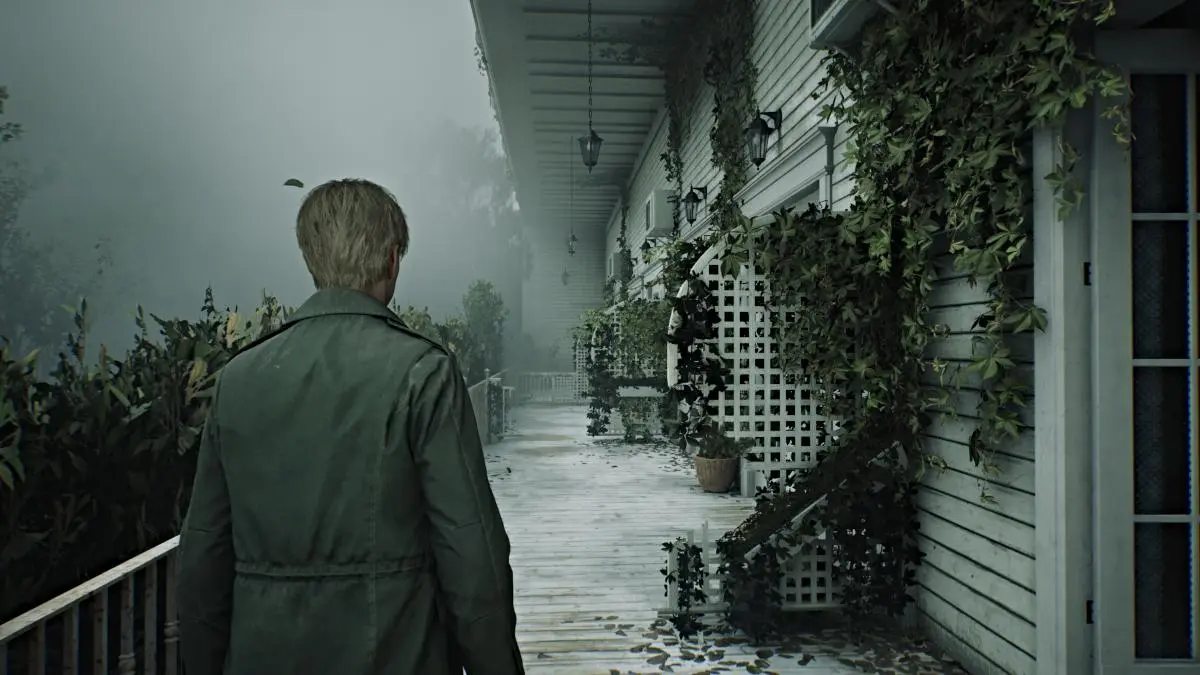
After leaving the Restaurant, follow Laura to the hotel rooms on the east side of the floor . As soon as you go through the parlor doors, however, you'll see that monsters are dwelling in the halls. Deal with the ones in your way and check the small cabinet outside Room 101 for some Handgun Ammo . There's nothing of note in that room, so go to Room 102 .
Use the key to get in, and inside you'll find a nice trove of useful items, including a Syringe , Health Drink , Shotgun Ammo , and Rifle Ammo .
Leave the room, and right across from the door, there's a crawlspace that leads into Room 103 . Slip through and grab the Health Drink from the bedside table before heading out to the patio. To the right, you'll notice that you can go all the way across to the other side. Every other room along the way is locked from the patio side, except for Room 106 at the very end.
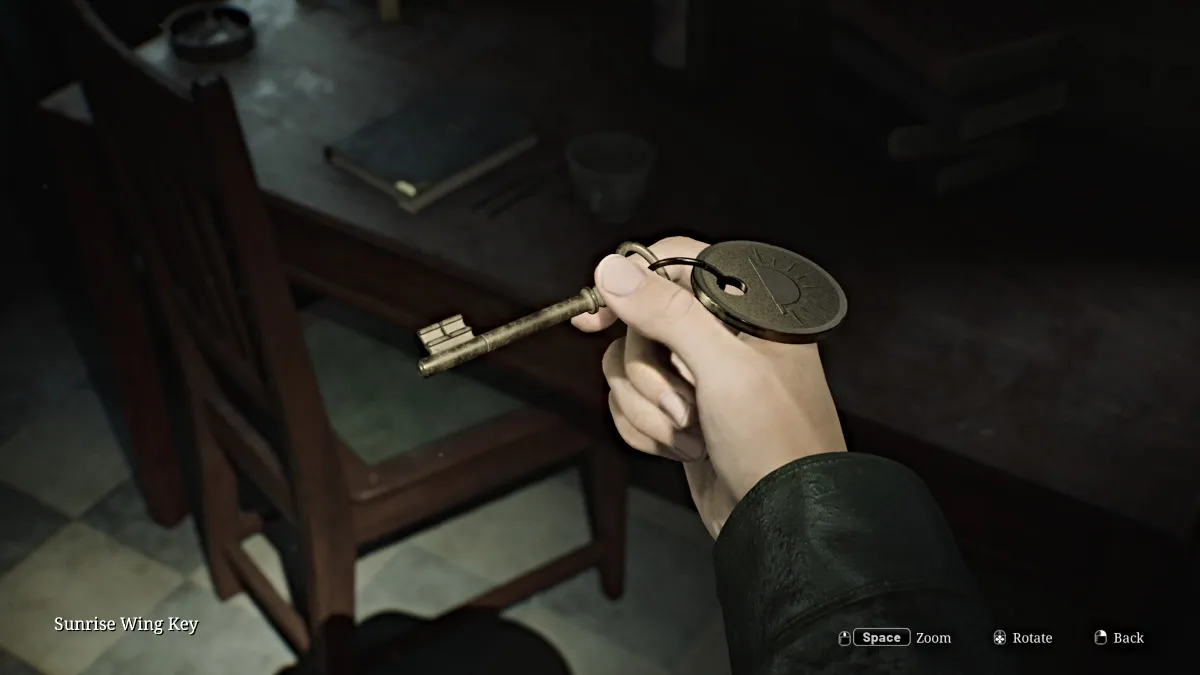
Go inside and check the bedside table for some Handgun Ammo , then go out into the hallway. A couple of Mannequins will ambush you in the dark, so take care of them first. Go check Room 104 , the only other accessible room on that side for the "aftermath..." Strange Photo and some Rifle Ammo .
Room 107 at the far south end requires a key to get in, so for now check the Utility Room nearby. Inside there's some Handgun Ammo and the Sunrise Wing Key , which unlocks an area of the second floor. Afterward, go unlock the door nearby that leads back to the front entrance area, if you want.
For now, make your way back to the lobby and up to the hotel's second floor.
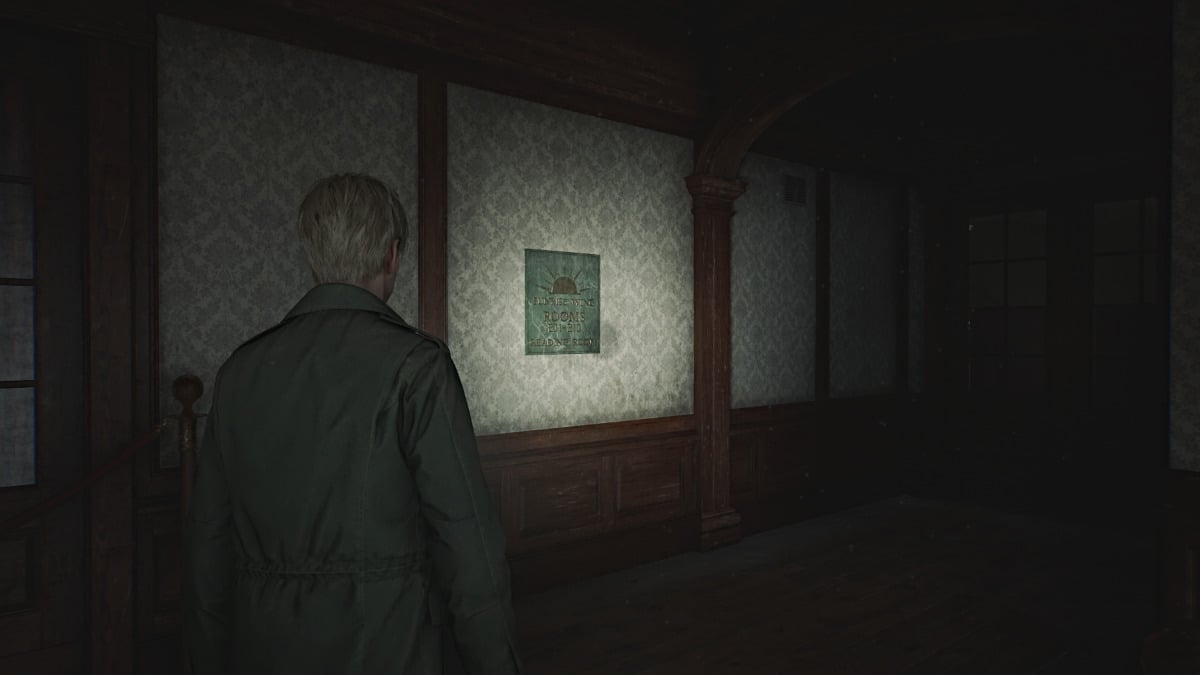
Upon reaching the second floor, you'll notice that the west half of the floor is locked off. So for now, go to the east side, which happens to be the Sunrise Wing where you can use the key you just got. Head inside and watch out for more lovely spider Mannequins crawling the walls and ceilings.
Before you investigate the Reading Room, duck into the Cloakroom on your left, which gives you access to the Hall room next door. Go in there and grab the Room 202 Key from a couch on the left side, then deal with a couple of Mannequins to get to the back of the room where you'll find the Ripe Apple (yum).
The patio is accessible and leads to the west side of the floor, but hold off on that for now.
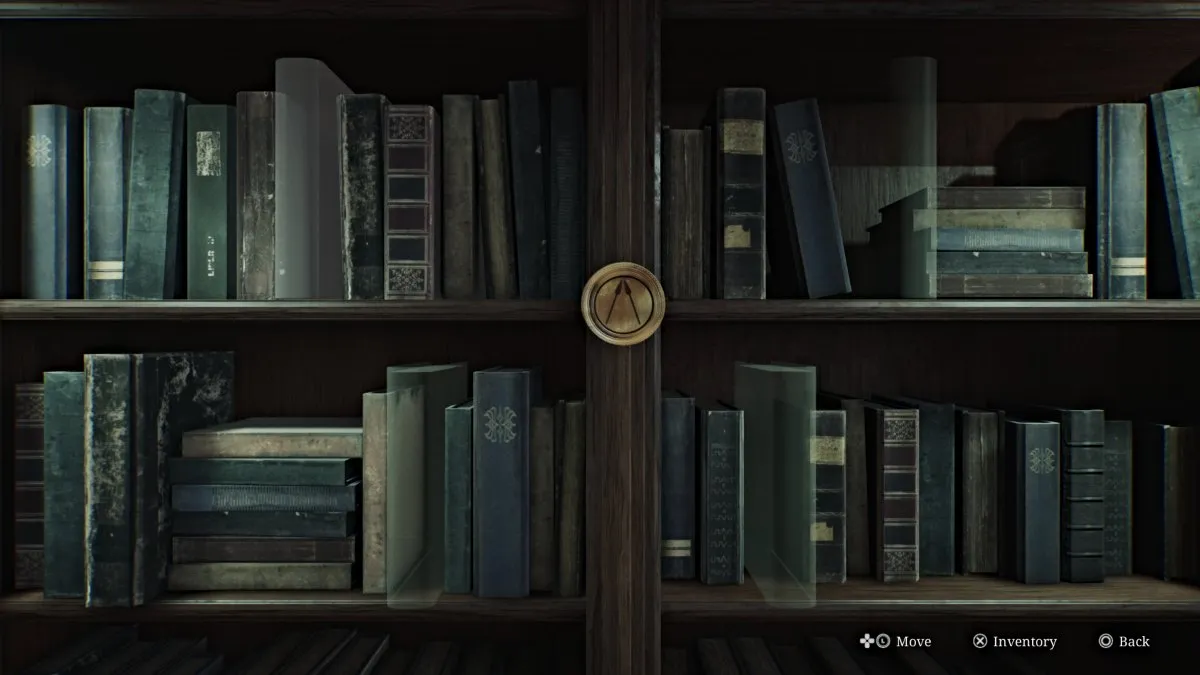
Now head into the Reading Room on your right, which James has marked on the map. Inside will be a Red Save Point along with four books you can pick up, including:
You'll need to place these books in the correct spots on the nearby bookshelf with a bronze emblem marked with two spears. Notice that the spine of each book has a different gold symbol, including an Eagle, Angel, Lion, and a Bull .
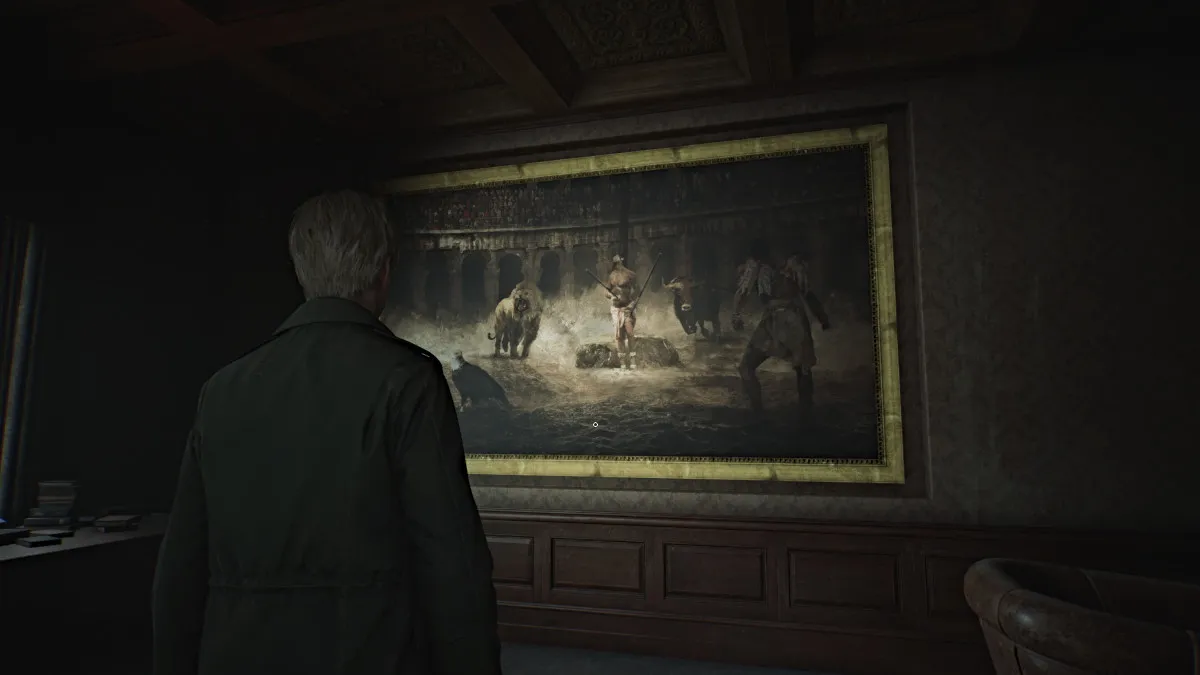
Next, look at the huge painting on the opposite wall, and you'll notice that it contains all of the aforementioned symbols as painted subjects. Two are in the background while the other two are in the foreground . Based on that, the books need to go on the shelf in the following order:
| Livro | Localização |
|---|---|
| The One Who Soared (Eagle) | Top Right Slot |
| Revelations: A New Understanding (Angel) | Top Left Slot |
| Stalwart to the End (Bull) | Bottom Left Slot |
| Pride Before the Fall (Lion) | Bottom Right Slot |
Once done, the bookshelf will slide back to reveal a secret room that also connects to Room 205. Go inside where you'll find a series of Photos (#1-3) in the room along with a Briefcase that requires a letter-based combination to open.
Normally, to figure out the code you would need to replace the broken light bulb in the nearby Vanity Mirror with a new one. To do that you need to find the Paint Can (Room 318), the Can Opener (fallen book in Lake Shore Restaurant), and the new Lightbulb (locked left side of Garden area; use Boltcutters to access).
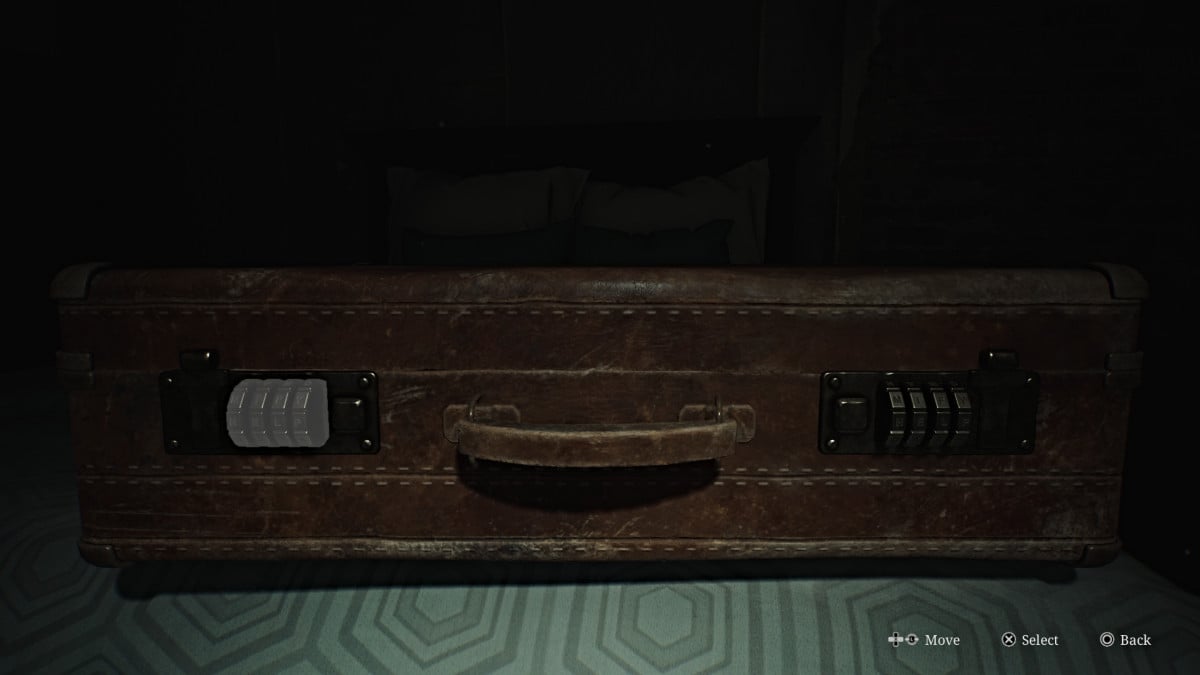
However, if you'd rather save time, the correct combination (Standard Difficulty) is "DEED DONE" . So input "DEED" on the left combination lock and "DONE" on the right one. Inside the Briefcase will be the Employee Elevator Key .
Up top, only Room 209 is accessible but has nothing valuable (only a Mannequin to jumpscare you). Head south and into Room 206 , where you can use a crawlspace to enter 207 and claim some Rifle Ammo . Double back out to the hall and Room 204 will have a Health Drink and Handgun Ammo for the taking.
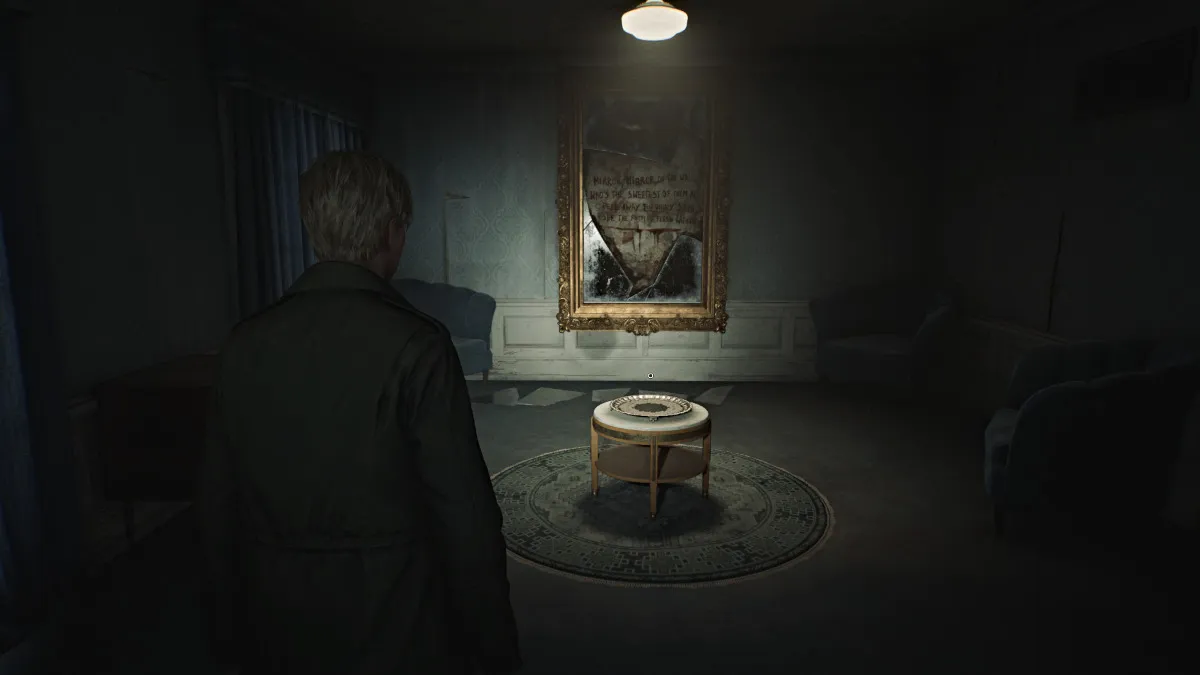
Finally, go to Room 202 and use the key you got to enter. Inside you'll find an ominous room with a small table and a platter on top of it. On the wall behind it is a broken mirror with words inside written in blood. "Mirror, Mirror, on the wall, Who's the sweetest of them all, Peel away the shiny skin, See the rotting flesh within."
On the floor beneath the mirror are five broken shards . A sixth one can be found in the bedroom on the opposite side; grab it before you start the puzzle. When ready, you first need to place either the Ripe Apple or Rotten Apple on the platter. For the sake of completing the puzzle, your choice doesn't matter.
Next, you'll be required to place each of the broken shards on the floor back into the mirror in the correct spots . The last one will be the one you took from the bedroom.
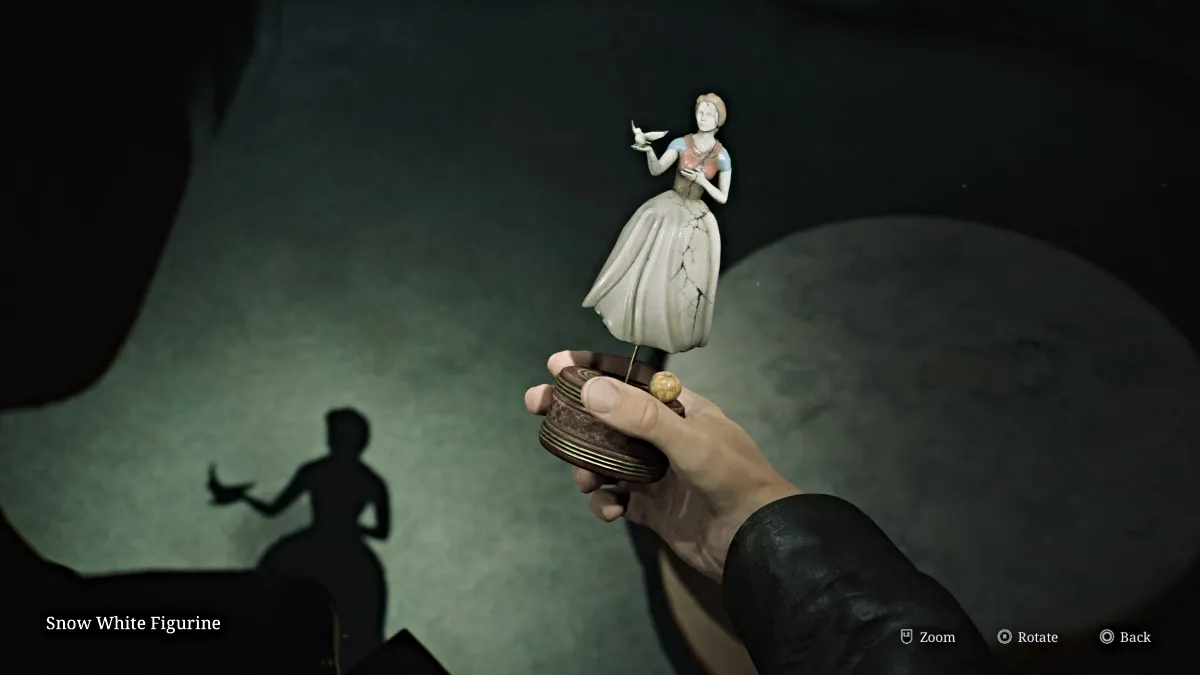
Once done, the mirror will reform and you'll then want to head to Room 201 next door to claim your reward, the Snow White Figurine .
Now make your way back through all of the spider Mannequins to the Cloakroom , and cut through the Hall room to the extended patio outside. Use it to reach the Nurse's Office on the left side of the floor, where you'll find a Bubble Nurse and a medical record sitting on a desk with the initials "MSS". Mary's perhaps?
Go out to the hallway and unlock the double doors to your left to make the Sunset Wing on the west side accessible. Go straight and around the corner to get some Shotgun Shells from a drawer. Bypass the Employee Elevator Room for now (for a specific reason) and explore the rest of the rooms on the floor first.
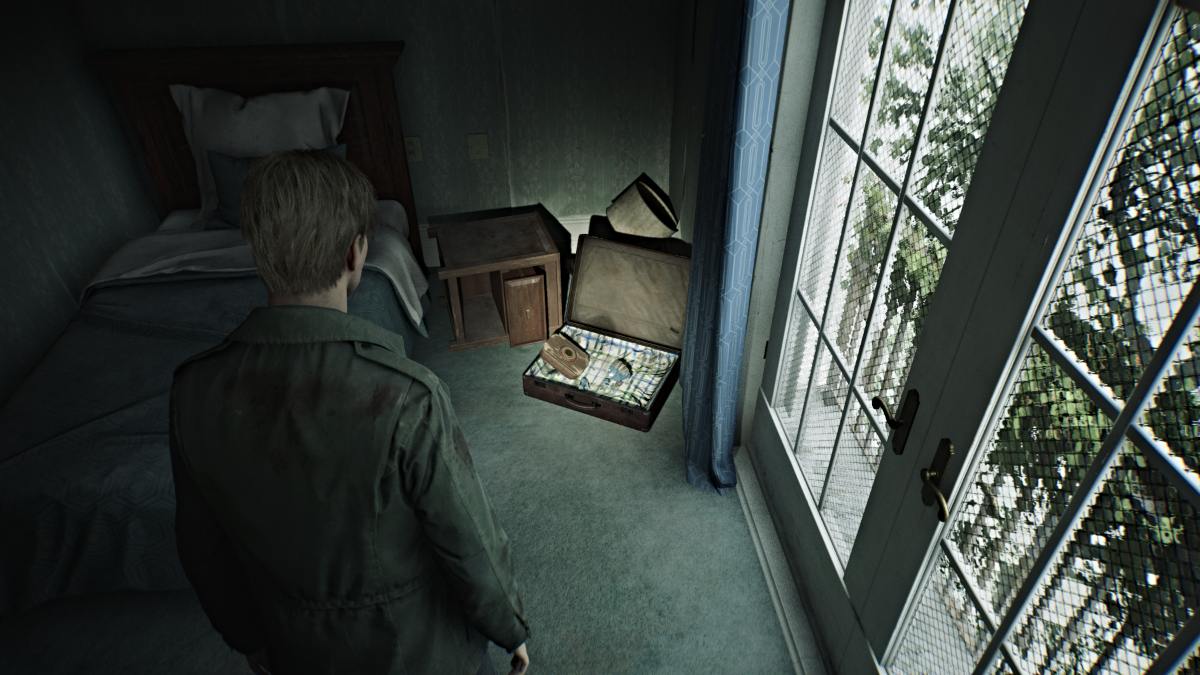
Note that the third floor is accessible from this side . Grab some Shotgun Shells from the drawer near Room 214. Go straight up the hall to the window at the far north end, where a Mannequin will be hiding and some Rifle Ammo on a table. Double back and turn right to find more Rifle Ammo at the end of that hall.
Inside Room 212 you'll find another Glimpse of the Past in an open briefcase. Leave and now head up to the third floor.
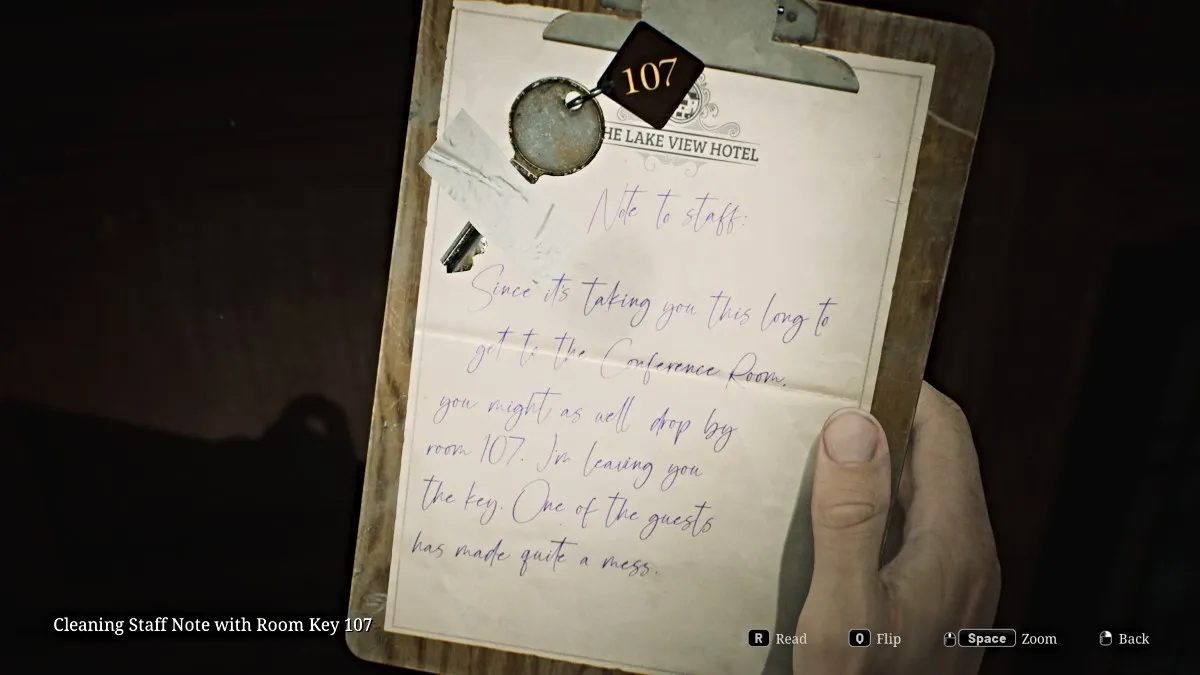
Go up the stairs to the third floor and first head into the Conference Room in front of you. Go across the room and pick up the Cleaning Staff Note With Room 107 Key off the fireplace. Now interact with the fireplace itself, and you'll notice one of the Music Box Figurines is stuck inside it . You'll need something to unlock the fireplace first.
For now, run back out into the hallway, and you'll notice double doors locked by an iron gate. If you approach it, Mary's voice will suddenly shout for James, surprising him. You'll need a key to access that part of the floor, however. For now, go check the Utility Room around the corner, where you'll find Handgun Ammo , Shotgun Ammo , and a set of Boltcutters (used to unlock the outside Garden's left side).
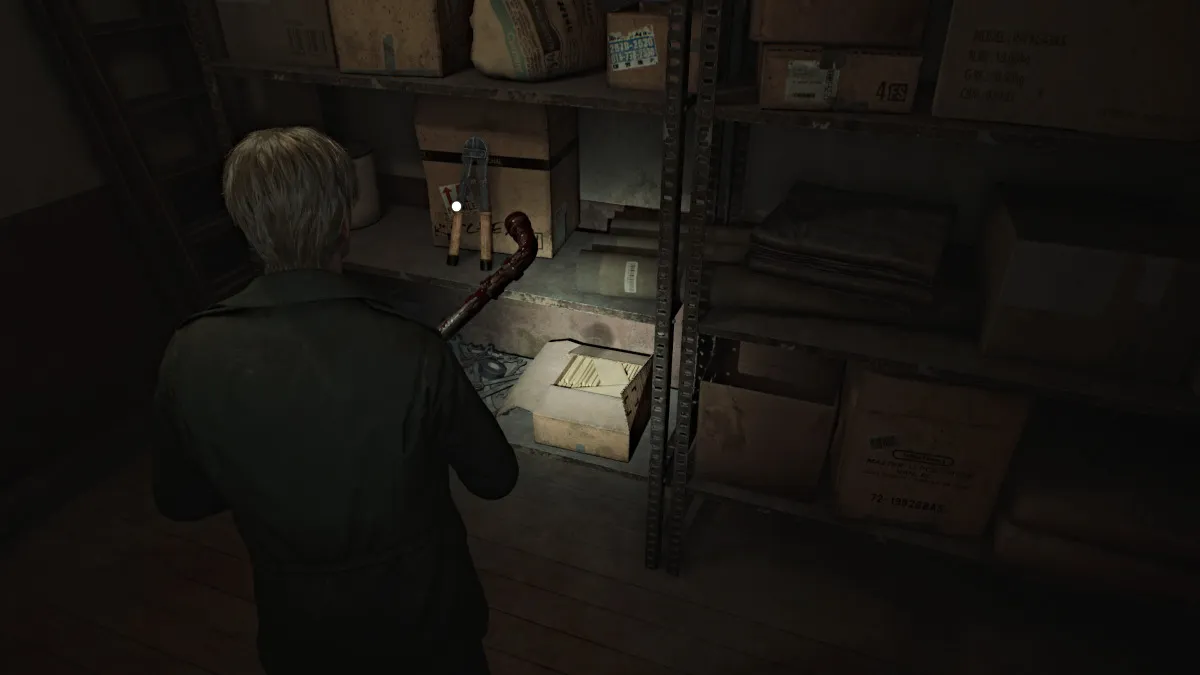
Double back around the hallway to where you see a bright red 'Exit' sign. This will take you outside and down a stairwell (grab the ammo from the table on the way down) to the second floor, into the southeast corner you couldn't access before.
First go into Room 215 , where you'll find a breakable wall that will take you to 214 . Unlock the door in there, and you now have a handy shortcut to the other side of the Sunset Wing.
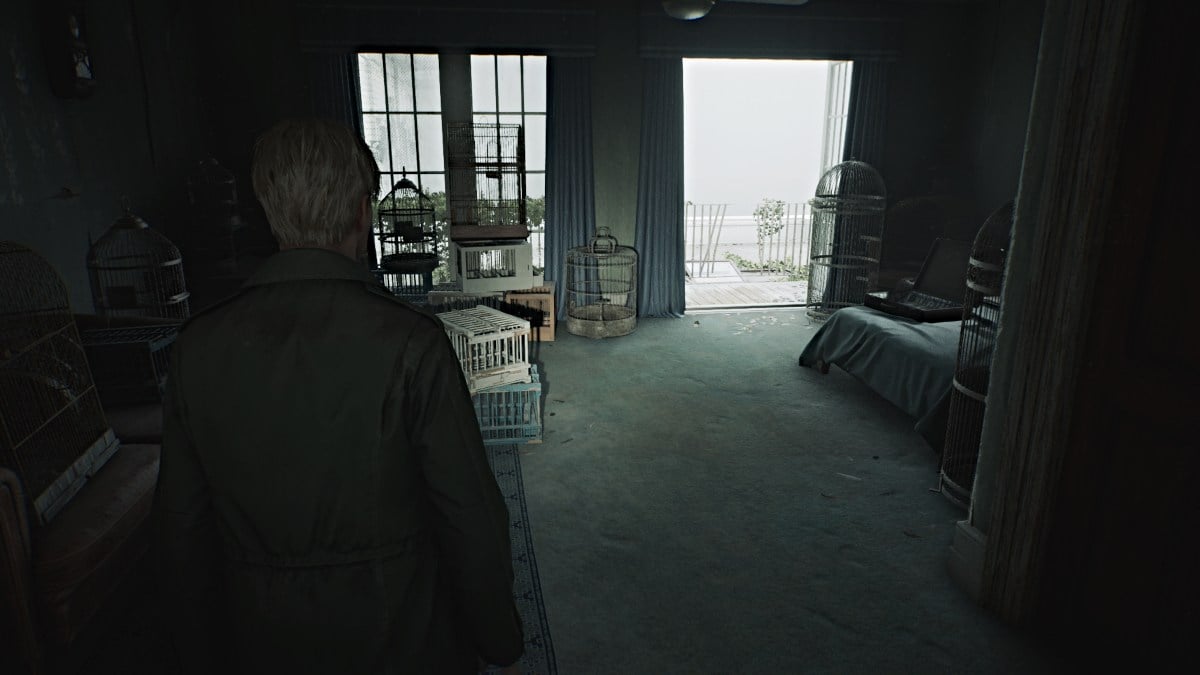
Now double back to Room 217 , a room full of bird cages where the patio doors will blow open, making another path for you. Grab the ammo from the suitcase on the bed and go look outside, where you'll see another red book lying on the glass ceiling across the way. Use your Handgun to shoot the cracked glass plate underneath it, so it falls into the Lake Shore Restaurant below.
Use your new shortcut and head all the way back down to the first floor and to the restaurant, where the book will be lying on top of a box. Interact with it, and it will open to reveal the Can Opener (for the Paint Can, if you're uncovering the briefcase code yourself). Take it and then head to Room 107 , now that you have the key for it.
Unlock it and go inside. First, pick up the Cleaning Staff Note #3 from the nearby table, then a Health Drink from the bathroom, and then head outside to the patio area.
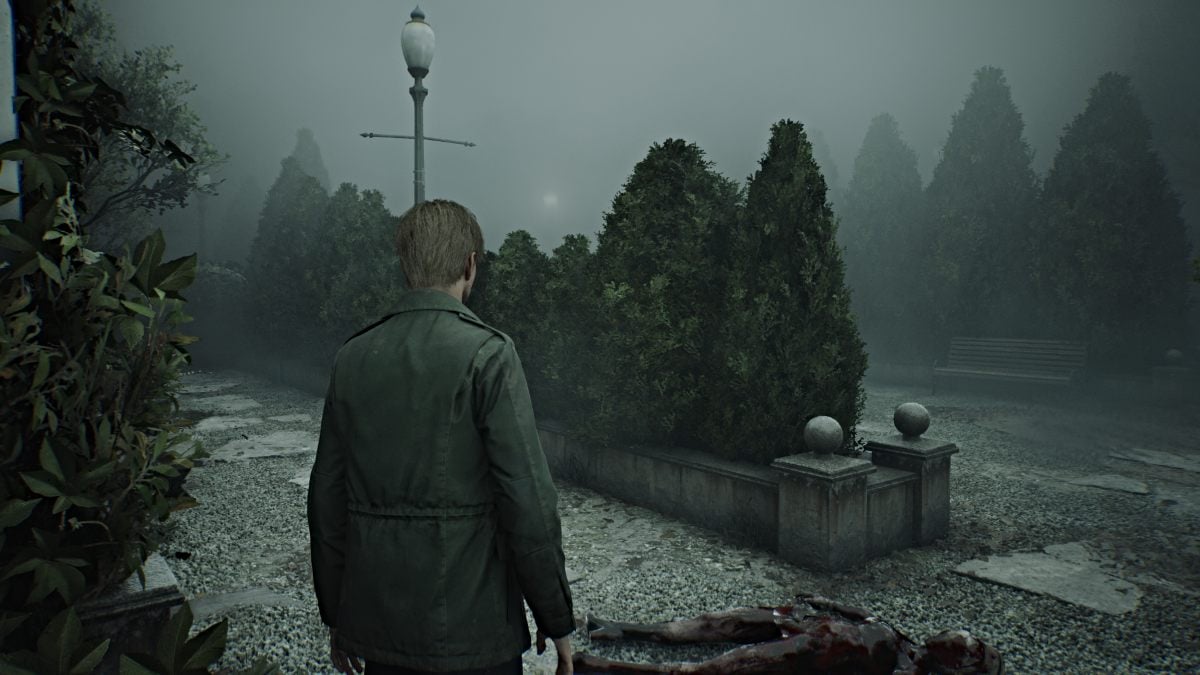
Turns out that this leads to the east side of the Garden area that you couldn't access initially. Grab Shotgun Shells from the table near the doors then start exploring the area. Deal with the monsters patrolling the grounds and make your way to the gazebo in the back corner. Inspect the overturned cleaning bucket and you'll get the Fireplace Key .
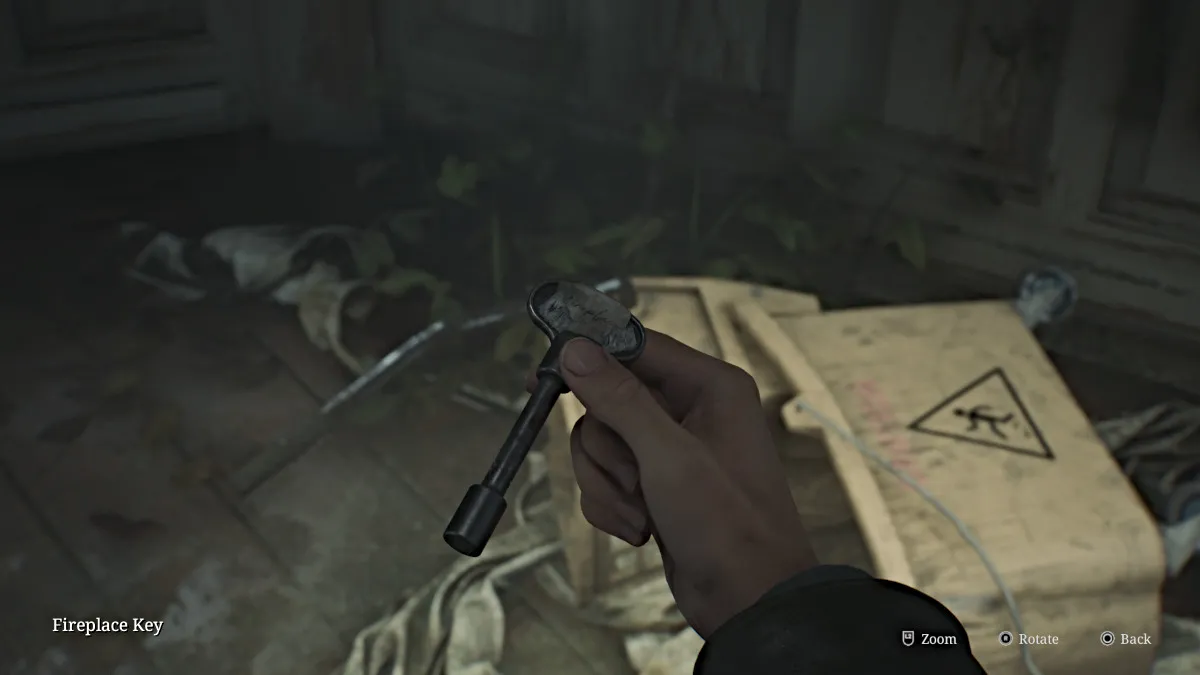
Now you can head back up to the third floor to put that key to good use.
Make your way back up to the third floor of the hotel (notice that some walls and windows are starting to wither) and go into the Conference Room . Run over to the fireplace and use the Fireplace Key to unlock it and retrieve the Cinderella Figurine .

A cutscene follows that shows a huge Mandarin enemy burst through the side of the room and attack James. While it may look like it at first, this isn't a boss fight. Just unload some Shotgun Shells (or whatever you have) into it until it dies.
Go into the side room the monster came from and grab a Health Drink and ammo from the phone table, then turn your attention to the shelf ahead. Push it out of the way to reveal a breakable wall. Bust through it to get into Room 317 . The wall behind you will collapse, so the only way forward is outside.
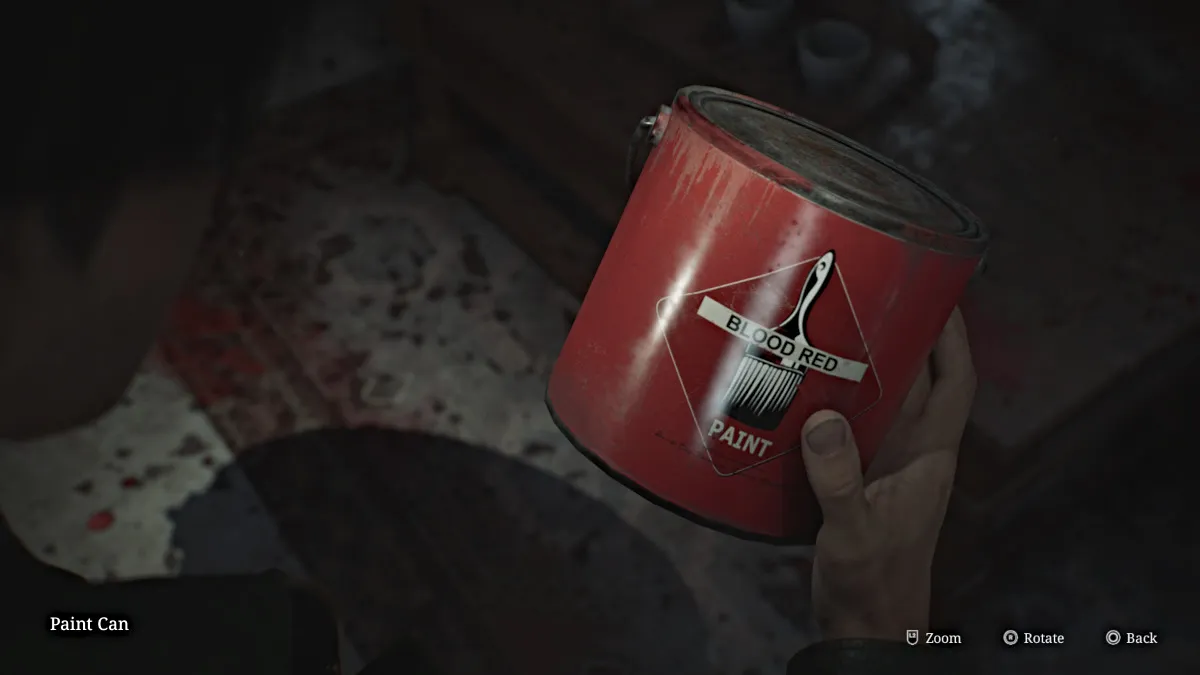
Hop across the low fence to the patio of Room 318 and go inside to see what looks like a catastrophic mess of blood on every surface, but it turns out to be red paint. There's an unopened Paint Can for you to claim, and you can combine it with the Can Opener to open it. You just need a Lightbulb to dip in the paint itself, which is at the fish statue in the Garden area.
You can take all those items back to Room 205 behind the Reading Room and use them on the Vanity Mirror to reveal the aforementioned code.
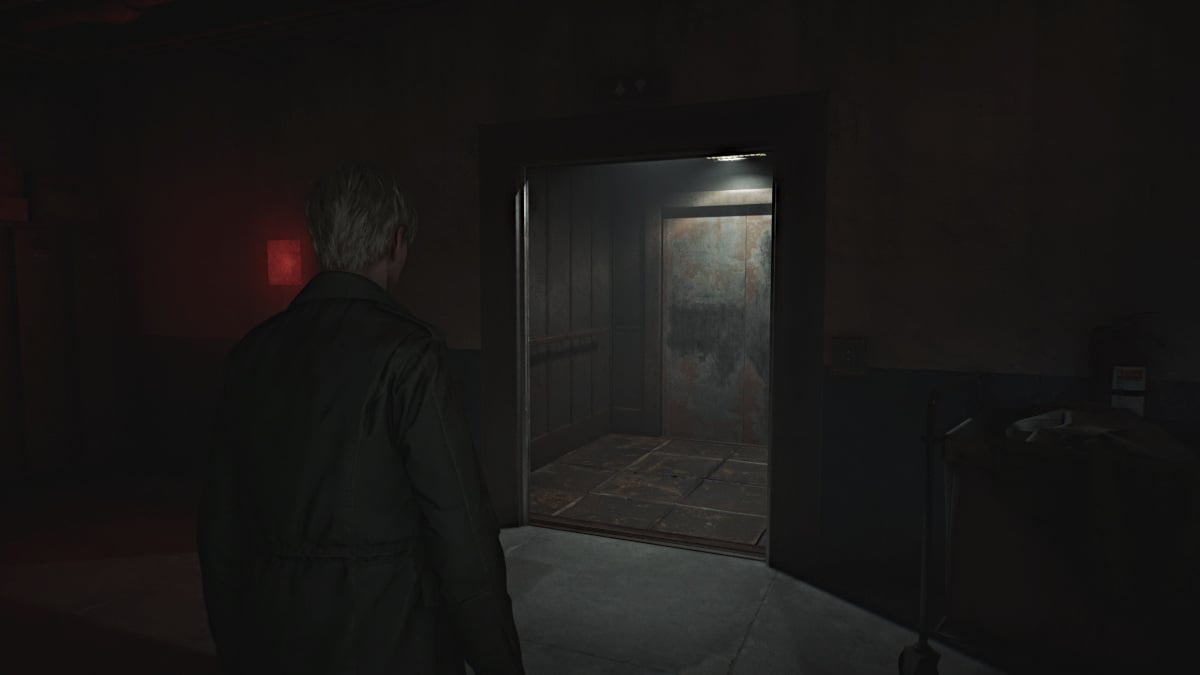
Once you've taken care of everything mentioned up to this point, it's now time to head back to the Employee Elevator Room on the second floor. If you attempt to go into the elevator immediately, you'll notice a loud alarm go off, meaning there's too much weight present.
In other words, you're going to need to offload everything you're carrying. Your weapons, your healing items, your flashlight, your key items, everything.
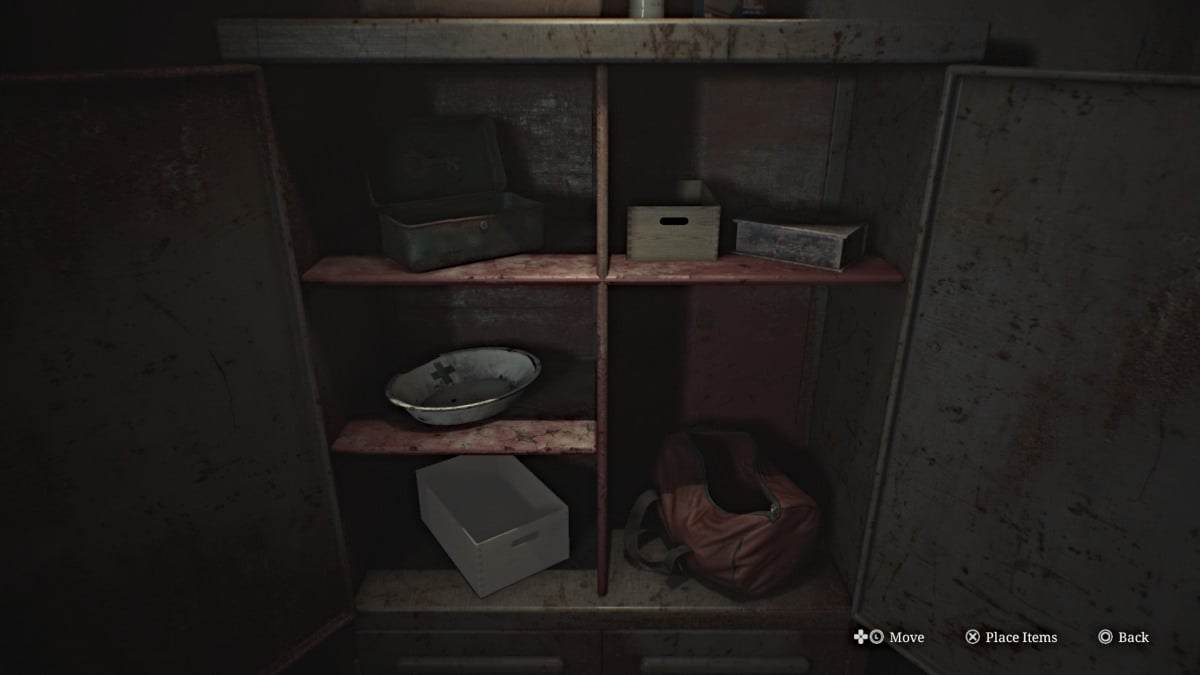
Use the Red Save Point inside, and then interact with the nearby cabinet. Inside, you'll see containers for each type of item you're carrying. Start dumping everything you have into them, however, you're oddly allowed to keep your photo of Mary , her letter (which if you look is now strangely blank), her handkerchief, and Angela's Knife .
Now you can enter the elevator and take it to the first floor , the only place you can go. Be forewarned, there are Mandarins patrolling these areas, and you will need to do your best to sneak around and avoid them since you have no means of killing them. If you walk quietly and keep your distance, they won't detect you.
Jump into the Break Room across the hall in front of you first, and grab the map for the Employee Section of the hotel(since you had to leave your other map behind). Now go to the Break Room Safe on the other side of the room.
The safe requires a keypad code to unlock it, and normally to figure it out you would need to solve the Gem Box Puzzle located in the Manager's Office and find all of the gems around the floor to do so.
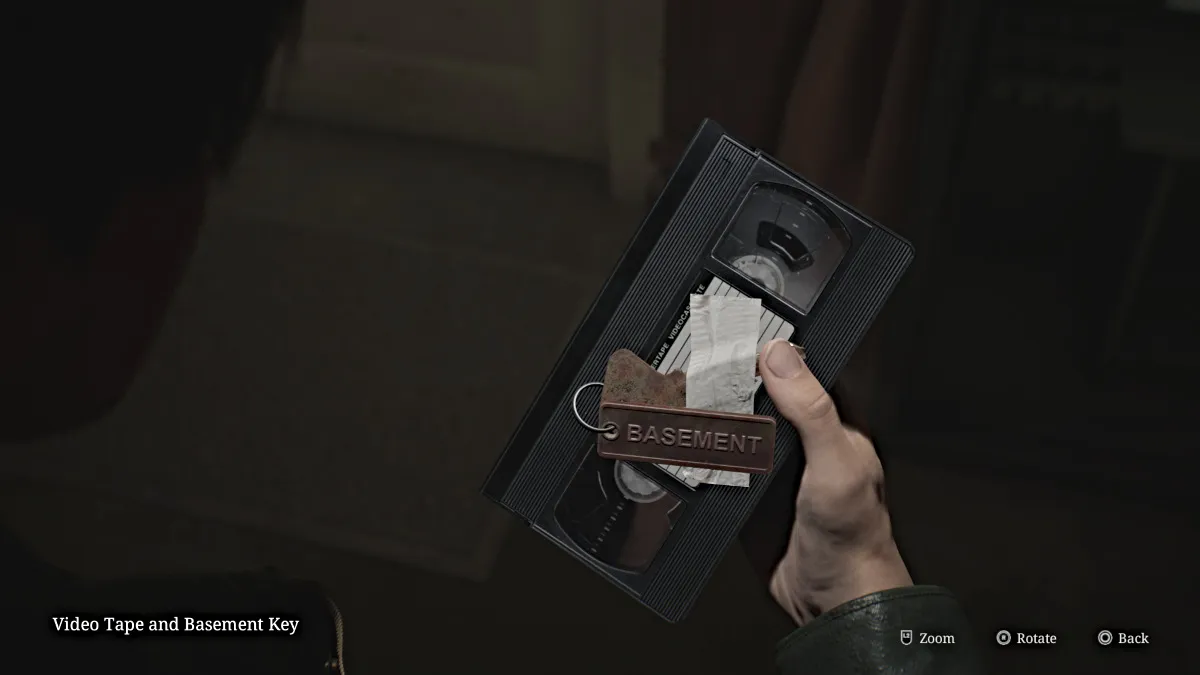
However, since this area is especially dangerous, we have the code for you to help save both time and your health. The correct code for the Break Room Safe is 7414. Inside you'll find the Video Tape and Basement Key , which will allow you to go to the Basement level of the Employee Section.
Tiptoe past the Mandarins and unlock the door to the stairwell that will take you down there.
Upon reaching the Basement level, check your map and carefully make your way south to the Maintenance Room first, avoiding the one patrolling Mandarin as you go. Once there, pick up the blue Pump Valve sitting on a table.
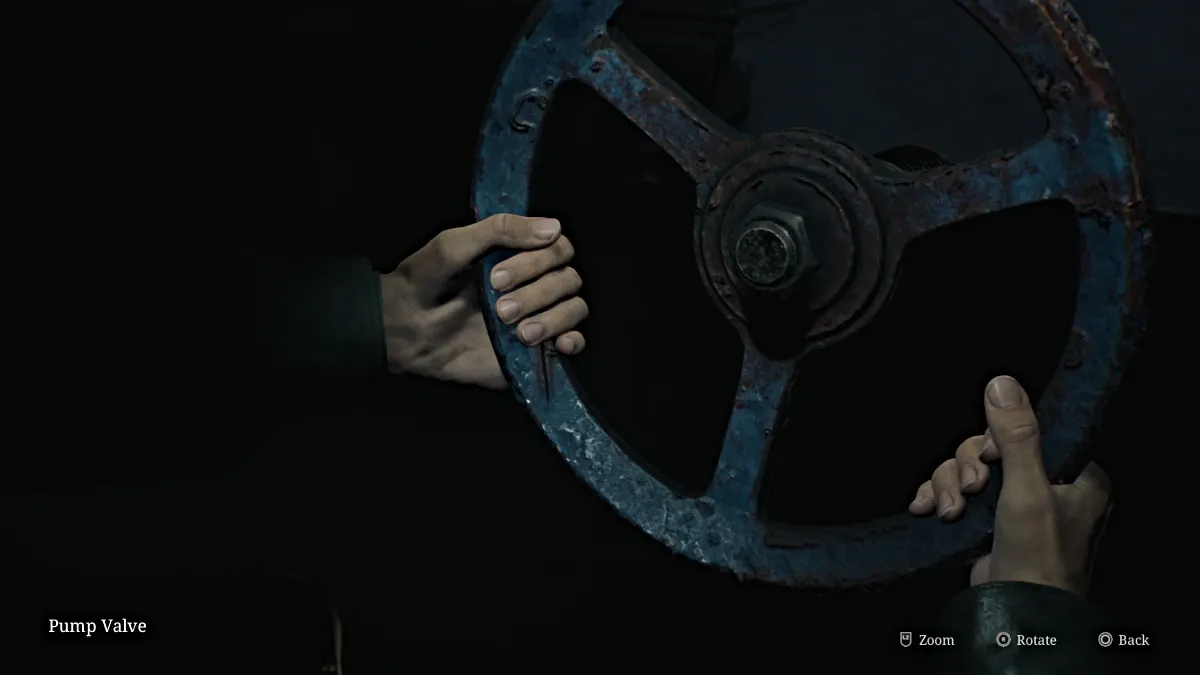
Exit the room via the gap in the wall to save yourself time on the Mandarin's patrol route (we recommend tailing it and then shortcutting up the middle once it's passed back around) and now head for the Liquor Storage Room .
Go inside, slide through another gap in the wall on the left side (wait for the Mandarin to pass before you do), and use the Pump Valve to cut off pressure from a nearby steam valve that's blocking access to the Boiler Room . Once done, go into the Boiler Room and grab the Venus Tears Bar Key hanging on a pipe by the boiler.
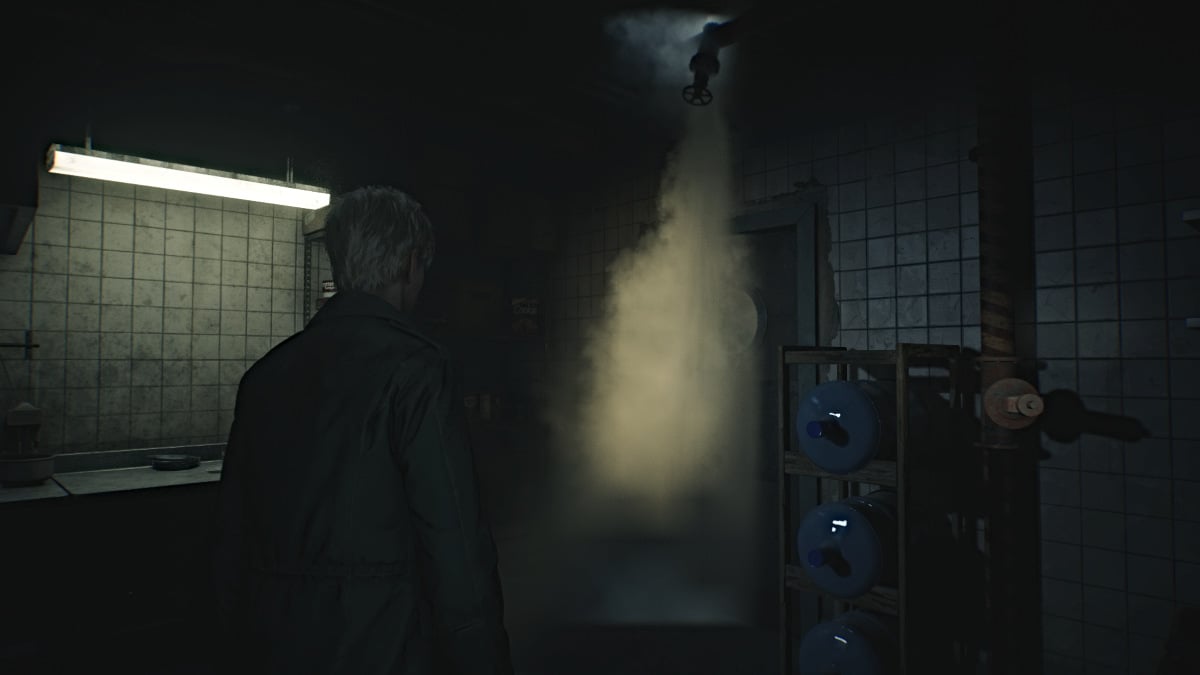
Leave the room and grab your Pump Valve because you'll need it one more time. Use the key to unlock the door to your left to the Venus Tears Bar Kitchen and go in. There will be one more spewing steam pipe that you need to depressurize, so use the Pump Valve nearby to do so.
Go through the next door to the bar itself, where you'll find a broken jukebox underneath a shattered aquarium that's flooded the room. Grab the "Better leave..." Strange Photo behind the bar, then go over and pick up the Little Mermaid Figurine off the floor, then use the Red Save Point nearby.
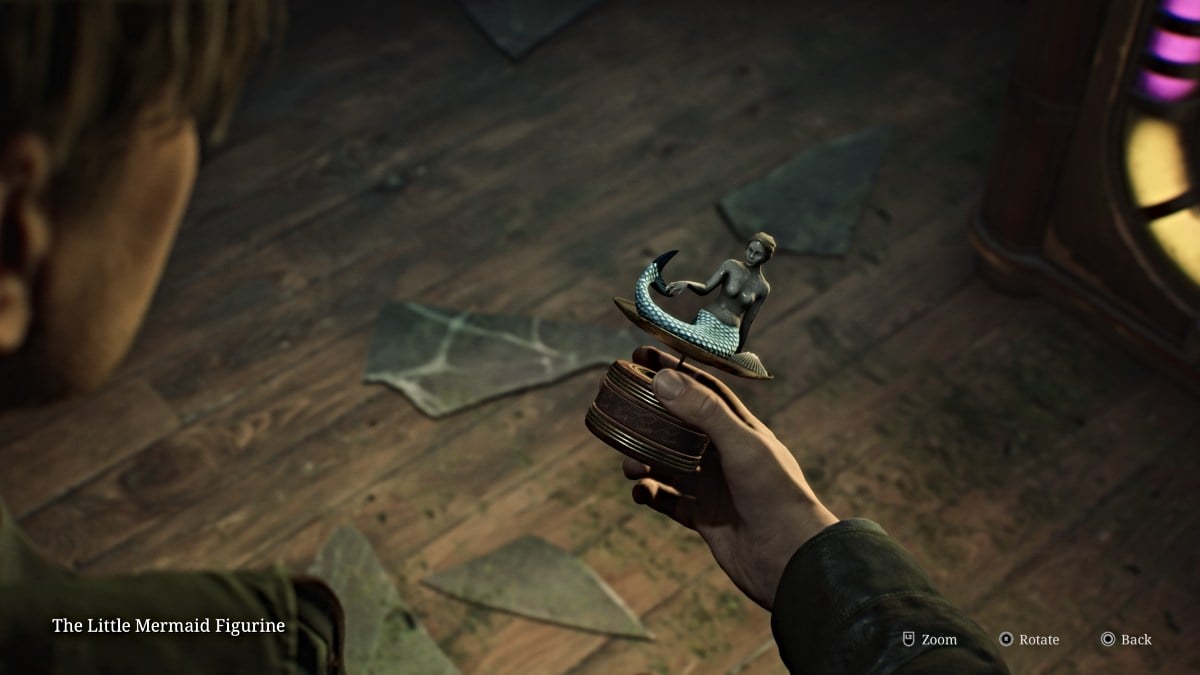
Leave the Venus Tears Bar through the front entrance and now make your way back up to the second floor to quickly reclaim your items from the Employee Elevator Room. Once that's done, head back down to the first floor where the Music Box is, now that you have everything you need.
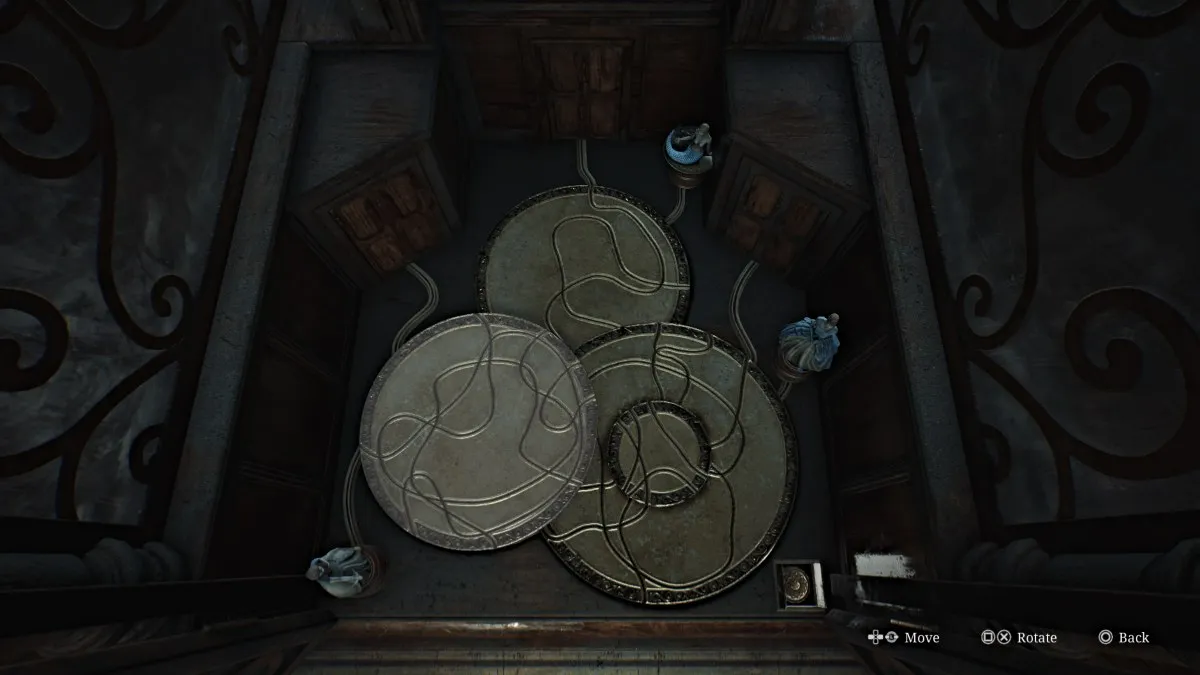
Approach the Music Box and look inside to place the three figurines you've collected in their respective spots. Your goal is to send those figurines along the correct track etched into the discs to their correct doors.
To do that, you need to rotate the discs inside the machine until they form the correct paths to the correct doors. The solution for all three figurines is:
Once you've aligned the tracks, press the button at the bottom right and the machine will prepare the sequence. However, there's one more step to complete.
You can now view the poems for the respective princesses on the facade of the machine, and there is a key above each passage (seen below). Your goal here is to turn each key the correct number of times, according to the numbers mentioned in each passage.
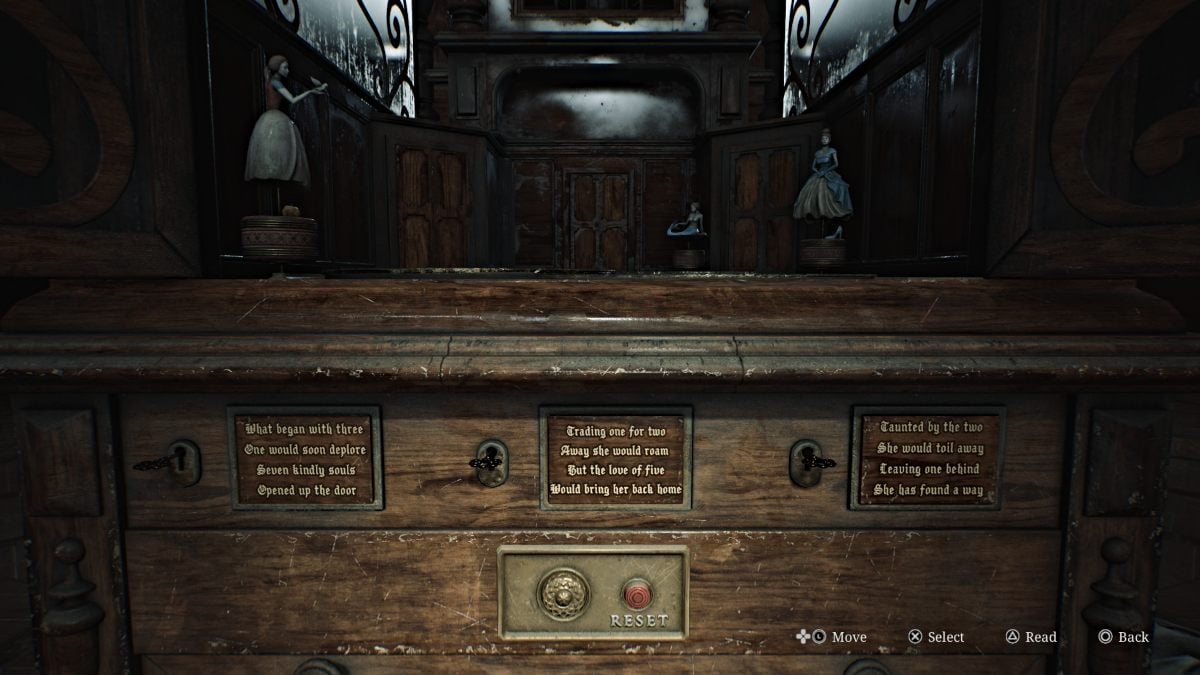
For Snow White, turn her key seven times. For Little Mermaid, turn her key five times. Finally, for Cinderella, turn her key one time.
Once you do, a familiar tune will play for James and he'll receive the 3F Corridor Key . This will unlock the gated hallway on the third floor, where you heard Mary's voice.
It's now time to face the music, literally?
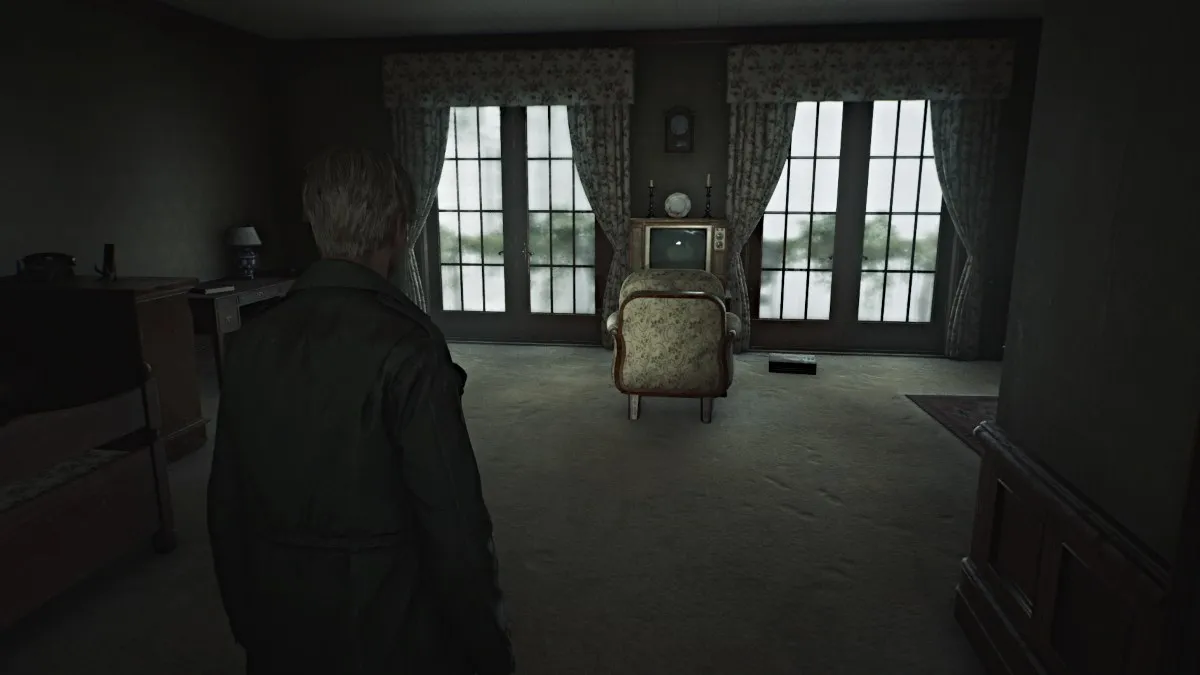
Go all the way up to the third floor and use the 3F Corridor Key on the gate. Go down the hall to the last room on the right and use the Room 312 Key to enter.
As you'll recall, this is the room where James and Mary stayed during their last visit to Silent Hill. Despite his assumption, Mary doesn't seem to be here either, but there's a TV with a VCR for your use. Go over and put the Video Tape you got from the Basement inside the VCR.
During the cutscene, the tape begins with the final moments of their visit to the town, and Mary asking James to bring them back one day. At one point she coughs, and the tape devolves into a mess of static and unstable images. However, among them a sequence plays of James approaching Mary in her bed and suddenly suffocating her with a pillow, revealing that he actually killed her.
James sits in silence, at last faced with the actual truth that he's subconsciously denied this entire time, to the point of believing Mary was dead for three years yet actually still alive (in fact it was only days, thanks to Laura's information).
After an emotional scene with Laura, the room transforms, though not into the usual version of the Otherworld. Instead, everything in the room is burnt and drenched in water, as if in the aftermath of a fire. Mary's voice suddenly calls out to James on his radio.
Once you have control, leave the room.
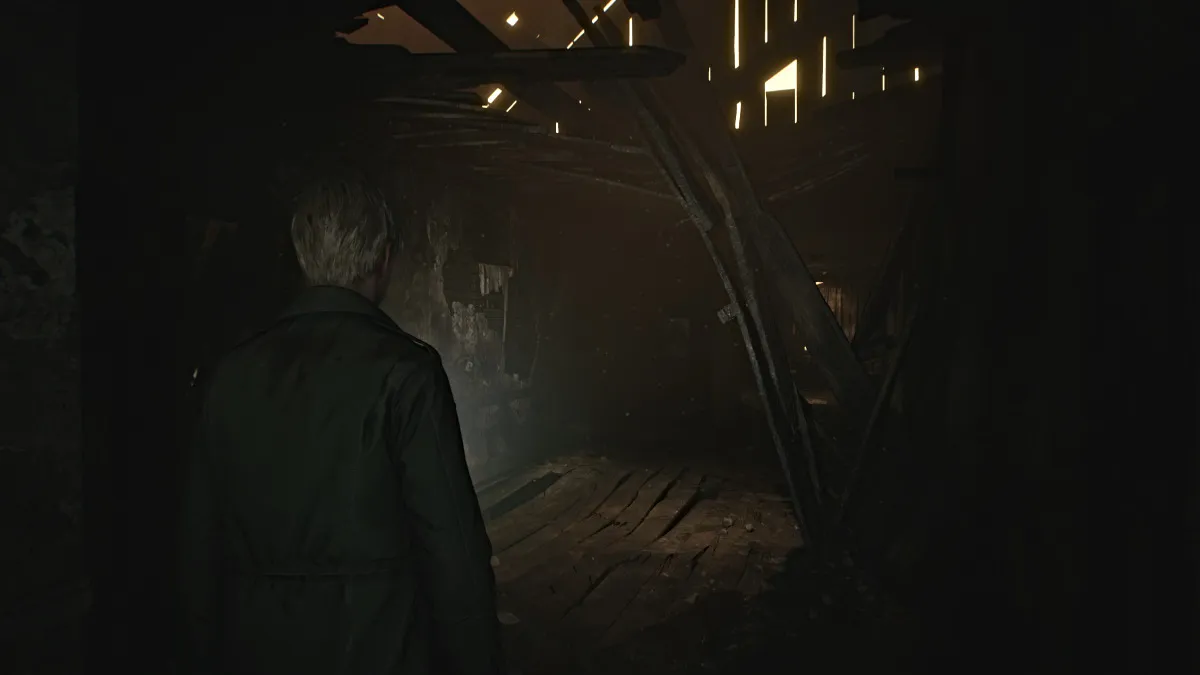
With the truth now known, the rest of the hotel appears to also be burnt, soaked, and falling apart. Go into Room 314 and grab Handgun Ammo from the bedside table, then go into the bathroom and through the wall gap to the hallway. There's more Handgun Ammo inside a table drawer to your right.
Also, be aware that there are NO monsters in Lakeview's Otherworld, so you can travel freely without having to worry.
The only way forward is south down the hall, so head that way and duck through the debris. You'll notice there's a high crawlspace to your left as you pass. Go down the hall and to the left where there's a pushcart for you to use. Crawl into the room ahead first where there's an ominous message scratched on the wall and a Syringe on a table.
Take the pushcart down the hall to the crawlspace, but it quickly collapses through the floor, ruining that plan. Instead, jump down the hole that's been made, bringing you to the second floor. Go down the hall and grab a Health Drink from Room 207 before going into the nearby Restroom .
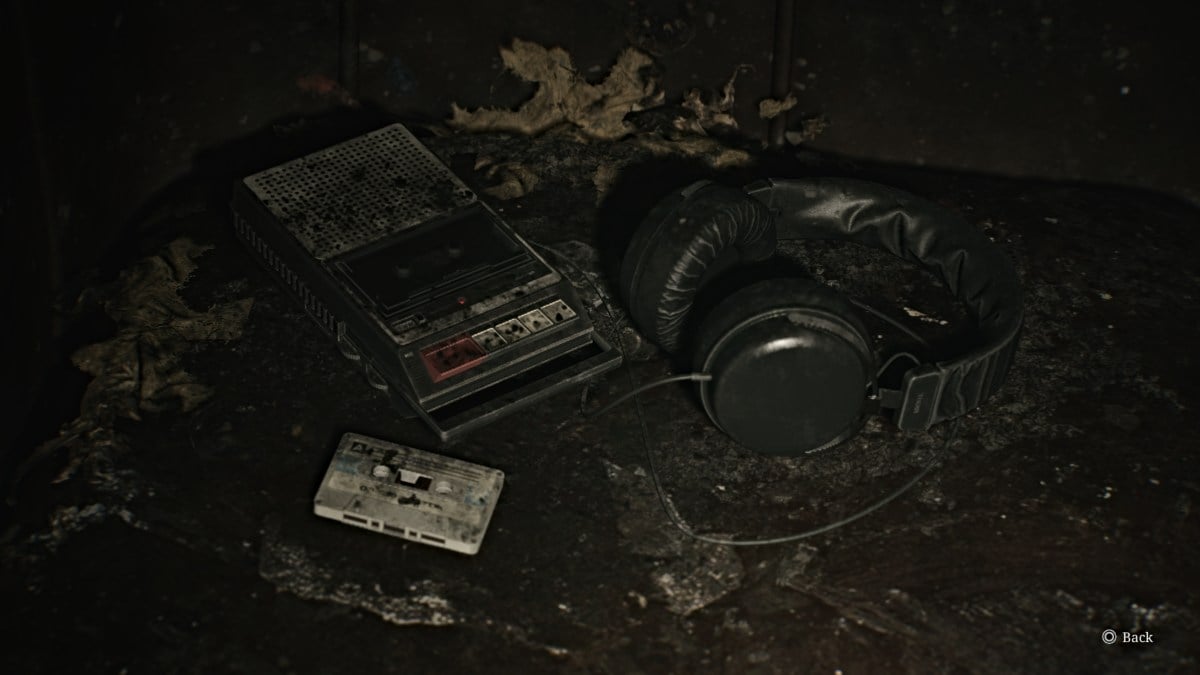
Use it to cross over into the Reading Room , and you'll find a Glimpse of the Past (seen above) sitting on a nearby couch. Use the Red Save Point then leave the room through the double doors. Go across to the Cloakroom and into the Hall. In the back left corner, you'll see the lit Elevator through a hole in the wall, which you need to get to.
To do that, go to the right side of the Hall and look up to spot a crawlspace. Use the shelf under it to climb through to the Nurse's Office . Make your way around through the office, listen to an ominous tape recording on the table if you wish, and then continue through the wall crack to the hallway. Follow it all the way to the Elevator and take it down to the Basement .
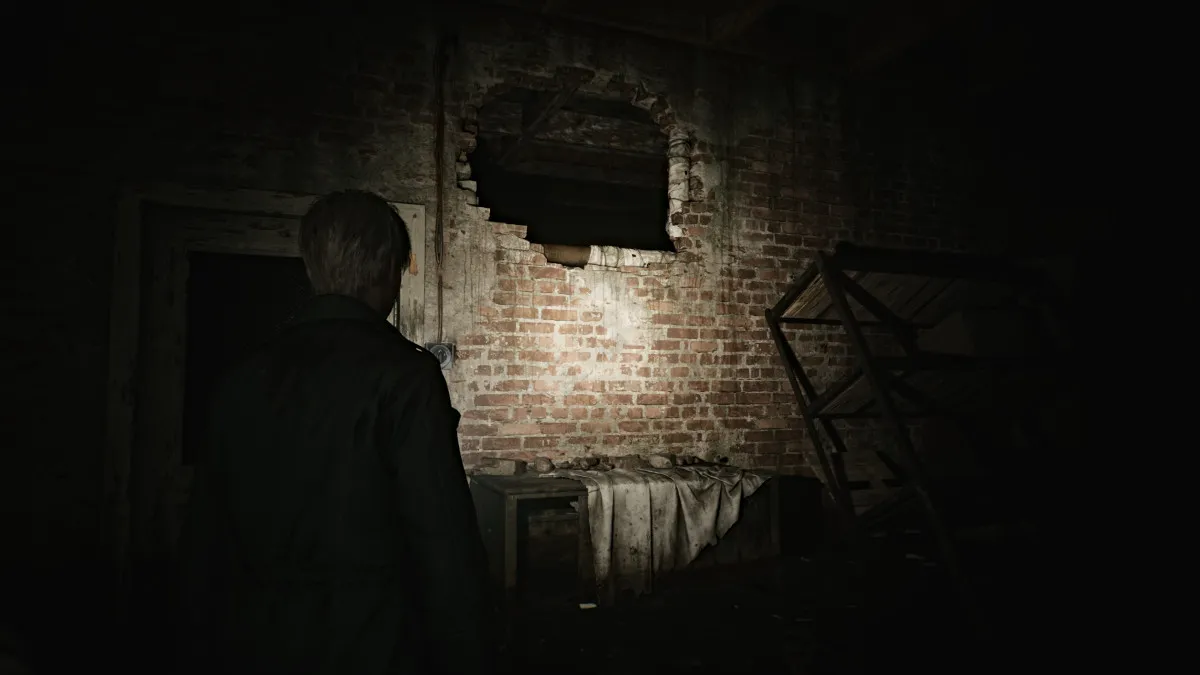
Once you exit the elevator, make your way through the flood to the Venus Tears Bar . Use the Red Save Point behind the bar and then head through the kitchen area and then to Liquor Storage . Grab the Rifle Ammo that's in there and then use the high crawlspace in the wall beside the locked door to get out.
Ahead of you will be a door that's glowing strangely bright from the other side. Head over and go inside, where a cutscene will play with Angela standing on a fiery stairwell.
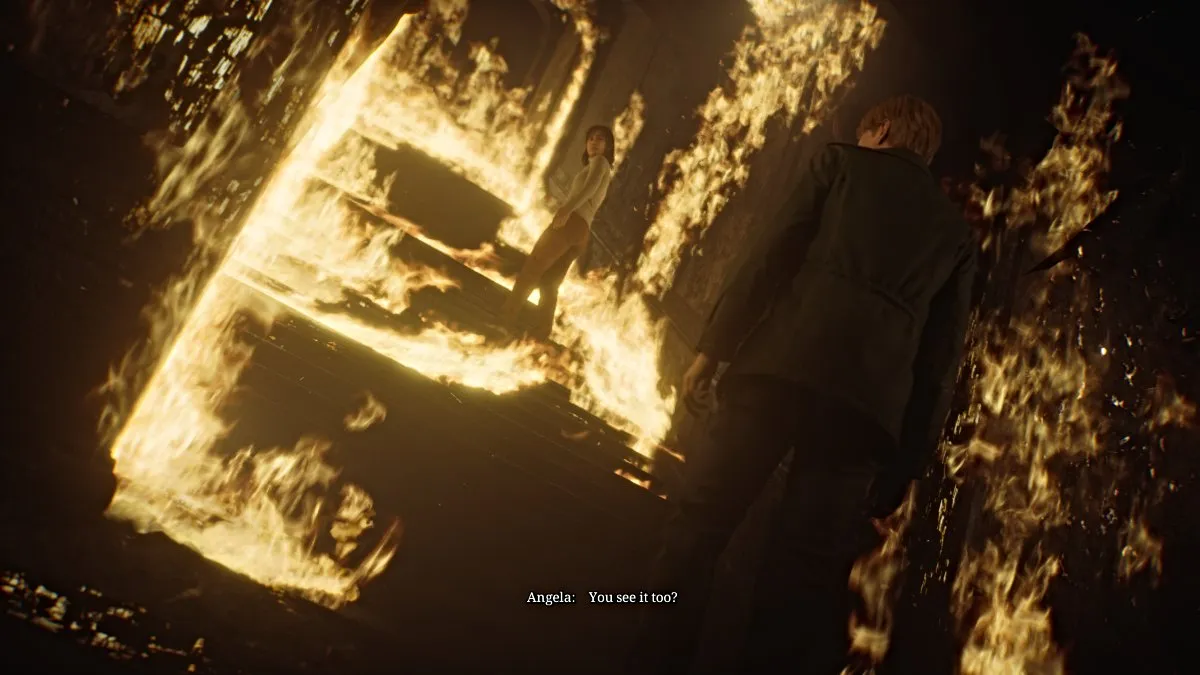
This serves as Angela's final farewell as she goes up the stairs, her fate unknown but hinted. James leaves to continue on.
Make your way through the rest of the Basement, where you'll notice there are now some monsters but they will not attack James . They're entirely passive, so just leave them be and save your ammo . Go into the Manager's Office, cross into the TV Room, and follow a hall that leads off the map.
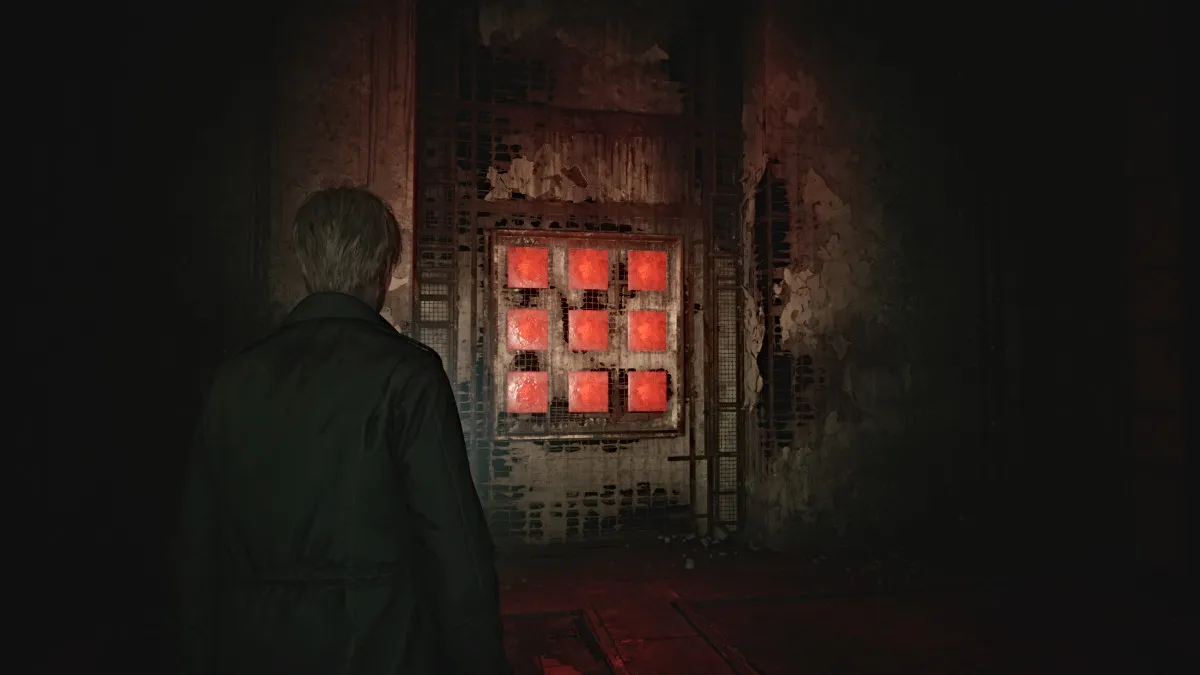
Continue until you come across a set of nine Red Save Points . The game obviously insists that you save here, so do so. With that, take a deep breath and go through the double doors ahead.
Inside is a seemingly dark and empty room, but suddenly Mary...or rather, Maria's voice yells for James. Once again she's "alive" but held captive now by two Pyramid Heads. Despite James' pleas, they proceed to stab Maria dead once again, and he yells in frustration.
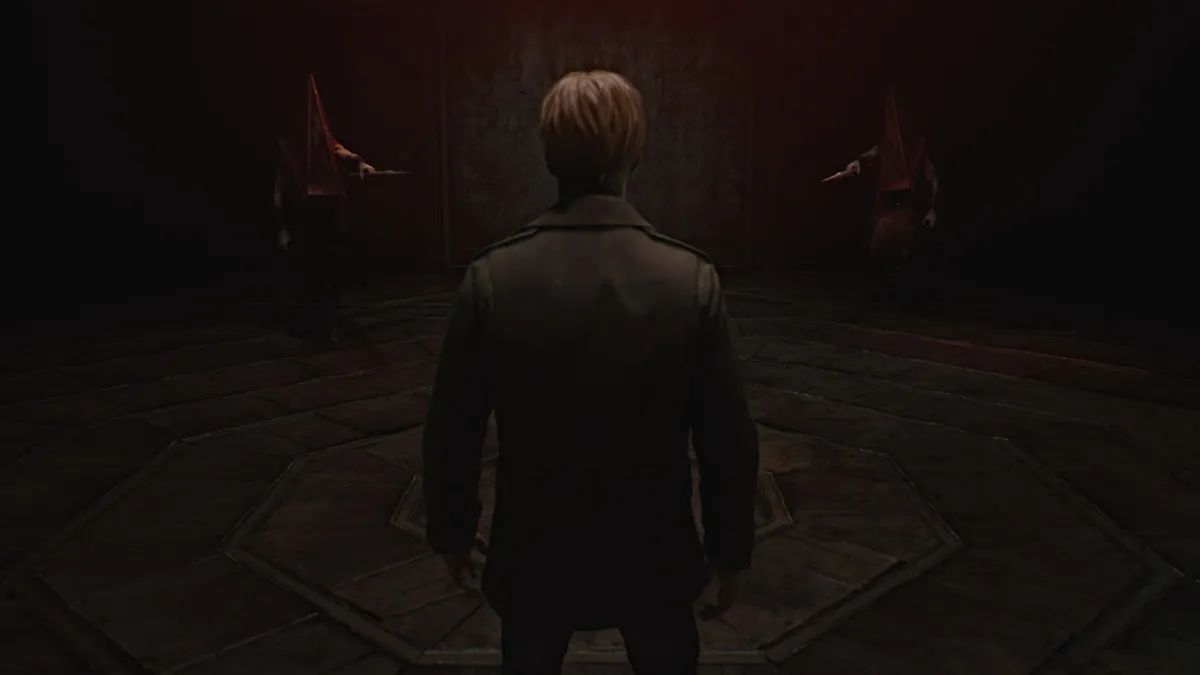
He finally makes his confession of needing Maria, an alluring shadow of his deceased wife, to soothe his pain and at the same time punish him for what he's done. That punishment has clearly been dealt, and James declares, "I don't need you anymore", likely referring to both Maria and Pyramid Head.
With that, they both approach James with spears in hand, ready to test that declaration.
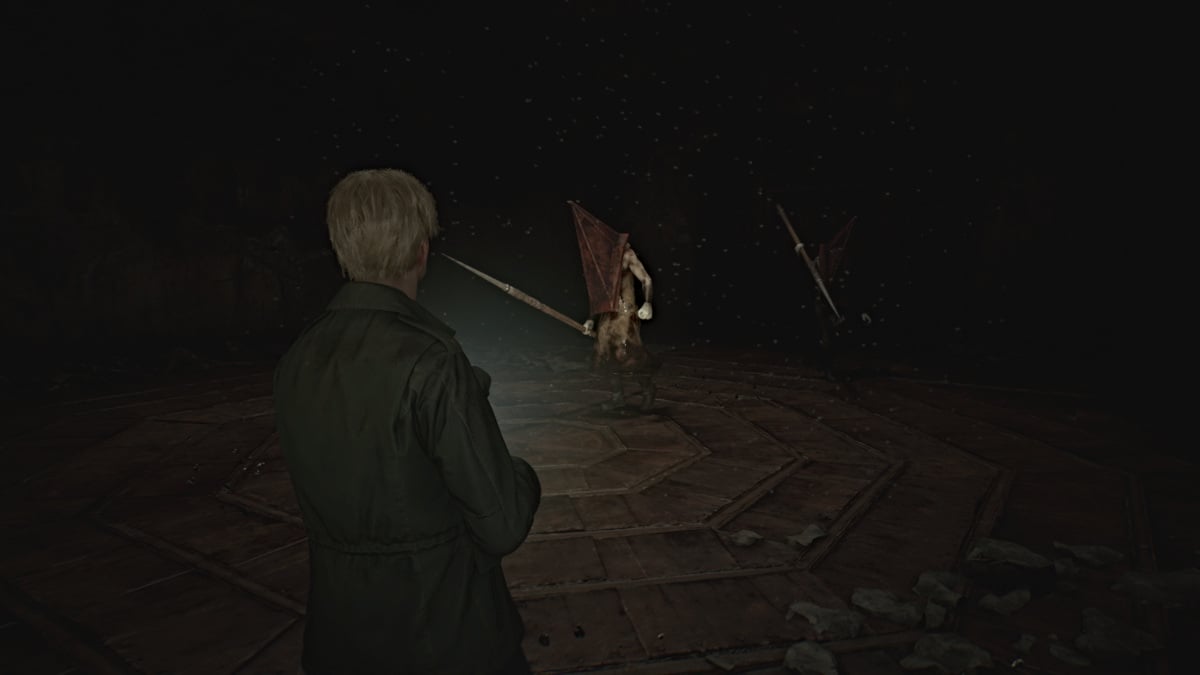
As soon as James says, "I'm ready", the battle begins. Both Pyramid Heads will quickly advance toward you with their spears, and your goal here is to deal as much damage as possible to both of them. You'll need every bullet you've got, and if you need more, there are plenty of ammo boxes and Health Drinks scattered around the room .
Starting with the Hunting Rifle is optimal, as it has the best range with the most damage dealt. After that, you can interchange between the Handgun and Shotgun as needed. Keep your distance as they'll both attempt various lunge and stabbing attacks with their spears. Kite them around the room while unloading as many shots as possible, and eventually, a cutscene will trigger.
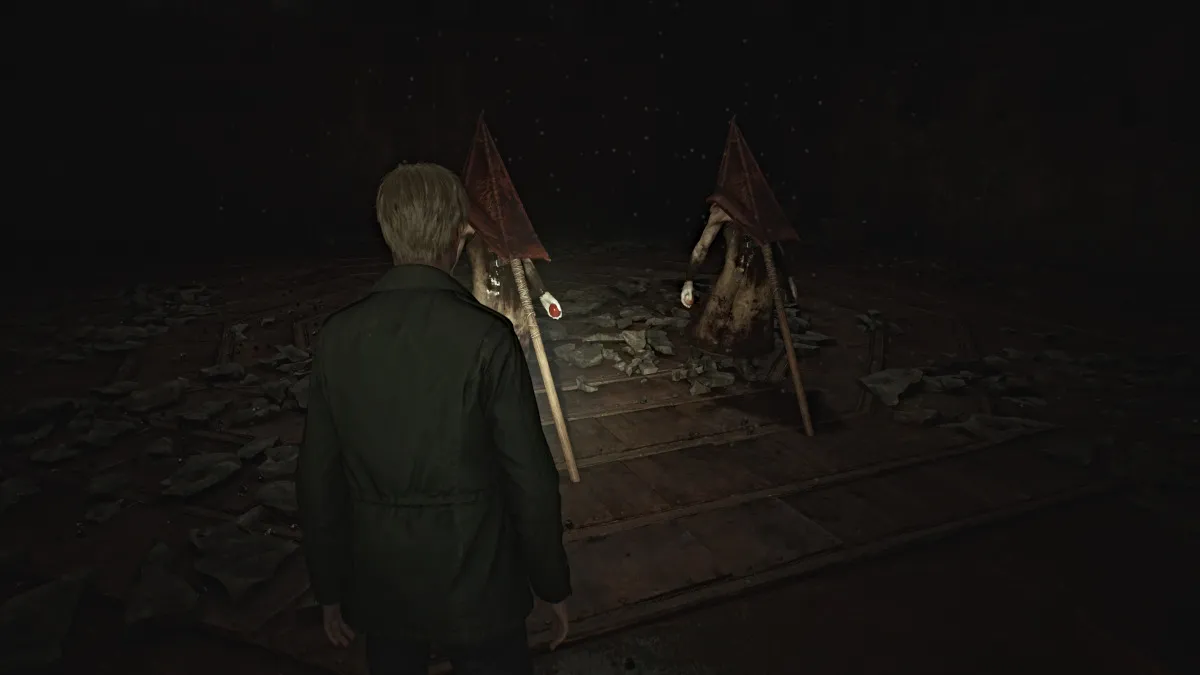
Both Pyramid Heads will go to the center of the room and ceremoniously impale themselves with their own spears. Their judgment has been made, so their presence is no longer needed.
Approach them and take the Scarlet Egg and Rust-colored Egg from their hands. Use these to unlock the doors that lead out.
You'll arrive back outside on a metal walkway, where there are several more ammo cartridges to pick up, along with a Syringe and the "SHAPE FORCES THE MIND" Strange Photo at the back right corner.
Reload all your weapons, top off your health, and head all the way up the stairs until you reach the top of the building. From here, a cutscene with Mary will play that's influenced by your decisions up to that point in the game. How you treated Maria, whether you looked at certain items often, whether you kept your health high or low, etc. They will all affect the subsequent ending as well.
Once Mary (or Maria) succumbs to her turmoil and transforms into a monstrous version of herself, you'll be forced to fight her to ultimately bring peace or at least some sort of finality.
Like the Flesh Lips boss much earlier in the game, she'll be encased in a floating cage, and you'll need to keep your distance and deal damage, preferably with either your Hunting Rifle or Handgun . She also uses flocks of moths to chase and deal ranged damage to James, while also using a tentacle appendage to deal brutal stabbing attacks.
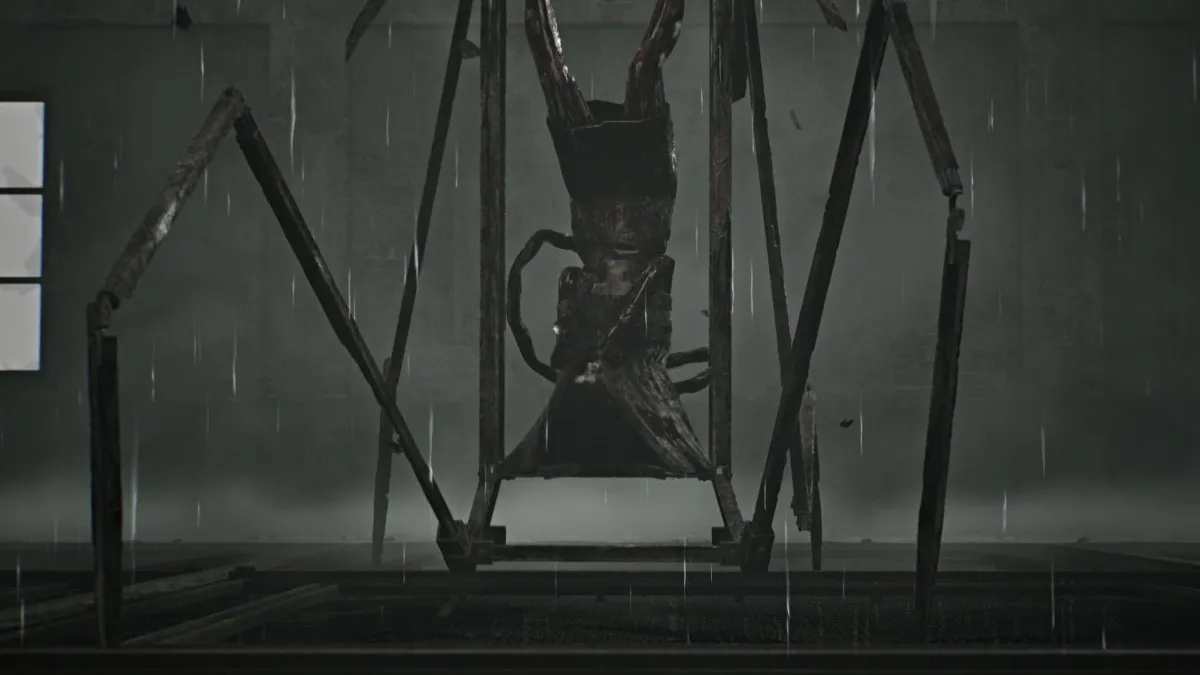
Once you deal enough damage, the cage surrounding Mary will morph into something akin to a spider, also similar to Flesh Lips' second form. She'll force James down into a dark passage area right underneath the metal platform, and you'll need to do damage whenever she appears from above.
The final phase of the fight will collapse the entire area, and you'll need to keep shooting while dodging her charge and swing attacks with her metal "legs". Her attacks hit hard, so be sure to stay topped off as much as possible. This is the final boss of the game, so make use of everything you have.
Eventually, her cage will collapse, leaving her unable to move and mumbling James' name. Go over and shoot one last time to end the fight.
Afterward, your designated ending will play out, again depending on your actions up to now. Parabéns!
Below we've listed all 43 unlockable achievements/trophies in Silent Hill 2 Remake, including 31 hidden ones. Unlocking all of them will require multiple playthroughs.
| Achievement/Trophy | How to Unlock |
|---|---|
| You Made Me Happy | Collect all other trophies/achievements no jogo. |
| No Turning Back Now | Try to leave Silent Hill in the Observation area. (Walk down the opposite direction on the road at the start of the game until James turns back.) |
| Enjoy Your Stay | Alcance Silent Hill. |
| Nice and Cozy | Reach Wood Side Apartments. |
| NÃO vamos festejar! | Shoot all the balloons in Wood Side Apartments. (Shoot all balloons in the "Welcome Home" apartment; recommend saving before doing so to recover the bullets used.) |
| Otherworldly | Enter the Otherworld for the first time. |
| Aprovado | Made your way out of Blue Creek Apartments. |
| Uncanny | Meet Maria. |
| All Seems in Order | Discover the secret of Room 106. |
| Sobras | Find the pizza in Pete's Bowl-O-Rama |
| Admitido | Reach Brookhaven Hospital. |
| Nightmare Fuel | Defeat the Flesh Lip. |
| Alone Again. | Survive the Chase in Brookhaven Hospital. |
| Into the Abyss | Reach the end of the long staircase. |
| Imperdoável | Defeat the Abstract Daddy. |
| Santuário Interno | Find His Room. (When Pyramid Head first chases you in the Desolate Area of the Labyrinth, run left past a ladder and through double doors to find his lair. Quickly exit after to avoid getting caught by him.) |
| A Human Being | Kill Eddie. |
| Glimmer of Hope | Reach the Lakeview Hotel. |
| Scourge of Toluca Lake | Spend 10 minutes out on Toluca Lake. |
| Truly Special | Obsoleto |
| It's Bread. | Interact with bread. |
| Obselete | Destrua o que você não precisa. |
| That Part of Me. | Defeat Her. |
| Lenhador | Find the chainsaw. |
| Impiedoso | Finish off 50 enemies with a stomp attack. |
| No Big Deal | Kill 75 enemies with ranged weapons. |
| Trauma por força contundente | Mate 75 inimigos com armas brancas. |
| You Never Know... | Try to open locked doors 50 times. |
| Estilhaçado | Destroy 50 windows. |
| Making Peace | Reach the "Leave" ending |
| Círculo vicioso | Reach the "Maria" ending |
| Only Way Out | Reach the "In Water" ending |
| Defy Even Death | Reach the "Rebirth" ending |
| The Goodest Boi | Reach the "Dog" ending |
| Tinfoil Hat | Reach the "UFO" ending |
| Eu vi aquela cidade | Complete New Game Plus on any difficulty. |
| Radio Silence | Complete the game without using the radio. |
| James of All Trades | Kill at least one enemy with Wooden Plank, Steel Pipe, Handgun, Shotgun and Rifle in a single playthrough. |
| Pieces Unarranged | Collect all the Strange Photos in a single playthrough. |
| Arquivista | Colete todos os memorandos em uma única jogada. |
| Faster Than Fog | Complete the game in under 10 hours. |
| As Close as You Like | Finish the game without killing enemies using ranged weapons. |
| Party Like It's 2001 | See all classic endings (Leave, Maria, In Water, Rebirth, Dog). |
| Ecos | Testemunhe todos os vislumbres do passado em uma única jogada. |
There are a total of eight possible endings in Silent Hill 2 Remake, and each has its own requirements to be unlocked. Only three specific endings ("Leave", "Maria", and "In Water") can be obtained during your first playthrough, while the rest can be unlocked during New Game Plus.
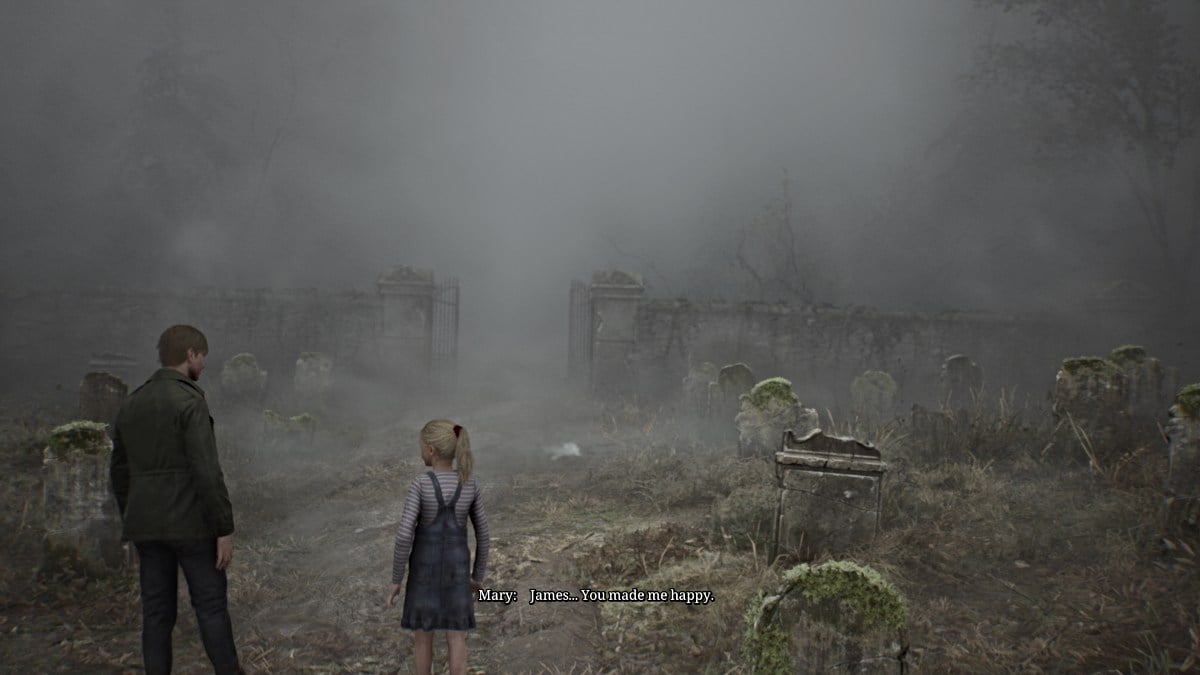
This is the "Best" ending for Silent Hill 2 Remake, as the story ends with James leaving Silent Hill with Laura in tow, having received forgiveness from Mary and realizing that he's allowed to move on. He and Laura leave Silent Hill together, and it's assumed that James adopts her as his daughter, since Mary wasn't able to.
Requirements for this ending:
Getting this ending also unlocks the 'Making Peace' achievement .
This is the designated "Bad" ending, as James instead leaves Silent Hill with Maria, having chosen her over Mary. At one point, Maria lets out a coughing fit and James acts annoyed, telling her to do something about it. He's learned nothing from his journey and Maria is likely doomed to succumb to the same illness that took Mary, the cycle beginning all over again.
Requirements for this ending:
Getting this ending also unlocks the 'Vicious Circle' achievement .
Debatably another "bad" ending, this is absolutely the most tragic ending in Silent Hill 2 Remake. After everything, James finds himself unable to move on from Mary's death and confesses that he simply can't live without her in his life. James drives his car into the depths of Toluca Lake in an attempt to reunite with Mary in death.
Requirements for this ending:
Getting this ending also unlocks the 'Only Way Out' achievement .
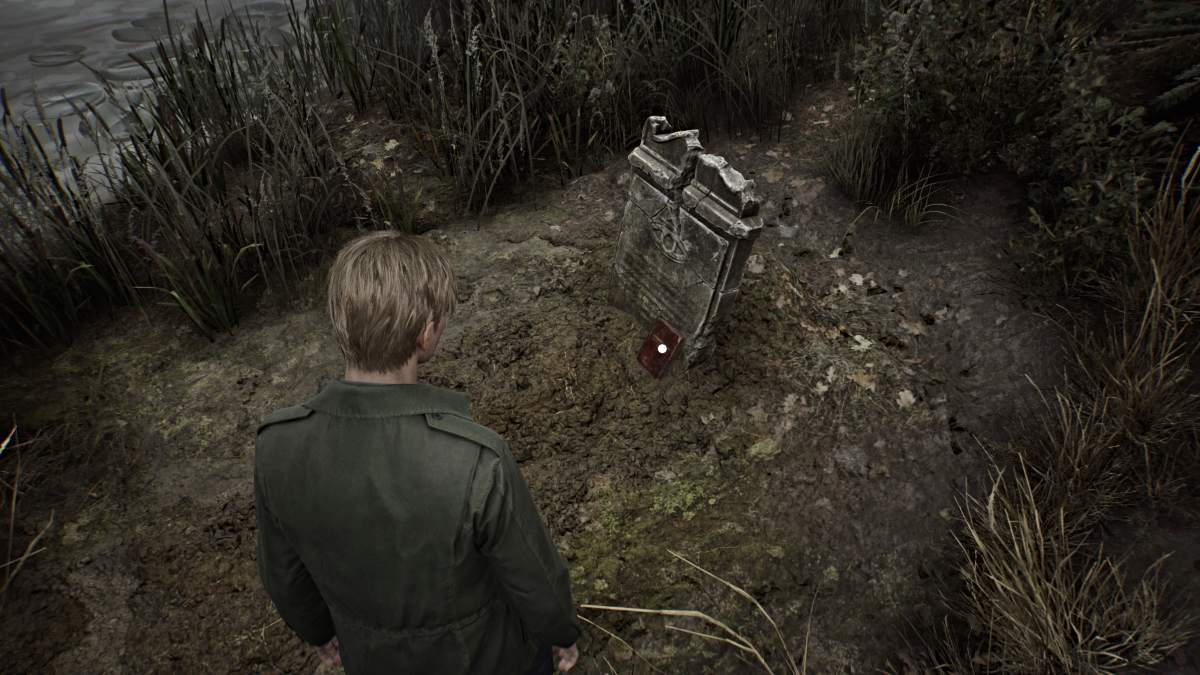
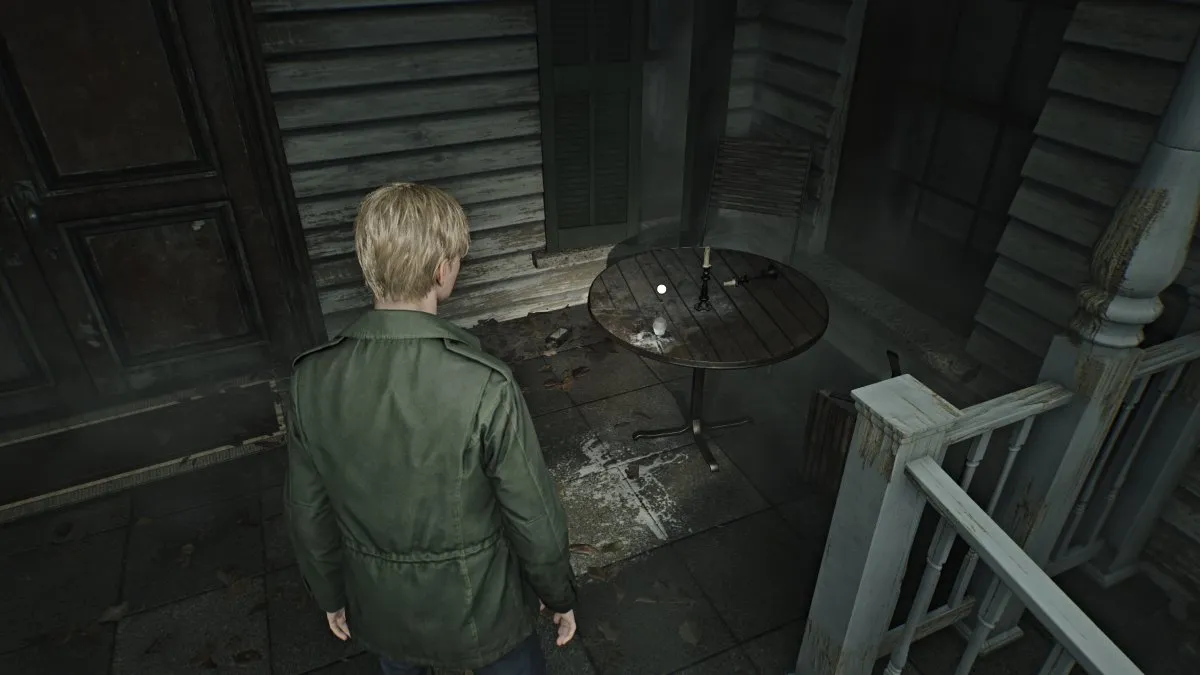
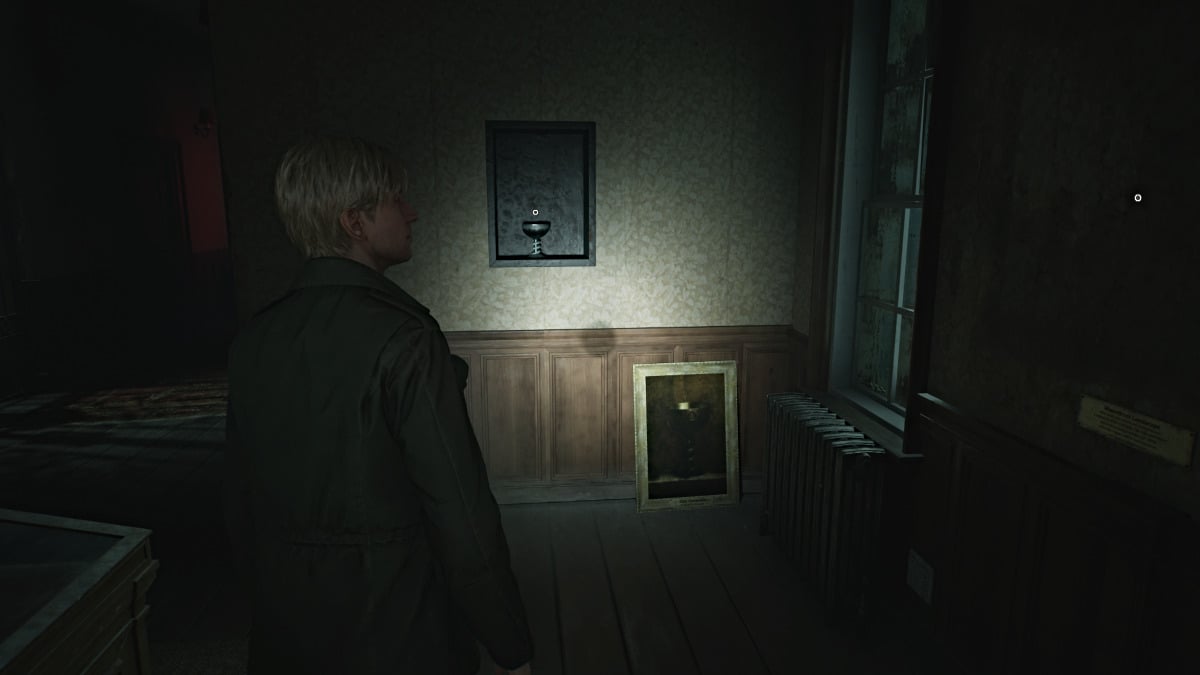
In this ending, after obtaining all the necessary ritual items James takes Mary's body and rows out to the island in the middle of Toluca Lake, where an old church is located. While its history is shrouded in mystery, James is determined to revive Mary using a strange ritual there, and we never know if it actually works.
Requirements for this ending:
Getting this ending also unlocks the 'Defy Even Death' achievement .
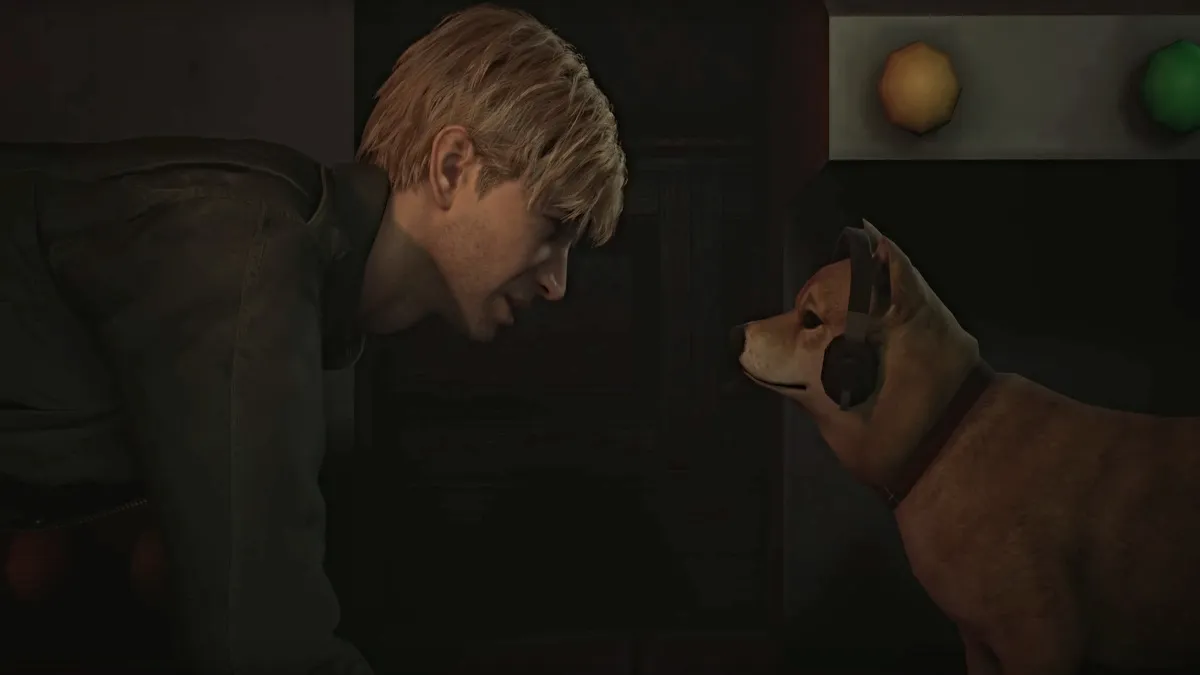
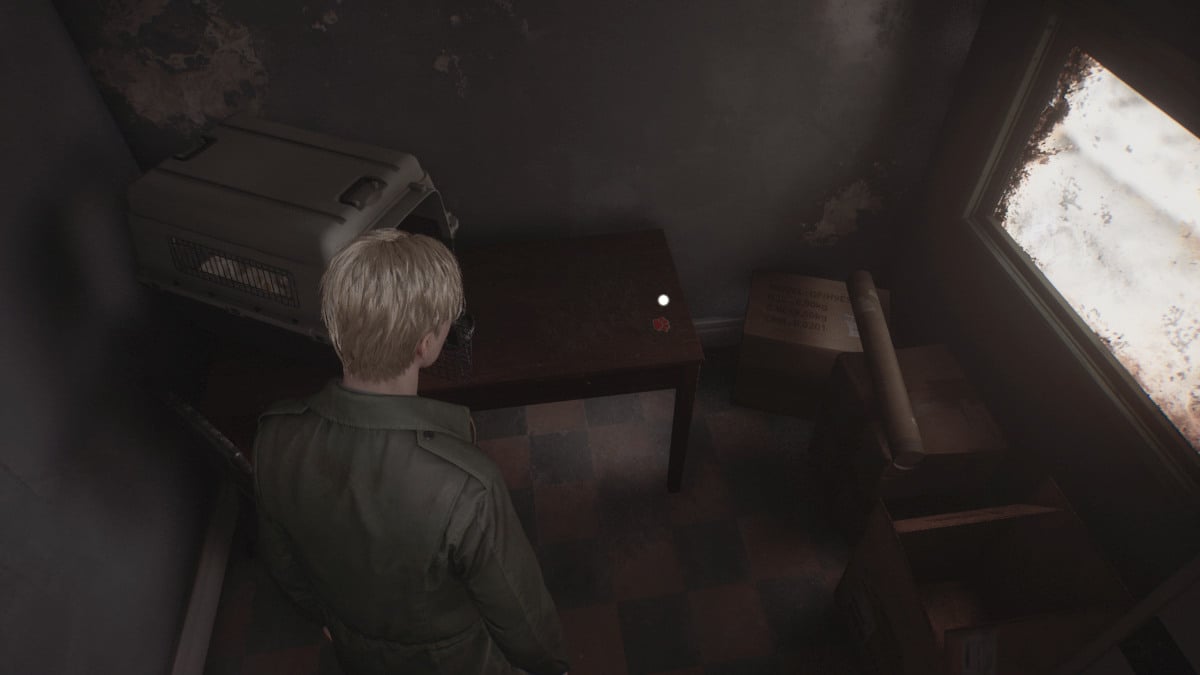
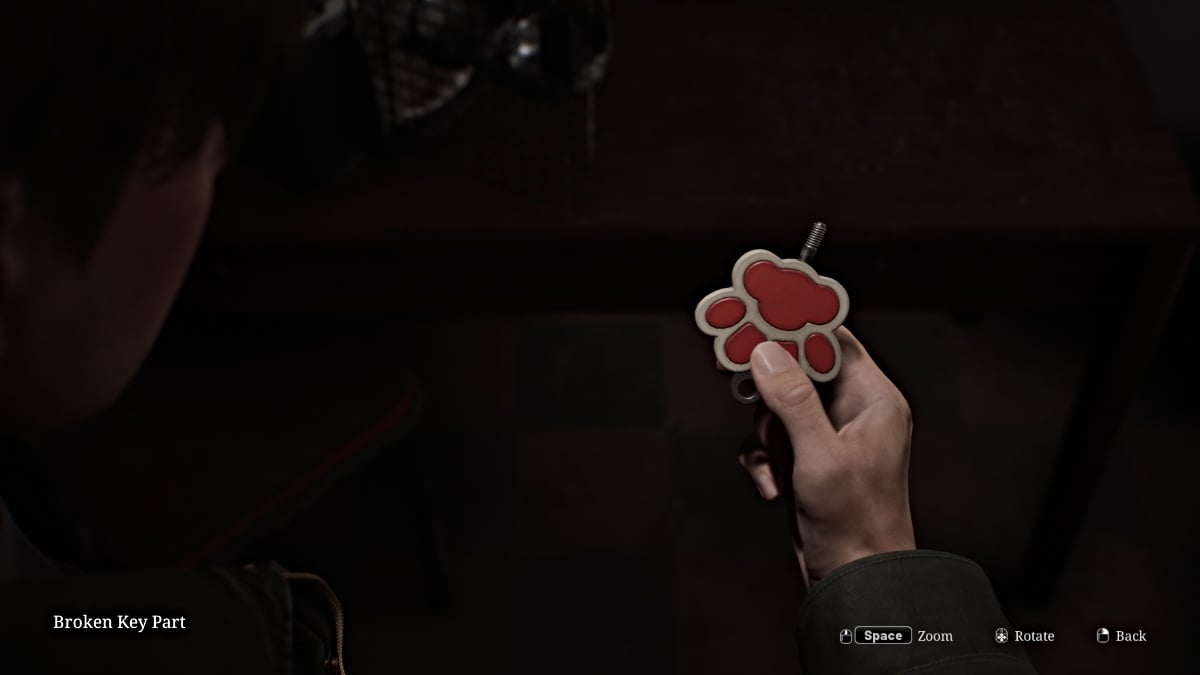
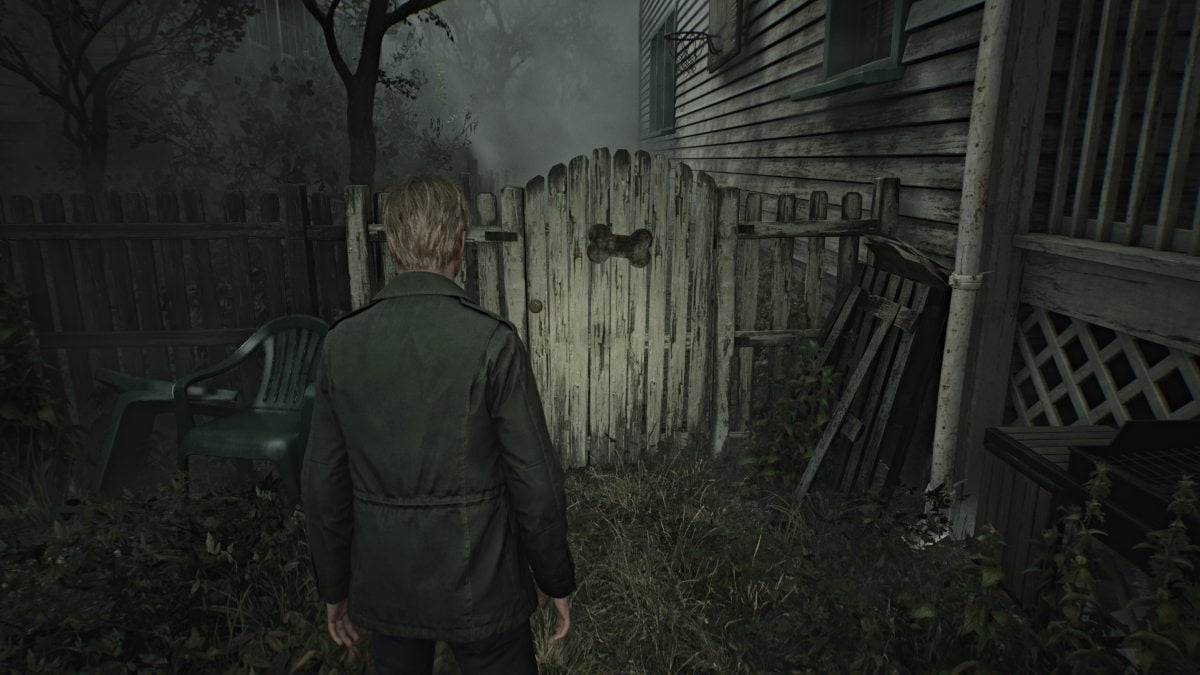
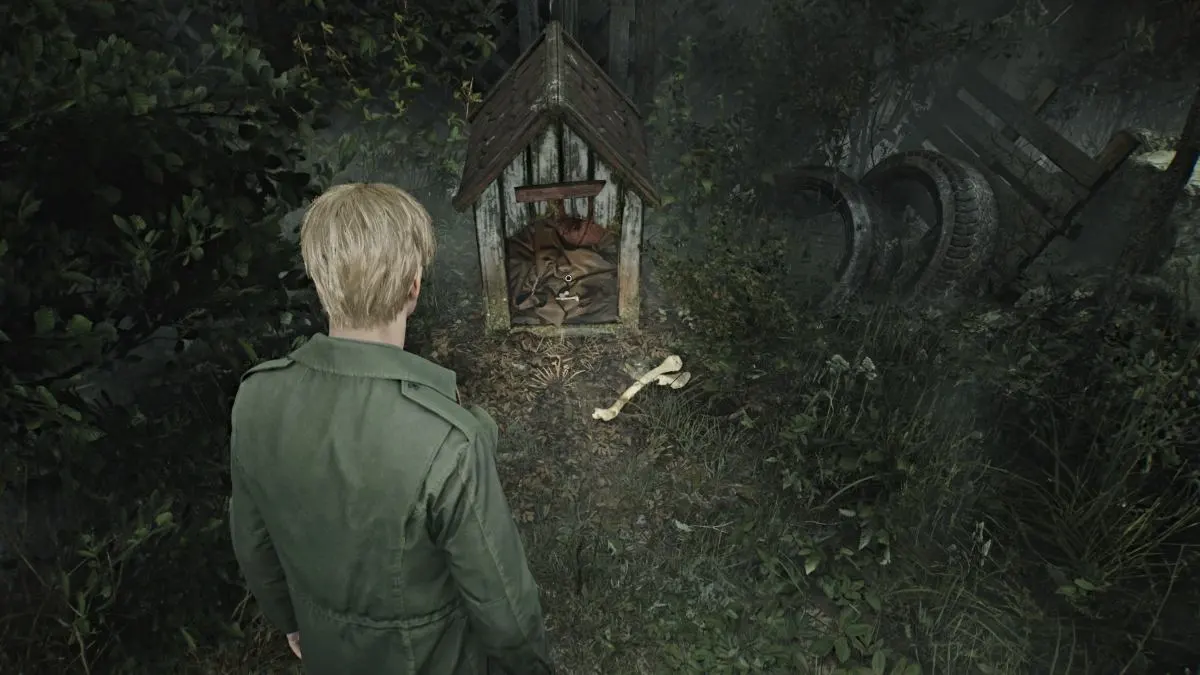
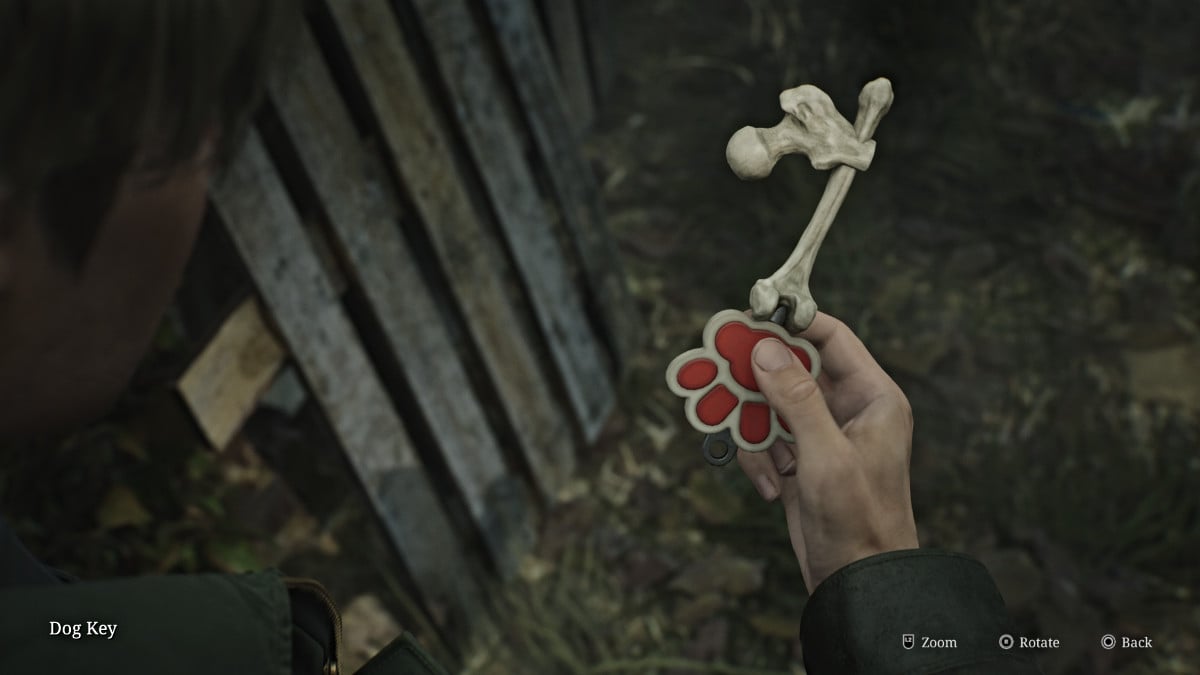
This is one of the game's two comical endings, and probably its most infamous. It has James open a door at the Lakeview Hotel to reveal a Shiba Inu dog named Mira sitting at a big computer console, controlling everything that's happened in Silent Hill up to that point.
Requirements for this ending:
Getting this ending also unlocks the 'The Goodest Boi' achievement .
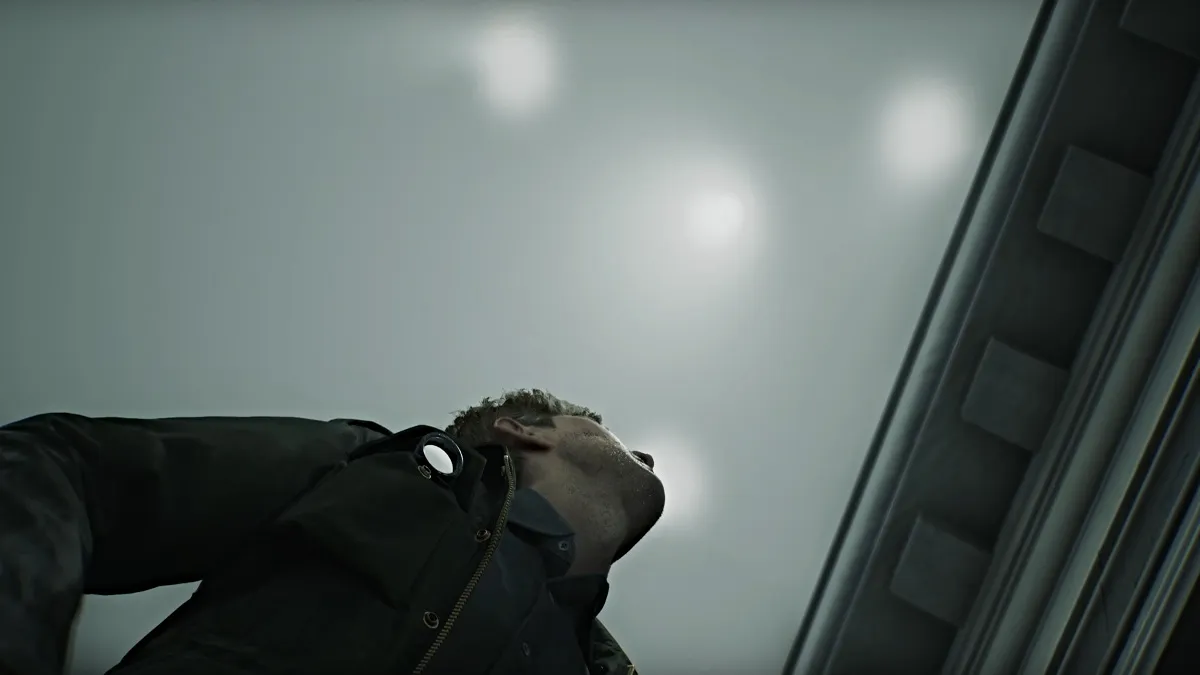
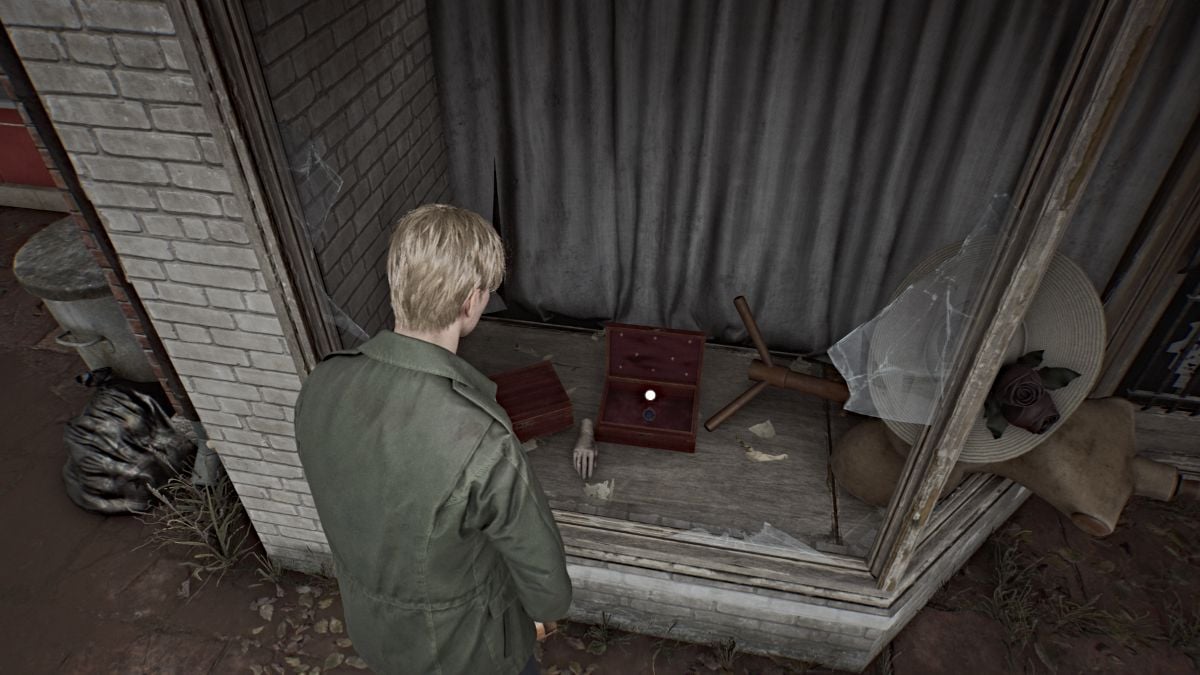
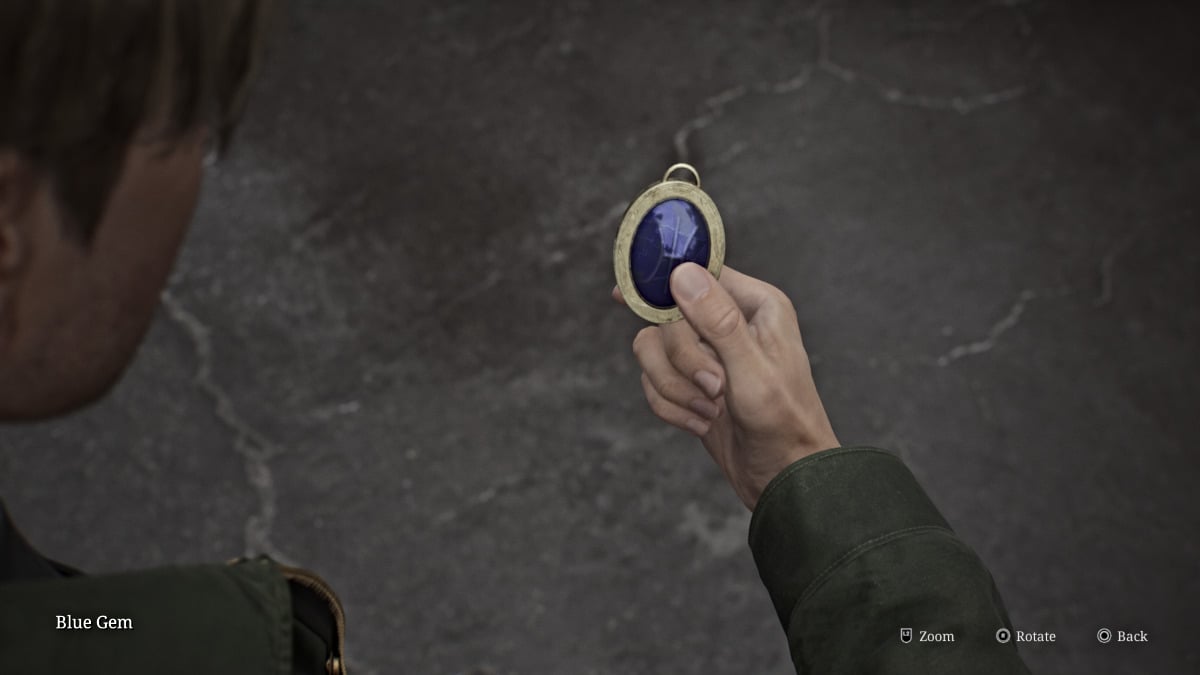
The second comical ending, presented as a silent film sequence, also takes place at the Lakeview Hotel and sees aliens actually visit James along with a hilarious cameo of a character from the original game.
Requirements for this ending:
Getting this ending also unlocks the 'Tinfoil Hat' achievement .
This is the first of two new endings added in Silent Hill 2 Remake, and it acts as a sort of expansion of the "In Water" ending. As James expresses that he simply can't live without Mary, in this version she appears next to him in the car, soothing him with her touch and voice.
James asks if she'll wait for him, and Mary insists that she's "always been waiting for him". The scene ends there, likely meaning that James chooses to live instead.
Requirements for this ending:
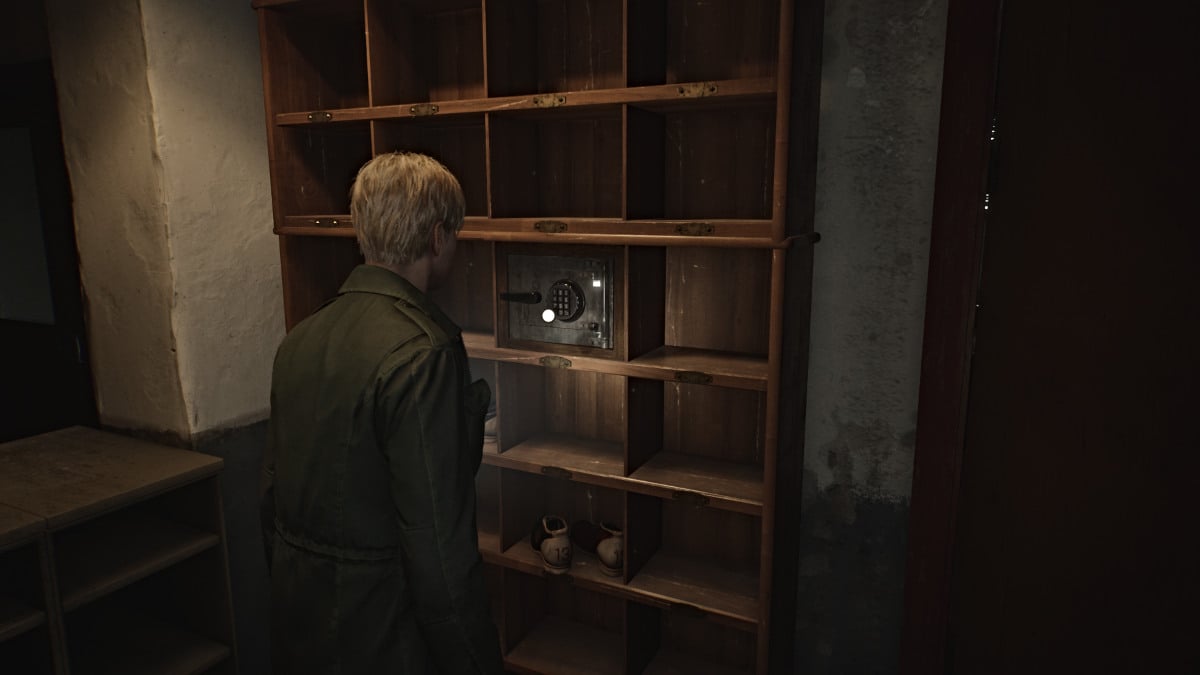
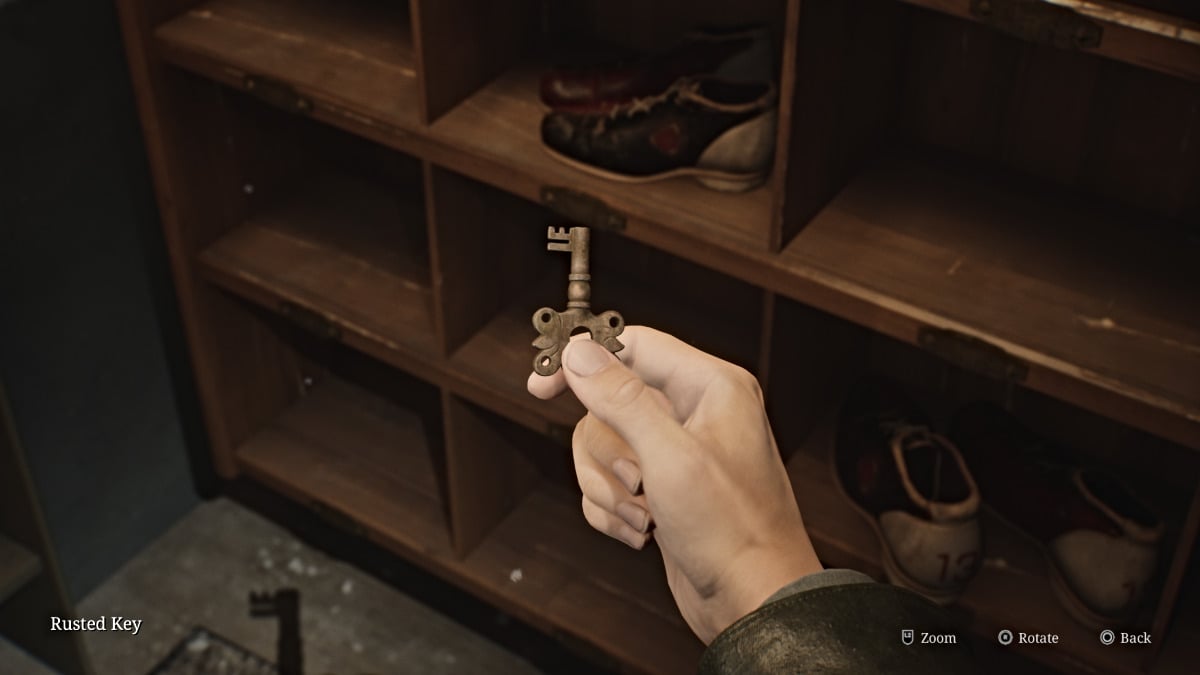
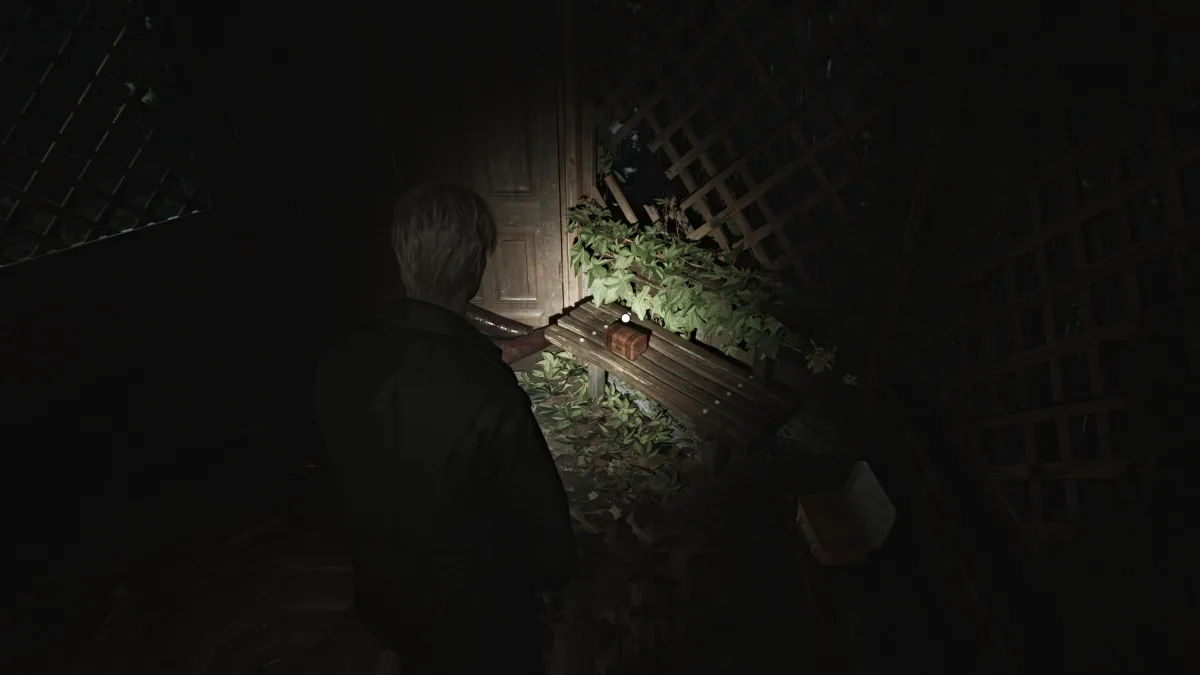
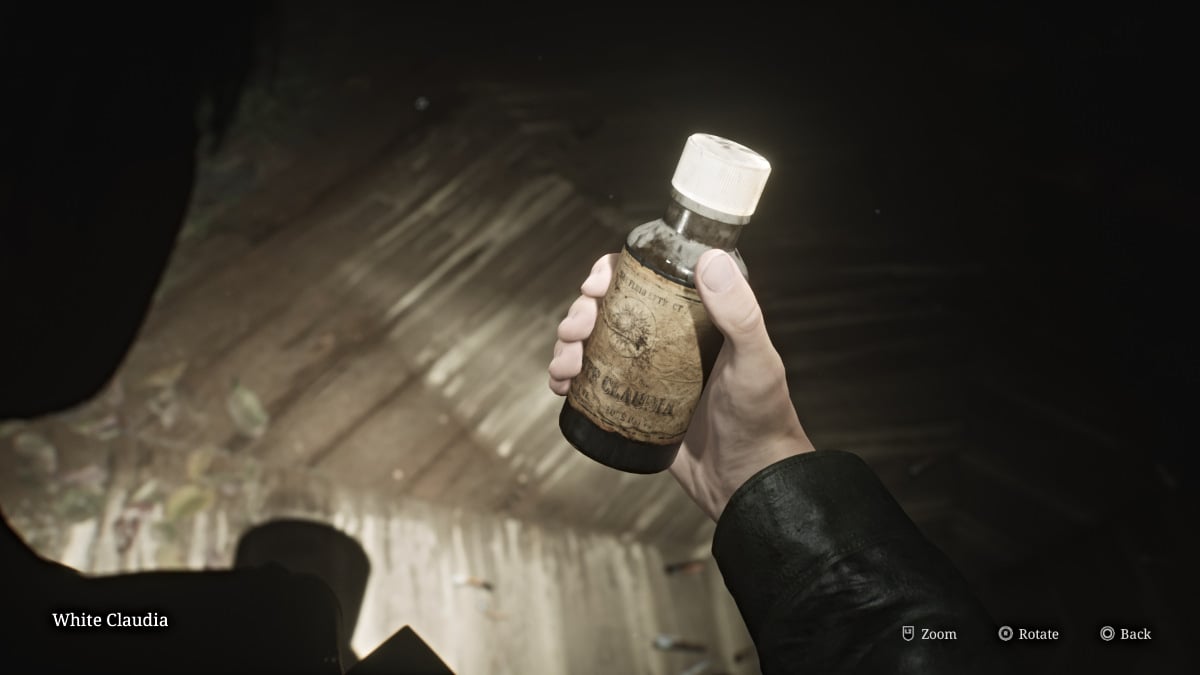
This is the second of two new endings added in Silent Hill 2 Remake, and it essentially presents the tape scene in the Lakeview Hotel much differently. Instead of the tape showing Mary's visible symptoms of illness and her death, James stays behind the camera in their hotel room and eventually puts it down as they continue packing. He promises to bring her back to Silent Hill, and the tape ends.
In the present, James is no longer sitting in the chair, seemingly gone. It alludes that because of the change in events on the tape, Mary was never sick and thus was never killed, meaning that the events of Silent Hill 2, at least for James, never happened.
Requirements for this ending:
Be sure to check out all of our latest gaming guides and news for the Silent Hill franchise here at Pro Game Guides, such as Silent Hill the Short Message walkthrough.