loopgpt
v0.1.1
L♾️pGPT
กรอบงาน Auto-GPT แบบโมดูลาร์
L♾️pGPT เป็นการปรับใช้โปรเจ็กต์ Auto-GPT ยอดนิยมอีกครั้งเป็นแพ็คเกจ Python ที่เหมาะสม ซึ่งเขียนโดยคำนึงถึงความเป็นโมดูลและความสามารถในการขยาย
- นี่เป็นการติดตั้ง L♾️pGPT เวอร์ชันเสถียรล่าสุด ขอแนะนำสำหรับผู้ใช้ส่วนใหญ่:
pip install loopgptสองวิธีด้านล่างนี้จะติดตั้ง L♾️pGPT เวอร์ชันพัฒนาล่าสุด โปรดทราบว่าเวอร์ชันนี้อาจไม่เสถียร:
pip install git+https://www.github.com/farizrahman4u/loopgpt.git@maingit clone https://www.github.com/farizrahman4u/loopgpt.git
cd loopgpt
pip install -e .git clone https://www.github.com/farizrahman4u/loopgpt.git
cd loopgpt
docker build -t loopgpt:local-dev . .env สร้างไฟล์ .env ในไดเร็กทอรีการทำงานปัจจุบันของคุณ (ไม่ว่าคุณจะเรียกใช้ L♾️pGPT จากที่ใดก็ตาม) และเพิ่มบรรทัดต่อไปนี้:
OPENAI_API_KEY= " <your-openai-api-key> "- สำคัญ ?
ผู้ใช้ Windows โปรดตรวจสอบให้แน่ใจว่าได้เปิดใช้งาน "แสดงนามสกุลไฟล์" ใน File Explorer ของคุณ มิฉะนั้น ไฟล์ของคุณจะถูกตั้งชื่อว่า .env.txt แทน . .env
ตั้งค่าตัวแปรสภาพแวดล้อมชื่อ OPENAI_API_KEY เป็นคีย์ OpenAI API ของคุณ
วิธีการตั้งค่าตัวแปรสภาพแวดล้อม:
มาสร้างตัวแทนในสคริปต์ Python ใหม่กันดีกว่า
 from loopgpt . agent import Agent

agent = Agent ()
L♾️pGPT ใช้ gpt-3.5-turbo เป็นค่าเริ่มต้น และเอาต์พุตทั้งหมดที่แสดงที่นี่จะใช้มัน ผู้ใช้ GPT-4 สามารถตั้งค่า model="gpt-4" แทนได้:
agent = Agent ( model = "gpt-4" ) agent . name = "ResearchGPT"
agent . description = "an AI assistant that researches and finds the best tech products"
agent . goals = [
"Search for the best headphones on Google" ,
"Analyze specs, prices and reviews to find the top 5 best headphones" ,
"Write the list of the top 5 best headphones and their prices to a file" ,
"Summarize the pros and cons of each headphone and write it to a different file called 'summary.txt'" ,
]และเราก็ไปแล้ว! มารัน CLI ของ Agent กันดีกว่า:
agent . cli () บันทึกไฟล์ Python ของคุณเป็น research_gpt.py และเรียกใช้:
python research_gpt.py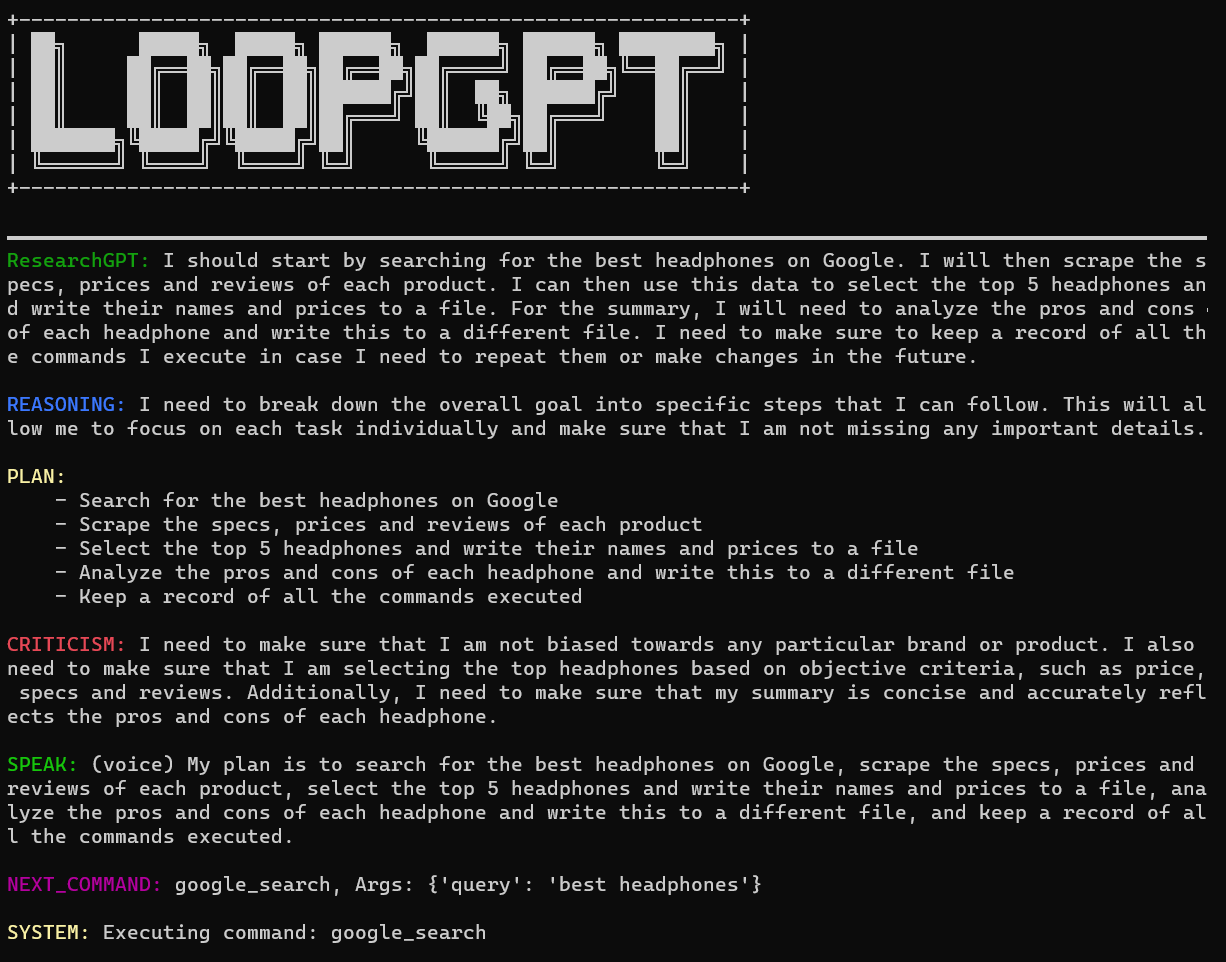
คุณสามารถออกจาก CLI ได้โดยพิมพ์ "exit"
หากตั้งค่า continuous เป็น True เอเจนต์จะไม่ขออนุญาตจากผู้ใช้เพื่อดำเนินการคำสั่ง มันอาจจะวนซ้ำไม่สิ้นสุด ดังนั้นคุณต้องยอมรับความเสี่ยงเอง!
agent . cli ( continuous = True )คุณสามารถเรียกใช้ L♾️pGPT ได้โดยตรงจากบรรทัดคำสั่งโดยไม่ต้องเขียนโค้ด Python เช่นกัน:
loopgpt run เรียกใช้ loopgpt --help เพื่อดูตัวเลือกที่มีทั้งหมด
คุณสามารถเรียกใช้ L♾️pGPT ในโหมดที่กล่าวถึงก่อนหน้านี้ได้โดยใช้ Docker:
 # CLI mode
docker run -i --rm loopgpt:local-dev loopgpt run

# Script mode example
docker run -i --rm -v " $( pwd ) /scripts:/scripts " loopgpt:local-dev python /scripts/myscript.py
เอเจนต์ L♾️pGPT มาพร้อมกับชุดเครื่องมือในตัวซึ่งช่วยให้ทำงานพื้นฐานต่างๆ ได้ เช่น การค้นหาเว็บ การทำงานของระบบไฟล์ ฯลฯ คุณสามารถดูเครื่องมือเหล่านี้ได้ด้วย print(agent.tools)
นอกจากเครื่องมือในตัวเหล่านี้แล้ว คุณยังสามารถเพิ่มเครื่องมือของคุณเองลงในกล่องเครื่องมือของตัวแทนได้อีกด้วย
มาสร้าง WeatherGPT ซึ่งเป็นผู้ช่วย AI สำหรับทุกสภาพอากาศกันเถอะ
เครื่องมือสืบทอดมาจาก BaseTool และคุณเพียงแค่ต้องเขียน docstring เพื่อให้เครื่องมือของคุณพร้อมใช้งาน!
 from loopgpt . tools import BaseTool

class GetWeather ( BaseTool ):
    """Quickly get the weather for a given city

    Args:
        city (str): name of the city

    Returns:
        dict: The weather report for the city
    """

    def run ( self , city ):
        ...
L♾️pGPT ให้ ID เริ่มต้นแก่เครื่องมือของคุณ แต่คุณสามารถแทนที่ ID เหล่านั้นได้หากต้องการ:
 class GetWeather ( BaseTool ):
    """Quickly get the weather for a given city

    Args:
        city (str): name of the city

    Returns:
        dict: The weather report for the city
    """

    @ property
    def id ( self ):
        return "get_weather_command"
ตอนนี้เรามากำหนดว่าเครื่องมือของเราจะทำอะไรในวิธี run :
 import requests

# Define your custom tool
class GetWeather ( BaseTool ):
    """Quickly get the weather for a given city

    Args:
        city (str): name of the city

    Returns:
        dict: The weather report for the city
    """

    def run ( self , city ):
        try :
            url = "https://wttr.in/{}?format=%l+%C+%h+%t+%w+%p+%P" . format ( city )
            data = requests . get ( url ). text . split ( " " )
            keys = ( "location" , "condition" , "humidity" , "temperature" , "wind" , "precipitation" , "pressure" )
            data = dict ( zip ( keys , data ))
            return data
        except Exception as e :
            return f"An error occurred while getting the weather: { e } ."
แค่นั้นแหละ! คุณได้สร้างเครื่องมือที่กำหนดเองชิ้นแรกแล้ว มาลงทะเบียนกับตัวแทนใหม่และดำเนินการ:
 from loopgpt . tools import WriteToFile
import loopgpt

# Register custom tool type
# This is actually not required here, but is required when you load a saved agent with custom tools.
loopgpt . tools . register_tool_type ( GetWeather )

# Create Agent
agent = loopgpt . Agent ( tools = [ GetWeather , WriteToFile ])
agent . name = "WeatherGPT"
agent . description = "an AI assistant that tells you the weather"
agent . goals = [
    "Get the weather for NewYork and Beijing" ,
    "Give the user tips on how to dress for the weather in NewYork and Beijing" ,
    "Write the tips to a file called 'dressing_tips.txt'"
]

# Run the agent's CLI
agent . cli ()
มาดูไฟล์ dressing_tips.txt ที่ WeatherGPT เขียนถึงเรากัน:
dressing_tips.txt
 - It's Clear outside with a temperature of +10°C in Beijing. Wearing a light jacket and pants is recommended.
- It's Overcast outside with a temperature of +11°C in New York. Wearing a light jacket, pants, and an umbrella is recommended.
ต่างจาก Auto-GPT ตรงที่เอเจนต์จะไม่ยุติเมื่อผู้ใช้ปฏิเสธการดำเนินการตามคำสั่ง แต่จะขอให้ผู้ใช้แสดงความคิดเห็นเพื่อแก้ไขหลักสูตร
หากต้องการแก้ไขแนวทางของตัวแทน เพียงปฏิเสธการดำเนินการและให้ข้อเสนอแนะ:

ตัวแทนได้อัปเดตแนวทางการดำเนินการ:

คุณสามารถบันทึกสถานะของตัวแทนลงในไฟล์ json ได้โดยใช้:
agent . save ( "ResearchGPT.json" ) สิ่งนี้จะบันทึกการกำหนดค่าของตัวแทน (รุ่น ชื่อ คำอธิบาย ฯลฯ) รวมถึงสถานะภายใน (สถานะการสนทนา หน่วยความจำ สถานะเครื่องมือ ฯลฯ) คุณยังสามารถบันทึกเฉพาะการกำหนดค่าได้โดยส่ง include_state=False ไปยัง agent.save() :
agent . save ( "ResearchGPT.json" , include_state = False )จากนั้นดำเนินการต่อจากจุดที่คุณค้างไว้ด้วย:
 import loopgpt
agent = loopgpt . Agent . load ( "ResearchGPT.json" )
agent . cli ()
หรือโดยการรันเอเจนต์ที่บันทึกไว้จากบรรทัดคำสั่ง:
loopgpt run ResearchGPT.jsonคุณสามารถแปลงสถานะตัวแทนเป็นพจนานุกรมหลามที่เข้ากันได้กับ json แทนที่จะเขียนลงไฟล์:
agent_config = agent . config ()หากต้องการรับเฉพาะการกำหนดค่าโดยไม่มีสถานะภายใน:
agent_config = agent . config ( include_state = False )หากต้องการโหลดเอเจนต์ซ้ำจากการกำหนดค่า ให้ใช้:
 import loopgpt

agent = loopgpt . Agent . from_config ( agent_config ) สำหรับการสนับสนุนการค้นหาของ Google อย่างเป็นทางการ คุณจะต้องตั้งค่าคีย์ตัวแปรสภาพแวดล้อมสองคีย์ GOOGLE_API_KEY และ CUSTOM_SEARCH_ENGINE_ID ต่อไปนี้เป็นวิธีรับ:
CUSTOM_SEARCH_ENGINE_IDGOOGLE_API_KEYในกรณีที่ไม่มีสิ่งเหล่านี้ L♾️pGPT จะกลับไปใช้ DuckDuckGo Search
เราต้องการความช่วยเหลืออย่างมาก! โปรดเปิดประเด็นหรือประชาสัมพันธ์หากคุณต้องการมีส่วนร่วม
ต้องการความช่วยเหลือ? เข้าร่วม Discord ของเรา


