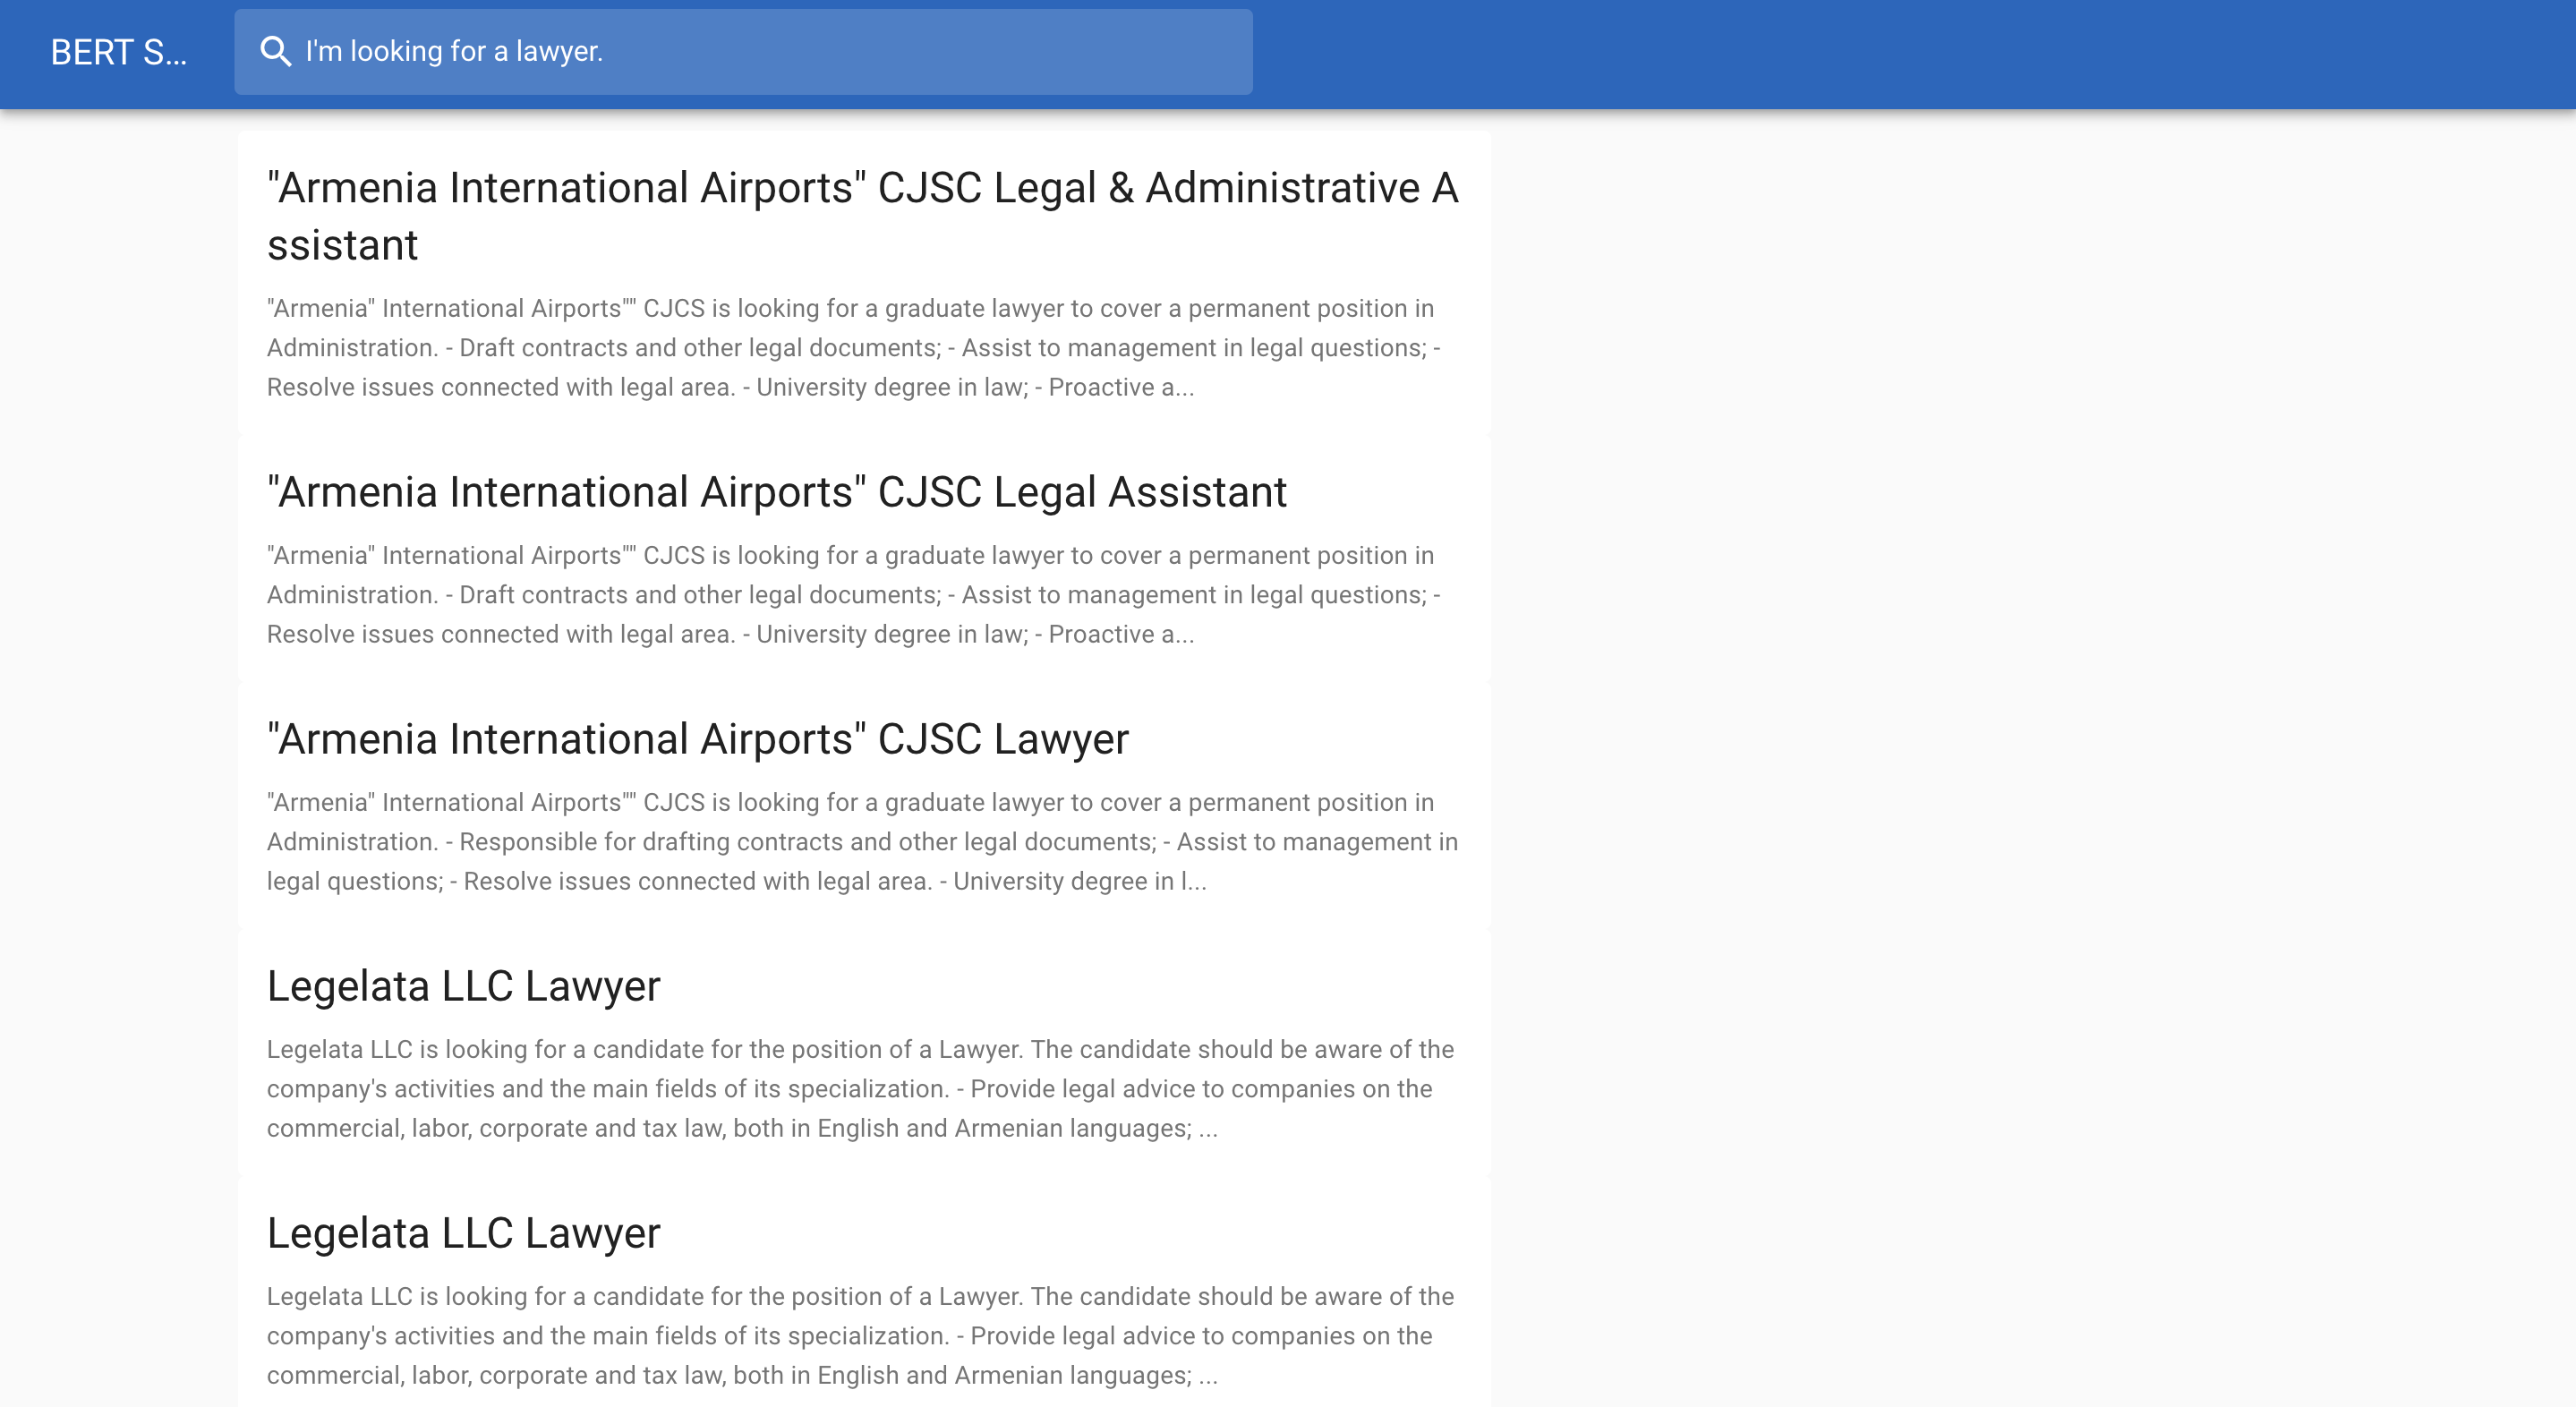
ด้านล่างนี้เป็นตัวอย่างการค้นหางาน:


| BERT-ฐาน ไม่มีกล่อง | พารามิเตอร์ 12 ชั้น 768 ซ่อน 12 หัว 110M |
| BERT-ใหญ่ ไม่มีกล่อง | 24 ชั้น 1,024 ซ่อน 16 หัว พารามิเตอร์ 340M |
| BERT-ฐาน, เคส | พารามิเตอร์ 12 ชั้น 768 ซ่อน 12 หัว 110M |
| BERT-ใหญ่, แบบมีฝาปิด | 24 ชั้น 1,024 ซ่อน 16 หัว พารามิเตอร์ 340M |
| BERT-Base, Cased หลายภาษา (ใหม่) | 104 ภาษา, 12 เลเยอร์, 768 ซ่อน, 12 หัว, พารามิเตอร์ 110M |
| BERT-Base, เคสหลายภาษา (เก่า) | 102 ภาษา, 12 เลเยอร์, 768 ซ่อน, 12 หัว, พารามิเตอร์ 110M |
| BERT-ฐาน, จีน | จีนประยุกต์และดั้งเดิม 12 ชั้น 768 ซ่อน 12 หัว พารามิเตอร์ 110M |
$ wget https://storage.googleapis.com/bert_models/2018_10_18/cased_L-12_H-768_A-12.zip
$ unzip cased_L-12_H-768_A-12.zipคุณต้องตั้งค่าโมเดล BERT ที่ได้รับการฝึกล่วงหน้าและชื่อดัชนีของ Elasticsearch เป็นตัวแปรสภาพแวดล้อม:
$ export PATH_MODEL=./cased_L-12_H-768_A-12
$ export INDEX_NAME=jobsearch$ docker-compose up ข้อควรระวัง : หากเป็นไปได้ ให้กำหนดหน่วยความจำสูง (มากกว่า 8GB ) ให้กับการกำหนดค่าหน่วยความจำของ Docker เนื่องจากคอนเทนเนอร์ BERT ต้องการหน่วยความจำสูง
คุณสามารถใช้สร้างดัชนี API เพื่อเพิ่มดัชนีใหม่ให้กับคลัสเตอร์ Elasticsearch เมื่อสร้างดัชนี คุณสามารถระบุสิ่งต่อไปนี้:
ตัวอย่างเช่น หากคุณต้องการสร้างดัชนี jobsearch ด้วยฟิลด์ title , text และ text_vector คุณสามารถสร้างดัชนีโดยใช้คำสั่งต่อไปนี้:
$ python example/create_index.py --index_file=example/index.json --index_name=jobsearch
# index.json
{
  " settings " : {
    " number_of_shards " : 2,
    " number_of_replicas " : 1
  },
  " mappings " : {
    " dynamic " : " true " ,
    " _source " : {
      " enabled " : " true "
    },
    " properties " : {
      " title " : {
        " type " : " text "
      },
      " text " : {
        " type " : " text "
      },
      " text_vector " : {
        " type " : " dense_vector " ,
        " dims " : 768
      }
    }
  }
}
ข้อควรระวัง : ค่า dims ของ text_vector จะต้องตรงกับค่า dims ของโมเดล BERT ที่ได้รับการฝึกล่วงหน้า
เมื่อคุณสร้างดัชนีแล้ว คุณก็พร้อมที่จะสร้างดัชนีเอกสารบางส่วนแล้ว ประเด็นคือการแปลงเอกสารของคุณให้เป็นเวกเตอร์โดยใช้ BERT เวกเตอร์ผลลัพธ์จะถูกเก็บไว้ในฟิลด์ text_vector มาแปลงข้อมูลของคุณให้เป็นเอกสาร JSON:
$ python example/create_documents.py --data=example/example.csv --index_name=jobsearch
# example/example.csv
" Title " , " Description "
" Saleswoman " , " lorem ipsum "
" Software Developer " , " lorem ipsum "
" Chief Financial Officer " , " lorem ipsum "
" General Manager " , " lorem ipsum "
" Network Administrator " , " lorem ipsum "
หลังจากเสร็จสิ้นสคริปต์ คุณจะได้รับเอกสาร JSON ดังนี้:
 # documents.jsonl
{ "_op_type" : "index" , "_index" : "jobsearch" , "text" : "lorem ipsum" , "title" : "Saleswoman" , "text_vector" : [...]}
{ "_op_type" : "index" , "_index" : "jobsearch" , "text" : "lorem ipsum" , "title" : "Software Developer" , "text_vector" : [...]}
{ "_op_type" : "index" , "_index" : "jobsearch" , "text" : "lorem ipsum" , "title" : "Chief Financial Officer" , "text_vector" : [...]}
...หลังจากแปลงข้อมูลของคุณเป็น JSON แล้ว คุณสามารถเพิ่มเอกสาร JSON ลงในดัชนีที่ระบุและทำให้สามารถค้นหาได้
$ python example/index_documents.pyไปที่ http://127.0.0.1:5000