หมายเหตุ : ห้องสมุดไม่ได้รับการดูแล/สร้าง หากคุณต้องการมีส่วนร่วม โปรดเปิดประเด็น
Simulate เป็นไลบรารีสำหรับการสร้างและแบ่งปันสภาพแวดล้อมการจำลองสำหรับตัวแทนอัจฉริยะ (เช่น การเรียนรู้แบบเสริมกำลัง) หรือการสร้างข้อมูลสังเคราะห์ได้อย่างง่ายดาย
ติดตั้ง Simulate (โดยเฉพาะในสภาพแวดล้อมเสมือน) ด้วย pip install simulate แบบง่าย หมายเหตุ : vtk ไม่ได้สร้างขึ้นสำหรับ Apple Silicon ด้วย Python 3.8 กรุณาติดตั้งด้วย >3.9 ในกรณีนั้น
สร้าง env เสมือน จากนั้นติดตั้งเครื่องมือสไตล์/คุณภาพโค้ด รวมถึงฐานโค้ดในเครื่อง
pip install --upgrade simulate
ก่อนที่คุณจะรวม PR ให้แก้ไขสไตล์ (เราใช้ isort + black )
make style
API ของ Simulate ได้รับแรงบันดาลใจจาก API ของ Kubric ที่ยอดเยี่ยม ผู้ใช้สร้าง Scene และเพิ่ม Assets ลงไป (วัตถุ กล้อง ไฟ ฯลฯ)
เมื่อสร้างฉากแล้ว คุณสามารถบันทึกและแชร์เป็นไฟล์ได้ นี่คือไฟล์ของขวัญ หรือที่เรียกว่าไฟล์ JSON ที่มีทรัพยากรที่เกี่ยวข้อง
คุณยังสามารถเรนเดอร์ฉากหรือทำการจำลองโดยใช้หนึ่งในเอนจิ้นการเรนเดอร์/การจำลองแบ็กเอนด์ (ในขณะนี้คือ Unity, Blender และ Godot)
รูปแบบการบันทึก/การแบ่งปันเป็นแบบไม่เชื่อเรื่องกลไกและการใช้มาตรฐานอุตสาหกรรมกราฟิก
มาสำรวจอย่างรวดเร็วด้วยกัน
 import simulate as sm

scene = sm.Scene()
Python API อยู่ใน src/simulate อนุญาตให้สร้างและโหลดฉากและส่งคำสั่งไปยังแบ็กเอนด์
เรามีแบ็คเอนด์หลายตัวเพื่อเรนเดอร์และ/หรือรันฉาก แบ็กเอนด์เริ่มต้นไม่จำเป็นต้องมีการติดตั้งเฉพาะและอิงตาม pyvista ช่วยให้สามารถเรนเดอร์/สำรวจฉากได้อย่างรวดเร็ว แต่ไม่รองรับการจำลองทางฟิสิกส์ เพื่ออนุญาตการจำลองทางฟิสิกส์ สามารถใช้แบ็กเอนด์ Unity โดยการตั้งค่า engine="unity" (และเร็วๆ นี้จะใช้แบ็กเอนด์ Godot และ Blender Engines เช่นกัน) บิวด์ Unity จะถูกดาวน์โหลดโดยอัตโนมัติ (หากยังไม่ได้ทำ) และสร้างขึ้นเพื่อรันการจำลอง หรือคุณสามารถดาวน์โหลดและใช้โปรแกรมแก้ไข Unity ได้เอง ซึ่งจะต้องเปิดด้วย Unity เวอร์ชัน 2021.3.2f1
การโหลดฉากจากไฟล์ในเครื่องหรือ Hub เสร็จสิ้นด้วย Scene.create_from() บันทึกในเครื่องหรือกดไปที่ Hub ด้วย scene.save() หรือ scene.push_to_hub() :
 from simulate import Scene

scene = Scene.create_from('tests/test_assets/fixtures/Box.gltf')  # either local (priority) or on the Hub with full path to file
scene = Scene.create_from('simulate-tests/Box/glTF/Box.gltf', is_local=False)  # Set priority to the Hub file

scene.save('local_dir/file.gltf')  # Save to a local file
scene.push_to_hub('simulate-tests/Debug/glTF/Box.gltf')  # Save to the Hub - use a token if necessary

scene.show()
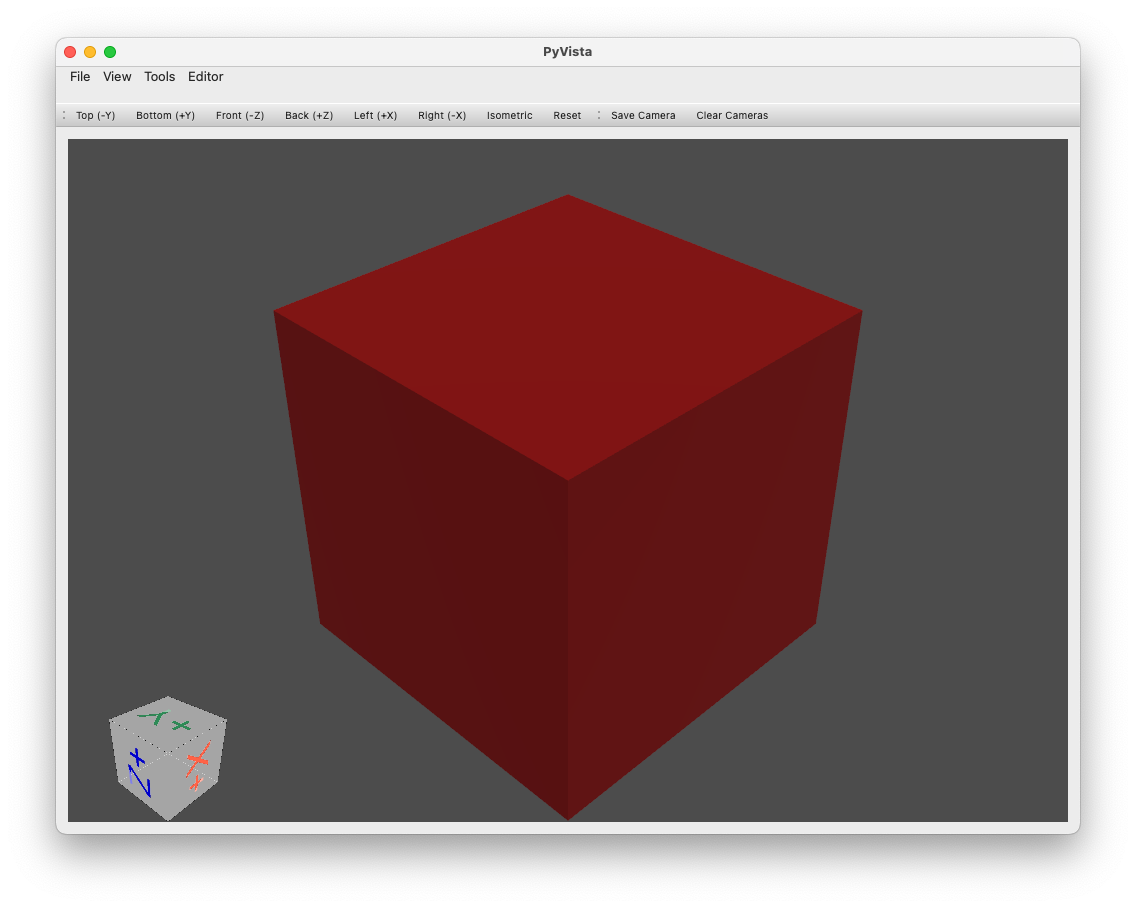
ตัวอย่างพื้นฐานของการสร้างฉากโดยมีระนาบและมีทรงกลมอยู่เหนือฉาก:
 import simulate as sm

scene = sm.Scene()
scene += sm.Plane() + sm.Sphere(position=[0, 1, 0], radius=0.2)

>>> scene
>>> Scene(dimensionality=3, engine='PyVistaEngine')
>>> └── plane_01 (Plane - Mesh: 121 points, 100 cells)
>>>     └── sphere_02 (Sphere - Mesh: 842 points, 870 cells)

scene.show()
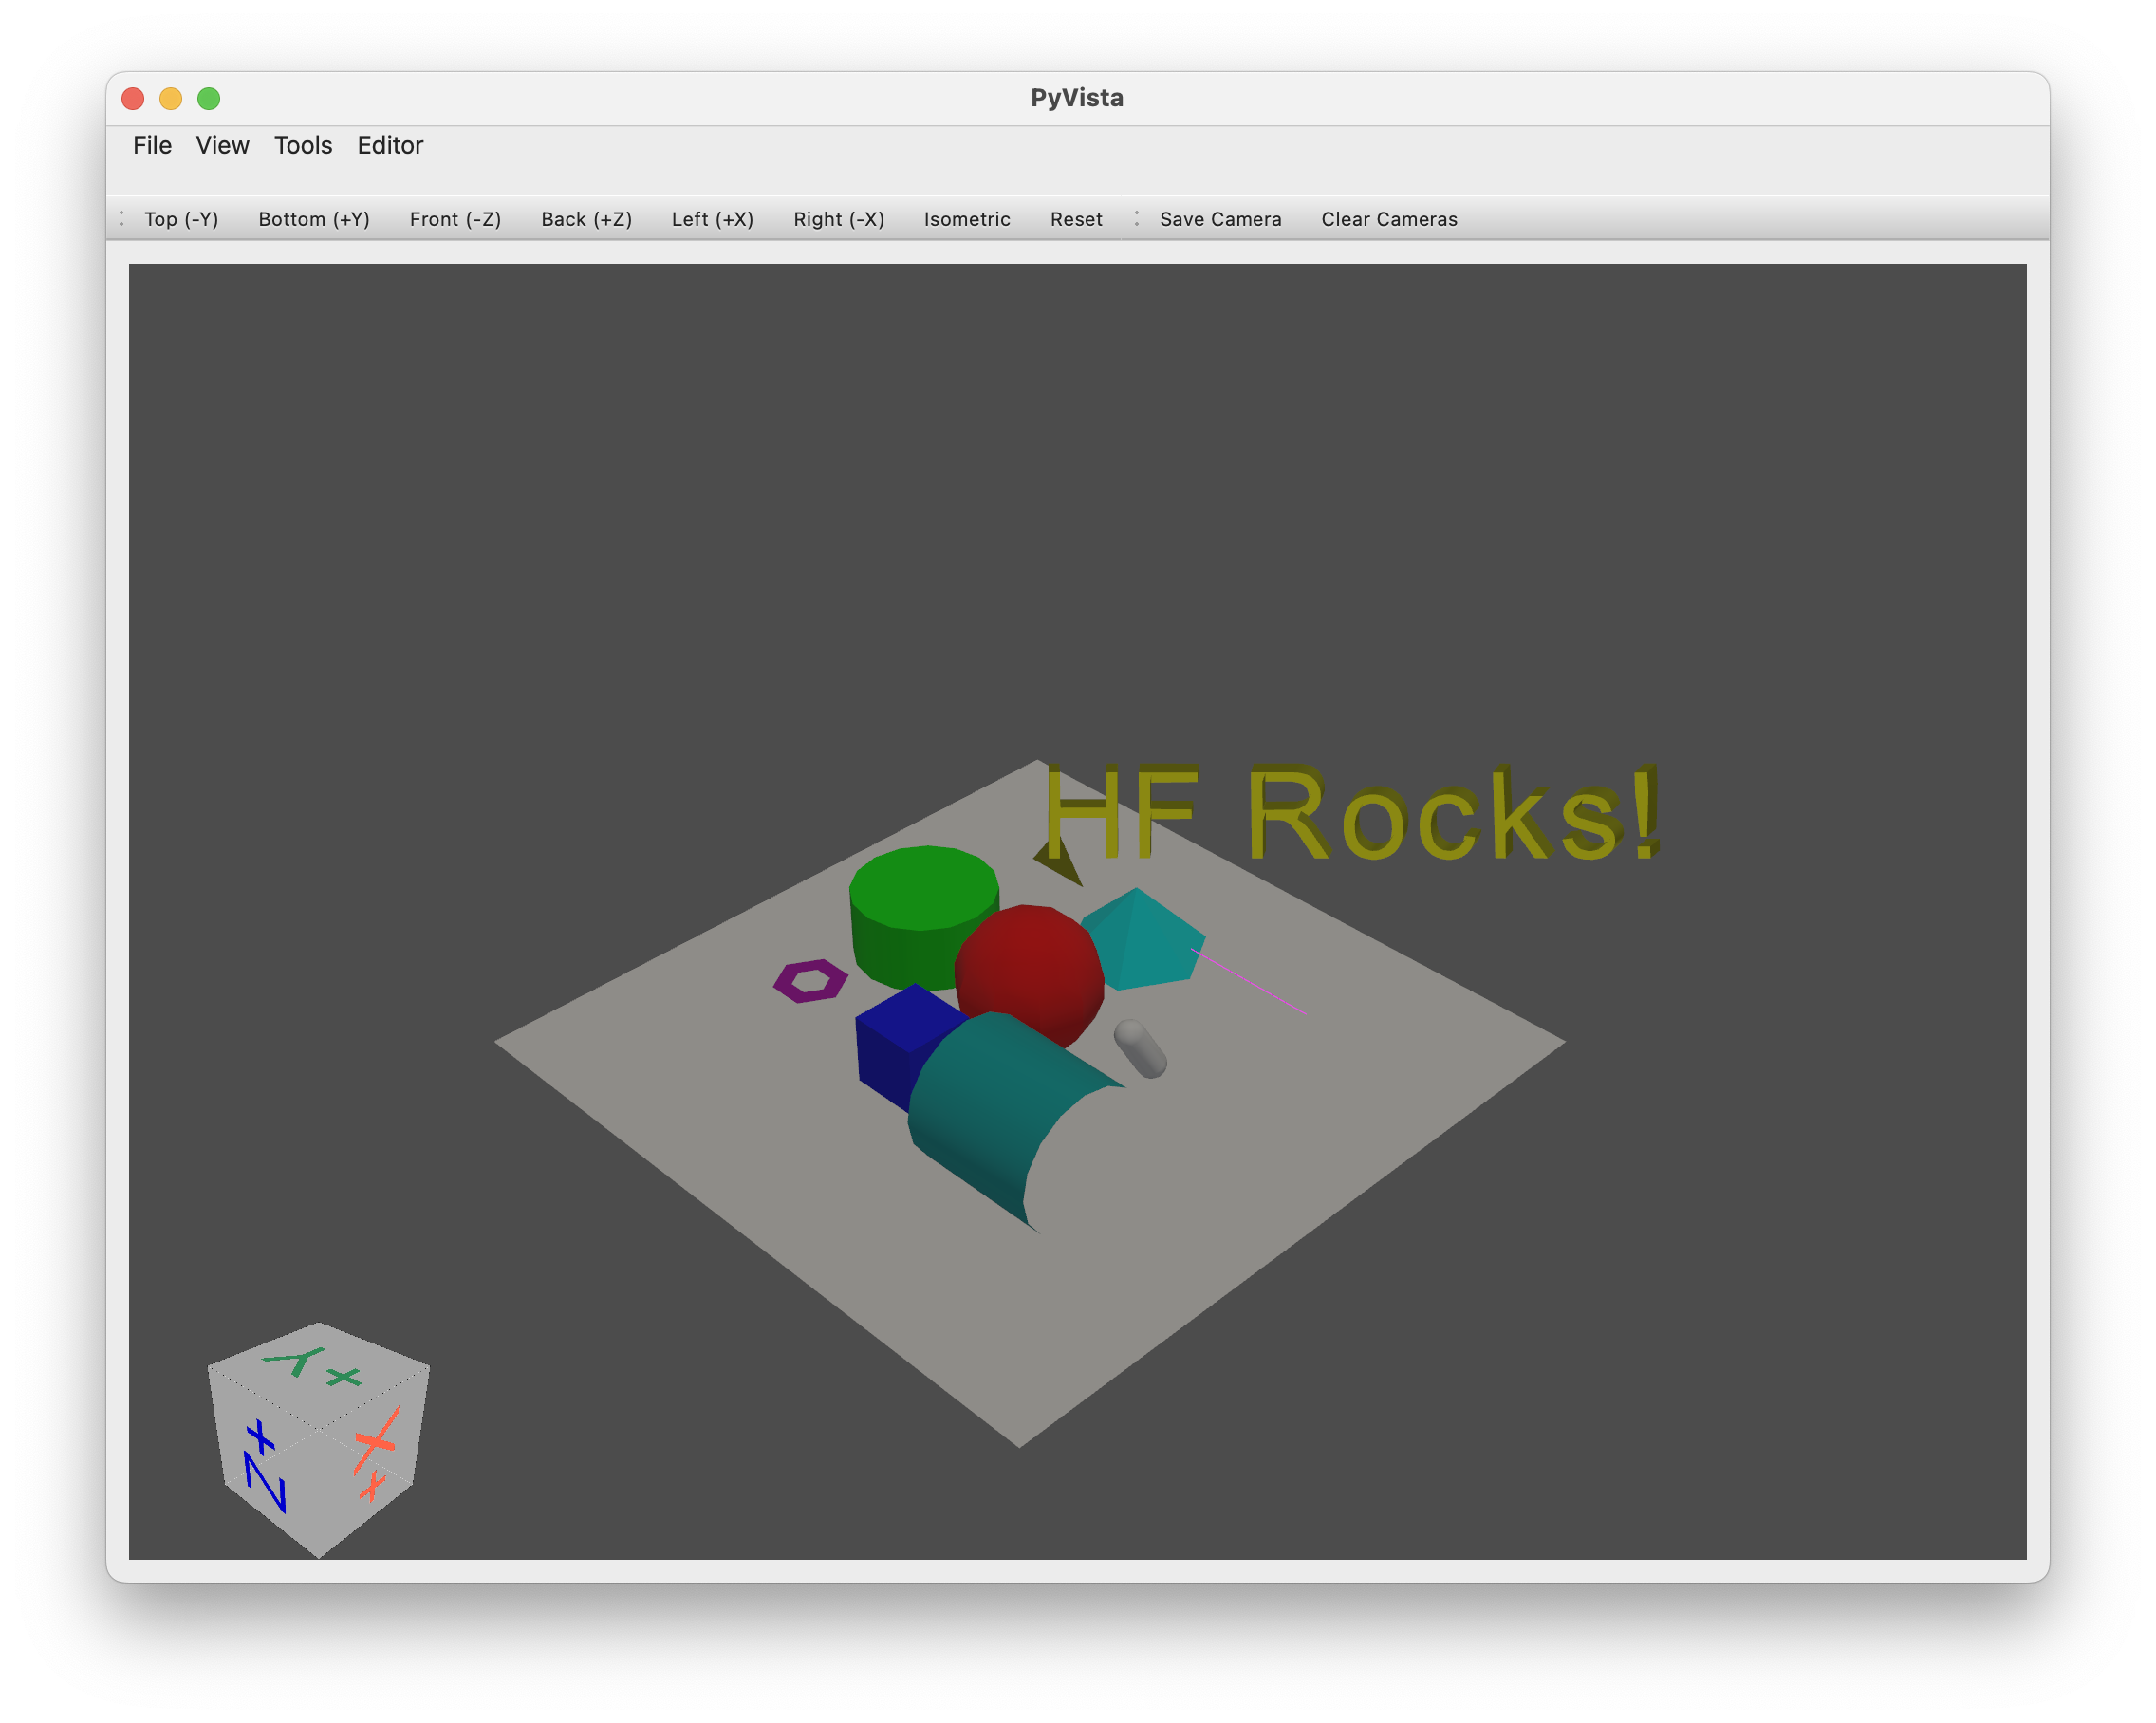
วัตถุ (เช่นเดียวกับฉาก) เป็นเพียงโหนดในแผนผังที่มาพร้อมกับตาข่ายเสริม (ภายใต้ประทุนที่สร้าง/จัดเก็บ/แก้ไขเป็นวัตถุ pyvista.PolyData หรือ pyvista.MultiBlock ) และวัสดุและ/หรือแสง กล้อง เอเจนต์ วัตถุพิเศษ
ขณะนี้มีผู้ช่วยสร้างวัตถุต่อไปนี้:
Object3D วัตถุใดๆ ที่มีตาข่ายและ/หรือวัสดุPlaneSphereCapsuleCylinderBoxConeLineMultipleLinesTubePolygonRingText3DTriangleRectangleCircleStructuredGridออบเจ็กต์เหล่านี้จำนวนมากสามารถแสดงเป็นภาพได้โดยการรันตัวอย่างต่อไปนี้:
python examples/basic/objects.py
การเพิ่ม/การลบวัตถุ:
+ ) (หรืออีกวิธีหนึ่งคือวิธีการ .add(object) ) จะเพิ่มวัตถุเป็นลูกของวัตถุก่อนหน้า- ) หรือคำสั่ง . .remove(object).clear()scene.sphere += sphere_childการเข้าถึงวัตถุ:
name เมื่อสร้างหรือสร้างขึ้นโดยอัตโนมัติจากชื่อคลาส + ตัวนับการสร้าง).get_node(name)tree_* ต่างๆ มีอยู่บนโหนดใดๆ เพื่อนำทางหรือแสดงรายการส่วนหนึ่งของแผนผังโหนดได้อย่างรวดเร็วนี่คือตัวอย่างบางส่วนของการยักย้าย:
 # Add two copy of the sphere to the scene as children of the root node (using list will add all objects on the same level)
# Using `.copy()` will create a copy of an object (the copy doesn't have any parent or children)
scene += [scene.plane_01.sphere_02.copy(), scene.plane_01.sphere_02.copy()]

>>> scene
>>> Scene(dimensionality=3, engine='pyvista')
>>> ├── plane_01 (Plane - Mesh: 121 points, 100 cells)
>>> │   └── sphere_02 (Sphere - Mesh: 842 points, 870 cells)
>>> ├── sphere_03 (Sphere - Mesh: 842 points, 870 cells)
>>> └── sphere_04 (Sphere - Mesh: 842 points, 870 cells)

# Remove the last added sphere
>>> scene.remove(scene.sphere_04)
>>> Scene(dimensionality=3, engine='pyvista')
>>> ├── plane_01 (Plane - Mesh: 121 points, 100 cells)
>>> │   └── sphere_02 (Sphere - Mesh: 842 points, 870 cells)
>>> └── sphere_03 (Sphere - Mesh: 842 points, 870 cells)
วัตถุสามารถแปล หมุน และปรับขนาดได้อย่างง่ายดาย
นี่คือตัวอย่างบางส่วน:
 # Let's translate our floor (with the first sphere, it's child)
scene.plane_01.translate_x(1)

# Let's scale the second sphere uniformly
scene.sphere_03.scale(0.1)

# Inspect the current position and scaling values
print(scene.plane_01.position)
>>> array([1., 0., 0.])
print(scene.sphere_03.scaling)
>>> array([0.1, 0.1, 0.1])

# We can also translate from a vector and rotate from a quaternion or along the various axis
การแก้ไขวัตถุ:
เอ็นจิ้นการแสดงภาพเริ่มต้นมาพร้อมกับแบ็กเอนด์ vtk ของ pyvista
การสตาร์ทเอ็นจิ้นการแสดงภาพสามารถทำได้ง่ายๆ ด้วย .show()
scene.show()
คุณสามารถค้นหาบริดจ์ไปยังกลไกการเรนเดอร์/การจำลองอื่นๆ ได้ในไดเร็กทอรี integrations
หากคุณใช้งานบน GCP อย่าลืมติดตั้ง pyvistaqt และหากติดตั้งแล้ว ให้ถอนการติดตั้งในสภาพแวดล้อมของคุณ เนื่องจาก QT ทำงานได้ไม่ดีบน GCP
 @misc { simulate ,
  author = { Thomas Wolf, Edward Beeching, Carl Cochet, Dylan Ebert, Alicia Machado, Nathan Lambert, Clément Romac } ,
  title = { Simulate } ,
  year = { 2022 } ,
  publisher = { GitHub } ,
  journal = { GitHub repository } ,
  howpublished = { url{https://github.com/huggingface/simulate} }
}

