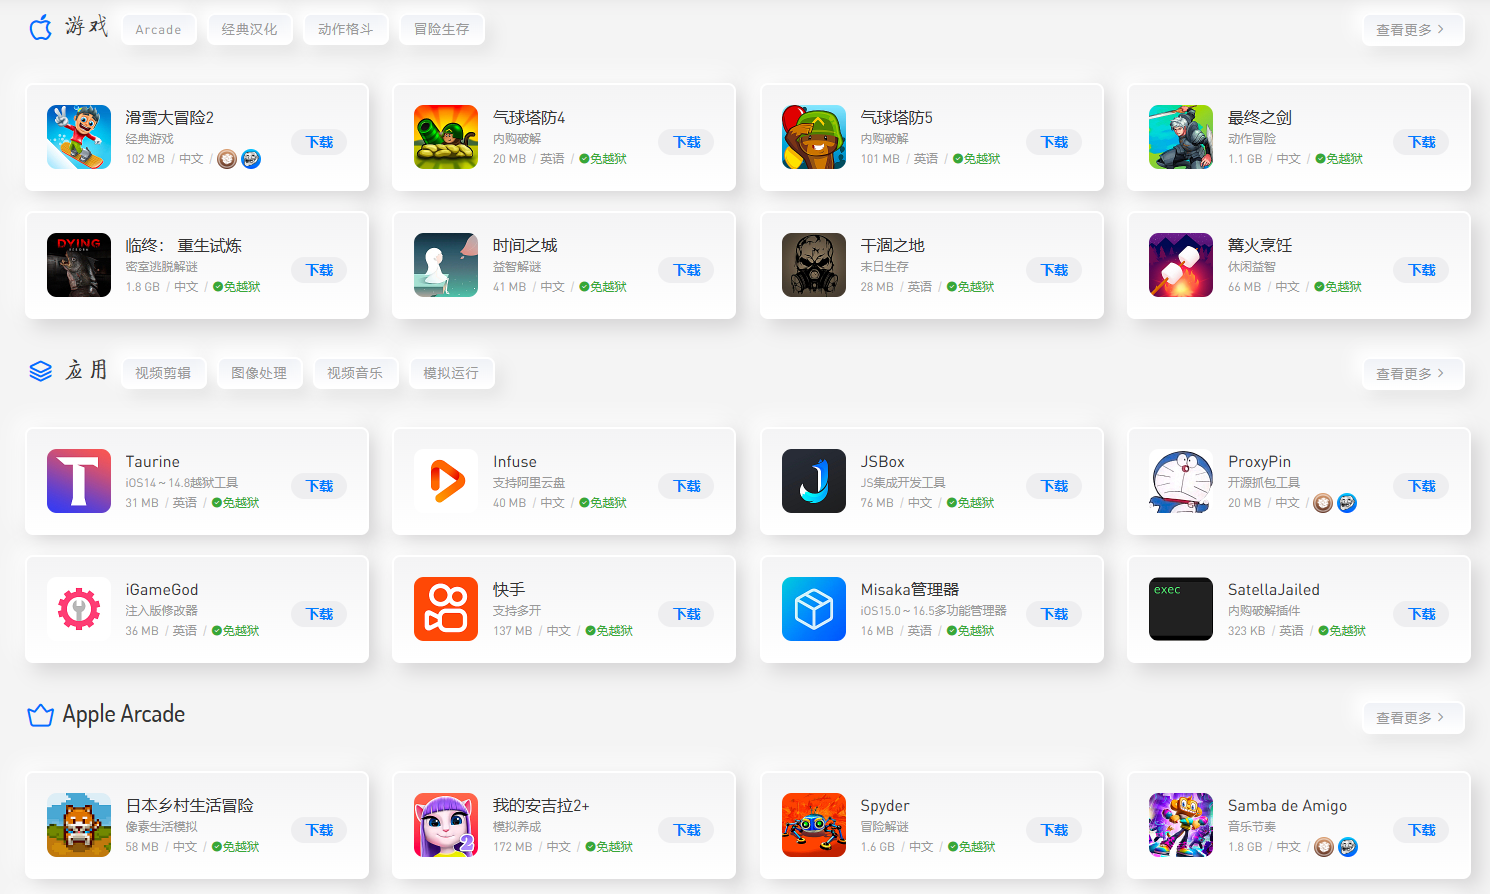
The ipa file is a file that Apple users rarely come into contact with. Many users don’t know how to install it on their iPhone after downloading the ipa file. Let’s quickly follow the editor of this site to learn about the tutorial on installing the ipa file on the iPhone.

1. Aisi Assistant
Aisi Assistant official website: https://www.i4.cn/
Use the installation tutorial
1. First, you need to install AISI Assistant on your computer, open AISI Assistant, and connect your phone to AISI Assistant. Click on the toolbox and find ipa signature, signature
2. Add Apple ID signature: Follow the steps to switch to Apple ID signature first, then click Add Apple ID
3. Fill in the newly applied Apple ID account number and password. At this time, the phone needs to be connected to the computer, and click OK. Possible verification of signing with Apple ID for the first time
4. Add the ipa file, as shown in the figure, you can add it in two places
5. Select the added ipa file, select the added Apple ID signature, and click to start signing.
6. After the signature is successful, find the signed ipa
7. Use Aisi Assistant to install the signed ipa into your phone
2. Bullfrog Assistant
Bullfrog Assistant official website: https://ios222.com/
Use the installation tutorial
1. Search Bullfrog Assistant on Baidu
2. Install Bullfrog Assistant on the computer
3. Open Bullfrog Assistant and follow the prompts to connect the Apple device to the computer.
4. Follow the prompts and wait for Bullfrog Assistant to be installed on iOS.
5. Find the automatically downloaded Bullfrog Assistant on the mobile phone
6. Open it for the first time and grant permissions according to the prompts.
Friendly reminder before officially starting to install ipa:
Virtual positioning can be set or not; Dolphin emulator must be run in JIT
7. The first step of formal installation is to set up the ipa signature and click on the ipa signature icon.
8. Select the certificate button at the bottom of the screen
9. Click the + button in the upper right corner and click Add Certificate
10. Enter account
11. Automatically generate your own personal certificate
12. After you have the certificate, you can start installing the ipa file, return to file management, and click the + button in the upper right corner
13. Find the downloaded ipa file
14. Click Import
15. After prompting that the import is successful, the ipa file just imported will appear in the unsigned label.
16. Click the file icon and click Signature
17. After the signature is successful, click to install
18. In the signed label, you can see the ipa file you just imported. Click the icon at this time and the ipa will be automatically installed.
19. Bullfrog Assistant’s own store contains software or plug-ins such as psp emulators, which are available for download.
20. In the download tab, you can easily enter the ipa download address, and the download will automatically be imported into the unsigned ipa file.
Things to note
1. For systems below ios16, you can use Troll Store and other software to achieve permanent signing. This is not currently possible for ios16 and above, so be careful when upgrading.
2. The signature of Bullfrog Assistant expires in 7 days. After expiration, you need to re-sign and install it.
3. Each signing certificate can only sign 10 ipa files every 7 days
4. Each device can only install 3 self-signed ipa files at the same time.
5. iOS16 and above need to turn on the developer selection to use Bullfrog Assistant normally.
